Astronomical tables in Hogwarts Legacy - Another type of puzzle that belongs to the "Tests" section. In this guide, we'll show you how to find and use these constellation devices. Your hard work will be rewarded with exclusive skins for the scarf, robe, and cape.
How to solve riddles with an astronomical table
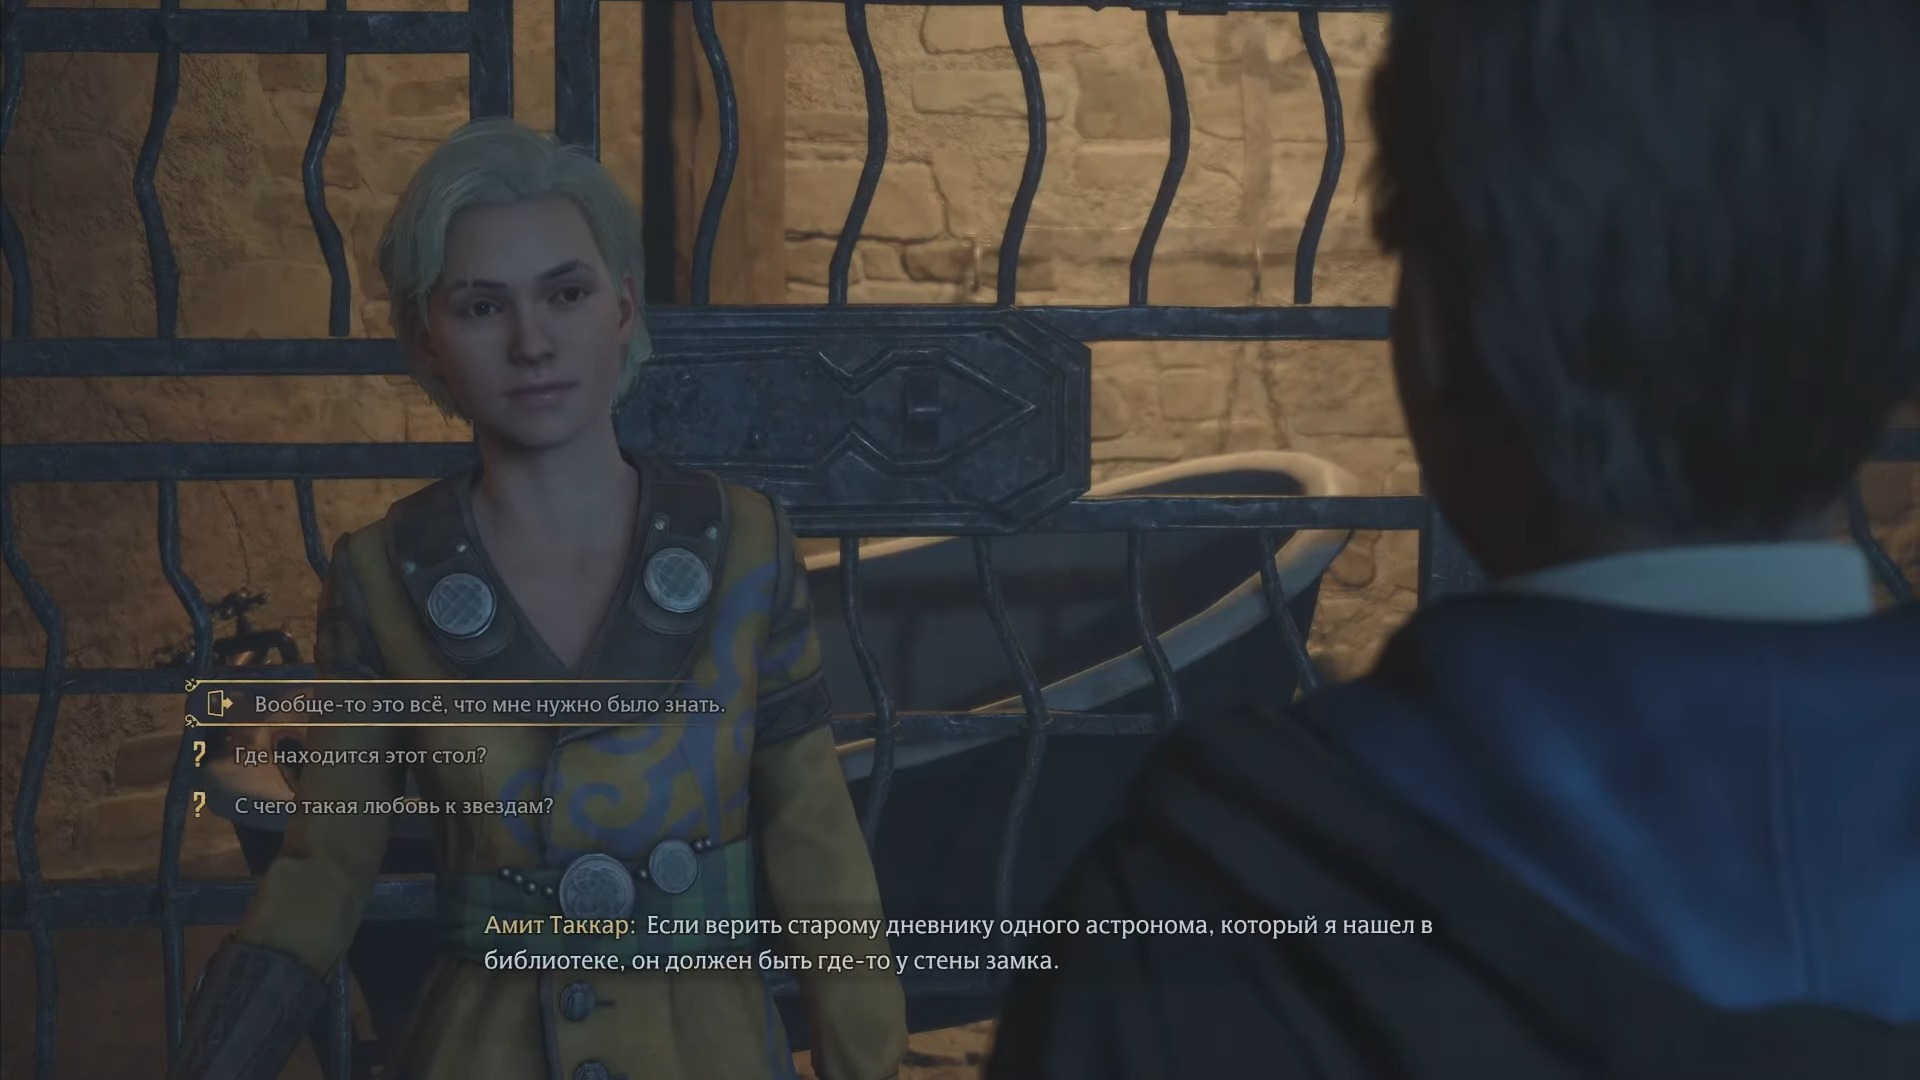
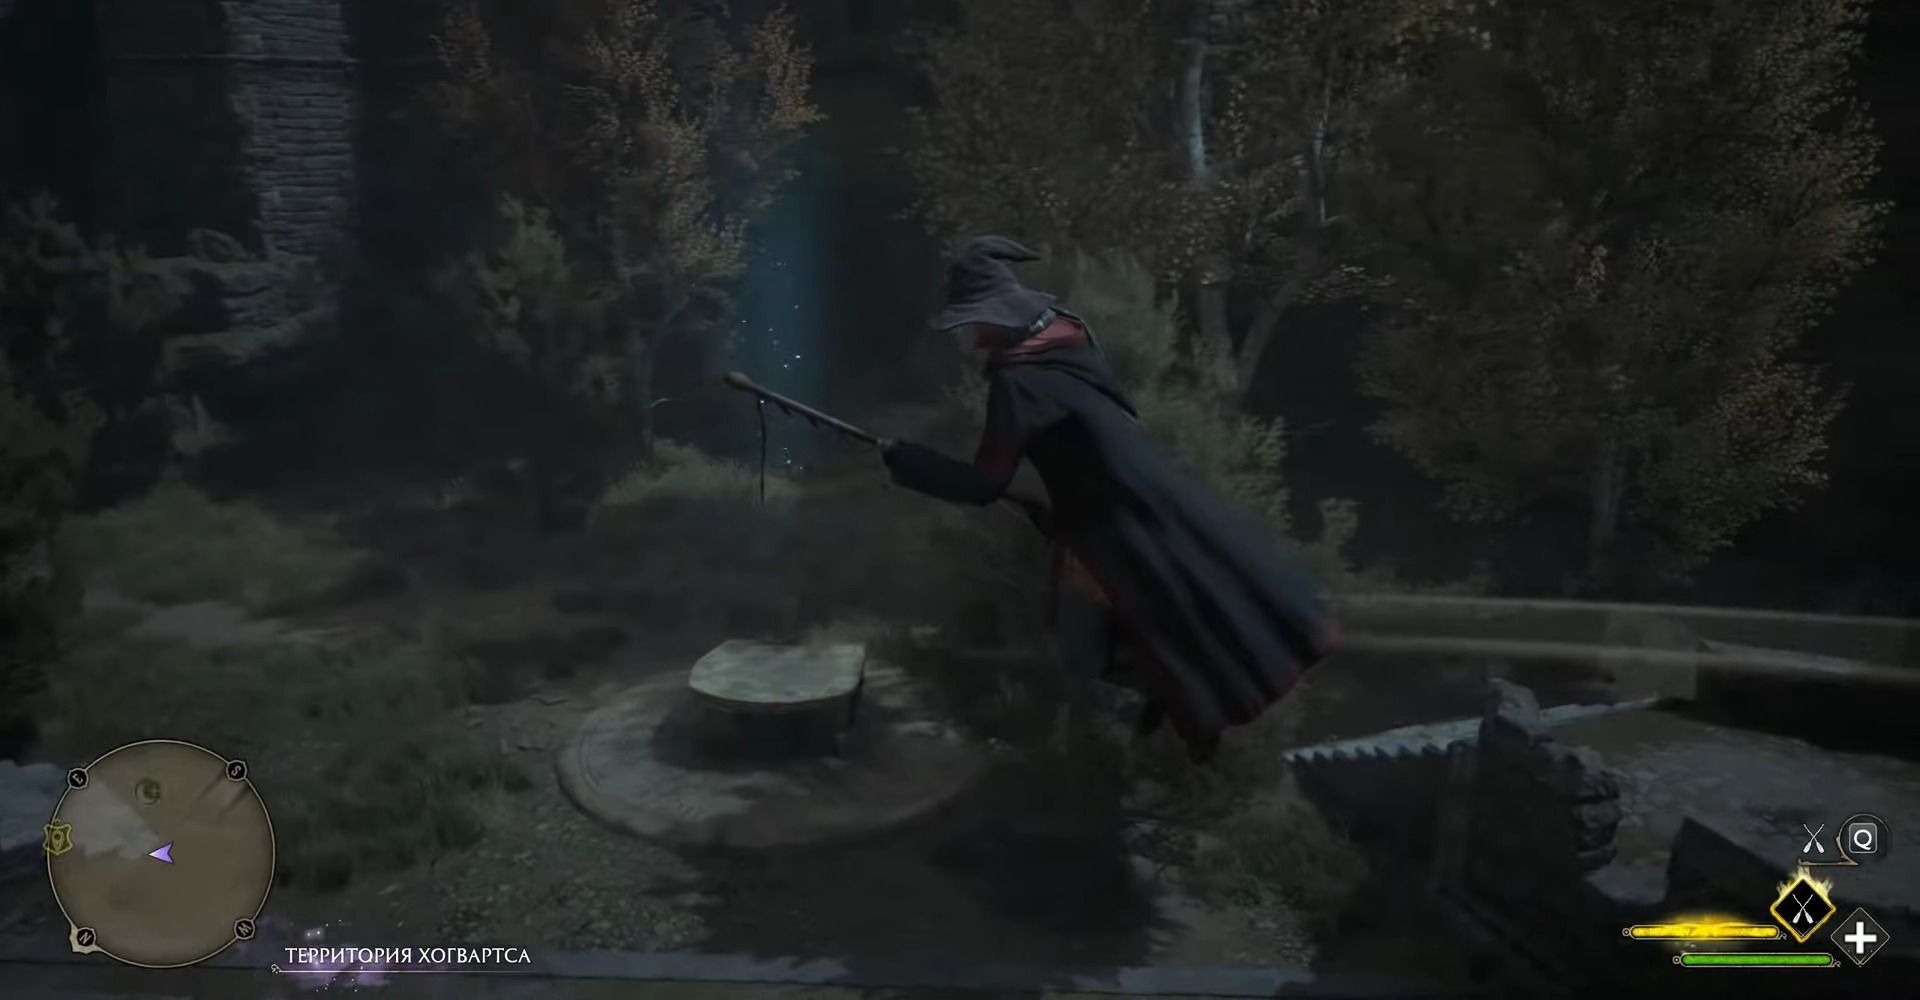
You will first encounter these puzzles while exploring the starry sky in the Astronomy quest, where you will receive the initial training in using the telescope. Here are the basic principles of controlling the star map in the lens:
- The "A" and "D" keys rotate the image clockwise or counterclockwise;
- "W" and "S" respectively increase and decrease the constellation;
- You can move the image with the mouse.
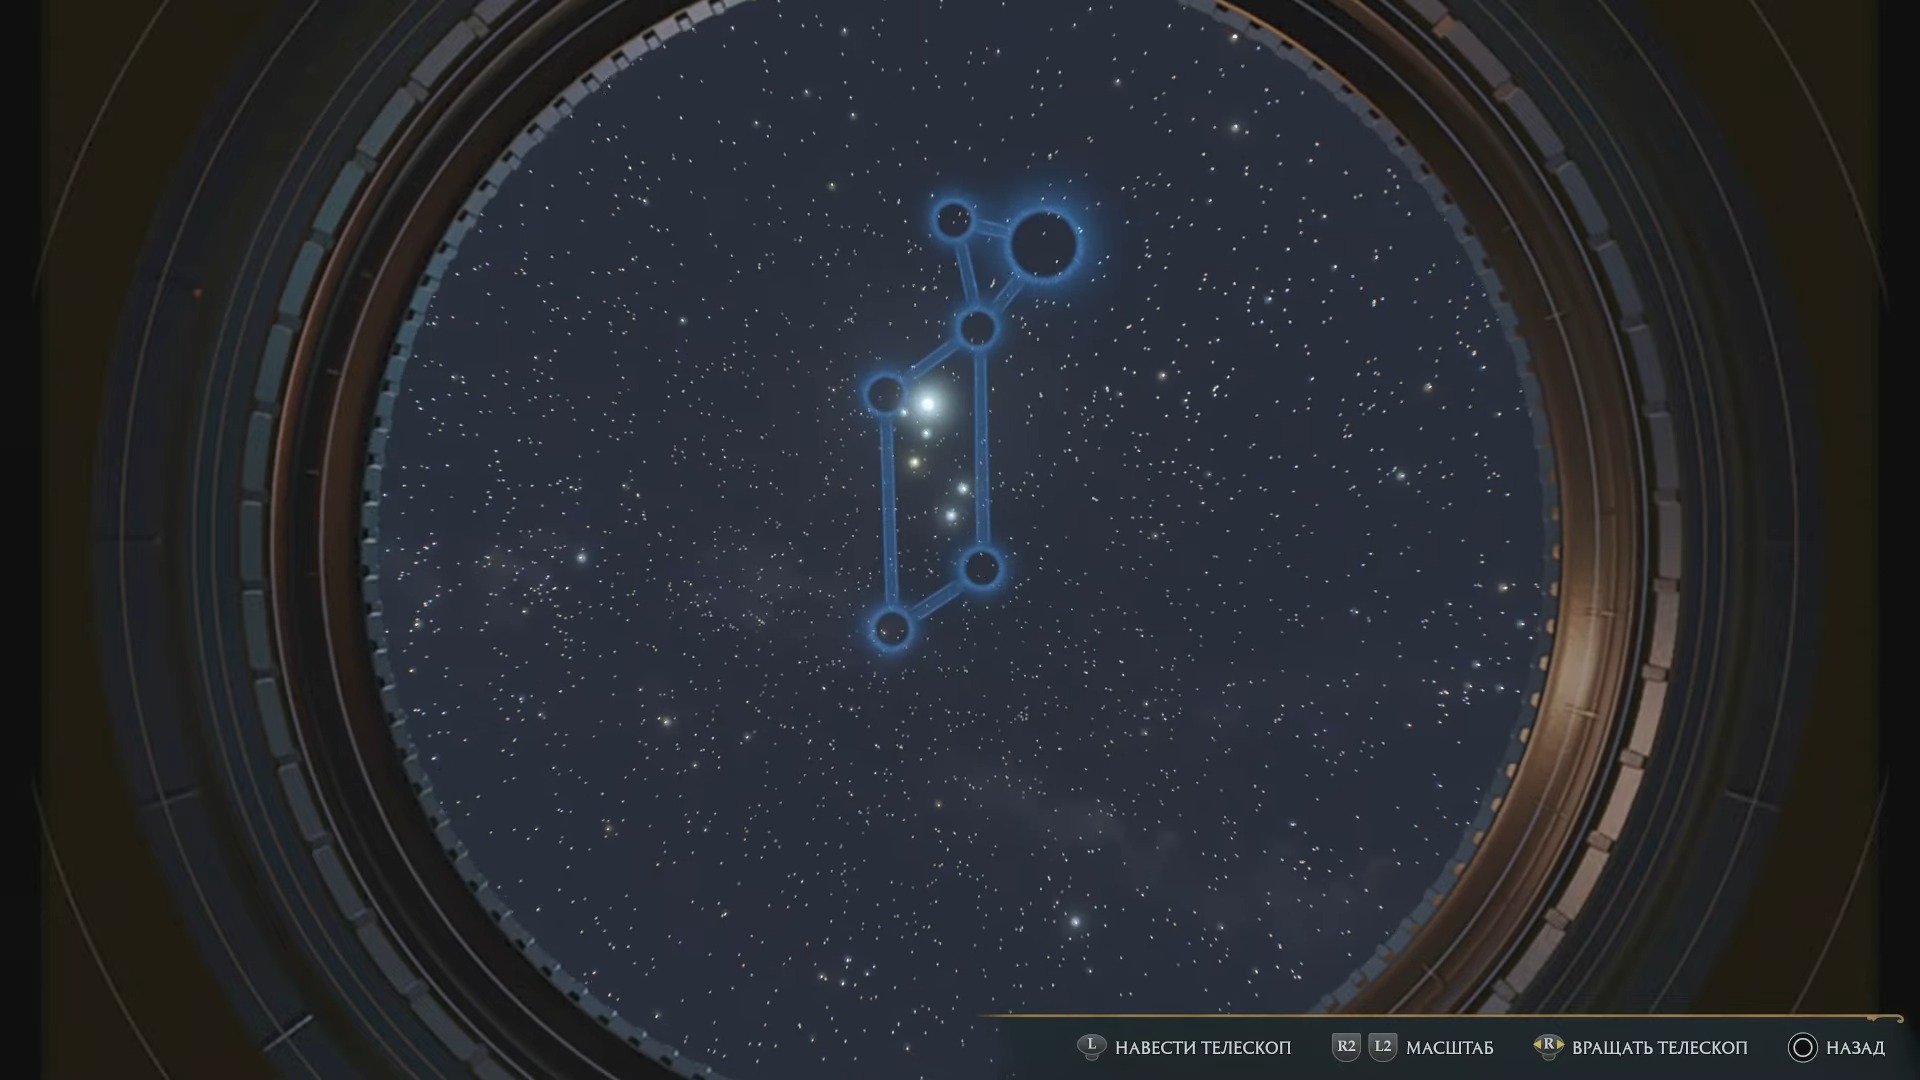
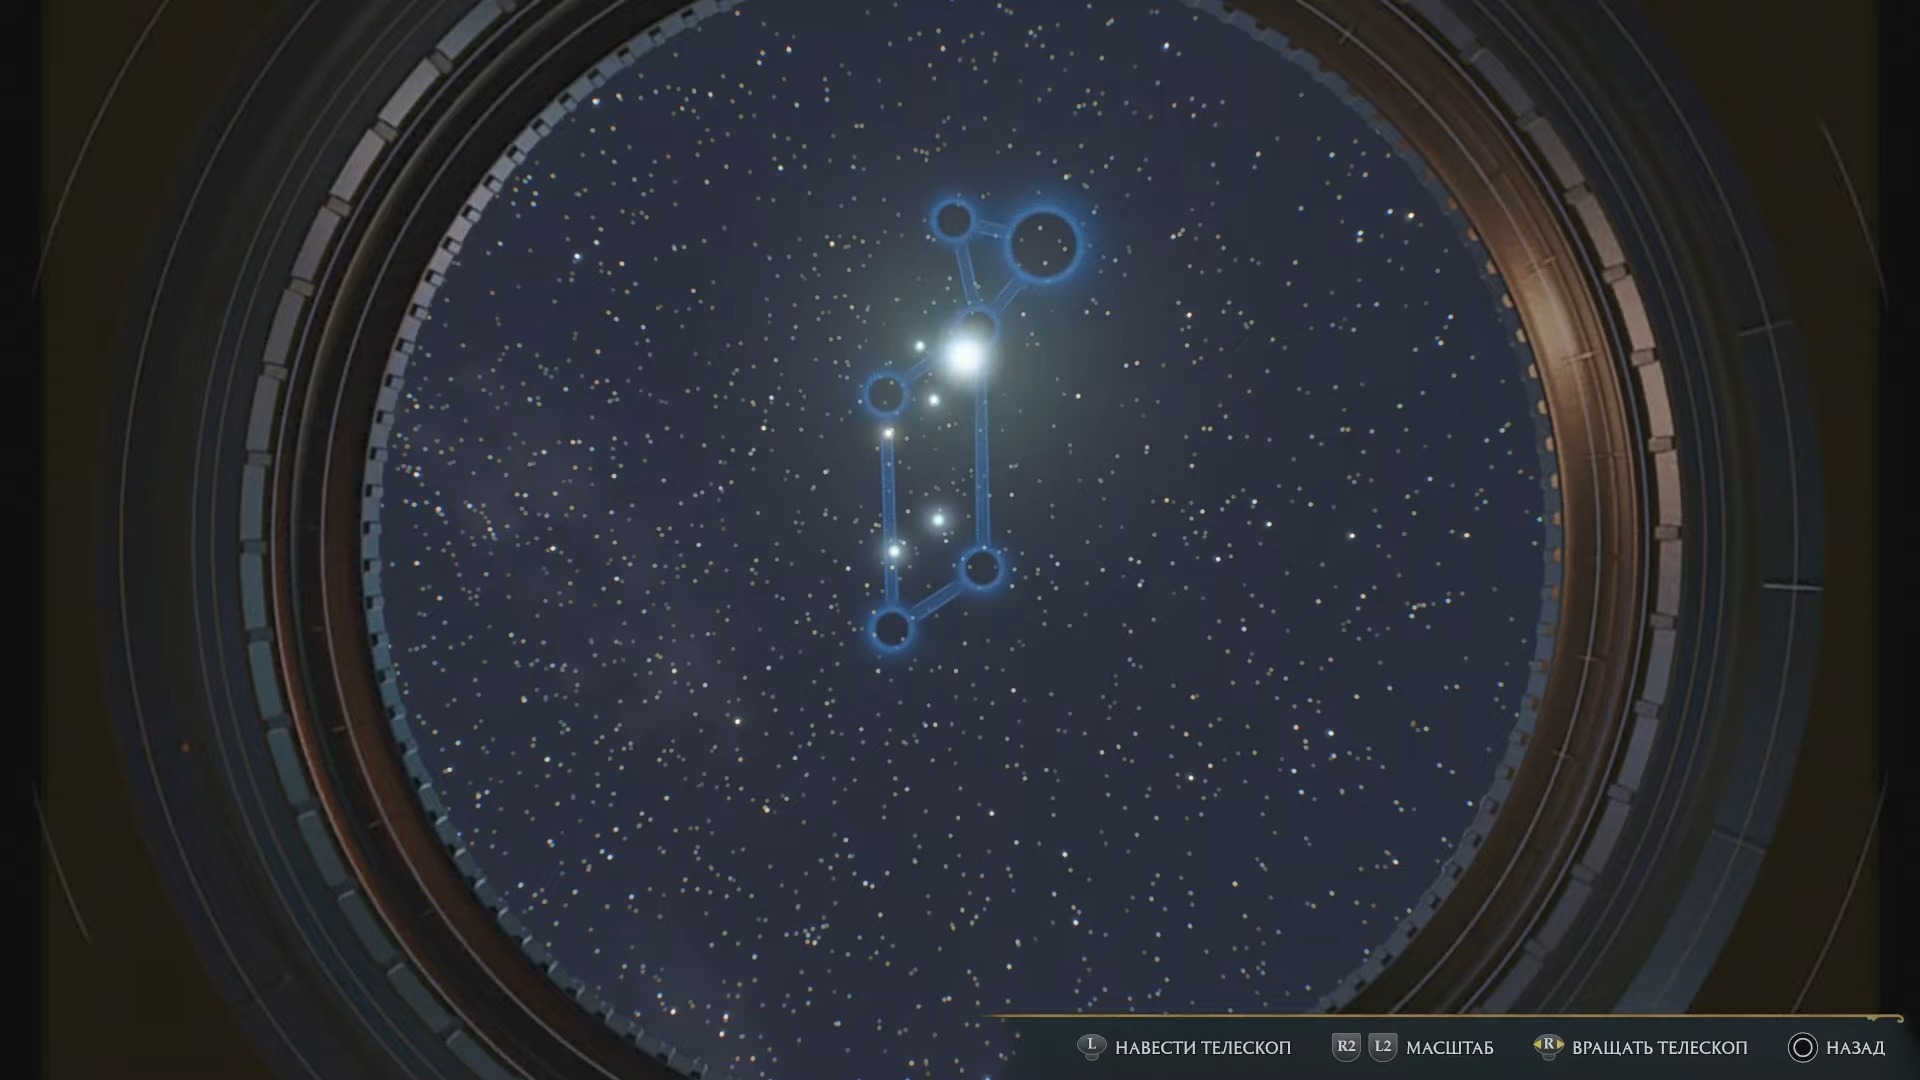
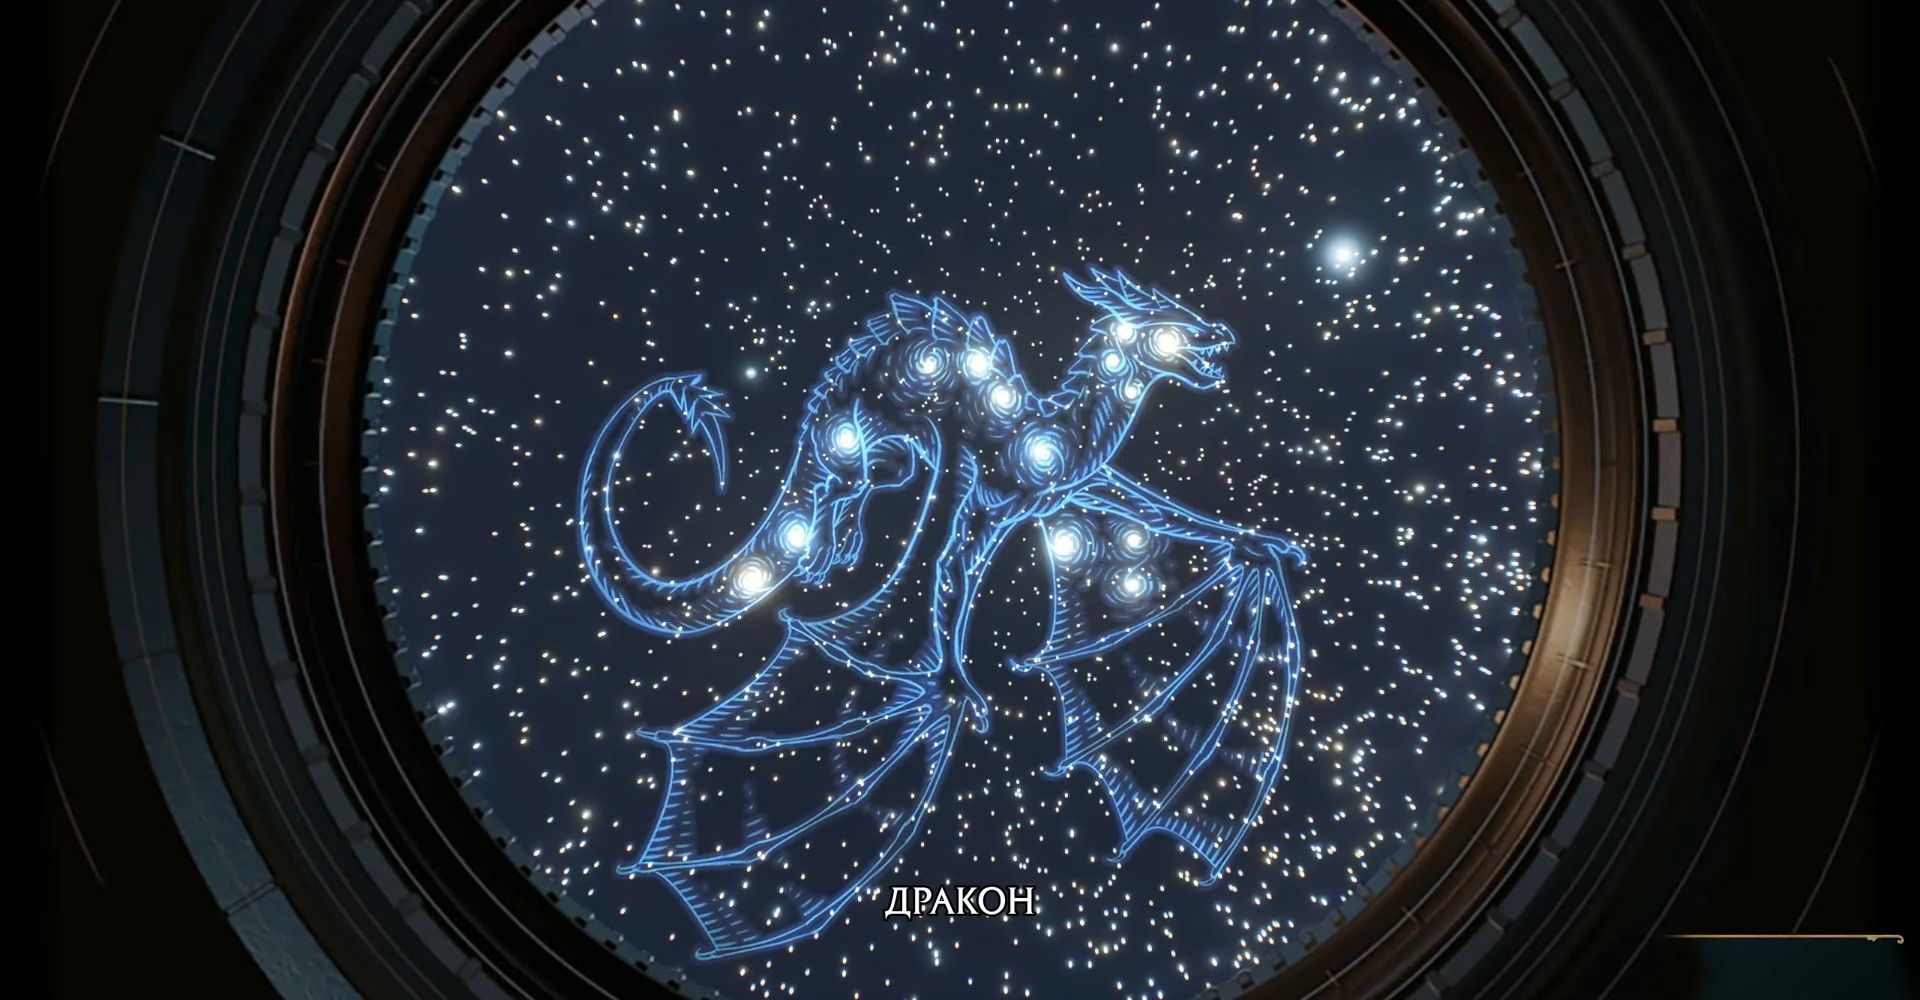
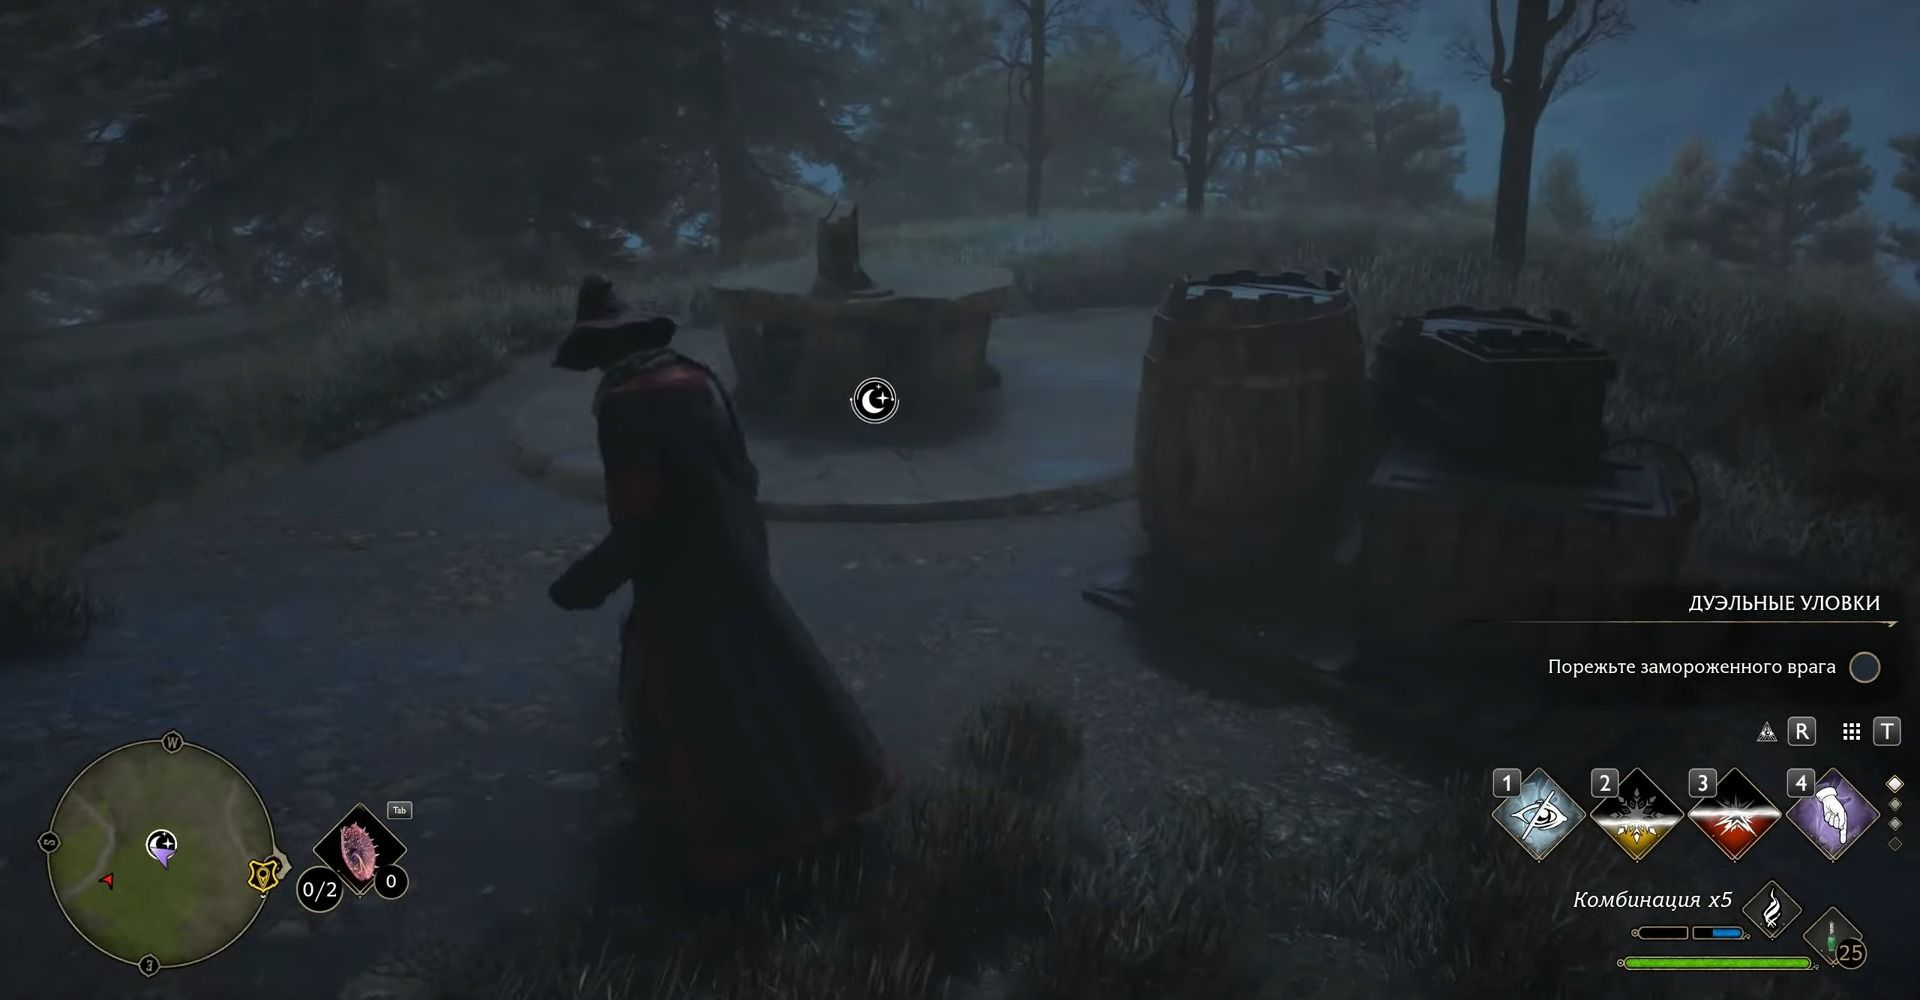
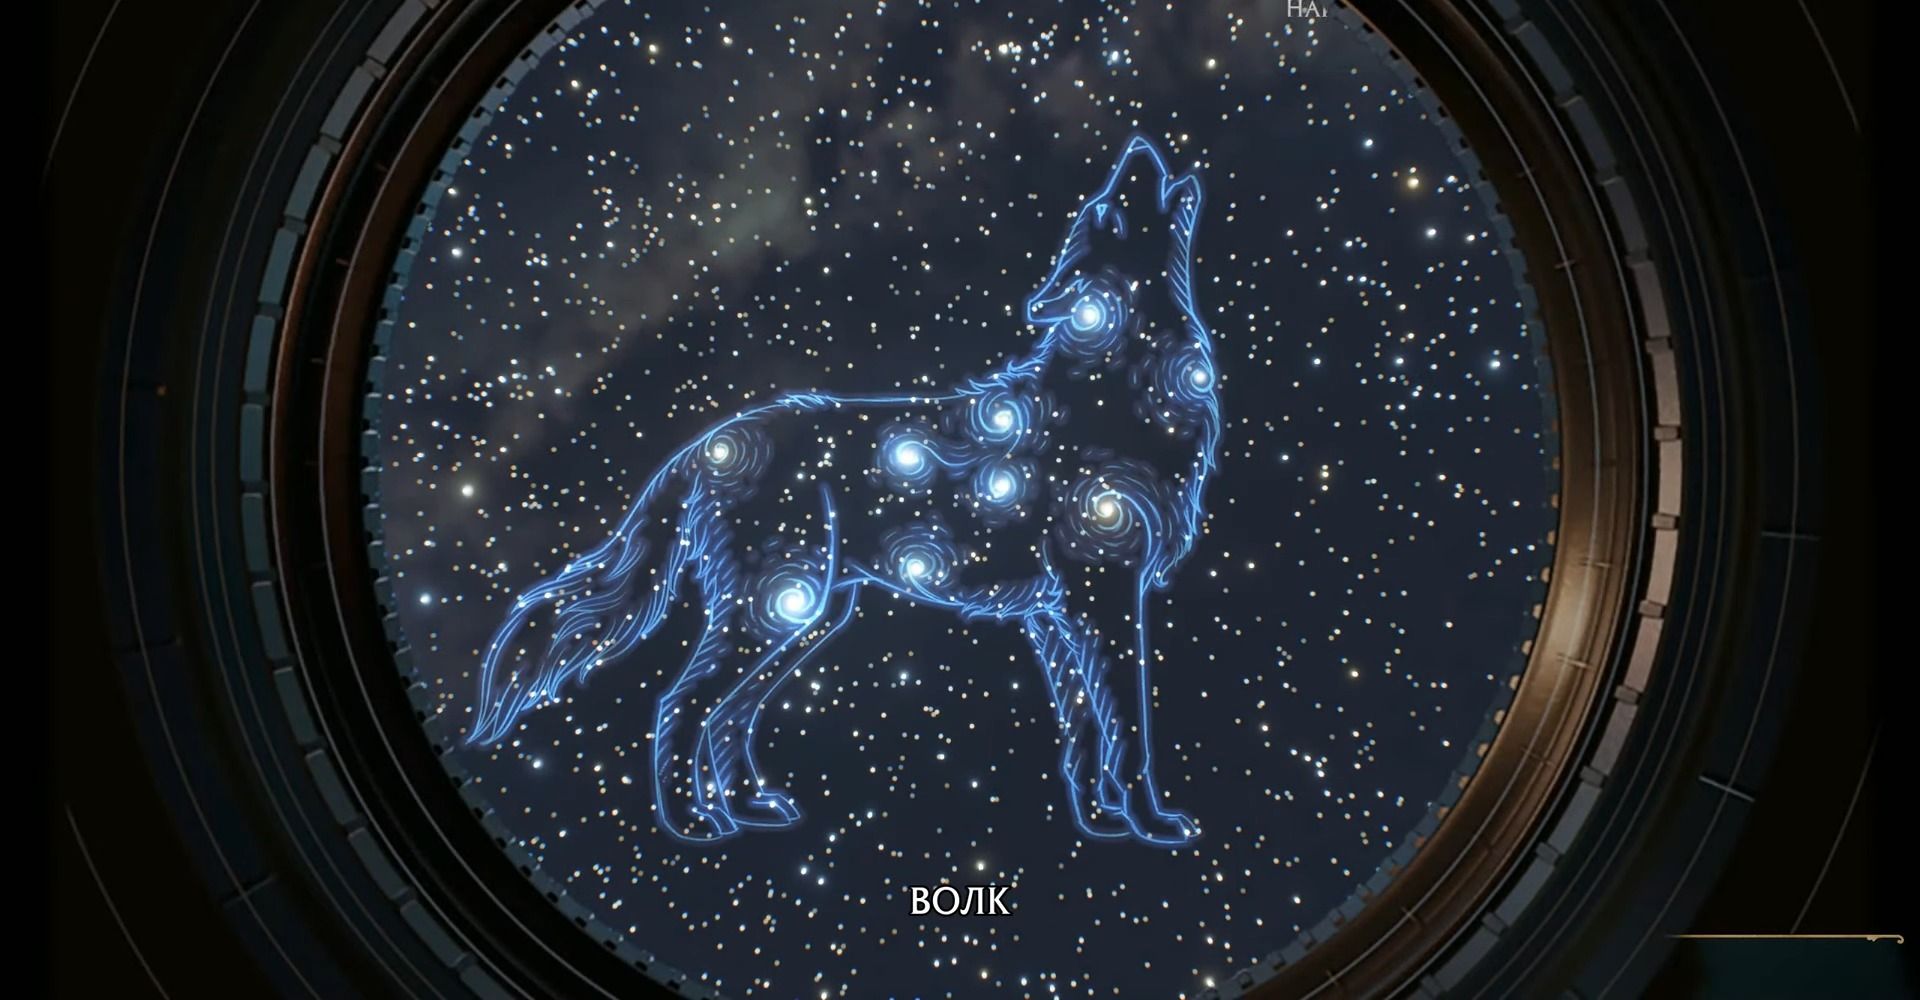
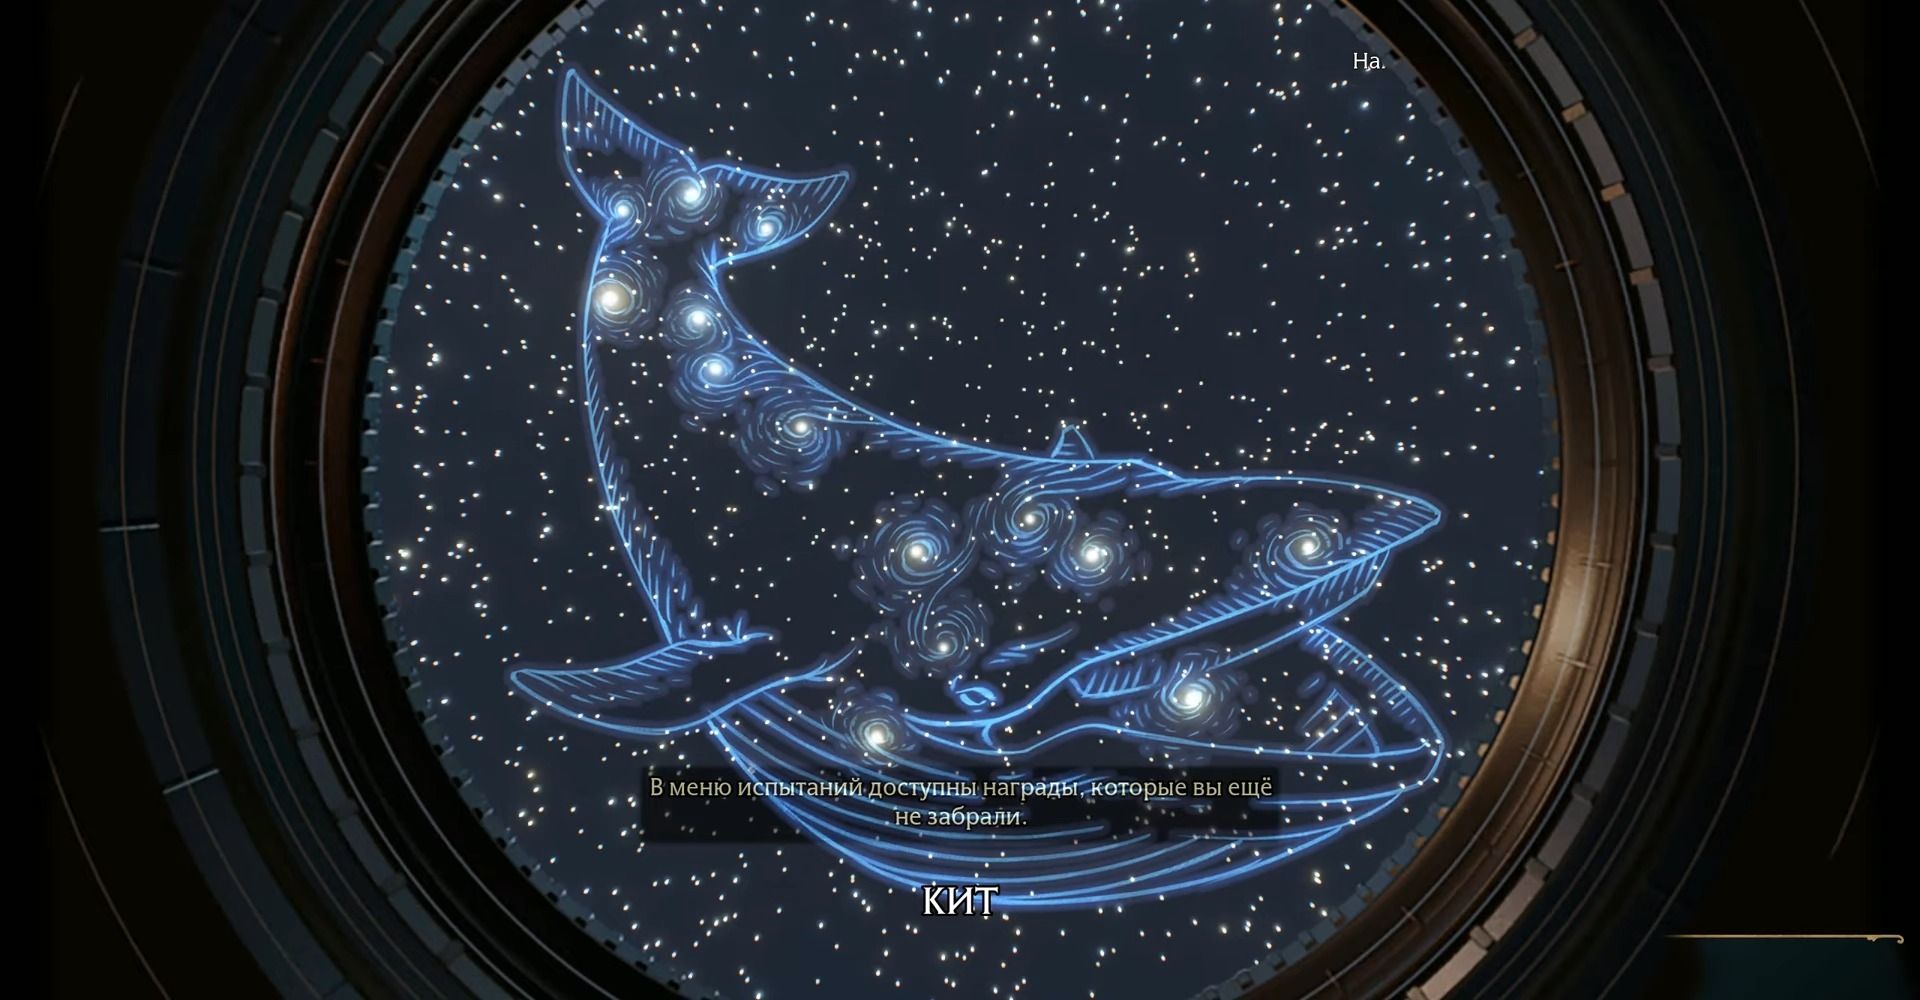
On the lens of the telescope you see the inscribed constellation, it must be combined with the bright dots of stars in the background. As soon as the outline of the picture is compared with the heavenly lights, the riddle is considered solved. The gif below clearly shows the whole process of solving the puzzle.
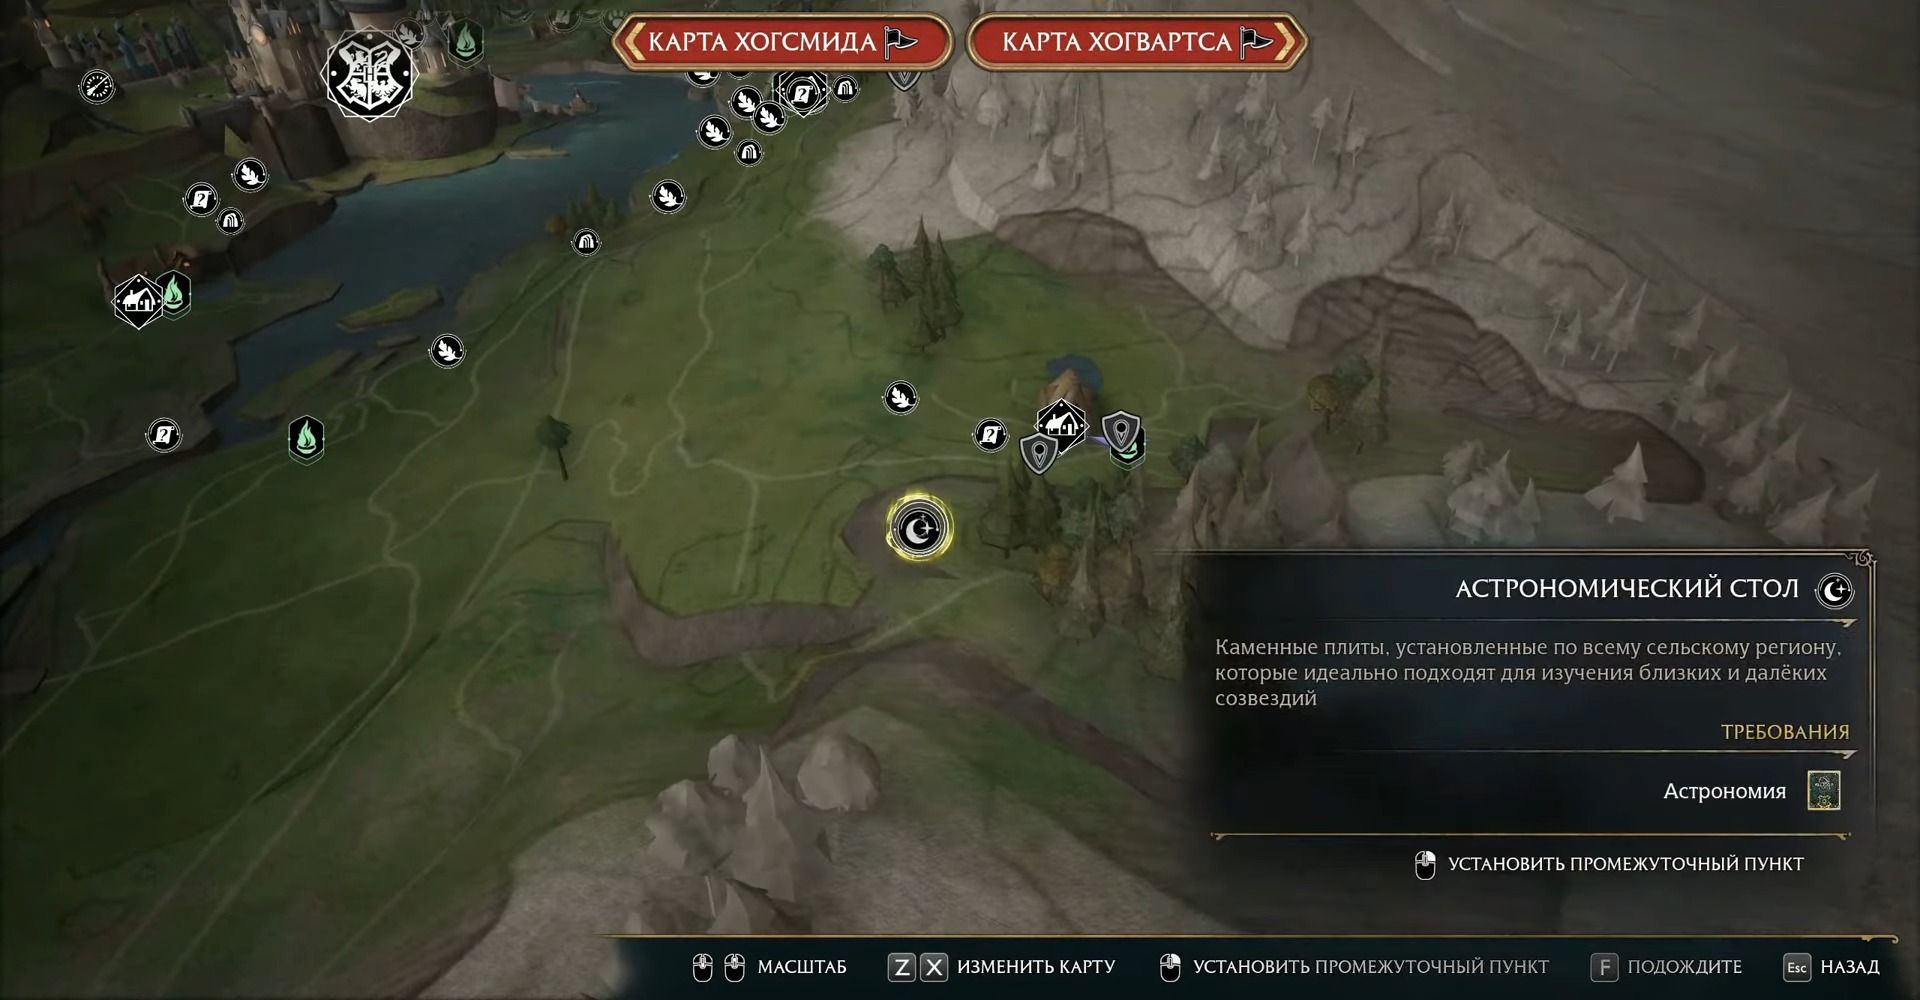
All astronomical tables
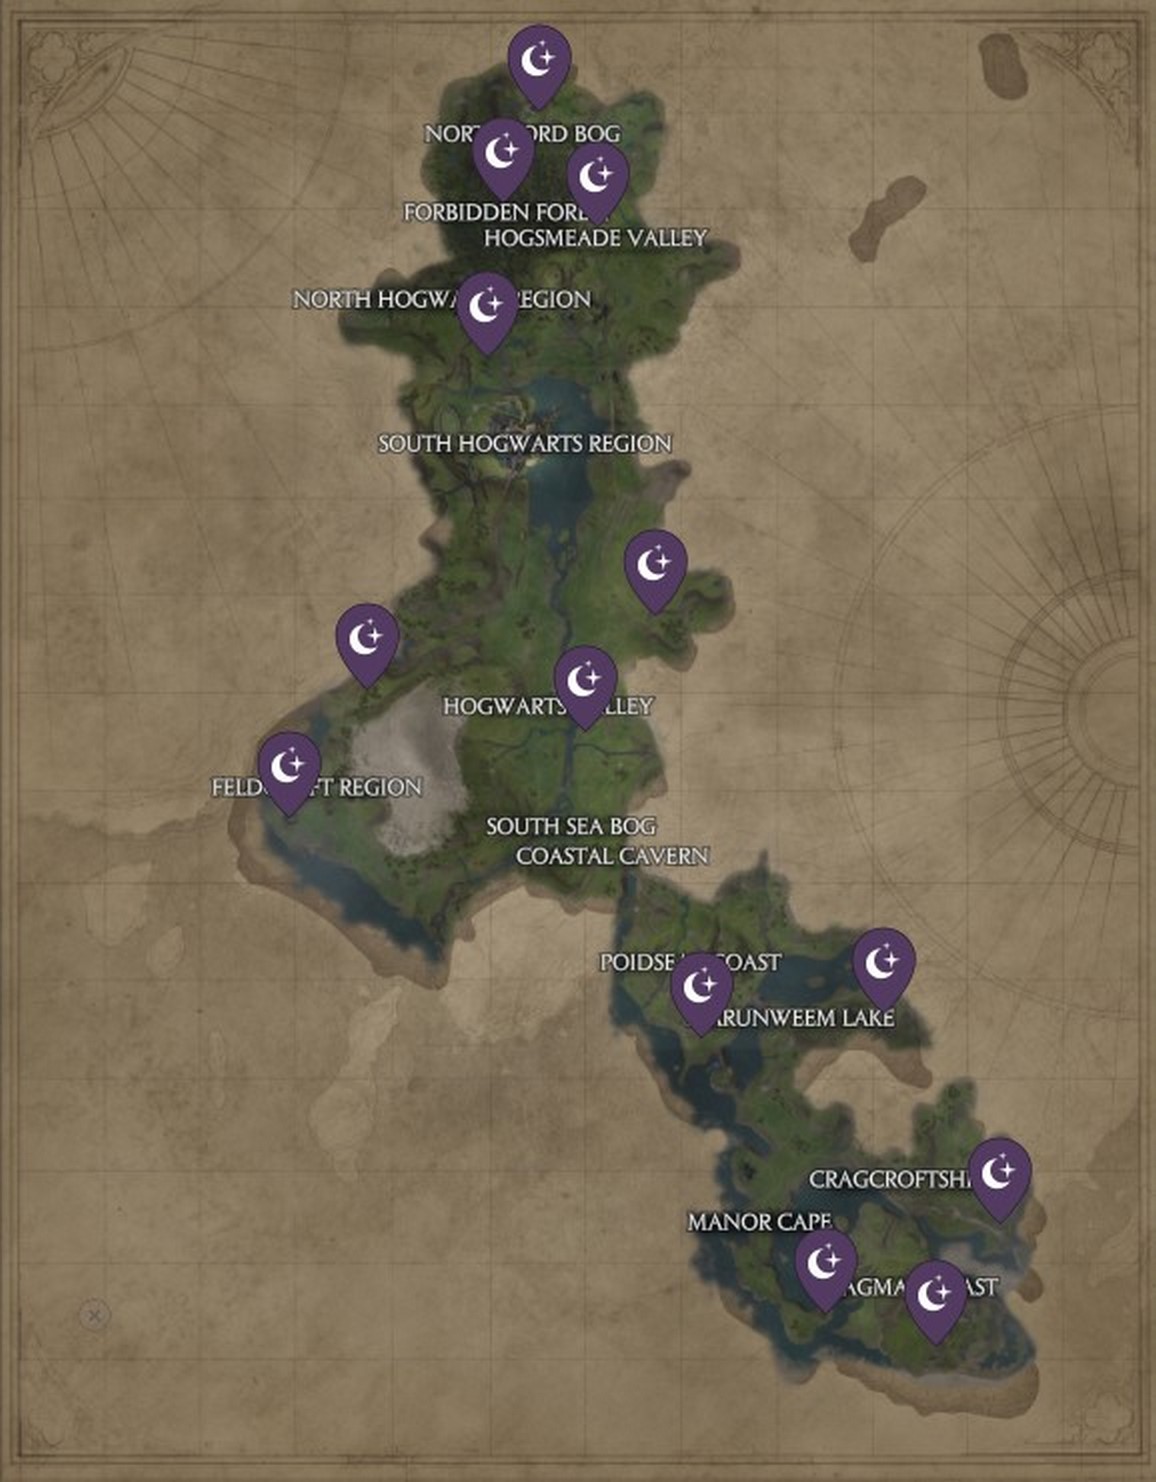
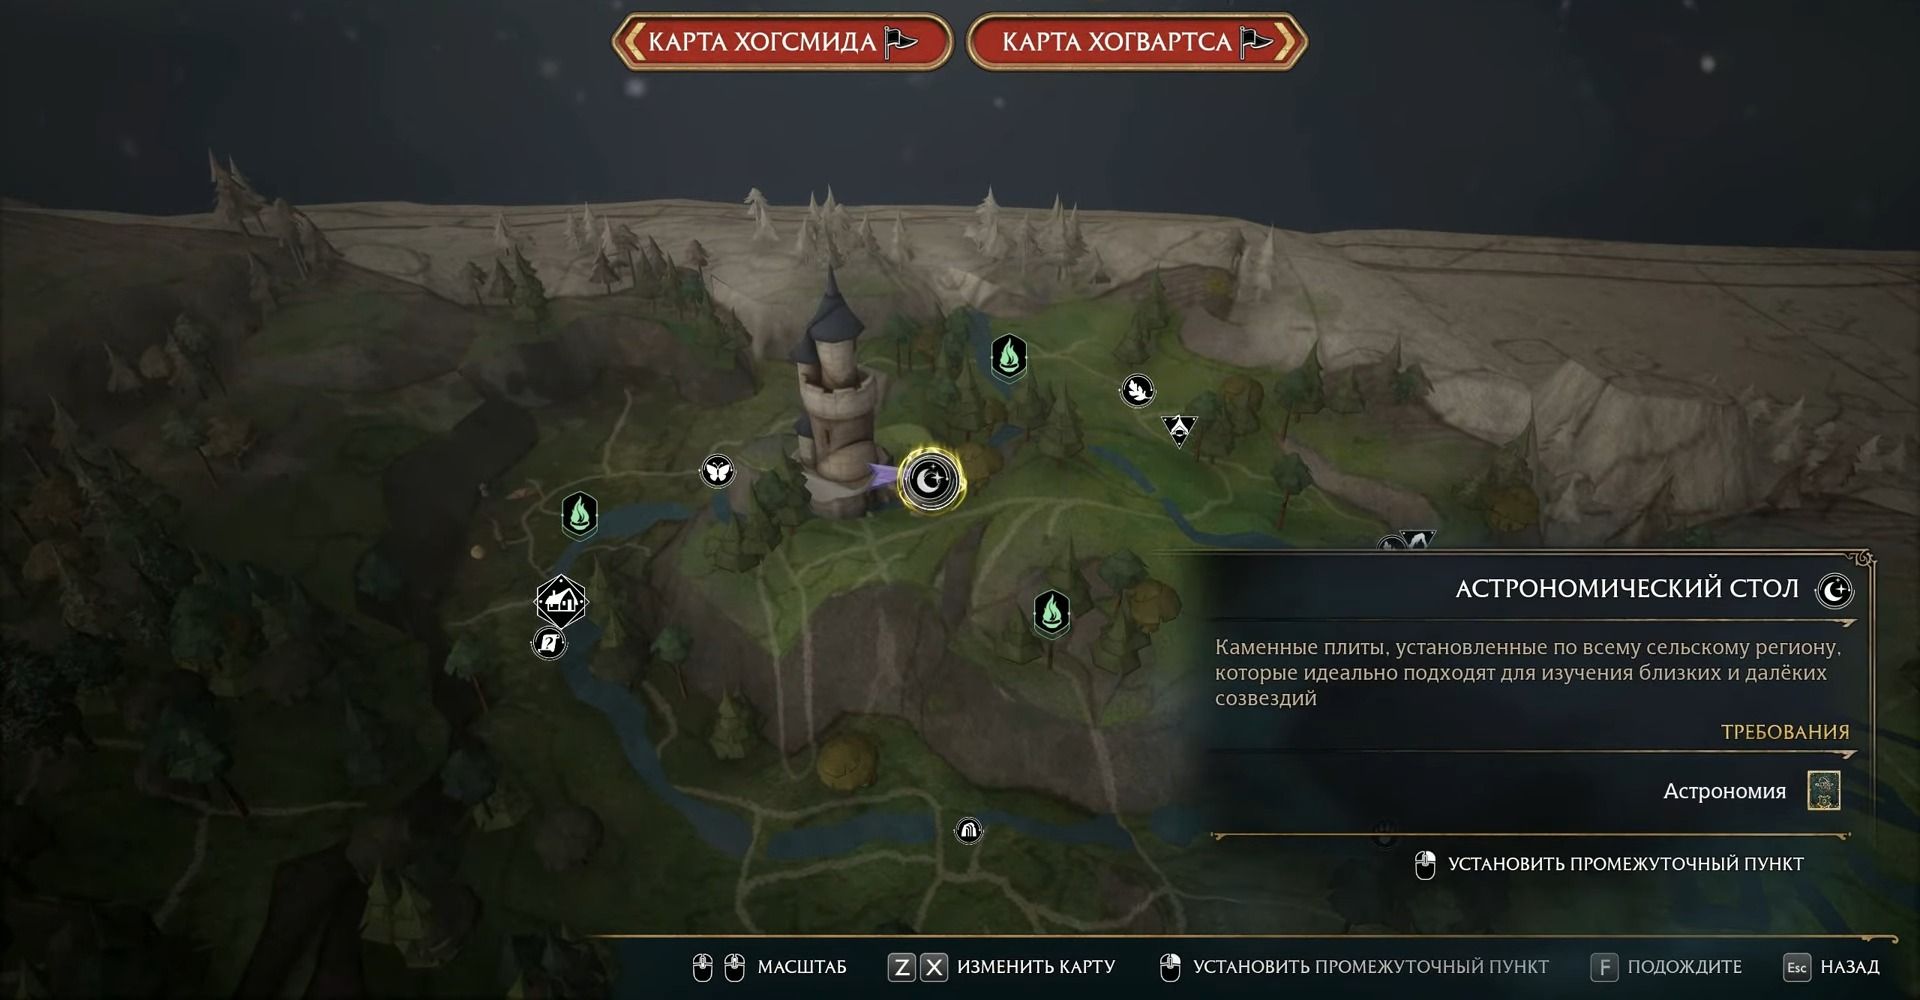
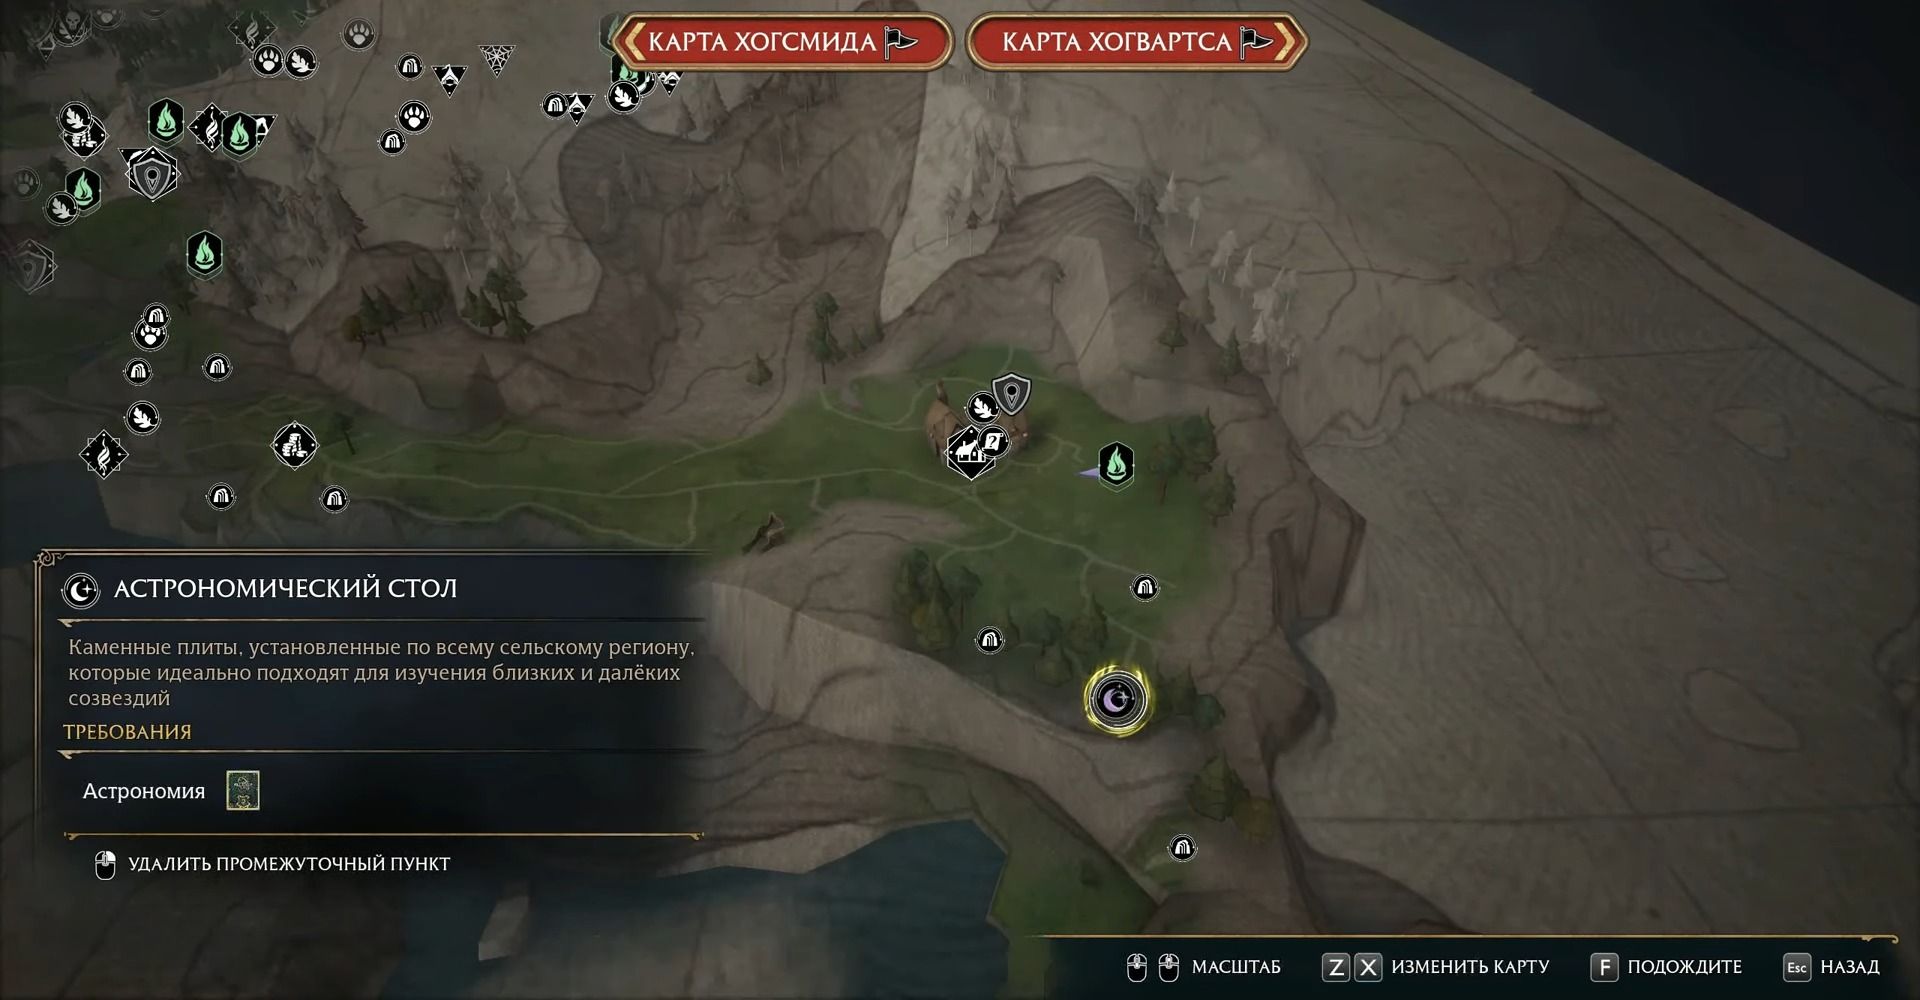
In total, there are 15 constellations in the game, which can be found on the star cards on the tables. You will compose the first one at a school lesson in the already mentioned Astronomy story quest, and the remaining 14 must be found on your own. Below we will indicate the location of each of them. If you want to save some intrigue and look for them yourself, you can simply use interactive map, selecting the Astronomy Table on it.
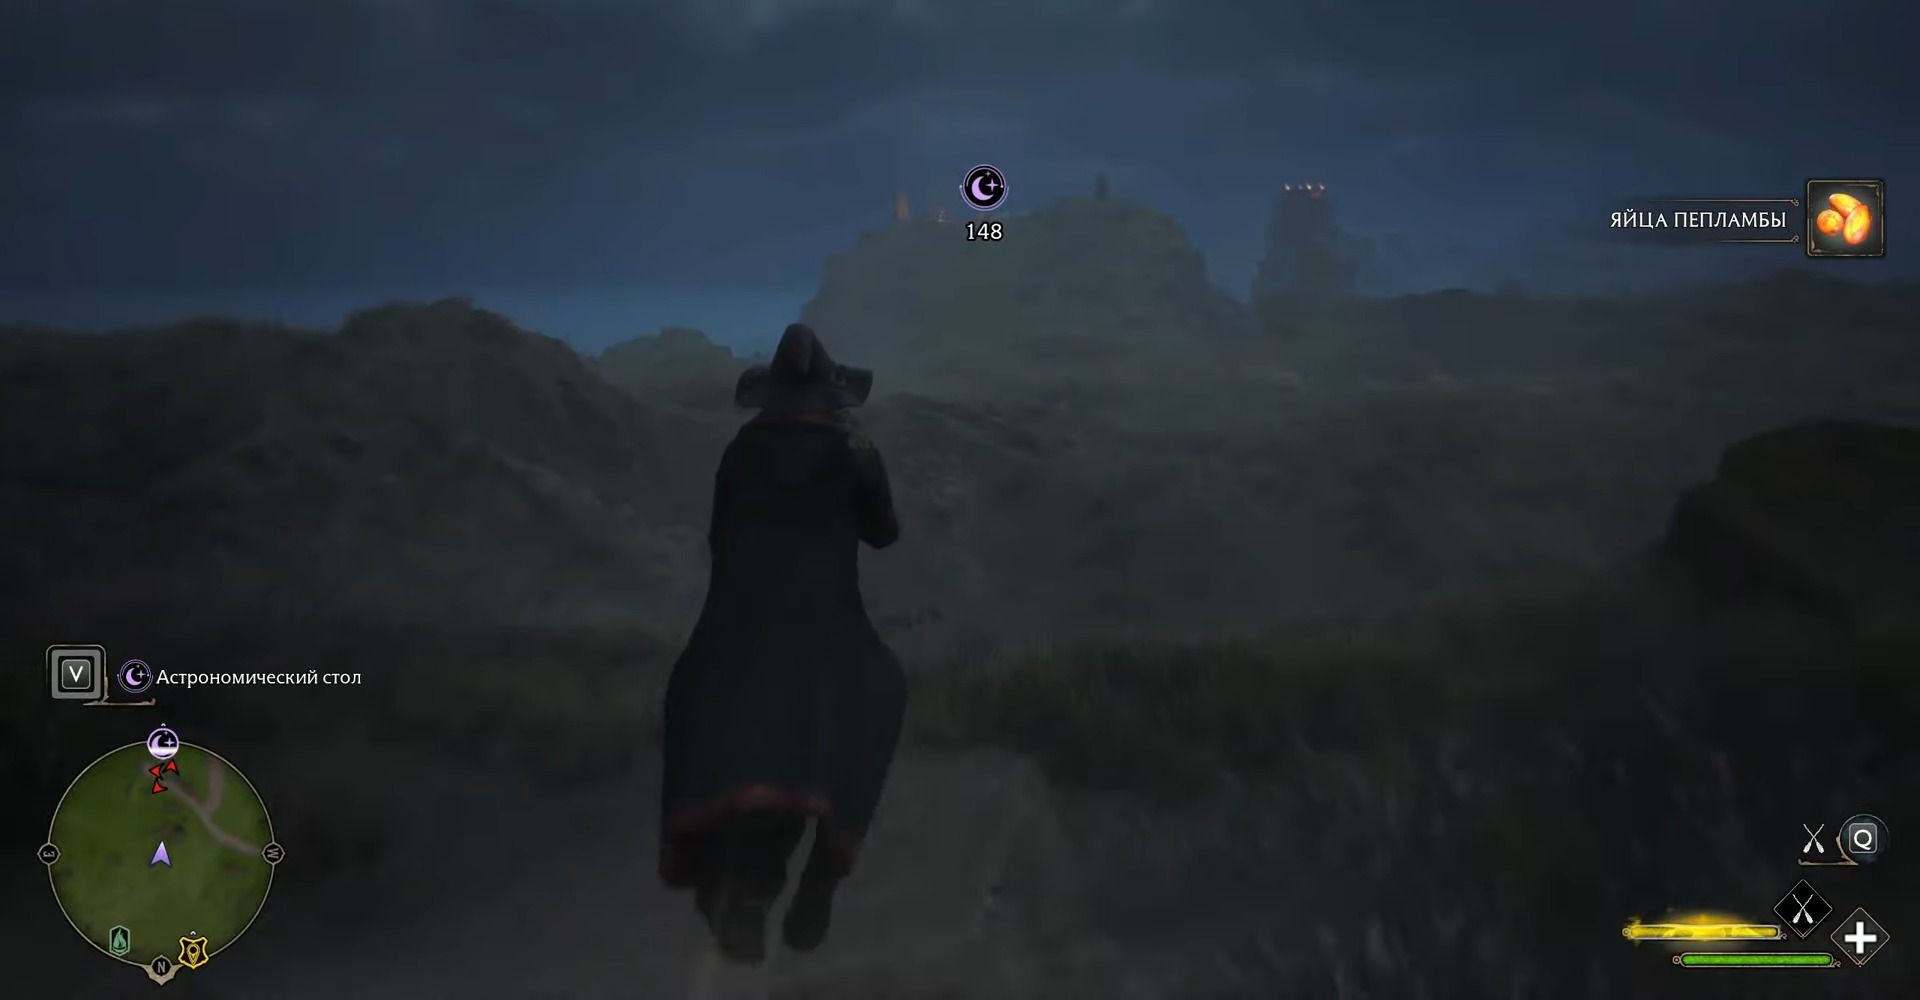
Note: These puzzles can only be solved at night. Indeed, it would be absurd to try to see the stars in daylight, wouldn't it?
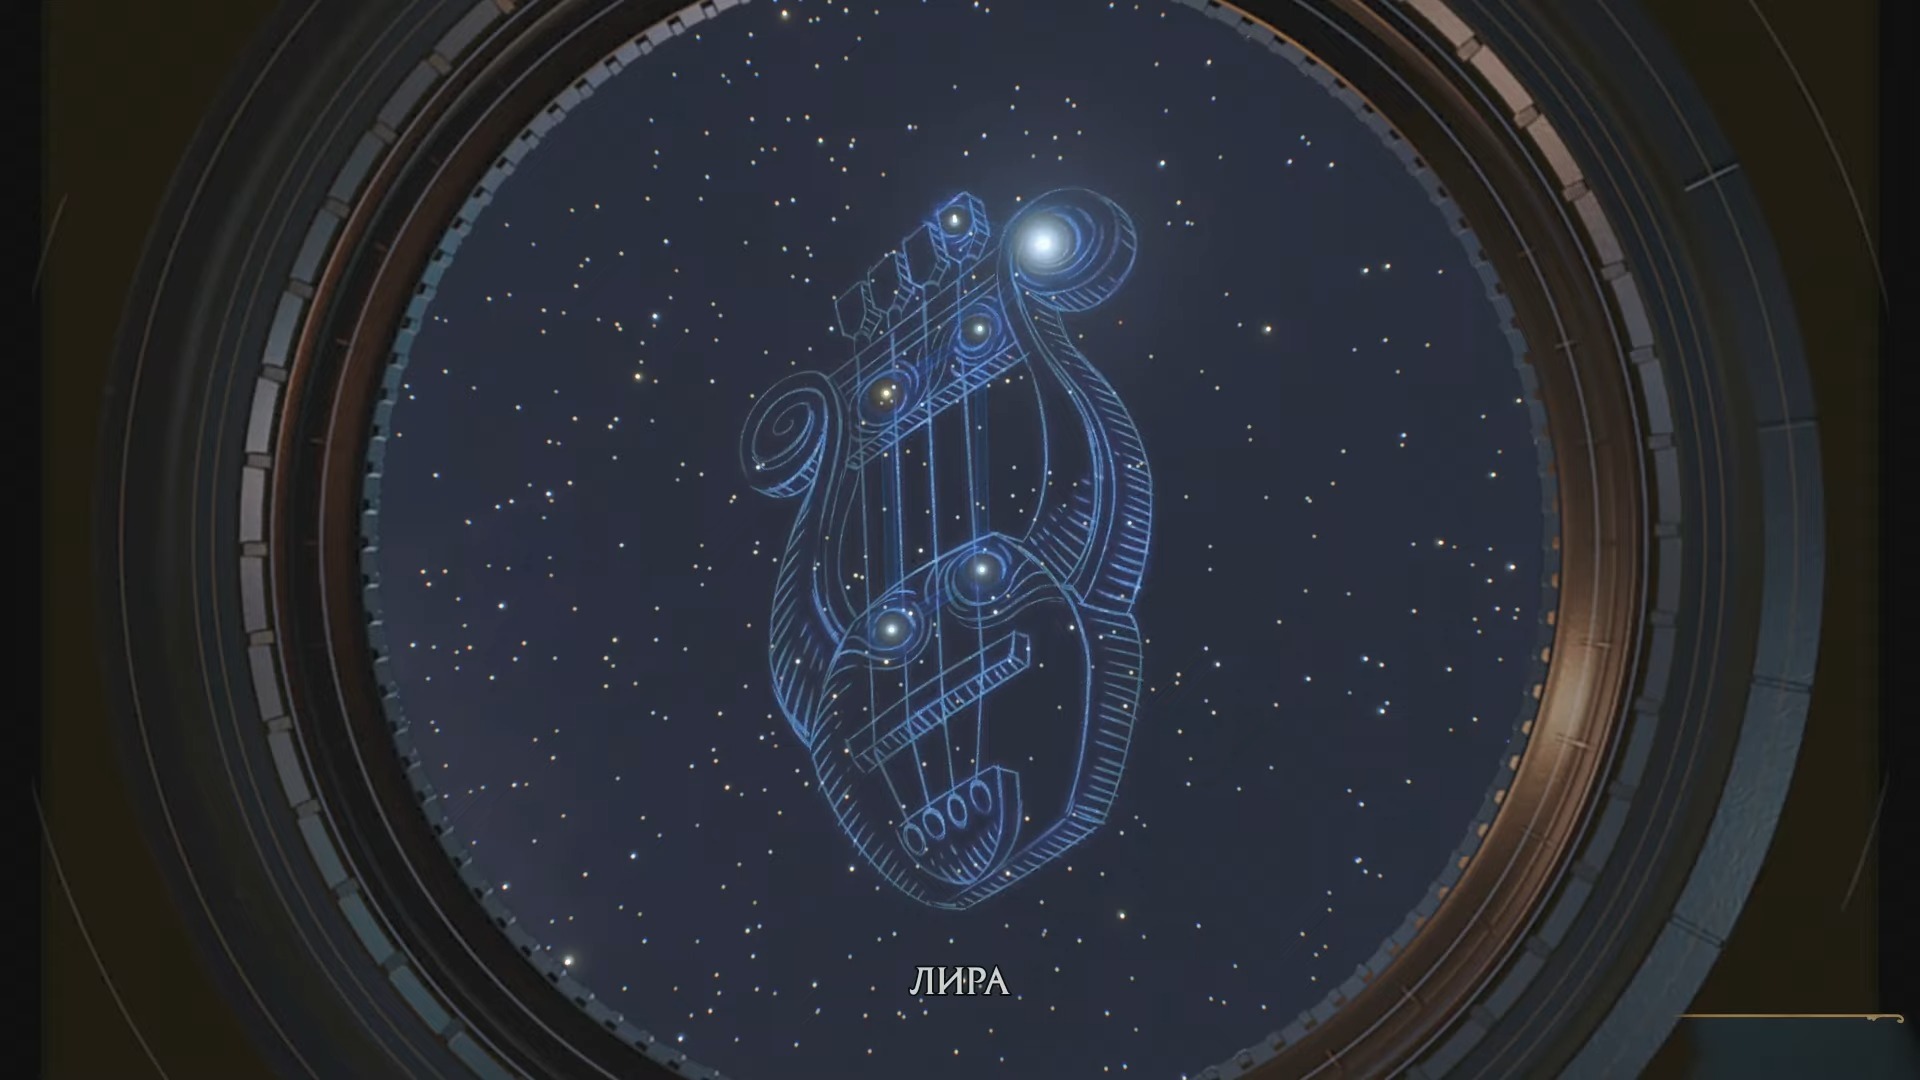
Astronomy table 1
- Constellation: Lyra
- Hogwarts Astronomy mission
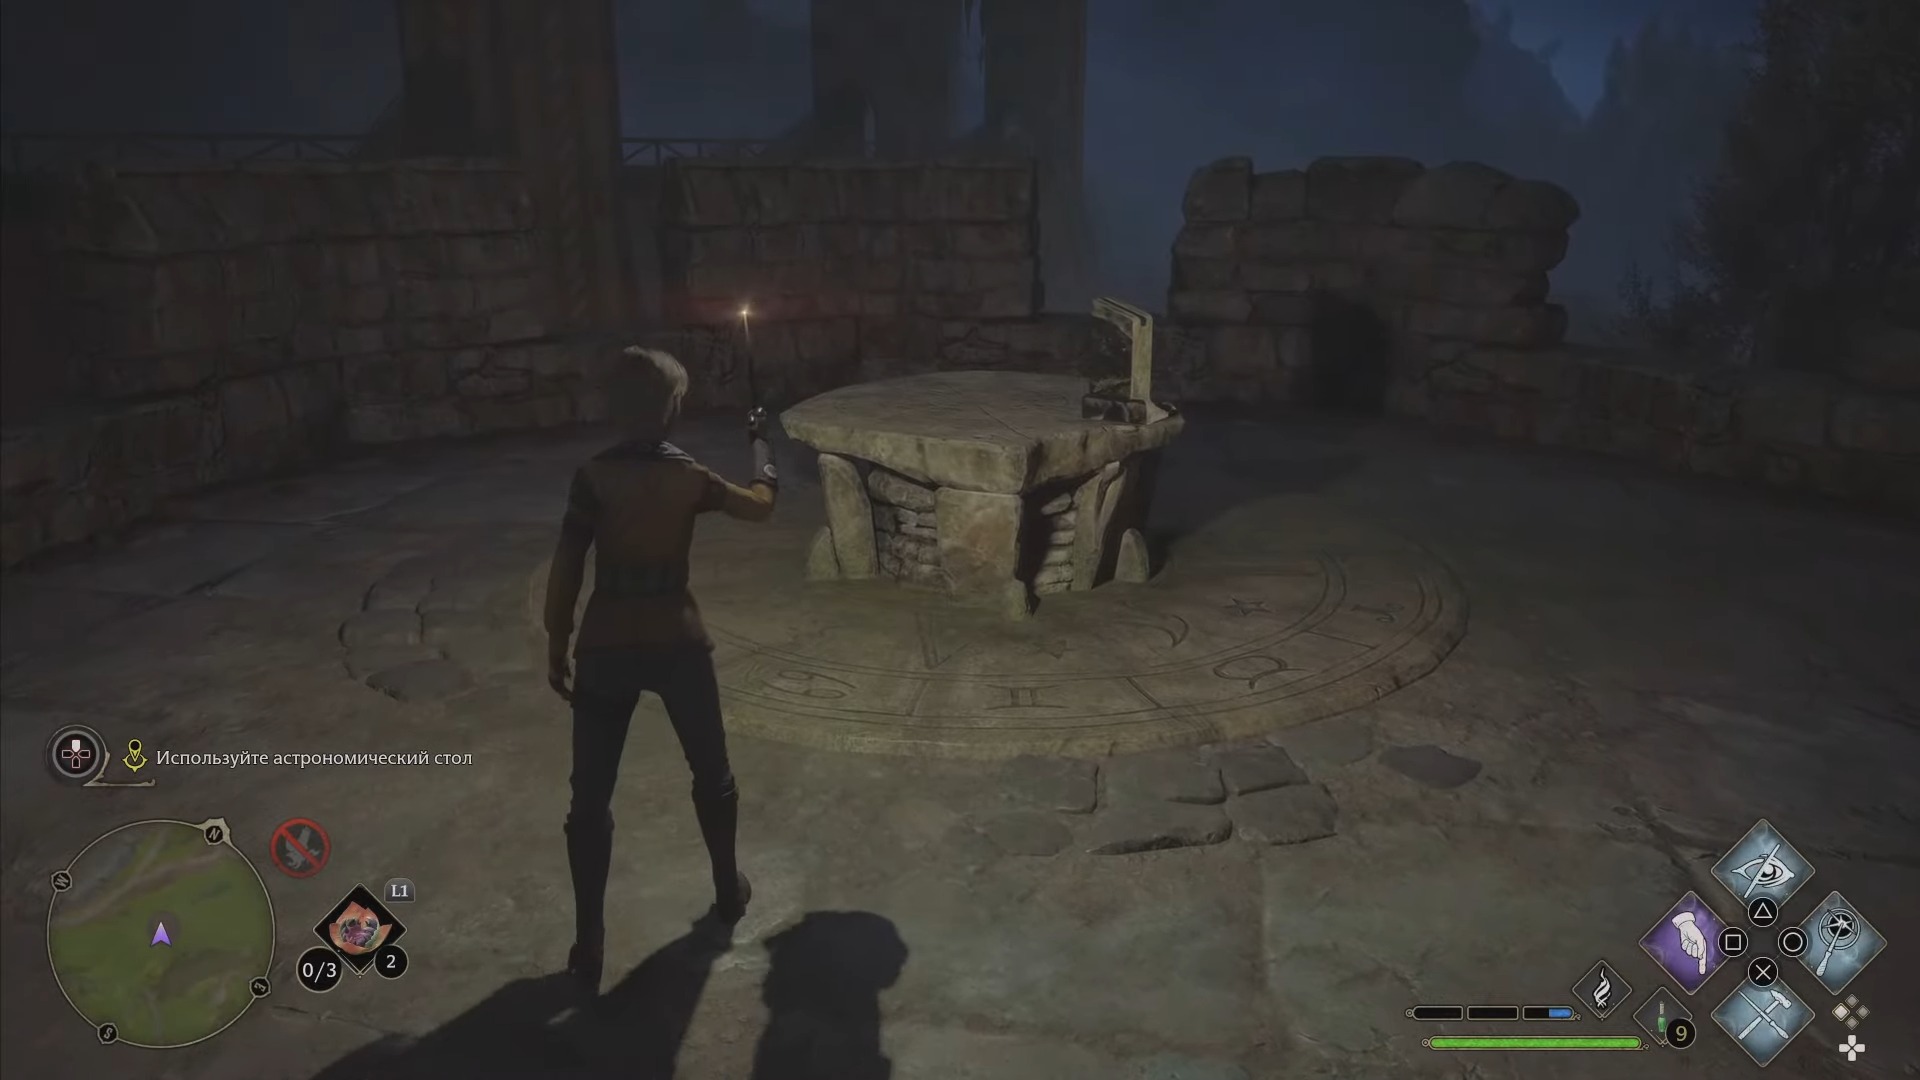
The first table you will find during the story mission "Astronomy". Just follow the marker on your map and you will soon find a table located near the Quidditch field.
Astronomy table 2
- Constellation: Centaurus
- Region: North Ford Swamp
- Location: San Bakira Tower
From the nearest teleporter, you can easily fly over the cliff in a flying vehicle. Near the ruins you will find the next map, the constellation Centaurus is inscribed on it - combine the star pattern with a telescope, as you did in the previous test.

Astronomy table 3
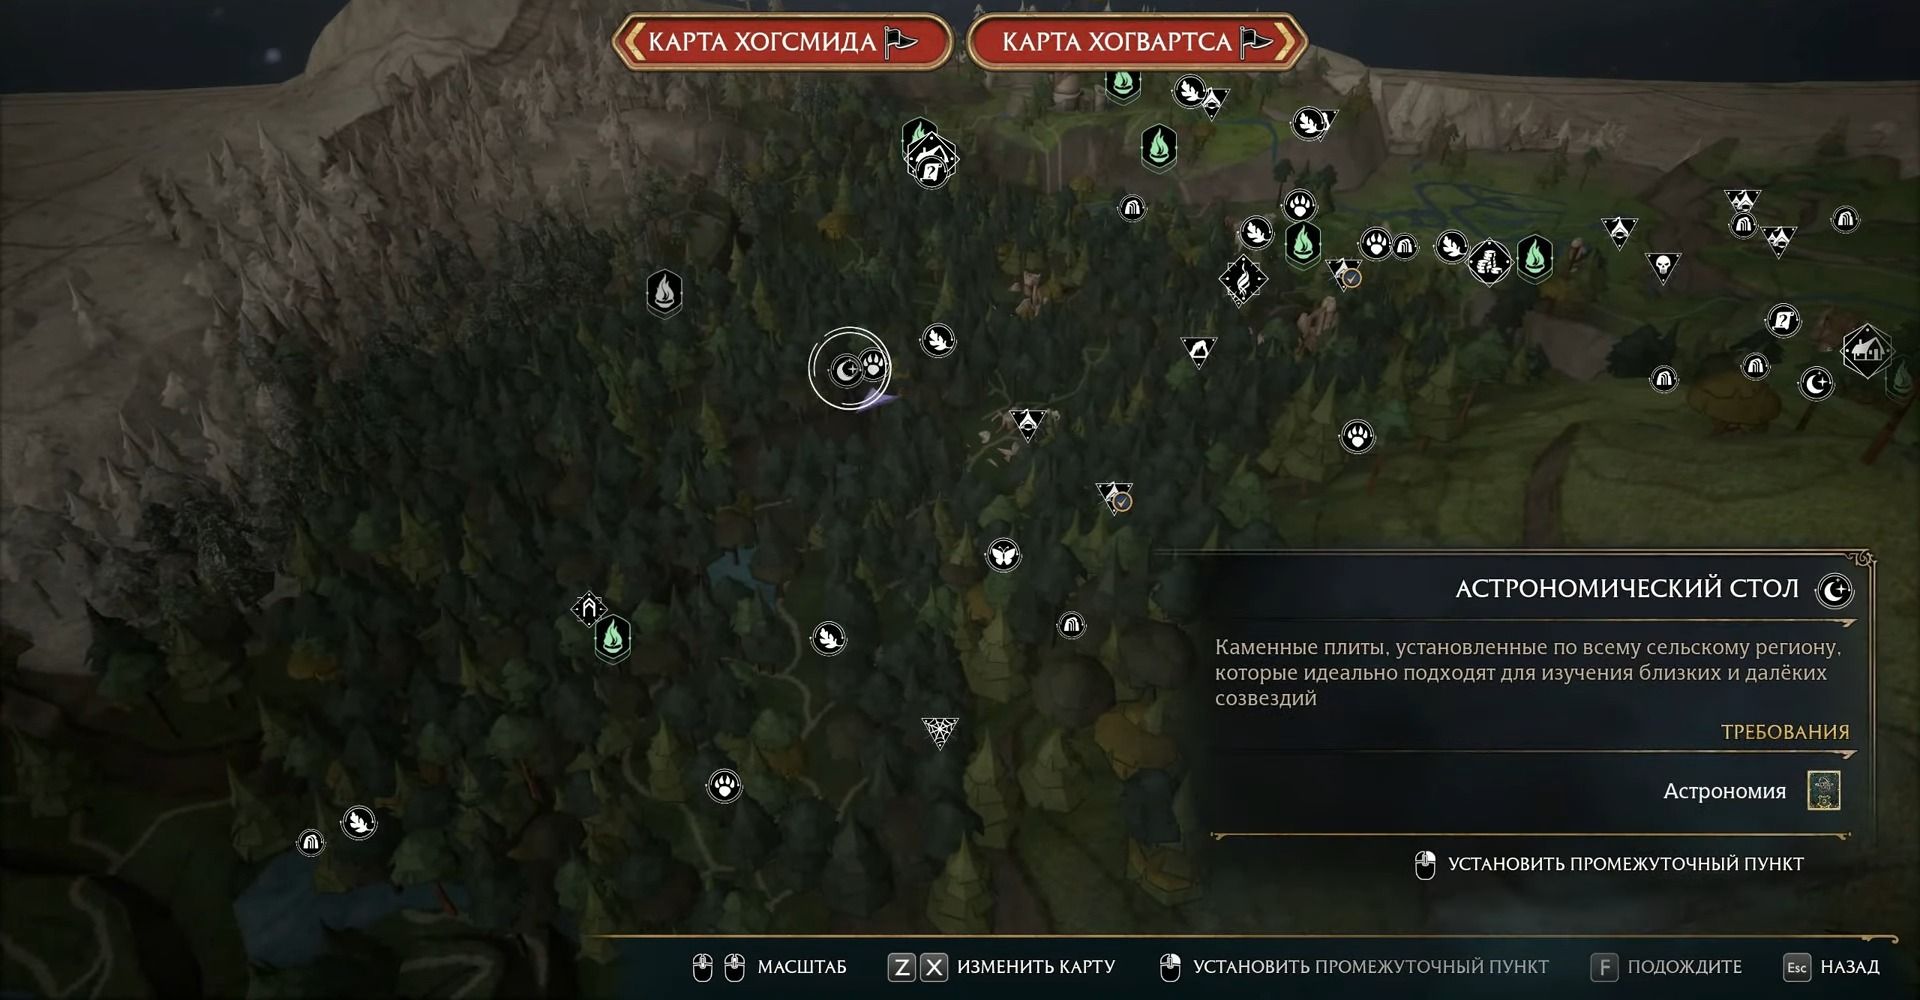
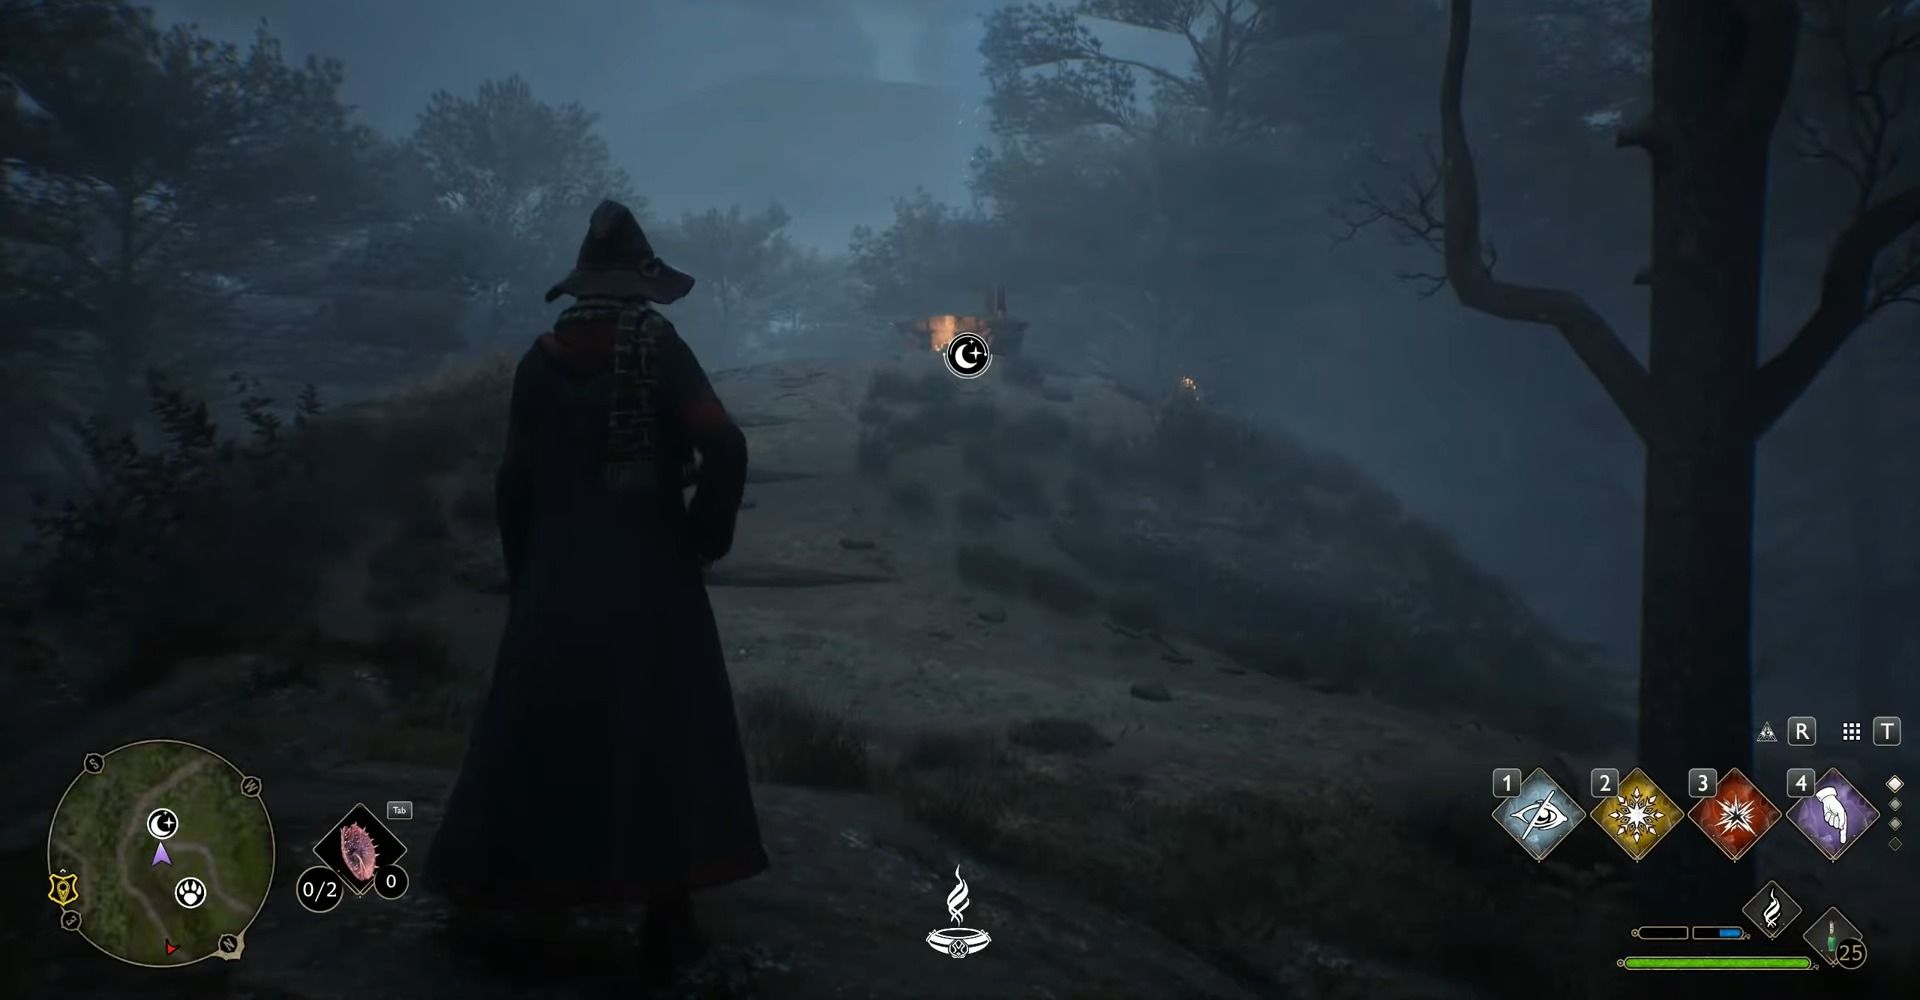
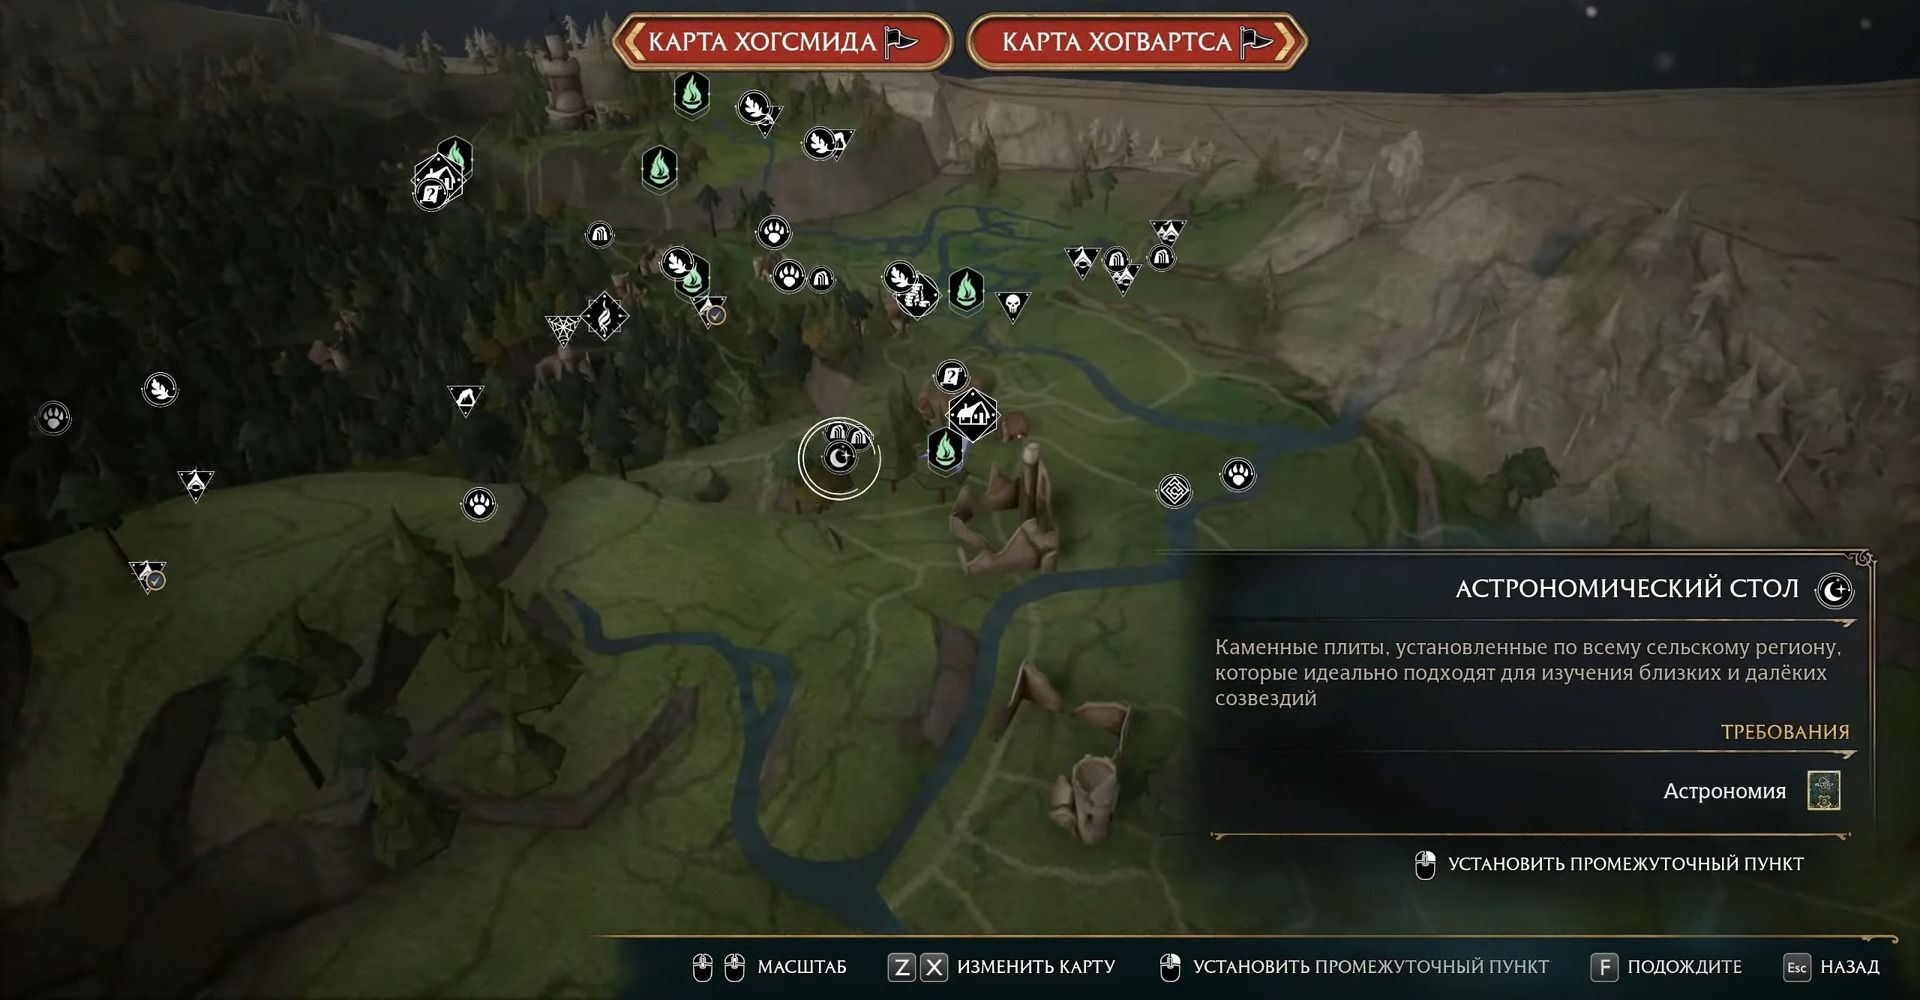
- Constellation: Dragon
- Region: Forbidden Forest
- Location: Hippogriff's Nest
One of the tables is located in the thicket of the forbidden forest. It is possible to get to this location from several nearby teleports, their location relative to the astronomical table is shown in the screenshot. The hill with the map is located near the Hippogriff's nest mark, you can take it as a guide.
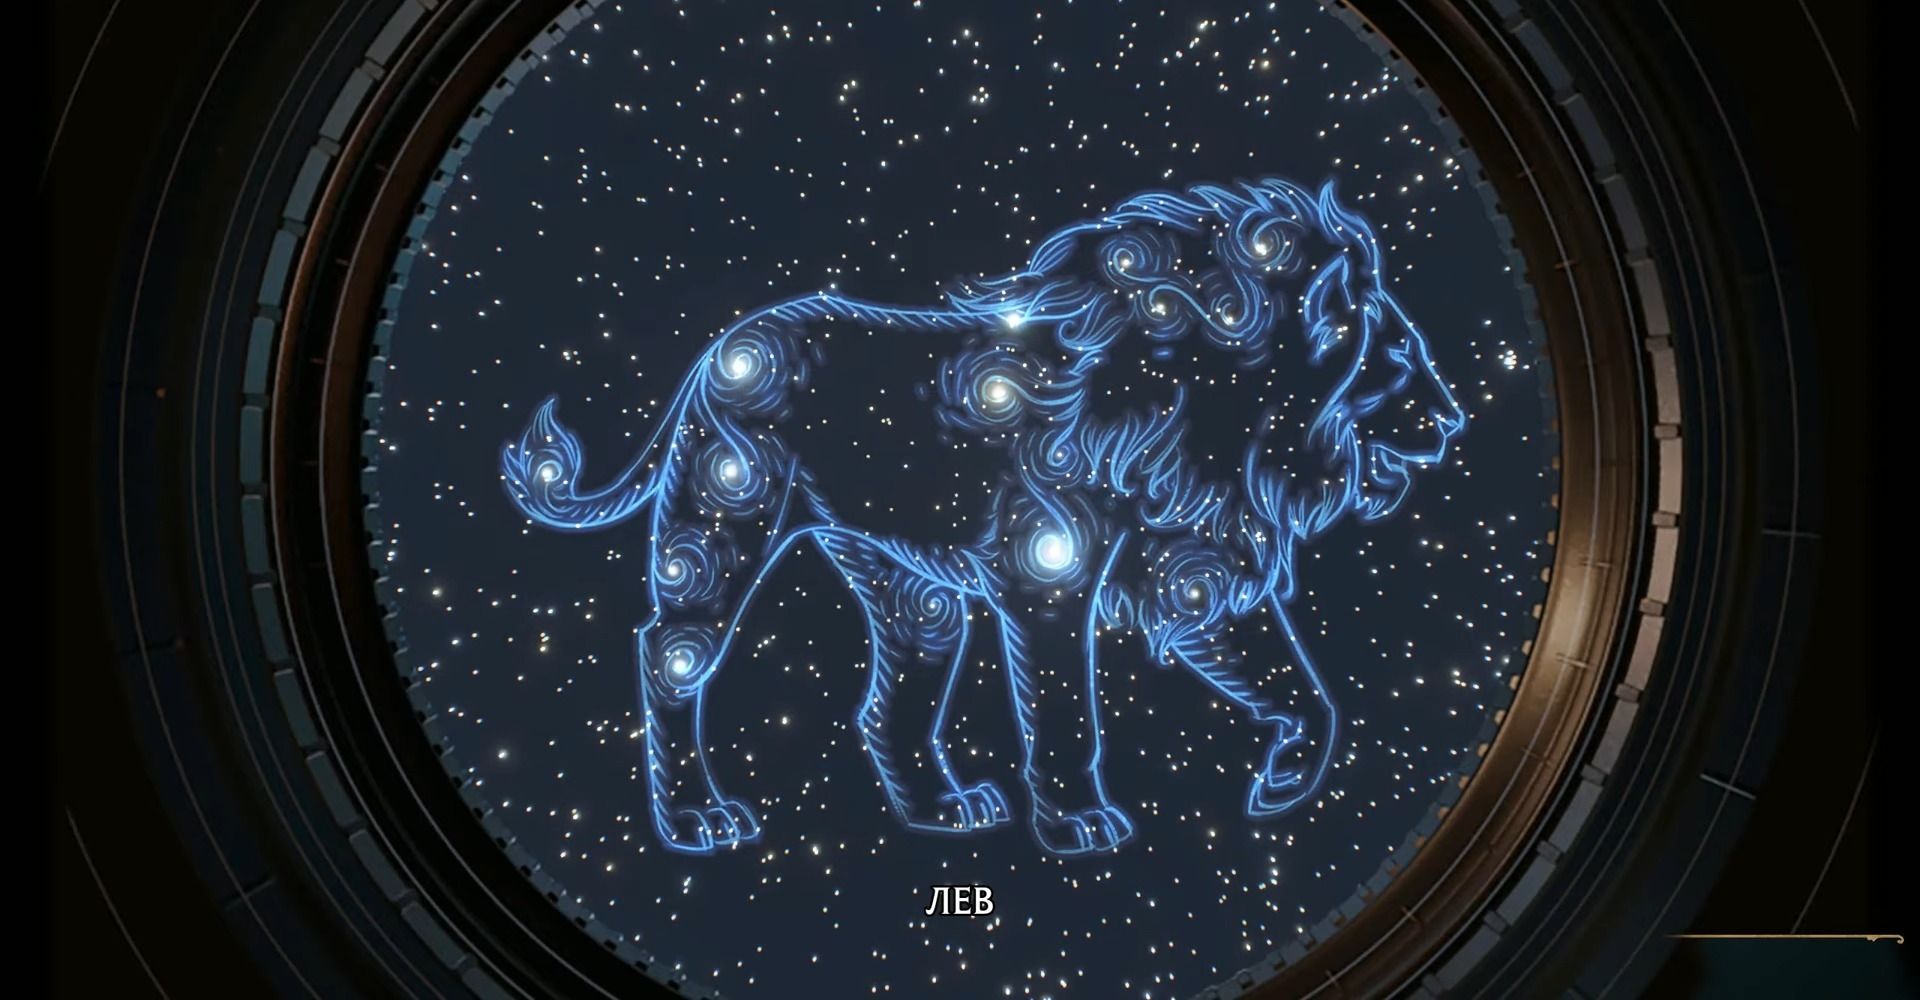
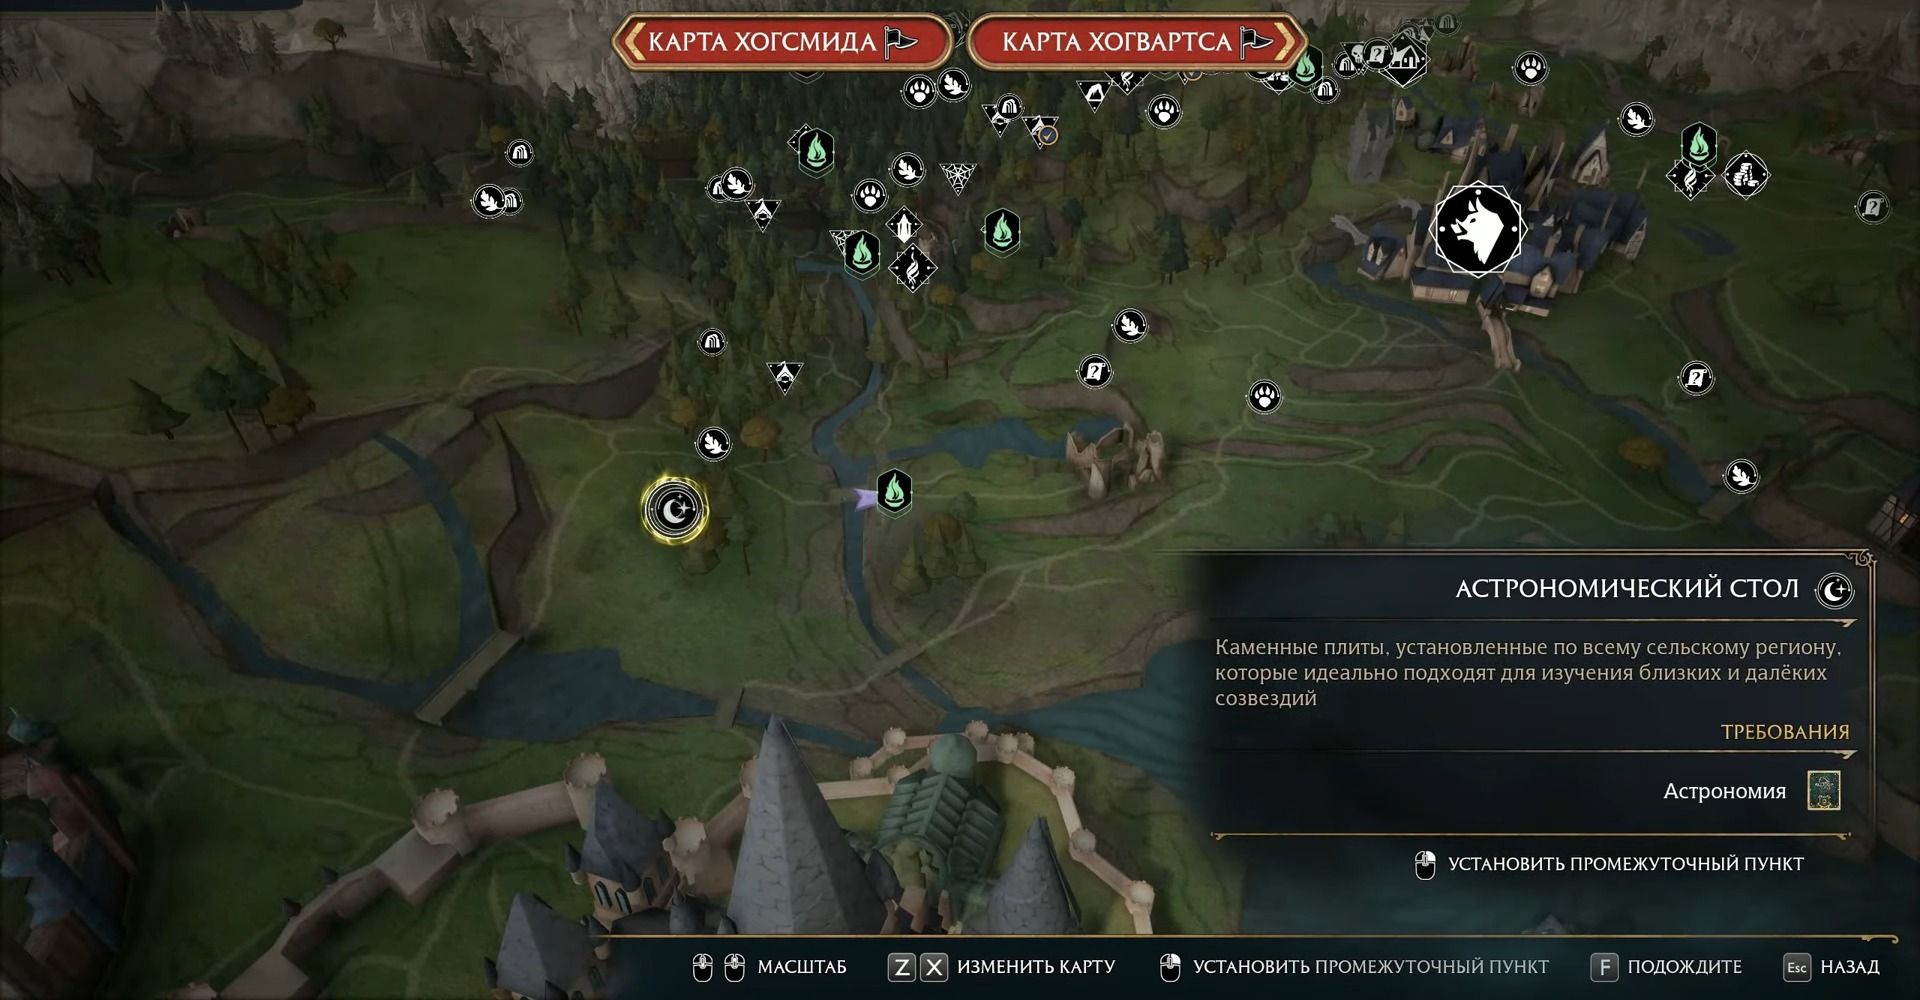
Astronomy table 4
- Constellation: Leo
- Region: Hogsmeade Valley
- Location: Upper Hogsfield
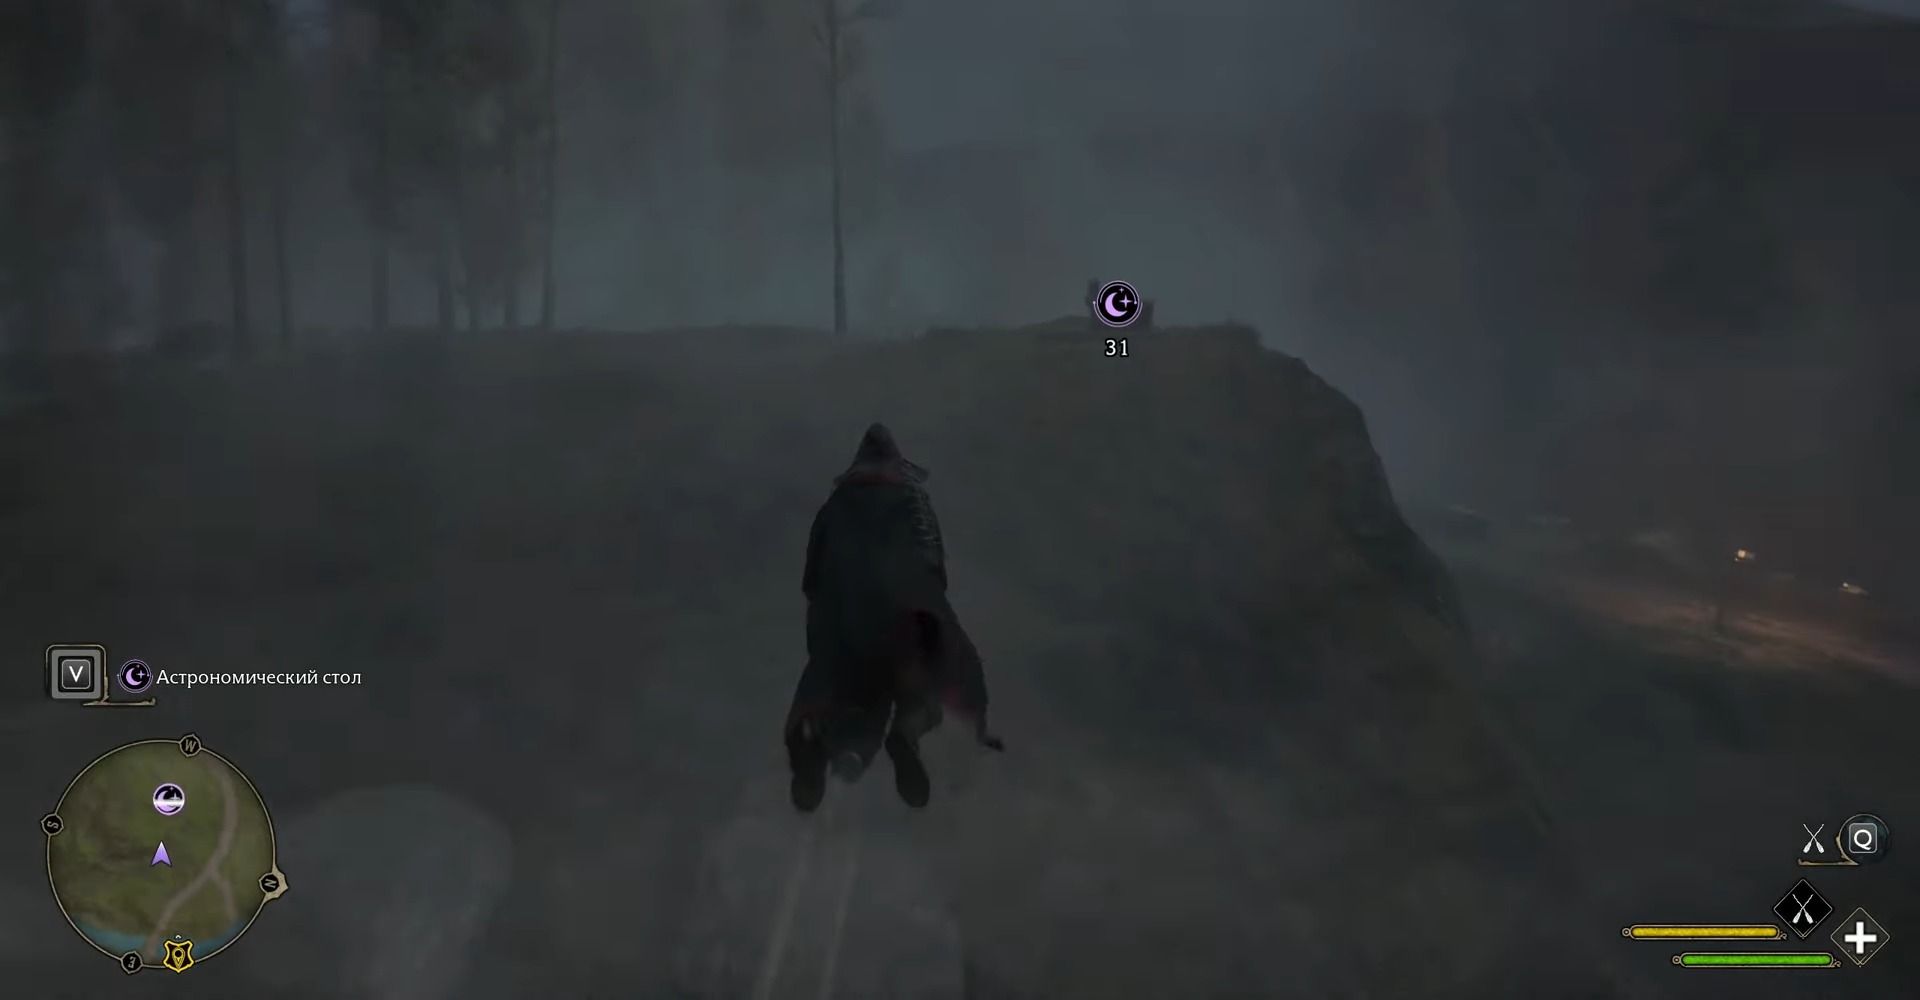
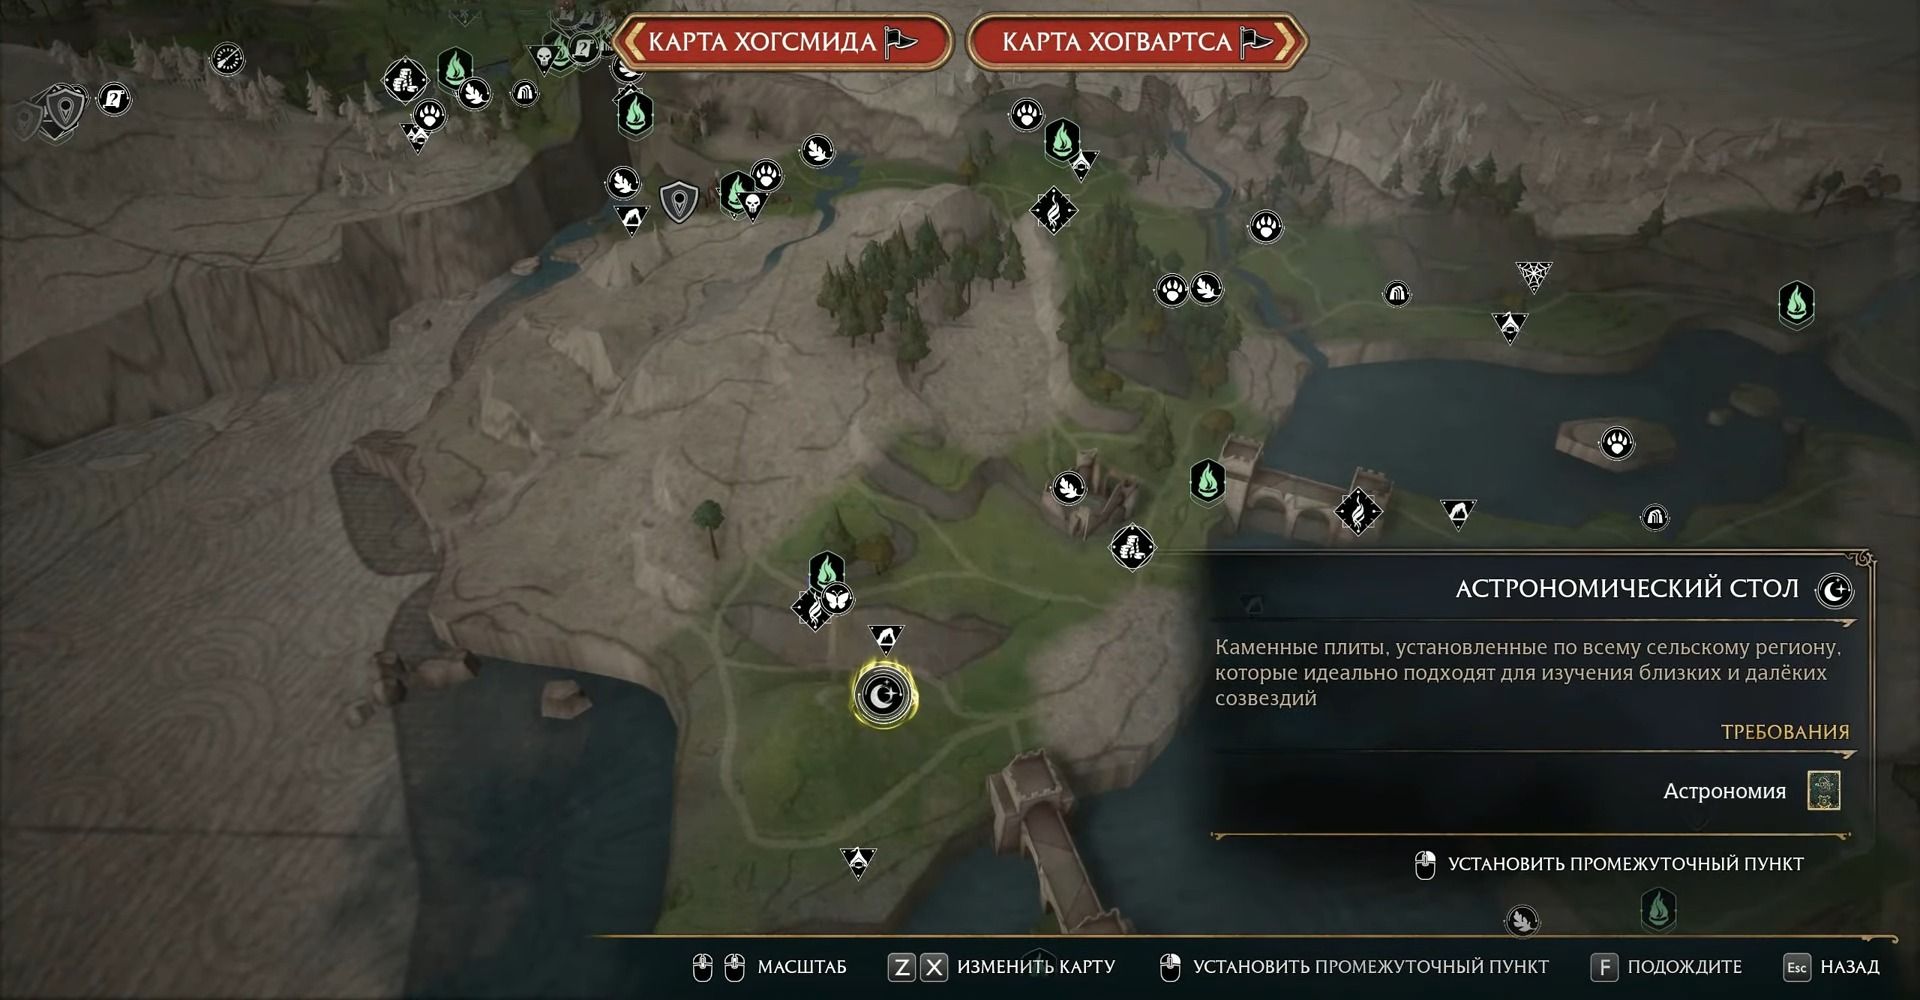
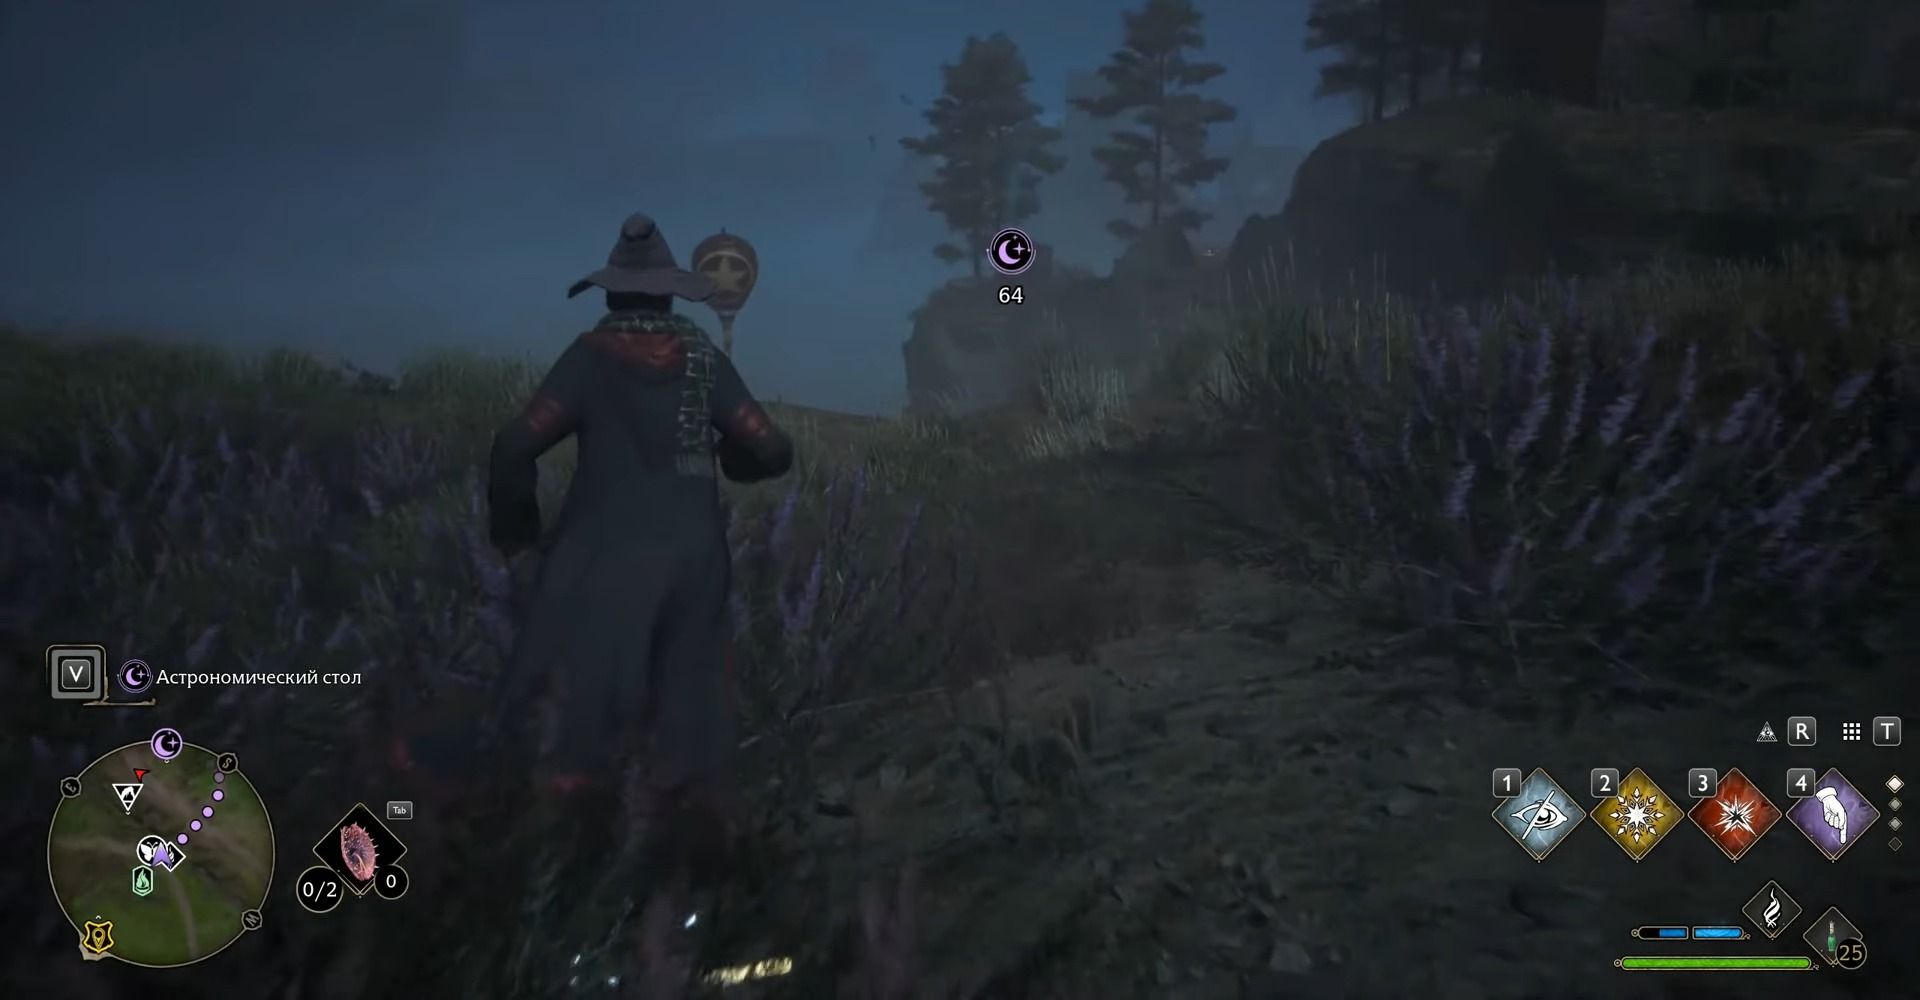
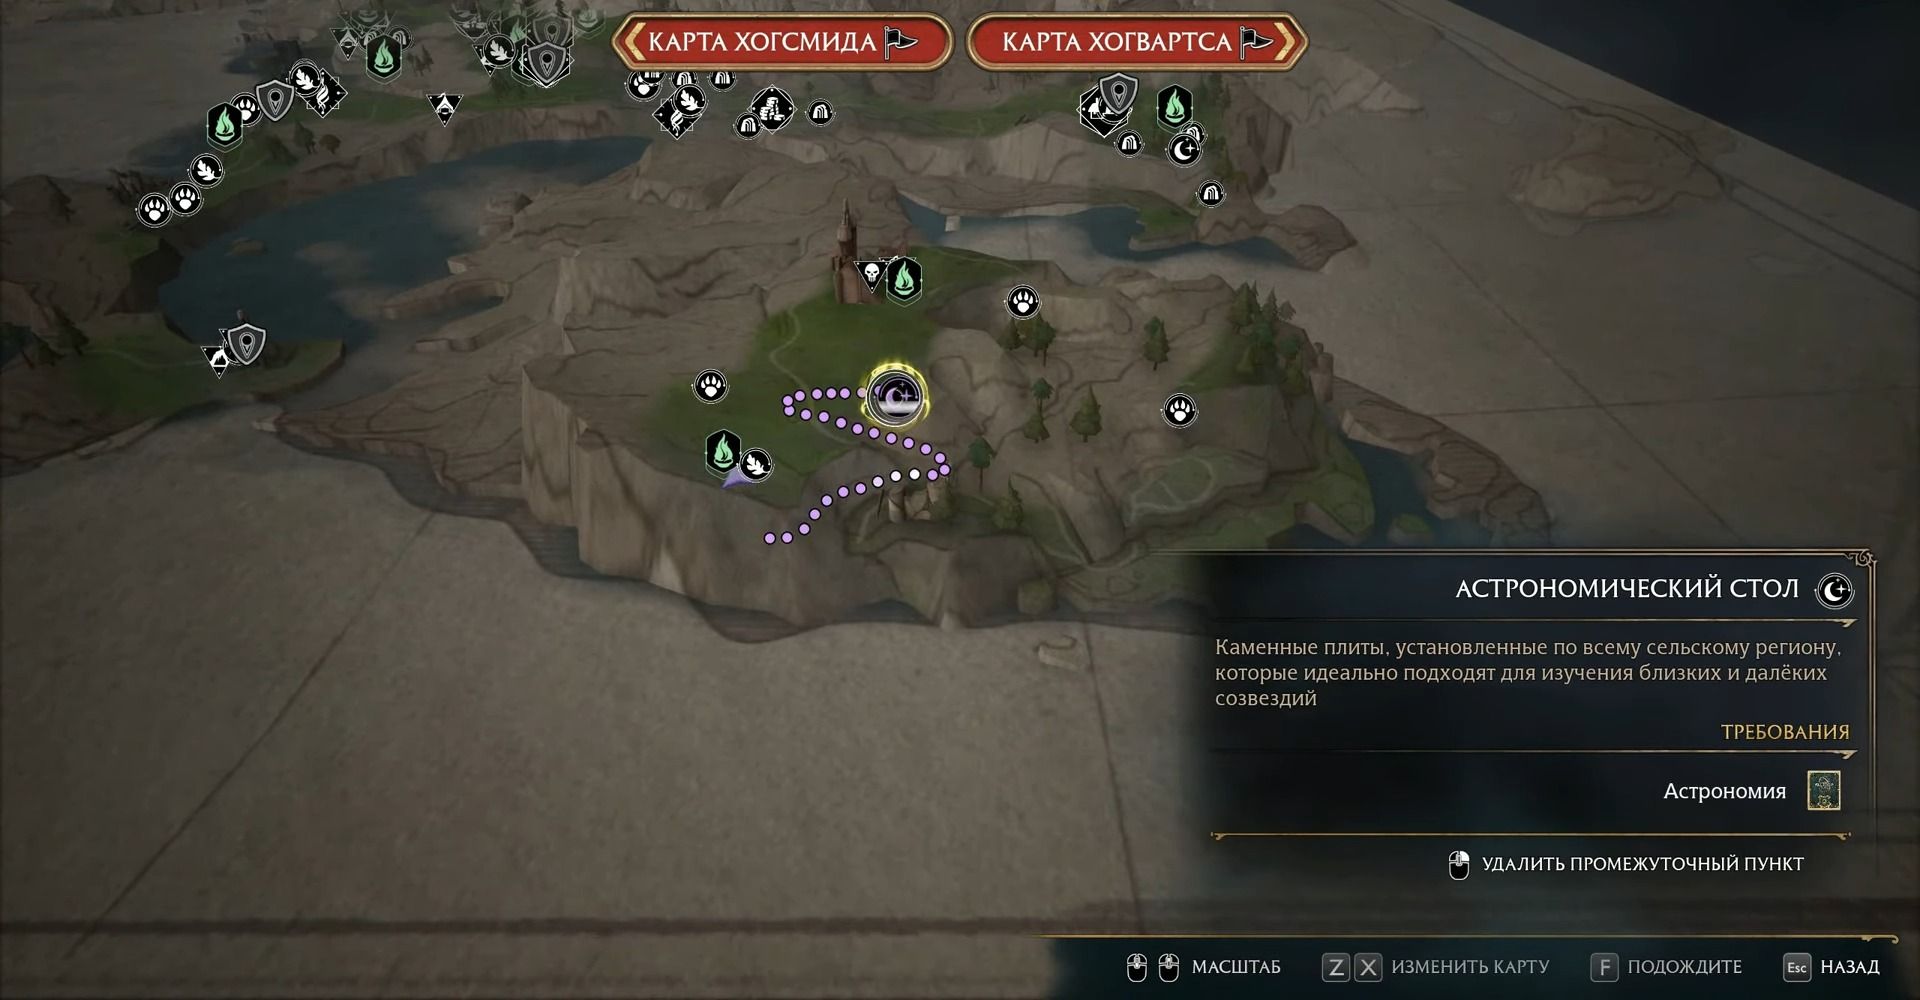
The point with the flying flame in Upper Hogsfield is closest to the next target. From it, your path lies along a gentle slope to the west, on the ledge of which the next puzzle will appear. For convenience, we recommend that you select this and other targets for tracking on the map, so you can easily find them using the compass.

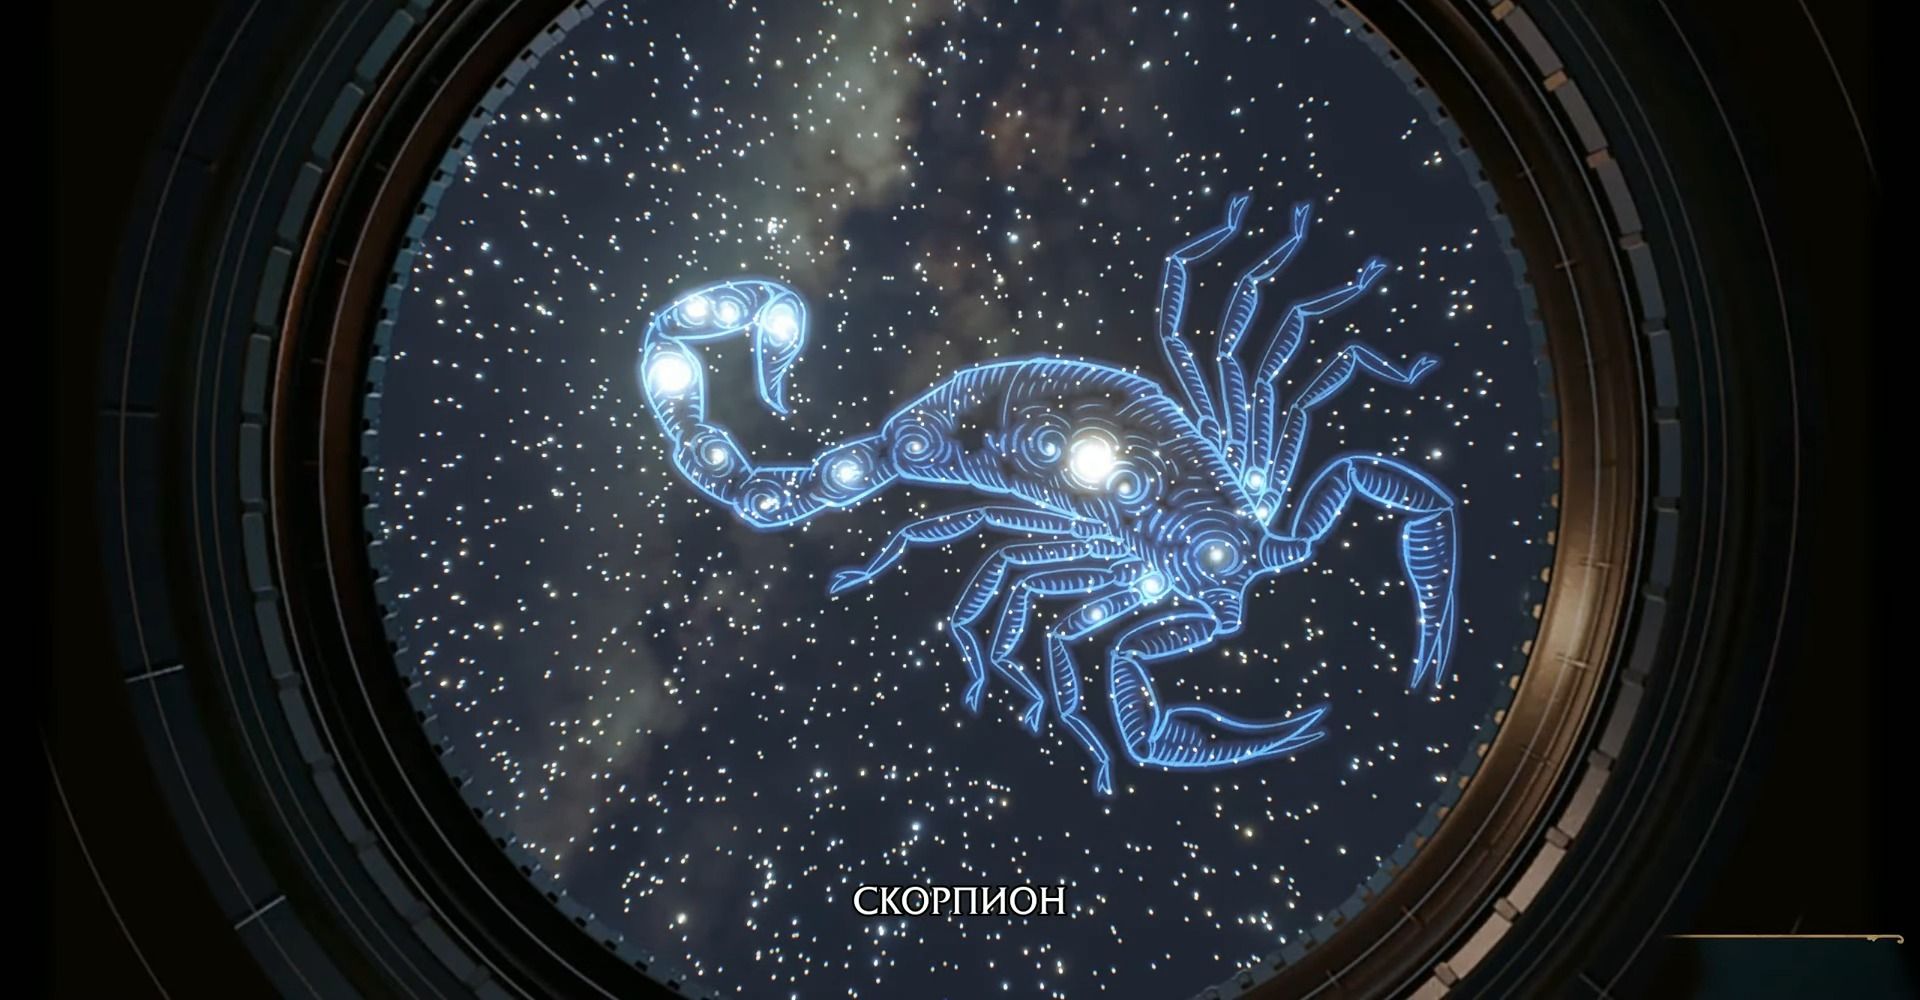
Astronomy table 5
- Constellation: Scorpio
- Region: South Hogwarts
- Location: Forbidden Forest
South of the Forbidden Forest is another mystery from our list. Like other similar places, this area is located in the open air, from where it is convenient to watch the stars. You will easily notice it if you fly west from the teleportation point of this location.
Astronomy table 6
- Constellation: Phoenix
- Region: Hogwarts
- Location: Library Annex (outside)
This point of our route is distinguished by the fact that it is very close to Hogwarts itself. The easiest way to get there is if you fly along the southern wall from the very gate, very soon you will find yourself next to the mark of the astronomical table. If suddenly you experience difficulties in searching, we additionally marked this place on the map.


Astronomy table 7
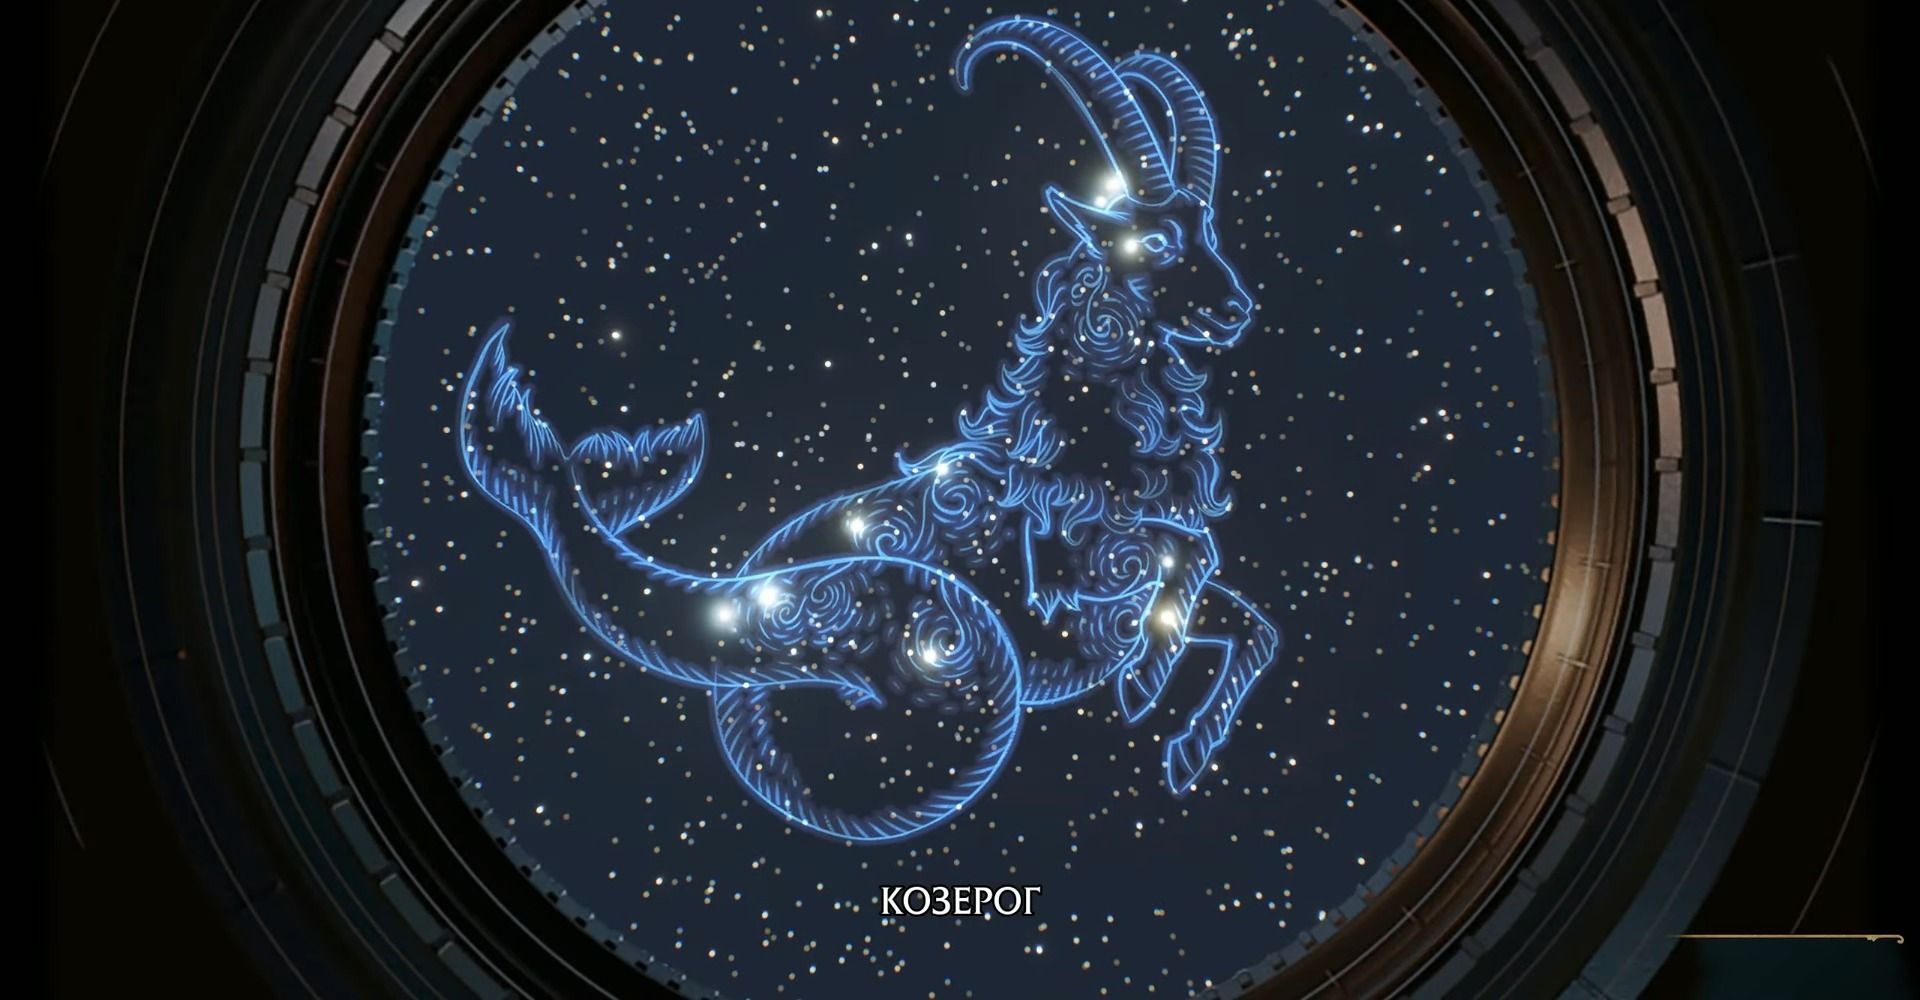
- Constellation: Capricorn
- Region: Hogwarts Valley
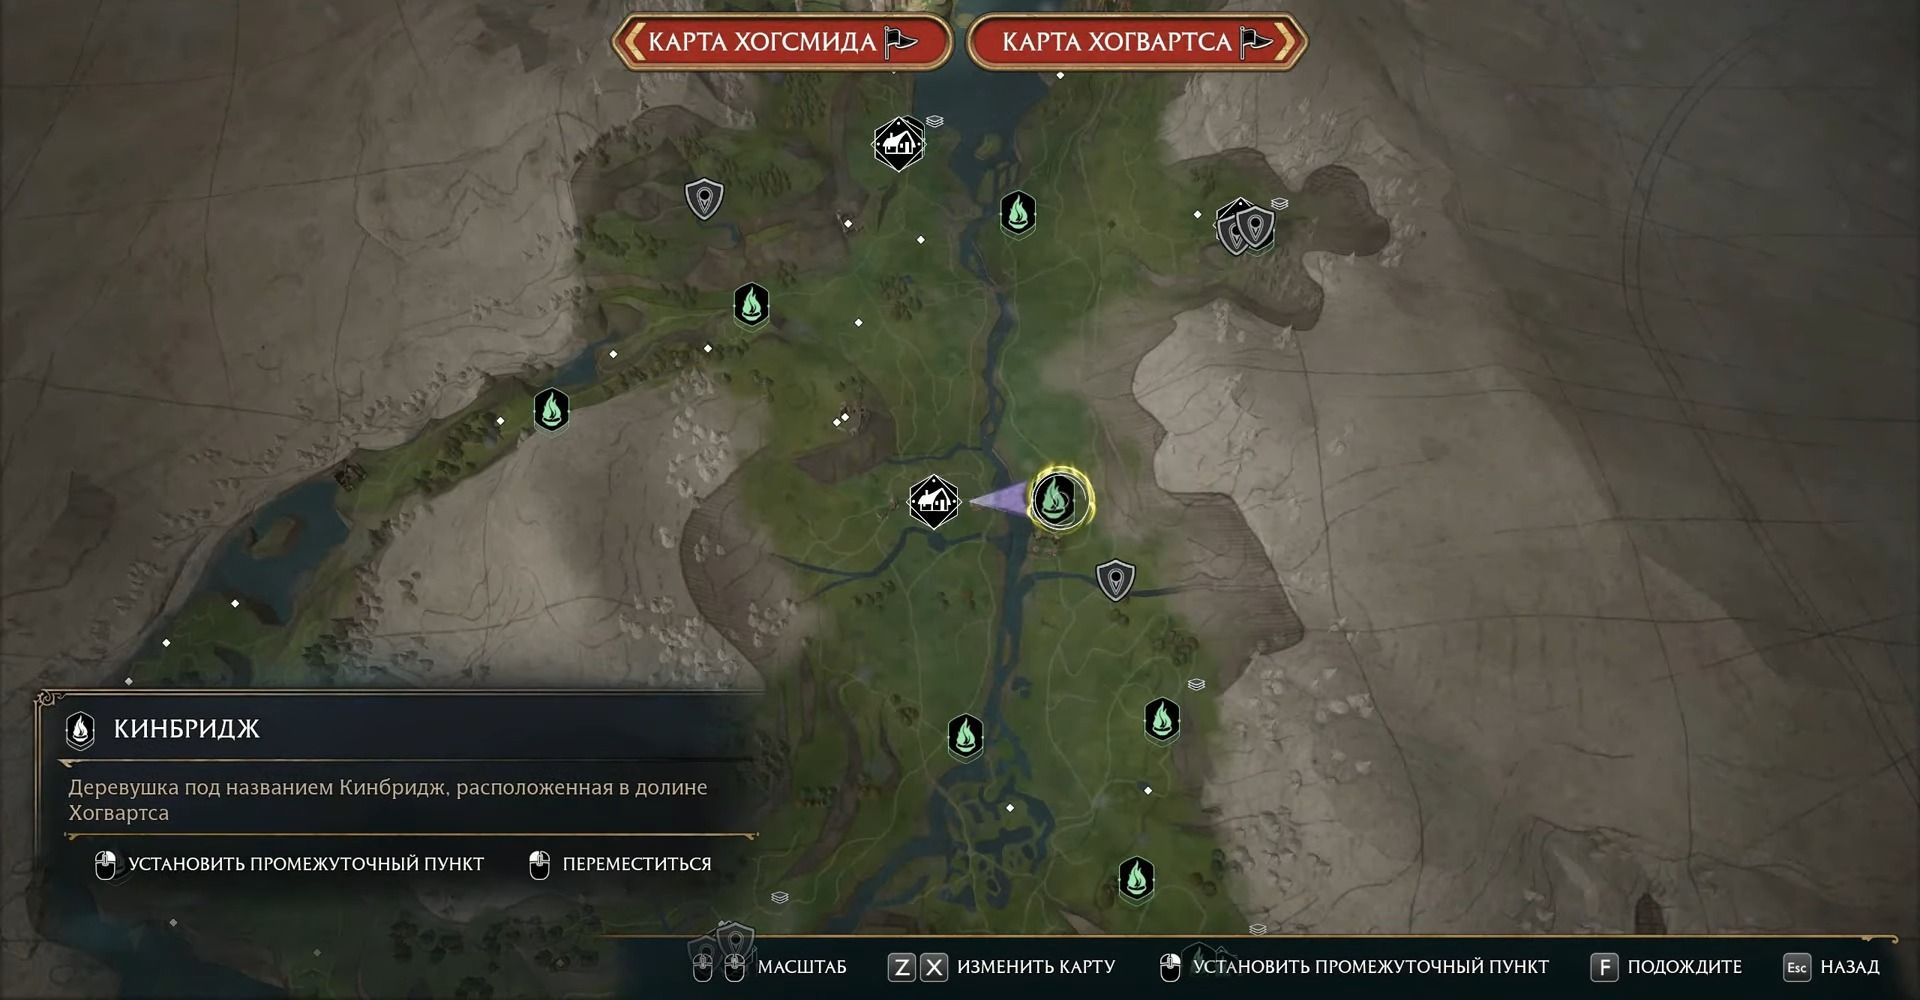
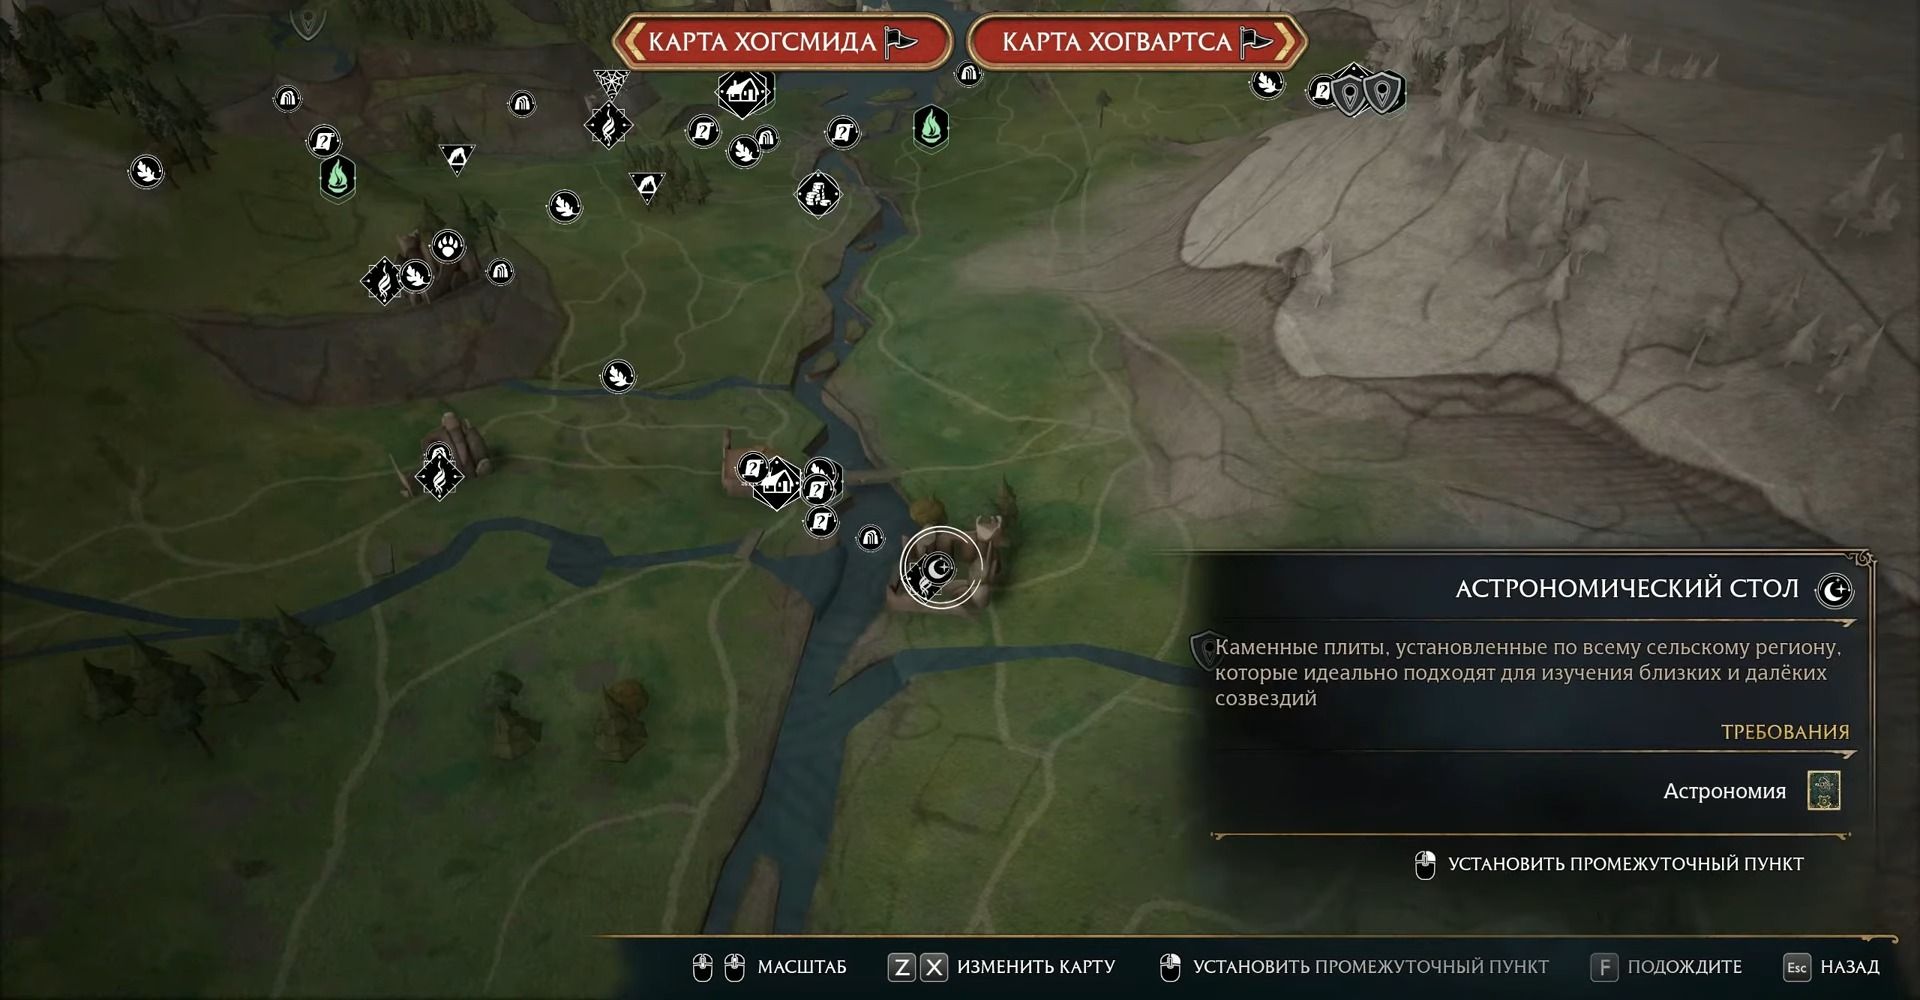
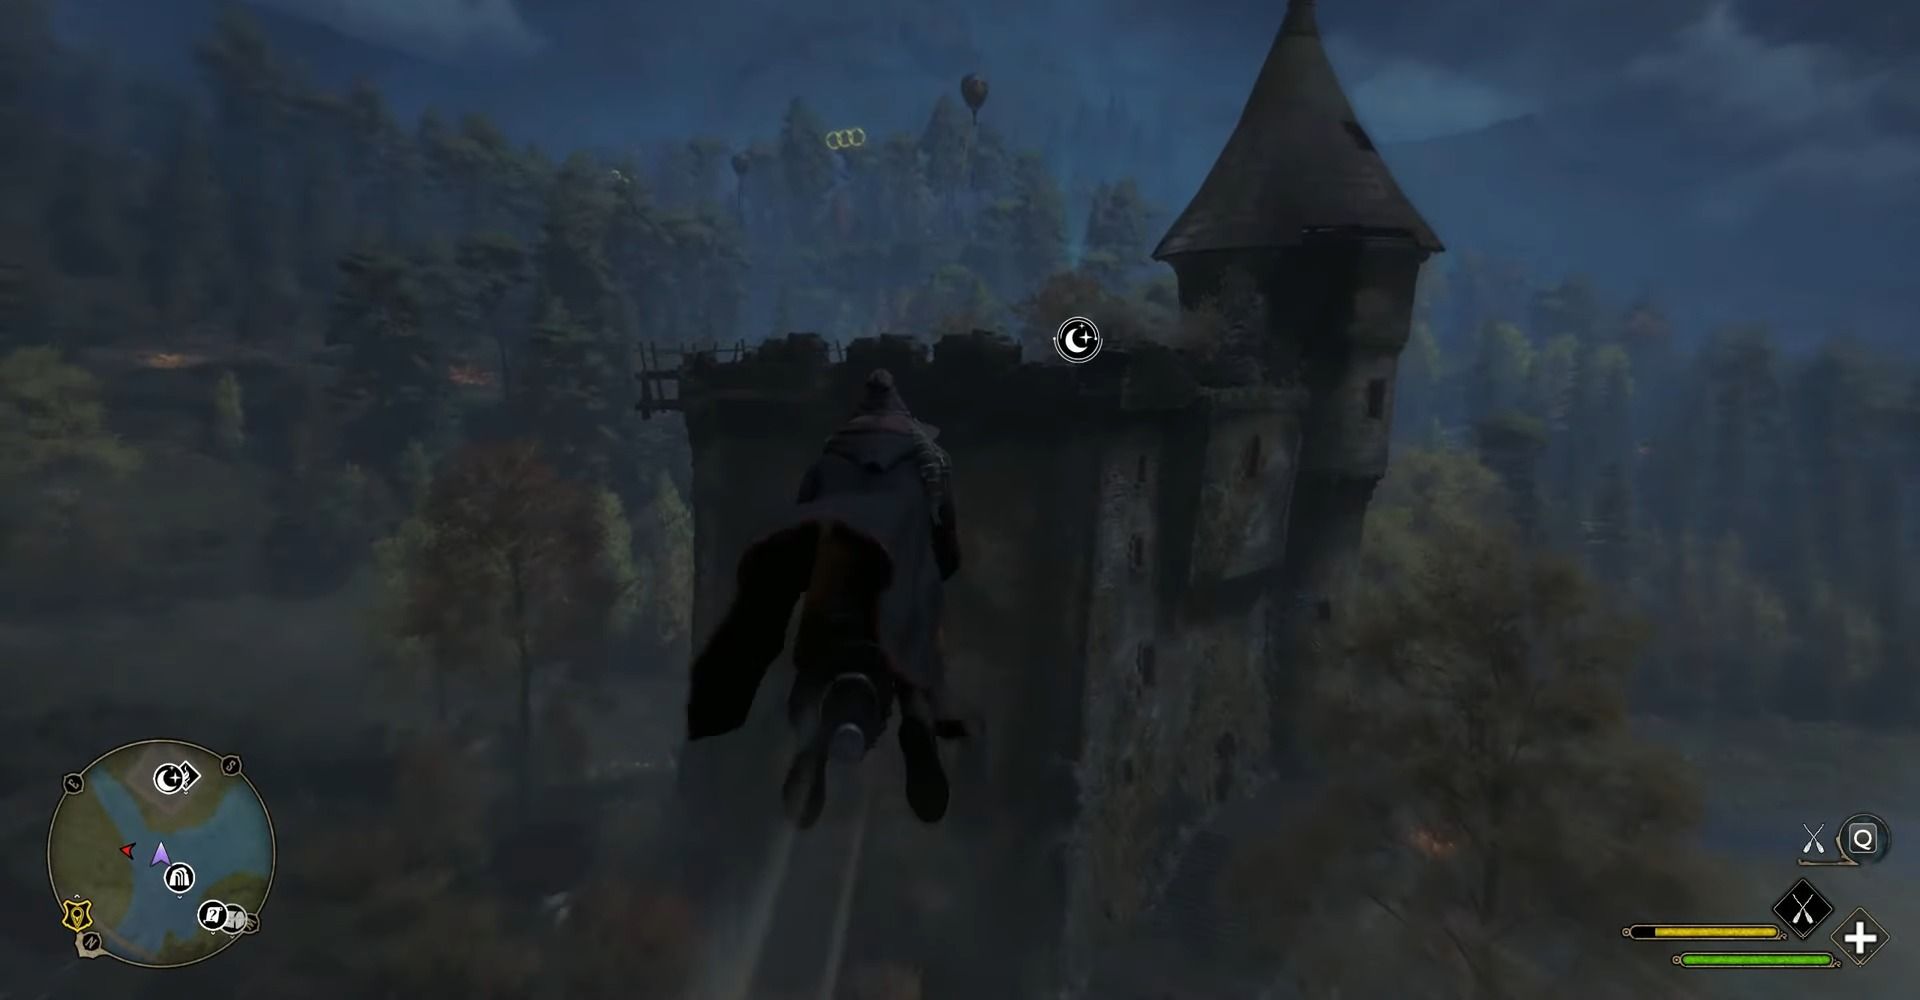
- Location: Kinbridge
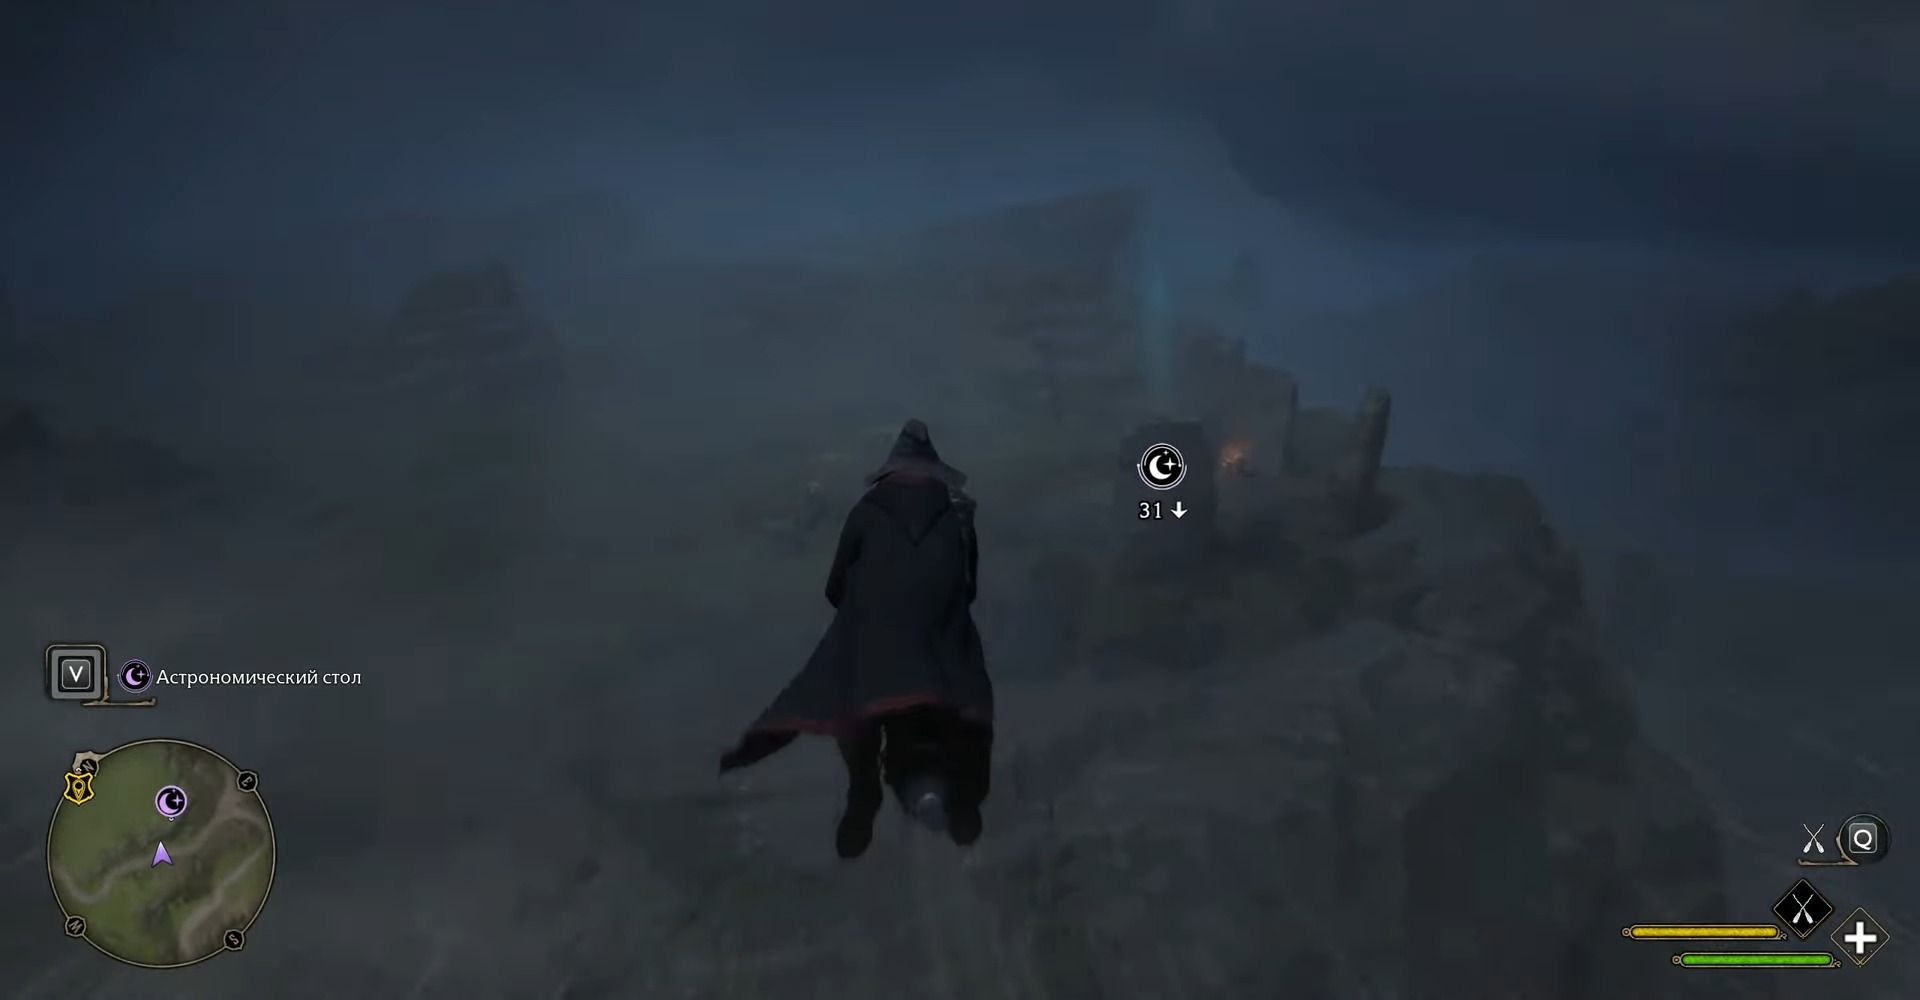
The top of a dilapidated fortress near Kinbridge allows you to enjoy a view of the local surroundings, but more importantly, here you can solve another mystery using a telescope. It is enough to find the tallest building in the area or use our screenshot, and you will easily find this beautiful place.
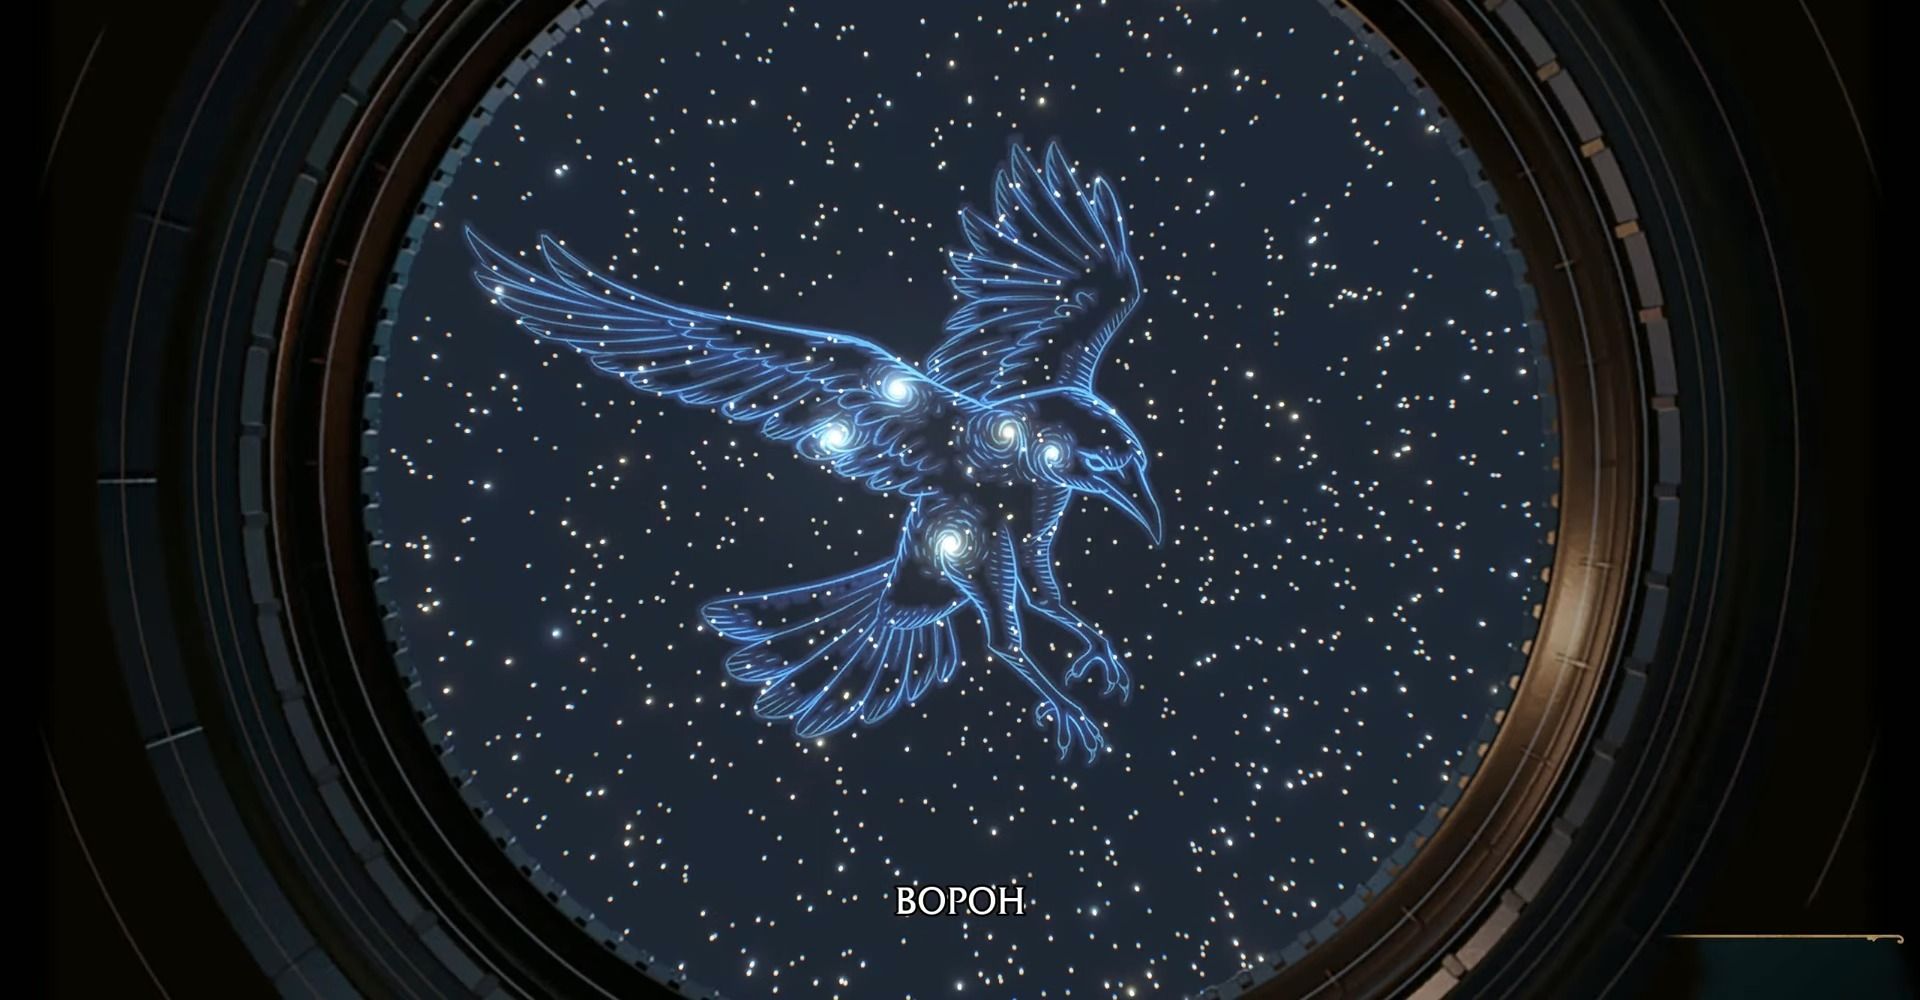
Astronomy table 8
- Constellation: Raven
- Region: Hogwarts Valley
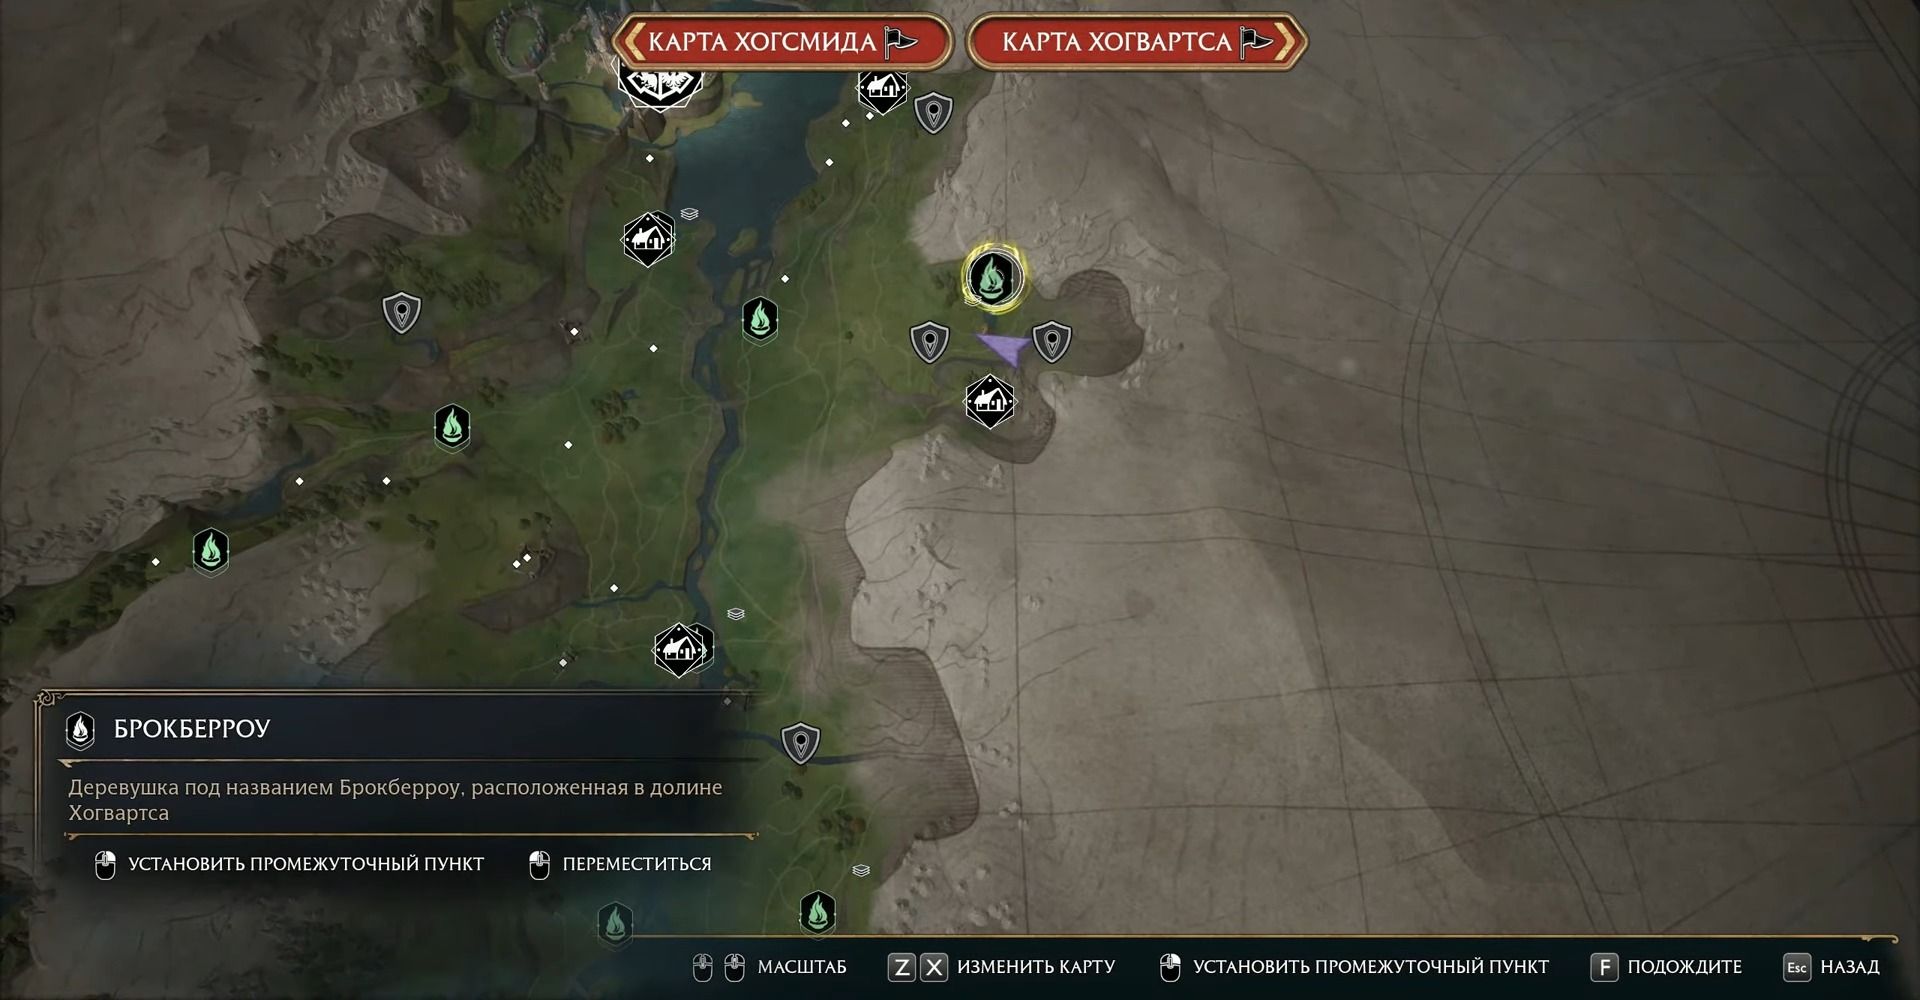
- Location: Brockburrow
From the Brockburrow travel point, climb up and head south. The forested cliff hides, in addition to the new map of the constellation, several wolves prowling nearby. Most likely, you will have to deal with them before admiring the stellar figures.
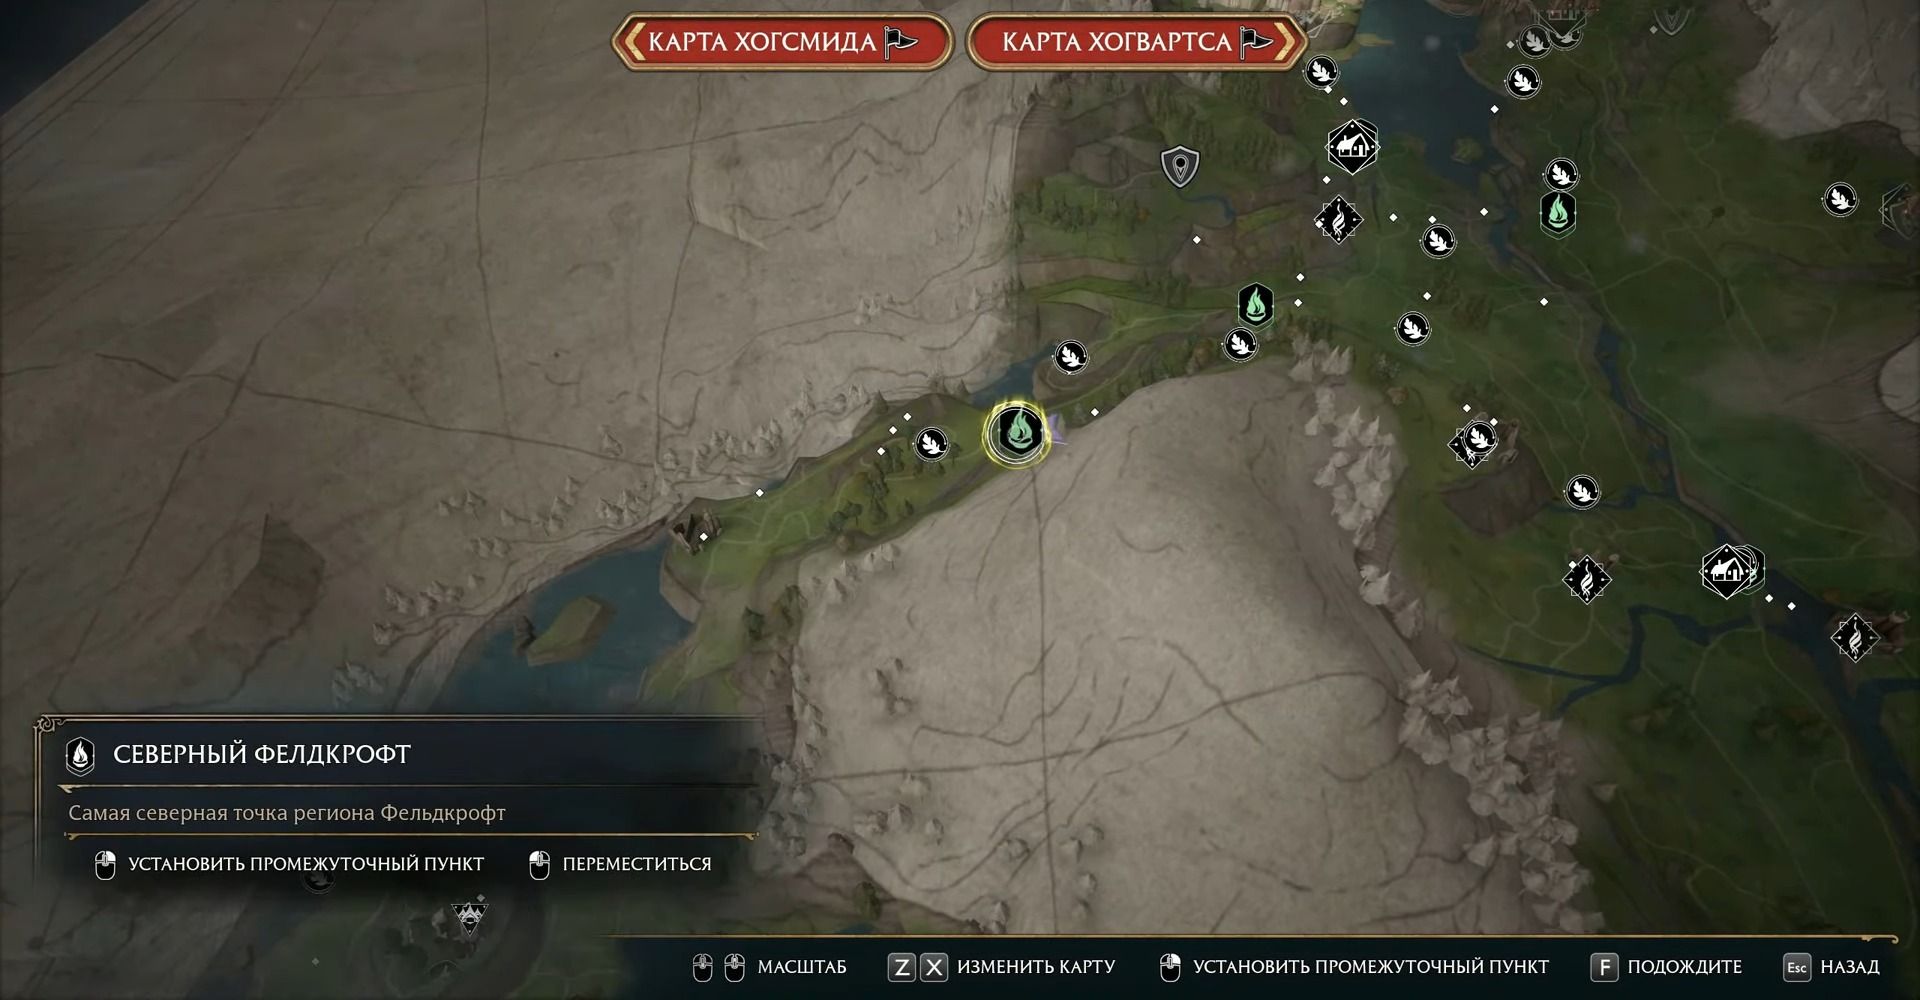
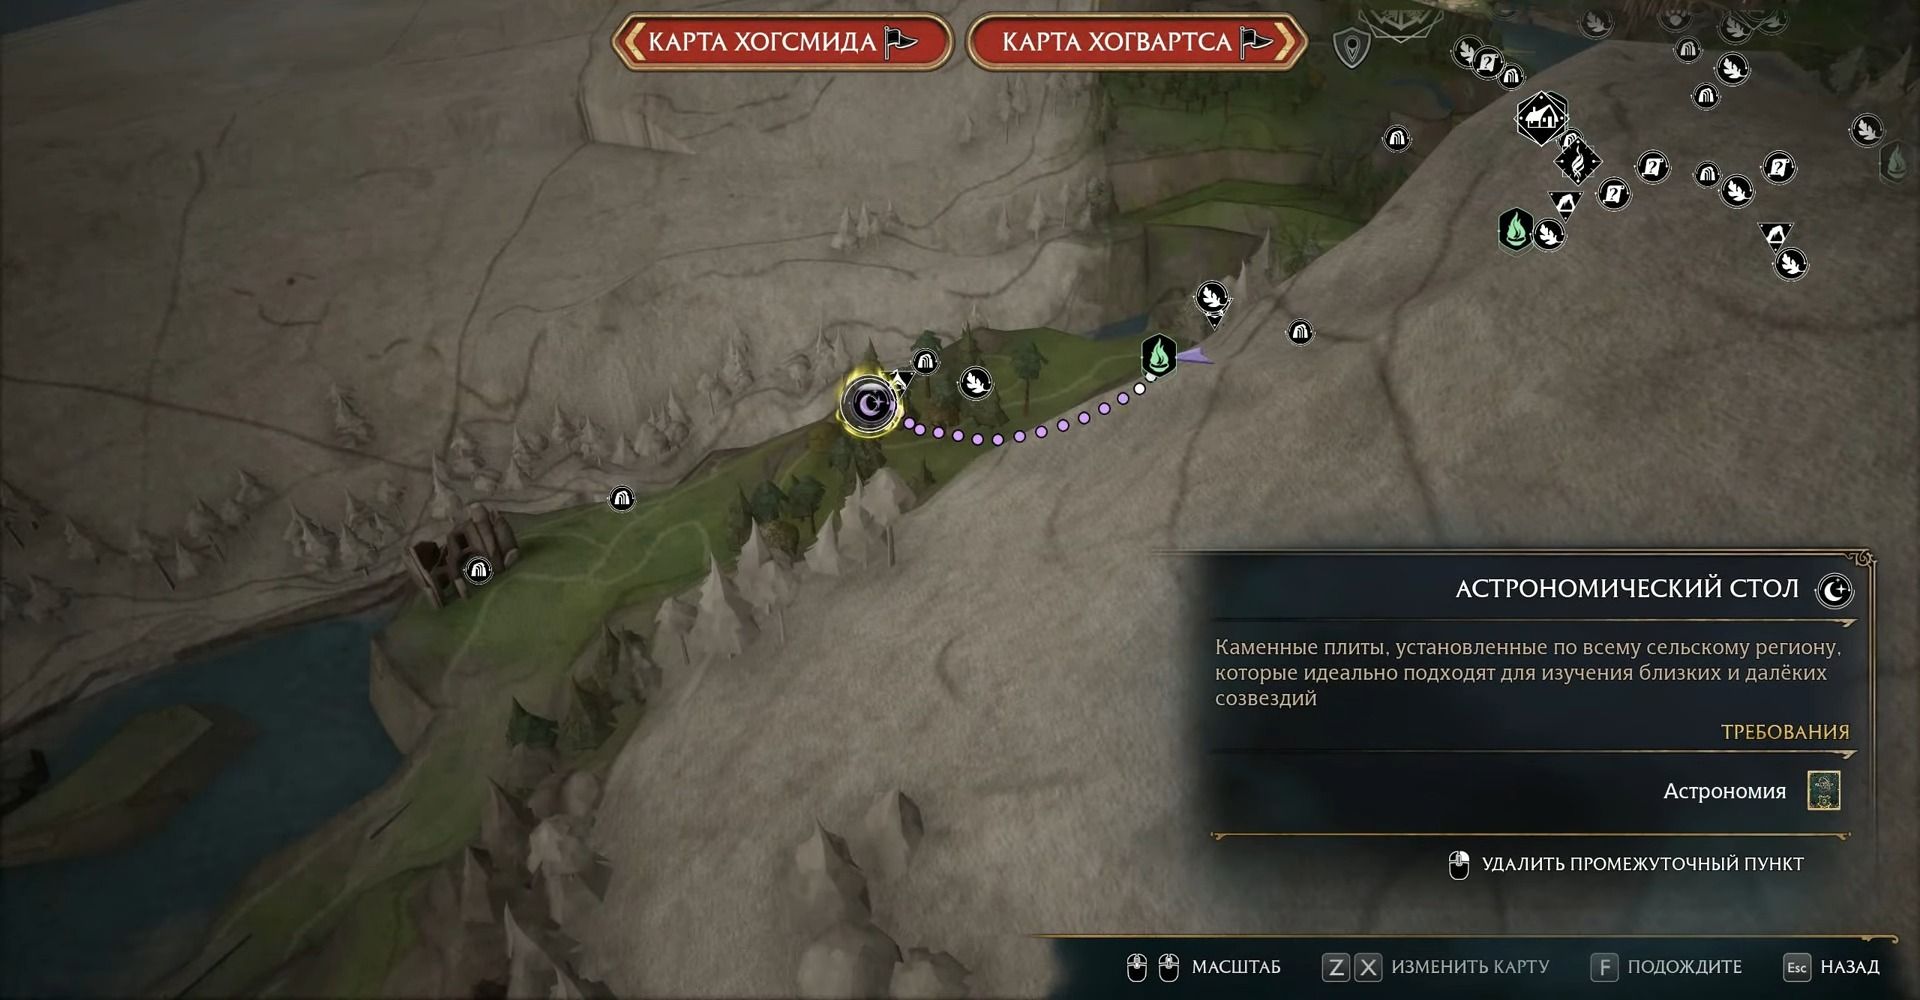
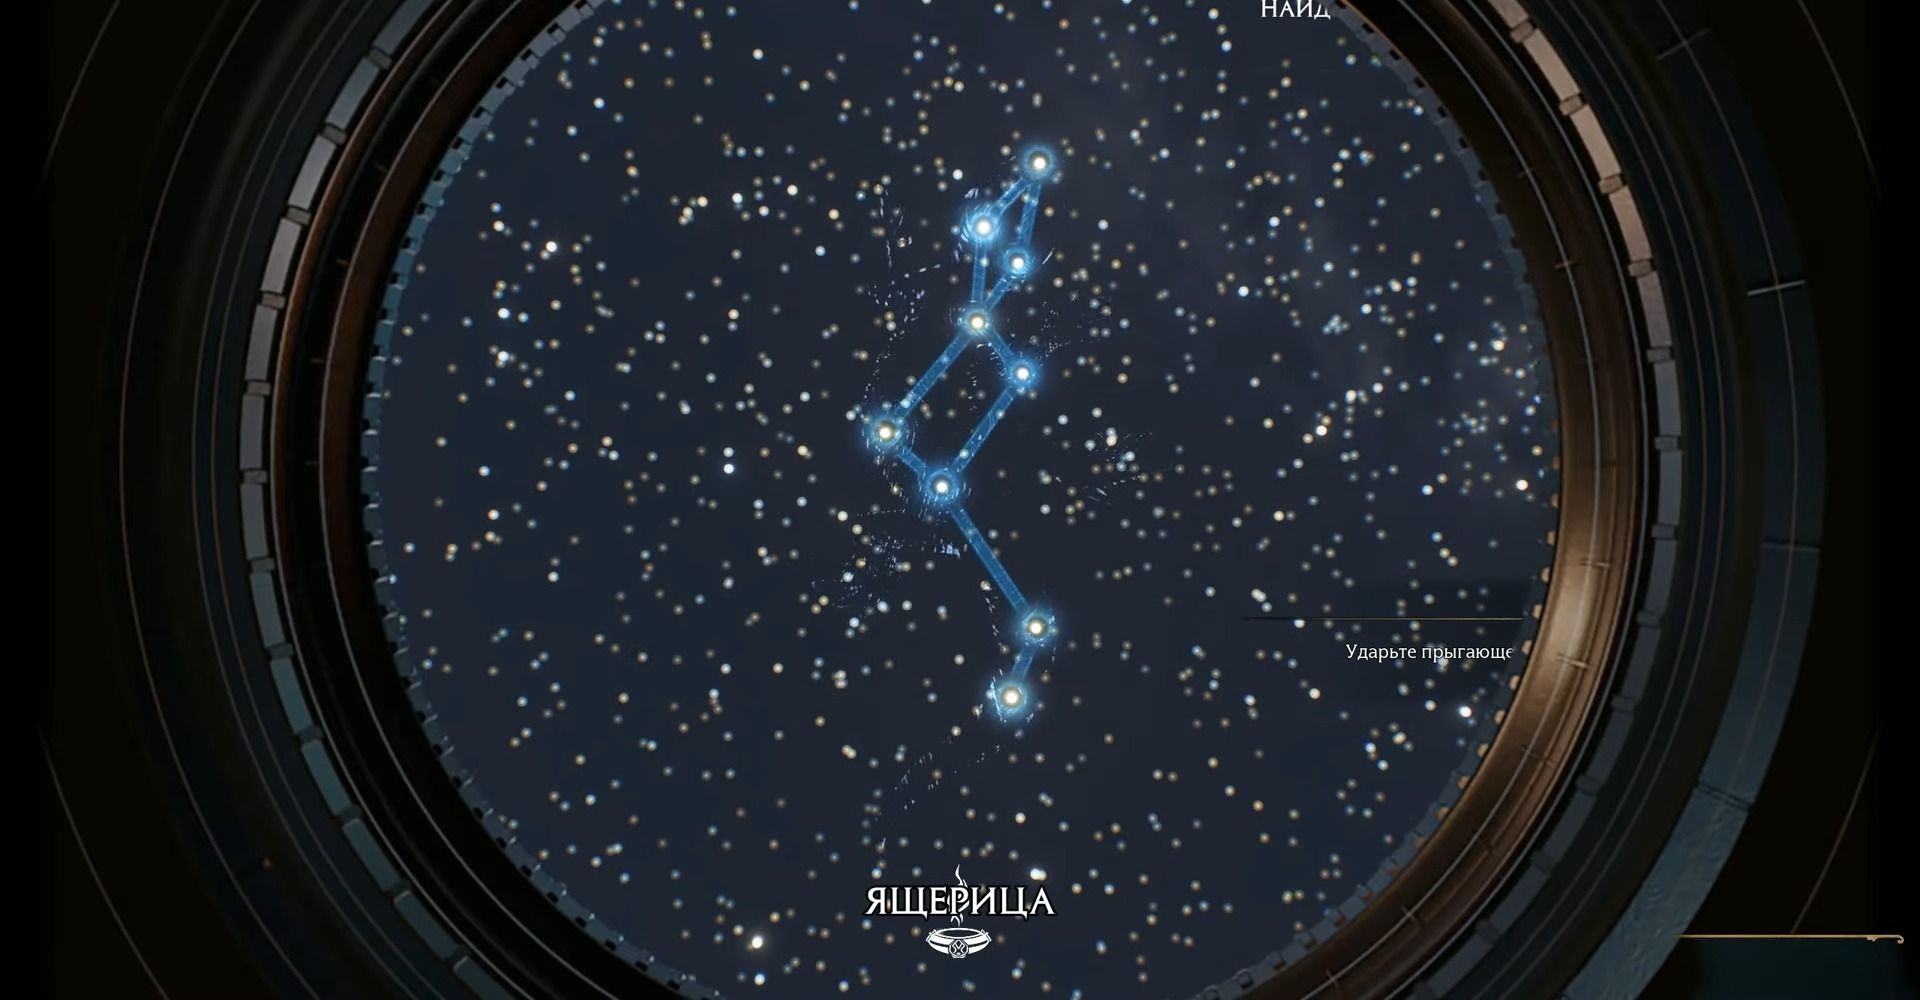
Astronomy table 9
- Constellation: Lizard
- Region: Feldcroft Region
- Location: North Feldcroft
The easiest way to get here is to use the North Feldcroft travel point and head down the southern road. Of course, you can also use a broom.

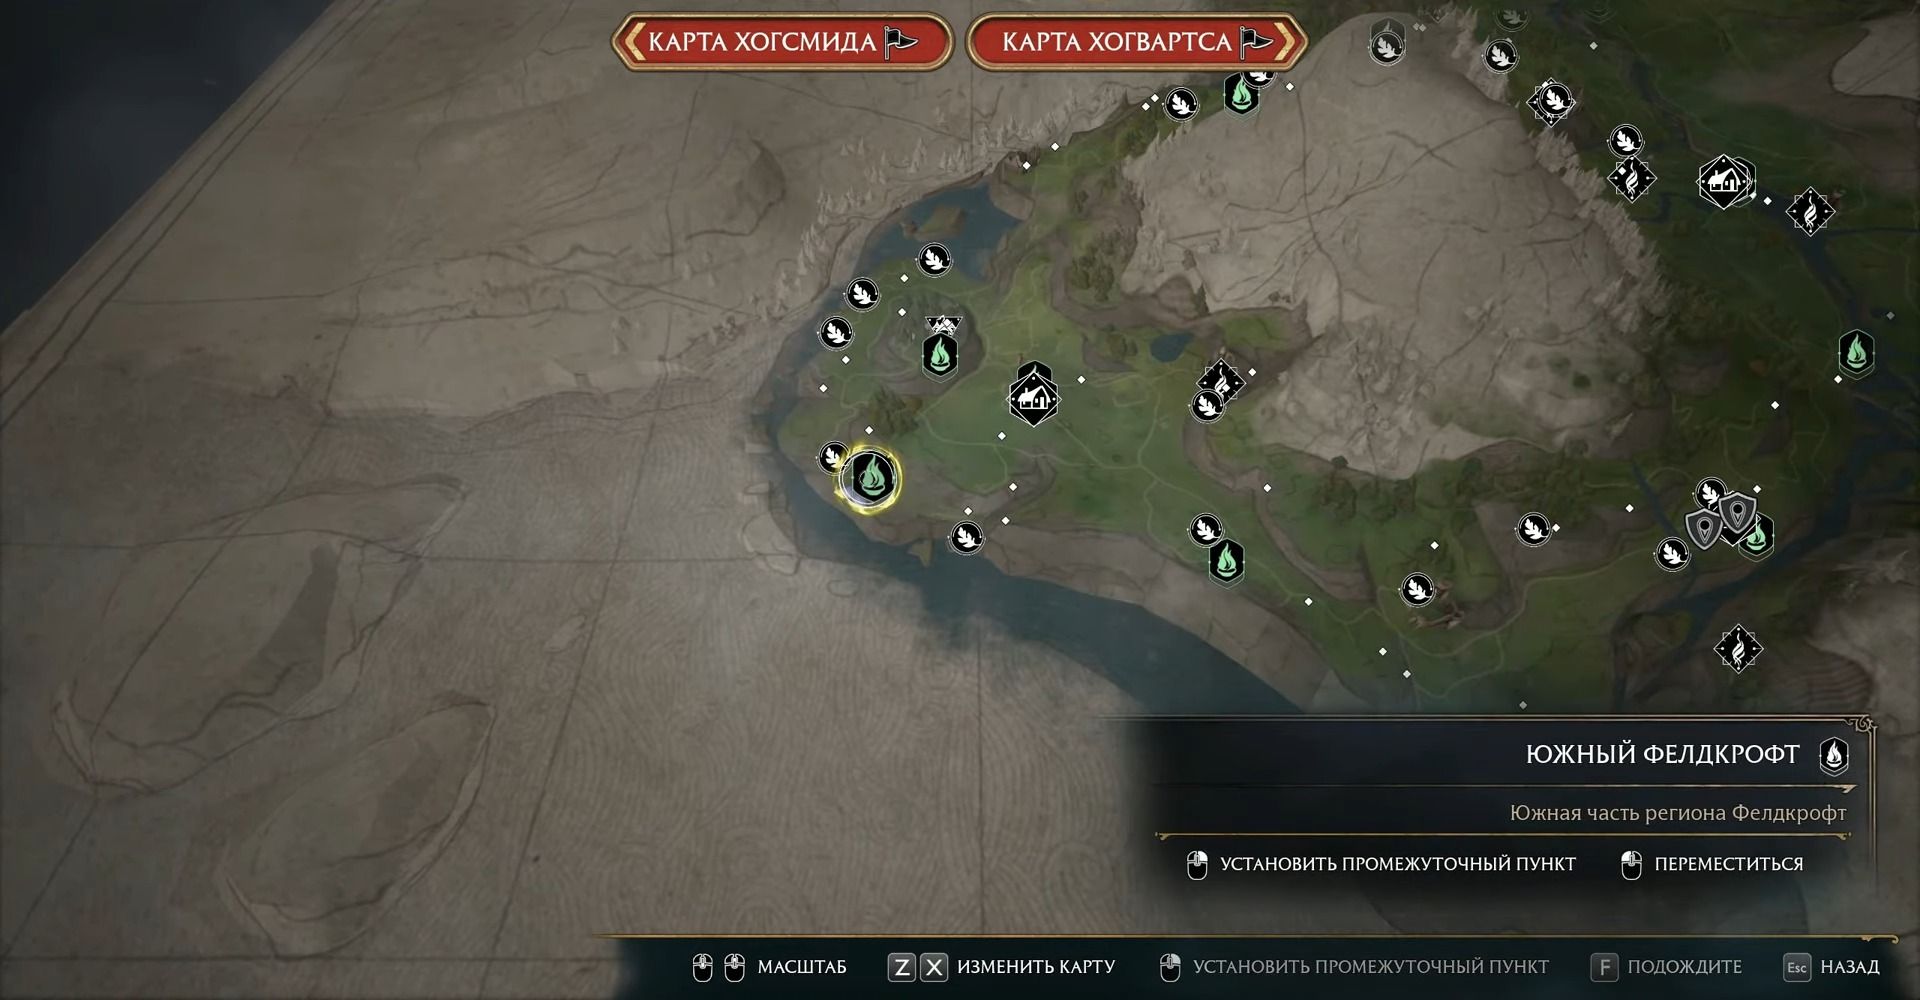
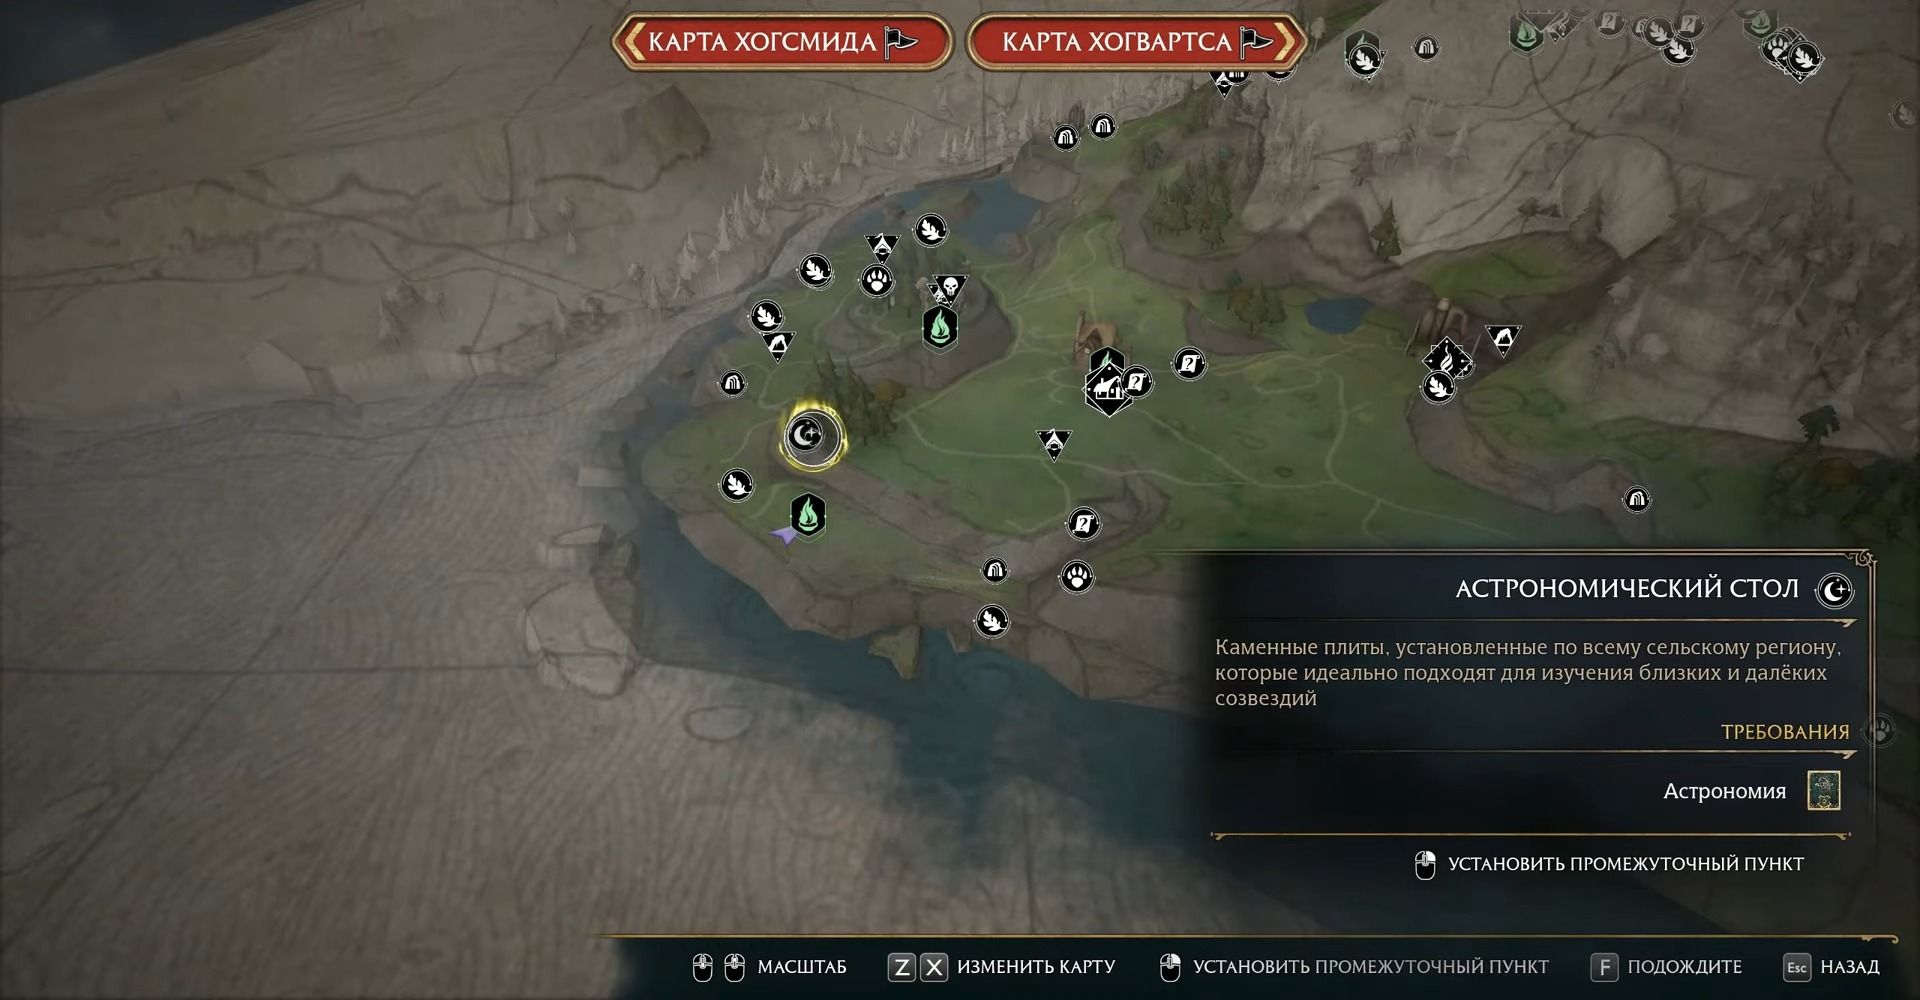
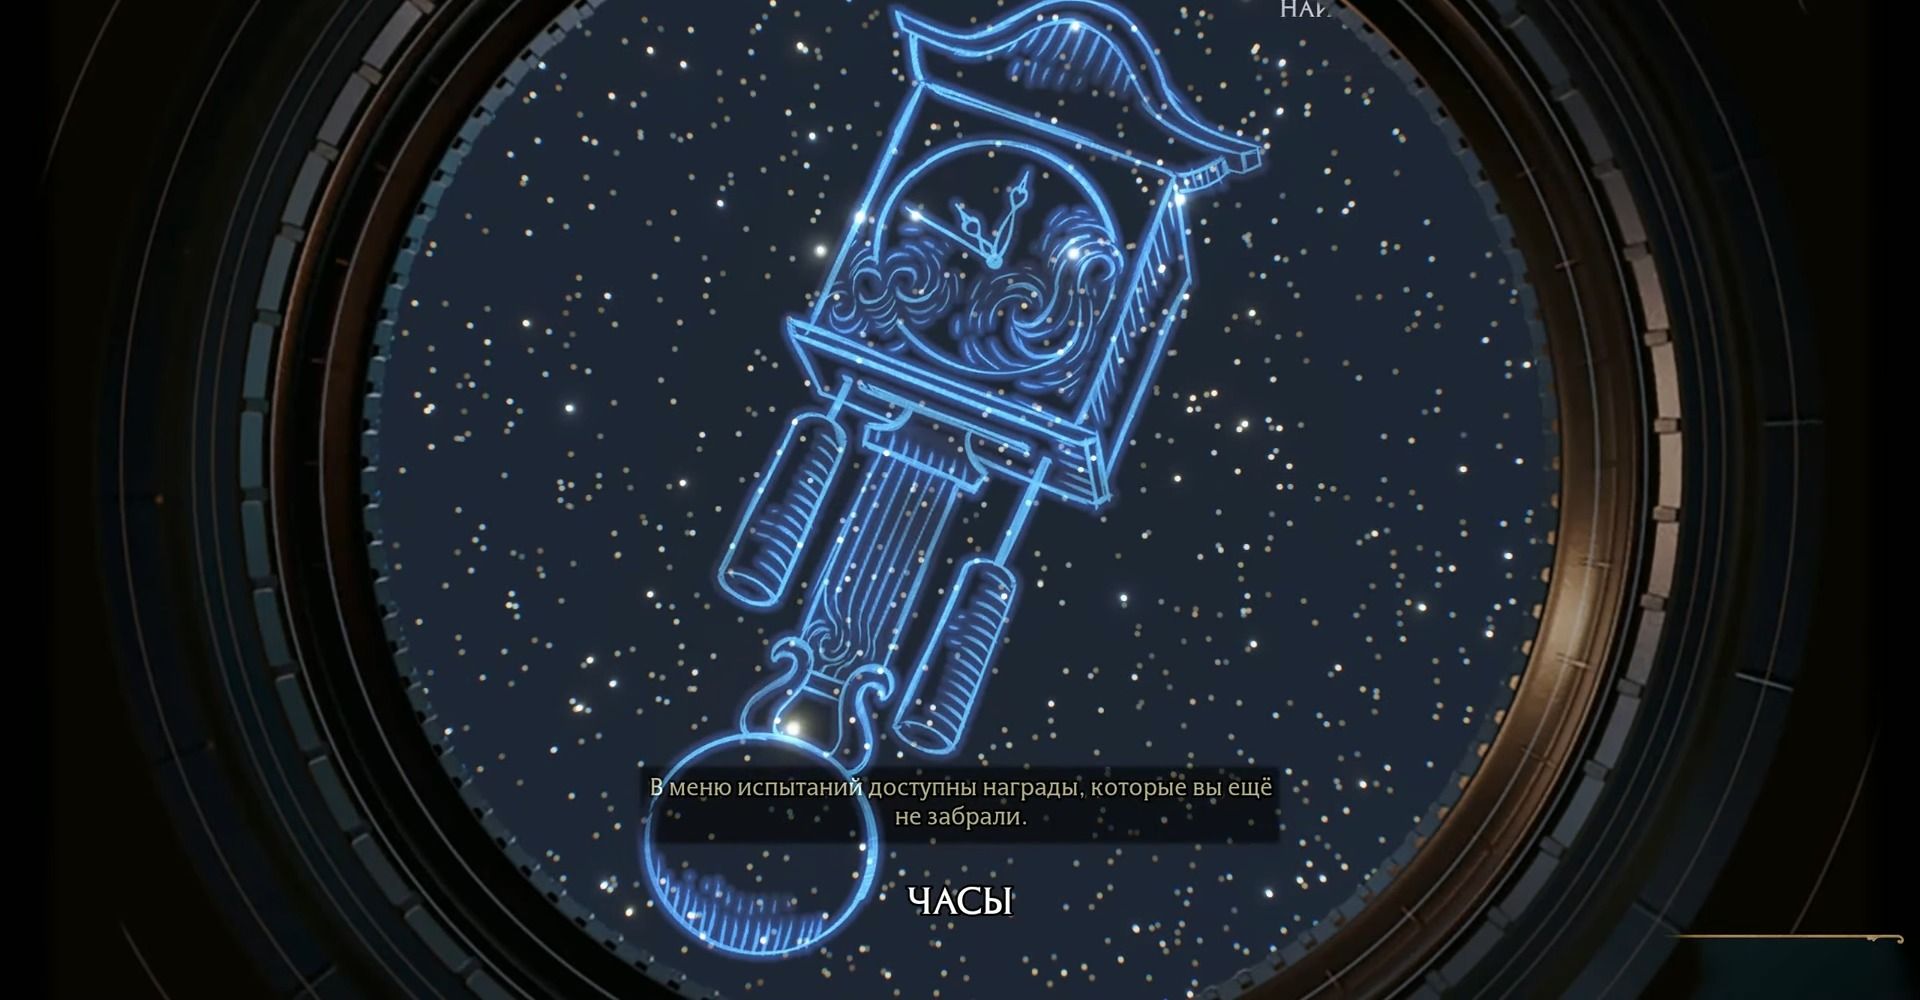
Astronomical table 10
- Constellation: Clock
- Region: Feldcroft Region
- Location: South Feldcroft
Whichever teleport marker you choose around Hogsfield, you will need to climb the hill marked on the map to form the next constellation. We suggest using the nearest transfer point in South Feldcroft and then getting to the target by air.

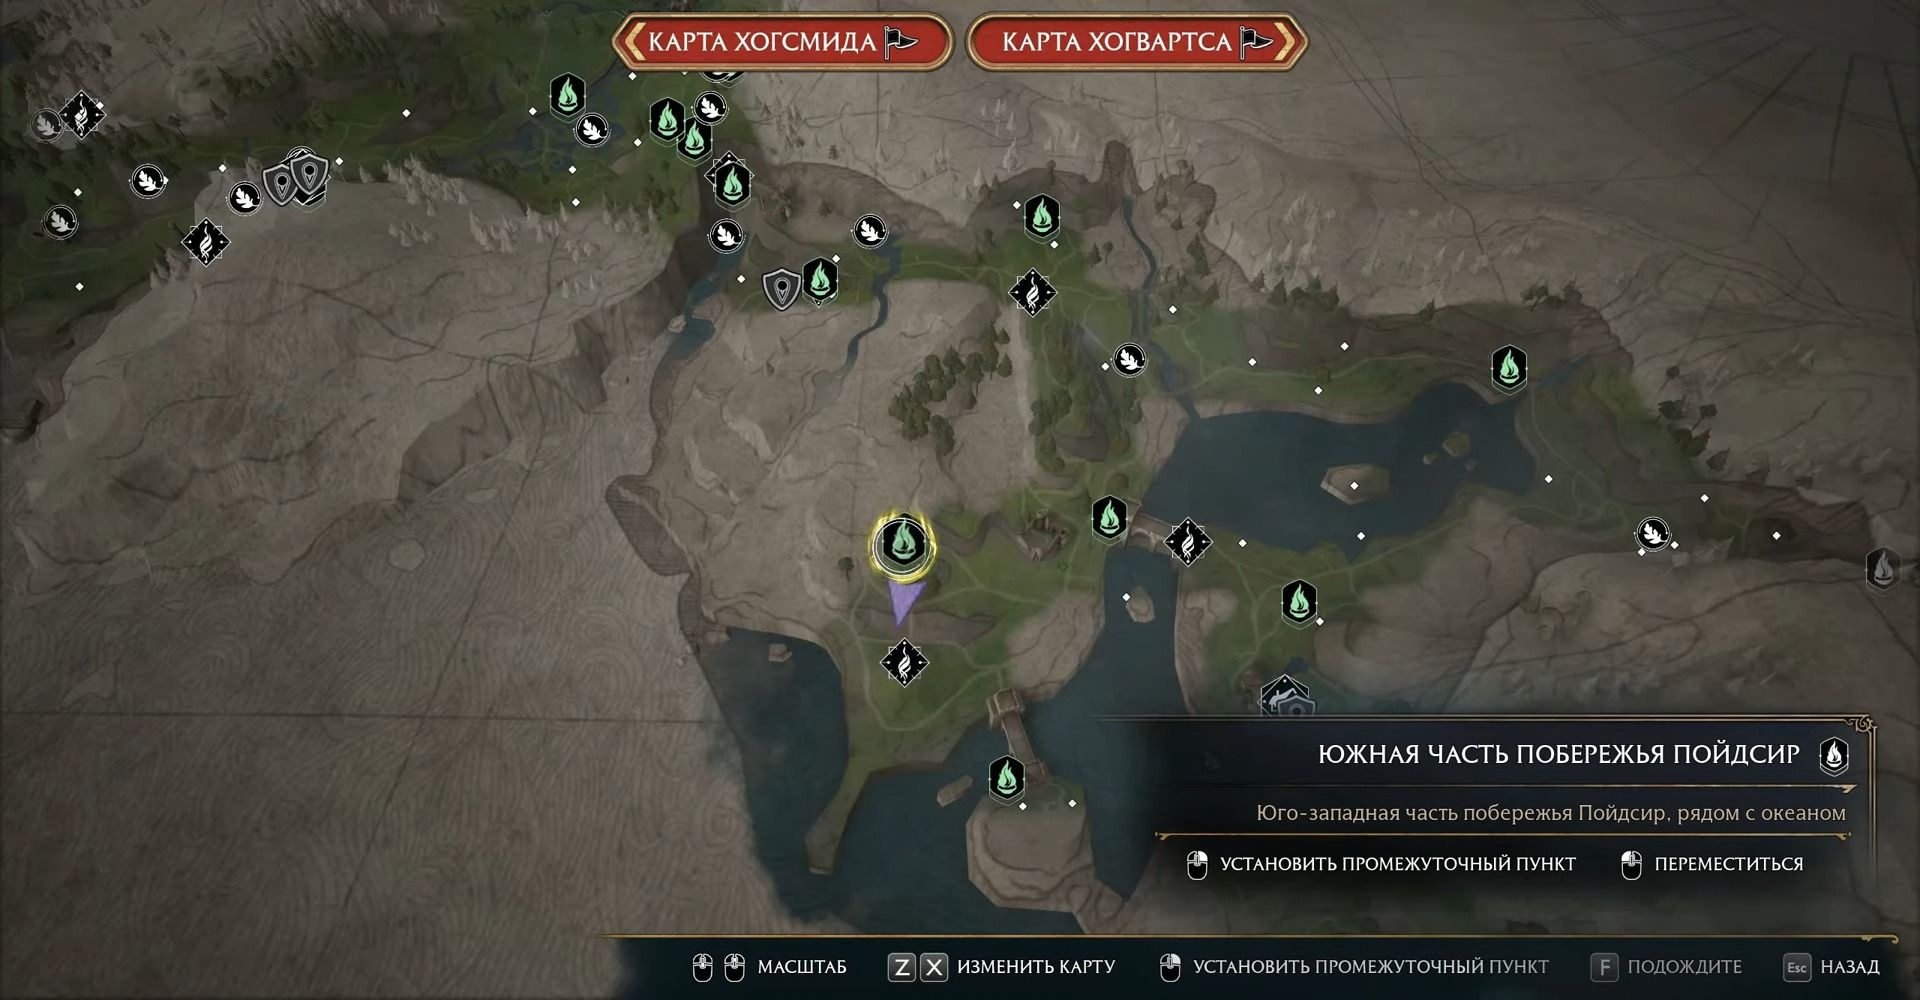
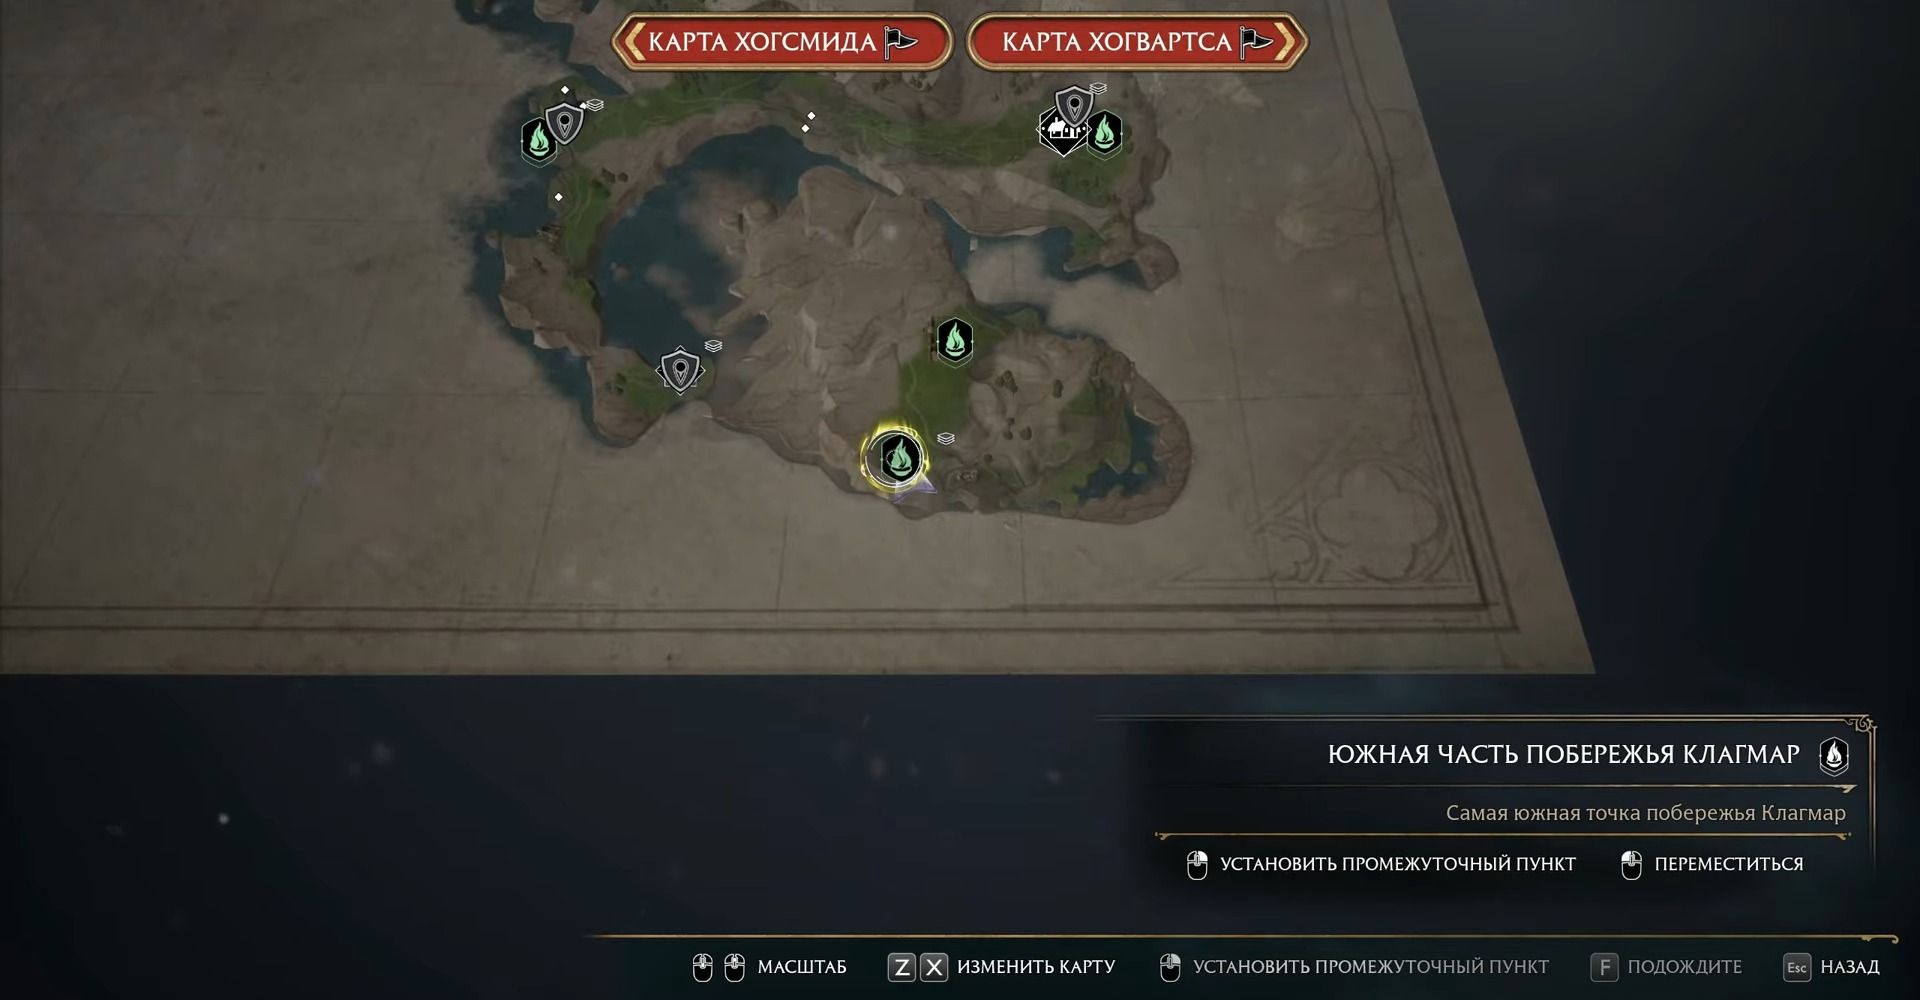
Astronomy table 11
- Constellation: Hydra
- Region: Poidseer Coast
- Location: South Poydseer Coast
After moving to this location, pay attention to the balloon. Cross over to the other side of the abyss, where old ruins can be seen from afar. Among these destroyed buildings you will find the next puzzle.

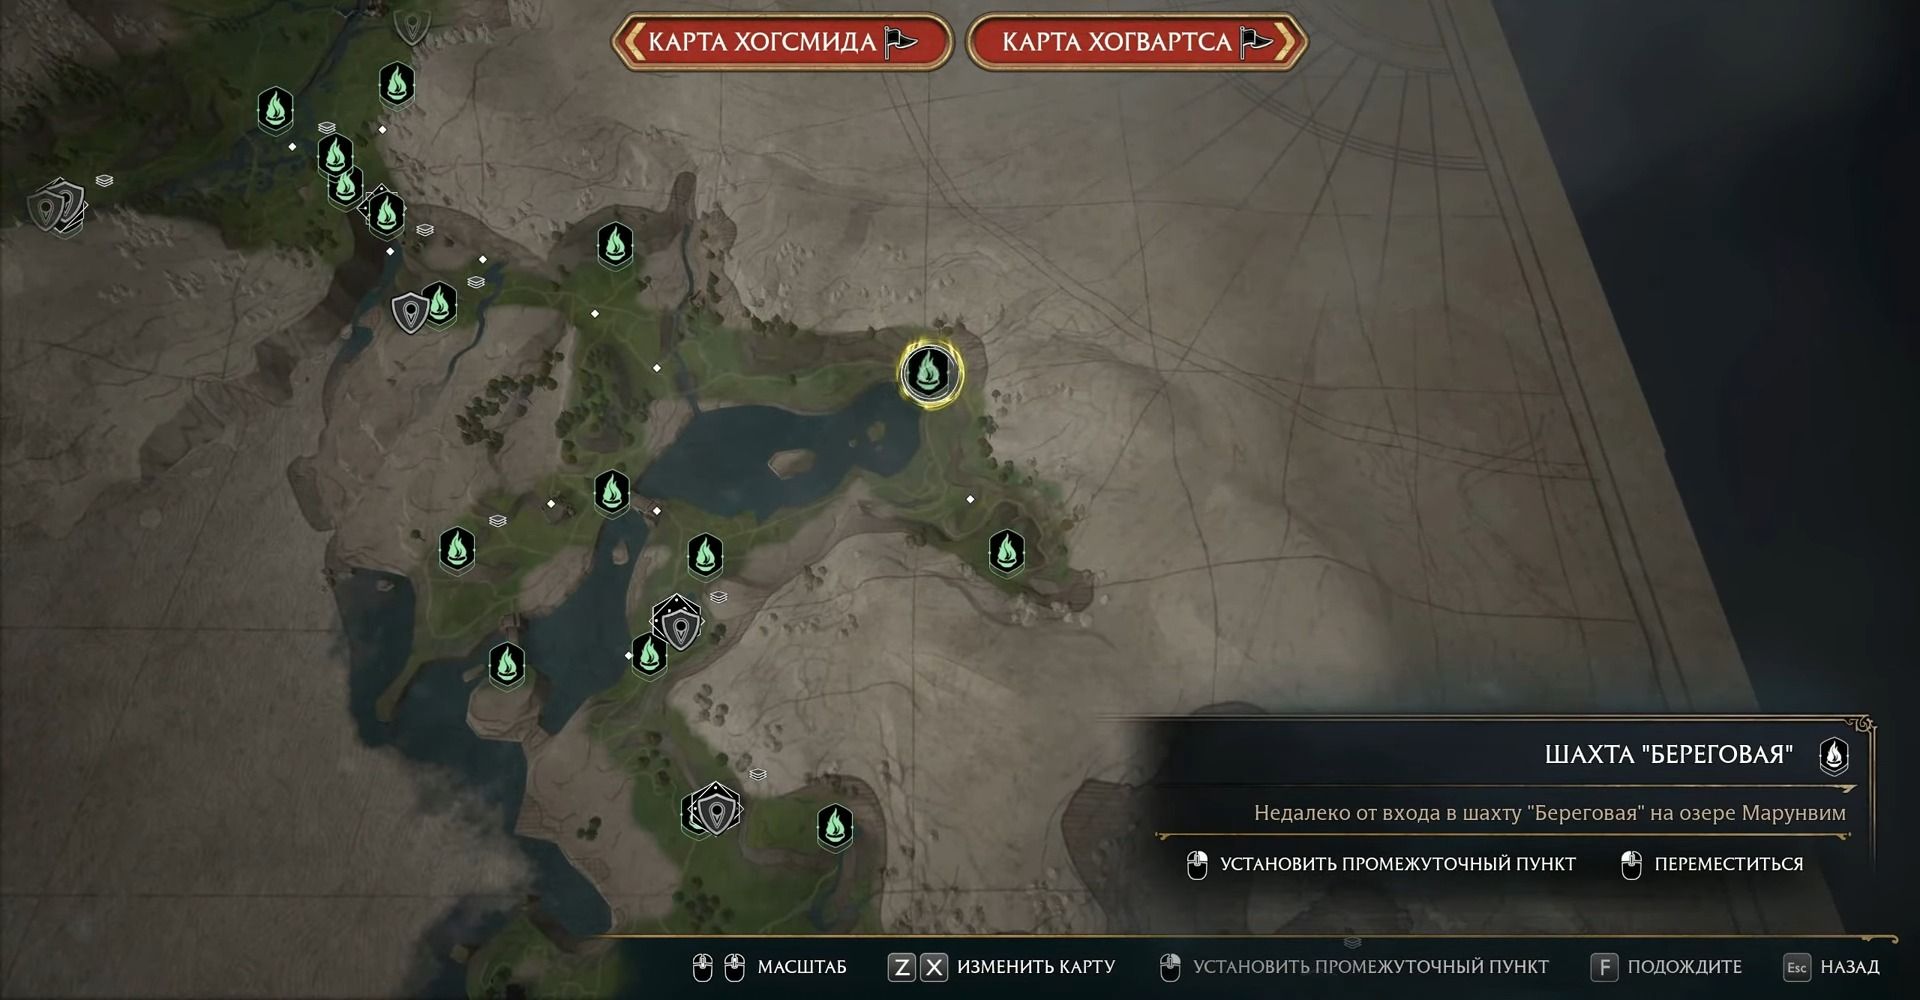
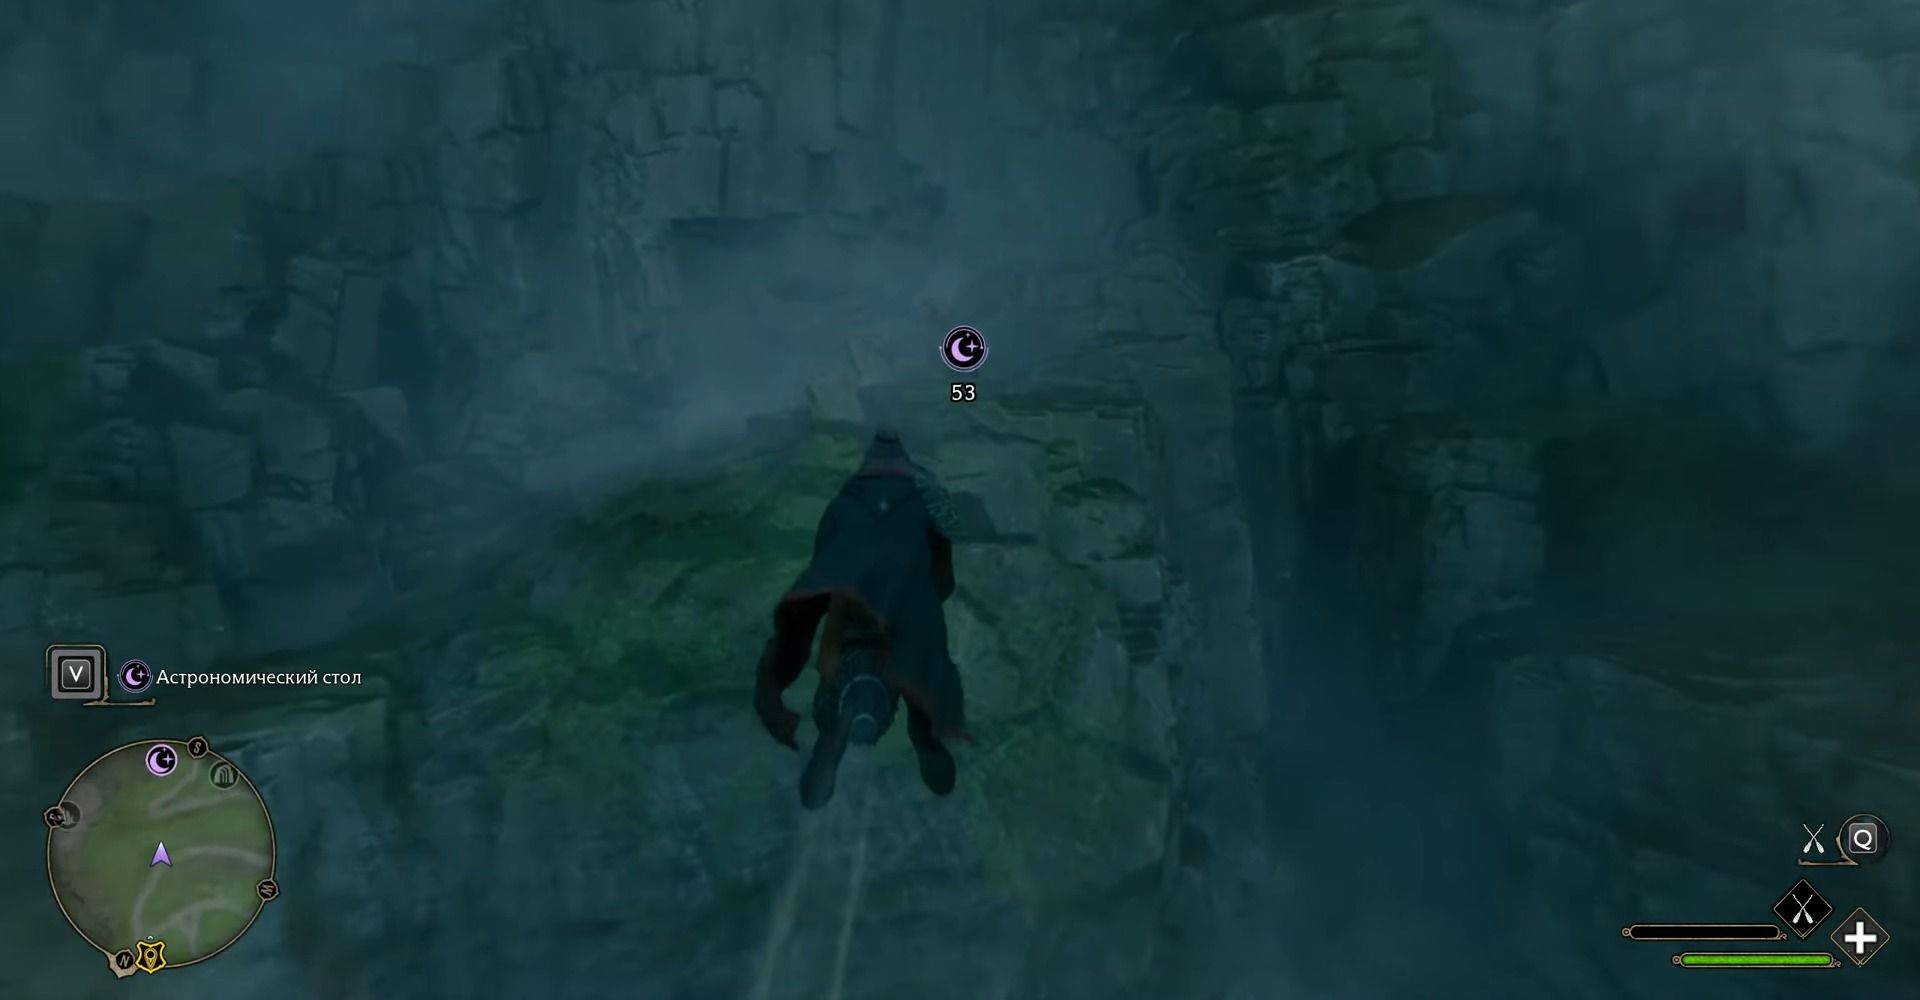
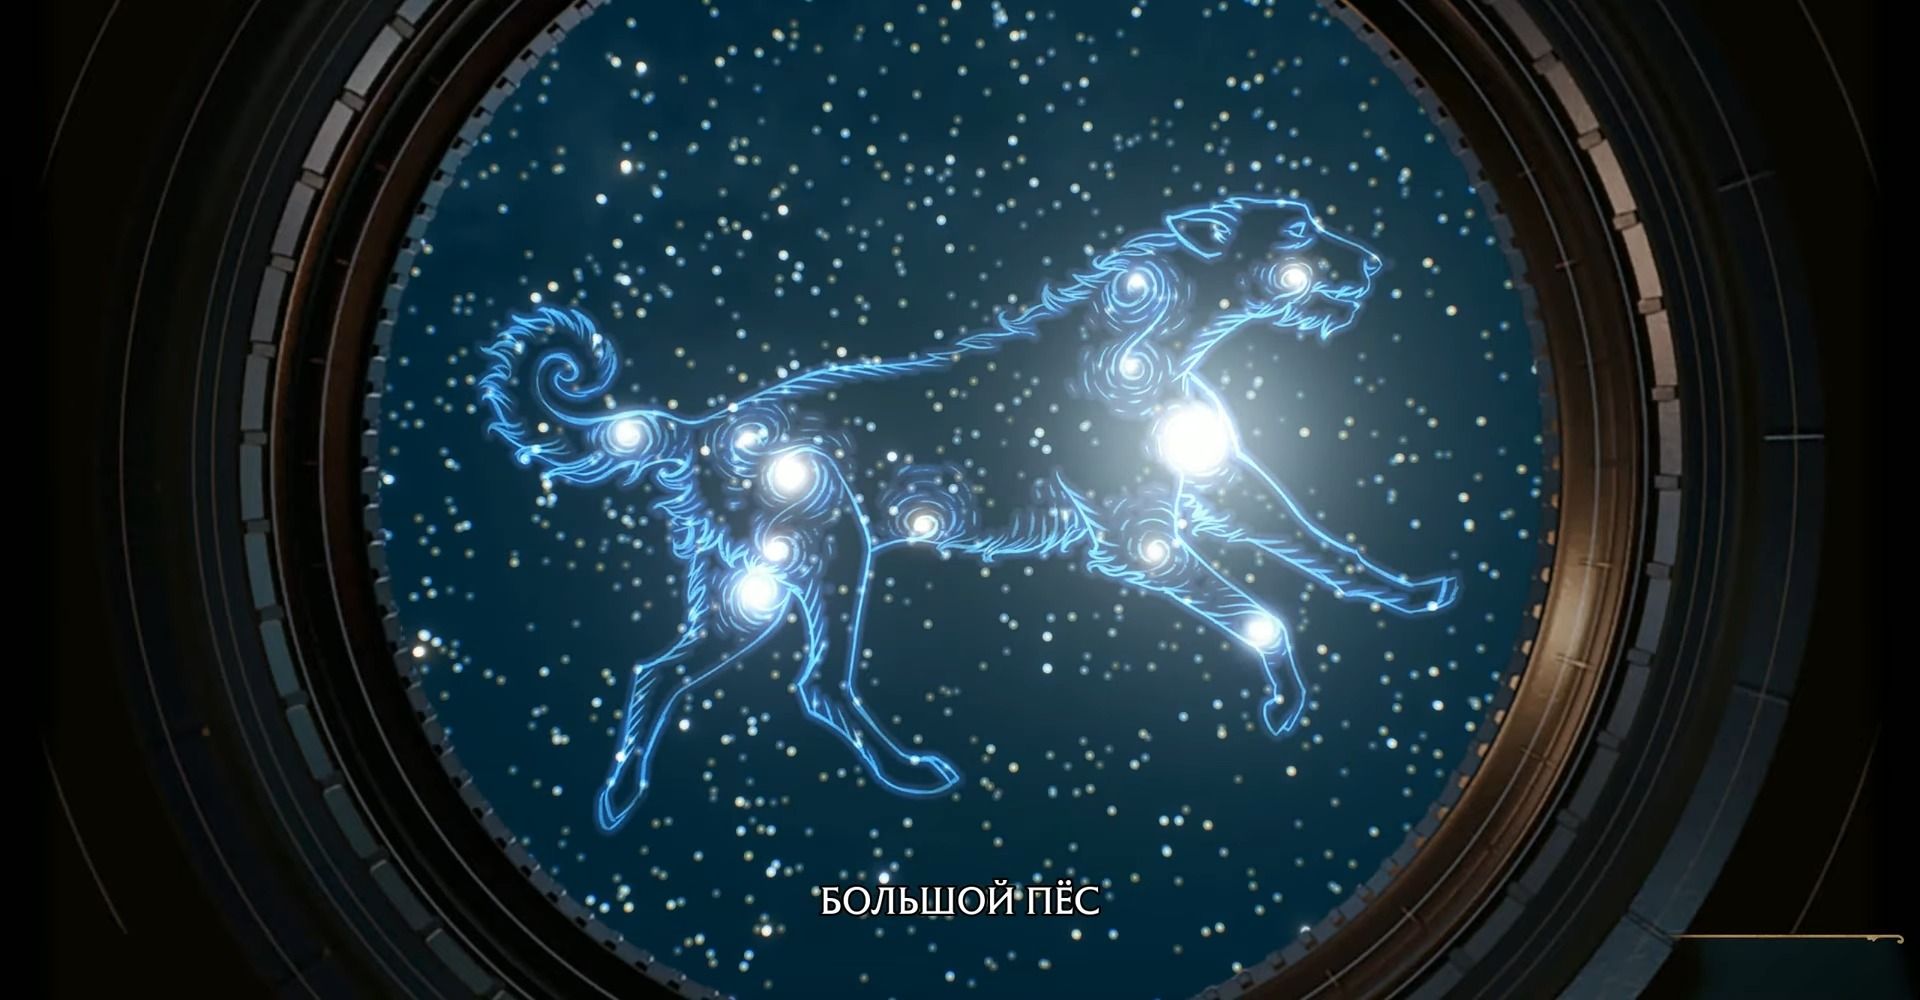
Astronomical table 12
- Constellation: Great Dog
- Region: Lake Marunvim
- Location: Coastal mine
The next star chart is far enough away from a convenient moving point. The screenshots show its location, and we advise you to resort to the help of a flying vehicle to overcome a large number of obstacles on the way to it: among them are both uneven terrain and numerous enemies.

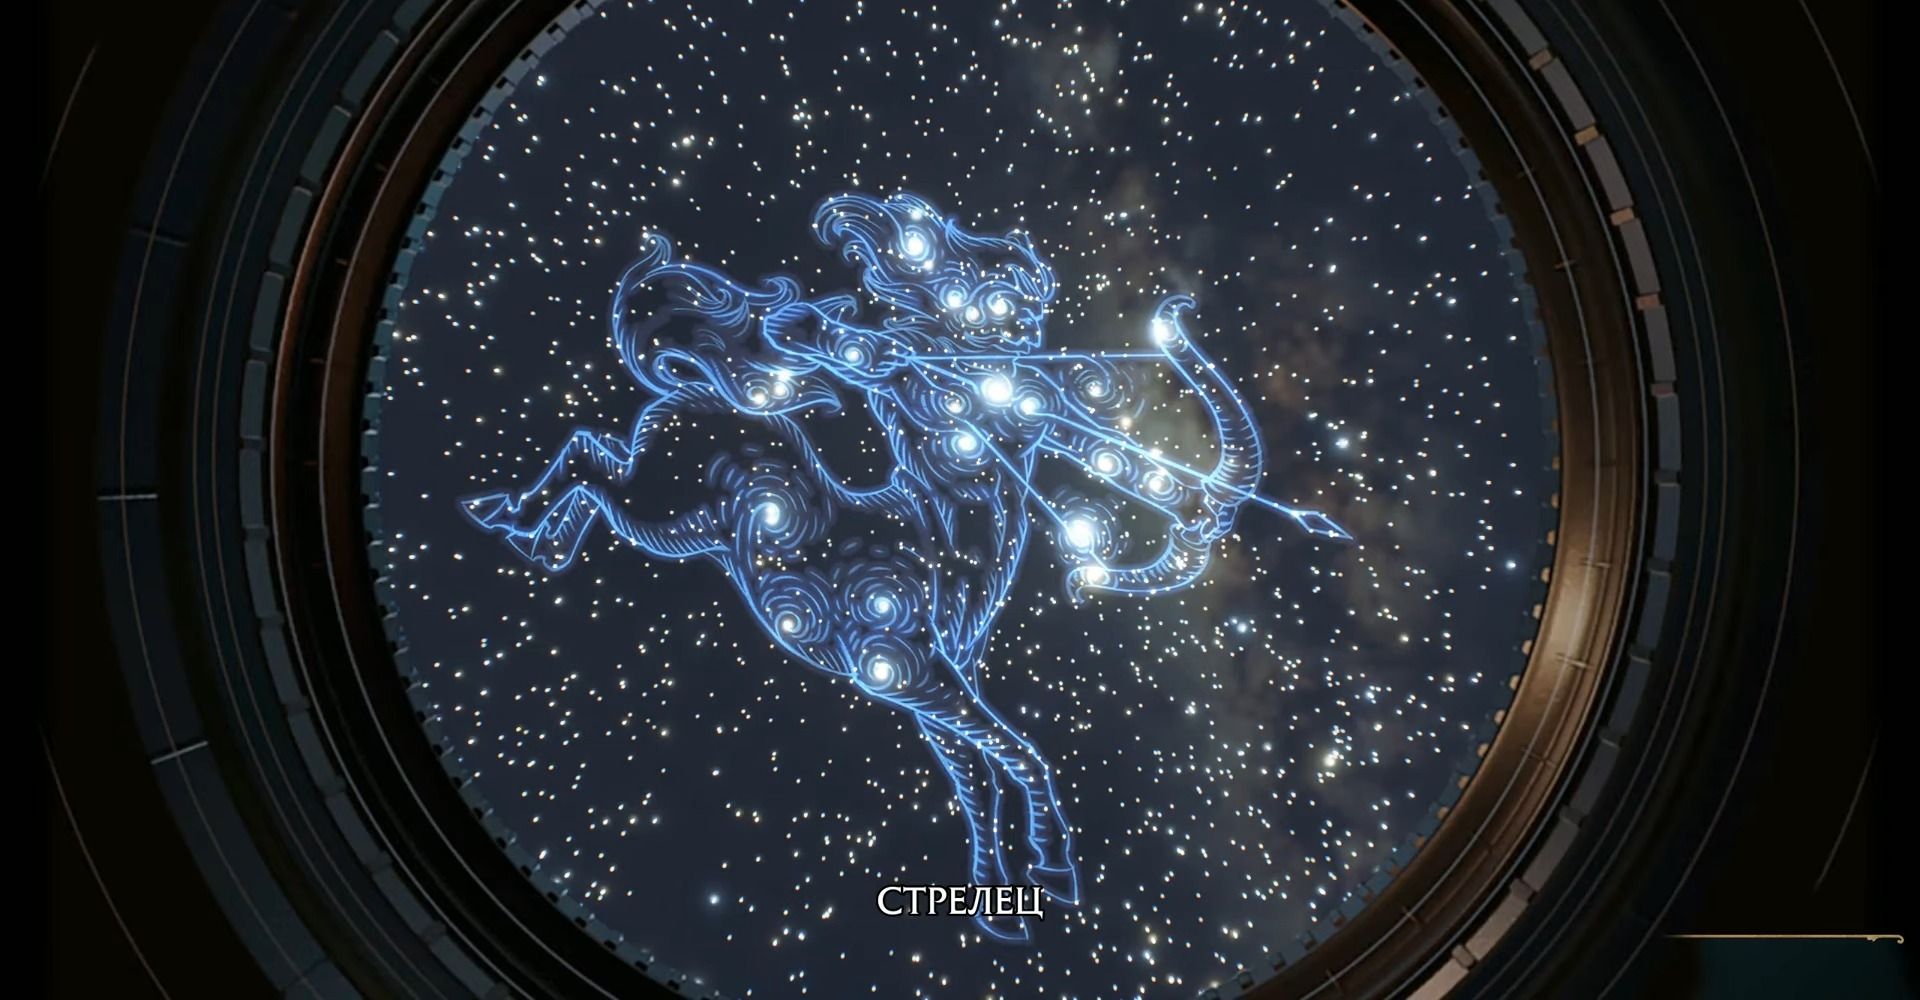
Astronomical table 13
- Constellation: Sagittarius
- Region: Cape Manor
- Location: Henrietta's hideout
This place on Cape Manor has probably come across you more than once in the story of the game or in the process of searching for chests and puzzles. On the second floor of a half-collapsed mansion there is an astronomical table and it is most convenient to simply descend from above onto this uncovered platform.

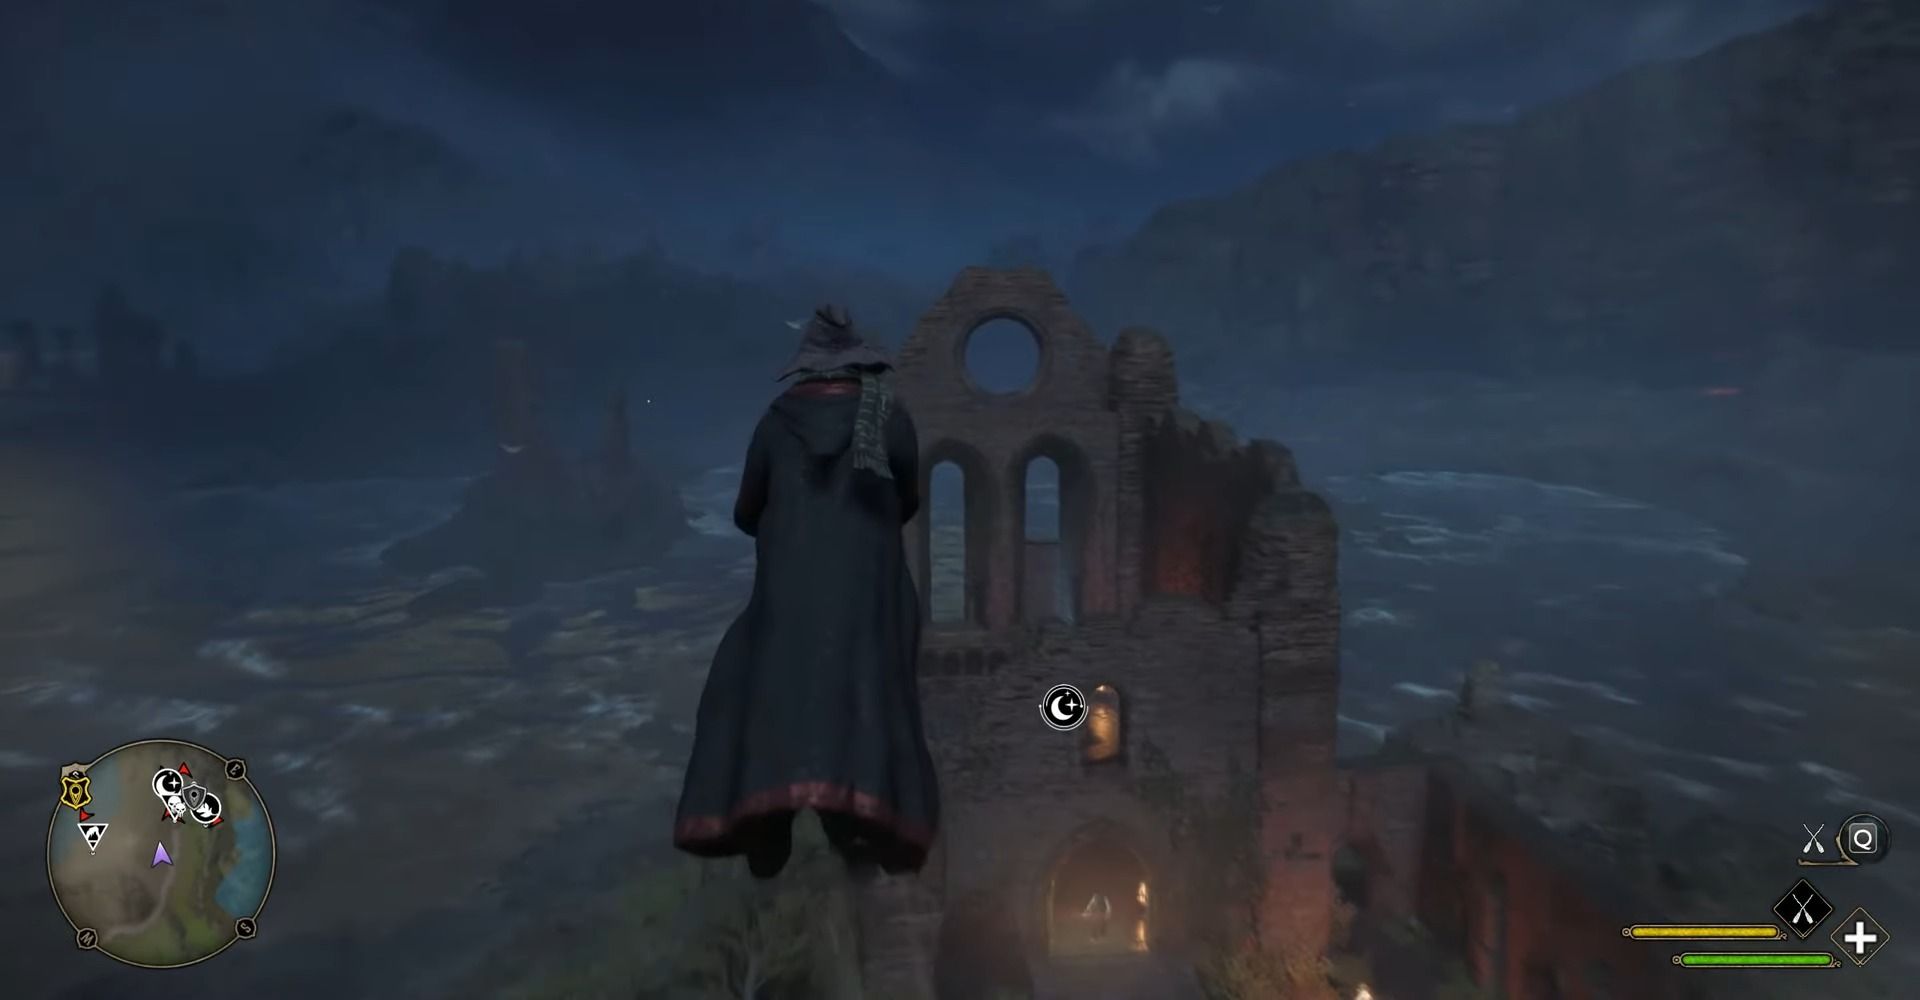
Astronomical table 14
- Constellation: Wolf
- Region: Klagmar Coast
- Location: Clagmar Castle
The only puzzle on the Klagmar Coast is equidistant from two travel points and is set on a misty hill. Here, surrounded by three dolmens, inquisitive students can admire the wolf constellation.
Astronomical table 15
- Constellation: Whale
- Region: Cragcroftshire
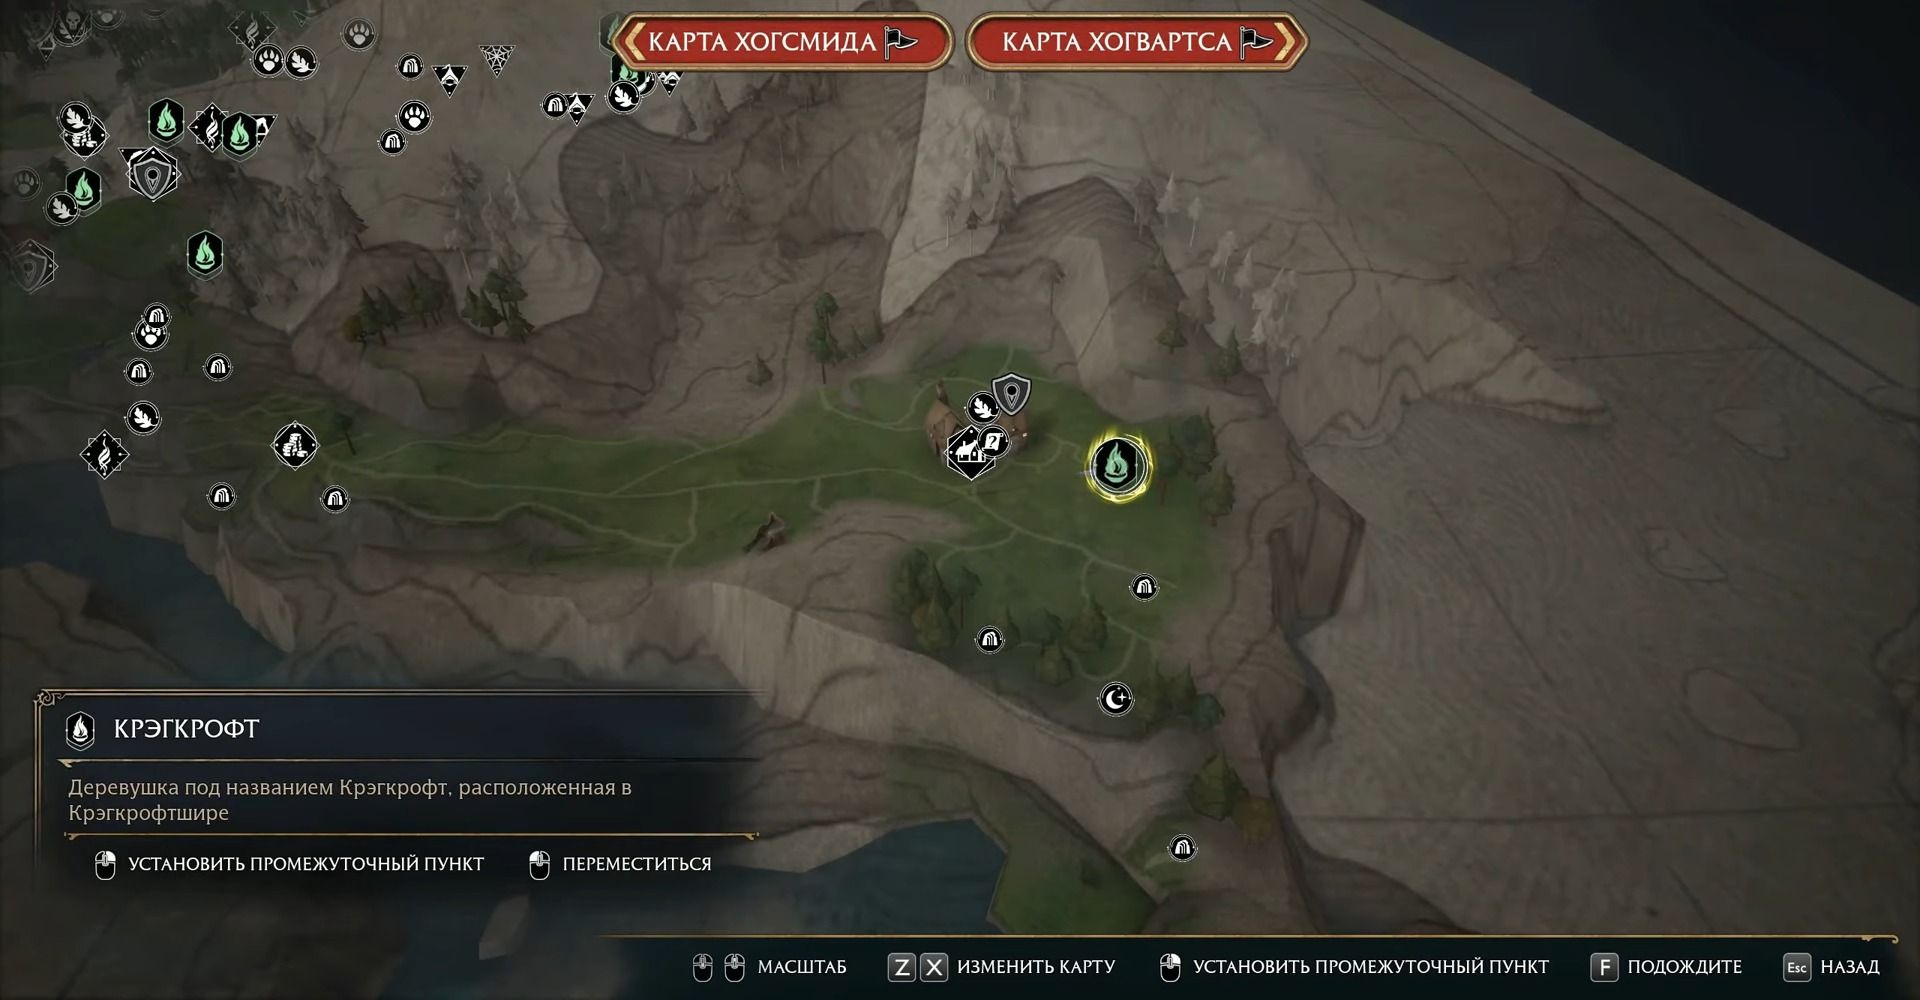
- Location: Cragcroft
To the south of the village of Cragcroft is a monumental cliff, and on it awaits you the last, according to our numbering, astronomical riddle. From this rock you can peer into the endless ocean or find the constellation whale in the night sky.
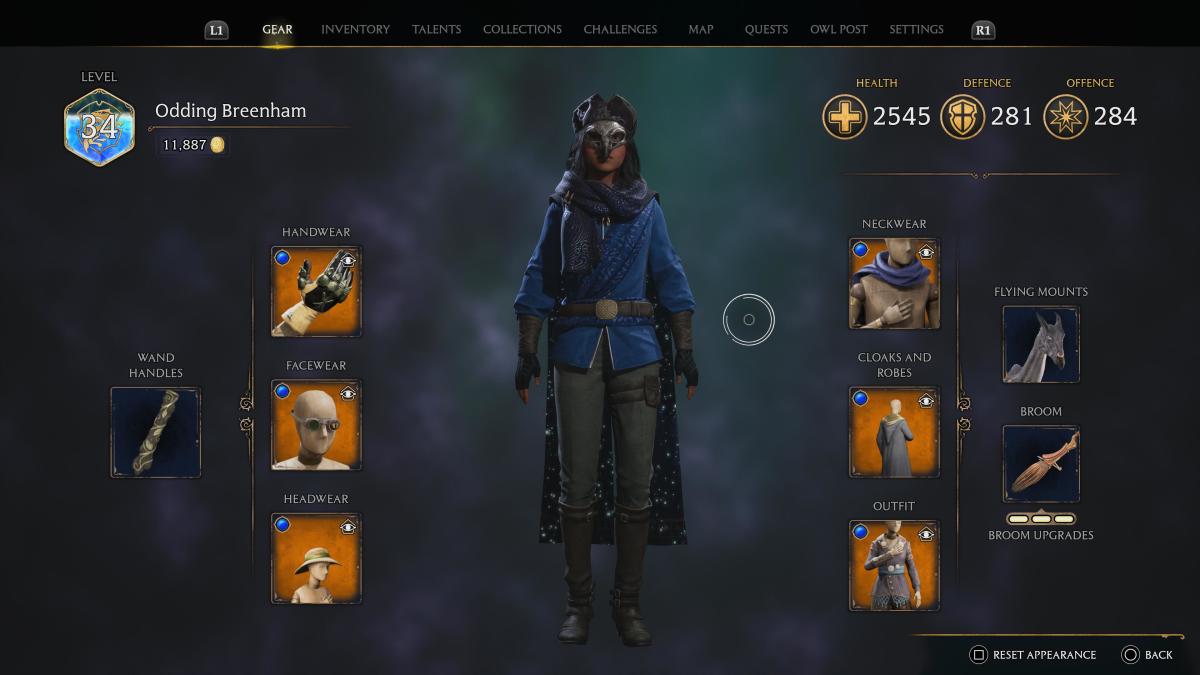
Receiving a reward: what is given at the astronomical tables
After collecting a certain number of constellations, you will receive an appearance for the items in your wardrobe. Completing this 15-puzzle challenge completely will grant you the appearance of the "Star-eyed Seer": scarf, clothes, and cloak.
This material was intended to answer all the questions that players have about the astronomical tables and their puzzles in Hogwarts: Legacy. If you need any additions or want to share the impressions that this gaming activity has left, we look forward to your comments on the topic of the article.
Comments
You need to login to add comments.
You can login with