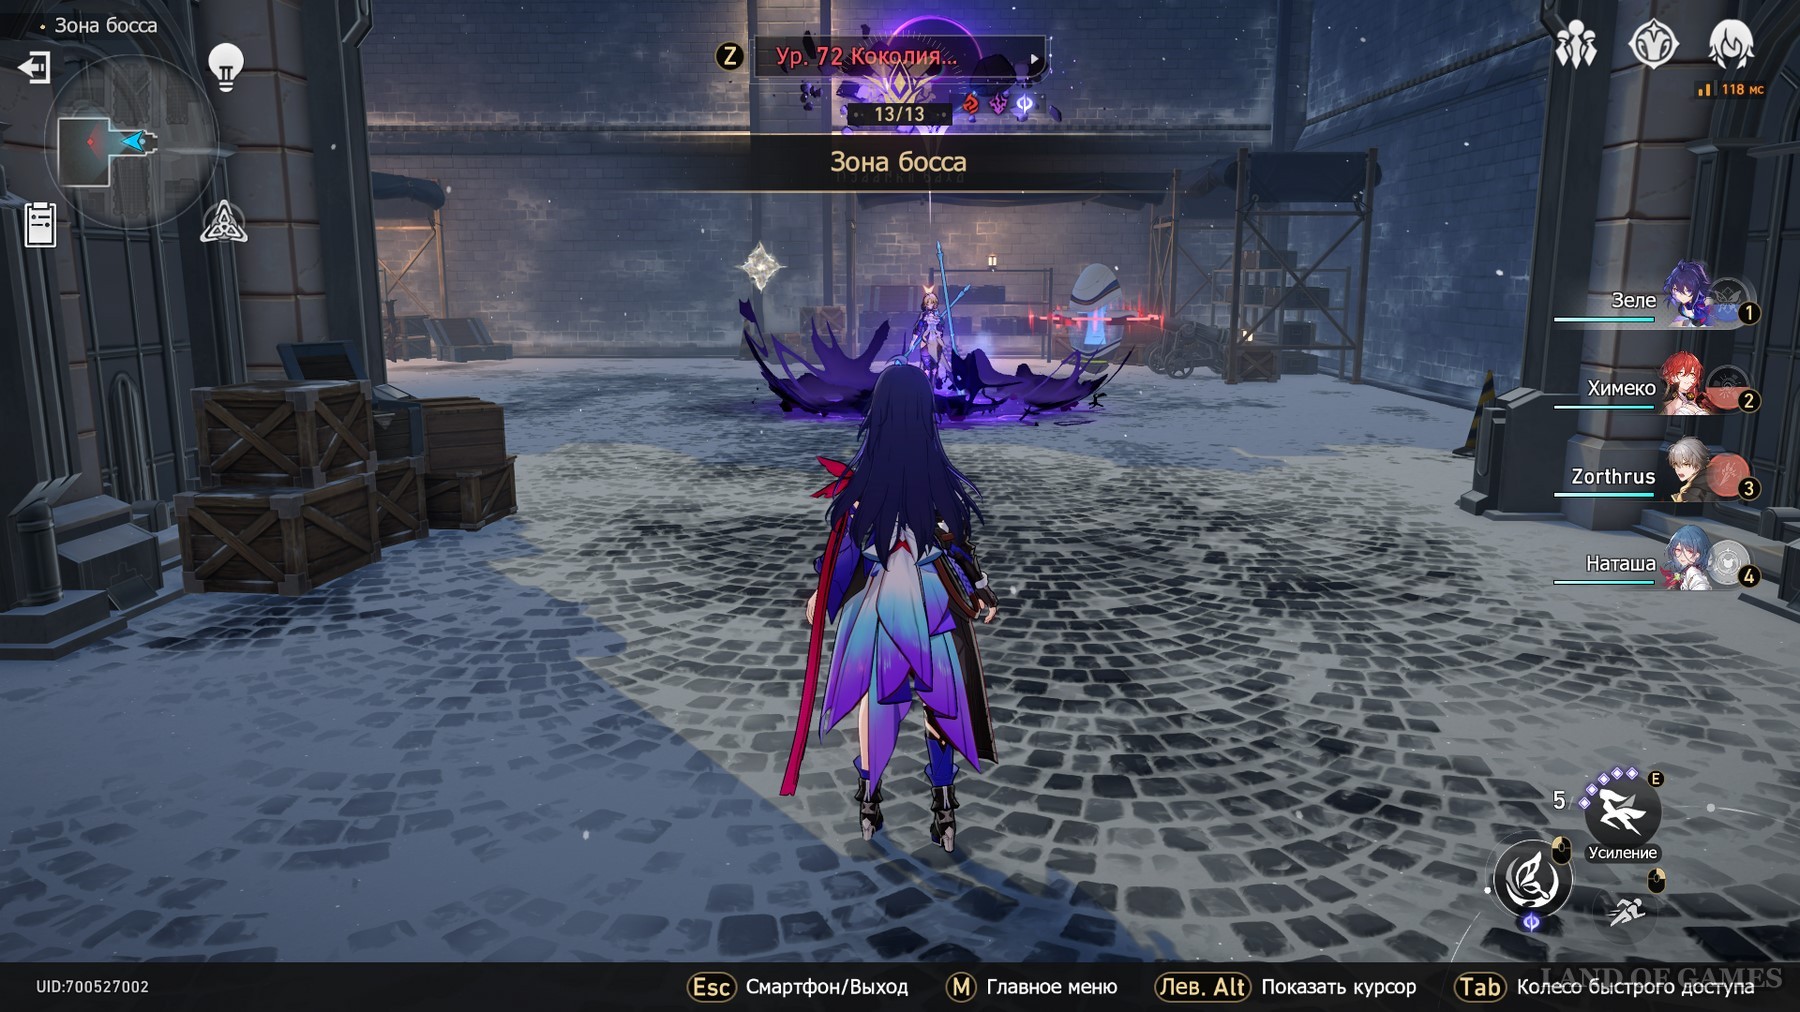
In Honkai: Star Rail, World 6 is part of the Virtual Universe and a kind of dungeon, clearing which you can get a variety of rewards, including planar decorations. As part of its passage, you have to fight a couple of elite enemies and Kokoliya.
To successfully clear the World, you need to choose the right characters to create an effective team, choose the optimal Path and adhere to certain tactics when collecting blessings and fighting the boss. In this guide, we will take a detailed look at all these elements so that you can complete World 6 without any problems.
How to pass World 6 in the Virtual Universe
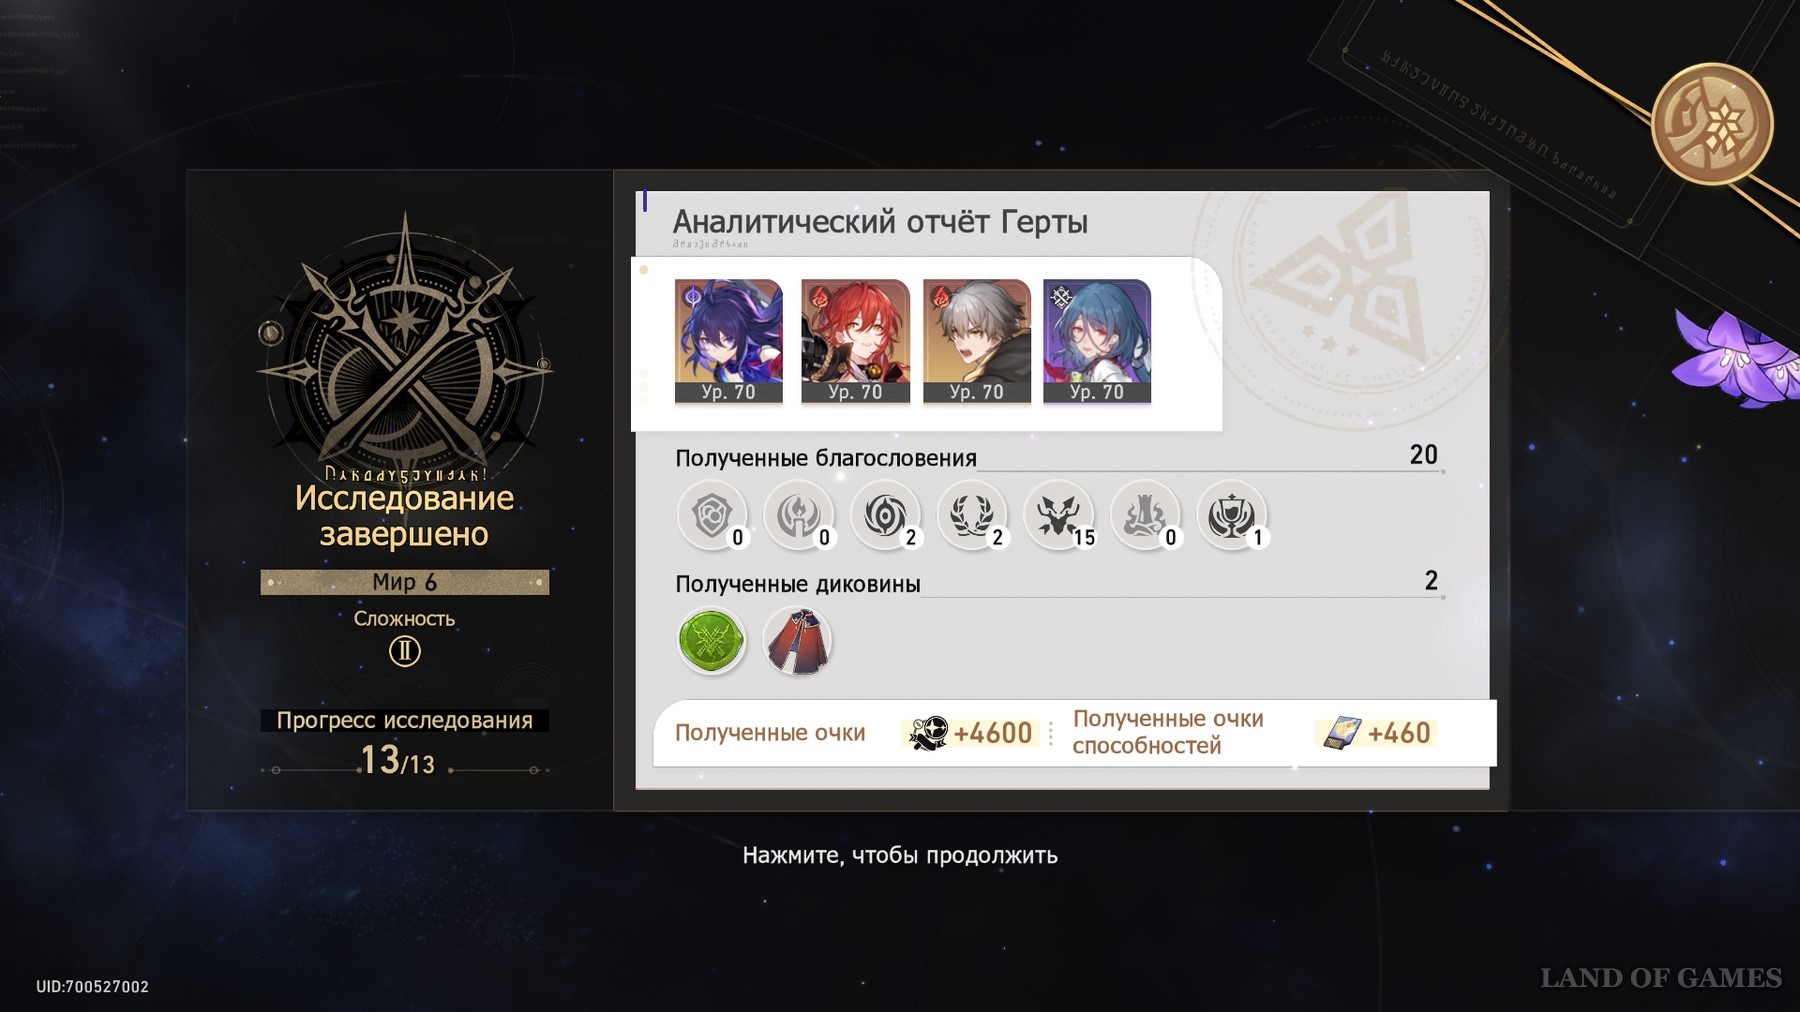
First, let's look at the basic information on this test. The level of your enemies will depend on the chosen difficulty. In the loading menu of the first unit, you can see 4 elite opponents, two of which you can face (selected randomly), and a boss, whose role will be played by Kokoliya.
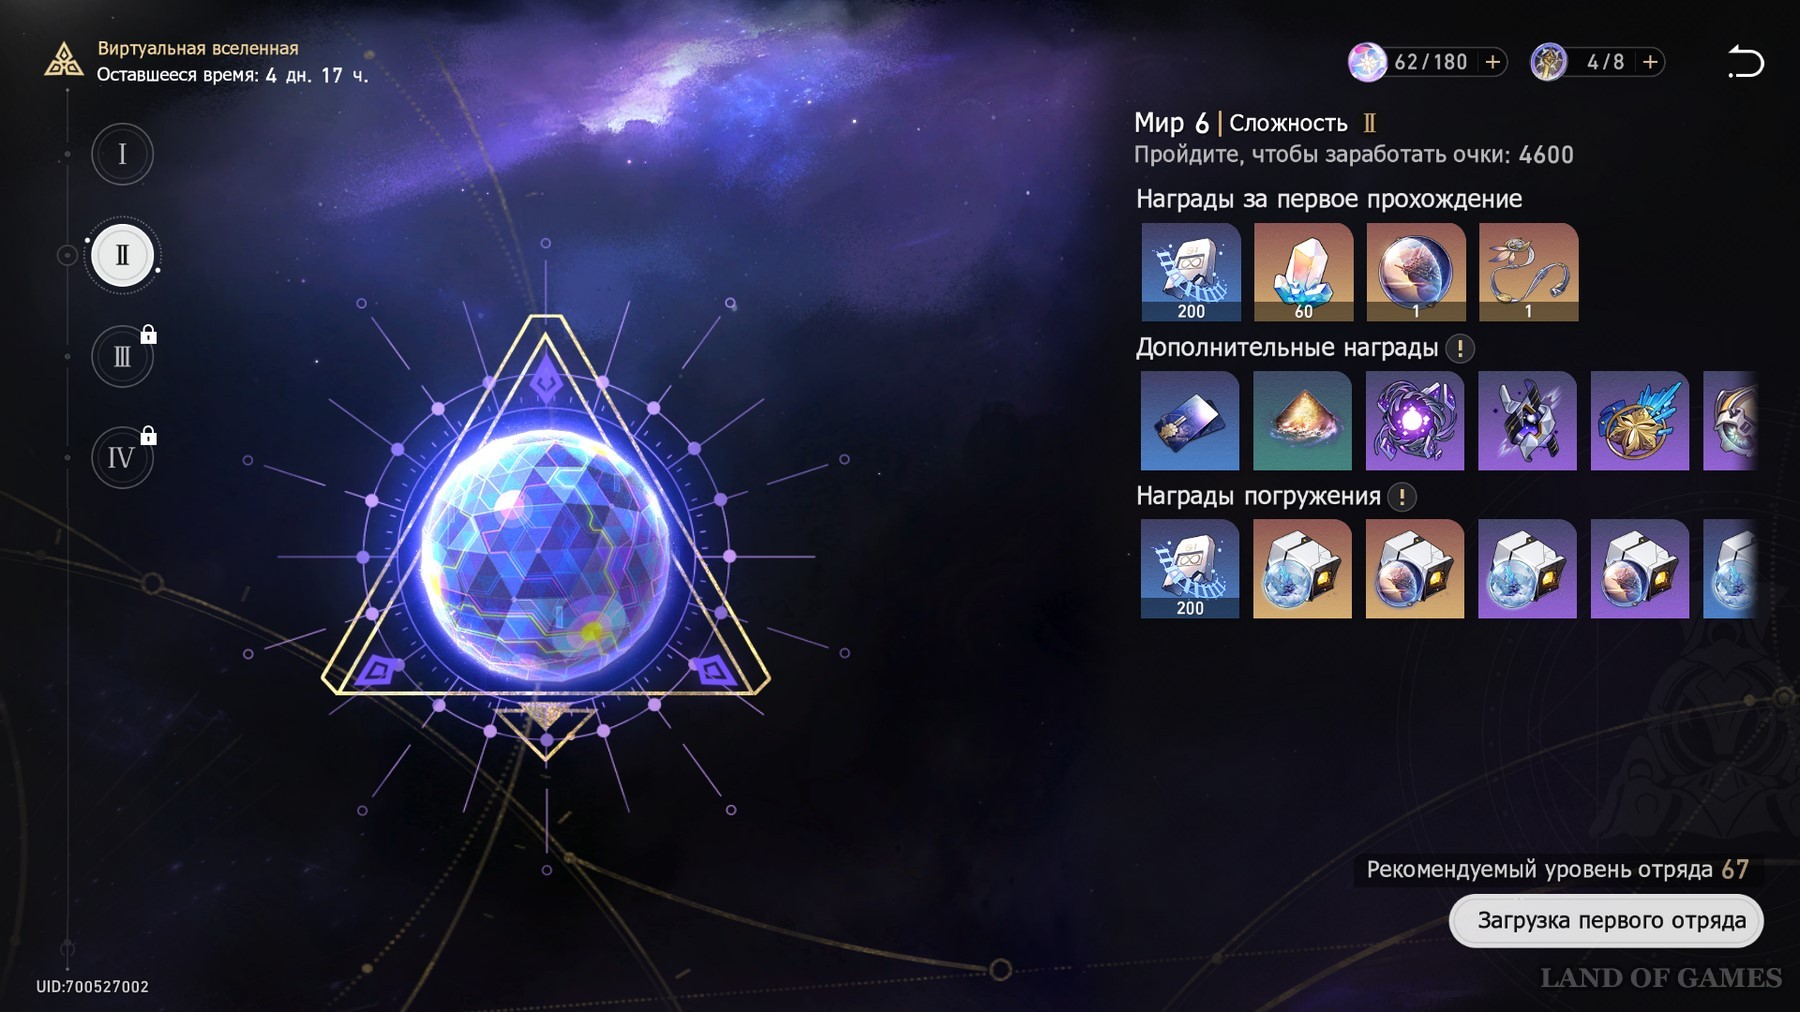
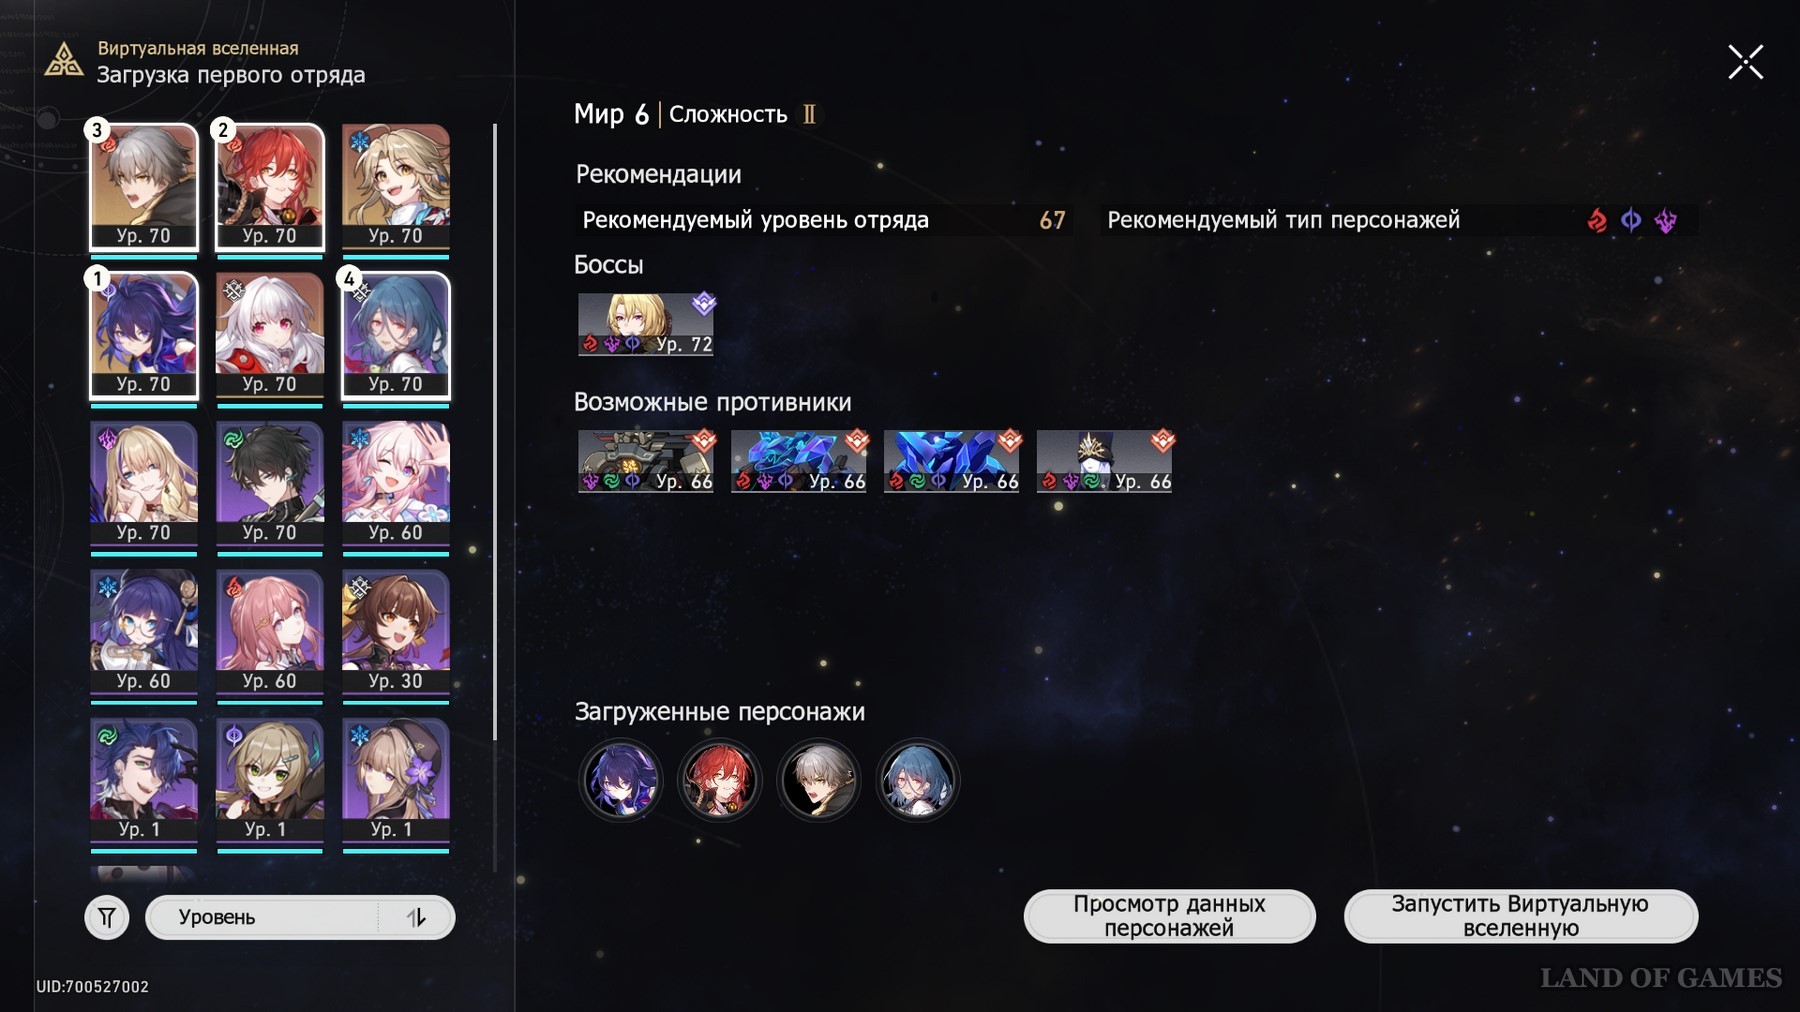
Here you can roughly get acquainted with the parameters and vulnerabilities of the main enemies that you have to fight, but we will look at their characteristics in a little more detail in the table below.
| Name | Fortitude | Damage type | Elemental Resistance | Debuff resistance |
|---|---|---|---|---|
| Kokoliya | 360 units |
Ice |
Physical, ice and wind resistance |
Freeze 100%
Conclusion 50% |
| Aurumaton Gatekeeper | 300 units |
Imaginary |
Imaginary resistance | |
| frosty wanderer | 300 units |
Ice |
Ice Resistance |
Freeze 100% |
| Ice from space | 300 units |
Ice |
Ice Resistance |
Freeze 100% |
| Shadow of the Devourer | 300 units |
Imaginary |


It is necessary to take into account the features of the above enemies when choosing characters, which we will discuss later.
Featured Characters
Damager - Since the boss and most elite opponents are vulnerable to fire damage, we advise you to add main damage dealers capable of dealing this type of damage to the squad. If you plan to use a pair of Pathfinder (fire) and Asta, then you may not need a secondary damage dealer. Otherwise, as a sub-DD, you should take an electric or quantum damage dealer.

Shielder/Tank/Support – Pathfinder (fire) is the best tank and shielder for World 6, as he will not only be able to withstand the attacks of strong enemies, but also penetrate their vulnerabilities (this also applies to the Armor that Kokoliya will summon). Asta is also great for destroying stamina, which will also buff her allies.
Healer - With the help of Natasha's skill, you will be able to remove the Freeze from allies, imposed by Kokoliya. Baylu, thanks to his element, will be able not only to perfectly heal teammates, but also to break through the vulnerability of the boss.
The table below shows the best characters for World 6, which it is highly desirable to add to your squad if available.
| Character | Peculiarities |
|---|---|
|
Zele |
An extremely useful heroine for this challenge. Not only can she penetrate the vulnerabilities of most elite opponents, she is also capable of destroying Kokoliya icicles with one attack while in enhanced mode (in one move she can destroy both ice floes). |
|
Hook |
Deals significant fire damage to single targets, making her a good damage dealer when fighting Cocolia and Armor. |
|
Himeko |
A very strong fire damage dealer that deals damage in an area. As a result, you will be able to destroy all the icicles in one hit and break through Kokoliya's vulnerability. Her bonus attacks are a nice addition to the team's overall DPS. |
|
Jing Yuan |
Most elite enemies in World 6 are vulnerable to electricity, making this legendary hero a great primary or secondary damage dealer. In his absence, you can take a free Serval for this role. |
|
Natasha |
Even if you are on the path of Abundance, which has a formation that removes debuffs, we highly recommend having Natasha on your team, as she will be able to not only heal allies, but also remove Freeze from them. |
|
Pioneer (fire) |
Thanks to the taunt, he will be able to redirect all of Kokoliya's damage to himself. With his abilities and strikes, the Pathfinder is able to deal damage to several targets at once, which allows him to destroy icicles faster. |


Optimal Teams
Important: Choosing the right characters is only half the battle. We should also not forget that the selected heroes must be pumped enough to fight the boss. For example, if Kokoliya's level is 72, then your heroes must be at least level 70, and have the same upgraded light cones. You should also remember about pumping their Traces and relics. Otherwise, you are likely to lose.
Next, we will look at several teams that will be the easiest to go through World 6 and defeat Kokoliya. First, we will indicate budget groups consisting of epic heroes, and then we will show the optimal units.
F2P Squad
| Main-DD | Sub-DD | Sub-DD/Support | Support |
|---|---|---|---|
|
Serval |
Pioneer (fire) |
Asta |
Natasha |
|
Hook |
Serval |
Pioneer (fire) |
Natasha |


Serval, Hook, Pathfinder (fire) and Asta are excellent characters for clearing World 6, as Cocolia is vulnerable to both fire and electricity. With the help of them, you can effectively break through her vulnerabilities. Both teams perform well both in terms of attack and defense, so choose based on the pumping of your heroes.
Featured Units
| Main-DD | Sub-DD | Sub-DD/Support | Support |
|---|---|---|---|
|
Zele |
Welt |
Pioneer (fire) |
Natasha (Baylu) |
|
Jing Yuan |
Tingyun (Asta) |
Pioneer (fire) |
Natasha |
|
Himeko |
Serval |
Pioneer (fire) |
Natasha (Baylu) |


In the first team, the key character is Zele, who is capable of inflicting gigantic damage on single targets. In enhanced mode, she can easily destroy the ice spears of Kokoliya. Velt will also help in increasing the overall damage of the squad. Plus, it will break through the Armor's vulnerability and impose Conclusion on it.
In the second squad, the role of the main damage dealer will be played by Jing Yuan, who, with the help of his abilities, can deal huge area damage. Tingyun will help to increase it even more. If you do not have enough fire damage, then the fox can be replaced by Asta.
In the third team, Himeko, along with Serval, will be able to relatively quickly deal with the elite enemies of World 6, as well as quickly destroy the icicles summoned by Kokoliya. Our old acquaintances will be responsible for protection and survival: Natasha and Pioneer (fire).
Best Paths and Blessings
In theory, you can complete World 6 by any Path (with the exception of Memory, since Kokoliya is now completely immune to Freeze), corresponding to your characters. However, we strongly advise you to choose one of the three paths: Abundance, Oblivion, or Hunt, all of which can be customized to fit the unit and characters listed above. Next, we'll show you how to do it.
Hunting
A good choice for World 6, as the boss quite often summons ordinary mobs to help him, which you can quickly destroy with path resonance. Blessings will help to significantly increase the overall DPS of the squad.
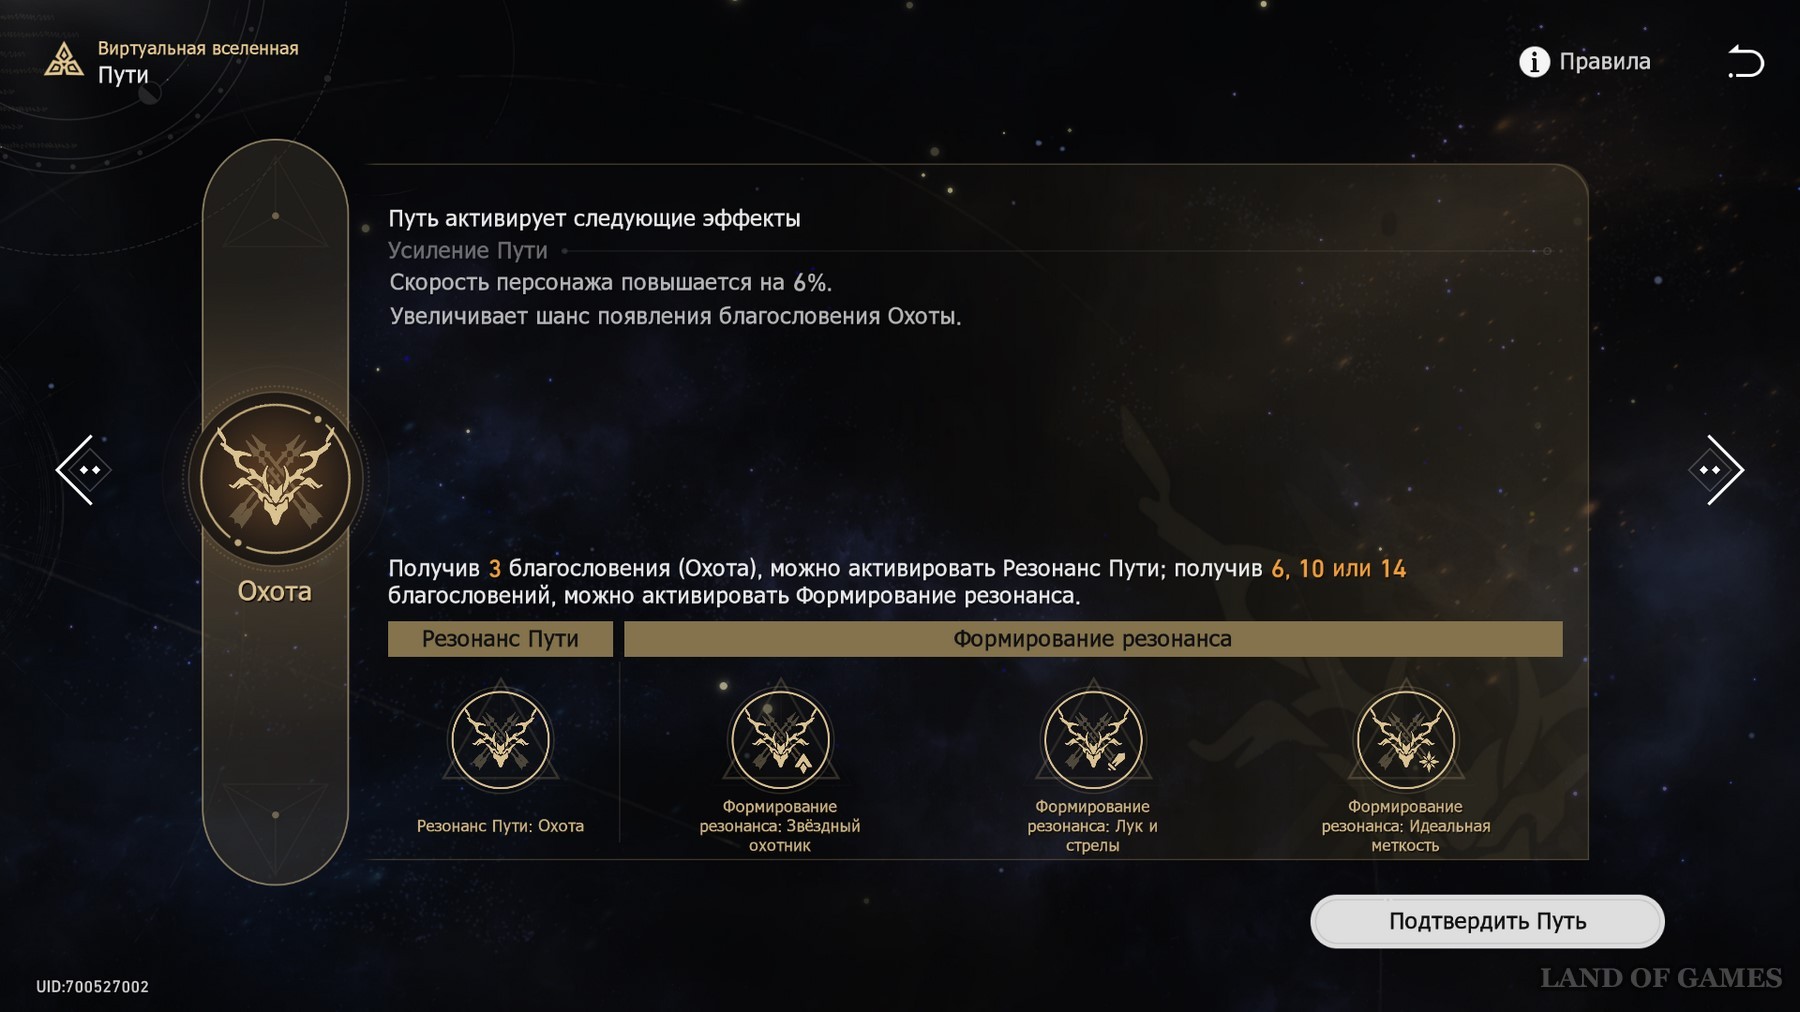
The first step is to decide on the priority of choosing the resonance formations (if you were lucky enough to open them all):
- Bow and Arrows - We recommend choosing this formation first of all, as it increases the damage from Resonance more than the others. Plus, you will be able to restore energy faster when fighting ordinary mobs.
- Perfect Accuracy - gives you more energy, and therefore, you can use Resonance more often, quickly destroying icicles.
- Star Hunter - Strengthens your damage dealers, allowing them to move more often. Less useful bonus than the first two.

Most blessings of the Hunt are aimed at increasing the overall damage of the characters by increasing their speed, critical damage and crit chance. hits. The list below shows the most interesting buffs:
- Imperishable Victory (enhanced).
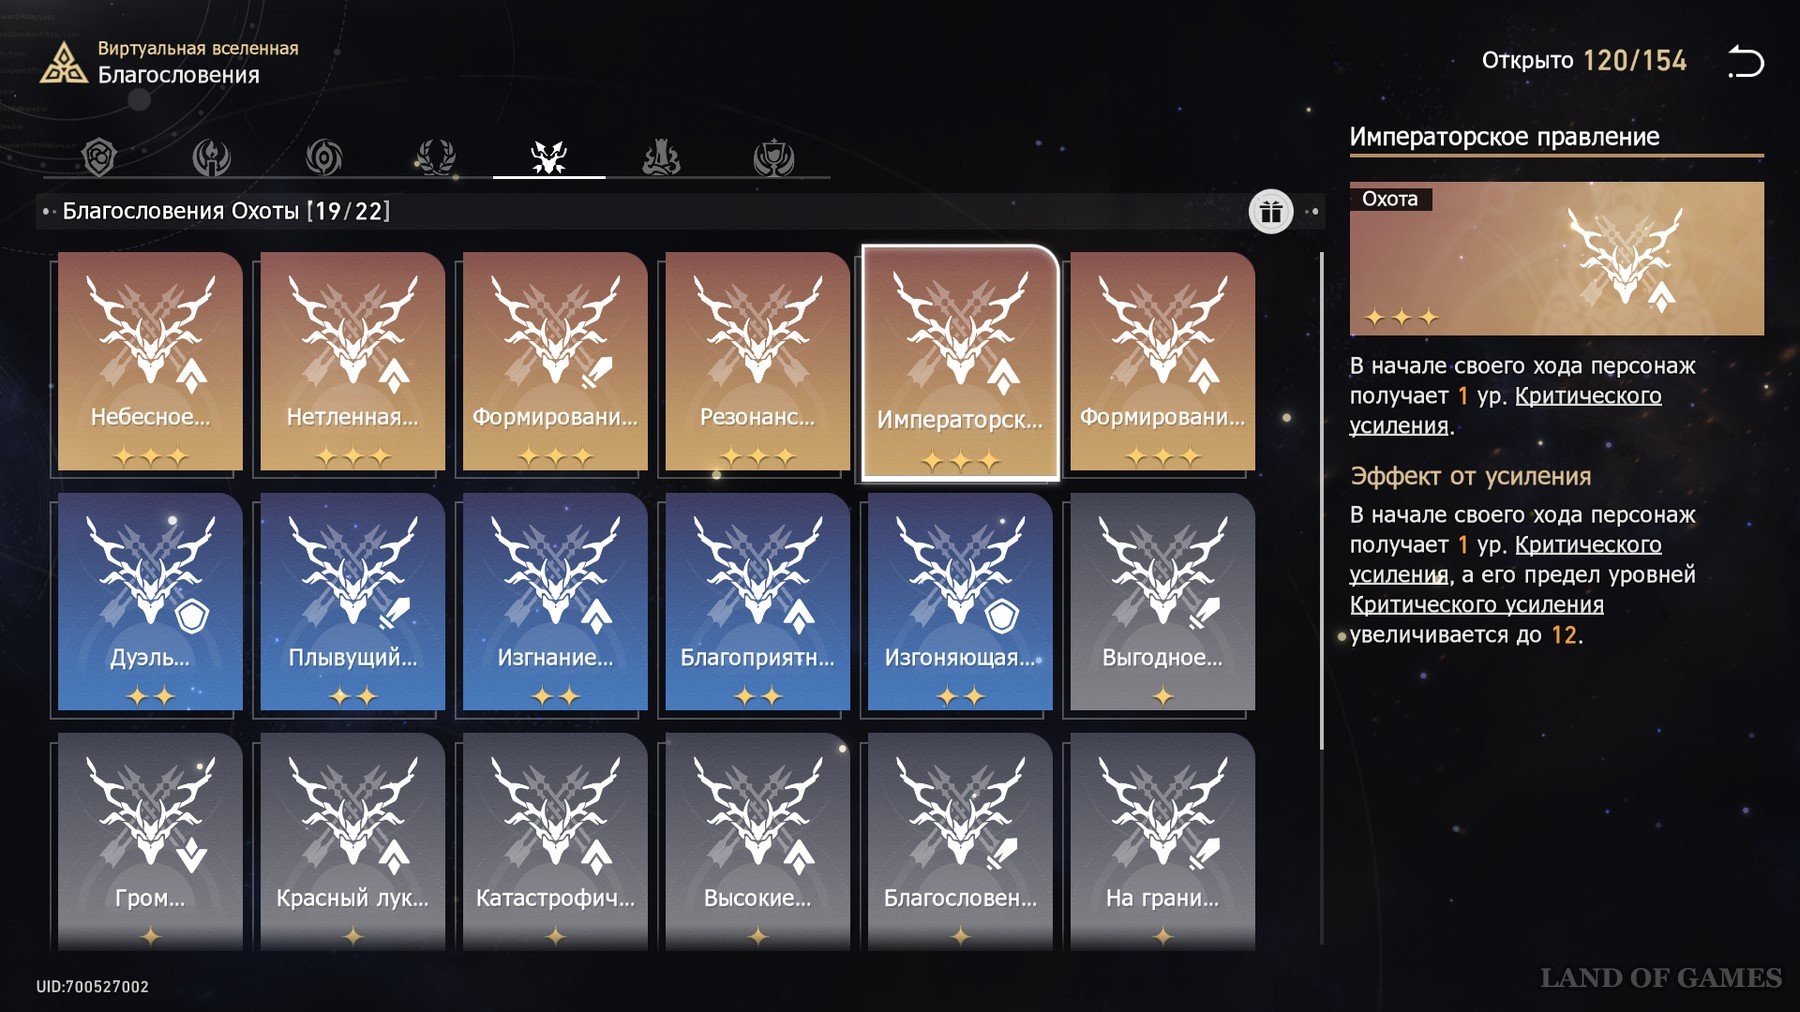
- Imperial rule (strengthened).
- Adept's Bow (Empowered) - When an ally uses a super ability or performs consecutive attacks, they have a chance to inherit a Critical Strike Buff and increase the number of buff stacks by 1.
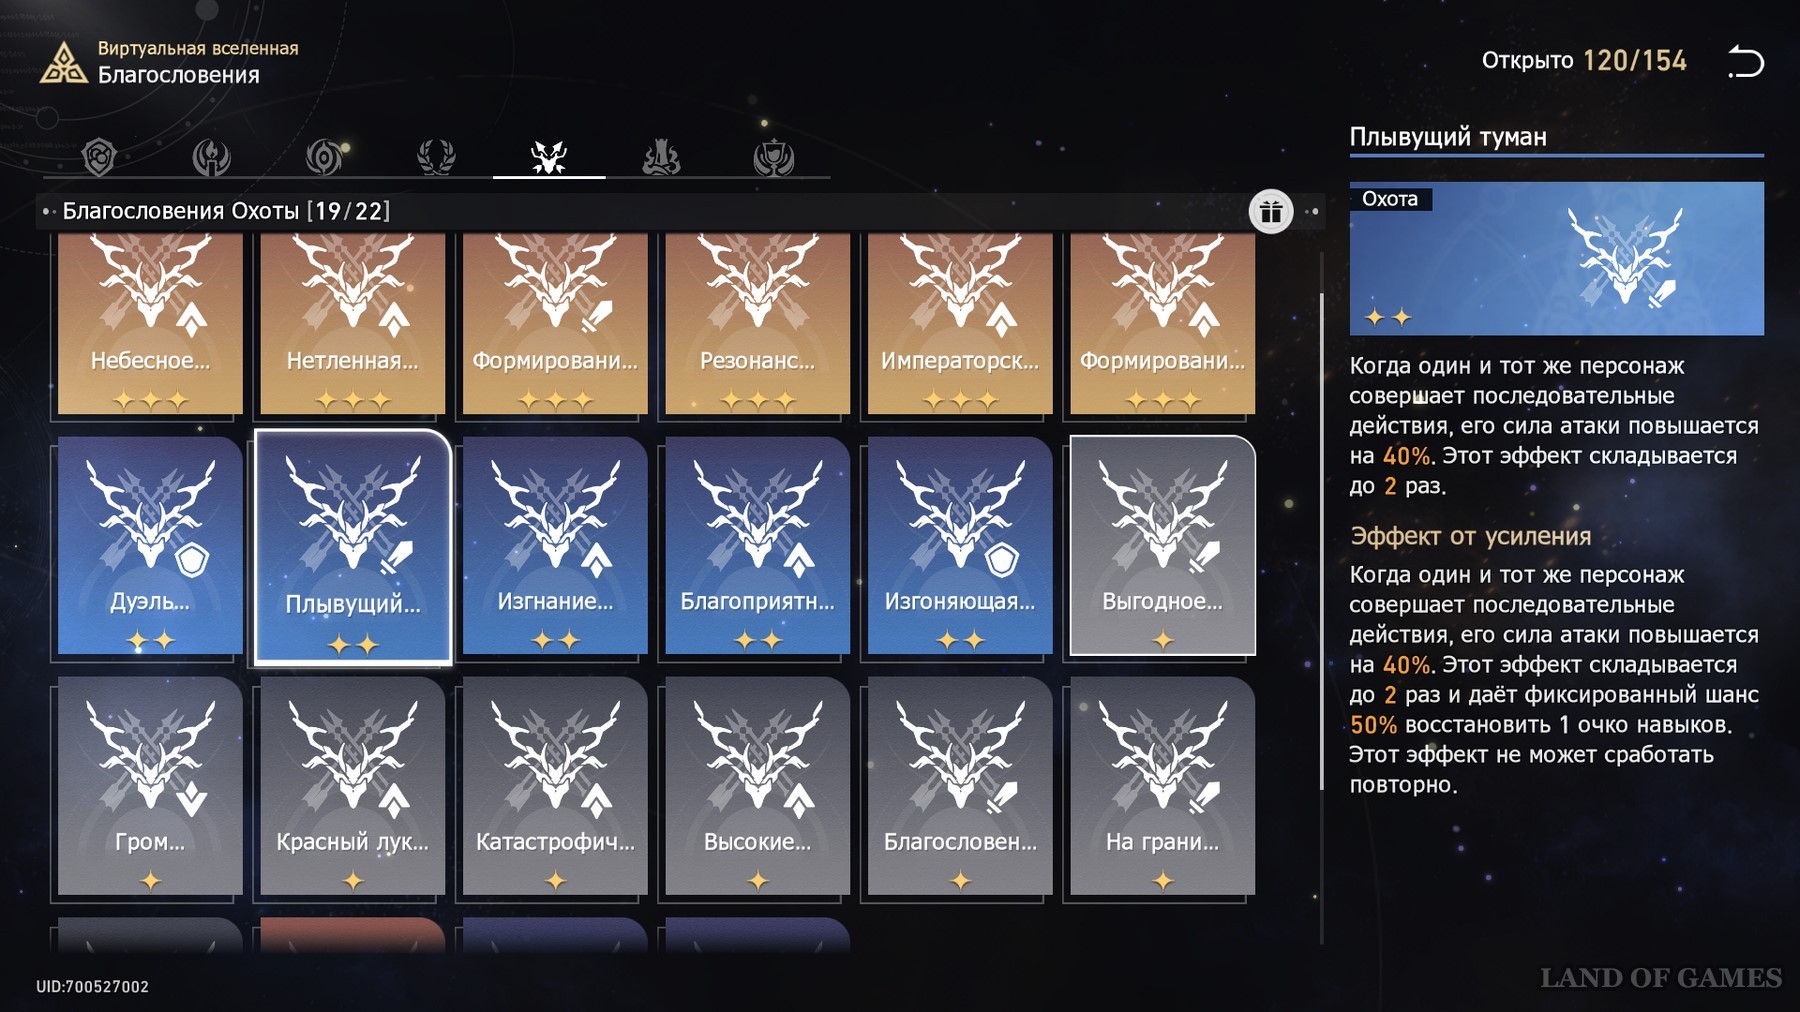
- Floating mist.
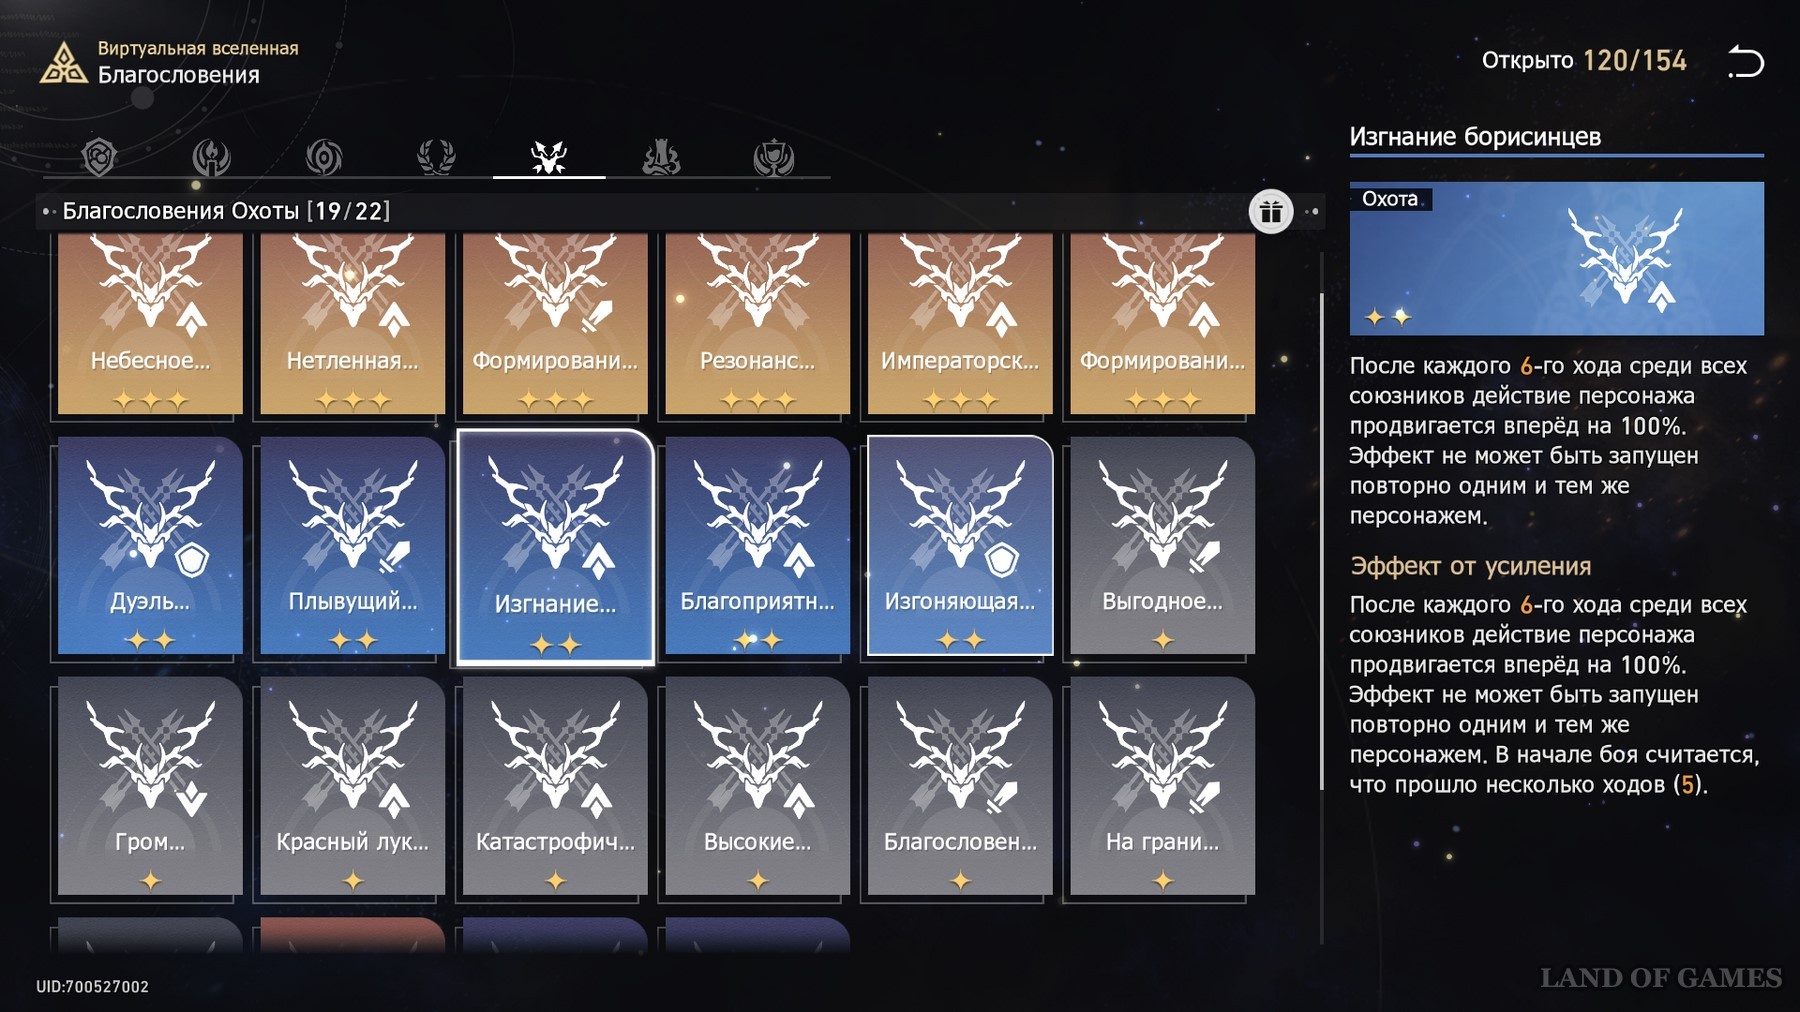
- The expulsion of Borisinians (enhanced).
- Old Enemy Battle (Enhanced) - If a character's Crit Chance is over 100% and they have a Critical Buff, then for every 1% Crit Chance above 100%, they gain an additional 3% Critical Damage. For each stack of critical amplification crt. damage is increased by another 0.2%. Maximum critical damage can be increased up to 200% this way.
- Favorable location.
- Thunder passes over the earth.
- catastrophic constellation.
- High aspirations.
- On the verge of life and death.


At the same time, it should be taken into account that although you will more often fall blessings of the path of the Hunt, their drop is still random. Therefore, if you do not see the necessary bonuses, then take buffs to increase damage from other paths. Naturally, the characters used should be taken into account. If you have damage dealers with bonus attacks, then take more blessings of Joy, and if with periodic damage, then take Non-Existence.
Also, don't forget to increase your team's survivability by sometimes taking blessings from the paths of Abundance and Preservation.
Abundance
Another suitable path for this challenge, especially if you use Baila instead of Natasha. The fact is that with the help of his resonance formations, you can not only quickly heal all your characters, but also remove Freeze from them.

The first step is to decide on the priority of choosing the resonance formations (if you were lucky enough to open them all):
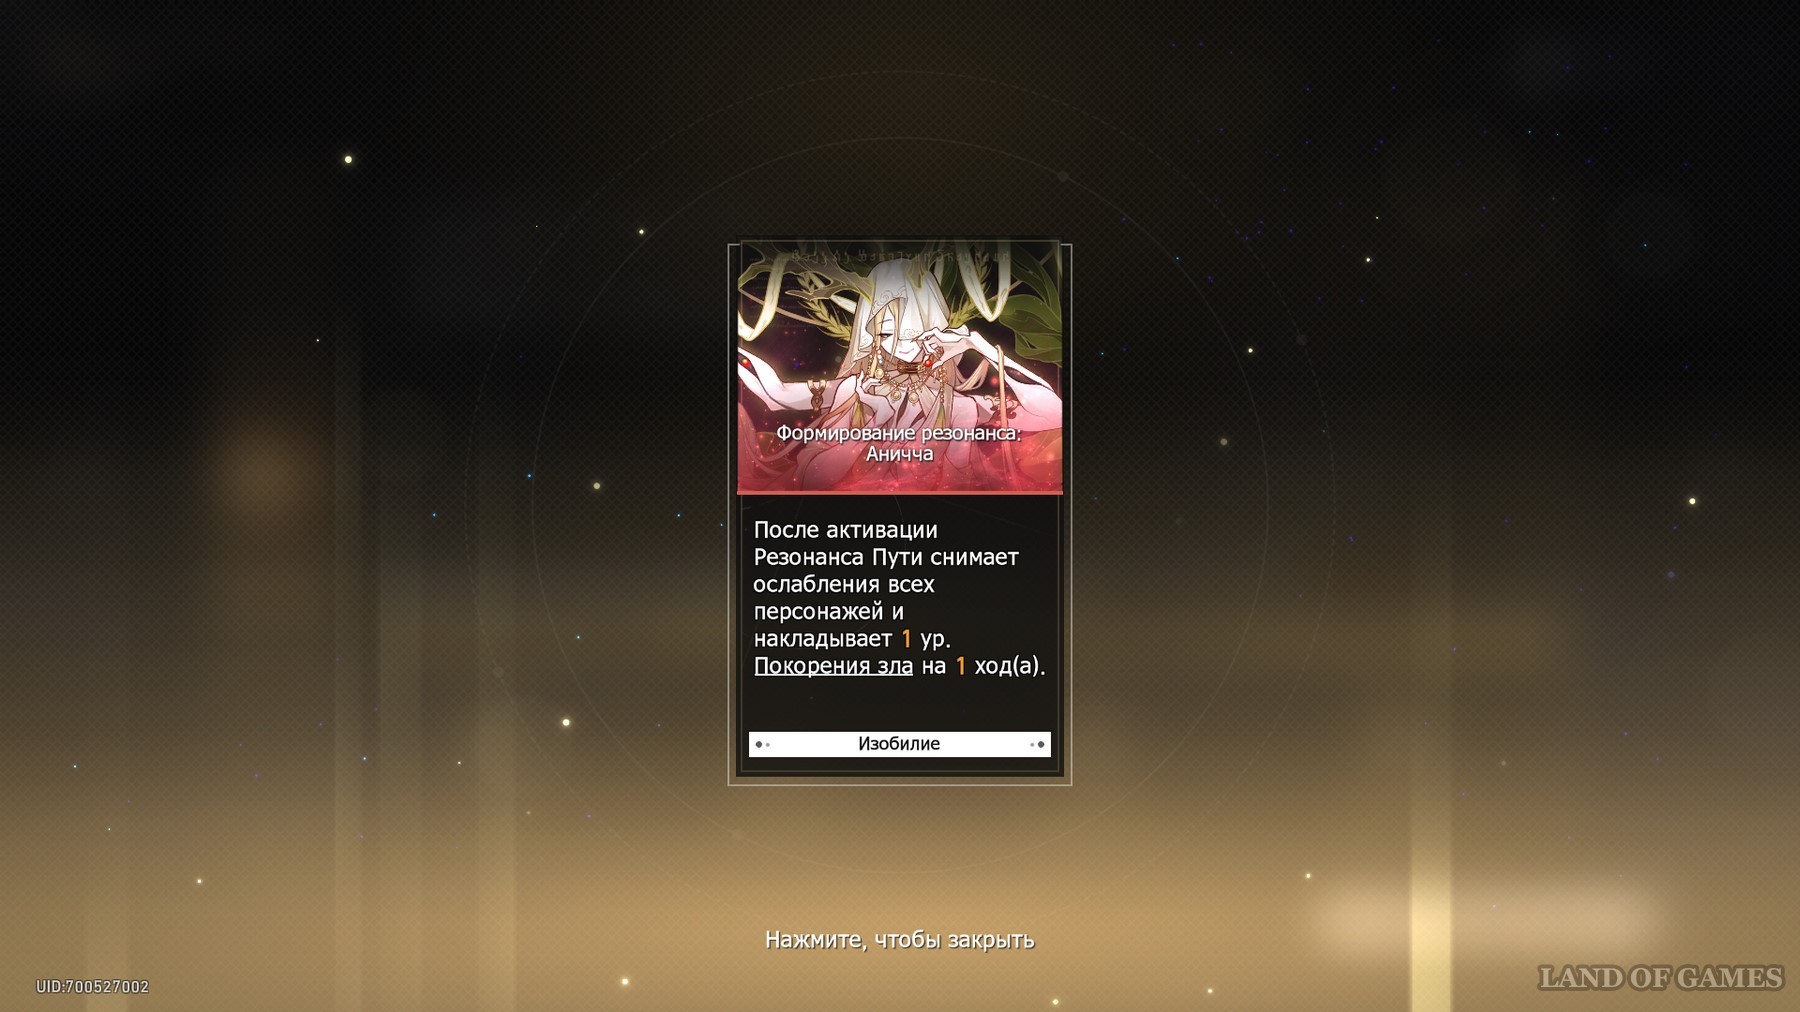
- Anicca - it is for him that you choose this Path, so this formation should be taken in the first place. It will allow you to unfreeze your heroes without any problems. So you should definitely collect at least 6 blessings of Abundance.
- Anatta - Gives a slightly weakened version of Path Resonance that appears in the Action Bar and activates automatically after a few turns. You'll be very lucky if it procs immediately after Cocolia's debuffs are applied, as you can then remove them immediately.
- Nirvana without a trace - in fact, resurrects one character per battle. Not a very useful bonus to fight this boss.
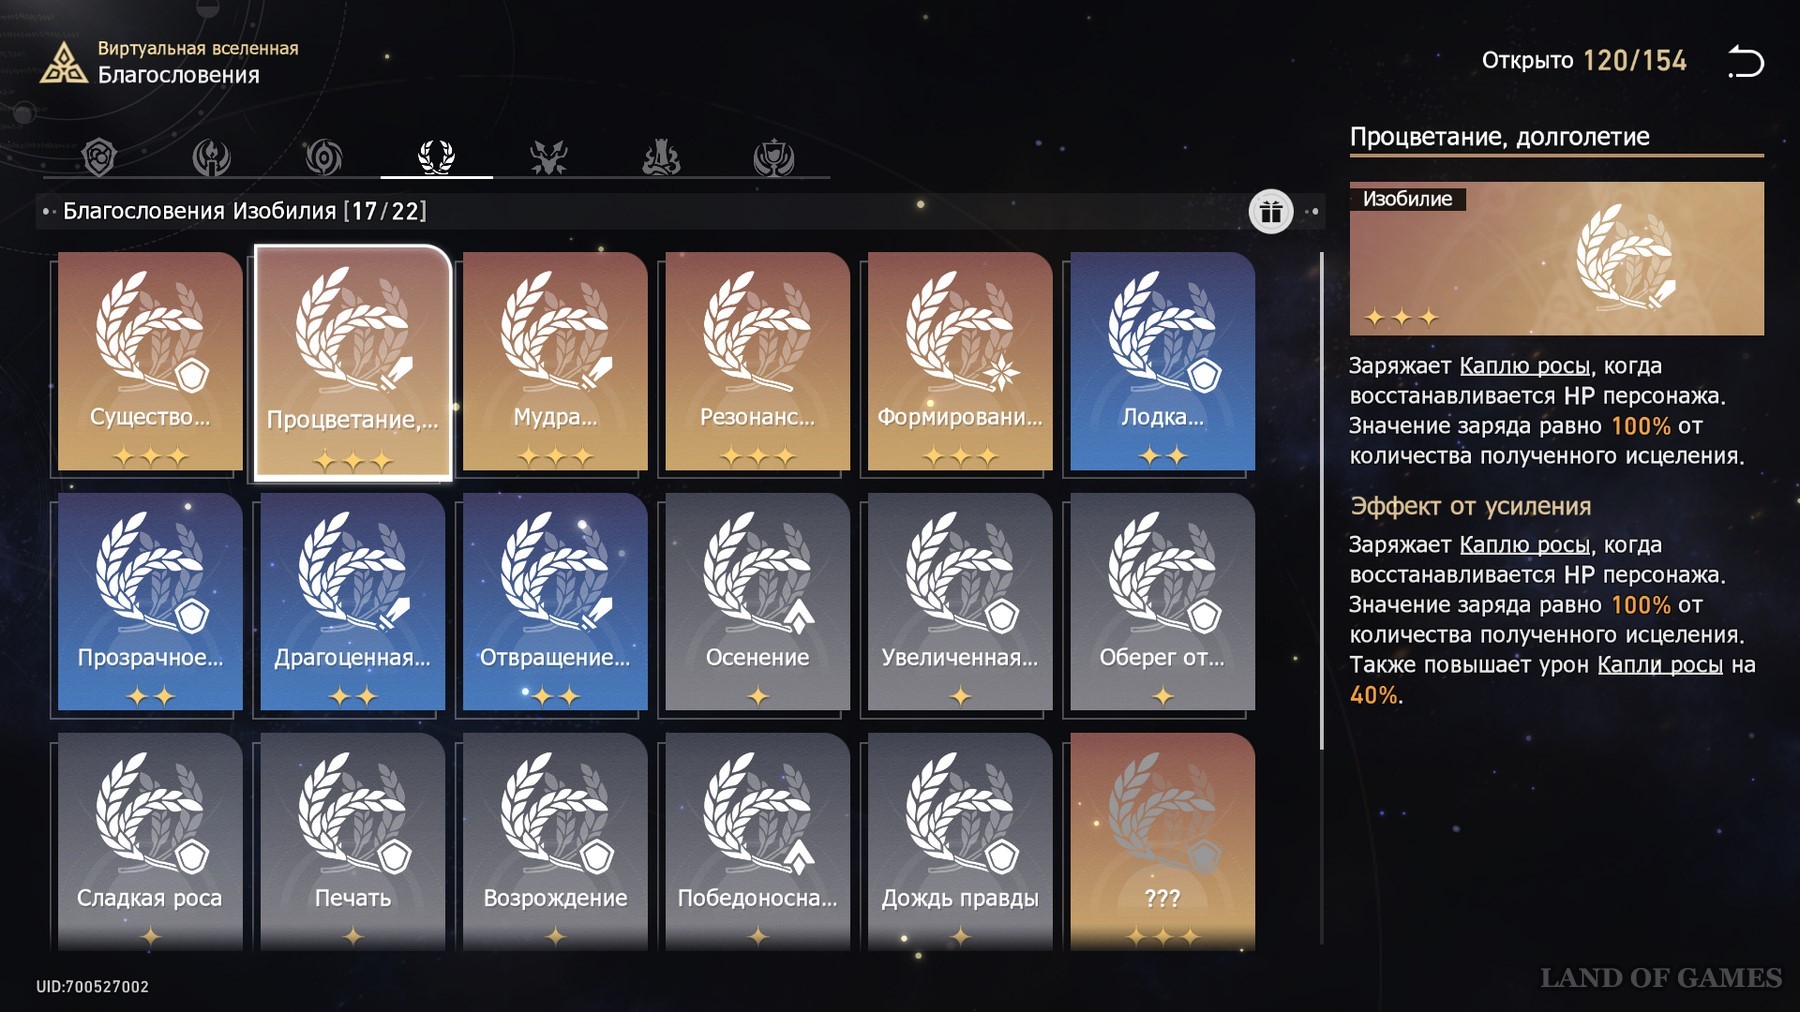
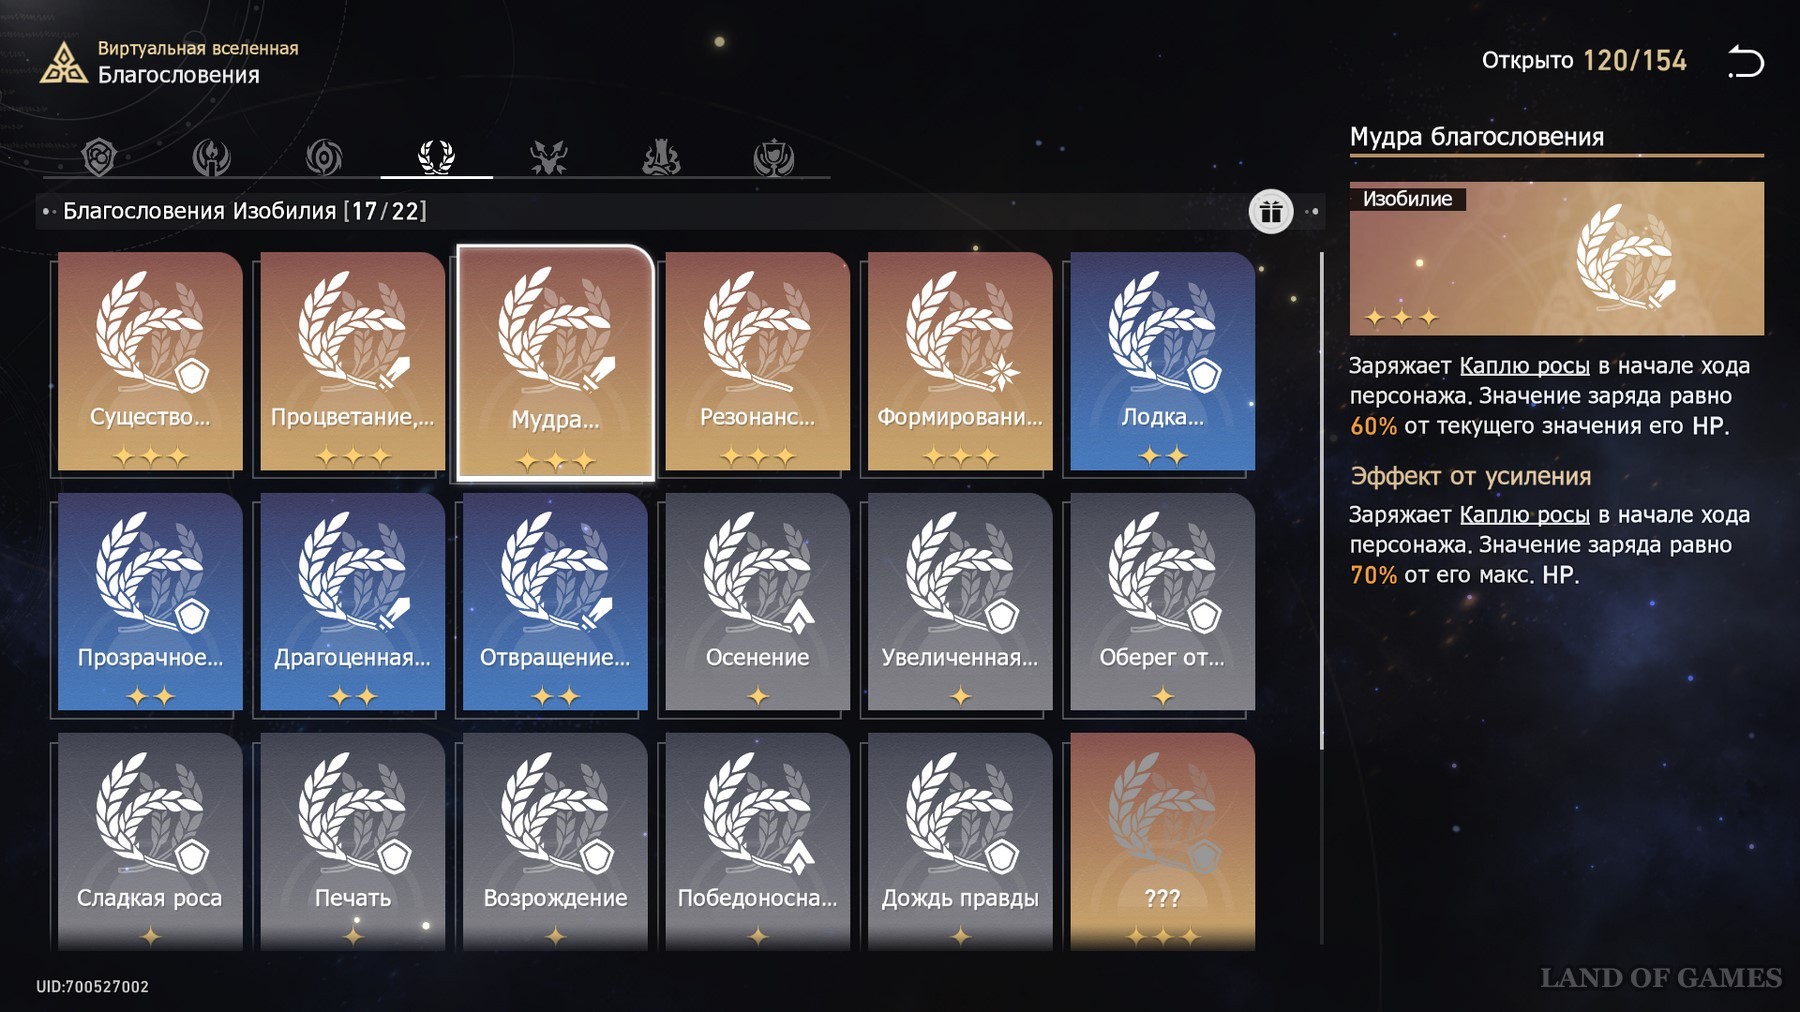
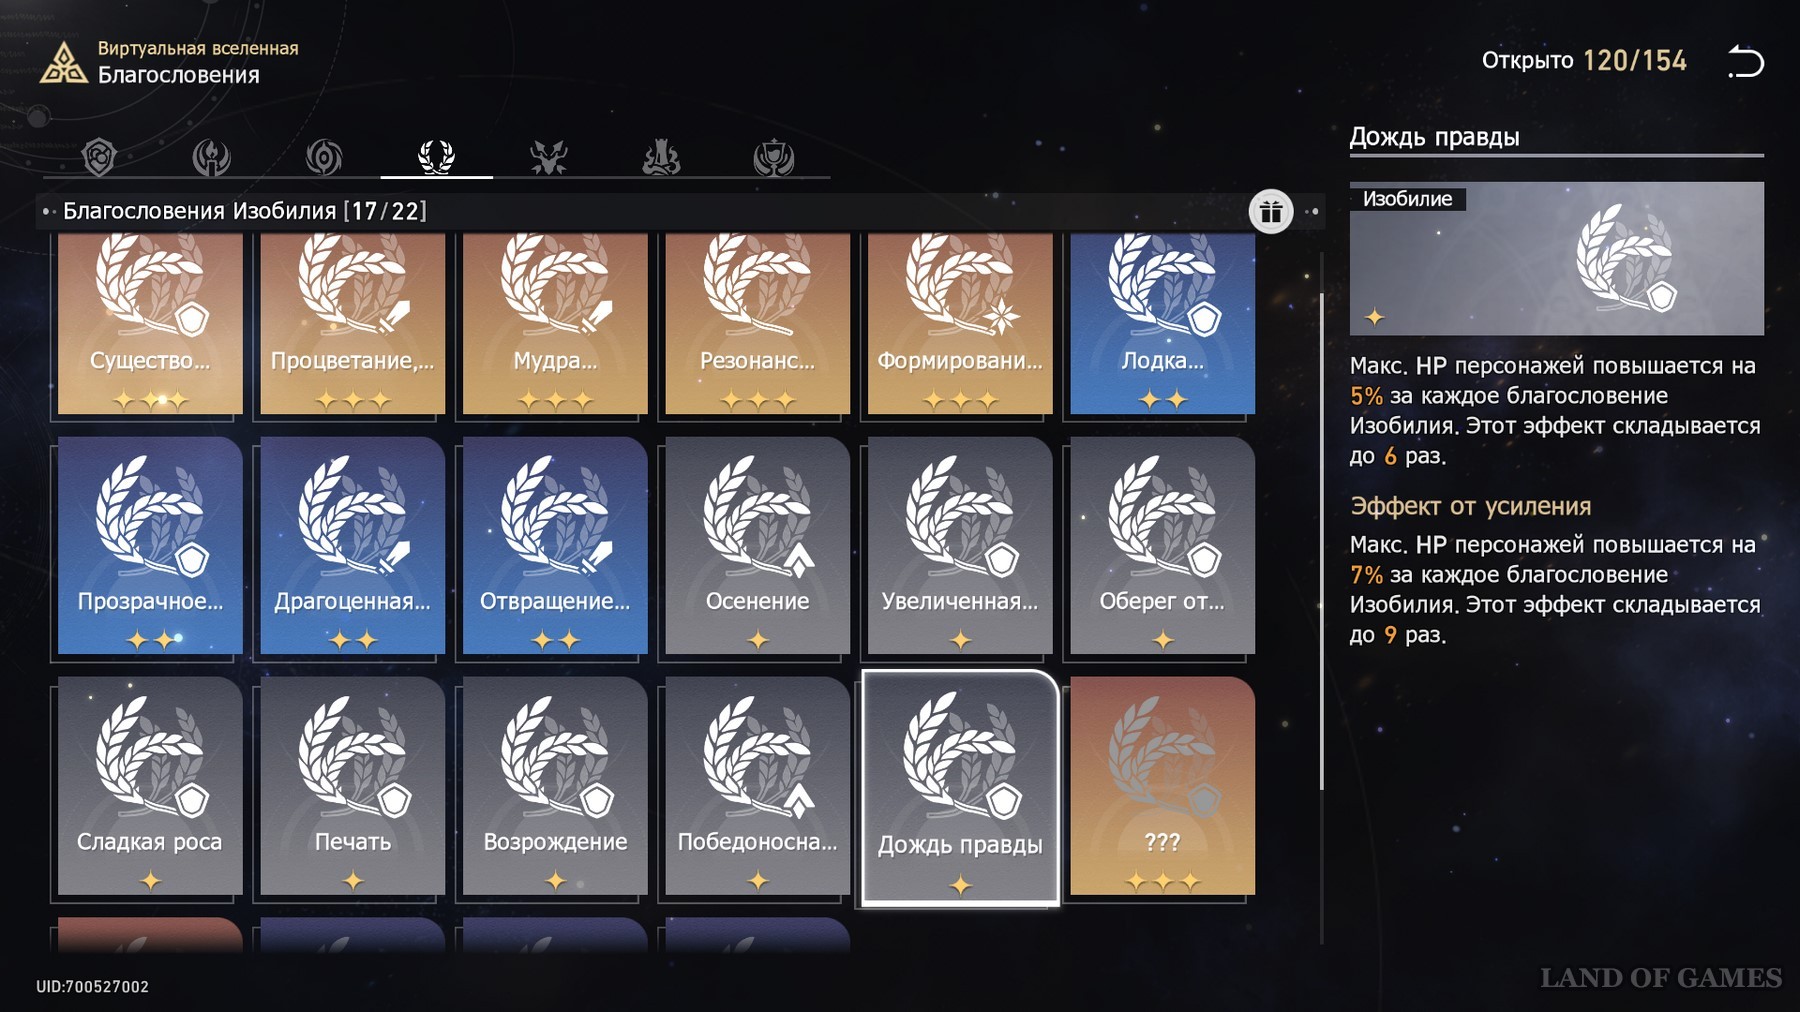
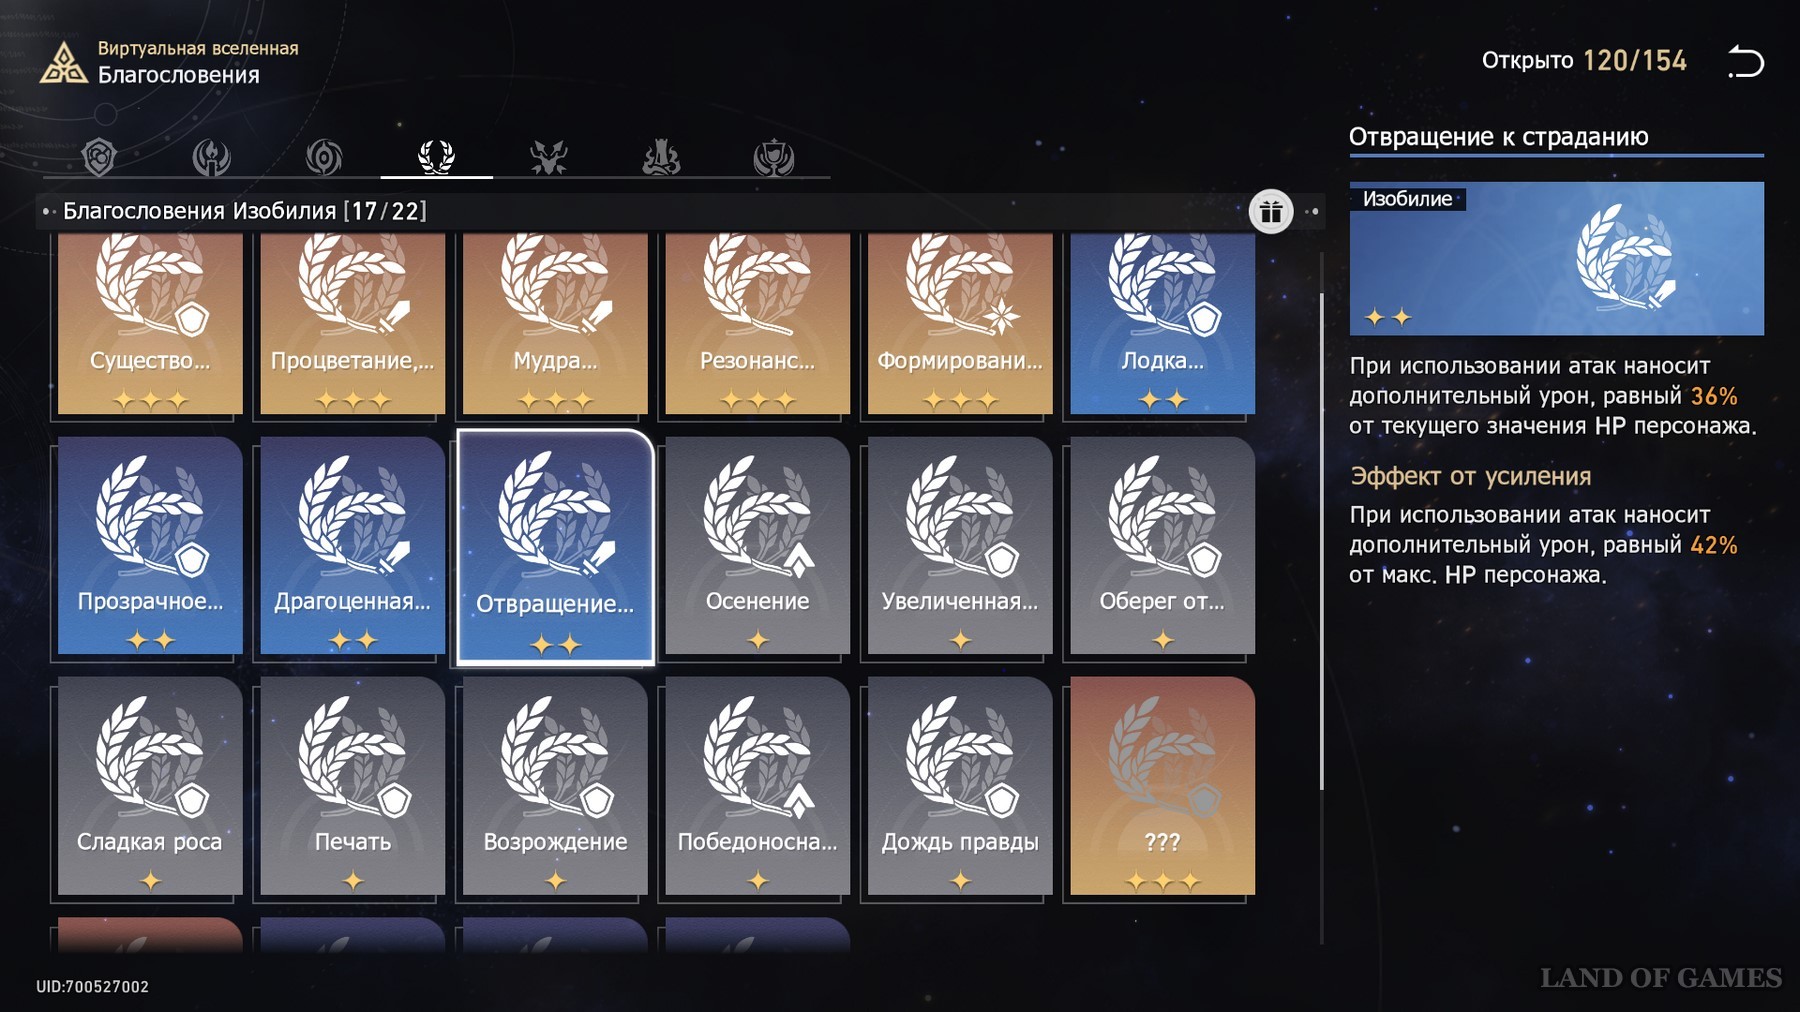
However, Abundance can also significantly boost your characters' damage output thanks to the "Dewdrop" mechanic. The amount of damage inflicted will mainly depend on the maximum HP of the heroes, which will not be a problem to increase with the help of one of the blessings of the path. Here is a list of all the most useful bonuses:
- Prosperity, longevity (enhanced).
- Mudra of blessing (enhanced).
- Curse Salvation - When the Dewdrop disappears, there is a 65% chance to remove 1 debuff from the character.
- Mortal Buddhafields (Enhanced) - When a character's current HP is equal to their maximum health, increases the efficiency of charging Dewdrops by 120%.
- Victorious force.
- Rain of Truth (enhanced).
- Aversion to suffering.
- Jeweled Moonlight Candle (enhanced).


At the same time, it should be taken into account that although you will receive the blessings of the path of Abundance more often, their drop is still random. Therefore, if you do not see the necessary bonuses, then take buffs to increase damage (Hunting) or protection (Save) from other categories.
Nothingness
This path is aimed at increasing the periodic damage, which includes Shock and Burn. Thanks to Asta and Serval, you will be able to apply these debuffs to enemies even without breaking through their vulnerabilities. As a result, many ordinary mobs will simply die from collateral damage. Thanks to some blessings, you can restore energy, heal characters, weaken the defense of enemies, and do many other useful things.
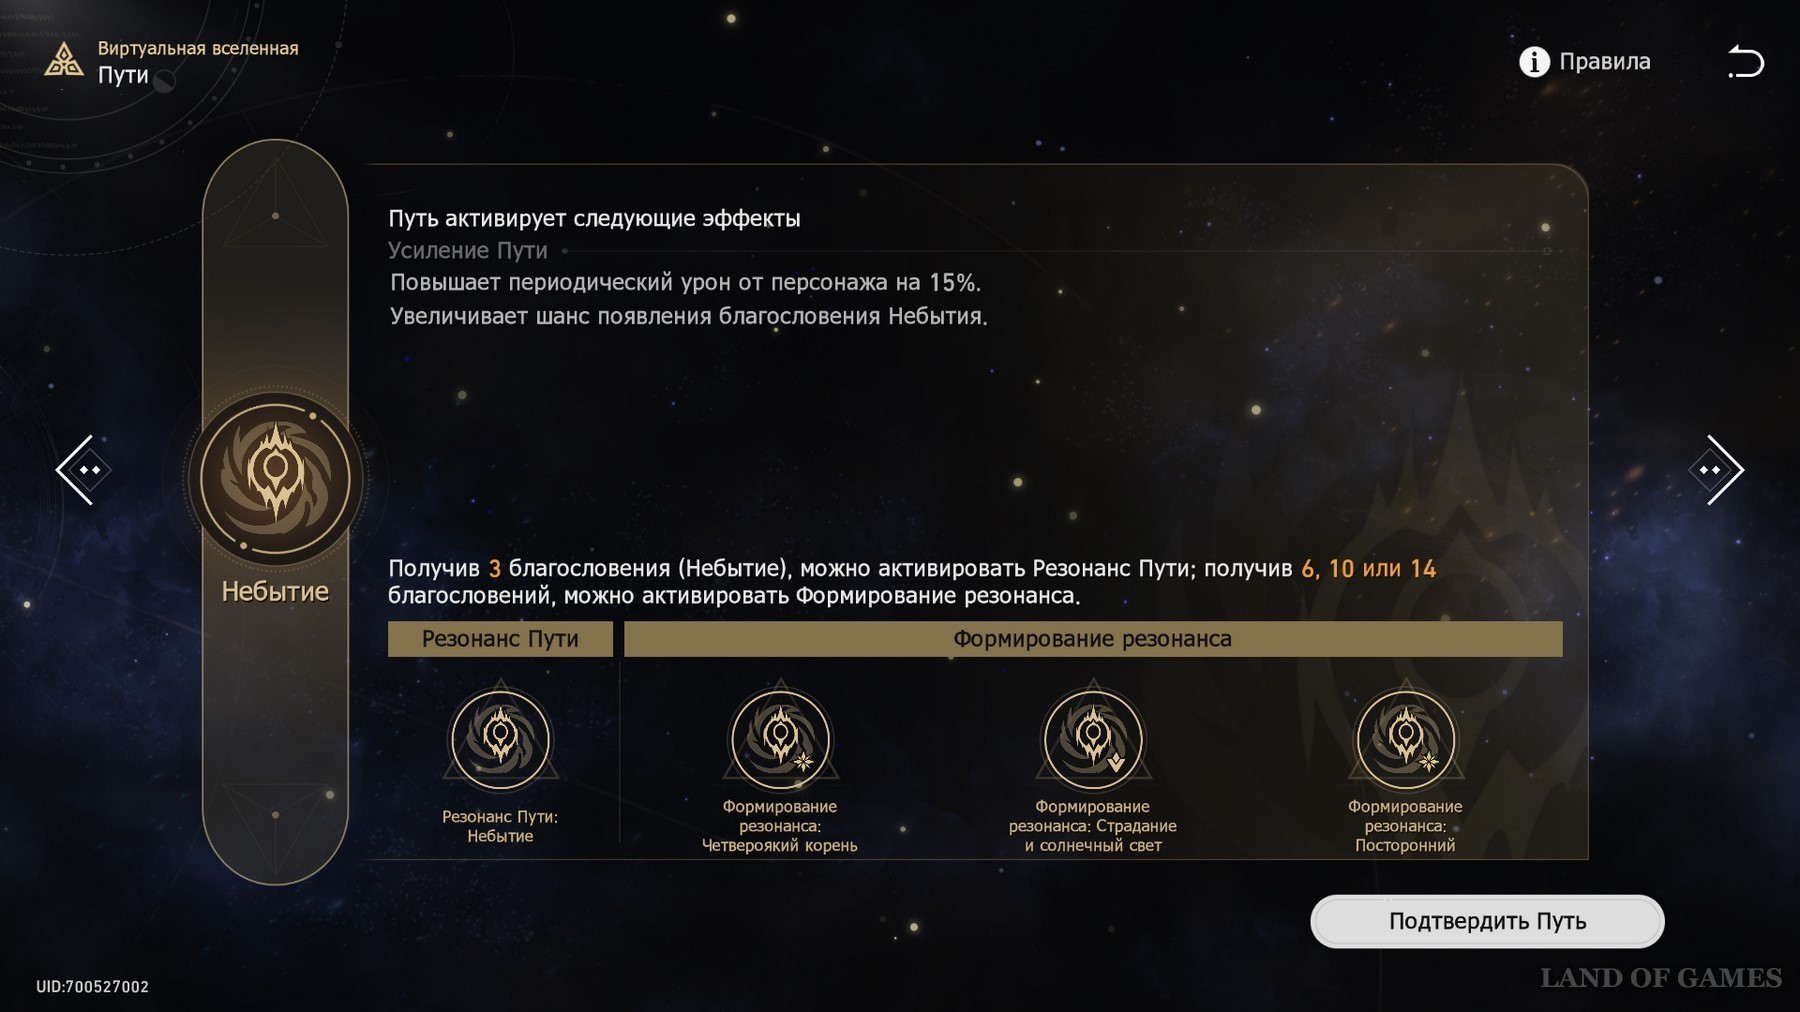
The first step is to decide on the priority of choosing the resonance formations (if you were lucky enough to open them all):
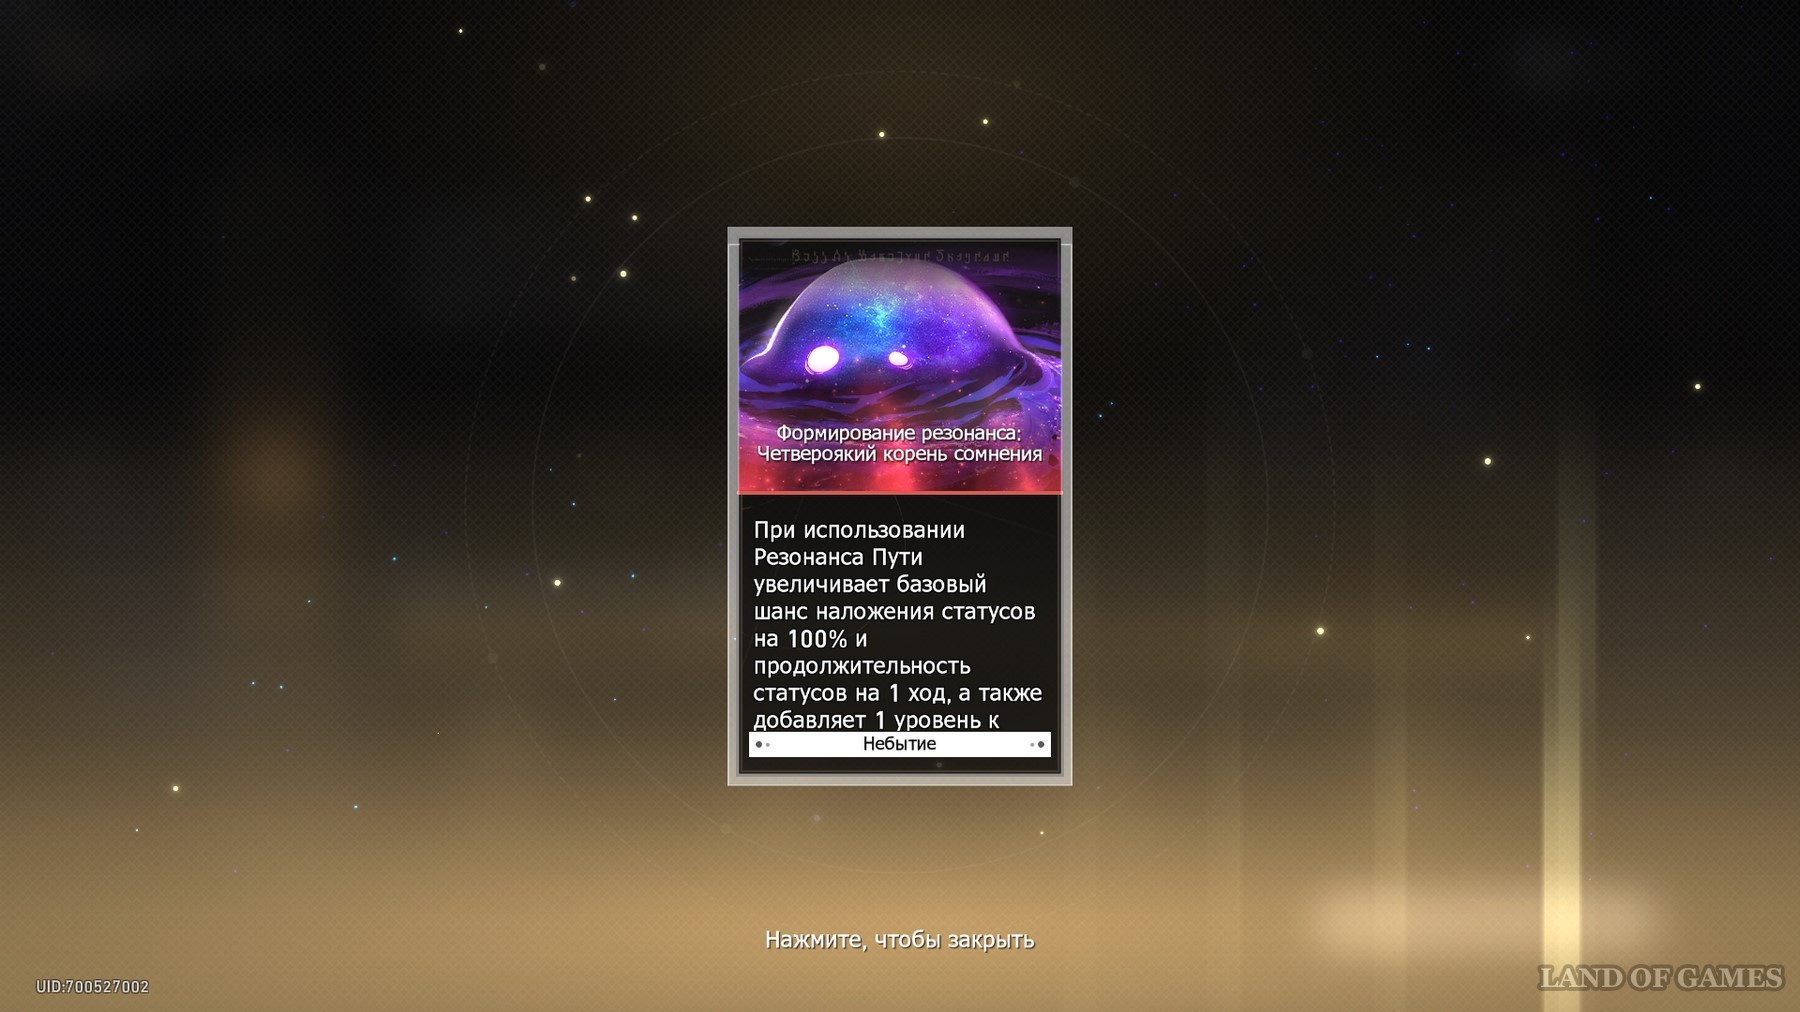
- Quadruple Root is an extremely simple bonus that greatly increases the damage of your debuffs. Thus, you can quickly destroy any ordinary opponents, which include the icicles of Kokoliya.
- Suffering and Sunshine - Inflicts Confusion and Deprivation on enemies. The former deals reduced damage from debuffs instantly when a vulnerability is breached (your damage-over-time blessings are immediately activated, allowing you to gain additional healing or energy), and the latter reduces stamina regen, making it easier for you to penetrate it later.
- Outsider - Speeds up path resonance recovery, which is also useful, but not as much as the previous two bonuses.
As for blessings, some of the more important ones don't even involve damage. For example, Before Dawn and Gift of Deceit will definitely come in handy: the former supplies the characters with energy, and the latter heals them, which will allow you to significantly increase the survivability of the team and use superpowers more often. We also recommend that you look into Night Beyond the Campfire, which increases the effectiveness of breach penetration, making Kokoliya and other elite enemies more knocked out.
Of course, there are blessings that increase periodic damage as well. For example, "Hell Is Others" is great for crowd control, allowing you to quickly spread LA from one target to another (which is quite useful with Kokoliya's icicles), and "Twilight of Genesis" gives you the ability to regularly apply debuffs to enemies.
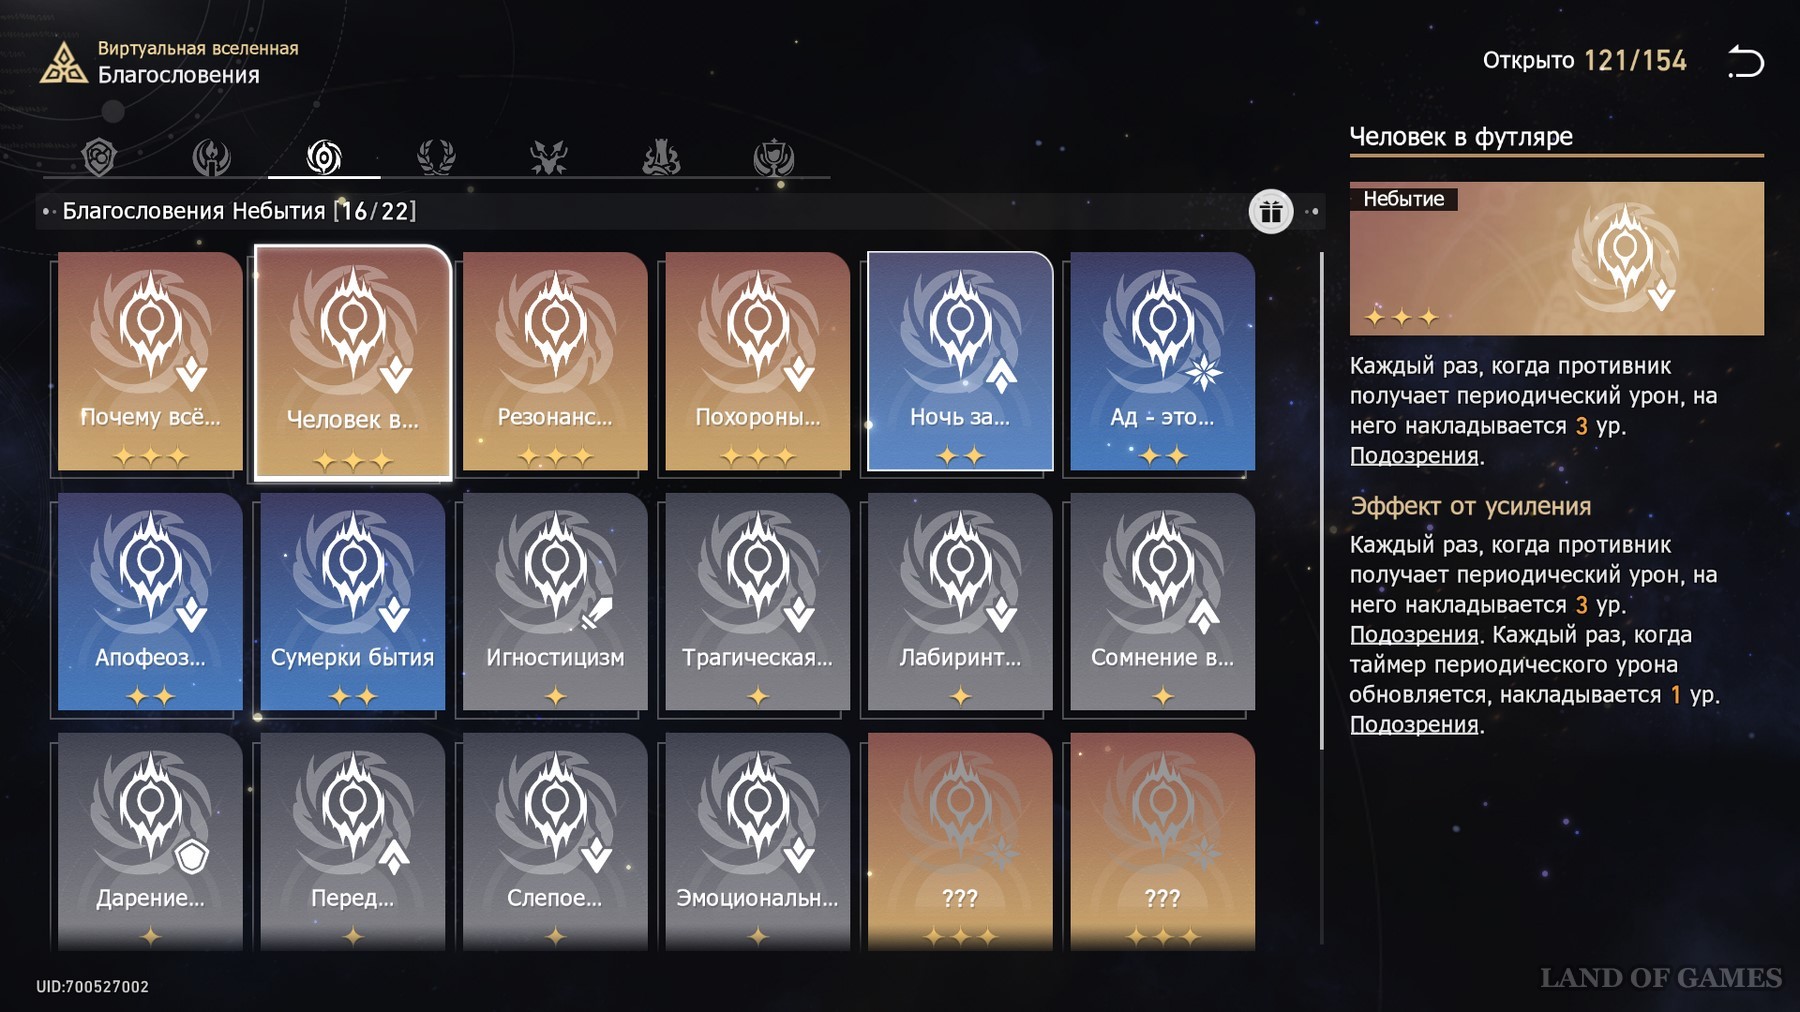
Plus, any blessing that grants additional levels of Suspicion is an excellent way to increase the overall combat potential of the squad. Each stack increases damage over time by 1%.
General Tips for Clearing World 6
When choosing any of the three paths above, your main goal will be to collect the appropriate blessings until you get two resonance formations (choose the ones we have prioritized). To do this, you will need to get 10 path buffs, which can be quite difficult if luck is not on your side. Without these bonuses, the fight with Kokoliya will be much more difficult, since you won’t be able, for example, to remove debuffs from characters or quickly deal with icicles.

In the first zone, you will have the opportunity to get 4 cards (we advise you to choose one more before starting the passage). It is highly desirable that already in it you can open the Resonance of the path. If this does not happen, then go to the next area, and then exit the World and start clearing it from the very beginning. Do this until you get the desired result.
To maximize the chances of getting the desired blessings, try to keep a 2 to 1 ratio regarding the choice of battle zones and events. The former guarantee you at least one buff, and sometimes two. In events, they drop much less frequently. You can also spend Space Fragments at Recreation Areas to buy 1-star bonuses - be sure to take advantage of this option if you're running low on blessings.

Battles in the early stages are unlikely to cause you problems with proper leveling of heroes. Serious danger can arise when fighting a second elite enemy with a significant amount of health, or as part of an event where two mini-bosses can attack you at once. However, if you have at least one Resonance Formation open, then you should defeat them without much difficulty.
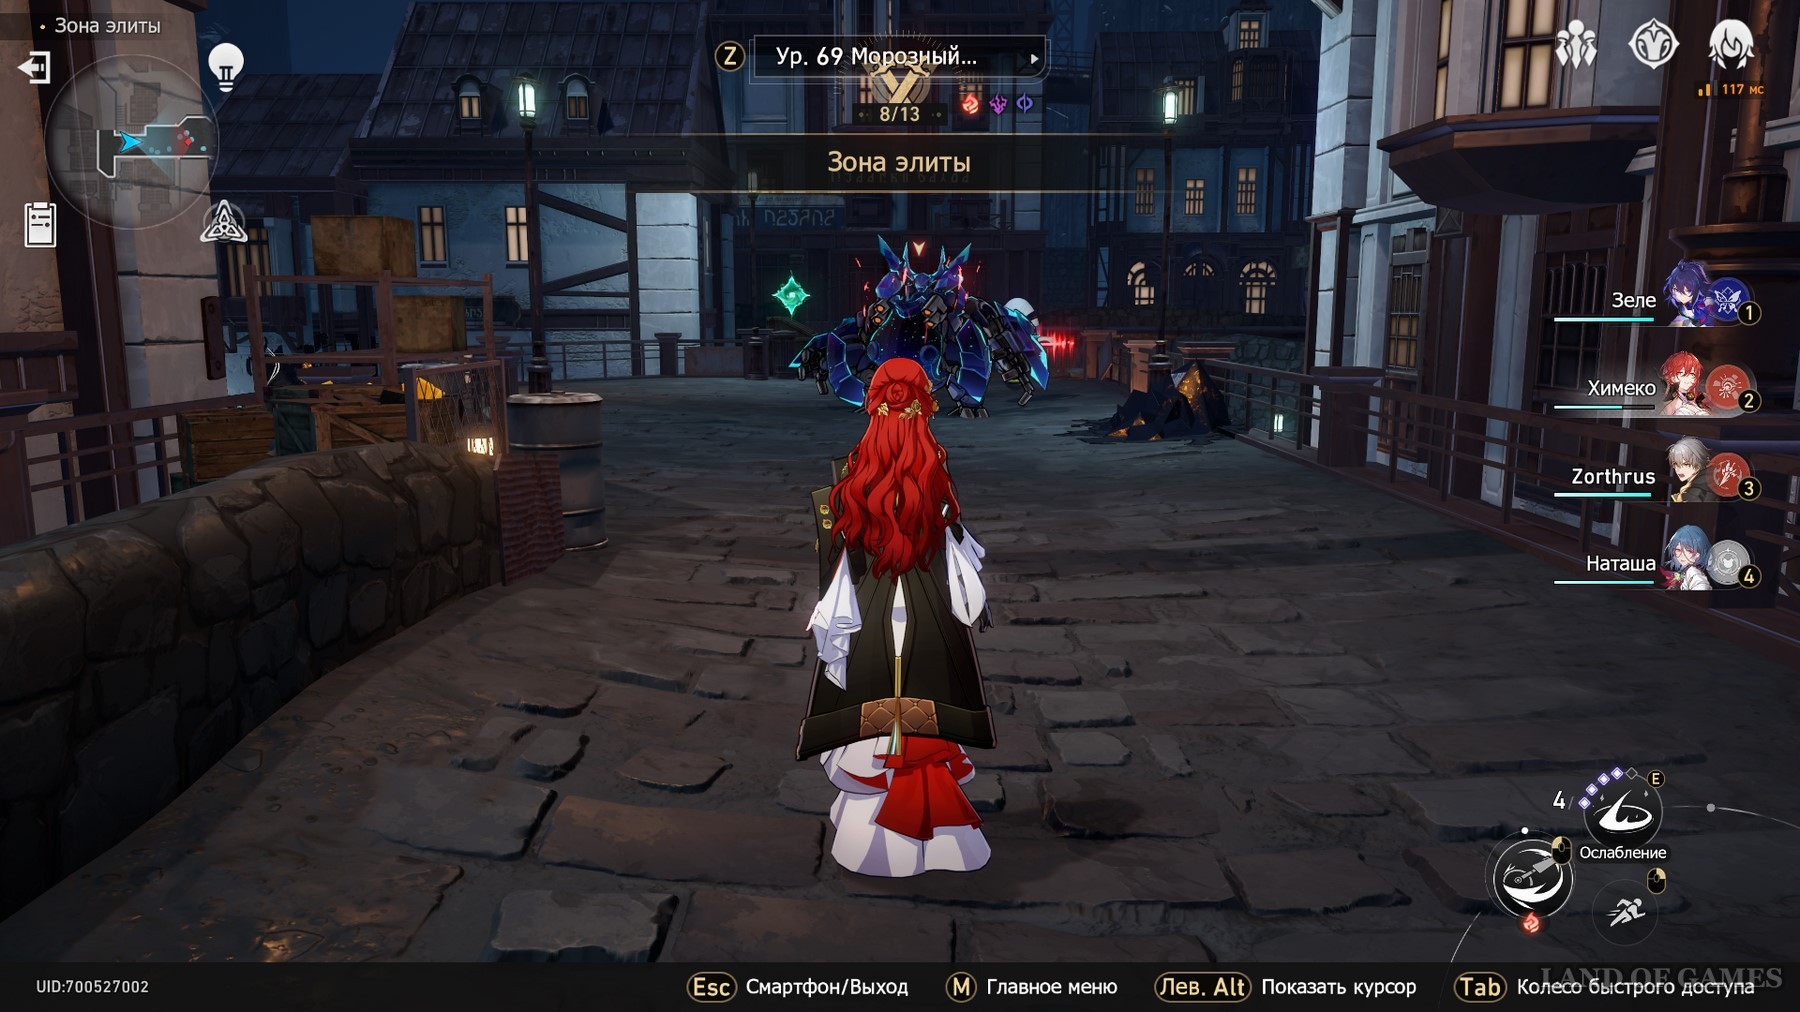
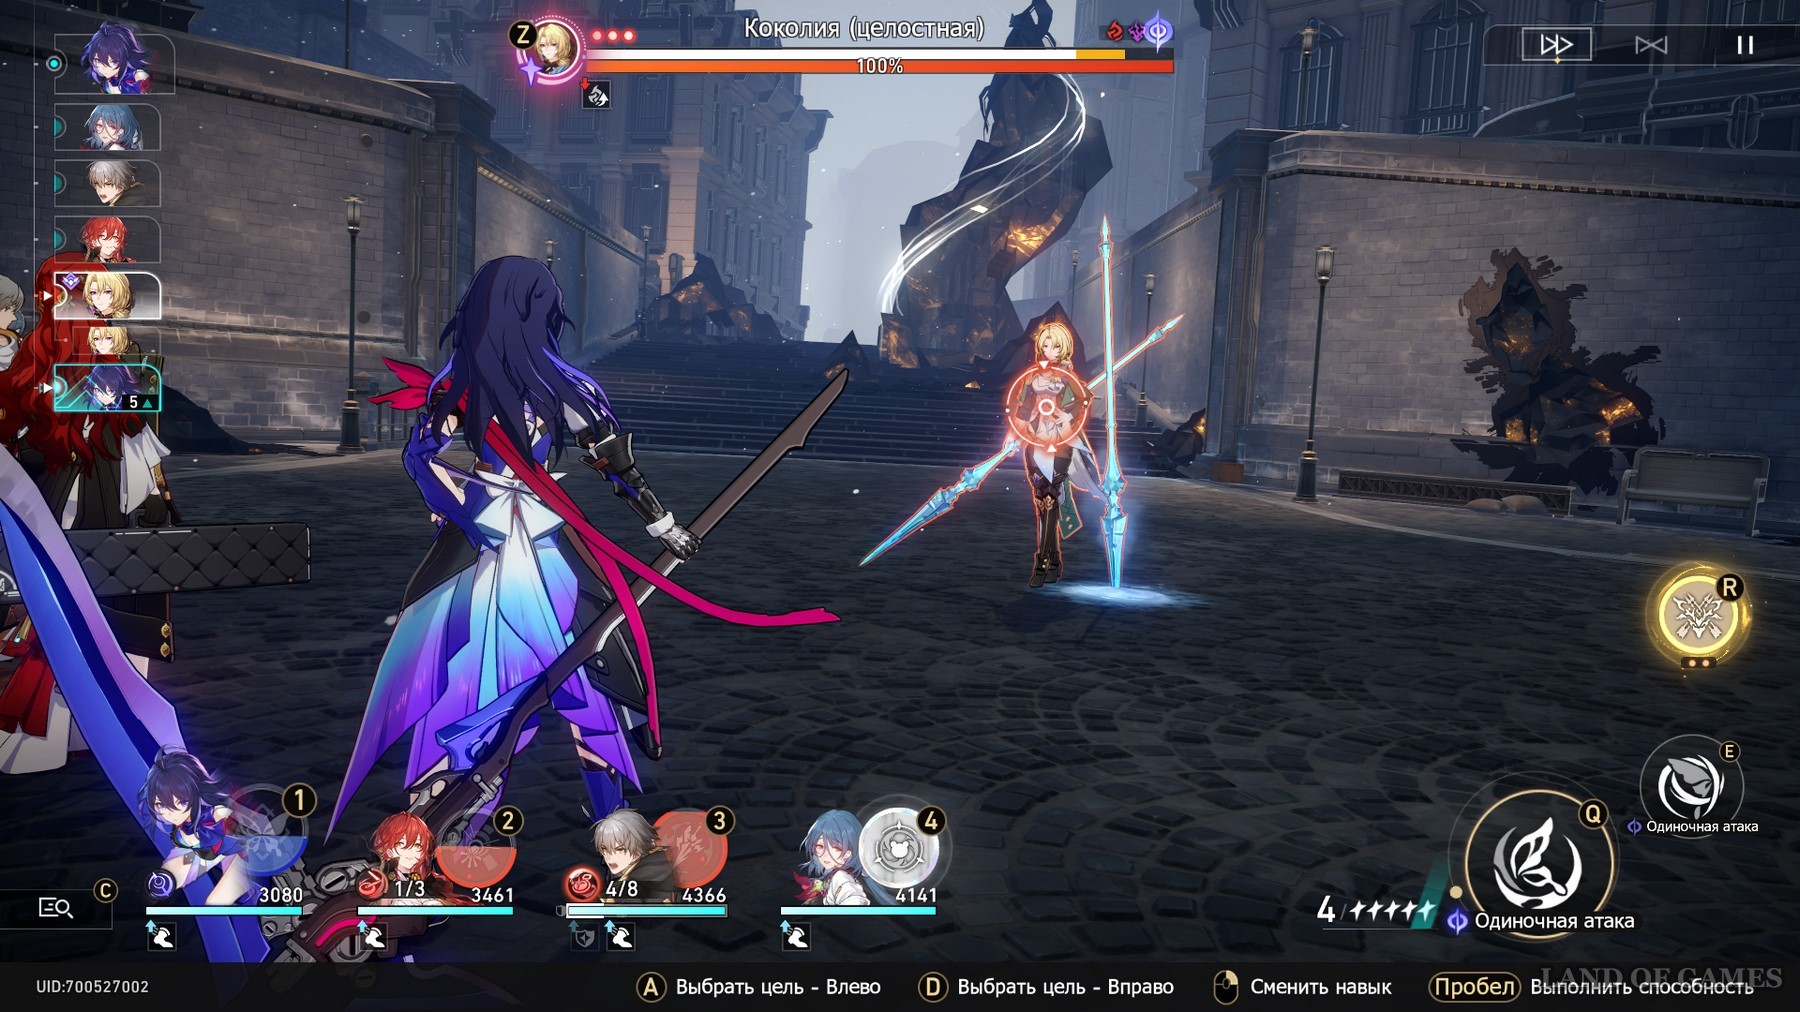
How to beat Kokoliya
In World 6, at the end, you have to fight Kokoliya, the supreme guardian of Belobog. The fight with her will consist of three phases. We will consider each of them, as they have a number of differences from each other.
Phase 1
Be aware that Kocolia and all mobs (including Armor in phase 2) accumulate a damage increase buff when your characters are Freeze. As a result, the longer the battle goes on, the stronger the enemies become. Given this information, here are some tips for fighting the boss in the first stage:
- Focus all your attacks on Kokoliya, as the faster you kill her, the less likely she is to one-shot your heroes in the end.
- As for the icicles, hit them with AoE attacks and/or Path Resonance.
- Although removing Freeze from heroes will slow down Kokoliya's buff, we still advise spending skill points on dealing damage to the boss, and not on removing debuffs. However, if you have Anicca and Anatta resonance formations, you won't be afraid of any debuffs.
Phase 2
At this stage, the fight will become much more difficult, as the boss will call on Armor to help him and begin to create two icicles. We recommend that you deal with the Armor as soon as possible, as it not only deals a lot of damage, but also pushes Kokoliya's actions forward, forcing her to walk more often. You need to make sure to kill her before the start of the third phase.
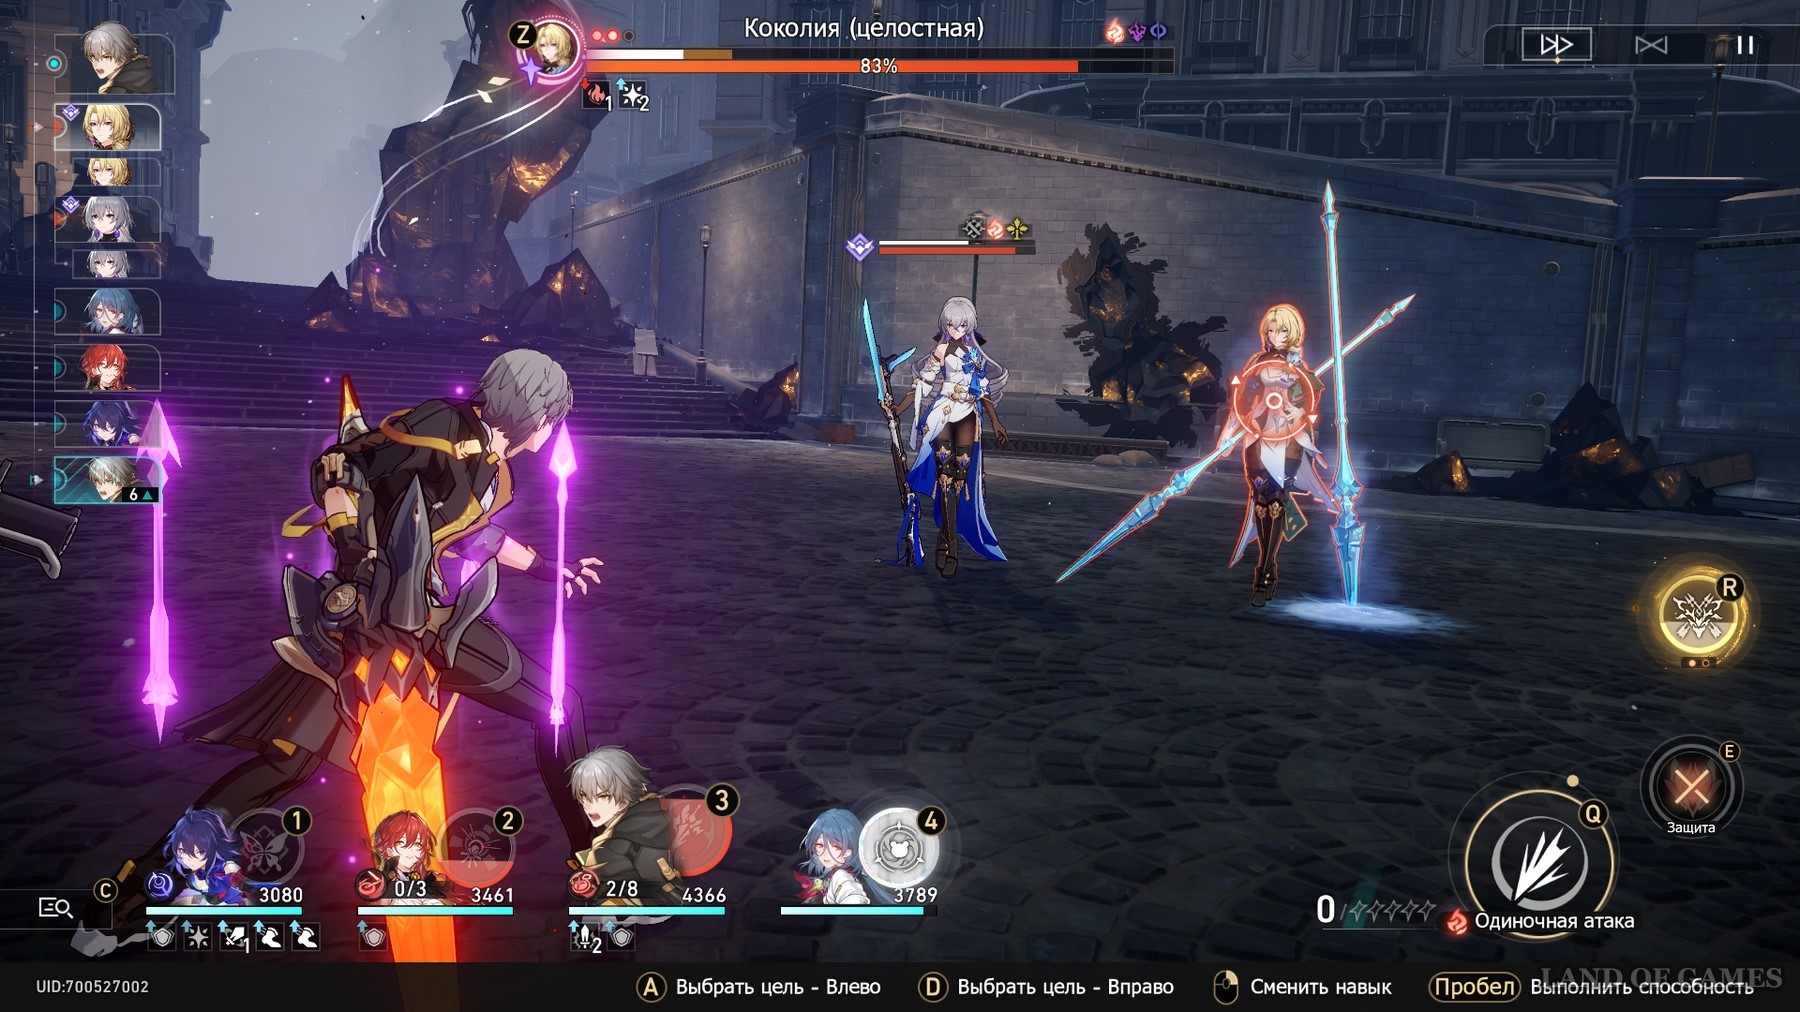
On the hunting path, you can finish off the Armor with the help of a double resonance of the path, abundance - use the attacks of your characters without caring about their health, and non-existence - simply apply debuffs with periodic damage.
Phase 3
It is at this stage that Kokoliya will begin to freeze your heroes as often as possible. Plus, your team will be constantly exposed to ice bombardment, which can also lead to freezing fighters. At the same time, the boss will deal double attacks on frozen targets, and his damage due to the buff will be incredibly large.
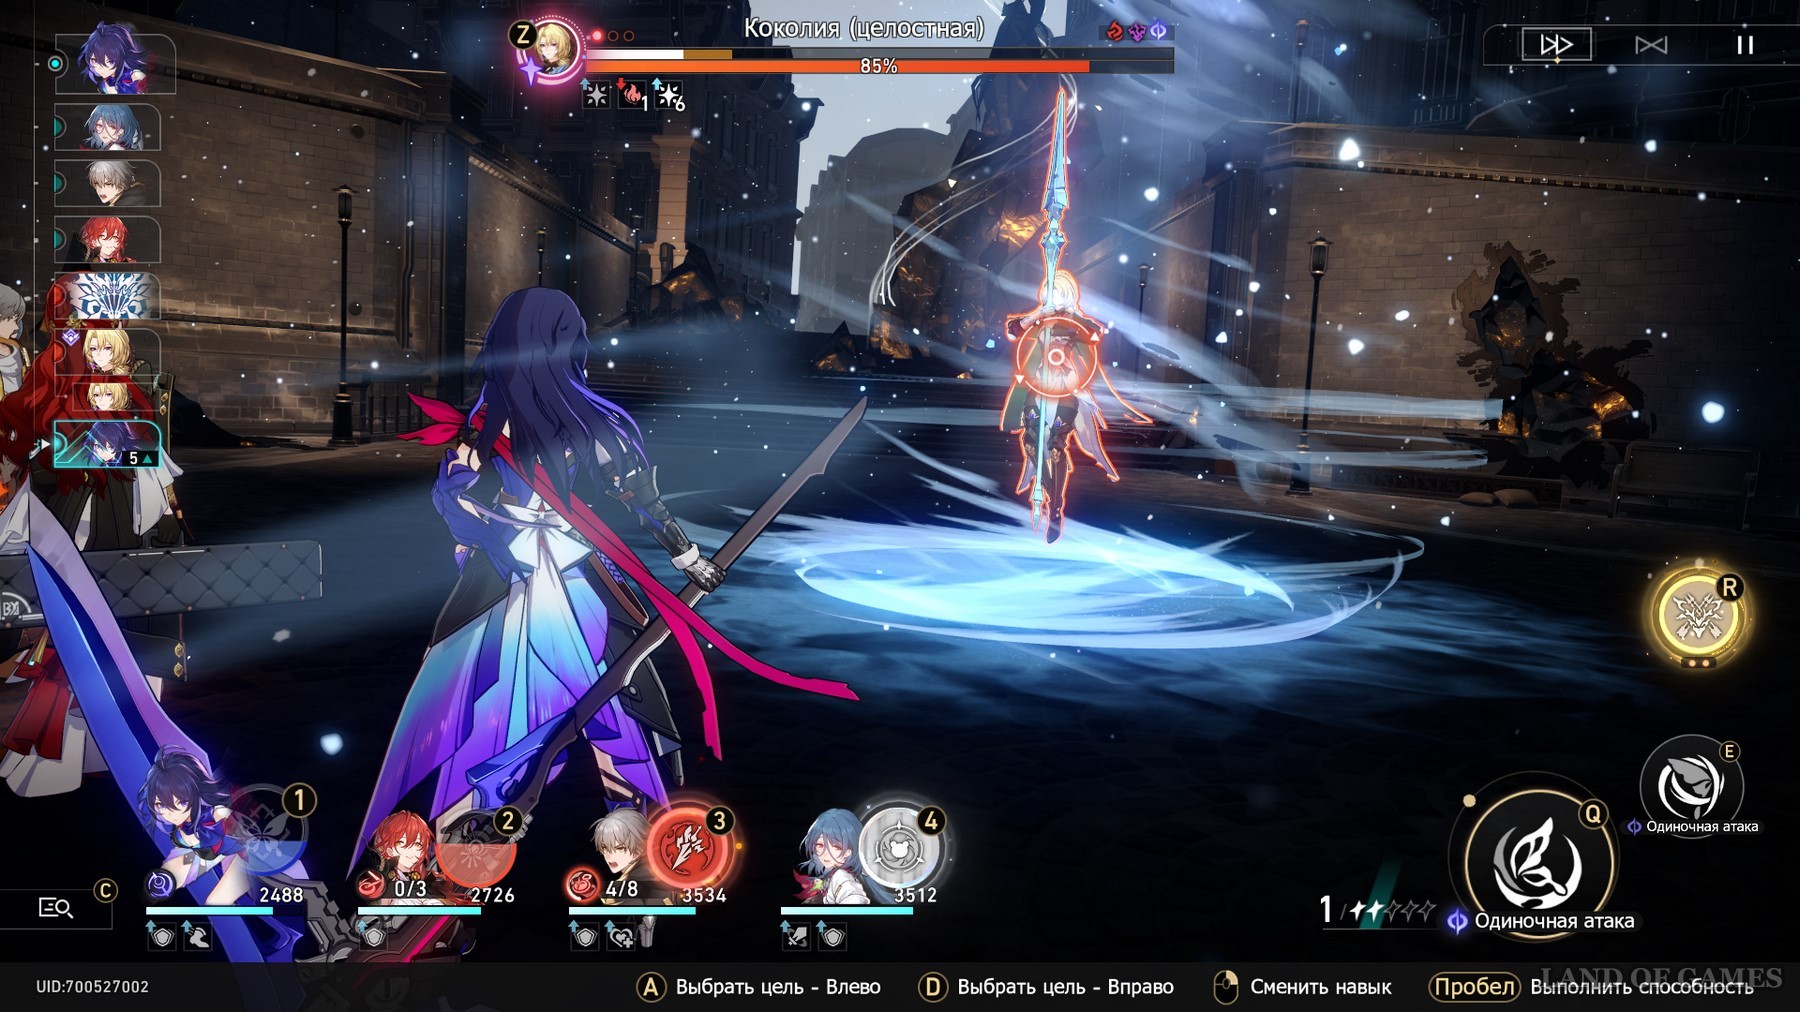
For this reason, we advise you to make sure to unfreeze the tank after performing the taunt, otherwise it will not withstand Kokoliya's multiple hits. Keep your healer's ult in case all your characters are heavily damaged.
We add that Kokoliya at this stage will begin to behave even more aggressively, constantly using attacks that hit the area. So get ready to heal your fighters often. Ultimately, you will be able to deal with the enemy.
Comments
You need to login to add comments.
You can login with