In Honkai: Star Rail World 4 is one of the tests virtual universe, for completing some zones of which you can get planar decorations from the Thalia - Land of Bandits and Living Wonwak sets, as well as other rewards.
In this guide, you can find out which characters are best to use and which units to make from them. We also gave some recommendations on choosing the Path and blessings. In addition, special attention is paid to tactics to fight the boss Svarog.
How to complete the World 4 challenge in the Virtual Universe
Basic information
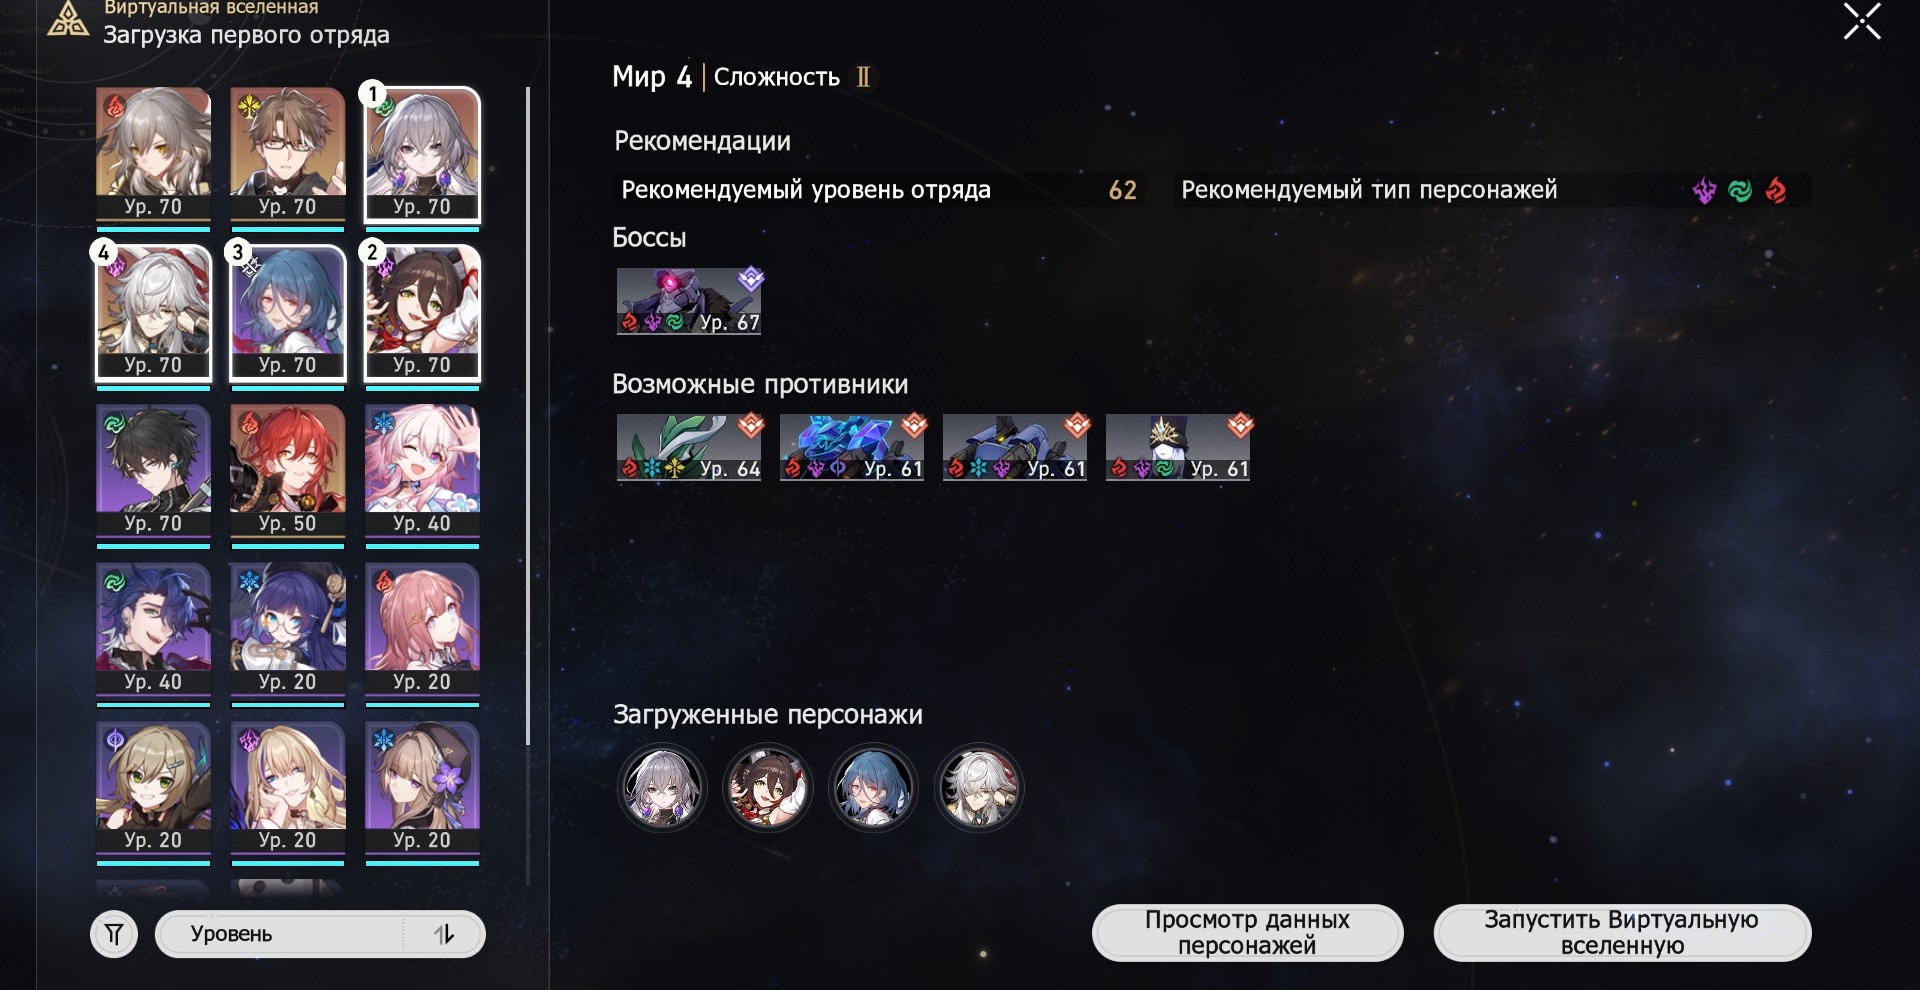
During the challenge, you will face 2 elite (more difficult) enemies and one boss. Their level, as well as the points you earn after passing, will depend on your level of balance. While loading the squad, you can see how strong the monsters will be waiting for you and their vulnerabilities.
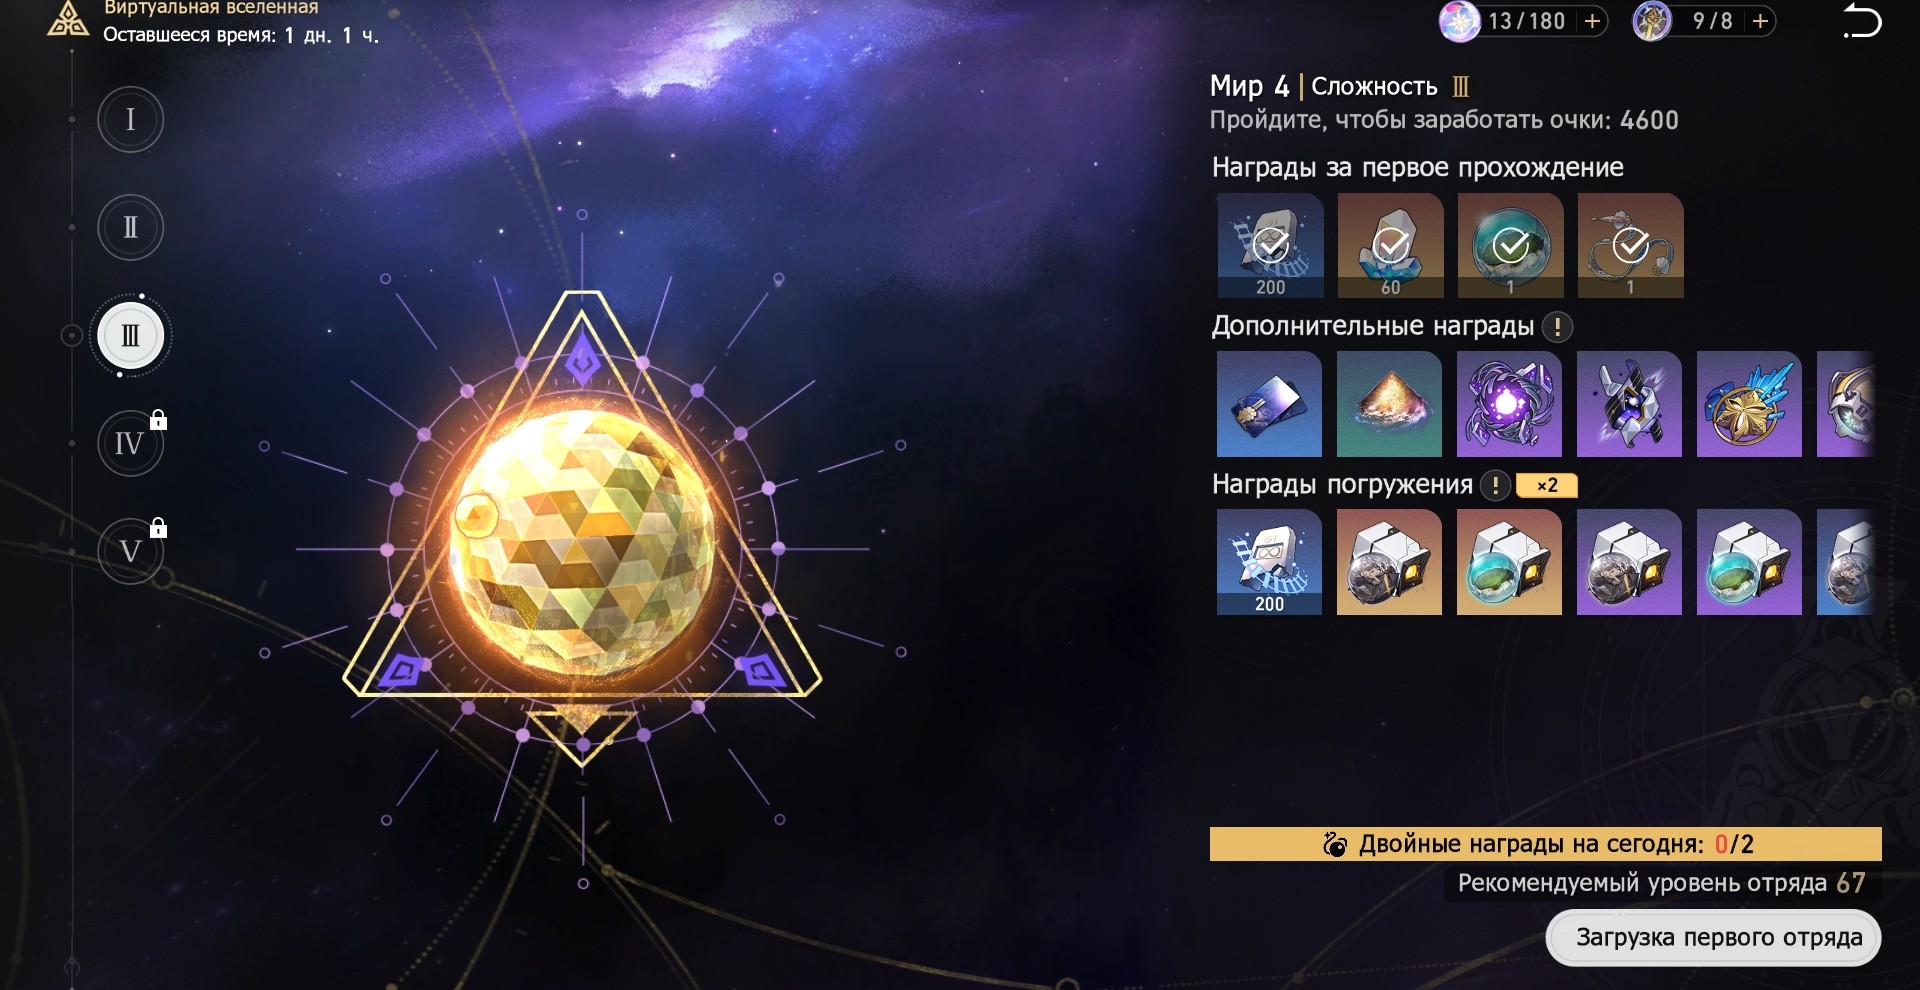
In the table below, you can find more detailed information about the characteristics of all possible elite mobs and the main boss of Svarog.
| Name | Fortitude | Damage type | Elemental Resistance | Debuff resistance |
|---|---|---|---|---|
| Svarog (holistic) | 360 units |
Physical |
Fire, electric, wind |
75% Freeze, Imprison, and Entangle |
| Petrel (false) | 360 units |
Wind |
fiery, ice, imaginary | |
| frosty wanderer | 300 units |
Ice |
fiery, electric, quantum |
100% Freeze |
| Grizzly Automaton | 420 units |
Physical |
Fire, ice, electric | |
| Shadow of the Devourer | 300 units |
Imaginary |
Fire, electric, wind |


Featured Characters
Damage - since Svarog and the hands he summons in the third phase have electric and wind vulnerabilities, it is better to choose heroes who own these elements as a main-DD. For the role of sub-dd, you can take a hero with fire damage.
Support - A Trailblazer with a Save Path is perfect here. This character will be able to protect the whole team and break through the vulnerabilities of most strong enemies in this World. March 7th and Cheetah is only worth picking up if you choose the Path of Memory for the challenge. Armor, Asta, and Tingyun are good support options, as they can both buff your DPS and reduce the durability of your opponents.
Healers - all healers available in the game are equally effective in this world, but if possible, you can use Baila not only for healing, but also for breaking through Svarog's vulnerability.
The table below will indicate the traits of some of the characters that are most suitable for this challenge.
| Character | Peculiarities |
|---|---|
|
Dan Heng |
Svarog and the hands he calls have wind vulnerability. Dan Heng will be able to effectively break through them and free captured allies. |
|
Sampo |
It is also able to weaken opponents with the help of its element. Especially effective when choosing the Path of Nothingness. |
|
Serval |
Due to its ability to deal electric damage in an area, it will be able to simultaneously weaken the boss and his assistants. |
|
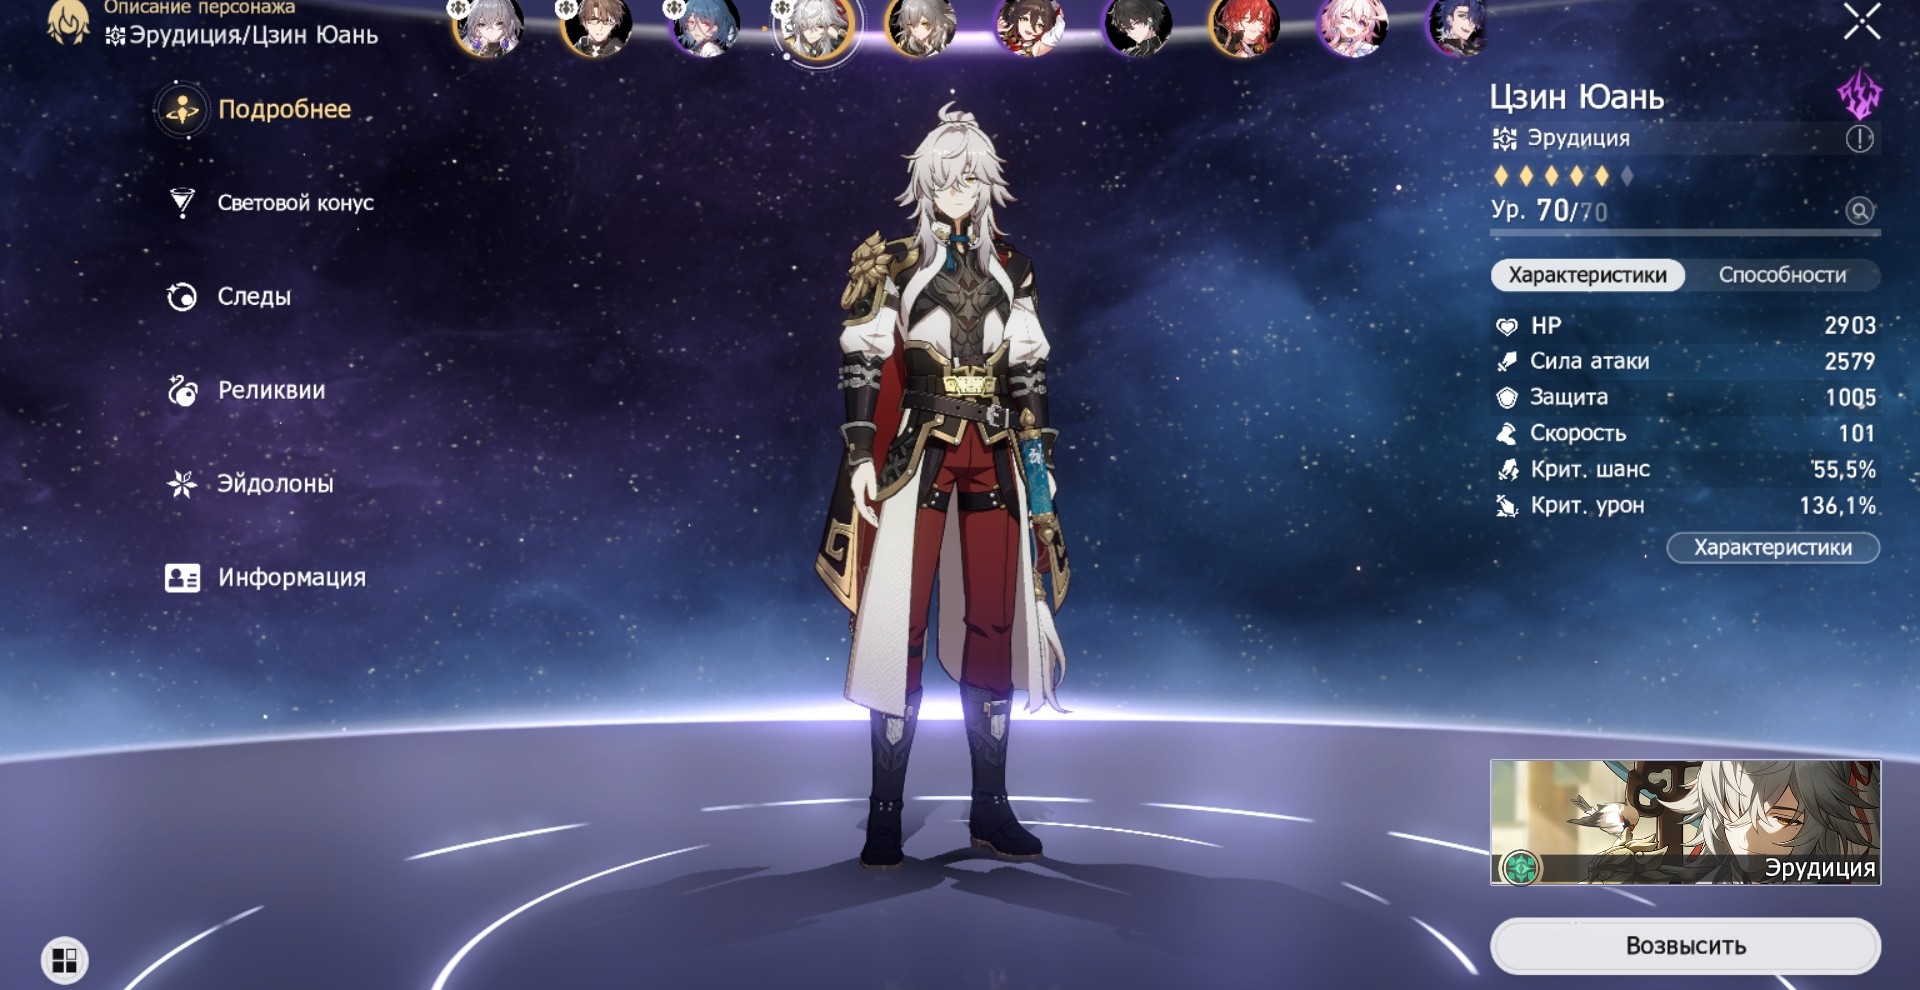
Jing Yuan |
A strong electro main-dd that will help you quickly deal with all the monsters in this challenge. |
|
Himeko |
Since most enemies, including Svarog, have fire vulnerabilities, Himeko can be a good damage dealer. |
|
Hook |
More budget replacement for Himeko. It can also effectively use the Path of Nothingness. |
|
Asta |
A great buffer that can increase the speed of allies and weaken bosses. |


Optimal Teams
When assembling a team, remember about the compatibility of characters. Don't neglect healers by trying to deal as much damage as possible. It is important not to forget about pumping characters within the squad. To pass the world, raise the level of the heroes to the maximum available at the moment, and also give them pumped cones and good relics. Pay attention to the development of their traces.
Featured Units
| Main-DD | Sub-DD | Sub-DD/Support | Support | Path | blessings |
|---|---|---|---|---|---|
|
Serval |
Asta |
Pathfinder (fiery) or March 7 |
Natasha (Baylu) |
Nothingness | Non-existence, Preservation |
|
Dan Heng |
Serval |
Pathfinder (fiery) or March 7 (Cheetah) |
Natasha (Baylu) |
Hunting | Hunting, Conservation |
|
Hook (Serval) |
Sampo |
Pathfinder (fiery) or March 7 (Cheetah) |
Bailu (Natasha) |
Nothingness | Non-existence, Preservation |
|
Himeko (Hook) |
Asta |
Pathfinder (Fiery) or March 7 (Cheetah) or Tingyun |
Bailu (Natasha) |
Hunting | Hunting, Oblivion, Preservation |
|
Jing Yuan |
Tingyun |
Armor (Fiery Pathfinder, March 7) |
Natasha (Baylu) |
Hunting | Hunting, Oblivion, Preservation |


The first two commands are F2P alternatives. In them, Serval and Dan Heng will weaken the opponents, reducing their stamina, and the Pathfinder and the healer will increase the survivability of the squad.
The third team is based on inflicting periodic damage from Sampo and Serval. In this case, be sure to choose the Path of Nothingness, which will increase the effectiveness of the talents of these heroes, and a few blessings of Preservation will help your shielders better protect the entire squad.
The fourth team specializes in constantly dealing fire damage, which will quickly deplete Svarog's stamina, but at the same time they are not able to penetrate the vulnerability of the hands caused by the boss. For this reason, Bailu, who has an electric element, is much better suited for the role of a healer.
The last squad is aimed at the maximum strengthening of Main-DD Jing Yuan. In it, Tingyun and Armor will not only buff him, but will also be able to take part in breaking through vulnerabilities.
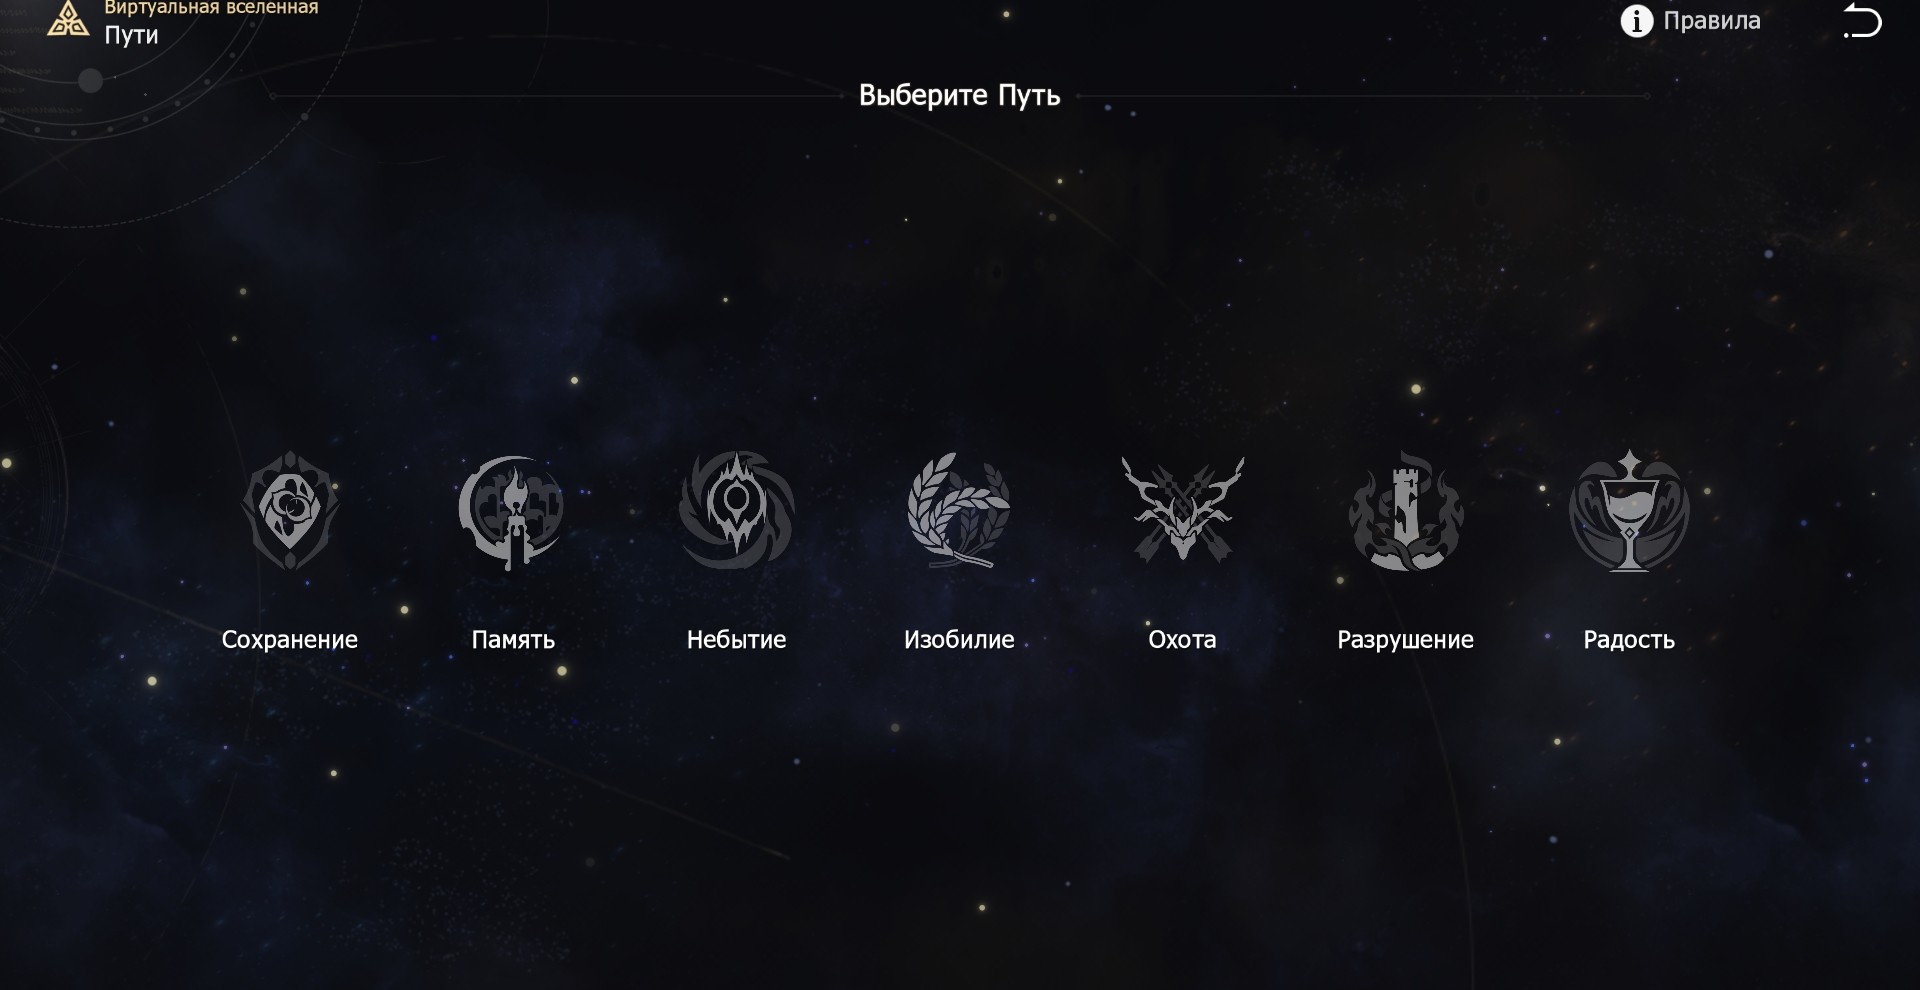
Best Paths and Blessings
You can complete the test in this world on any Path. Your choice will primarily be determined by the assembled team. In general, we advise you to choose the Path of the Hunt or the Path of Nothingness. Their benefits and best blessings will be discussed below.
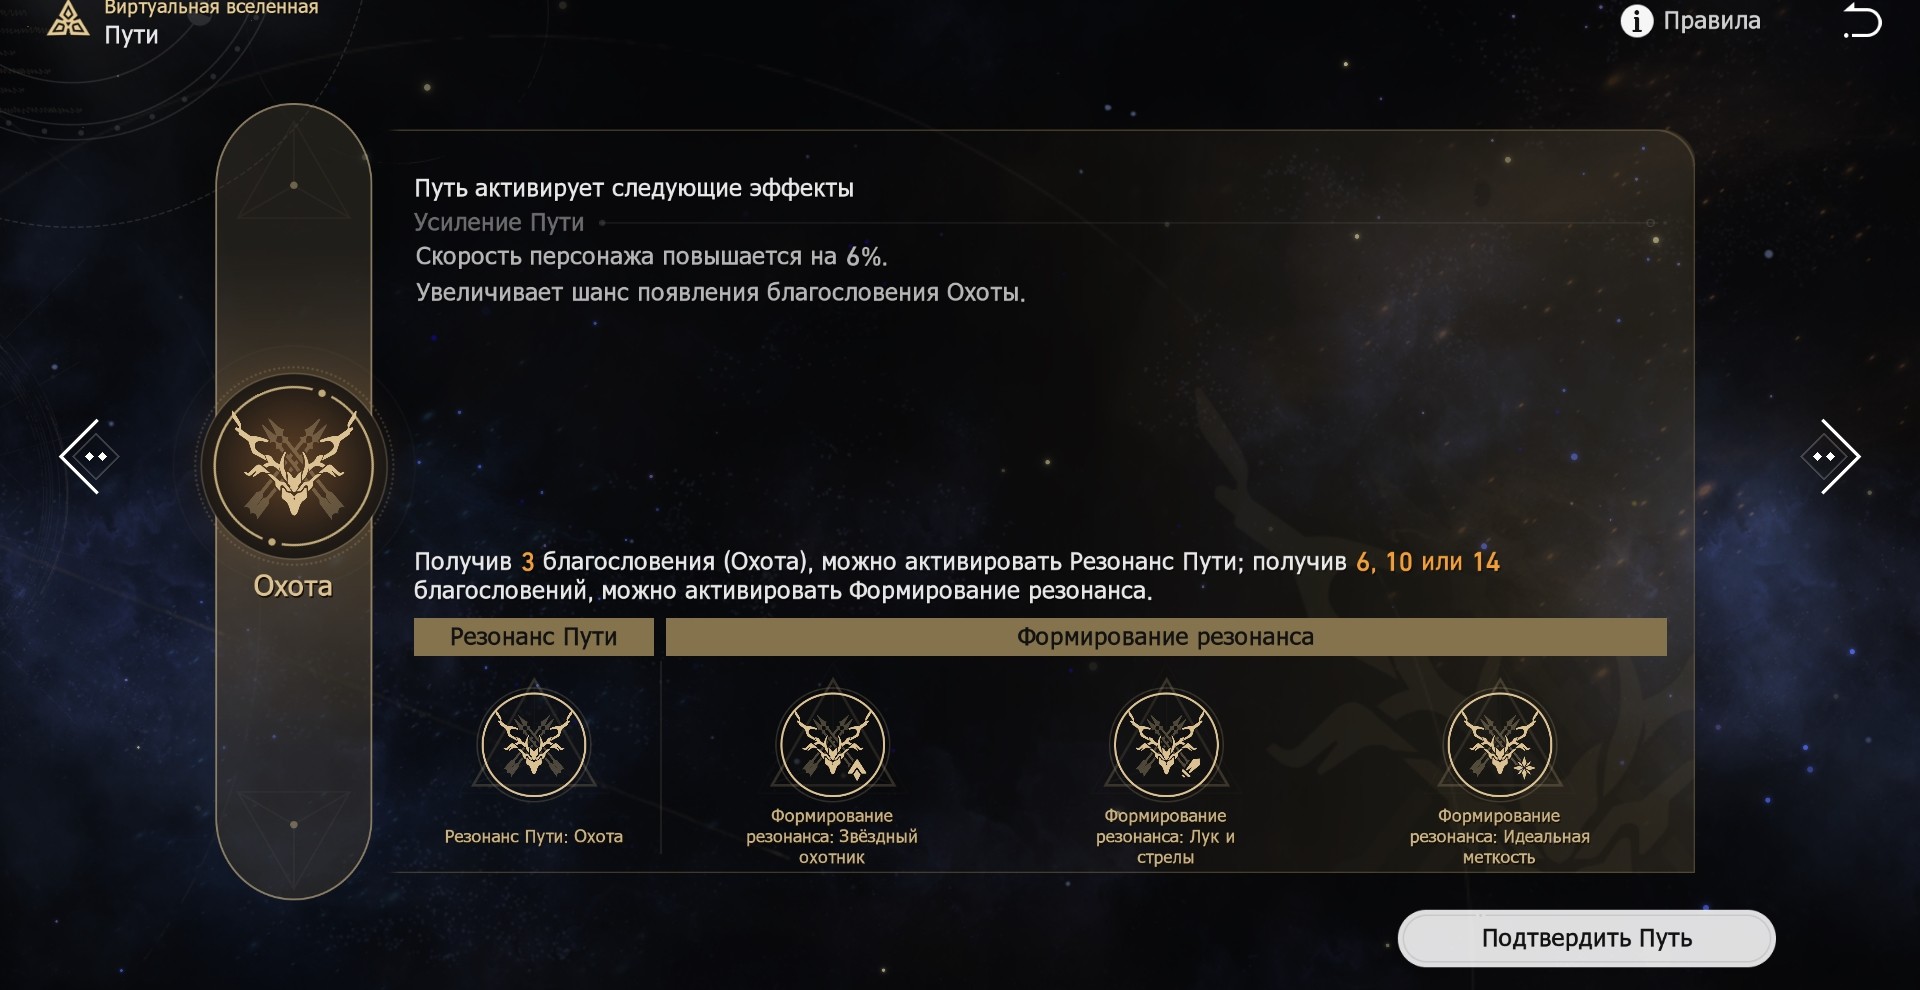
Path of the Hunt
The blessings of this Path are primarily aimed at buffing your speed and crits, allowing you to deal more damage. The very resonance of the Path inflicts wind blows, which corresponds to the vulnerabilities of Svarog and his assistants.

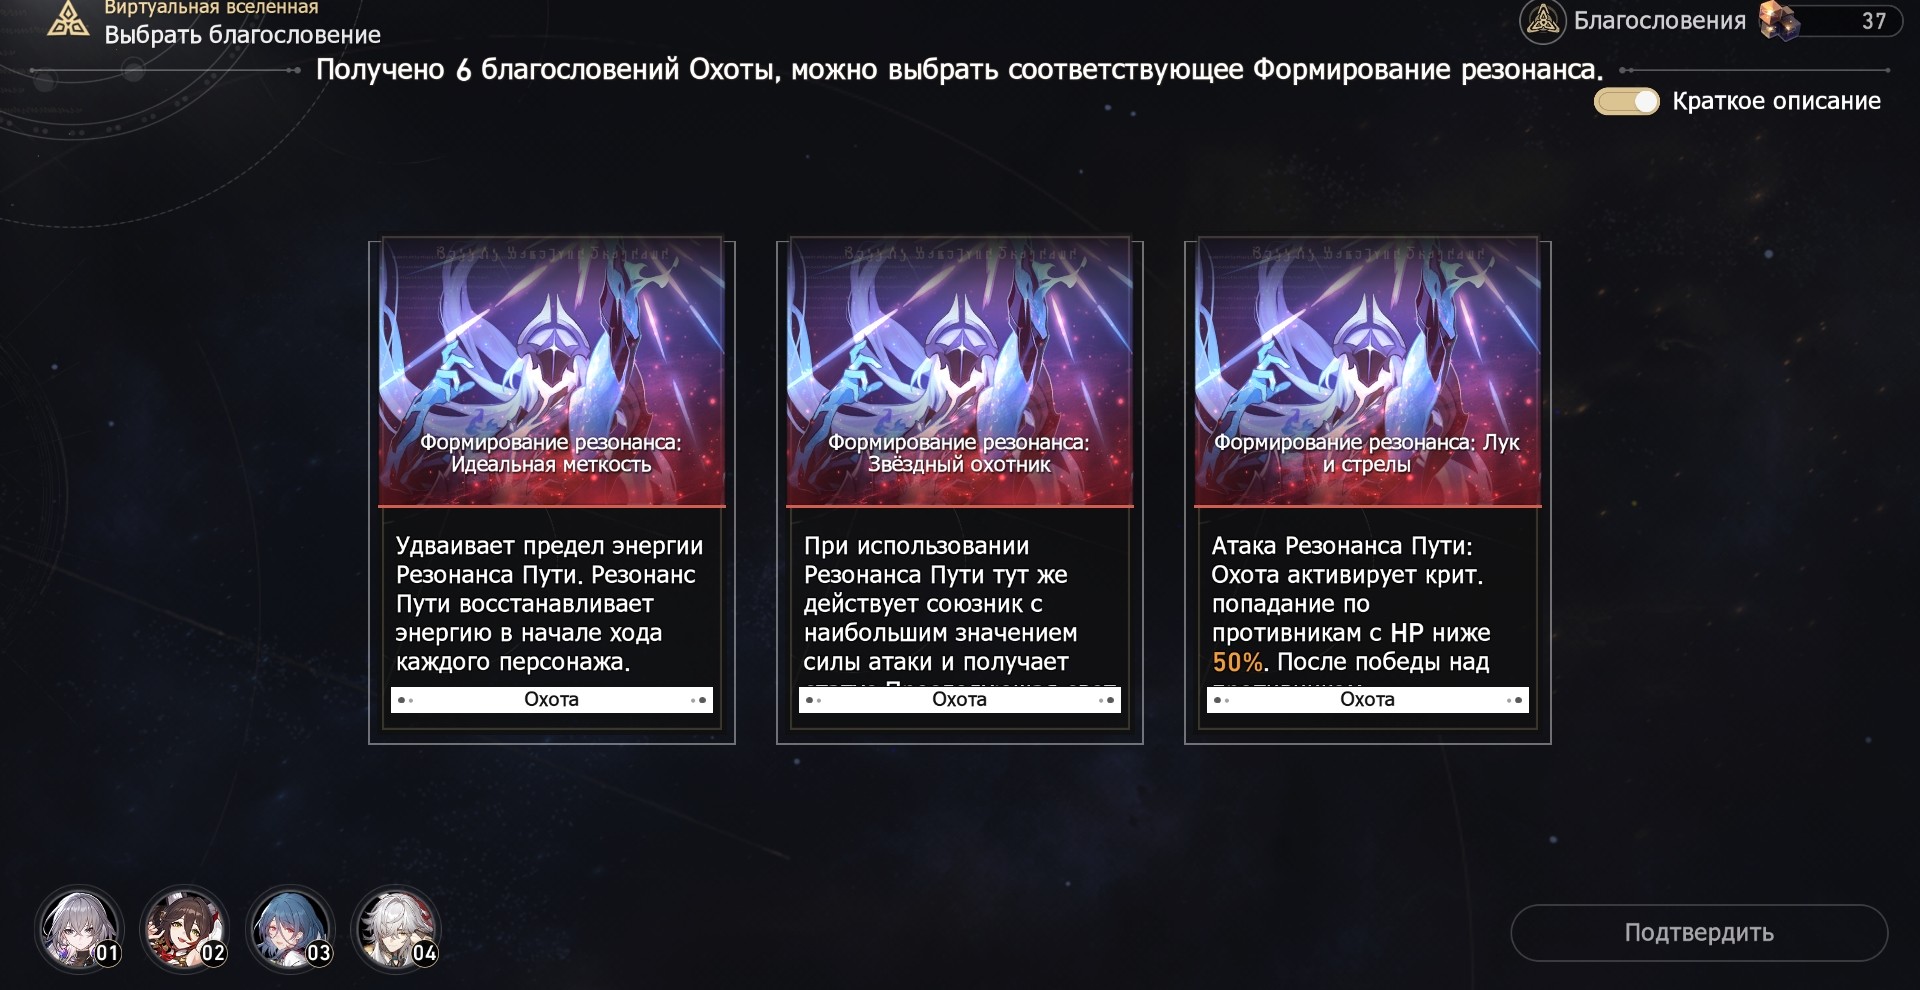
The following is the order in which you should select the resonance formations:
- Resonance Shaping: Bow and Arrow. Using Path Resonance inflicts critical hits on enemies below 50% health, and restores 50% energy when an enemy is hit. This formation should be chosen first of all, as it increases the damage dealt by the Resonance, and the restoration of energy will allow you to use it more often.
- Resonance Shaping: Perfect hit. Increases the energy limit for Resonance of the Path, which allows you to accumulate two applications at once, and the beginning of each ally's turn returns 3% of energy. Also allows you to deal damage more often with the chosen Path.
- Resonance Shaping: Star Hunter. Gives buffs to your ally with the highest attack stat. It is not necessary to delay this Formation until the last, you can take it after receiving the Bow and Arrows buff.
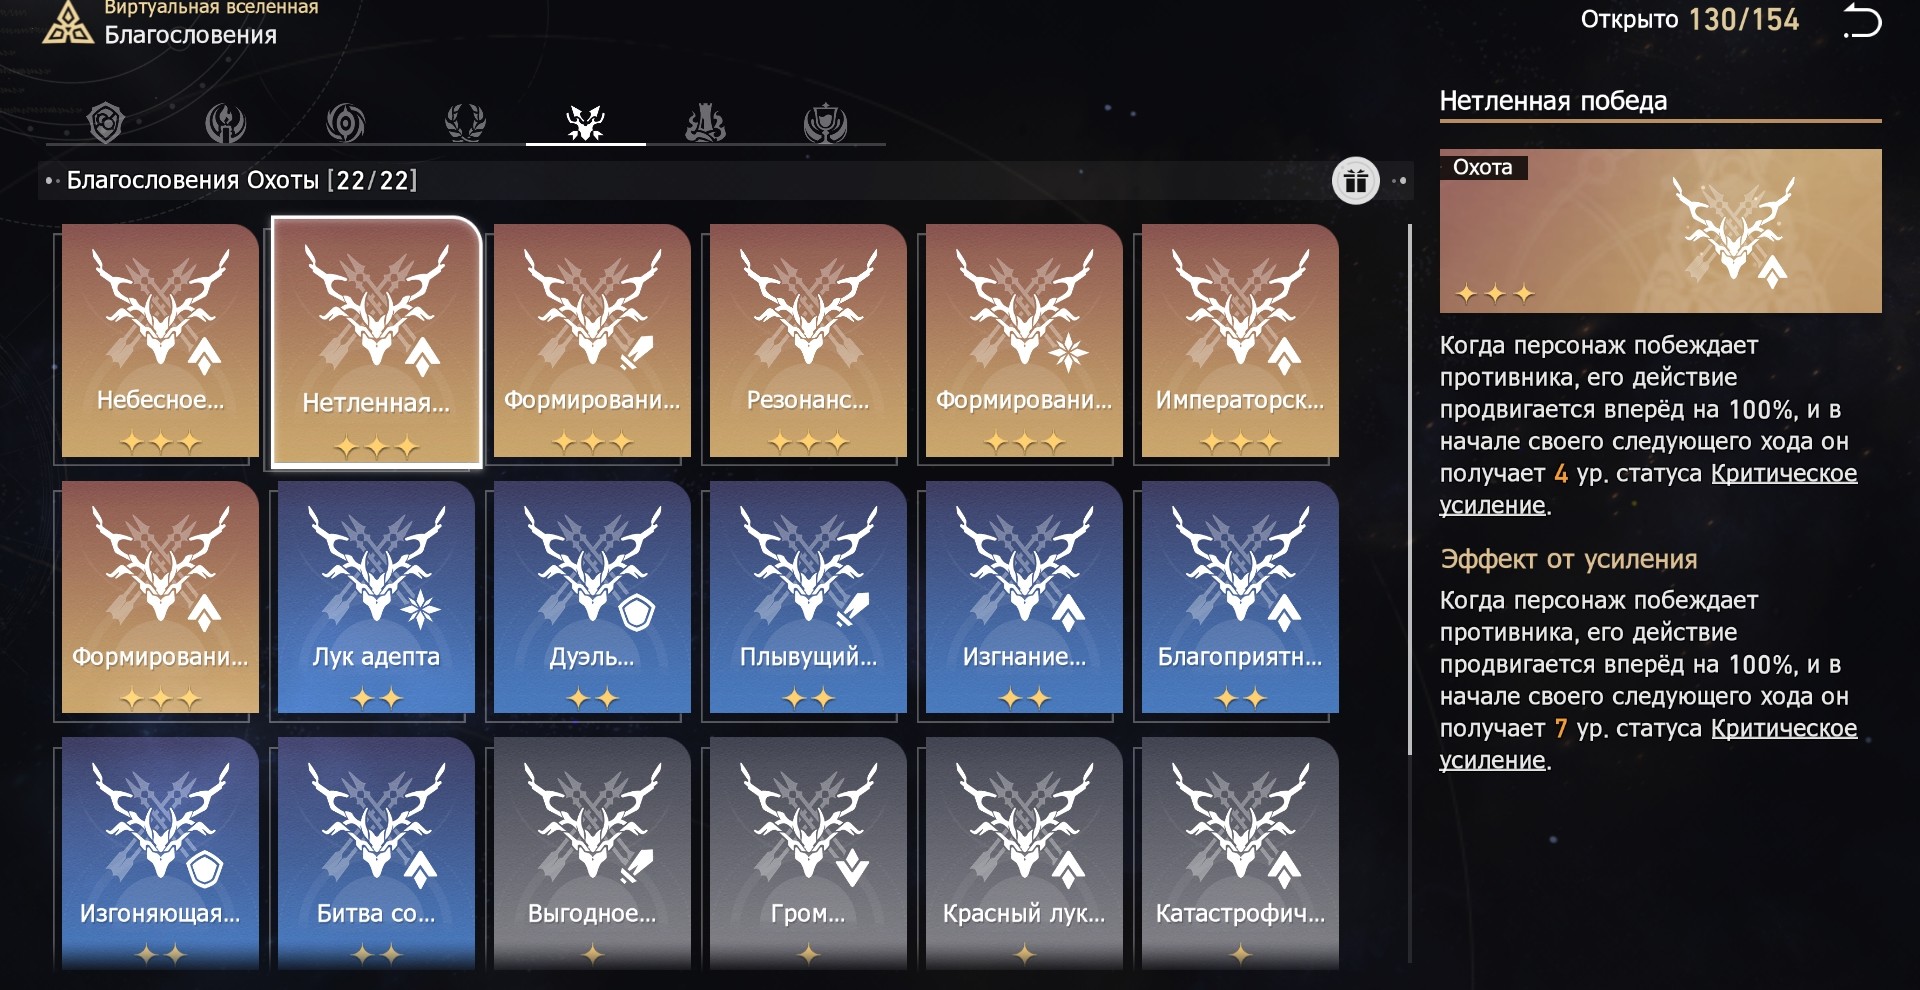
Below you can find some of the most beneficial blessings of this path:
- Imperishable Victory (Enhanced): Advances the action and empowers the character after they destroy an enemy.
- Imperial Rule (Enhanced): Heroes in a party gain 12 levels of enhancement at the start of their turn.
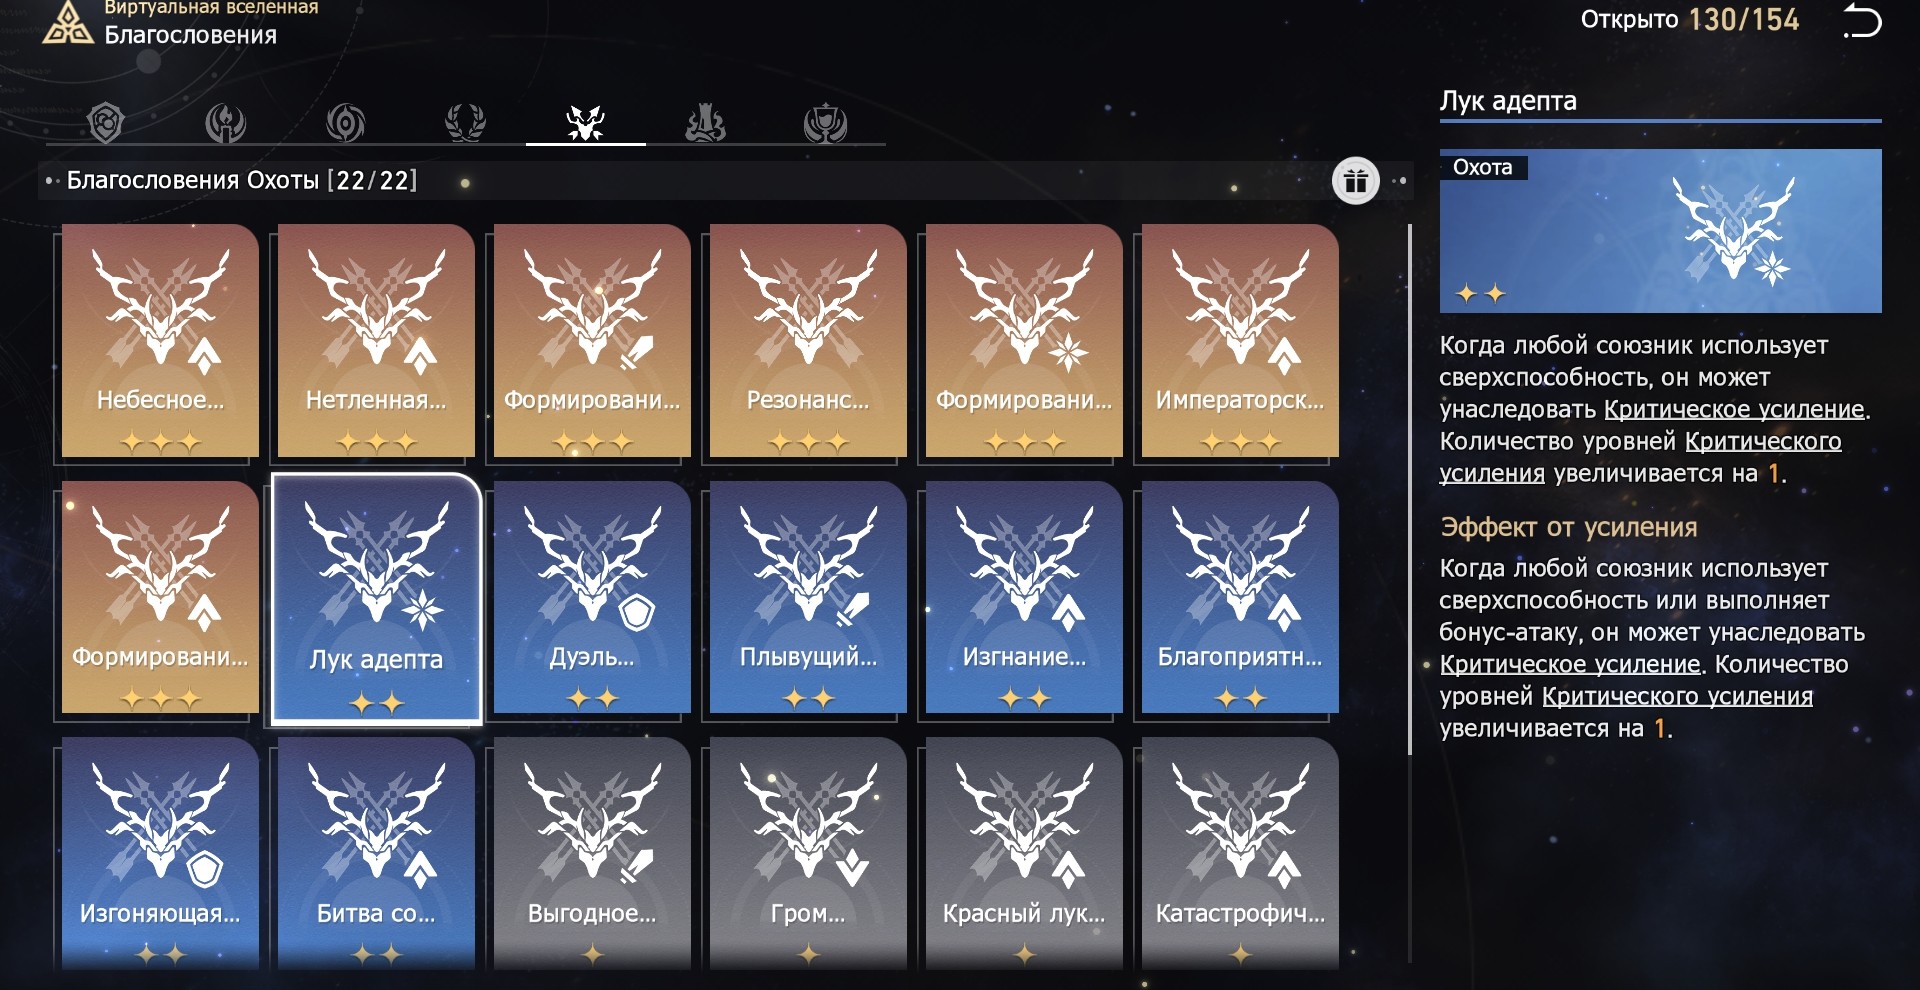
- Adept's Bow (Enhanced): Using a bonus attack or superpower gradually increases the number of levels of enhancement.
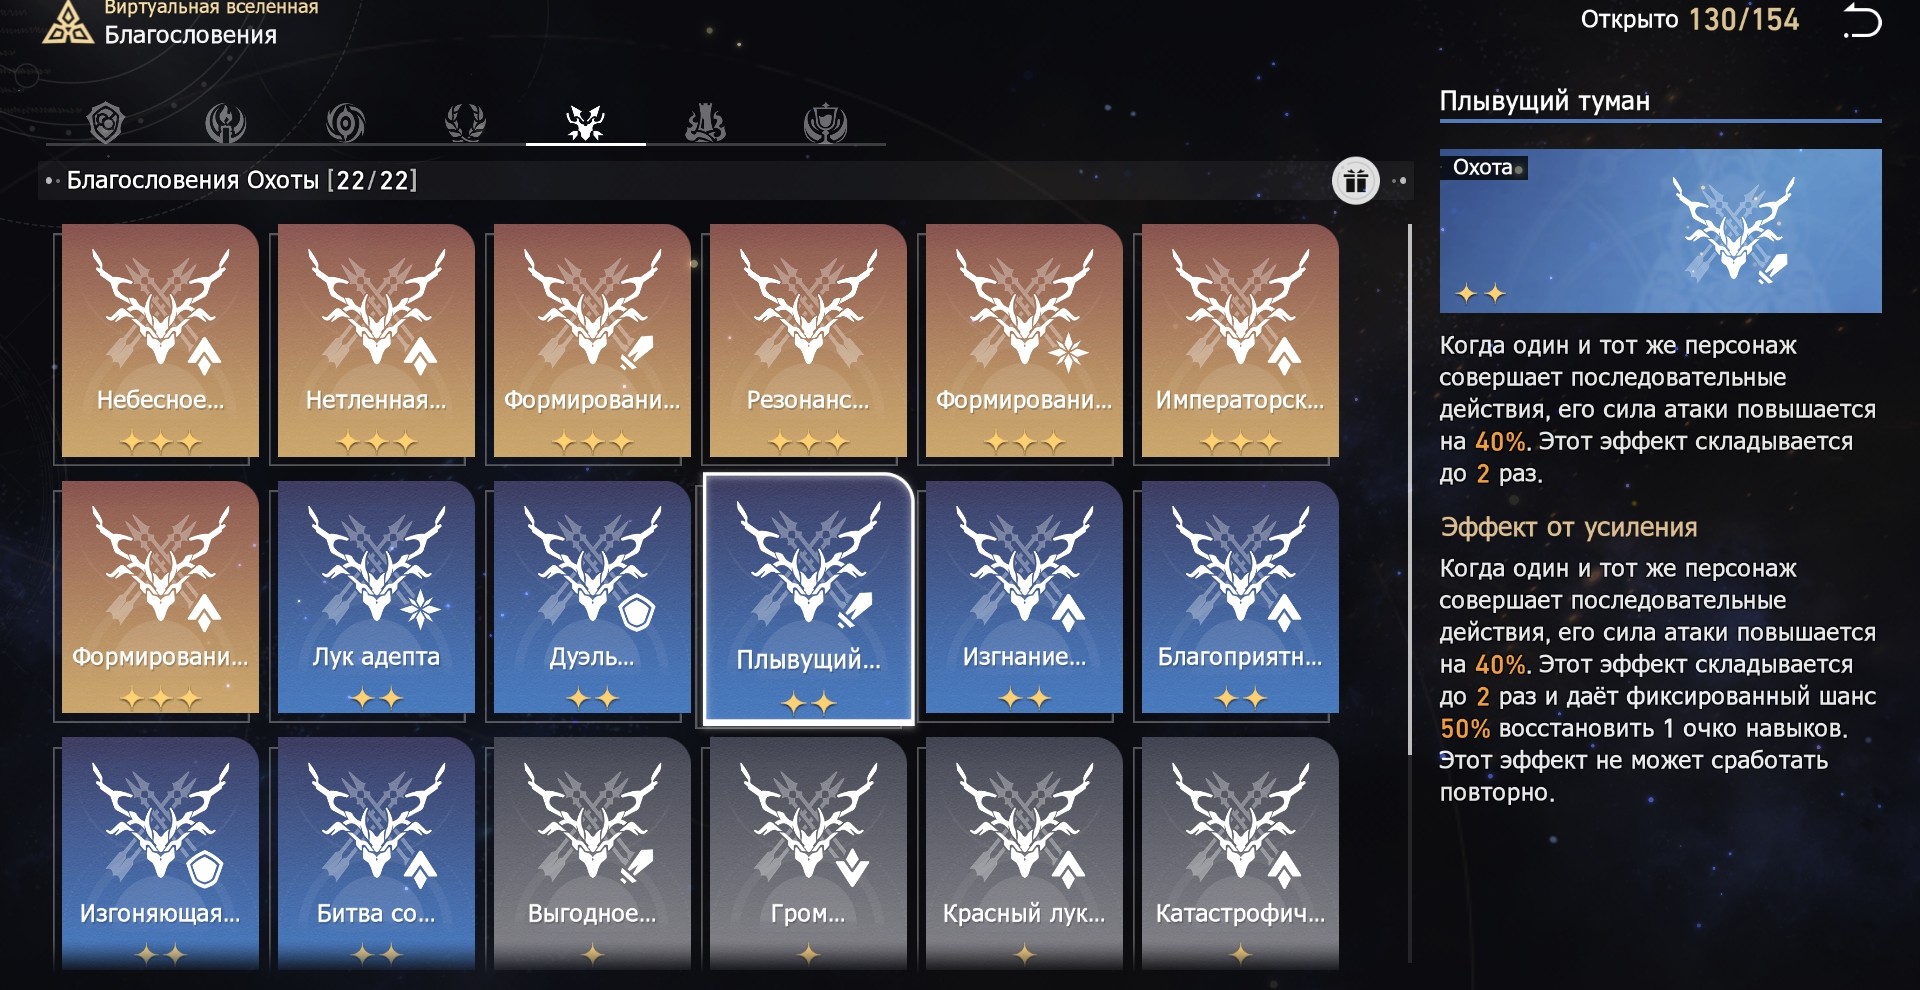
- Floating Mist: Successive hero actions increase attack power by 40%.
- Banishing Borisins (enhanced): every sixth turn, the current character's action moves forward 100%.
- Old Enemy Battle (Empowered): Increases the Hero's Critical Damage for every % of Critical Hit Chance above 100% by 3% and for each level of Critical Buff they have by 0.2%.
- Favorable location: increases crit stat. damage up to 30%.
- Thunder travels the ground: Enemy turns are delayed by 20% after their Fortitude is depleted.
- Catastrophic Constellation: At the end of the turn, the ally's action moves forward by 8%.
- High Aspirations: The character's energy at the start of the turn is restored by several points.
- On the verge of life and death: Increases the chance of a critical hit by 11%

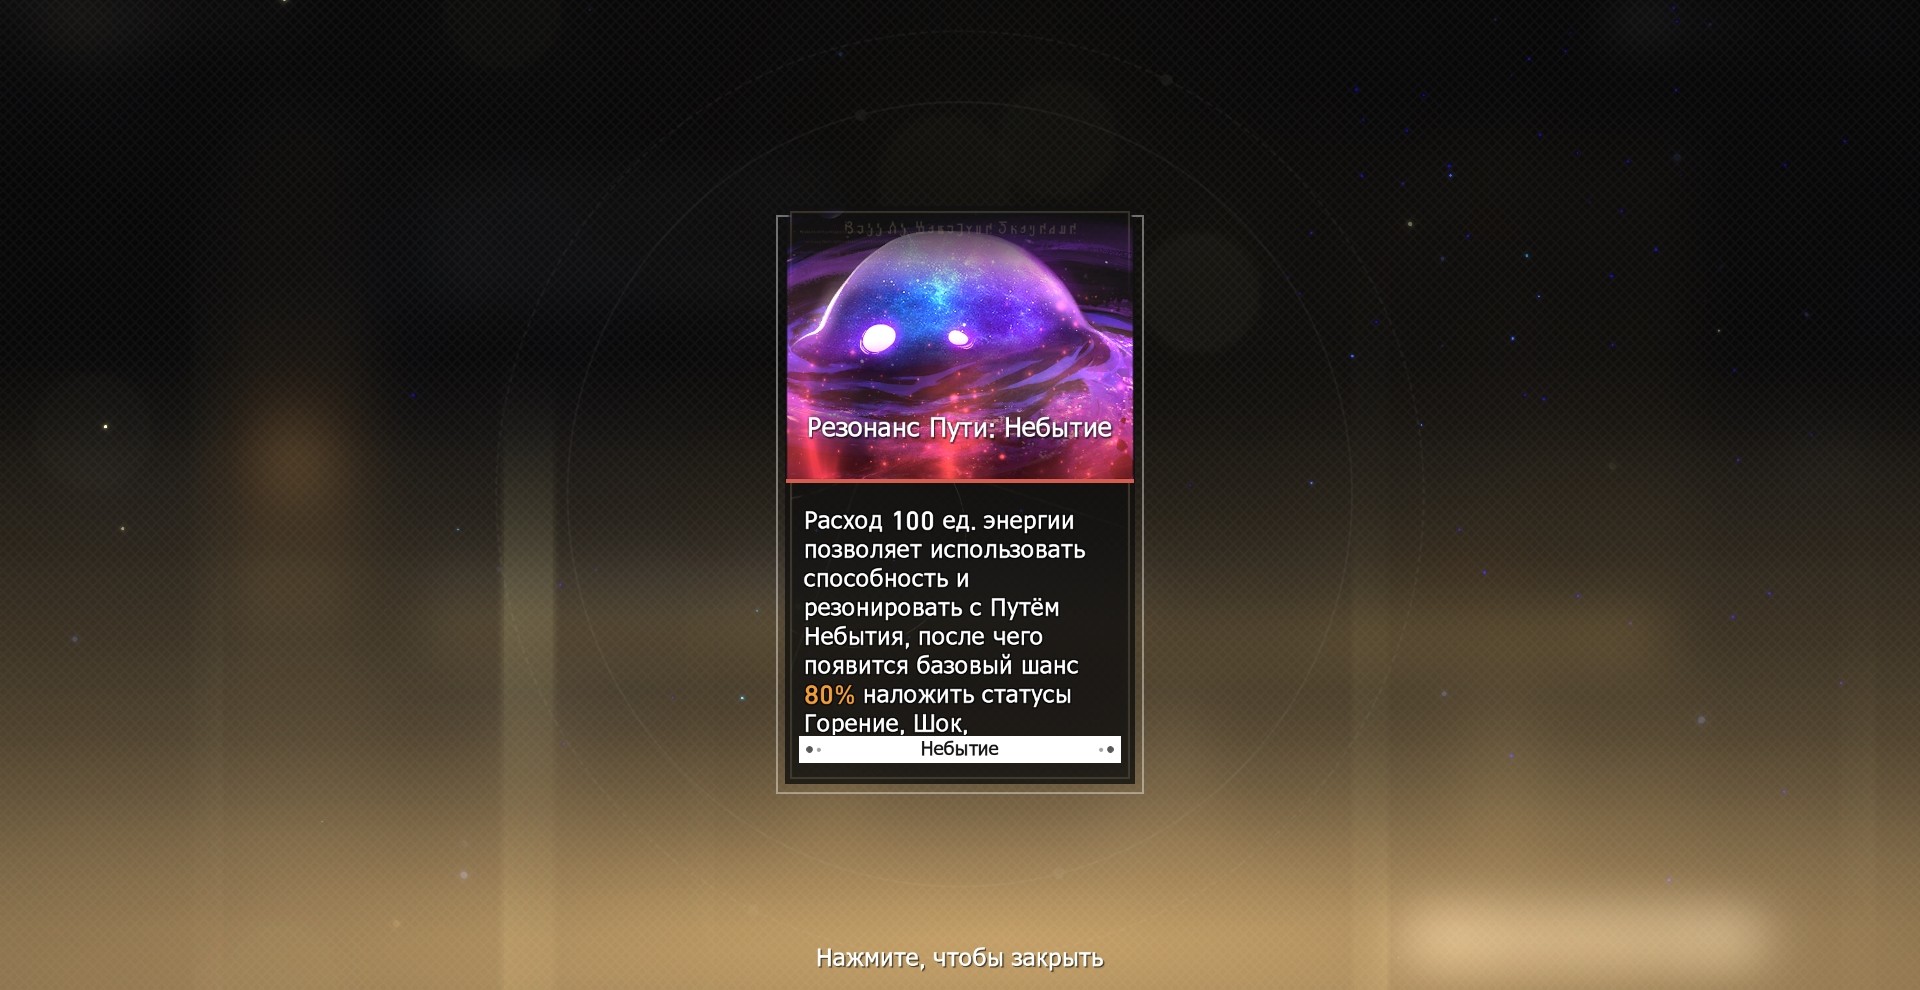
Path of Nothingness
Perfect for teams that play from dealing damage over time. Resonance of the Path imposes many statuses on opponents, thereby inflicting high damage.

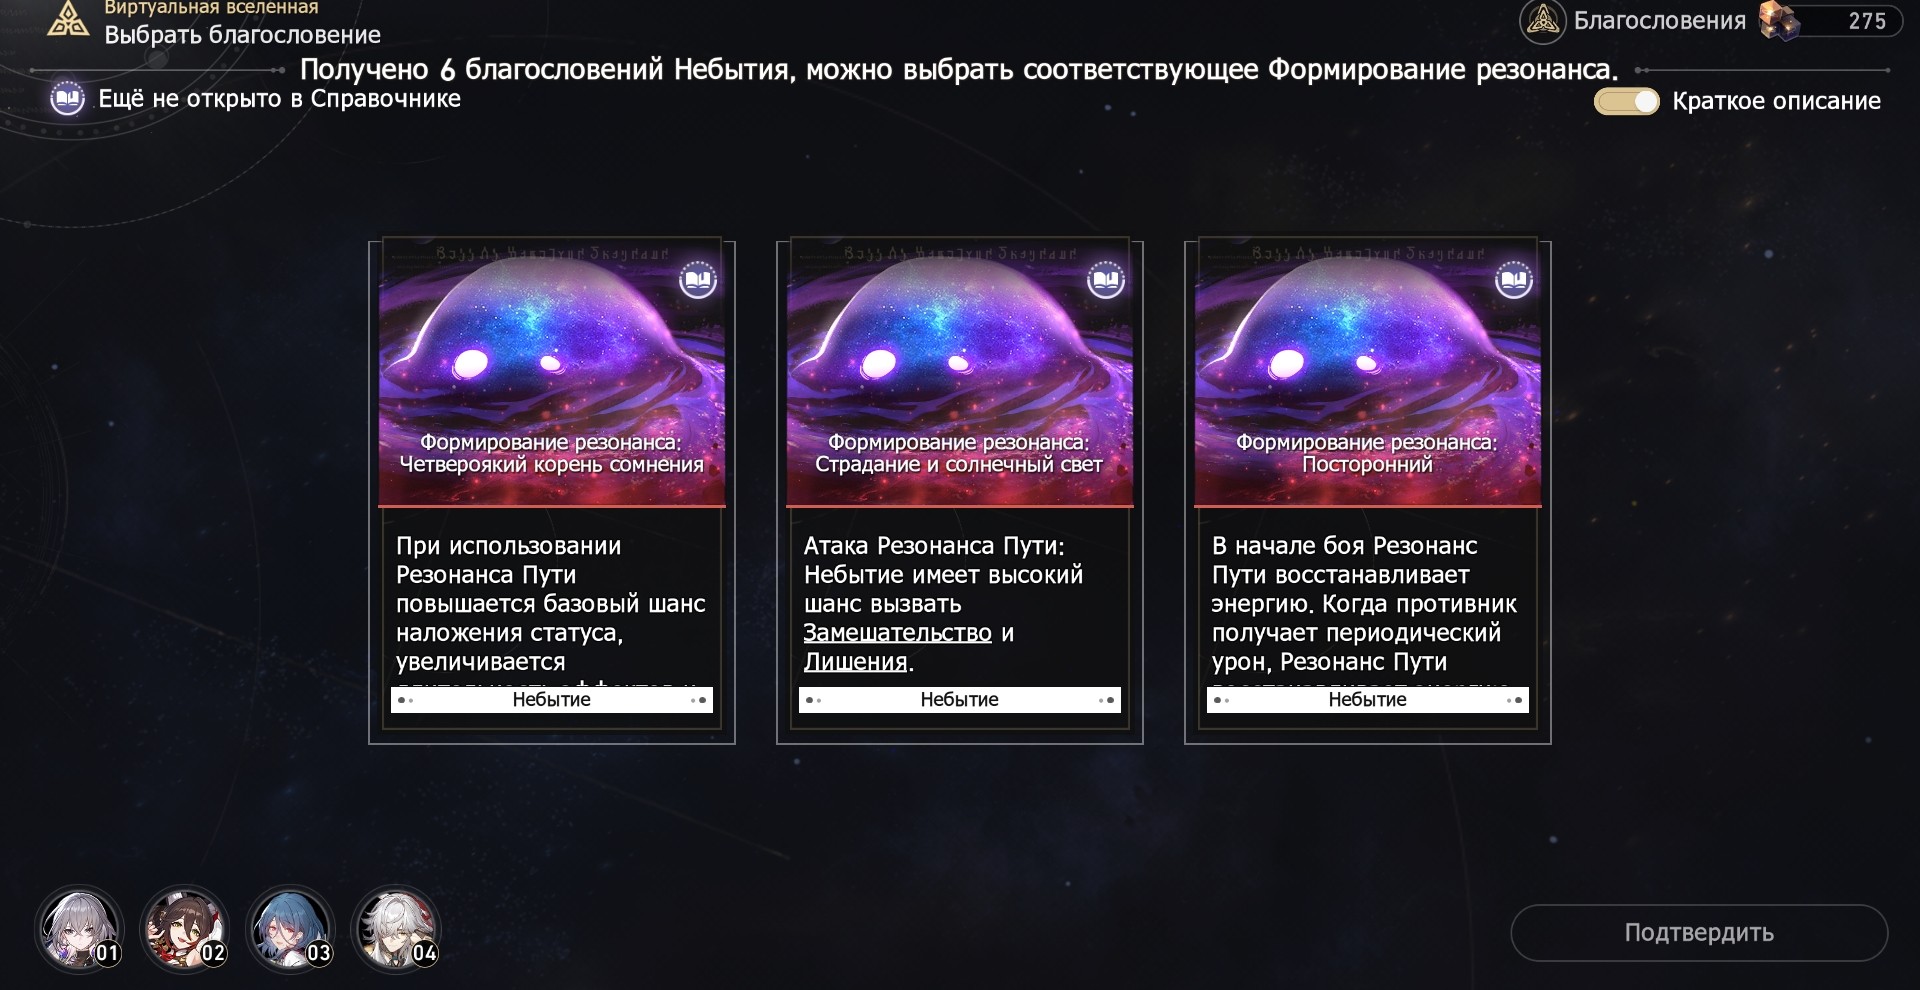
The card selection priority is as follows:
- Resonance Formation: The Fourfold Root of Doubt. Guarantees damage over time to the enemy and increases the duration of effects by 1 turn. This formation will not only deal more damage, but also restore more energy, and even heal with the appropriate blessings.
- Resonance Formation: Suffering and Sunshine. Using Resonance of the Path deals additional damage based on the number of damage over time effects inflicted on the enemy, and also reduces the recovery of their stamina.
- Resonance Shaping: Outsider. Helps restore Path Resonance energy faster, but does not deal any additional damage.
You can also check out some of the blessings that deserve special attention:
- Why hasn't it disappeared yet? Trigerrite damage over time an additional time. The empowered effect deals 135% damage.
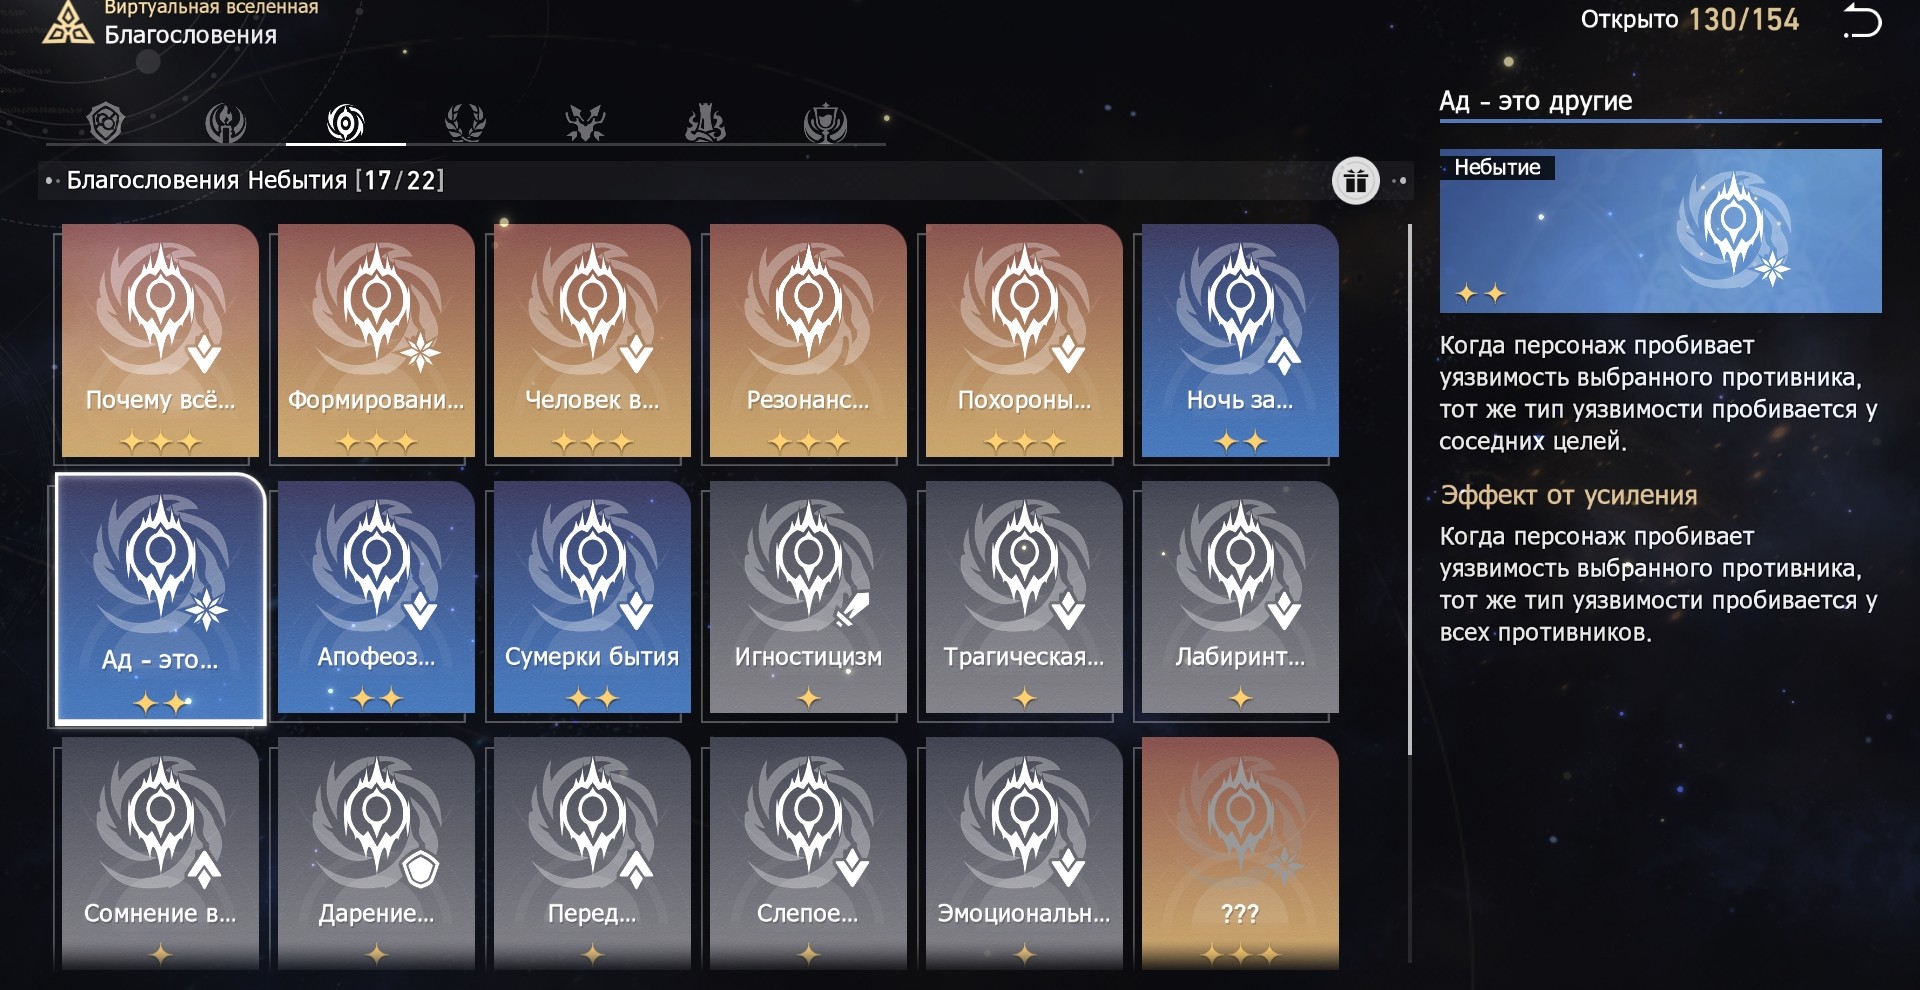
- Hell is Others (enhanced): When a vulnerability is broken on one target, all other enemies are broken through the same type of vulnerability.
- Tragic Lecture: The periodic damage taken by the enemy is increased by 10%.
- Doubtful in Meaning: The penetration effect of all characters can be increased up to 75%.
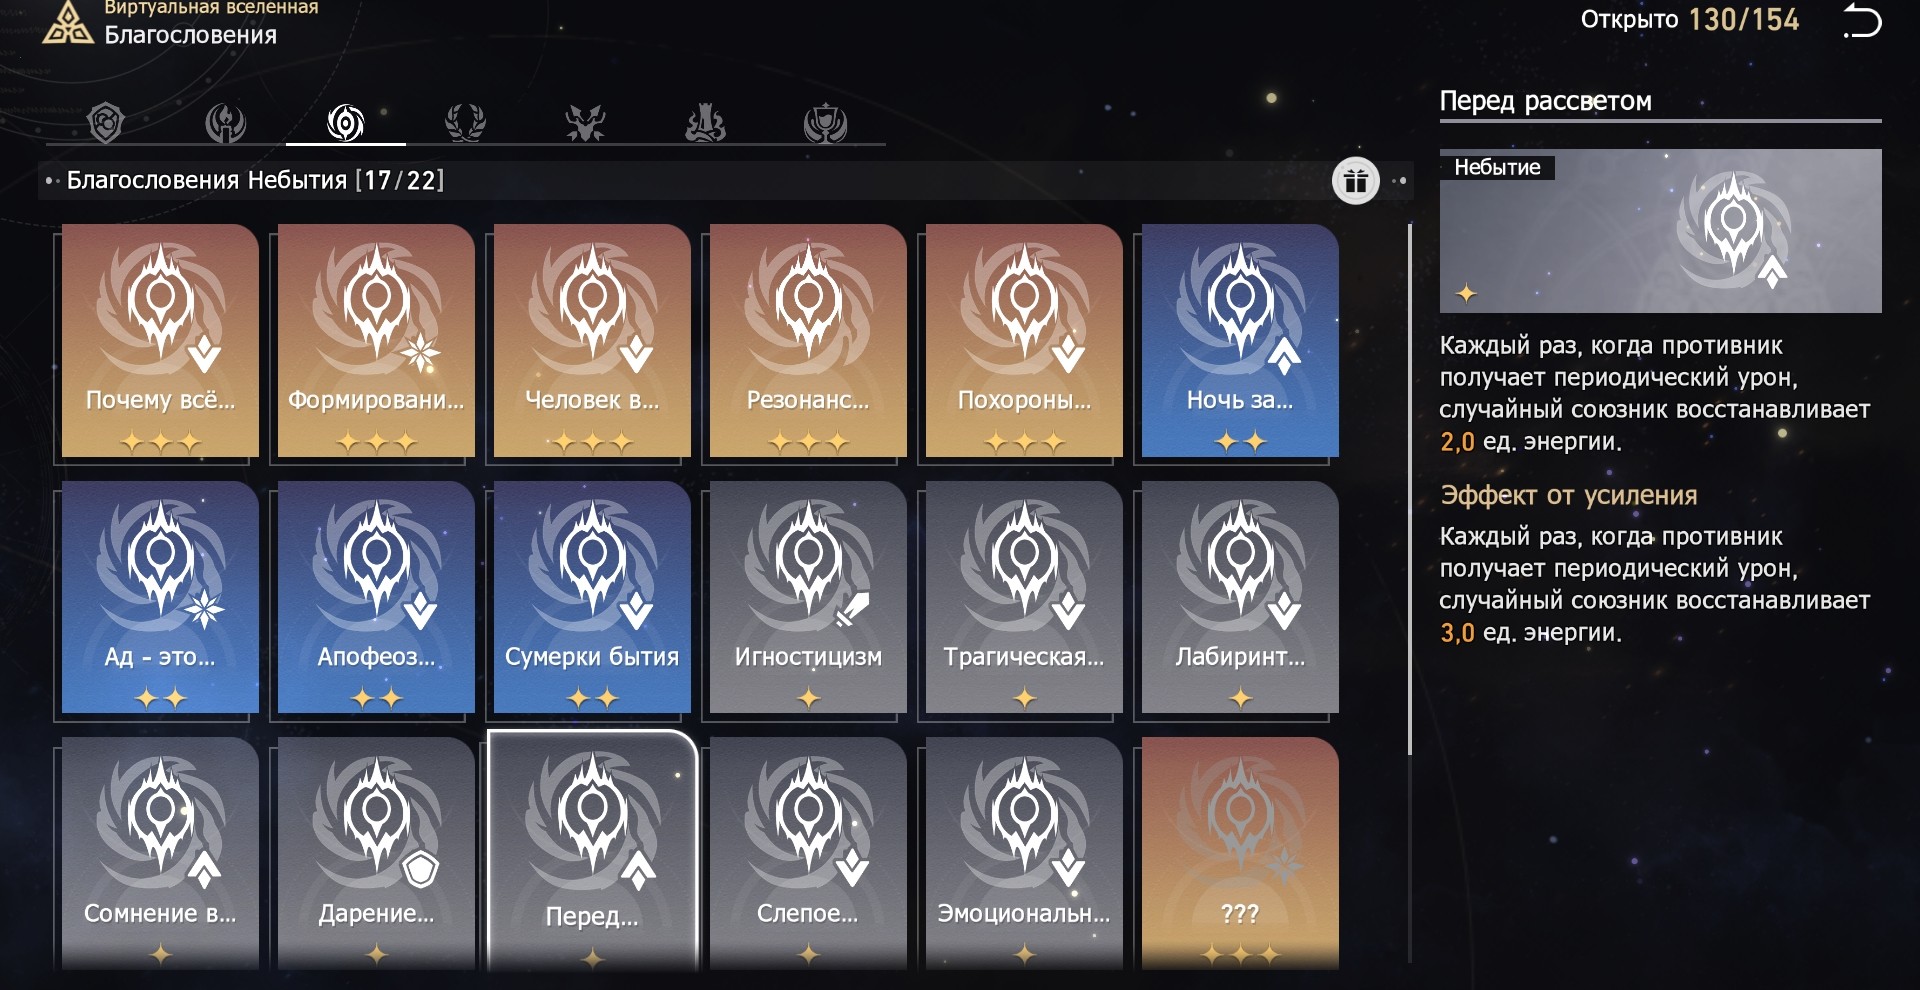
- Before Dawn: Dealing damage over time restores energy to one ally.
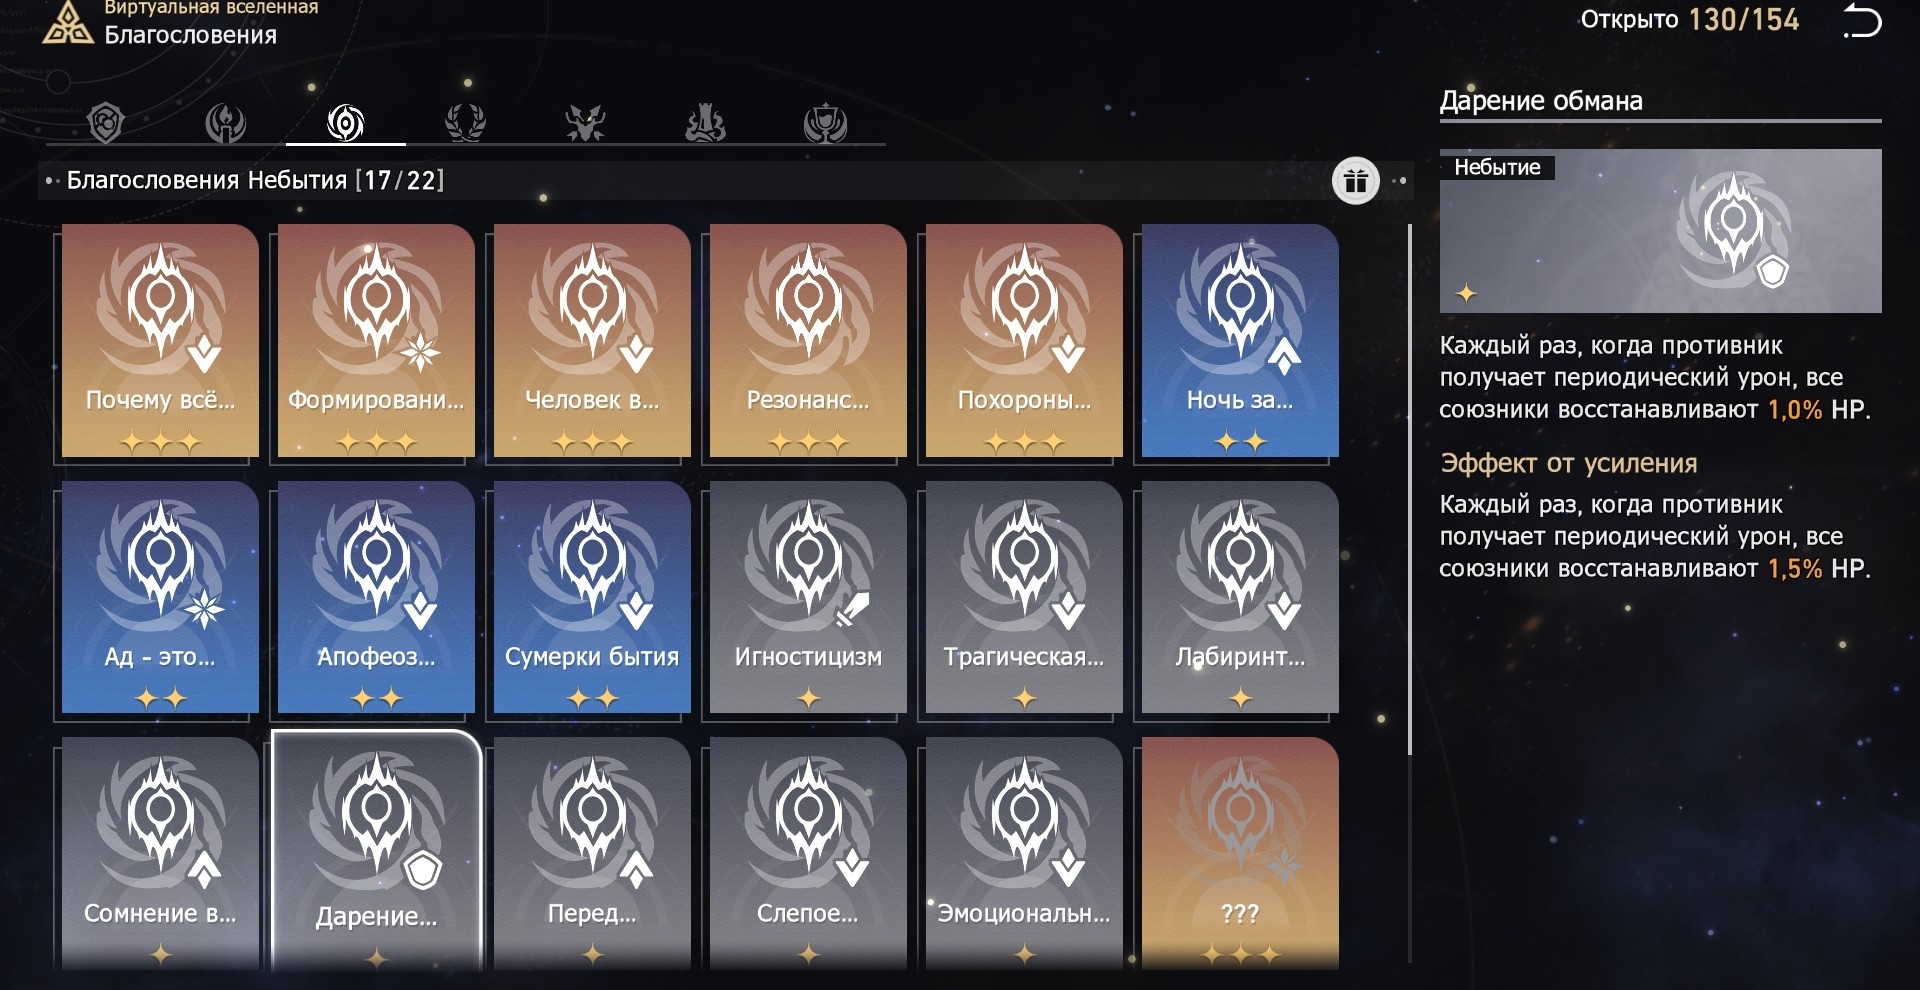
- Bestowal of Deception: Dealing damage over time restores health to all allies.

General Tips
When choosing blessings, always try to take the bonuses of the chosen Path in order to get the maximum number of Resonance Formations possible. If the necessary cards are not available, then choose the blessings of Abundance, Preservation. If you have Ice Elemental characters in your squad, then you might find the Memory Path buffs useful.
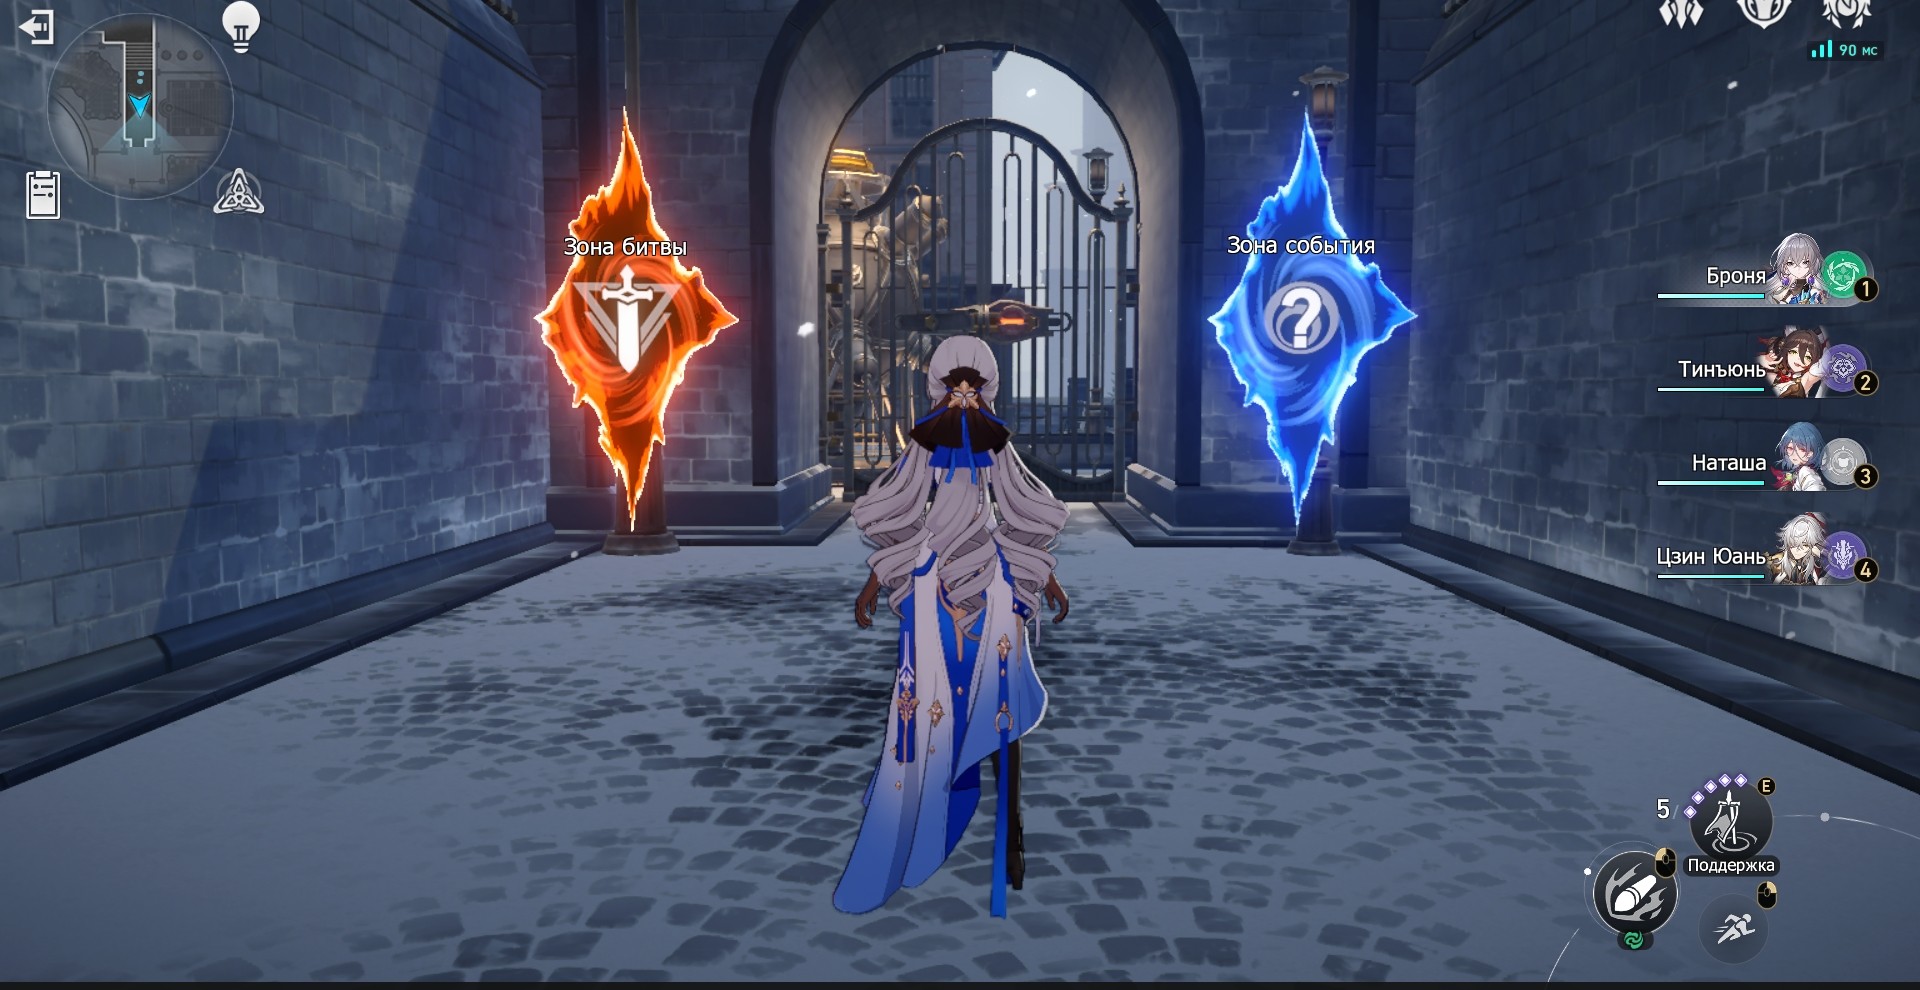
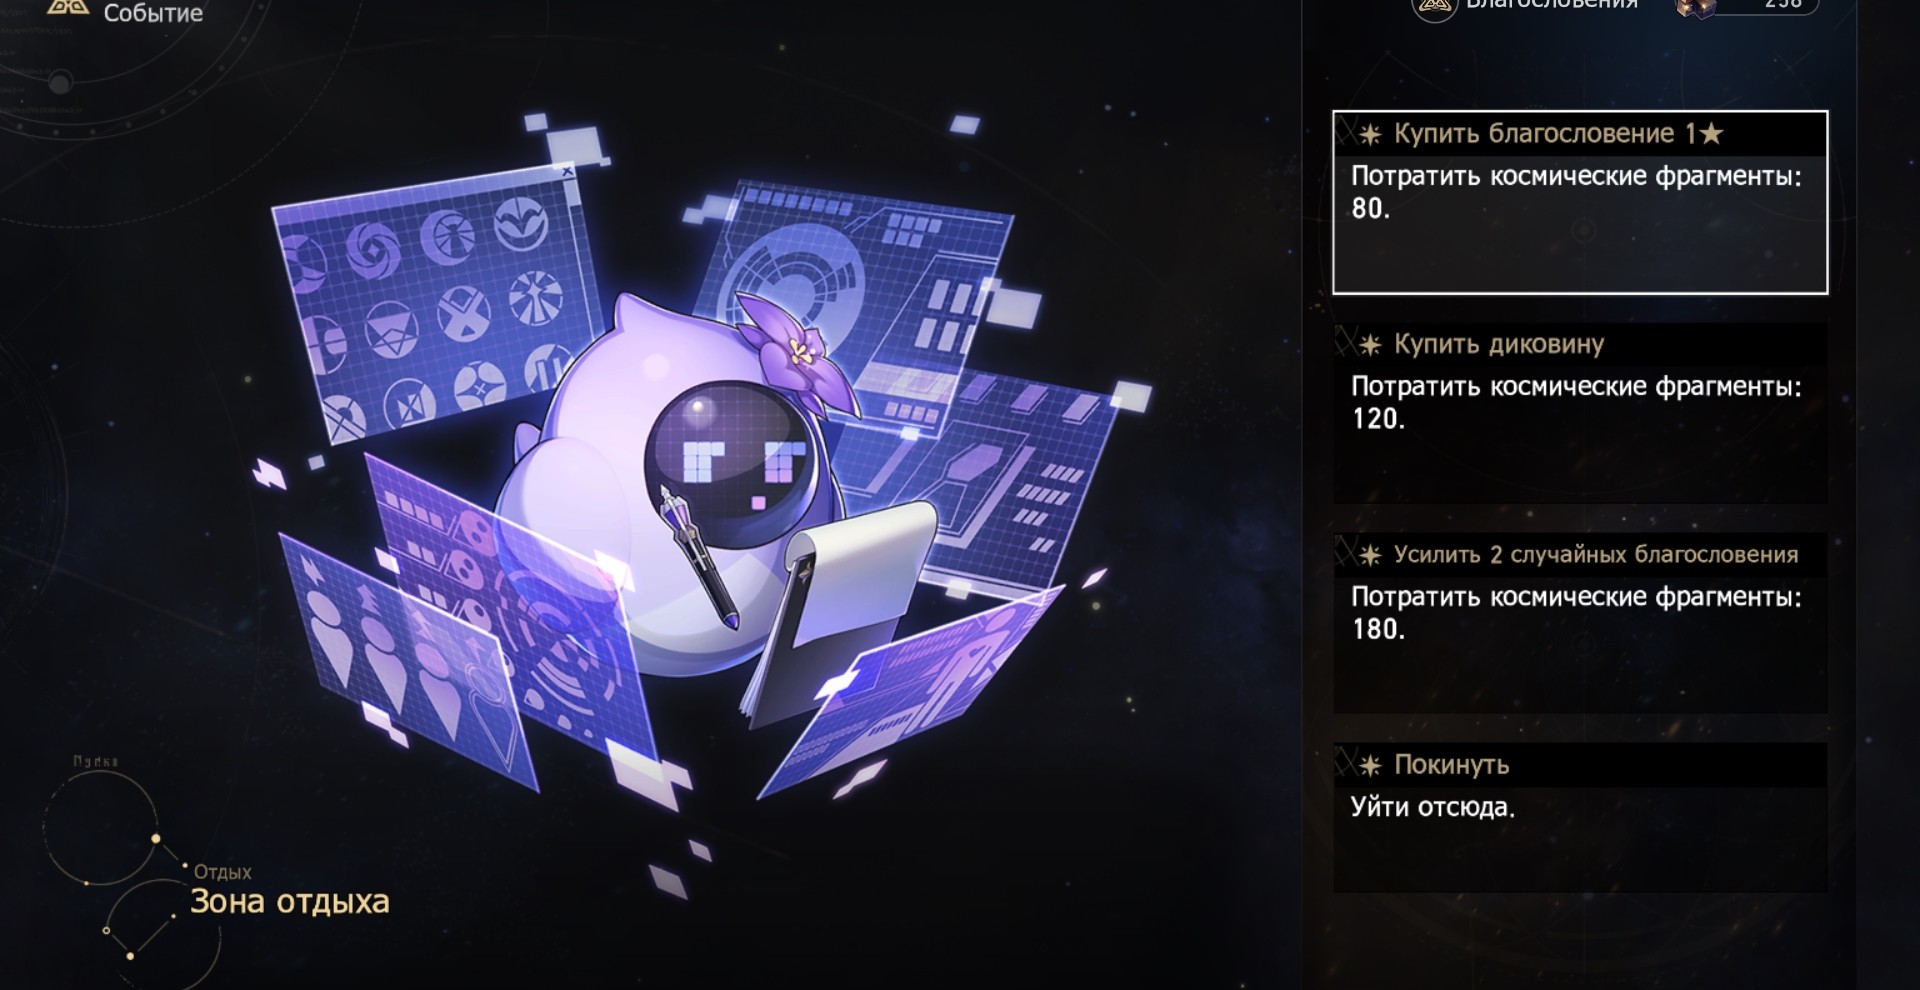
At the forks, prioritize the battle zone, as you will be guaranteed to get a blessing, which can be crucial for getting Resonance Shaping. The event zone is too unpredictable: you can either get a useful blessing or curiosity, or lose a lot of HP or get into battle with strong opponents. In the recreation area, you can spend space fragments to get the missing 1* card.
Also take advantage of every opportunity to heal with destructible items or your healers' abilities, as elite enemies and the final boss can deal quite a lot of damage that your weakened characters can't take, making your path to victory much more difficult.

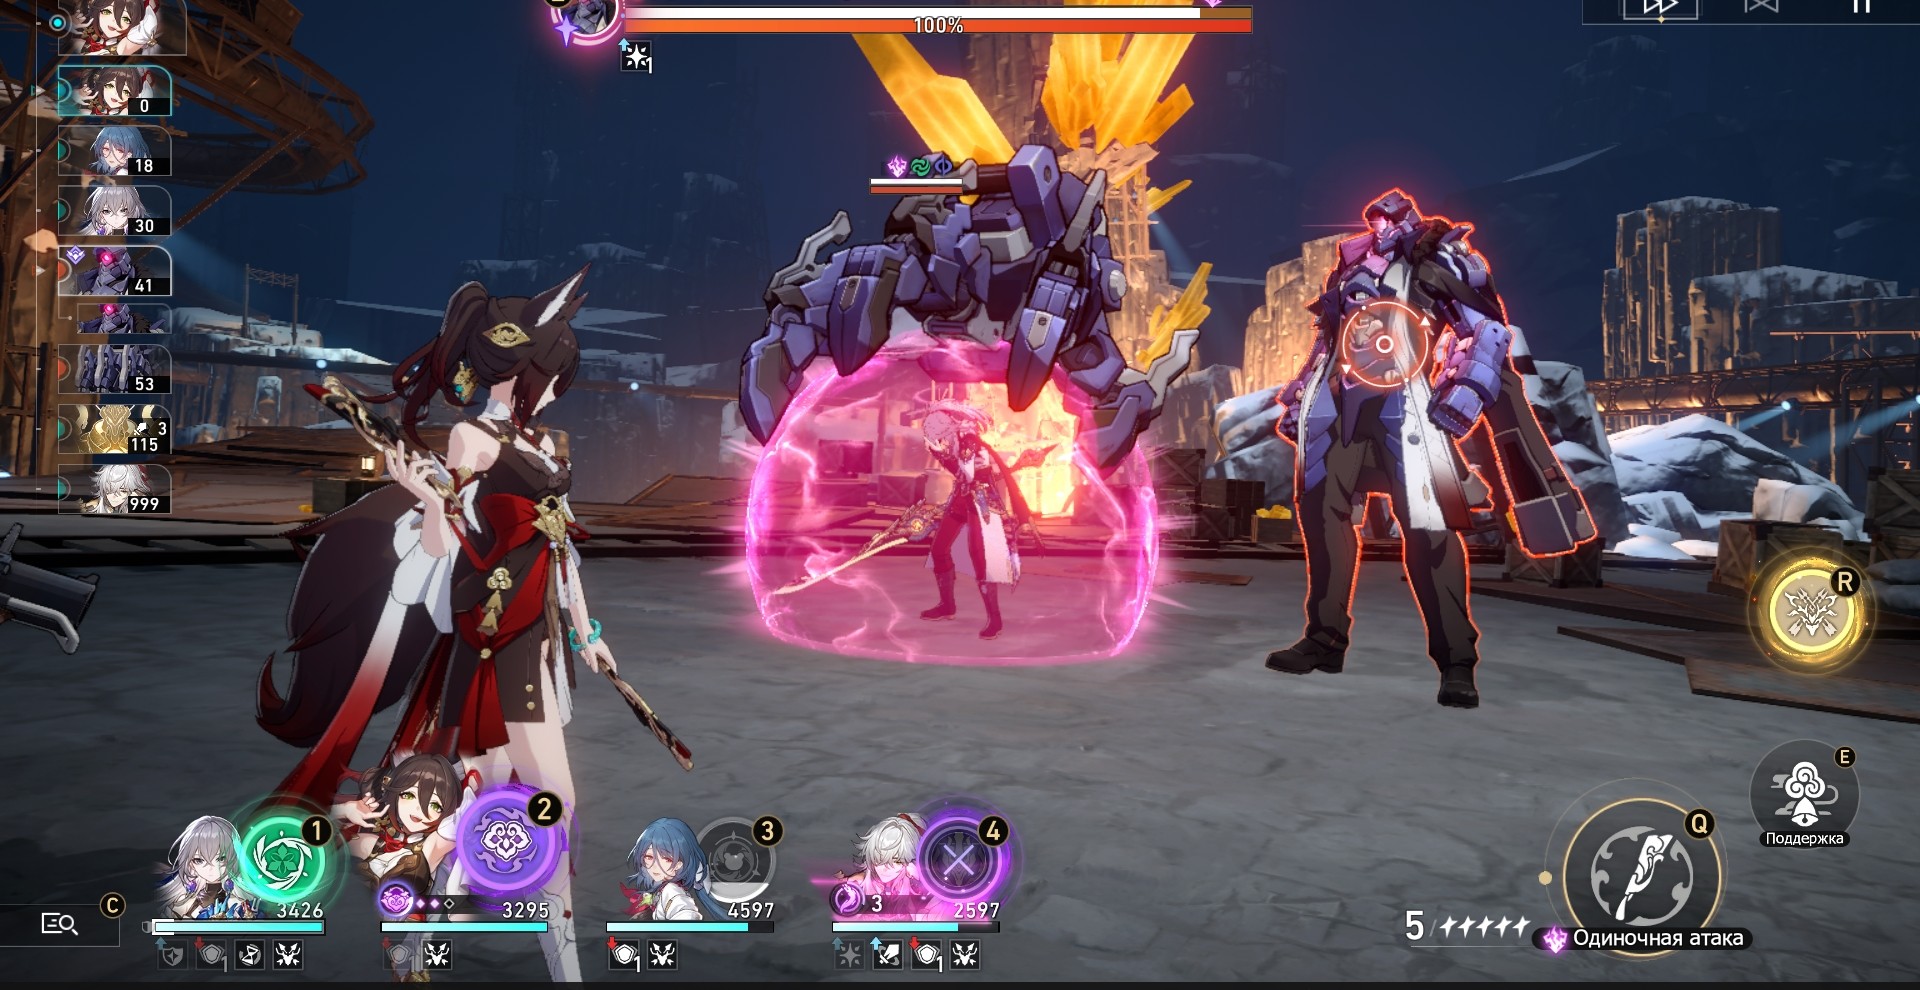
How to defeat Svarog
The final part of the test of World 4 will be the battle with the robot Svarog. It will consist of three phases. Below you can find out the features of each of them.
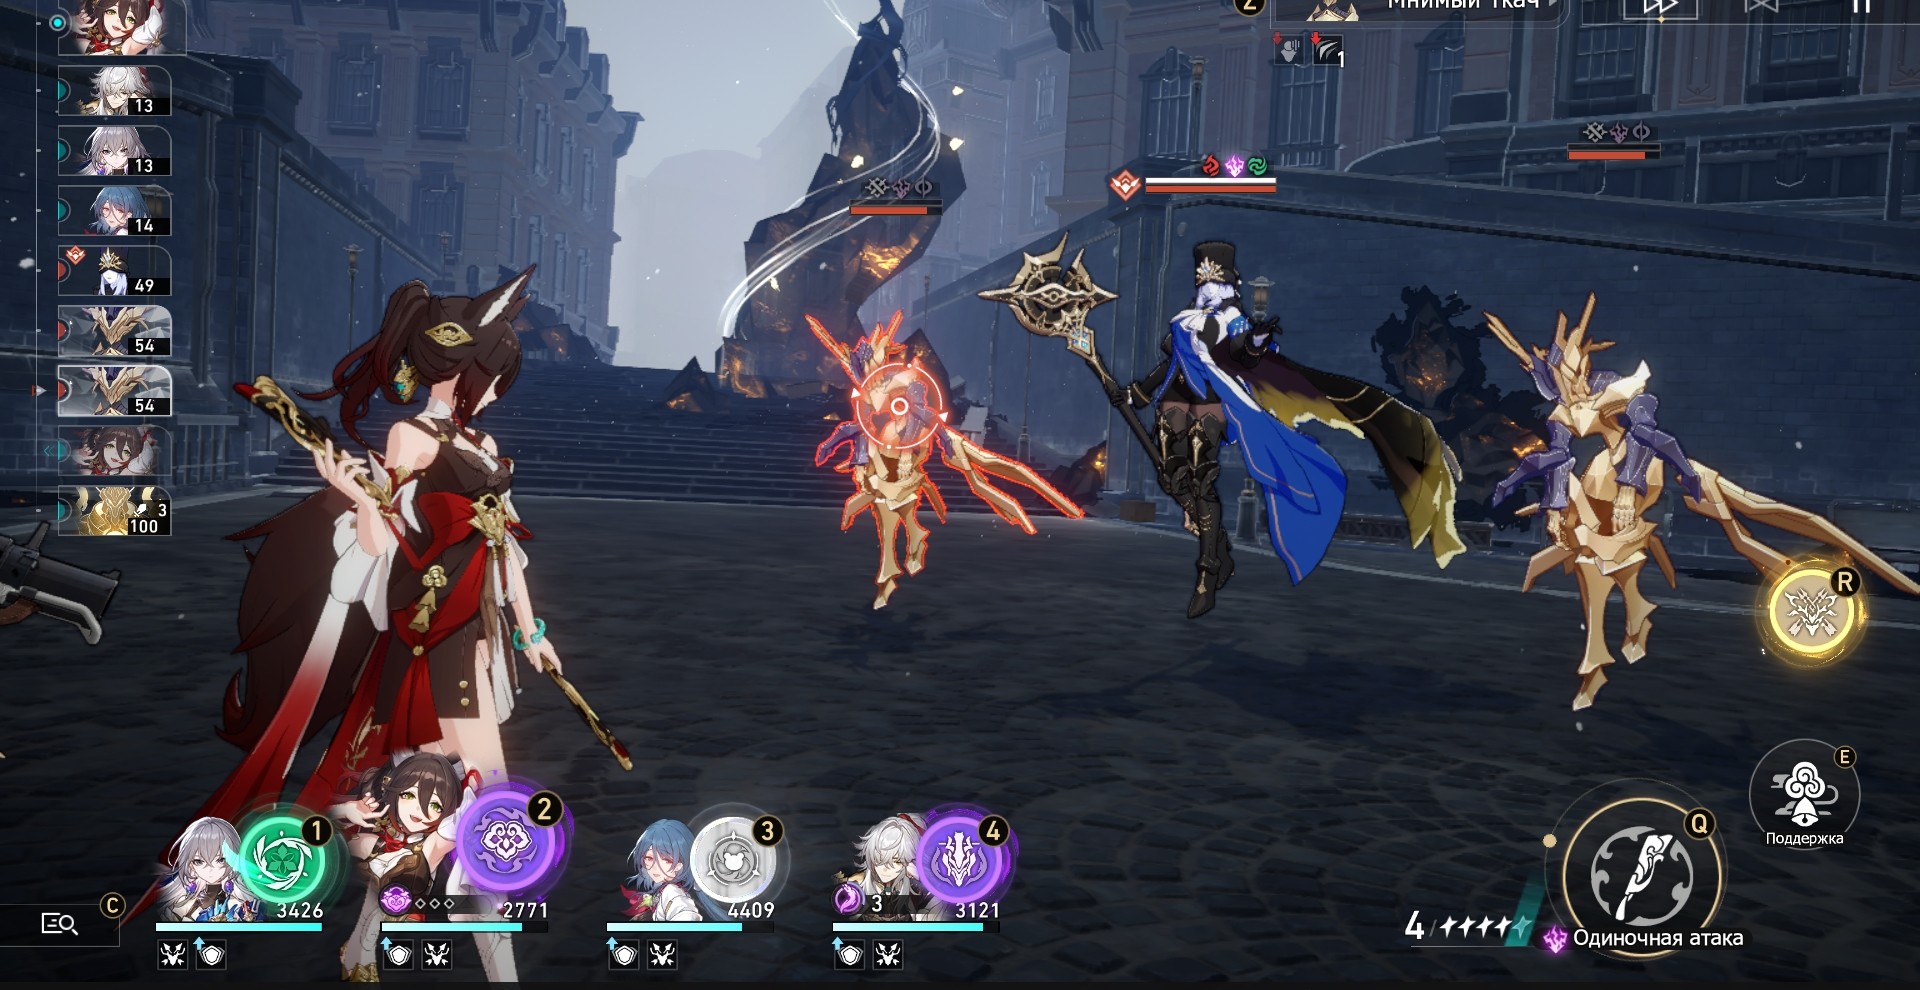
Phase 1
At the beginning, the boss summons automatons. Focus on Svarog, attacking the minions with area attacks only. Try not to use powerful attacks that require energy accumulation at the end of the phase, so as not to waste damage percentages. At the same time, on the Path of the Hunt, it is better to activate Resonance at the moment when you can definitely kill at least one enemy in order to restore 50% of energy.
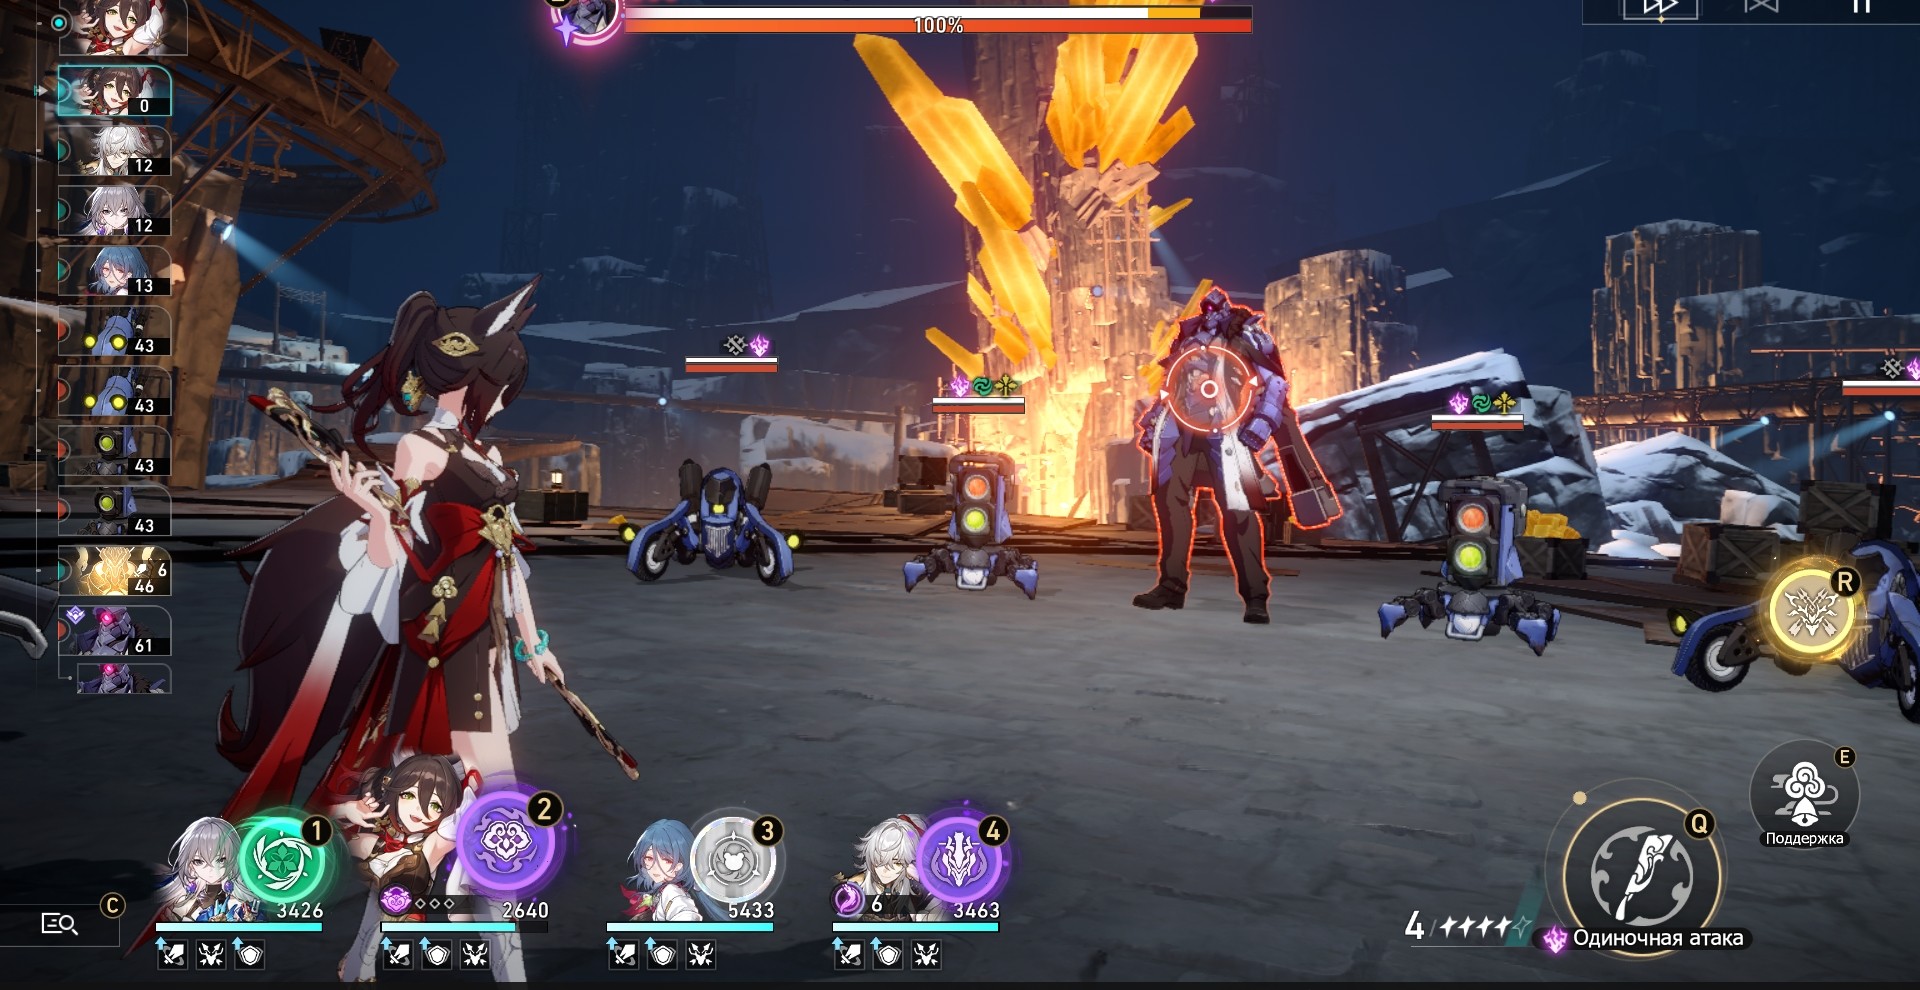
Phase 2
Svarog summons more powerful Dire Wolf Automatons. You don't need to focus on them, unless they're targeting a low health character. All tips from the previous phase also remain relevant.
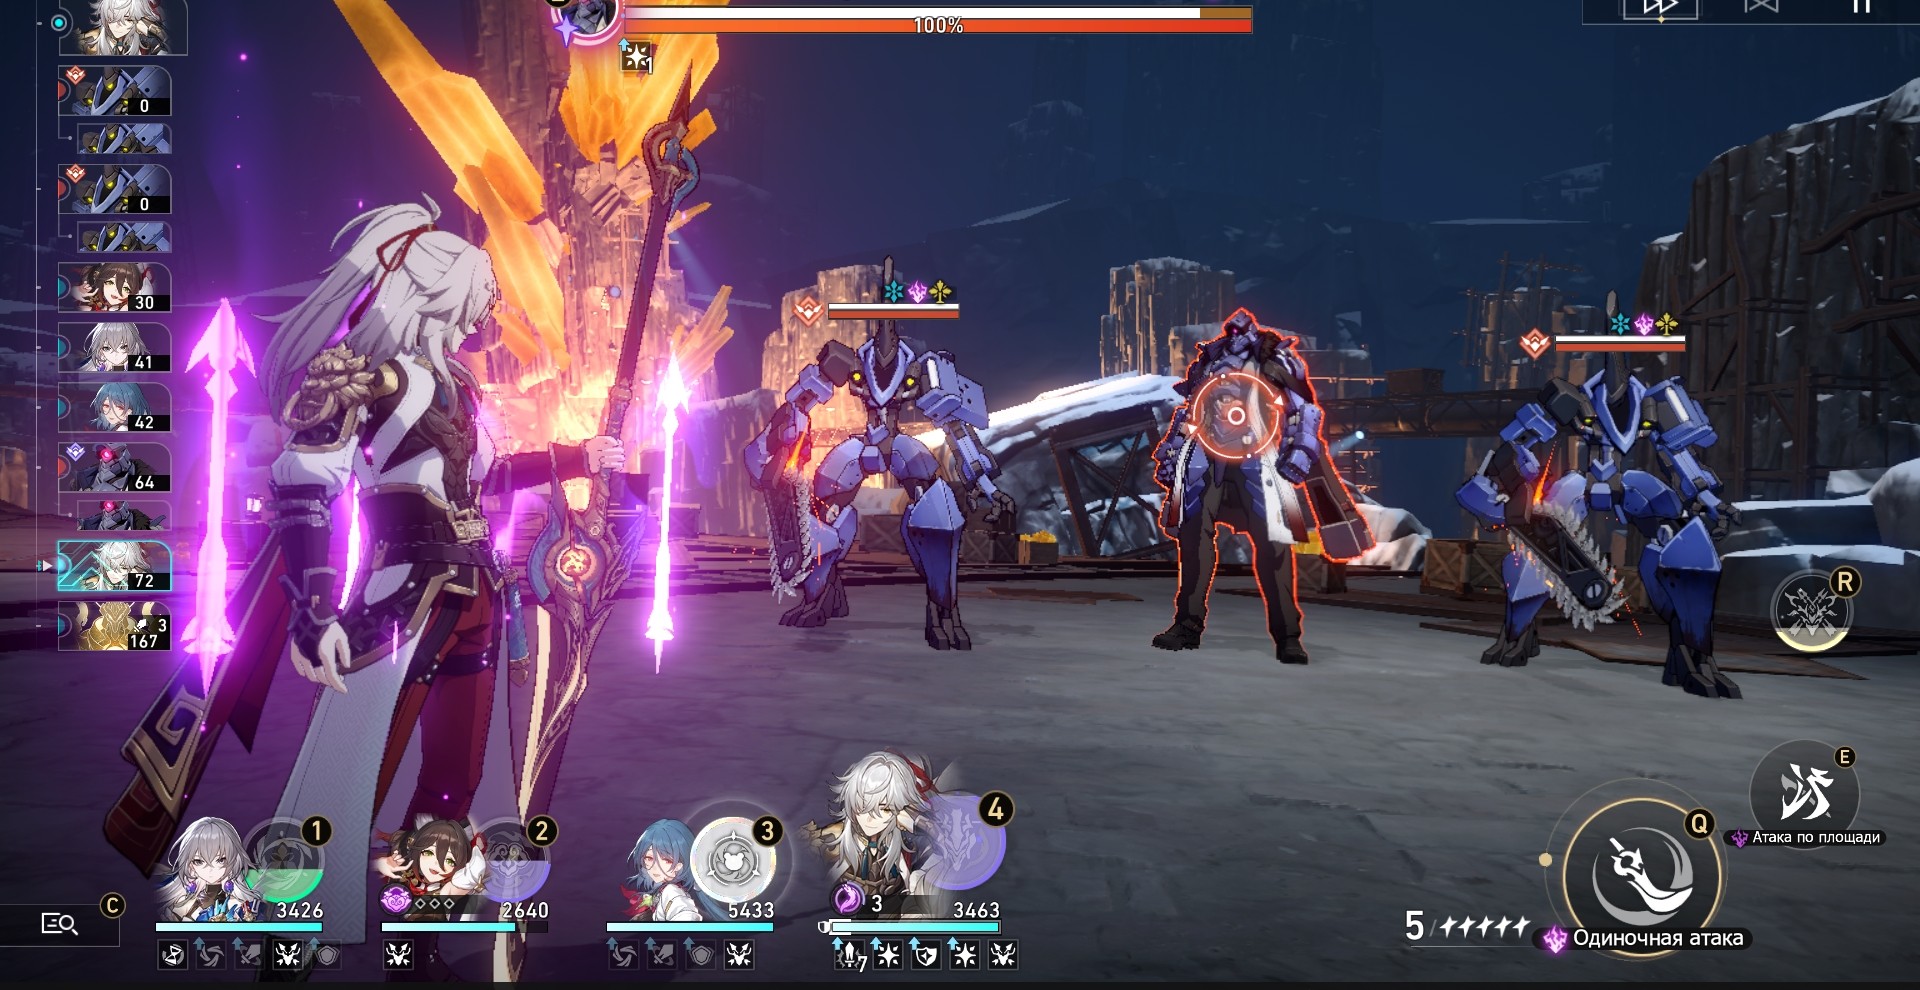
Phase 3
The boss summons an Auxiliary Robot Arm that can grab your ally. During imprisonment, additional damage will be dealt to him, and any skills that affect the entire team will not be applied to the prisoner. The hero will only be freed when the automaton's stamina is used up. The hand has electrical, wind and quantum vulnerabilities. Focus your attacks on her. Try to destroy it before Svarog calls for a new assistant.
Closer to their complete destruction, Svarog's attacks will become more aggressive, so try to use every opportunity to heal your heroes. So, gradually, you will definitely be able to reach a complete victory over the robot and get all the possible rewards.
Comments
You need to login to add comments.
You can login with