In Remnants 2 Lament is a large dungeon that contains many valuable items, including the Red Widow armor set. However, to collect all the treasures, you need to overcome many dangerous traps and solve many difficult puzzles. In this guide, we'll show you how to do it all.
Walkthrough of the dungeon Lament in Remnant 2
How to get into the dungeon "Lament"
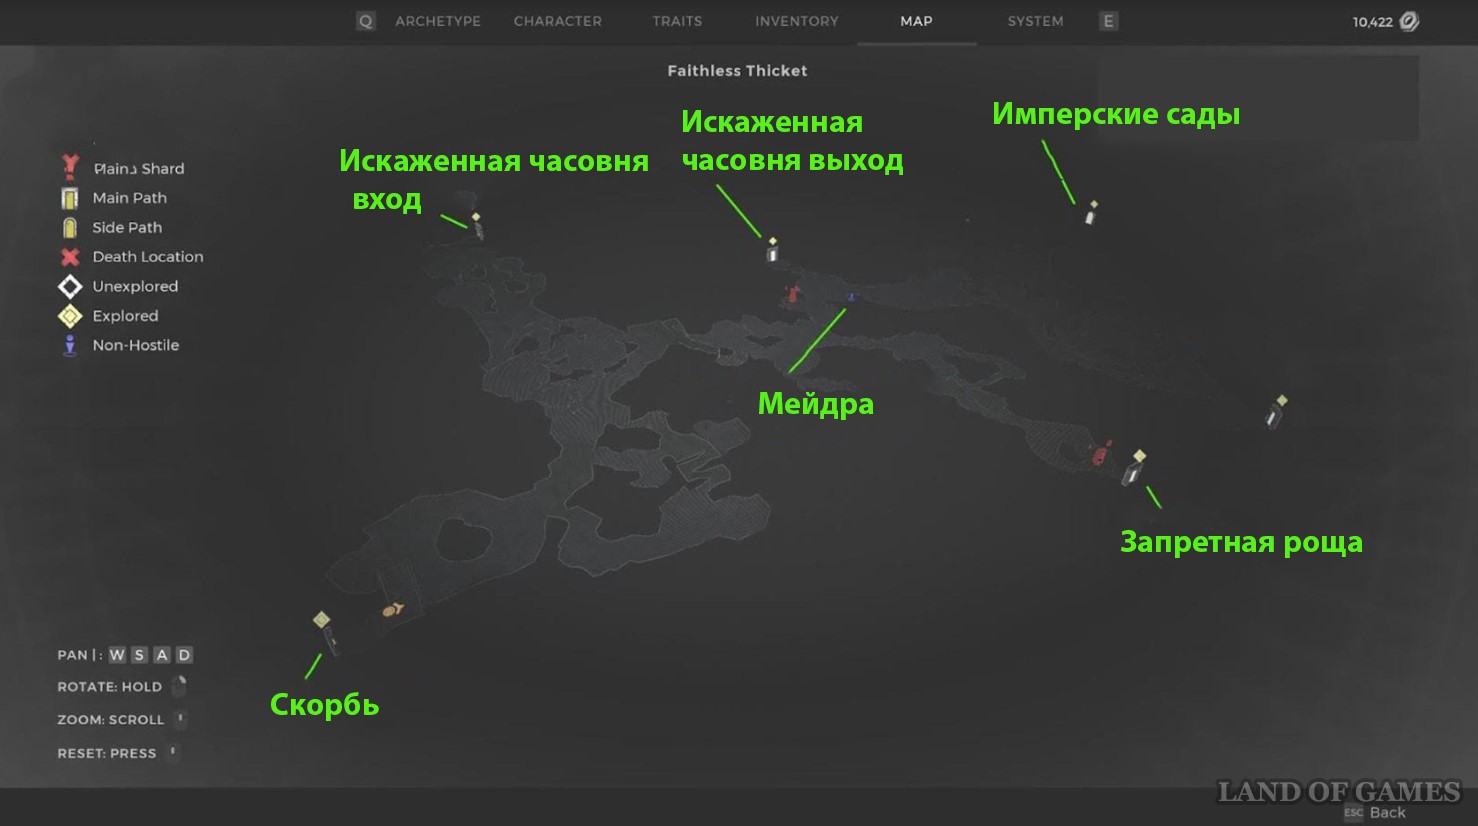
It is located in the world of Yaesh, however, due to the random generation of locations, it is impossible to specify its exact location. We only note that the entrance to it most often occurs in the Treacherous Thickets, and relatively close to the refuge of Keula.
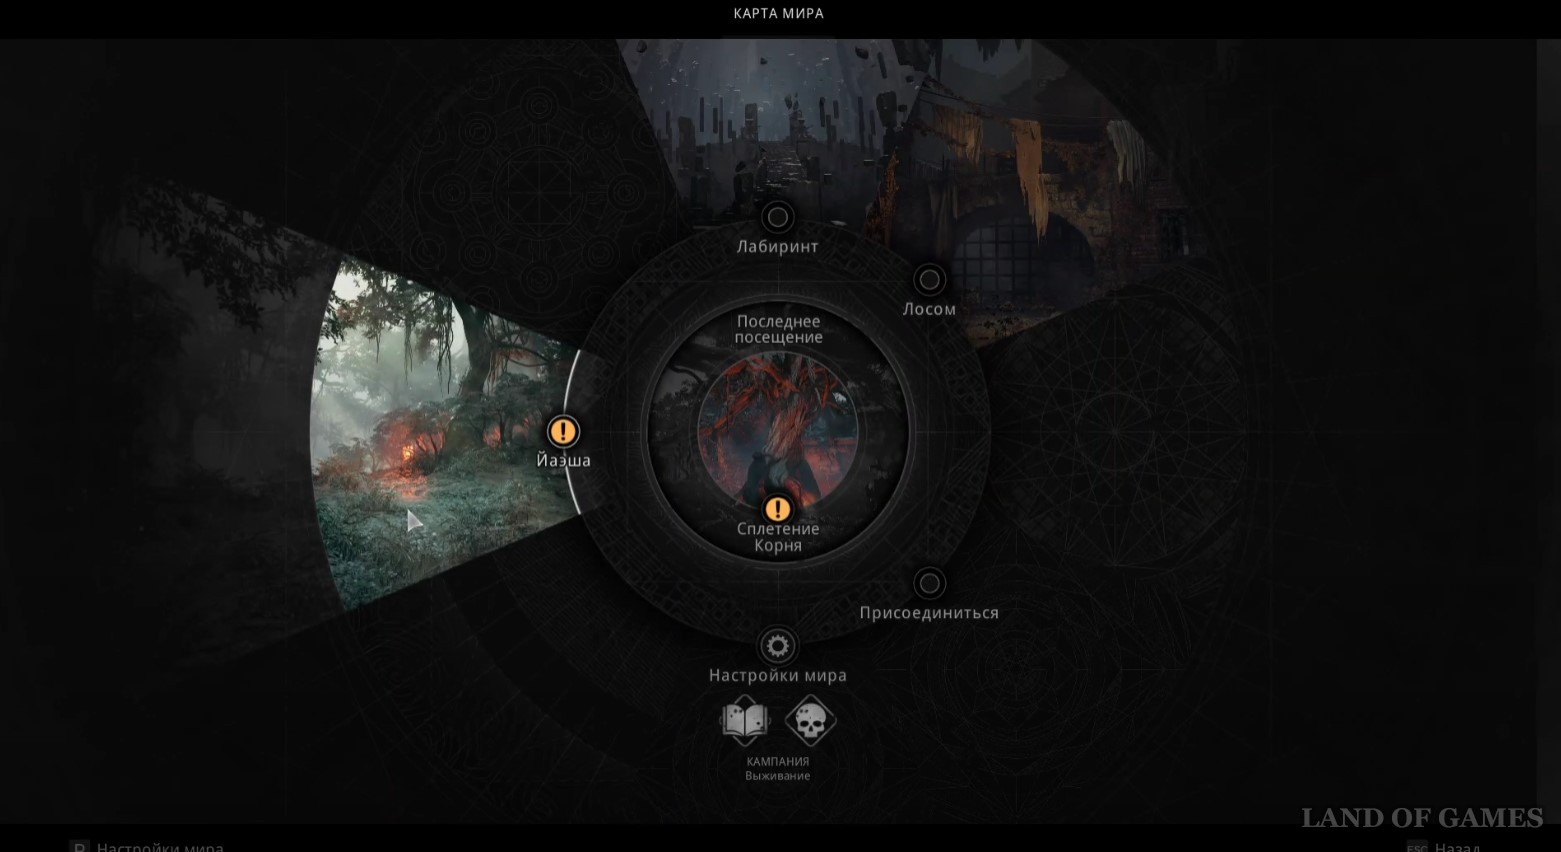
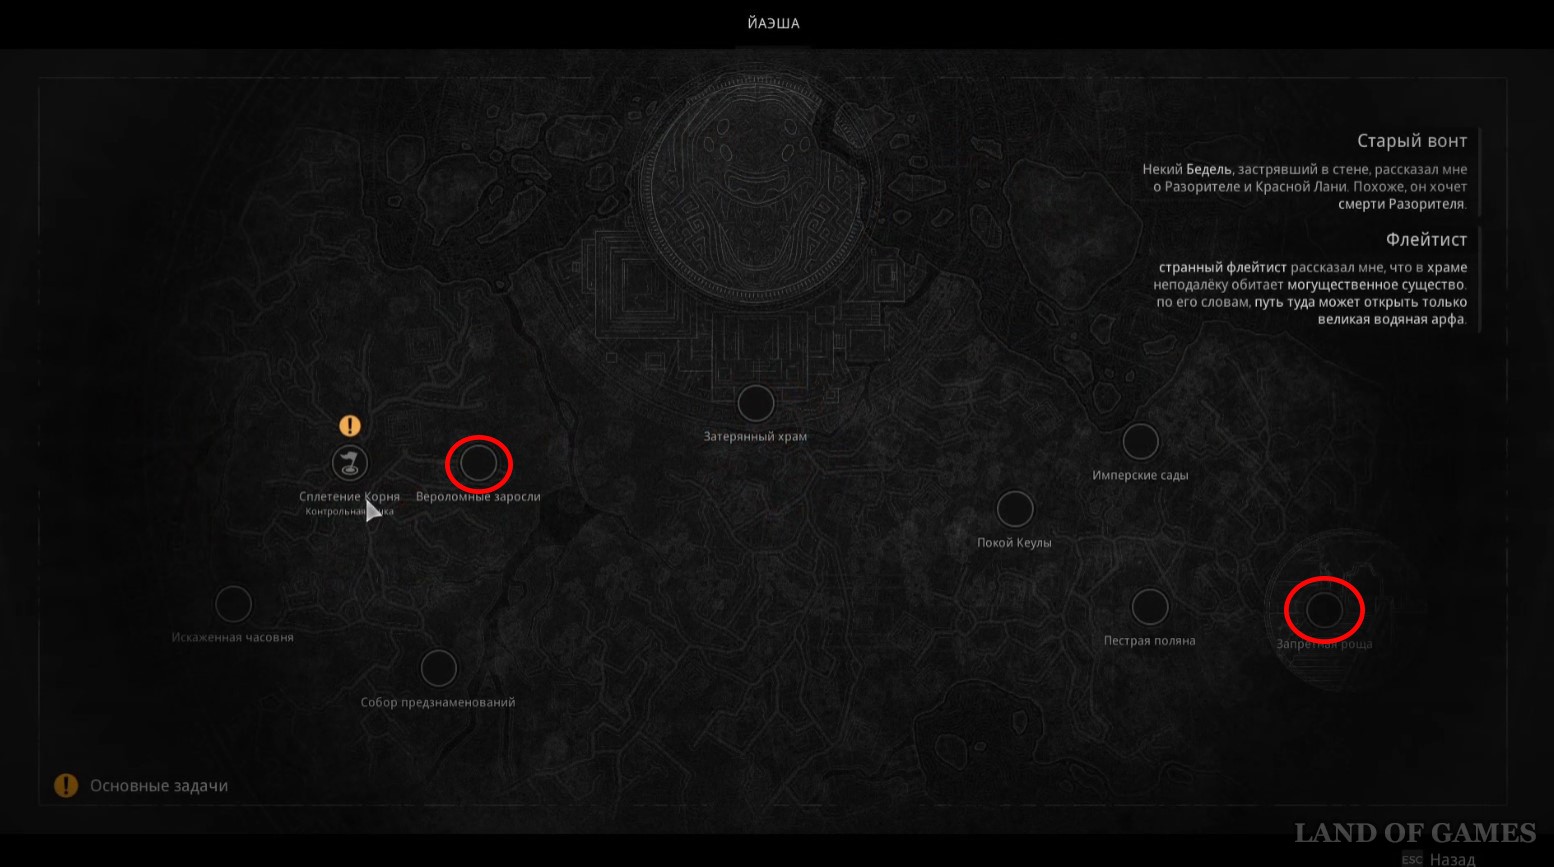
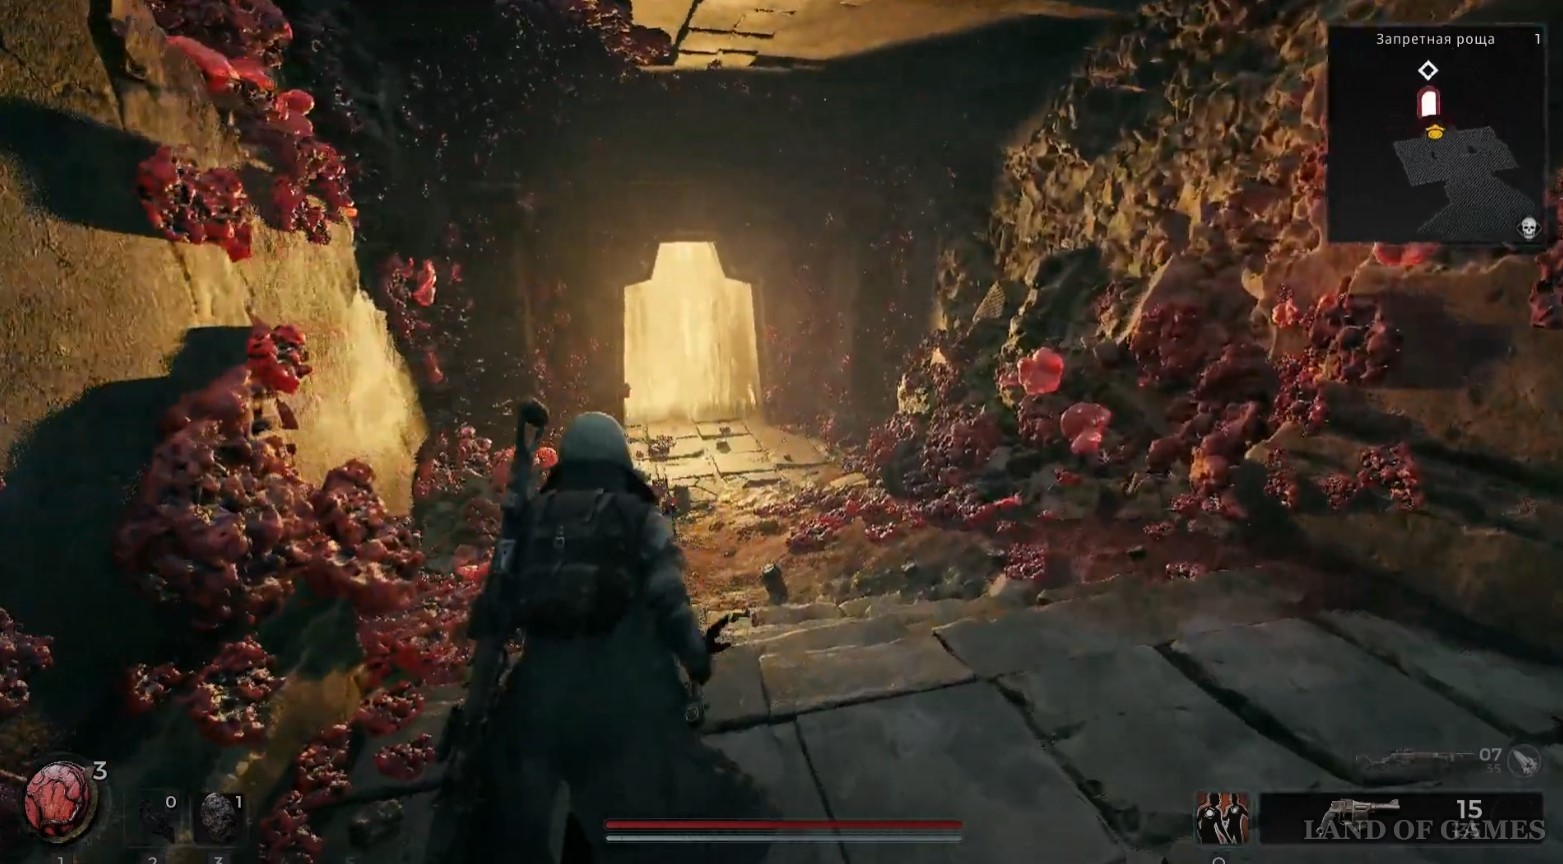
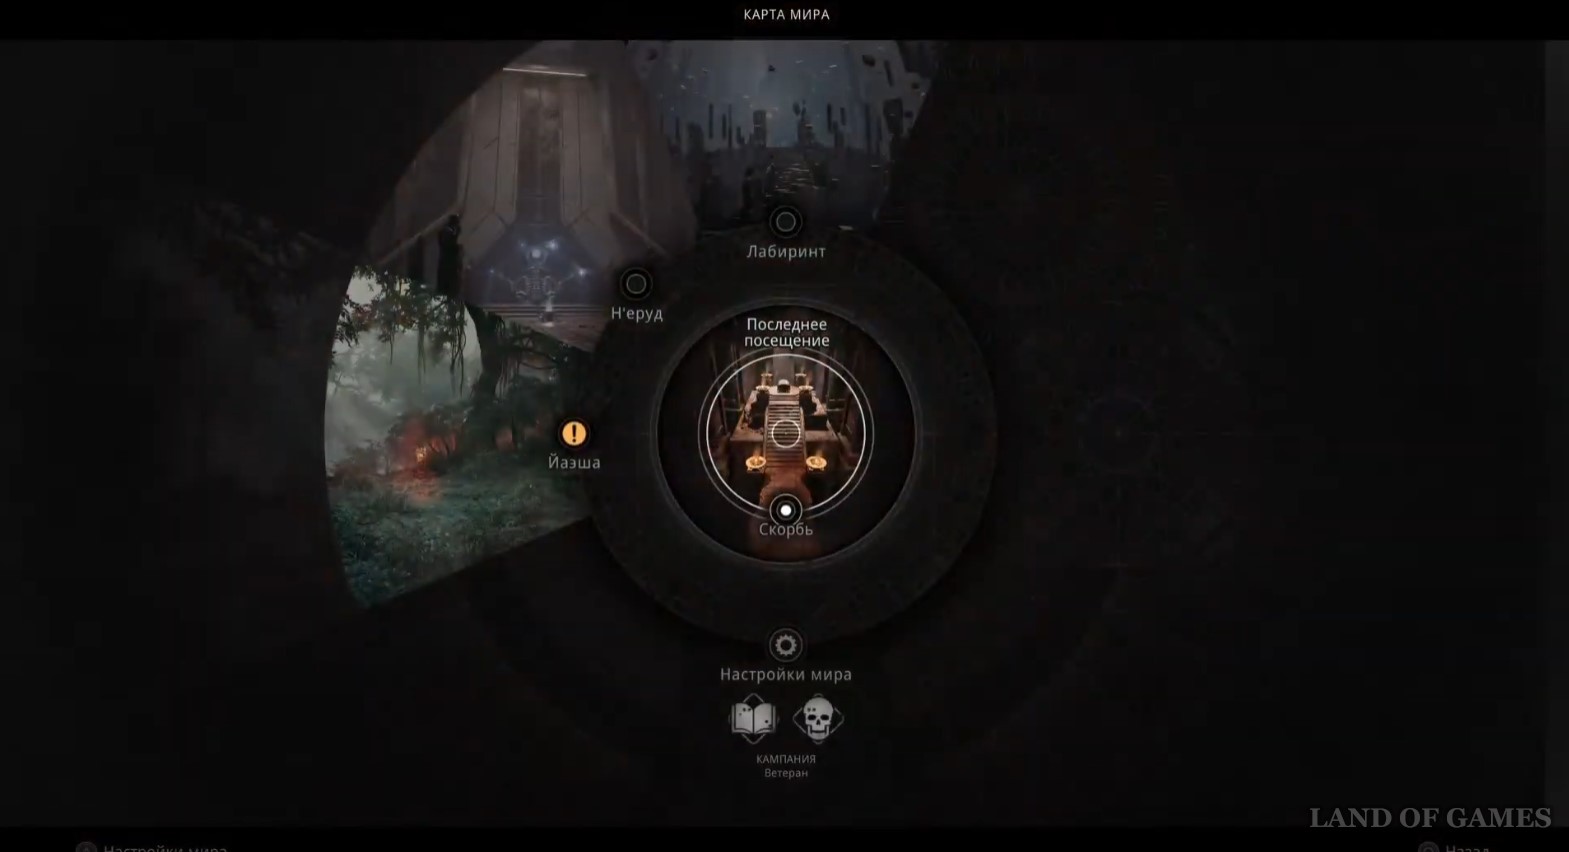
If you are visiting this region for the first time, then pass through the Forbidden Grove to Keula, which will lead you to the Treacherous Thicket. From there, follow the path through the forest until you reach the desired passage. An example entry is shown in the screenshots below. If you already have the desired dungeon open, then you can immediately go to it through the world map using the "Last Visit" function.
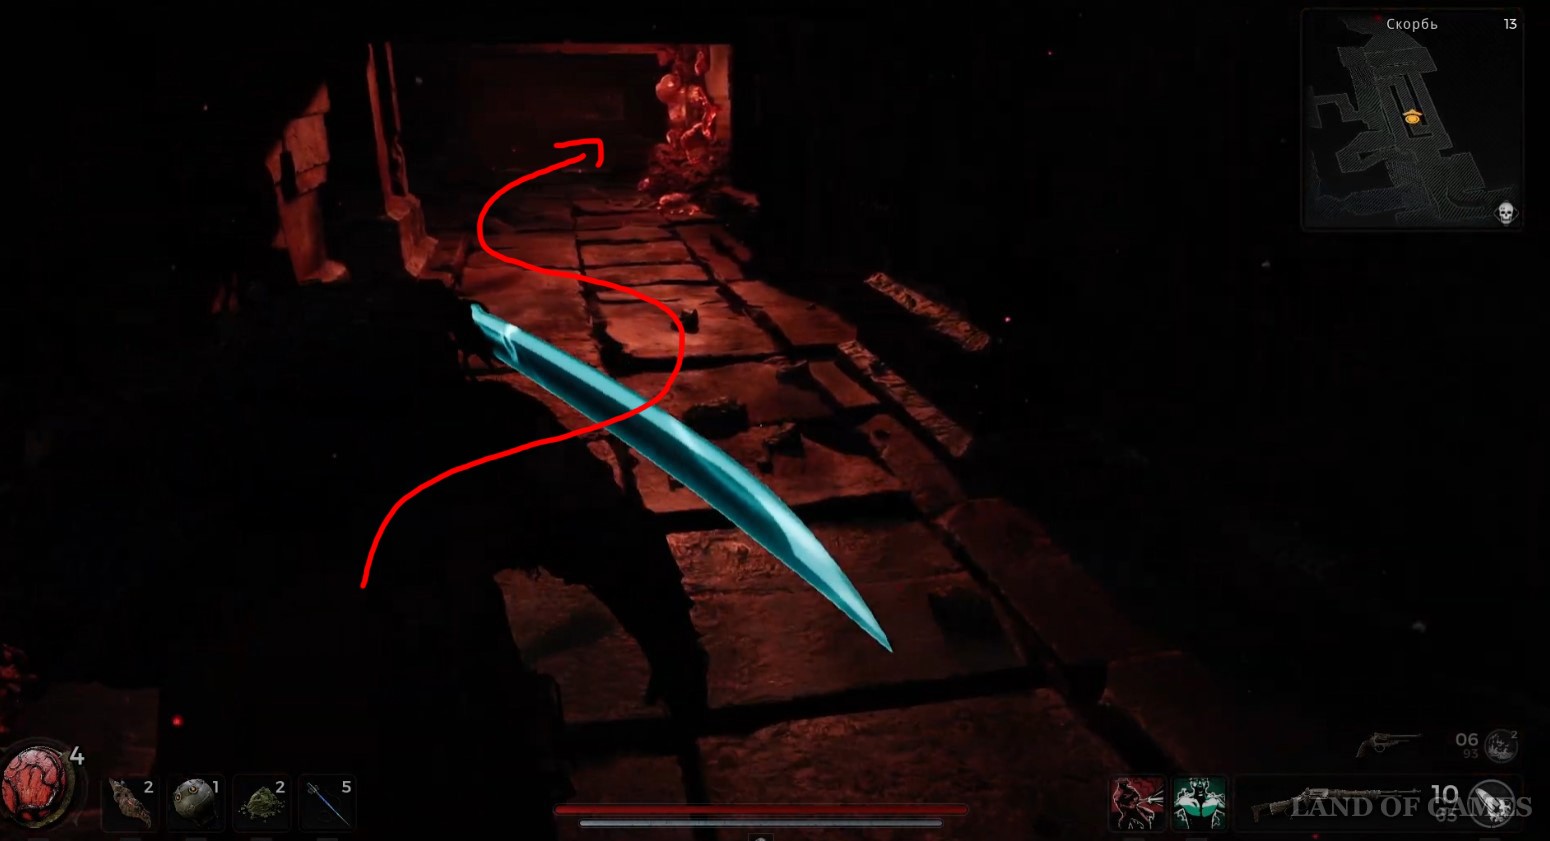
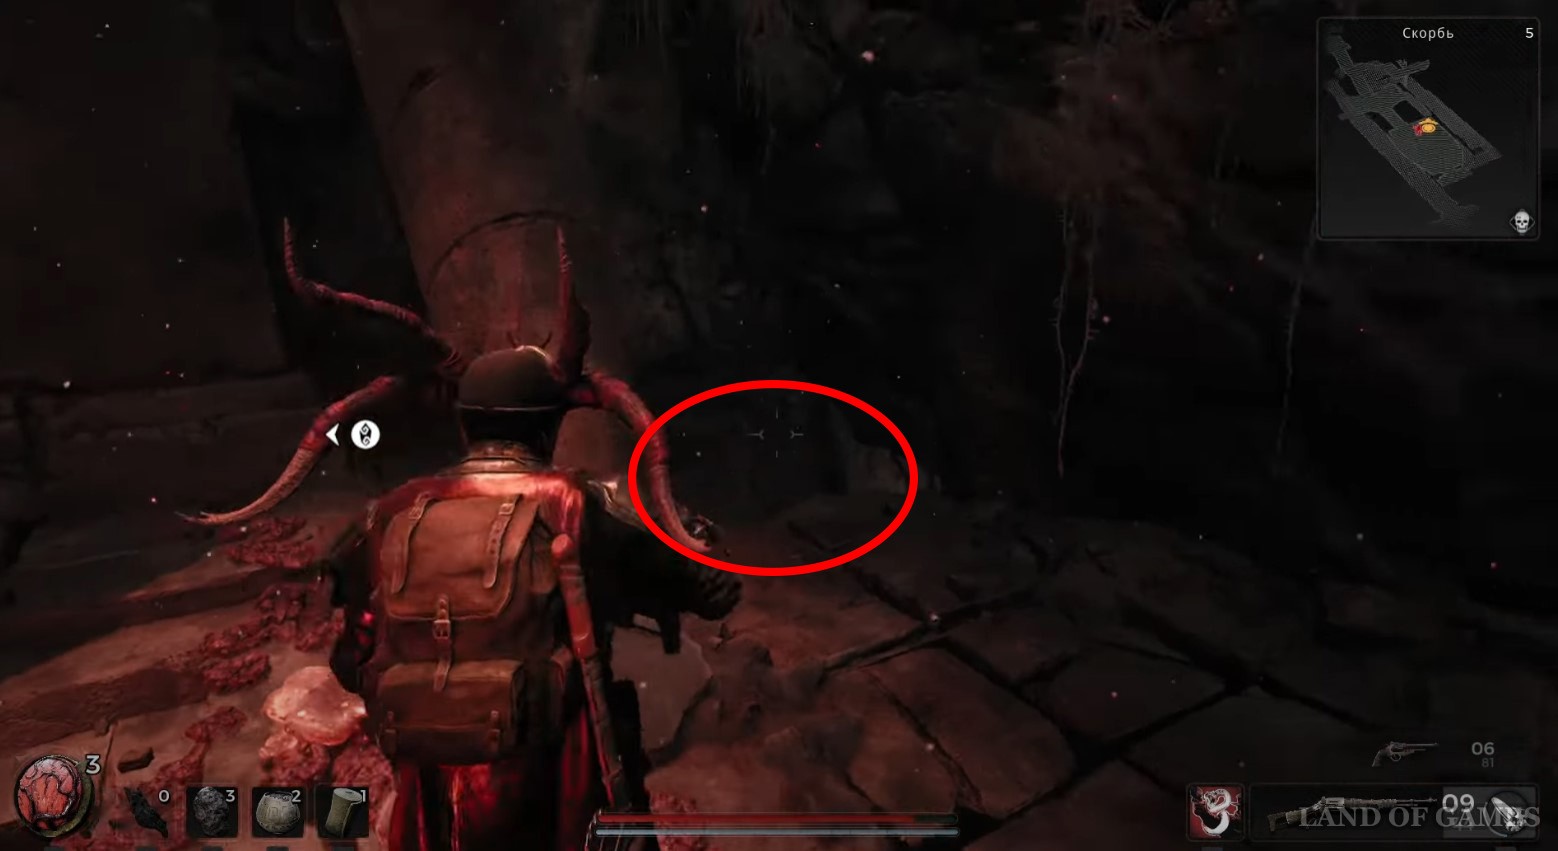
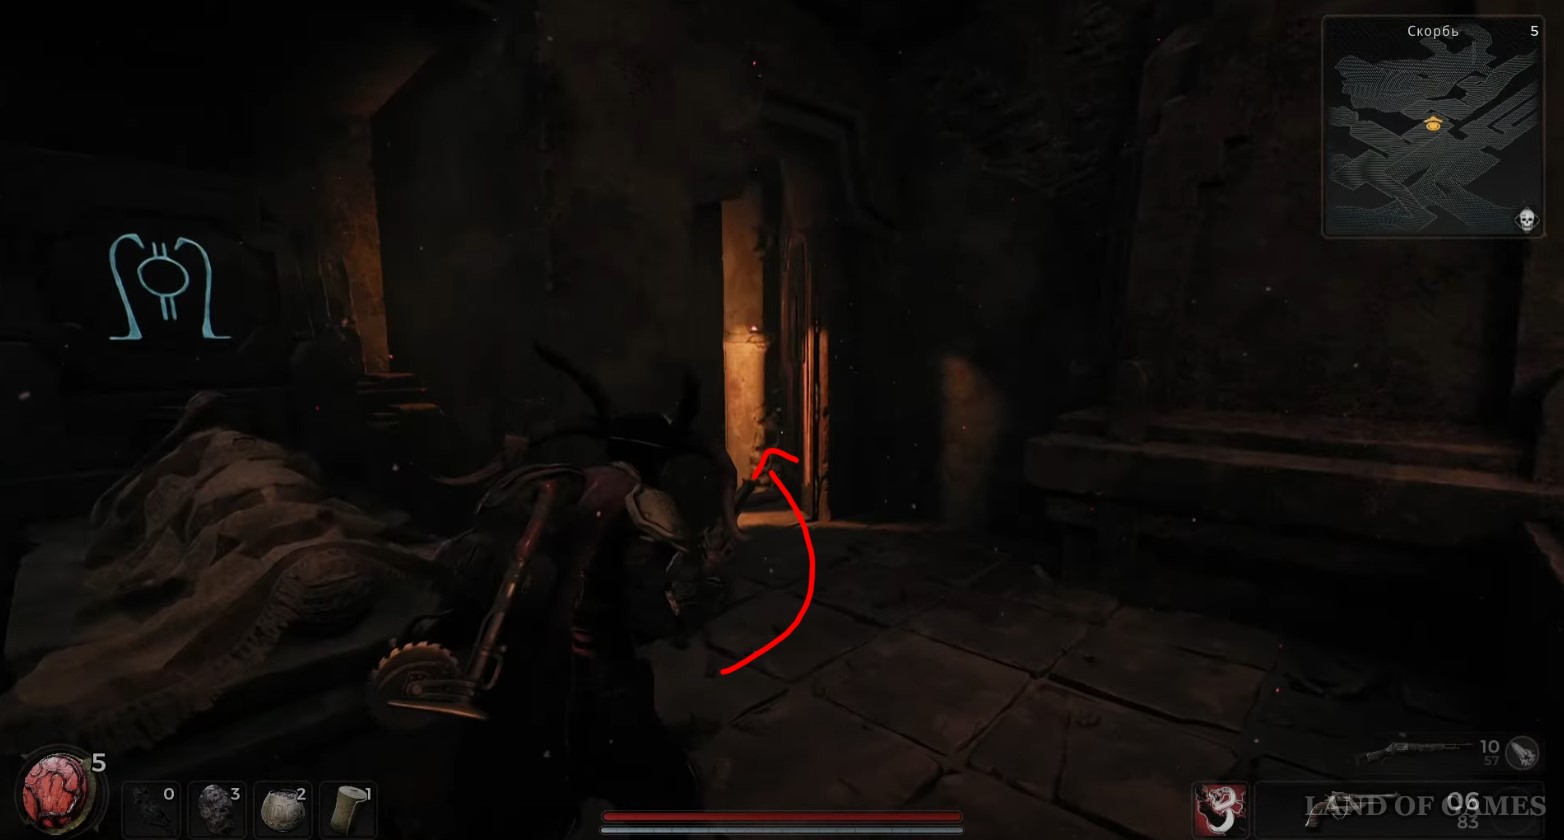
Pass through the arrow traps
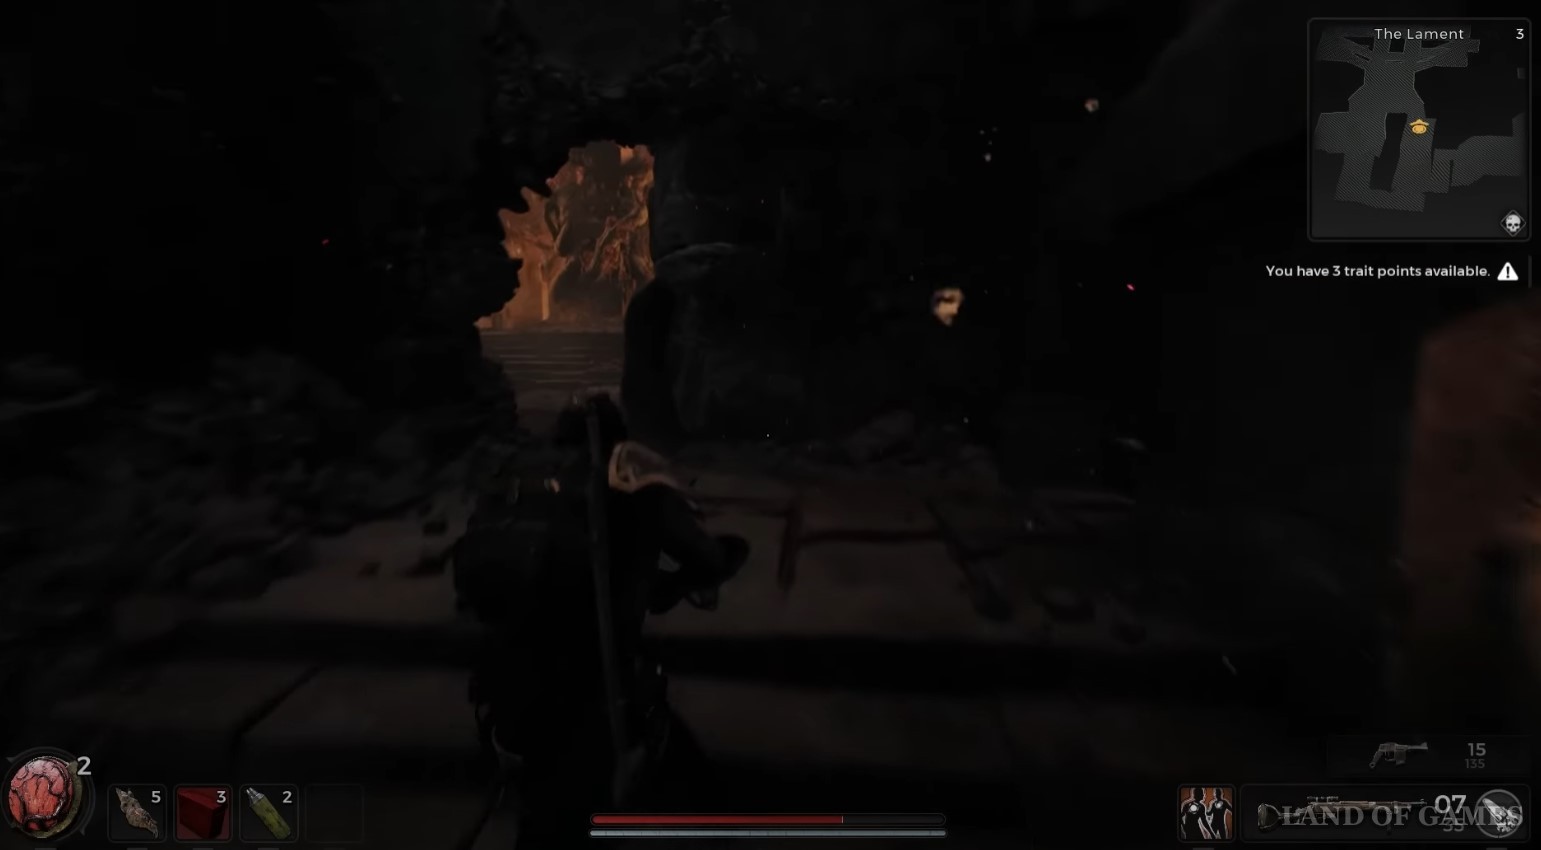
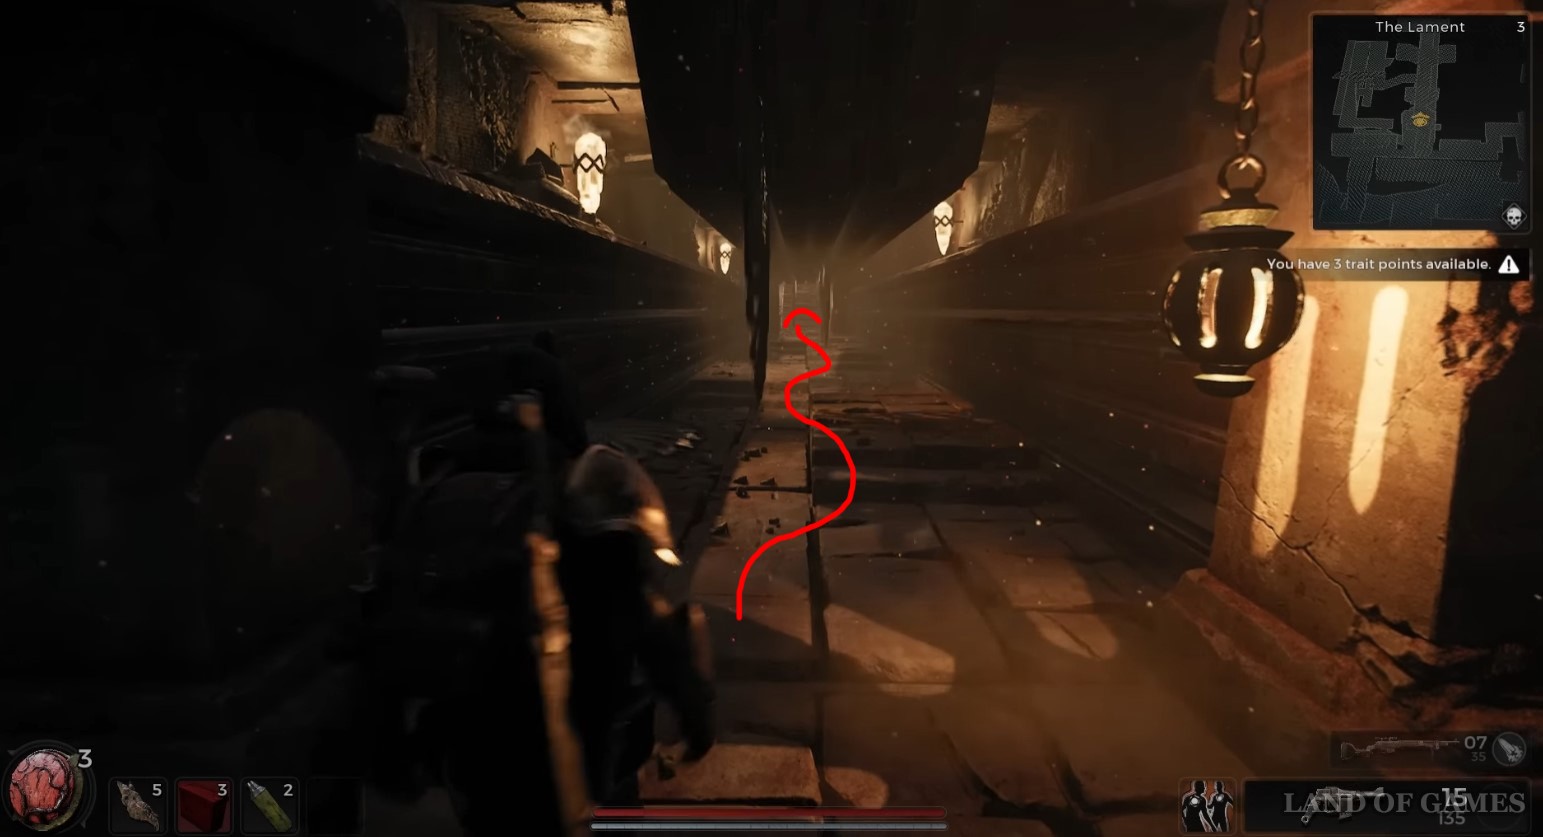
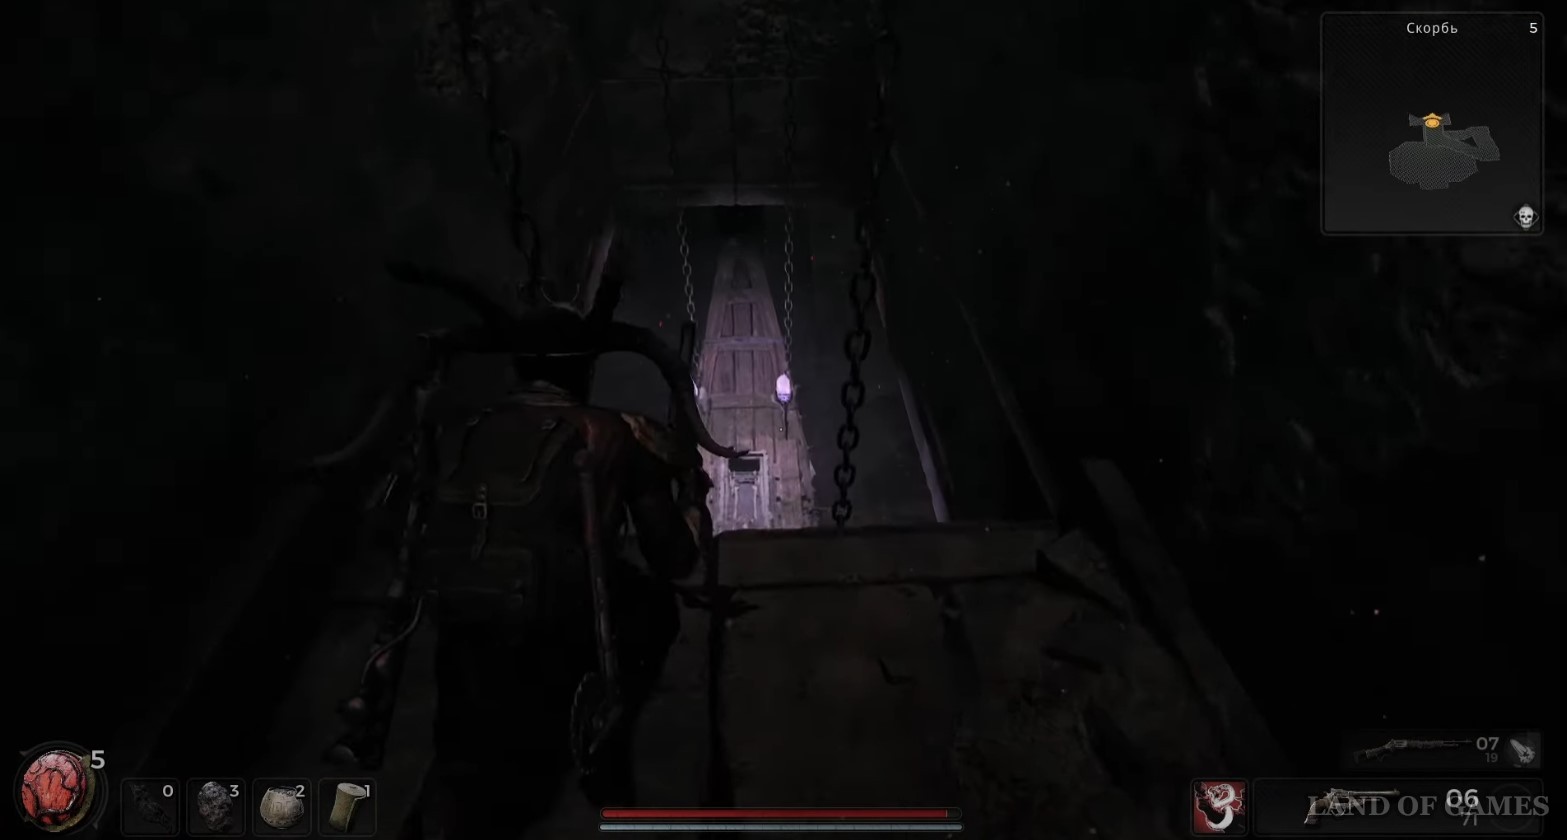
After activating the teleportation stone, go through the door ahead and before you go around the stone partition, crouch and start walking crouching through the corridor so that the arrows do not hit you. After reaching the stone block, wait for the shot, and then immediately jump over it (stand to the left or right, depending on where the arrows came from).

Note: If you have a good reaction, then you can simply run through the entire corridor, going either to the left or to the right, thereby dodging the arrows. However, any mistake will lead you to instant death (on low health).
The passage forward will be blocked by bars, so turn right. Before entering the next corridor, you will need to seize the moment so as not to get shot. Walk a couple of meters, moving from one wall to another, and then you can no longer be afraid of the arrival of arrows, since they will not hit you if you walk crouching (probably a bug).
Note: If the arrows hit you even in a half-bent state, you will have to go through the entire tunnel in a zigzag. Be careful, because by clicking on the plate, you will change the order of the shots.
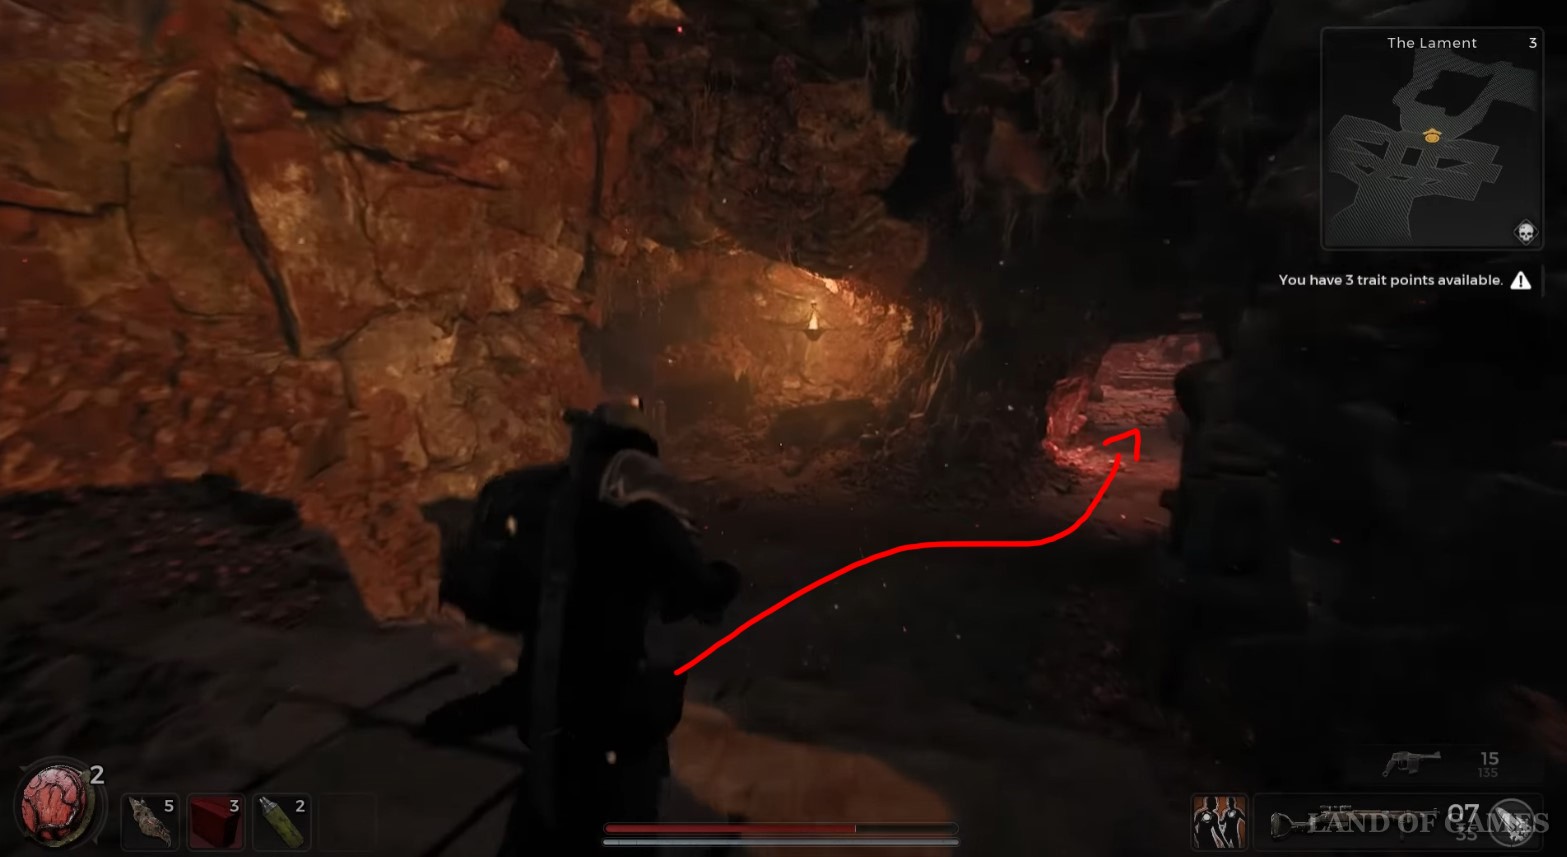
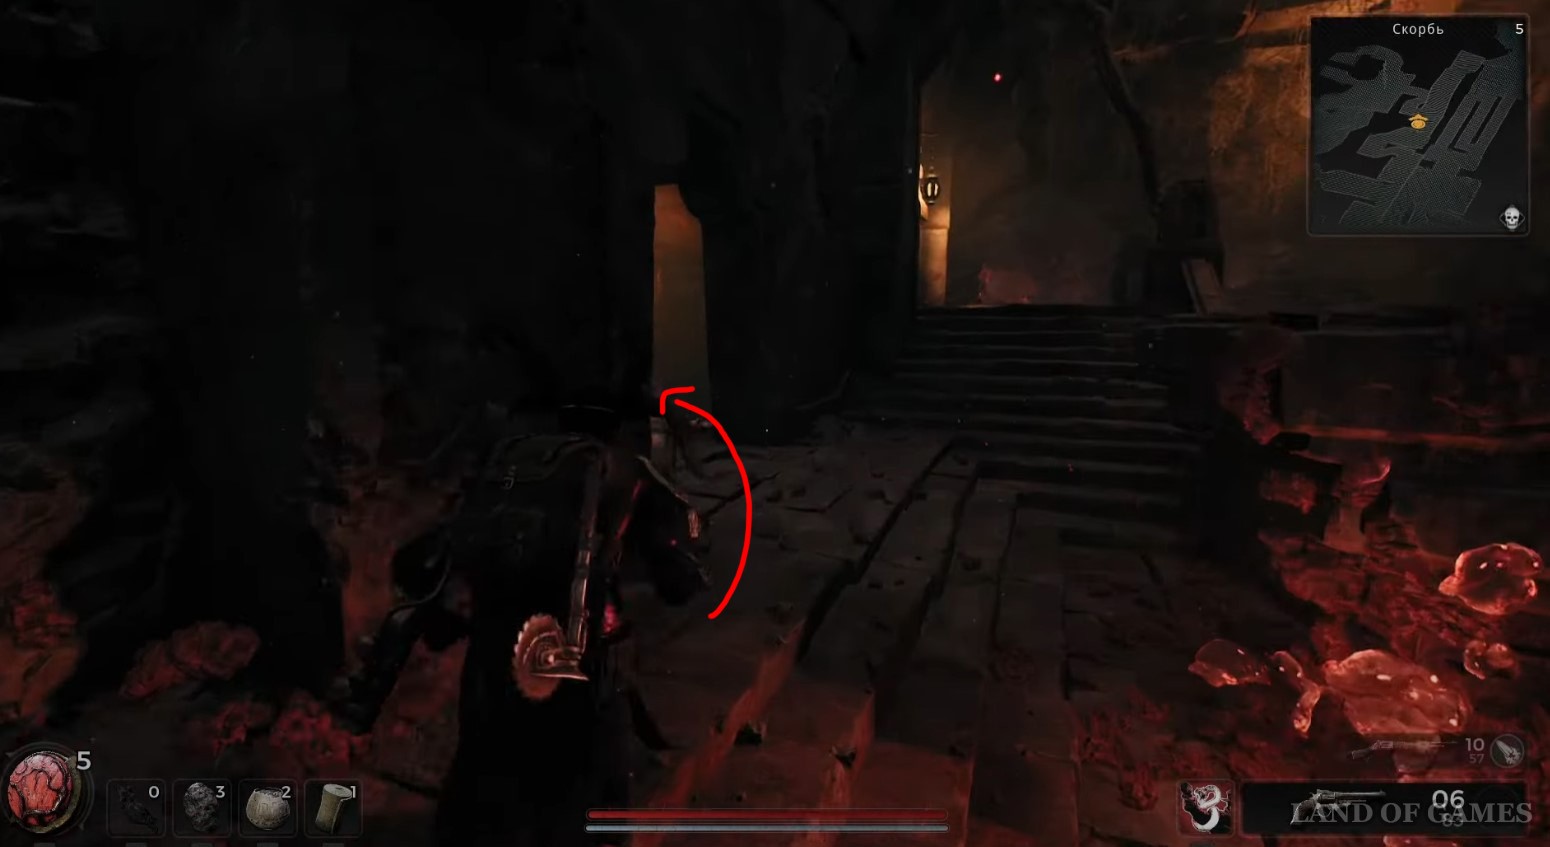
Having reached the end, turn left into a new corridor, where the arrows will now fly not only horizontally, but also vertically. Keep moving in a crouched position (the arrows must not hit you) and get to the first stone block and stand near its left or right side.
Now you need to wait until the arrows fire from this block and from the side where you are standing, and then quickly jump over the obstacle. Go to the second barrier and do the same. The main thing here is not to rush. When you reach the end of the corridor, immediately turn right and interact with the lever to unlock a short route, cut down the traps and open the door.
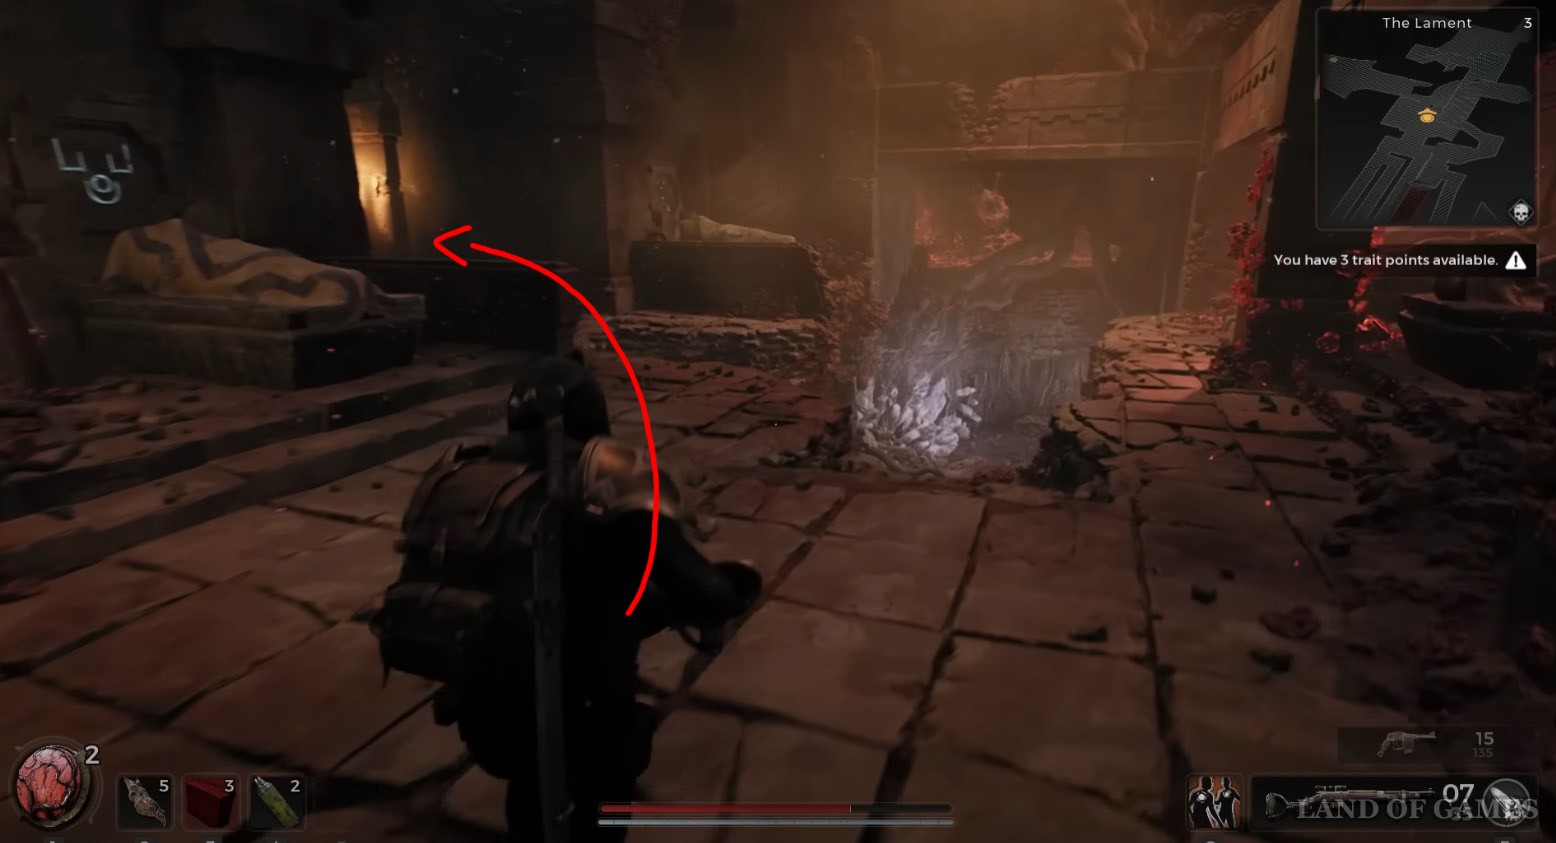
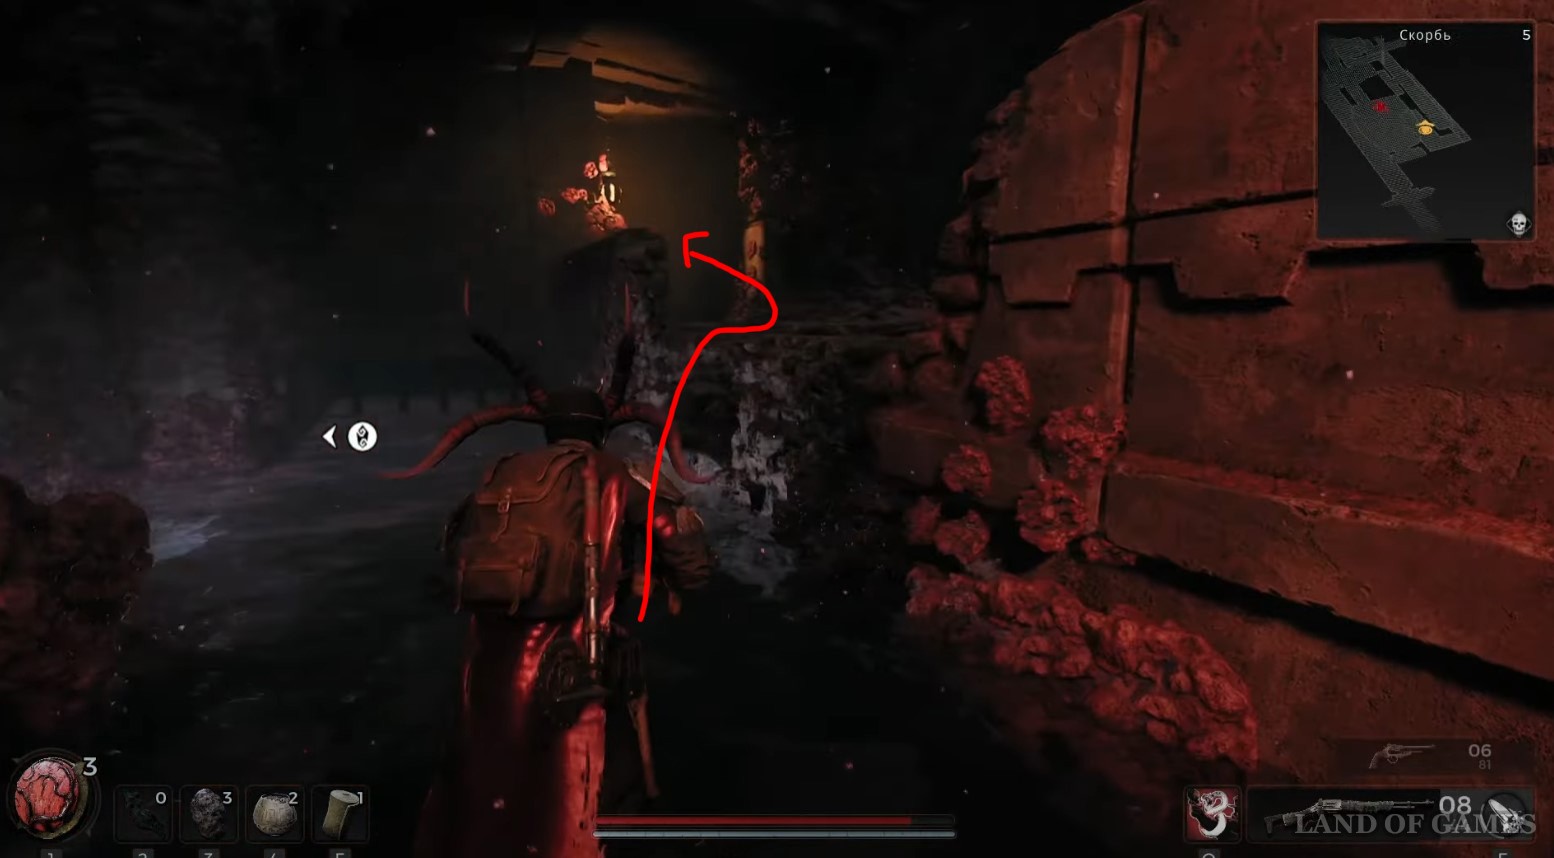
Open a short route and find the diagram
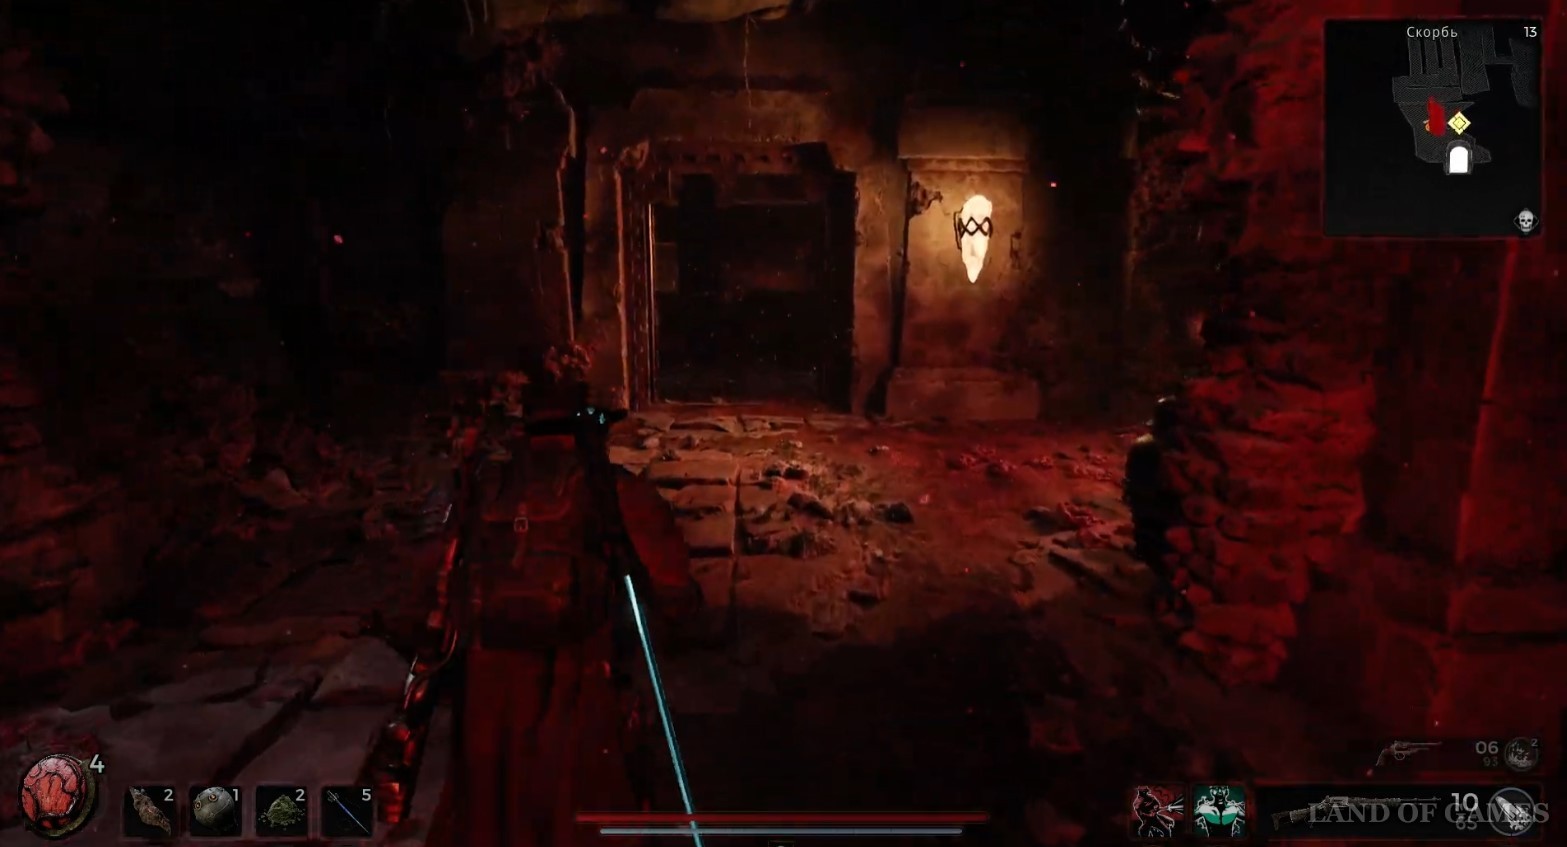
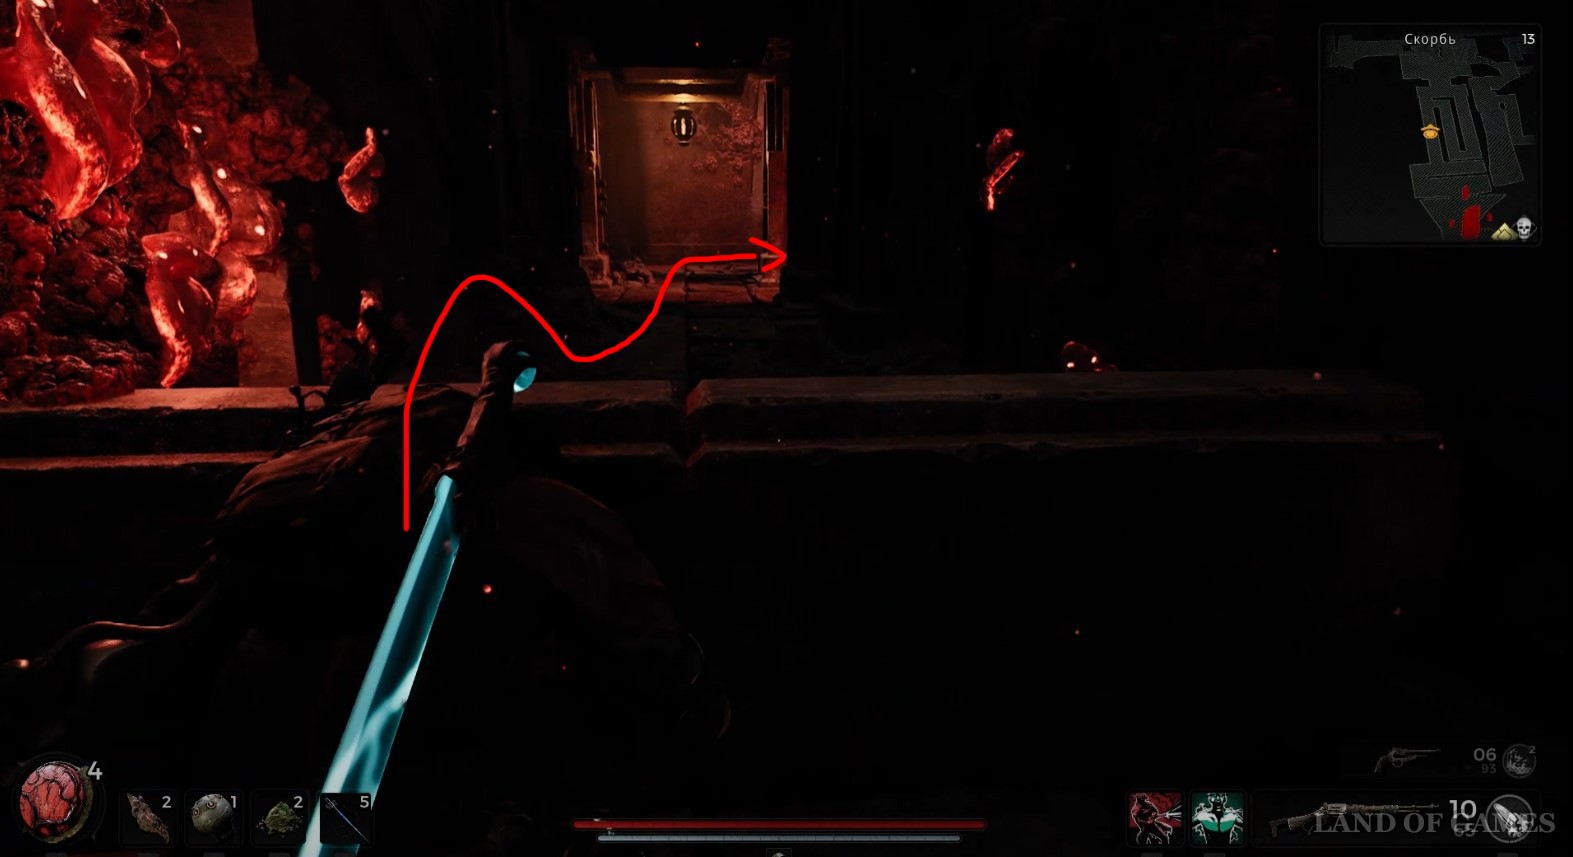
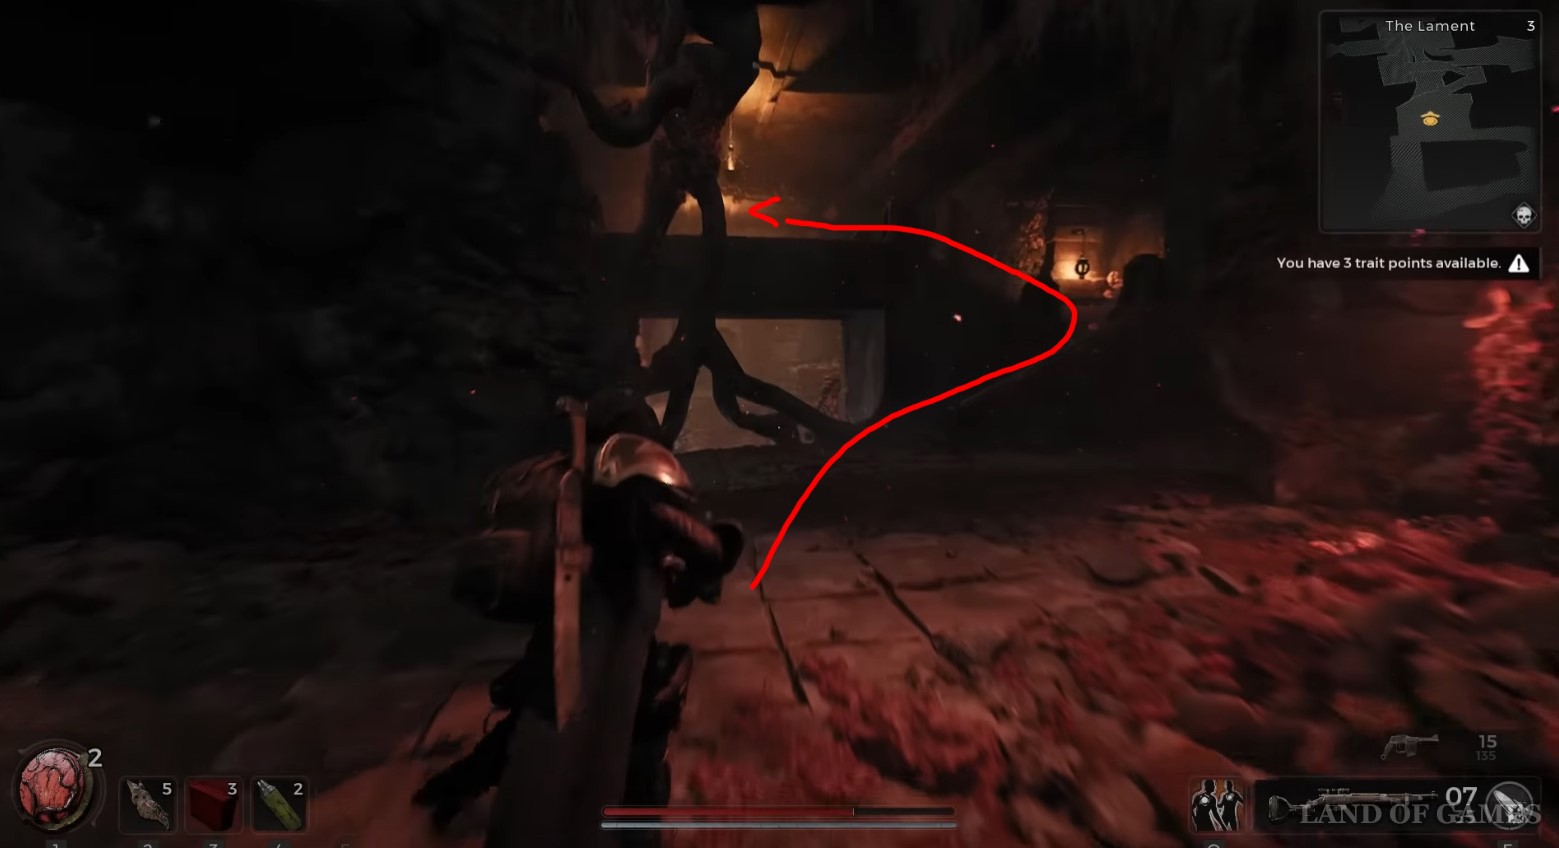
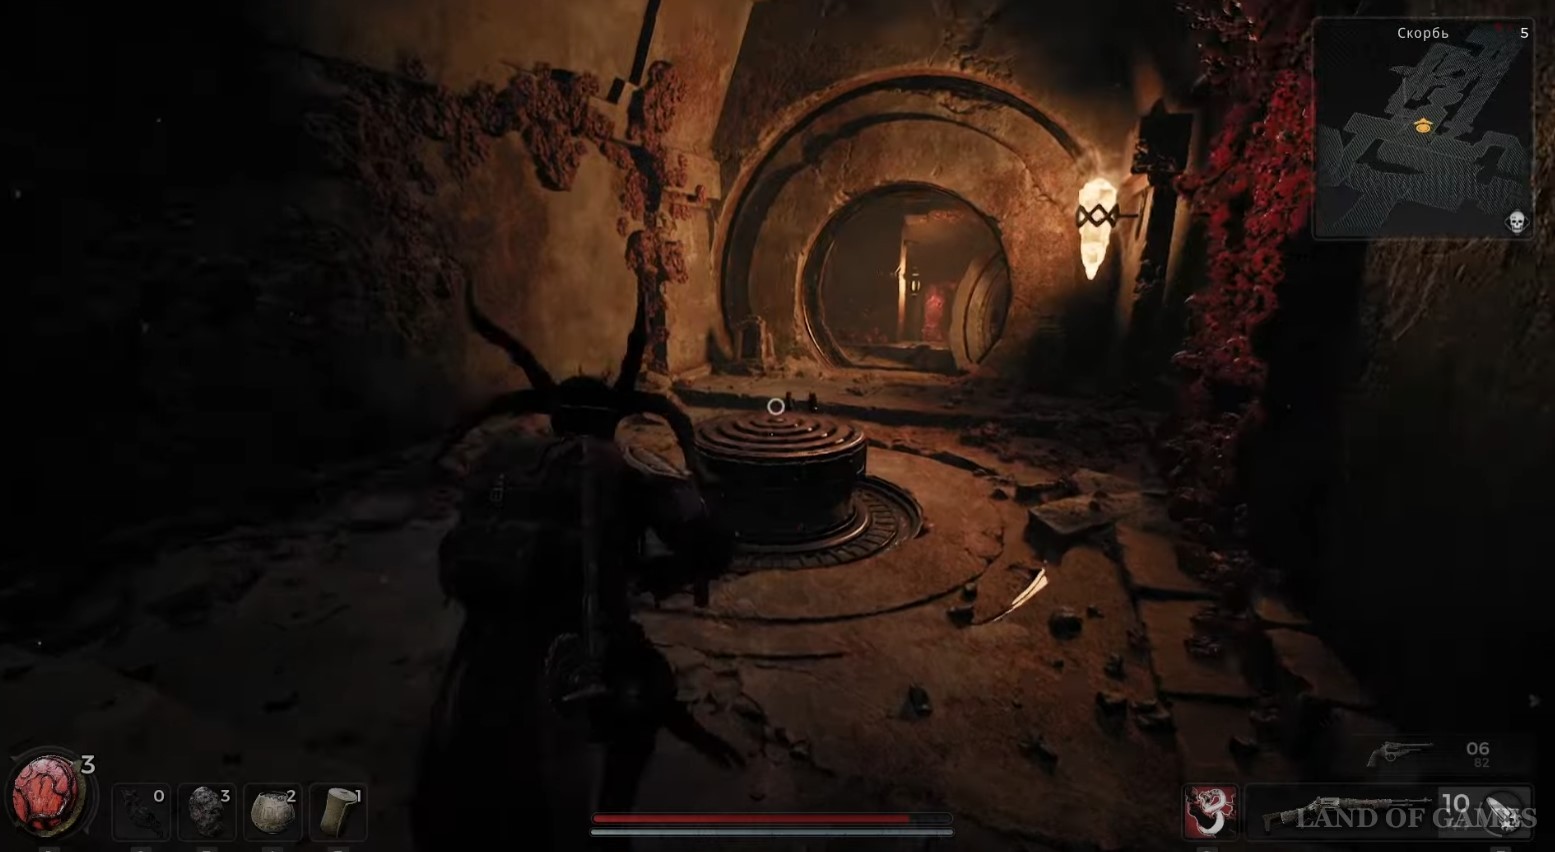
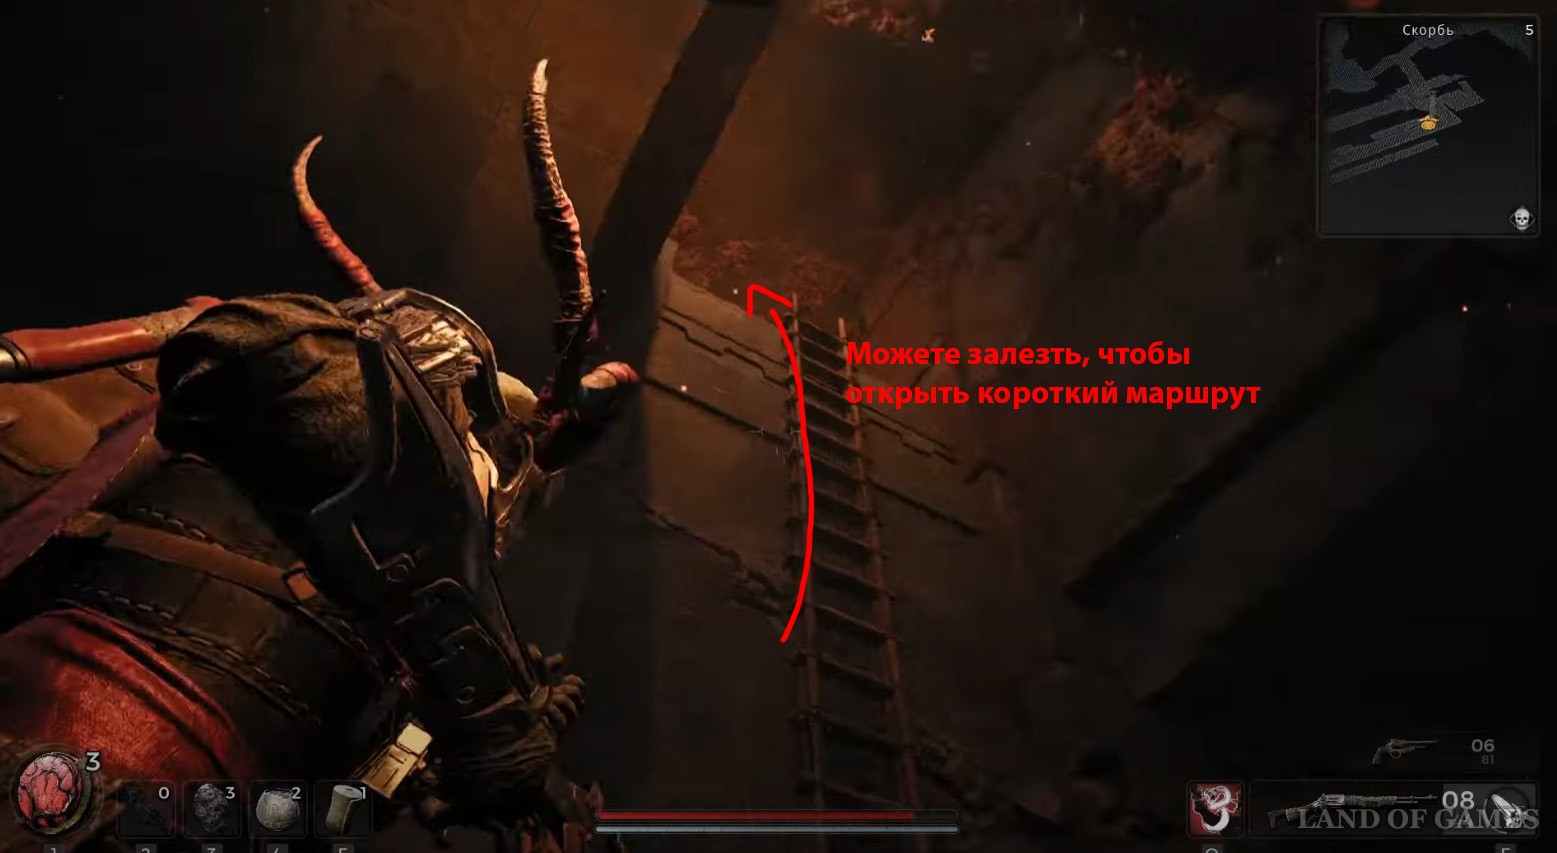
Enter through the opened passage into the tomb. First of all, we advise you to open a short route to the upper level. The right place is shown in the first screenshot below. To do this, run forward and turn left. Continue forward past the stone pillars and at the fork, take the right passage.
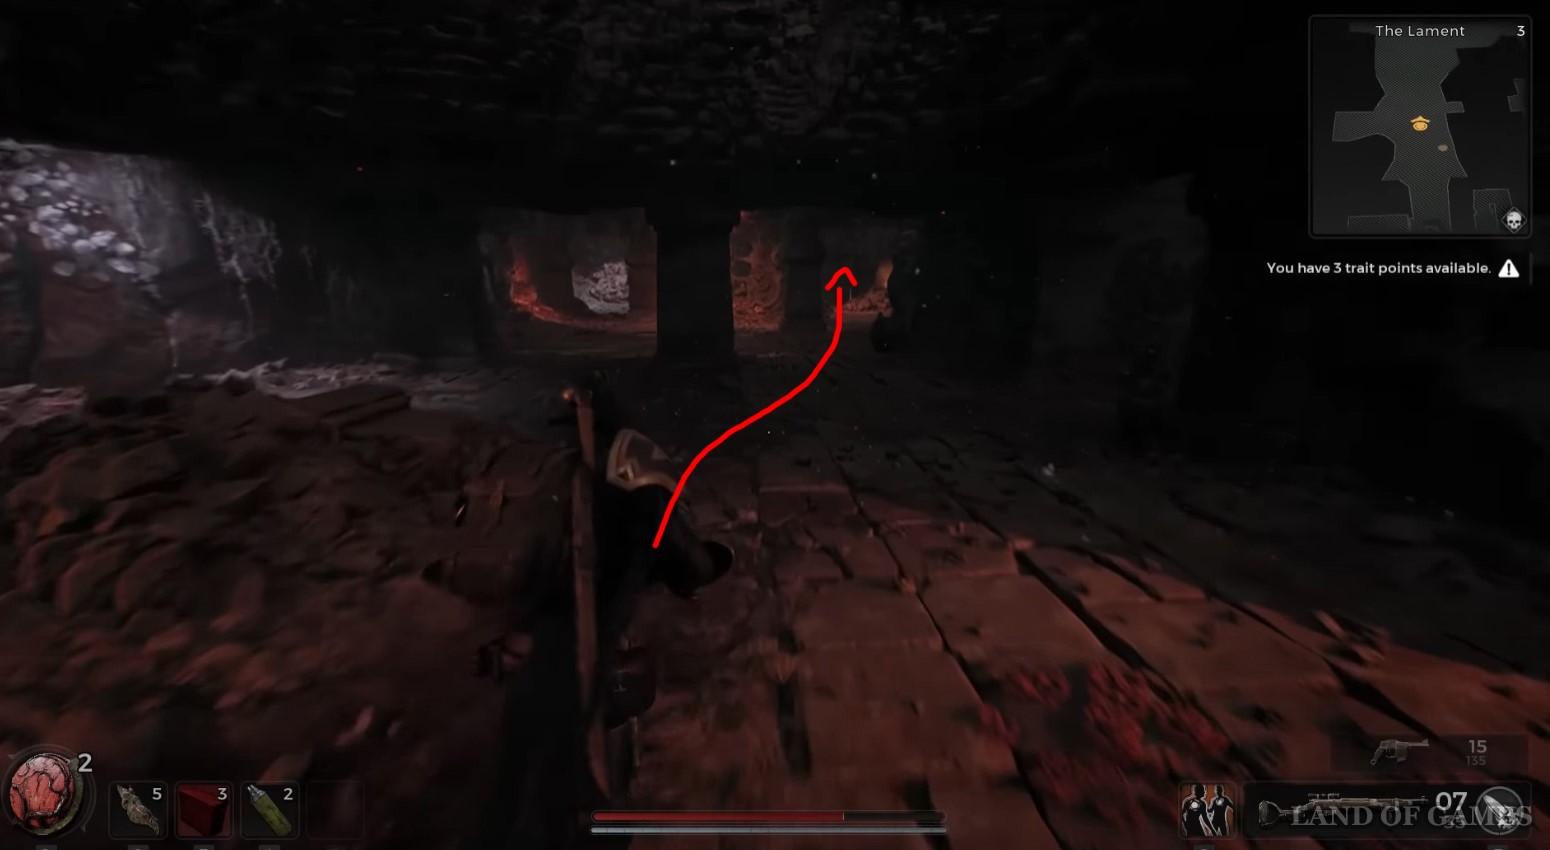
Go around the pile of rocks and turn right. Go down the stairs and turn right again. Go through the hole in the wall and you will enter a spacious room. Climb the steps past the statues and enter the reddish tunnel on the right.
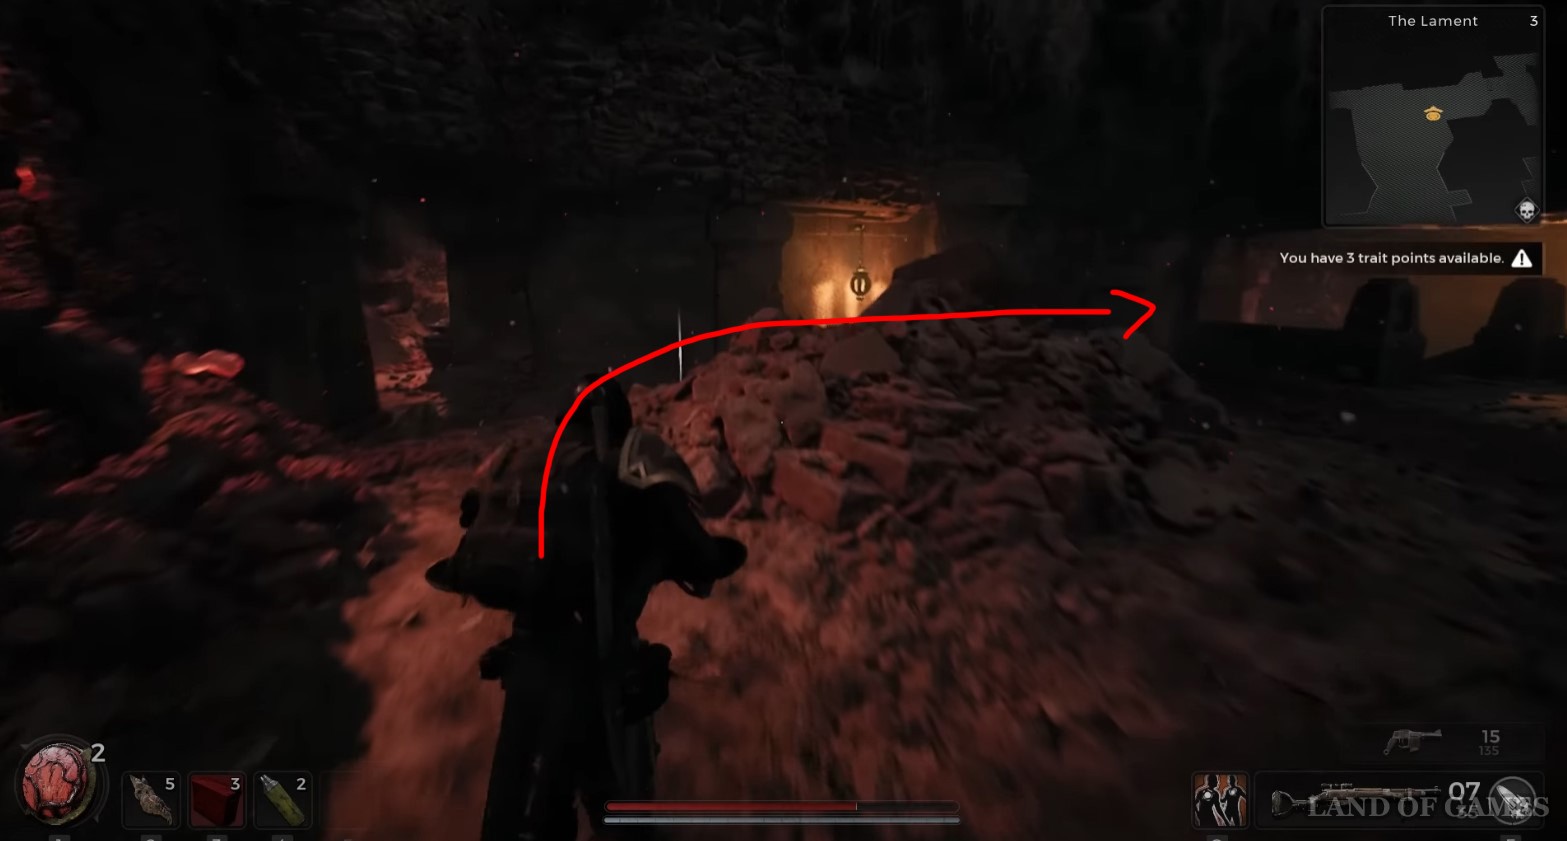
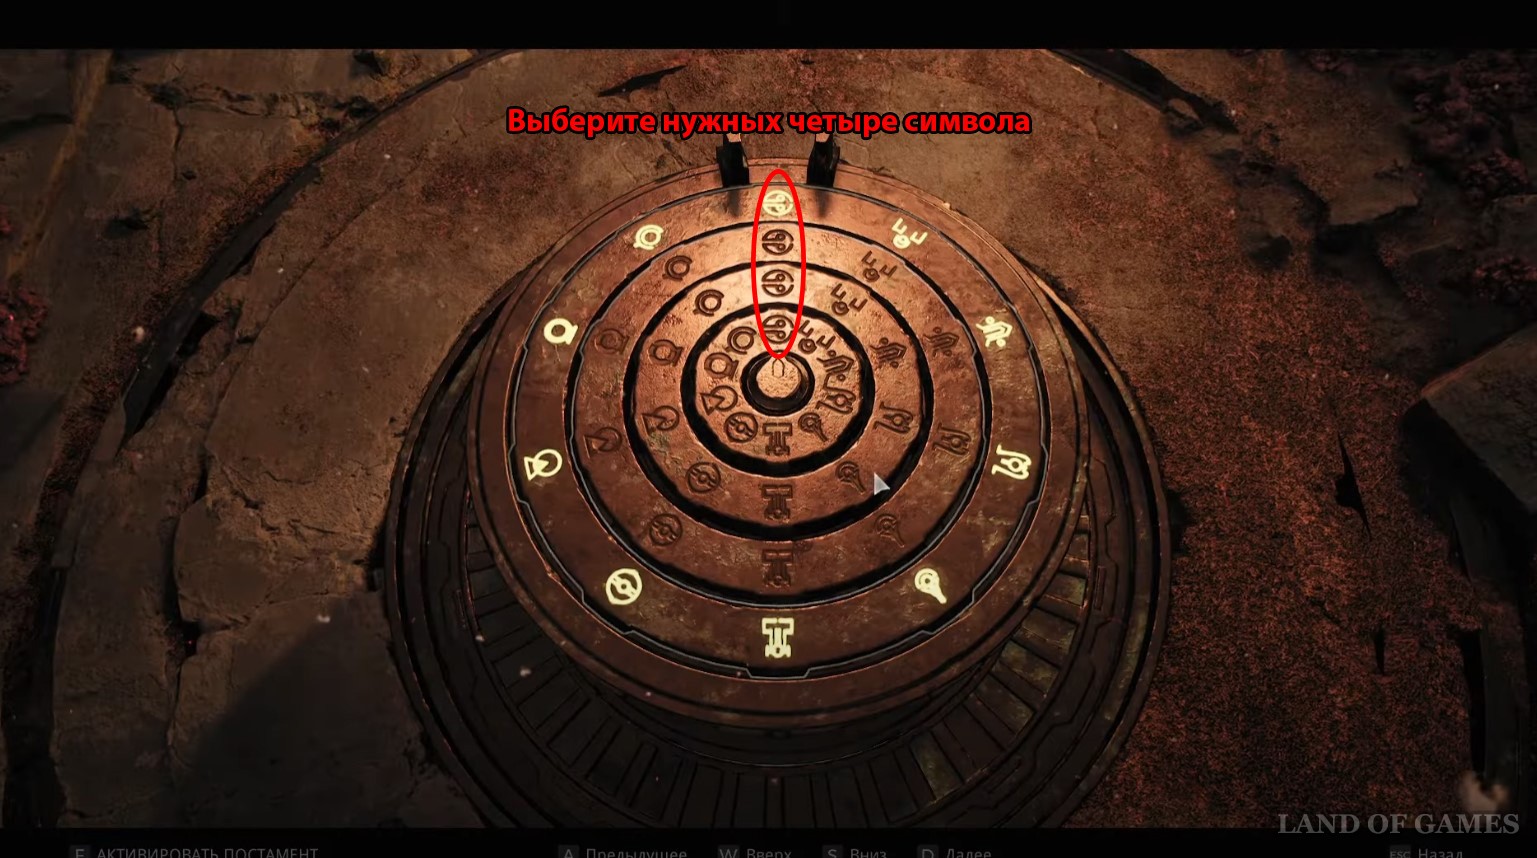
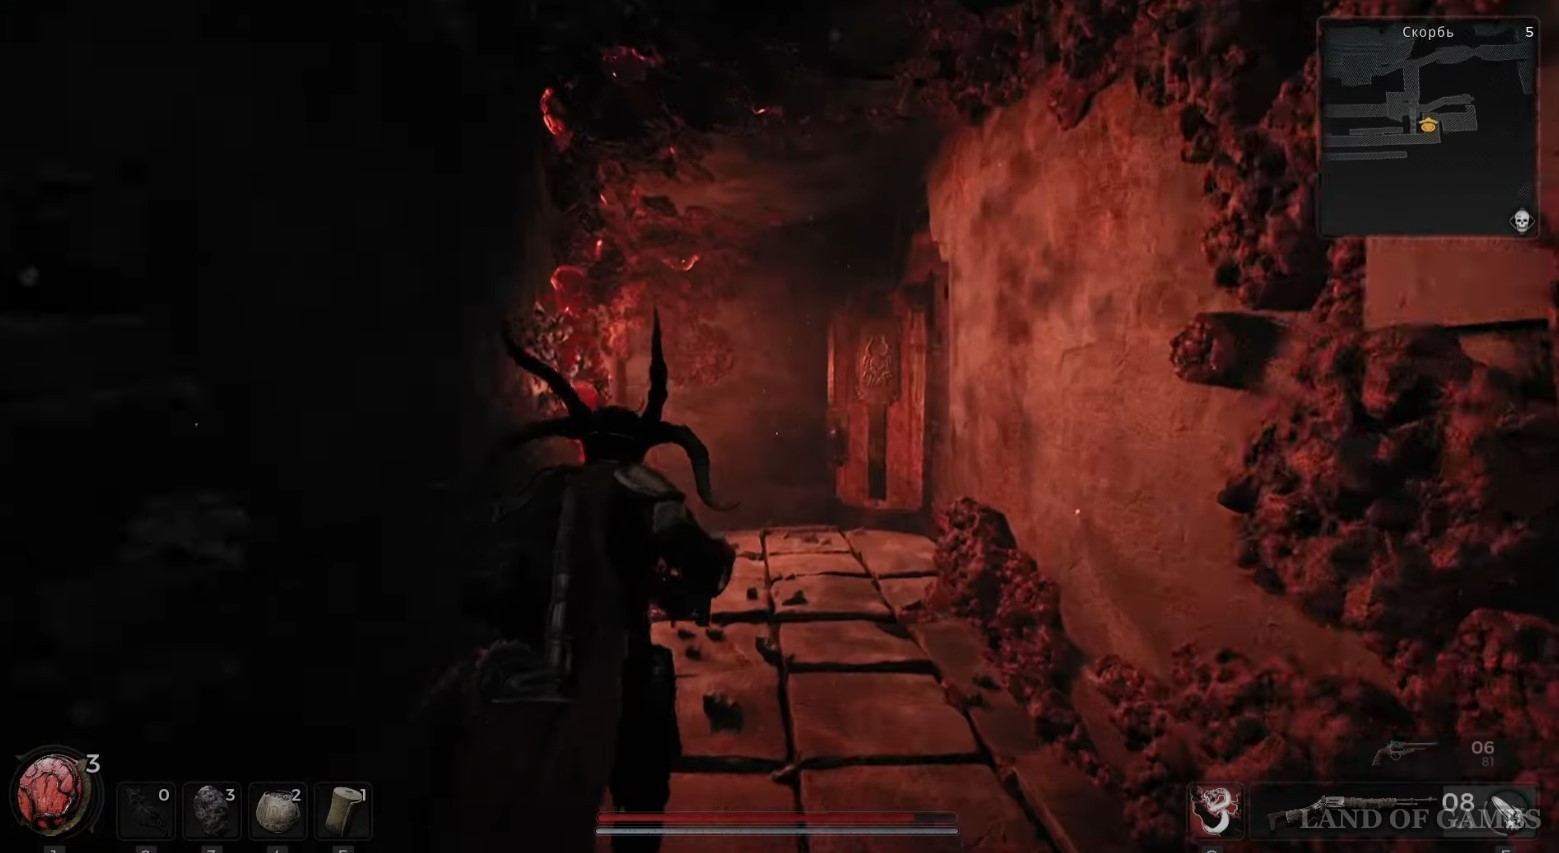
Next, turn right and go up the stairs. As a result, you will reach the second level of the tomb, where soon you will need to solve a puzzle with symbols and circles in order to open a round door. Pass it to the right and open the wooden door, thus unlocking a short route to the lower floor - go down.
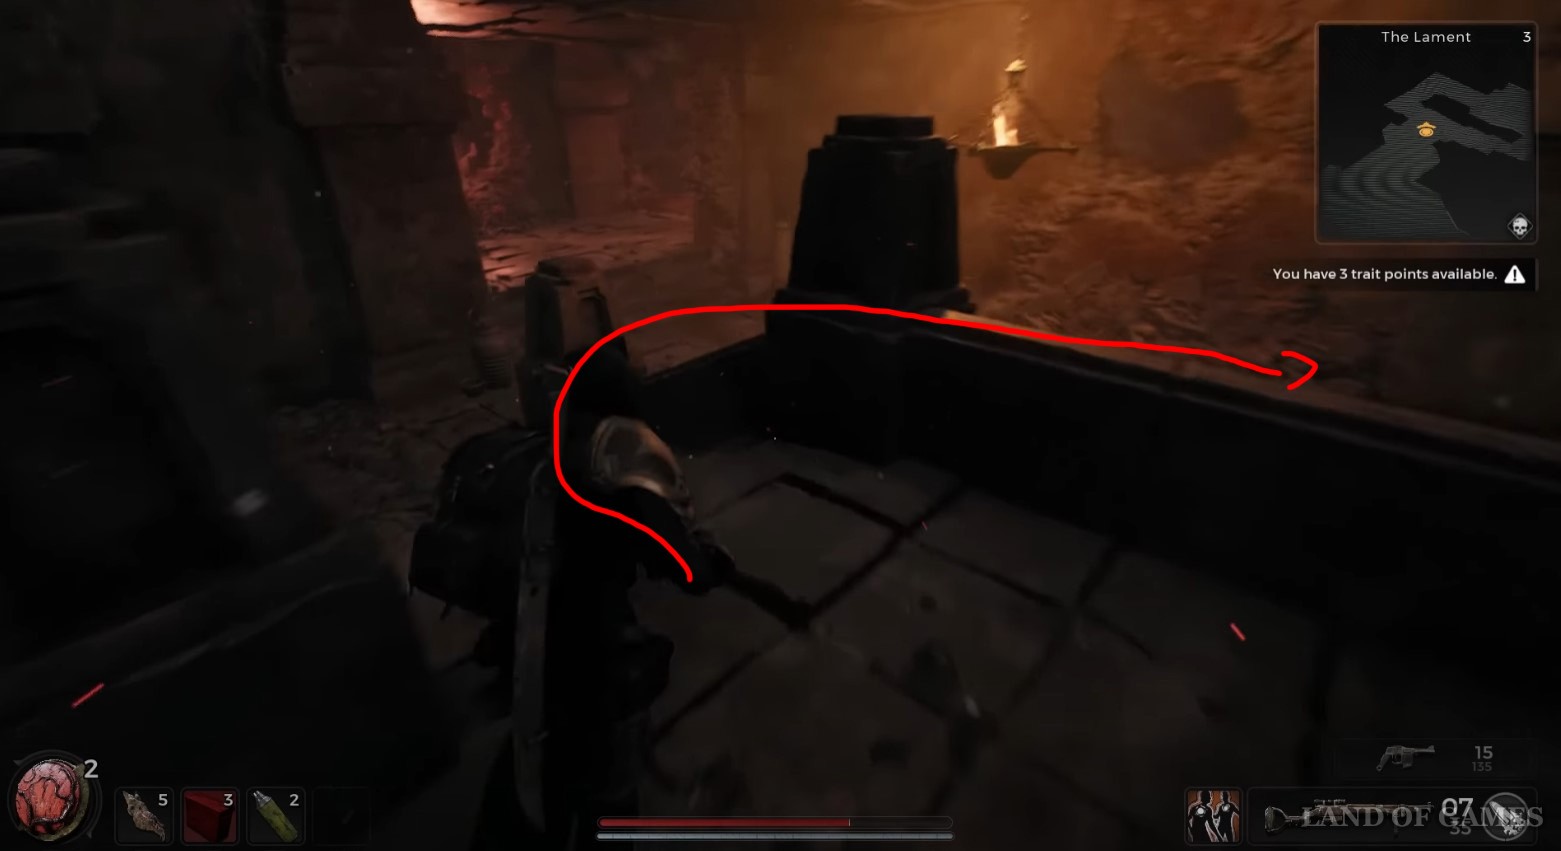
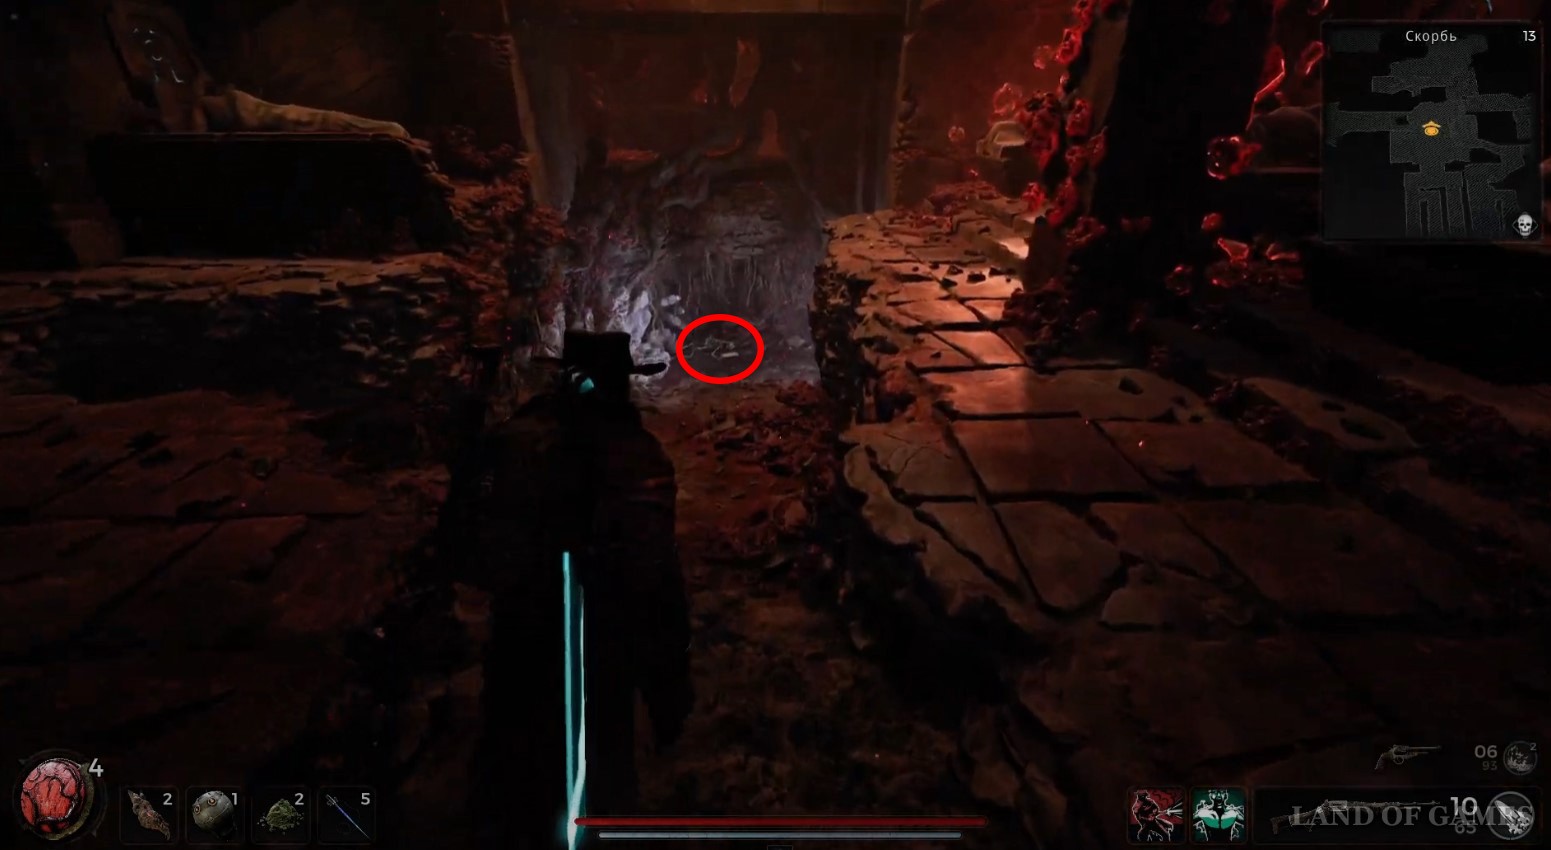
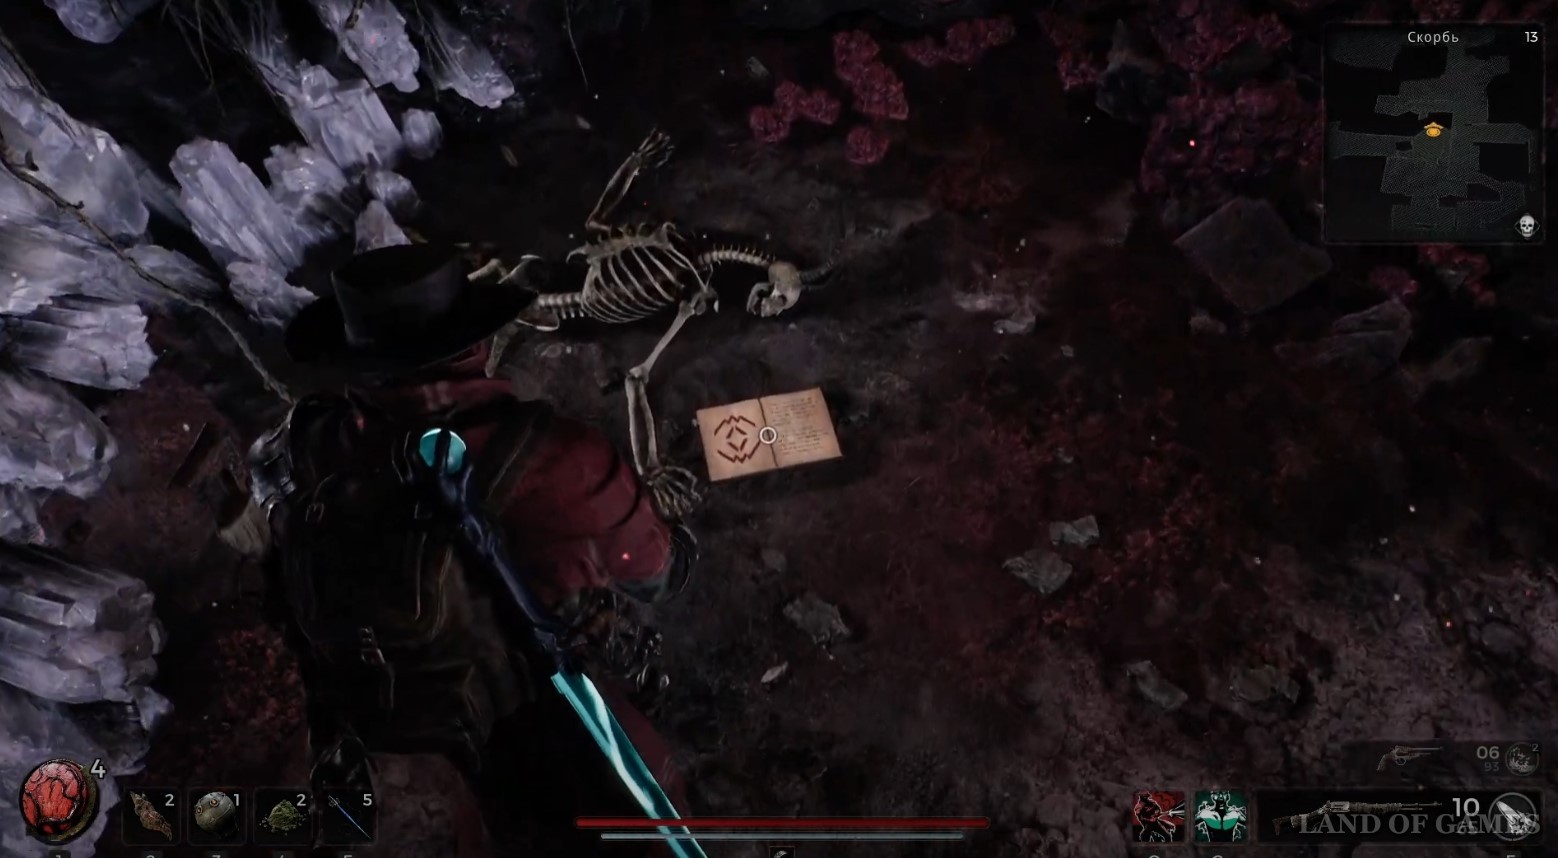
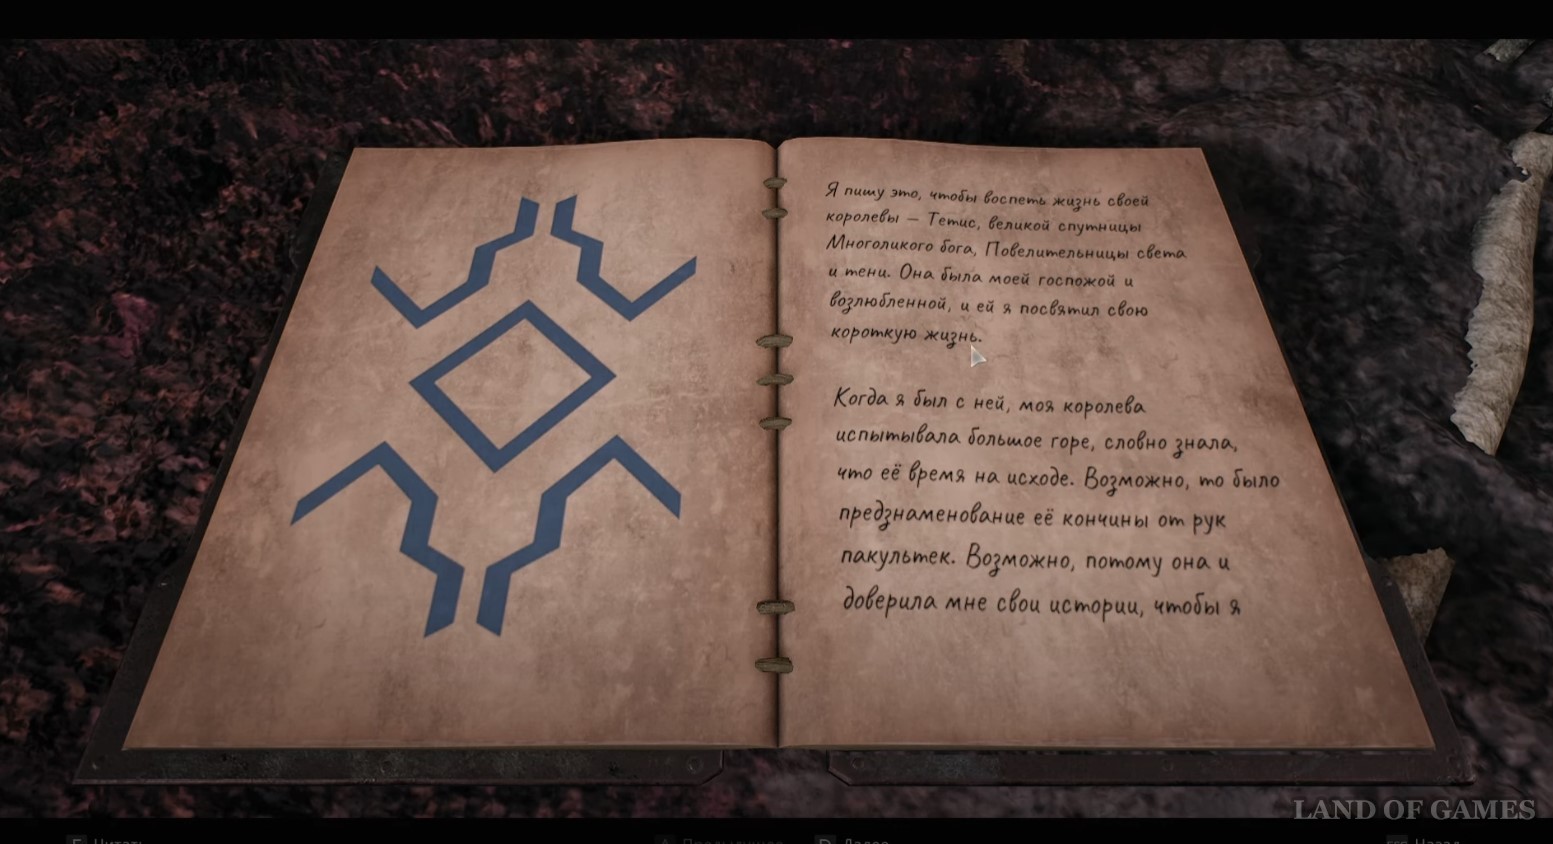
Returning to the lower level, go down even lower to the skeleton and interact with the book. It will tell about Queen Tethys and four symbols representing the houses of great people. On the first page, a certain sign will be drawn, which is the first important hint. Note that the chart is randomly generated, so it may be completely different in your campaign.
How to solve the puzzle with symbols and circles in the tomb
Now start looking for the canvases that cover the corpses in the tomb, with the same symbol as in the book. Having found the right coverlet, take a look at the luminous sign that is carved on the wall near the coffin, and remember it.
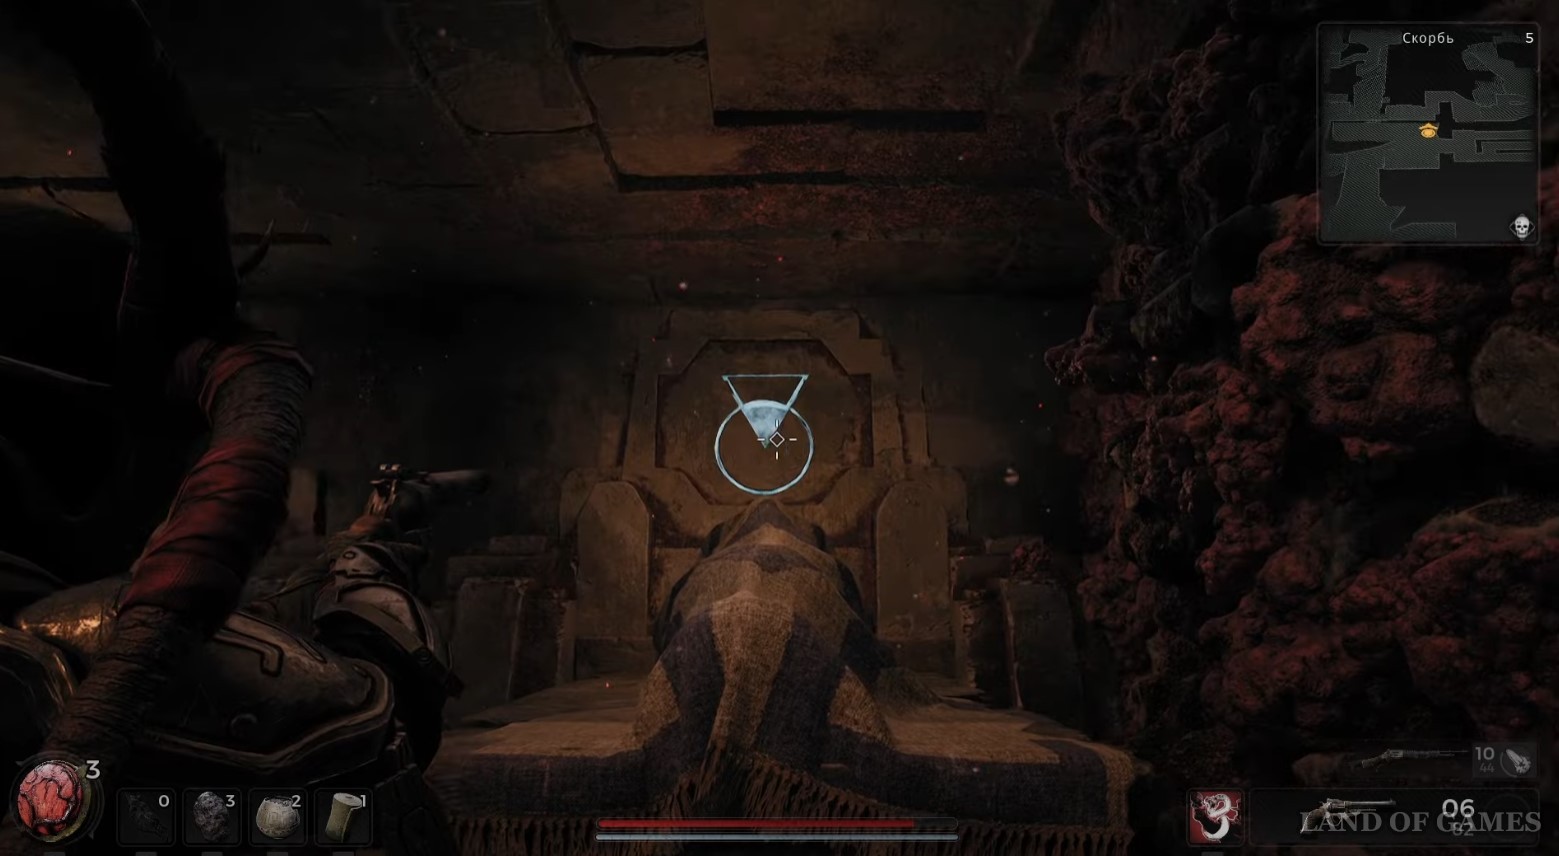
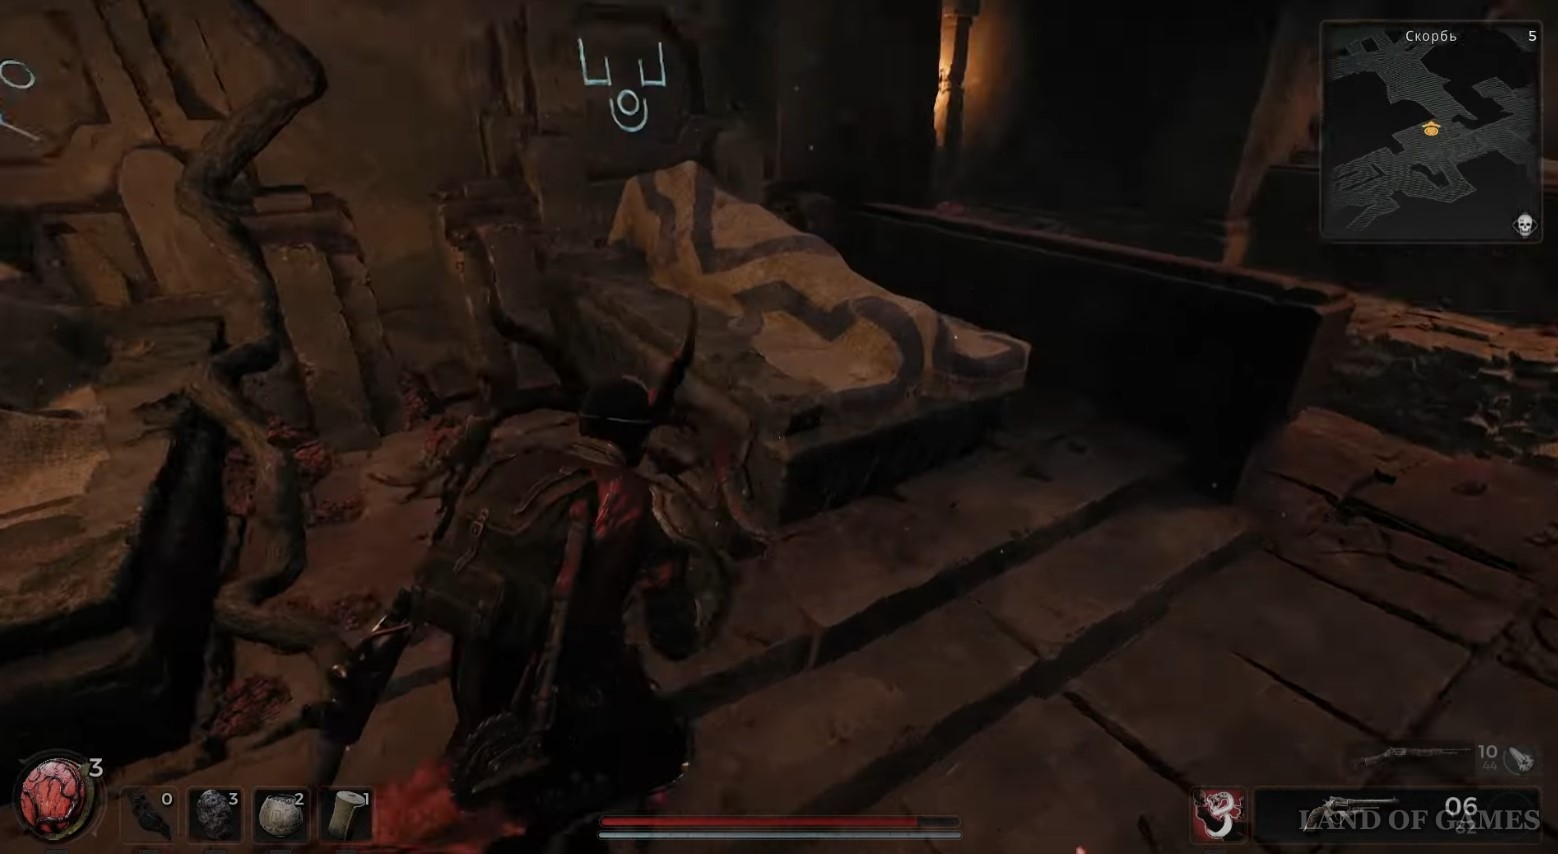
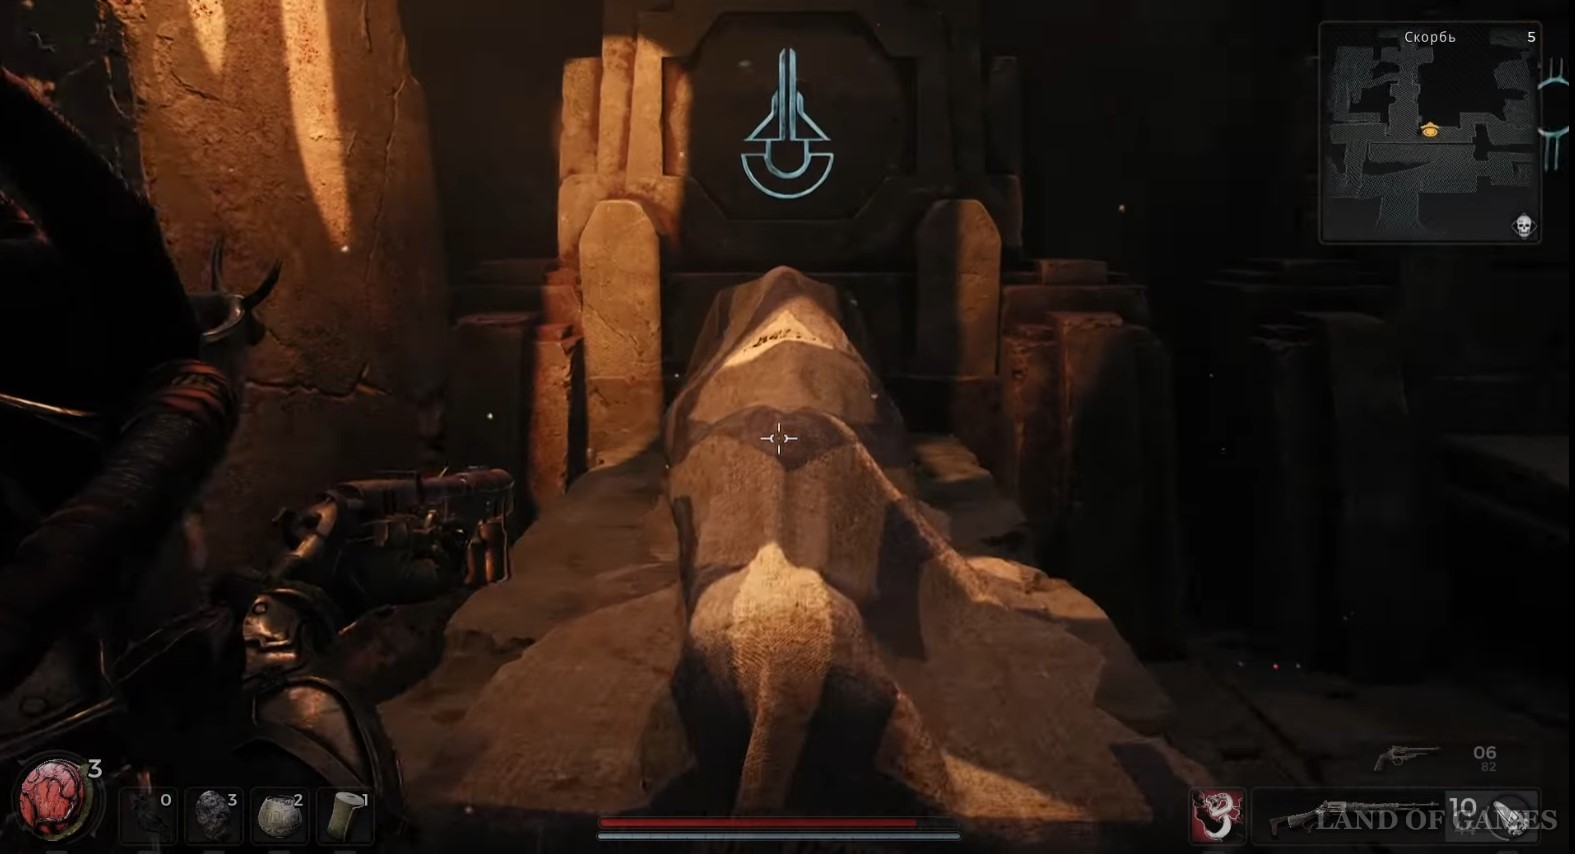
You will need to find four blankets and memorize all the glowing runes near them. The screenshots above show all the correct symbols if you have a blue diamond in the book. Note that the covers are located both below and above, where you recently discovered a short route (there usually only one sign needs to be remembered).
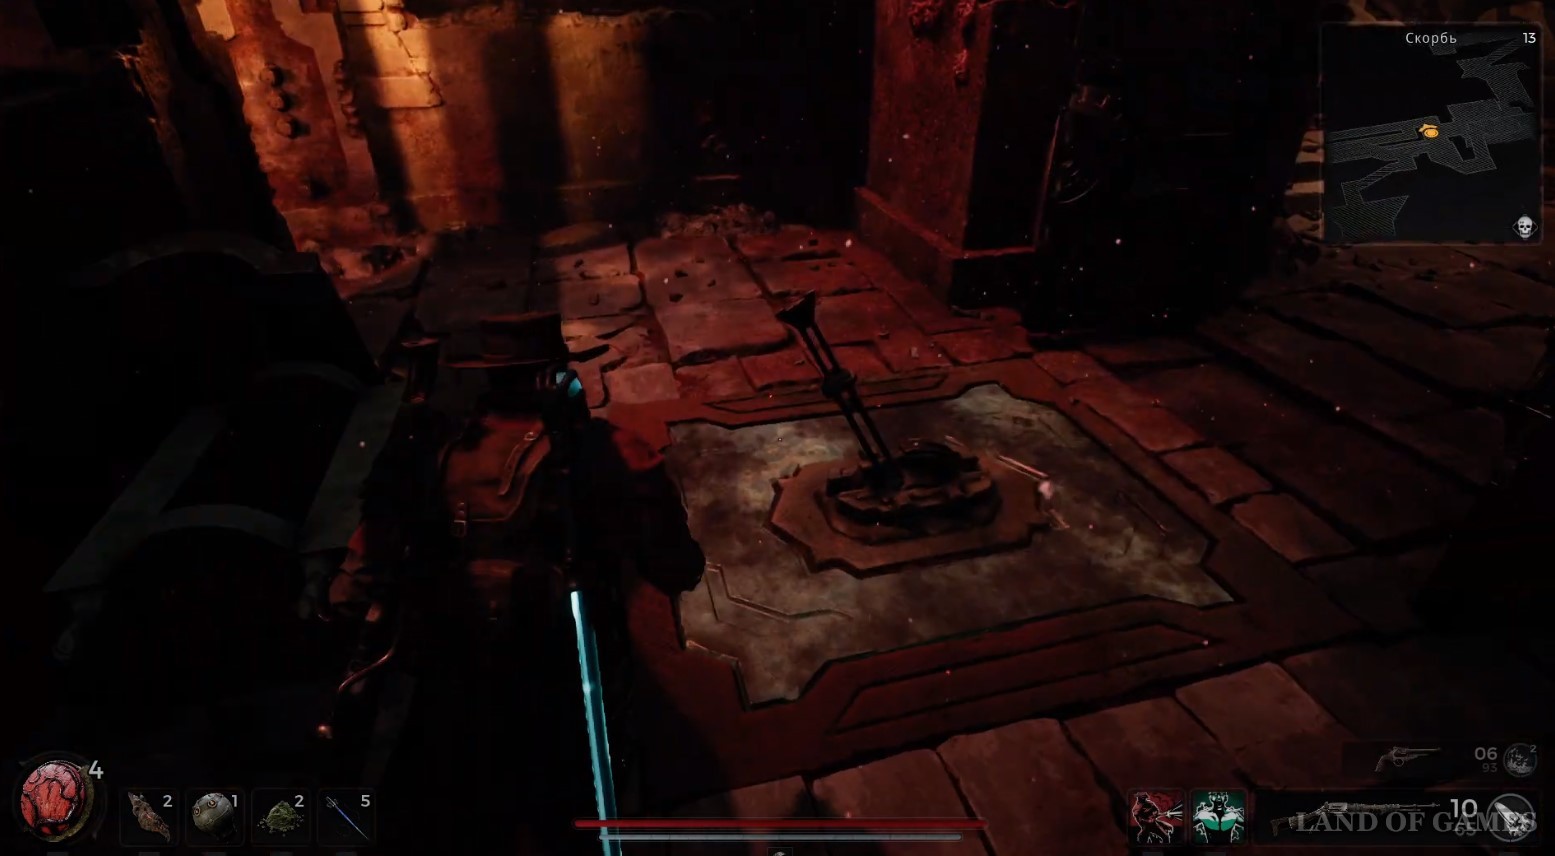
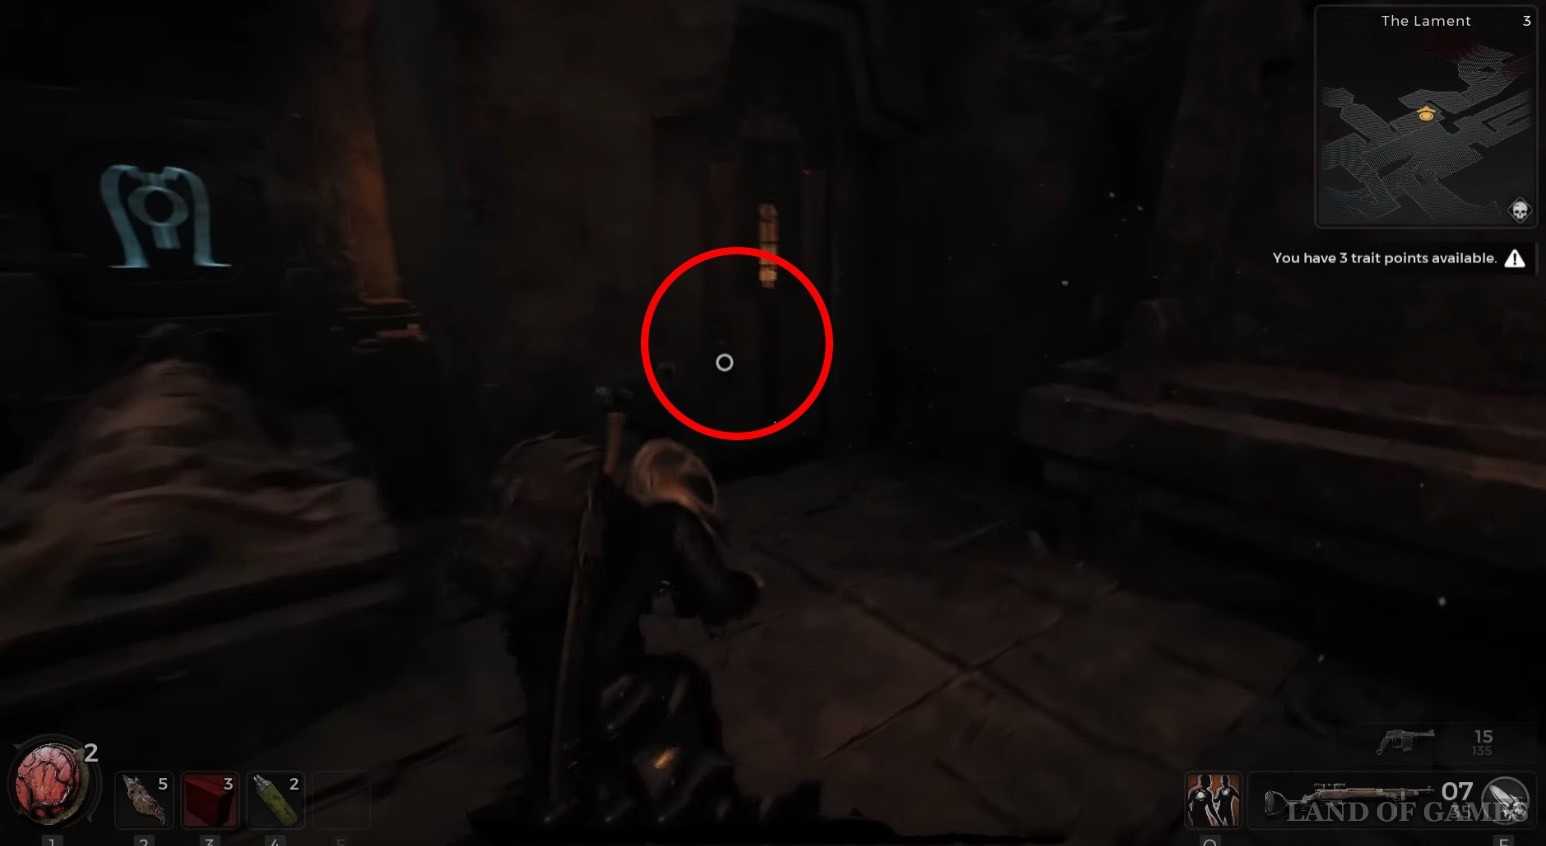
On the upper level, approach the dial near the closed round door and interact with it. Now you need to select the 4 characters you memorized on this device. Apparently, they can be listed in any order. Then click on the button "Activate pedestal"
. If you did everything right, the door ahead will open.
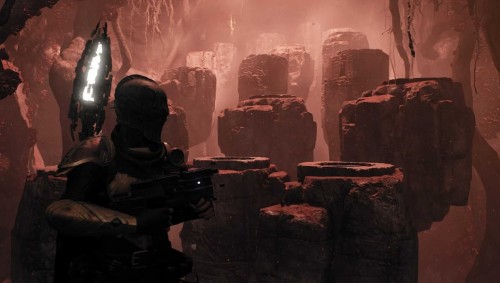
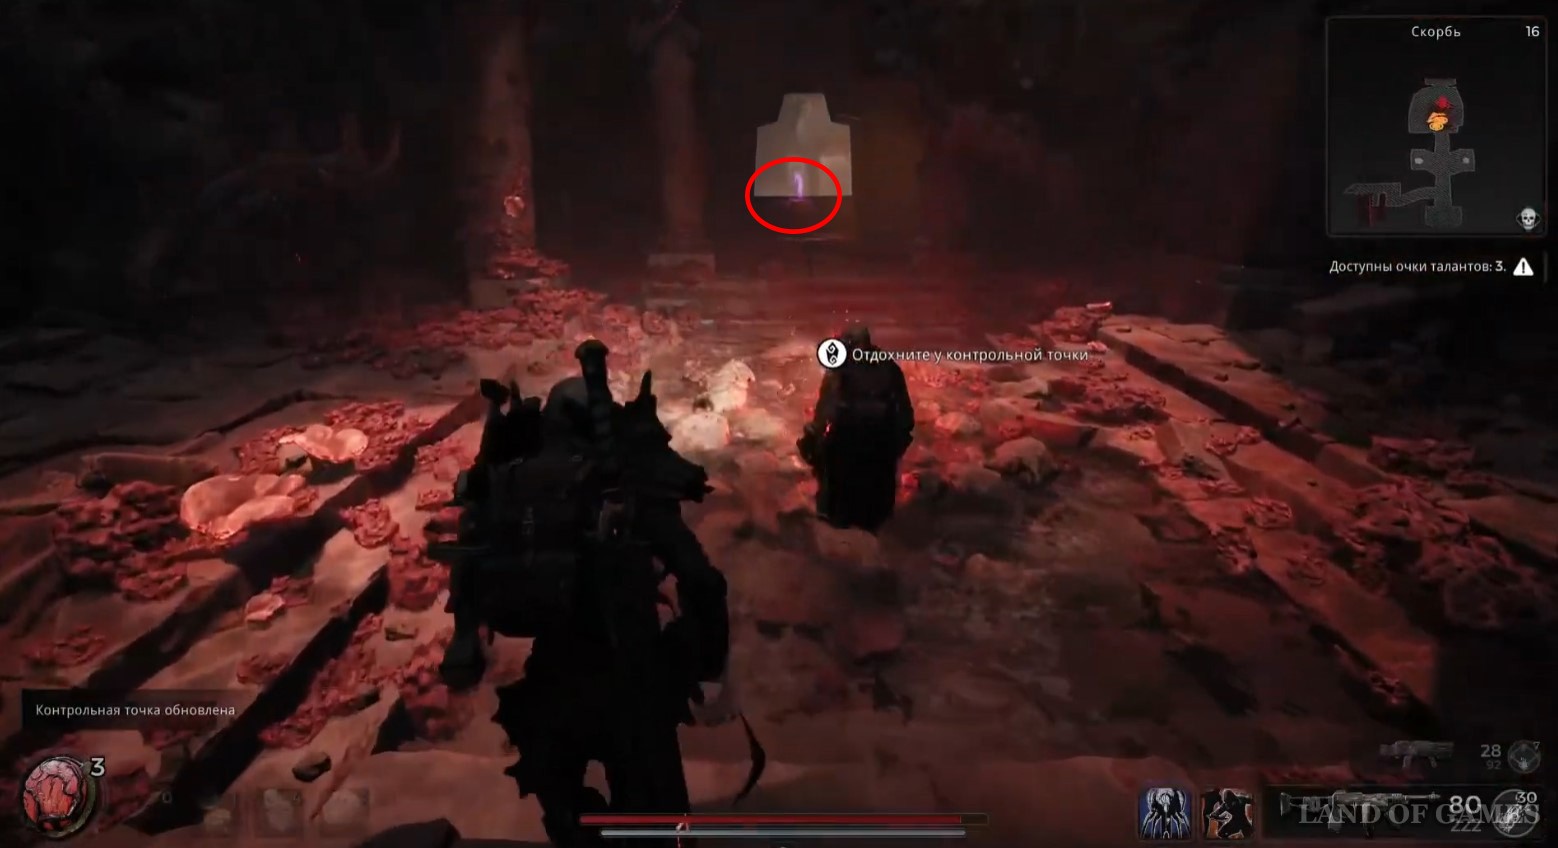
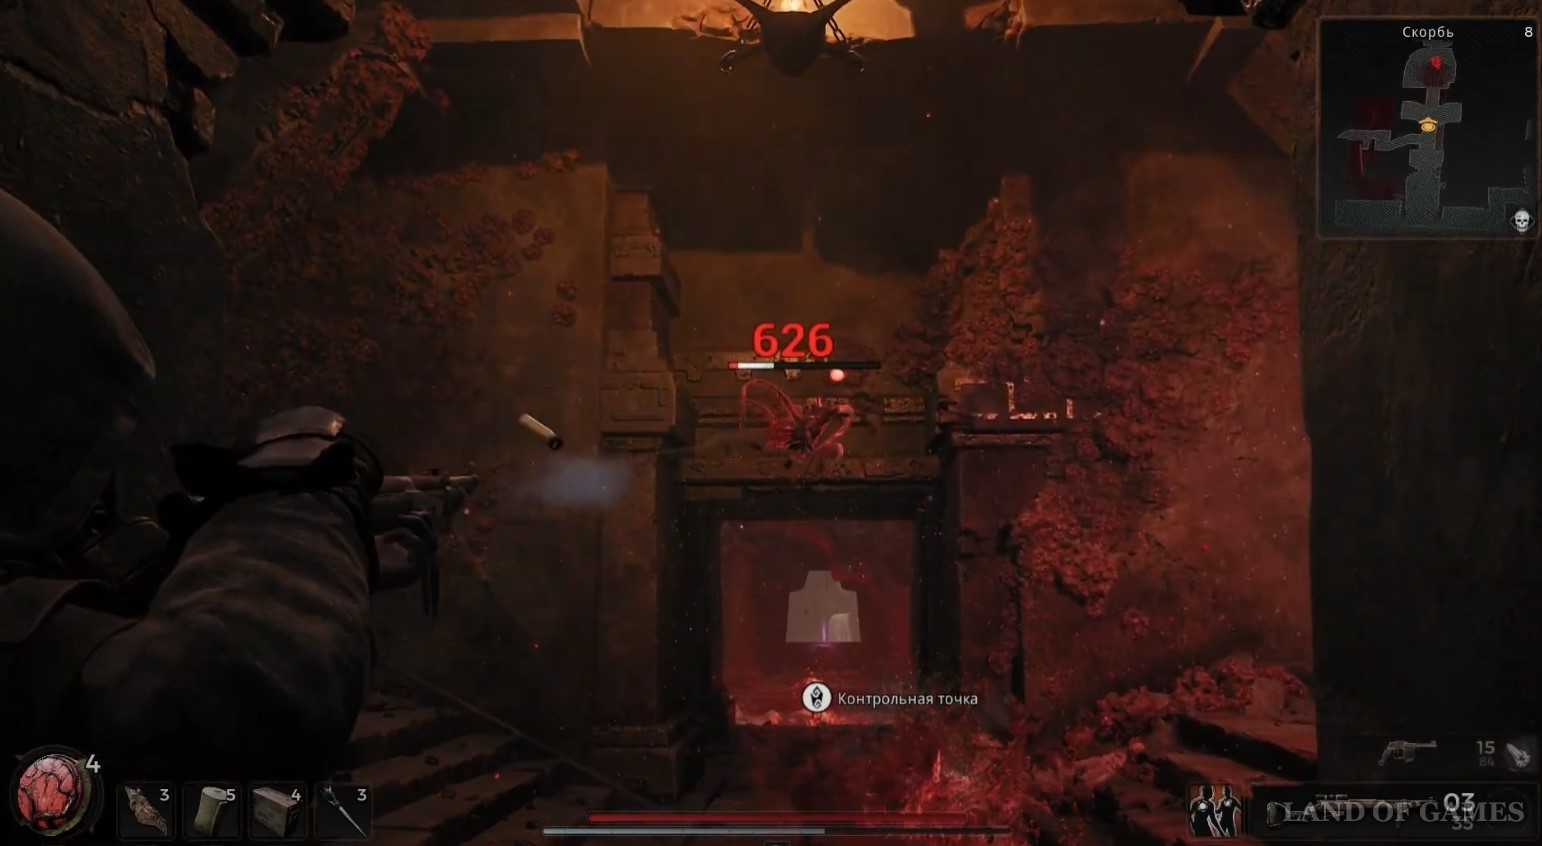
Defeat Wither
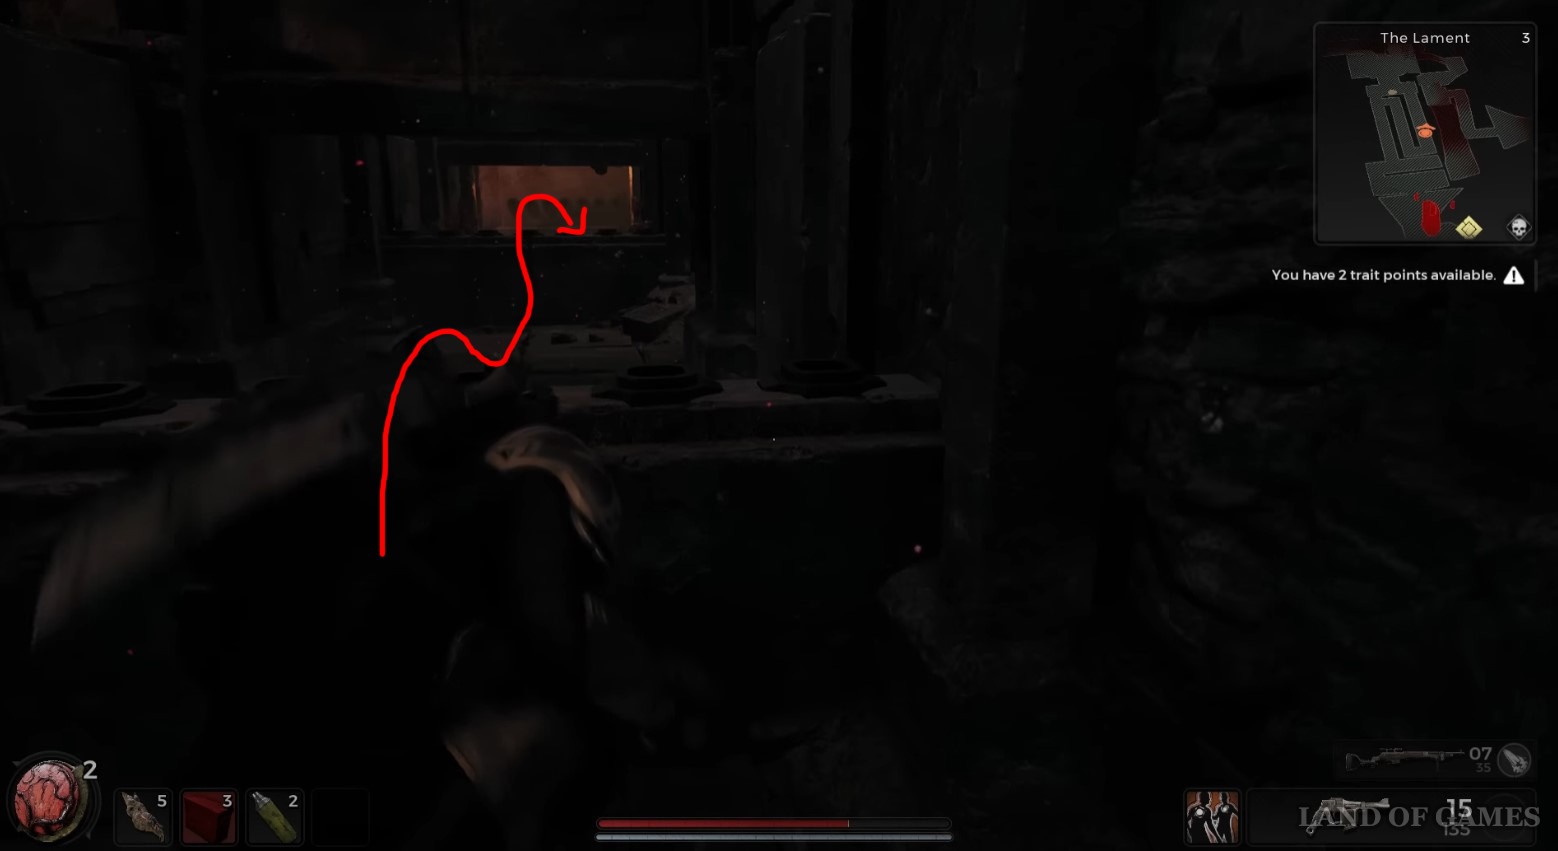
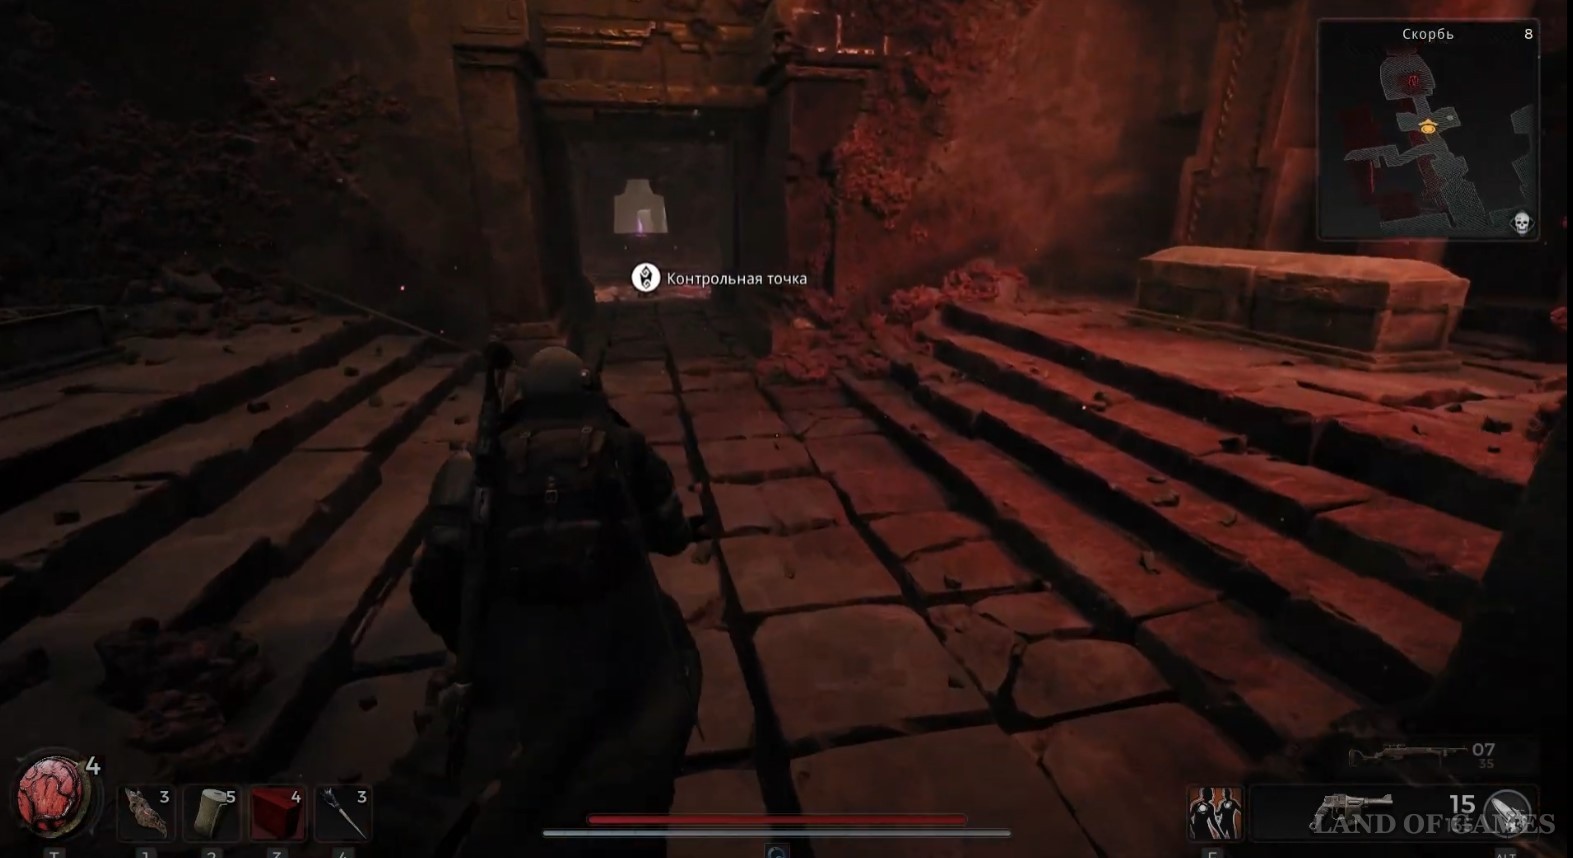
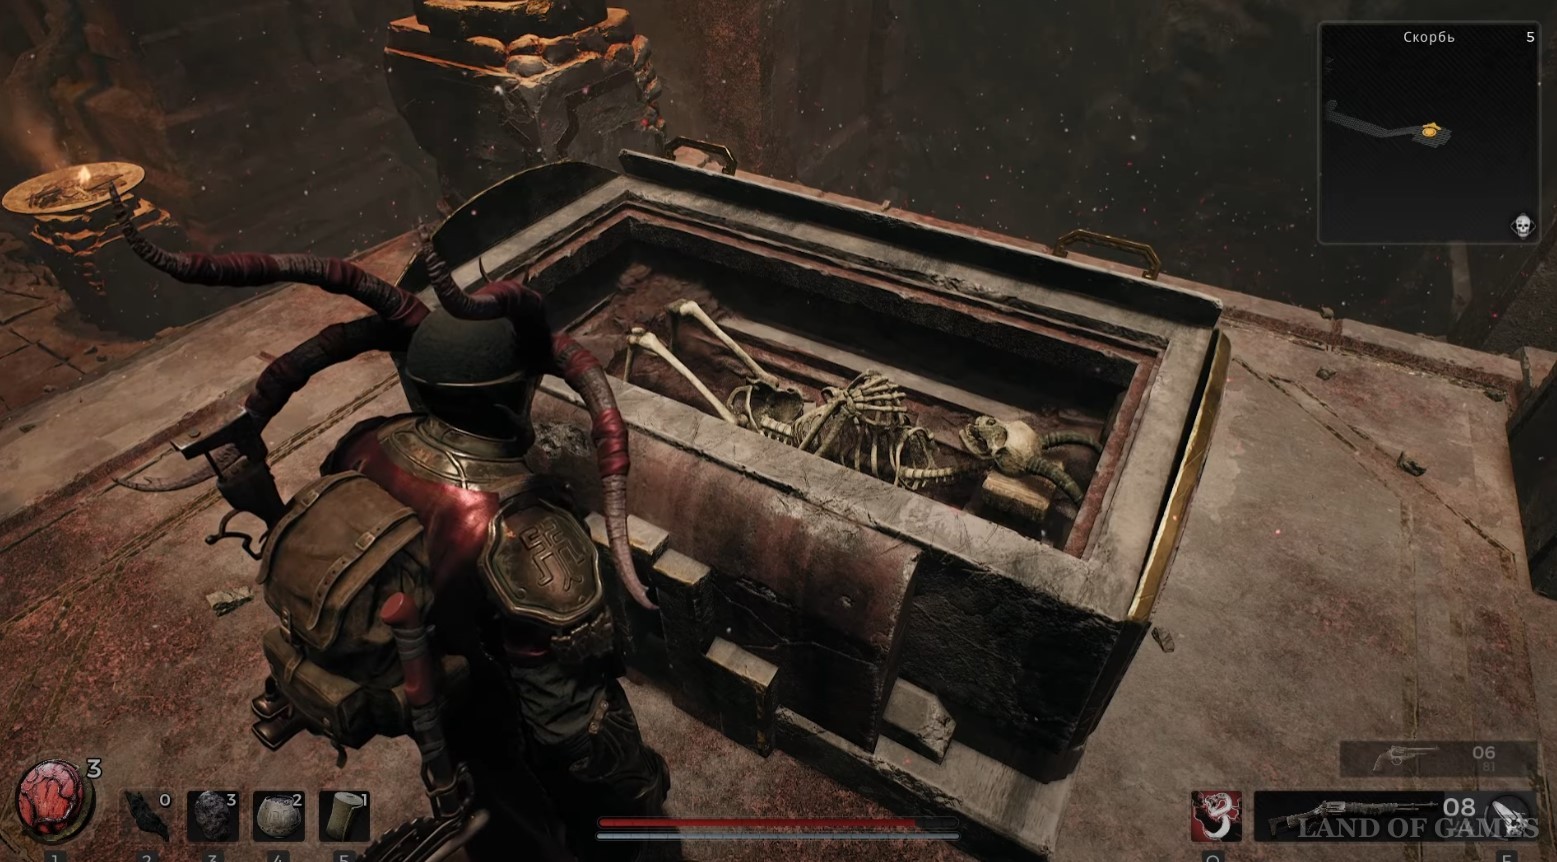
Climb down the ladder down to a small room ahead with a checkpoint and rest near it. A little further on, you can find a Blood Soaked Ring that regenerates 2 health per second if you are within 10 meters of a bleeding creature.
Now you need to open the coffins located in the previous room - one of them will contain a mini-boss named Wither. He has the features of ordinary mobs found in this dungeon. It differs from them only in an increased health bar. When his HP drops to almost zero, a spirit will fly out of his body, which must be killed immediately, otherwise the monster will respawn.
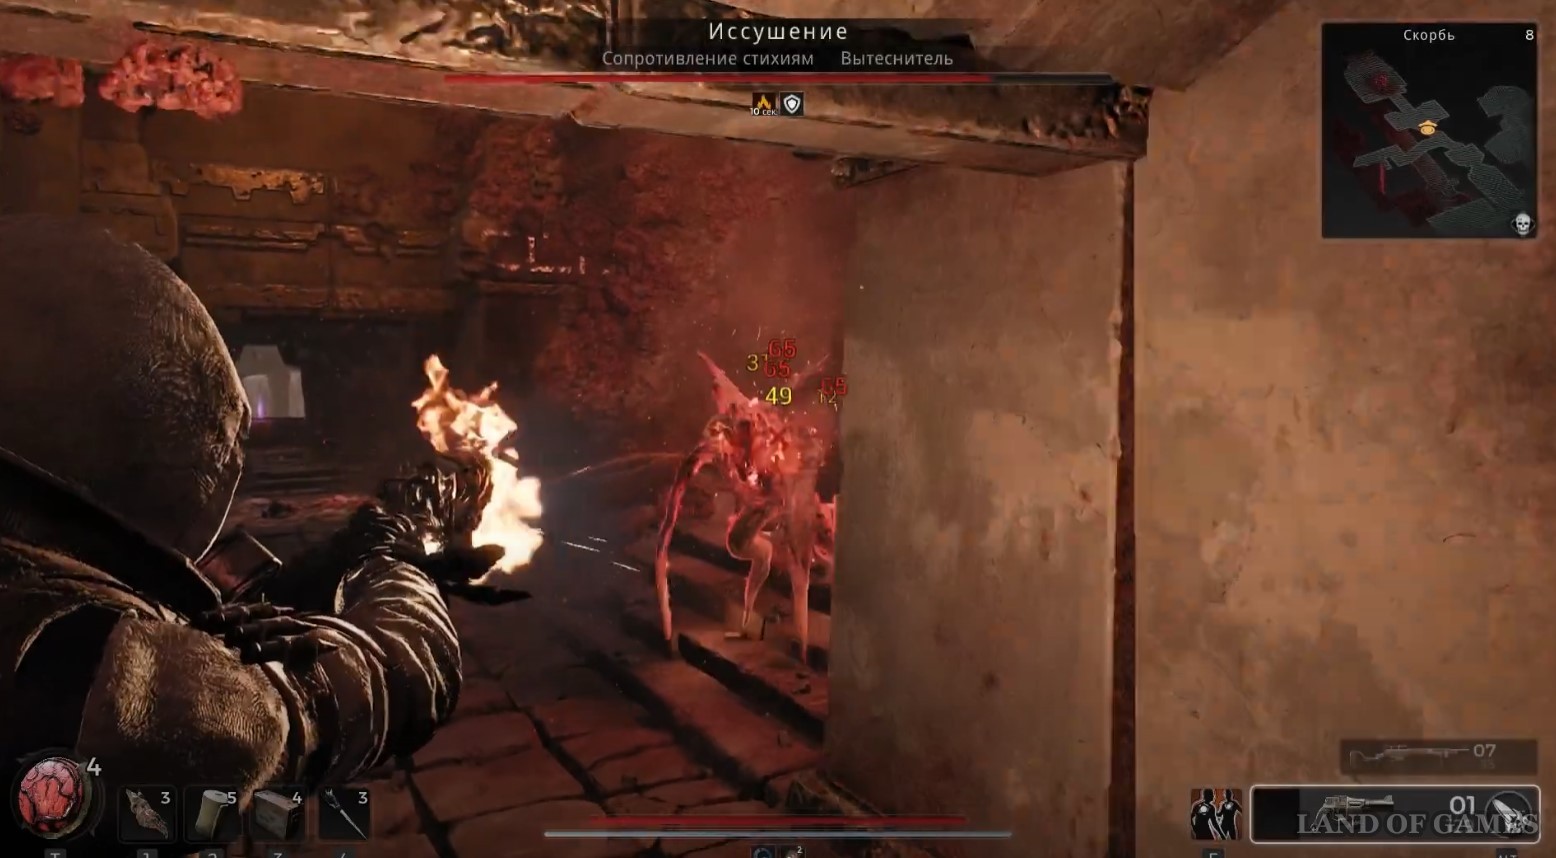
Note: Some players have noted that Wither can spawn from any coffin in the dungeon, even before solving the puzzle. Therefore, if he did not come out of the above sarcophagi, then inspect all the others in the dungeon.
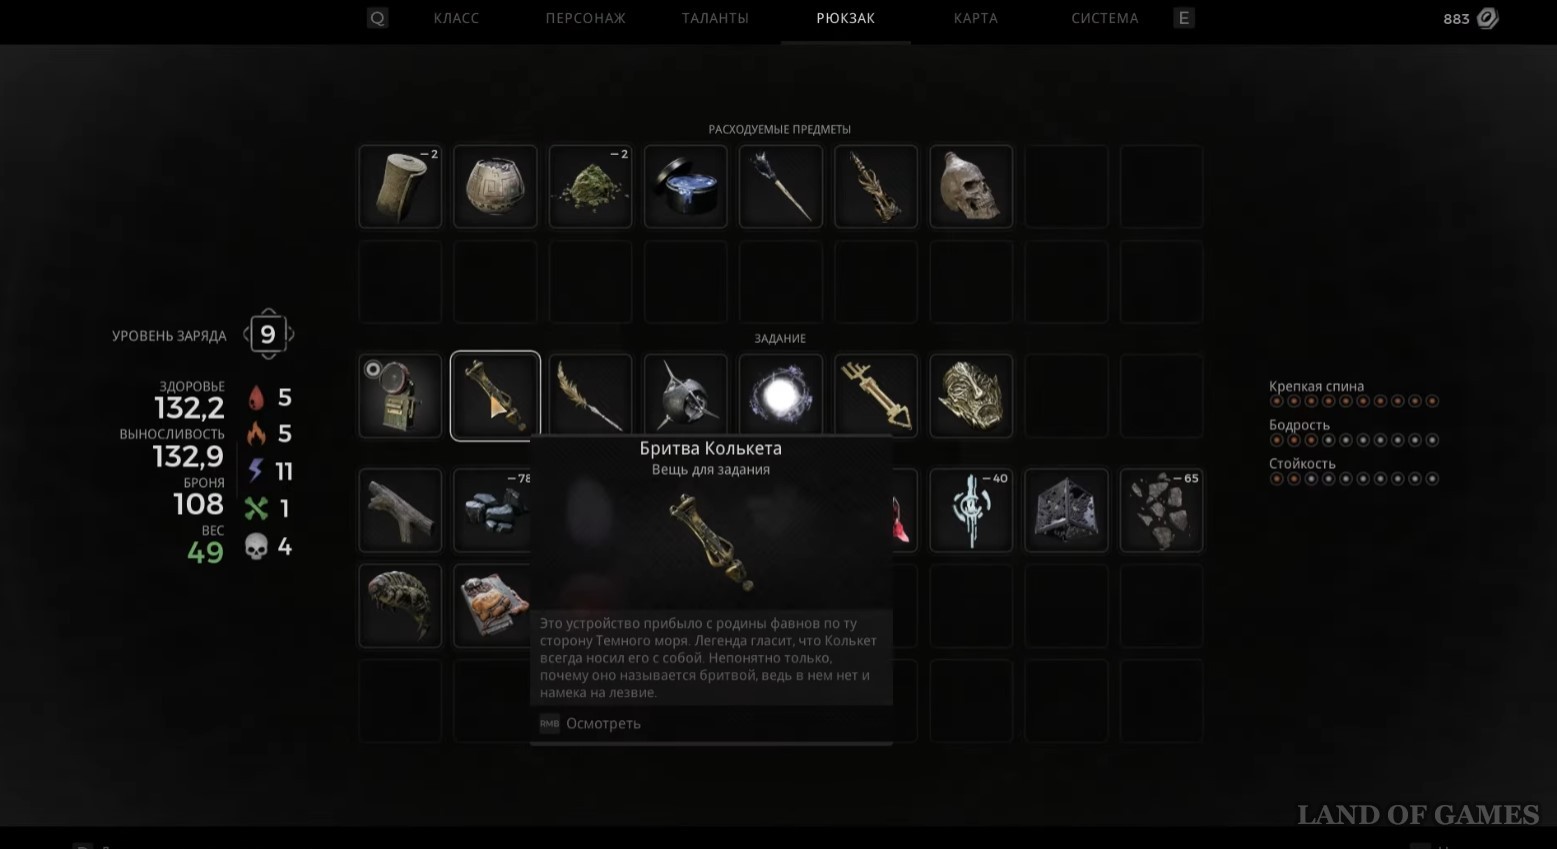
After dealing with this enemy, you will receive Colquette razor - a unique item that you will need in the future. It also drops the Fast and Furious mutator, which is considered one of the best in the game, as it increases the chance of a critical attack and crit. damage by 5% for 7.5 seconds after using a critical strike (can stack up to 5 times).
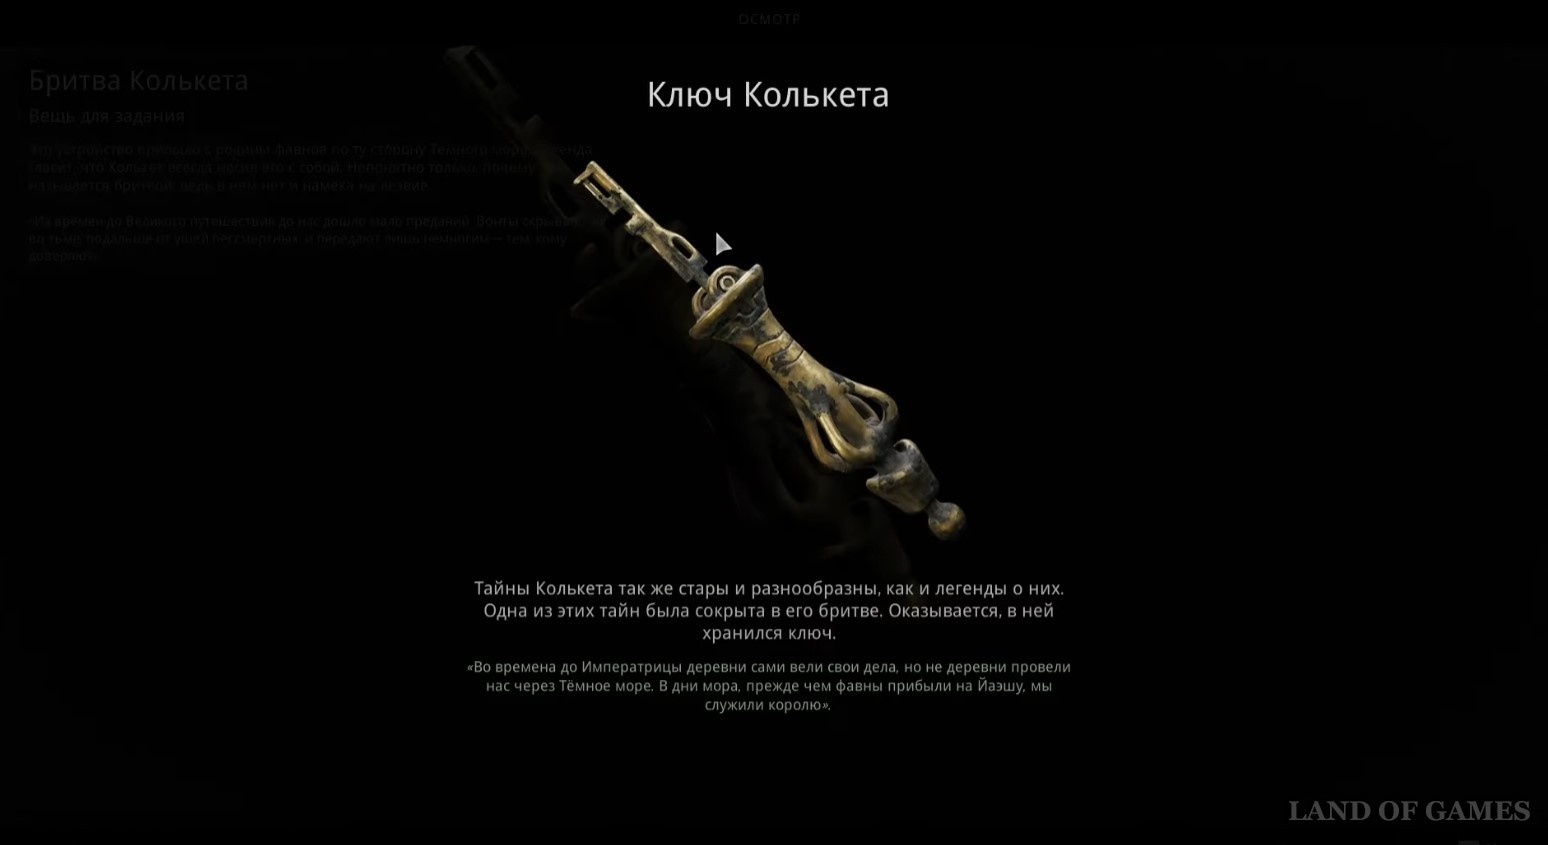
How to get the Colquette Key
Open the inventory, find the Colquet Razor there and enter the inspection mode. Then rotate it to the back as shown in the second image below until the interaction button appears. Click on it and you will receive the Colquet Key, which you will need towards the end of the dungeon exploration.

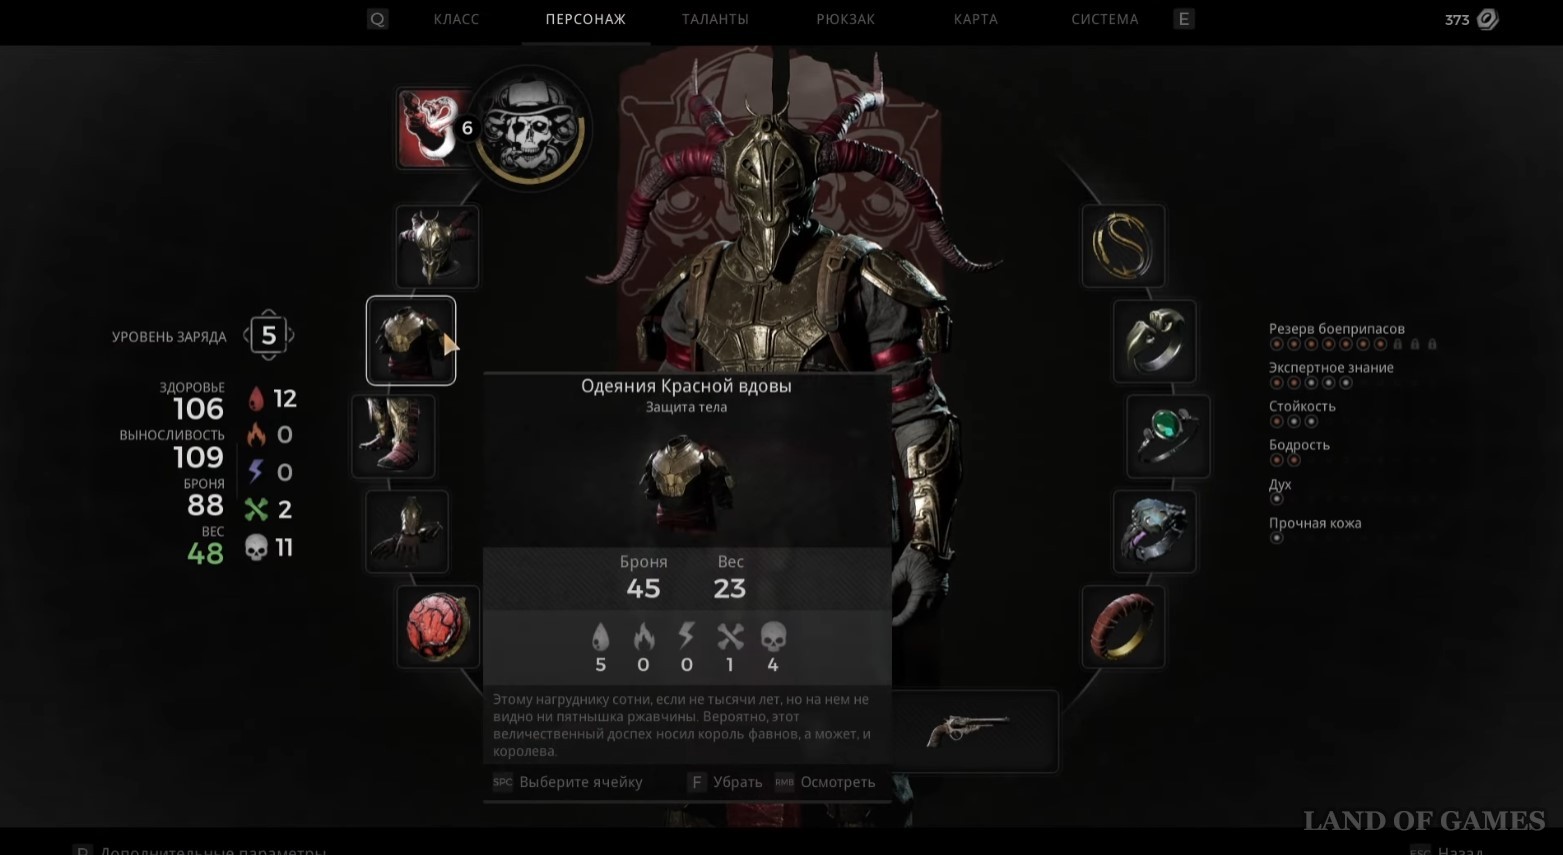
Where to find the Red Widow armor
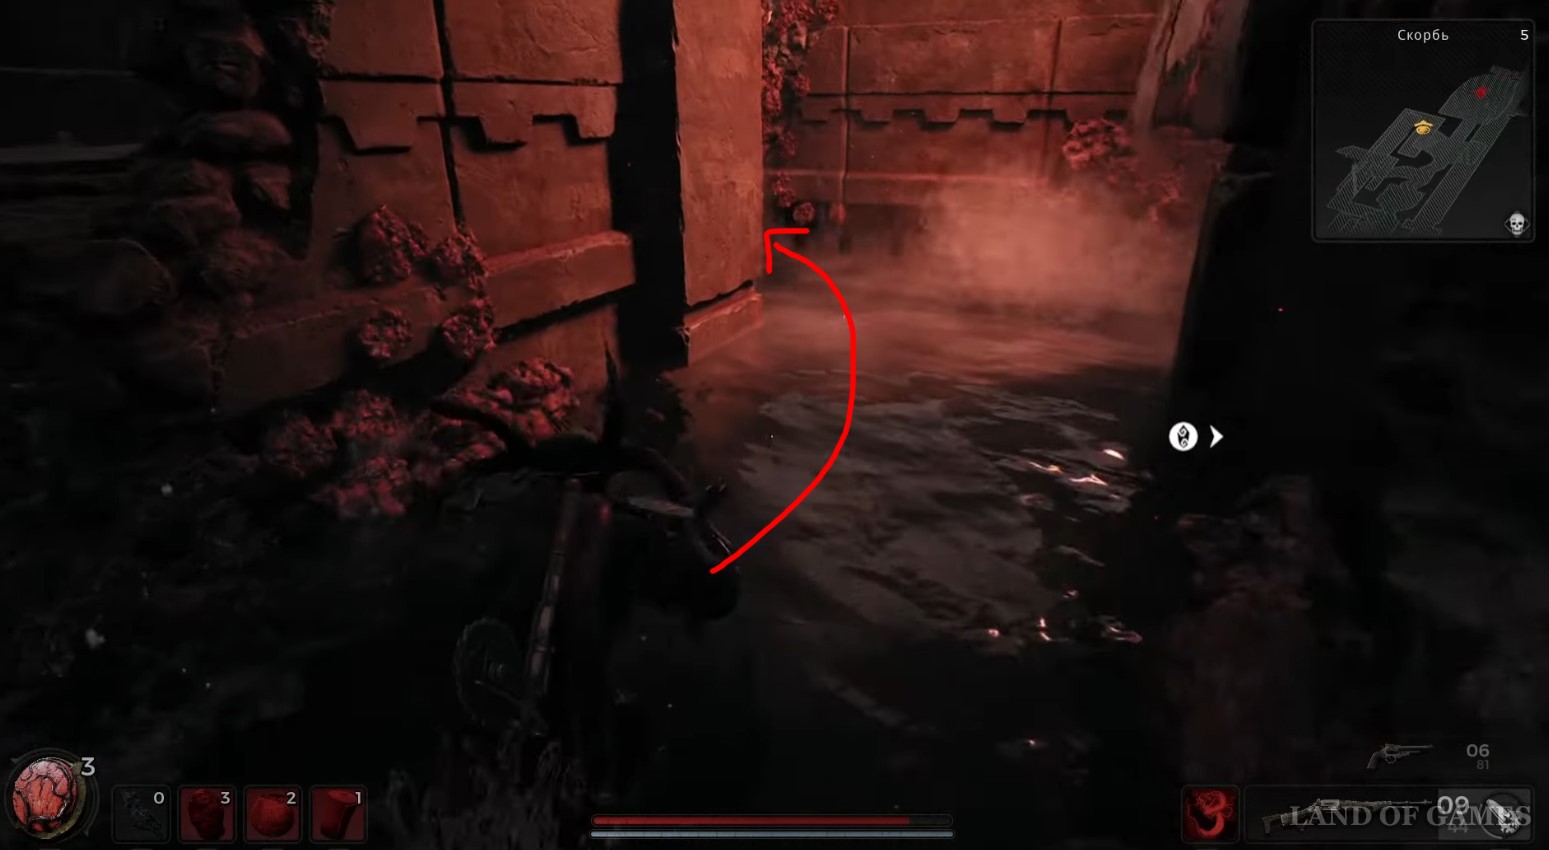
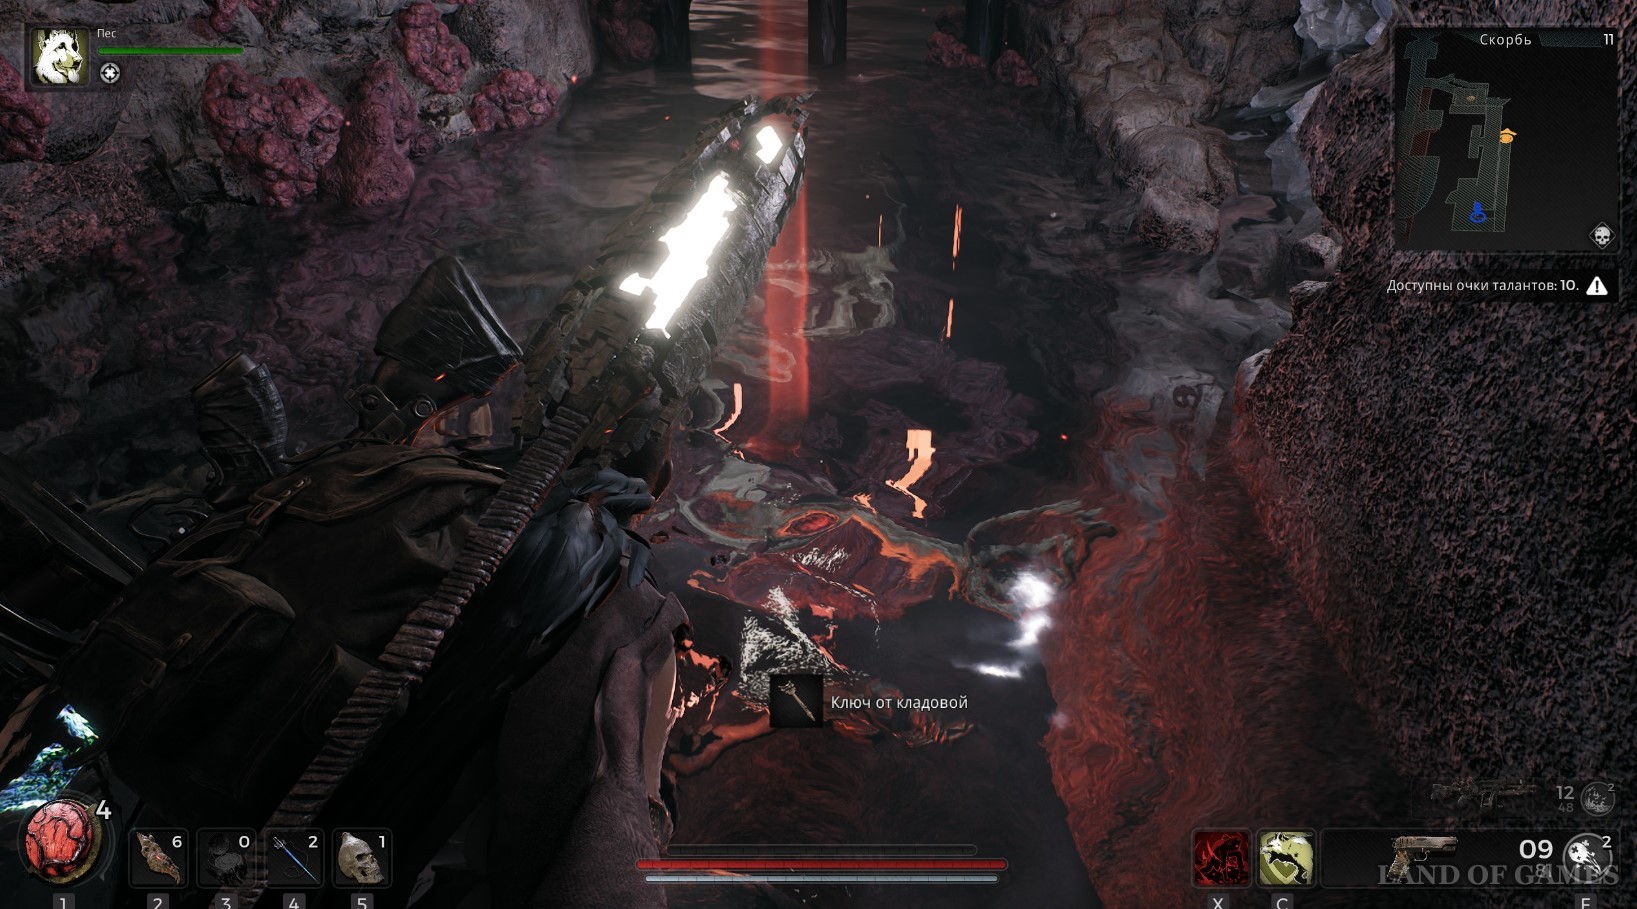
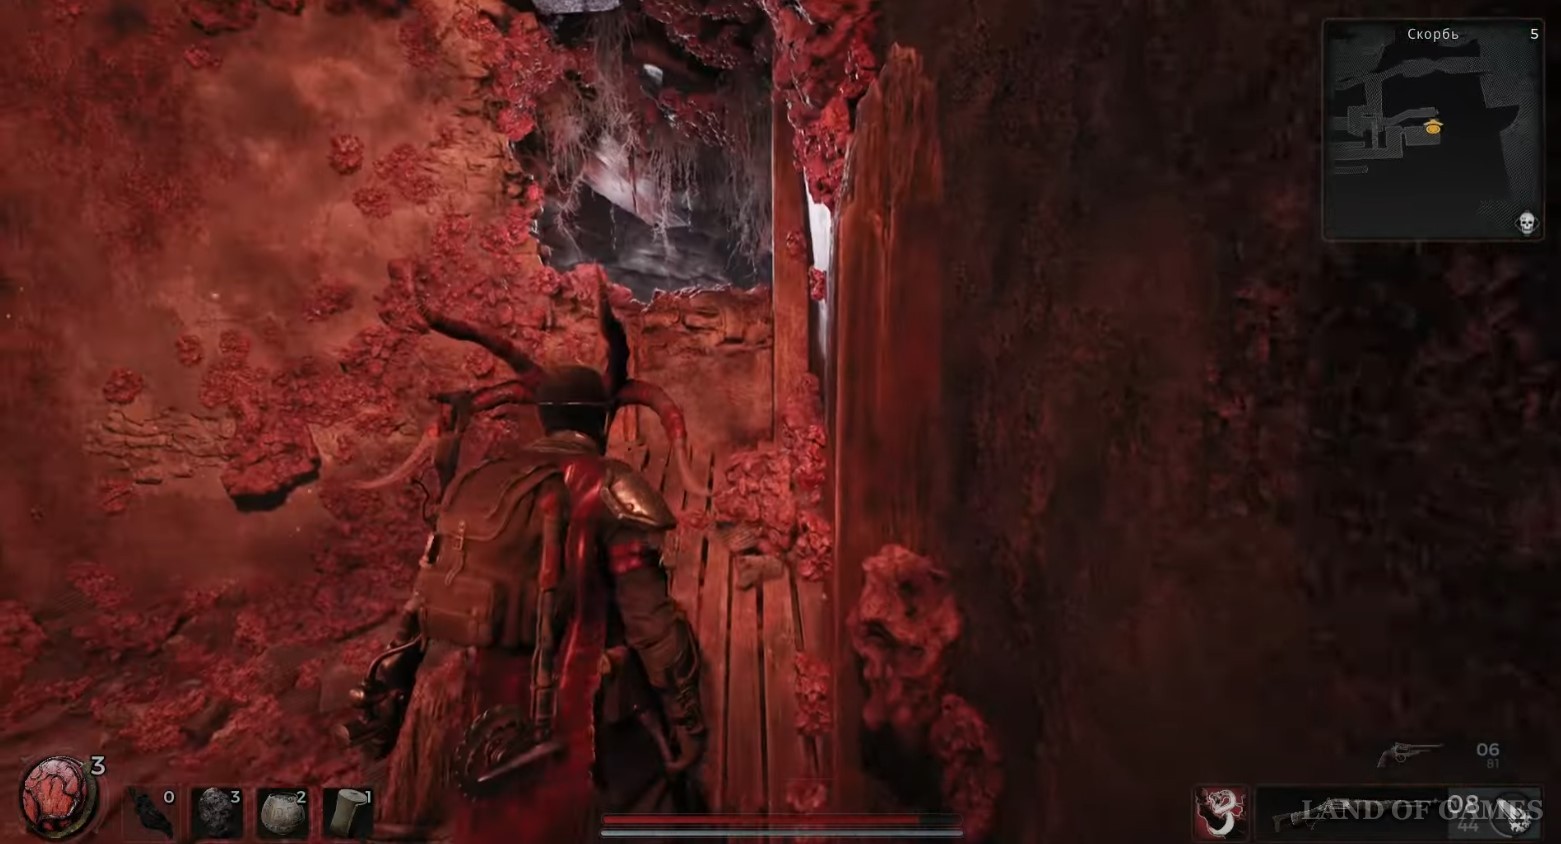
Next, return to the checkpoint room and break the vessels in the corner to reveal a hole in the floor. Drop into this hole, turn right and then left and go through the waterfall, duck down and turn left. In this drain you will find the Pantry Key.
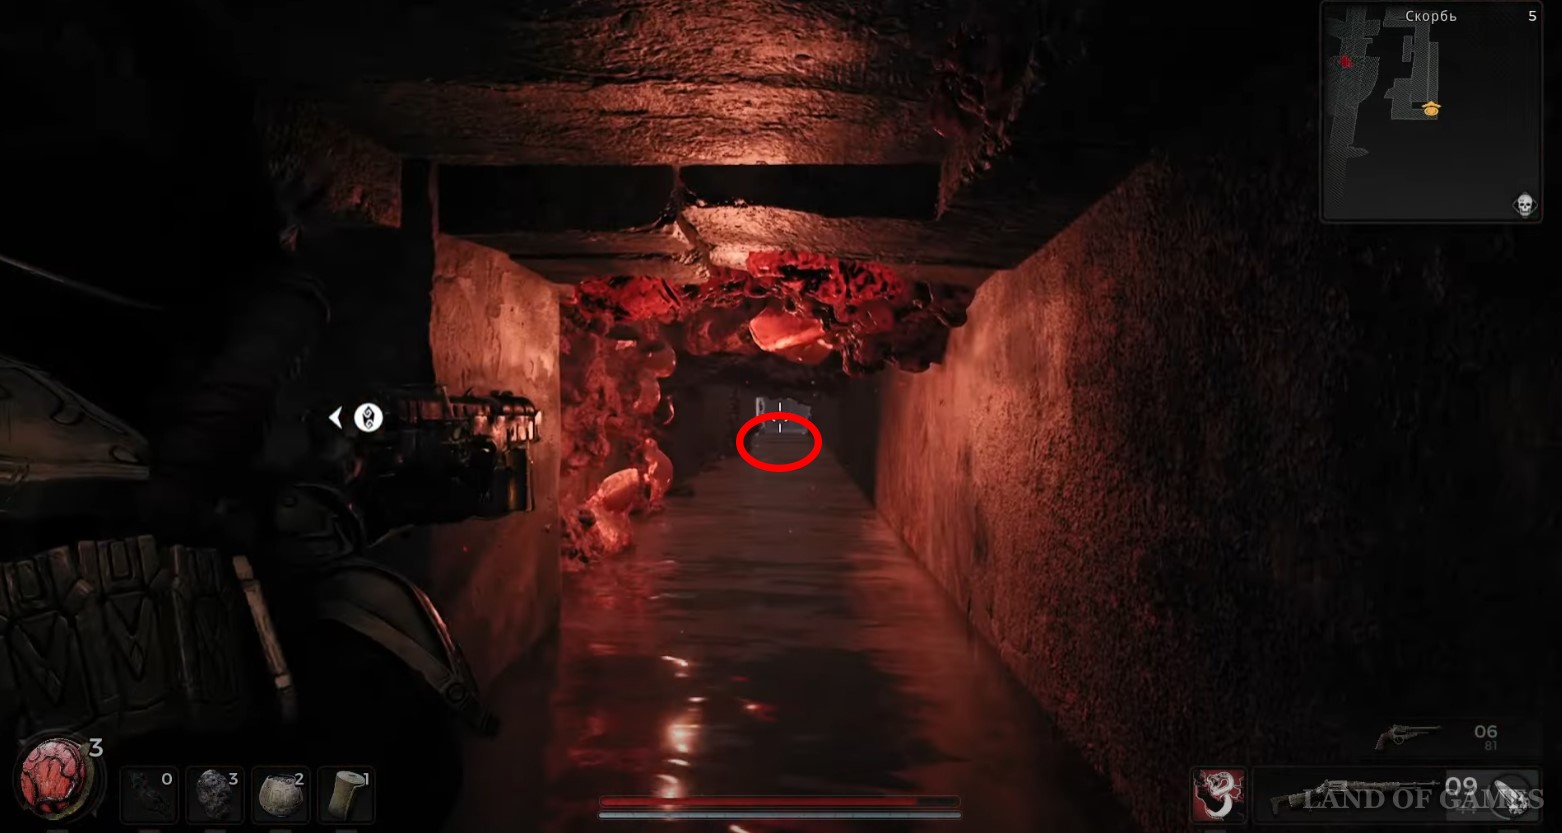
Now go back a little, immediately climb onto the ledge and turn into the left corridor. Before reaching the end, you will see a wooden ladder - you can climb it to unlock a short route to the checkpoint. Climb back and run to the end of the corridor until you see a door that can be opened with the key you found earlier.
Inside you will find a chest. Open it and then climb up the boards to the hole and go through it. Go down, turn left, and you will find yourself in another corridor with traps, where huge saws will move on top and sides - you will need to carefully run past them, trying not to approach the walls and dodging the upper blades, running in a zigzag.
At the end of the corridor you will find a sarcophagus. Open it and get the Red Widow's complete set, which gives 89 armor, as well as resistance to bleeding (12), damage (11) and decay (2). Its weight is 48 units (medium).
How to cross the abyss on the rocks
Return back to the tomb where you solved the clock face and symbols puzzle. Turn left, go through the door on the left that you opened earlier, go down the stairs and turn left again two times.
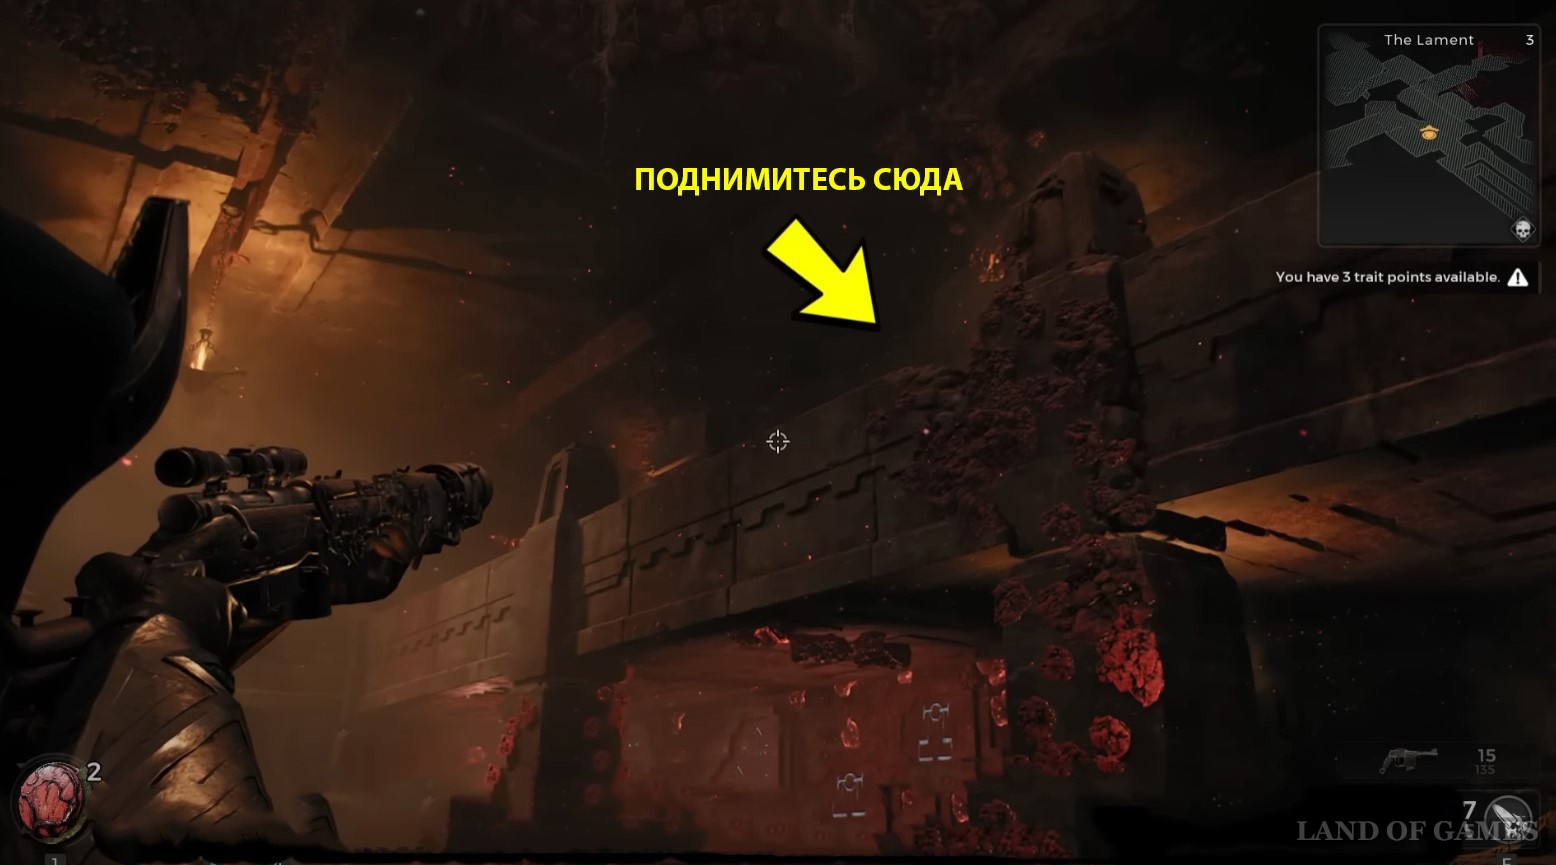
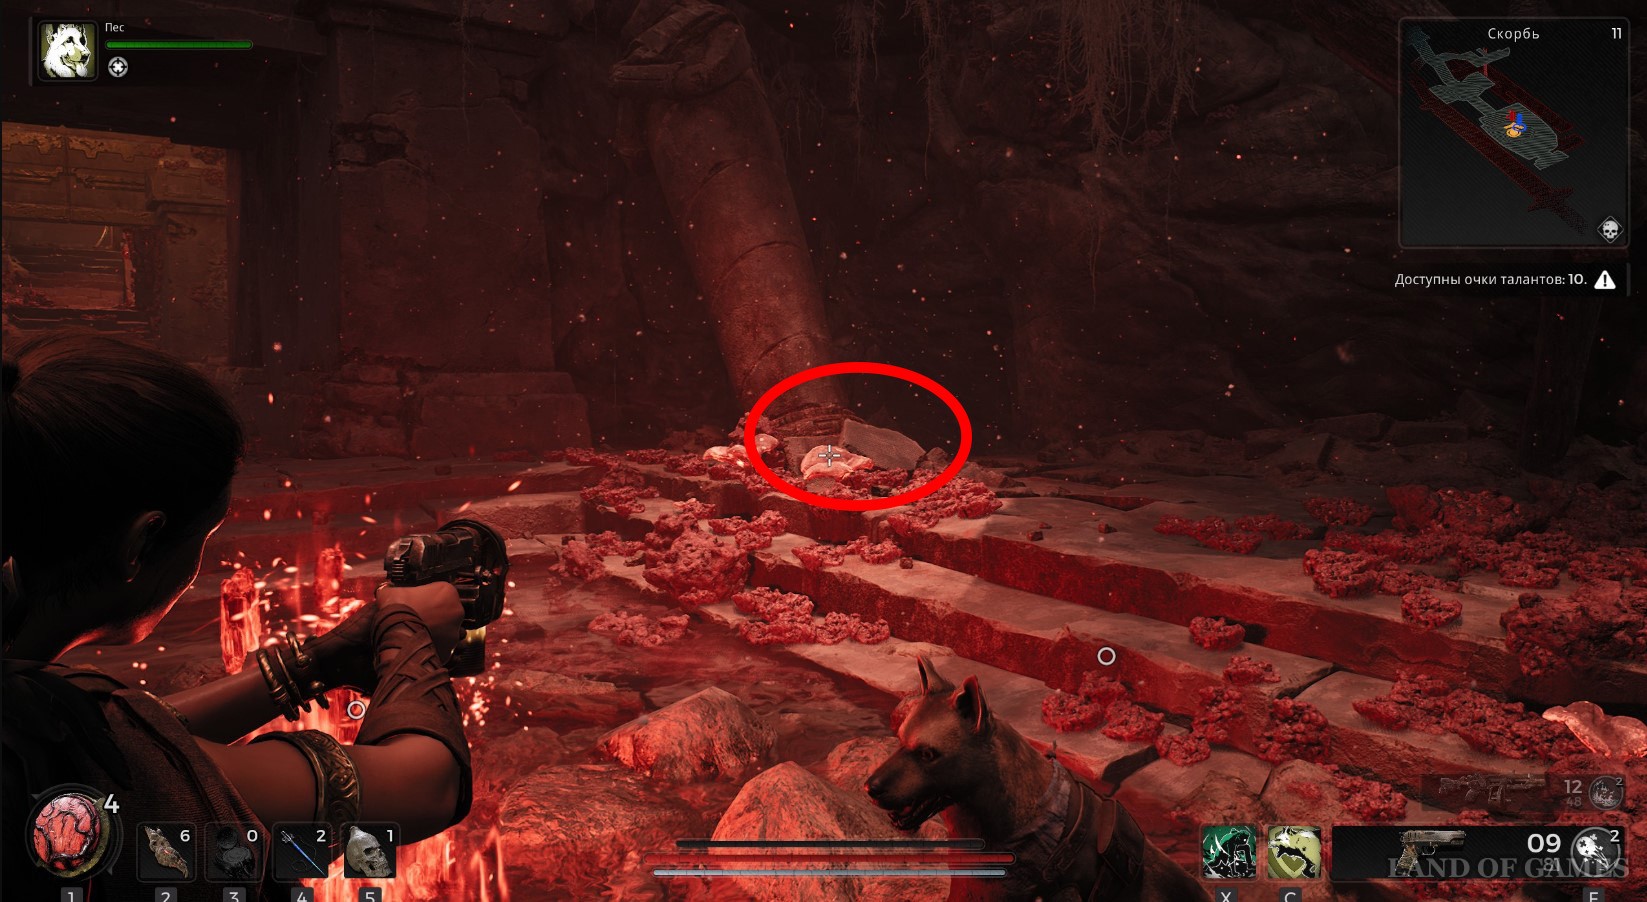
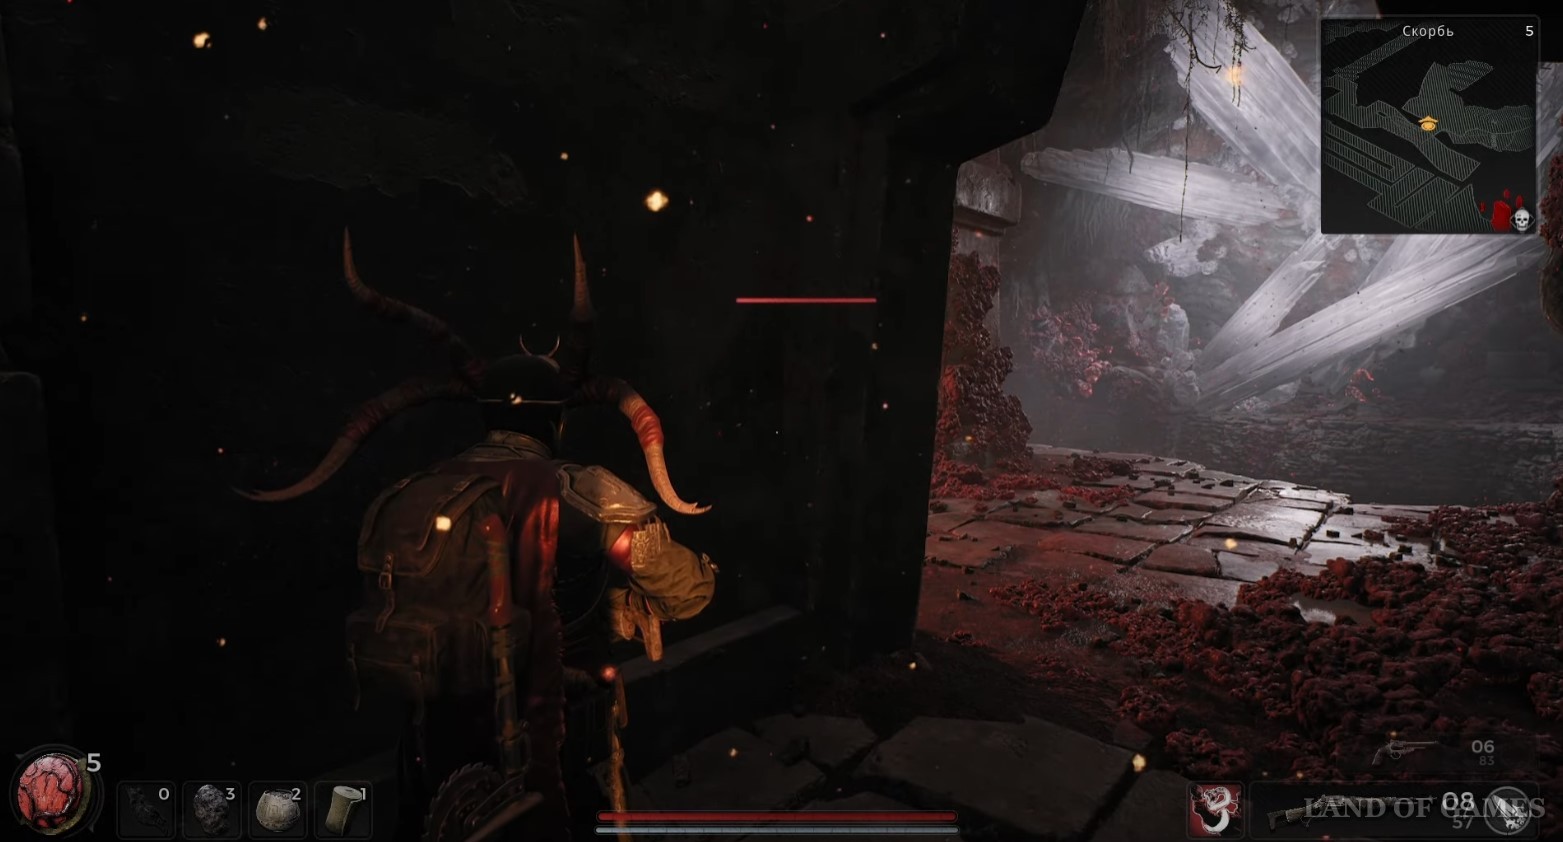
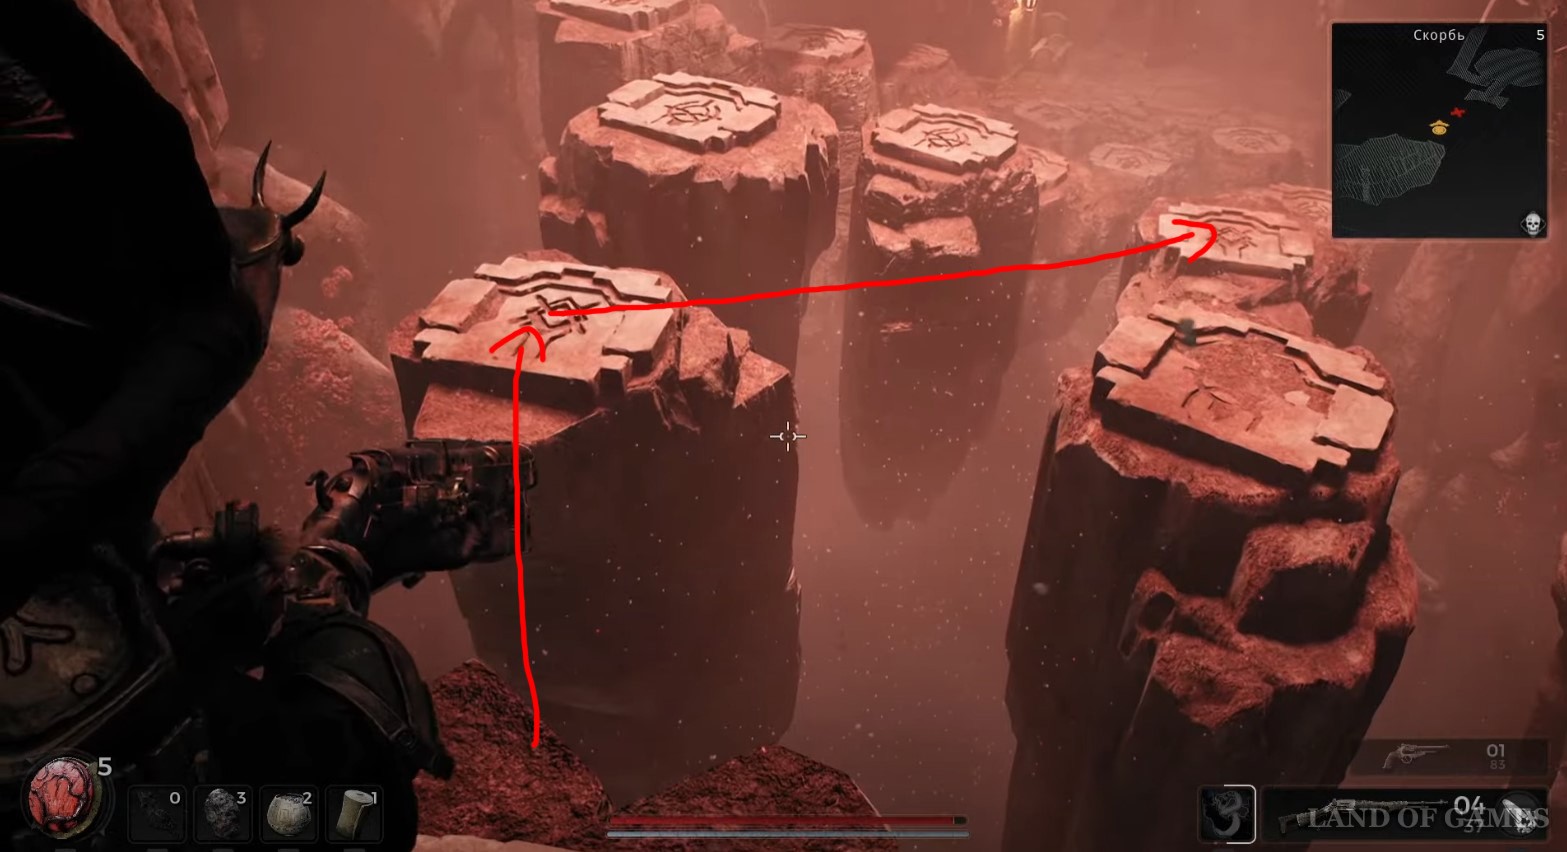
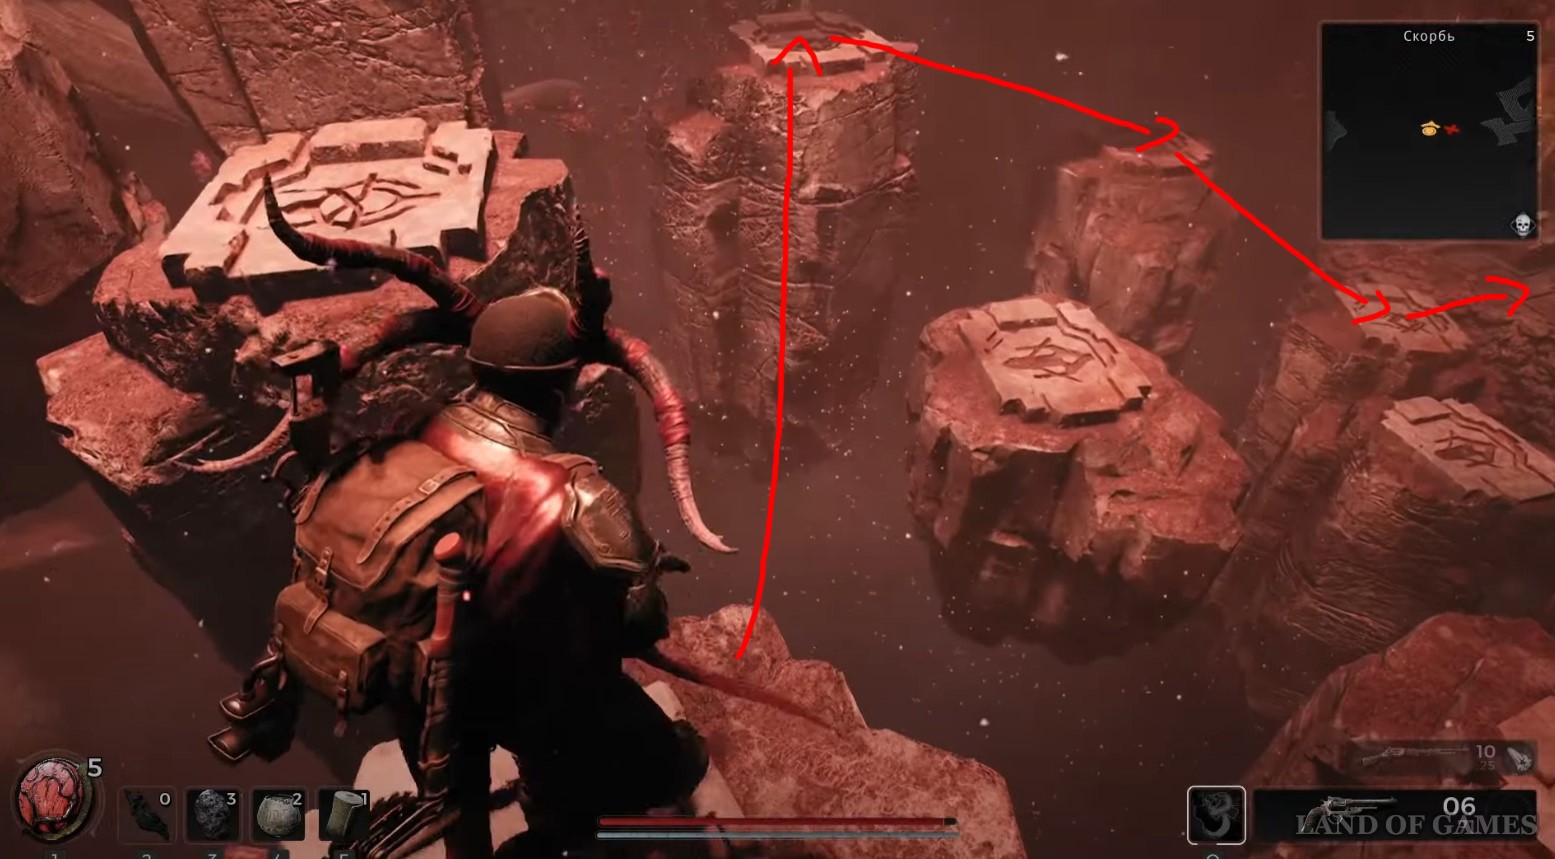
Go down the stairs even lower until you get into an open space. Continue down the path, dealing with monsters along the way, until you reach a crevice with several floating stones with symbols drawn on them. There are invisible bridges that connect certain platforms. To identify them, shoot into the space between the platforms and see if dirt appears in the air - if it does, then there is a bridge.
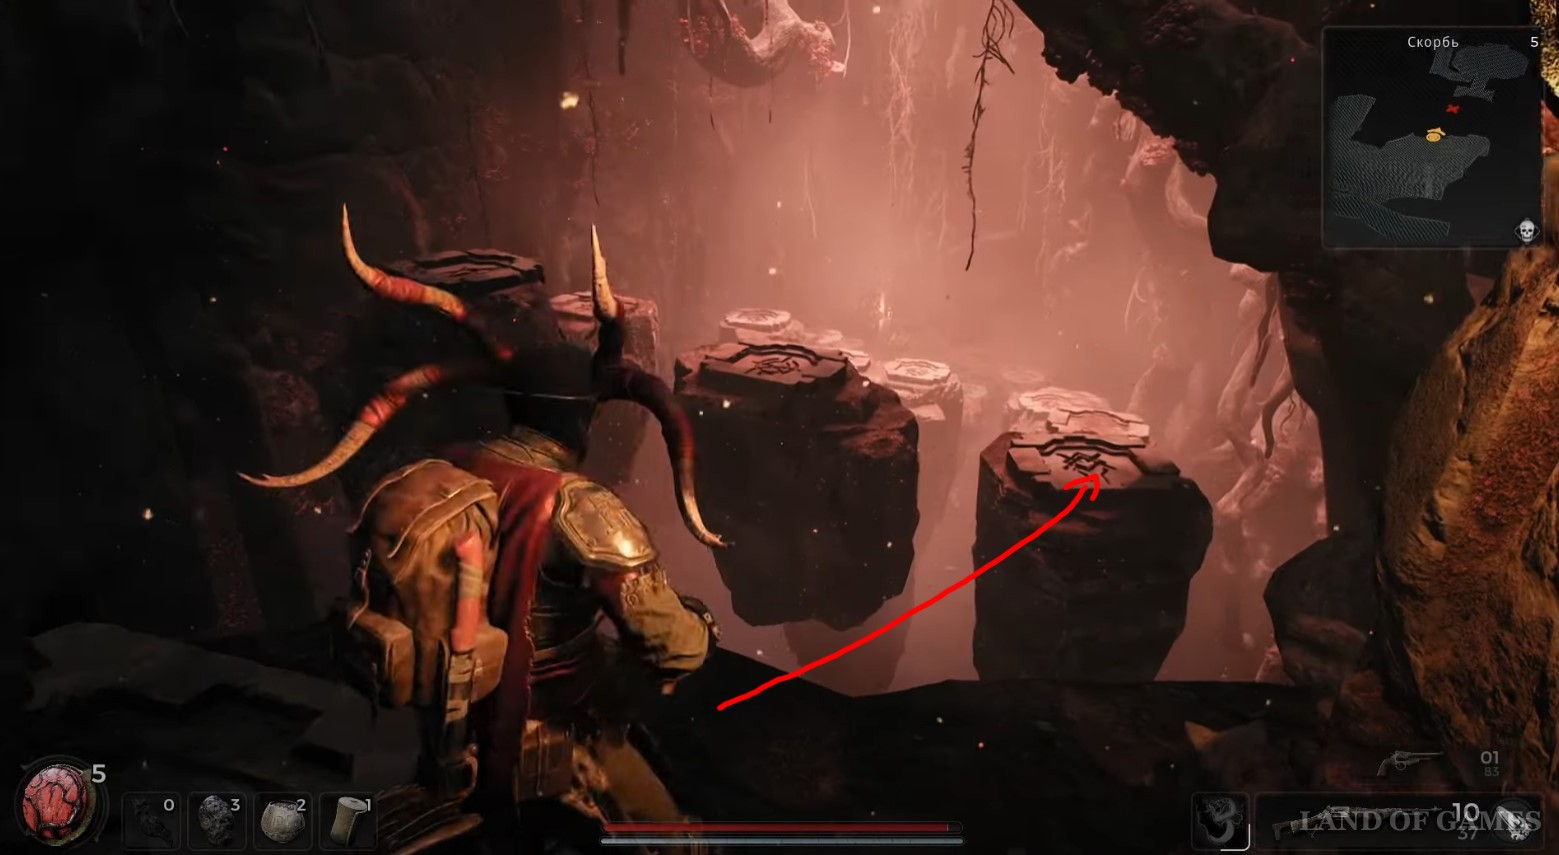
These bridges, by the way, connect platforms with the same symbols, so carefully inspect the tops of the stones. Next, we will show you all the way to the other side. It is possible that bridges and symbols are randomly generated, so you should not blindly follow our route.
How to get the Ring of Distraction
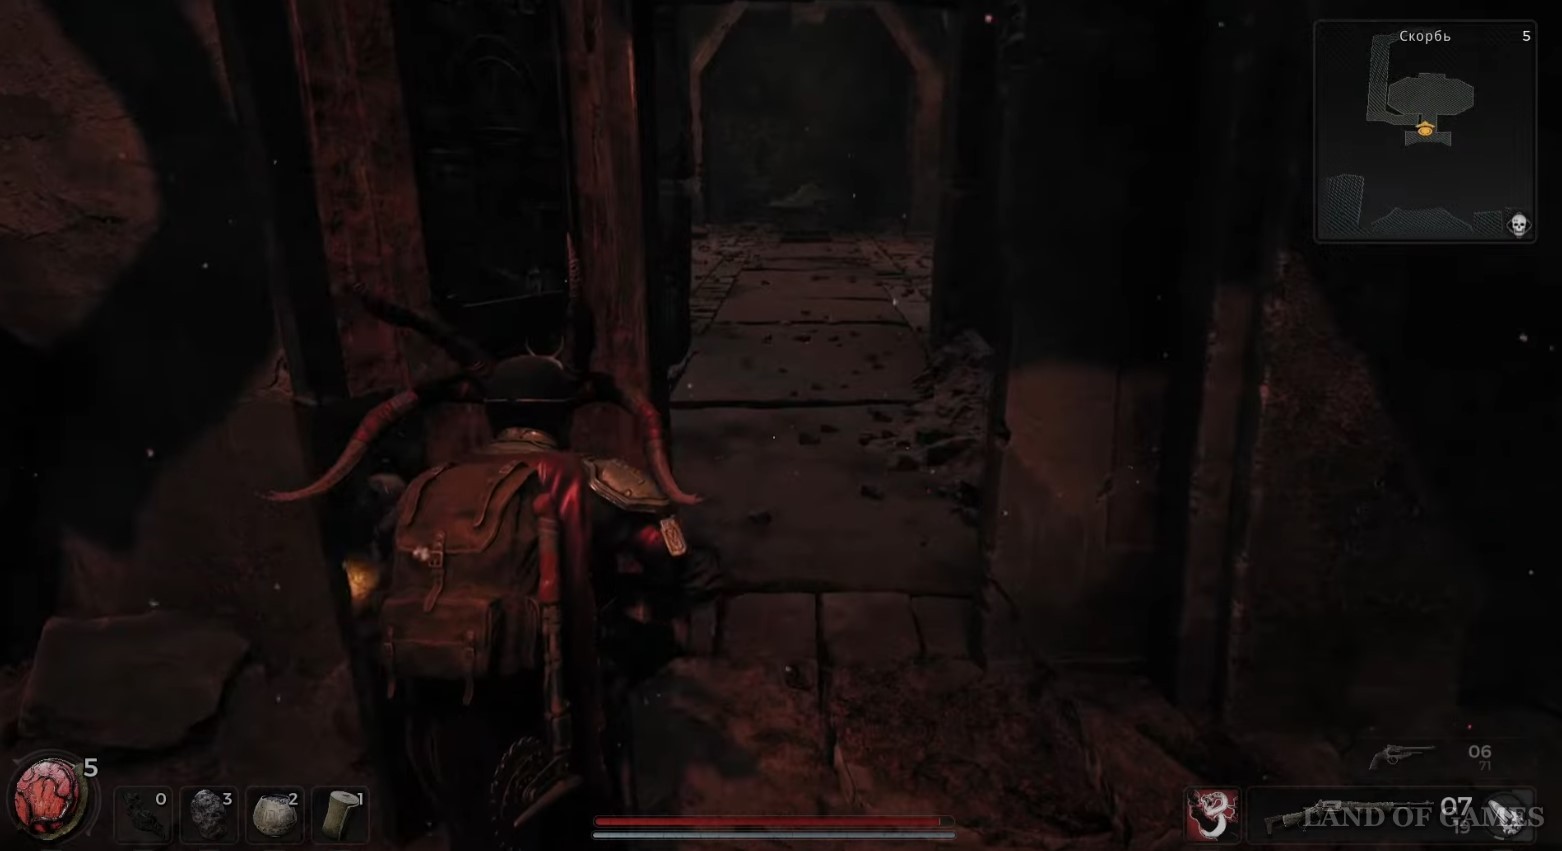
After jumping over to the other side, open the chest, and then use Colquet's key to open the locked door. Go inside. You will enter a room with several more sarcophagi, some of which contain valuable materials.

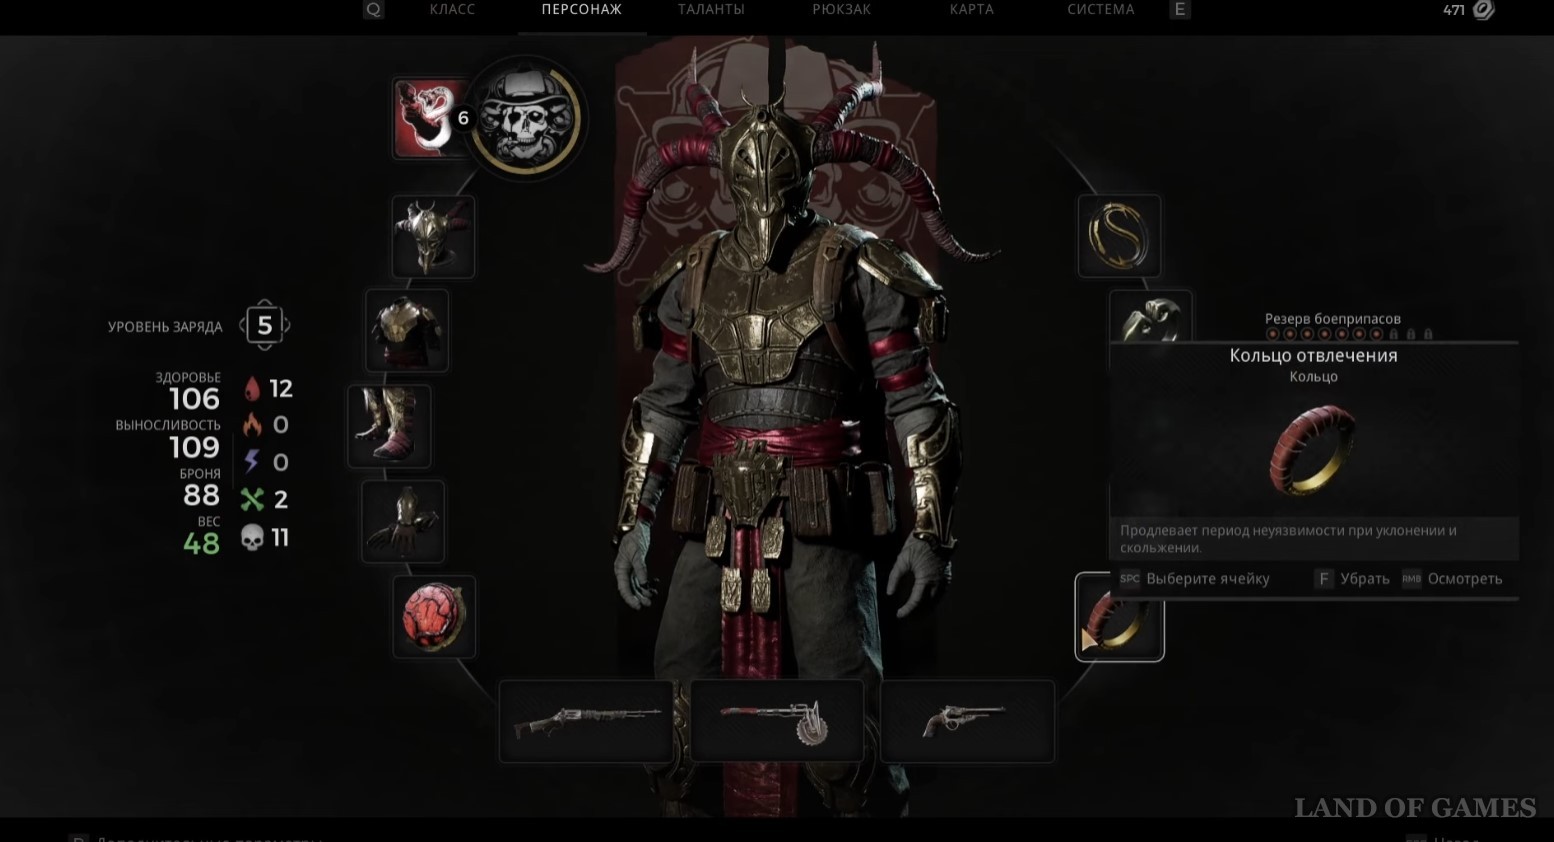
However, your main reward will be the Ring of Distraction, which increases the duration of invulnerability during slides and dodges, which is quite useful for some classes fighting enemies at close range.
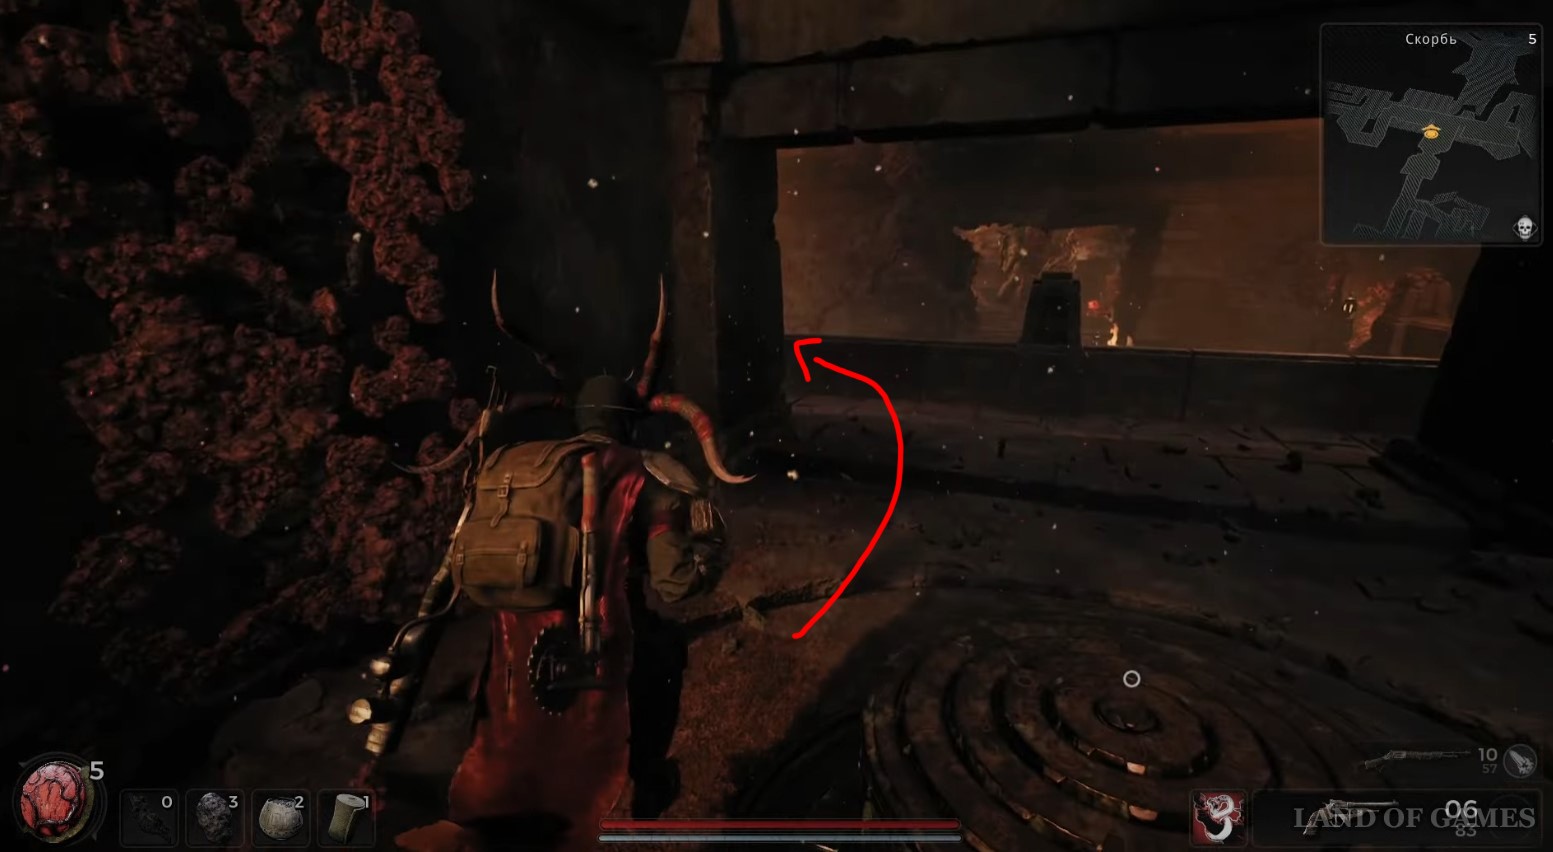
Invisible Wall and Magnetic Crown
The last secret of the dungeon remains. After finding the ring, turn around and go through the invisible wall to the right of the exit from the room. Turn right and go up the stairs. Then jump down the hole onto the boat attached to the ceiling.

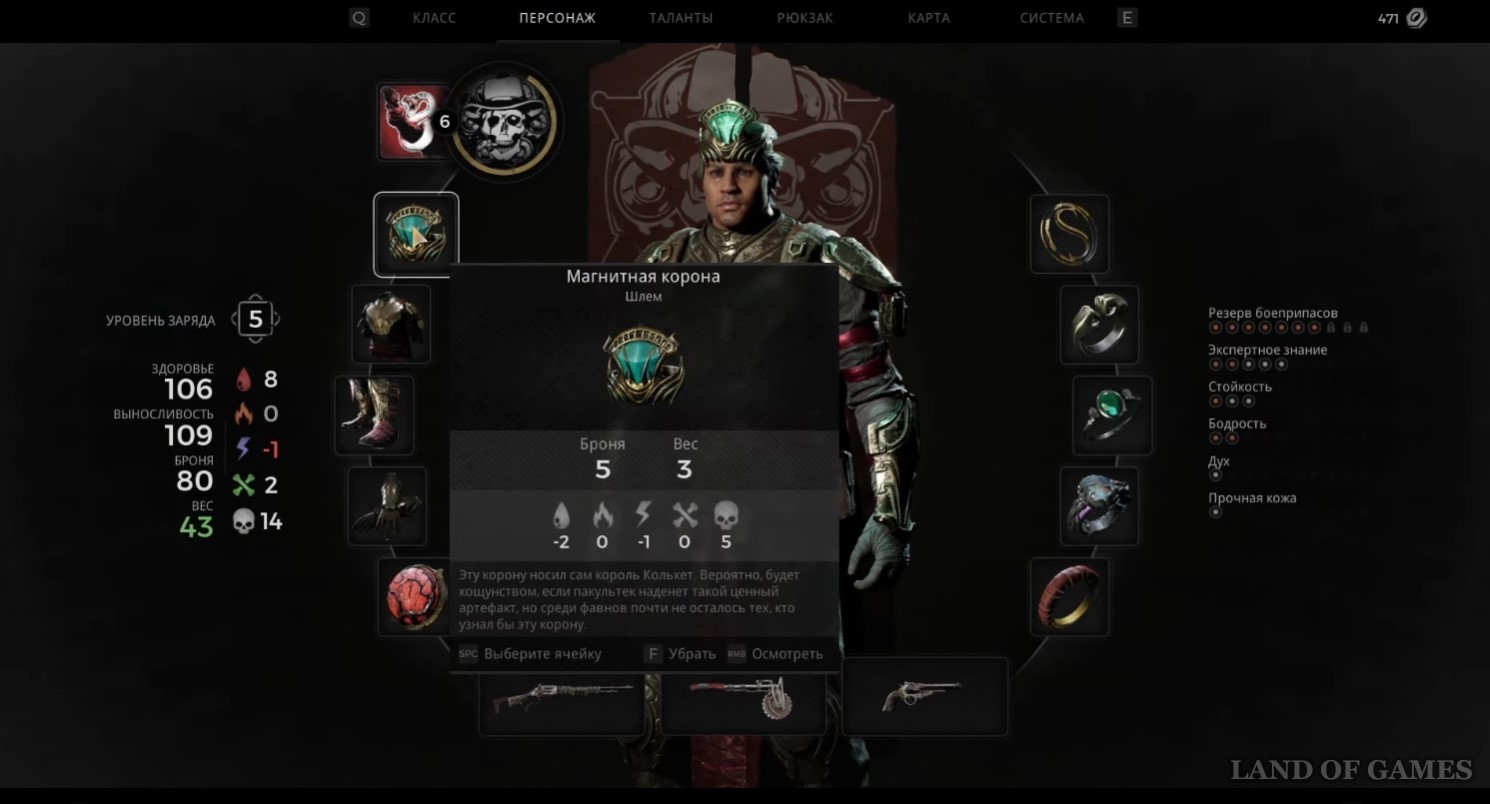
Examine the sarcophagus to find a Magnetic Crown (pretty good protection from damage), which glows in the dark, acting as not only protective equipment, but also a lantern.
Comments
You need to login to add comments.
You can login with