
Lost in the Sands Genshin Impact is part of the questline "Golden Land of Dreams" And Sumeru Desert World Quest, in which you will need to help the merchant Boniface with the search for an archaeological squad. You will have to solve puzzles, fight various enemies and explore the ruins. If you're having trouble starting or completing this quest, check out our guide.
Passage of the quest "Lost in the Sands"
How to start a task
There are no special conditions for starting this mission, that is, you don’t have to complete the Archon’s task at all "Dreams, Emptiness, Deception" , however, we still advise you to complete the quest just in case "The Morn a Thousand Roses Brings" .
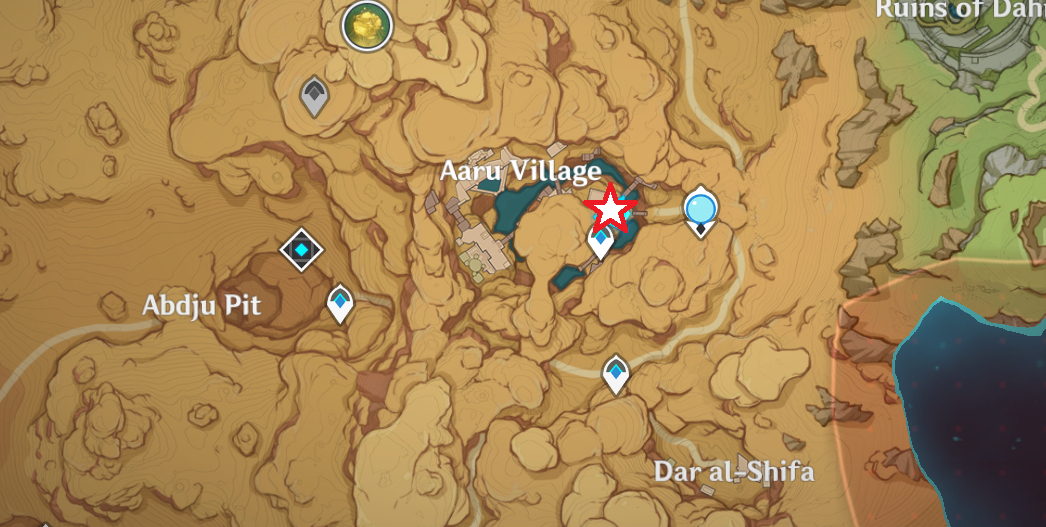
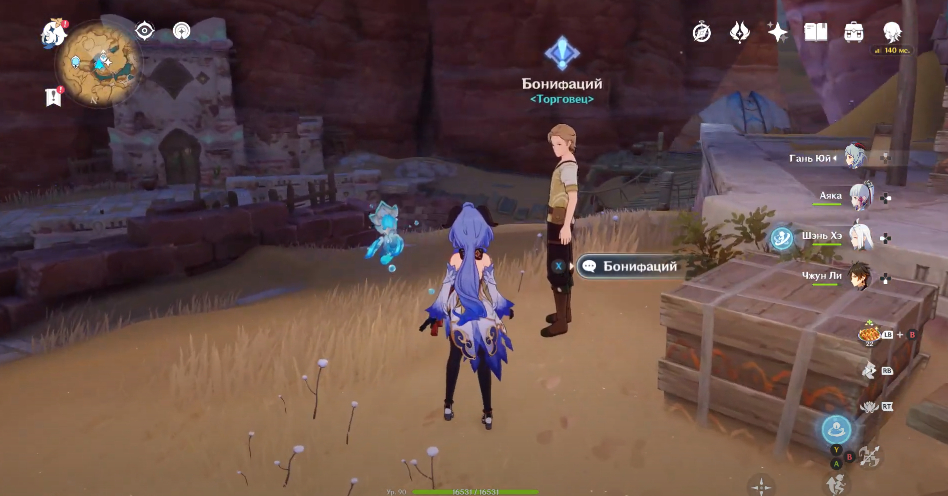
After that, just go to the village of Aaaru, located in the twilight desert. There, go to the main street, where the shops are located and chat with a merchant named Boniface. There should still be an exclamation mark above it. The screenshots above show its exact location.
Follow the footsteps of the archaeological team
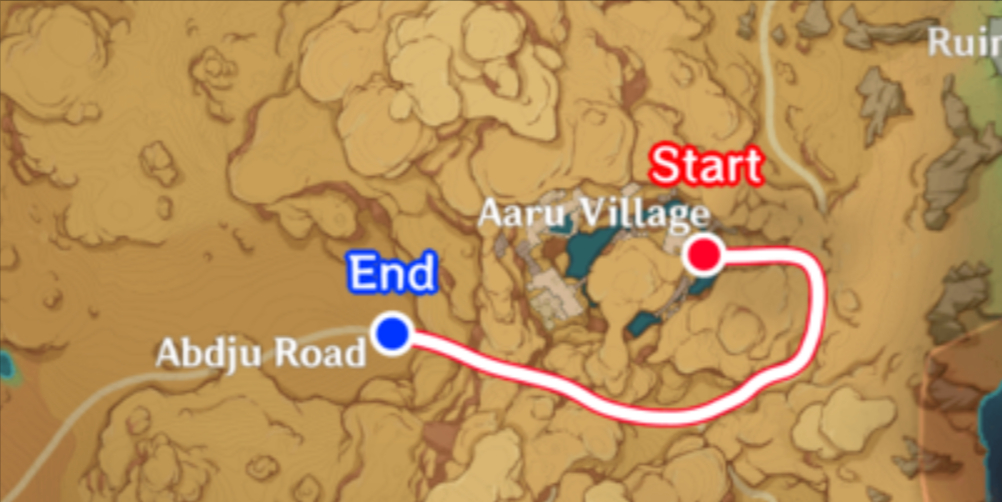
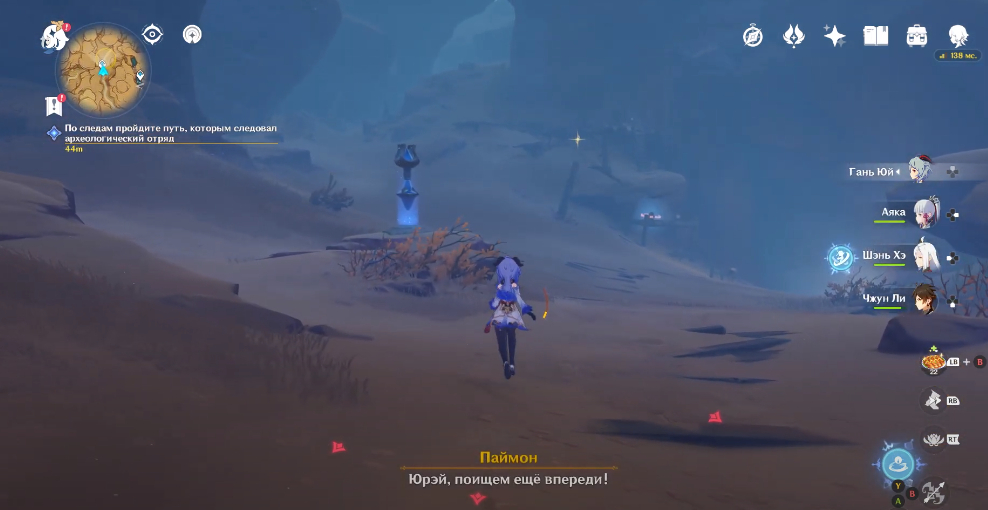
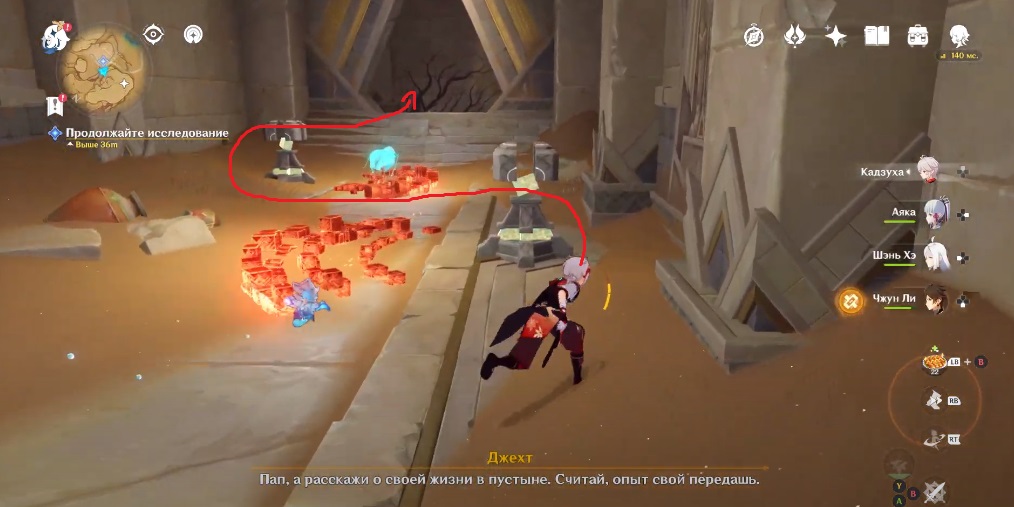
Turn around and run to the nearest statue of the seven archons - a golden path will lead you to the right place. If there are no markers, then take a look at the map below, which shows the full route.
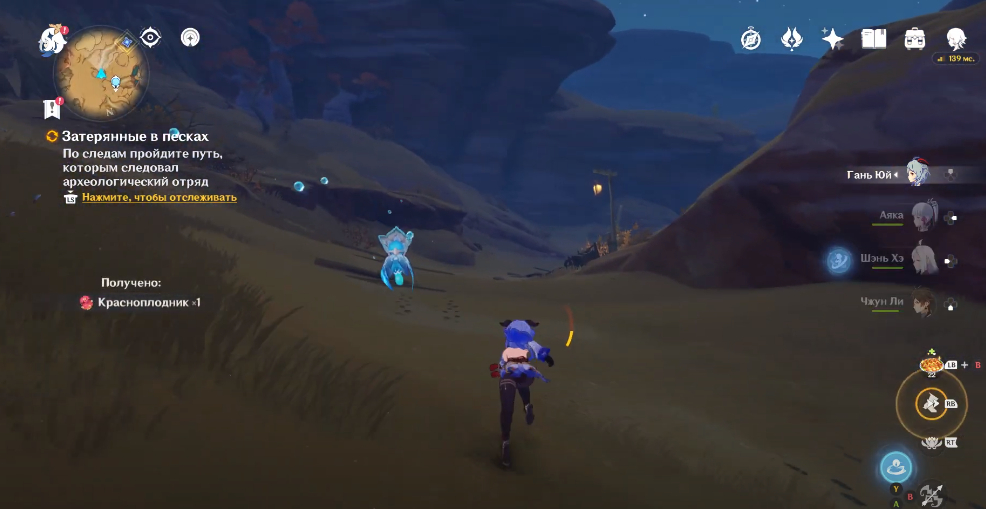
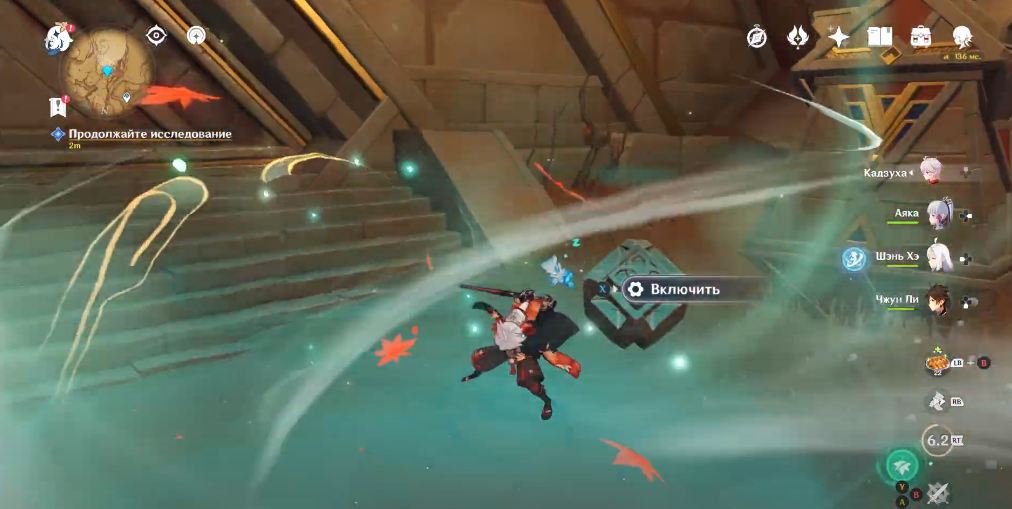
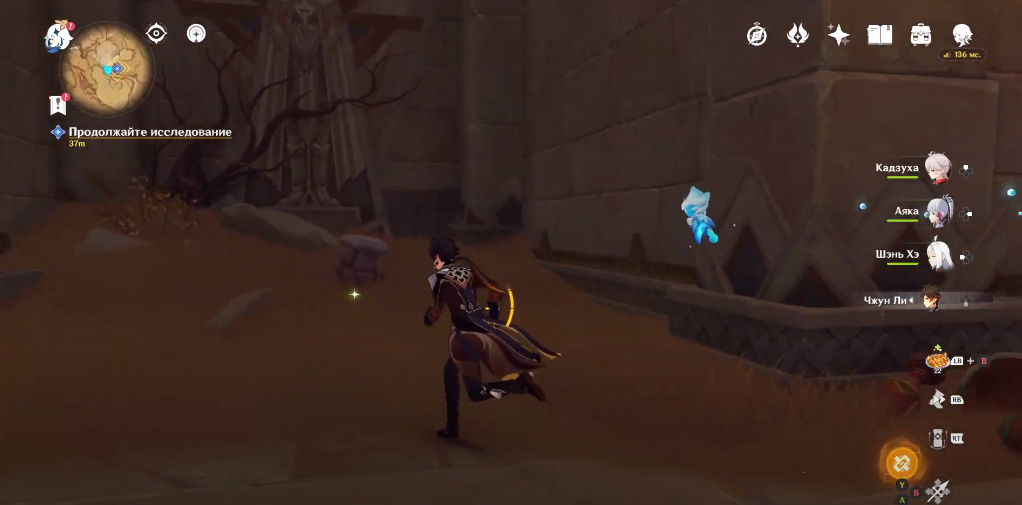
Having reached the first search zone, turn right into a small gorge to find new tracks. The marker will then show the next area. Run west, moving along a barely visible path. You can ignore the monsters on the way.

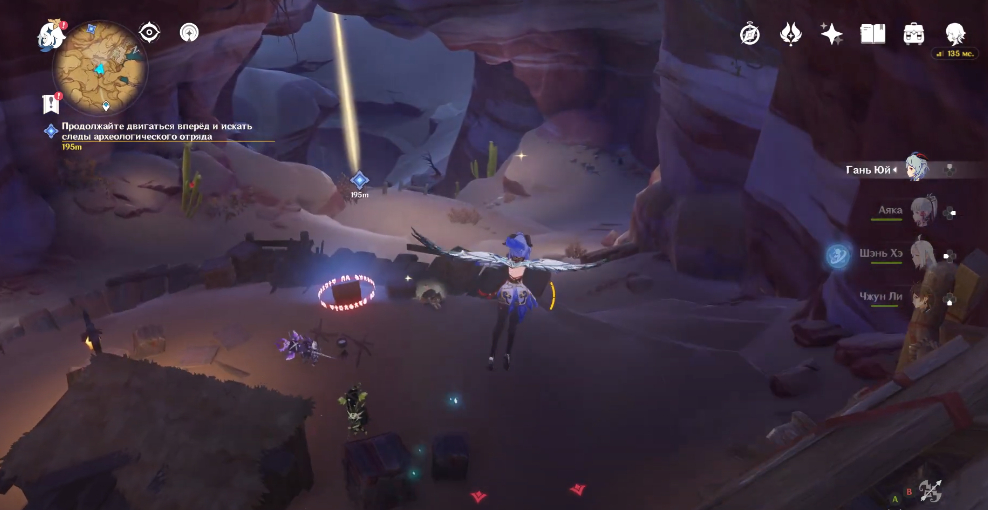
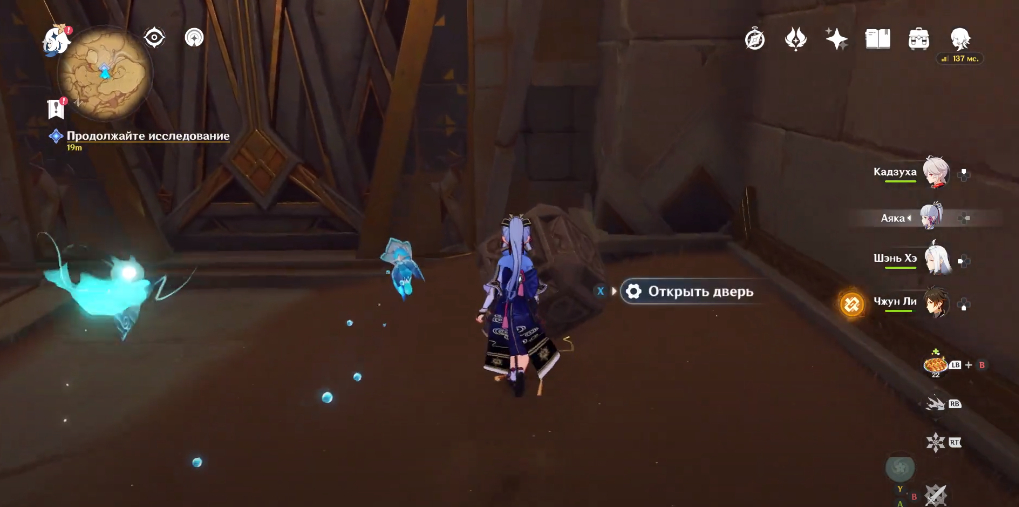
As soon as you reach the teleport located southwest of the village of Aaru, Paimon will note that there are no more tracks, so he will offer to go a little further. Turn right from the teleportation point and enter the cave. Climb down through it to the quest marker and the edge of the pit.


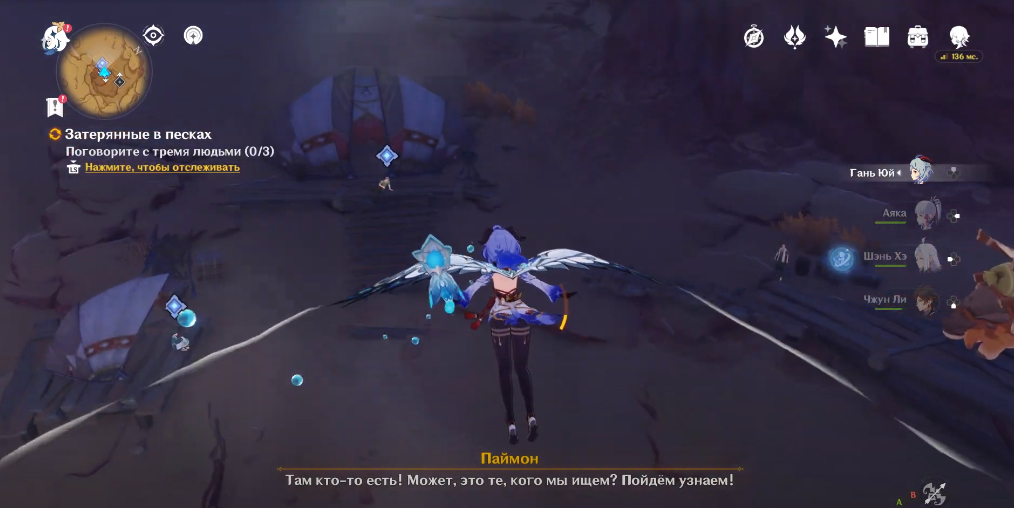
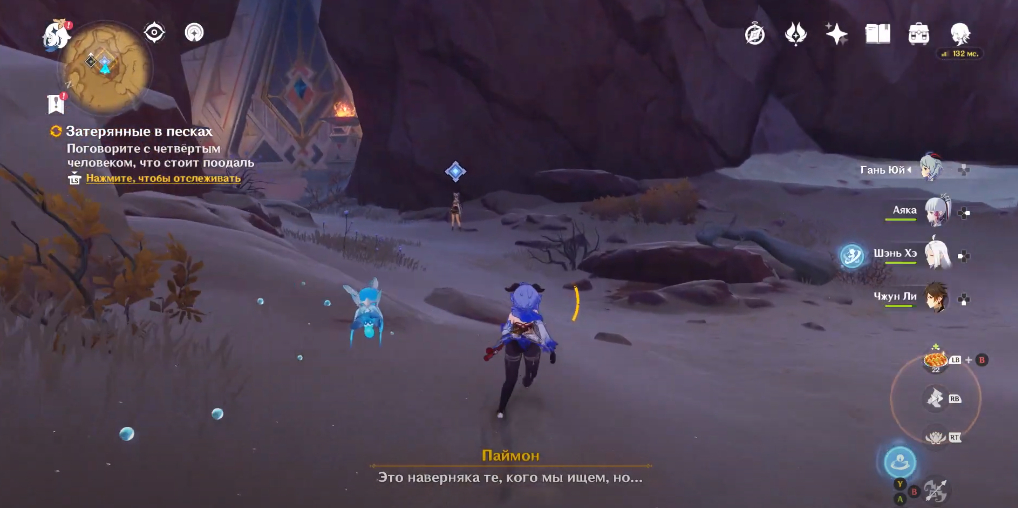
Find clues and talk to the people in the hole
Jump down and glide to the next marker. There you will find a camp and several characters. You need to chat with some of them. The first can be found near the tent on the left side of the camp, and the second - a little ahead and to the right of the scientist.
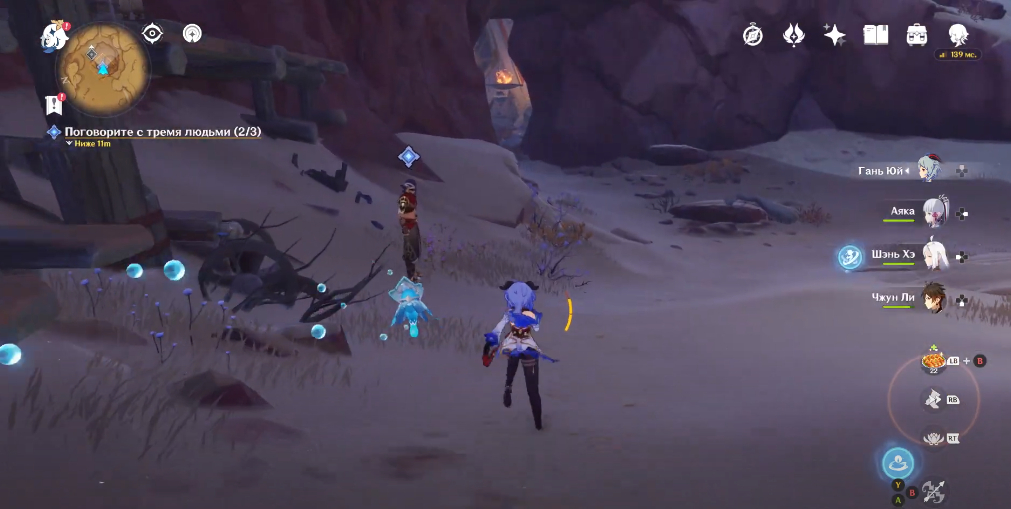
The third is located on the right side of the "settlement", not far from the wooden platform. It's about the wilderness. After talking with him, a new task will appear - you need to chat with the fourth person, standing a little far away, to the right of the passage to the mysterious tomb.
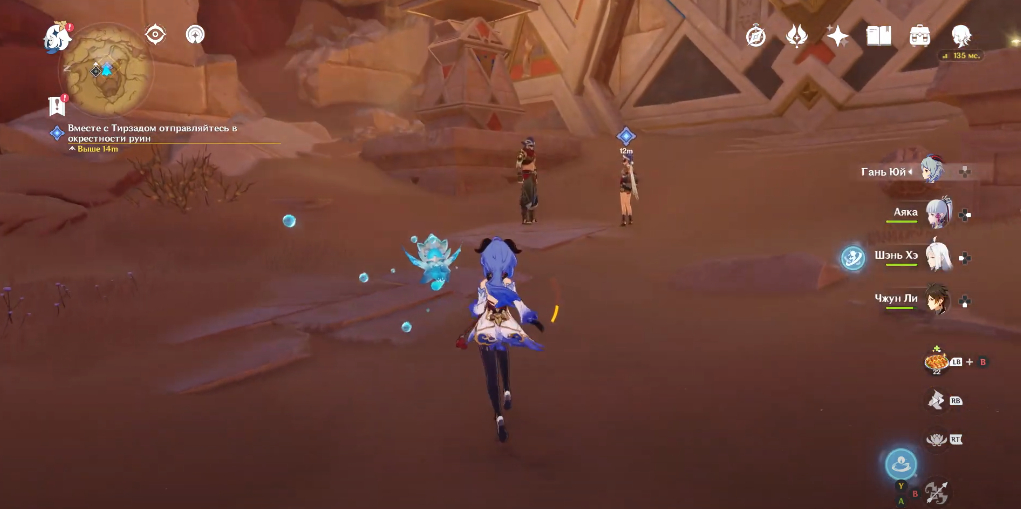
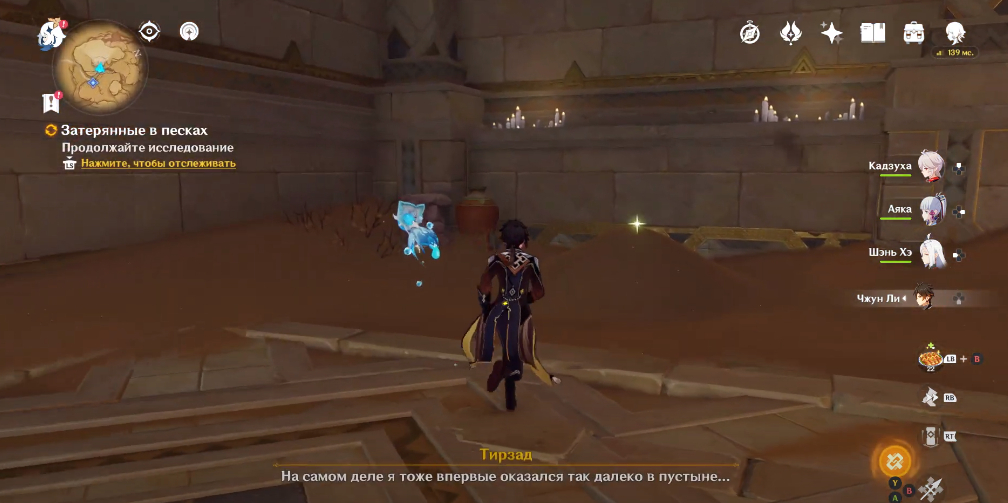
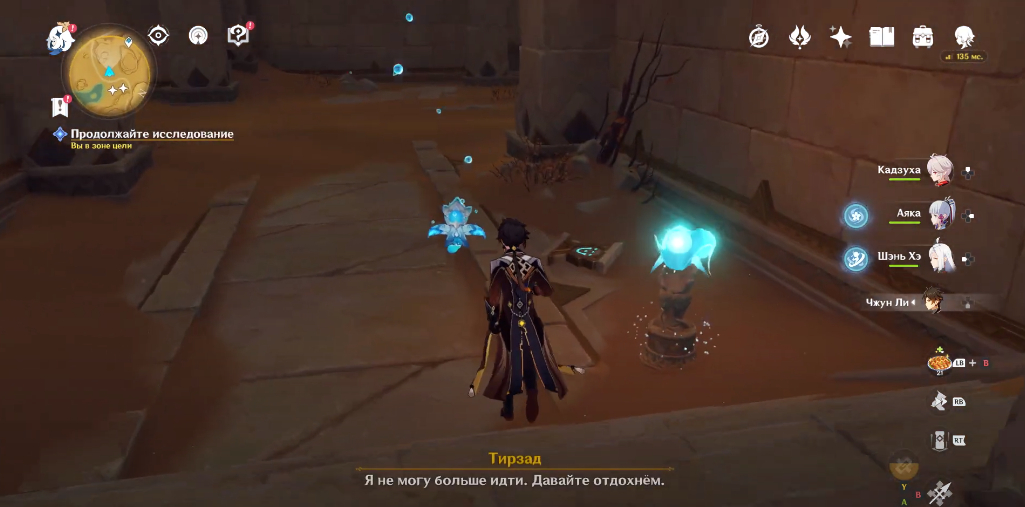
After talking with Jacht, return to the others and chat with them again. After watching a long cutscene, move to the surroundings of the ruins with Tirzad. Approach the gate of the tomb and watch a new cut-scene in which the scientist will be able to open the passage.
How to clear the cube of sand
Enter the tomb after activating the new teleport beforehand. Next, move to the quest marker. Here you will find a locked door and a cube covered with sand. To clear it, you will need to select an Anemo character and use an air attack on it (the free Traveler will do as well).
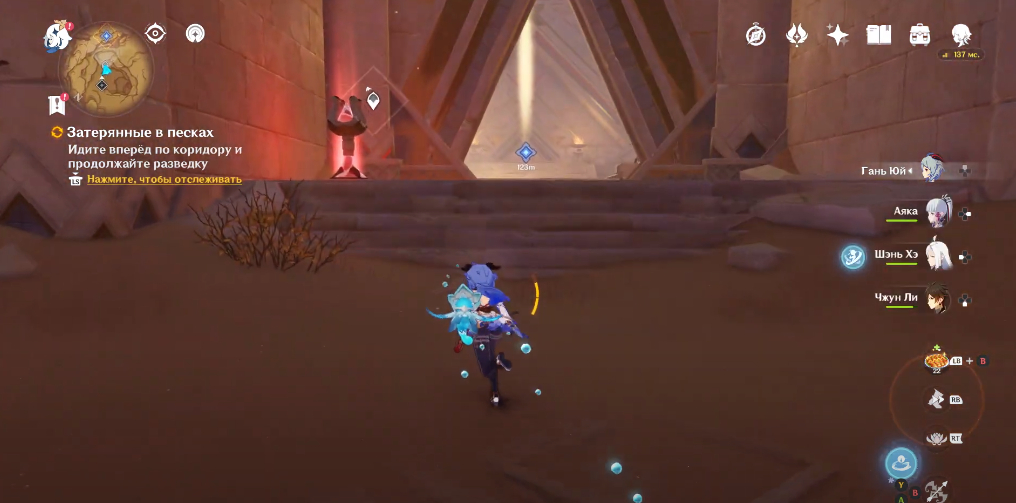
Continue exploring the ruins
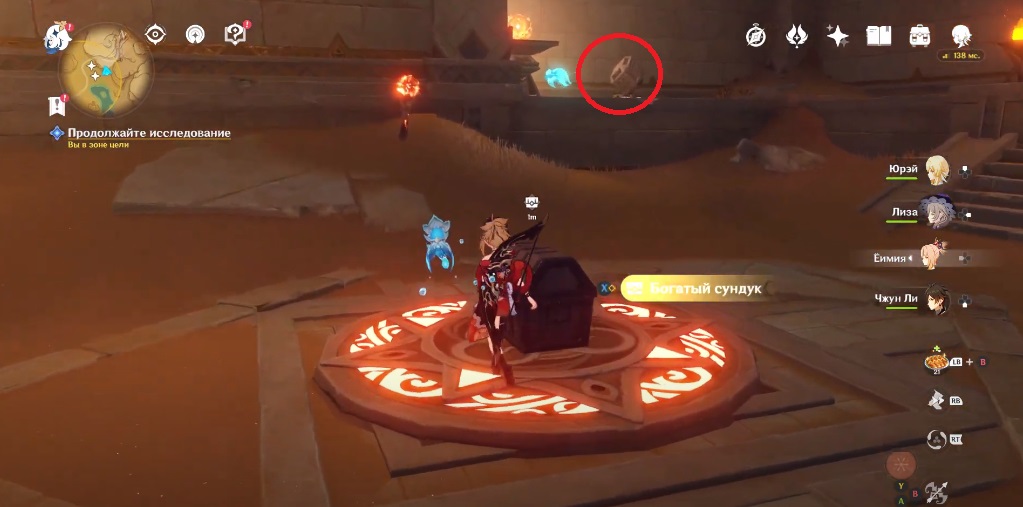
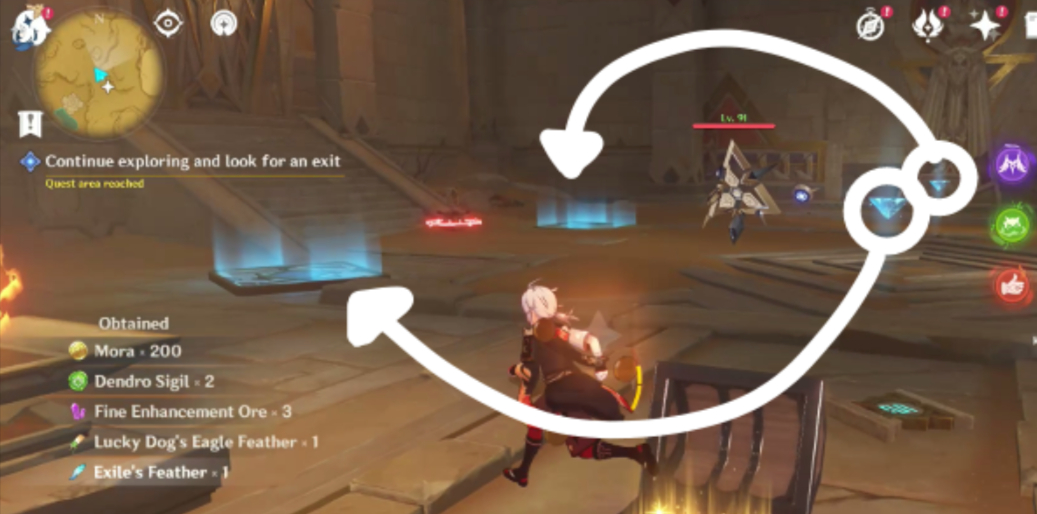
Pass through the opened passage into the spacious hall. Once in its center, prepare to take on the primordial construct: the Scout. After dealing with her, use the Anemo attack on the rich chest on the left to dig it out of the sand. Then pick up on the right Sacred Seal: Sheep Head.

Climb the stairs, enter the corridor and immediately turn left. There, click on the stack of stones for 10,000 mora. Keep going forward and interact with another cube. Then follow the fairy. Having turned into another corridor, look to the right into the corner. There you will see a pile of sand - scatter it to inspect the cobblestones later and get another 10,000 mora.
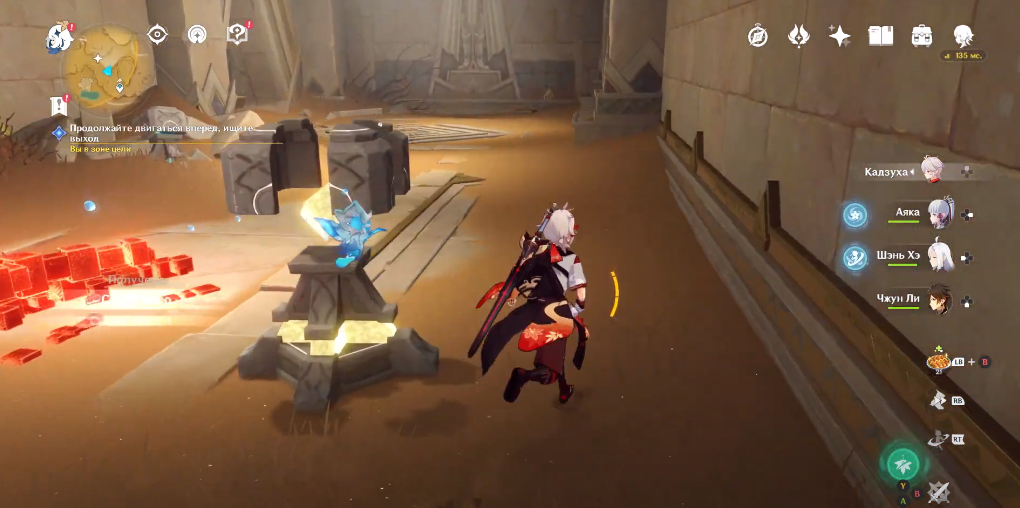
After reaching the area with fire traps, wait until they work, and then run behind them in a zigzag. Keep running after the fairy. When she stands near the pedestal, you will unlock the achievement "The Desert Will Guide You Home (I)" and get a regular chest.


Climb up the stairs to get to the main search area. Then deal with the original construct: the Shaper. After dealing with it, you can inspect a rich chest. Next, a mystery awaits you.
Solving the torch puzzle
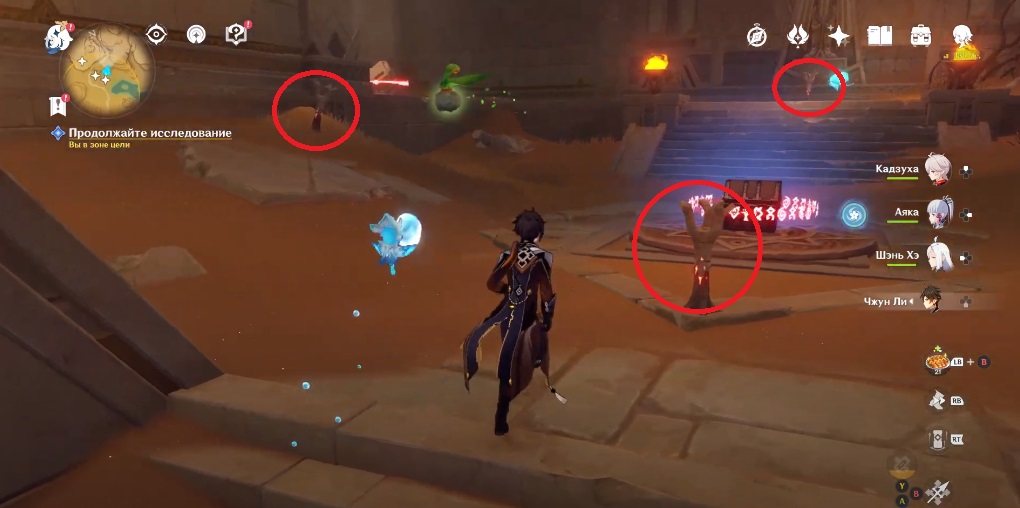
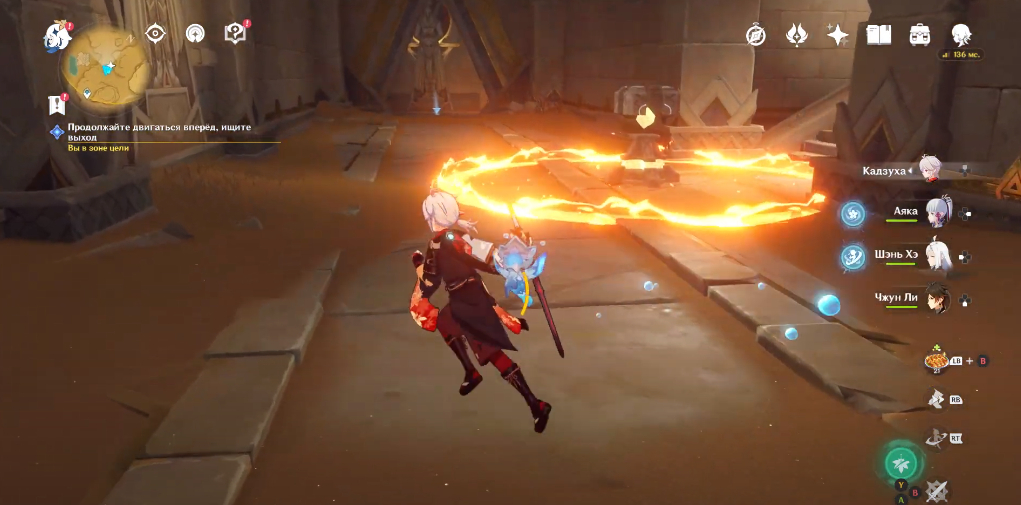
Go to the left side of the room. Here you will find Dendroculus, hanging above the plate, which is an elevator. Step on it and activate it to go down to the lower level. Here you will find four torches. Three of them (shown in the second image below) can immediately set fire to any Pyro attack, but the 4th one will have to be a little tricky.
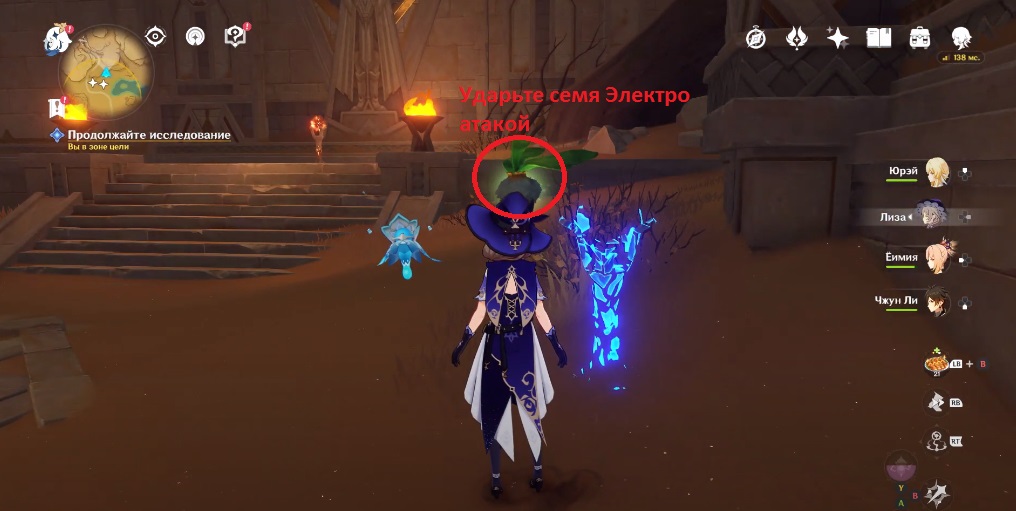
Approach the 4th bluish torch and wait until a triyana seed (looks like a turnip) flies next to it. Then hit him with any Electro attack (you can take a free Lisa) so that he creates a Truth Pulse that restores ghostly objects. Now just light the torch.
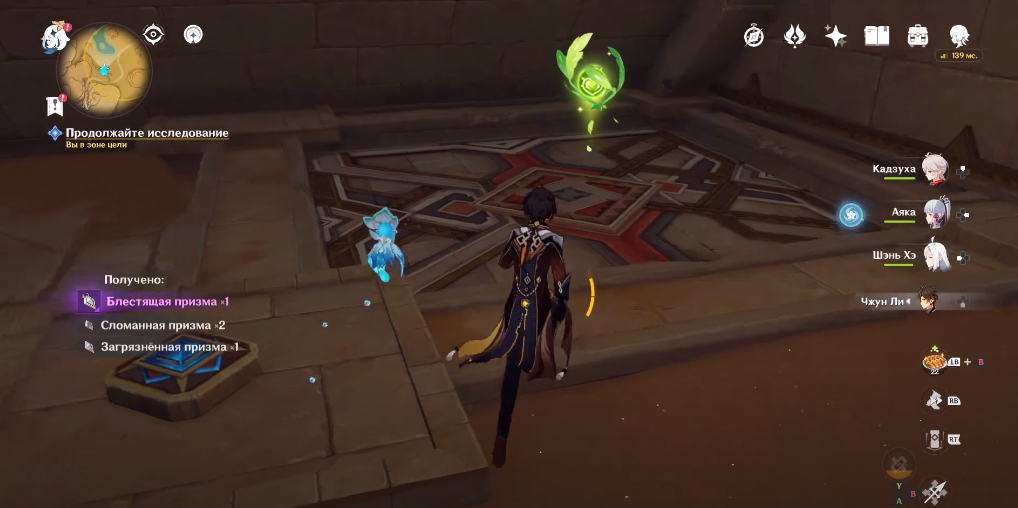
As a result, the Hurdle from the rich chest will fall, and you will be able to examine it. Then run up to the fairy in front and follow her to the cube device - interact with it to open a new passage. Keep following the spirit. On the way, develop a pile of sand to get pestilence. Follow the fairy to the left, and then to the right.

Go down the stairs. There will be a pedestal to the right - the spirit will sit on it, and an ordinary chest will appear. Nearby you can also pick up Sacred Seal: Valley. Walk forward a little more to start a new cut-scene.
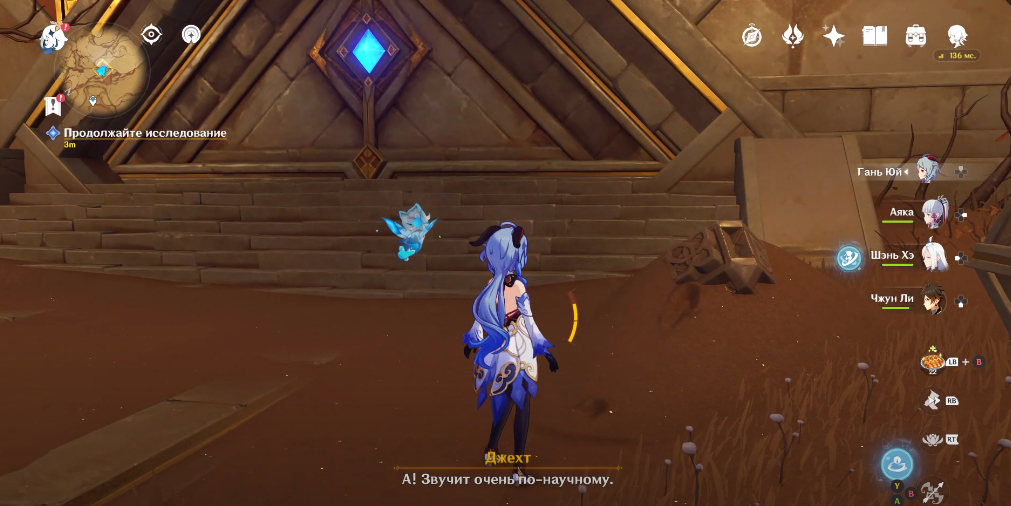
Examine the device and talk to Tirzad and Jeht
After watching the video, take up the study of the ruins again, but this time paired with Jeht. Turn right, go up the ladder, stand on the slab and activate it to get to the upper tier.

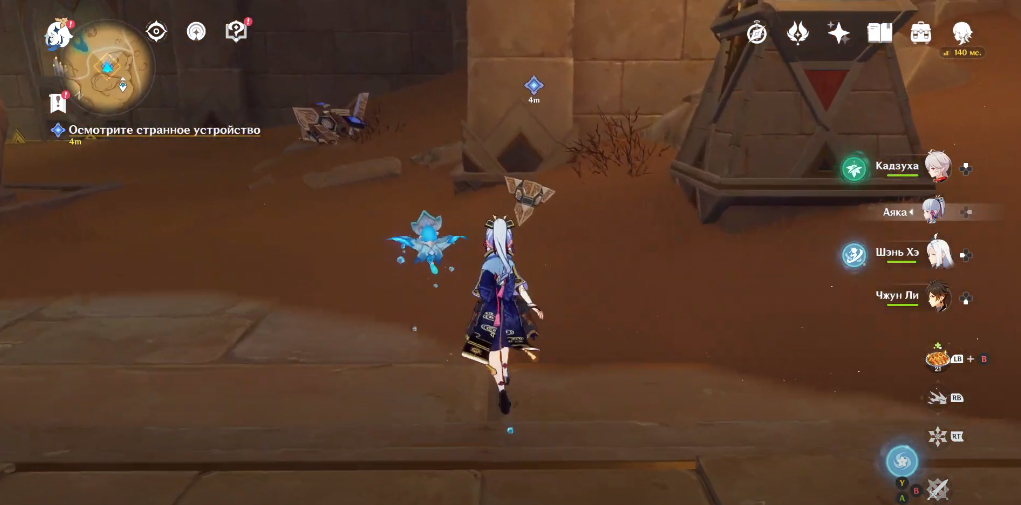
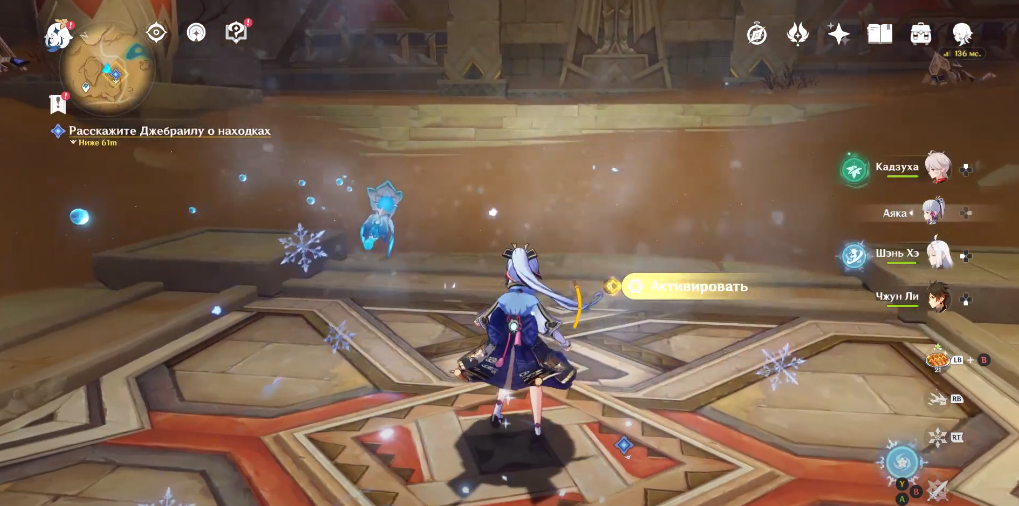
Once up, approach the next closed doors. To the left of them you will see an unusual device. Approach him and talk to Jacht. After the conversation, you will unlock the trophy "Close Encounters of the Which Kind?". Now you need to tell Jabrail about your findings. Stand on the lift plate again and go down to the lower floor. There, chat with the right characters.

How to get the Red Sands Slab
During the dialogue, you will move away from the hermits and talk to the scientist alone. He will give you the Red Sands Slab. This is a special tool that allows you to control various mechanisms in the ruins of King Deshret, using special power. Over time, it will show the location of various important locations in the ruins.

Next, chat with Jacht. Stand on the platform again and climb up. Approach the mechanism on the right side of the door and interact with it to use the Red Sand Slab. The gate will open and you can go inside.

Ahead you will see a fairy - start following her. Go down the steps and approach another fire trap. Walk around behind it and stand near the pedestal so that the spirit sits on it, and you get a regular chest. At this time, two scorpions may attack you.

Turn right. You will see another fire turret. Go around it or jump over the flames, and then deal with a couple more scorpions. Turn left and go up the stairs to get into a spacious hall. Go around the trap (just jump over the flames) and turn right to the jackal statue - above it you will see Dendroculus. Then move to the room from which the blue glow comes.

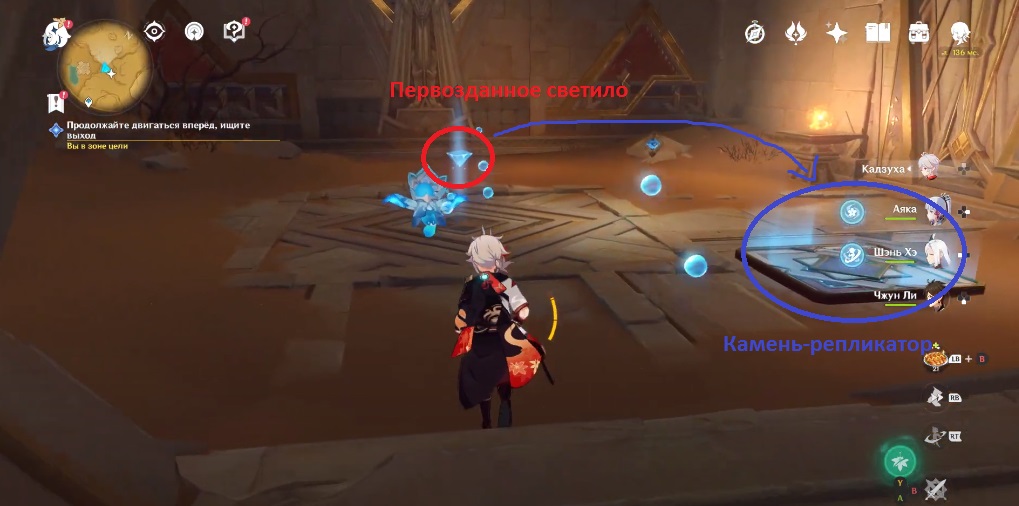
Solving the puzzle with primordial luminaries and replicator stones
Pick up the Primordial Luminary (blue triangle) and place it on the platform located on the right side of the entrance to the room. As a result, the Replicator Stone will spawn a Cell Device. You do not need to turn it - the gate will open automatically.
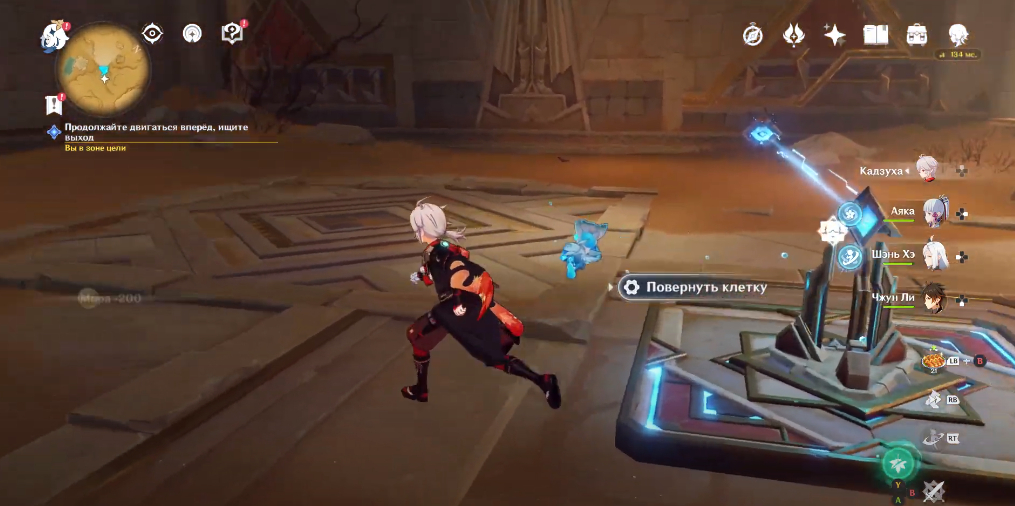
Go to the next room and open the rich chest. Deal with the original construction so that it does not interfere with your solving the riddle. Here you will find two primordial stones that need to be placed on two sites side by side.
After that, go to the platform on the left side of the locked door and turn the cage mechanism 2 times so that the beam shines on the opposite platform. The Hurdle from the console will drop and you can use it with the special power of the Red Sands Plate.

Move to the next room. Here you have to deal with 2 cars, and the hermits will come to your aid. Next, open the rich chest and interact with the unlocked console.

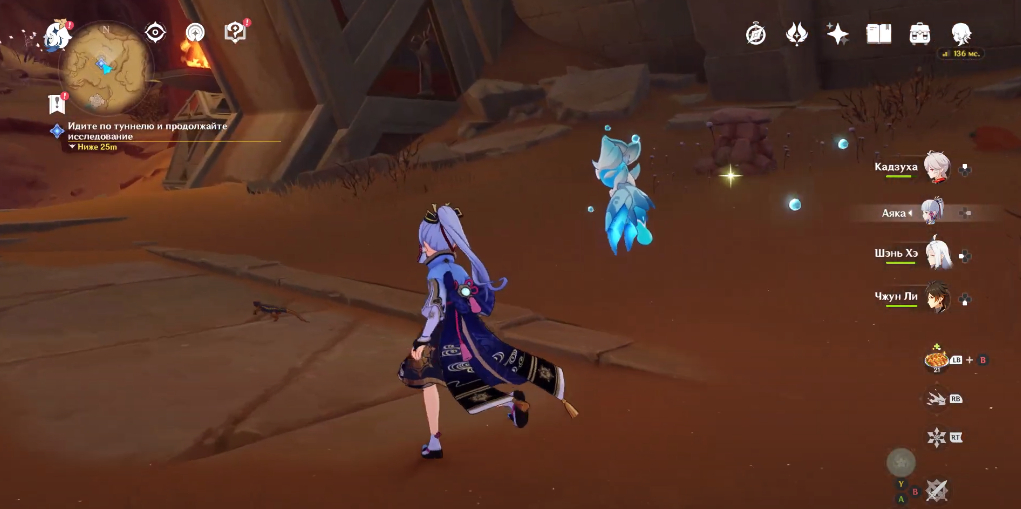
Find your way out in the direction of the wind
Enter the cave and immediately turn right to come to a pile of rocks and collect 10,000 mora. Go a little deeper into the tunnel to trigger a cutscene. When it ends, you will need to find your way by following the wind currents (just follow the marker). Accompany the fairy along the way. The screenshot below shows the entire route.

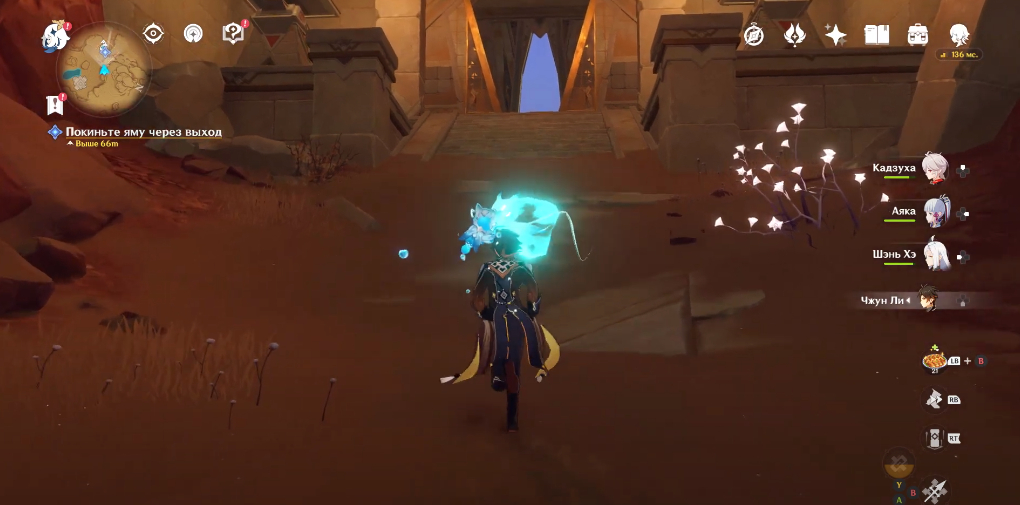
At the fork, you will need to turn right, otherwise you will fall into other ruins. Soon you will reach an arch in which you can already see the blue sky. Deal with the hilichurls in the passage and go outside. After that, the task will end and you will unlock the trophy "Exploration in the Desert". Don't forget to bring the spirit to the pedestal to examine the regular chest.
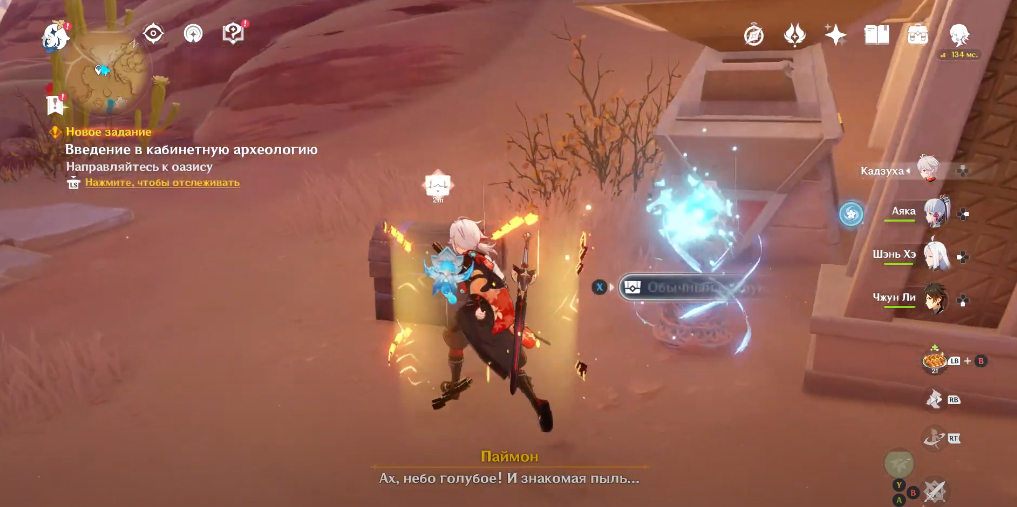
As a reward, you will also receive 350 adventure points, 40,000 pestilence, 40 primogems, 3 hero experience and 3 magical enhancement ores. Now you can take on the task "An Introduction to Indoor Archaeology" . Plus, you can use Slab of red sands to track new missions in the Path of the Prayer. We add that a complete study of the Abju Road is presented in our separate guide.
Comments
You need to login to add comments.
You can login with