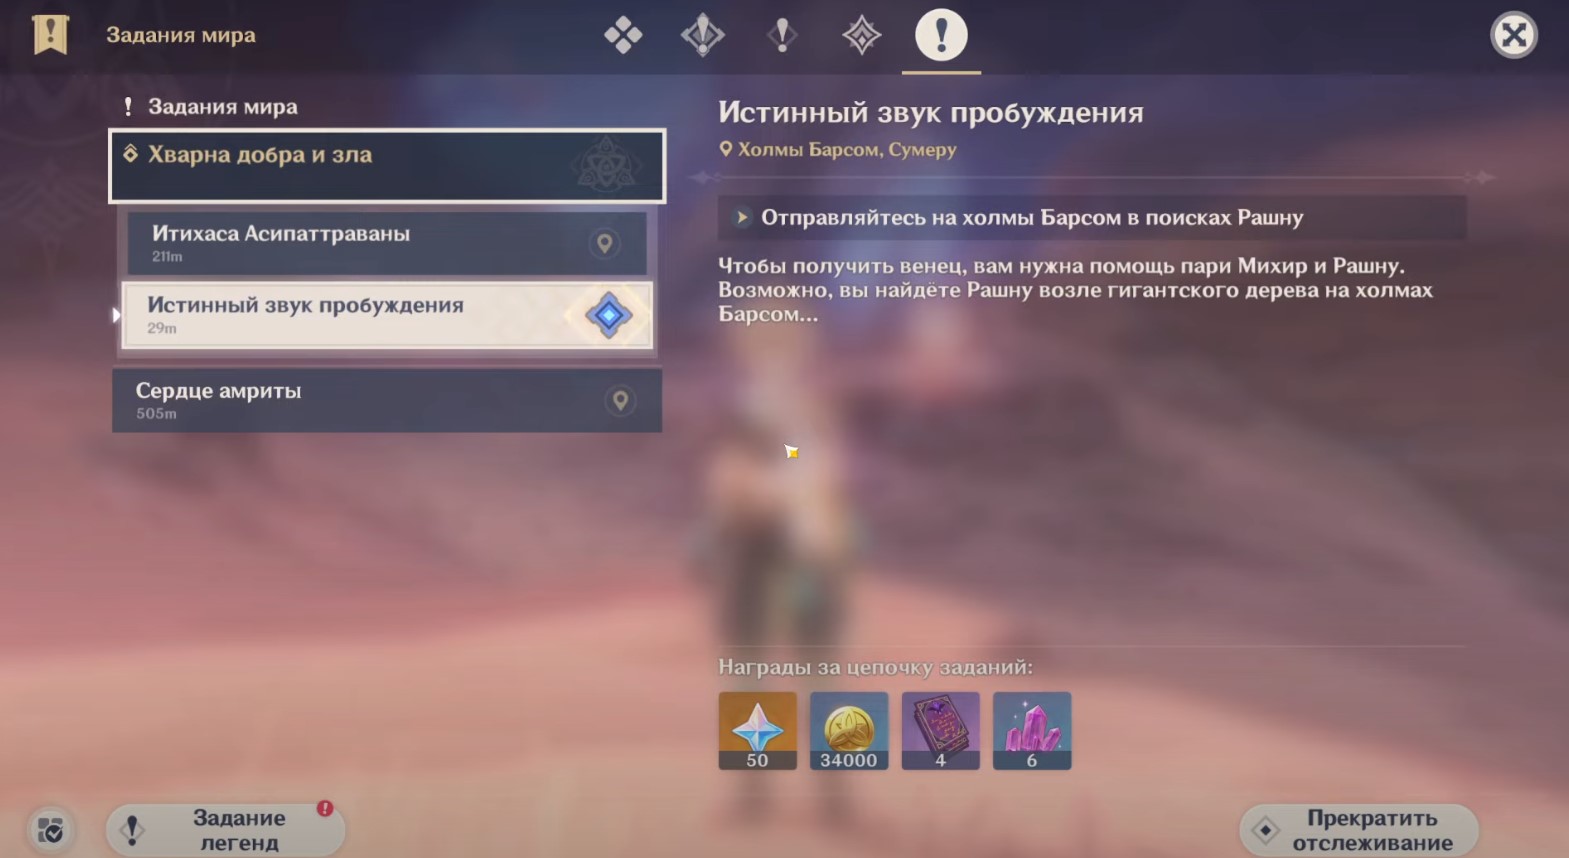
In Genshin Impact, the true sound of awakening is world quest Sumeru and part of the quest line "Hvarna of Good and Evil". During it, you have to copy the drum scores, find the kori drums, put them in place, and then play them correctly. If you're having trouble getting or completing this quest, check out our guide.
How to start the Awakening’s Real Sound quest
It starts automatically immediately after completion "The majestic sky of that day". With You with him, by the way, the mission will begin "Itihasa Asipattravana", which also needs to be passed to move further along the chain. If for some reason you were not given the quest, then try logging out of your account, wait 20-30 minutes and re-login.
Find Rashna
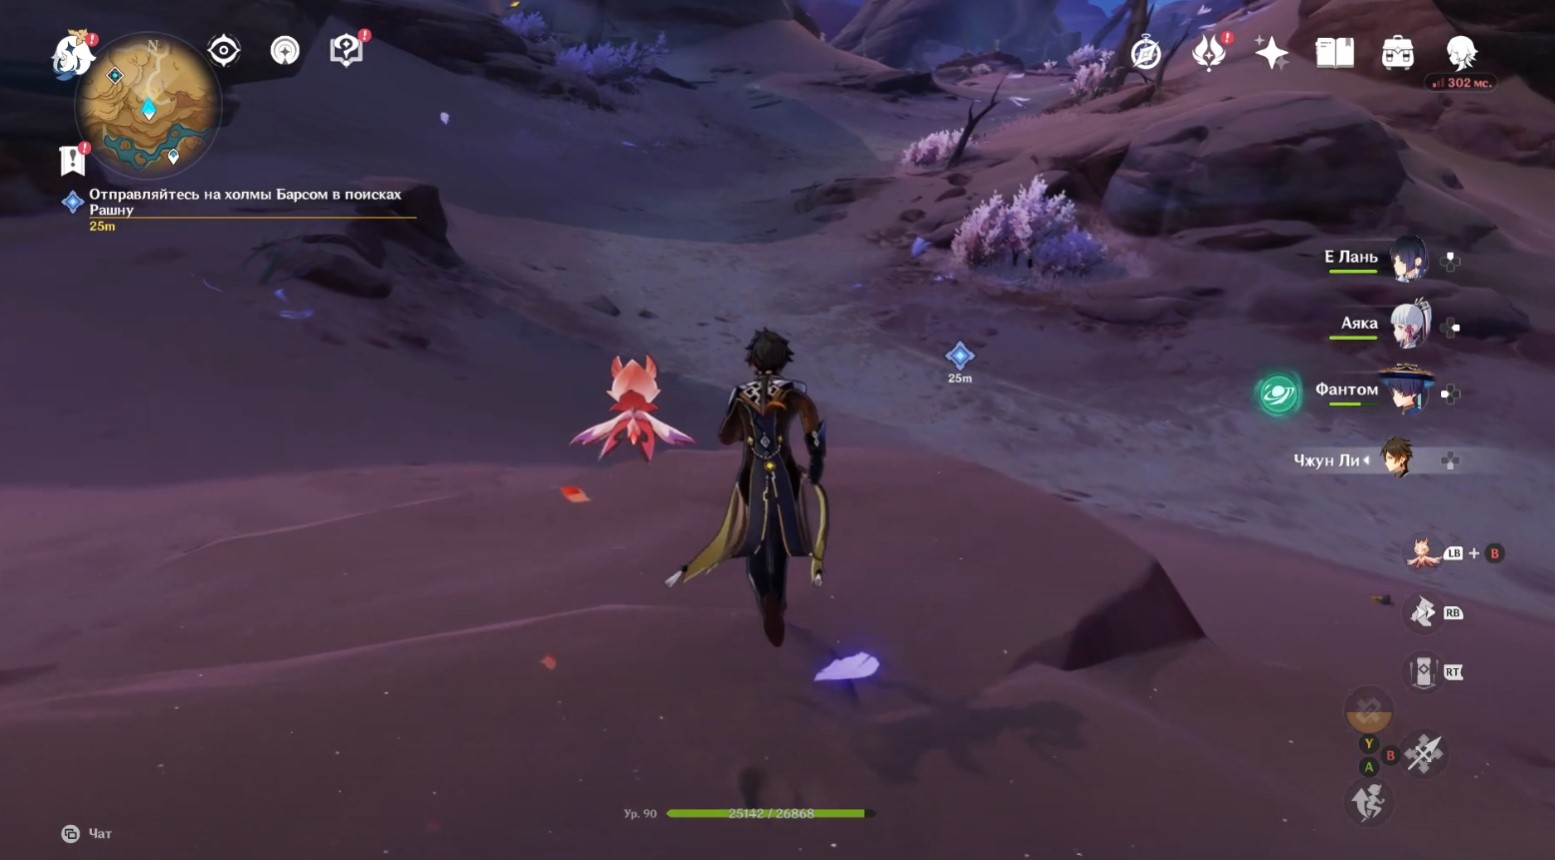
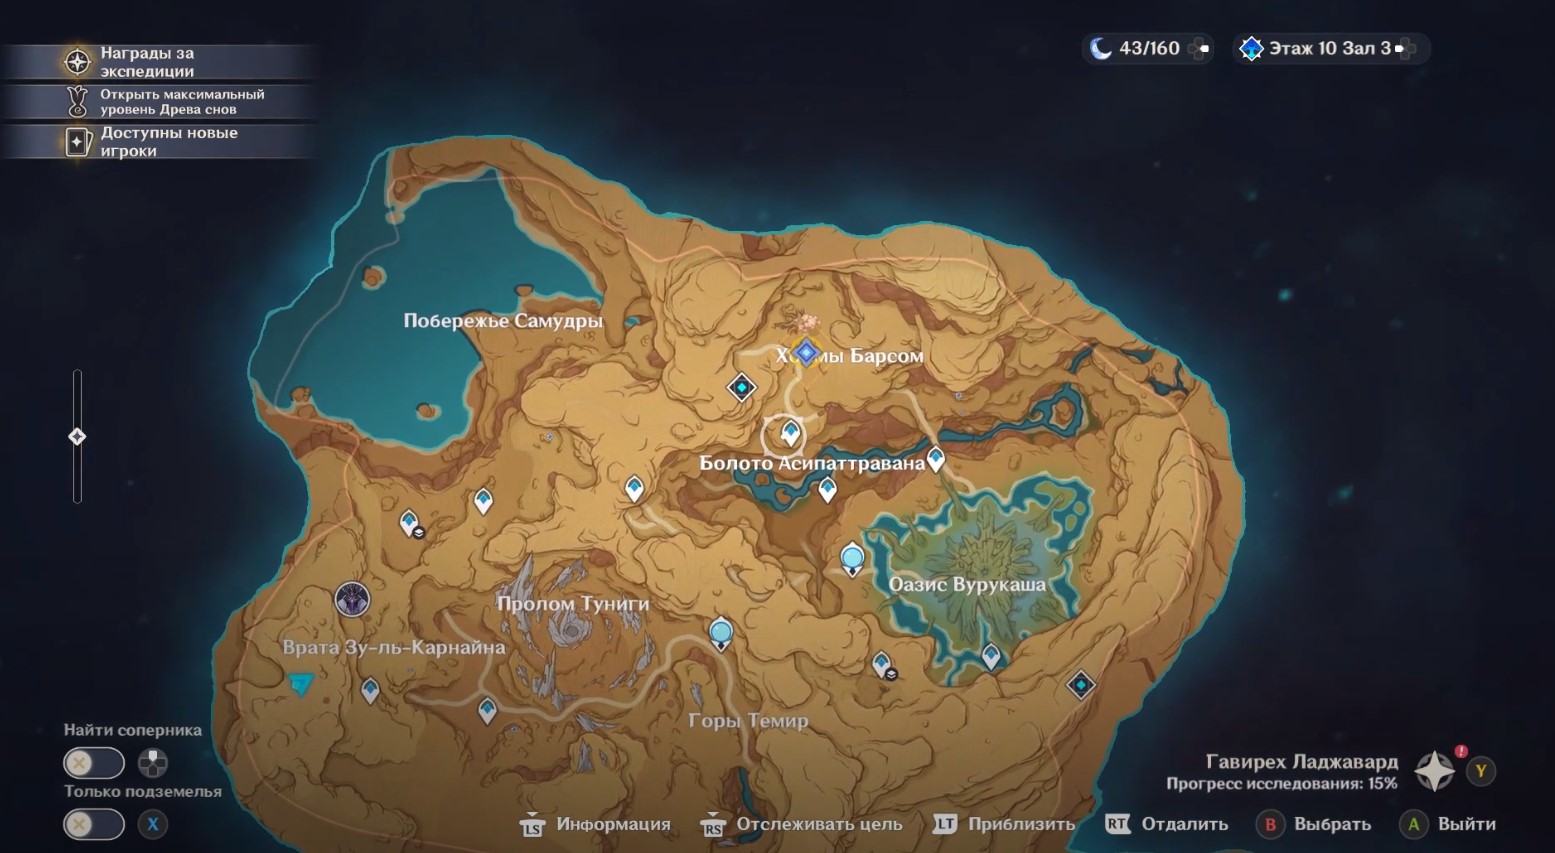
Head to the Barsom Hills
If you already have a teleport activated in the specified location, then simply move to it. Otherwise, teleport to the statue of the seven Archons in the oasis, and then follow the main road to the quest marker. When you reach the right place, listen to Paimon.

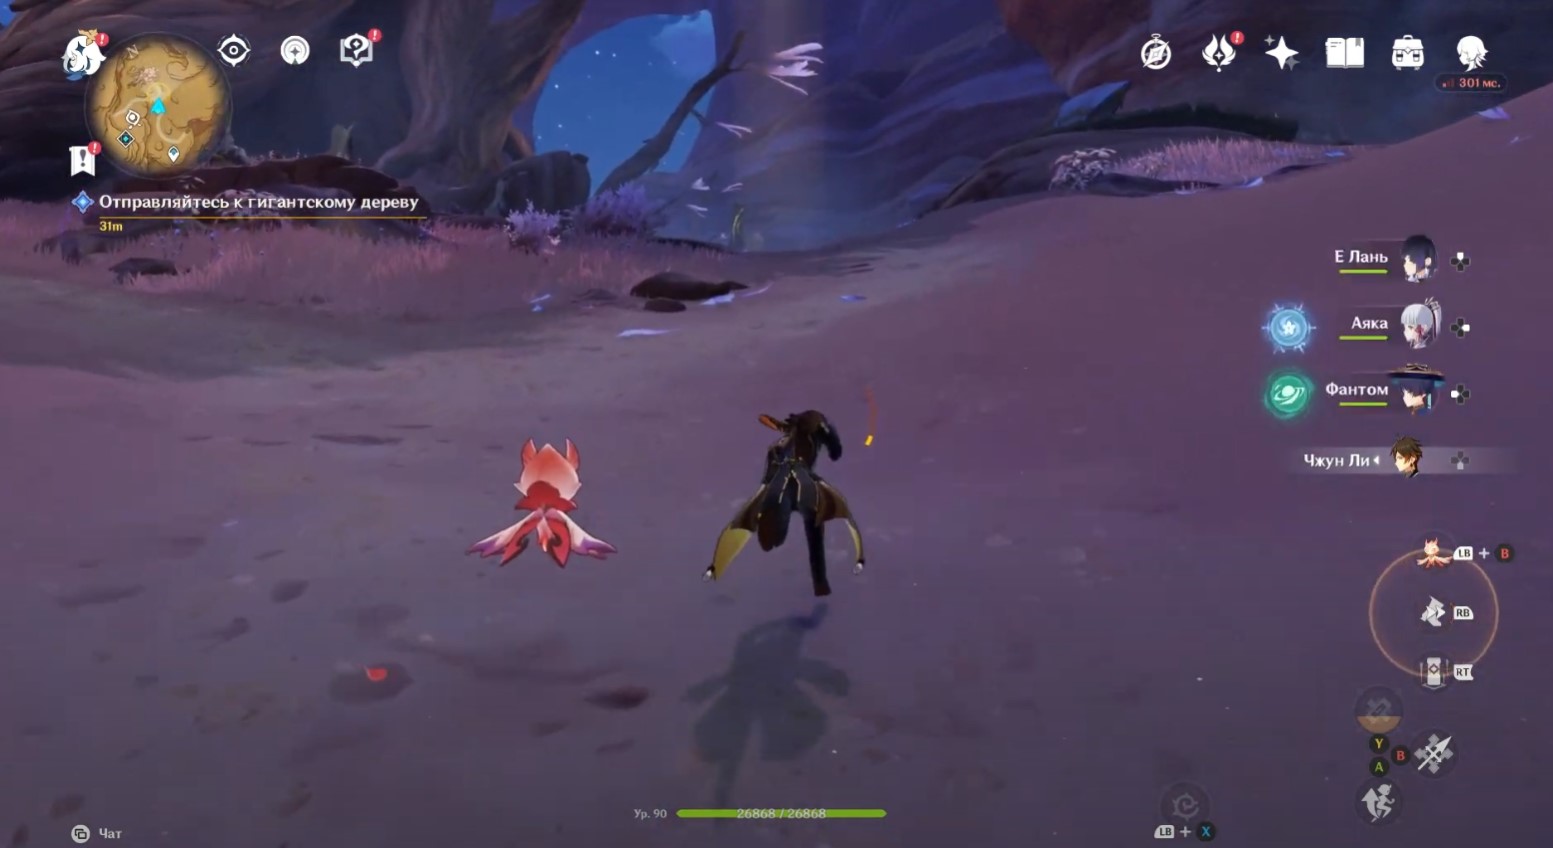
Head towards the huge tree
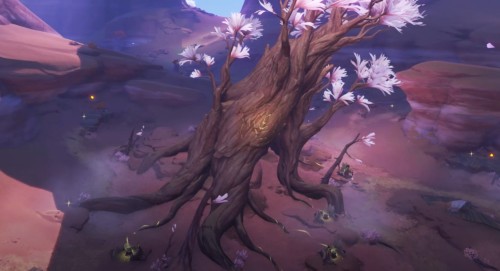
Now head north along the path to a large tree ahead. Right next to him you will see Nasejuna, who you should talk to. He will tell you about kori drums to find and then play them.

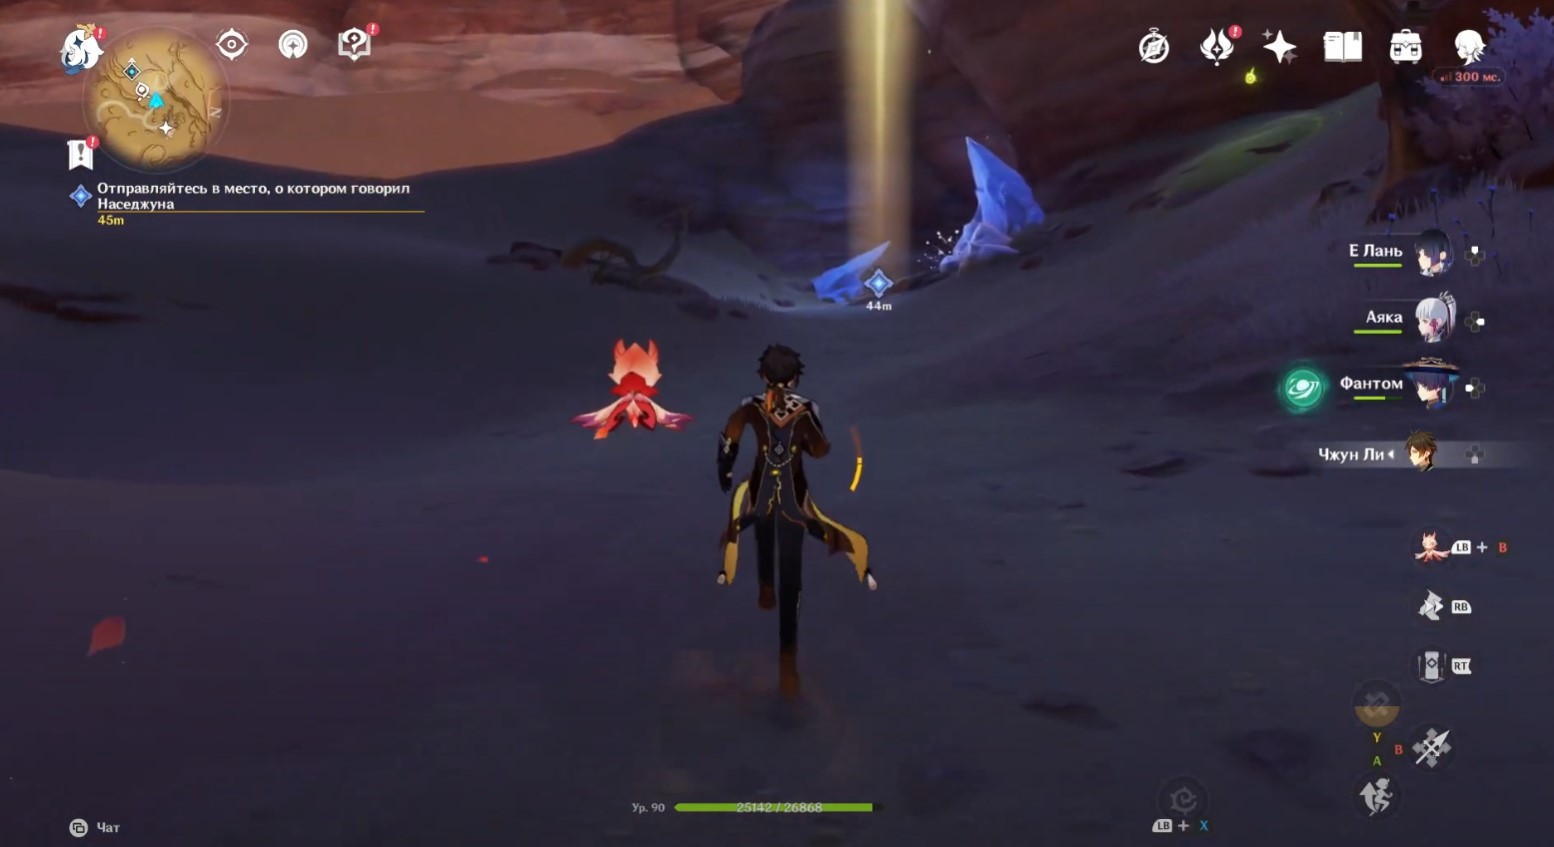
Look for clues in the cave
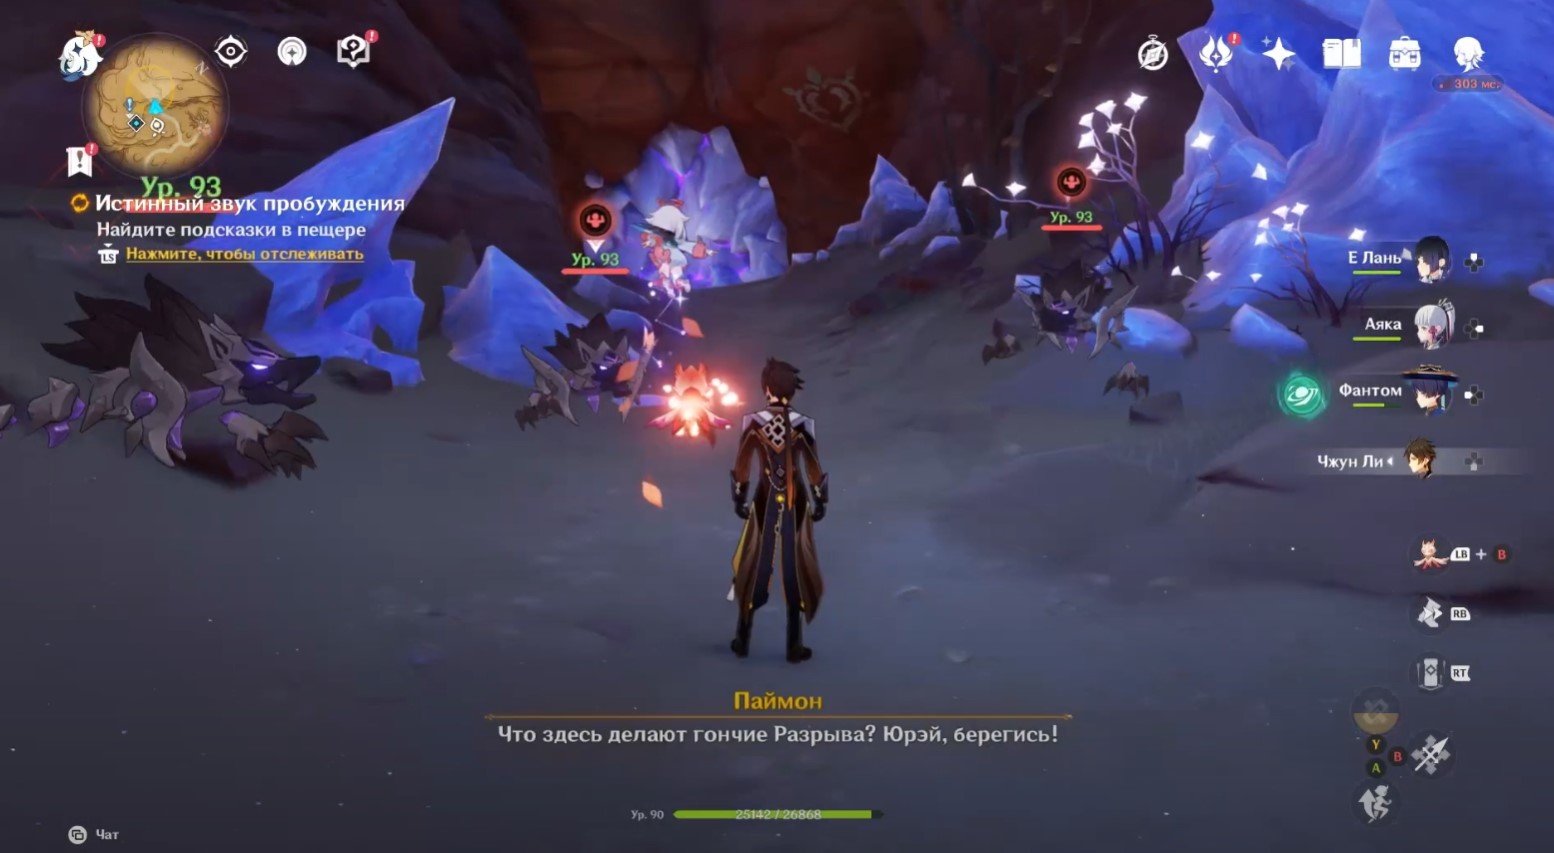
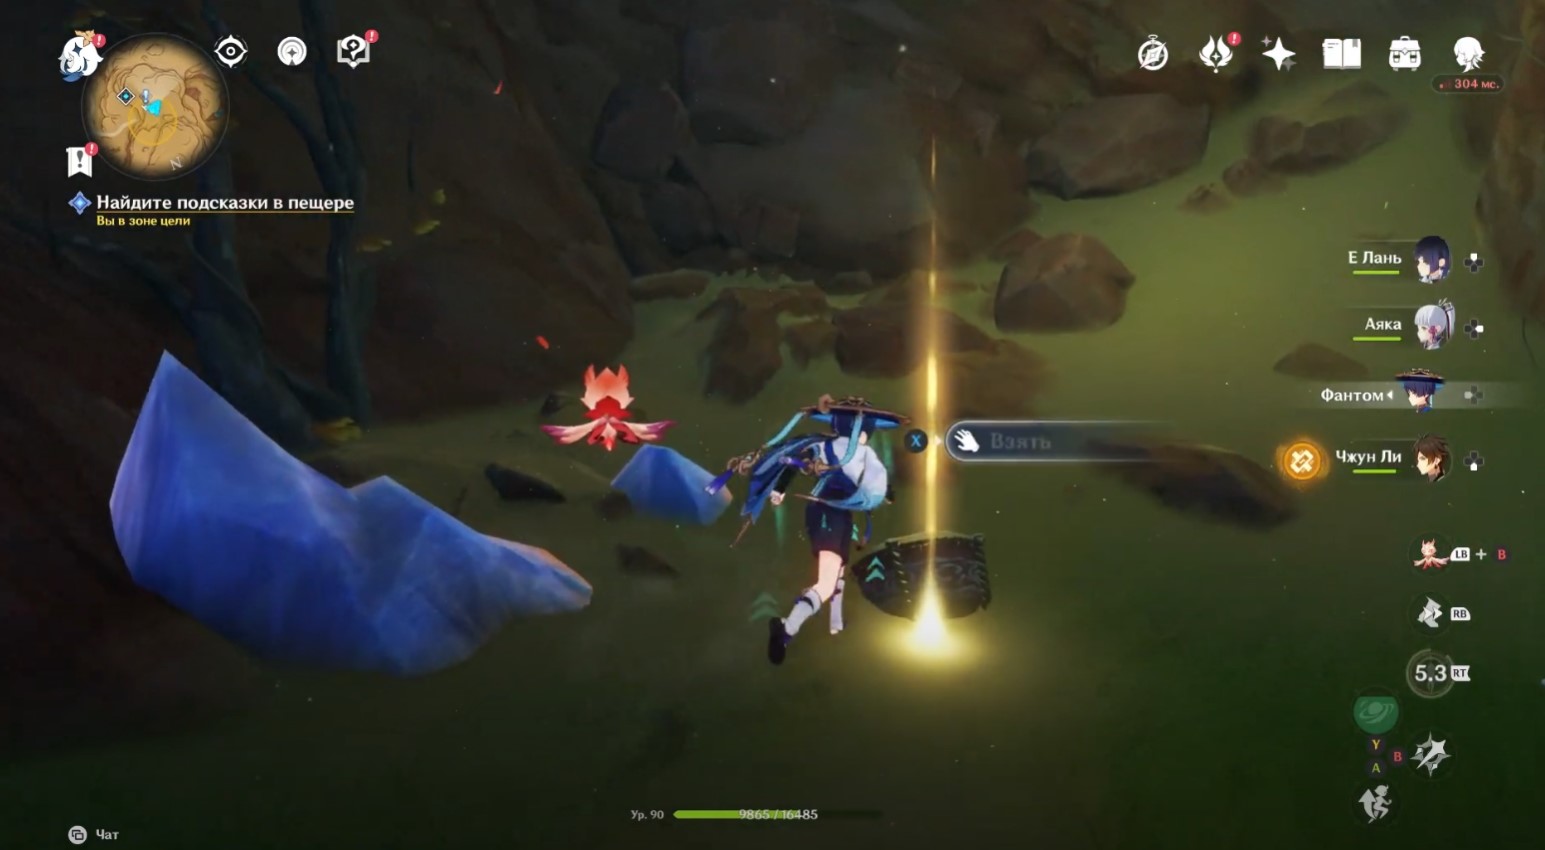
Move to the place that Nasejuna told you about. To do this, turn left from the huge tree and run forward to the gray crystals. A new cut-scene will start. After its completion, you will need to deal with the Hounds of the Rupture. Recall that shields are useless against them, so keep a healer in your team.
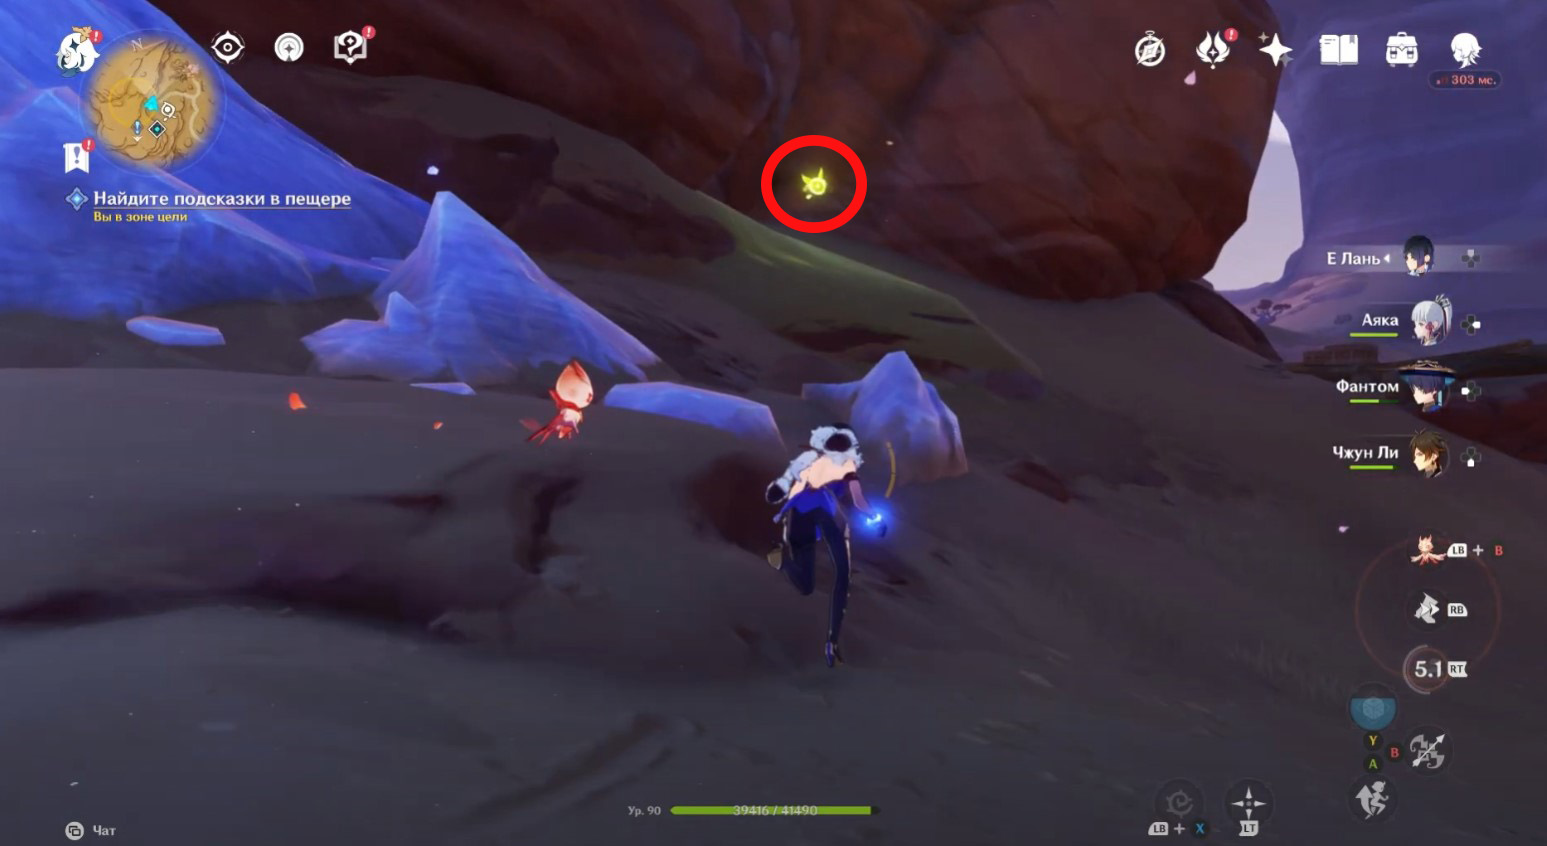
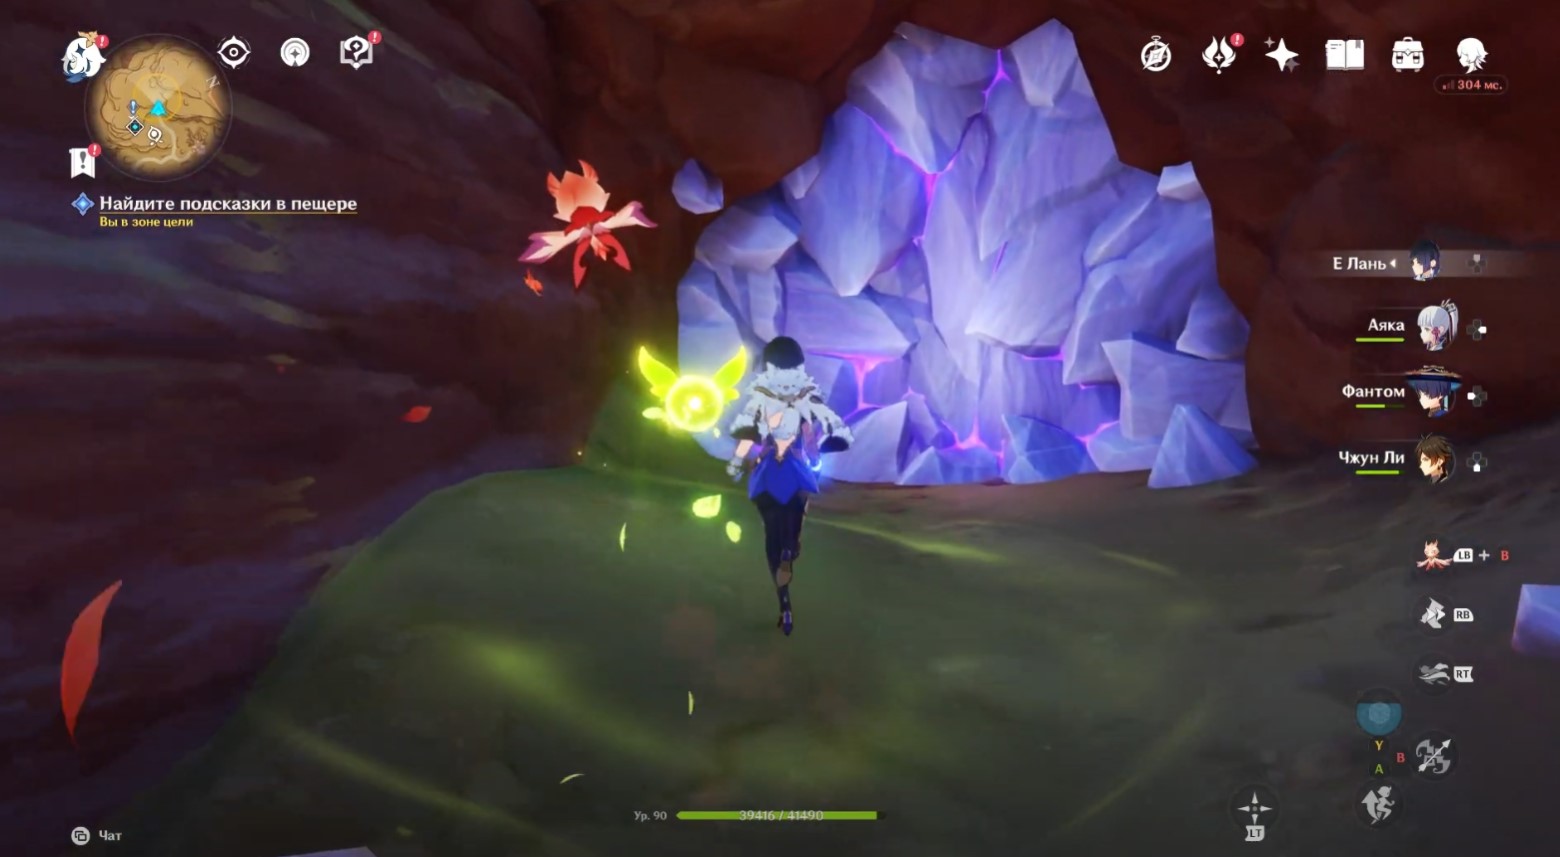
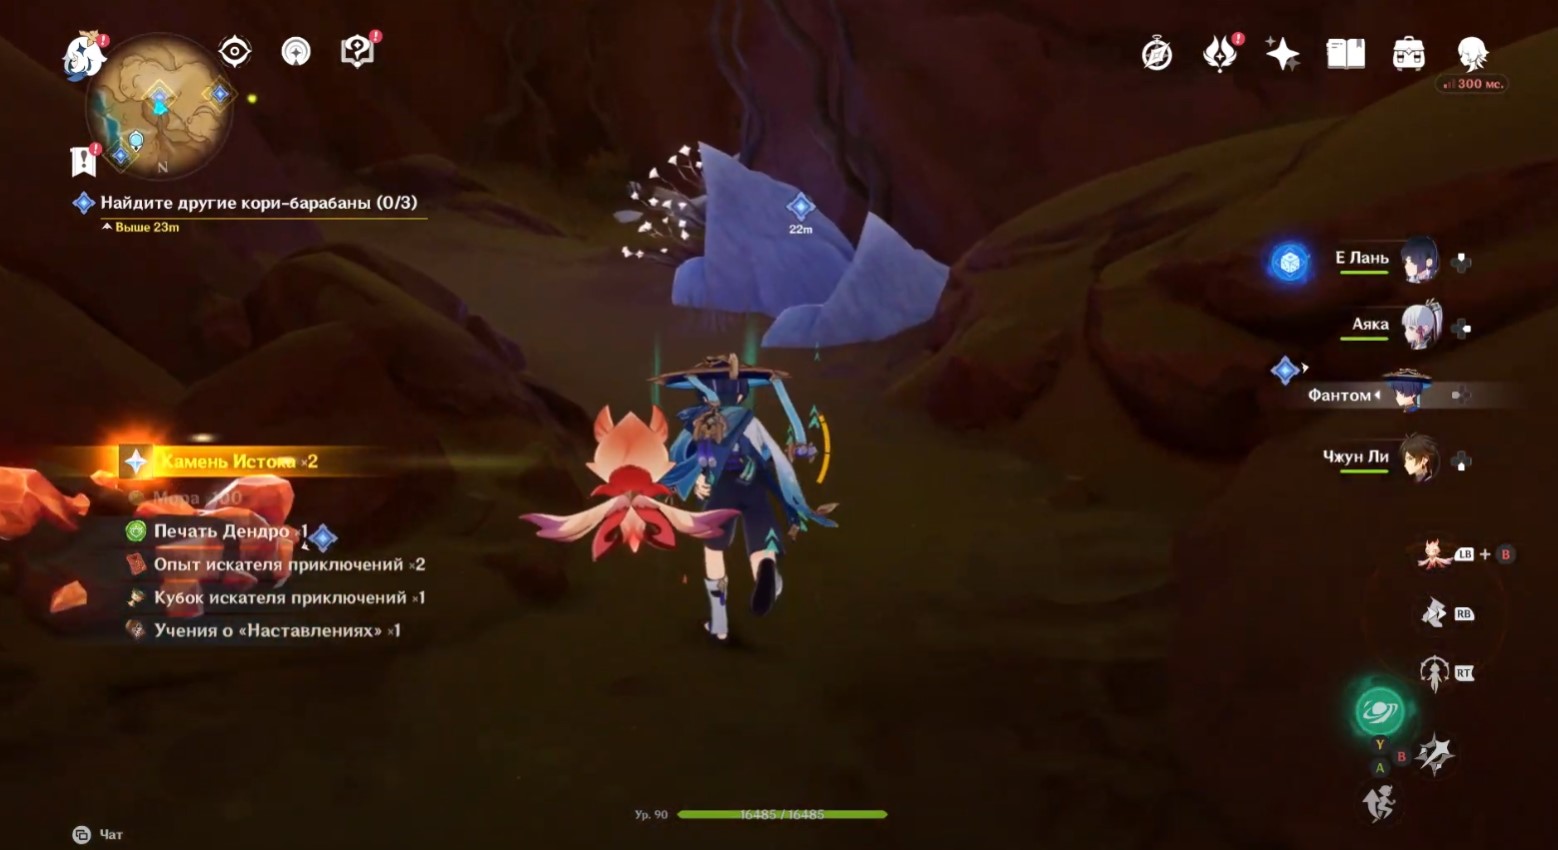
Having dealt with the monsters, turn right and find the core of the spirit near the foot of the cliff. Approach it and take it towards the crystal to destroy it. Now go deep into the cave and develop three piles of sand with the help of an Anemo attack (a free Traveler is also suitable).
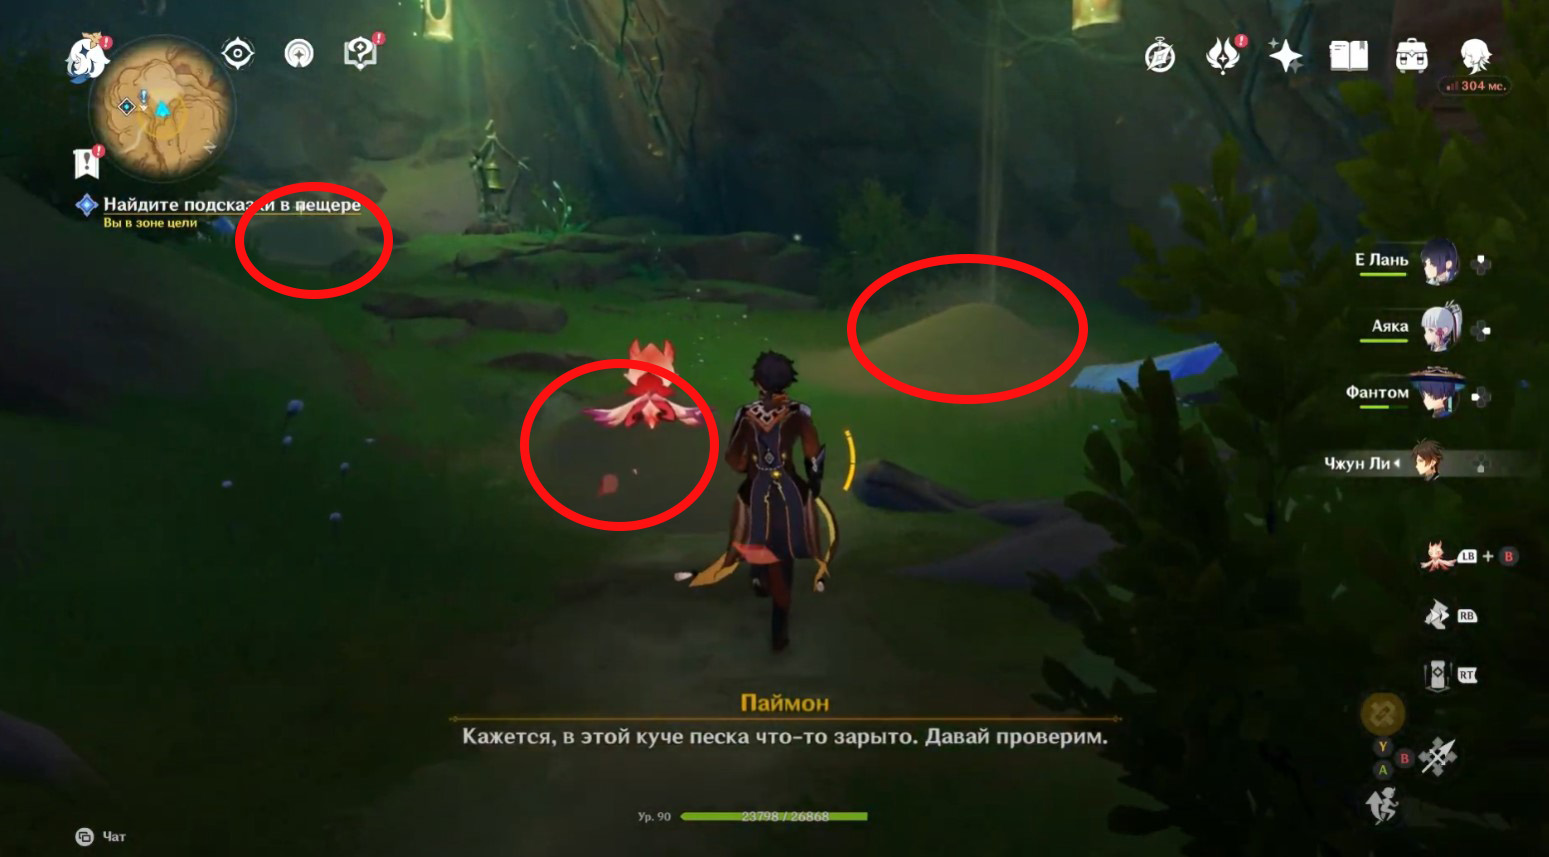
After dispelling the first two piles, you will have to fight the moulders. The third pile of sand hides the clue you need. Chat with Nasejun again. He will tell you about kori-barbans and sealing magic.
How to find and copy drum scores
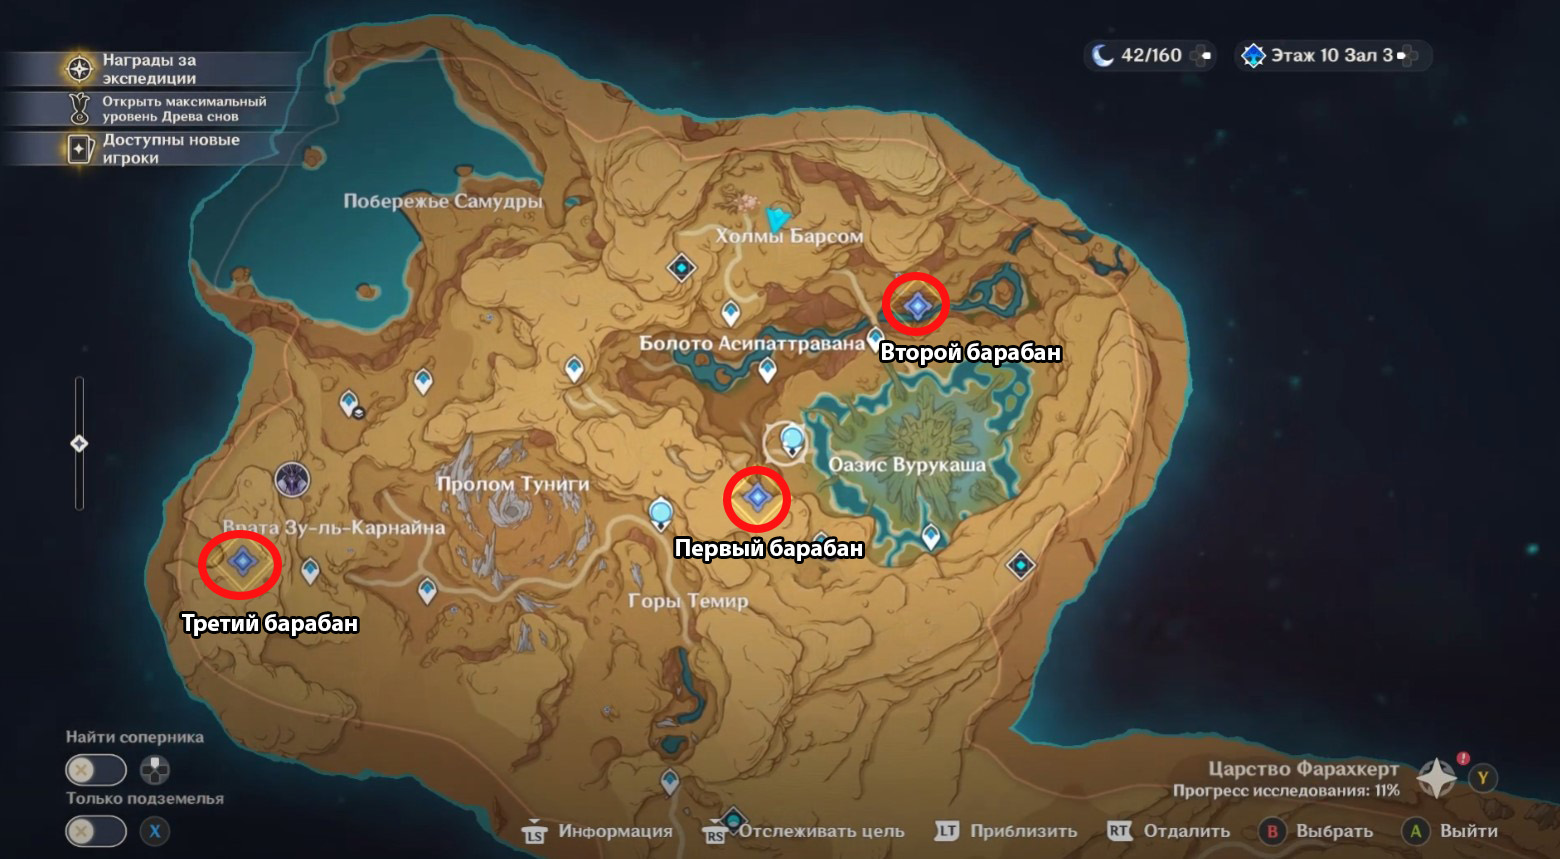
There will be five such scores in total, and all of them are marked on your map with markers, so finding them is relatively easy. However, we will still show the location of these objects in detail.
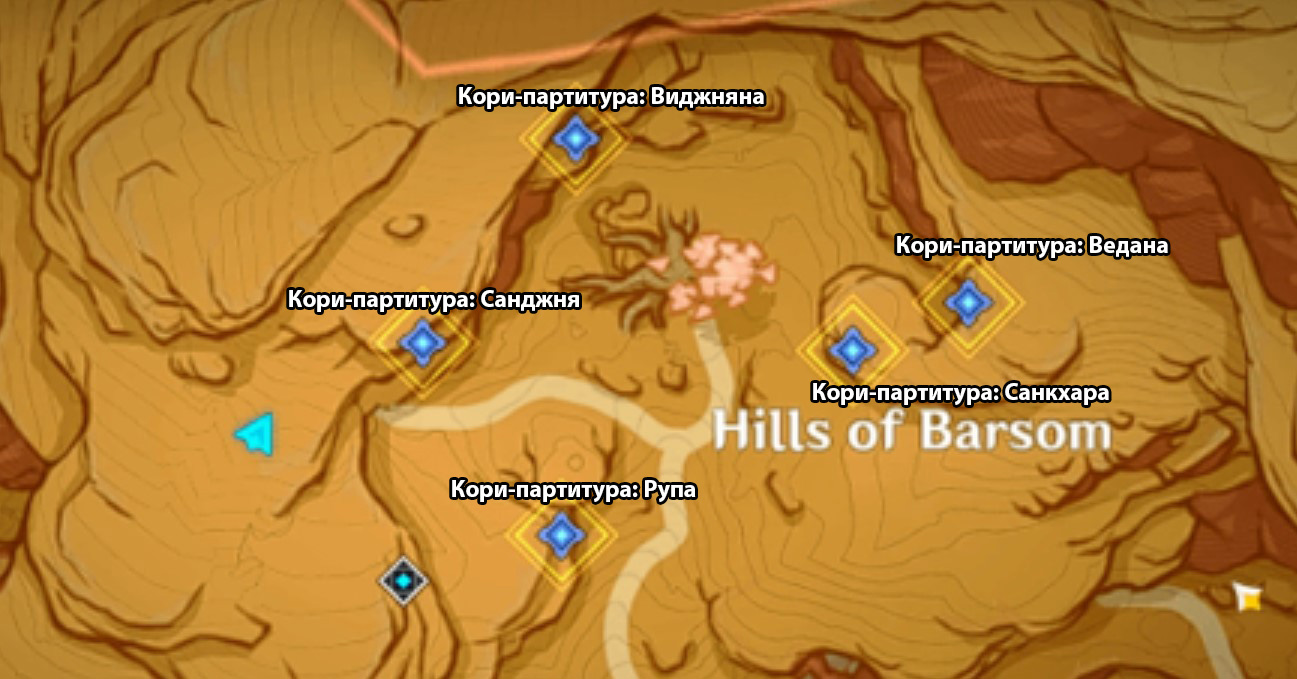
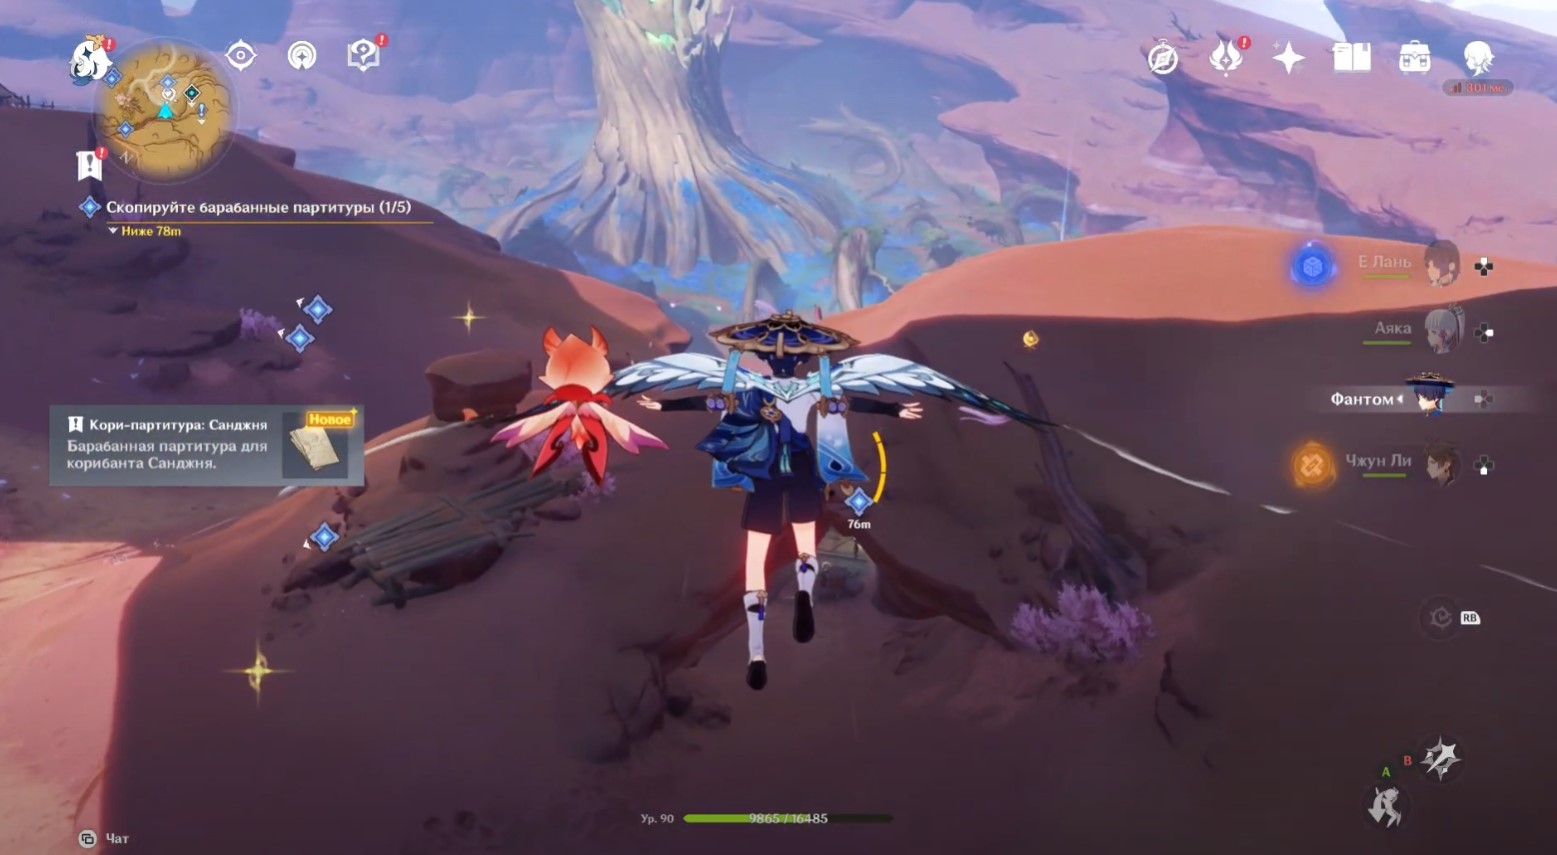
Corey score: Sanjna
Get out of the cave and then turn left and climb the rocky ledge with the help of the 4-leaf symbol. Deal with a couple of treasure thieves and copy the score next to the tent (just go to the rock and click on the "Copy" sign).


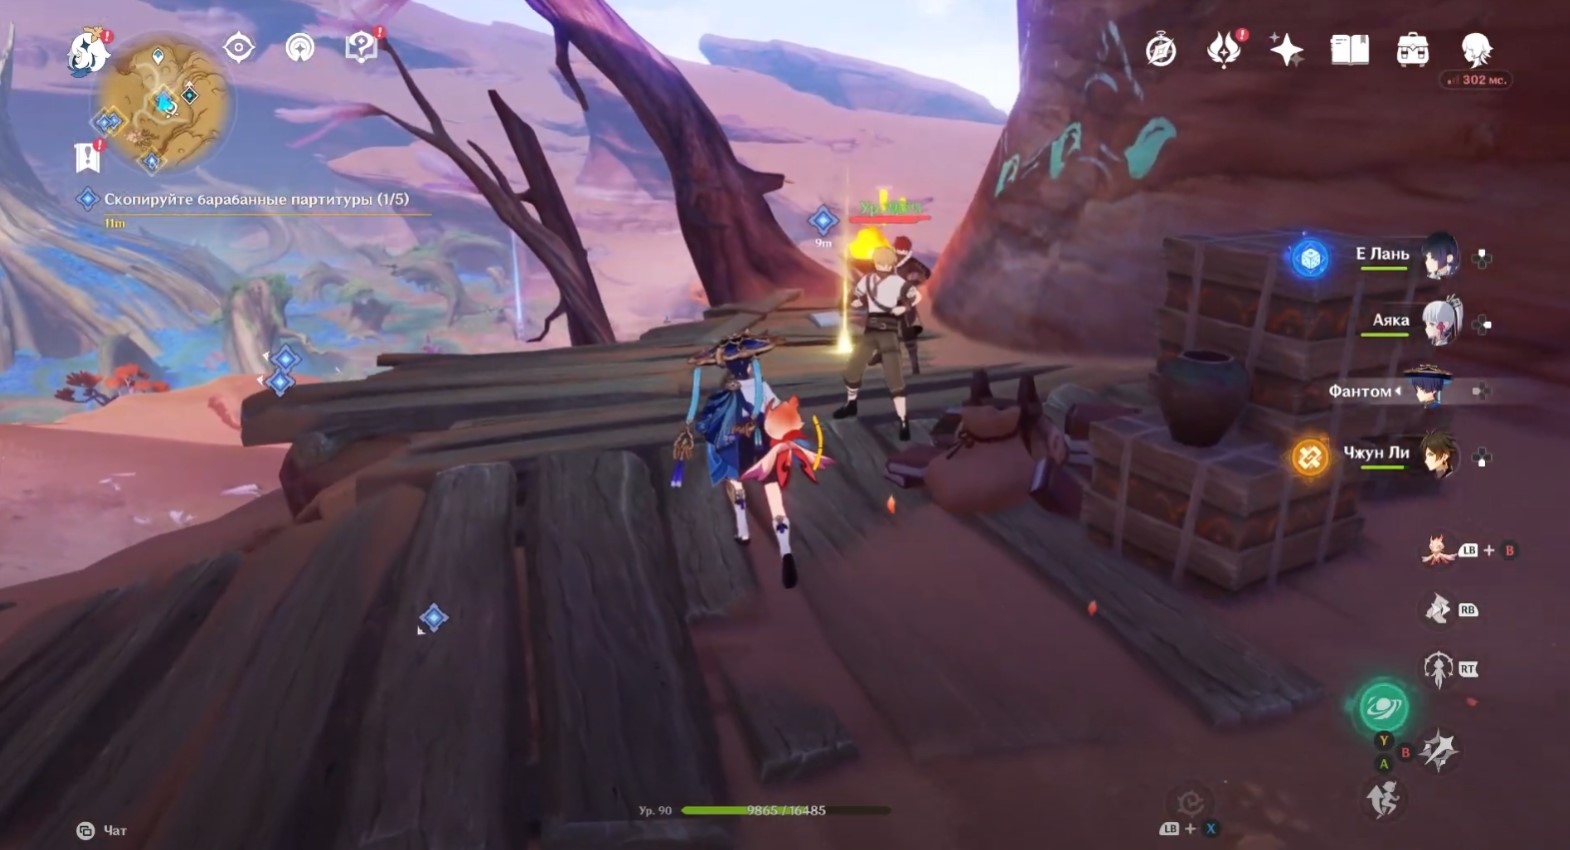
Corey score: Rupa
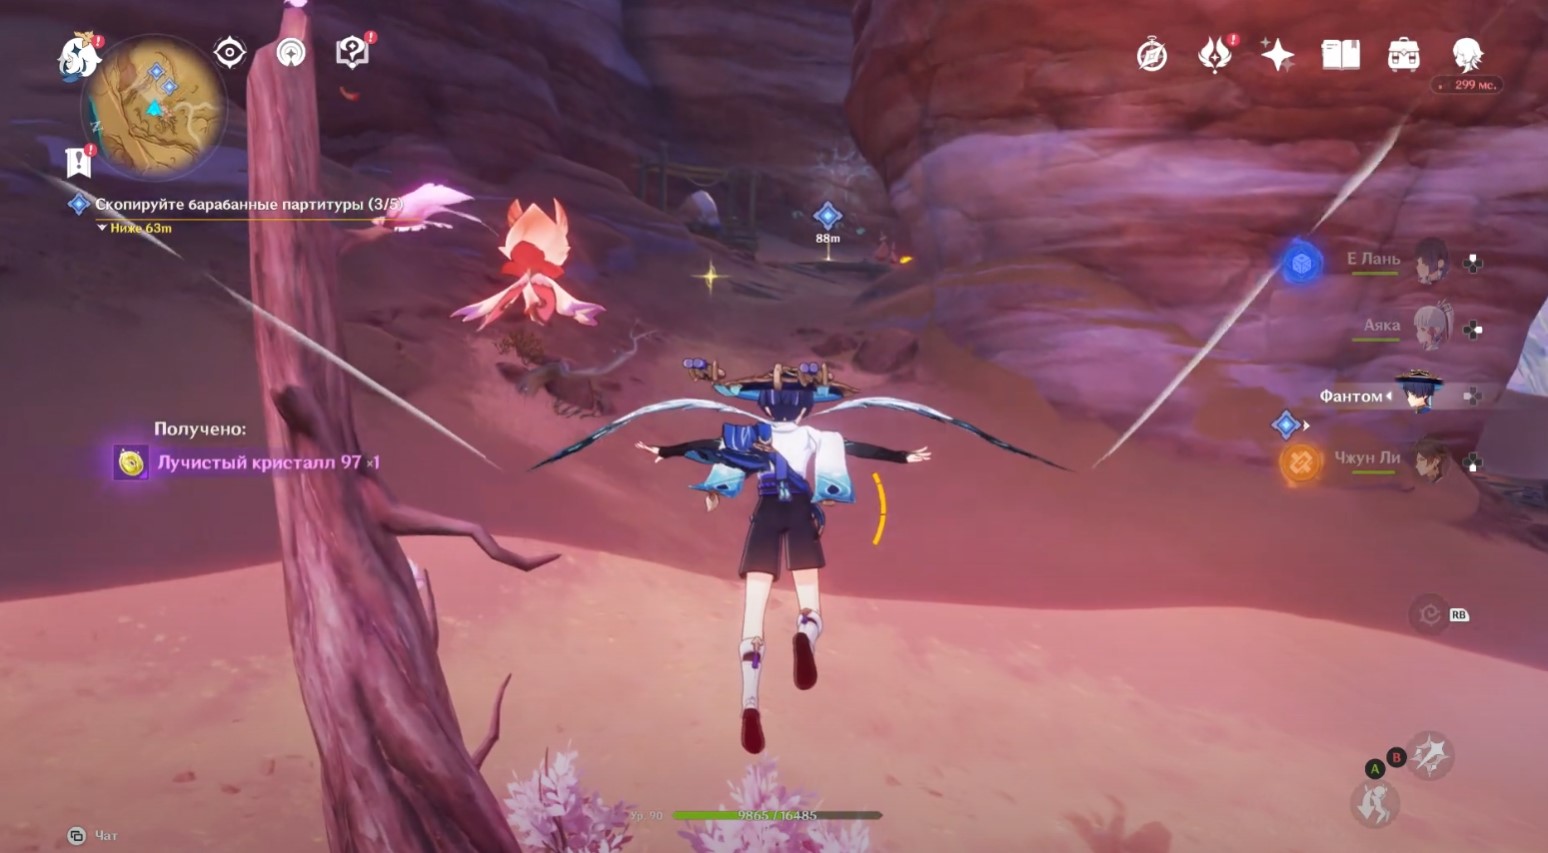
Jump off the ledge and glide in the opposite direction to the next quest marker. Go under the arch, deal with the bandits on the wooden platform and copy the score from the cliff.
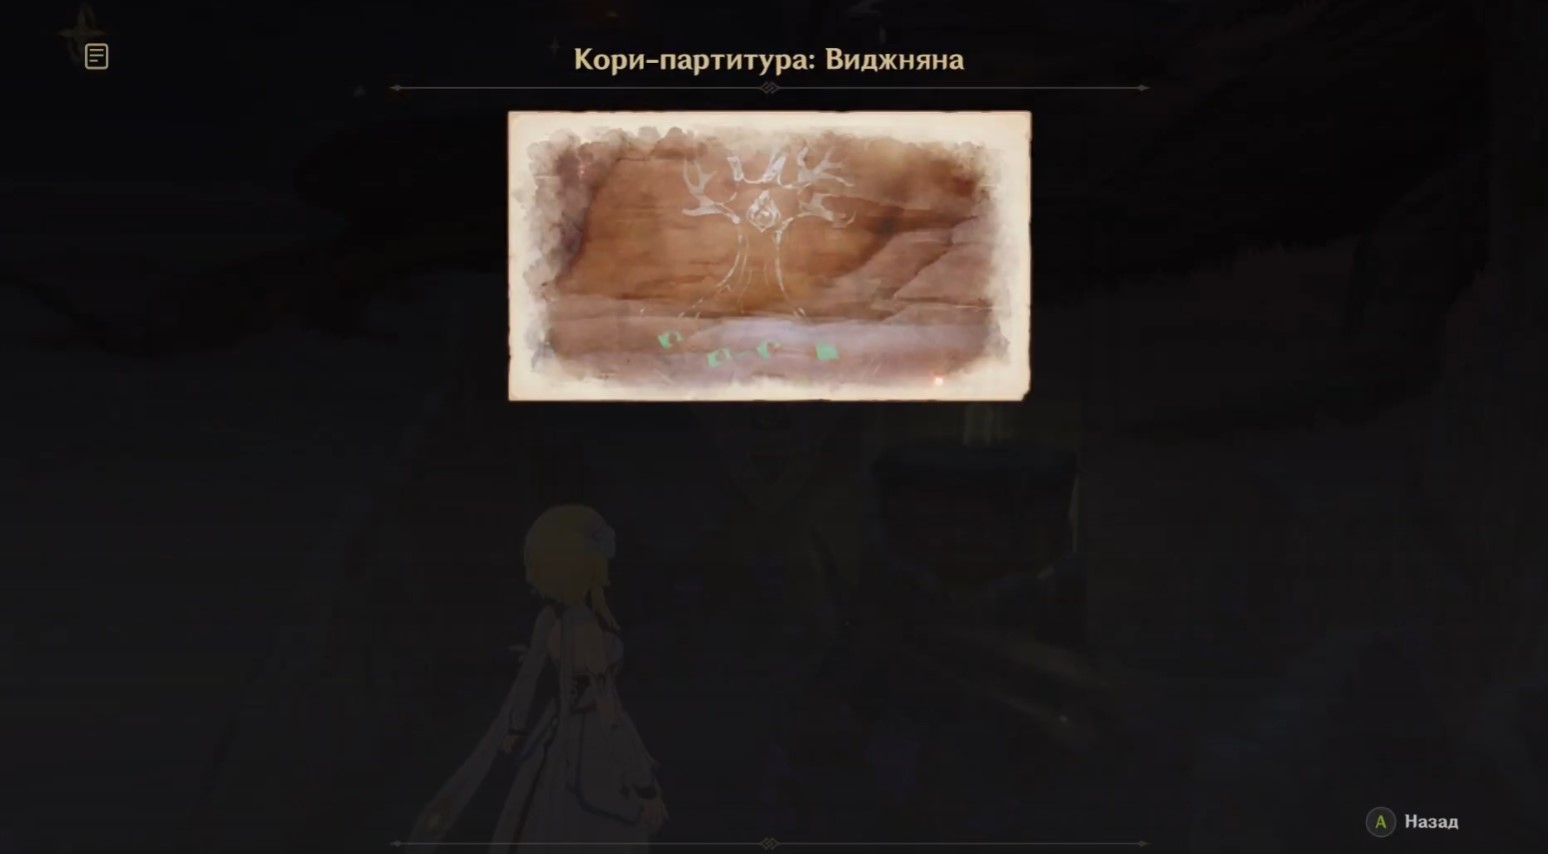
Corey score: Vijnana
Head back to the road, going through the archway again, and then head north. Use the quatrefoils to get to the wooden platform faster, which will have the point of interest you need.
Corey score: Vedana
Standing facing the rock, turn right and move towards the next two signs. First you can go to the one behind the cliff. Next to him there will be a group of hilichurls, which should be destroyed so that it does not interfere with you to copy the score.

Corey score: Sankhara
Go back a little and now go around the cliff on the right to copy the last score for the kori drums that you have yet to find.

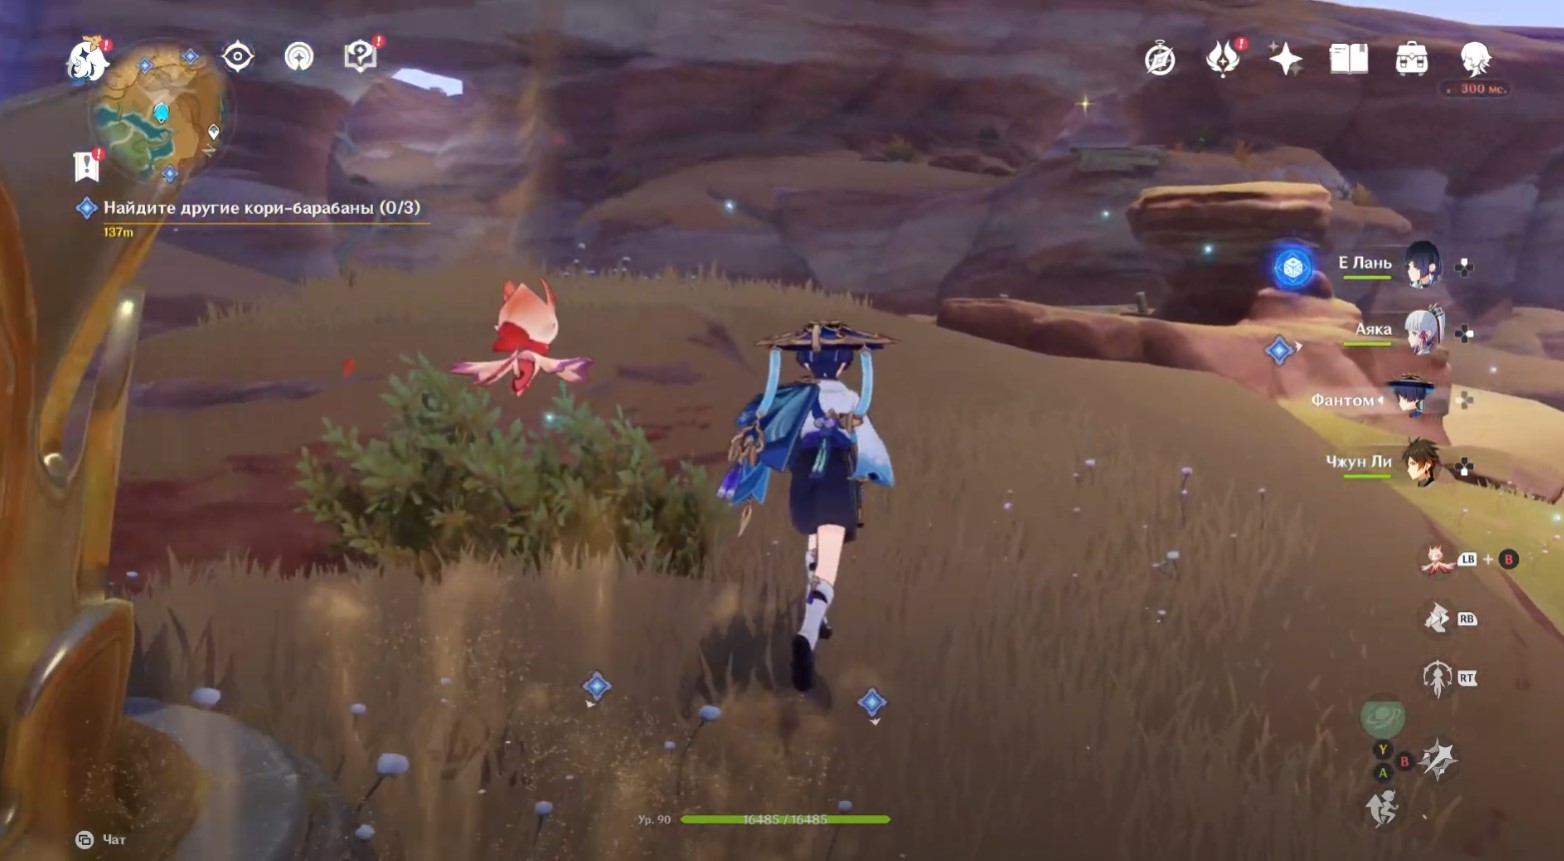
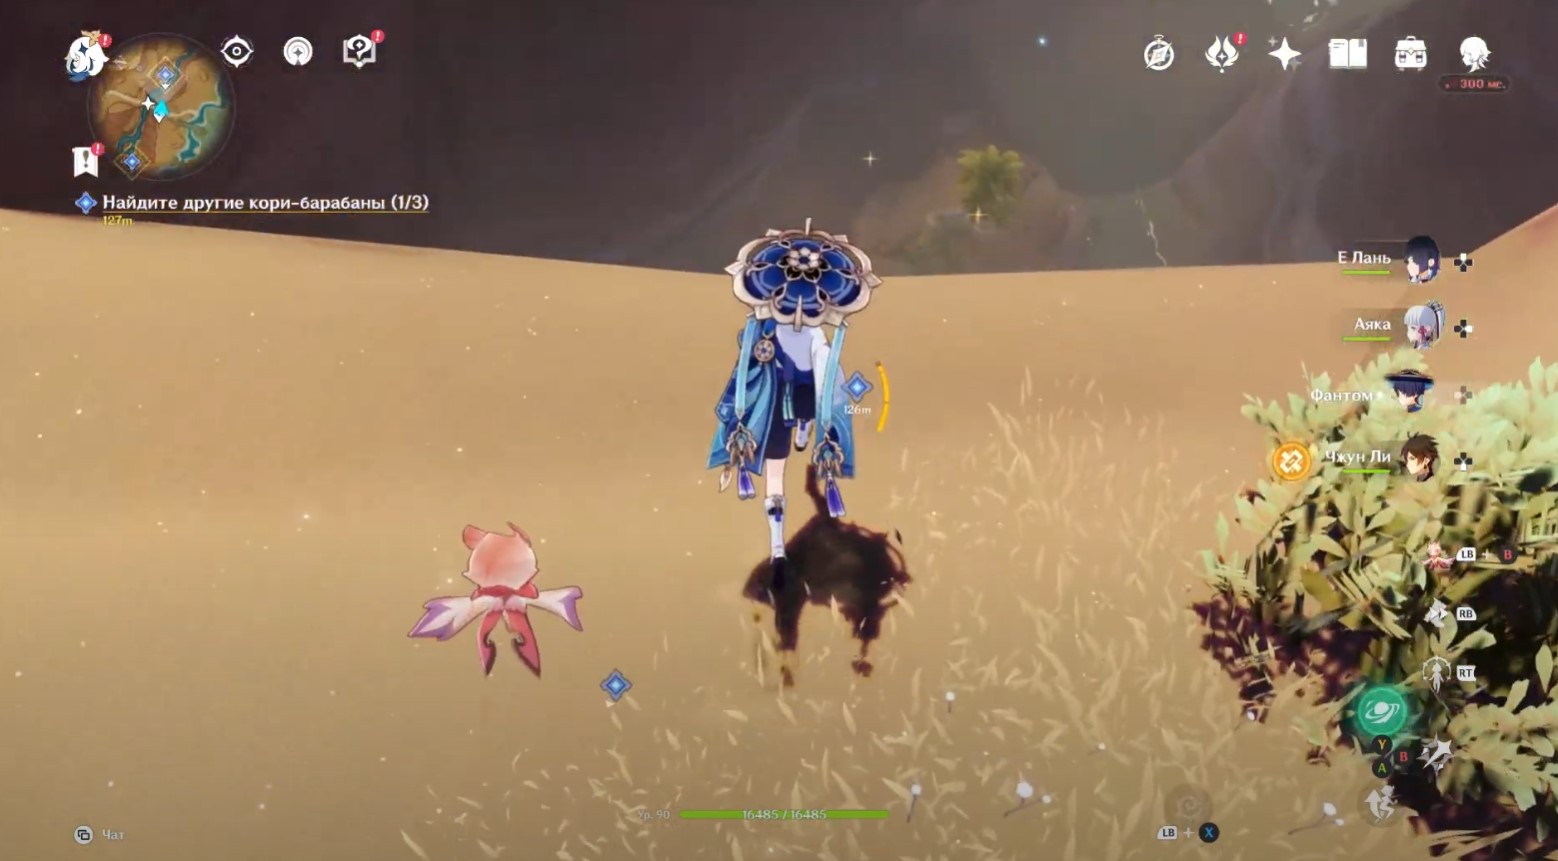
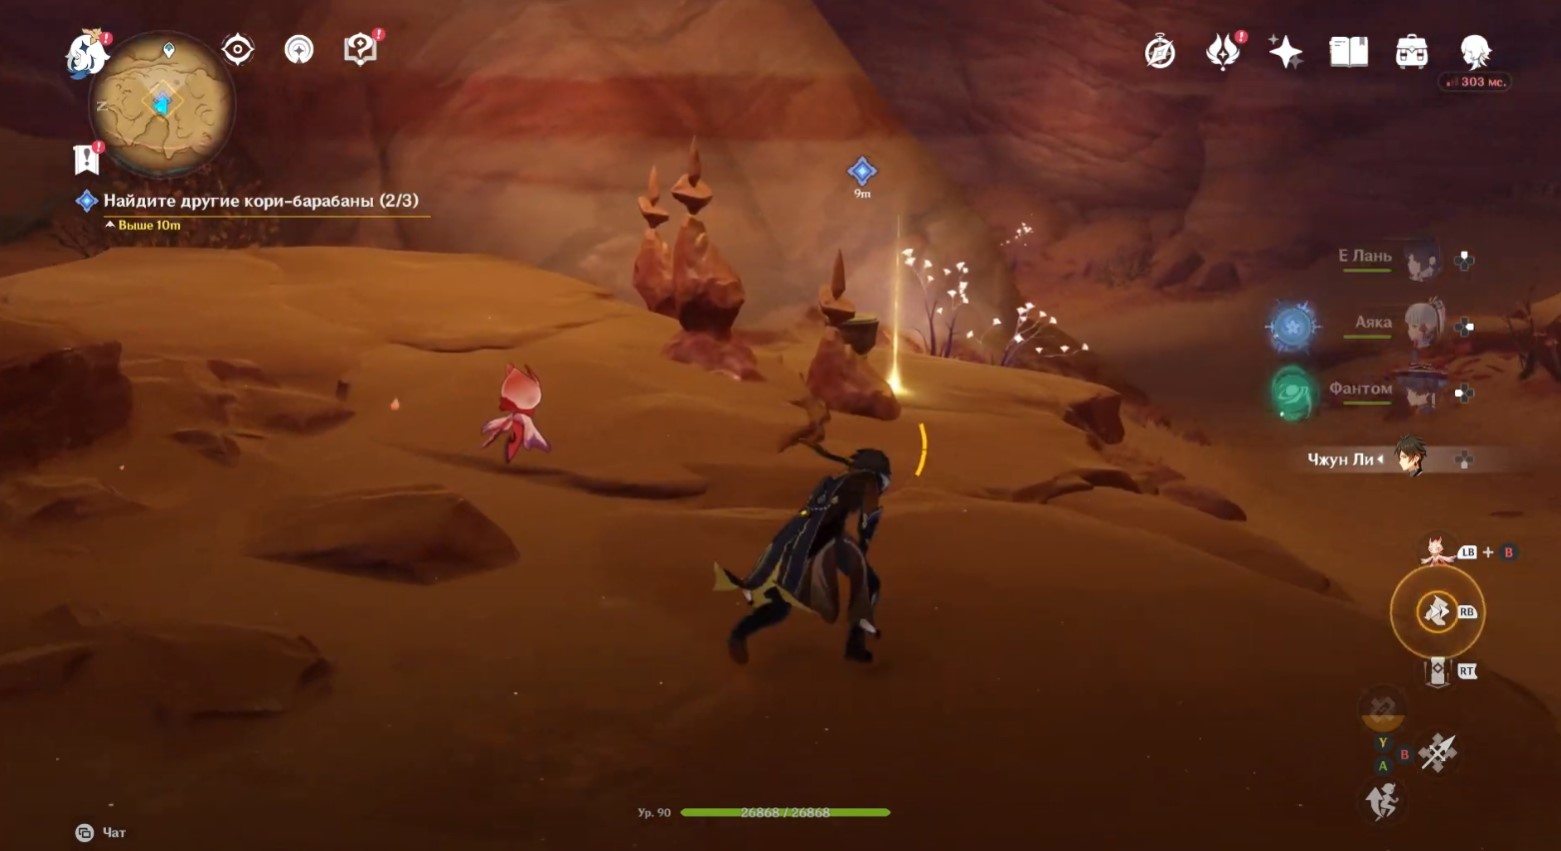
Find other kori drums
There will be three such musical instruments in total. Fortunately, all of them will be marked on the map with signs. That's just to get them you have to solve a few puzzles. Below we will consider in detail all the riddles.
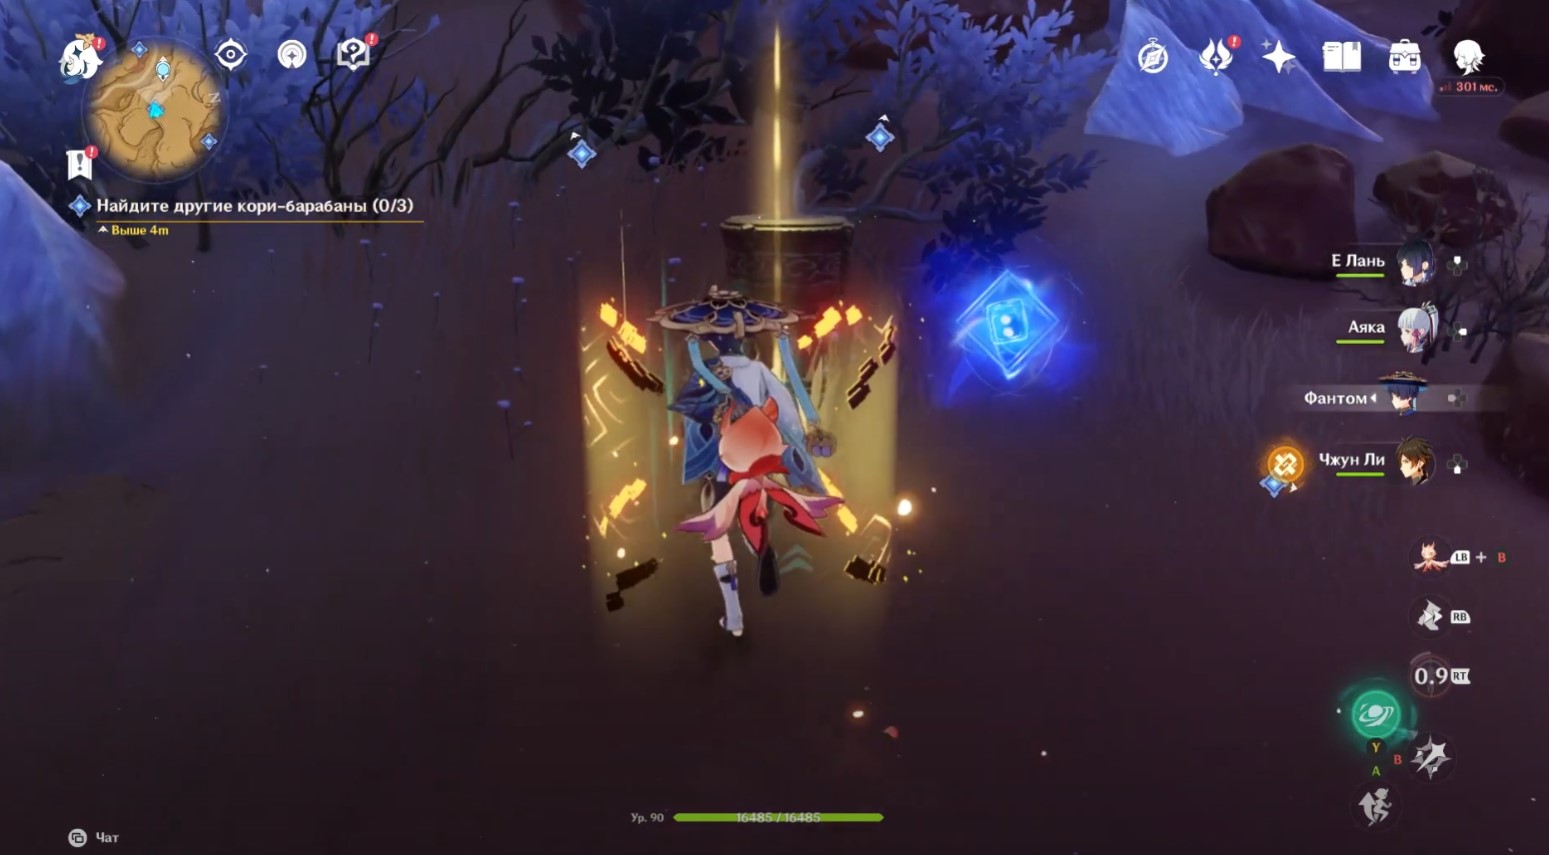
First drum (combat test)
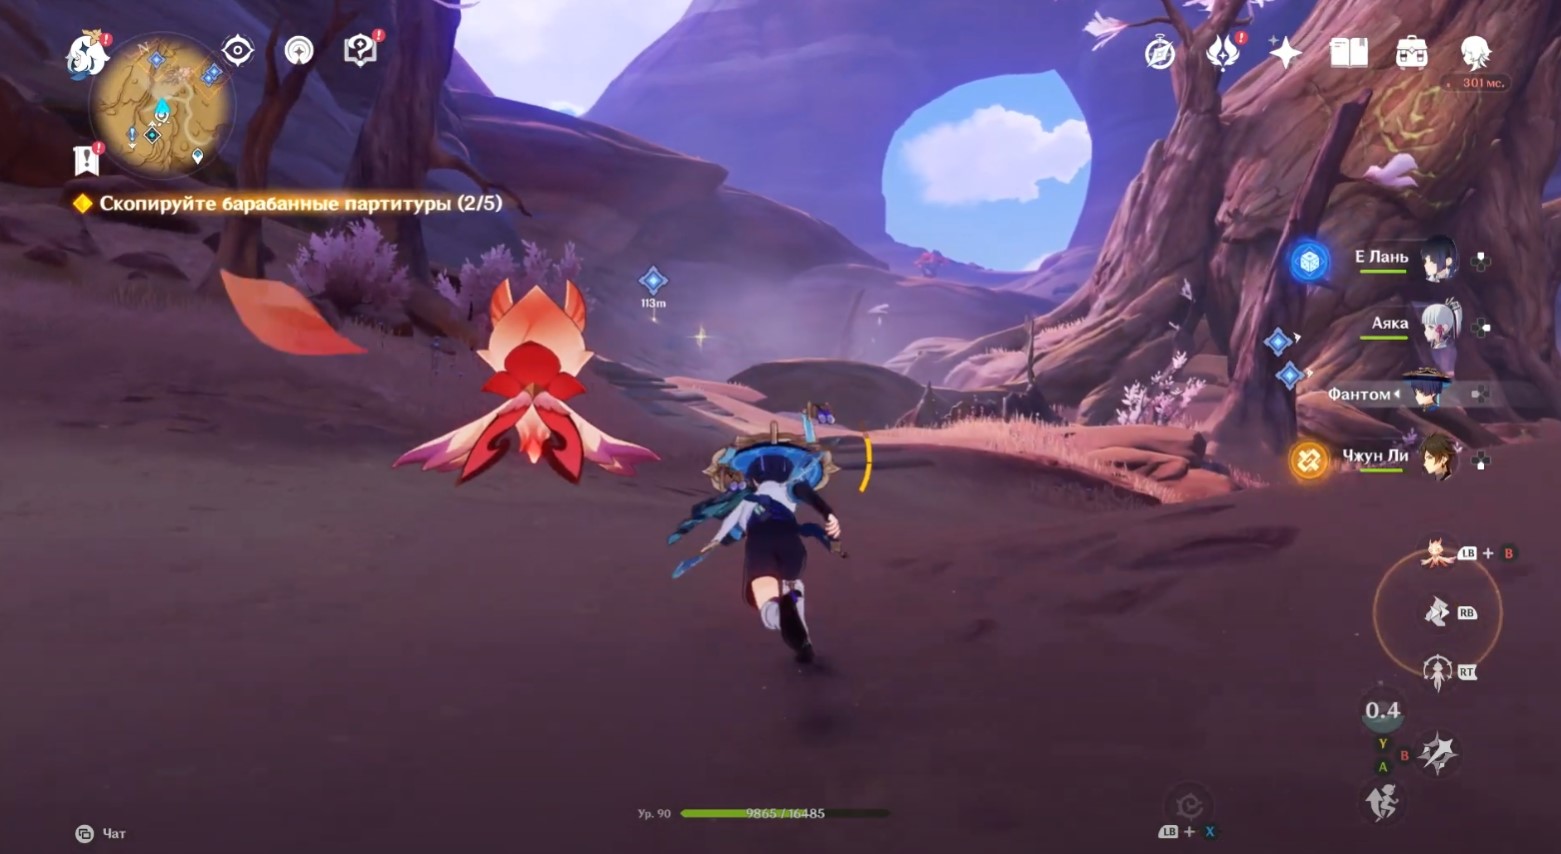
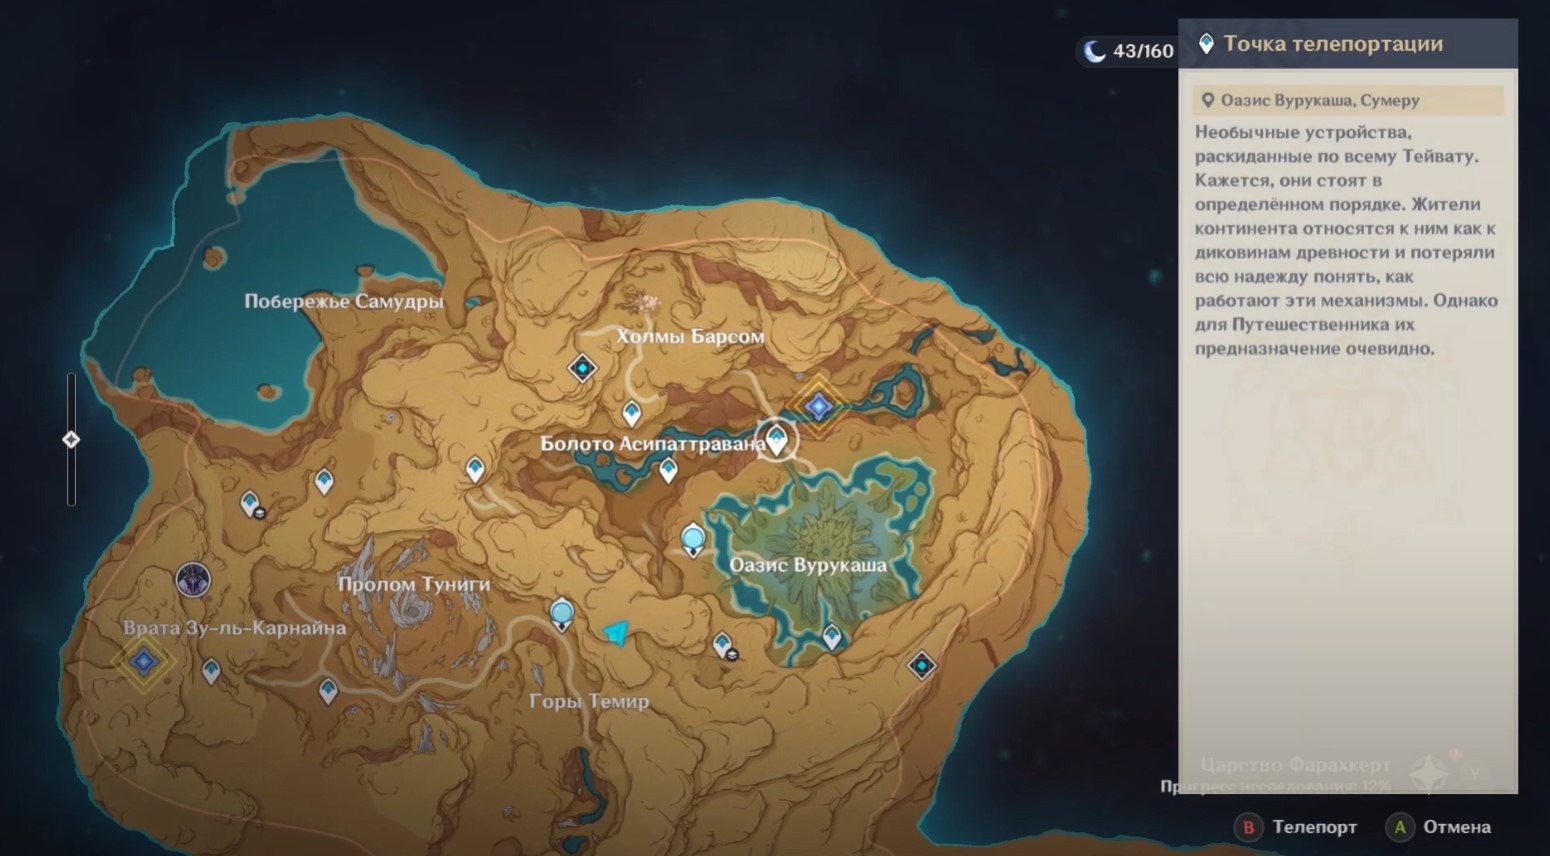
Teleport to the statue of the seven Archons located in the oasis of Vurukash. Then turn around and run towards the cliff. Jump down from it and fly into the crevice next to the giant root. You will enter a cave with outcast hilichurl.


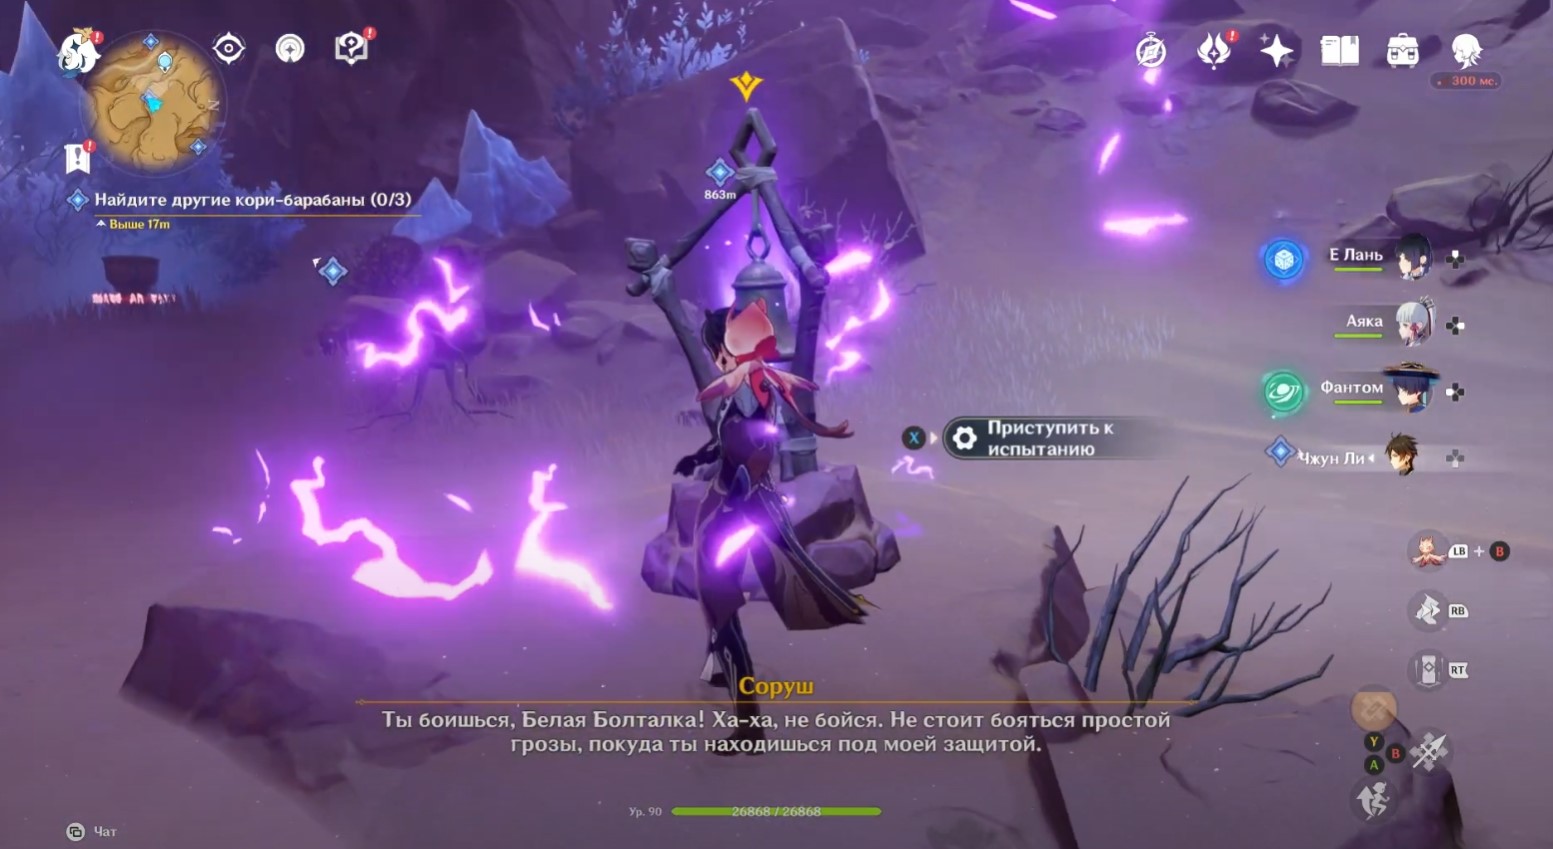
Having dealt with the enemy, open a regular chest and go deep into the cave. You will enter a spacious area. Jump down and approach the bell, next to which the Electro Storm is raging. Activate it to start the Achievement: Challenger. You will need to defeat ten opponents in 4 minutes.

- In the first wave, you will have to fight with ordinary and large Electro slimes.
- In the second wave, you will have to fight with ordinary and large Electro slimes.
- In the third wave, you will have to fight with Lavachurl with a thunder helmet.

Against these enemies, characters capable of inflicting Pyro and Cryo attacks are best suited. After dealing with all the monsters, go to the highlighted drum and pick it up to get Corybant: Sankhara.
Second drum (how to remove water)
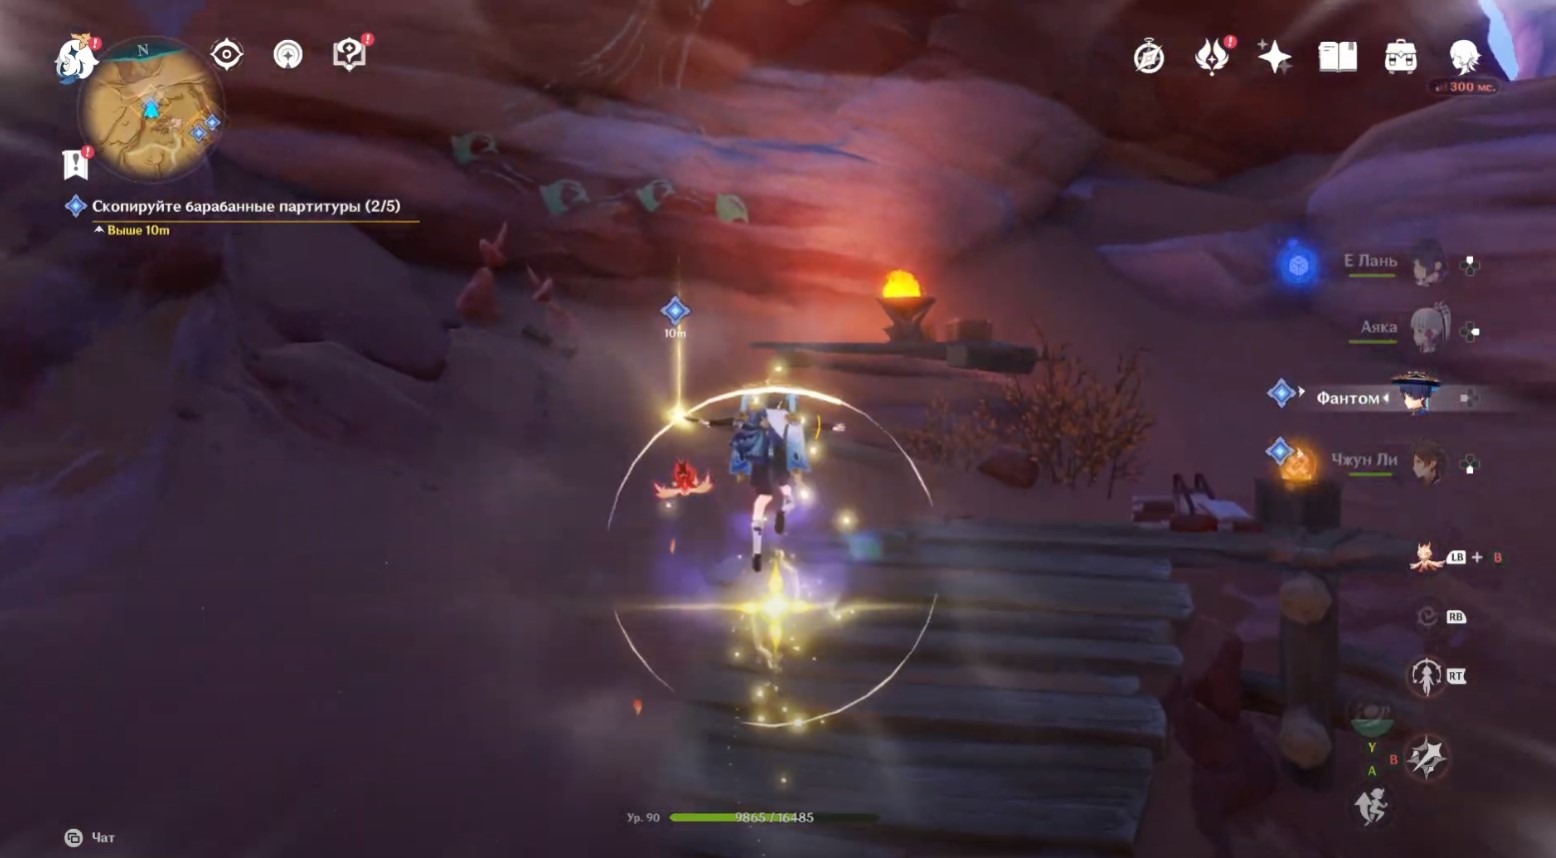
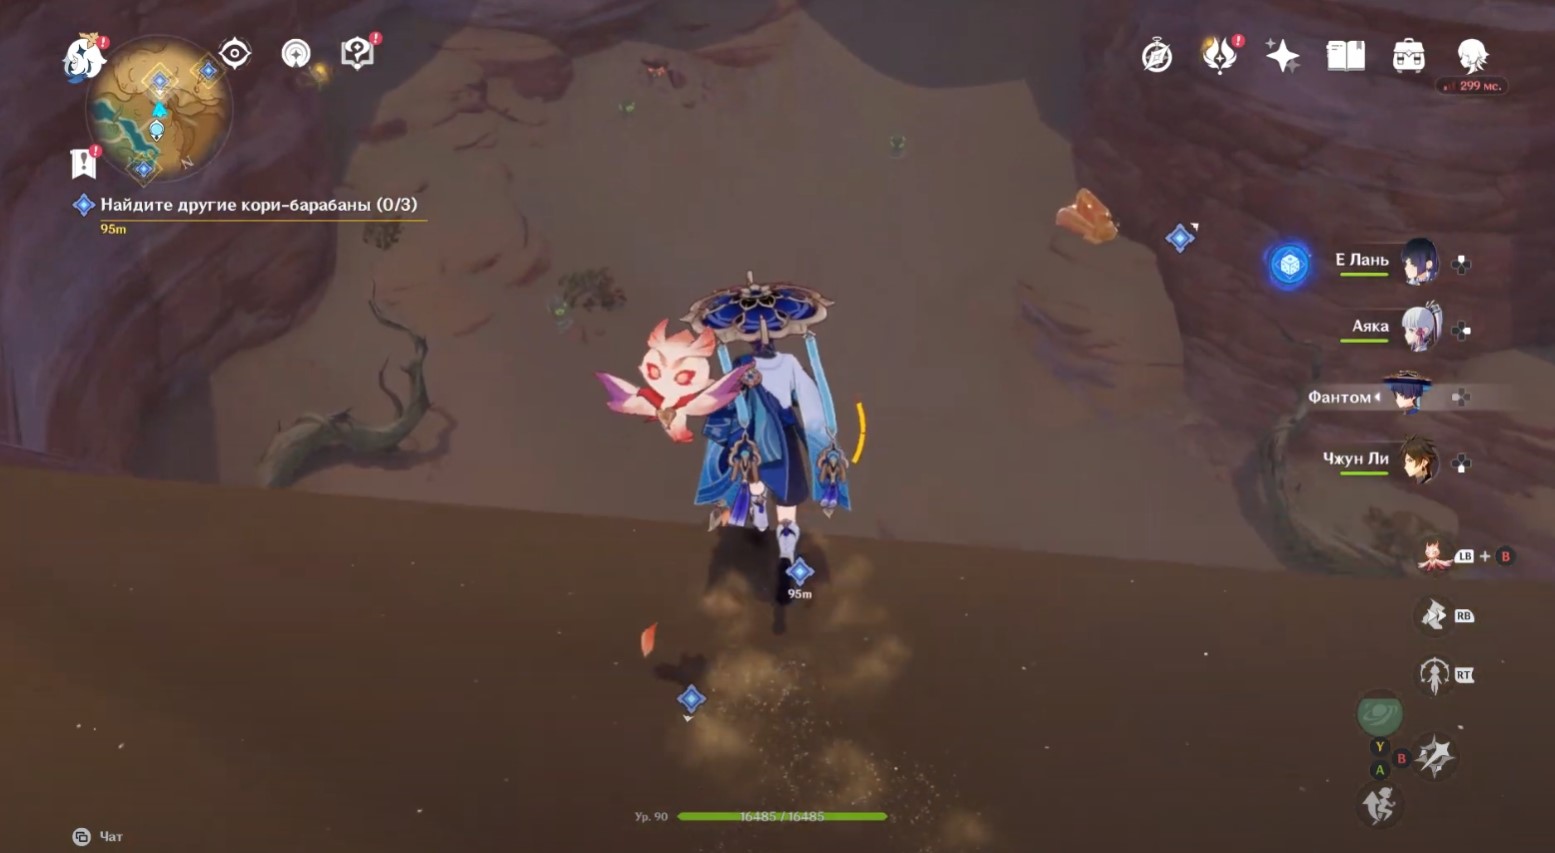
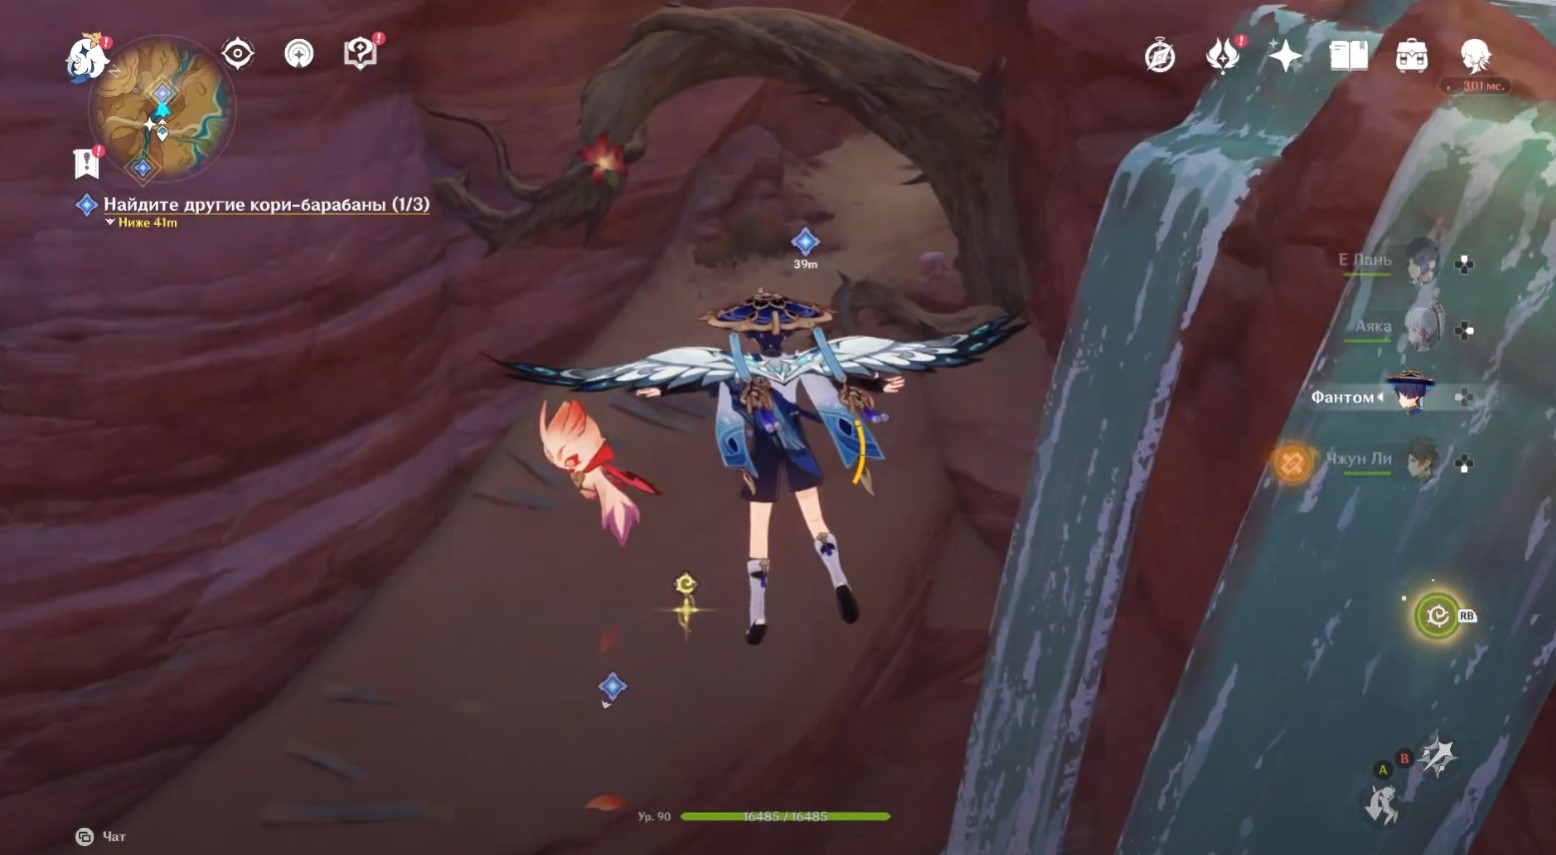
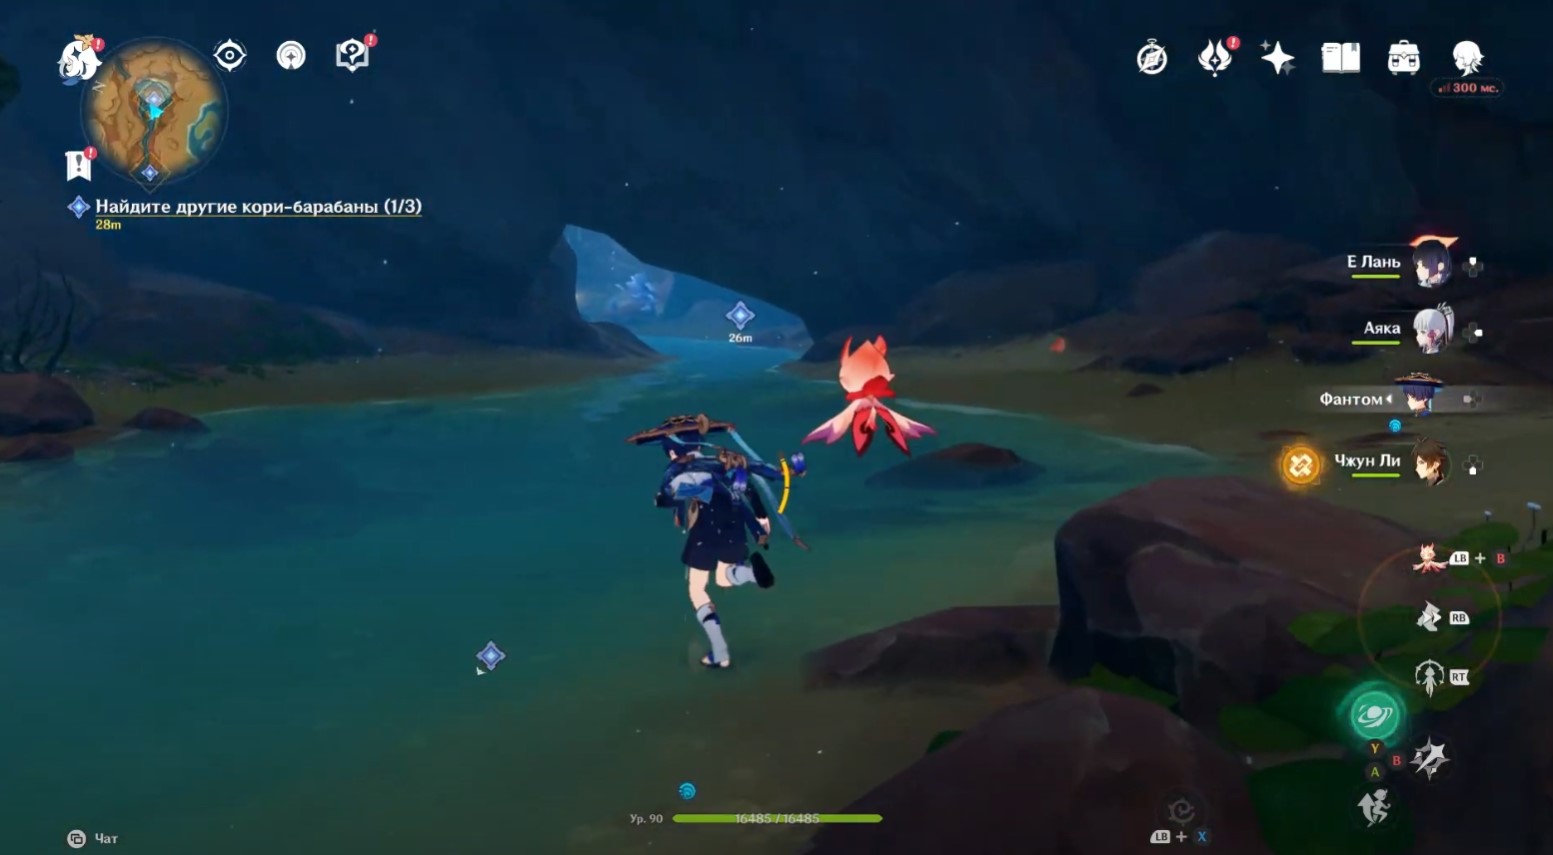
Move to the northern teleport of the Vurukash oasis, turn right and jump off the cliff to the river below. Land on the slope to the left of the waterfall. Next, go deeper into the cave (you can accompany the fairy along the way to get a regular chest) in order to get into the flooded location.

You will need to release the water by passing three Achievement: Challenger of hidden waves, in which you must collect Dendro particles. You will need to use Sorush frequently to move the special four leaf symbols. Below, with the help of gifs, we will show the entire procedure that you need to carry out.
First test
Interact with the big bell ahead to start the first Achievement: Challenger. Activate Sorush, go upstairs and to the right, use the bet ability (E key) to grab a special four-leafed symbol.
Now fly to the very end of the row consisting of Dendro particles, and place the quatrefoil taken earlier there. Be careful not to move too far away from the character, otherwise the character will return to its original position.
Return to your hero by pressing "Z" or by touching the Sorush icon. Now use the four leaf sign to collect all Dendro particles in one flight. As a result, you will complete the first test.
Note: if you have Wanderer, then you can just use its ability to fly through all the green particles.
Second test
Now glide down to the second bell on the ledge opposite the first. Take control of Sorush again and use her skill to capture the special four leaf symbol.
Place the quatrefoil right above the first and second Dendro particles. Again, don't fly too far or the symbol will return to its original position.
Switch to your character and drag towards the 4-leaf symbol placed earlier to fly upwards. Next, start glide down, picking up particles along the way. This will complete the challenge.
Third test
Glide to the third bell on the narrow ledge, and then activate Sorush and pick up the special four-leafed symbol located at the top and right.
Now place the quatrefoil at the end of the particle dendro row directly opposite the third bell. The exact location is shown in the gif below.
Switch back to the hero and pull towards the special 4-leaf badge to pick up 4 orbs and land on the rocky ledge. From there, use the regular quatrefoil to collect the remaining three particles and complete the third Achievement: Challenger.
As a result, all the water will go away, and you will be able to go to a small cave located in the far part of the location. Before that, deal with the Hydro Slimes. Inside you can pick Corybant: Sanjna.

Third Drum (where to find Bright Flame Altars)
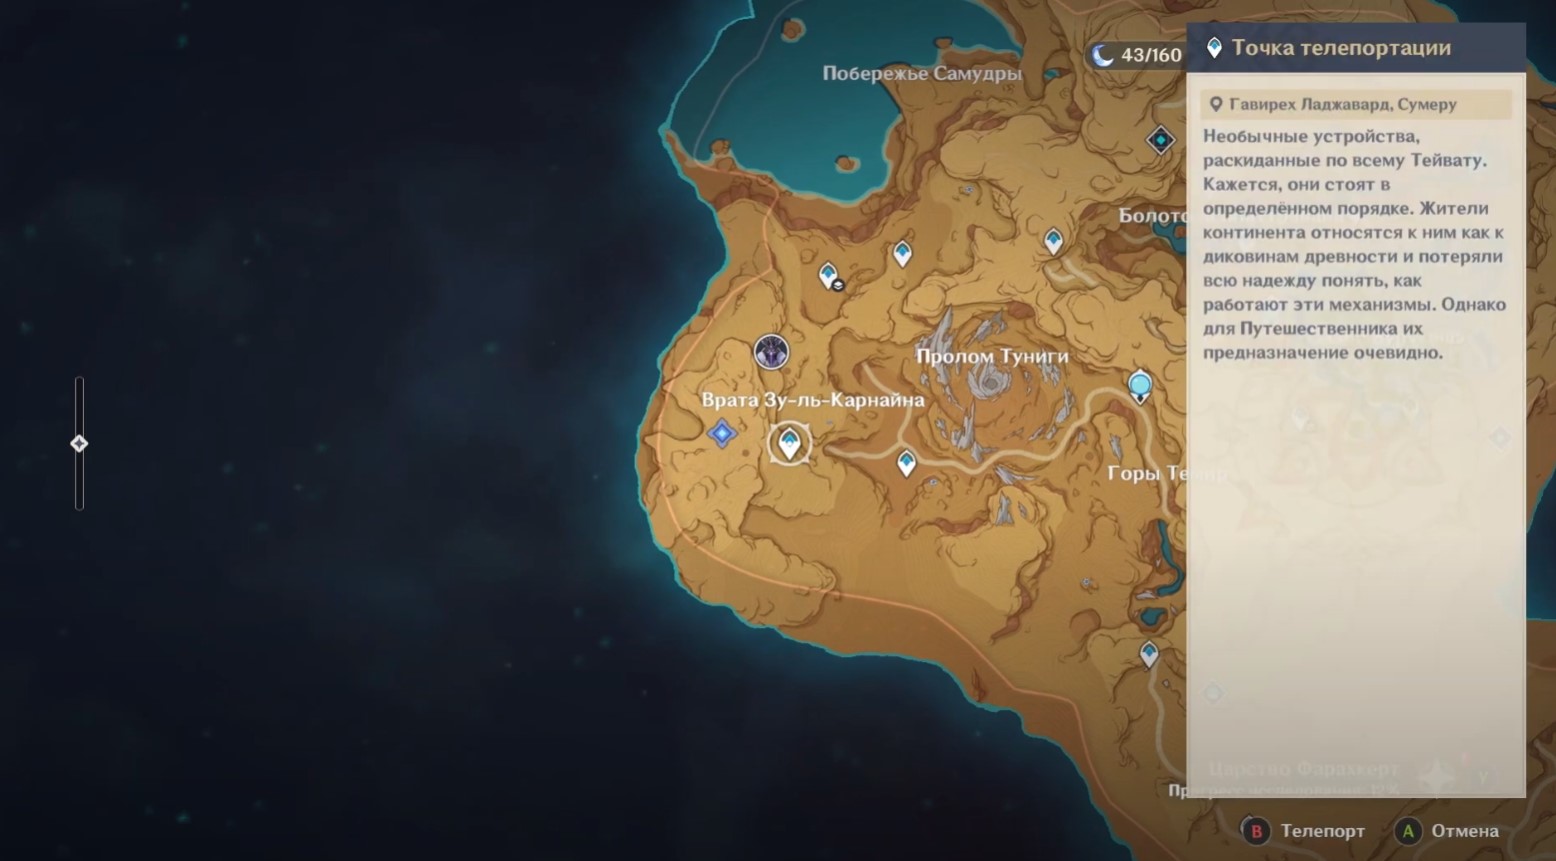
It is located southwest of Monstrous Baptist. Travel to the teleporter at the Gate of Zu-l-Qarnayn, and then move west along the road. On the left, on a small ledge, you'll find a bell that triggers the Test of Pure Flame. To complete it, you will need to light 7 Bright Flame Shrines before the Fire Seed goes out. Next, we will show you the best route using GIFs.
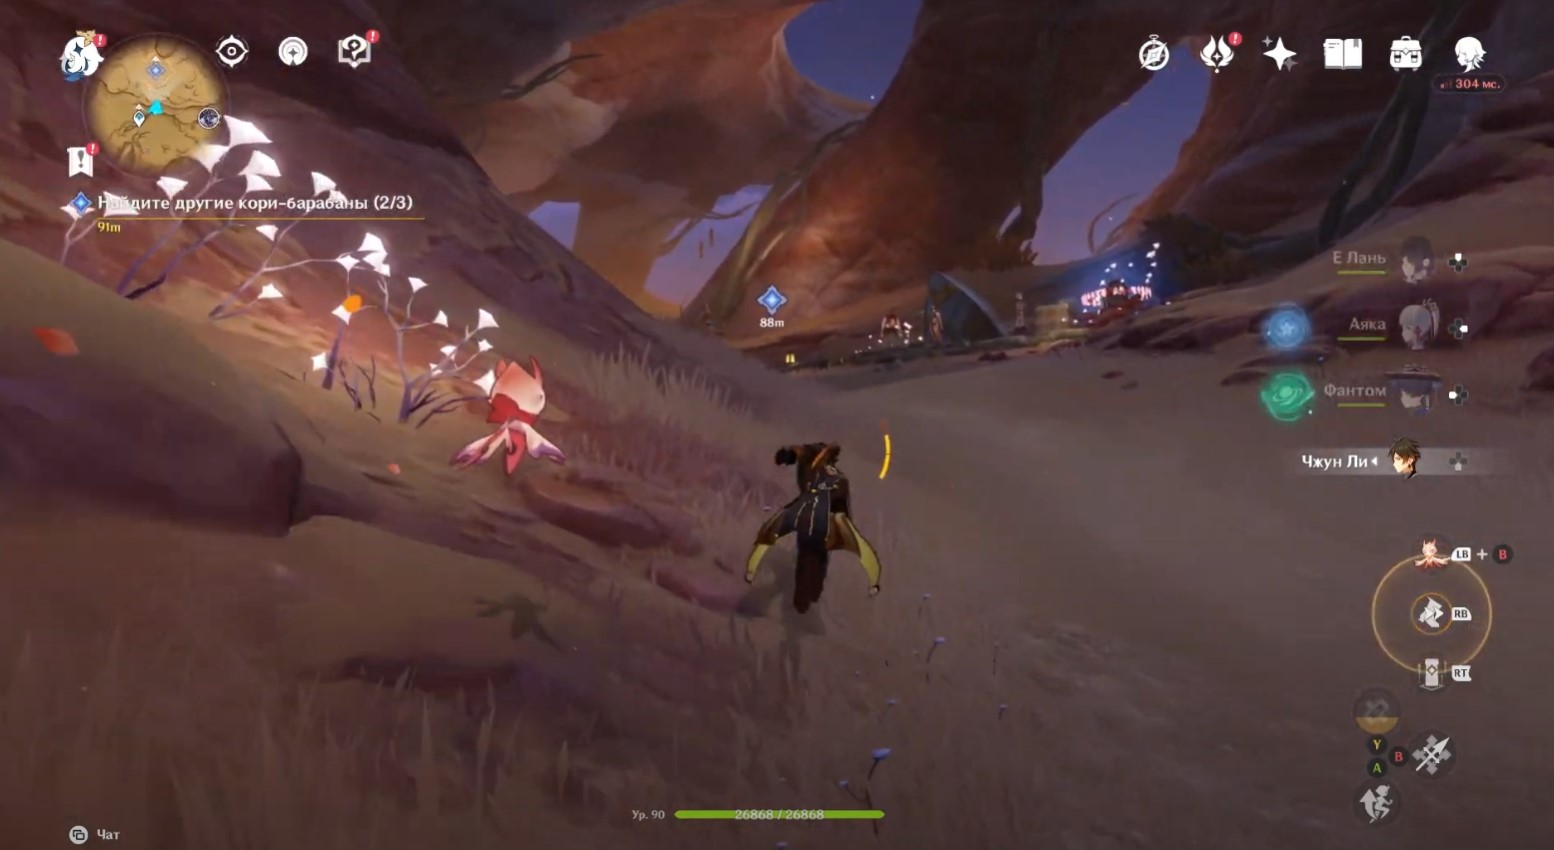
After the Achievement: Challenger begins, turn left and run forward a little to activate the first altar.
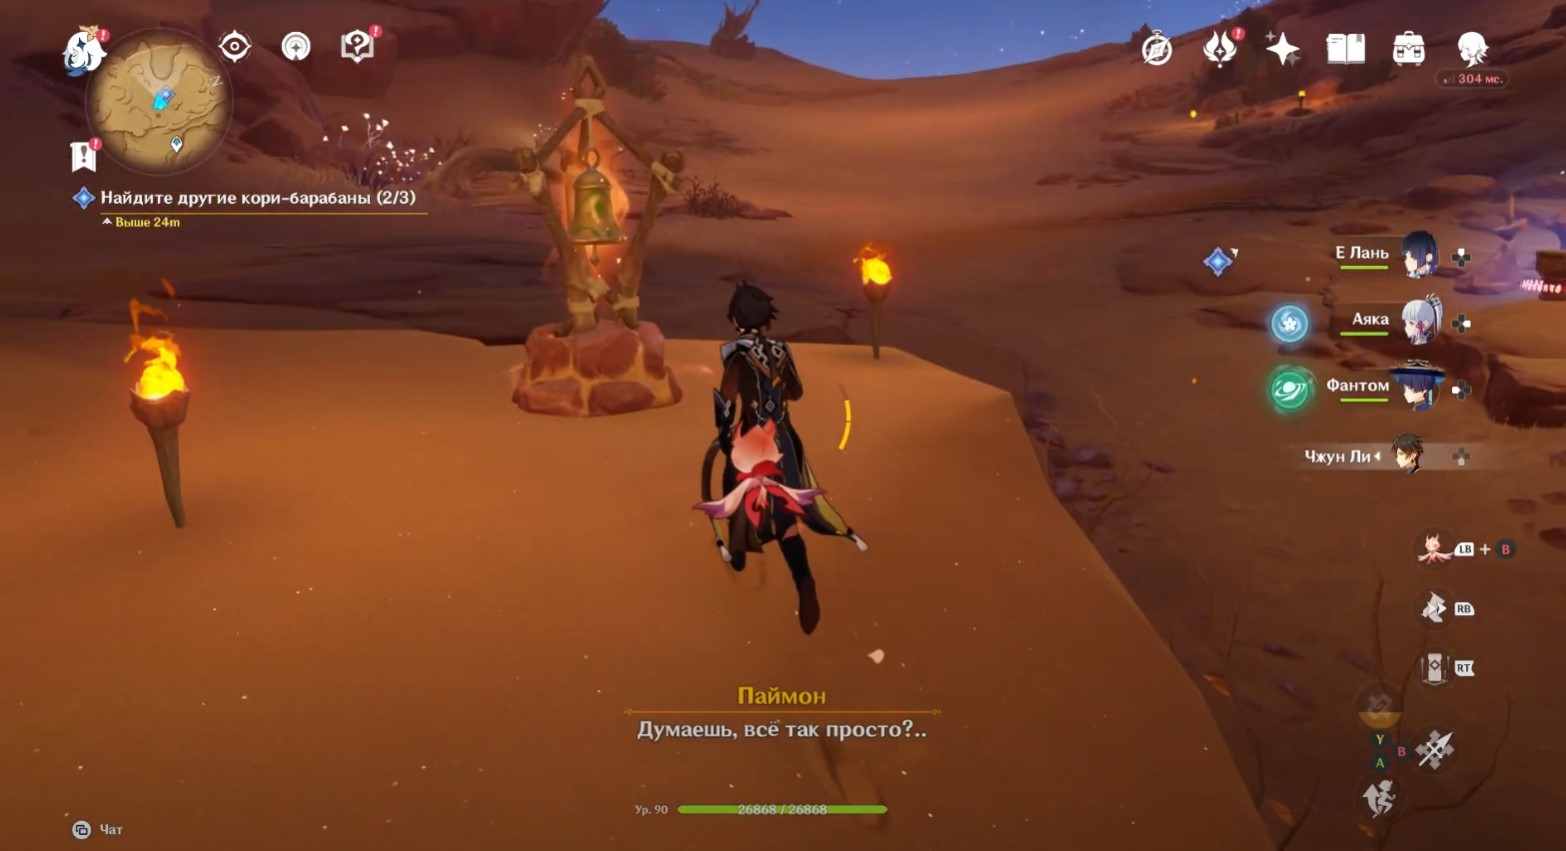
Go right until you see the second altar on a ledge near the torches. You will have to go through a large root and bush.
Now plan a little down and to the left to find the third altar.
Next, use the four-leaf symbol on the right side, run in a semicircle to the right, and you will notice the fourth altar.
Move forward and up until you find a quatrefoil on the right. Pull up to him and land on the ledge on the right to light the fifth altar (you can activate it right in the air).
Turn left until you see the sixth altar, located on the edge of a small cliff, next to a withered tree.
At the end, jump down and glide to the seventh altar, located a couple of tens of meters from the previous one. Light it up to complete the Achievement: Challenger.
The drum you need is to the right of the last altar, surrounded by stacks of stones. Interact with him to get Korybanta: Sankhara and the opening of the trophy "Knock here!".
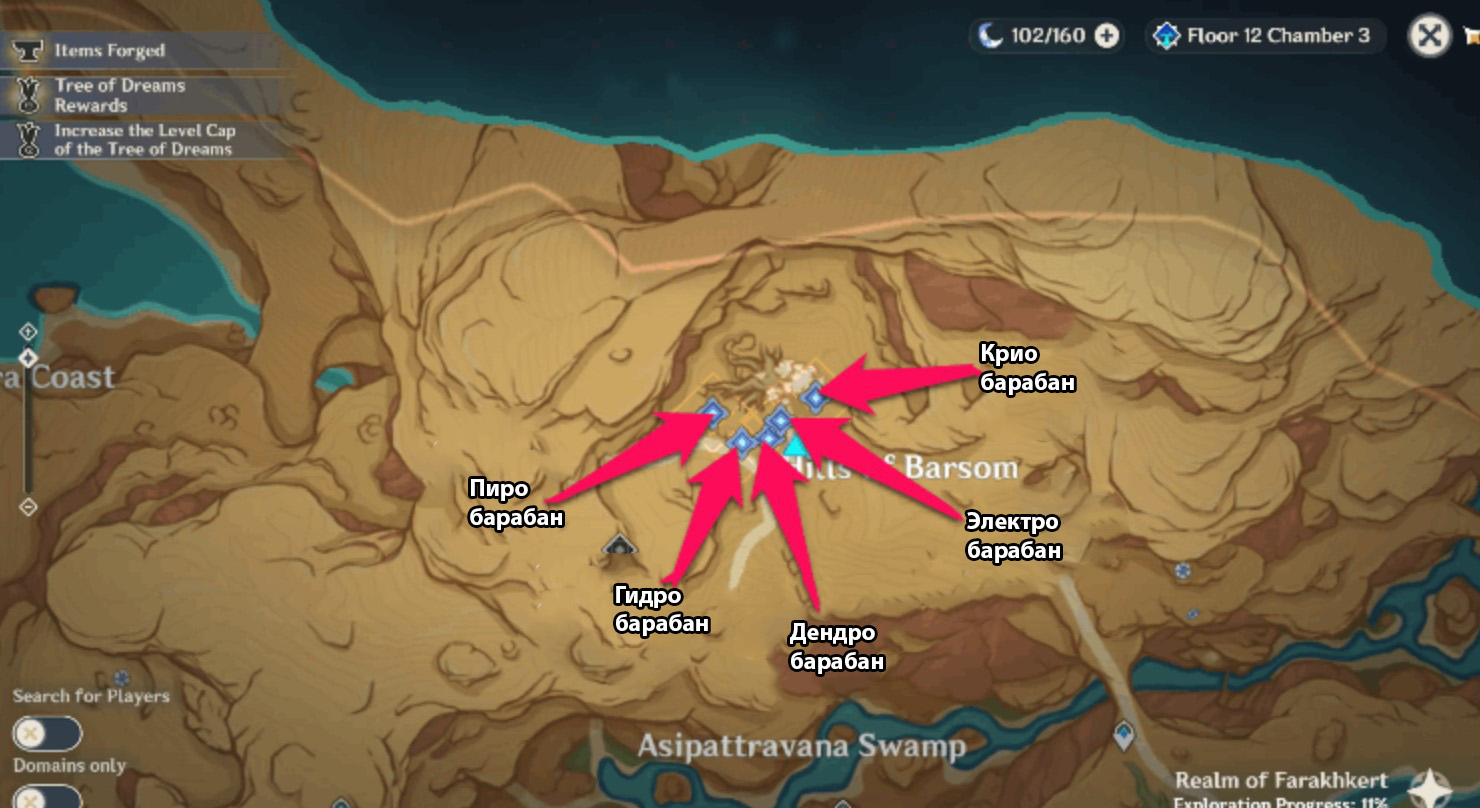
Put mere drums in their place
Return to the huge tree in the Barsom Hills. After reaching the right place, chat with Nasejuna again. Now you will need to correctly arrange the mined measles drums. All places will be marked with markers. The picture below shows the correct arrangement of the reels (their elements are marked on the top surface).
How to play the drums according to the scores
To properly play the melody, it will be necessary to hit the kori drums in a certain way in order to activate the elemental power hidden in them. You will be able to interact with them in the following ways:
- A normal hit will create a light sound.
- The impact in the fall will create a booming sound.
- If you stop and wait, there will be a pause.
You can view drum scores at any time, which consist of different symbols. These runes can be of three types: full, half-filled and empty, corresponding to a booming sound, a light sound and a pause. Scores can be read from left to right, top to bottom. Next, we will show the required sequences for all reels.
Pyro drum: Vijnana
The gif above shows the correct punch sequence, which looks like this:
Normal Strike -> Normal Strike -> Normal Strike -> Falling Strike
Hydro Drum: Sanjna
The gif above shows the correct punch sequence, which looks like this:
Normal Strike -> Falling Strike -> Pause -> Falling Strike
Dendro drum: Rupa
The gif above shows the correct punch sequence, which looks like this:
Normal Strike -> Normal Strike -> Normal Strike -> Falling Strike
Electric drum: Sankhara
The gif above shows the correct punch sequence, which looks like this:
Normal Strike -> Pause -> Normal Strike -> Falling Strike
Cryo Drum: Vedana
The gif above shows the correct punch sequence, which looks like this:
Normal Strike -> Pause -> Normal Strike -> Falling Strike
Chat with Rashnu
After playing all the reels, watch a short cut-scene, after which you can talk to Rashnu. She will offer you to go to the oasis of Vurukash. You can answer the following:
- "Let's meet later" - we recommend choosing it if you have not completed the adjacent task "Itihasa Asipattravana". In this case, Rashnu will fly alone to the oasis of Vurukash, and will be waiting for you there.
- "Let's go With You" - it is recommended to choose it if you have already completed the related quest. The fact is that you will automatically be transported to the oasis of Vurukash and will be able to continue the chain.

After completing the dialogue, the quest will come to an end and you will unlock the Tree on the Mountain trophy. If you complete a related task, you will unlock access to the next mission "When the Light of Hvarna Manifests". In addition, you will be given a good reward in the amount of 400 adventure points, 50 primogems, 4 hero books, 6 magic enhancement ore and 30 thousand pestilence.
Comments
You need to login to add comments.
You can login with