In Genshin Impact As the Khvarena’s Light Shows: Nirodha is world quest Sumeru and part of the line "Hvarna of Good and Evil". During it, you have to find a great song in the ruins. To do this, you will need to find energy blocks, solve the chain puzzle and use the ruins cannon to destroy the golem's core. If you're having trouble getting and completing this quest, check out our guide.
Passage of the quest "As the Khvarena’s Light Shows: Nirodha"
How to start a task
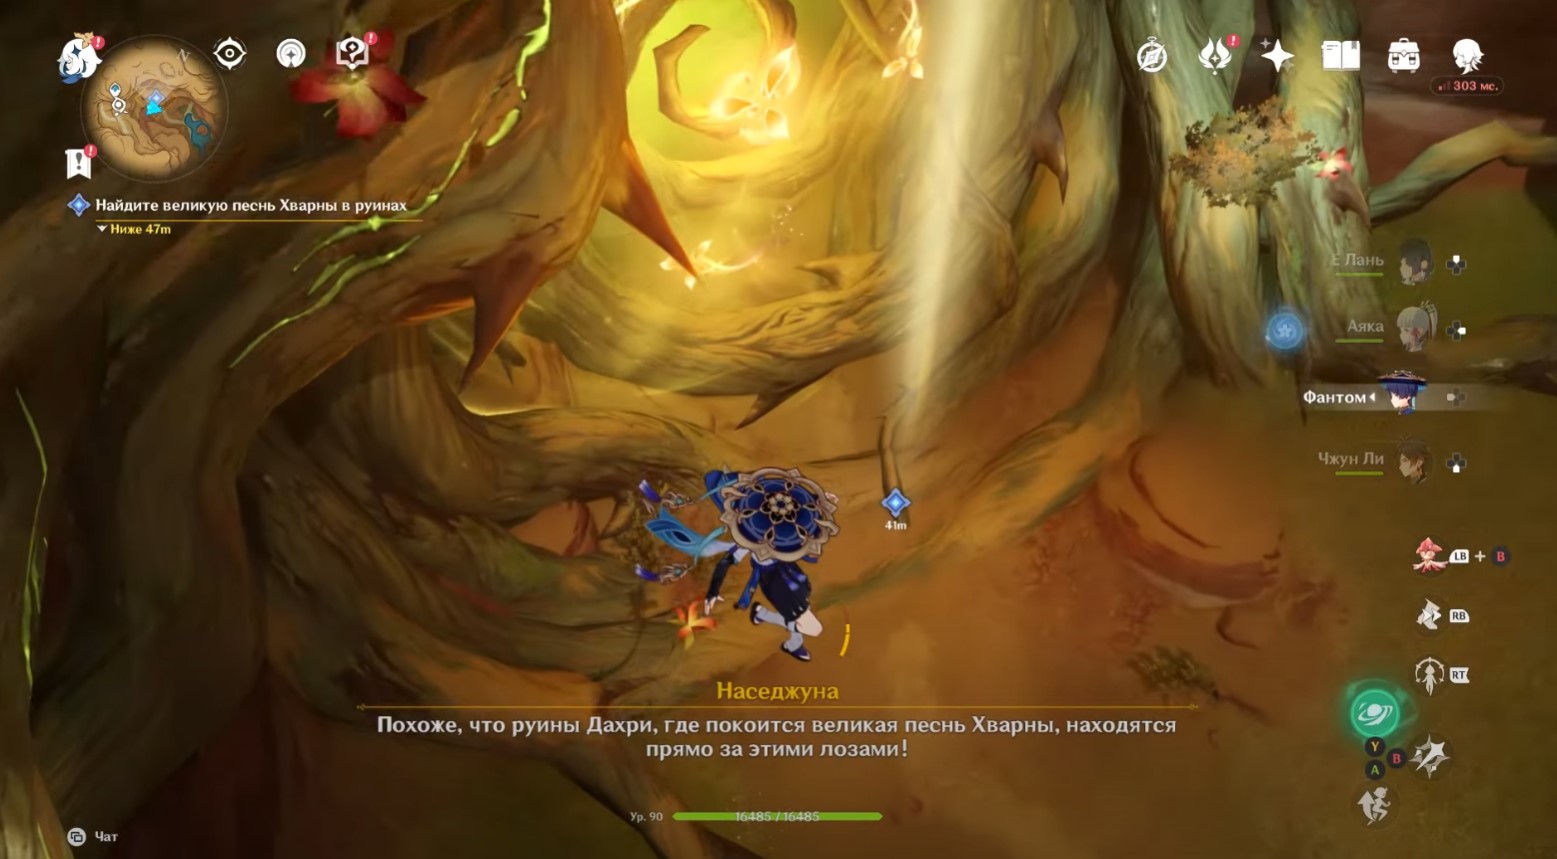
It starts automatically when completing a mission "When the light of Hvarna appears". You will need to head to the Temir Mountains and talk to Nasejuna, who will tell you about the need to collect three great songs. One of them will be Nirodha.

Get to the entrance to the underground ruins and open the Achievement: Gate
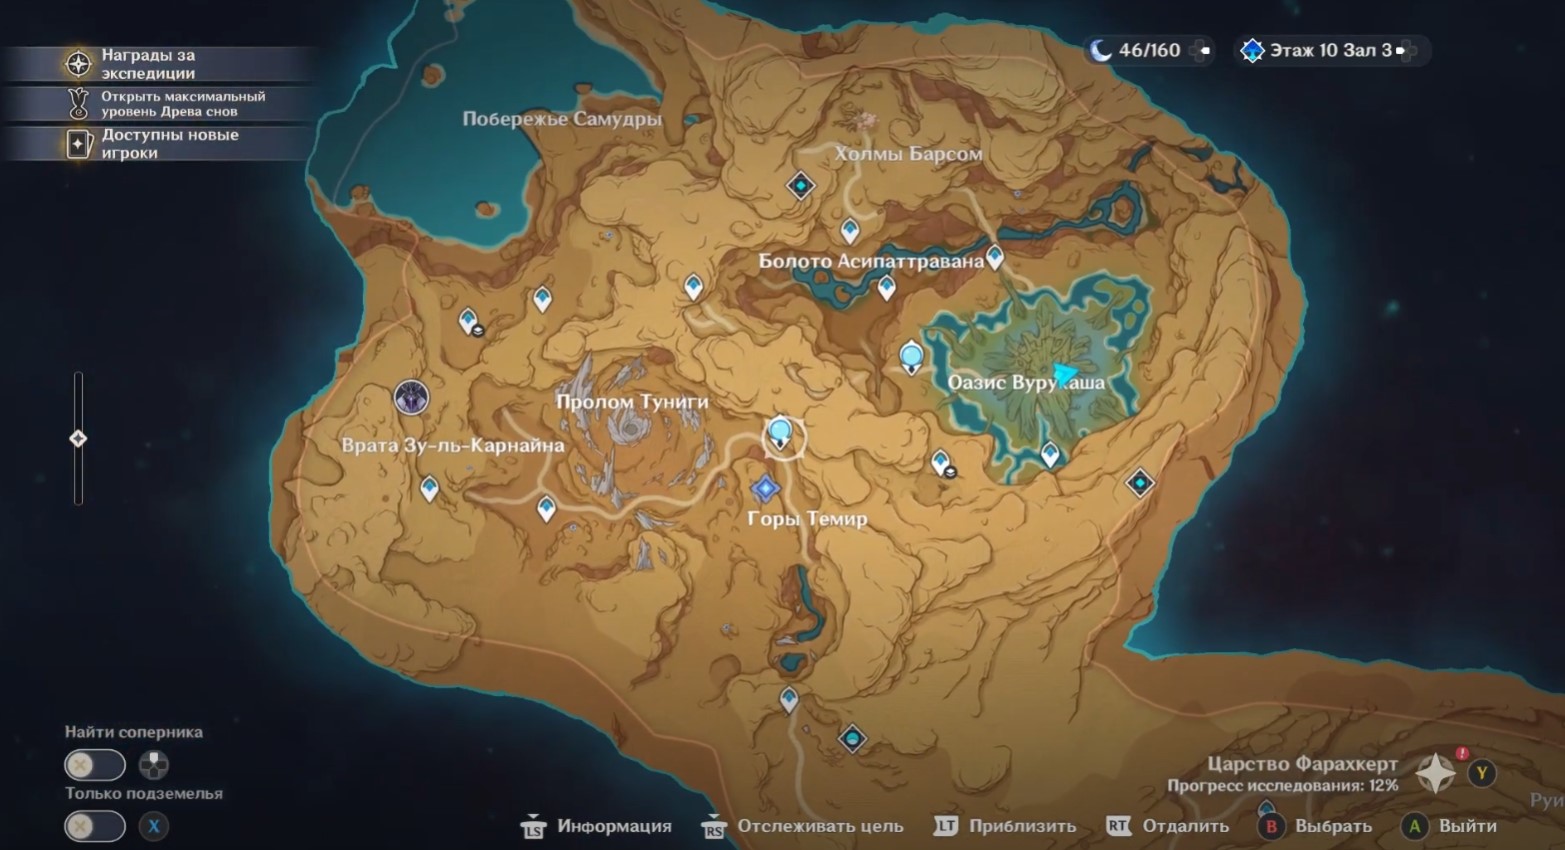
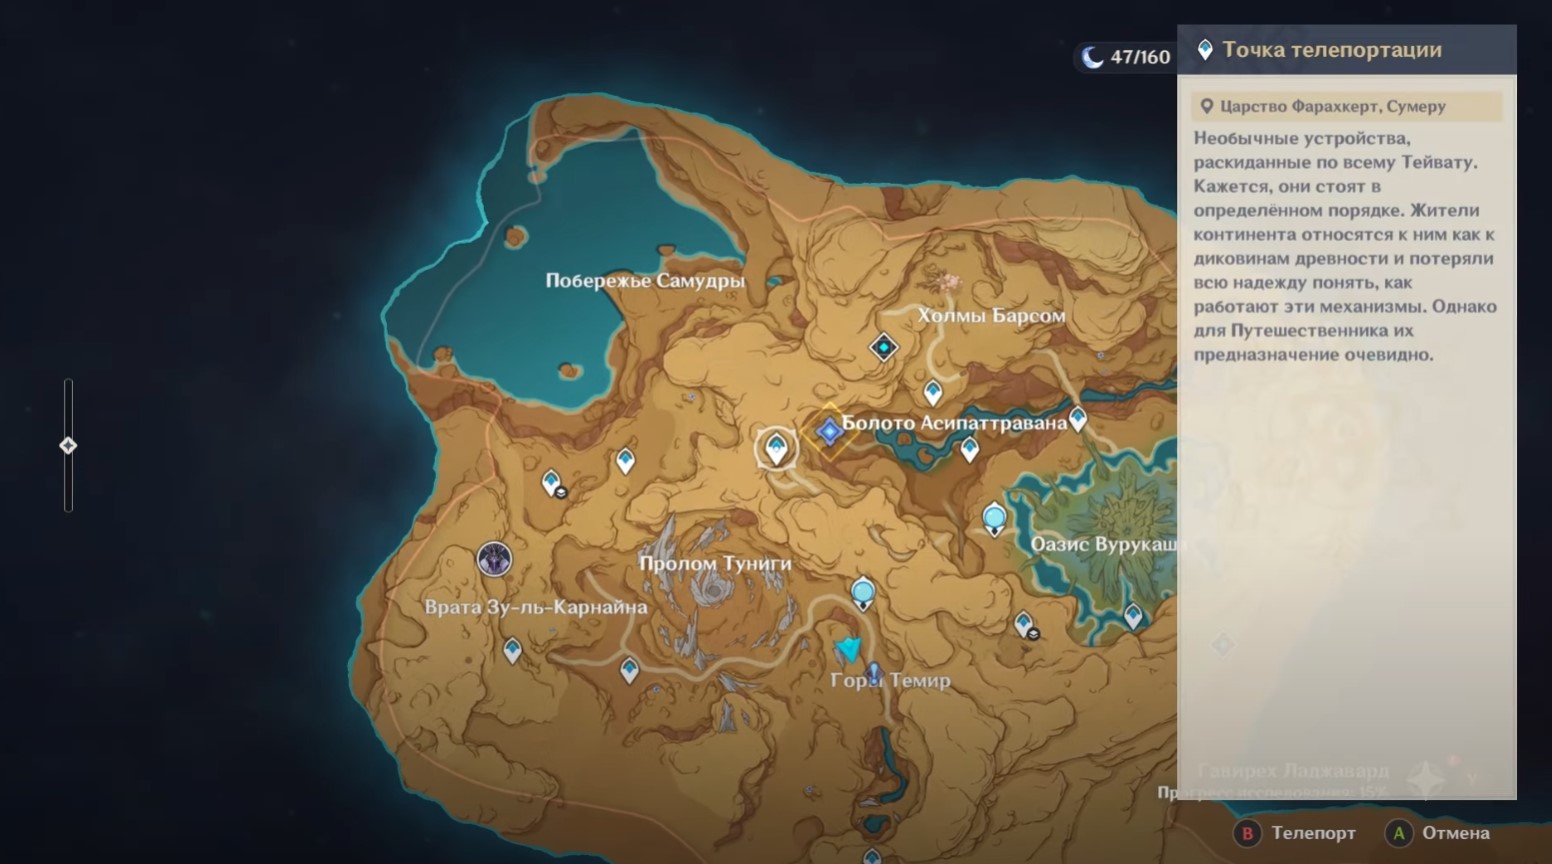
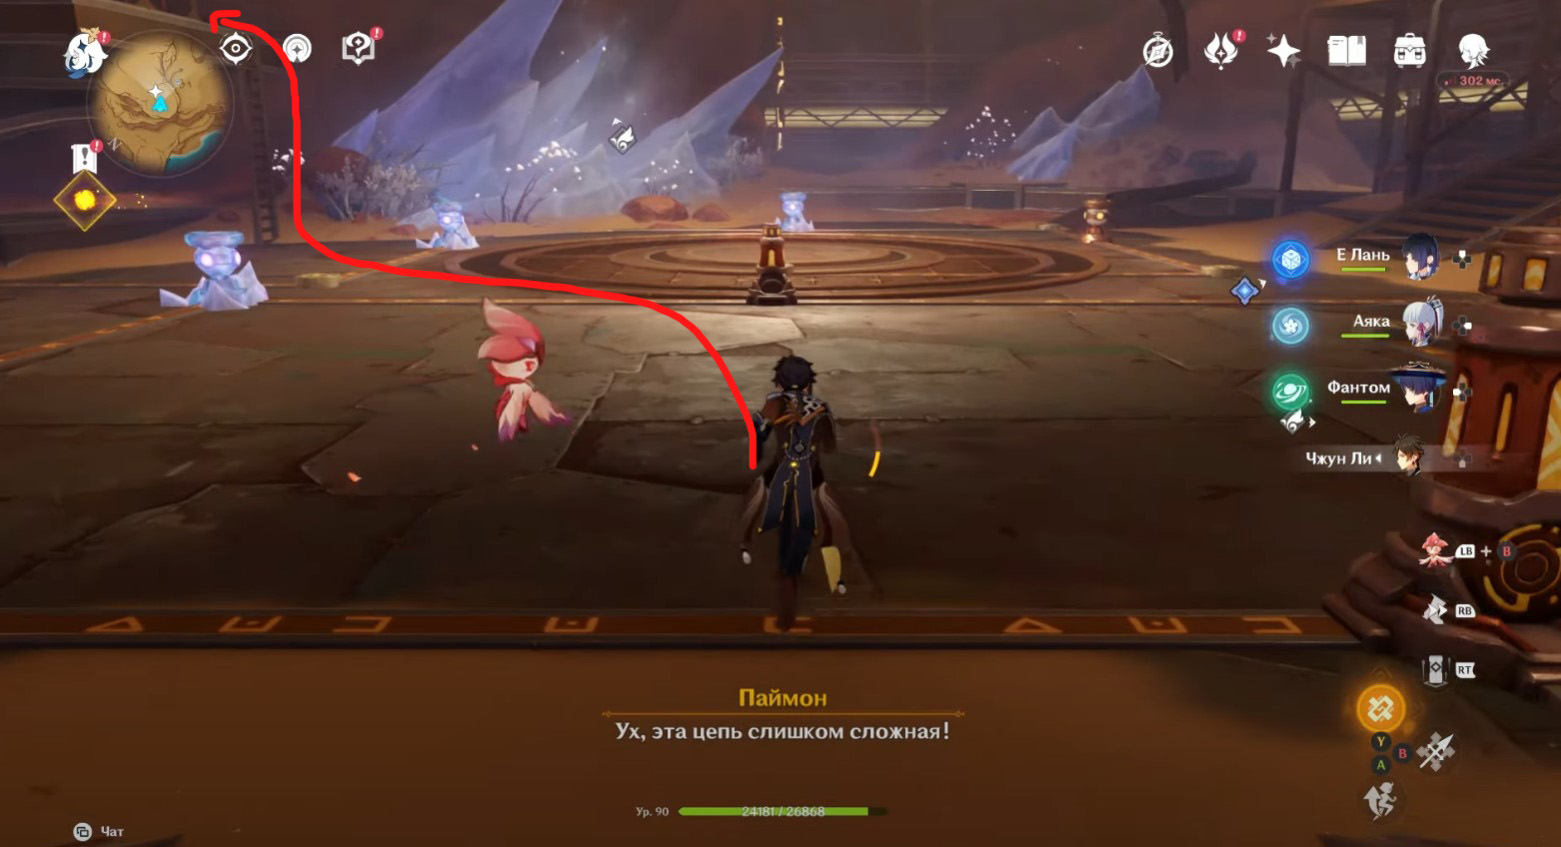
Teleport to the western fast travel point of Asipattravan Swamp, and then travel east to the quest marker. You will need to jump off the cliff down to the yellow barrier. As soon as you get close to him, a cut-scene will start.
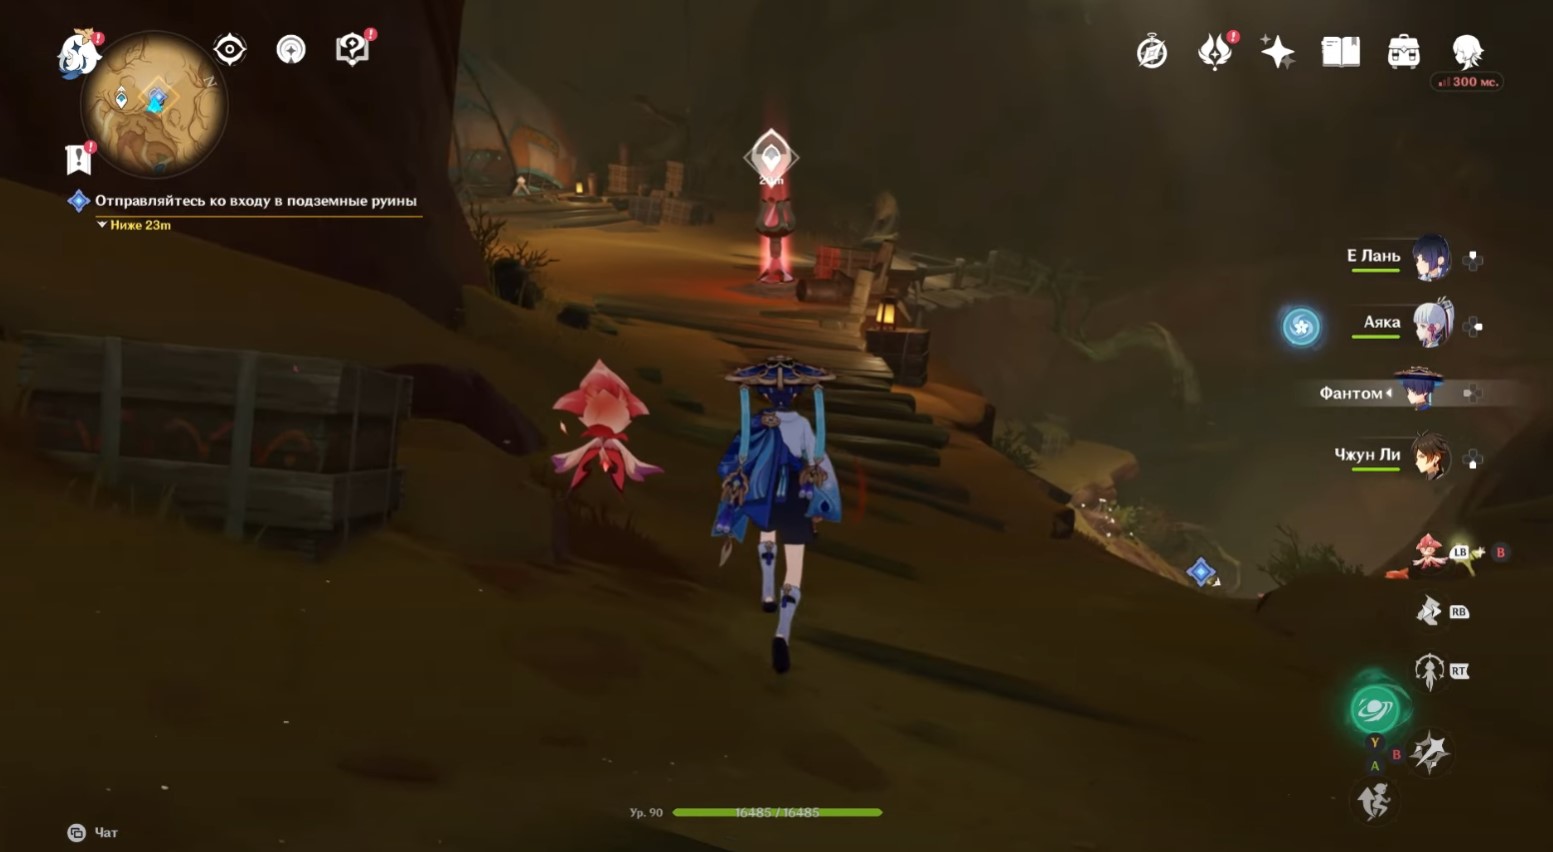
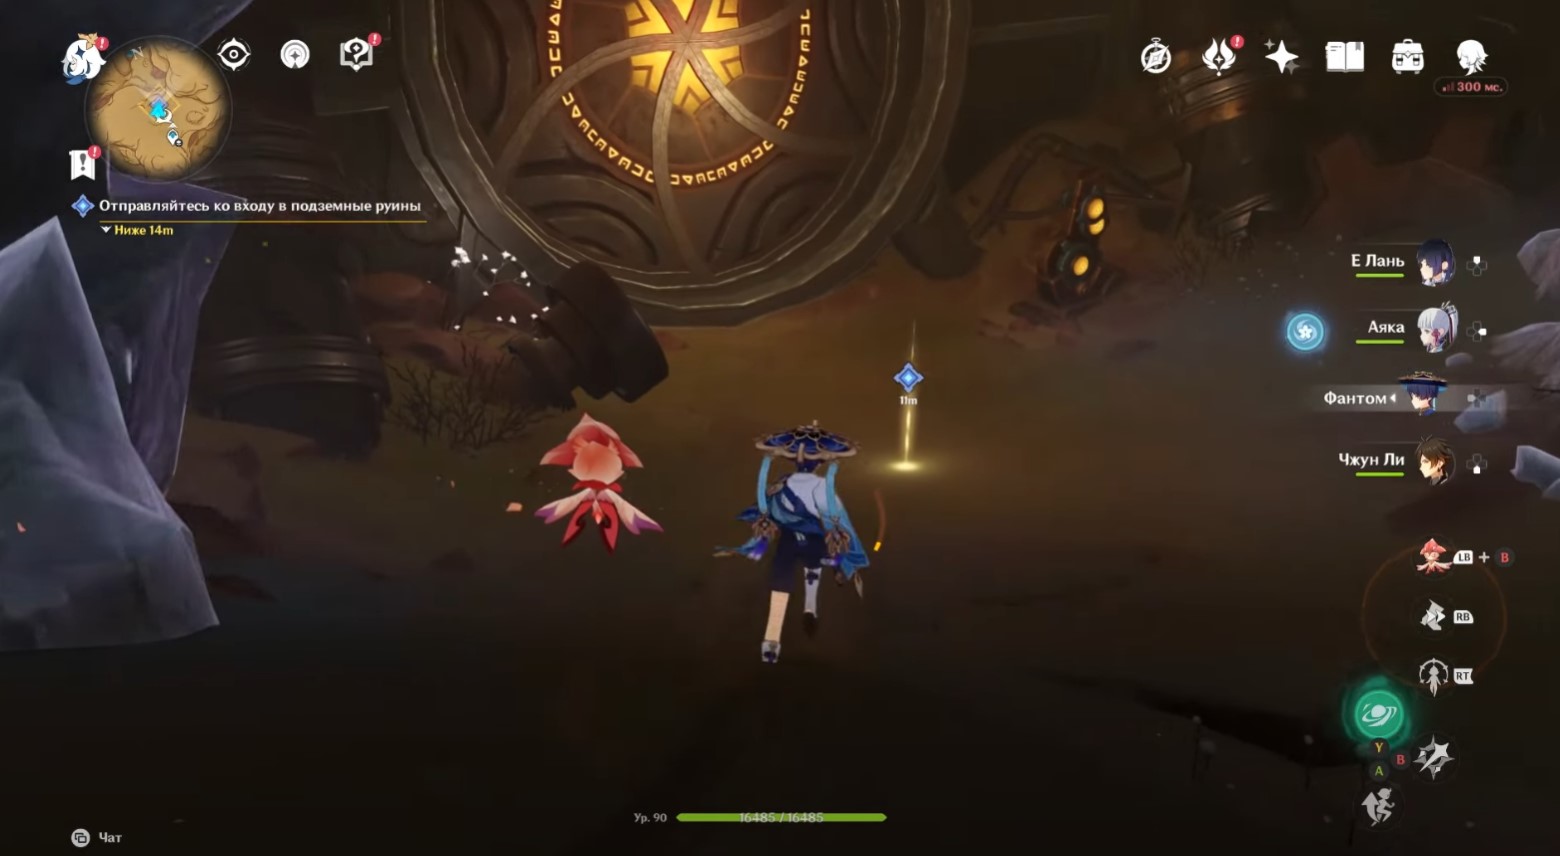
When the roots disappear, enter the tunnel and run forward until you find an underground teleportation point. Unblock it, and then turn right and continue down. Soon you will reach a closed round door and a rune mechanism.
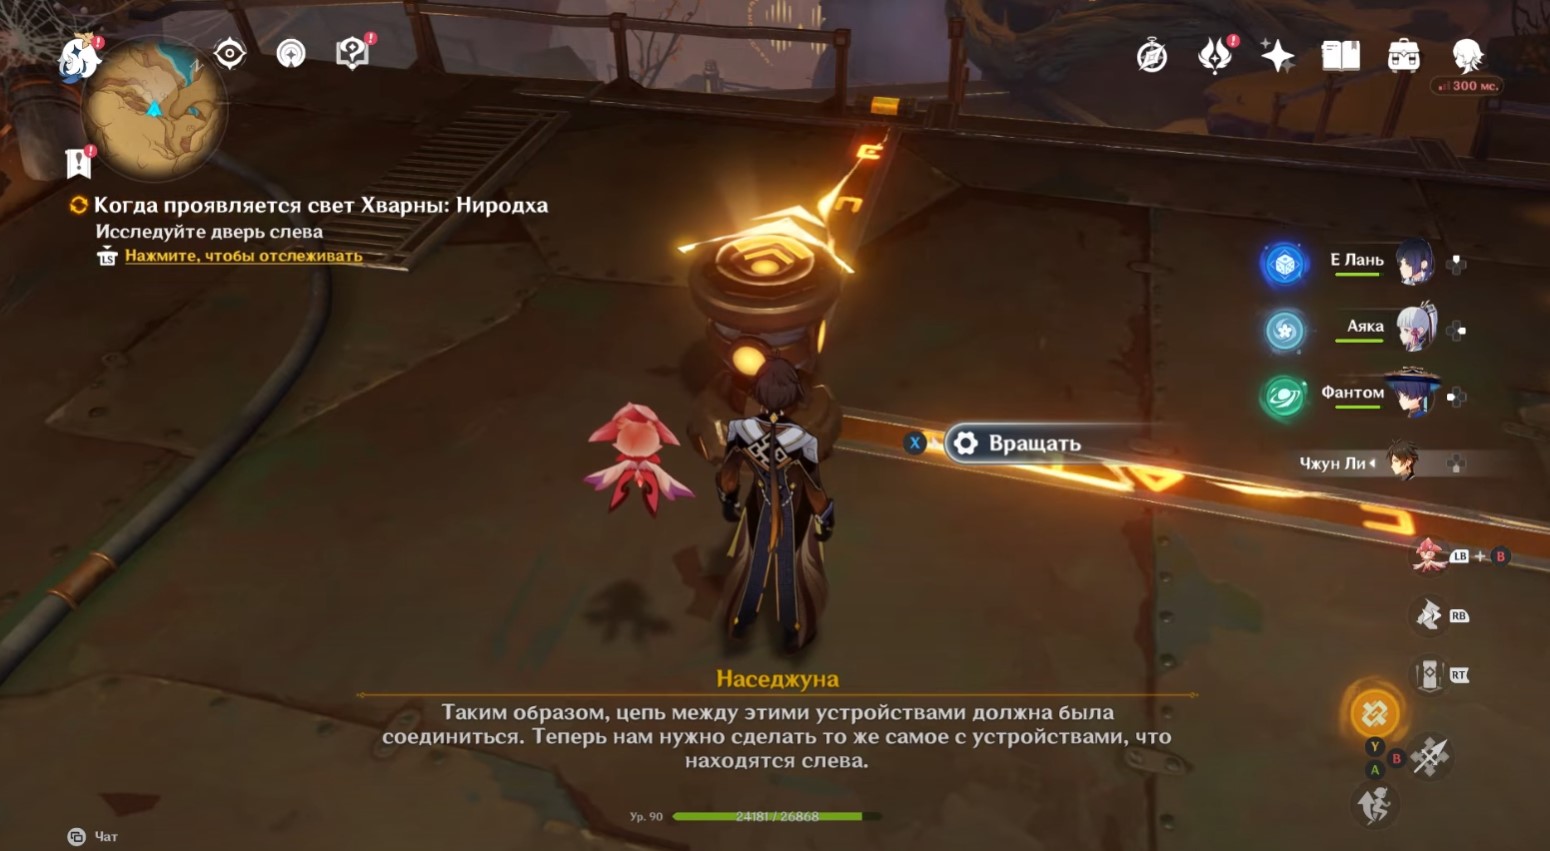
Nasejuna will give you a hint on opening the gate. If you are too lazy to listen to it, then just go to the device and follow these steps:
- Turn the top level once.
- Turn the middle level two times.
- Rotate the lower level once.
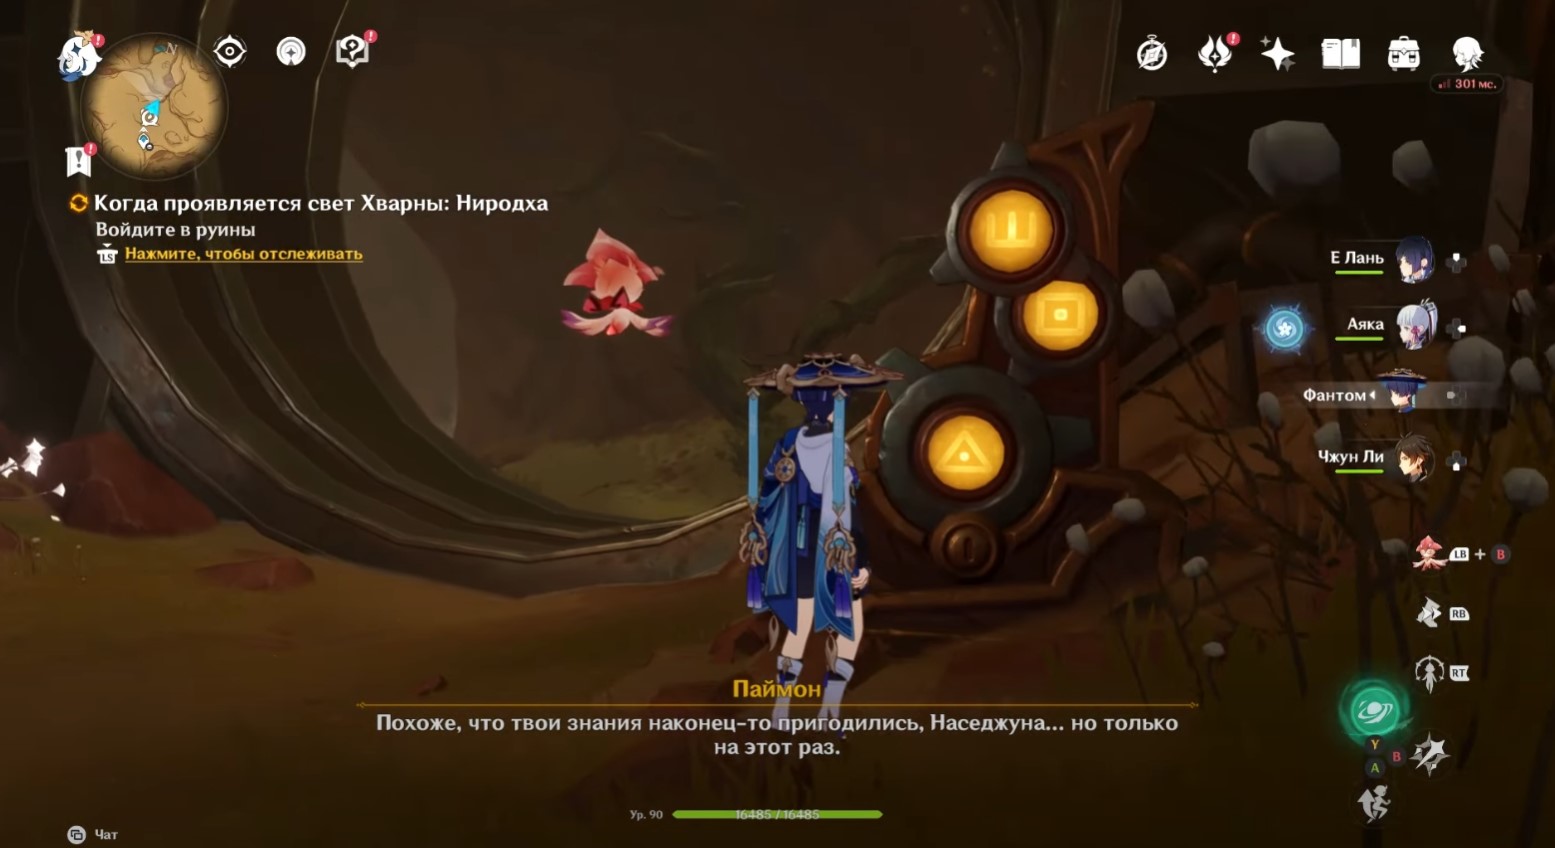
As a result, the symbols shown in the picture above should appear on the mechanism. If you did everything right, then the gate will open and you will be able to enter the ruins.
Where to find energy blocks
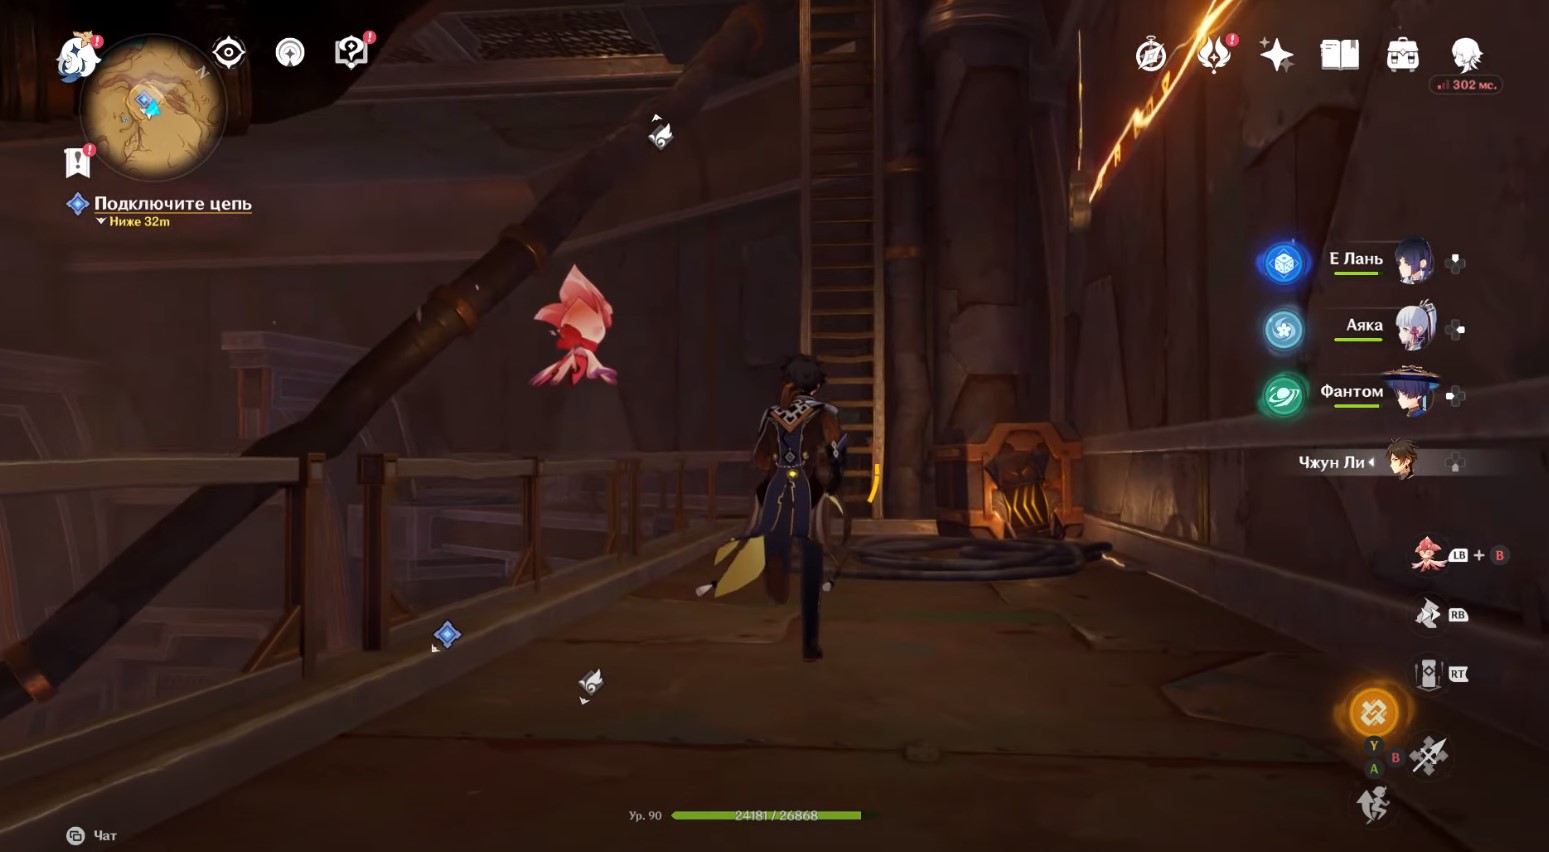
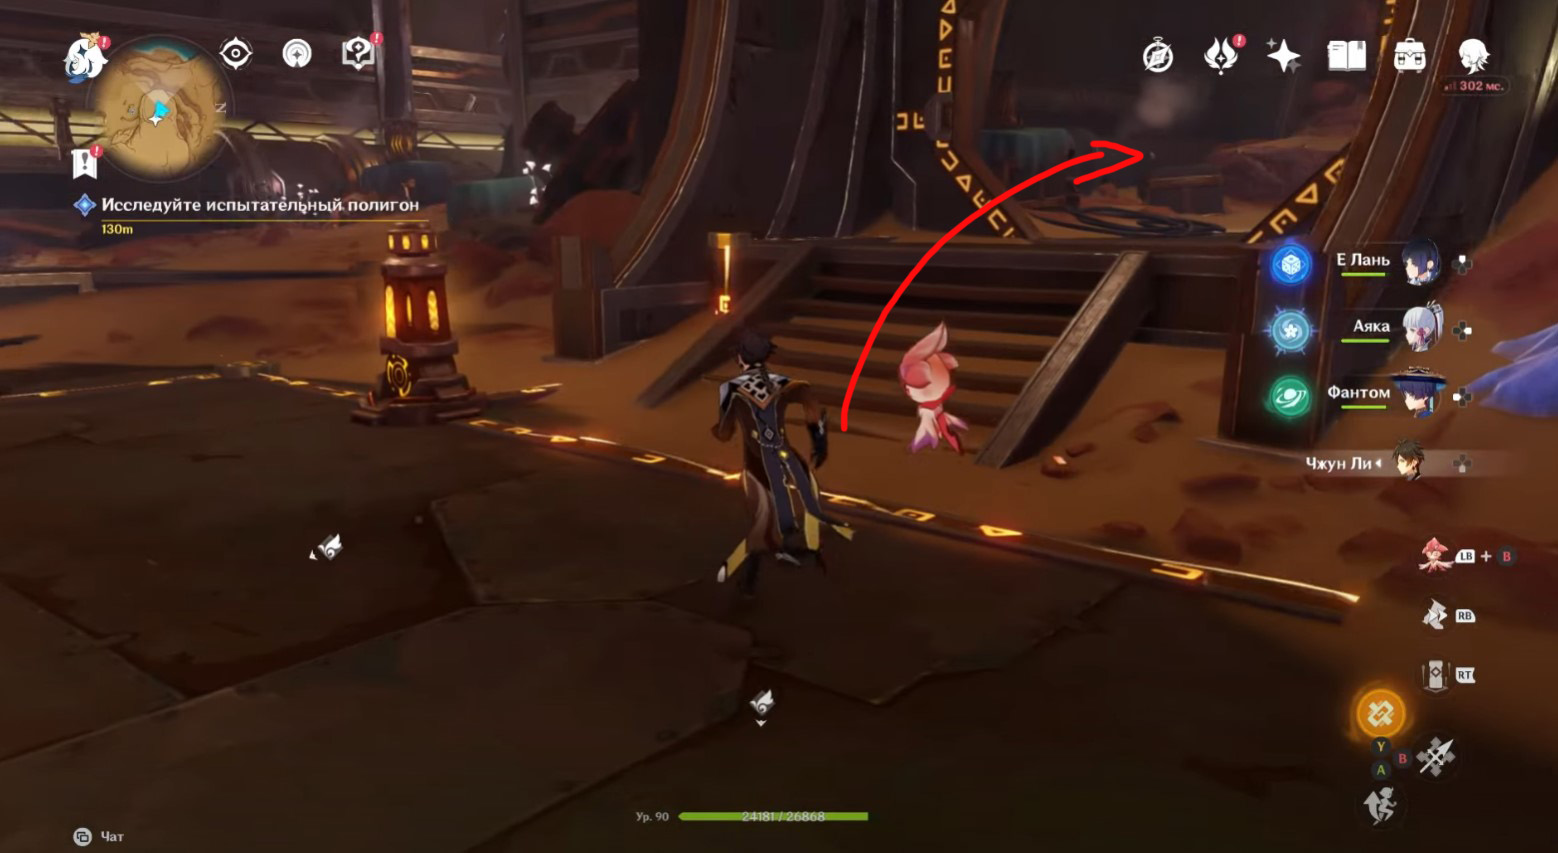
Go through the opened passage and enter the room with the mechanisms. After that, a new cut-scene will start. Nasejuna will inform you that you will need to find energy blocks to start the system. The route to them is rather confusing, so we will show it in detail in GIFs.
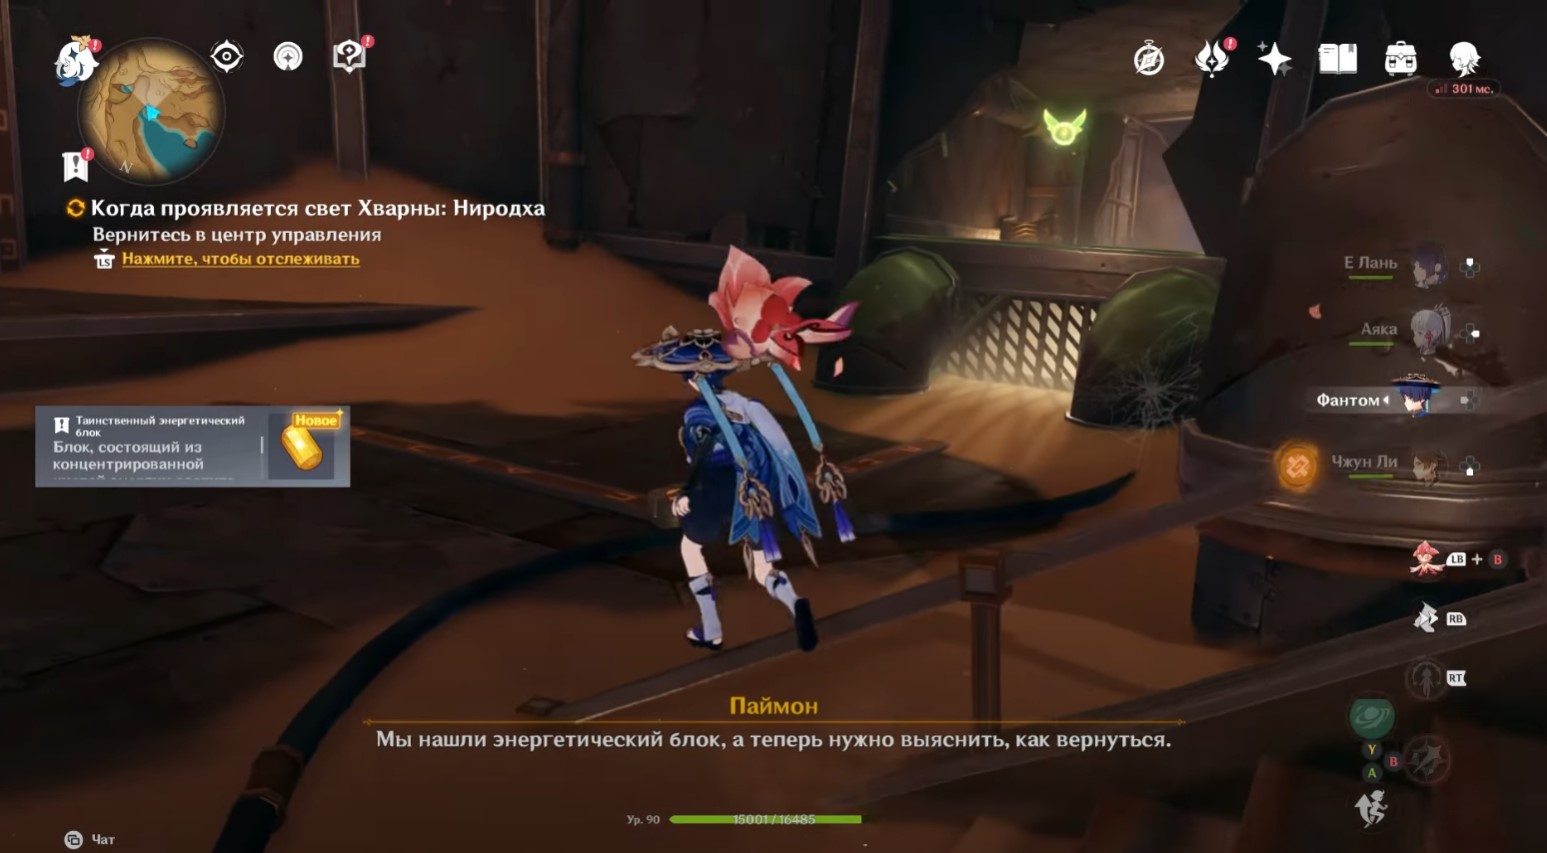
The necessary items are located in the far right wing of the complex, behind a closed door. This place is easy to overlook. So, go up the stairs located directly in front of Nasejuna and then turn left. Keep moving forward until the door closes behind you.
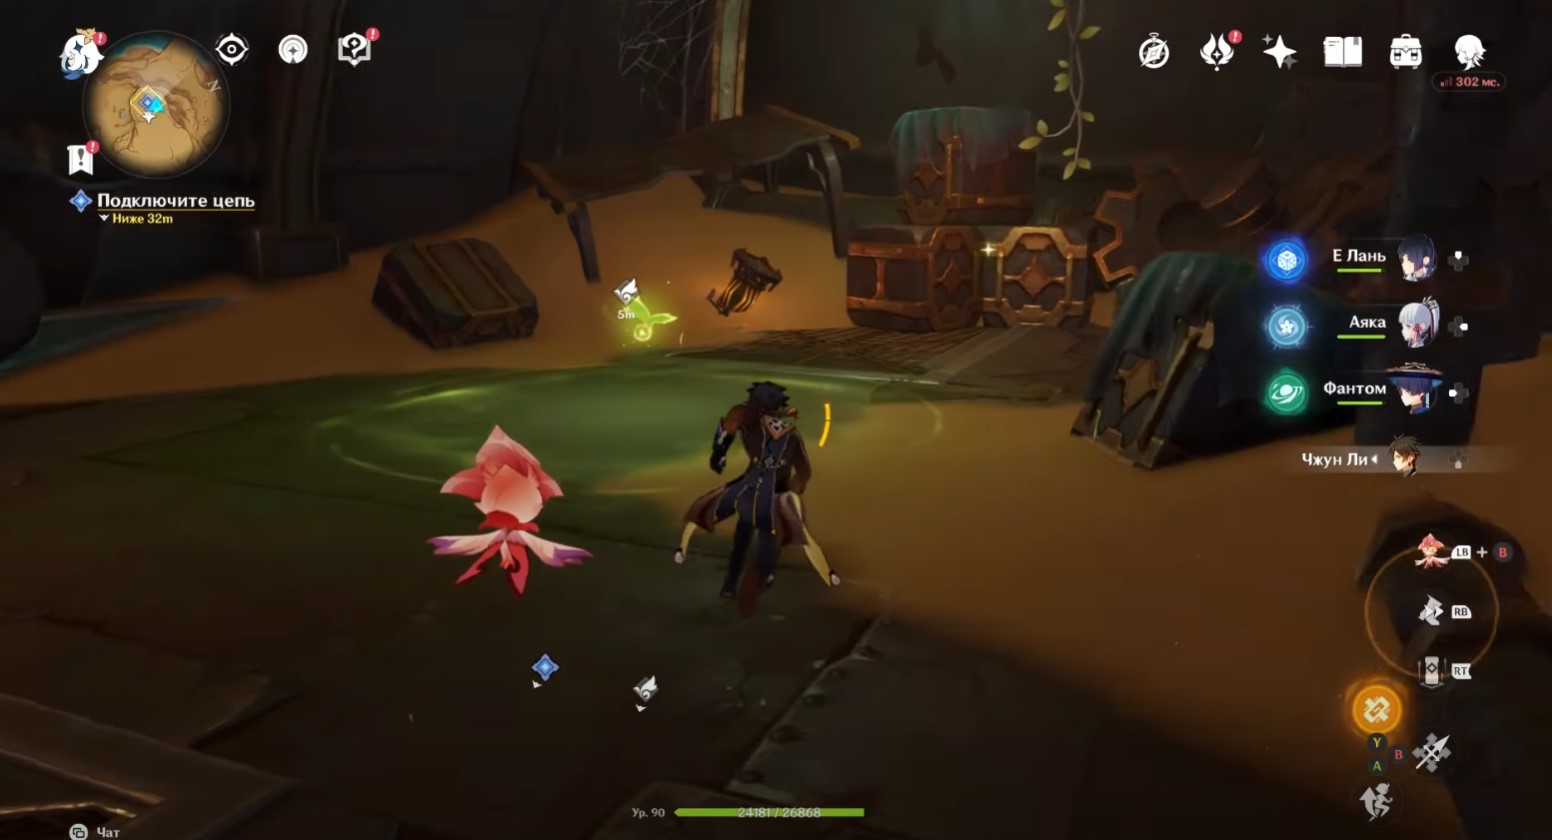
Continue on until you see a locked door on the left and a path on the right with a small pool and some monsters encased in gray crystals.
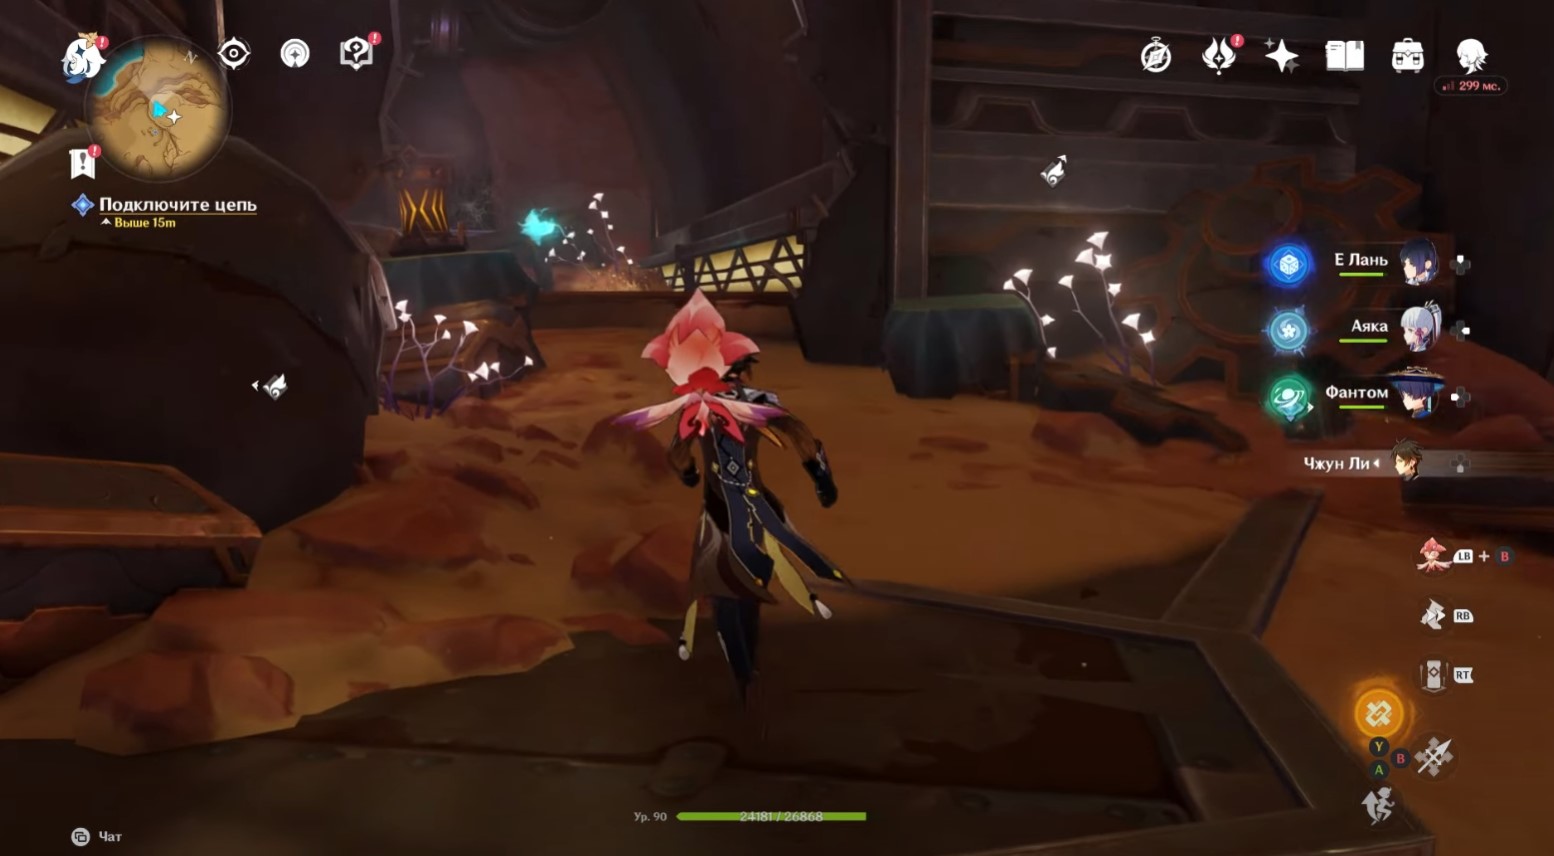
Move towards the crystals and enter the tunnel behind them. You will find a spirit core hanging over a huge gear.
Approach the green sphere so that it starts to follow you. Then approach the crystal-bound monsters and free them. Deal with the Hounds of the Rupture, open the rich chest and head With You the core to the locked door.
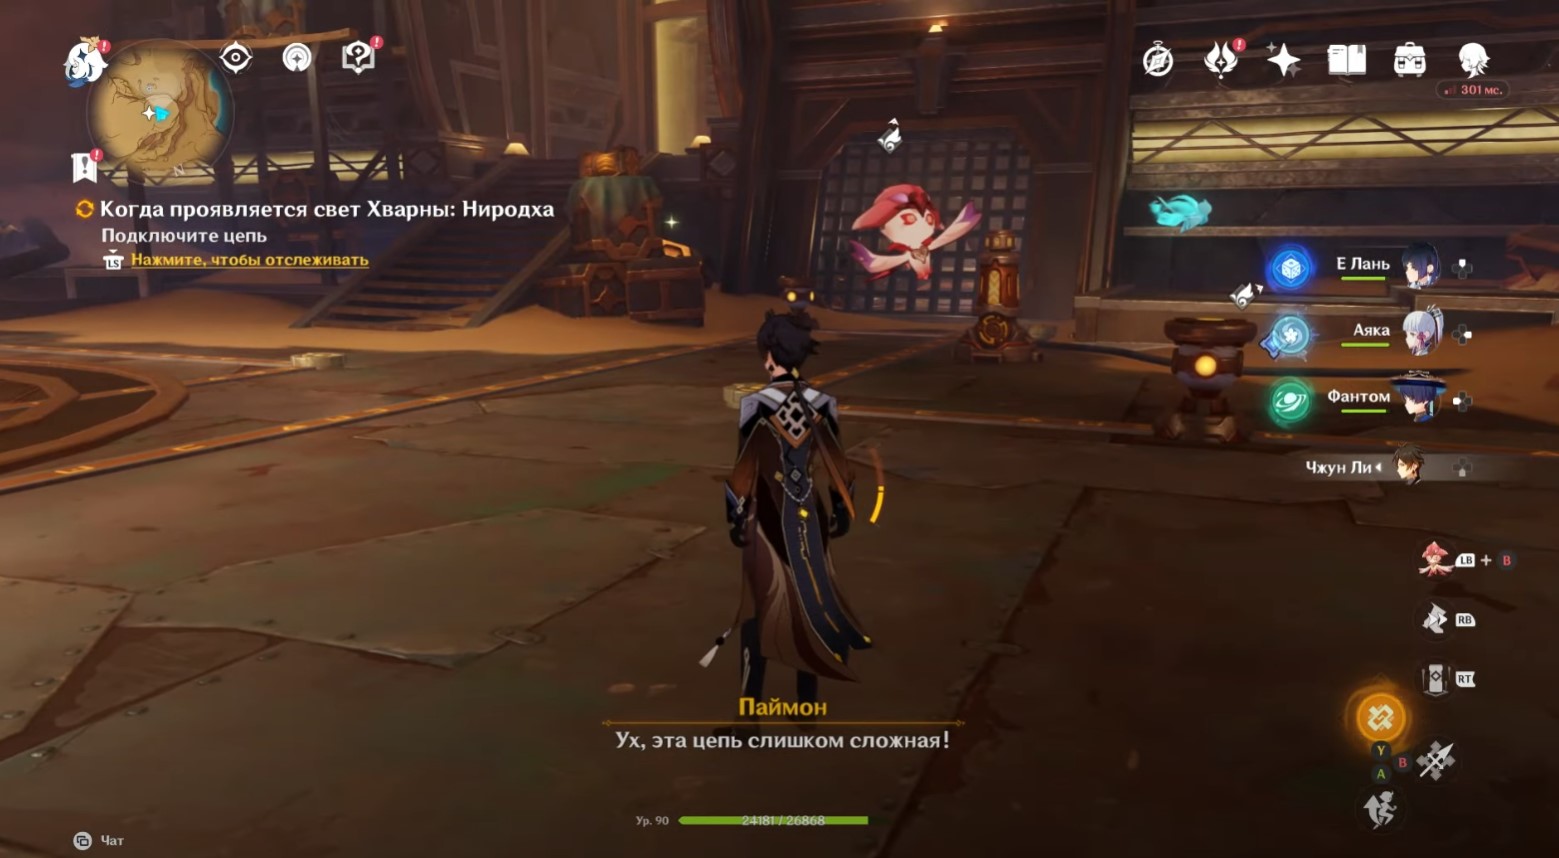
Use the power of Hvarna to remove the gray crystal blocking the console. Then interact with the switch to open the door.
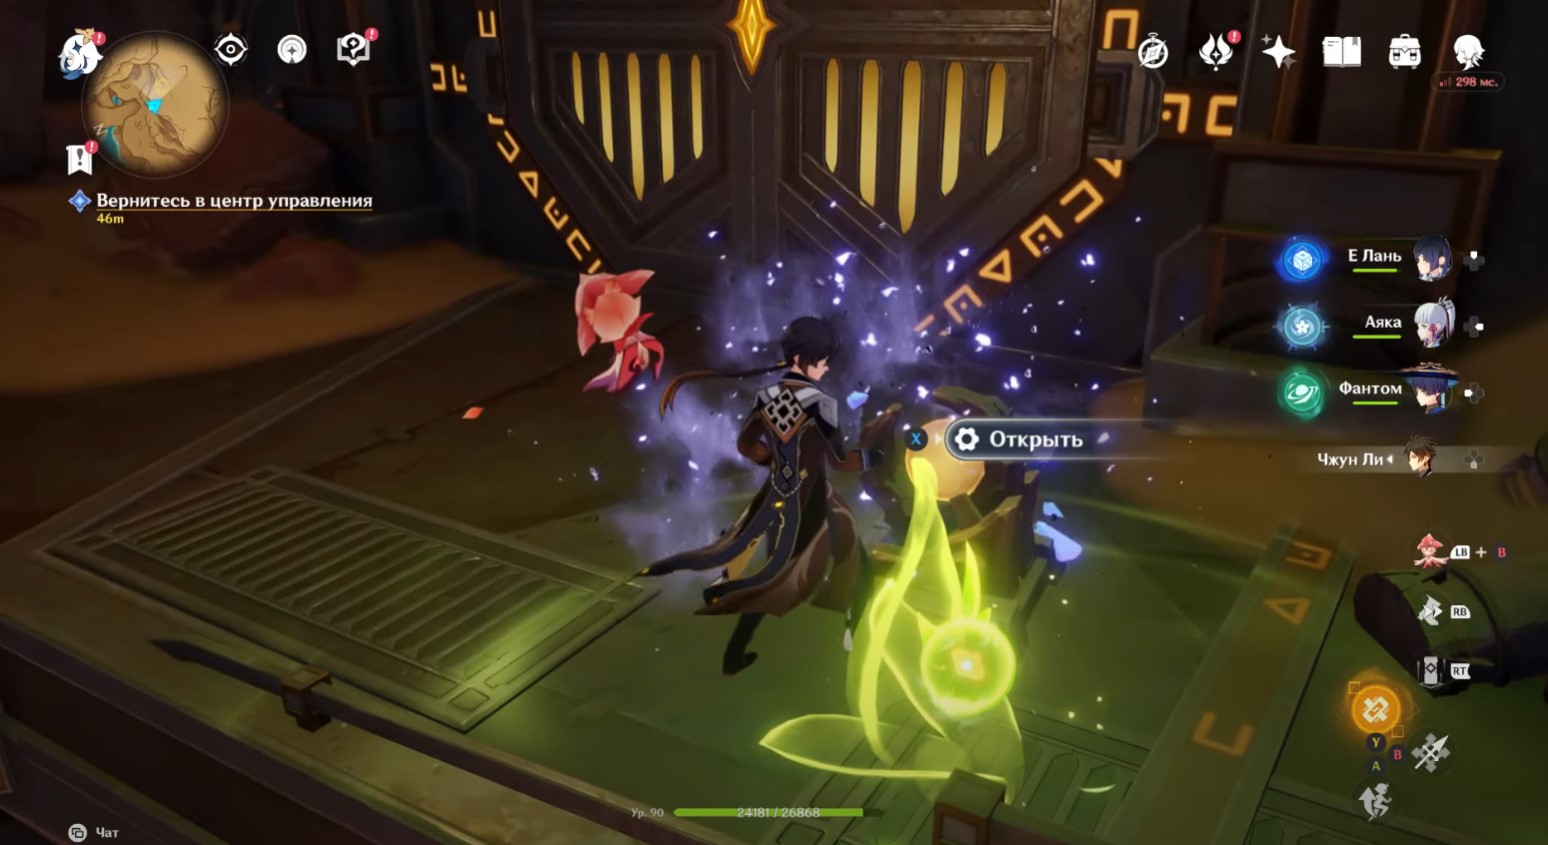
Enter inside the room and take the mysterious energy block, which lies next to the box.
Now follow the spirit core into the room on the right side.
Here you will find a closed door and a rune mechanism. You will again need to put the correct symbols on it. To do this, follow these steps:
- Turn the top level once.
- Turn the middle level once.
- Rotate the lower level two times.
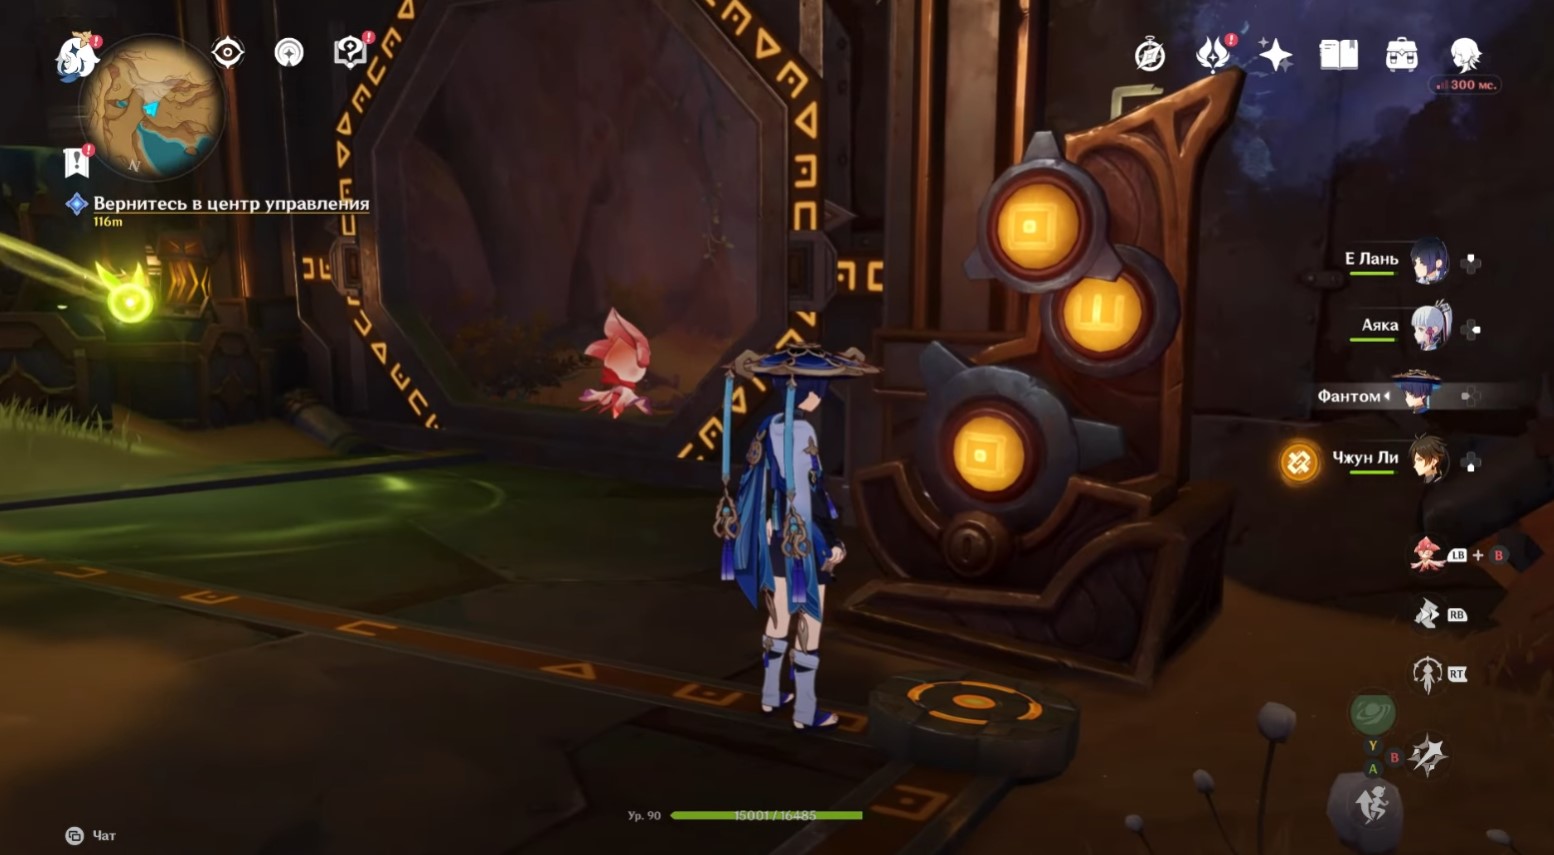
As a result, the symbols shown in the image above should appear on the mechanism. If you did everything right, the gate will open and you can go further. Turn left and go up the stairs. Deal with two guardians of the ruins and take the contents of the chest.
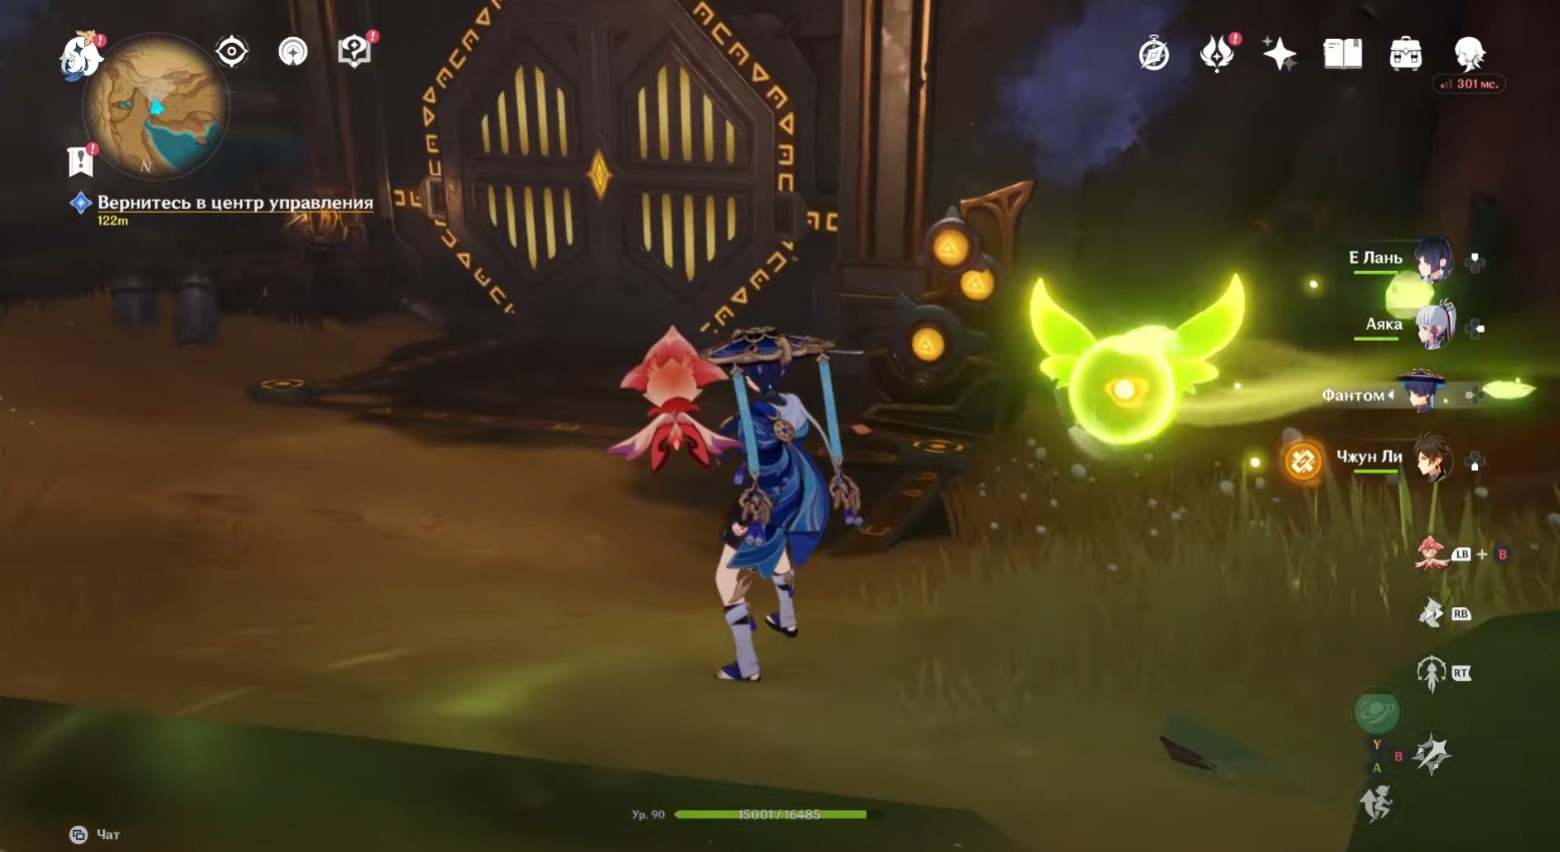
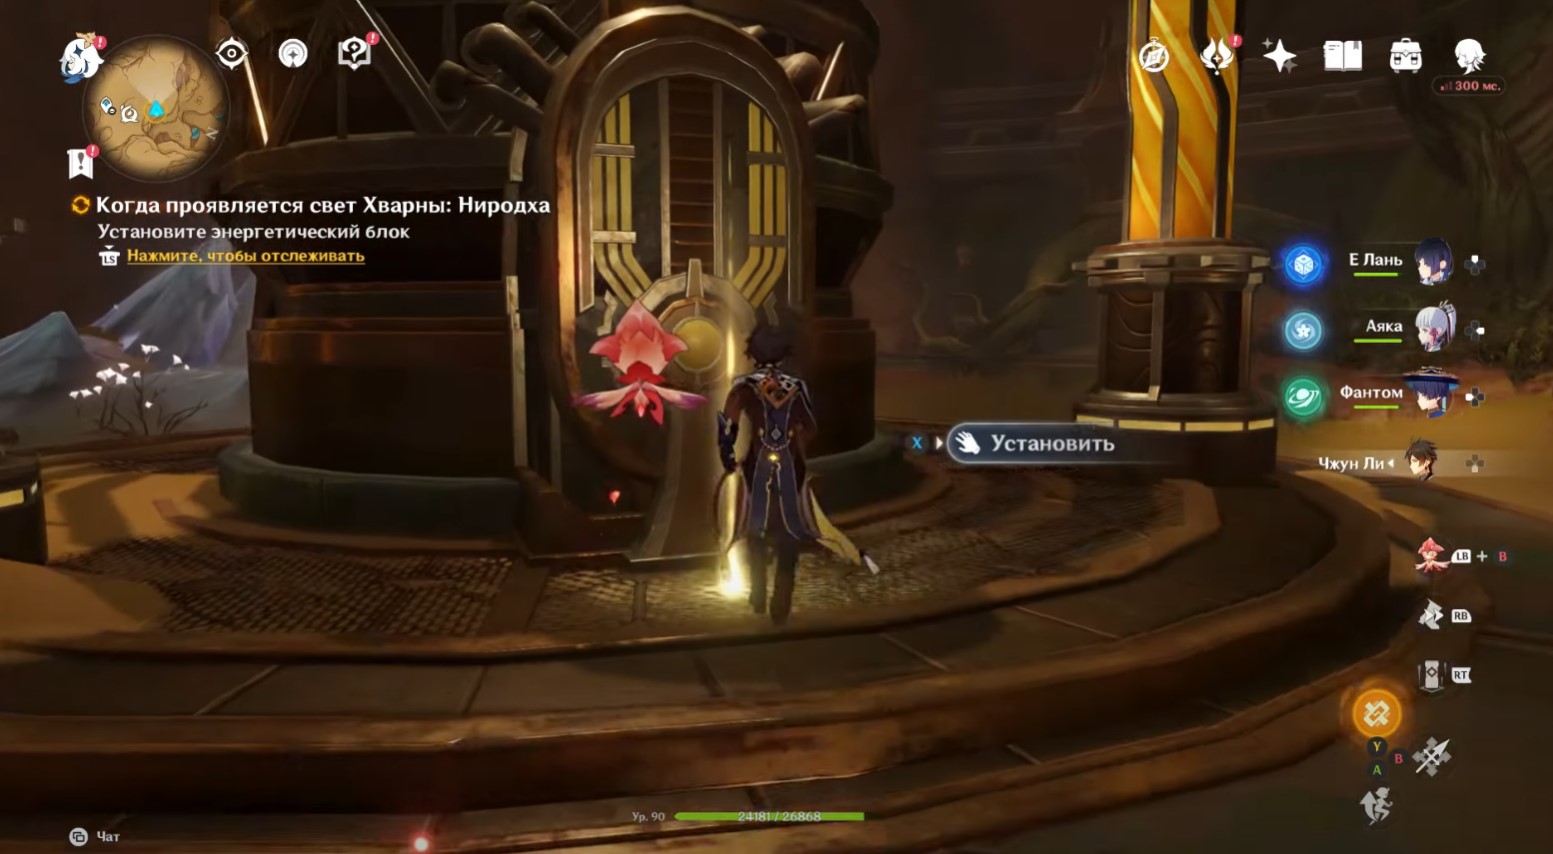
Continue leading the green sphere up. Unlock the console and open the door. As a result, you will return to the central hall. Chat with Nasejuna, and then install the power unit at the indicated point to charge the core.
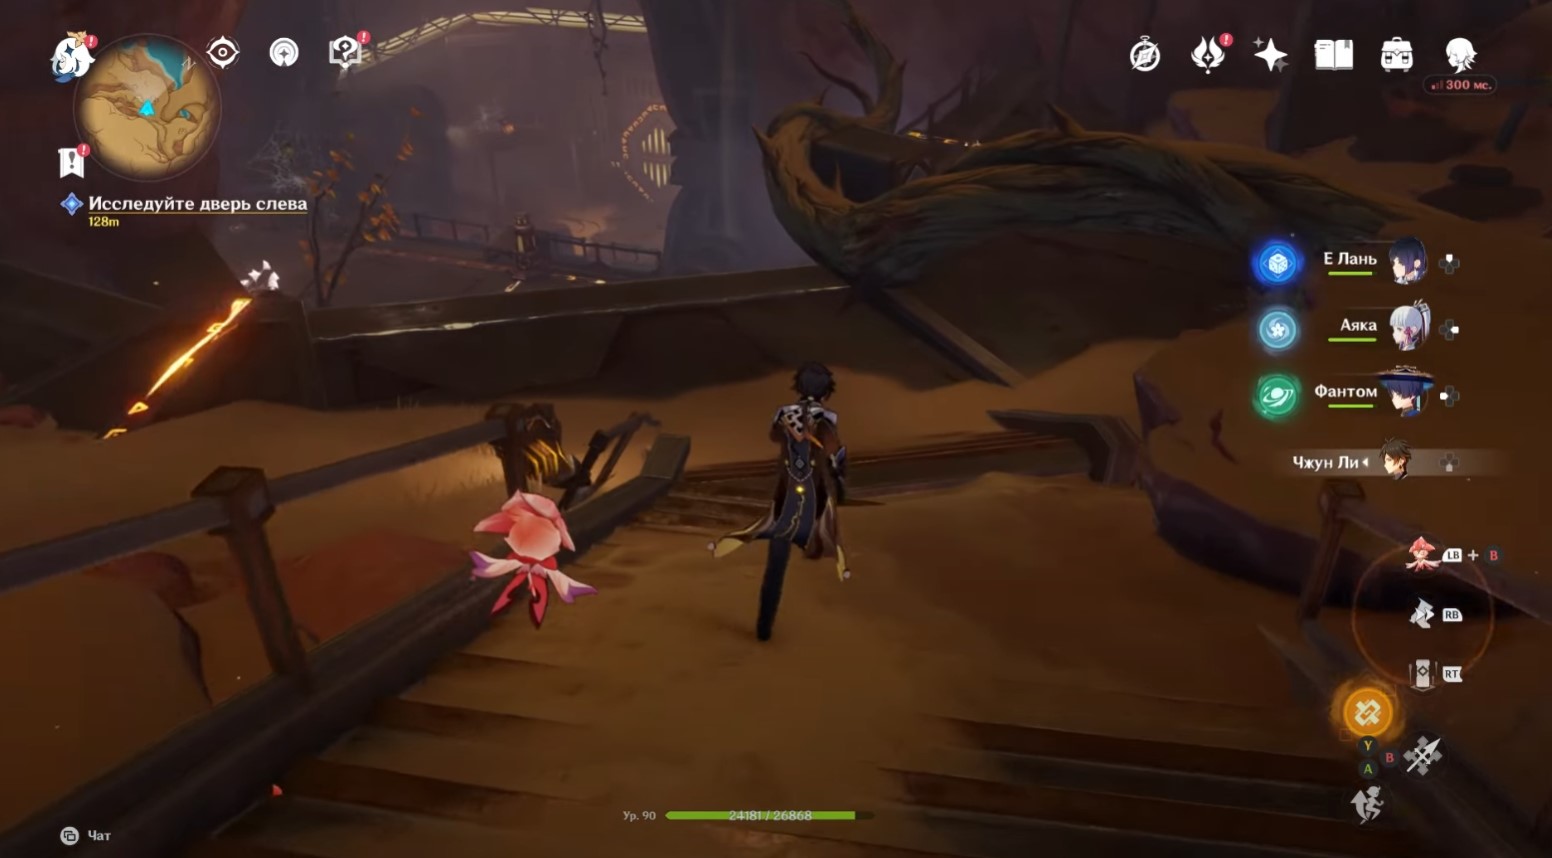
Return to the relay and examine the door on the left
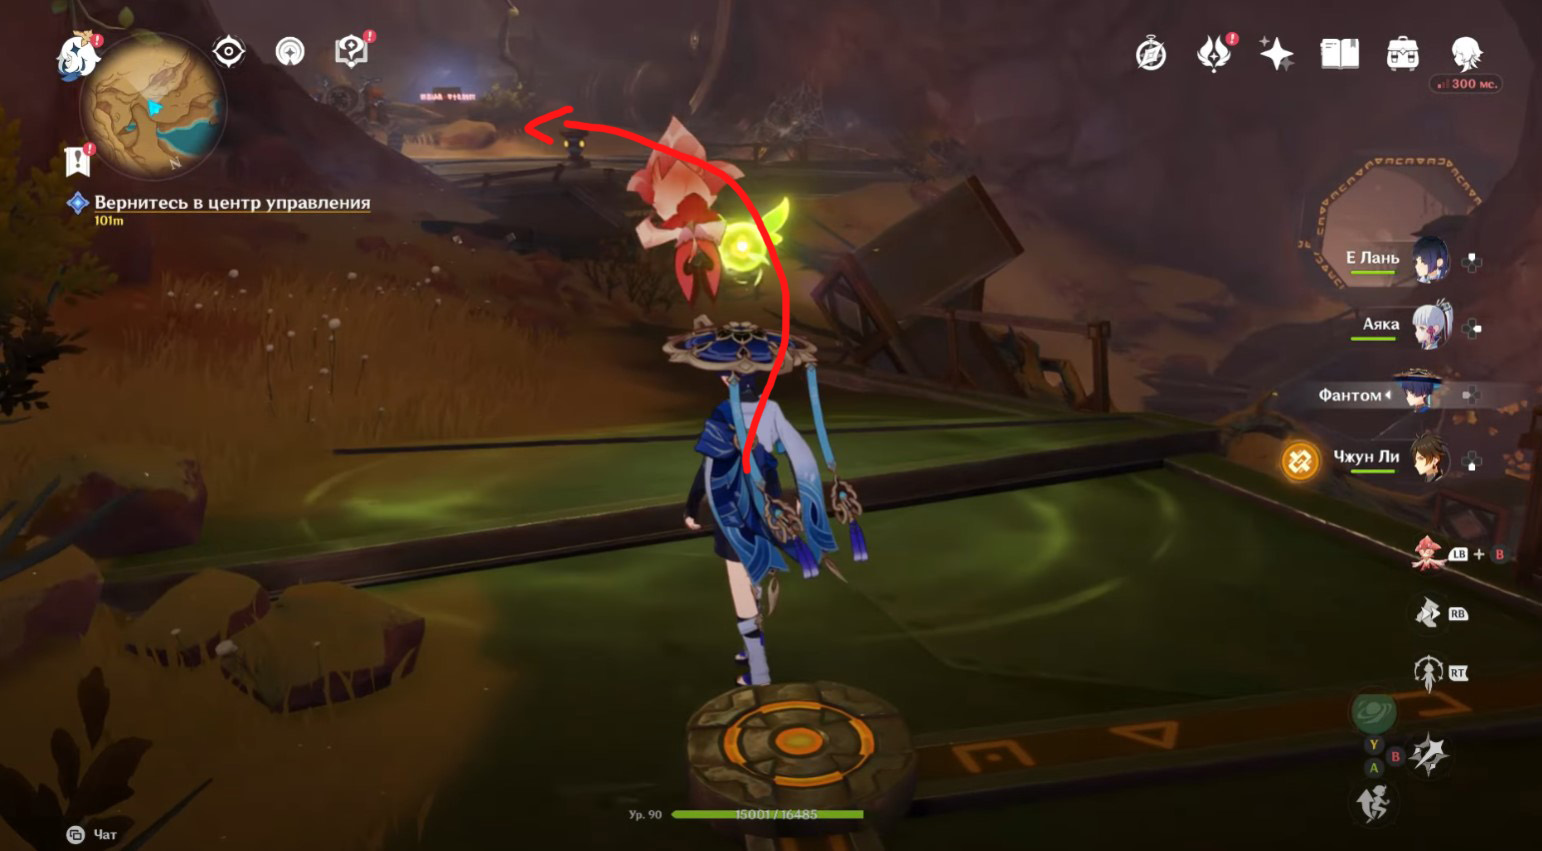
Go back to the room where you previously destroyed the two guards of the ruins. Watch the cutscene and then turn the transducer - its arrow should point in the same direction as the line on the floor (see screenshot below). As a result, you will unlock the door on the left side.
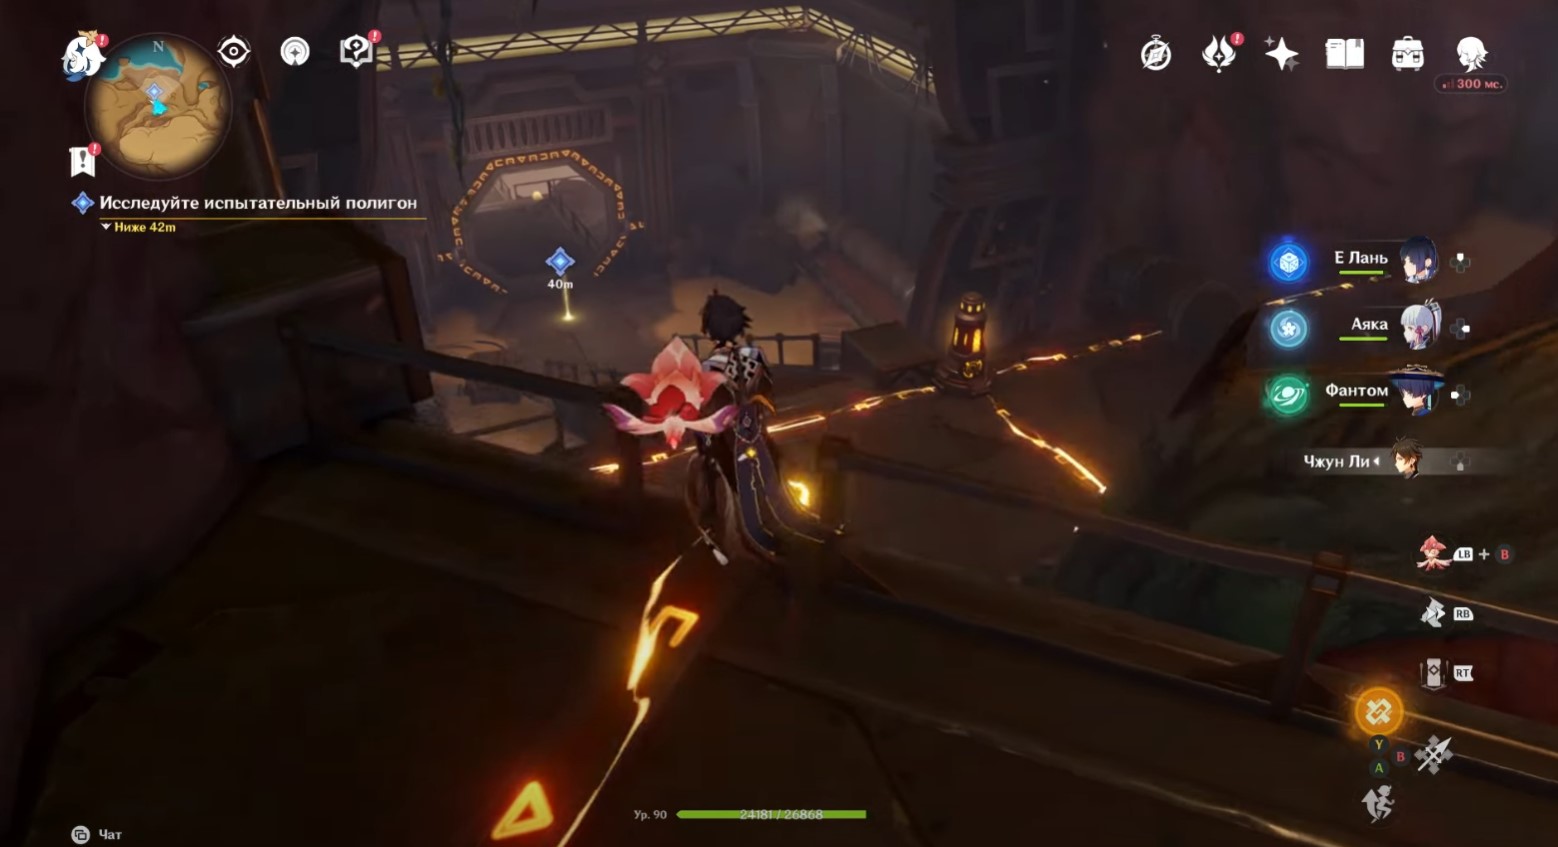
Now go down the stairs a little and turn into the left open passage. Go deeper into the tunnel until you come to a spacious new area with transducers and relays, some of which are blocked by gray crystals.
How to find the spirit cores and connect the circuit
Here you have to solve a difficult puzzle. To do this, you will first need to find green spheres to dispel the crystals, and then drag and rotate the transducers correctly. Let's start by collecting spirit cores.
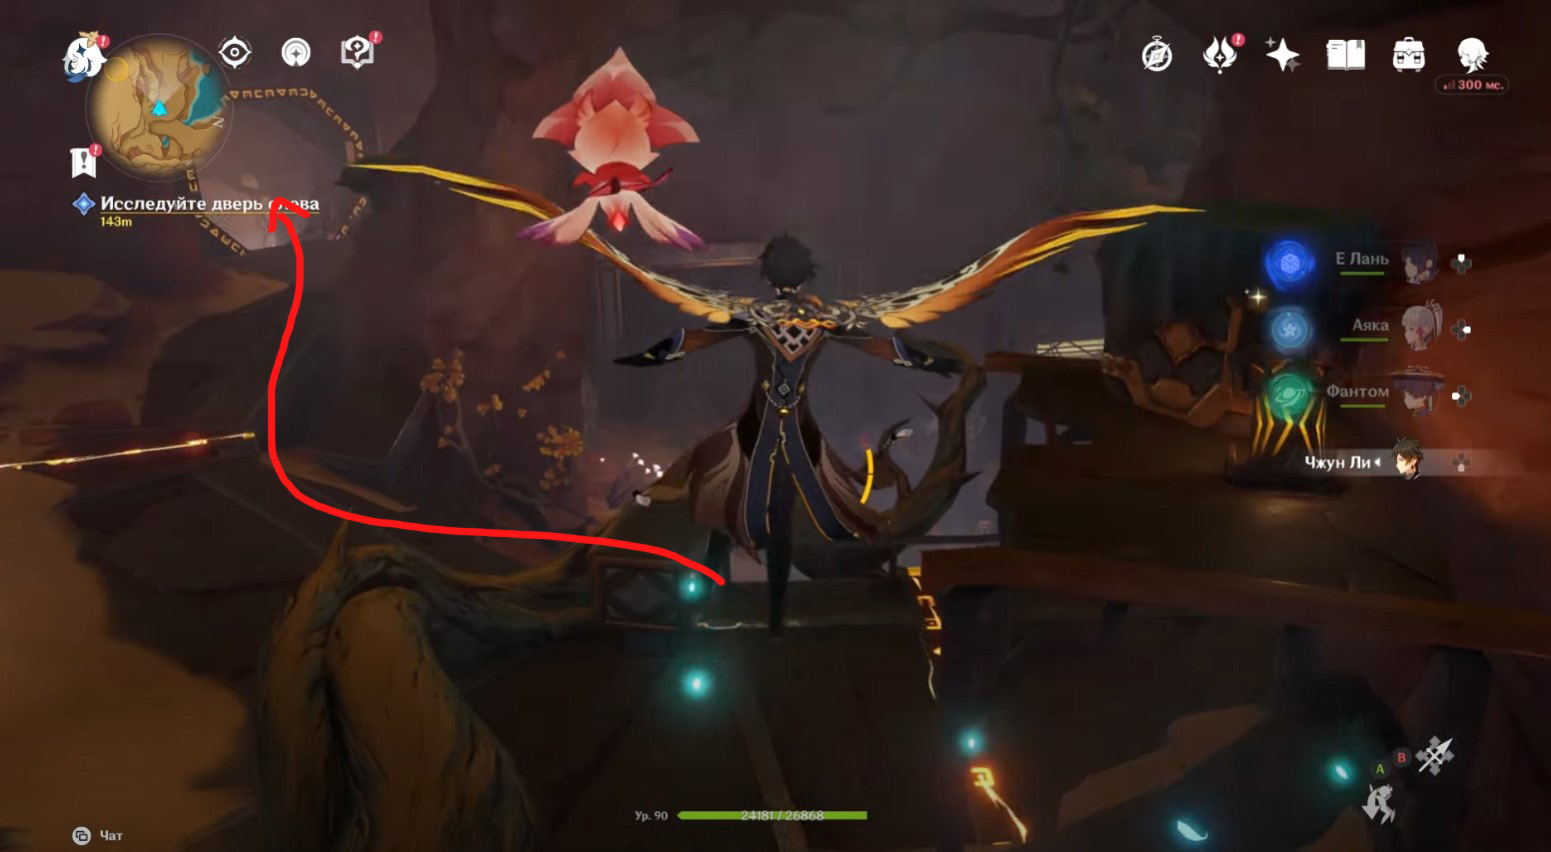
First core located on the top ledge on the left side of the room. Just go up the ladder in the far left corner, near which the fairy hovers. You have to climb two more similar stairs to reach the green sphere. After taking it, go down and place it between the two transducers next to the ladder, as shown in the screenshot below.

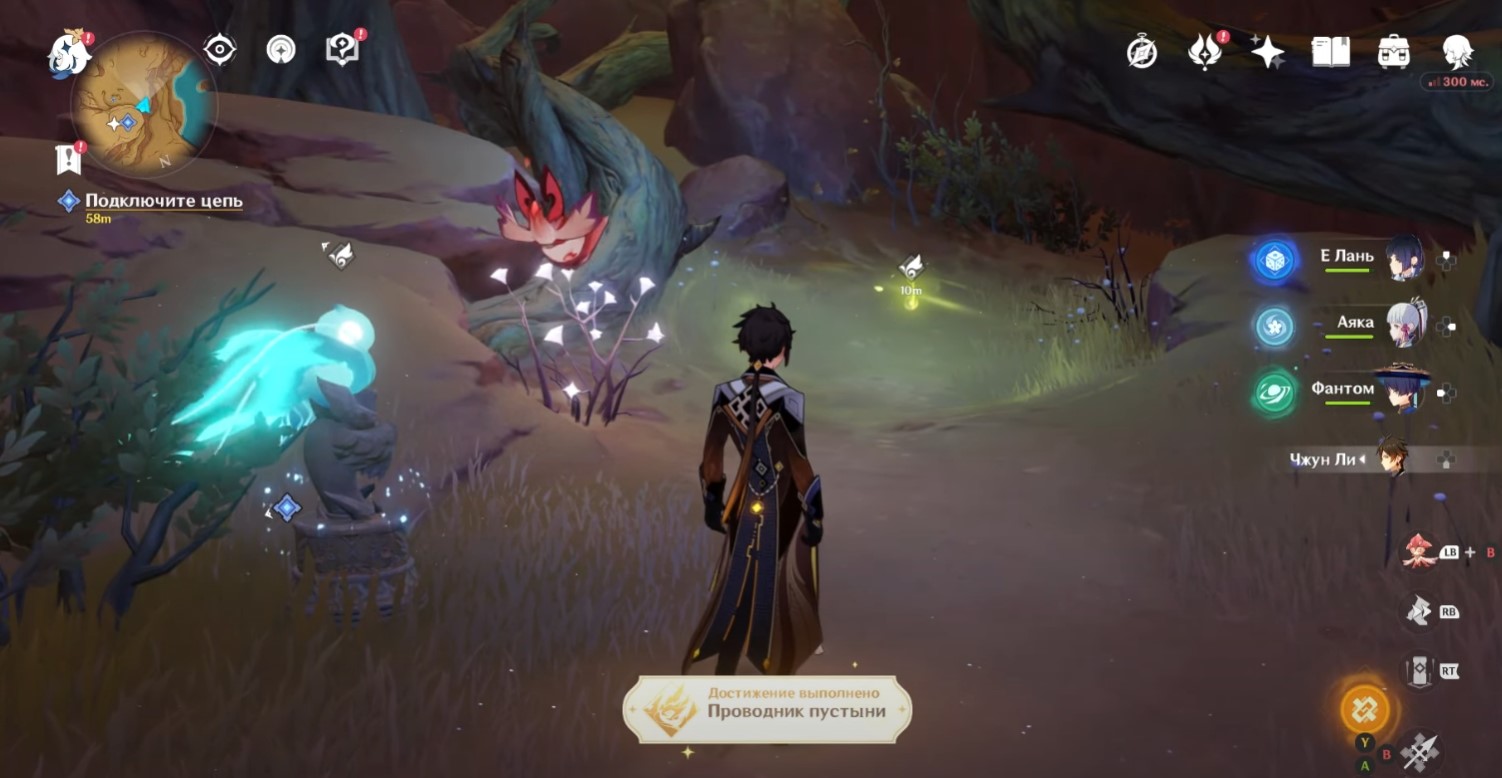
For finding second core look for the second fairy to the right of the lattice door. Approach it and proceed into the tunnel. Move to the very end and you will find a sphere here. Take it and return to the main hall. Don't forget to open the regular chest before this one. Then place the spirit between the two transducers shown in the picture below.
You will now need to rotate the transducers correctly in order to connect the circuit. The first picture below shows all the necessary steps for this. The second diagram shows exactly which directions the arrows on the mechanisms should look (it will help you if you have already turned the mechanisms). Next, we'll take a closer look at all of your GIF steps.

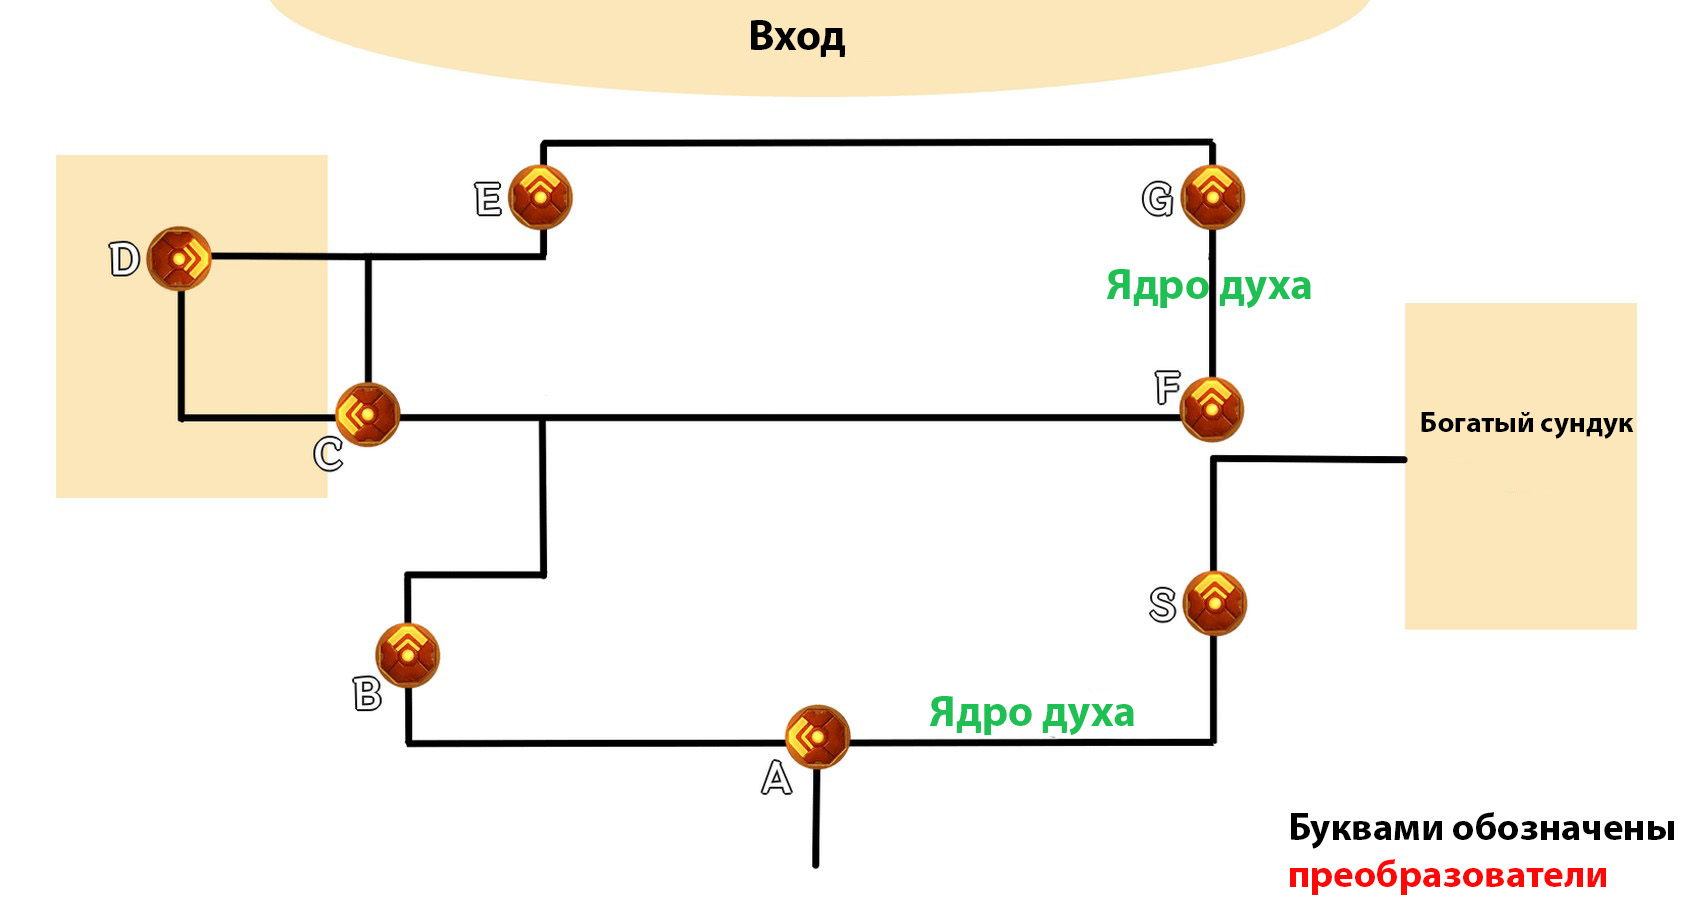
Turn converter "A" once, and then turn "S" three times to get a rich chest behind the opened passage on the right. Now go back to "A" and rotate it two more times.
Run up to transducer "B" and turn it once.
Run up to the "C" converter and turn it twice to open the grate near it - this will give you access to the "D" mechanism.
Step inside and turn transducer "D" once. Return to "C" and turn it three times.
Then go to the "E" transducer and turn it once.
Now approach the "F" transducer and rotate it twice.
At the end, go to the “G” transducer and also twist it twice. As a result, you will open the desired passage.
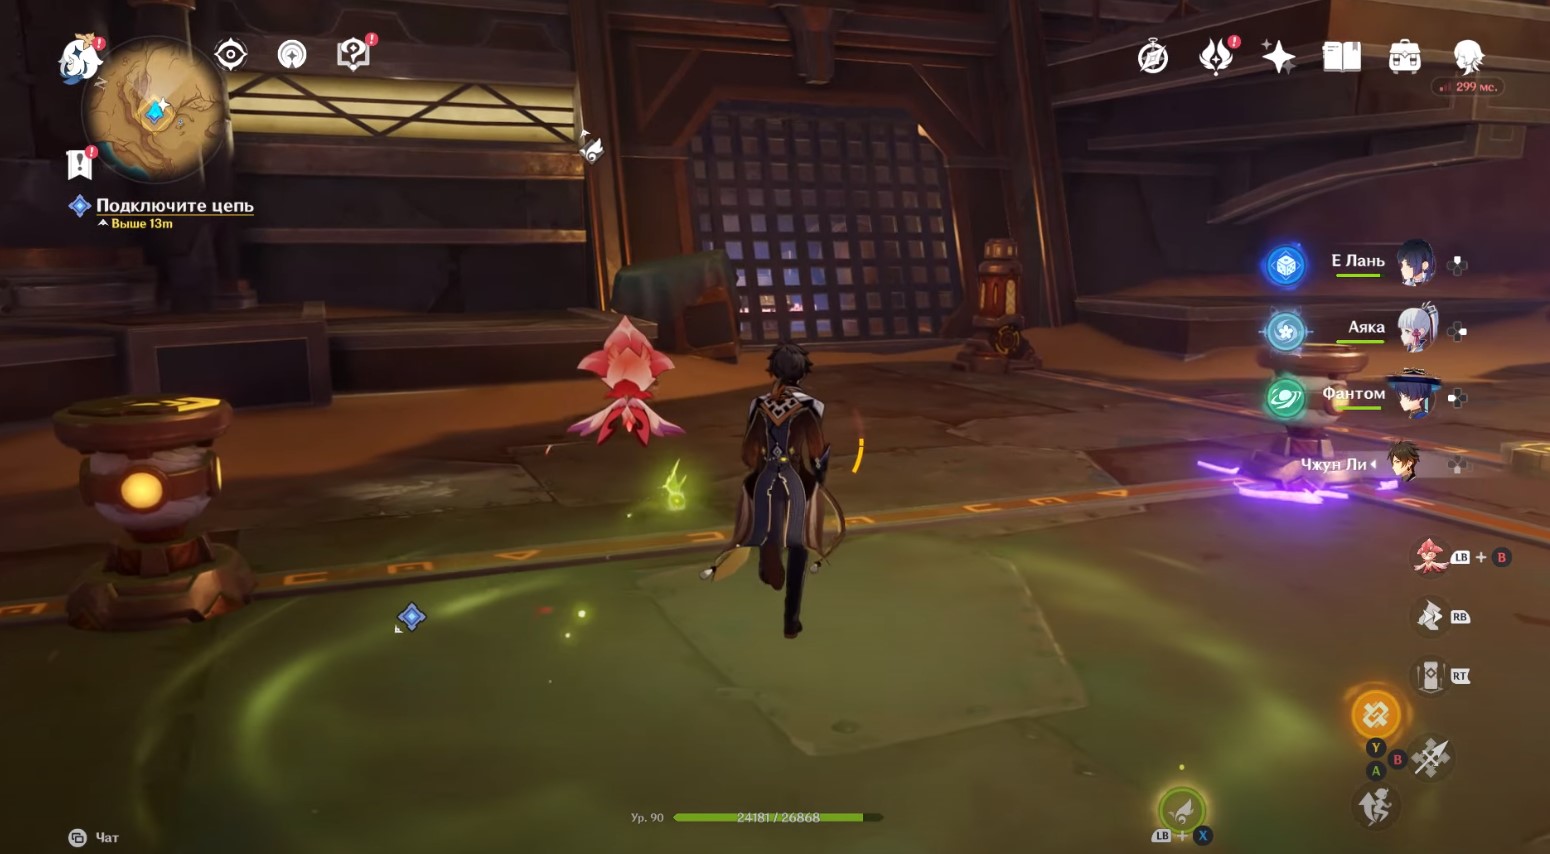
However, before you go there, go to the right side of the room (if you stand with your back to the main entrance) and take the elevator. Ride it to the top level. There you can go to a room with a rich chest, dendroculome and two Ruin Guardians (you may have seen this location before when finding the first spirit core).
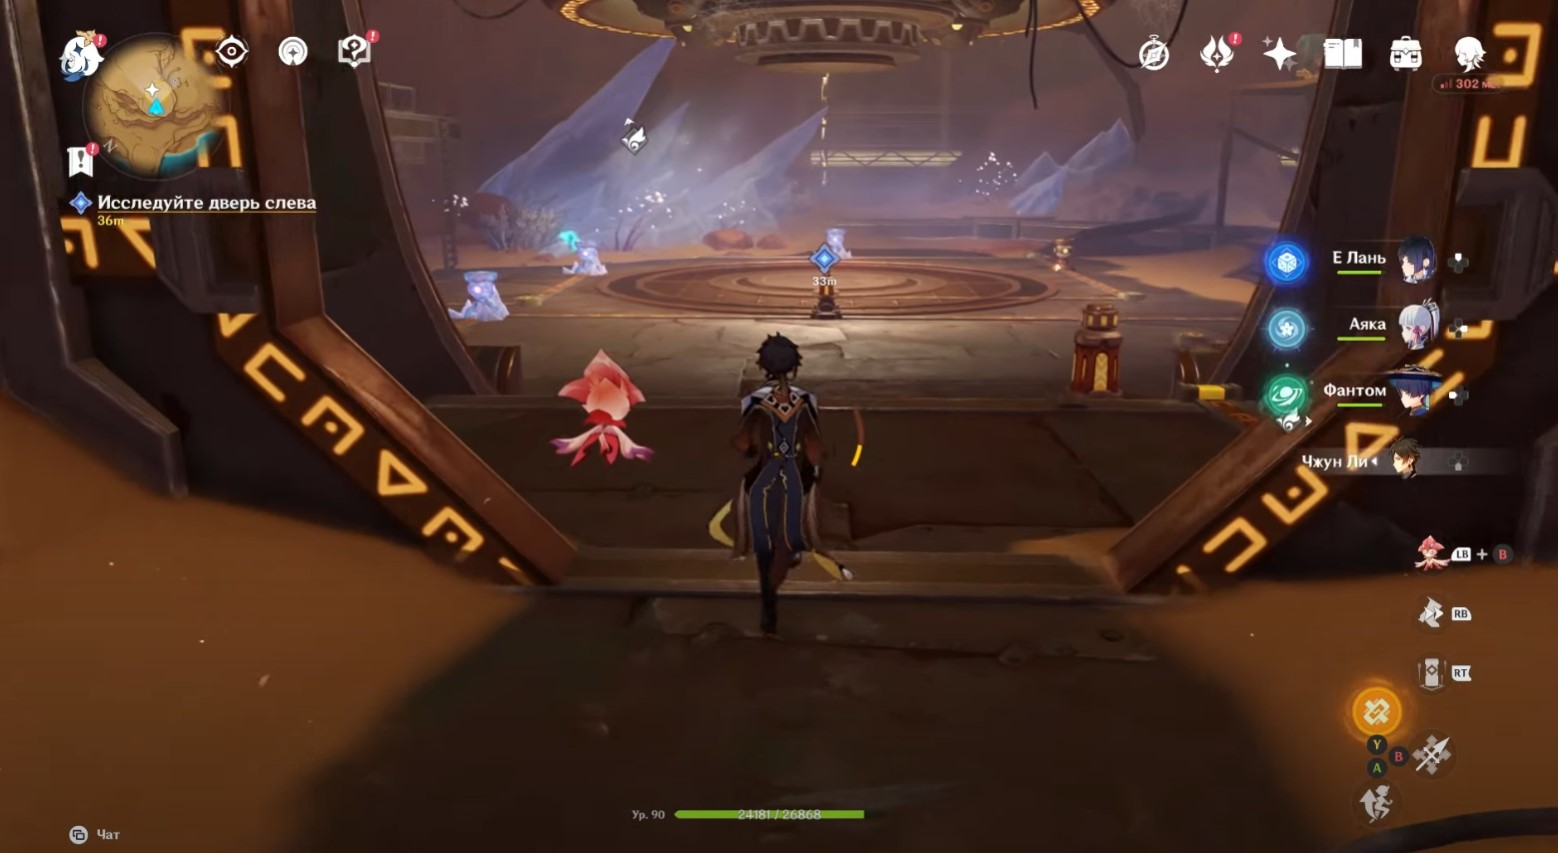
Explore the testing ground and activate the ruin cannon
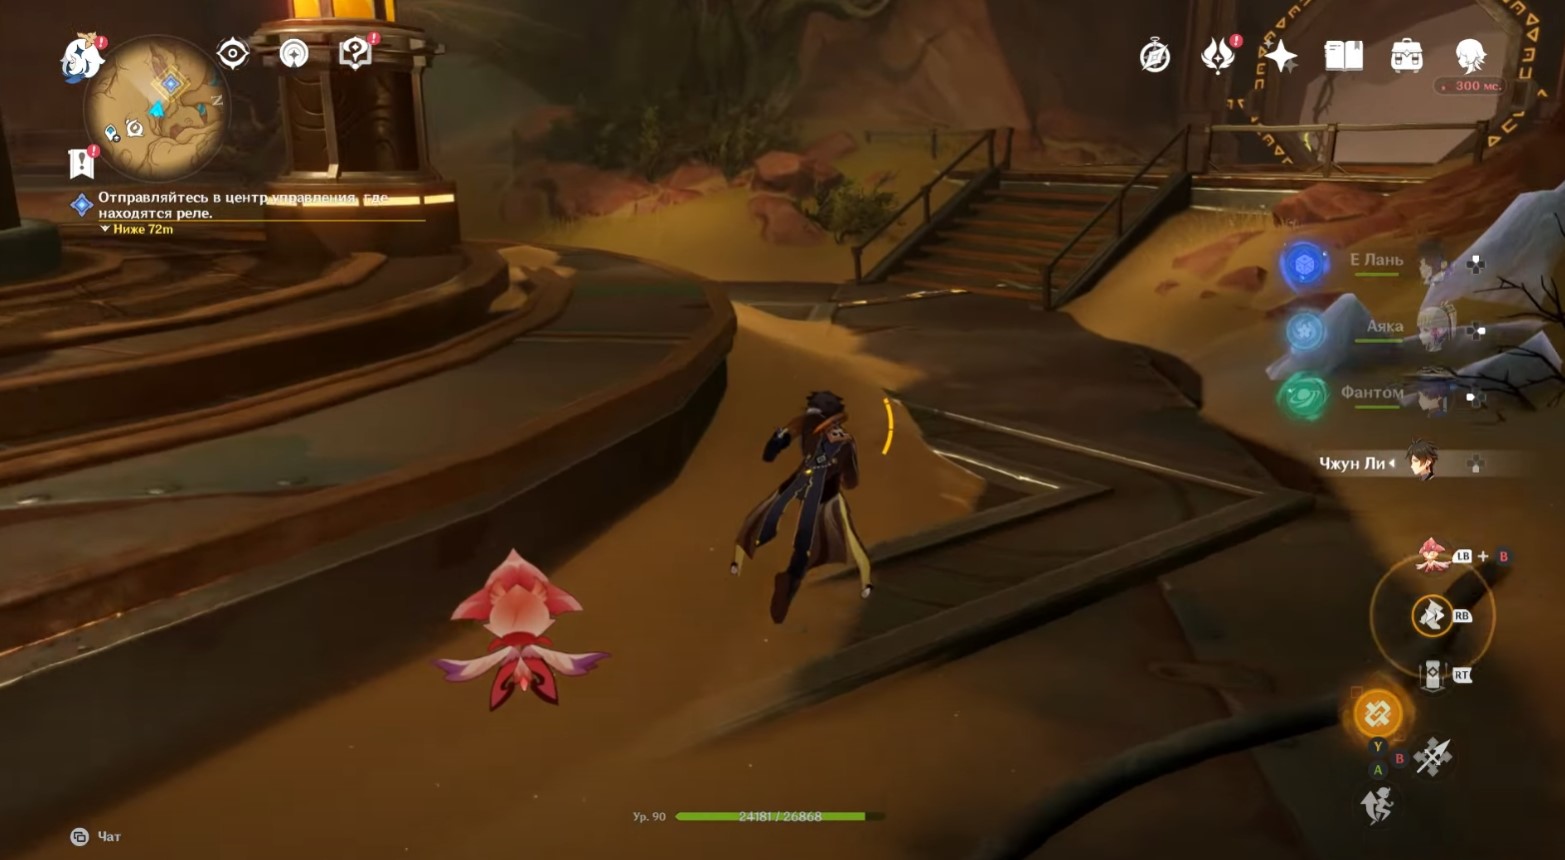
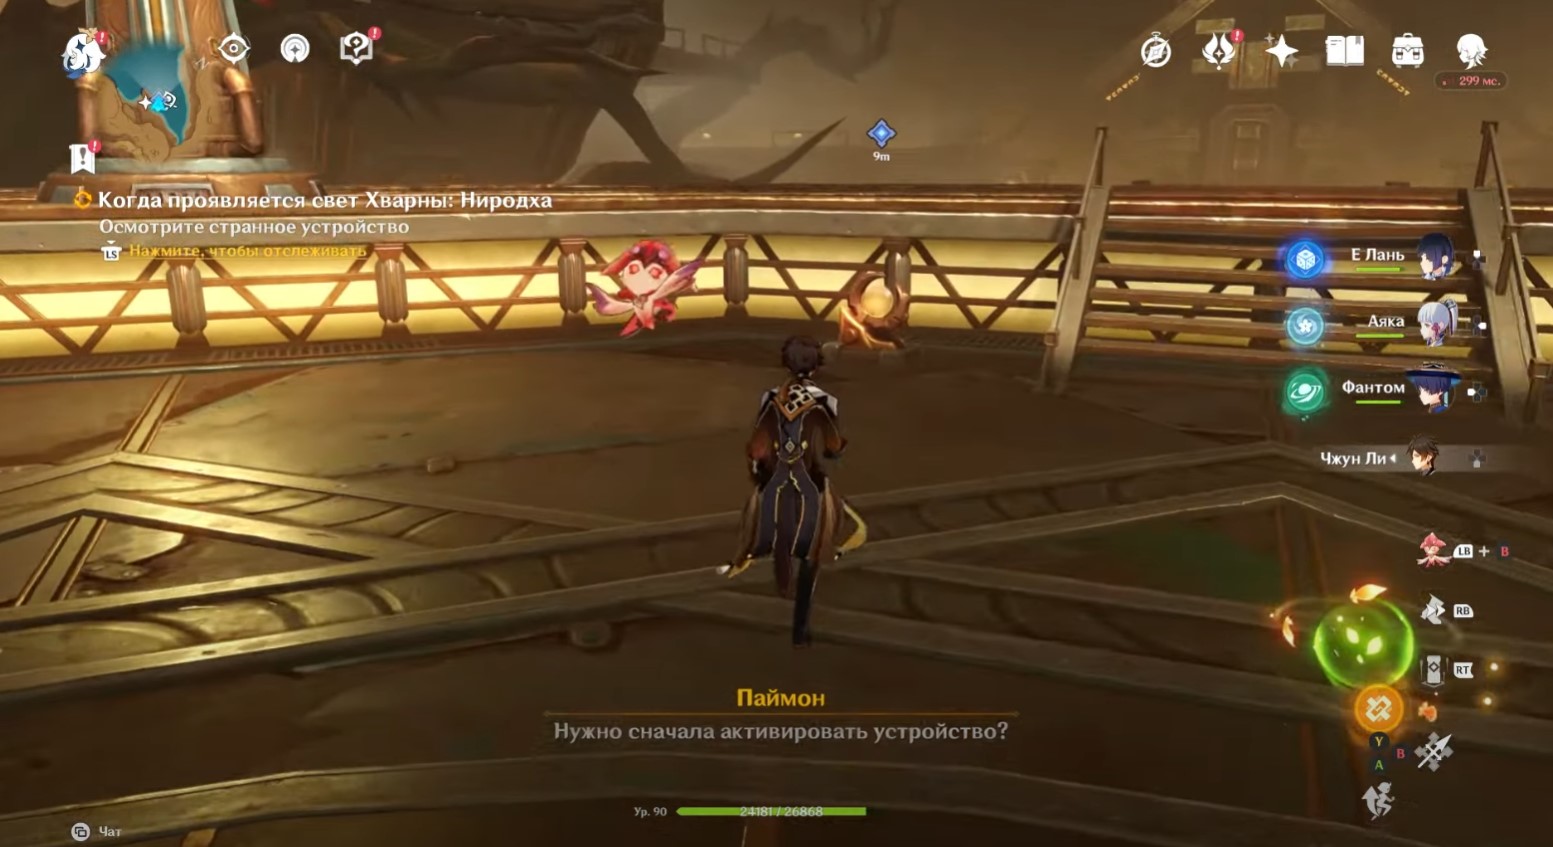
So, go through the passage that the game will point you to. Climb up the tunnel. Exit to a familiar area and turn left. Head down the stairs to the quest marker. Chat with Nasejuna again and go to the test site.
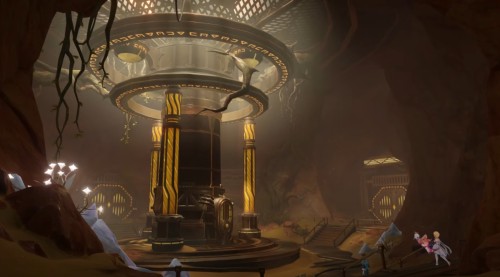
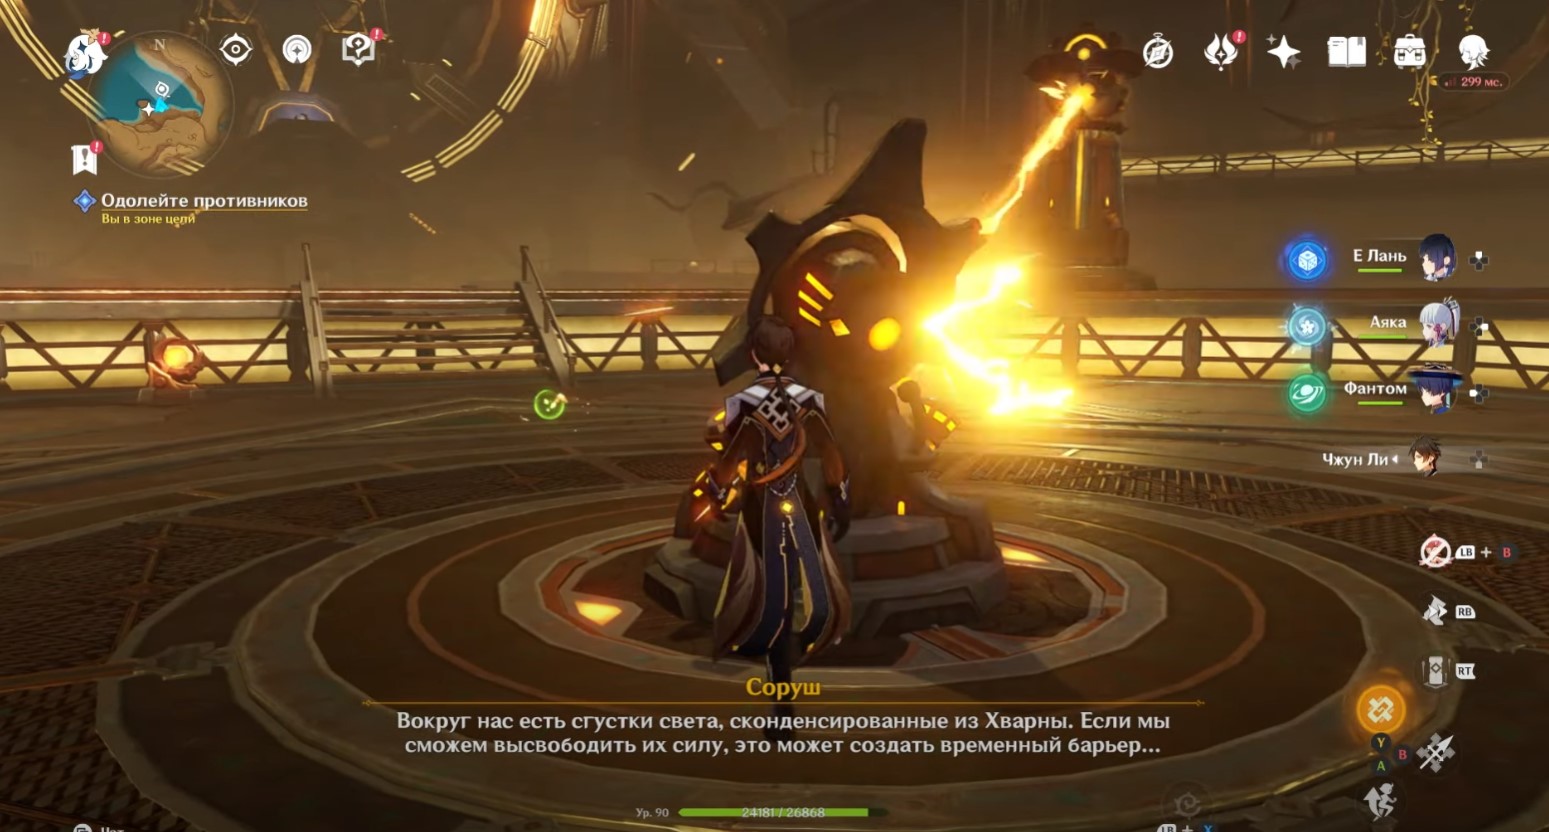
Go to the center of the arena and examine the device that the marker will point to. Watch a new cutscene showing the Ruins Cannon. Before interacting with the weapon, we advise you to prepare well, as a battle with strong automatons will await you next.
How to defeat opponents
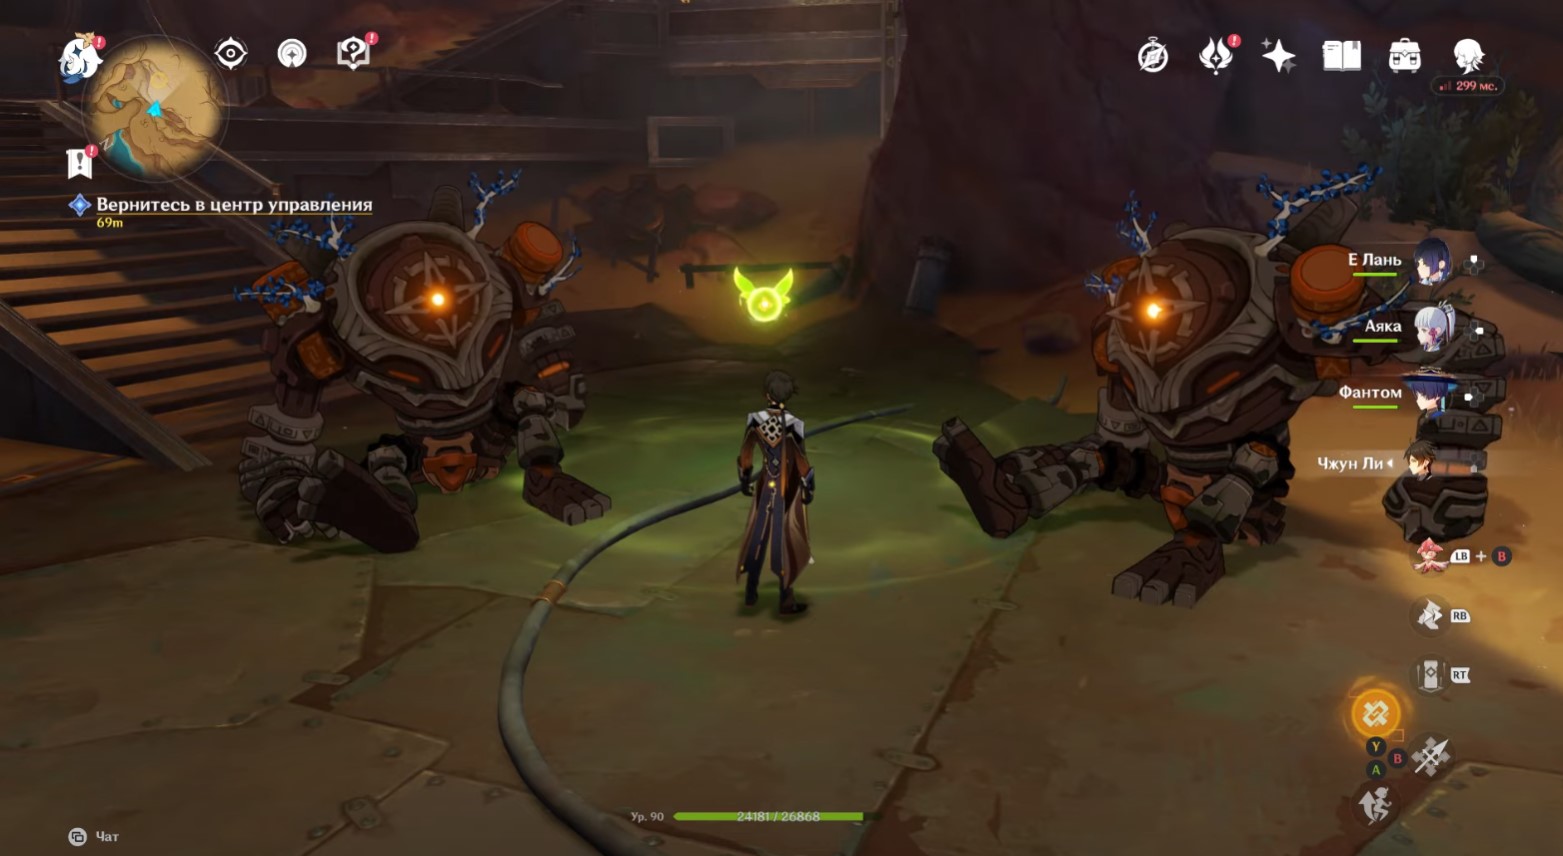
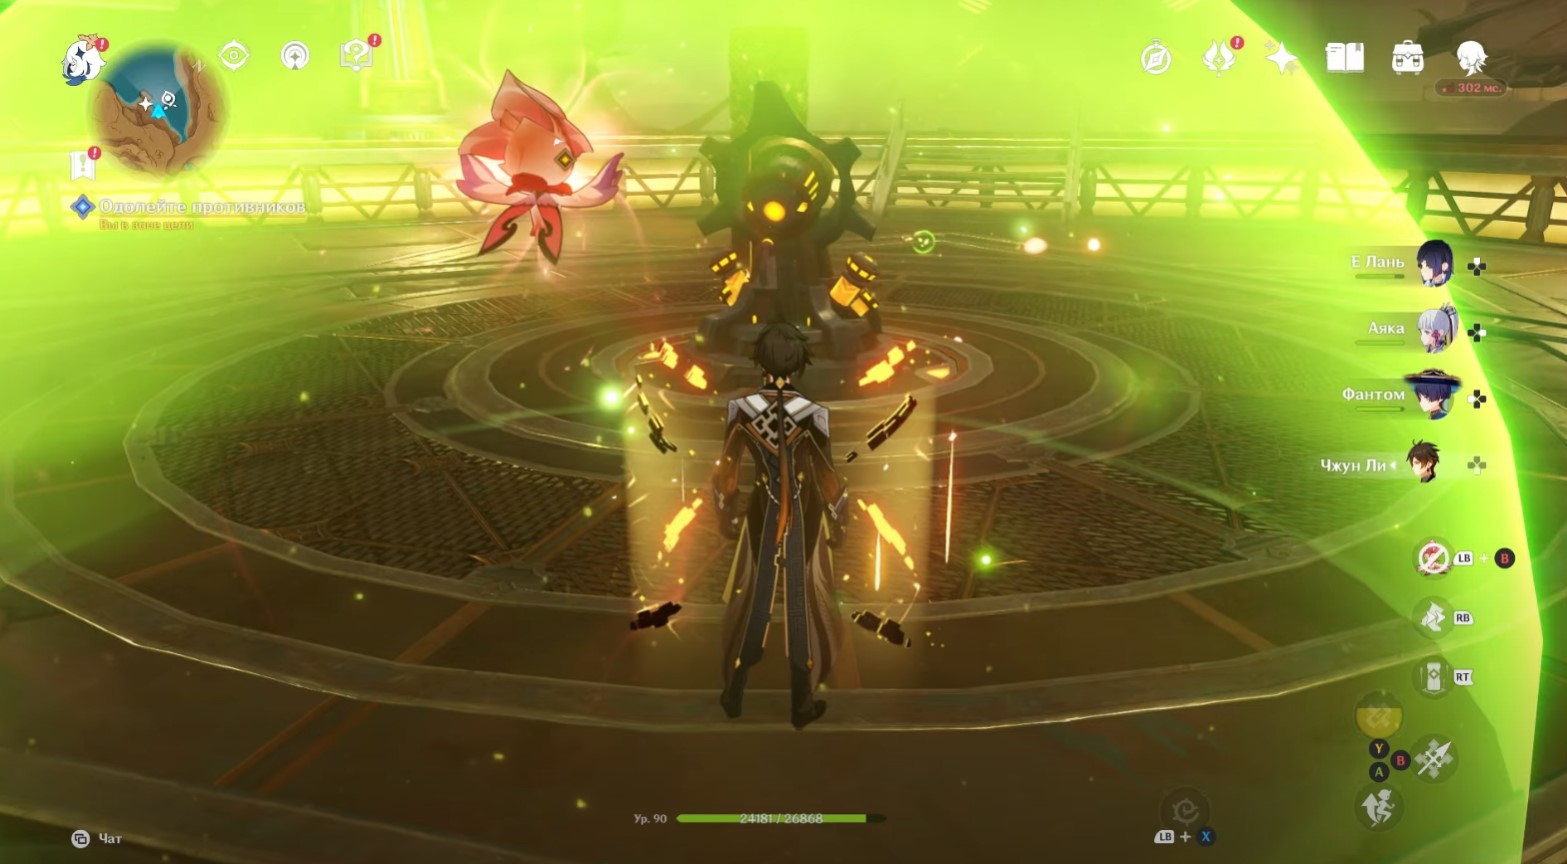
After the start of the battle, immediately hide behind the cannon so that the kill beam does not hit you. In the future, you will be able to create green barriers with Sorush, thus hiding from lasers.
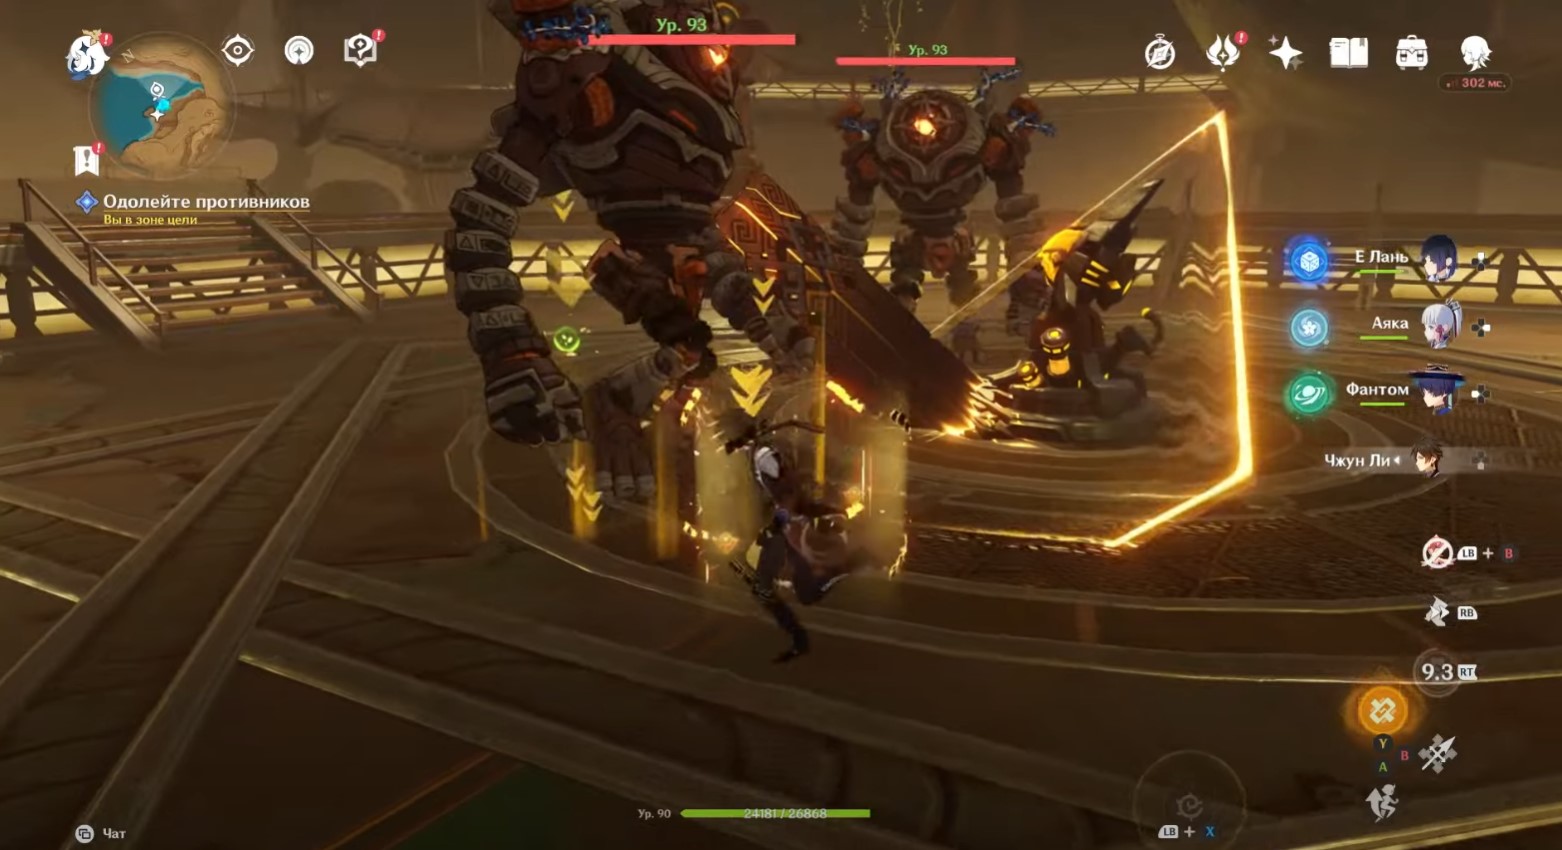
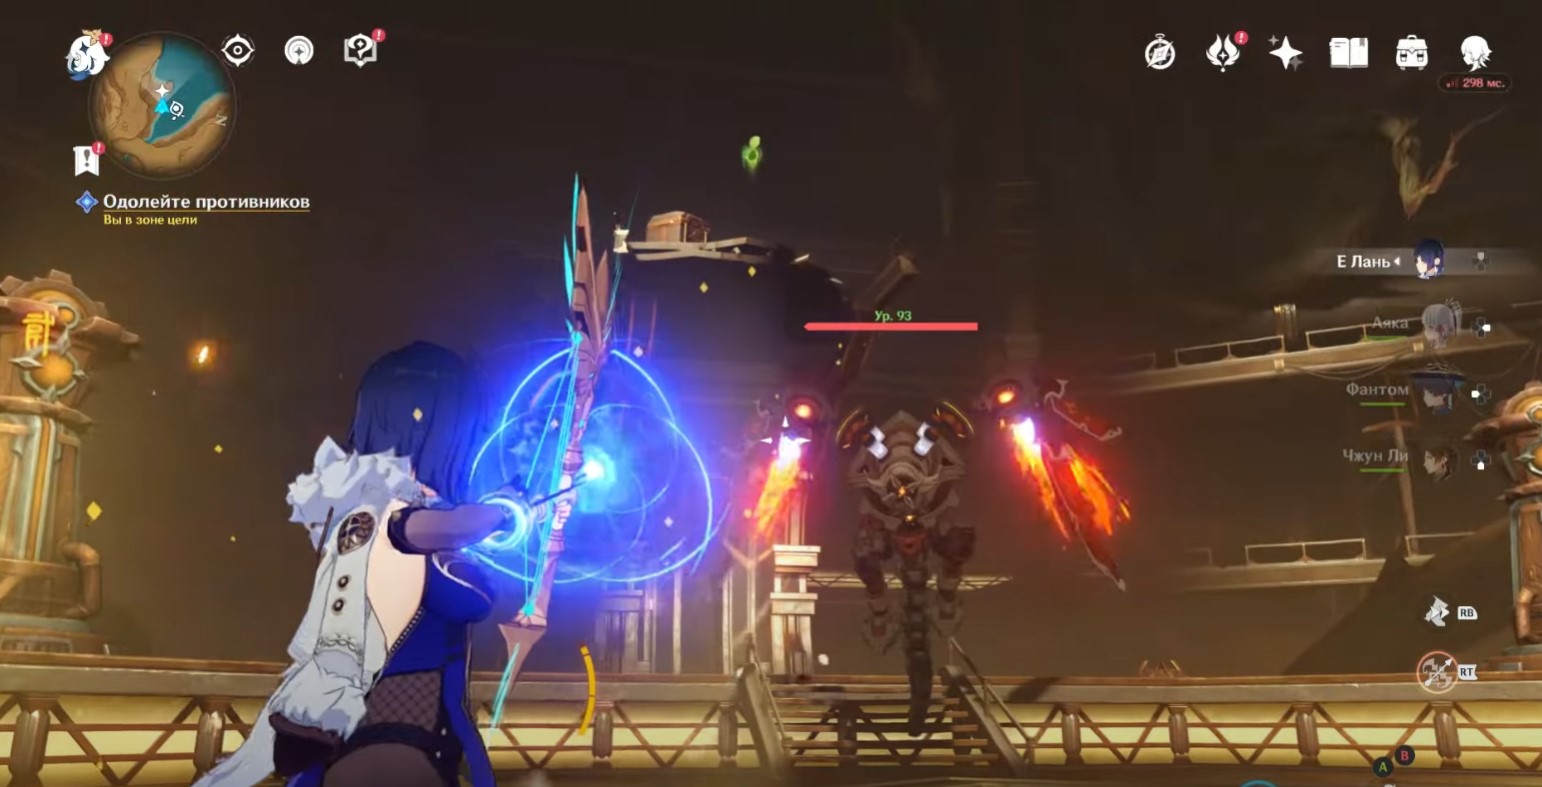
In the first wave, you have to deal with two the guardians of the ruins, in the second - with three sentinels of the ruins, and in the third - with one dragon of ruins: guardian of heaven. All of these opponents have high resistance to physical damage, so we recommend using elemental damage dealers. Also take archers to the squad to knock the dragon to the ground.
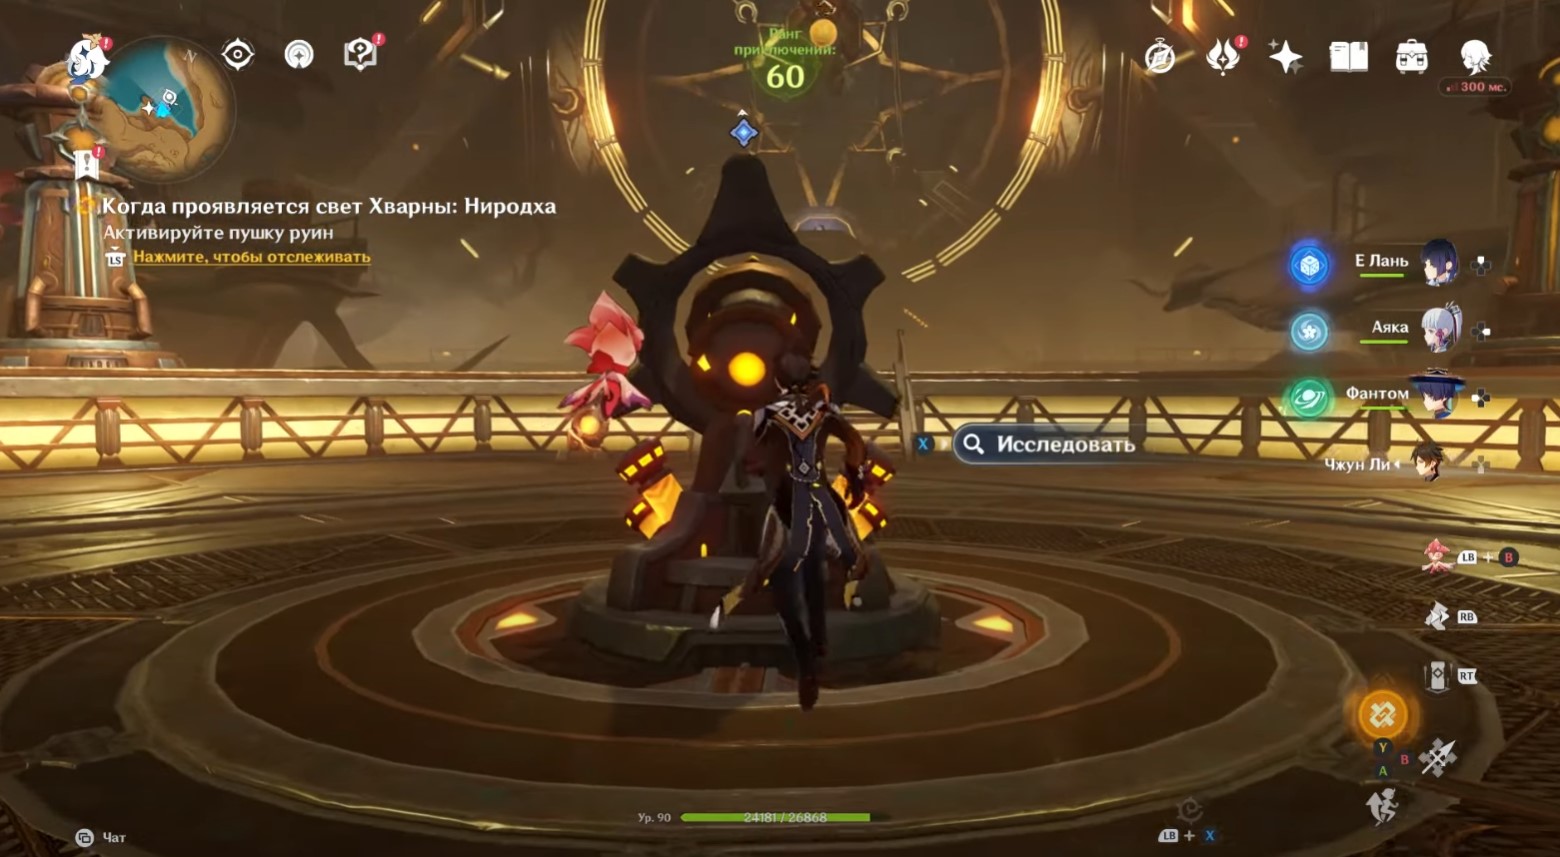
Destroy the golem core with the ruin cannon
Having dealt with all opponents, approach the gun and interact with it. Now you will need to destroy the golem's core by pointing the scope at it and firing a few shots.
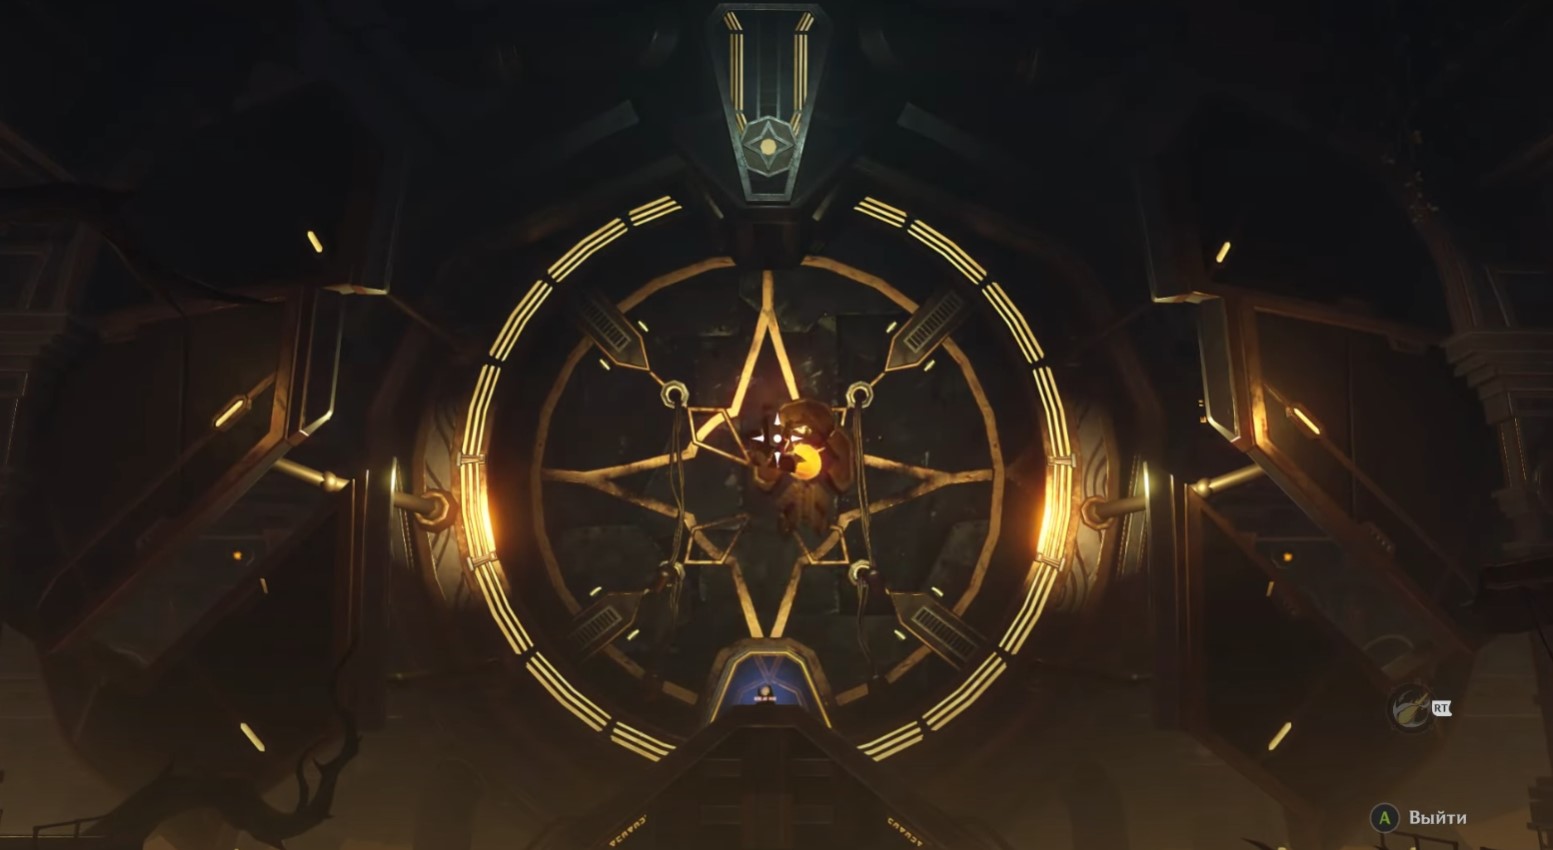
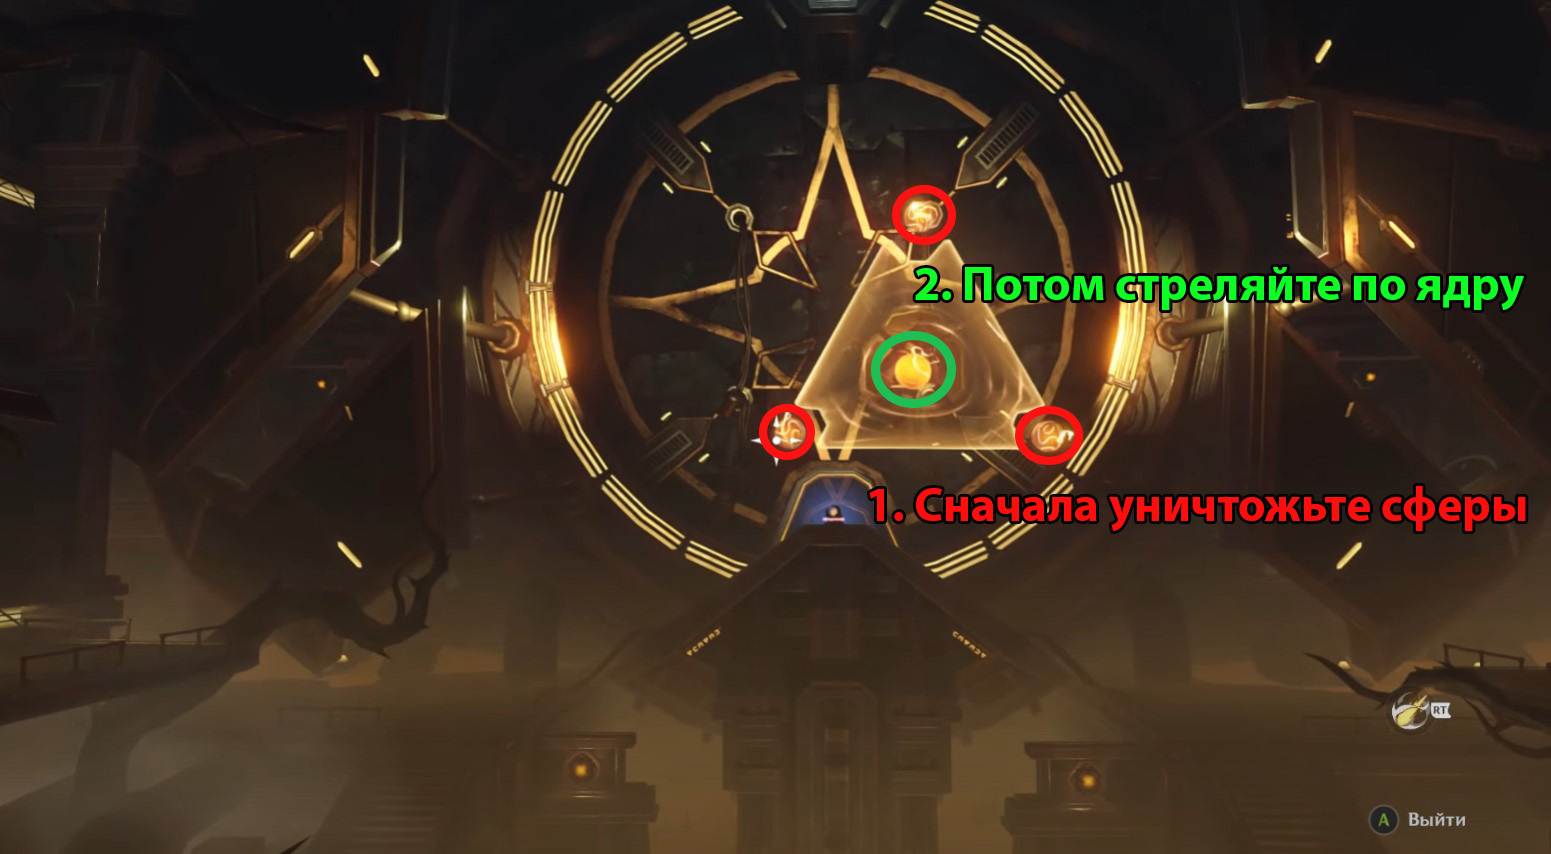
If you see that the core is protected by a triangular barrier, then first you will need to remove it. To do this, shoot three spheres at the ends of the triangle. Keep in mind that the flight of the projectile also takes time, so you need to shoot with a slight lead.
Acquire Greatsong of Hvarna
Destroying the core will unlock the Behold My Righteous Strike! trophy. Now run to the console, installed at the top near the core you destroyed, and activate it to open a new passage.
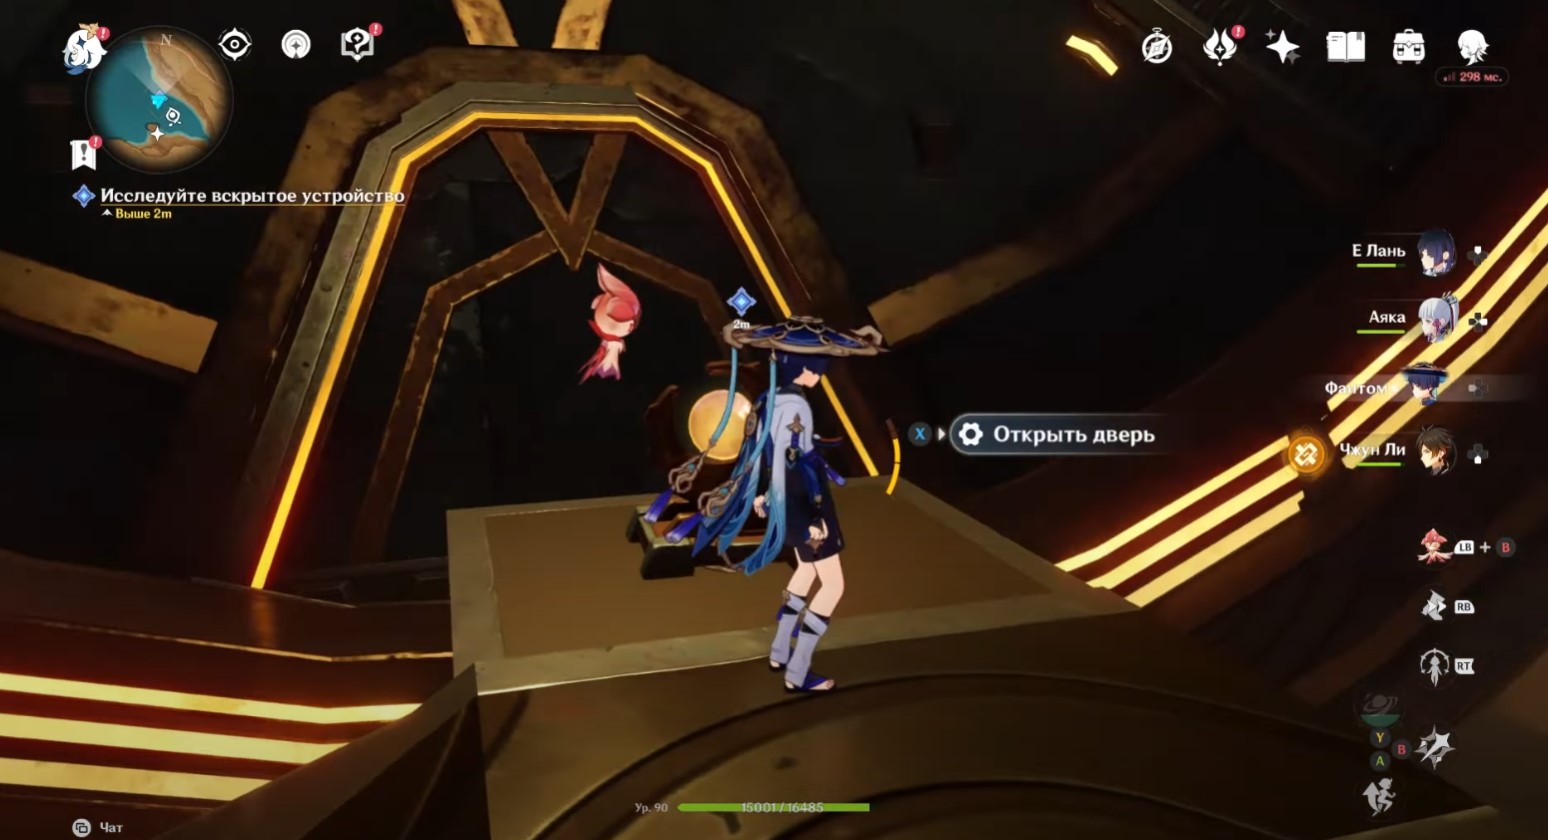

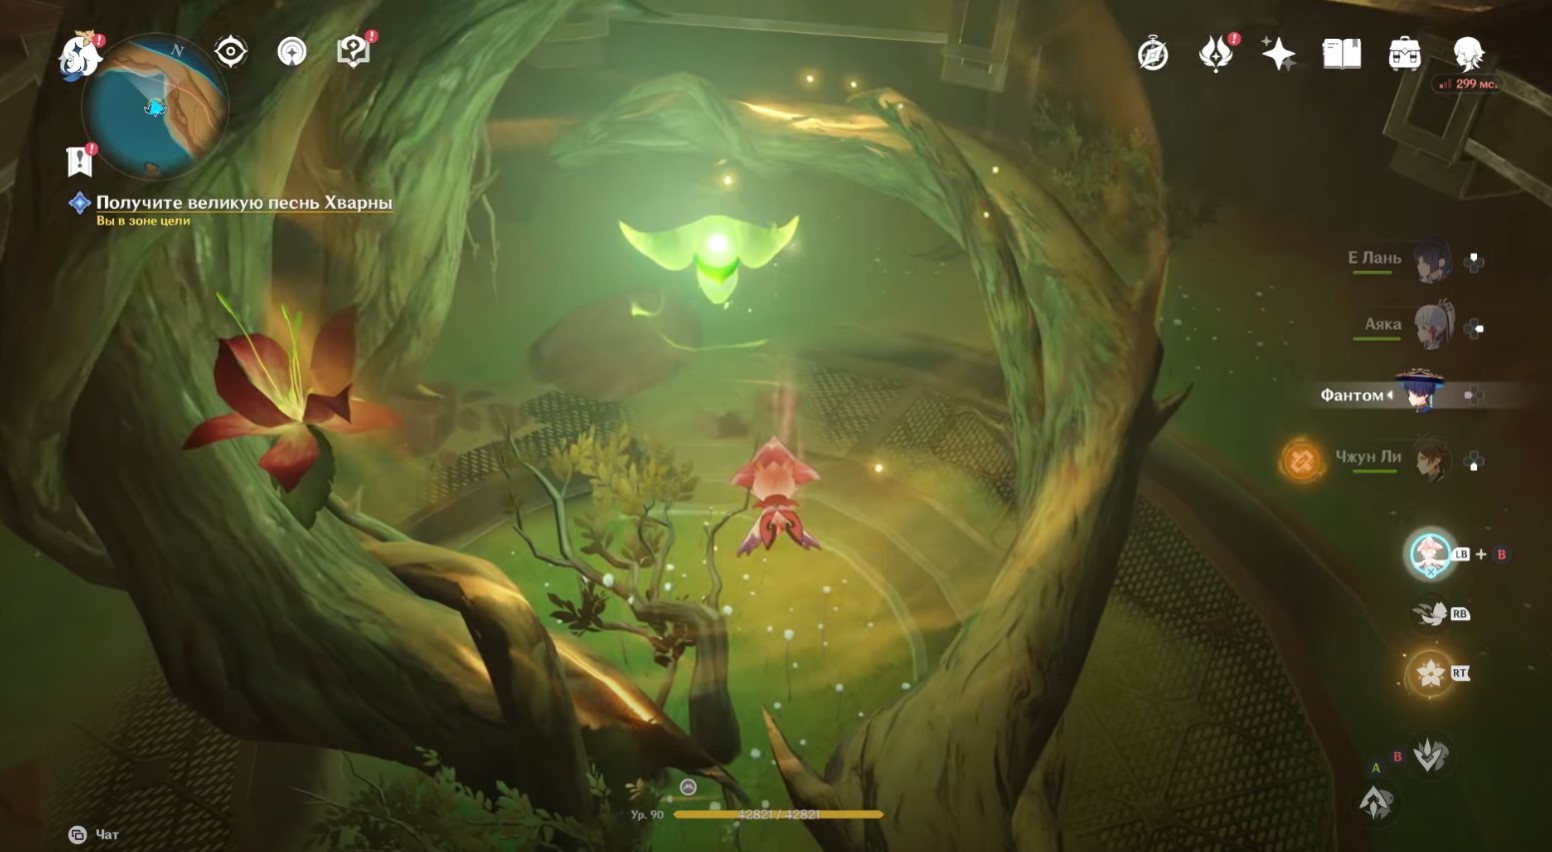
Walk forward and run down the tunnel. On the way, open a luxurious chest. Near the roots you will find a green "moth". Fly up to him Soroush and use her skill to absorb energy.
Return to the character and go back through the tunnel. Talk to Nasejuna to complete the quest. As a reward for completing it, you will receive 500 adventure points, 60 primogems, 50 thousand pestilence, 5 hero books and 6 magical enhancement ore. Now you can either find the remaining songs, or continue through the main quest.
Comments
You need to login to add comments.
You can login with