
In Honkai: Star Rail Simulated Universe (Part 2) is an adventure mission in which you have to complete World 2, fighting a grizzly automaton and a dire wolf automaton. If you're having trouble getting and completing this quest, check out our guide.
Passage of the mission “Simulated Universe (Part 2)"
How to start a task
Before you can take on this quest, you will need to fulfill a number of conditions, namely:
- Reach at least Mastery level 18.
- Complete the mission of the adventure "Virtual Universe. Part 1".
- Complete the Exploration mission "Into the Dry Winter Night".

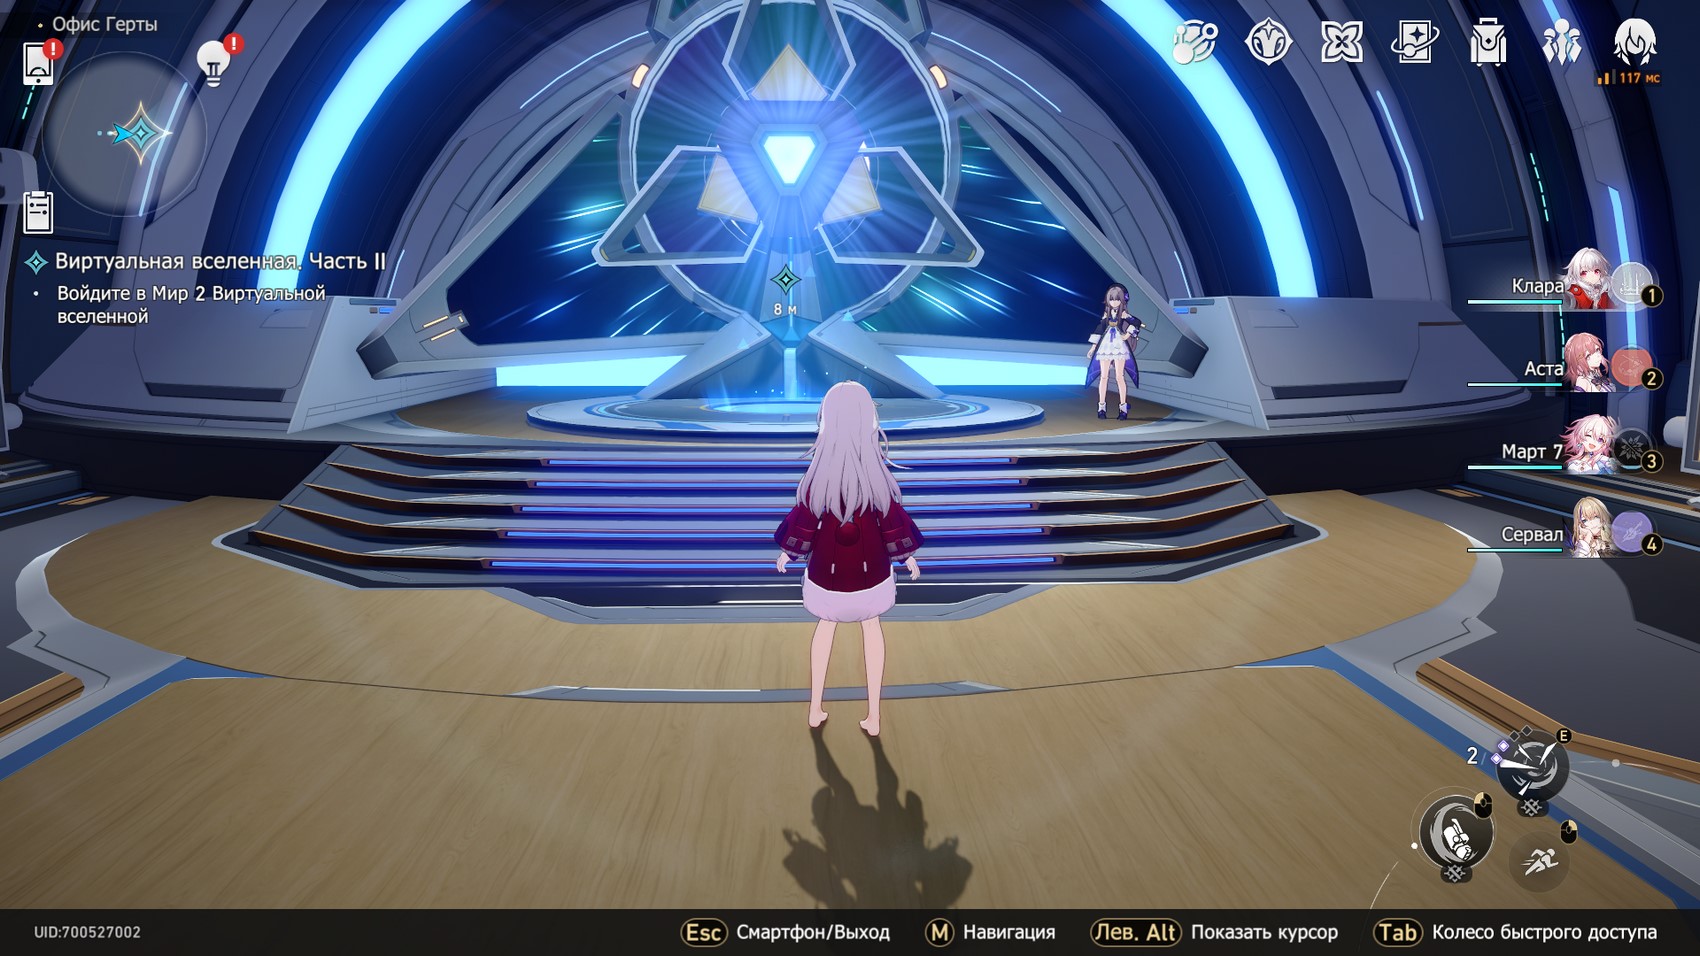
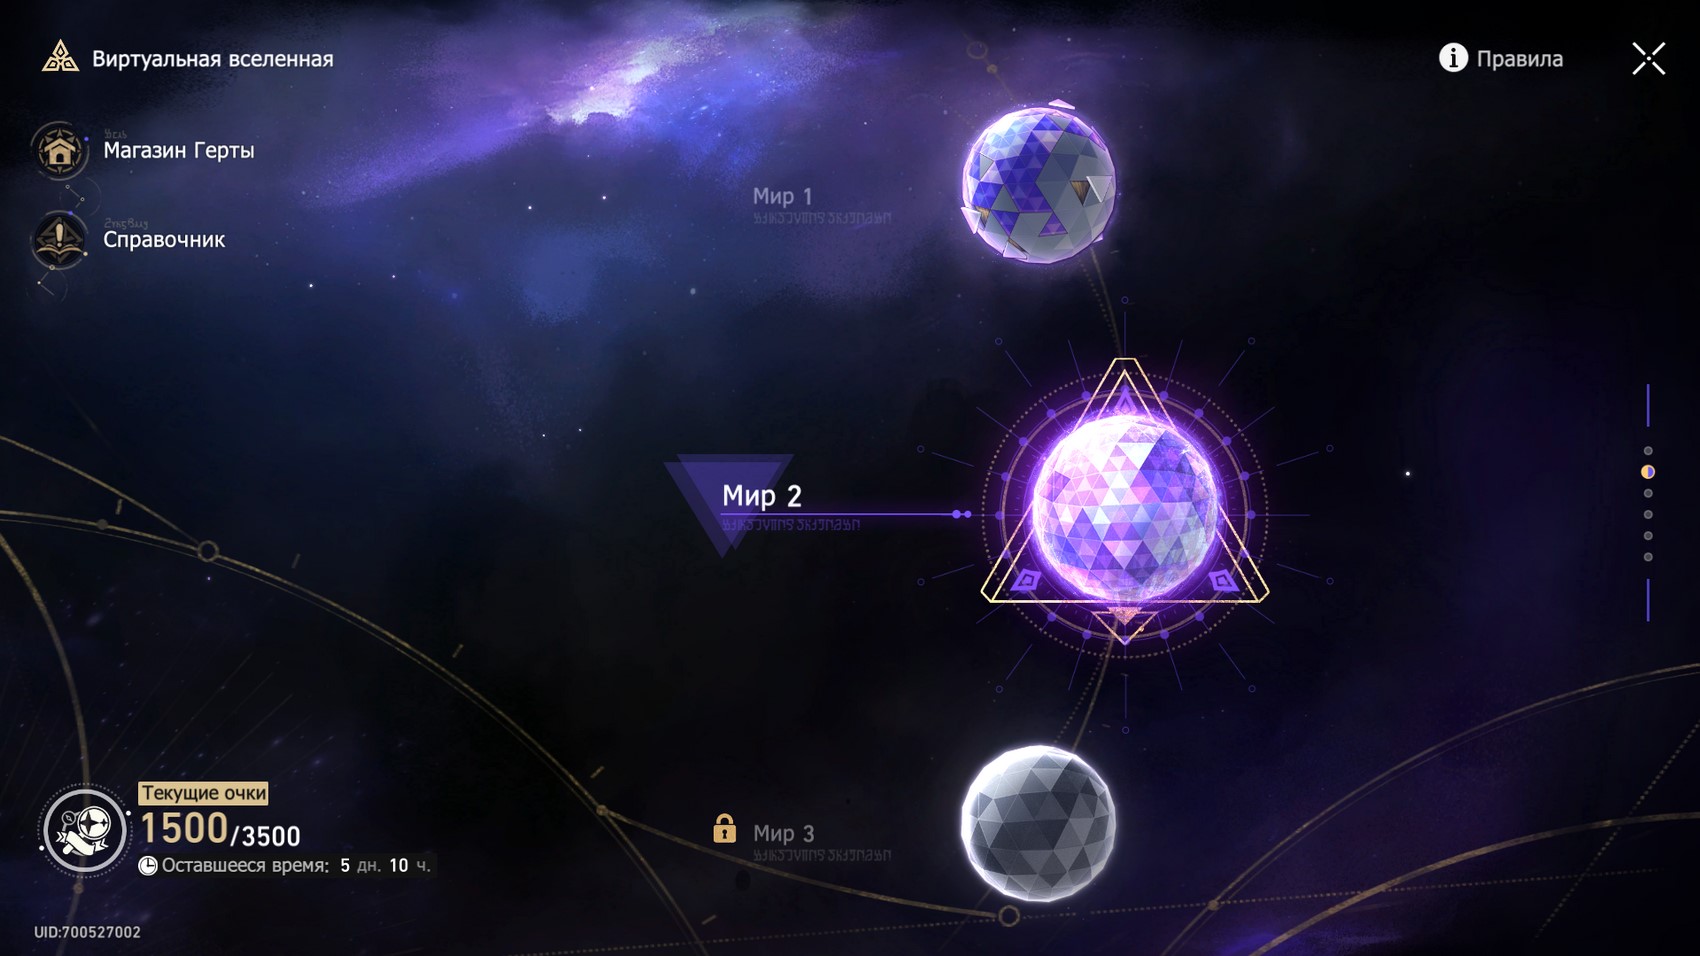
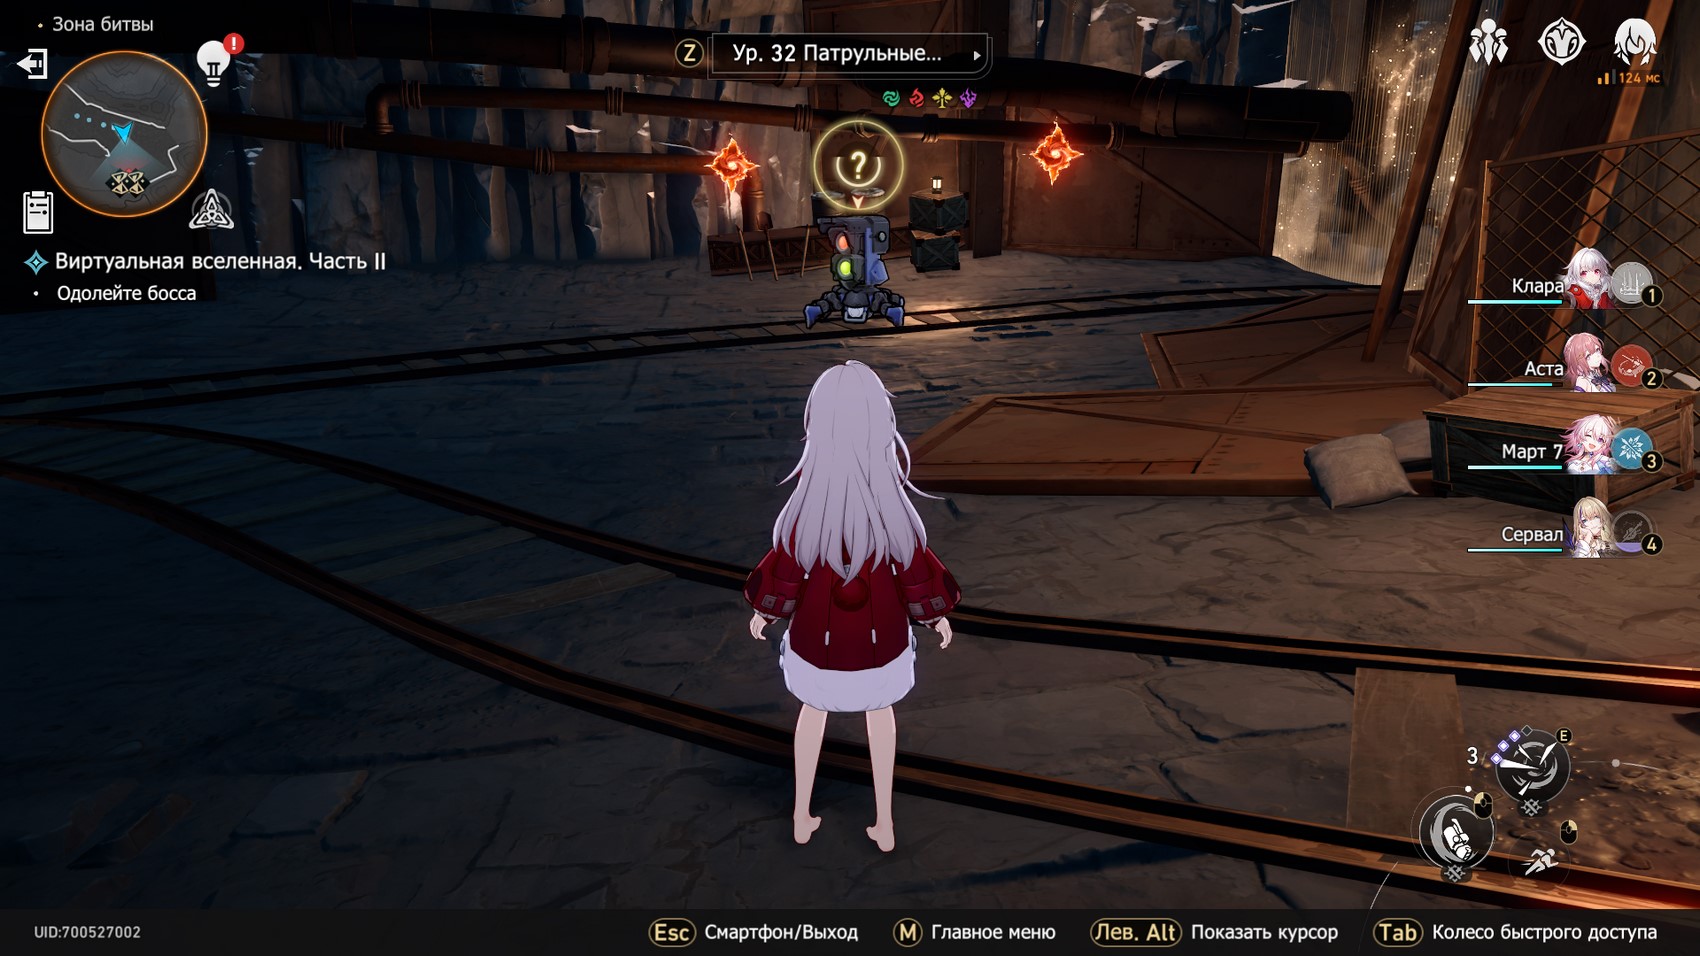
Having dealt with the indicated requirements, wait until Gert writes to you and offers to participate in the next testing of the Virtual Universe. Head to her office and immediately get into the car. Now you have to go through World 2. Select it and prepare your team.
Recommended units and path
- Recommended character level: at least 35
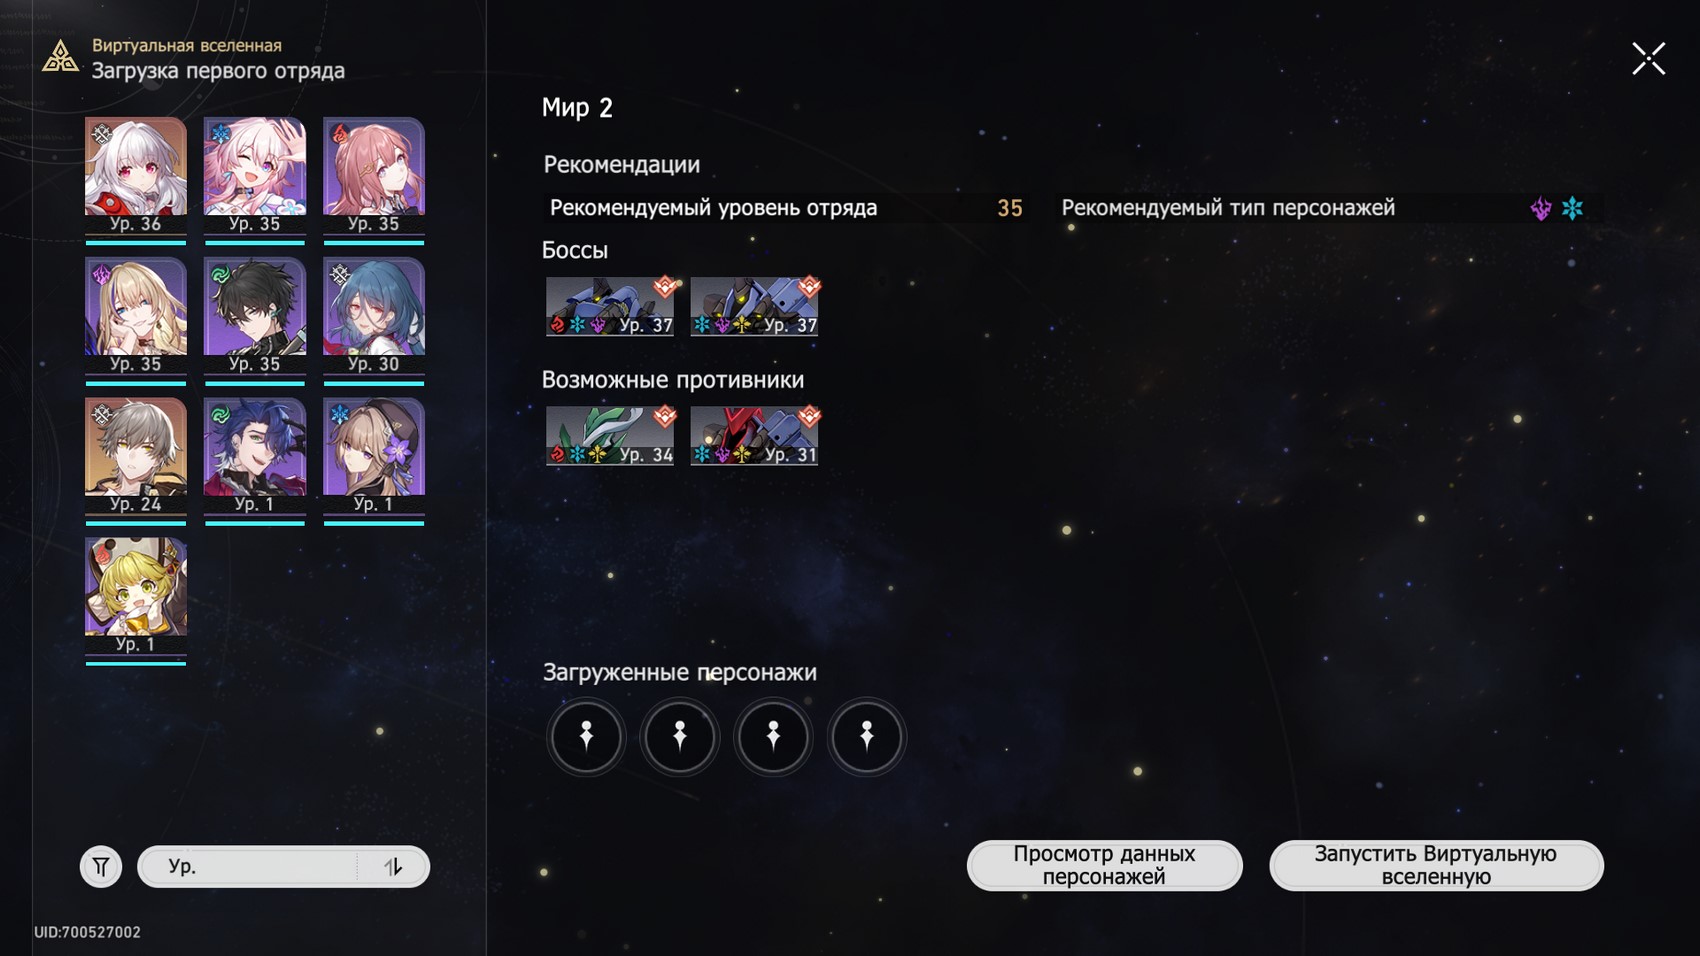
Most of the opponents in this trial are vulnerable to electric and ice attacks, so we advise you to definitely take Serval (can deal significant damage to several targets at once) and ice damage. The table below shows a few optimal squads (free to play pack comes first).
| Main-DD | Sub-DD | Support | Support |
|---|---|---|---|
|
Serval |
Asta |
March 7 |
Natasha |
|
Serval |
Welt |
Cheetah |
Bailu |
|
Serval |
Sang |
Tingyun |
Natasha |


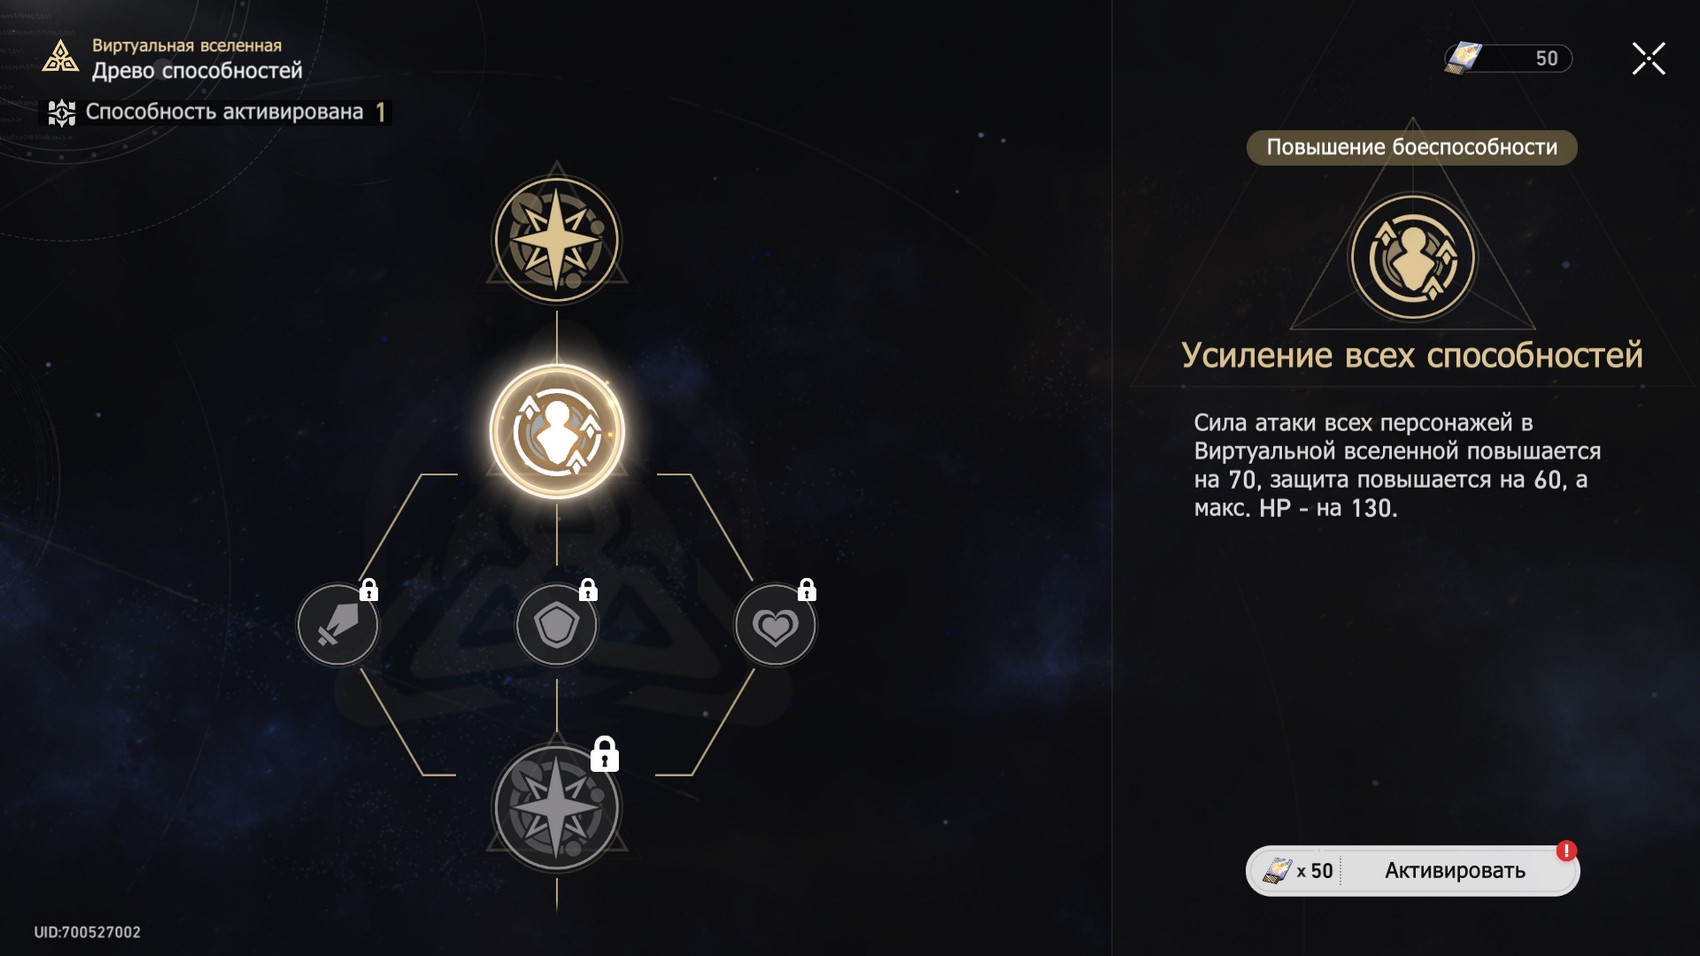
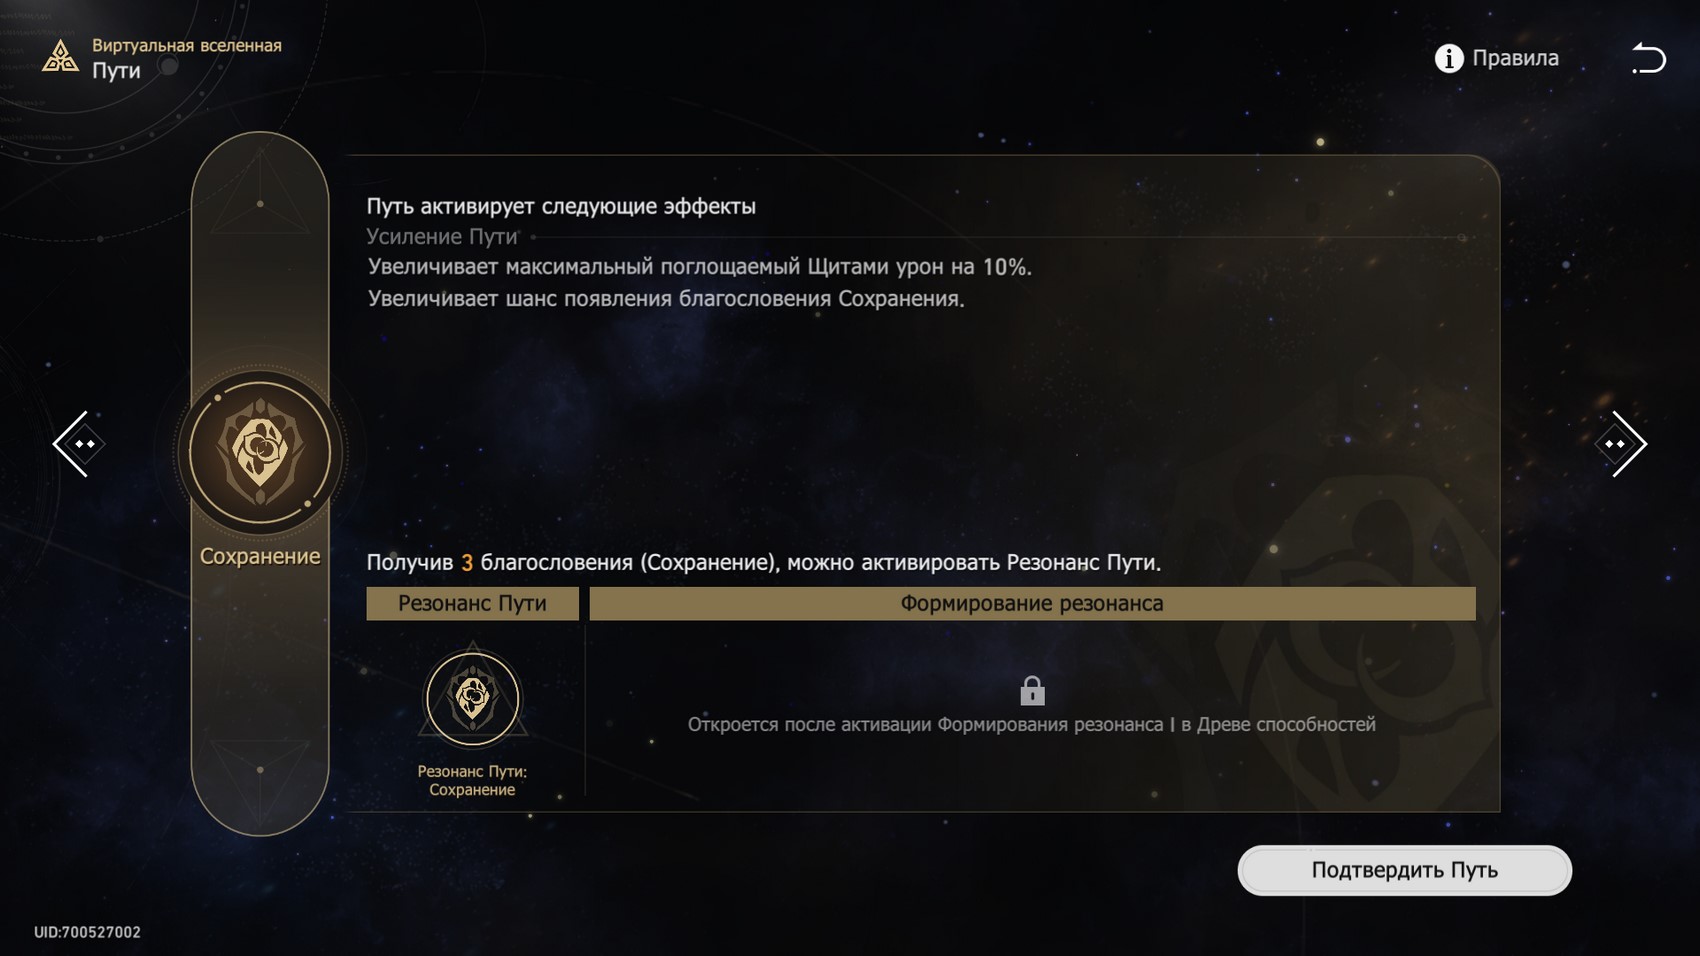
As for the choice of the Path, then you will have this opportunity after the first loss in the virtual universe, which will most likely occur during the boss stage. However, we advise you to lose as early as possible in order to unlock the Ability Tree and Path Resonance immediately.
If you have a shielder on your team, we highly recommend taking the Save Path, which will help you survive the boss attacks. Plus, if you collect 3 blessings of Preservation, you will get an additional attack that deals massive damage.
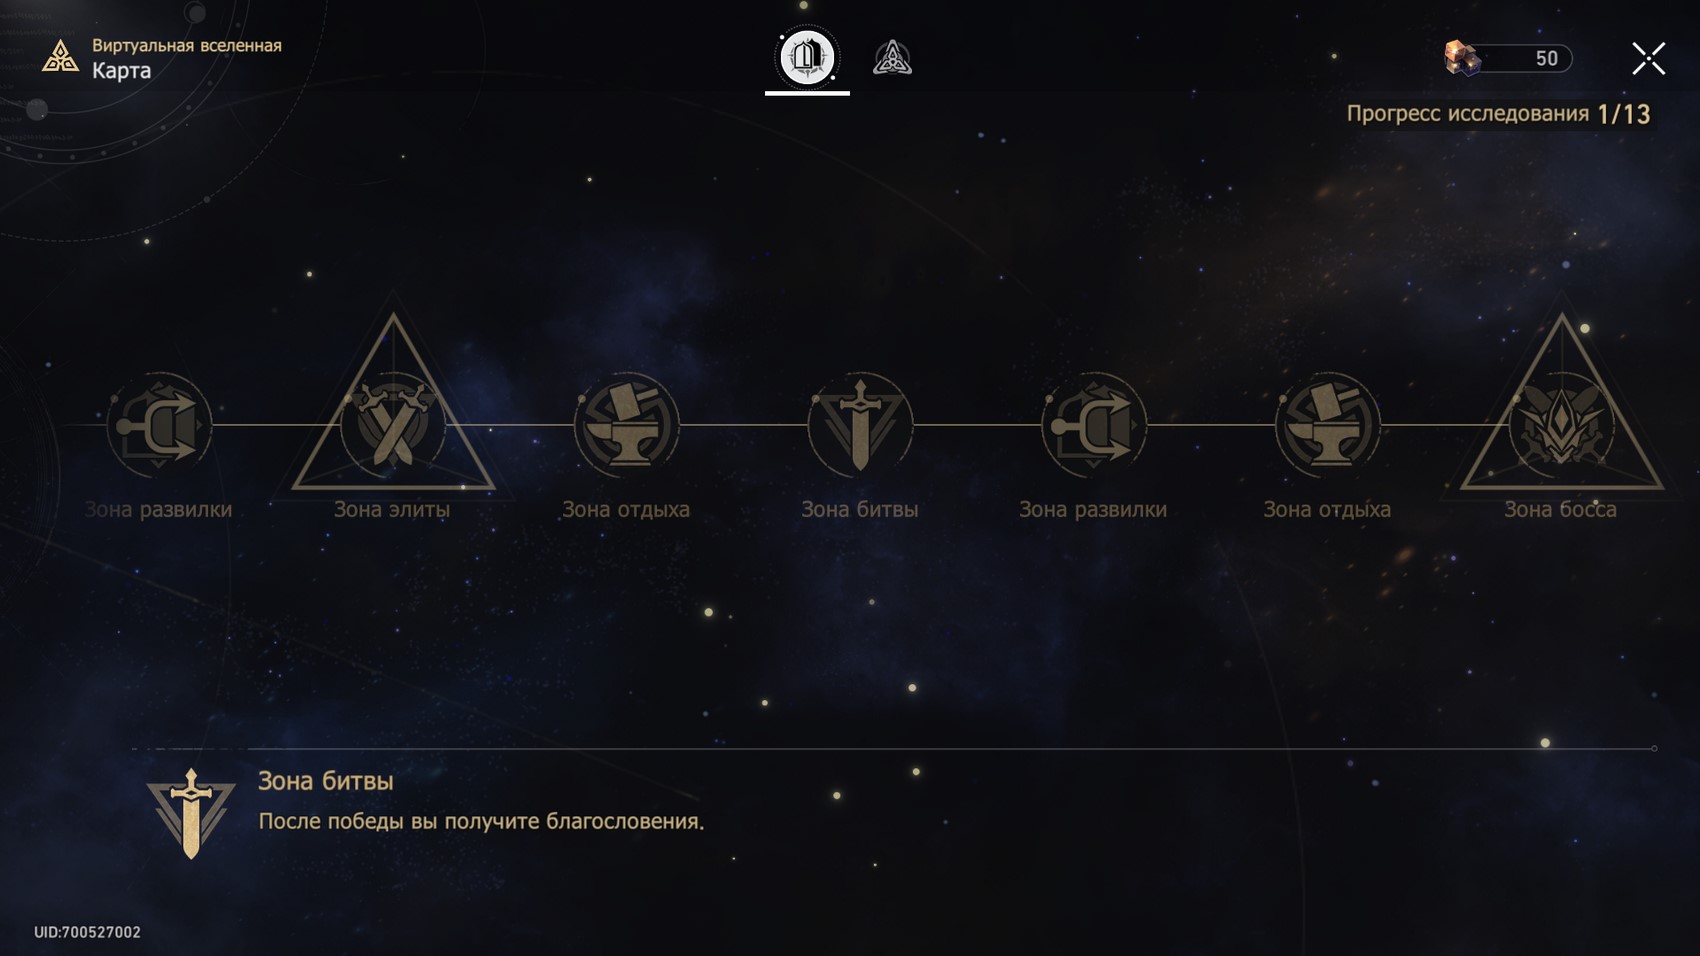
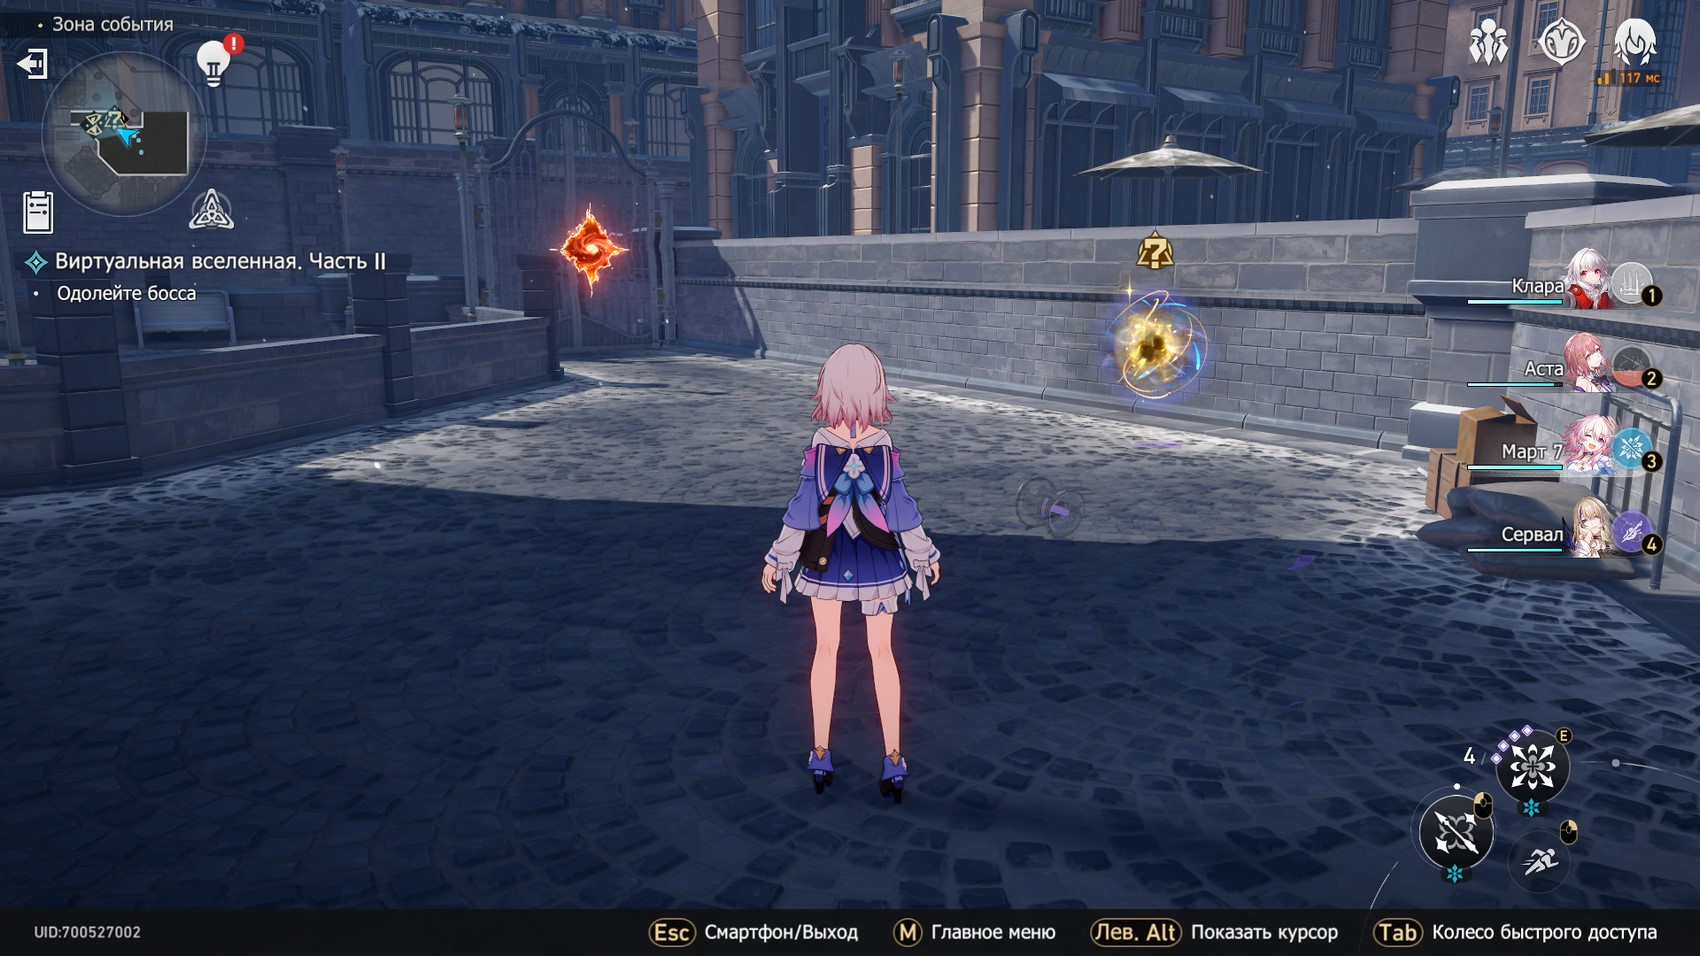
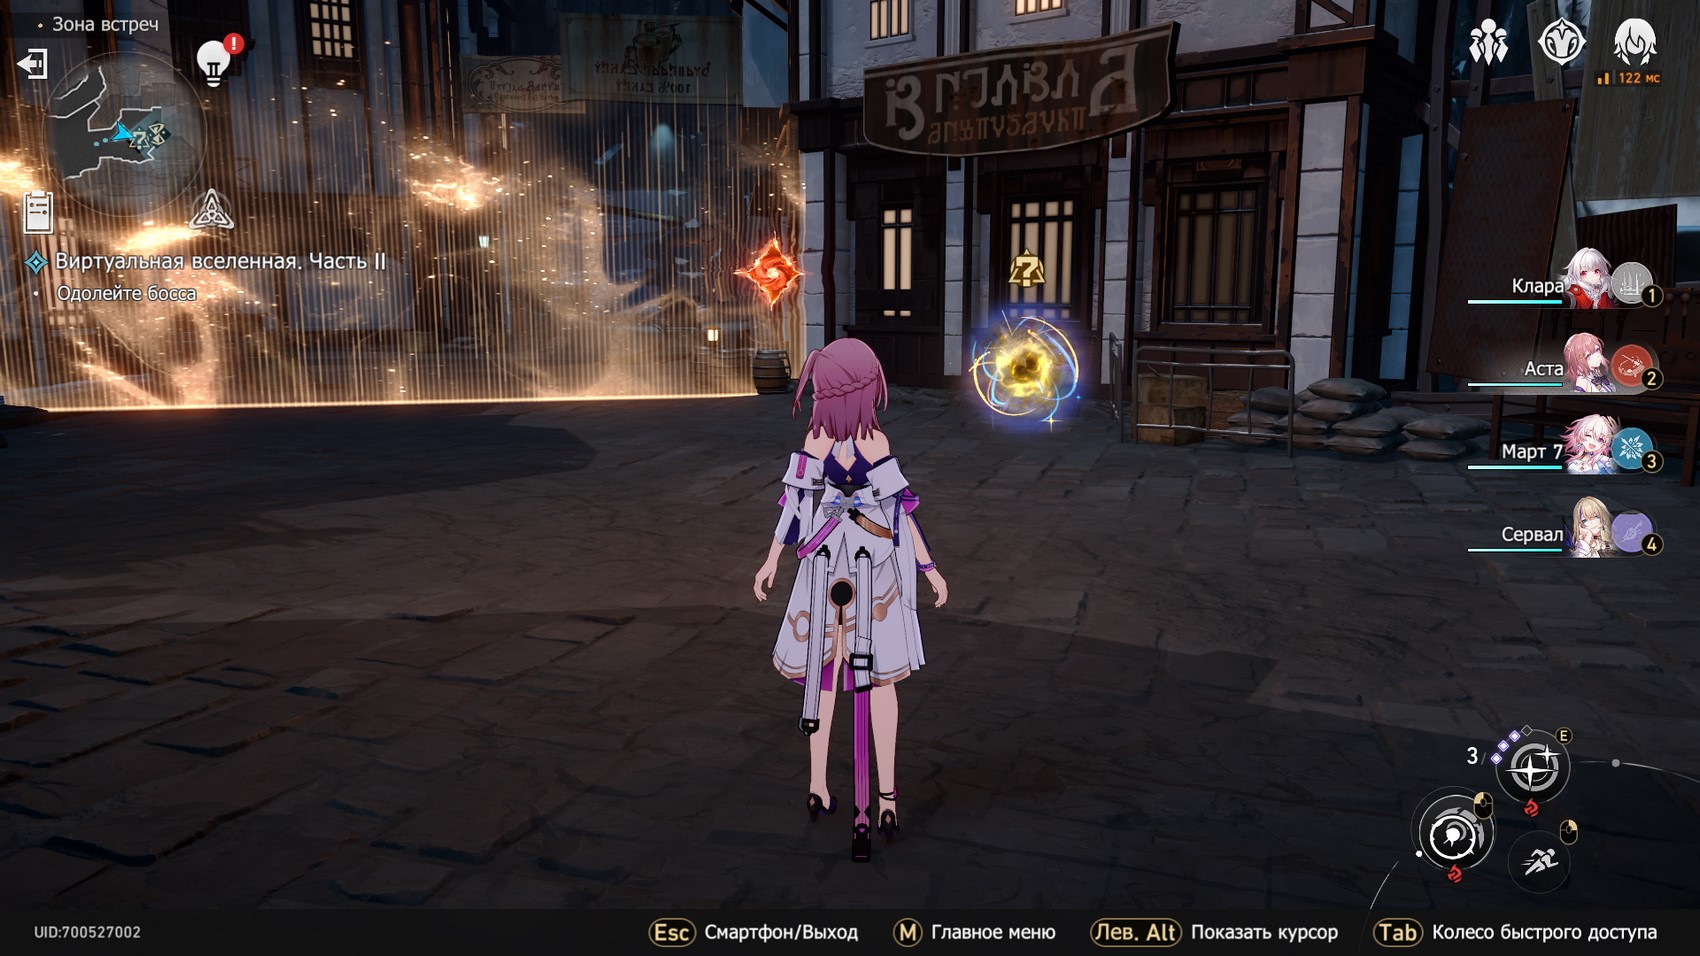
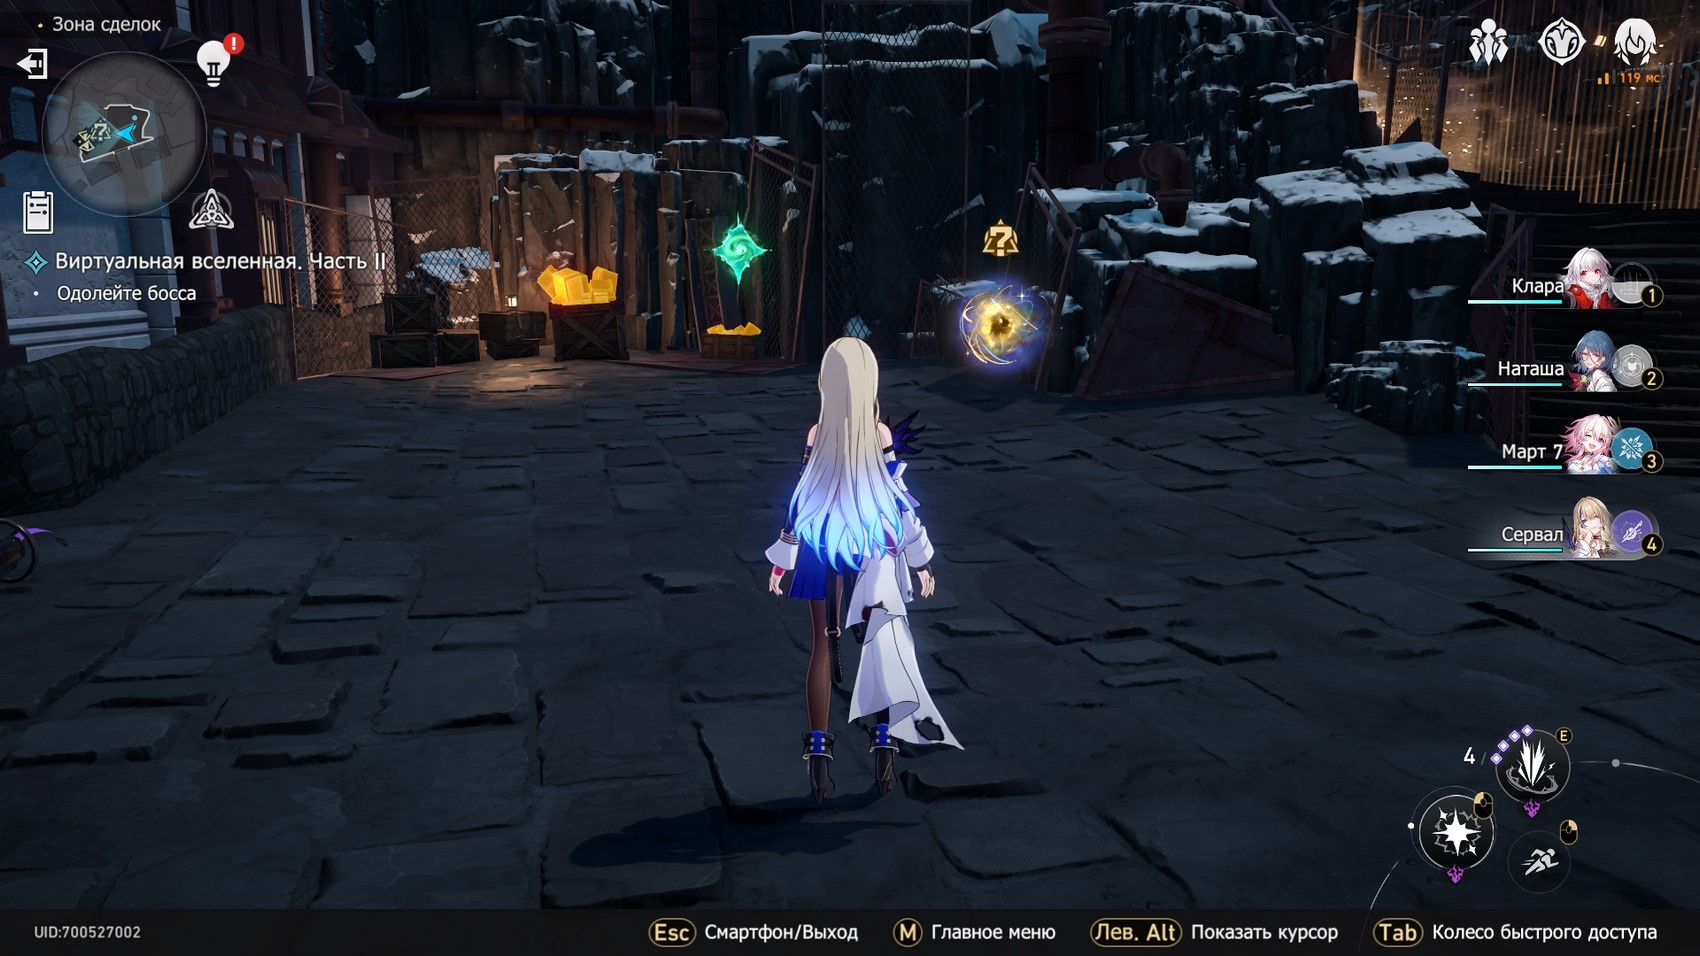
Now you can start the passage of World 2. It will consist of several zones shown in the pictures below. Sometimes you will be given a choice of several types of arenas at the forks. We will describe them below.
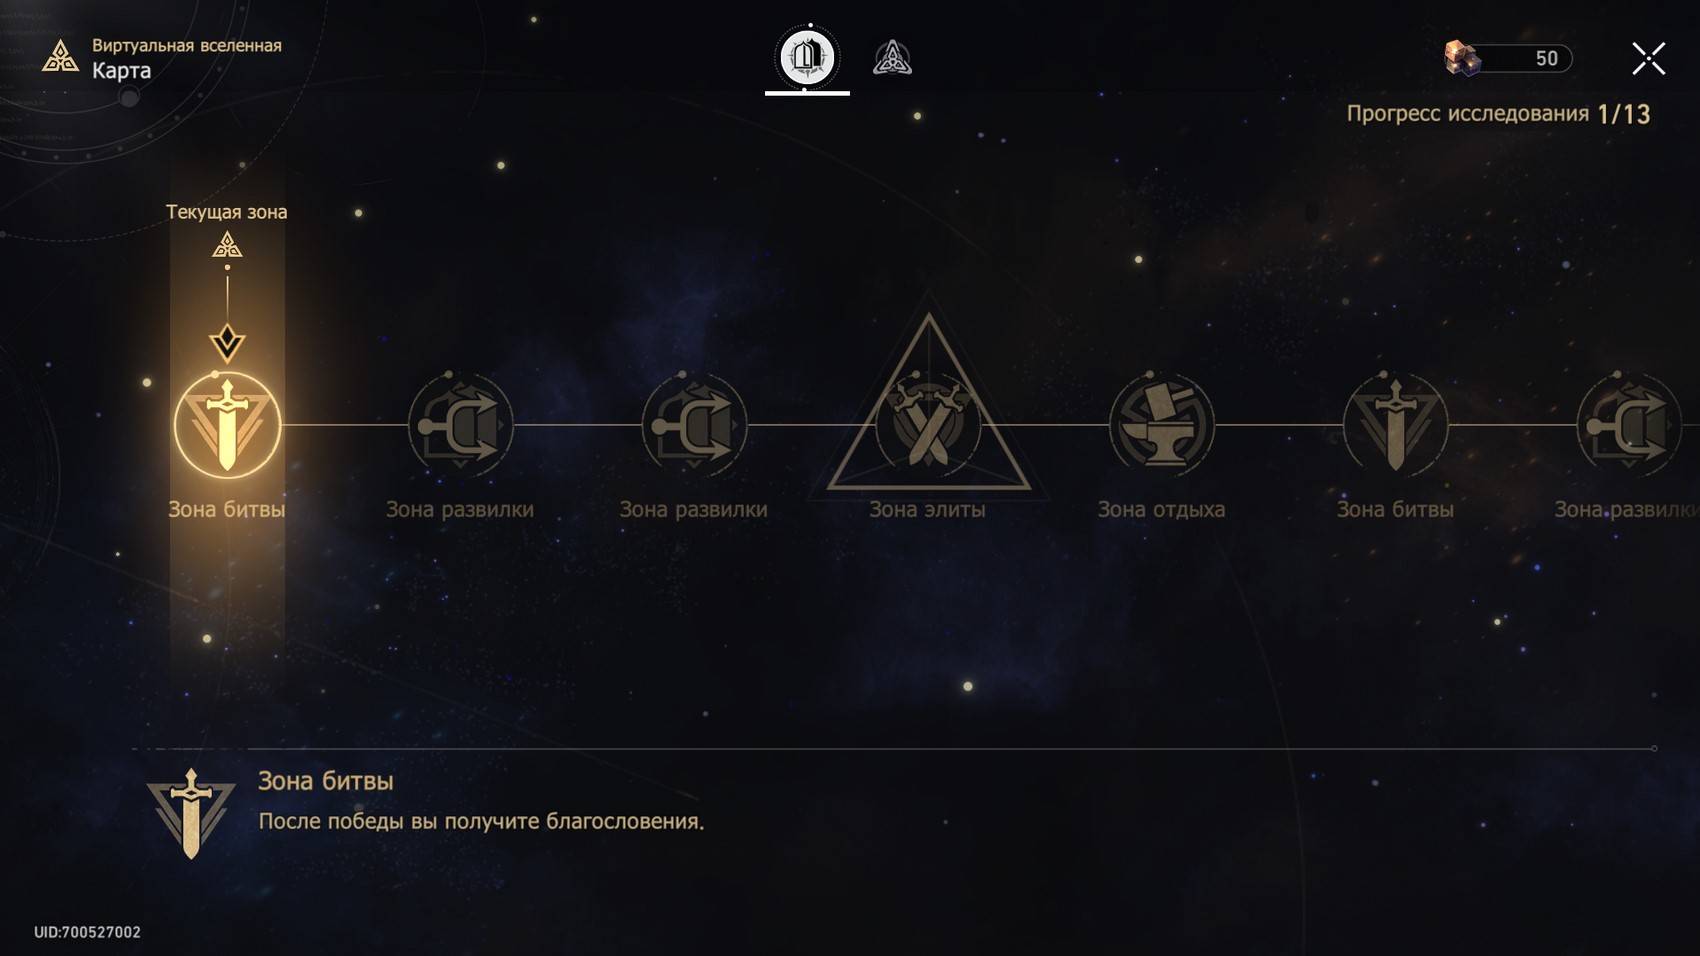
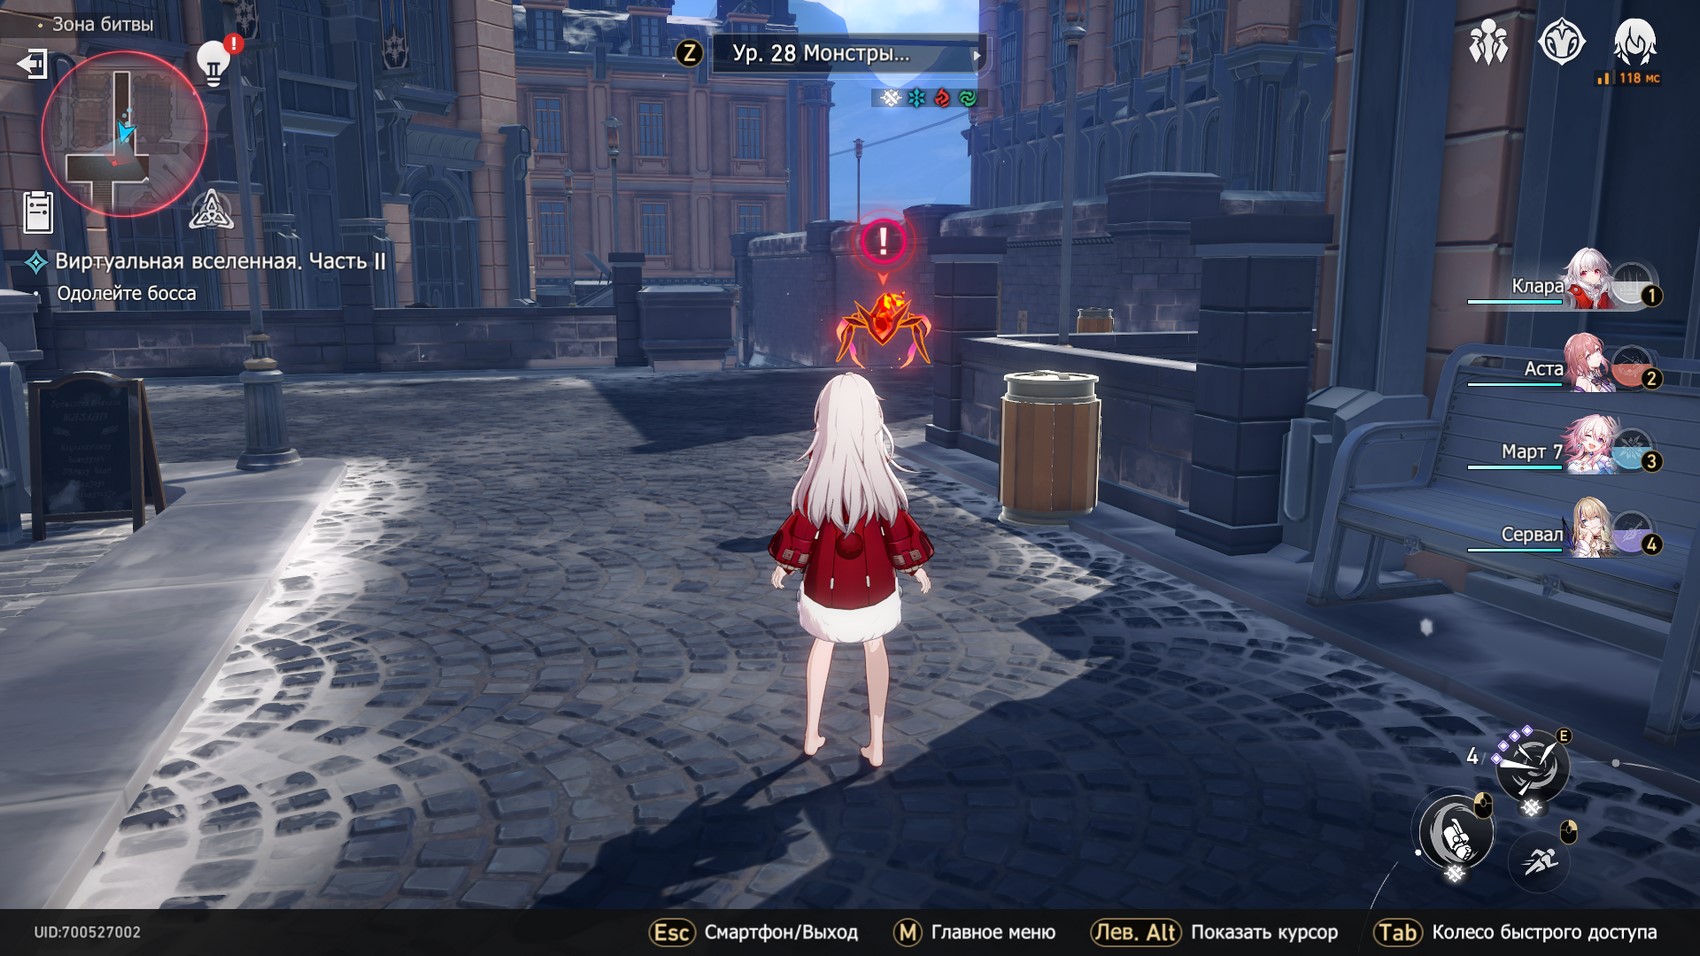
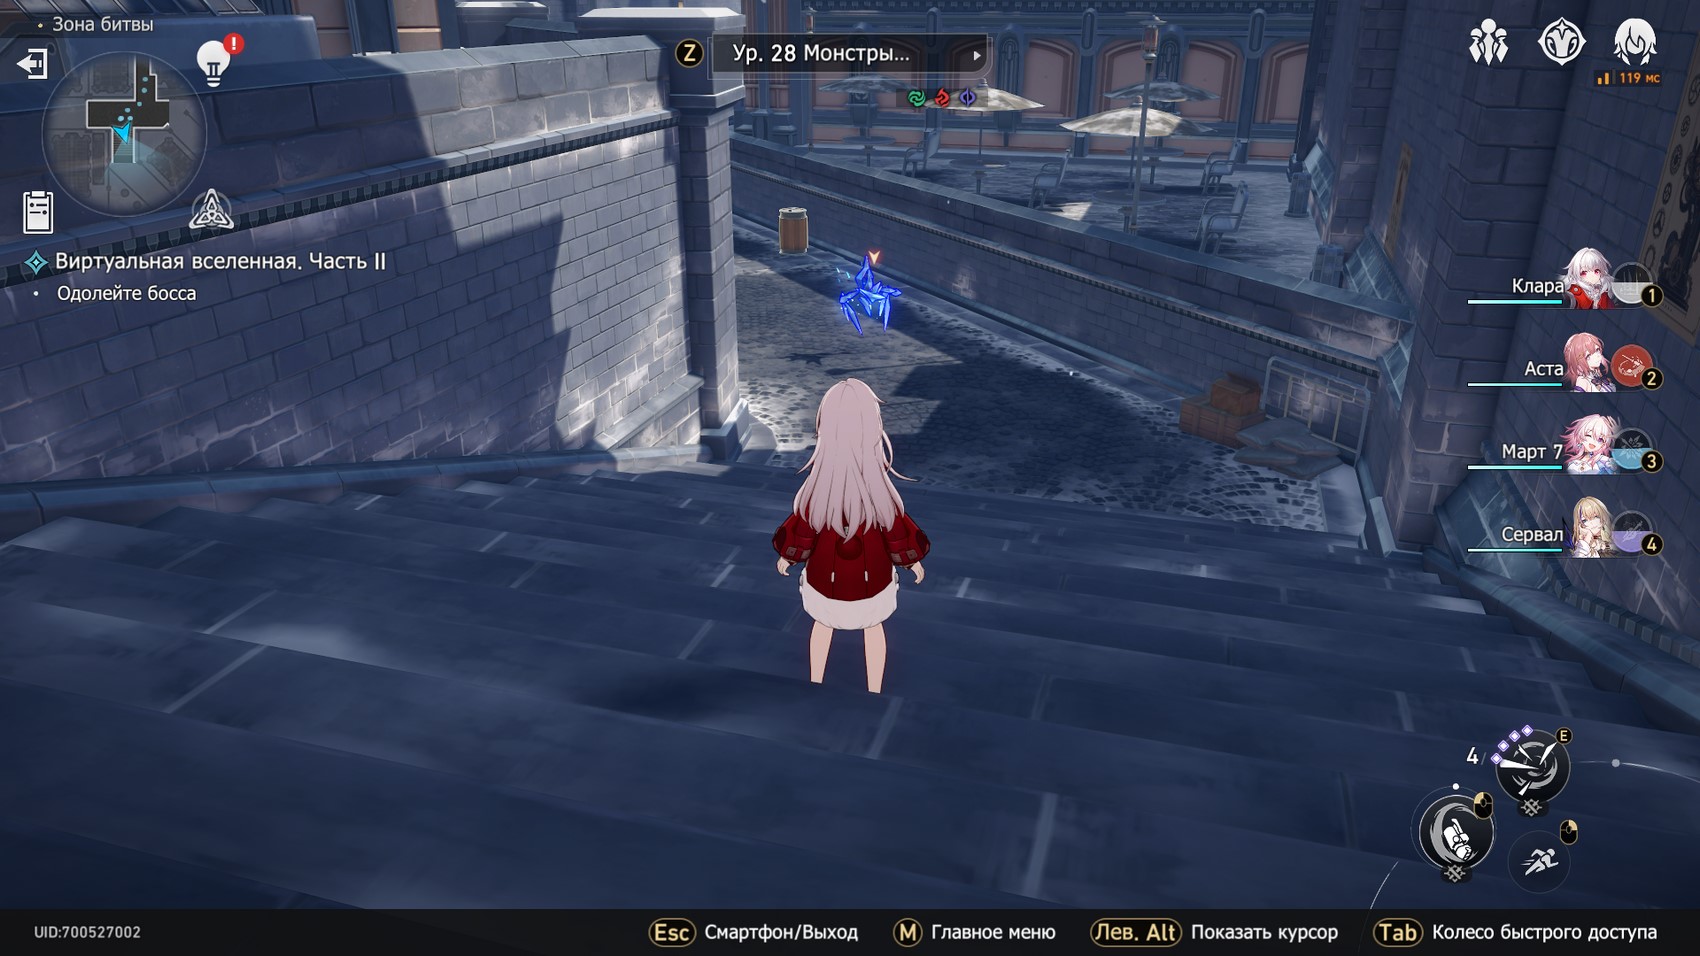
Battle Zone 1
In it, you will encounter relatively weak level 28 monsters. You will need to defeat three groups of opponents. Their vulnerabilities are shown in the images below. At the end, you will be able to choose whether to go to the Event Zone or the Battle Zone.
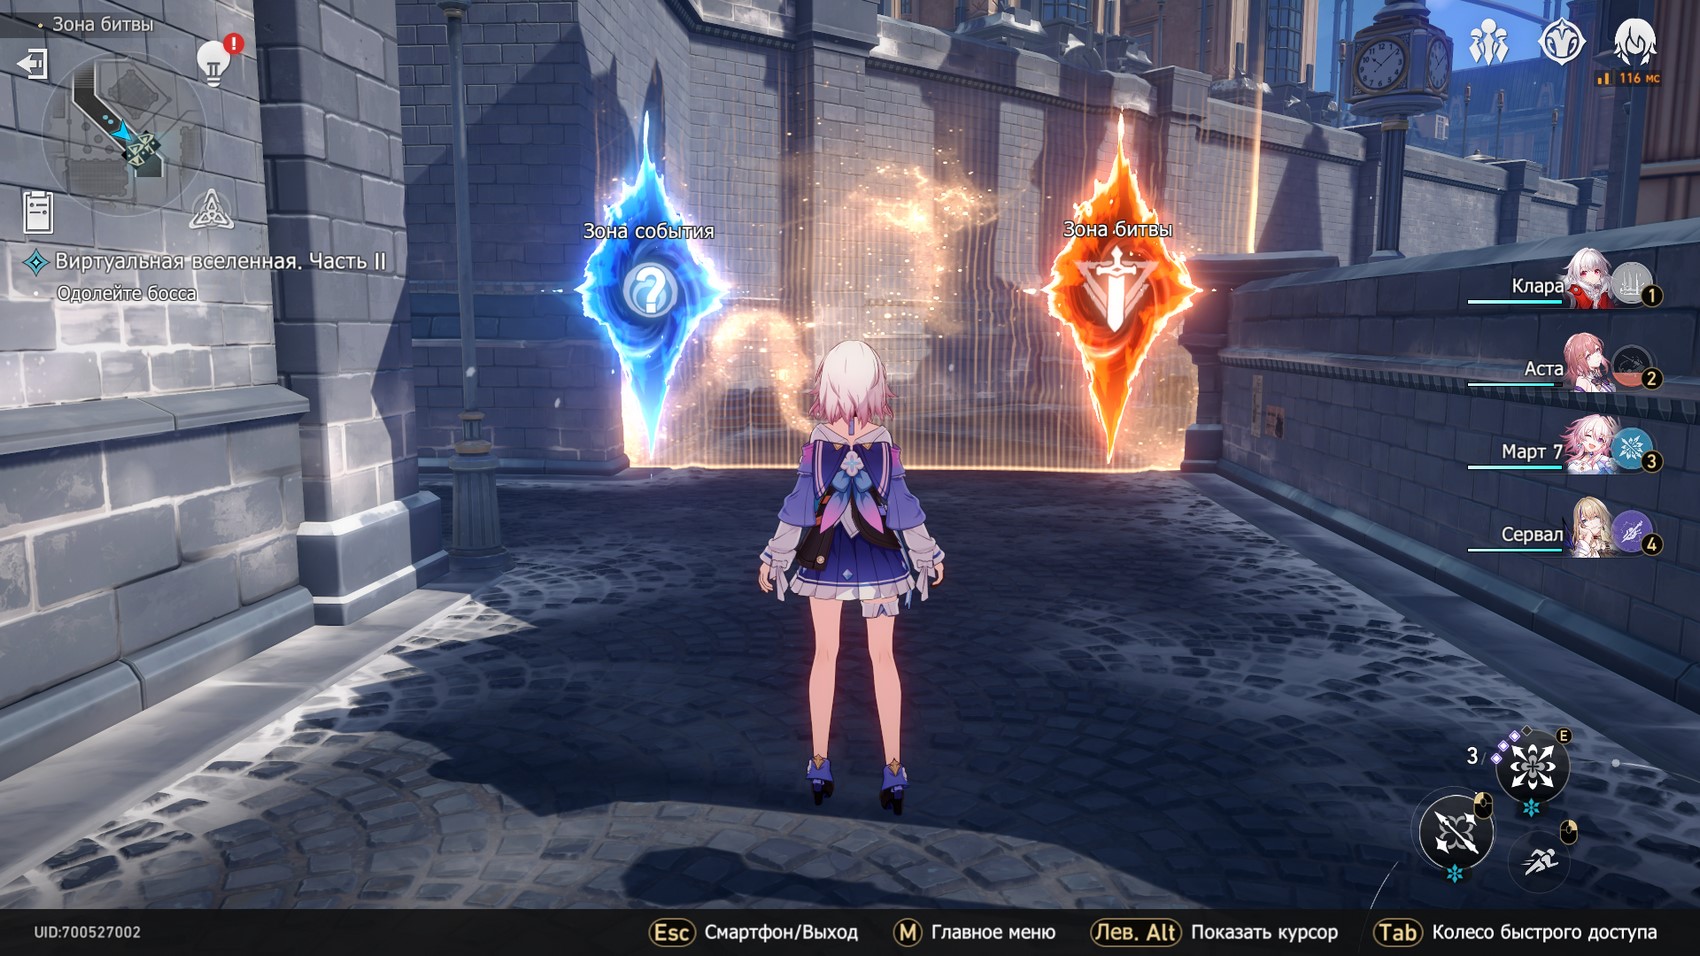
Event Zone/Battle Zone 2
An event is a small text quest that can lead to a positive, neutral or negative result. We do not recommend choosing it, because in some cases your characters may lose a large amount of health, which is critical if there is no healer in the team.
It is better to choose the Battle Zone, as there you will encounter relatively weak enemies, for defeating which they give random blessings. Next, a fork awaits you again.
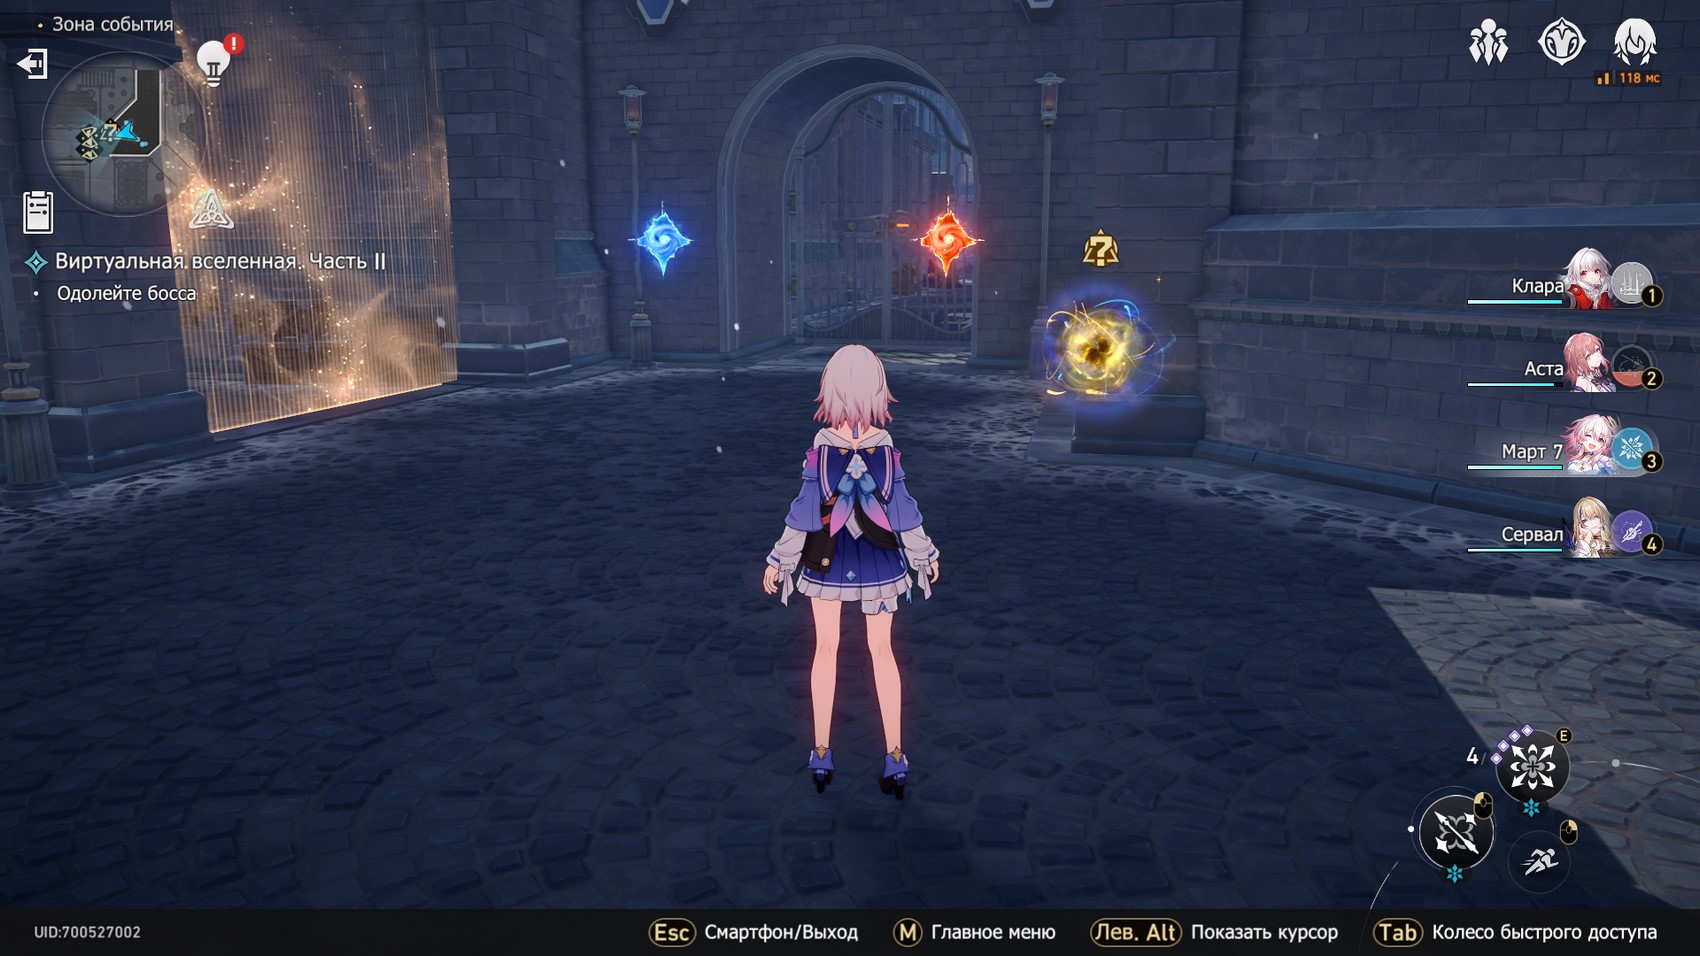
Event Zone/Battle Zone 3
Again, we advise you to choose Battle Zone 3 in the absence of a healer in the group. You can defeat most enemies without losing health if you have a Serval and a good shield.
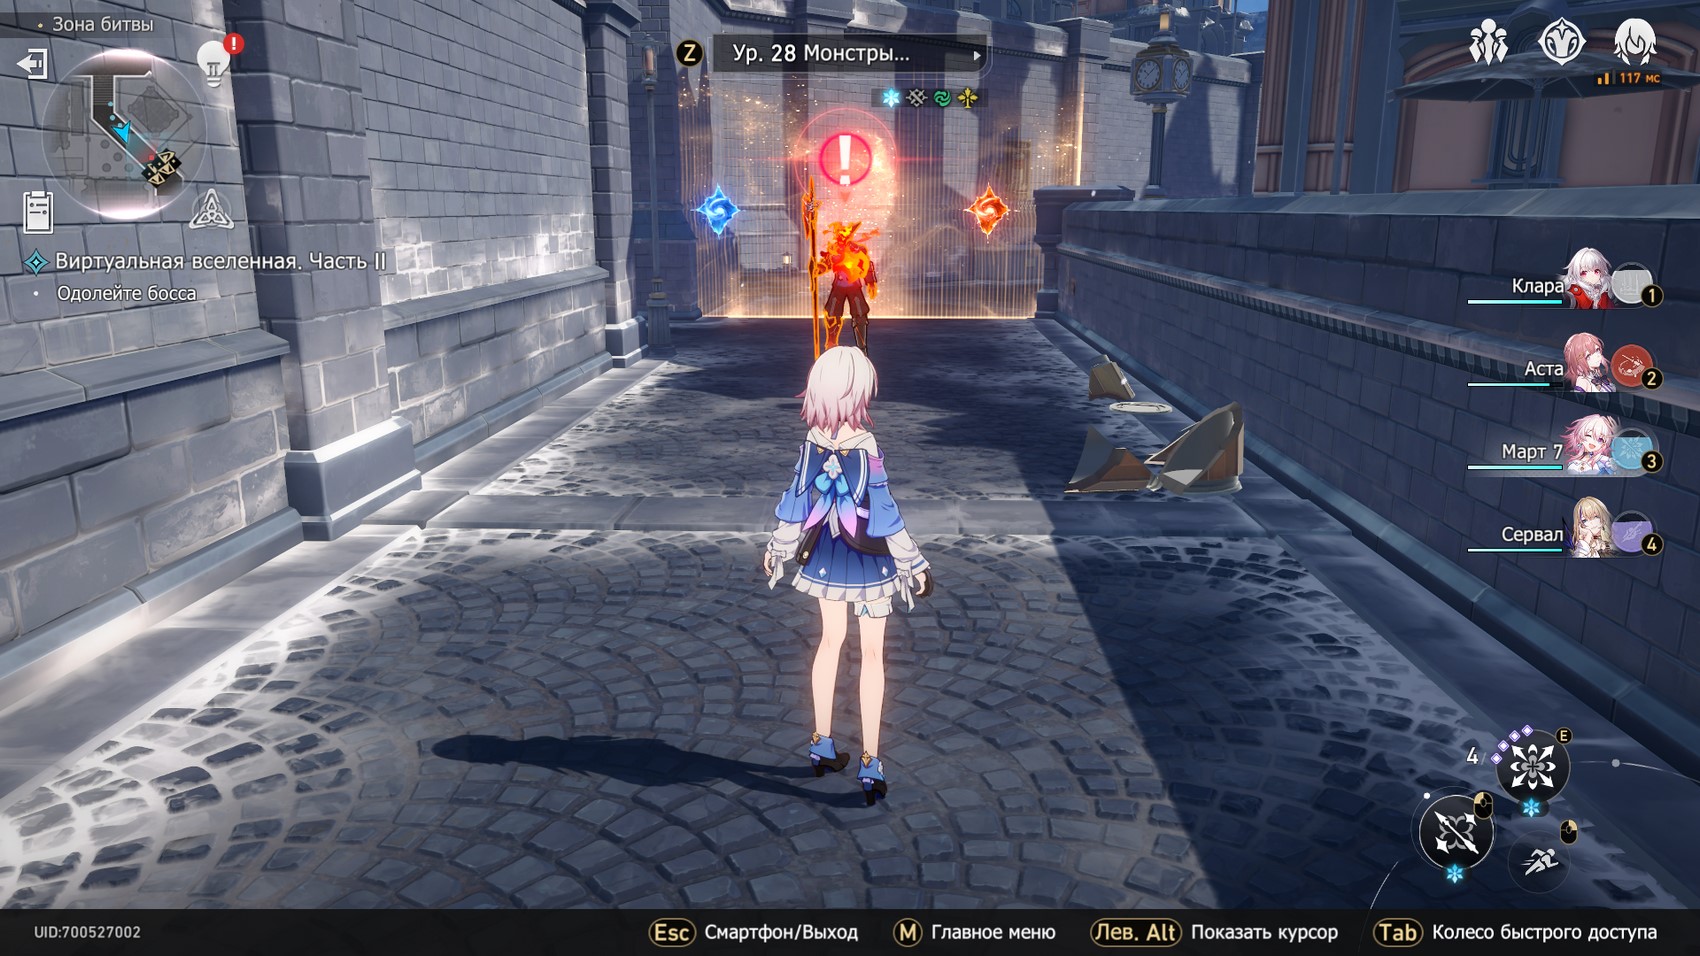
Elite Zone 1
Here you have to fight Burning Wanderer Level 31, which is vulnerable to frost, lightning, and ghost damage. This is a relatively simple elite opponent. Attack him with March 7 or Serval to deal a lot of damage right away. Then try to deal with ordinary mobs first of all, hitting them with attacks that hit the area (the superpowers of the above heroines will help).
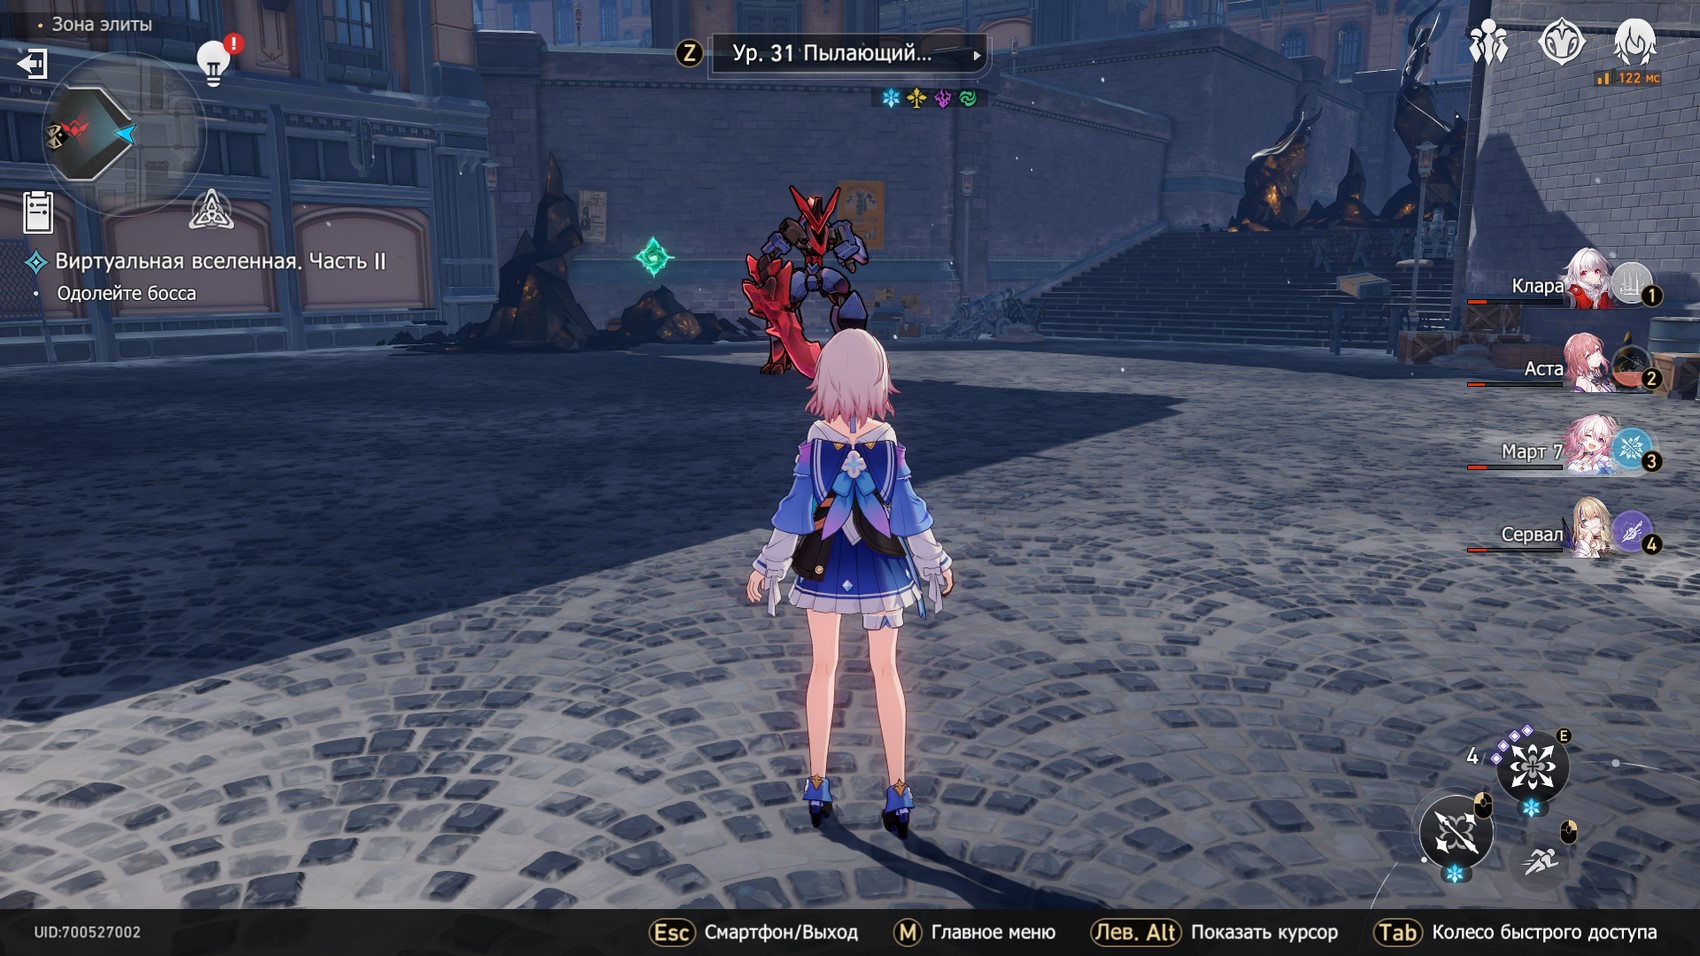
Next, concentrate all attacks on the mini-boss. With March 7, Cheetah, Baylu, or Natasha in the squad, you will most likely get out of this fight with minimal losses. Next, you will find the Recreation Area, where you can add an additional fighter to the squad (in case someone left) and increase the blessings by talking to Gert.
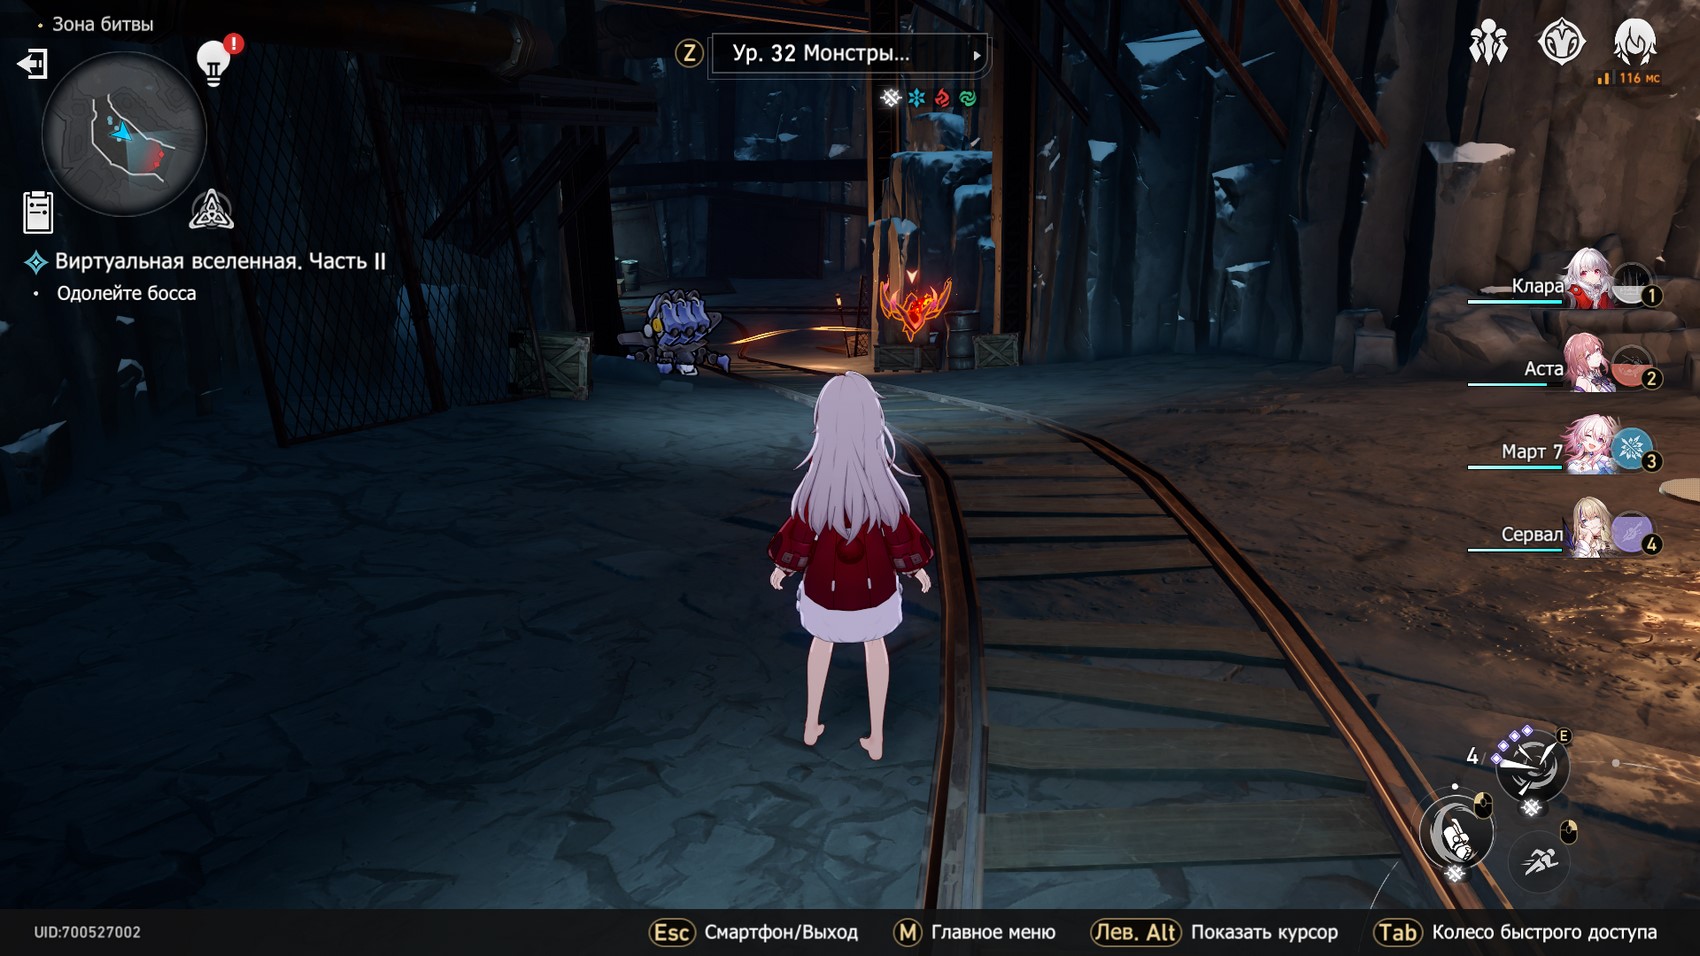
Battle Zone 2 (4)
If you previously chose only battles, then this zone will be your 4th in a row. In it you have to fight monsters of the 32nd level. Their vulnerabilities are shown in the pictures below. Some can attack in 2 waves. Next, a new fork awaits you.
Encounter zone/Battle zone 5
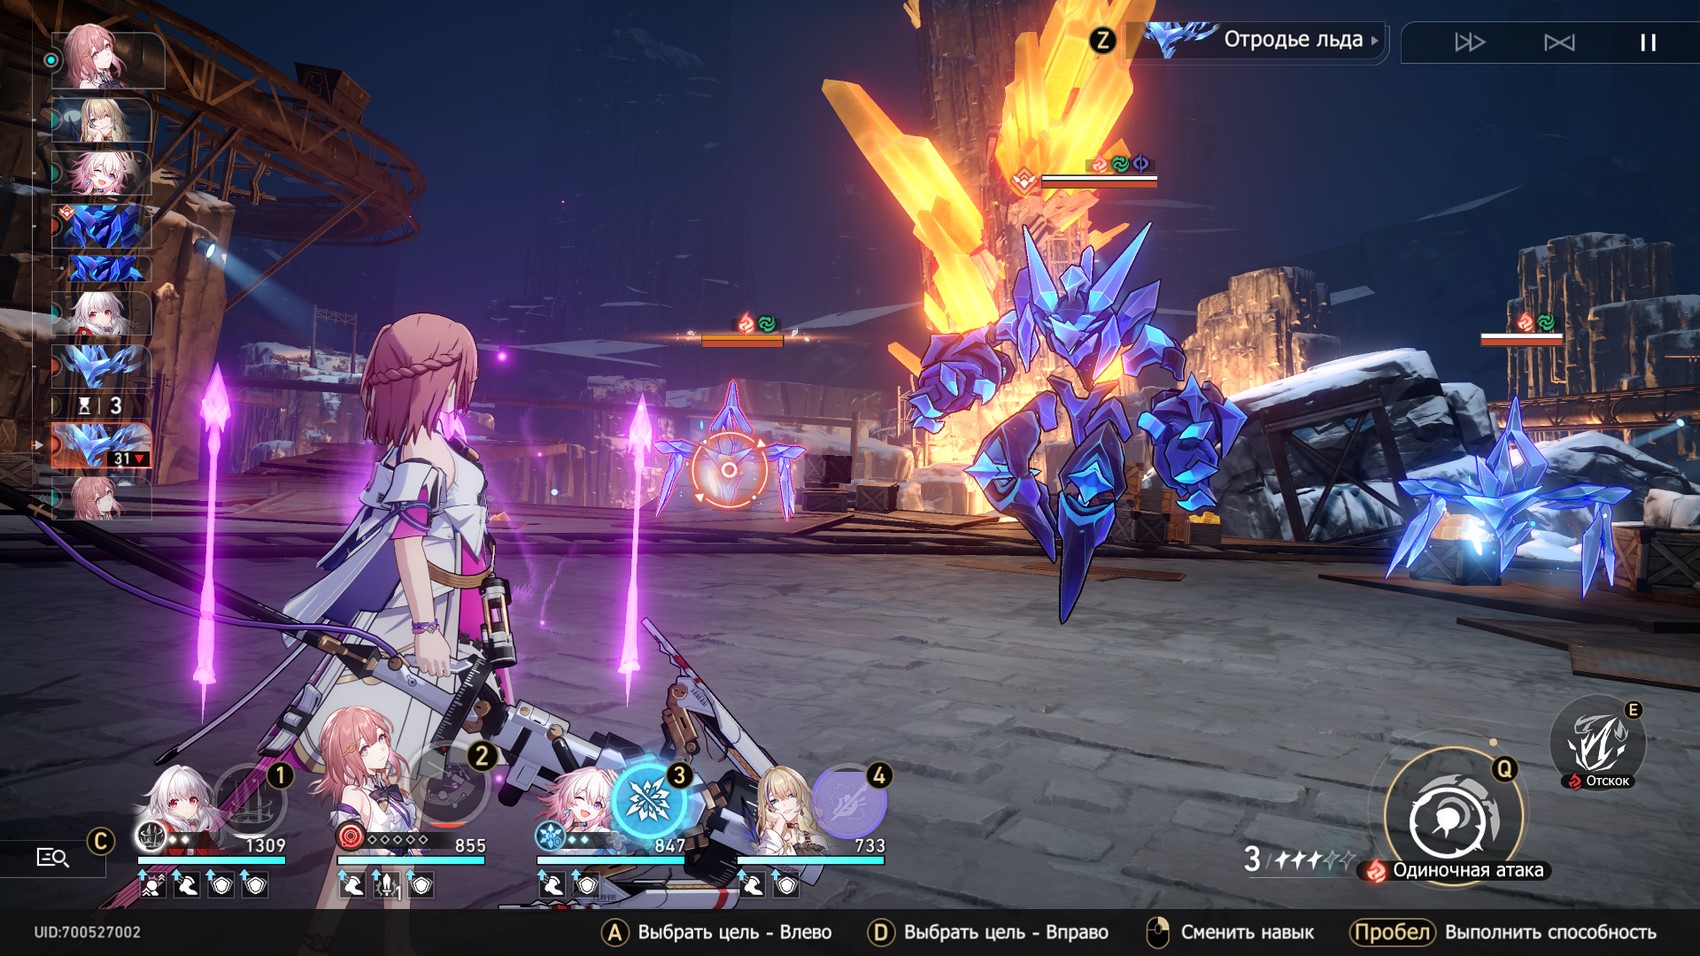
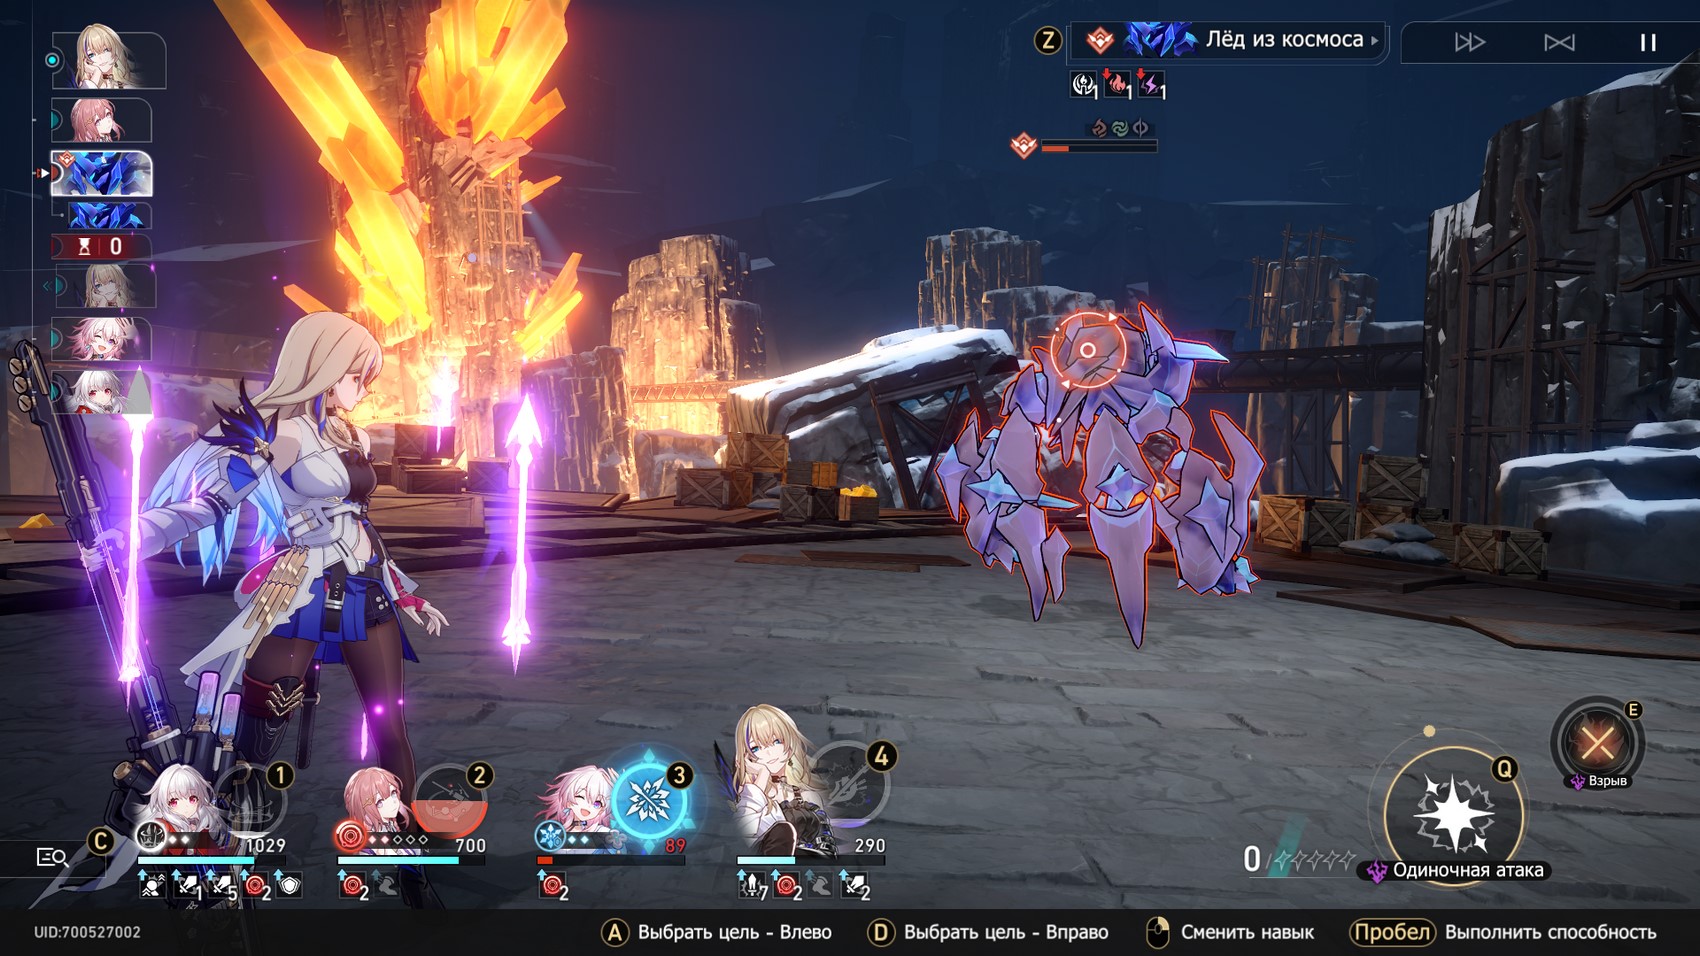
The encounter zone is also a random event, with the exception that in it you will most likely have to fight one elite enemy, such as a grizzly automaton or ice from space. As a reward, you can get a level 3 blessing. You can take risks if you are confident in your abilities. In the battle zone, battles with not very strong enemies await you.
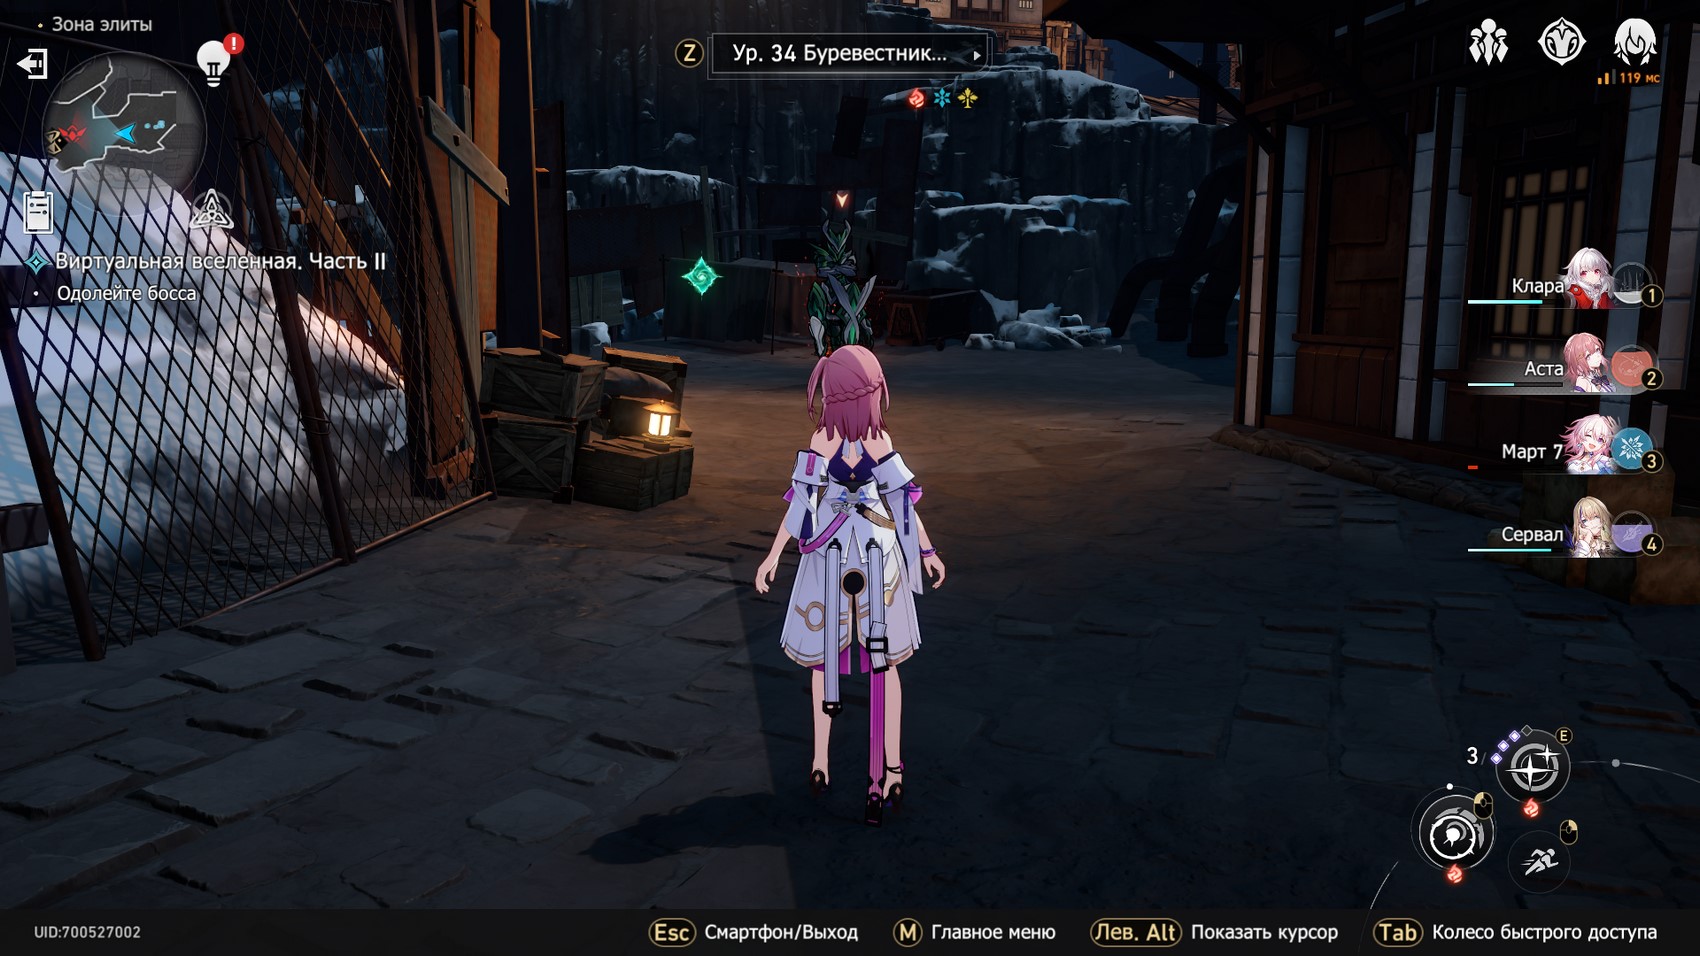
Elite Zone 2
Here you have to fight Stormcaller (false) level 34, which is vulnerable to fire, ice, and ghost damage. His barrier is not very strong, but he has a huge health bar, so get ready for a long fight. We recommend attacking him with the March 7 technique to try to freeze him.
In general, this enemy is vulnerable to freezing, so it will be nice to take an ice damageer or support. The serval will also come in handy, because after a few attacks, the mini-boss will summon flying henchmen with a vulnerability to electrical damage (one ult will be enough to kill them).
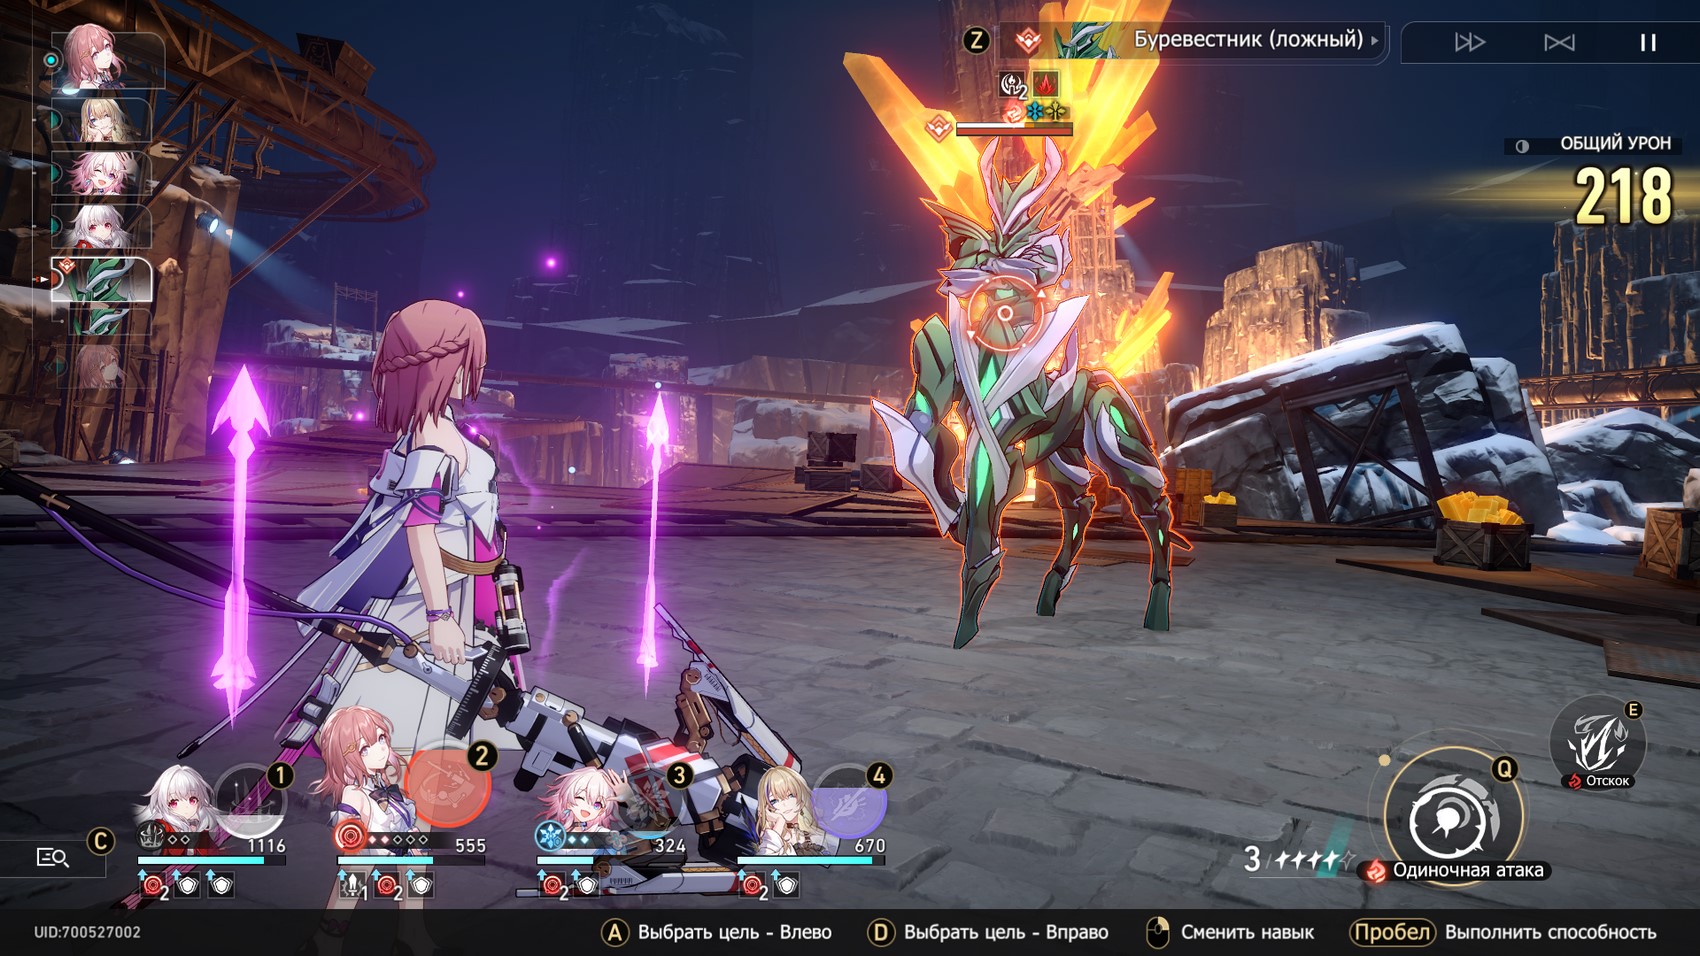

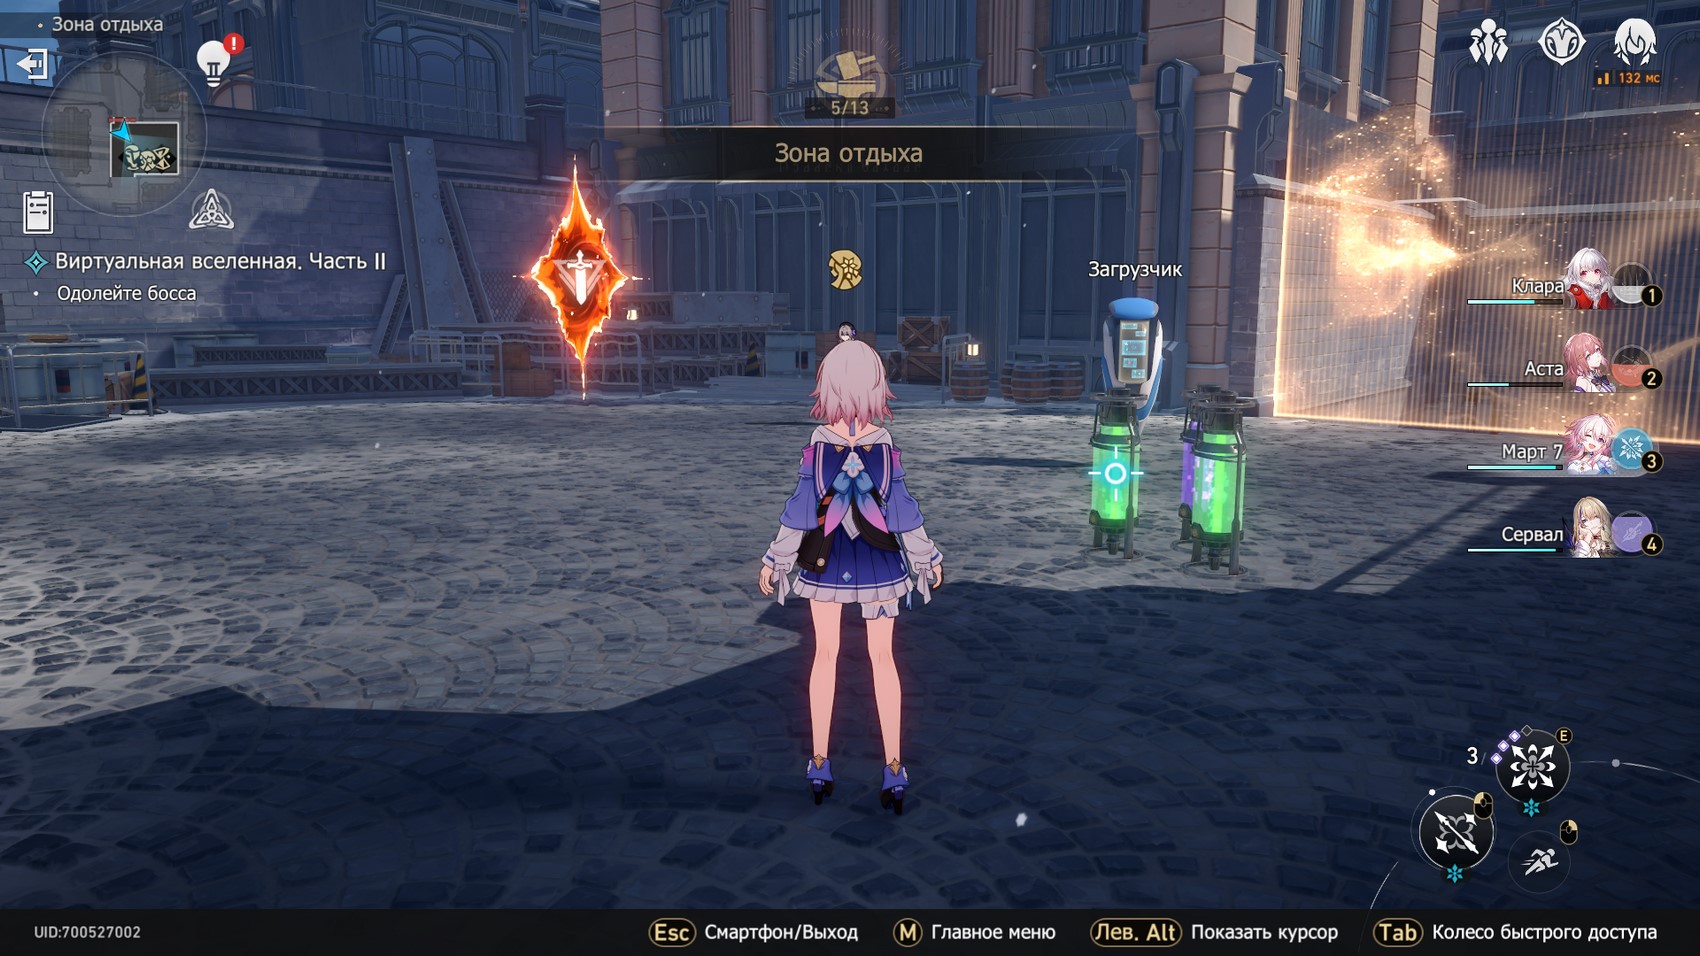
Thunderbird (false) is able to walk twice in a row and deal damage to several characters at once. For this reason, it is essential to have a shielder or healer that can patch up your fighters or prevent them from taking damage. Having dealt with the enemy, enter the Rest Zone, where you can restore some health and equipment points.
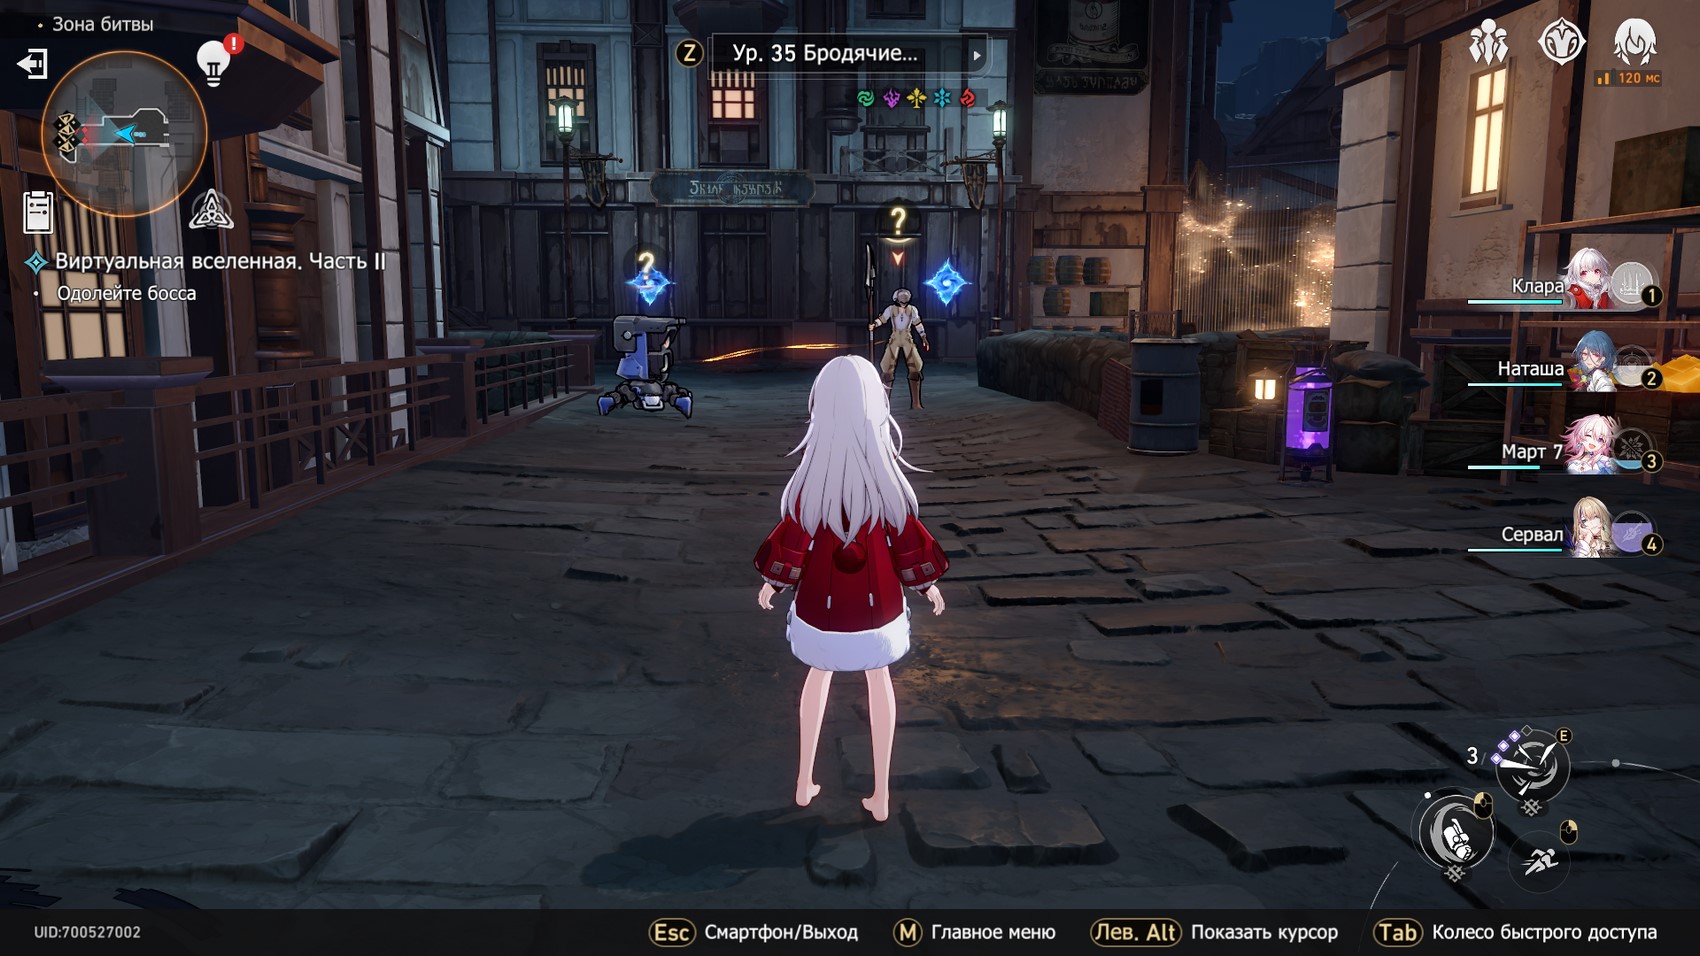
Battle Zone 3 (6)
Level 35 automatons and vagabonds are waiting for you here. Their vulnerabilities are shown in the pictures below. Then there will be a fork again.
Event area/Meeting area
Choose according to your own preferences. Note that in both zones, you can sometimes refuse to make a choice so as not to lose health among the fighters. Now enter the last resting area, where you can heal, take a new hero from the Loader and increase the blessings.
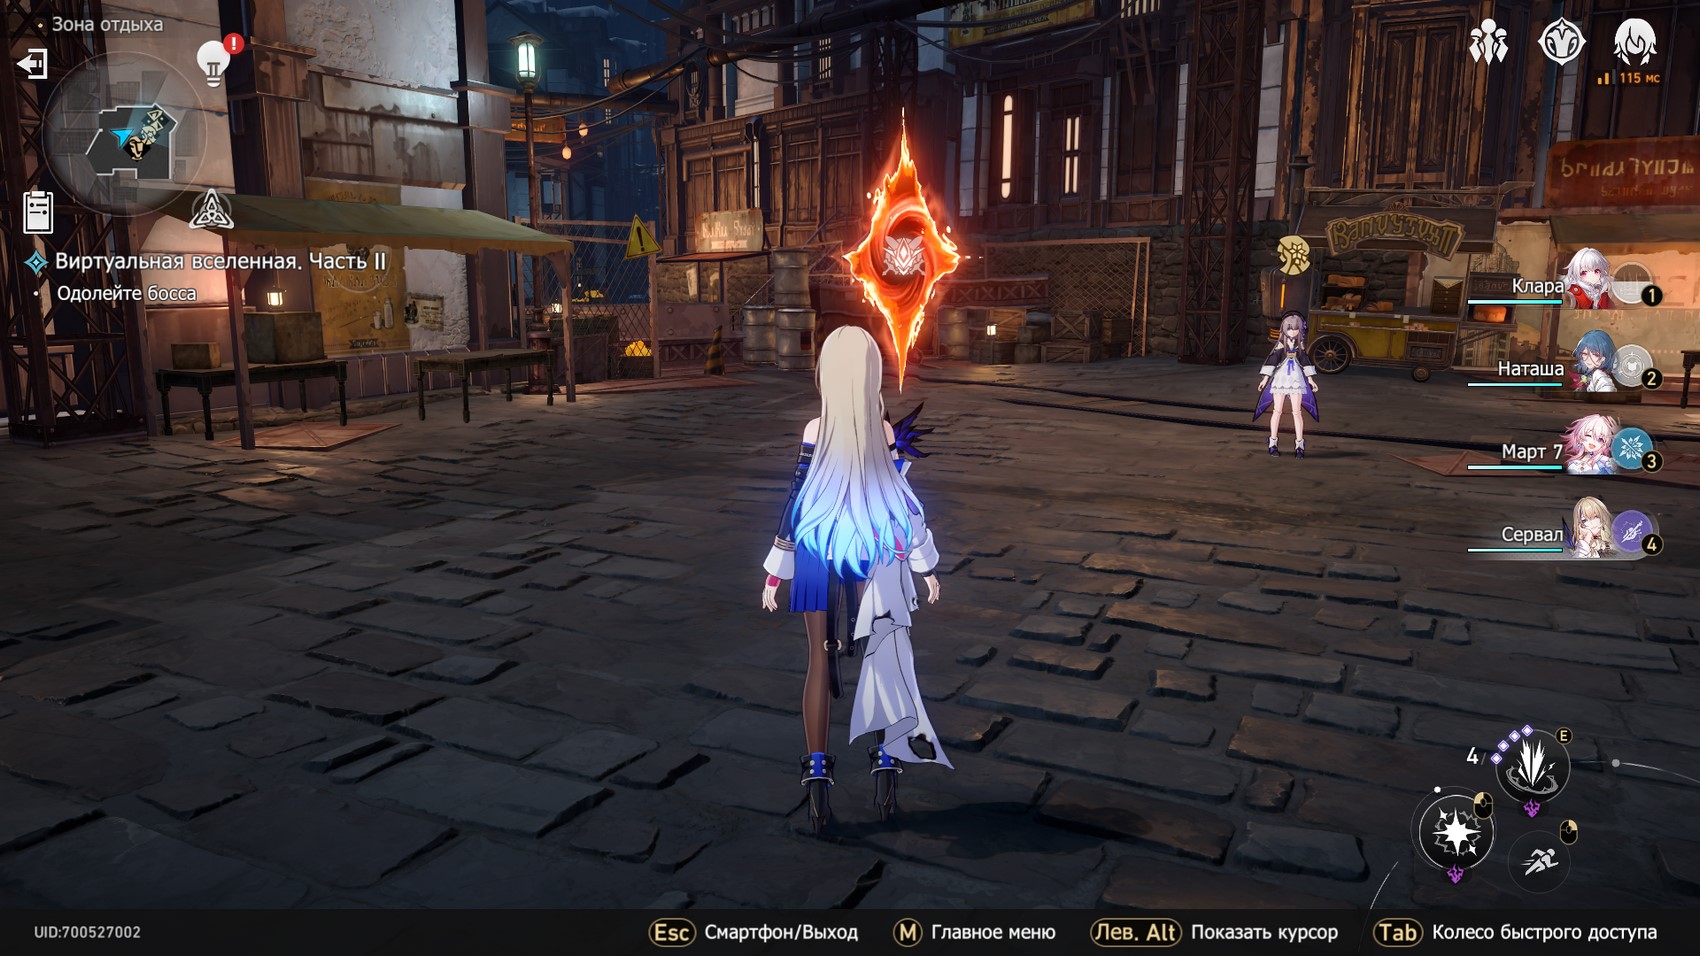
Boss zone
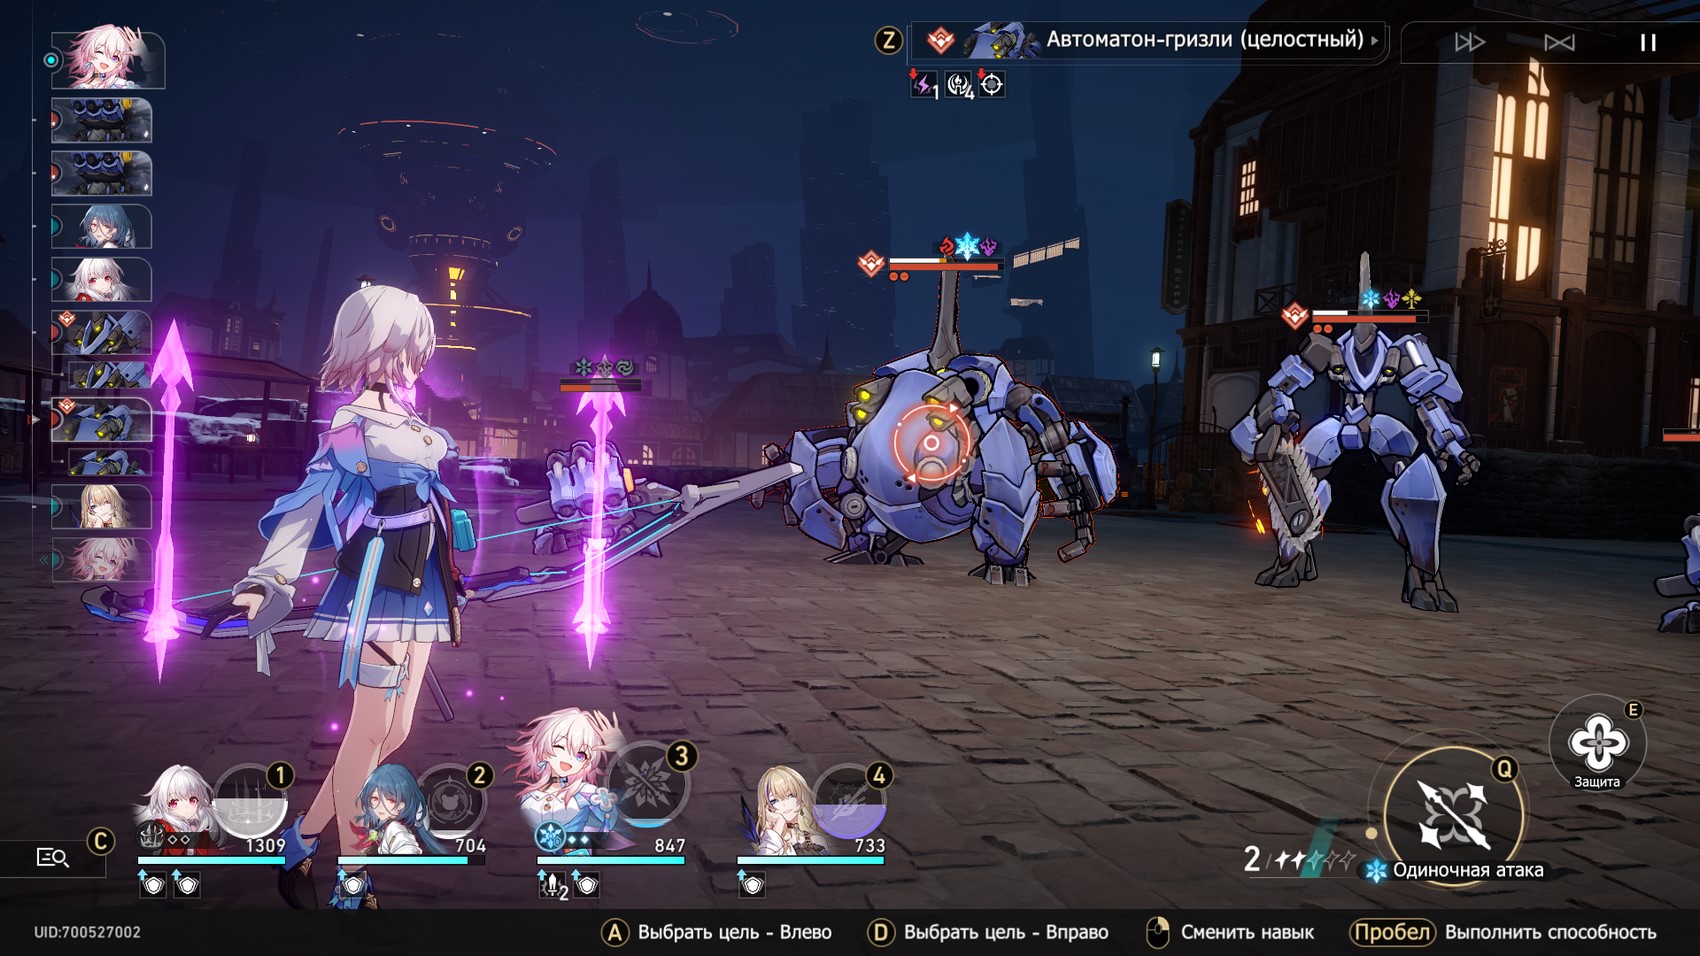
So, you have to fight Grizzly Automaton and Direwolf Automaton 37th level. Both are vulnerable to frost and shock damage, so Serval and ice damage will come in handy here. The battle itself consists of 2 stages, that is, after reducing the health of the bosses to zero, they will fully recover and will be ready to go into battle again. So do not relax when defeating enemies for the first time.

Grizzly in this battle is a tank, so it has better protection. It would make sense to defeat the dire wolf first, however the "fat" will often taunt, preventing it from focusing on an ally (unless using area attacks). So you can first try to fill up the tank.
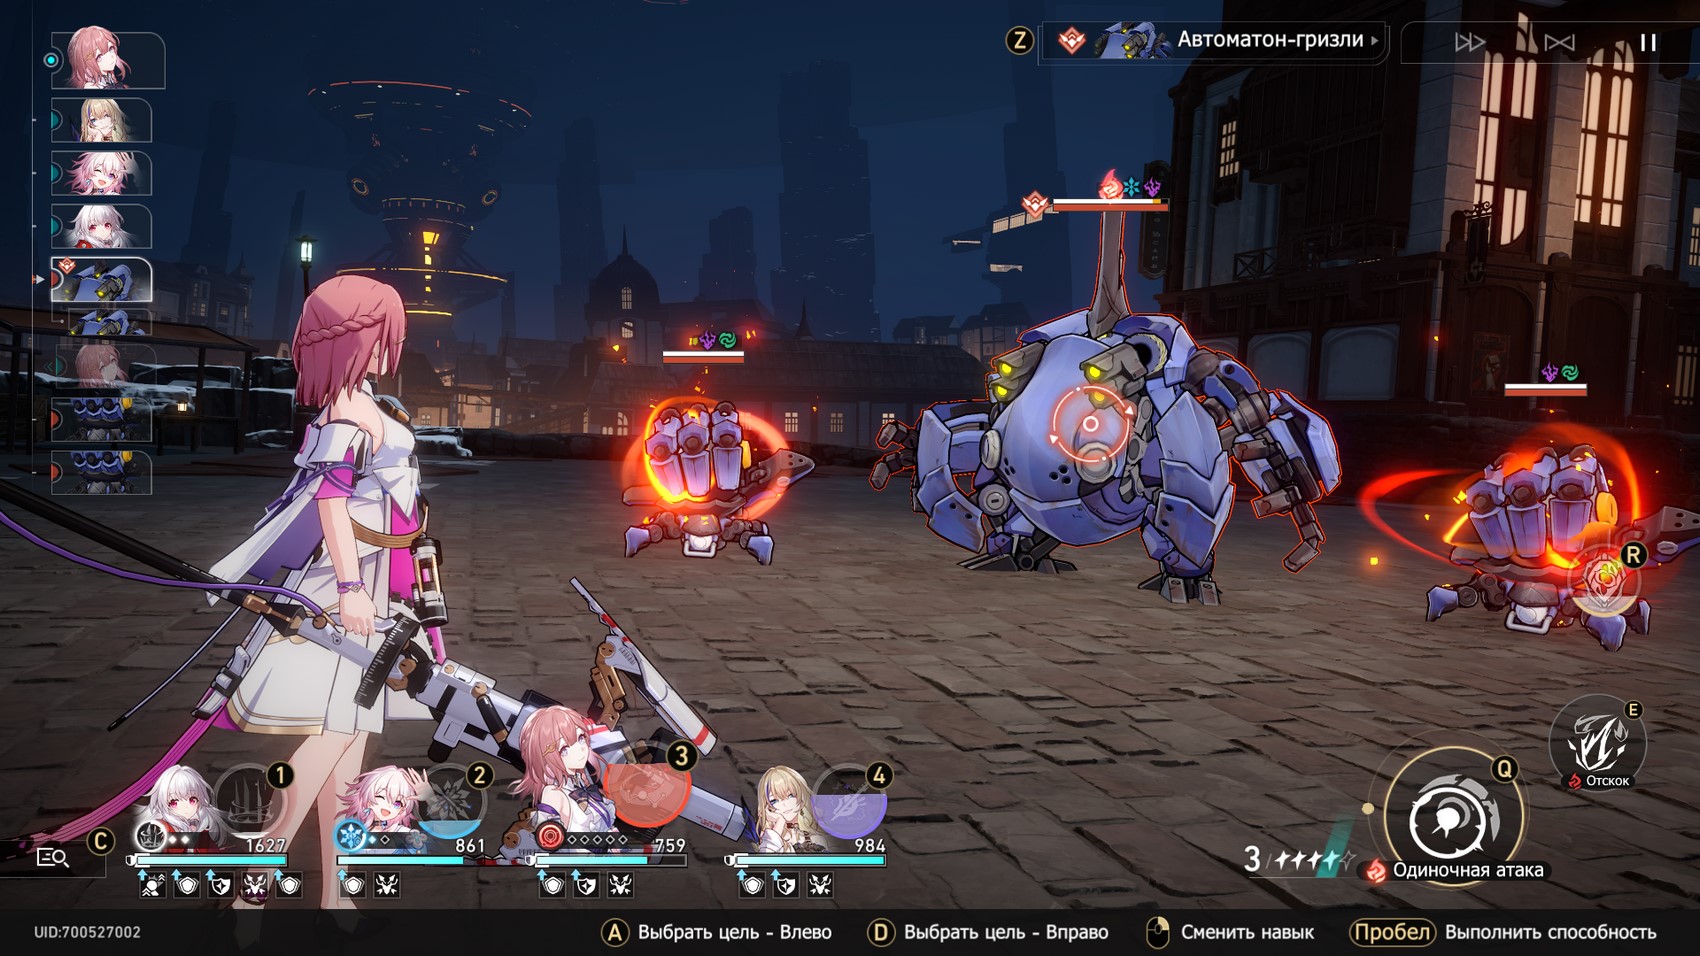
We add that the grizzly will sometimes summon automaton spiders, which will immediately go into bomb mode - if you do nothing with them, then after 2-3 turns they will run in your direction and explode, causing significant damage. Therefore, when they appear, we advise you to concentrate all your attacks on them (Serval will help here again). Plus, when they die, they explode, dealing damage to bosses.
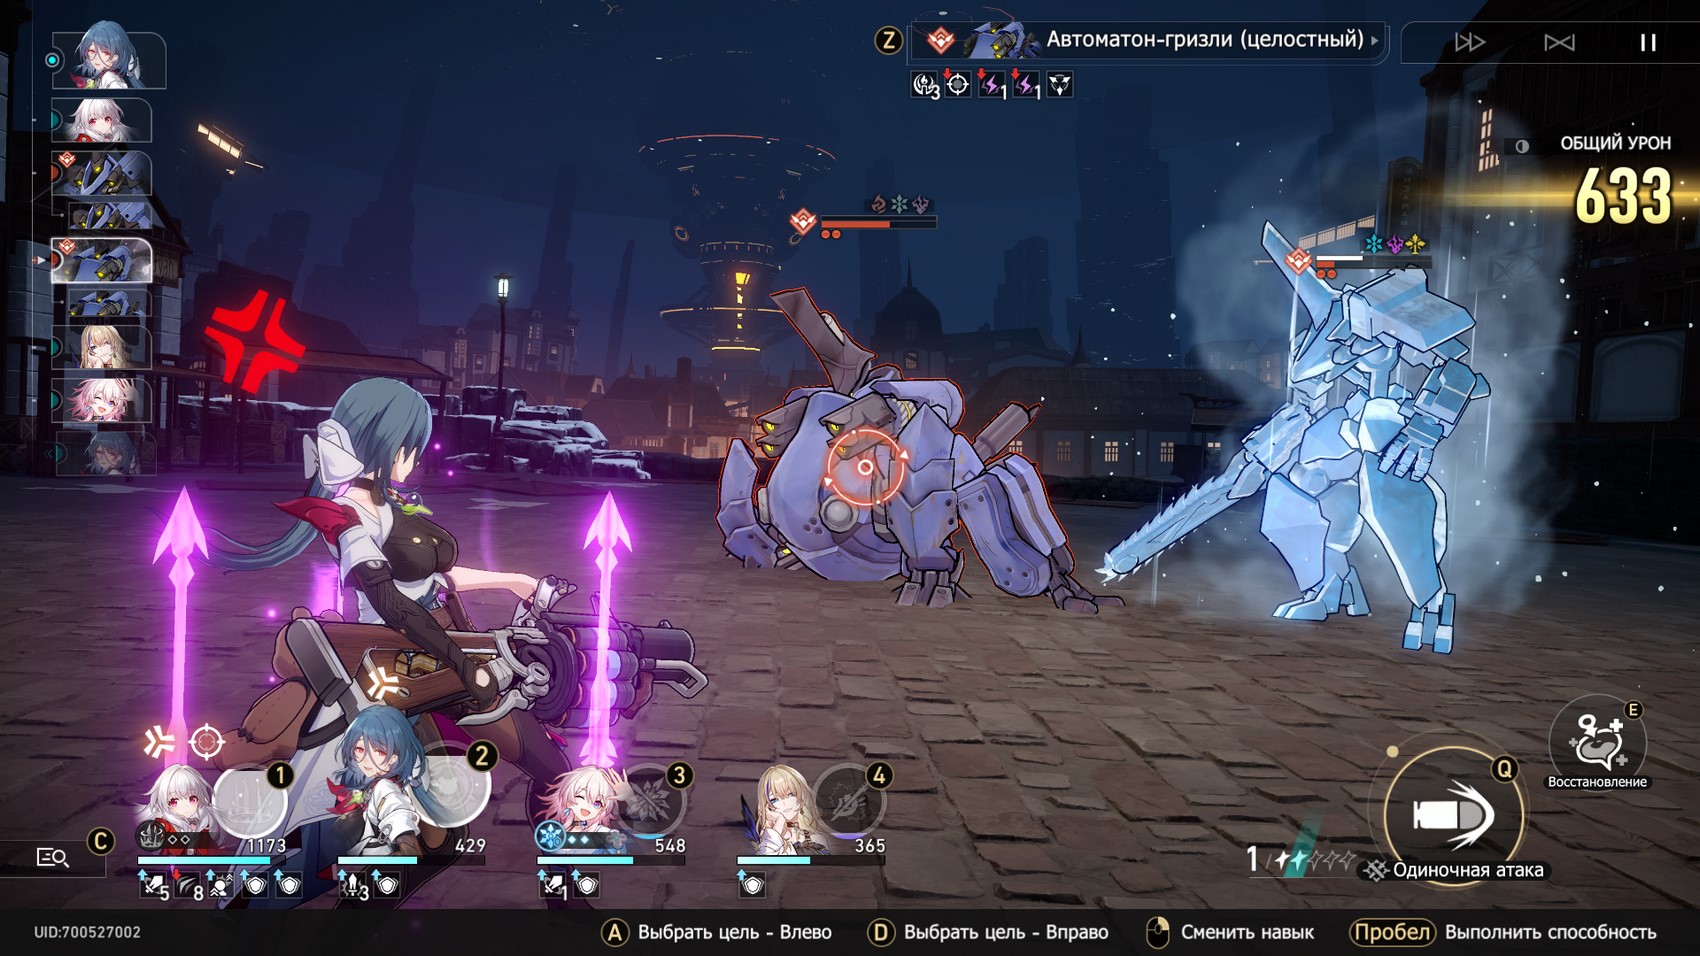
Both enemies are susceptible to freezing, so use ice attacks against them more often or try to take as many blessings aimed at freezing opponents as possible. This fight is quite possible to survive with only one shieldman (March 7). The Cheetah shouldn't be a problem at all. If your heroes often die, then take Natasha to the squad as well.
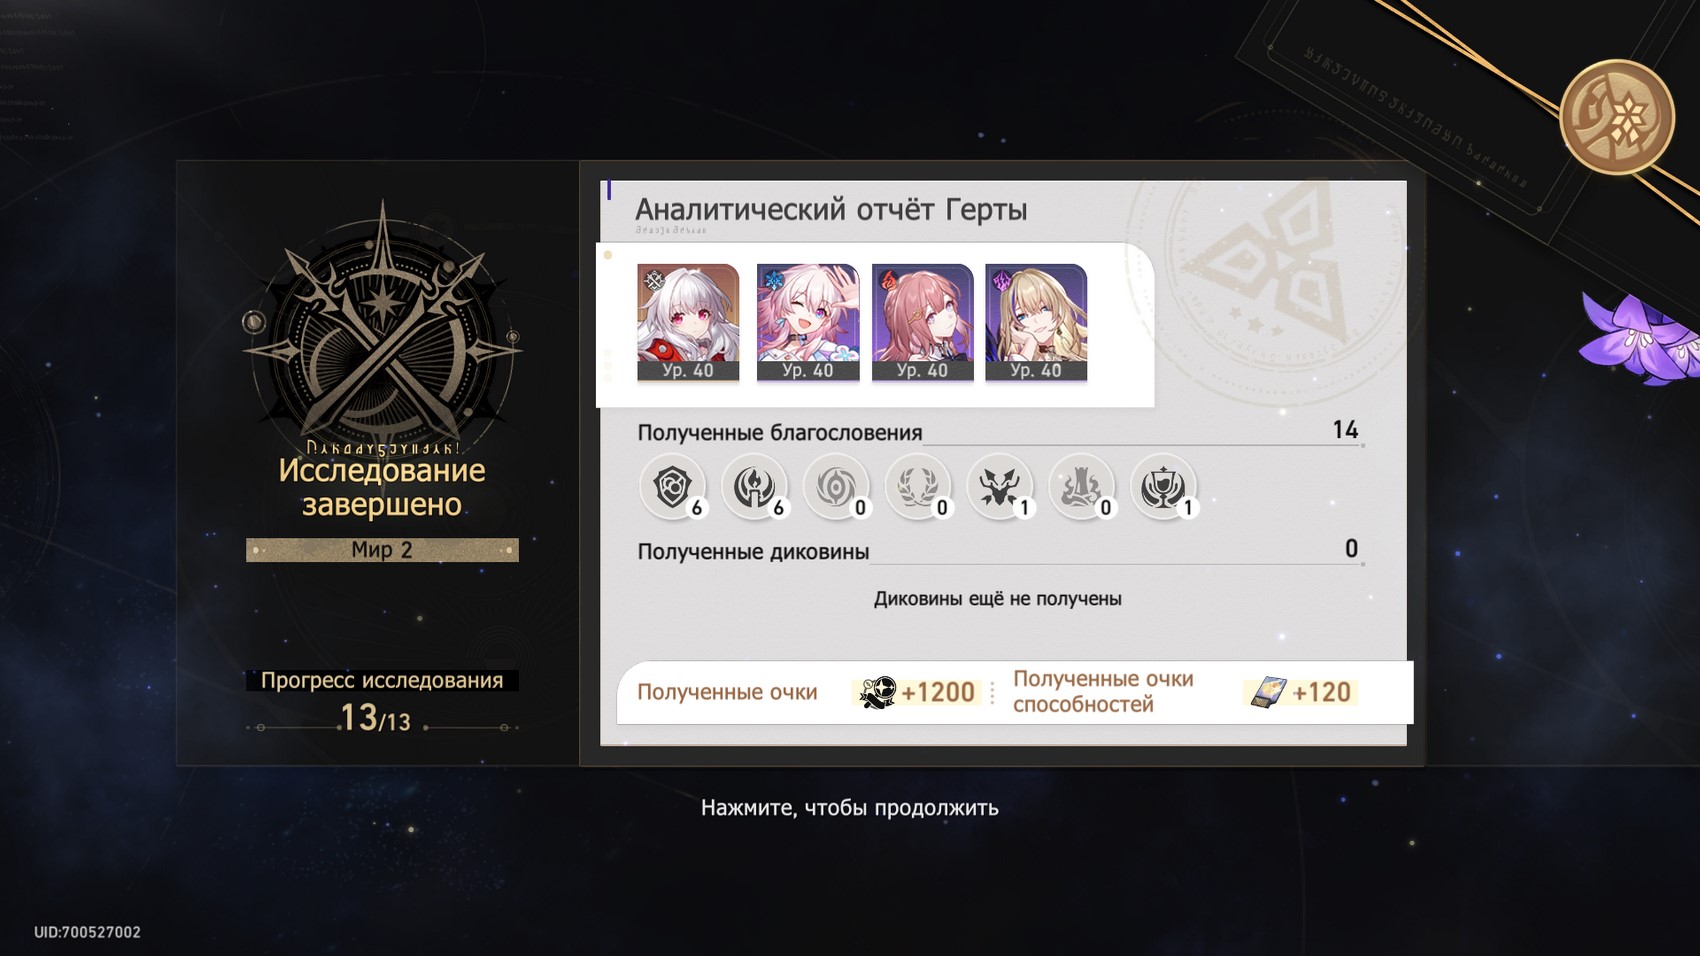
Still can't beat the bosses? In this case, we can only advise you to better pump the fighters, bringing them to level 40, updating their light cones and opening additional Footprints. After dealing with the opponents, go through the white portal and collect the rewards.
Comments
You need to login to add comments.
You can login with