In Genshin Impact, the Returning Curios is Mirage peace quest to Veluriam, during which you have to find three treasures, using the clues of Idia and solving several puzzles. You also have to choose a place where you will bury your own treasure. If you're having trouble picking up and completing this quest, check out our guide.
Passage of the quest "Returning Curios"
How to start a task
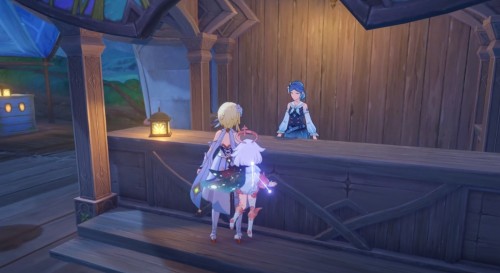
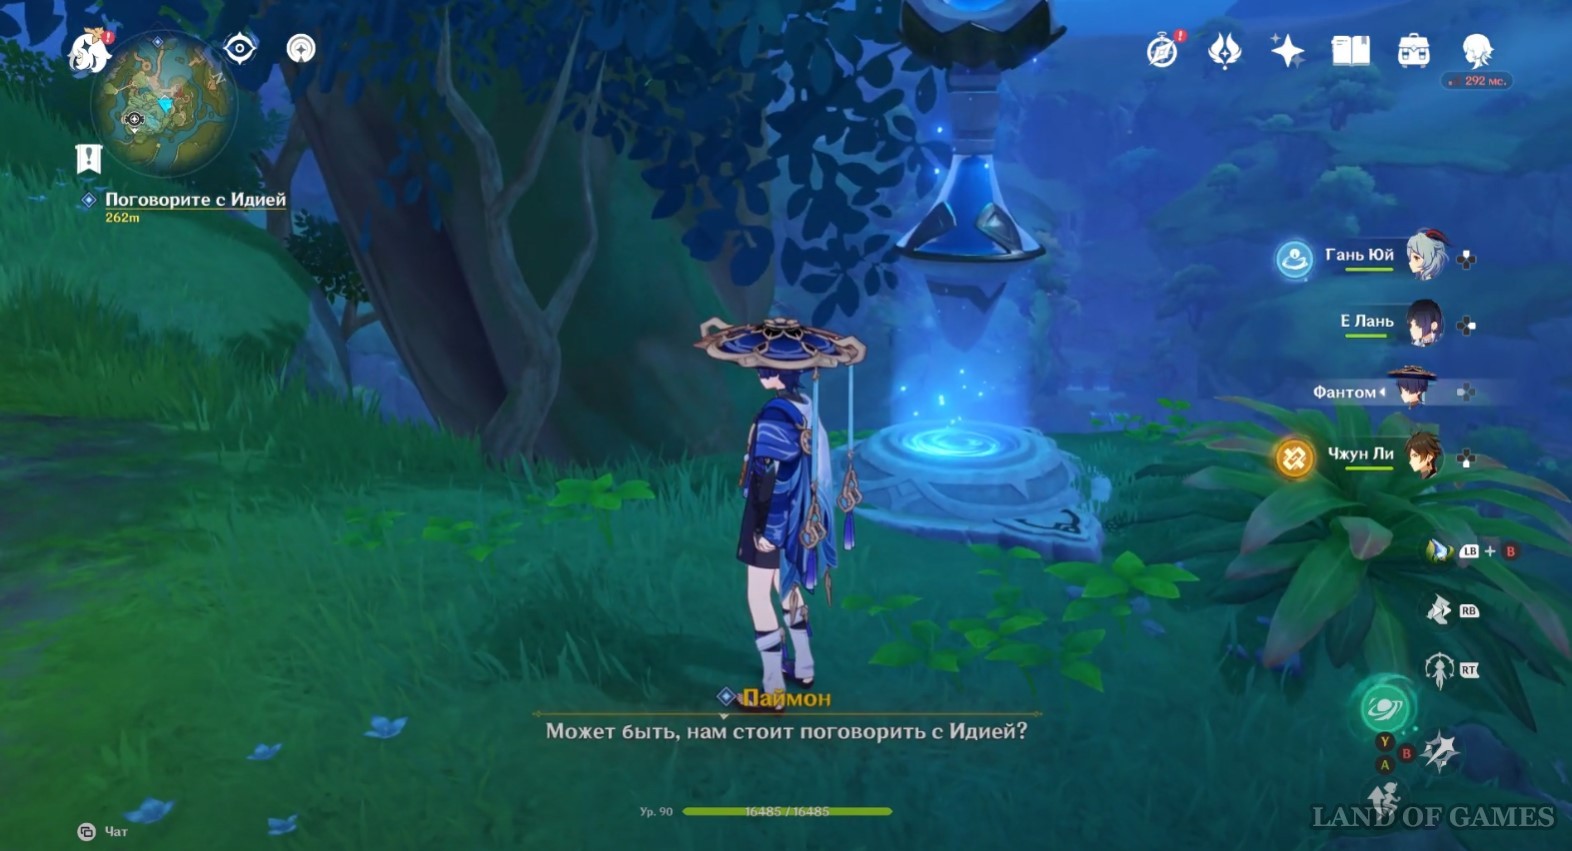
First of all, you will need to complete the main storyline of the temporary region by completing the quest chain "A story about a dream and a beginning!". Then move to the teleporter in the Theater of Dreamers (maybe teleportation to any location of the Mirage Veluria will do) and wait until Paimon speaks to you - she will offer to chat with Idia.
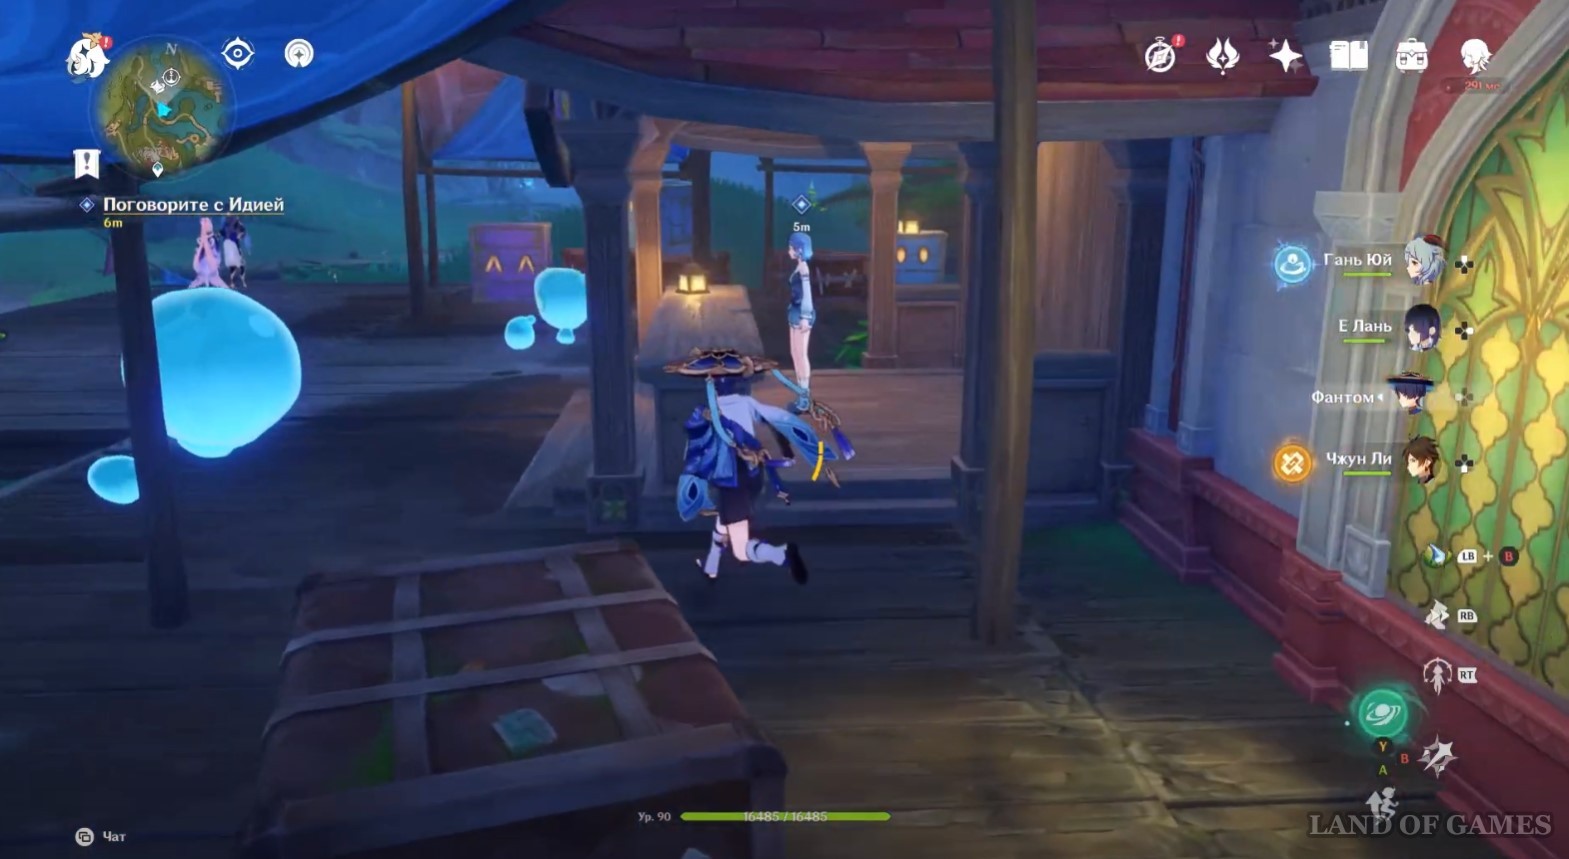
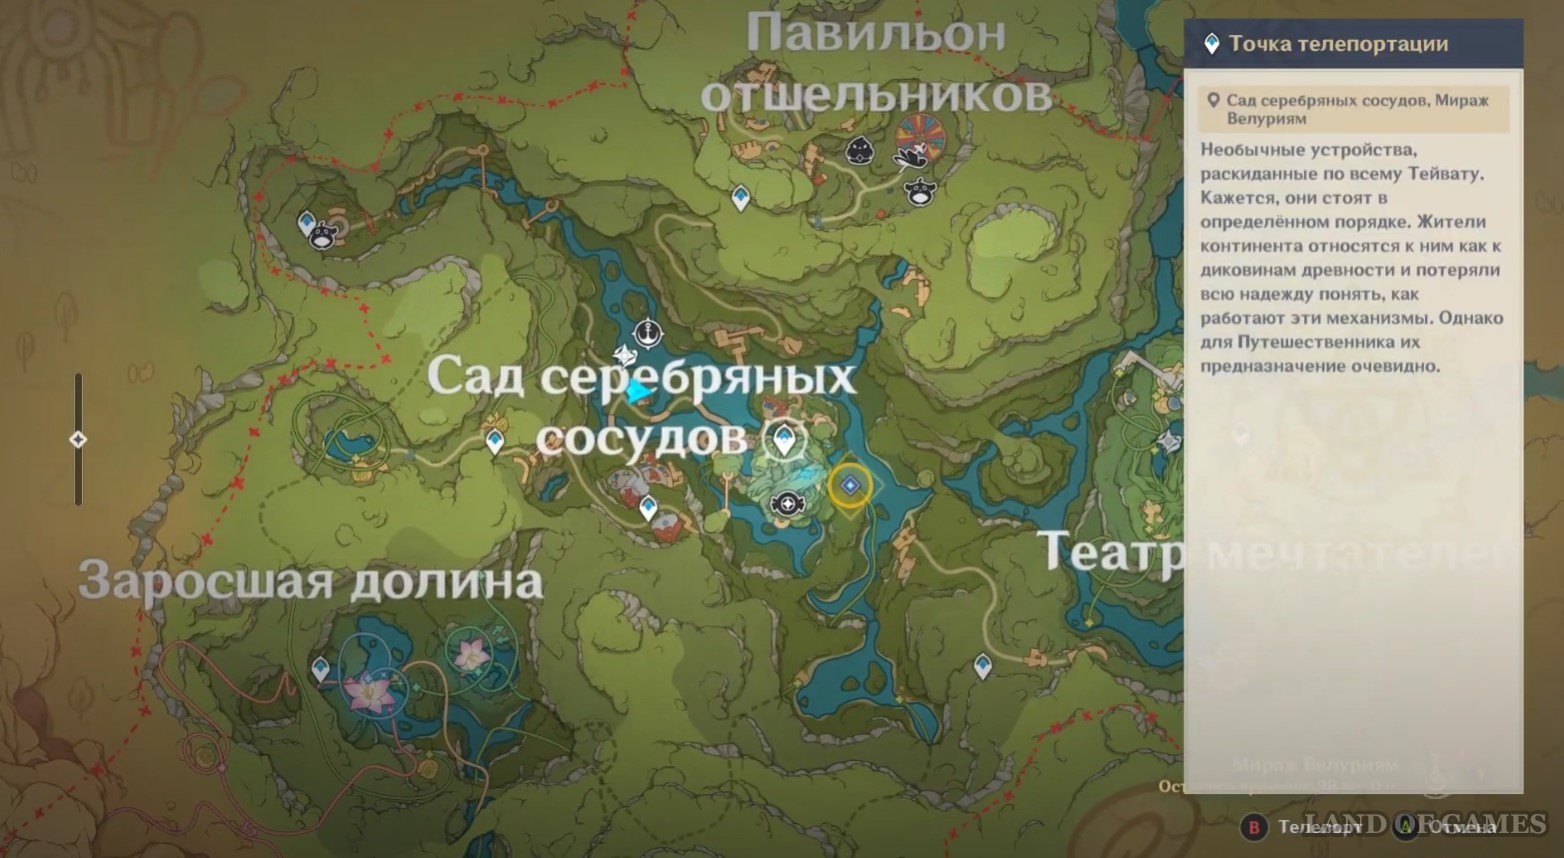
Oceanid can be found in the northern part of the town in the Garden of Silver Vessels. The girl will stand behind the counter of one of the shops. She will tell you about the treasures that can be found in this amazing dungeon.
Find the location of the first treasure
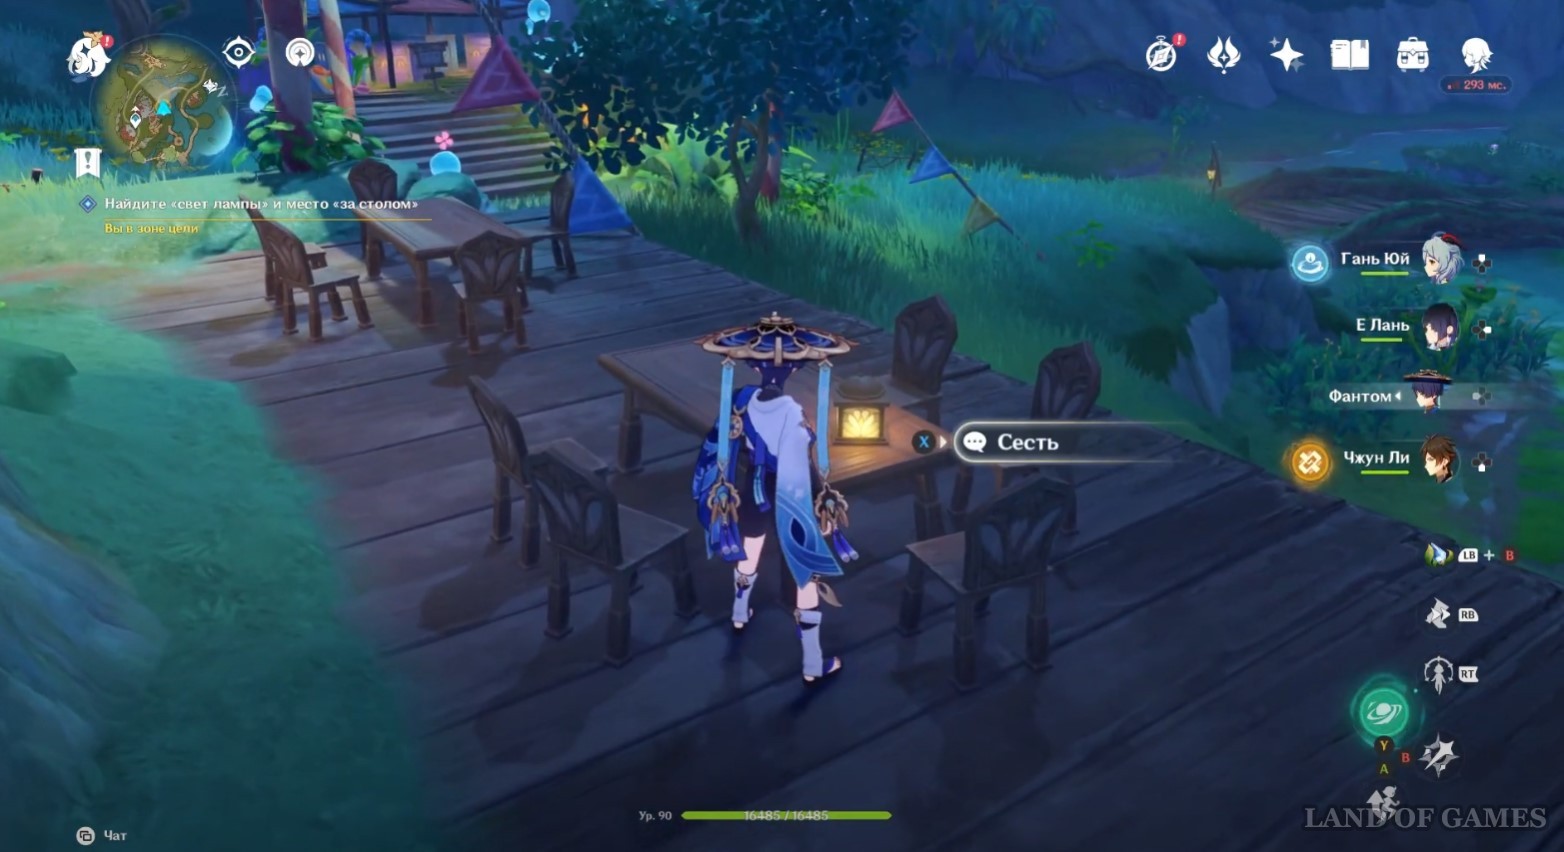
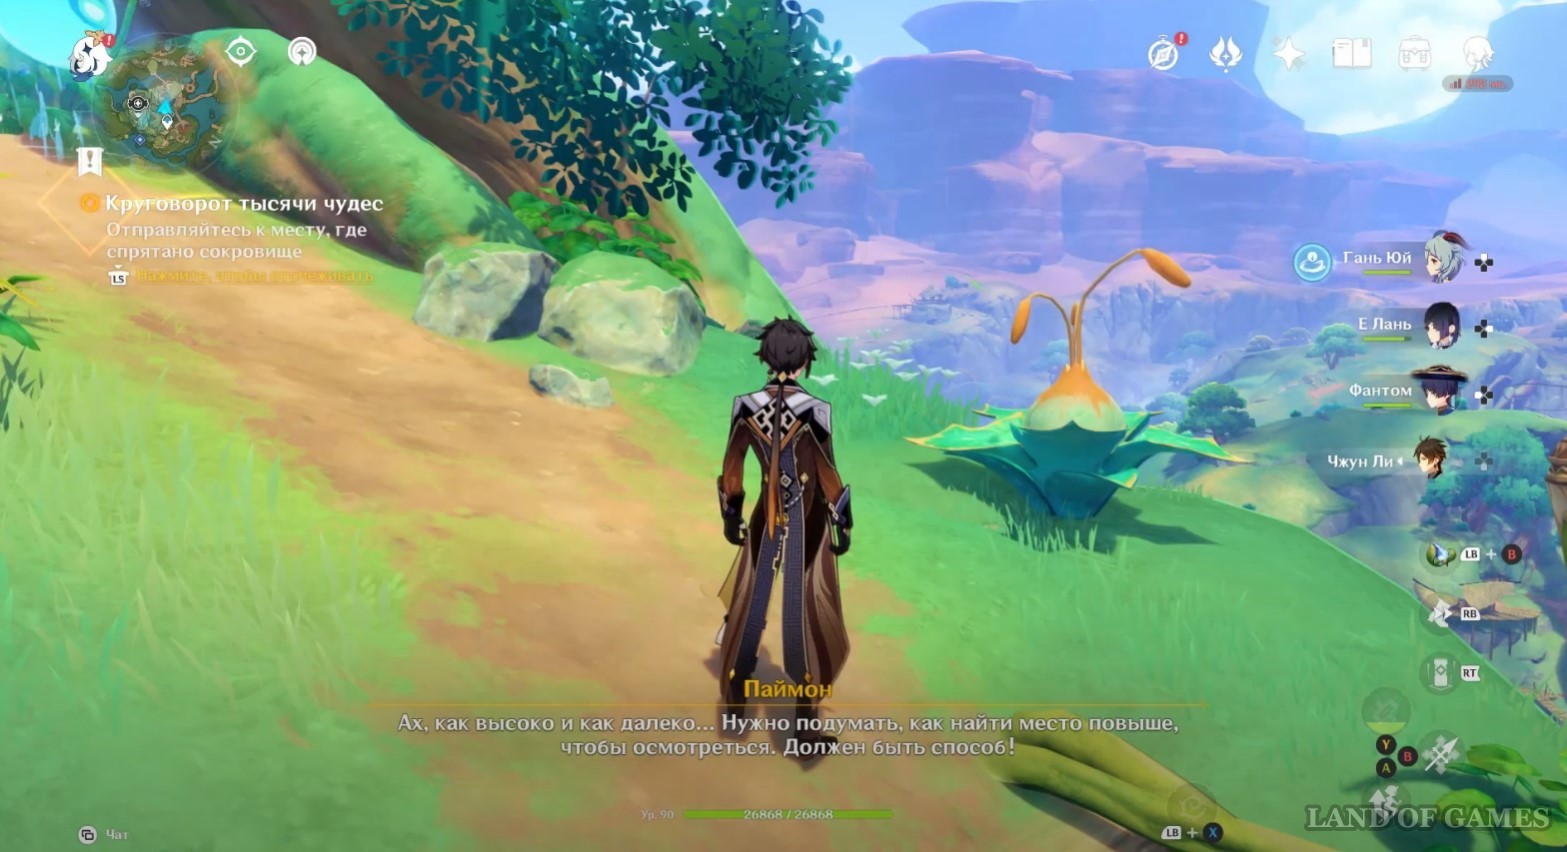
Head south from your current location. Along the way, you will see a clue that will point to the location of the treasure. In short, you will need to sit next to a lamppost.
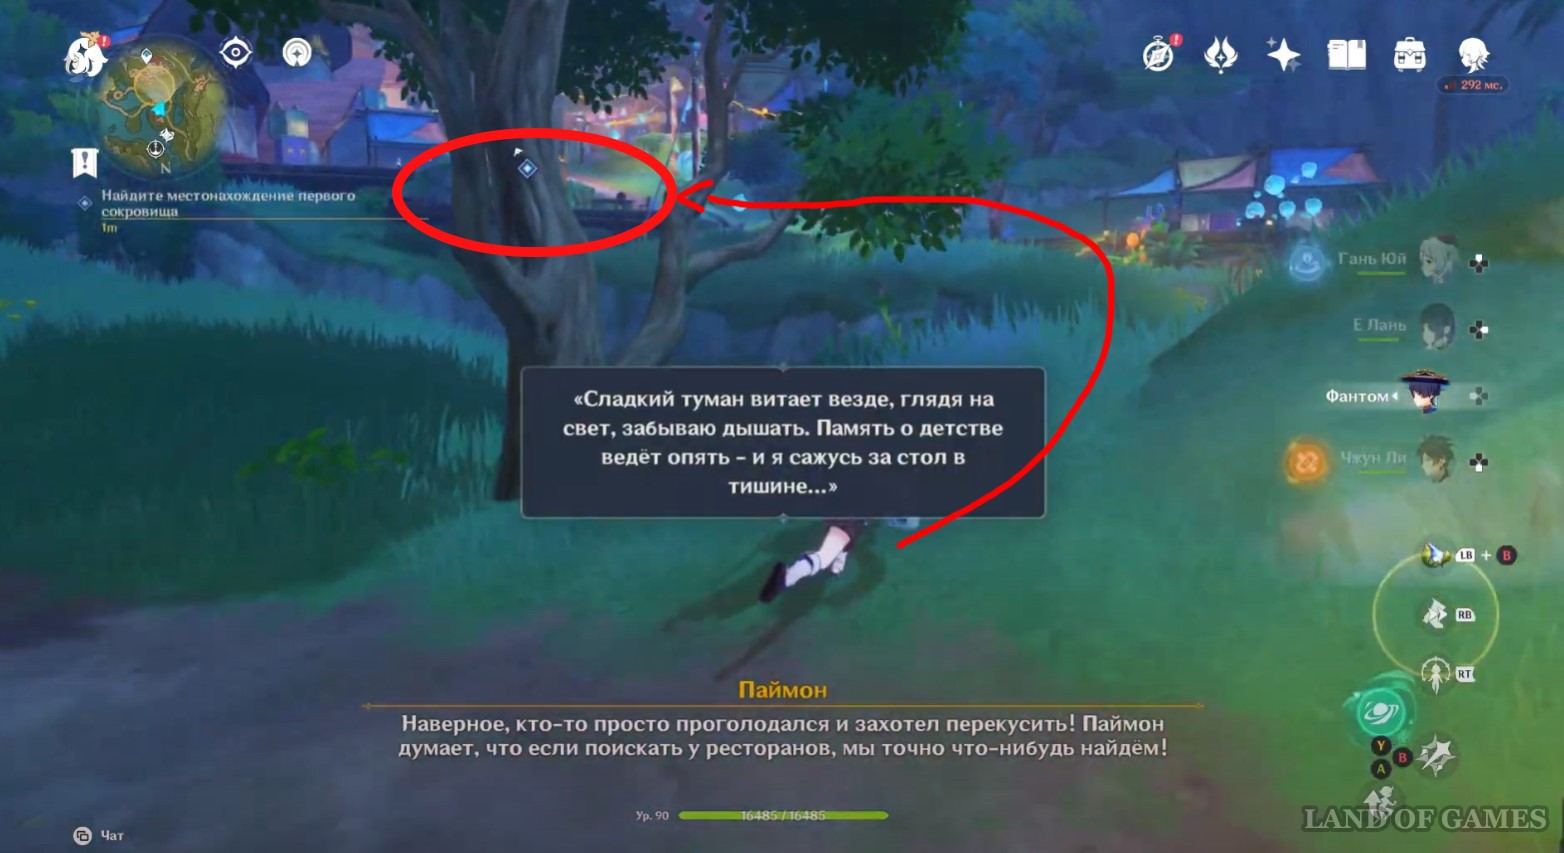

So, get to a small wooden platform near the river, on which there are tables and chairs. Here you will get a new task: "Find the light of a lamp" and "a seat at the table"
. To complete it, simply sit at any of the tables so that a regular chest appears not far from you - open it and return to Idia.

Find the location of the second treasure
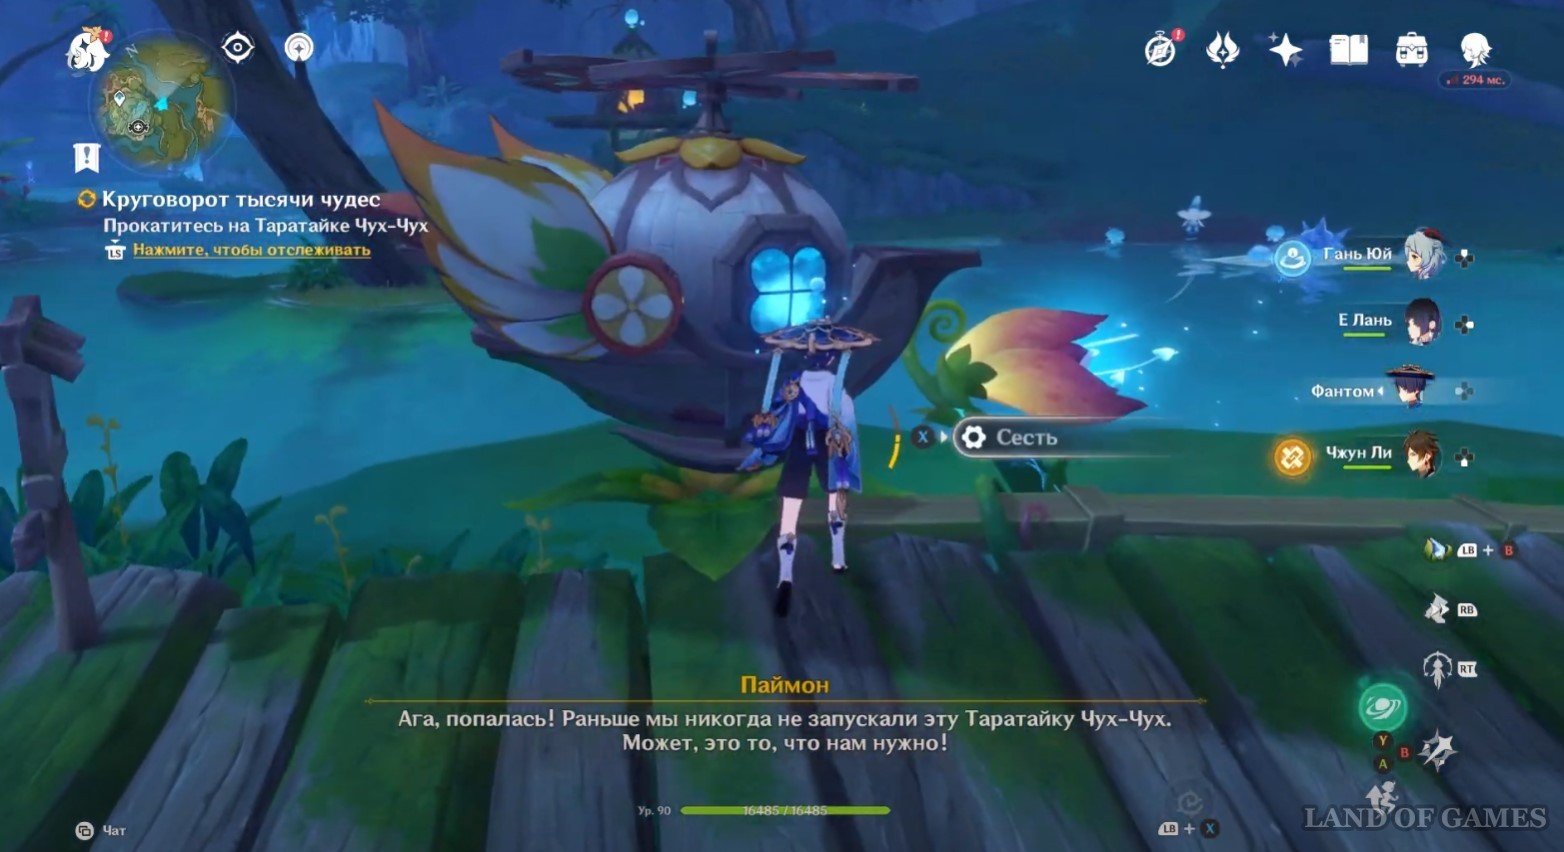
After talking with Idia, you will receive a second clue. So, move to the central teleport of the city, and then jump off the cliff and glide down in a southeast direction to the Chuh-Chukh buffoon.
Get into the transport and drive to the previously blocked cave on the south side of the location. When you get to the right place, go deep into the dungeon, and you will find a puzzle with a preprint here. Before entering the 2D space, move the crate shown in the screenshot below to the right side.


Move to the preprint, and then go right, climb onto the previously moved box and climb up to the second tier. Then stand on the lift and use it to get to the third level. There, run to the right and enter the portal. The whole process is shown in the GIF below.
Once in the next location, jump down, run to the right and stand on the moving platform, but don't ride it all the way to the top - instead, jump off it halfway to reach the chest on the right. You can now return to the elevator and go up to the upper tier, where the exit from the preprint is located. The whole path is shown in the GIF below.
Once out of 2D, go to the quest marker, open the rich chest, and return to Idia to tell her of your progress.

Find the location of the third treasure (Hydro Eidolons)
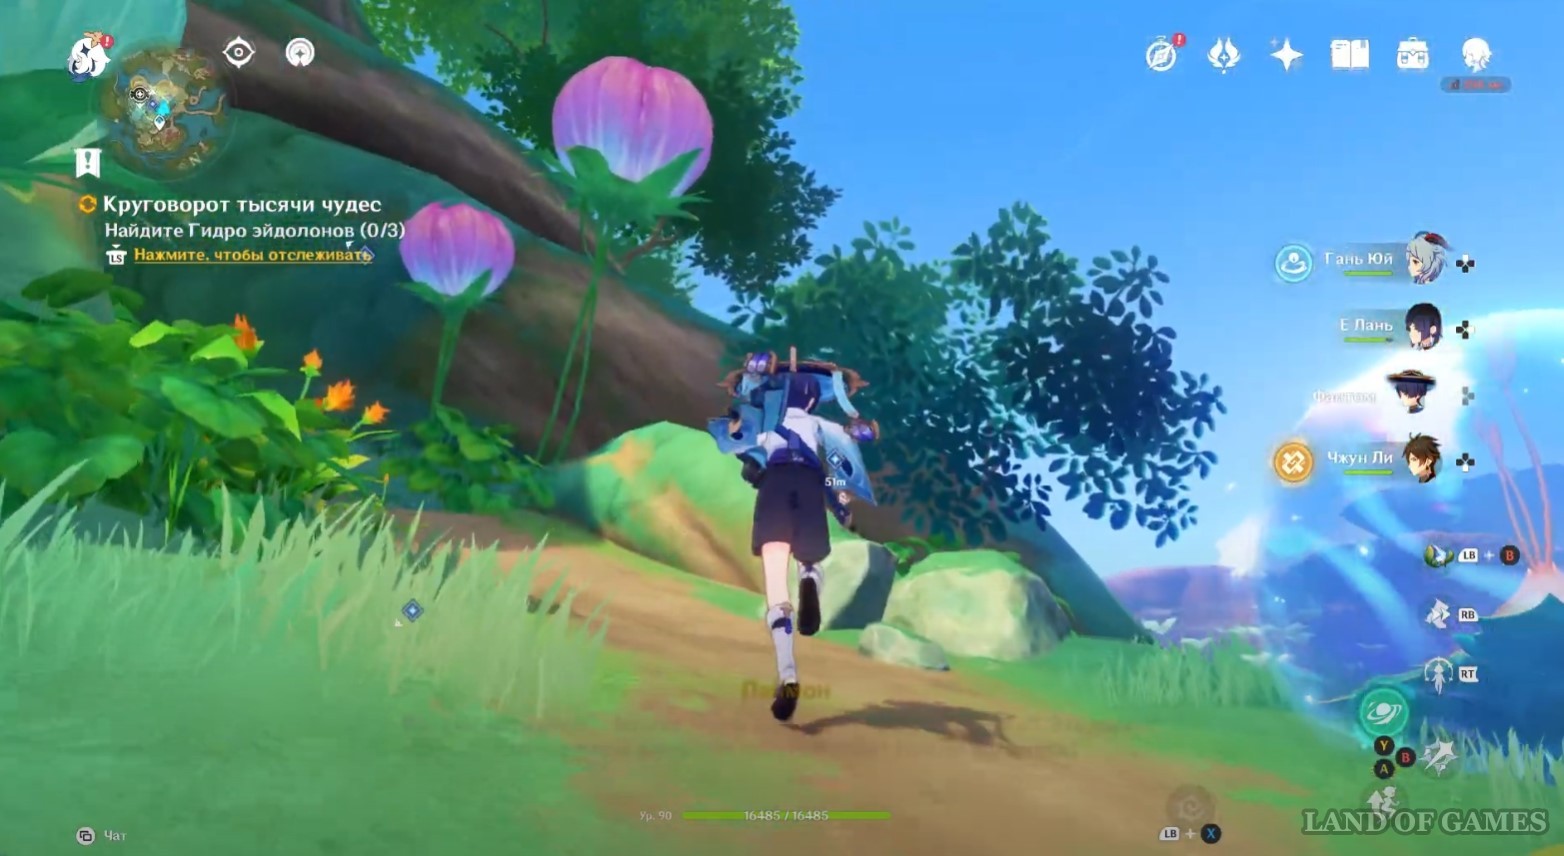
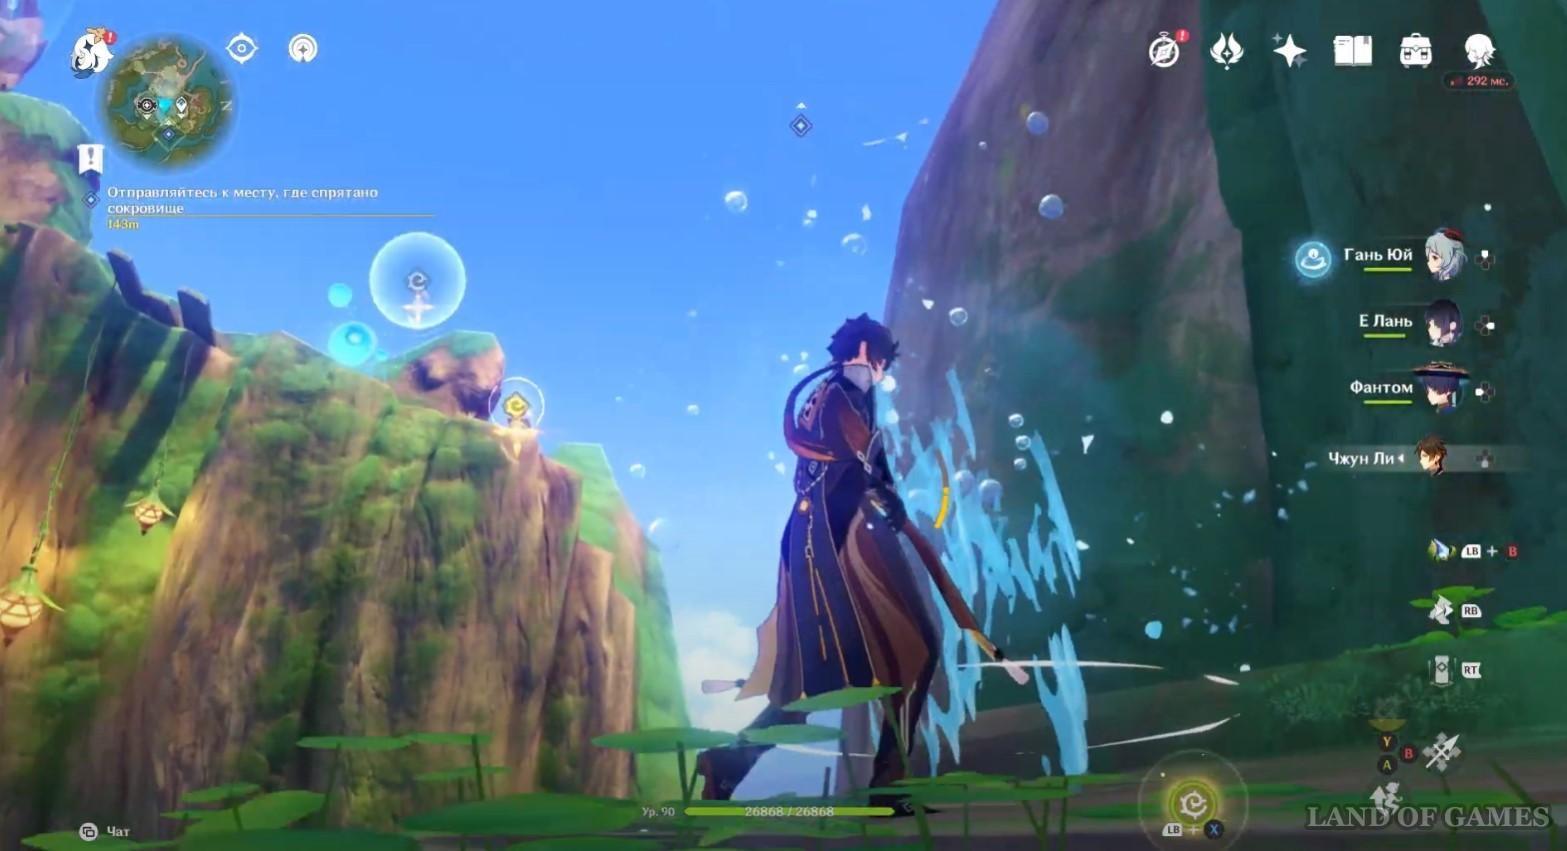
Examine the third clue - it points to the central node of the region. Move to the central teleport of the town, and then approach the three Hydro Eidolons standing next to the blue orb.


First Hydro Eidolon
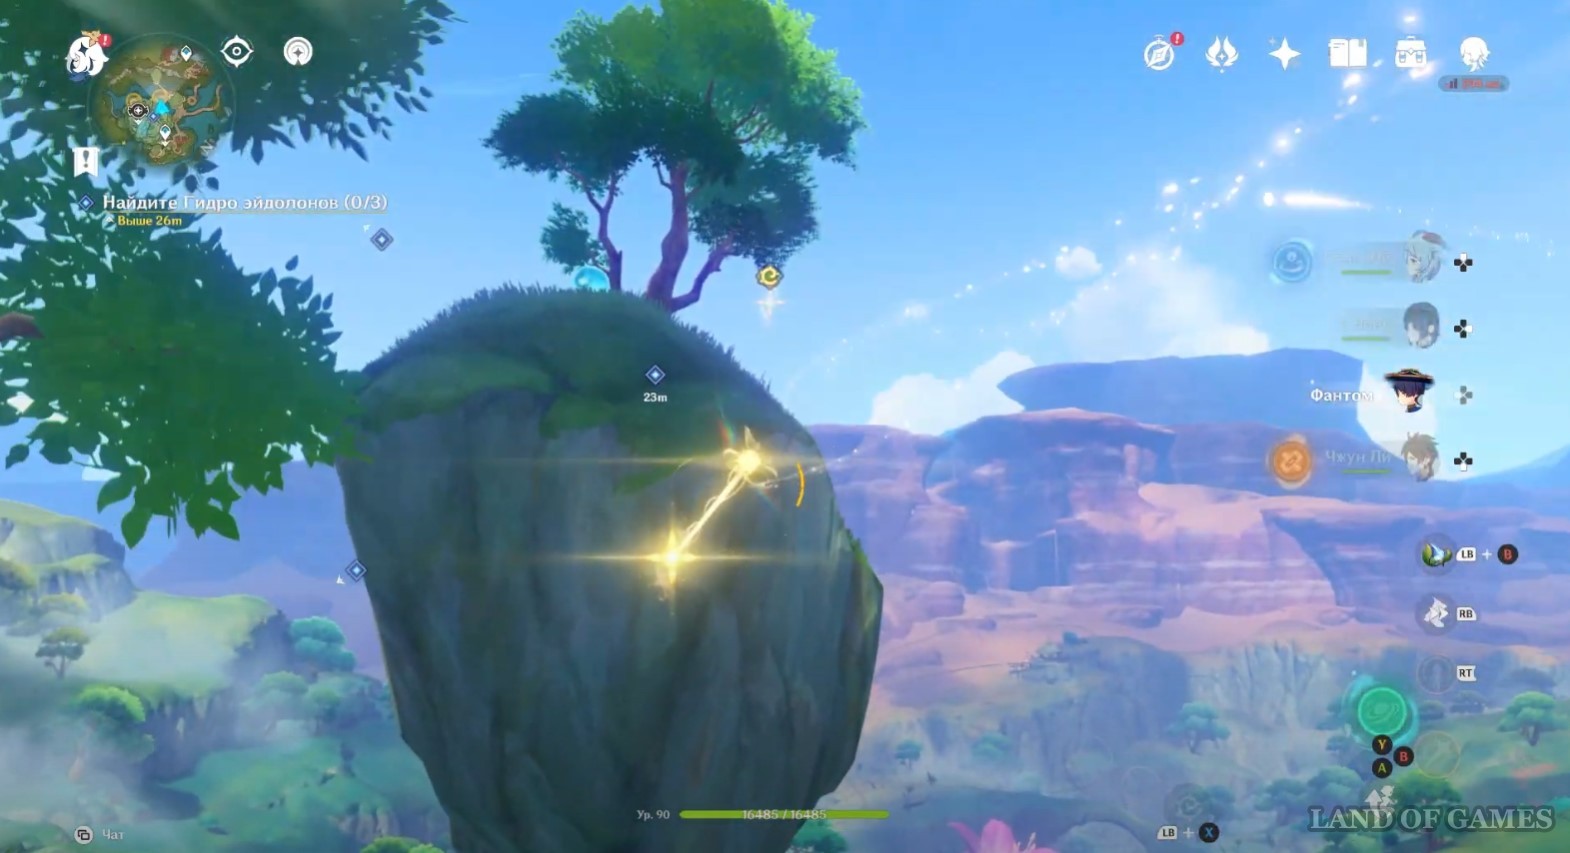
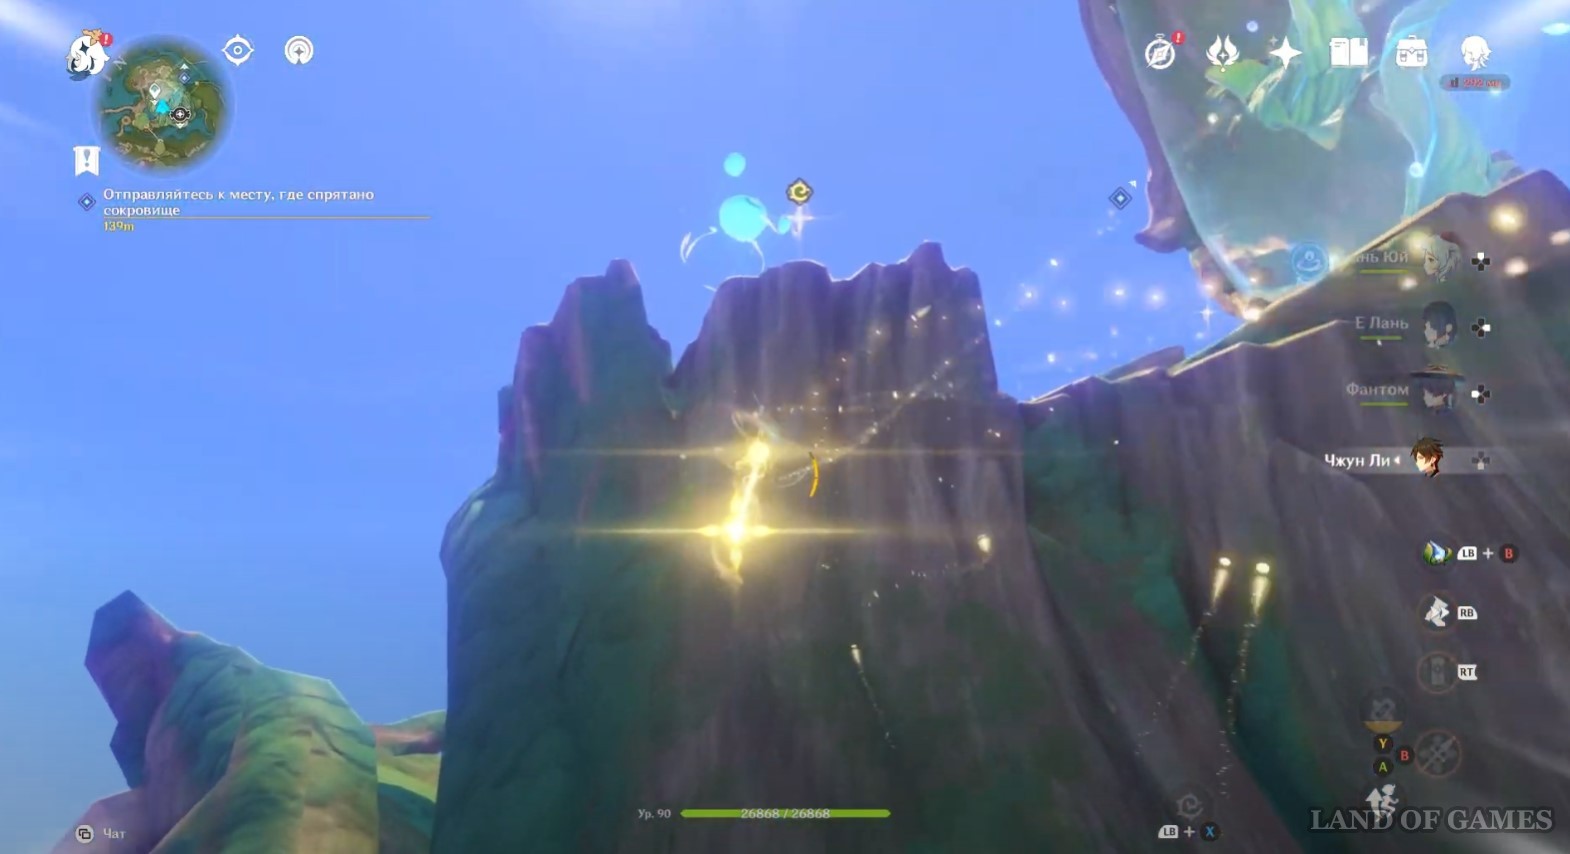
The droplets will immediately disappear, and you will need to find them. Fortunately, their approximate location will be shown on the map. You can search for water balloons in any order. So, go past the blue sphere, climb onto the root of the tree and use the four-leaf symbols to get to the floating island, where the first drop is waiting for you.

When you get close to the ball, it will turn into a plant - interact with it, and then destroy the three fluttering tomatoes from the onion. Two will be behind you, and the third will be in front. Then click on the Hydro Eidolon again, asking him to return to his starting point.
Second Hydro Eidolon
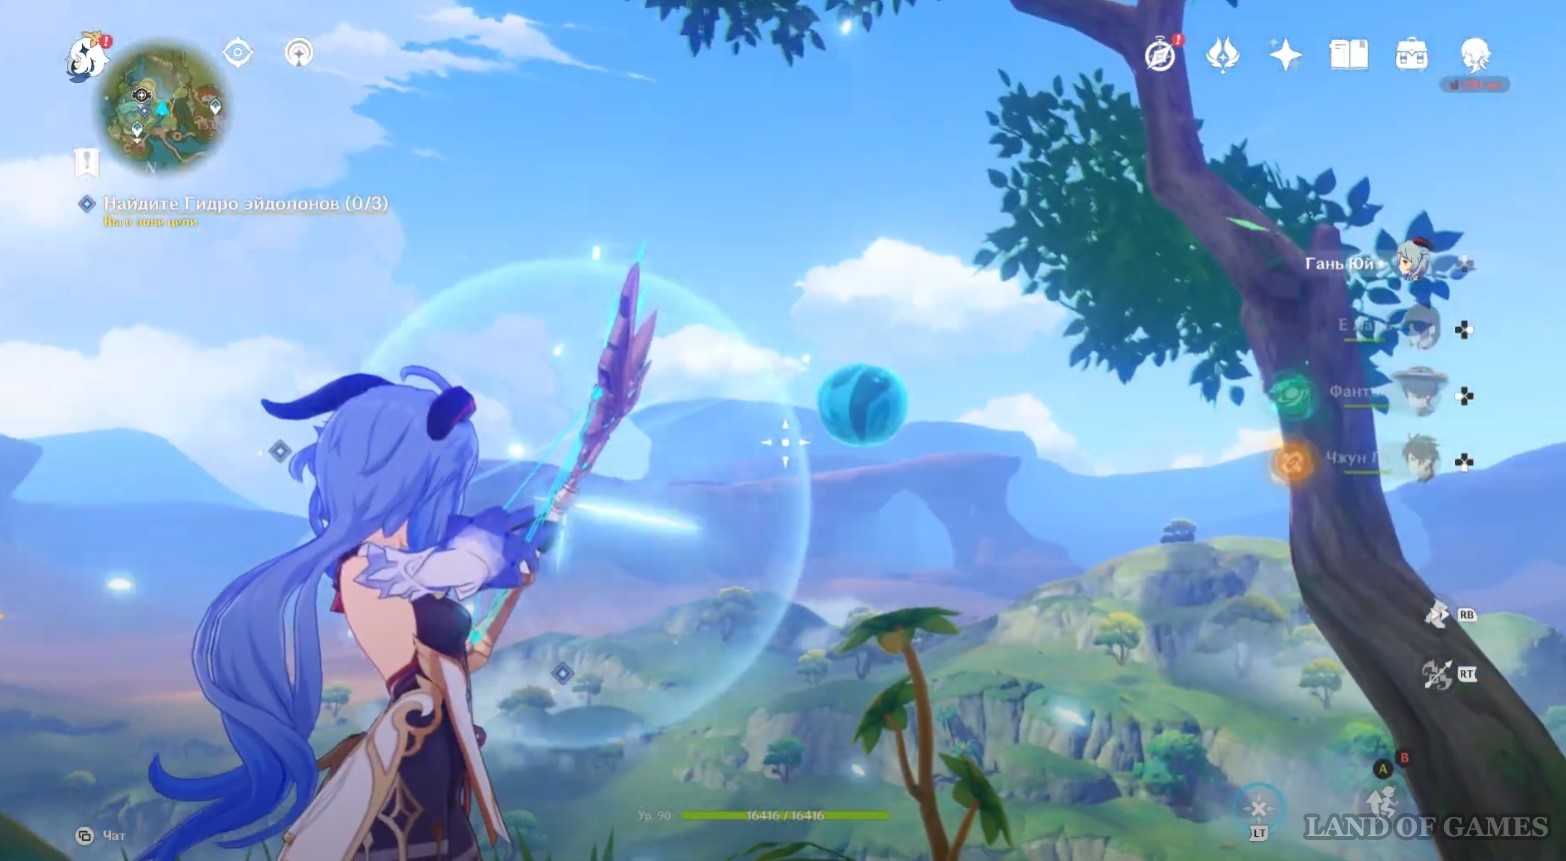
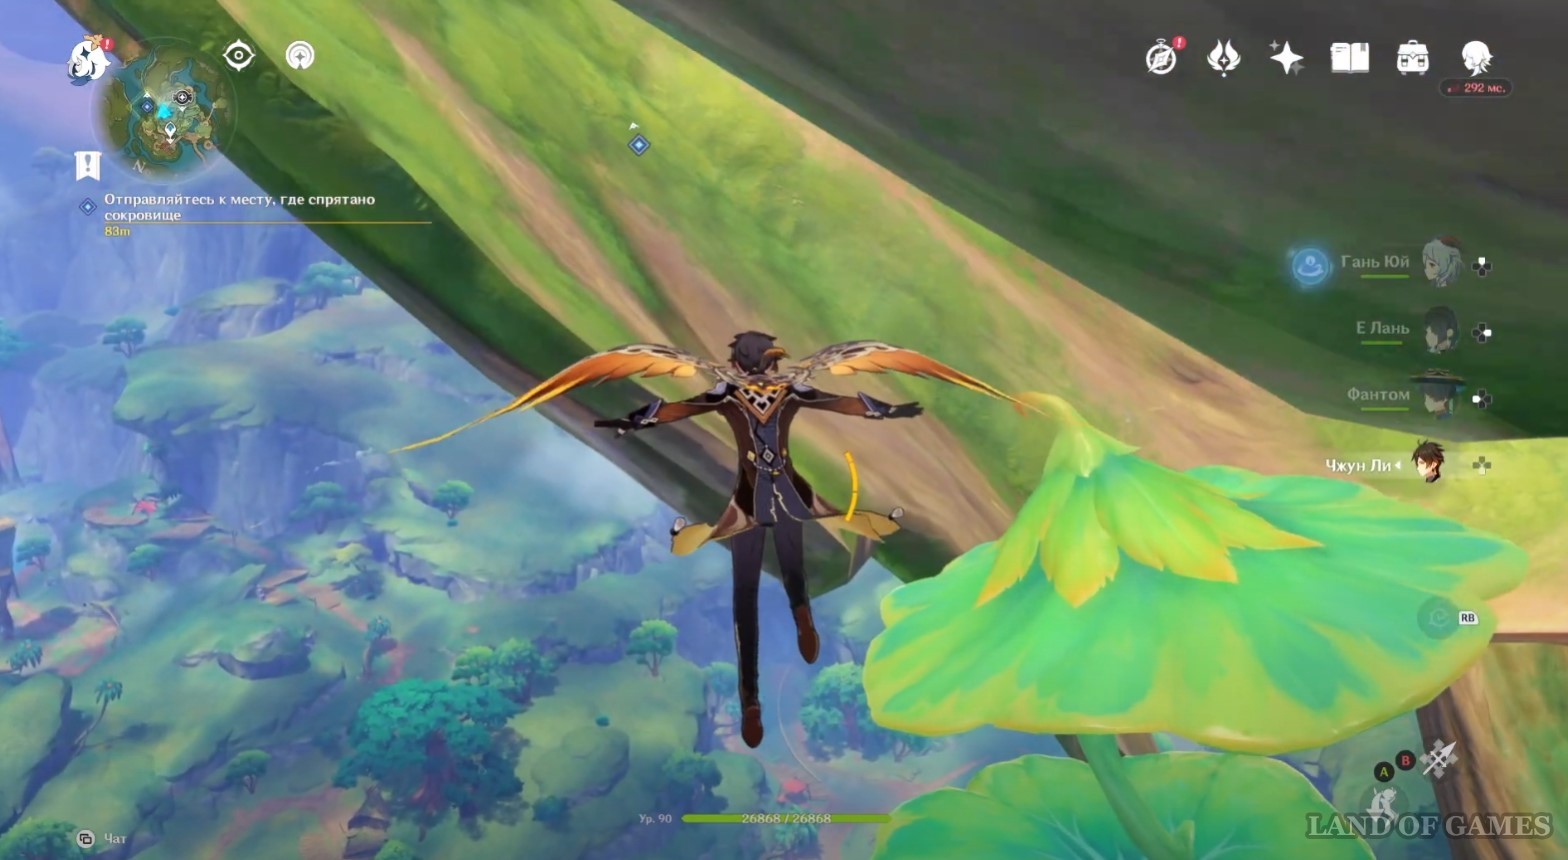
Return back to the sphere and now follow the path up, where you will immediately find a second water ball. When you get close to him, start following him upstairs, and then jump off the ledge down and keep going down. Next, climb onto the ledge on the right and go to the area with the preprint.


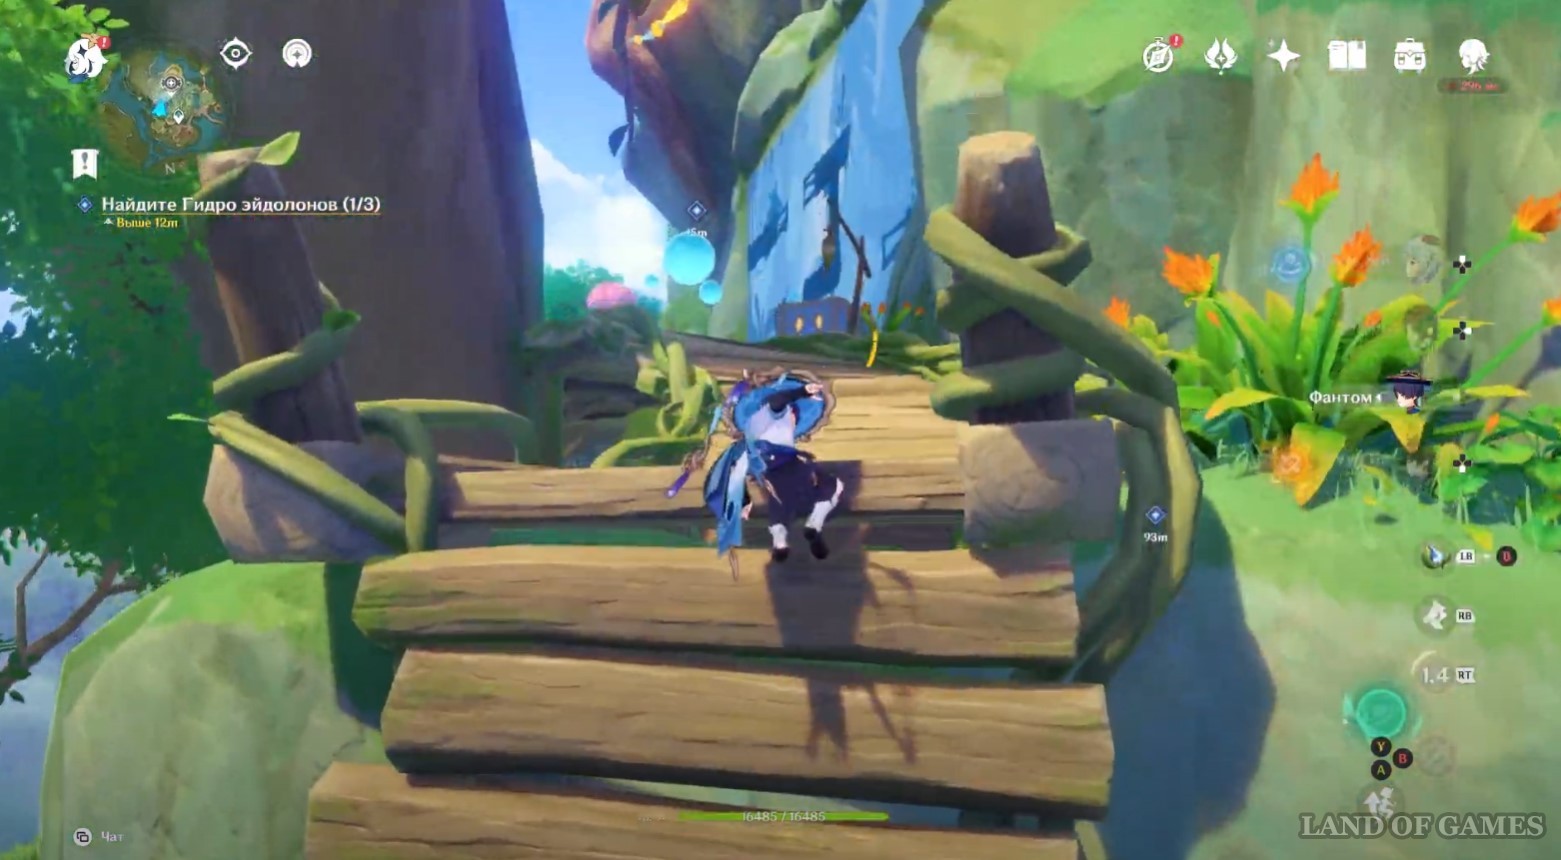
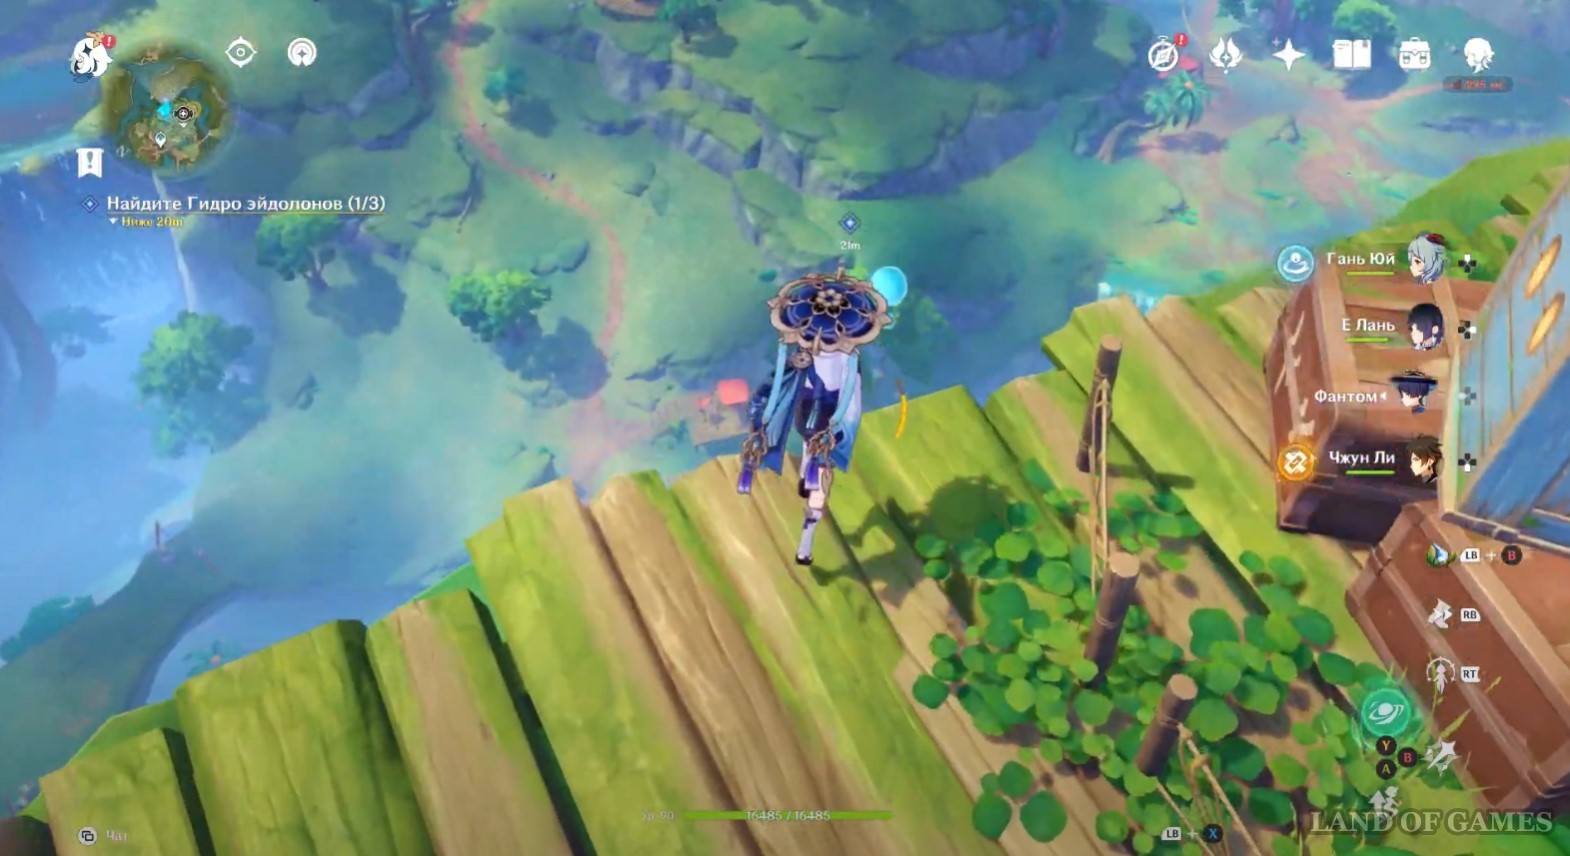
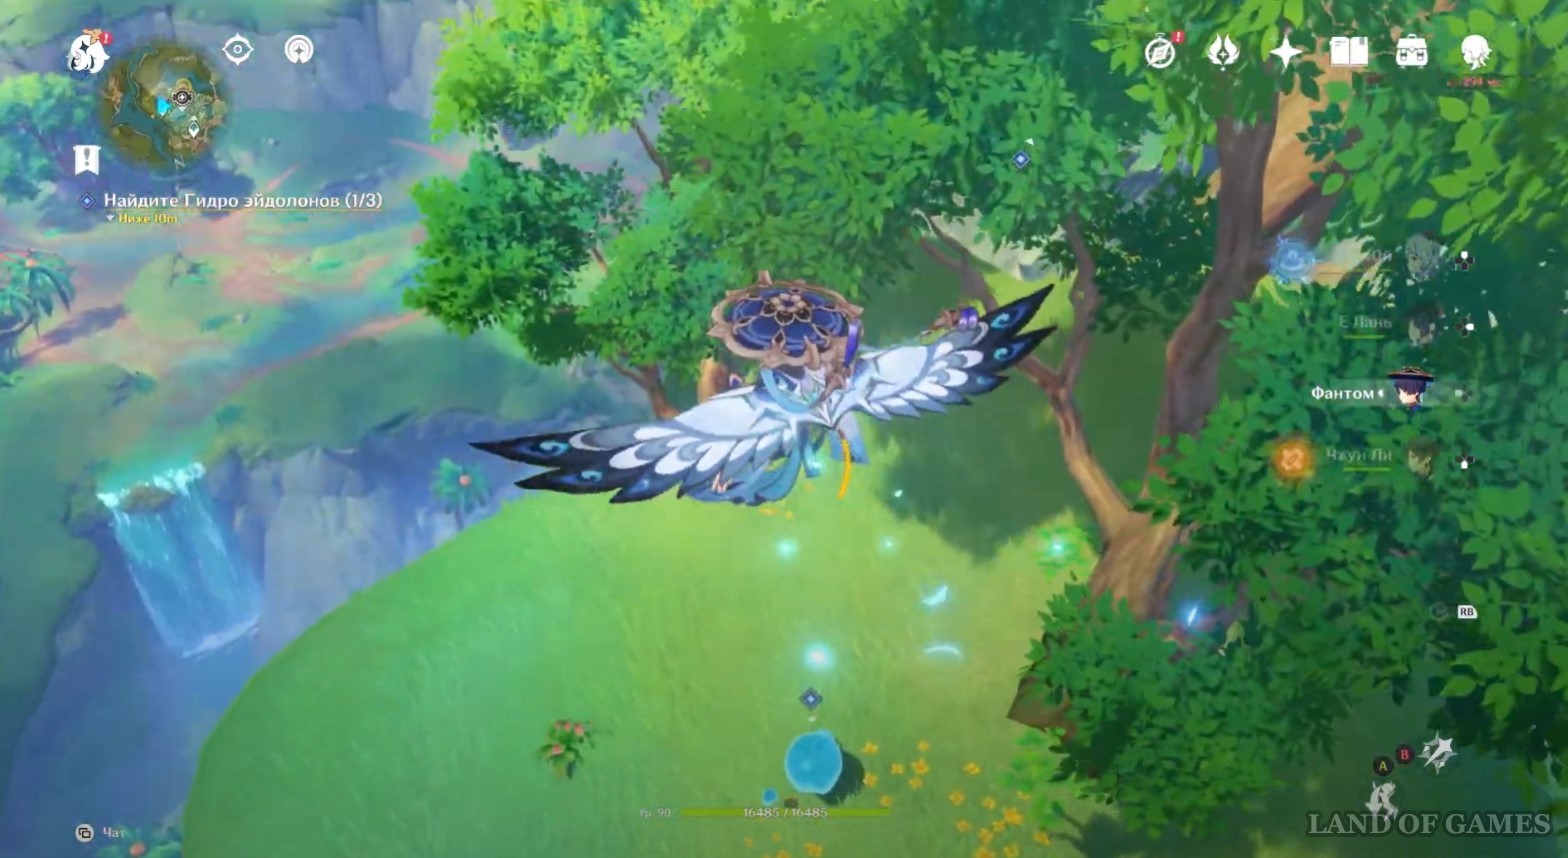
Jump down from the wooden platform and glide to the island with trees. Approach the Hydro Eidolon and ask him to return to his starting point.
Third Hydro Eidolon
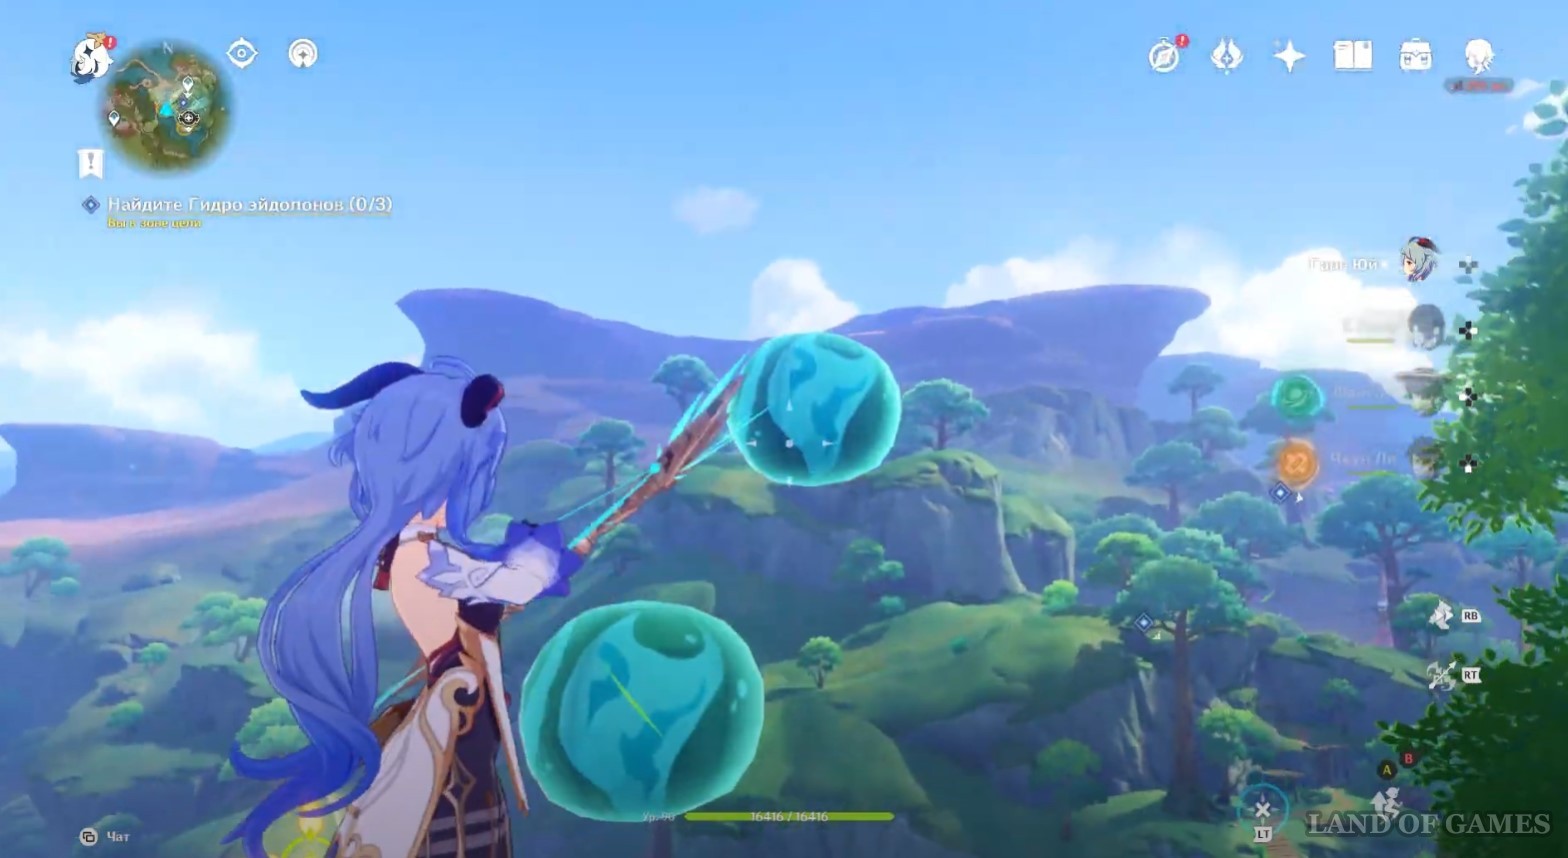
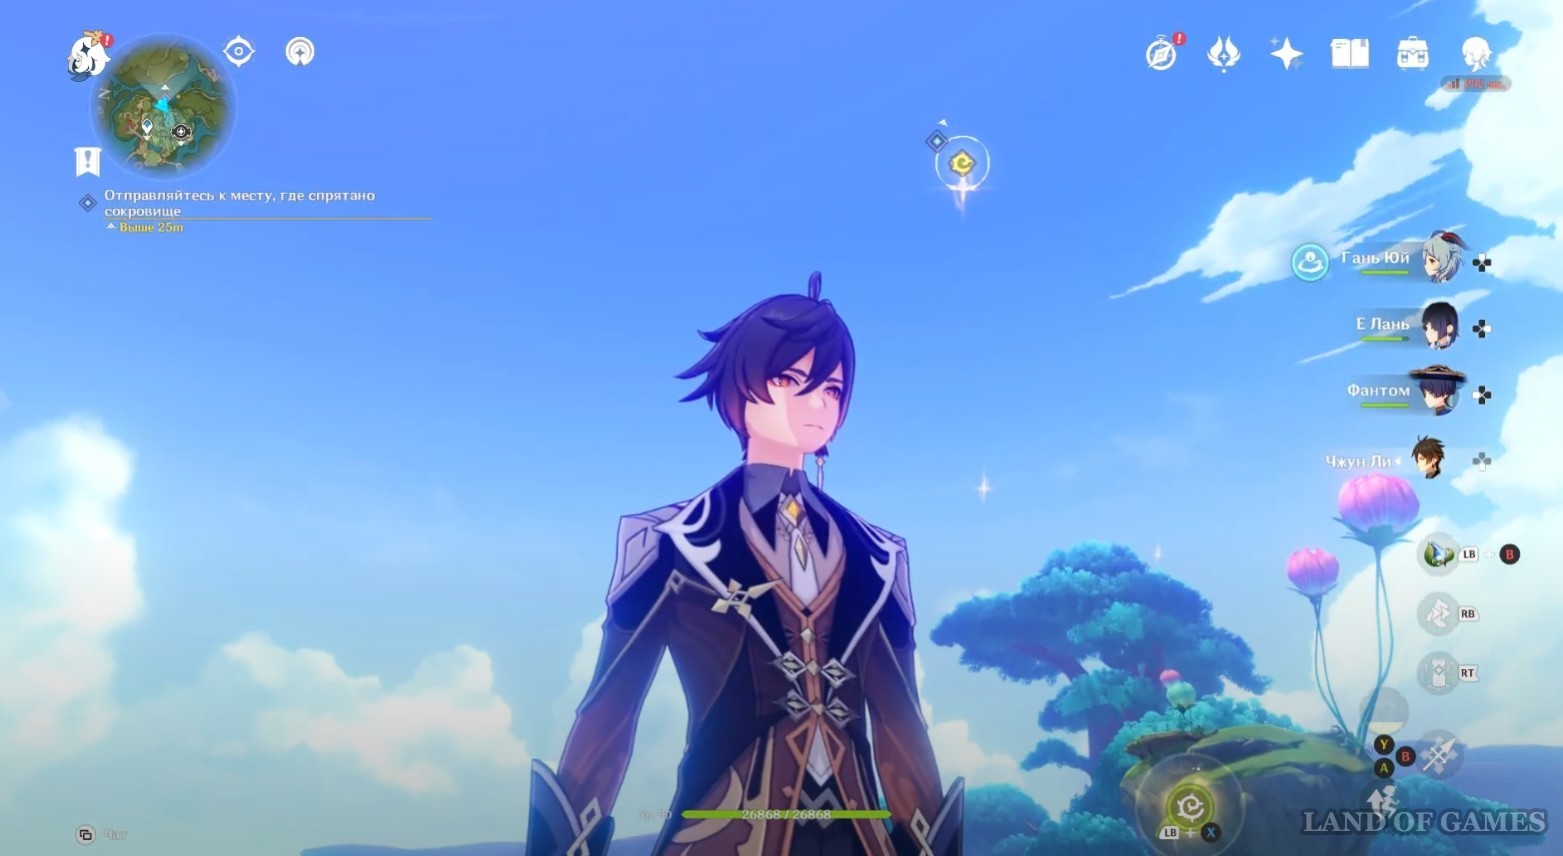
Move back upstairs and go forward again to the floating island where you found the first droplet. After climbing it, take a good look around to find a Four-Leaf Sigil in the distance next to the tree - pull towards it and you will see a water ball surrounded by molds on a wooden platform below.


Deal with the enemies, and then ask the eidolon to return to his original position. Also return to the blue sphere, which will be removed by droplets. As a result, the Four-Leaf Sigil you need will appear.

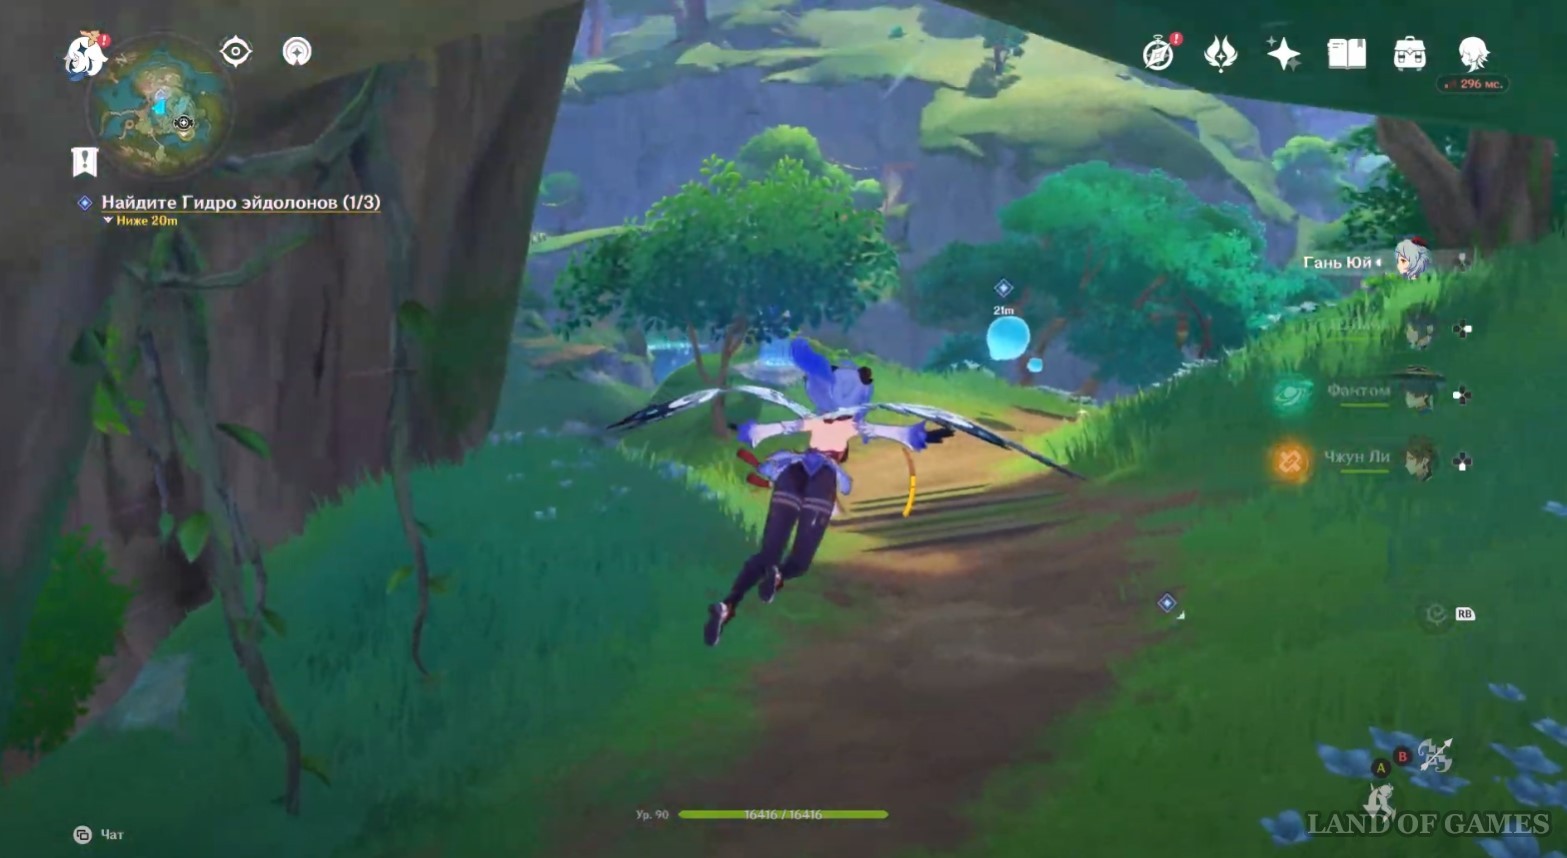
Climb up following the water balloons and use the quatrefoils to climb to the top of the tree. Now wait until the booth pulls up to you, and sit in it. When it rises to the desired level, use the four-leaf symbols and fly over to the floating island in the distance.
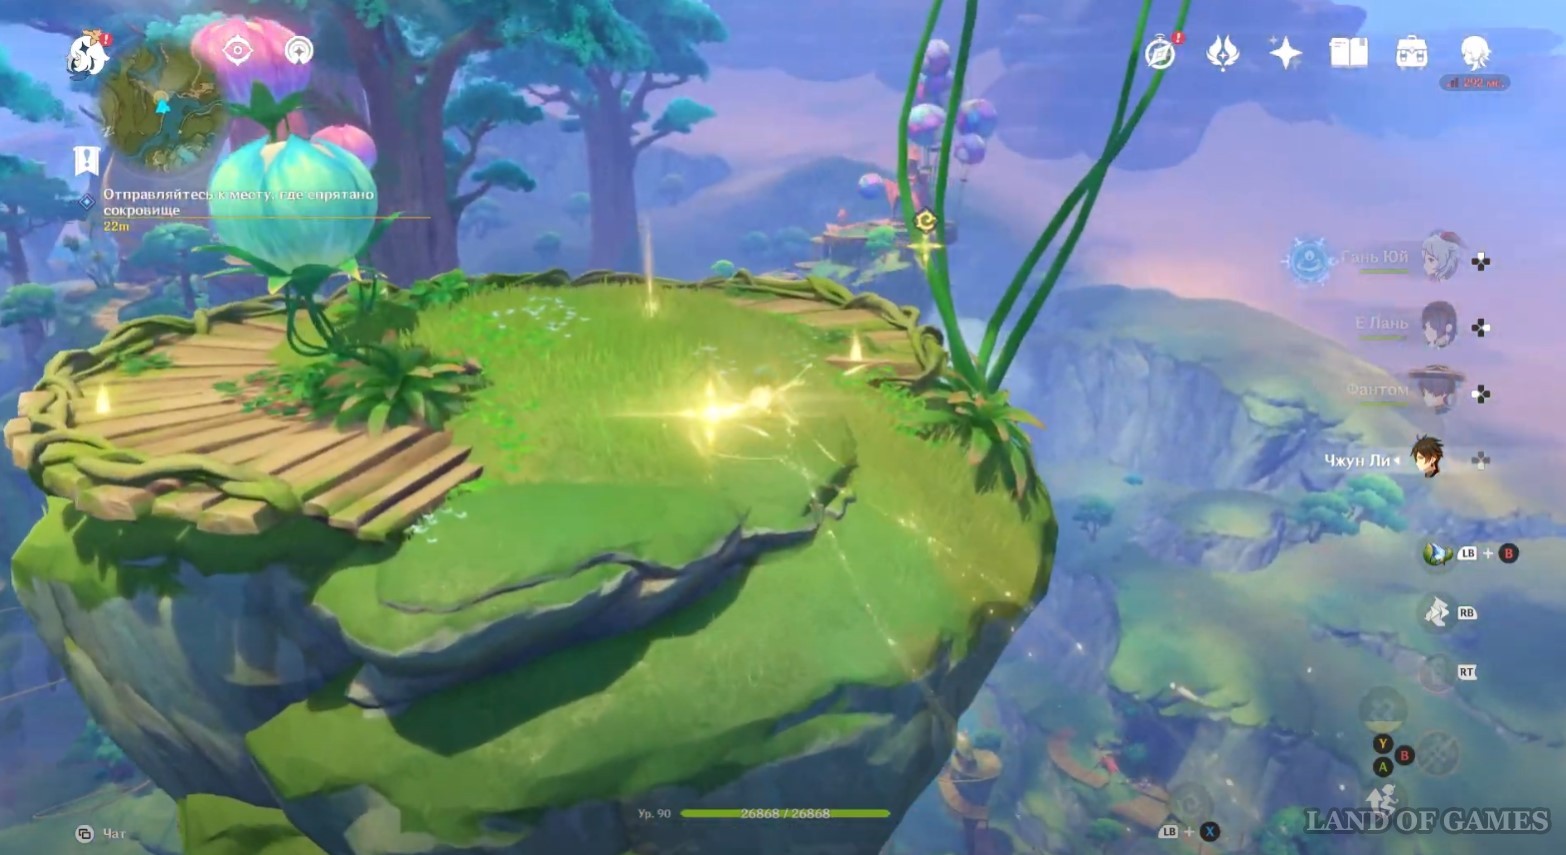
Interact with the three markers on the edges of the island, and then dig up a luxurious chest in its center. Inside it you will find Memorabilia "Circle of a Thousand Wonders" III. Return to Idia and tell her about your find.

Where to hide your own treasure
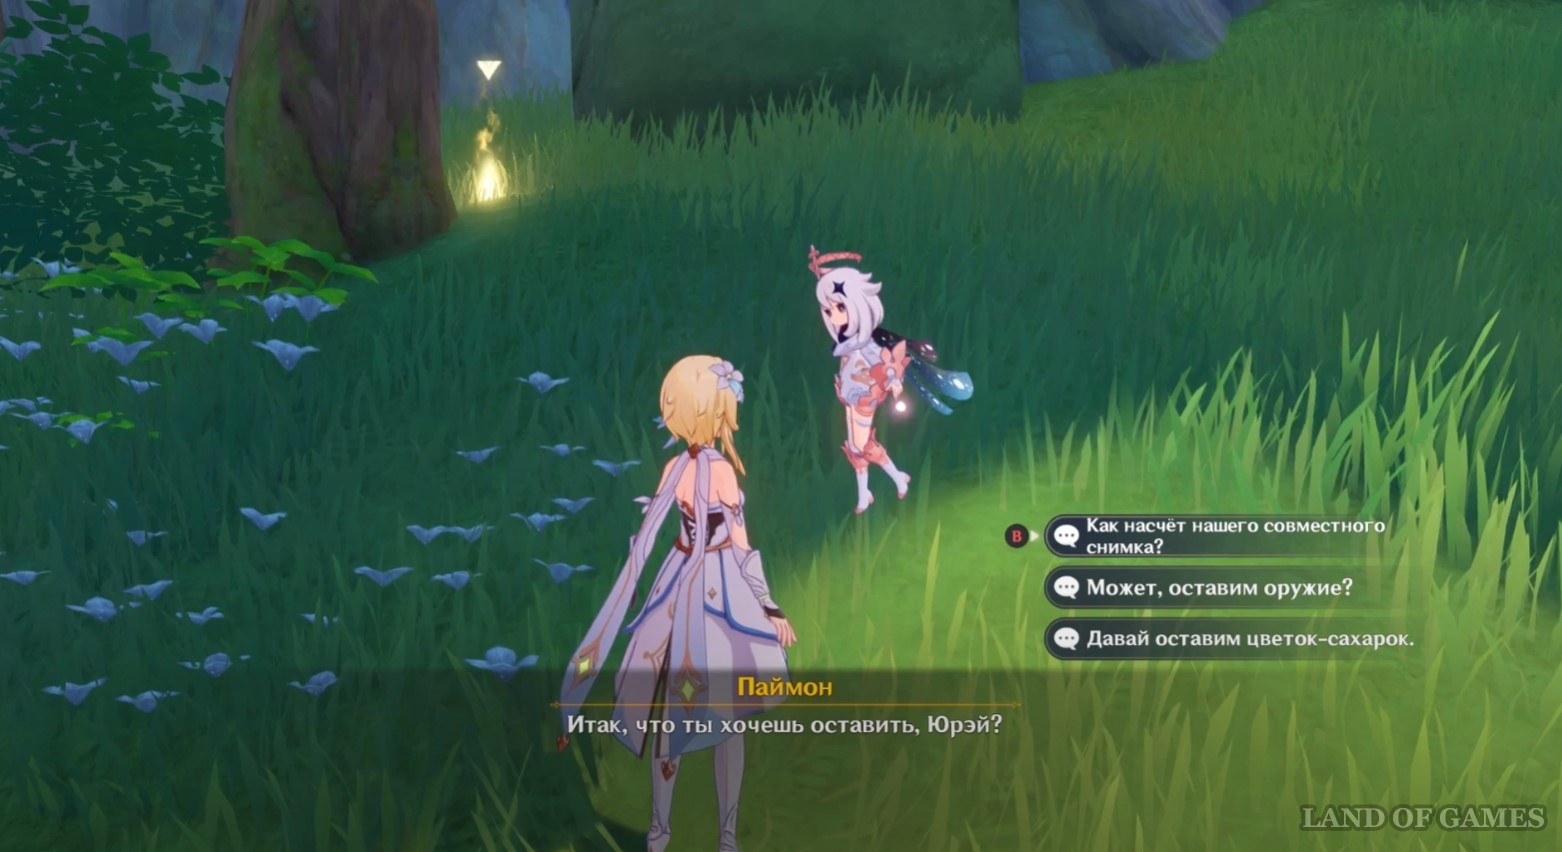
During a conversation with Idia, she will offer you to bury your own souvenir somewhere in Mirage Veluriyam. You will be able to choose one of three locations:
- Somewhere above, in the Garden of Silver Vessels?
- Let's hide the treasure by the lake.
- Maybe we can hide it at the entrance to Mirage Velurium?
You can choose any option, as this will only affect the place where you have to go. The reward and ending of the quest will not change. For example, if you choose the first option, then you just have to teleport to the central teleporter and hide the treasure to the left of it.


Again, you can choose any item. This task will come to an end. By the way, nearby you can find a Mysterious pocket watch in the form of mora. Unfortunately, their purpose is still unknown. As a reward for completing the quest, you will receive 100 adventure points, 10 thousand mora and 20 primogems.
Comments
You need to login to add comments.
You can login with