В Zenless Zone Zero Прокси и заяц является исследованием и частью квестовой цепочки «Бизнес, Странности и Справедливость», где вам предстоит помочь Хитрым зайцам найти сейф. Для этого предстоит решить небольшую головоломку с перемещением ящиков с данными и выстроить оптимальный маршрут по игровому полю. Если у вас возникли трудности с прохождением задания, то изучите наше руководство.
Прохождение миссии «Прокси и заяц» в ZZZ
Как начать квест
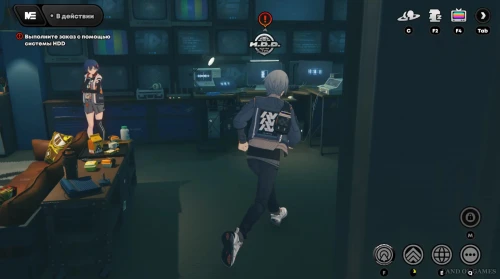
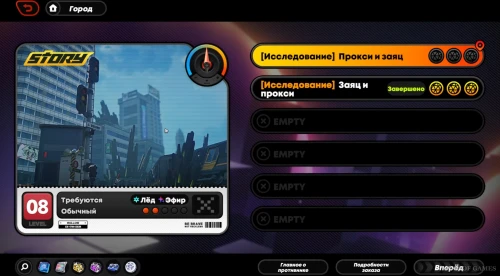
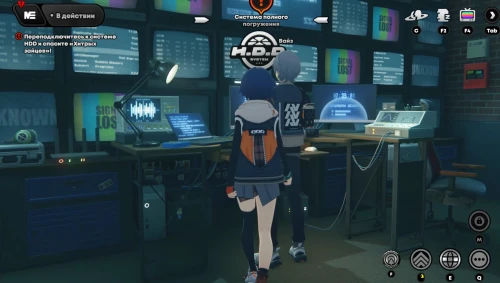
Во время прохождения Пролога вам необходимо будет пообщаться с Николь и ее друзьями на парковке, чтобы выслушать план по возвращению сейфа из каверны. Далее войдите в свой офис, взаимодействуйте с системой HDD и кликните на шар под названием «Основная история». Выберите нужный вам заказ и нажмите «Вперед» для старта соответствующего заказа.
Найдите сейф
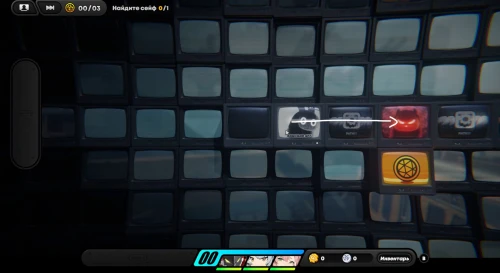
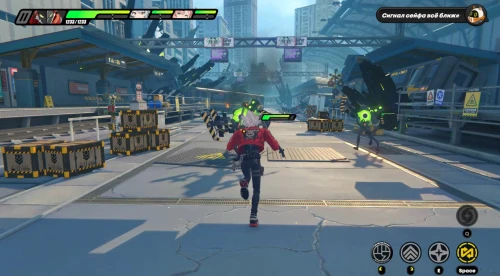
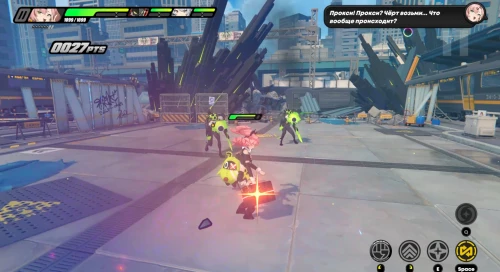
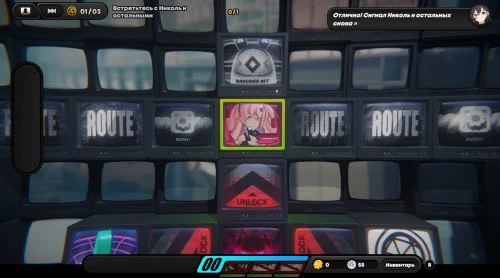
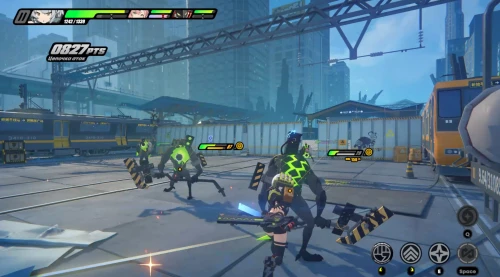
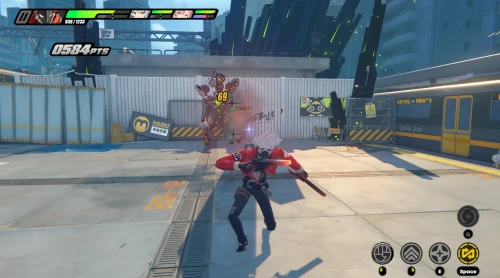
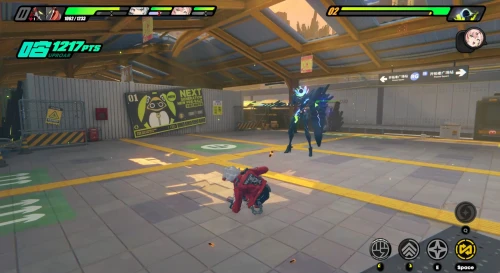
Поговорите со своими заказчиками, а затем подвиньте свою фигуру вправо, встав на клетку с монстром. Далее начнется сражение с несколькими эфириалами, среди которых окажется один элитный противник. Они не должны вызвать у вас особых проблем. Главное – не забудьте переключаться между персонажами и проводить цепочки атак.
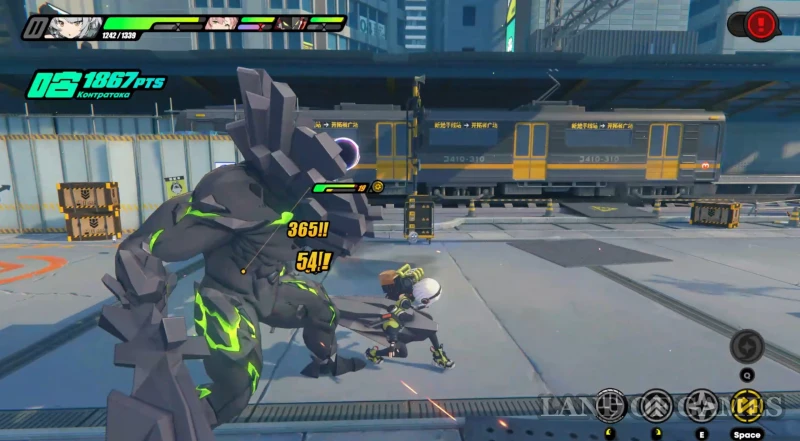
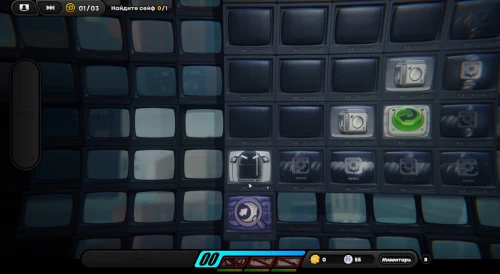
После победы над врагами снова пообщайтесь с друзьями. Вы заметите, что со связью возникли какие-то неполадки, однако не предадите этому большое значение. Вернувшись на доску, пройдите вверх, чтобы получить 1 пакет данных наблюдения, а затем идите на клетку с лупой. Система заглючит, и вам придется искать другой маршрут.
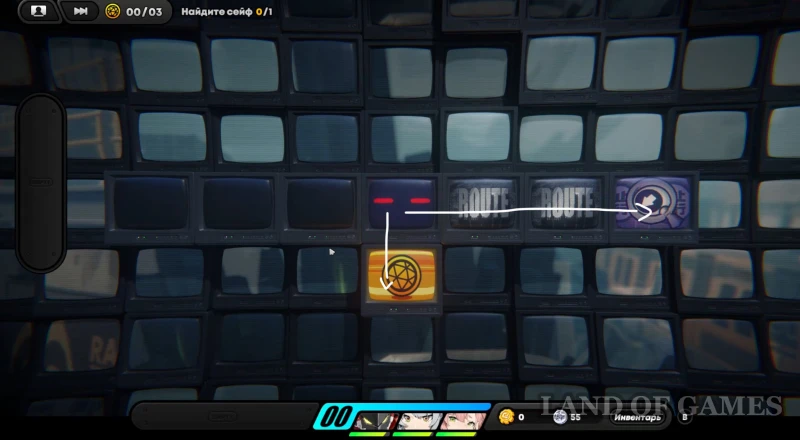
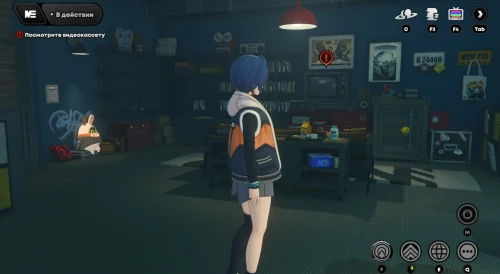
Пройдите вниз, а потом направо и встаньте на большой экран. Вы внезапно выйдите из системы. Далее посмотрите ролик. С вами свяжется неизвестный и потребует код от сейфа, а затем предложит посмотреть кассету. Подойдите к телевизору и запустите ролик. Вы увидите, как обстоят дела у Николь, Энби и Билли. Разберитесь с несколькими монстрами, среди которых окажется один элитный враг.
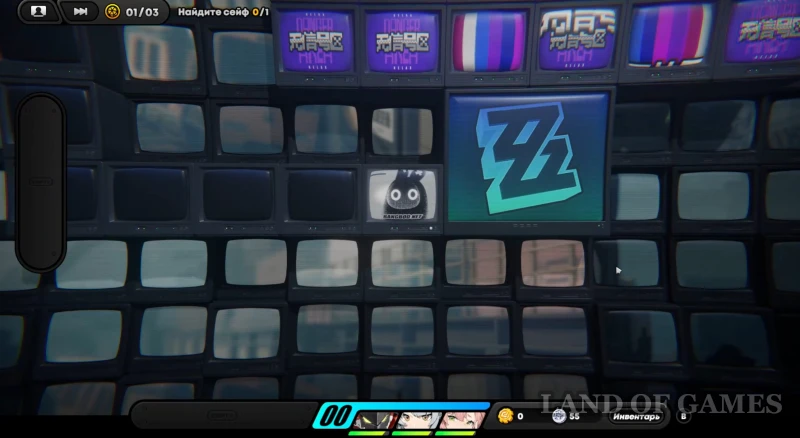
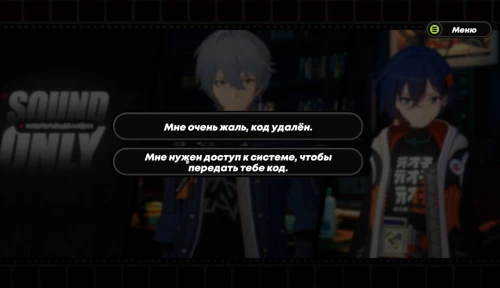
Снова вступите в диалог с хакером. Можете выбирать любые ответы, так как они лишь немного изменят фразы, то есть концовка и награды останутся такими же. После разговора вновь взаимодействуйте с системой HDD и нажмите «Подтвердить», чтобы вернуться на игровую доску.
Как переместить ящики с данными к цели
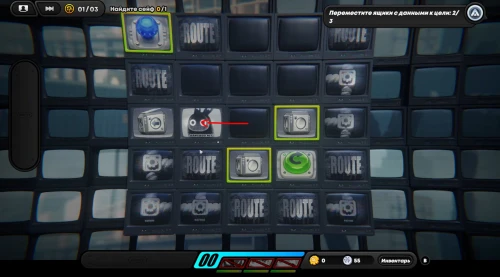
Первым делом вам необходимо будет решить небольшую головоломку, передвинув металлические ящики на клетки с синими кнопками. Если вы окажитесь в безвыходной ситуации, то встаньте на зеленую кнопку для сброса загадки.
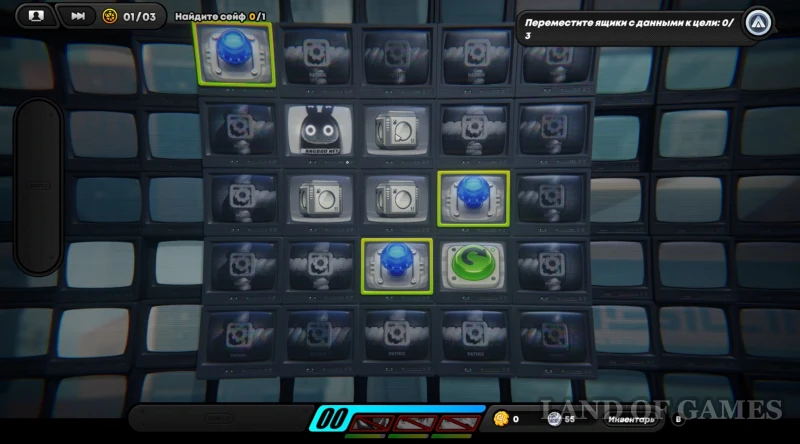
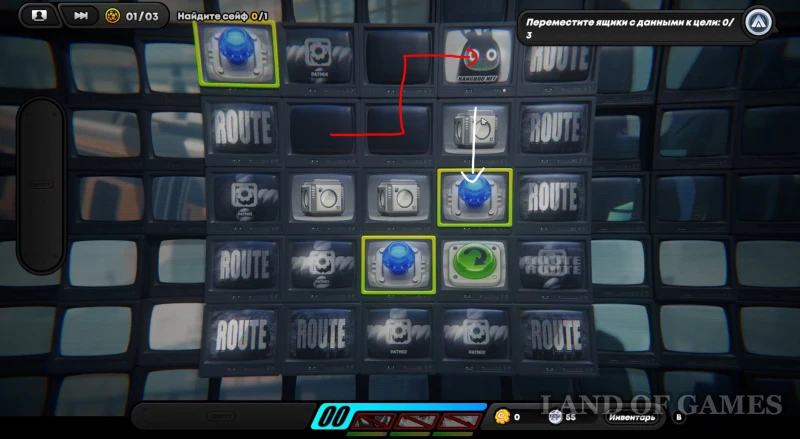
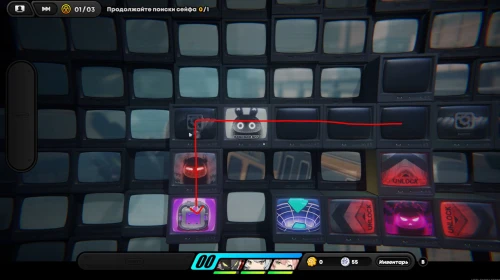
Итак, вначале переместите самый верхний ящик вправо на одну клетку, а затем встаньте выше него и опустите его на одну клетку вниз, как показано на картинке ниже. Красной стрелкой показан маршрут вашей фигурки.
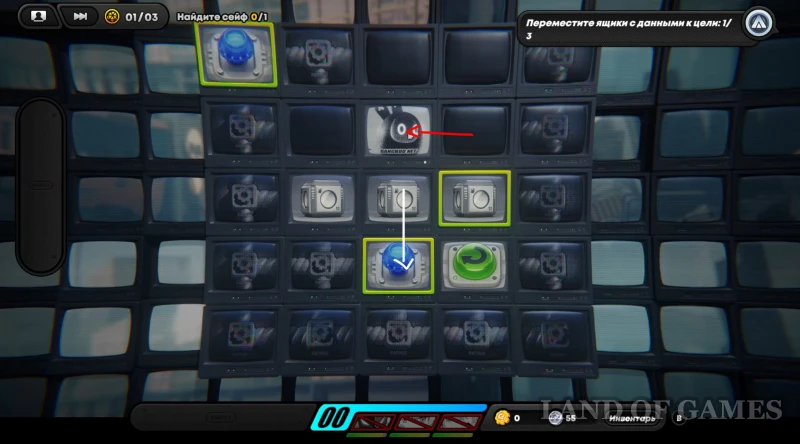
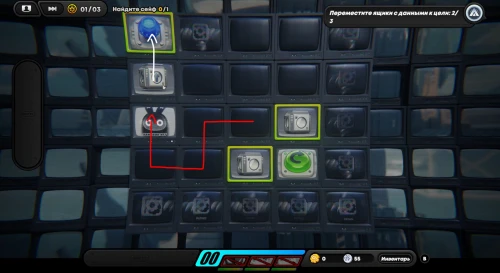
Теперь просто подвиньте своего банбу влево, чтобы встать над правым металлическим кубом. Далее один раз нажмите на стрелку вниз, и вы разместите ящик на второй синей кнопке, как продемонстрировано на изображении ниже.
Далее передвиньте фигурку влево, чтобы переместить третий ящик к краю площадки. Затем встаньте снизу него и подвиньте куб наверх, дабы разместить его на синей кнопке. Красной стрелкой показан маршрут банбу.
В конце просто спуститесь вниз и встаньте на клетку с лупой. В результате раскроется следующая часть карты. Продвиньтесь еще ниже для воссоединения со своей командой. Поговорите с друзьями – выбирайте любые ответы, так как они не влияют на награды и сюжет.
Продолжайте поиски сейфа
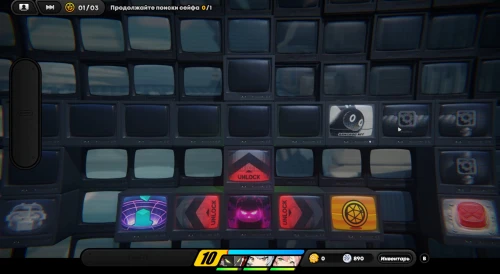
Далее пройдите налево и спуститесь вниз. Расправьтесь с группой противников (здесь вы столкнетесь с новыми монстрами, которые подбегают к игроку и почти тут же взрываются; вам нужно вовремя отскочить от них, чтобы не получить урон), а потом заберите фиолетовый ящик с припасами.
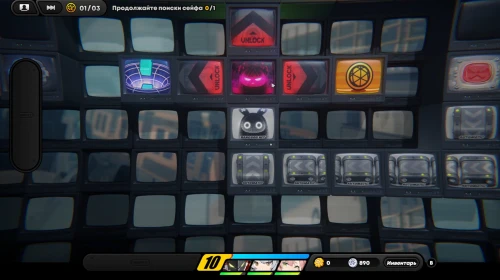
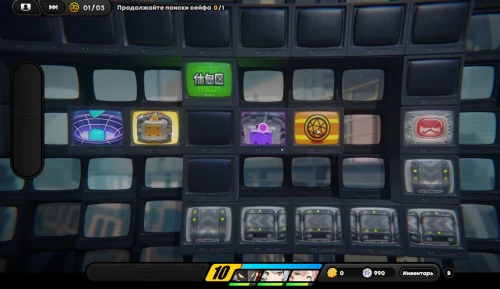
Теперь возвратитесь назад и начните идти направо. Спуститесь и встаньте на клетку с красной кнопкой для создания беговых дорожек, которые быстренько доведут вас до элитного монстра наверху. Вступите с ним в схватку. Победив его, вы разблокируете клетки со всех сторон – посетите их для сбора дополнительных наград. Только после этого полезайте в воронку с левой стороны.
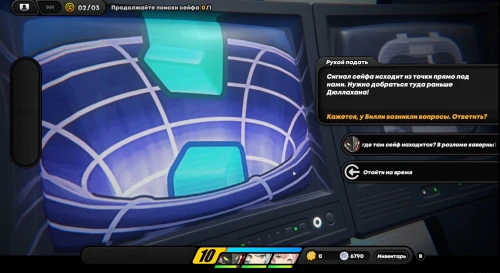
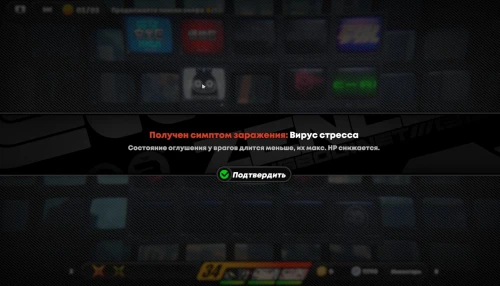
Вновь пообщайтесь со своими друзьями, выбирая любые понравившиеся ответы. Далее ответьте на вопросы Билли, чтобы продолжить прохождение миссии. Вы окажитесь на новом игровом поле. Здесь появится шкала заражения, которая увеличивается при прохождении через клетки, на которых вы еще не были. Если полоска достигнет 100 единиц, то вы получите 1-й симптом заражения, усиливающий врагов.
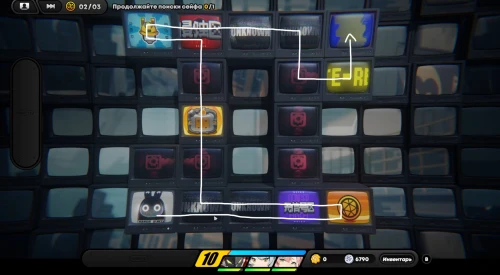
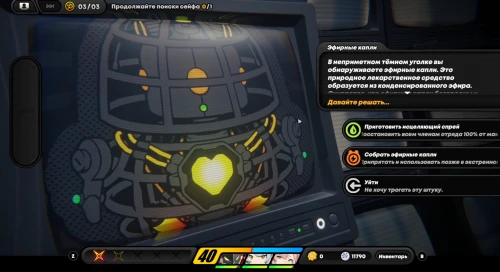
По этой причине мы не советуем вам посещать все ячейки на карте. На изображении показан оптимальный маршрут, который позволит вам собрать максимум наград с минимальными дебаффами для себя. Когда окажитесь на клетке с Эфирными каплями, советуем вам просто собрать их, чтобы получить плагин банбу «Эфирные капли».
Встав на флаг, нажмите «Продолжить» и вступите в схватку с мини-боссом. Помните, что при атаке мечом и возникновении крестовидного свечения вы можете выполнить Идеальную помощь, вовремя переключившись на другого персонажа и совершив мощную контратаку. В целом же данный противник не очень сложный, если ваши персонажи прокачены до 10-го уровня и имеют подходящие амплификаторы.
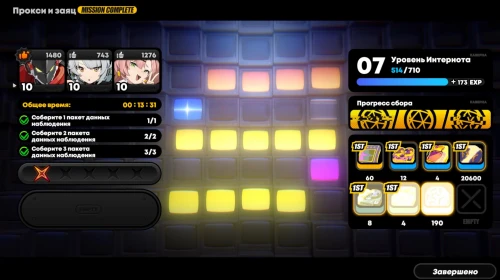
Расправившись с врагом, посмотрите новый комикс. После этого миссия подойдет к концу, и вы получите награду: 400 кредитов Интернота, 60 полихромов, 8 тысяч денни и материалы для прокачки.

Комментарии
Для добавления комментариев необходимо авторизоваться.
Вы можете войти через