
Revelations from the Past in Genshin Impact — the last quest of the quest chain "Between Pledge and Forgettance", one of Natlan World Quests. A Traveler and his friend, a Zavrian, set off on a pilgrimage to a volcano. During their adventure, they must solve several riddles, learn the secrets of the past, and win a fight with a beast corrupted by the abyss.
In this article, we told you how to pass all the sage's Achievement: Challenger , get several achievements and take possession of the Fire Lord's gift.
How to start the quest "Revelations from the Past"
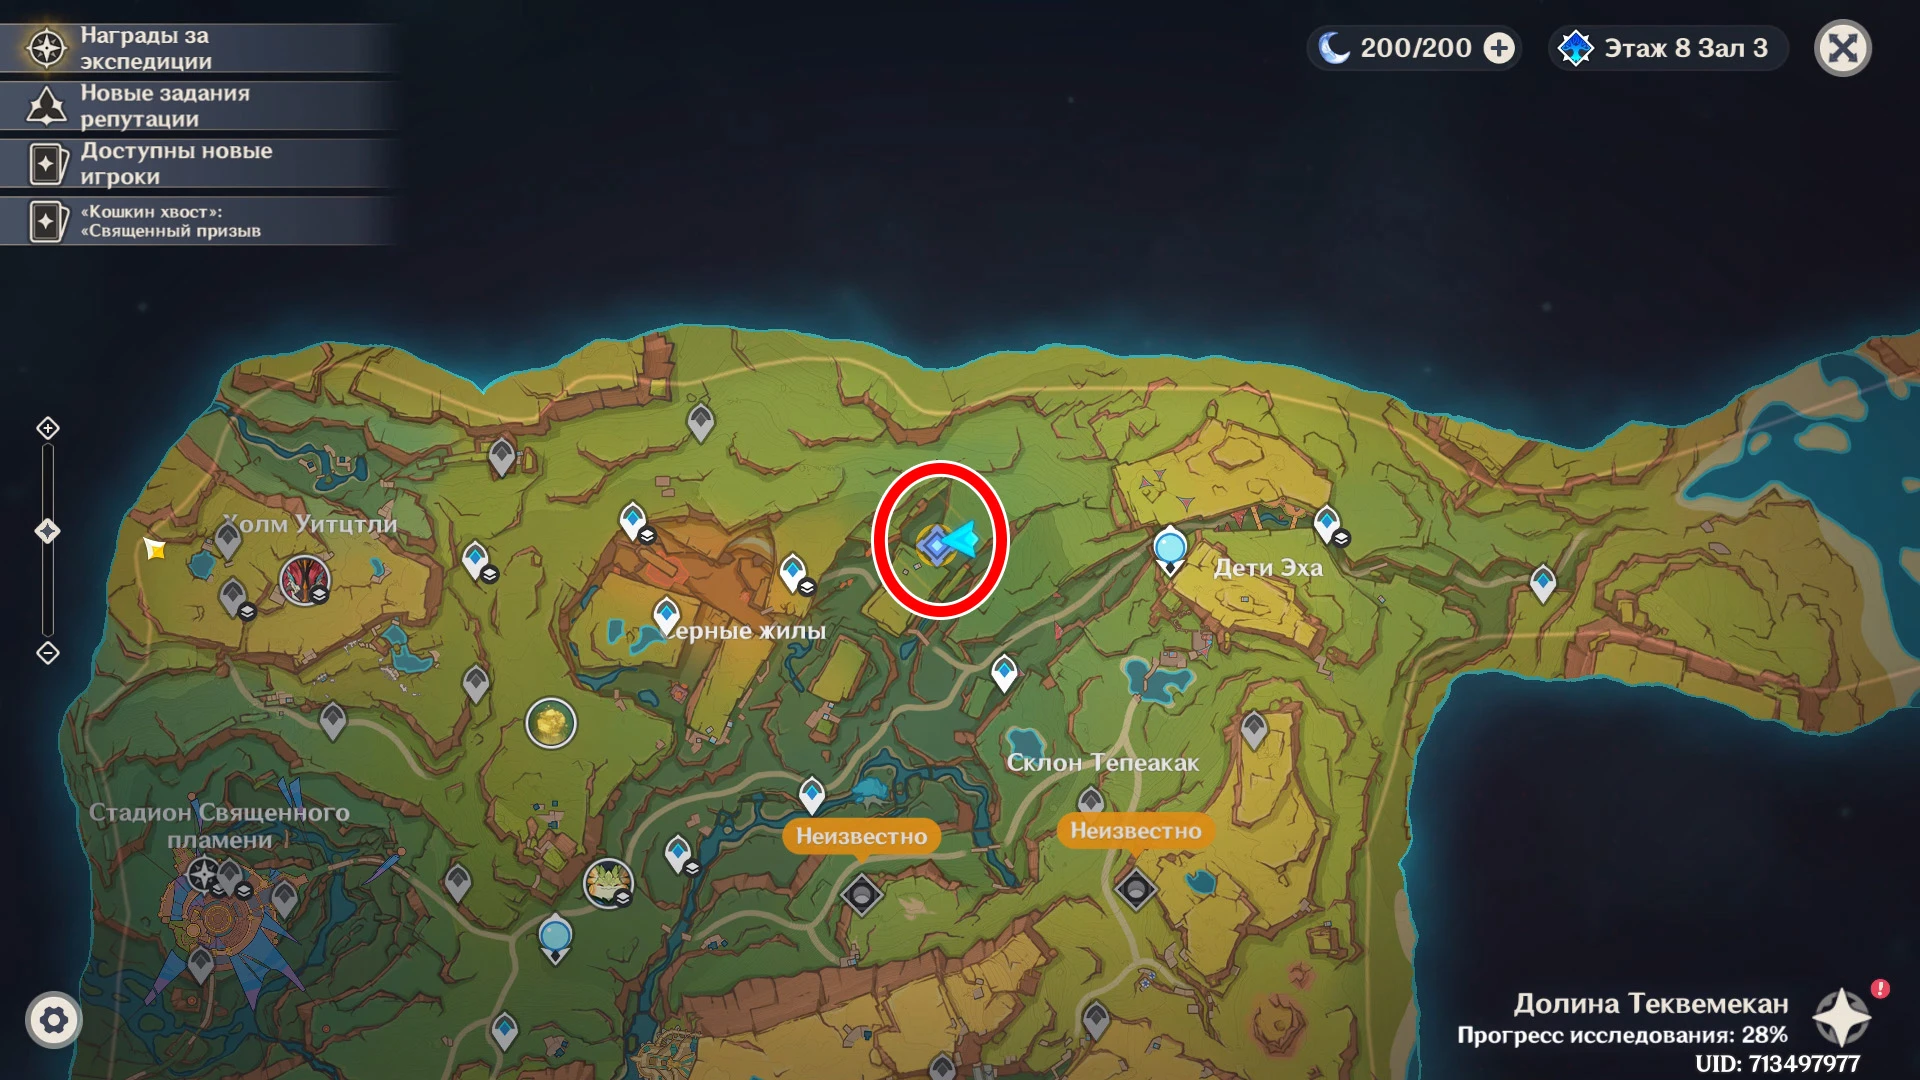
The task is available immediately after completing the previous quest "Rite of the Bold". It can be tracked in the quest menu, and the starting location is in the north of Natlan.
Walkthrough of the quest "Revelations from the Past"
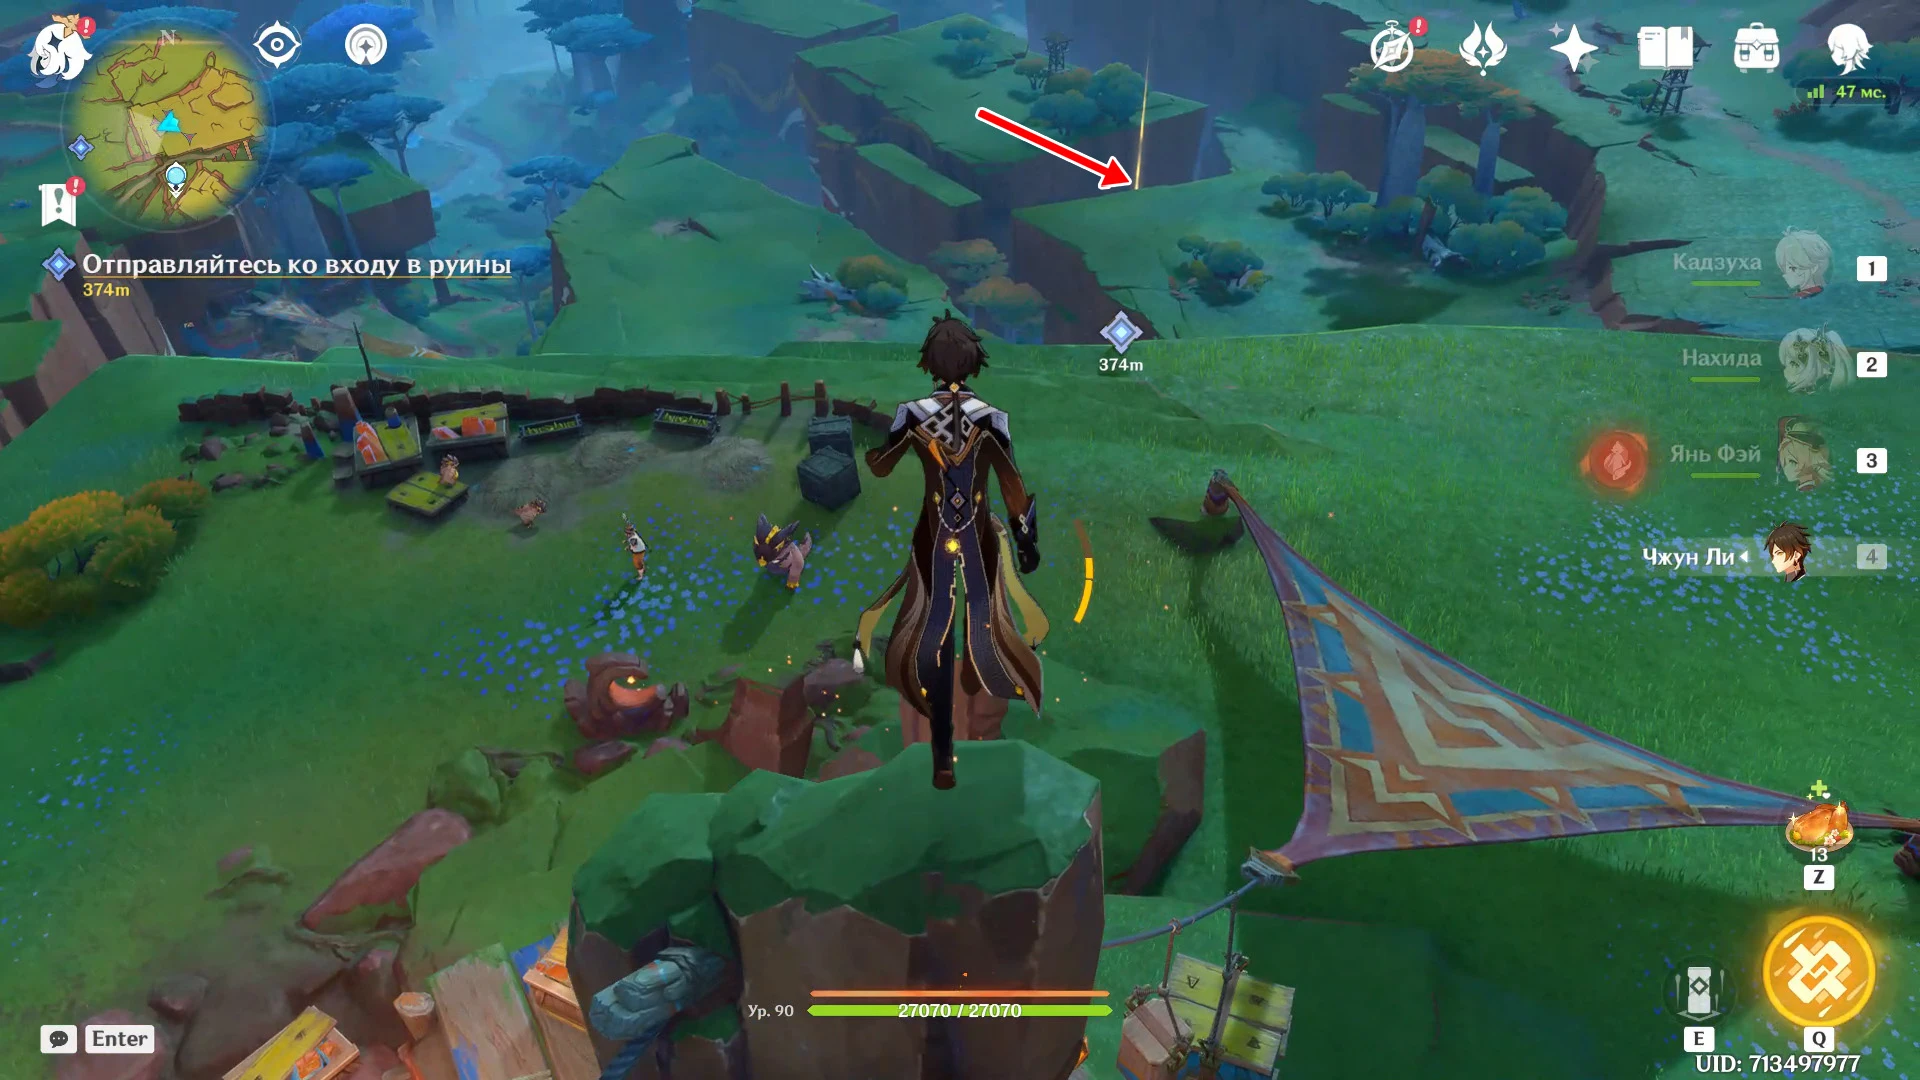
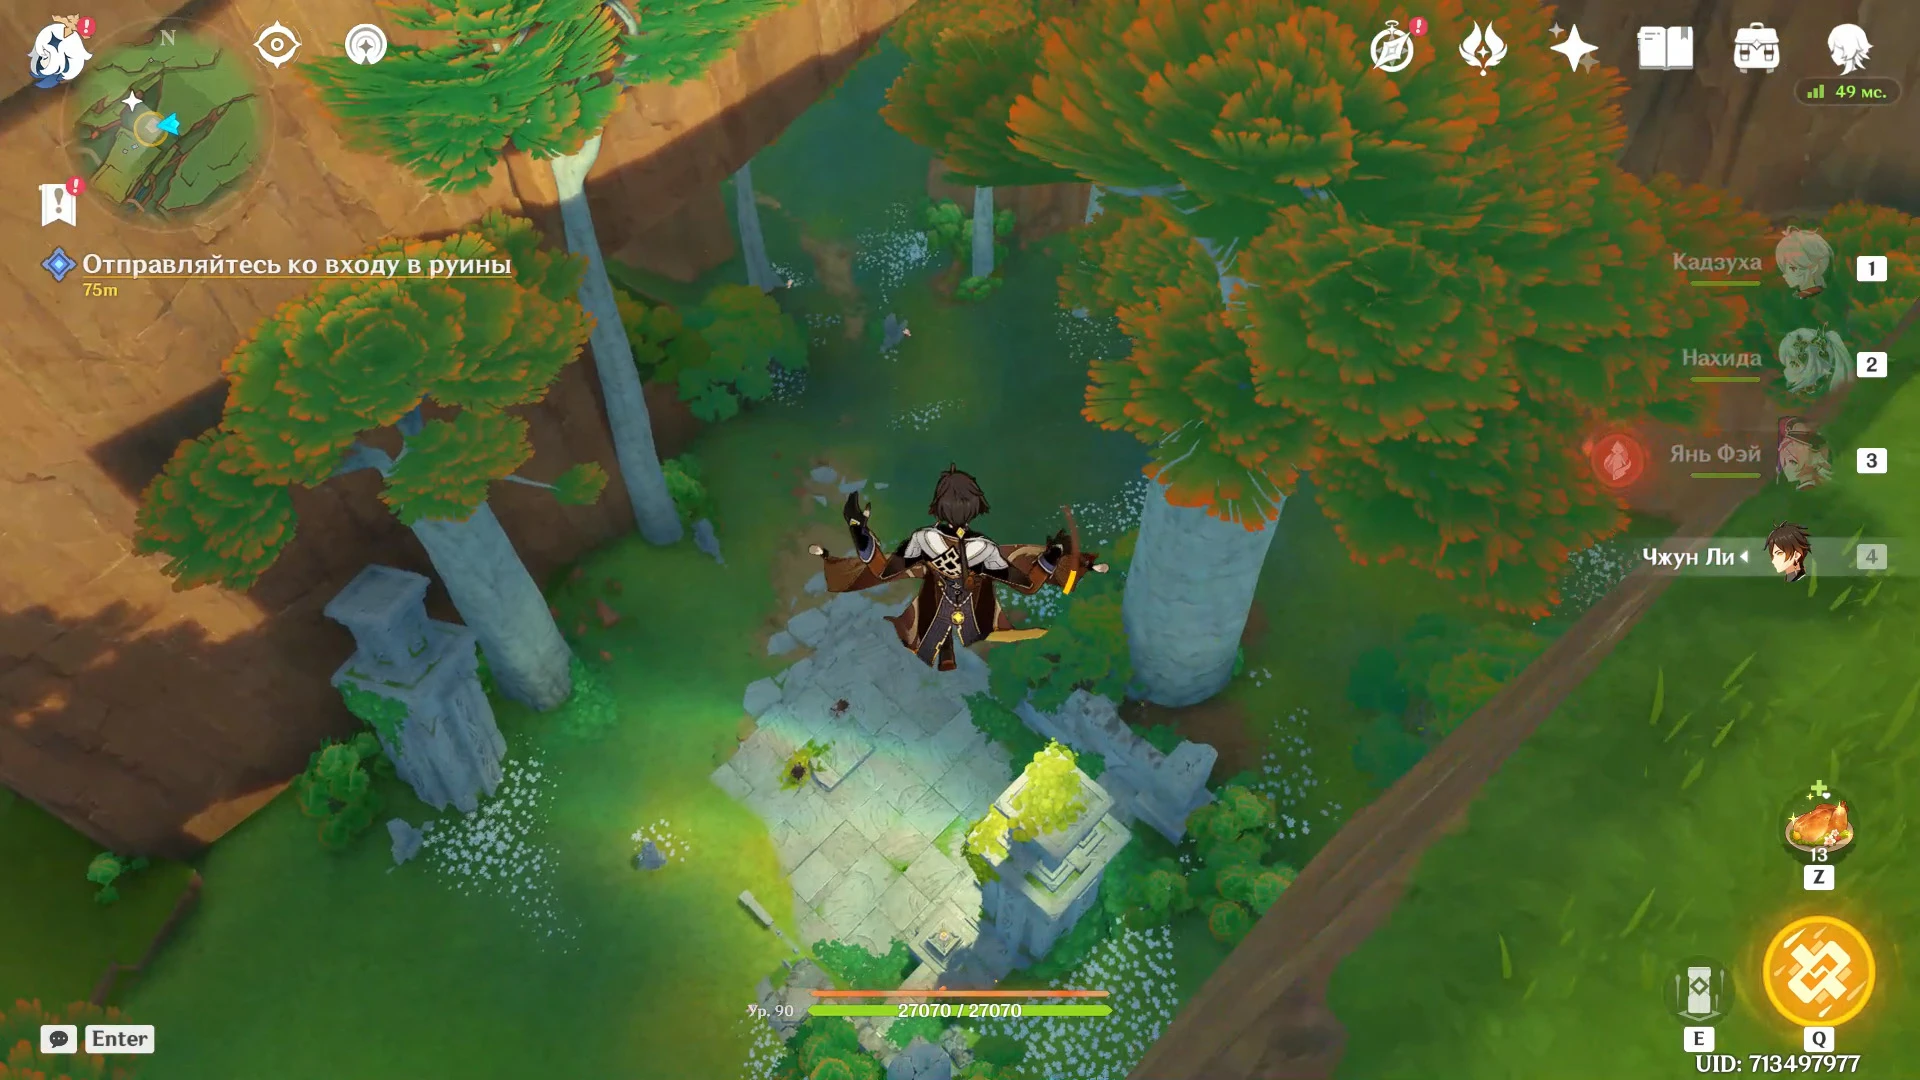
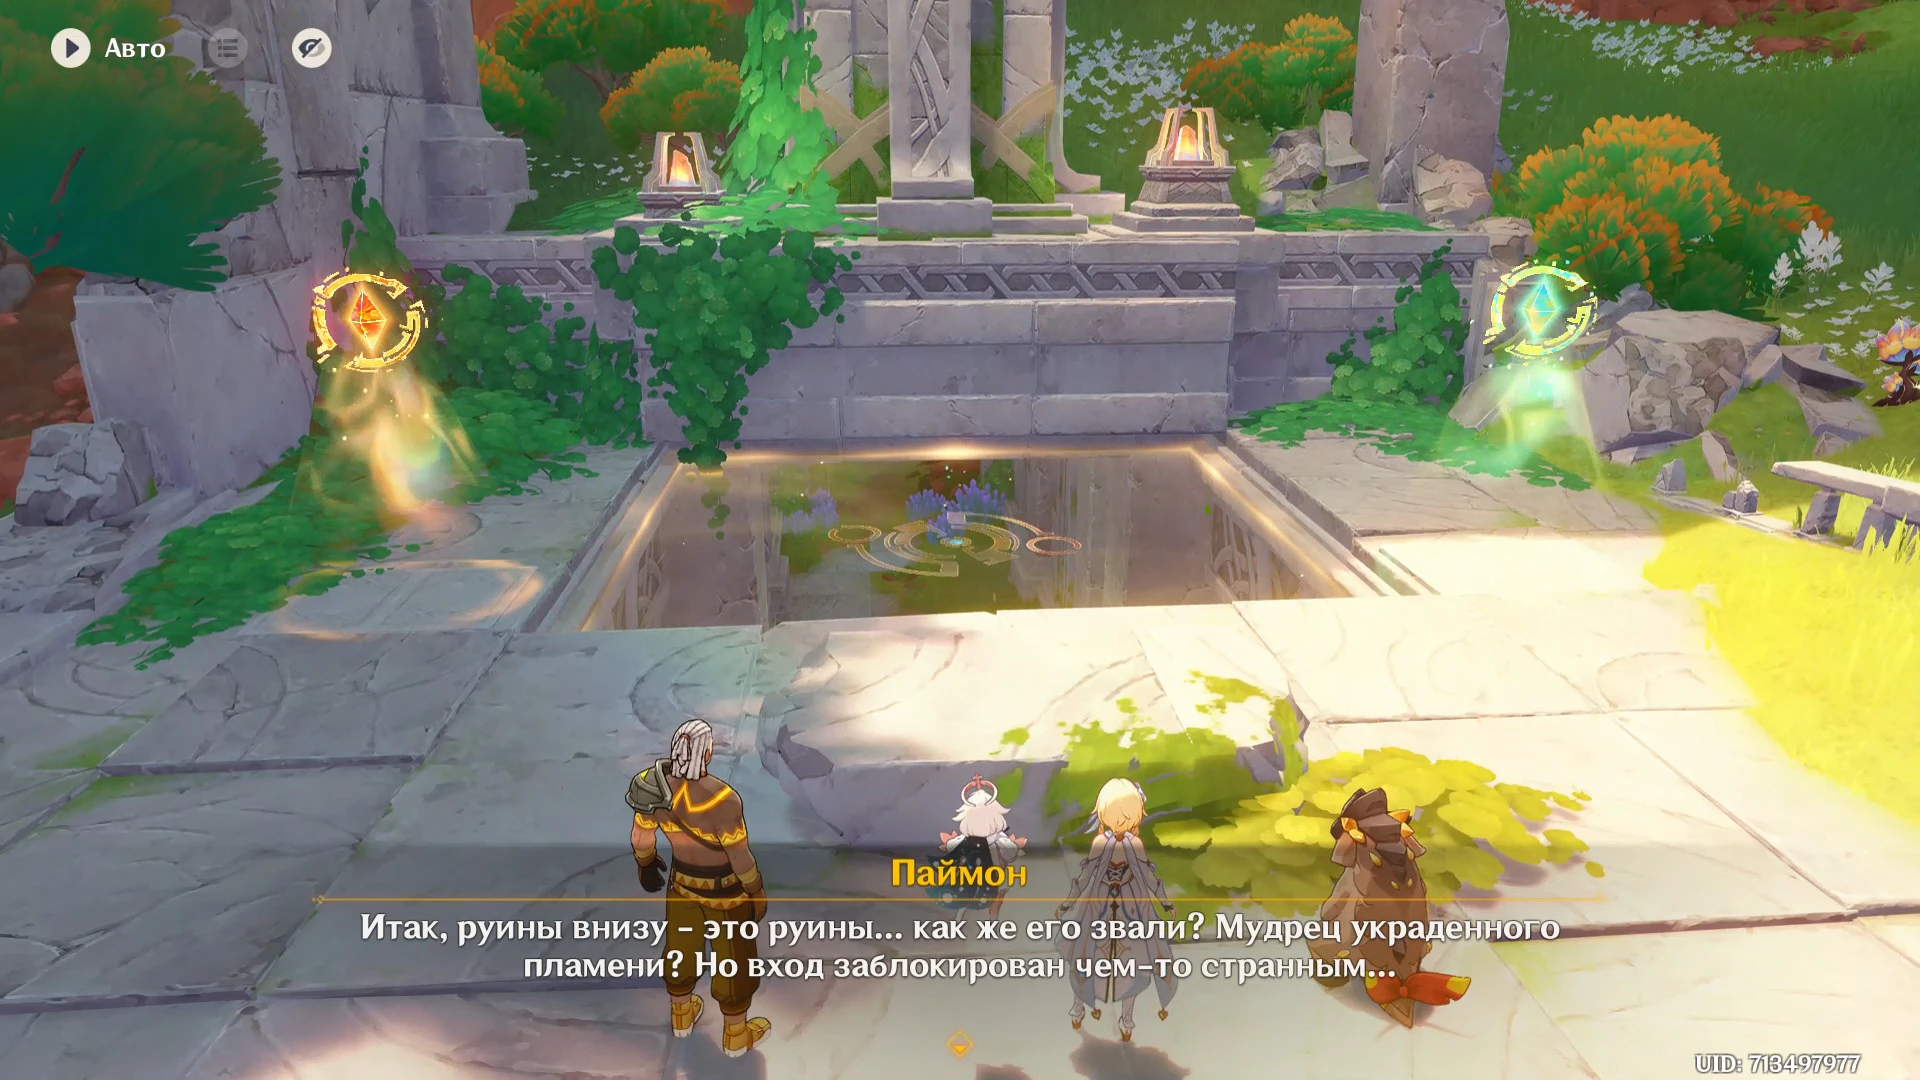
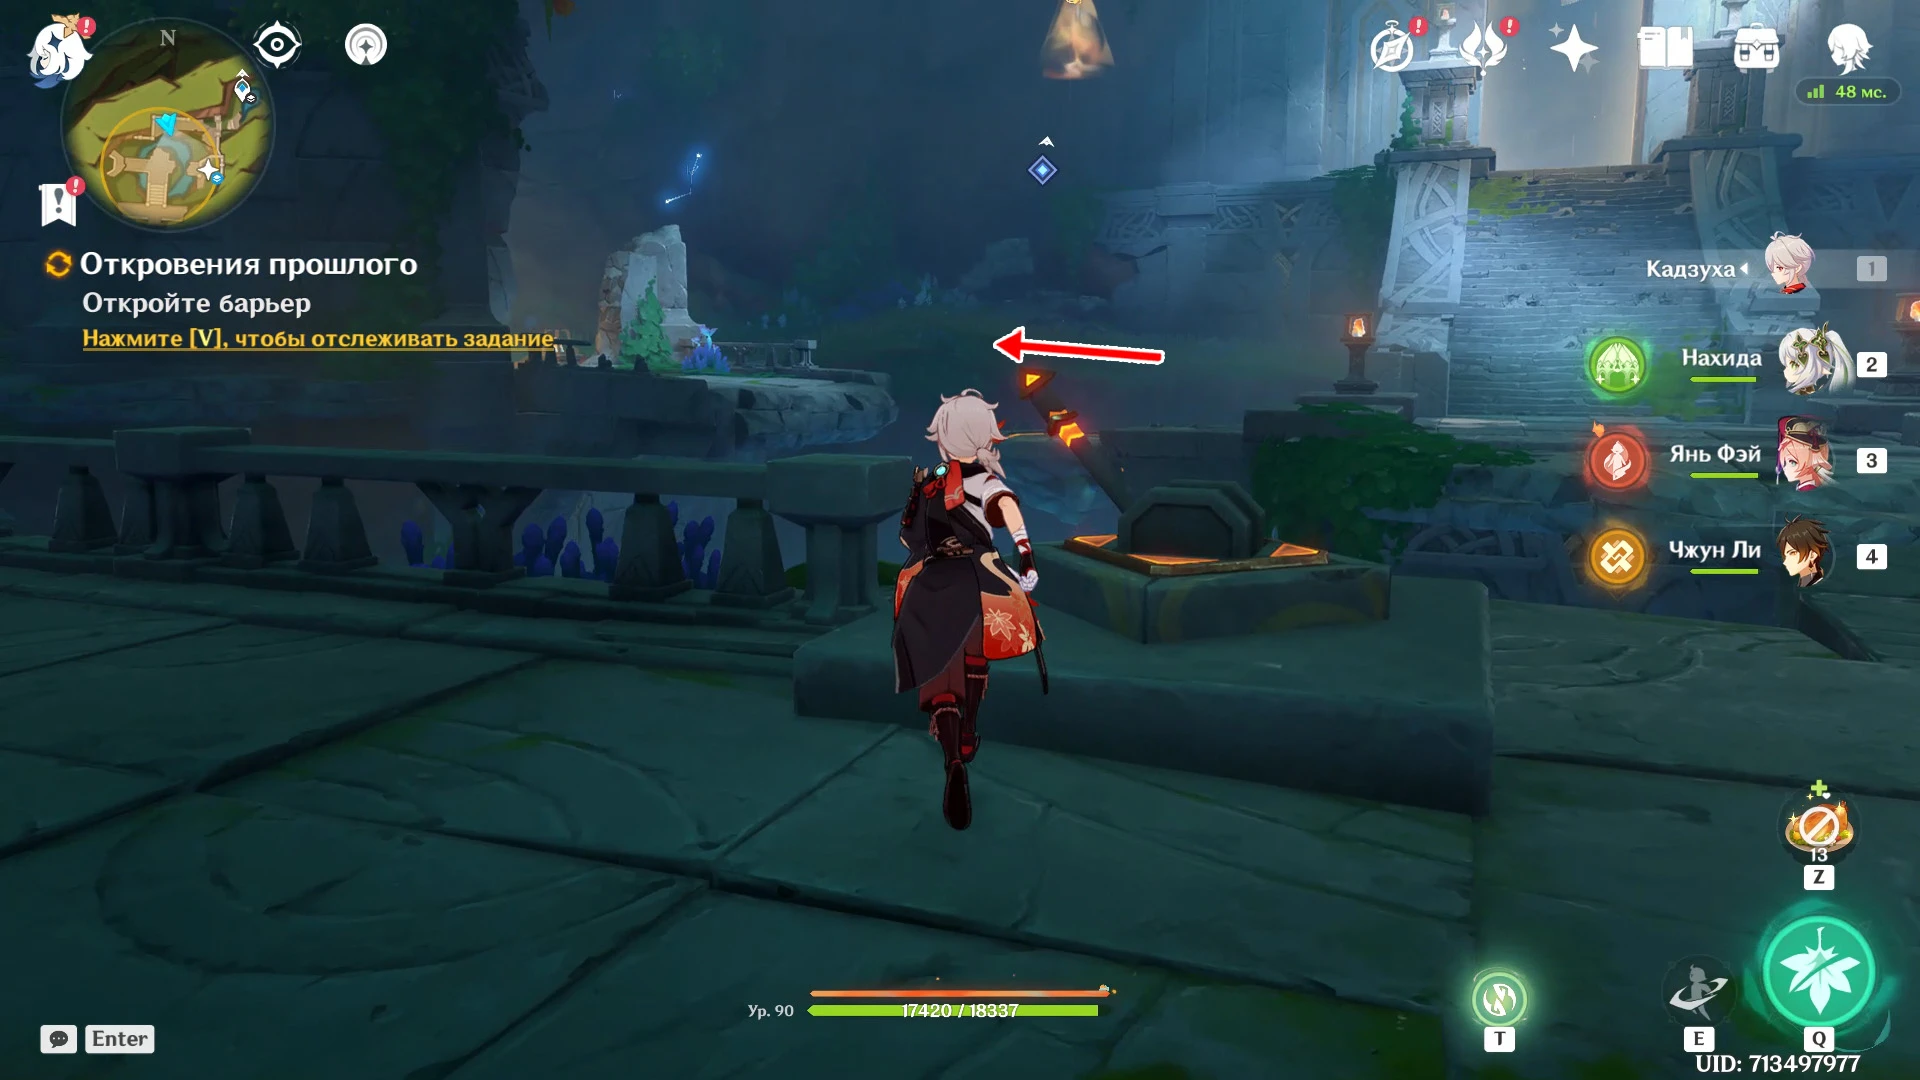
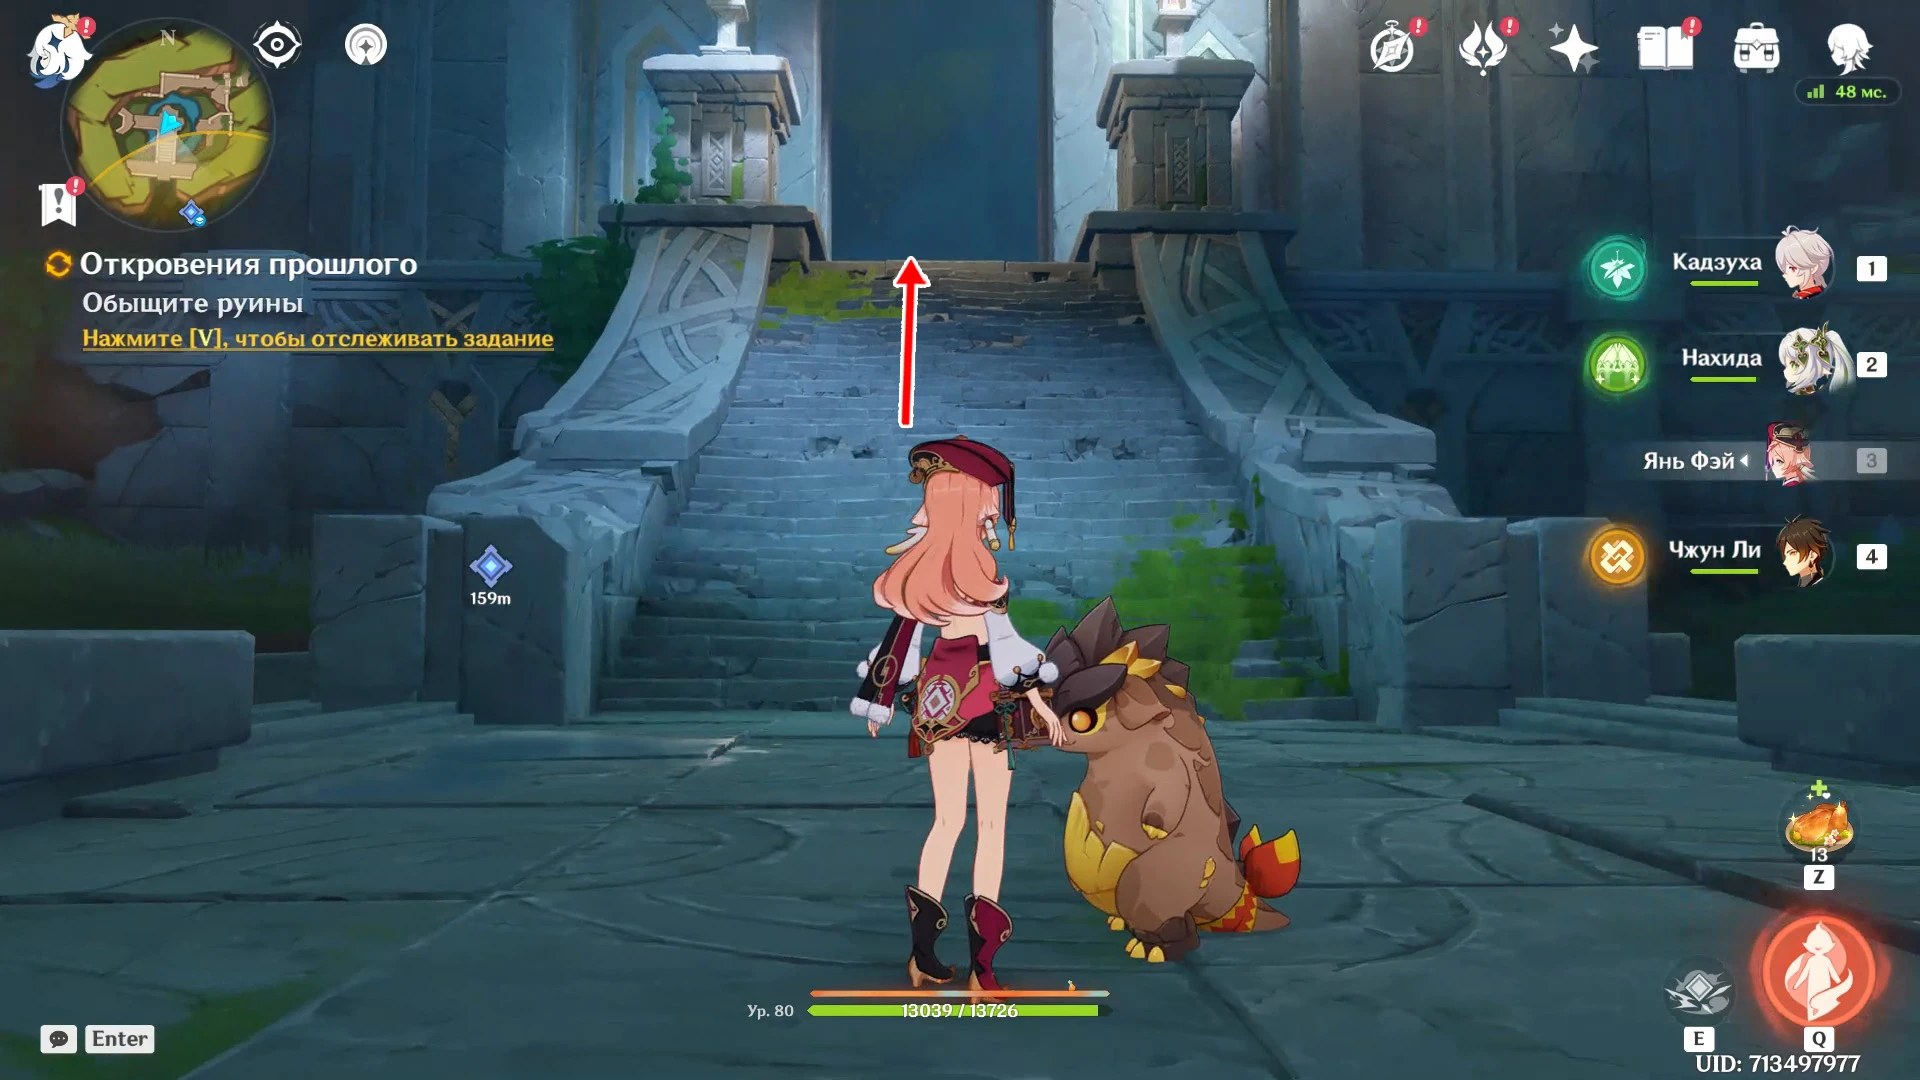
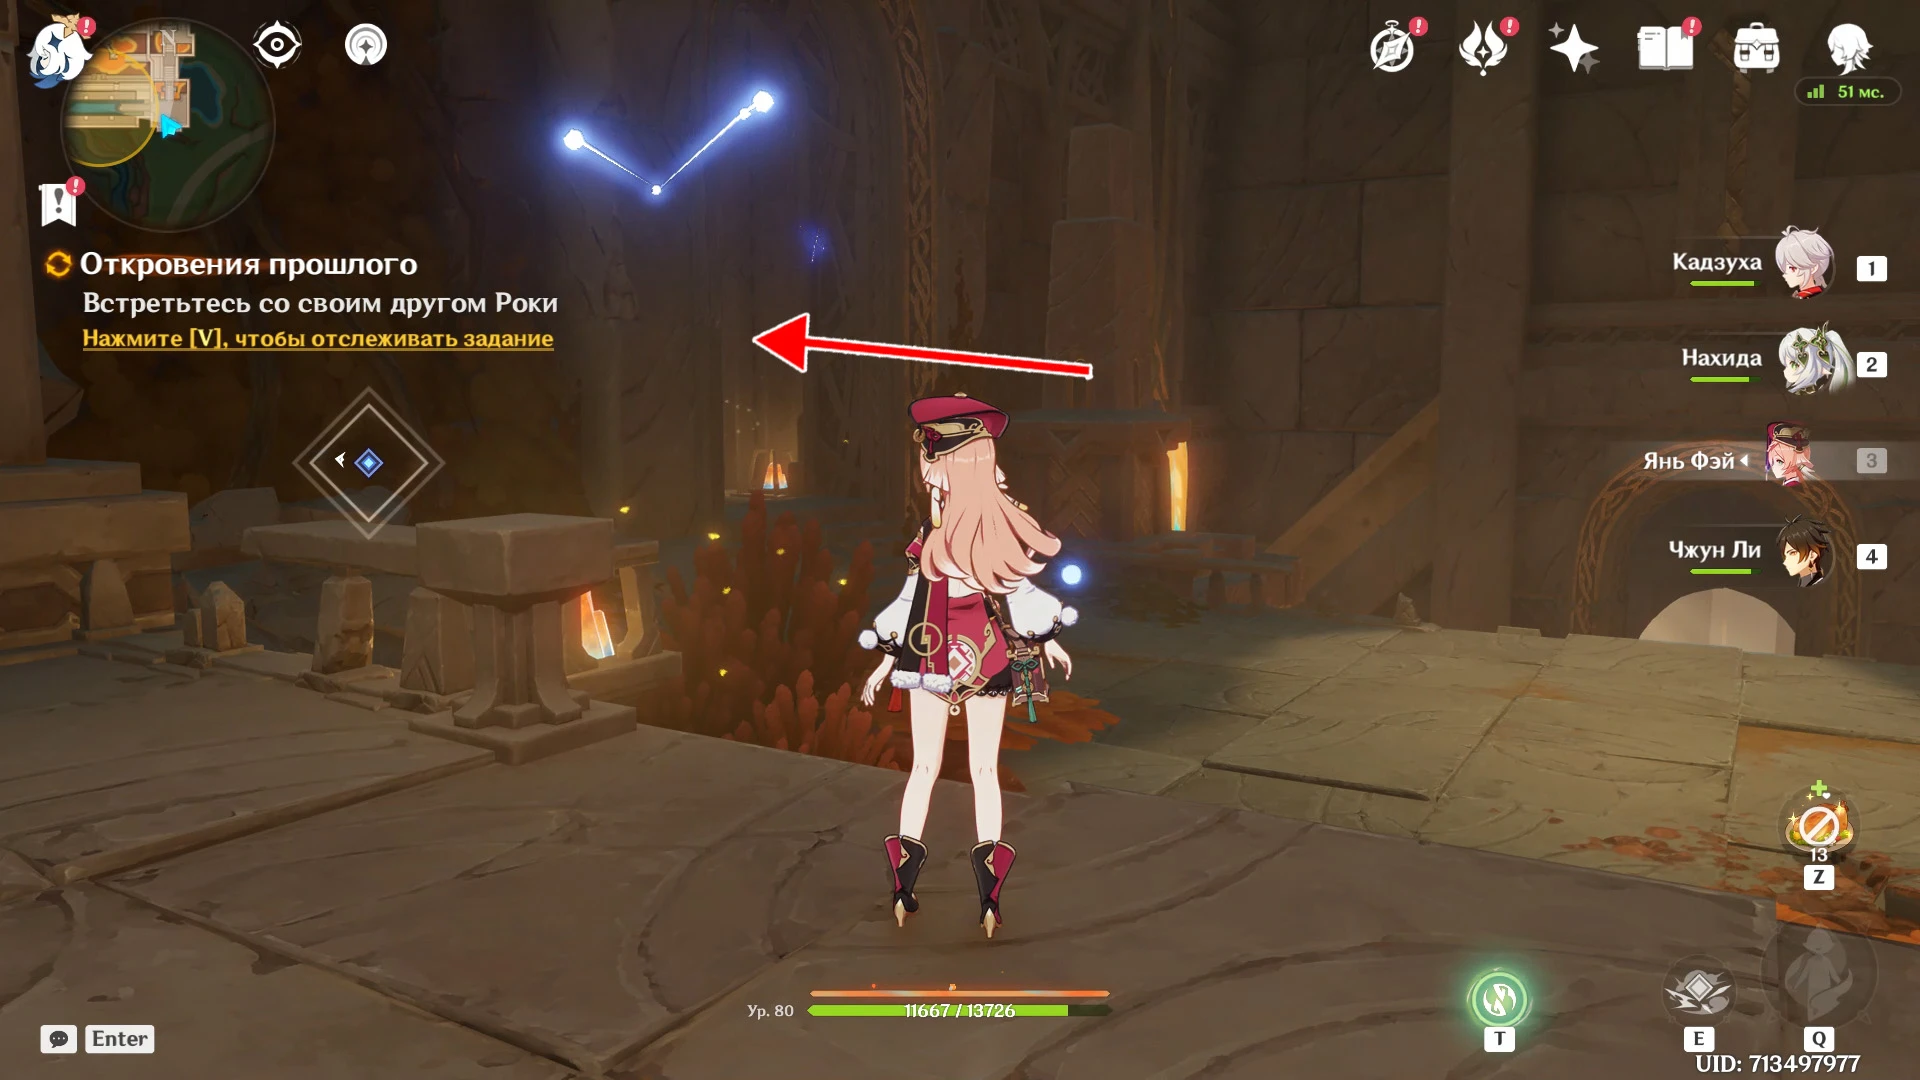
From the place where the battle with the Echo Children tribe chief took place, head to the ruins to the west. The Domain Entrance is surrounded by an earthen rift, tall trees and stone columns.
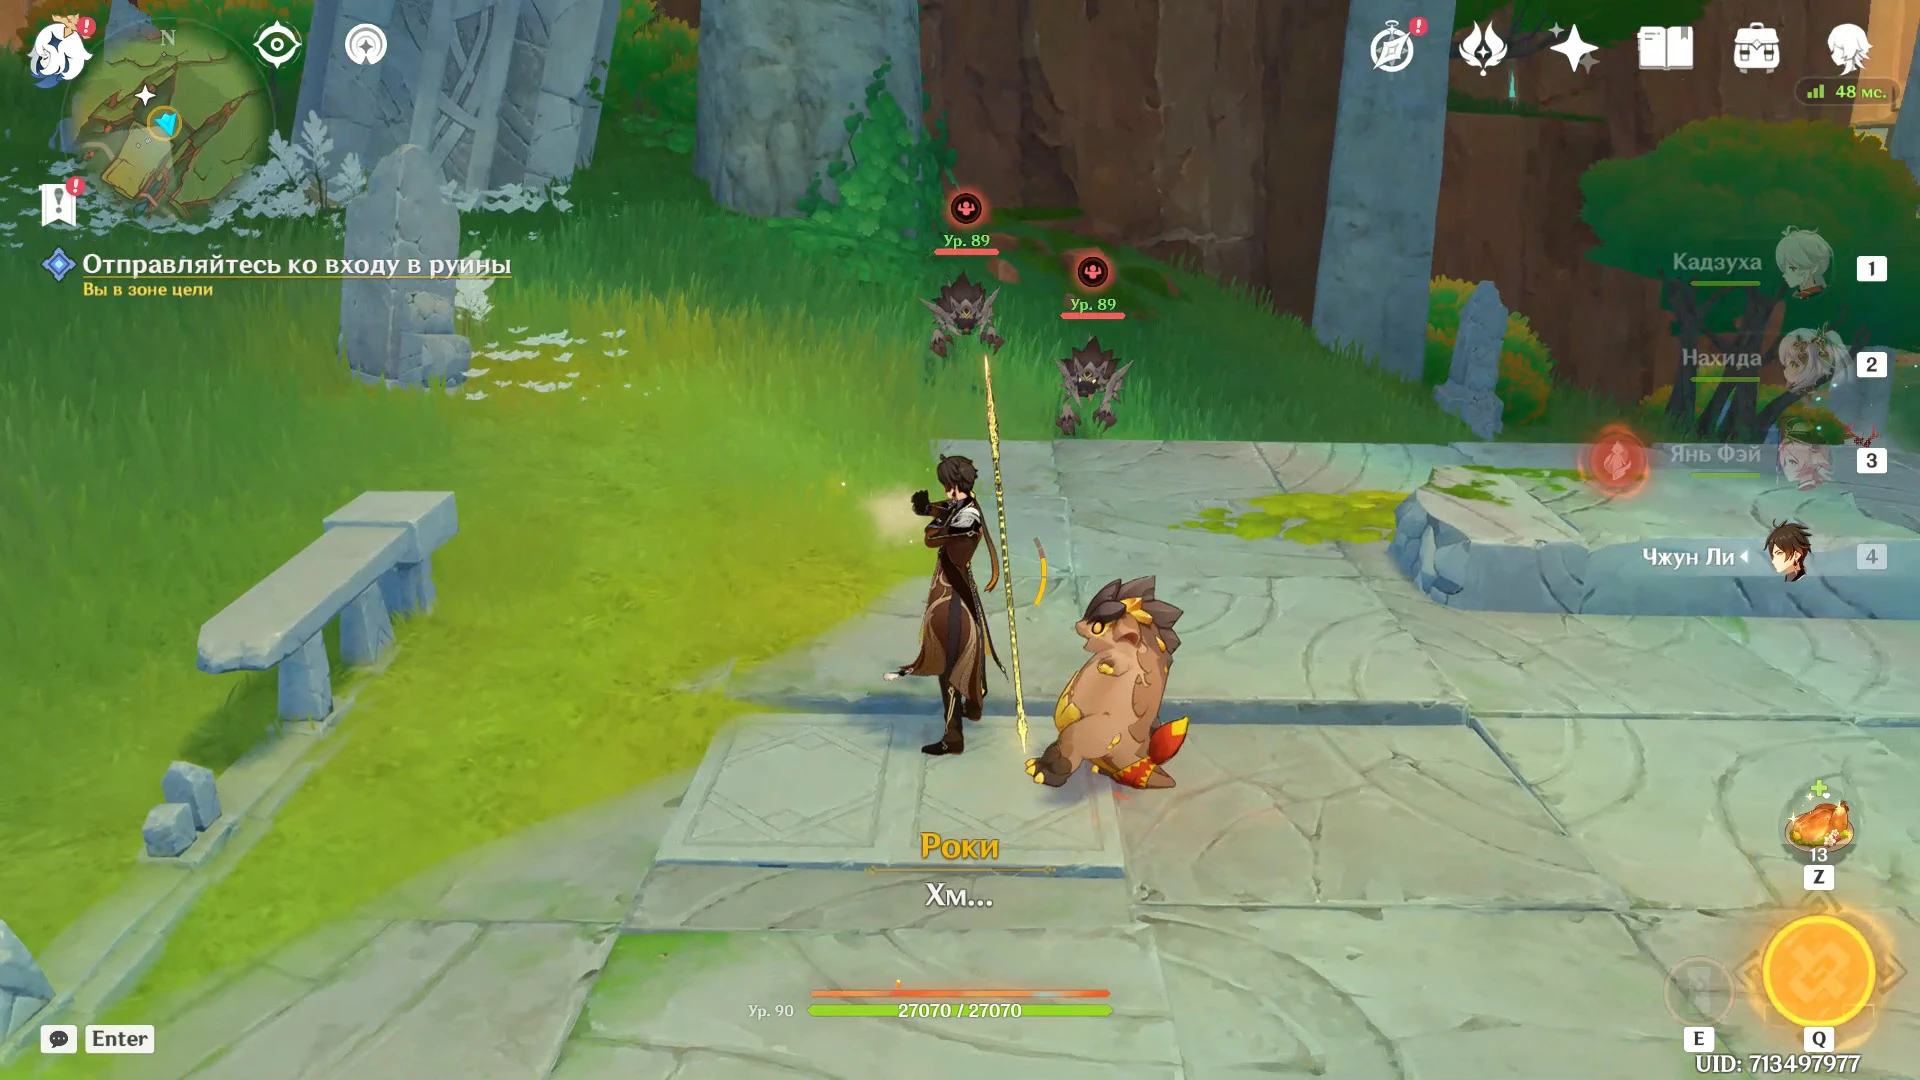
After descending, the travelers will encounter two Lesser Rip Hounds. Defeat them before proceeding to the main passage of the quest.
Place the talisman on the platform
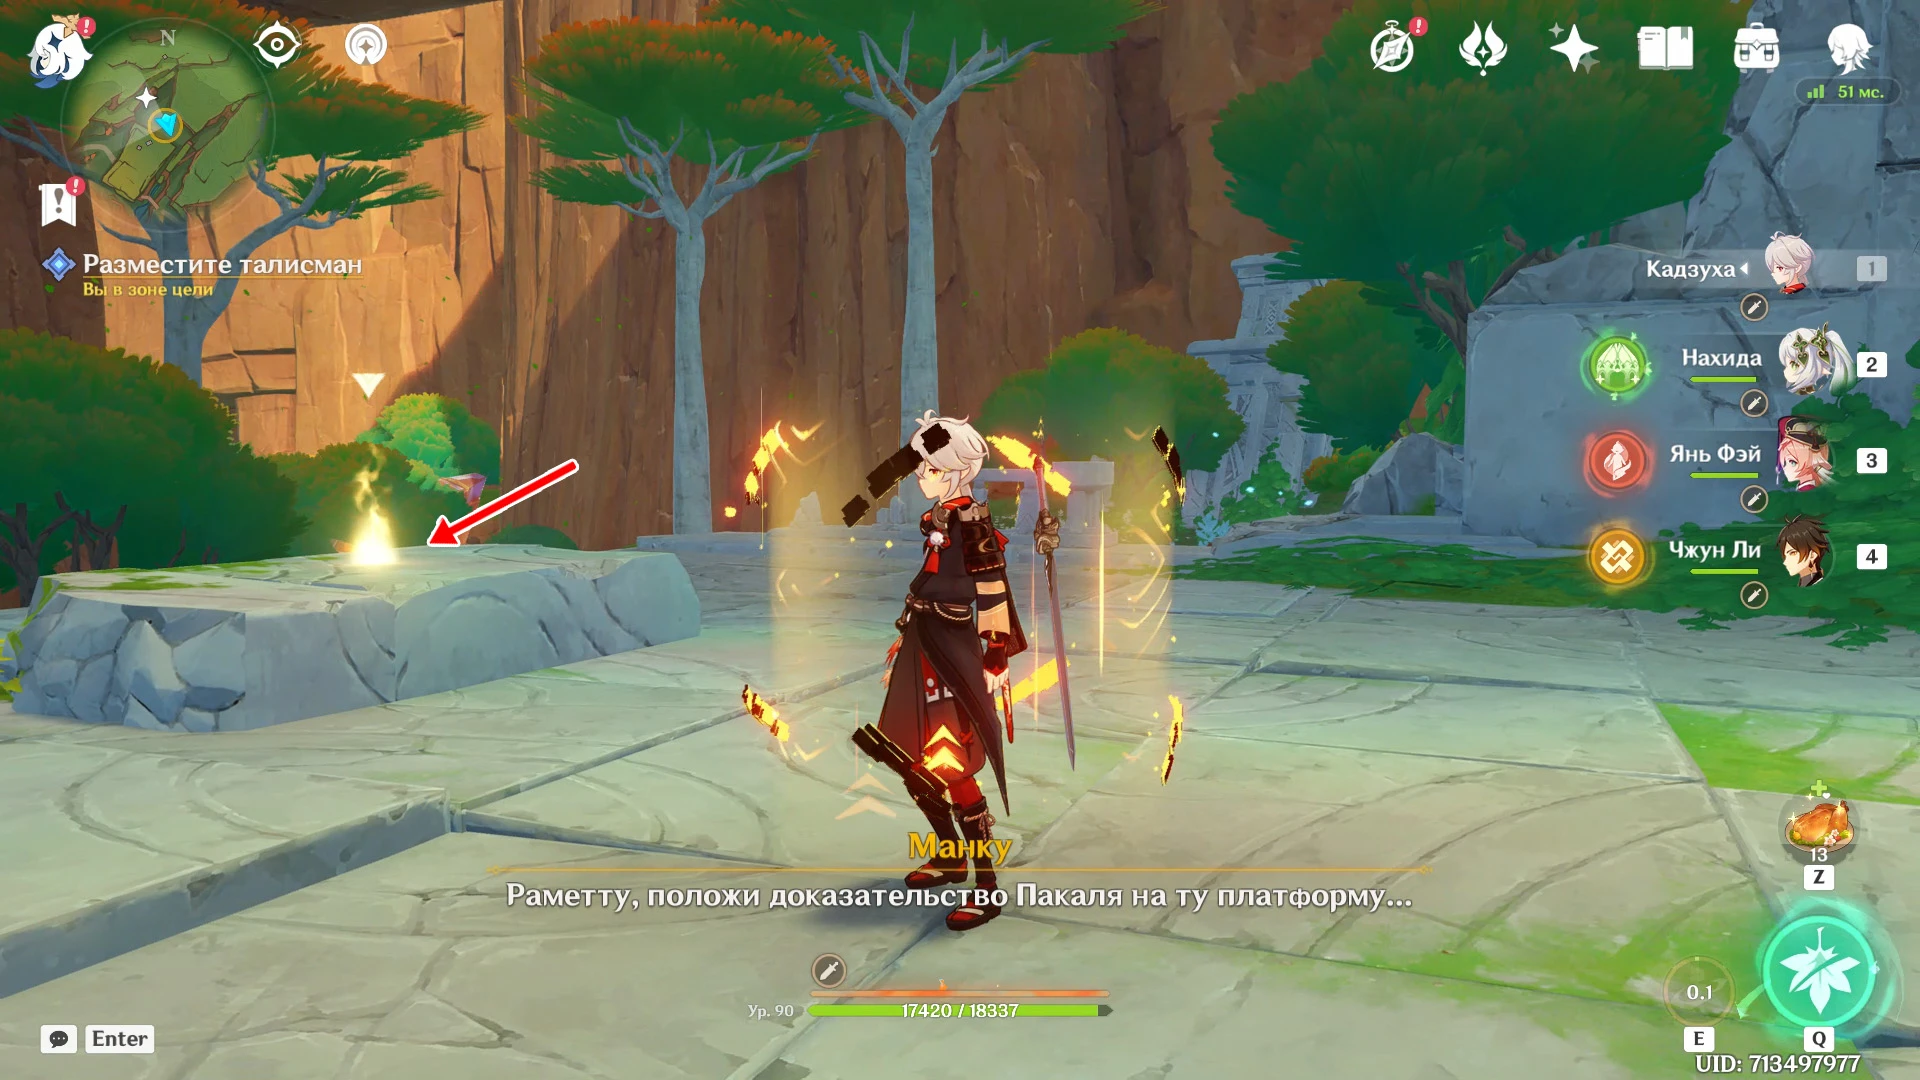
Use the Tribal Chief's Proof obtained earlier: place it on the stone slab to open the descent into the ruins.
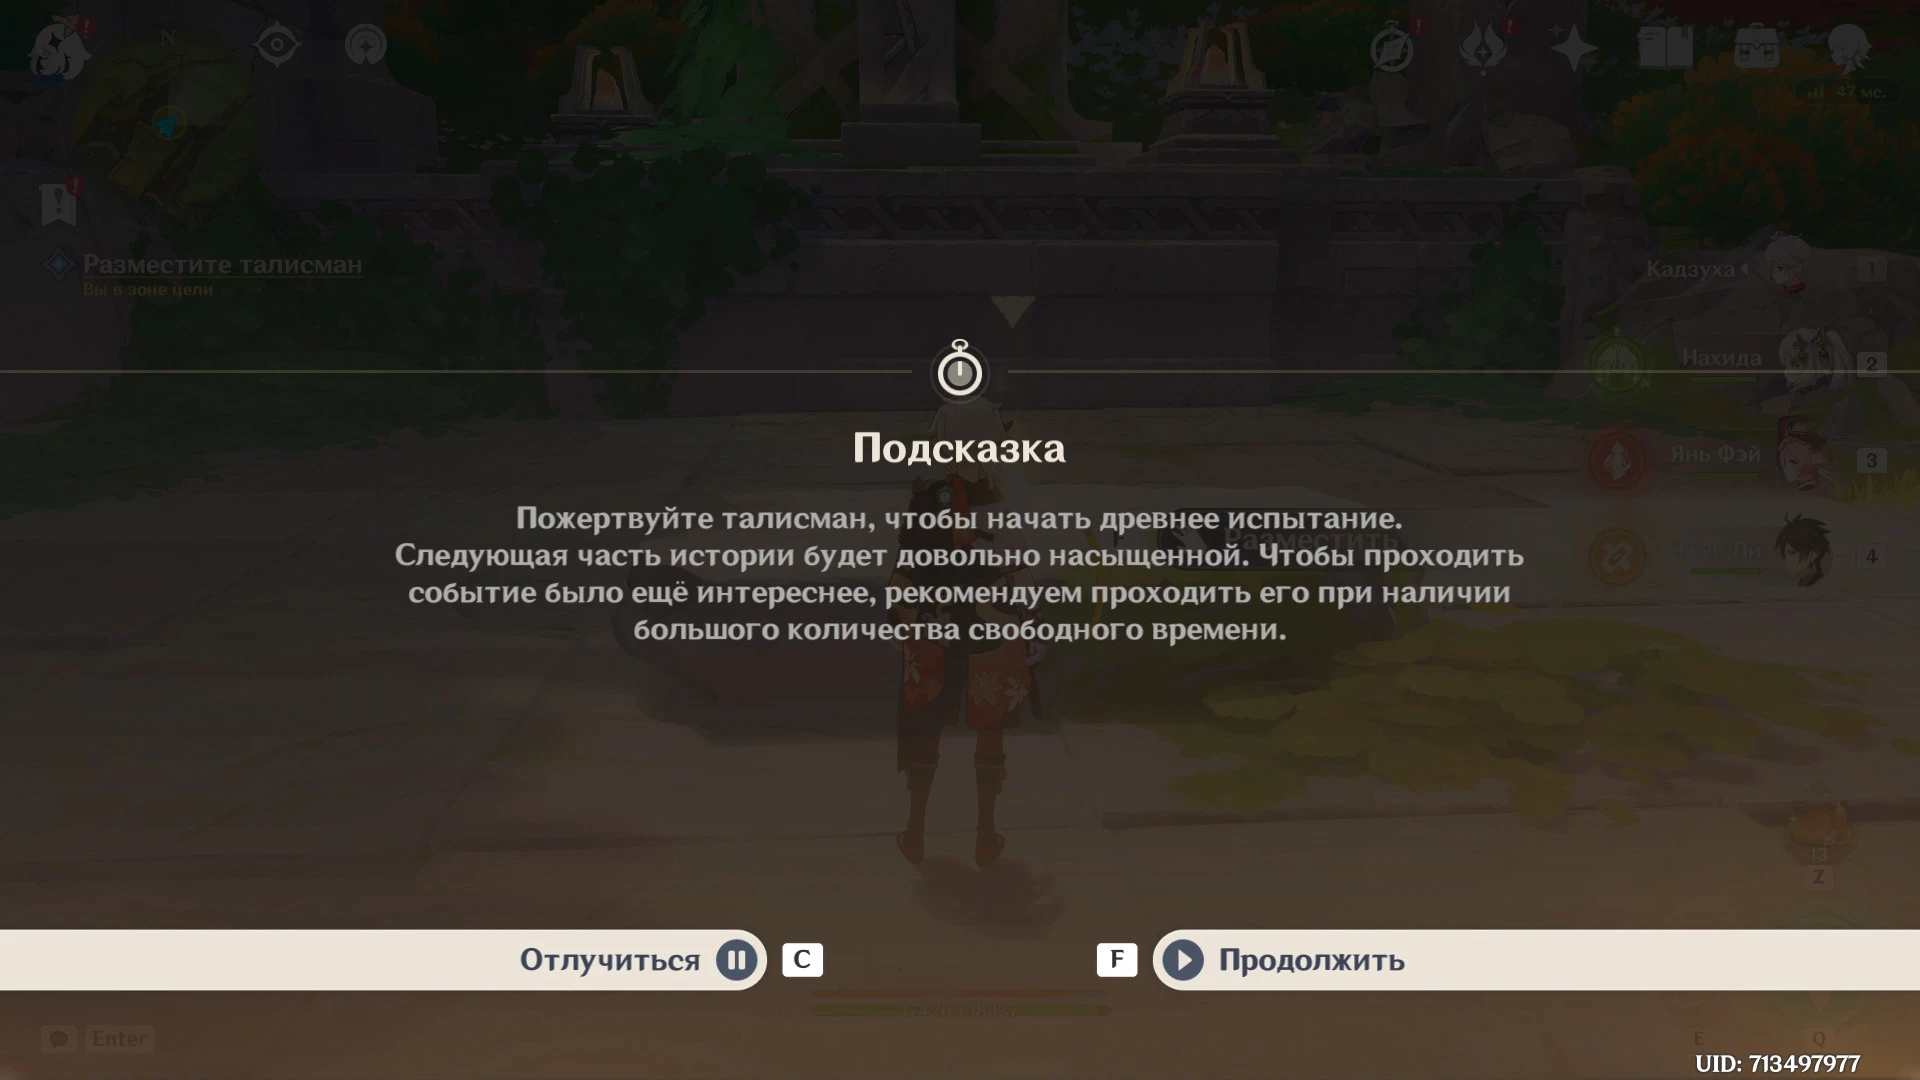
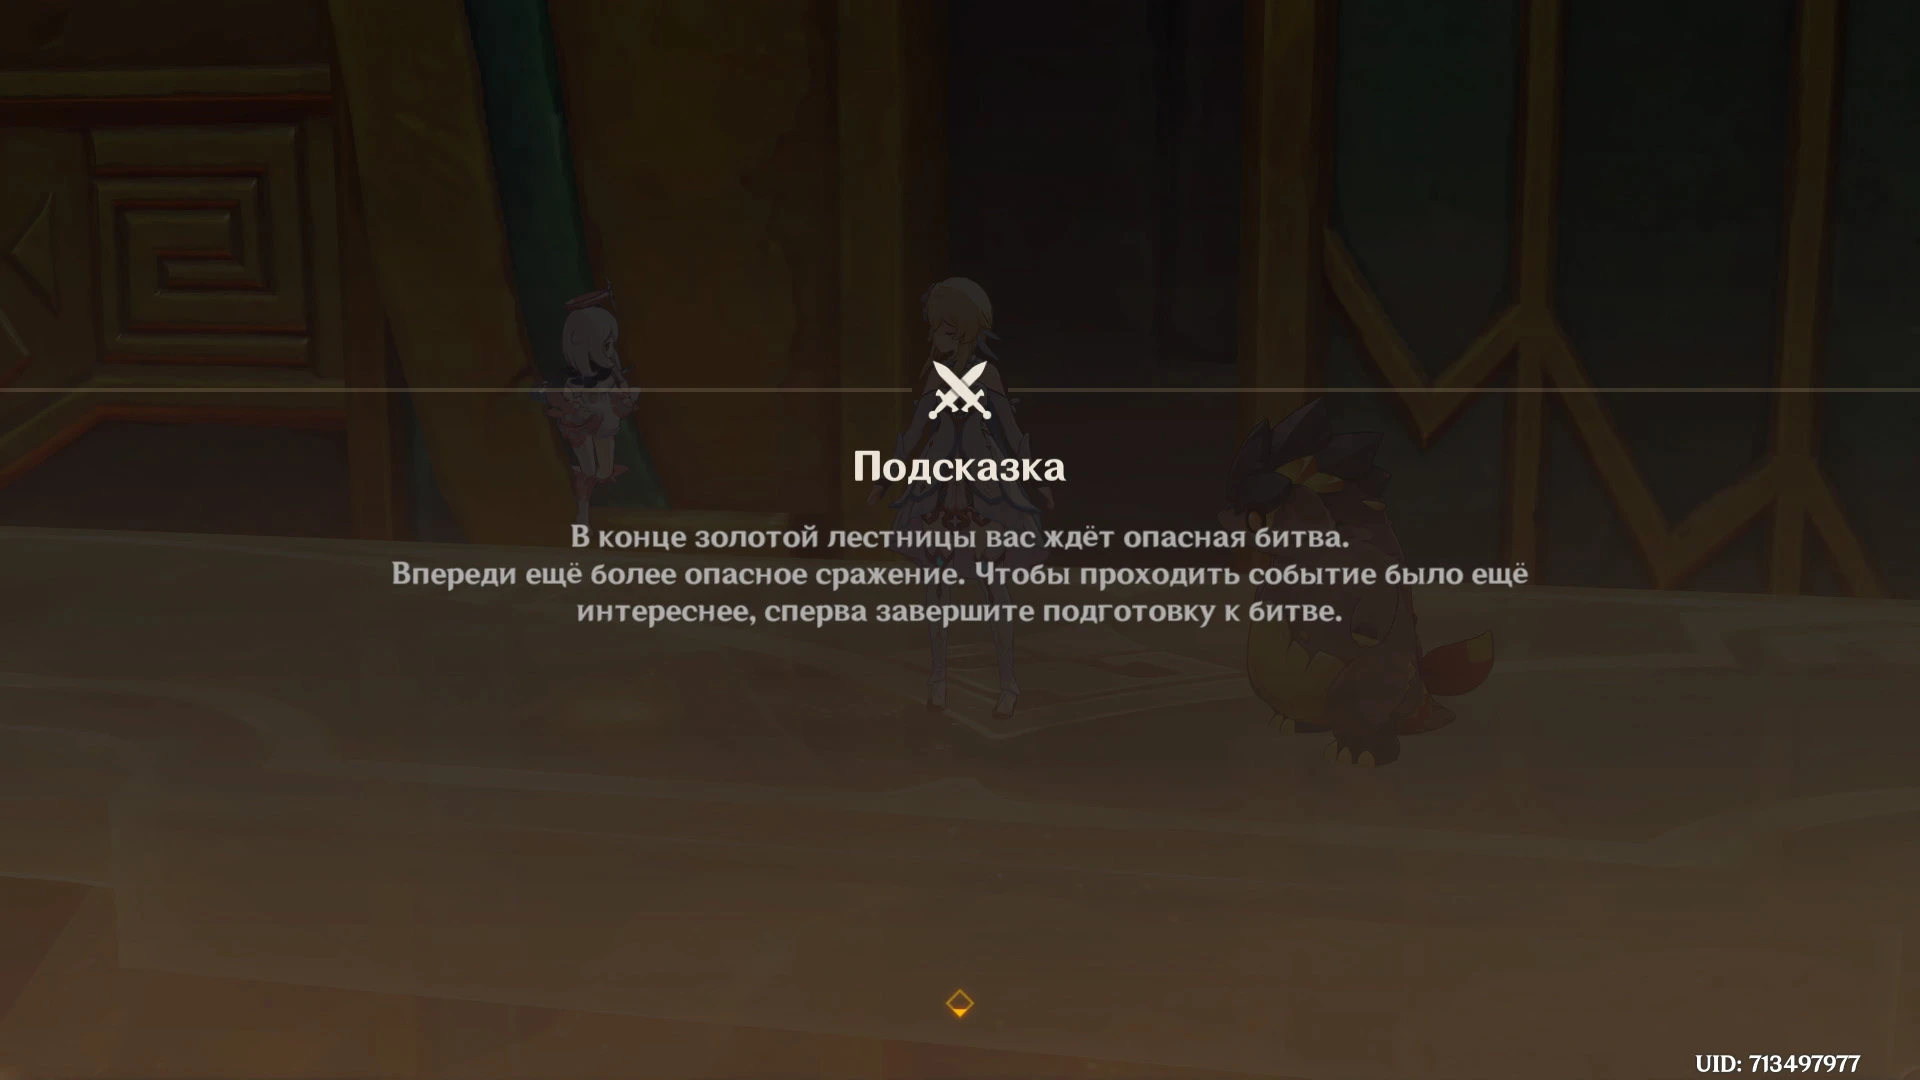
A hint will appear on the screen warning that for greater immersion in the story, it is recommended to perform the task continuously in your free time. However, walking through the ruins will not be considered a dungeon challenge, which will allow you to switch to another activity without losing progress. The total time to complete the task will be at least 30 minutes.
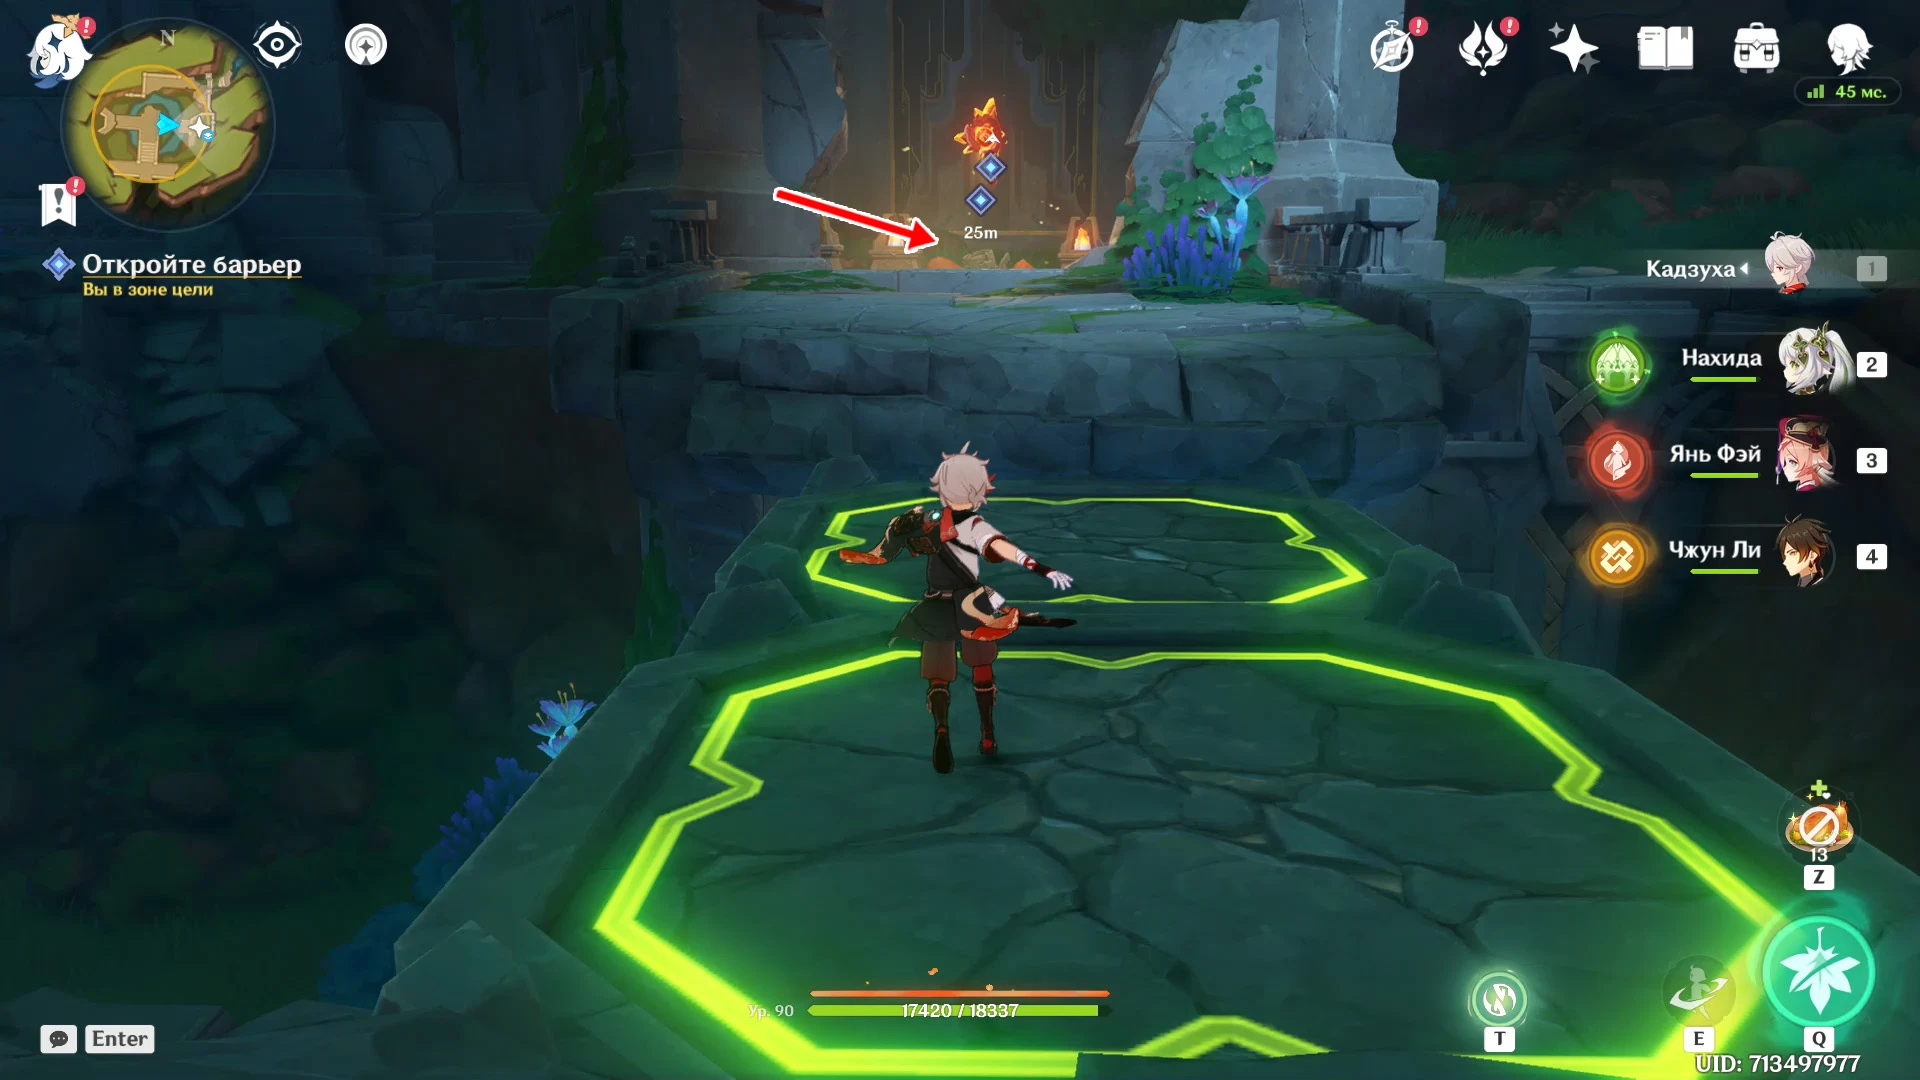
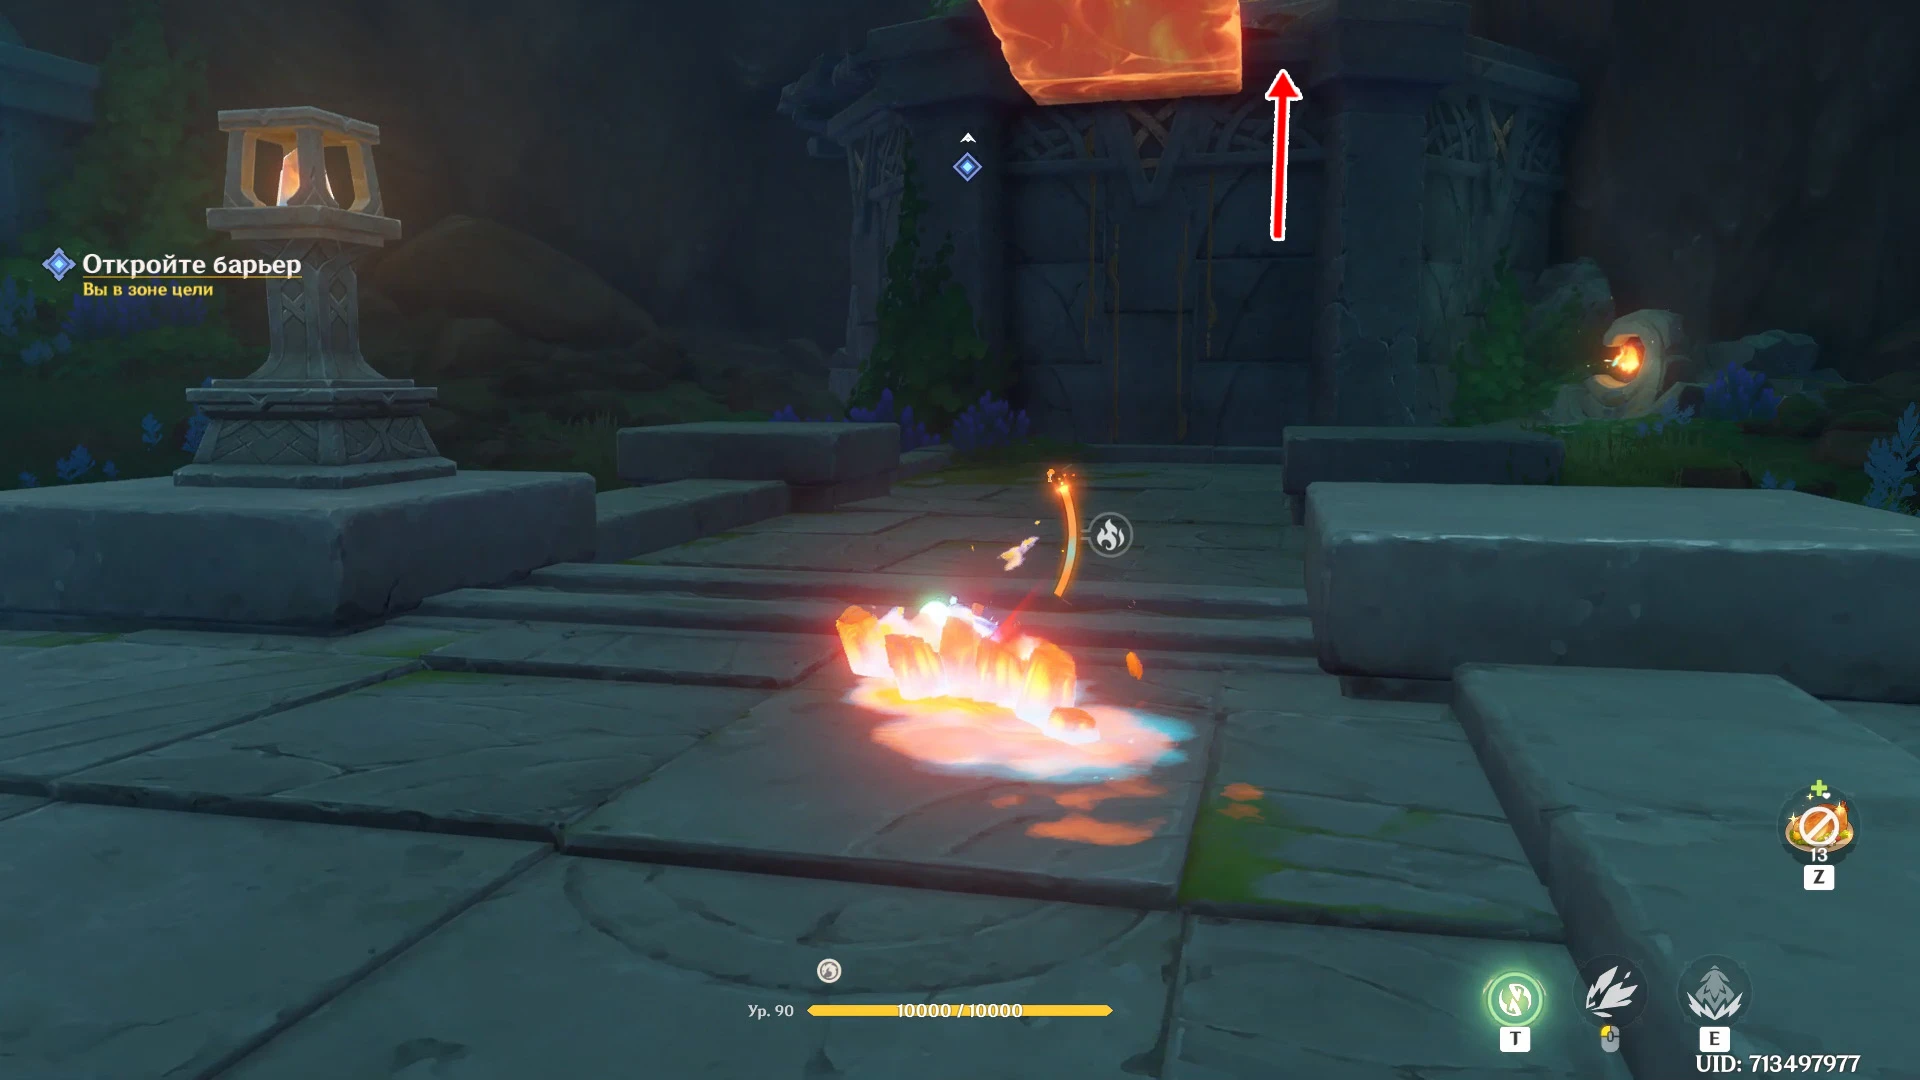
Disable the Hurdle to descend into the ruins.
Manku explains that the Ruins Achievement: Challenger will require the human and Saurian to work together at all times. Throughout the Achievement: Challenger, the gold sensor will be for the traveler, and the green sensor will be for the accompanying Saurian.
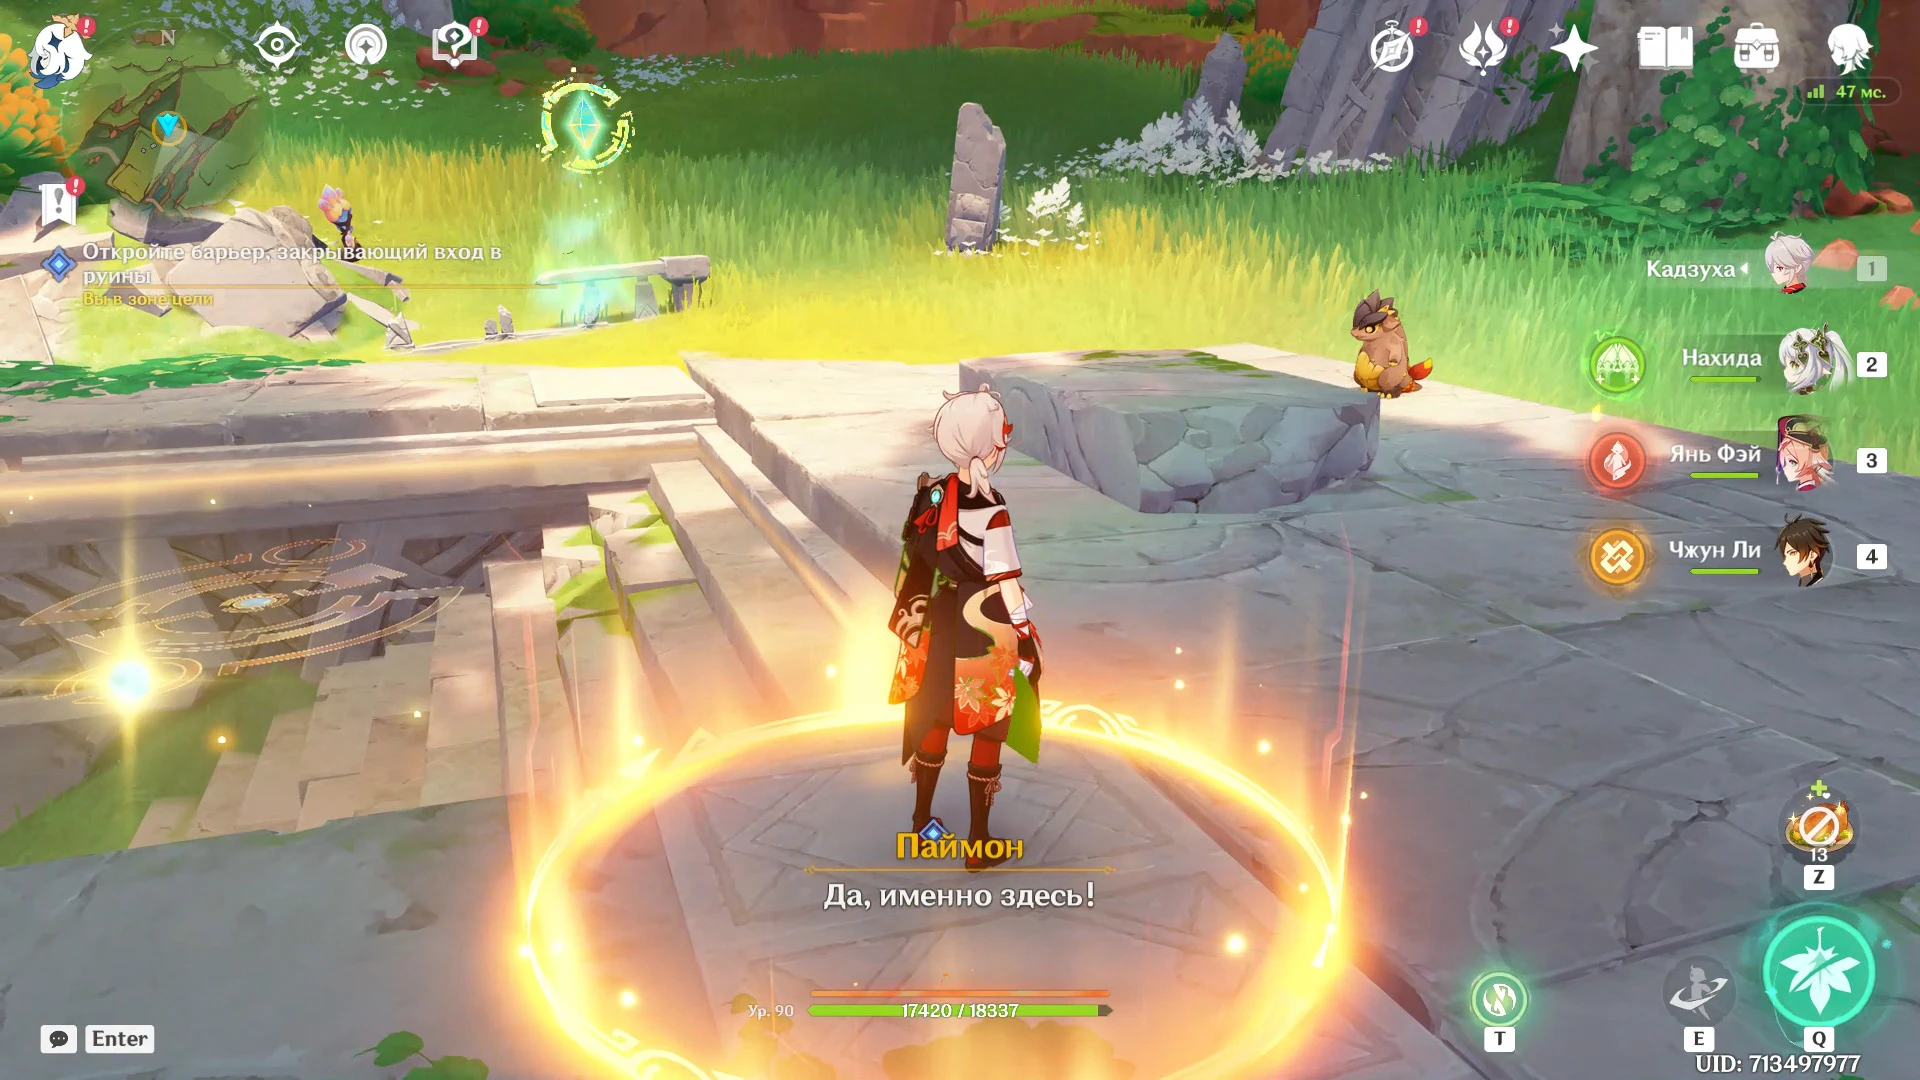

Stand on the gold sensor and then switch to your Saurian friend using the "T" key. While controlling him, stand on the green sensor to open the Hurdle.
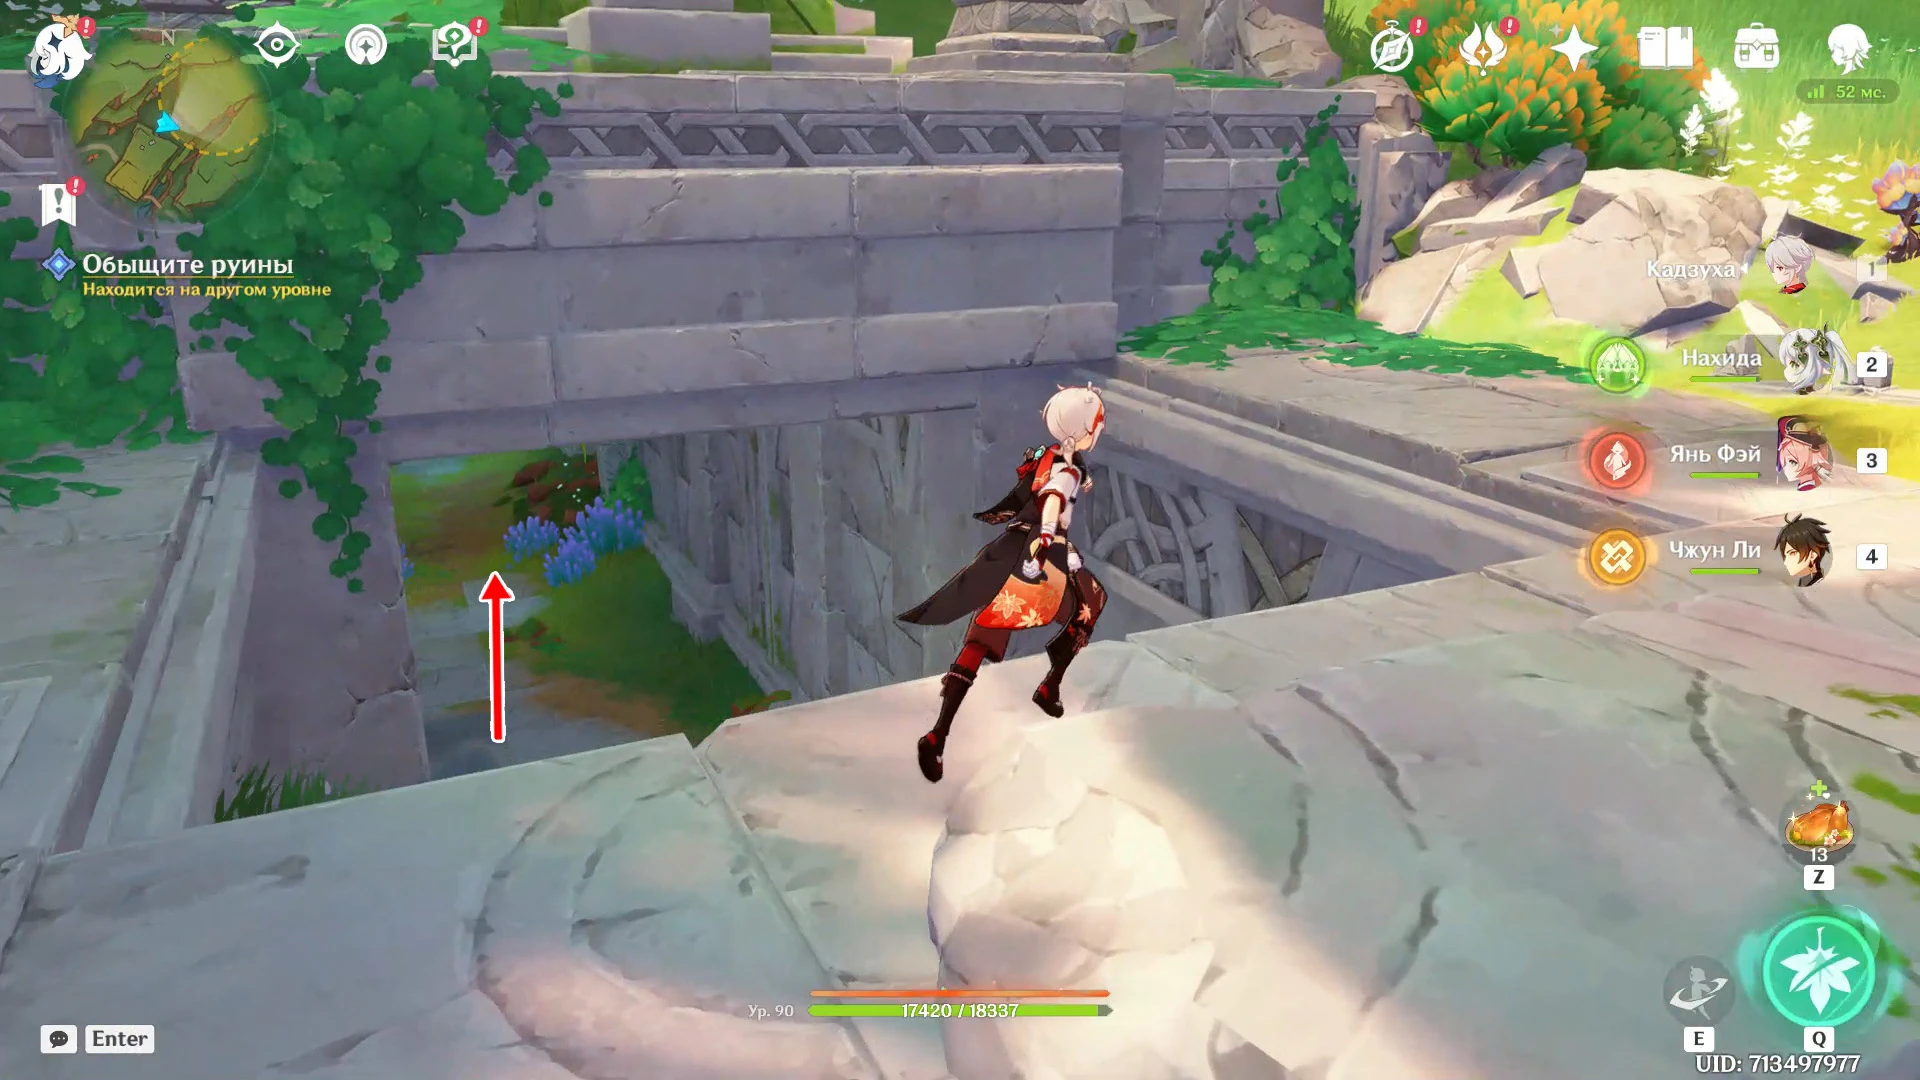
Search the ruins
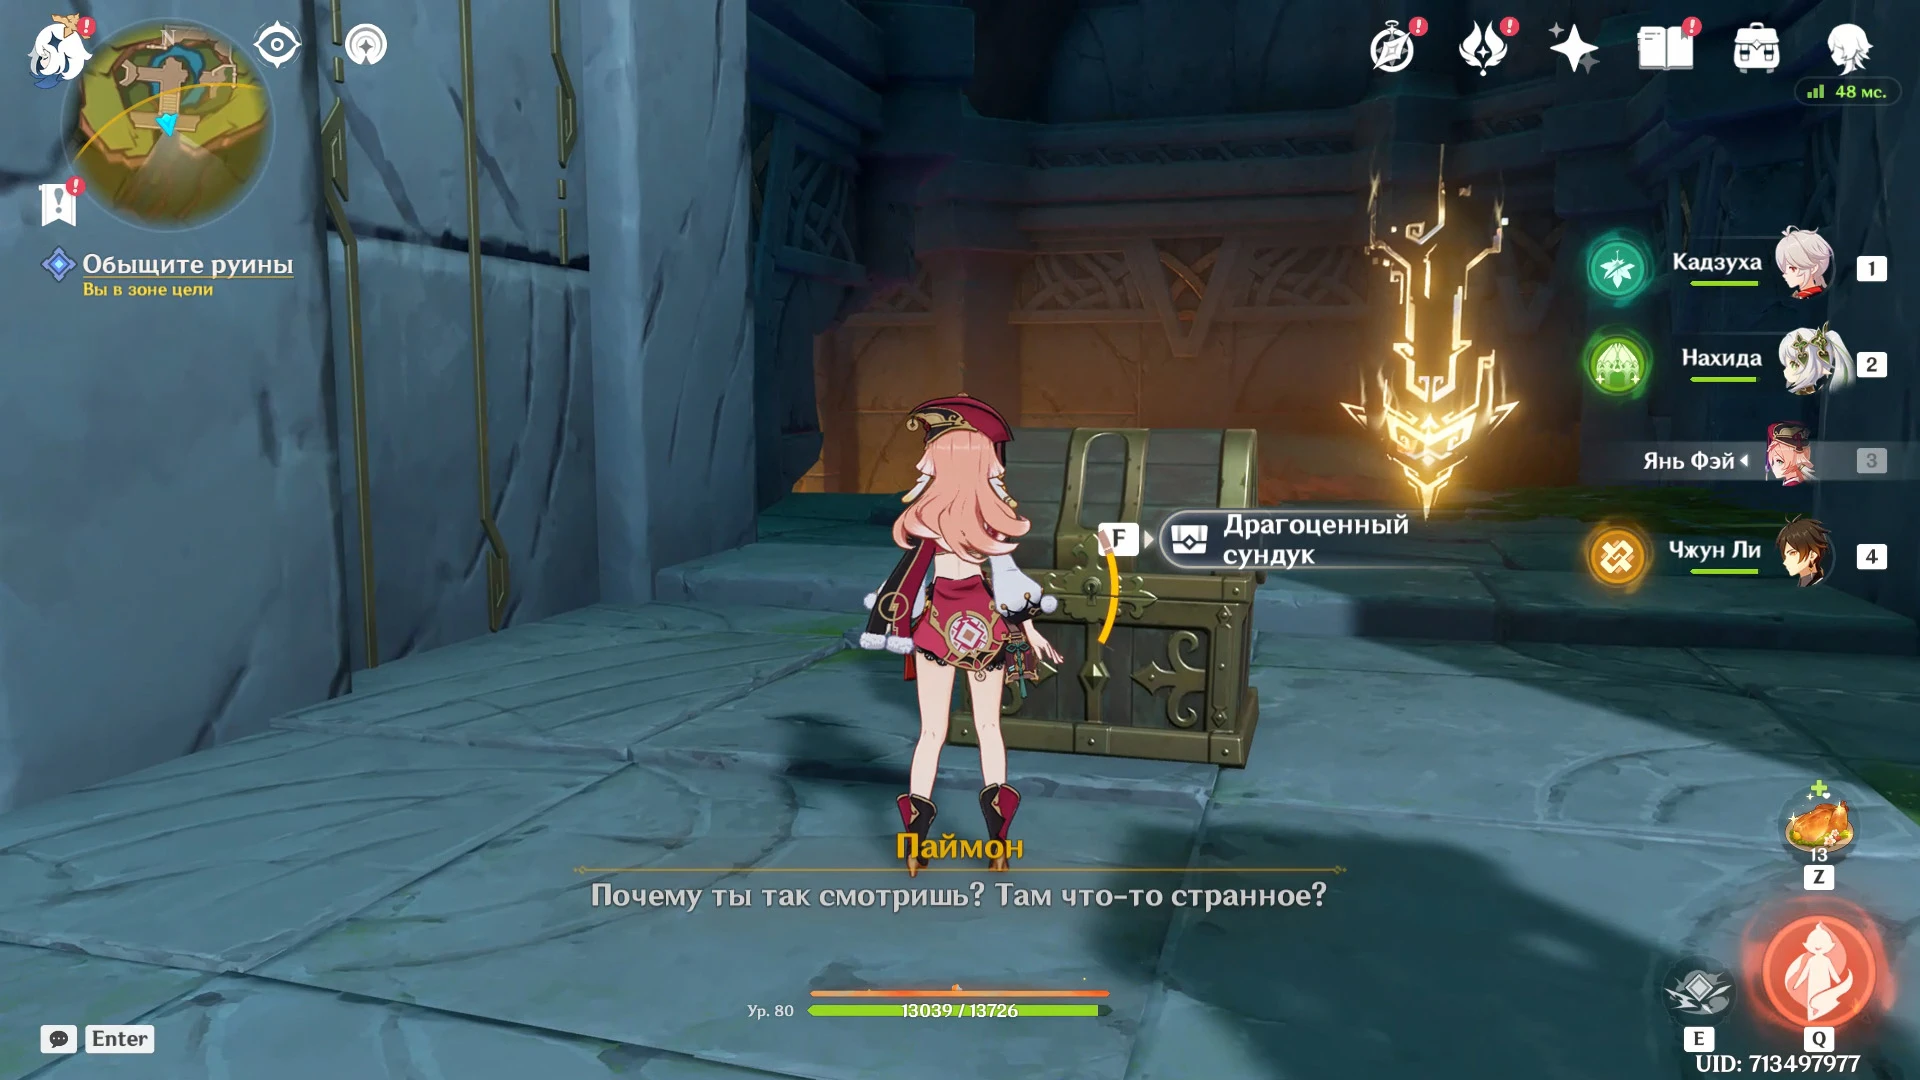
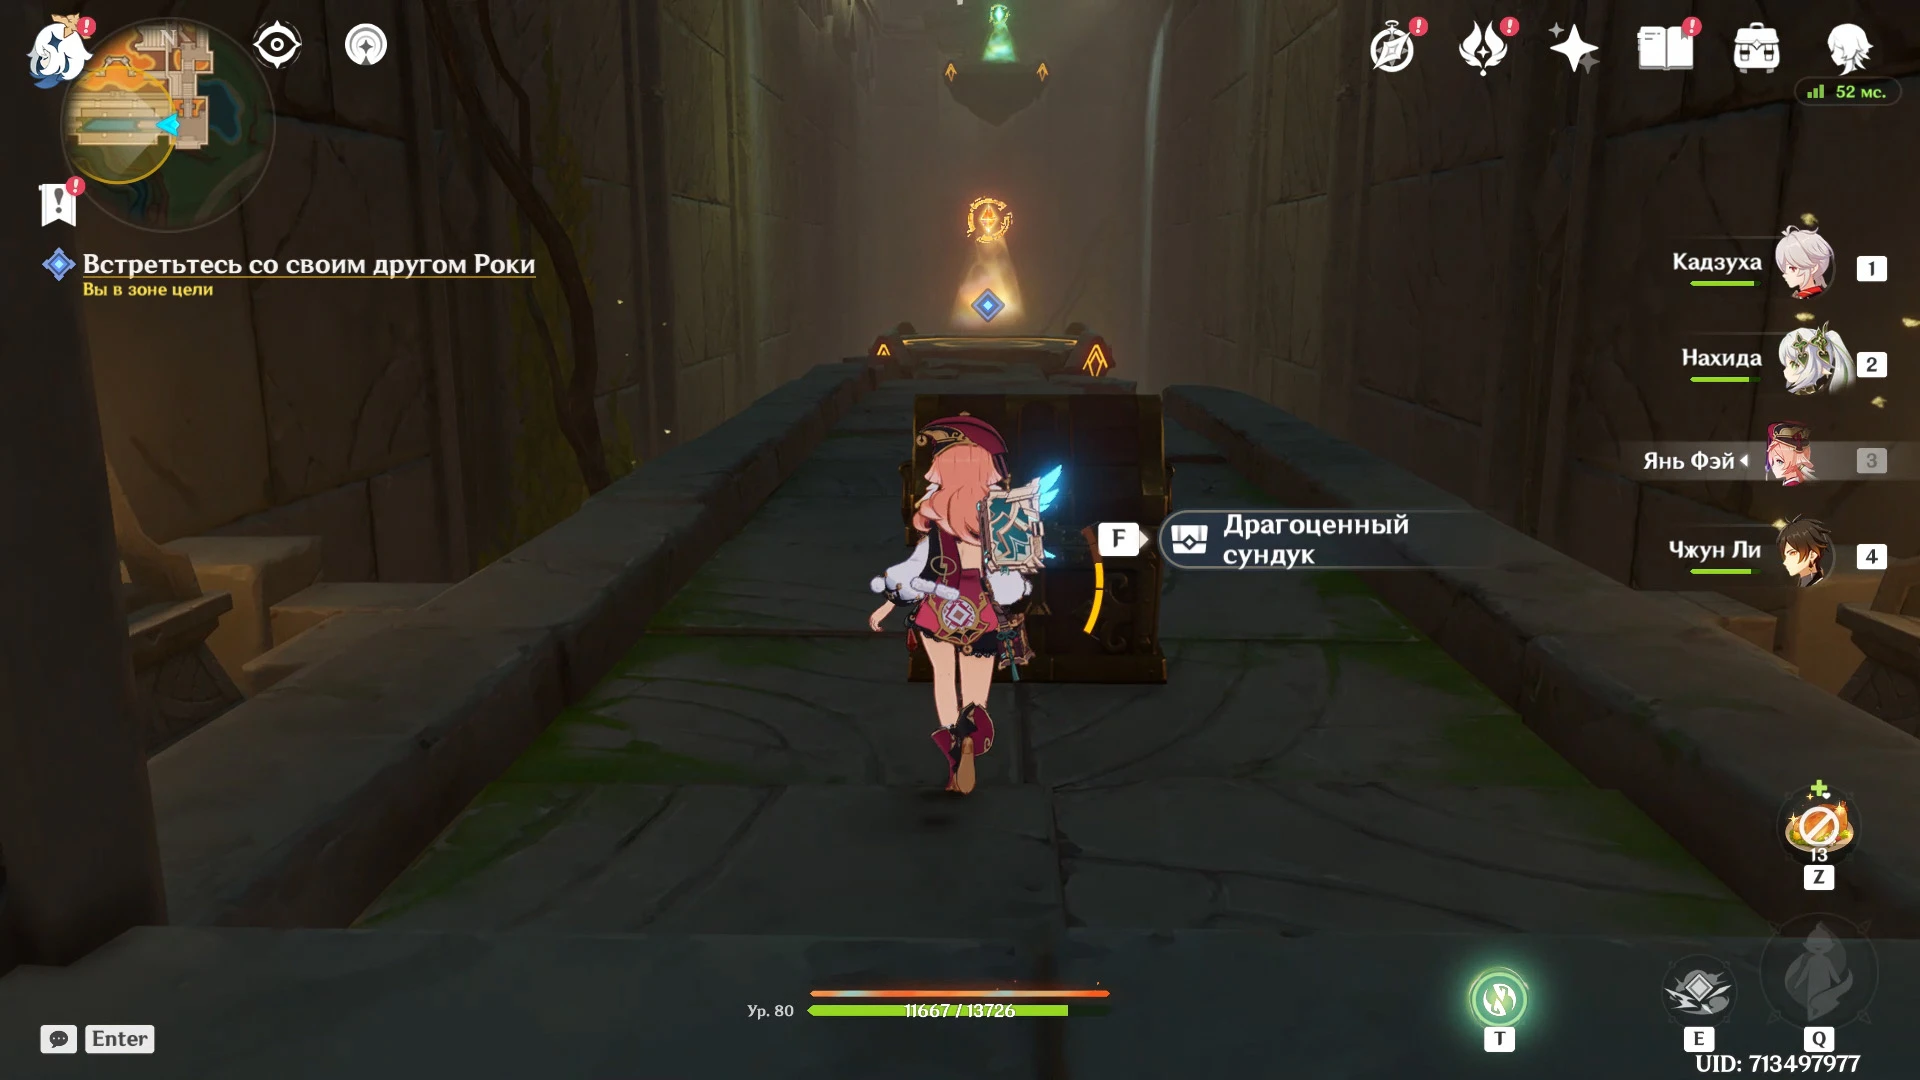
Go down the stairs into the ruins. Around the right turn is a teleporter, a rich chest, and a hole in the floor leading to the lower level of the ruins.
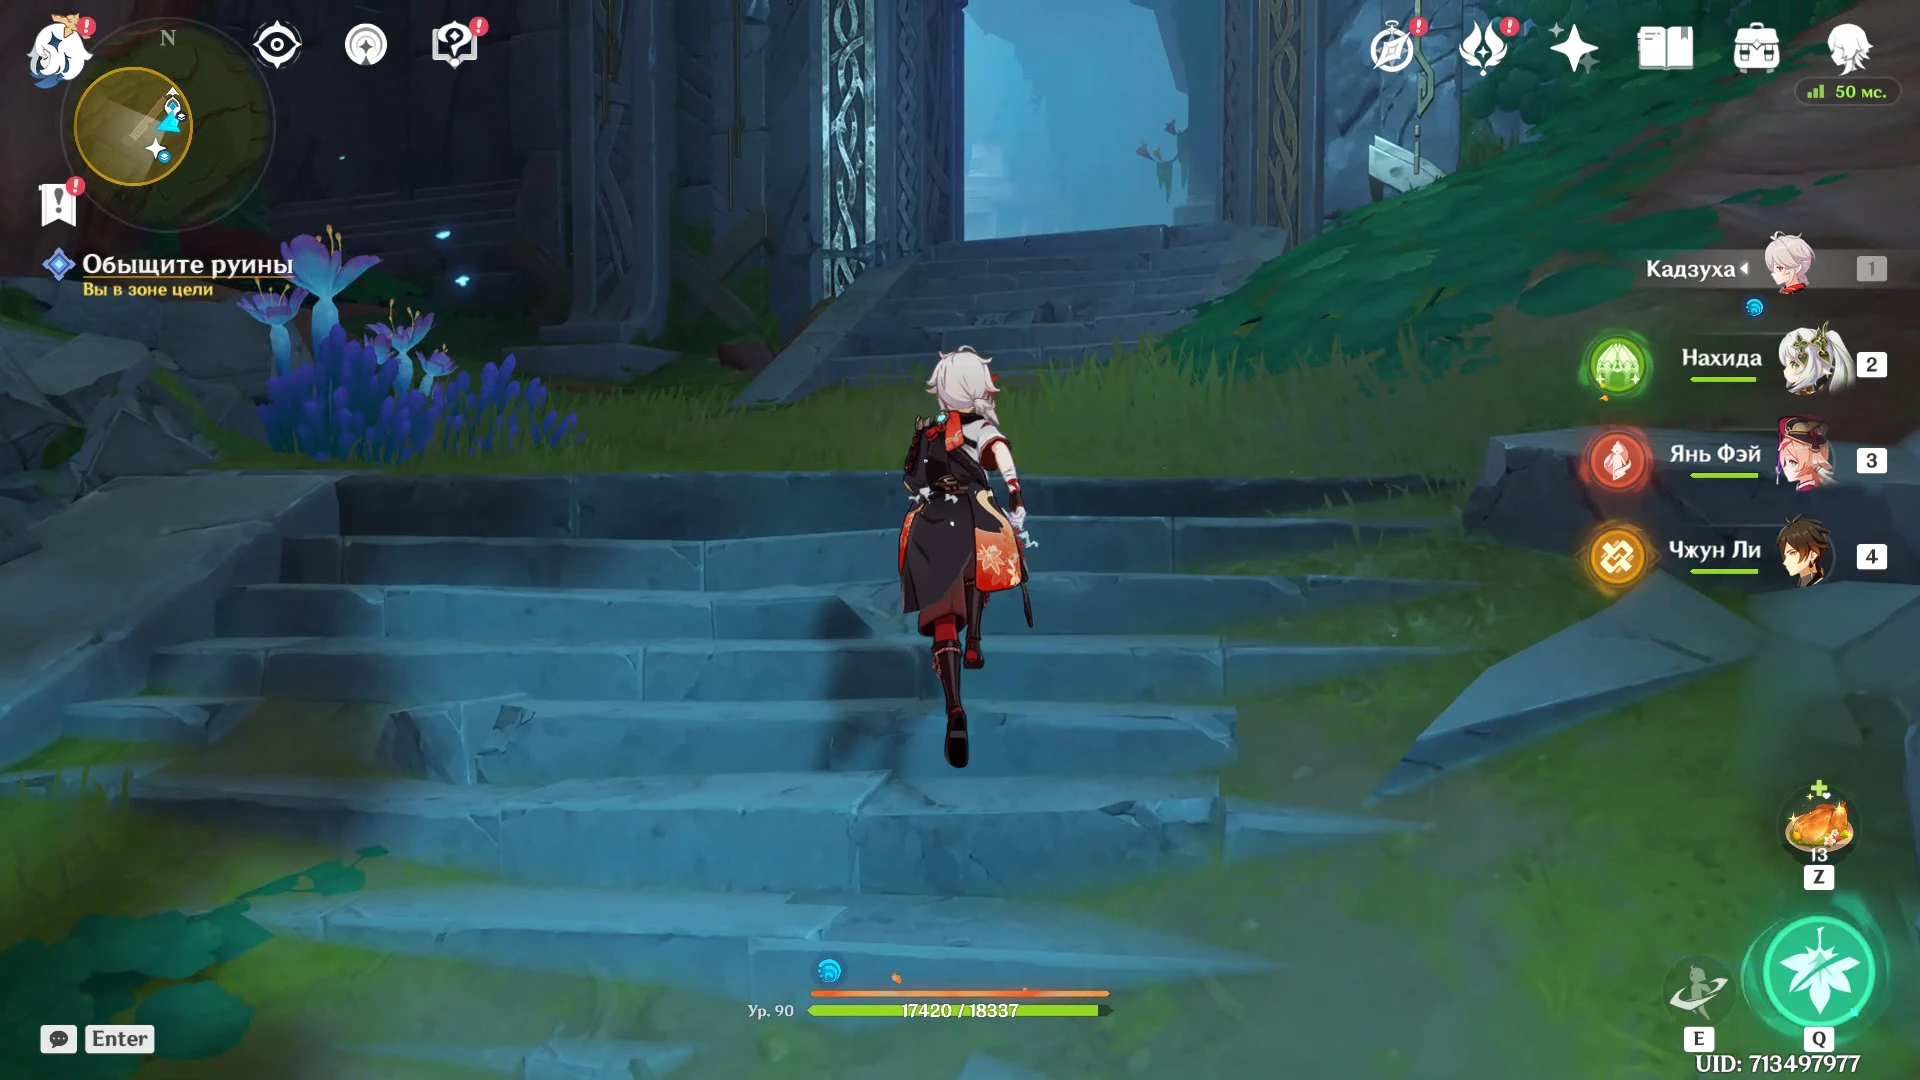
Open the Hurdle
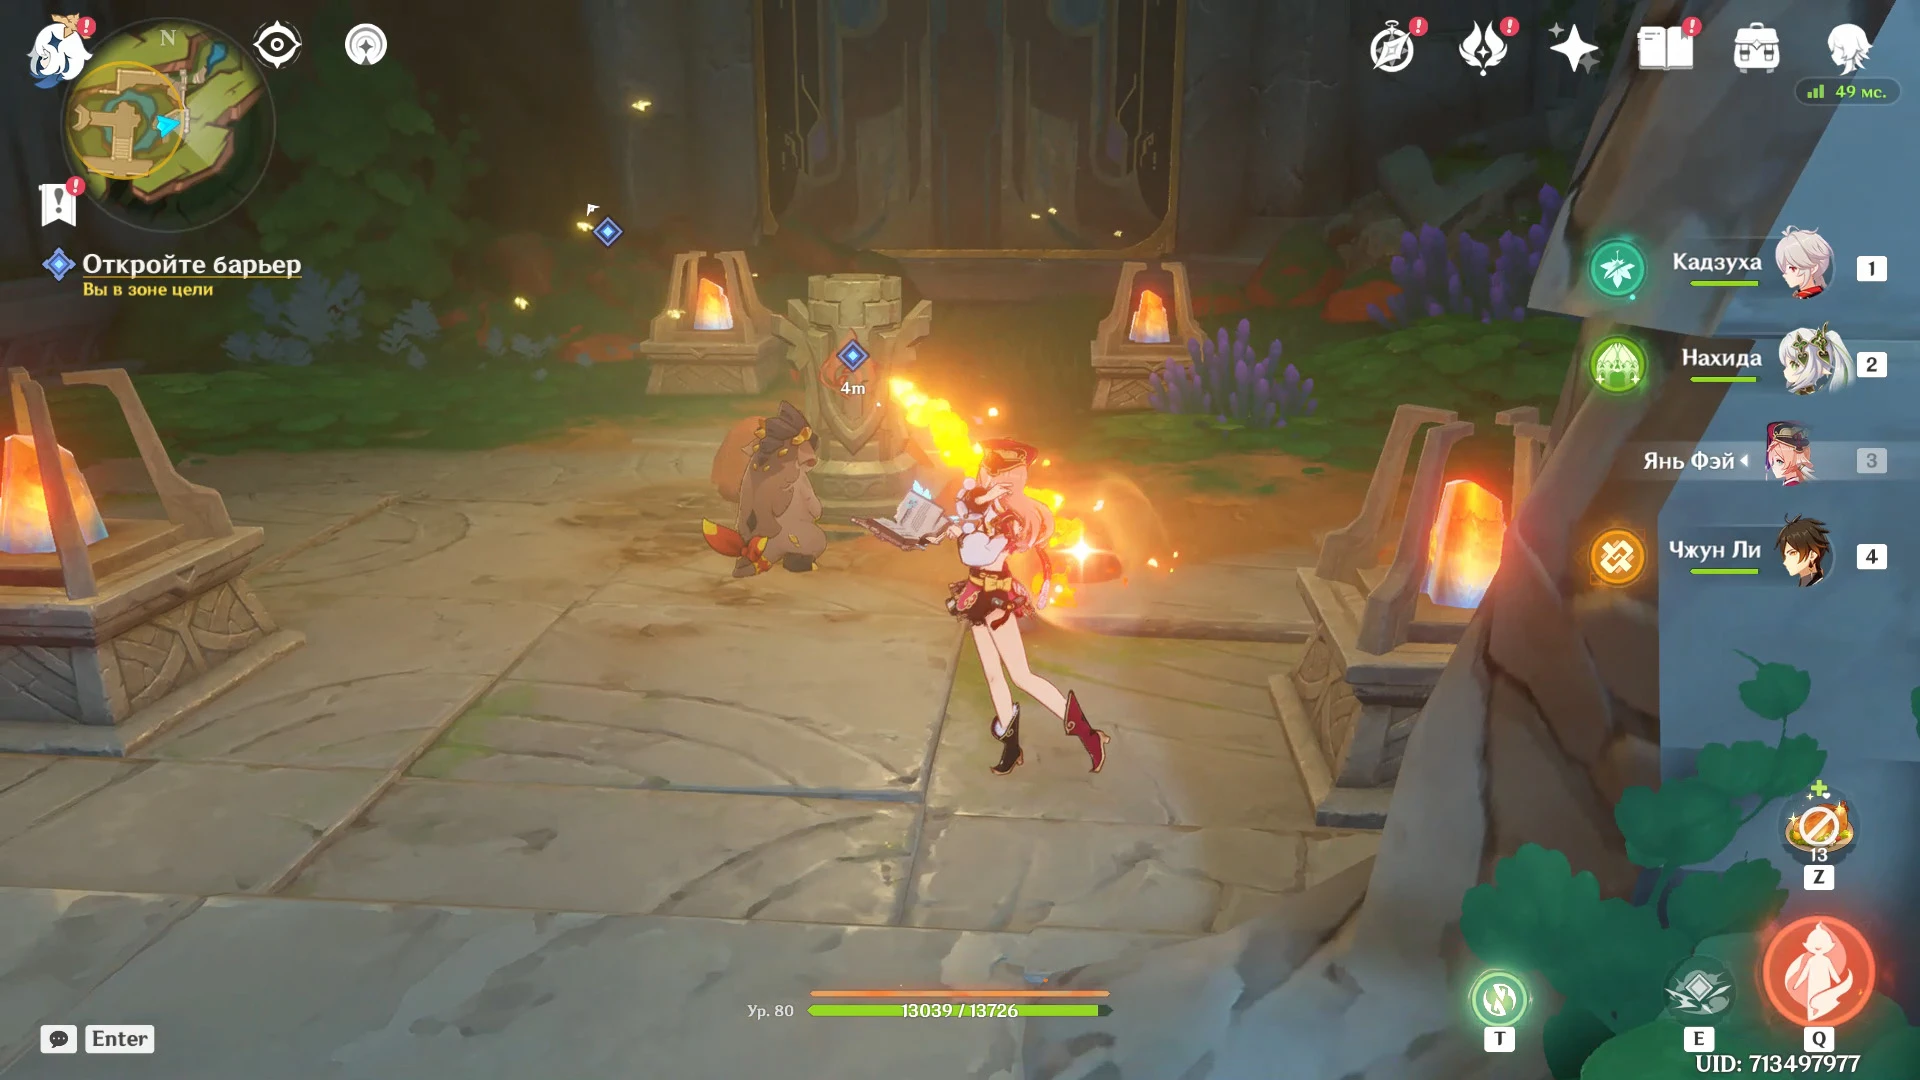
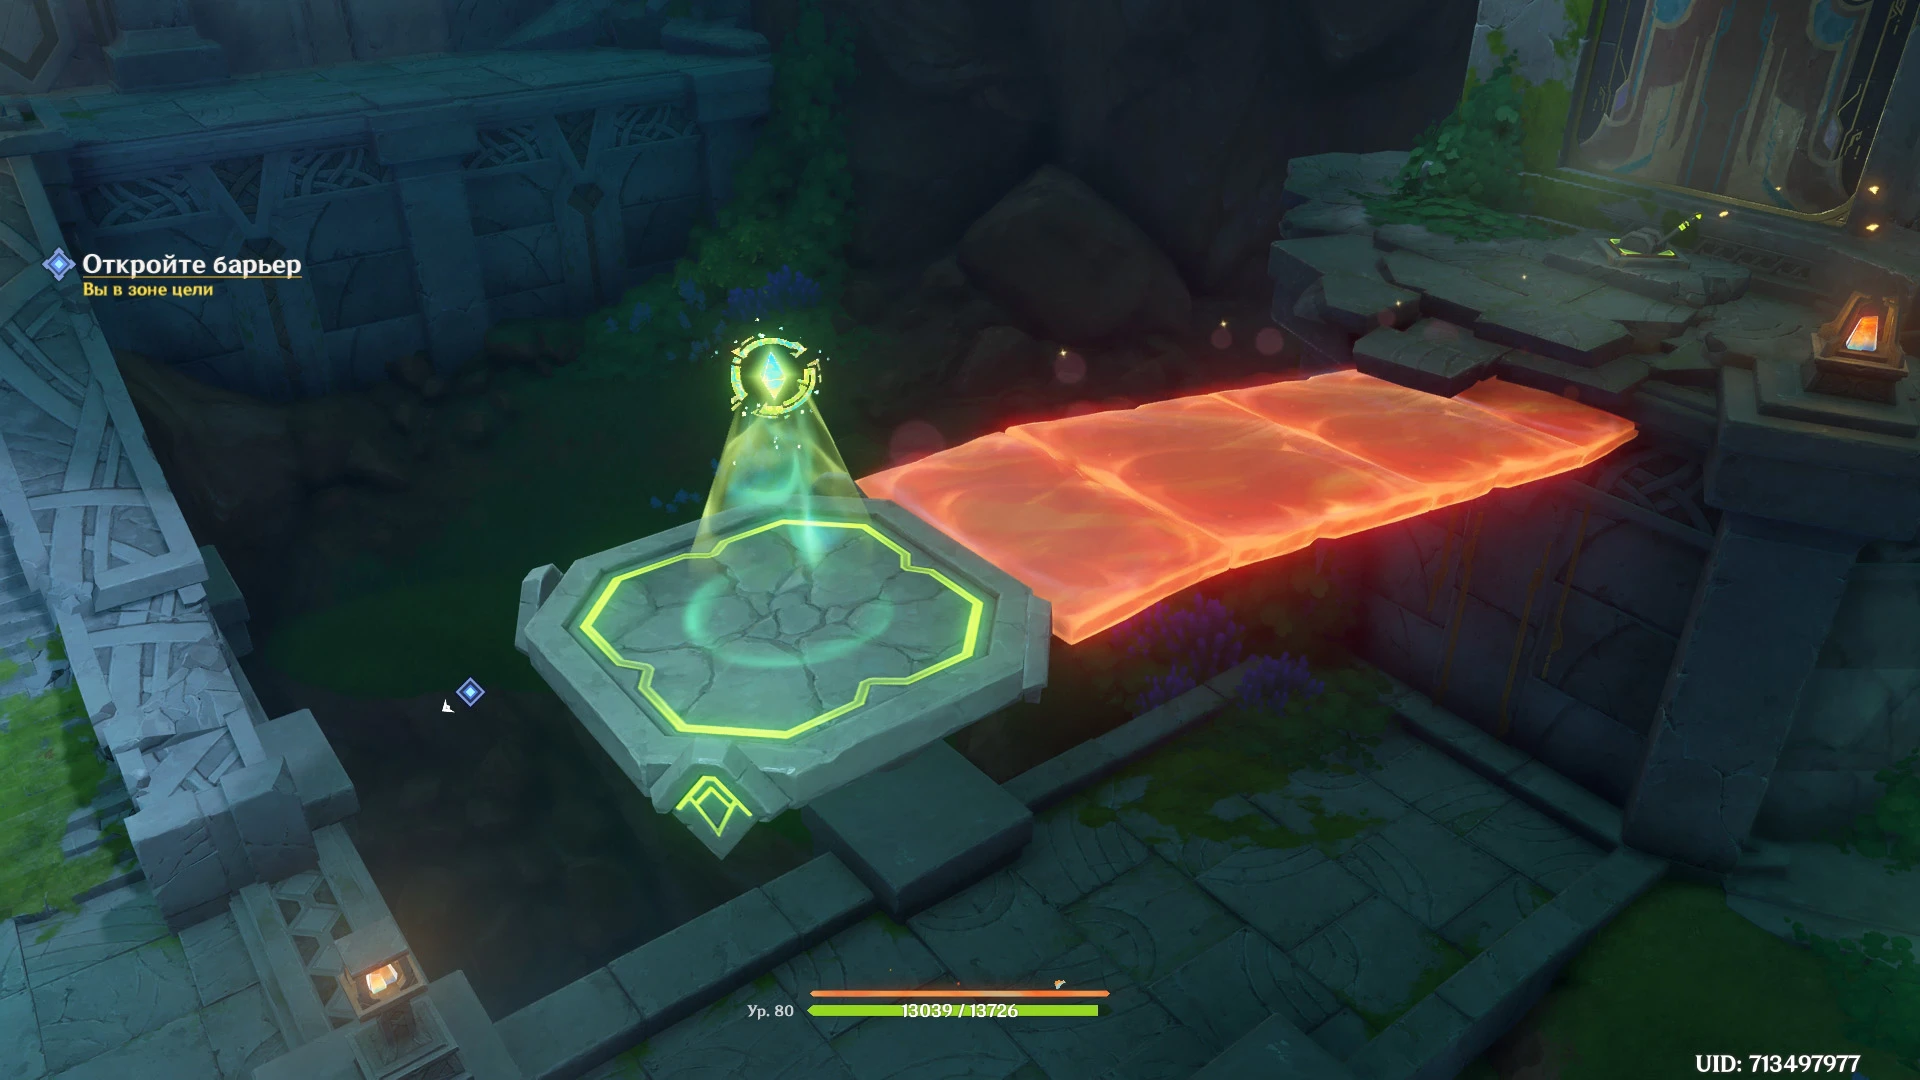
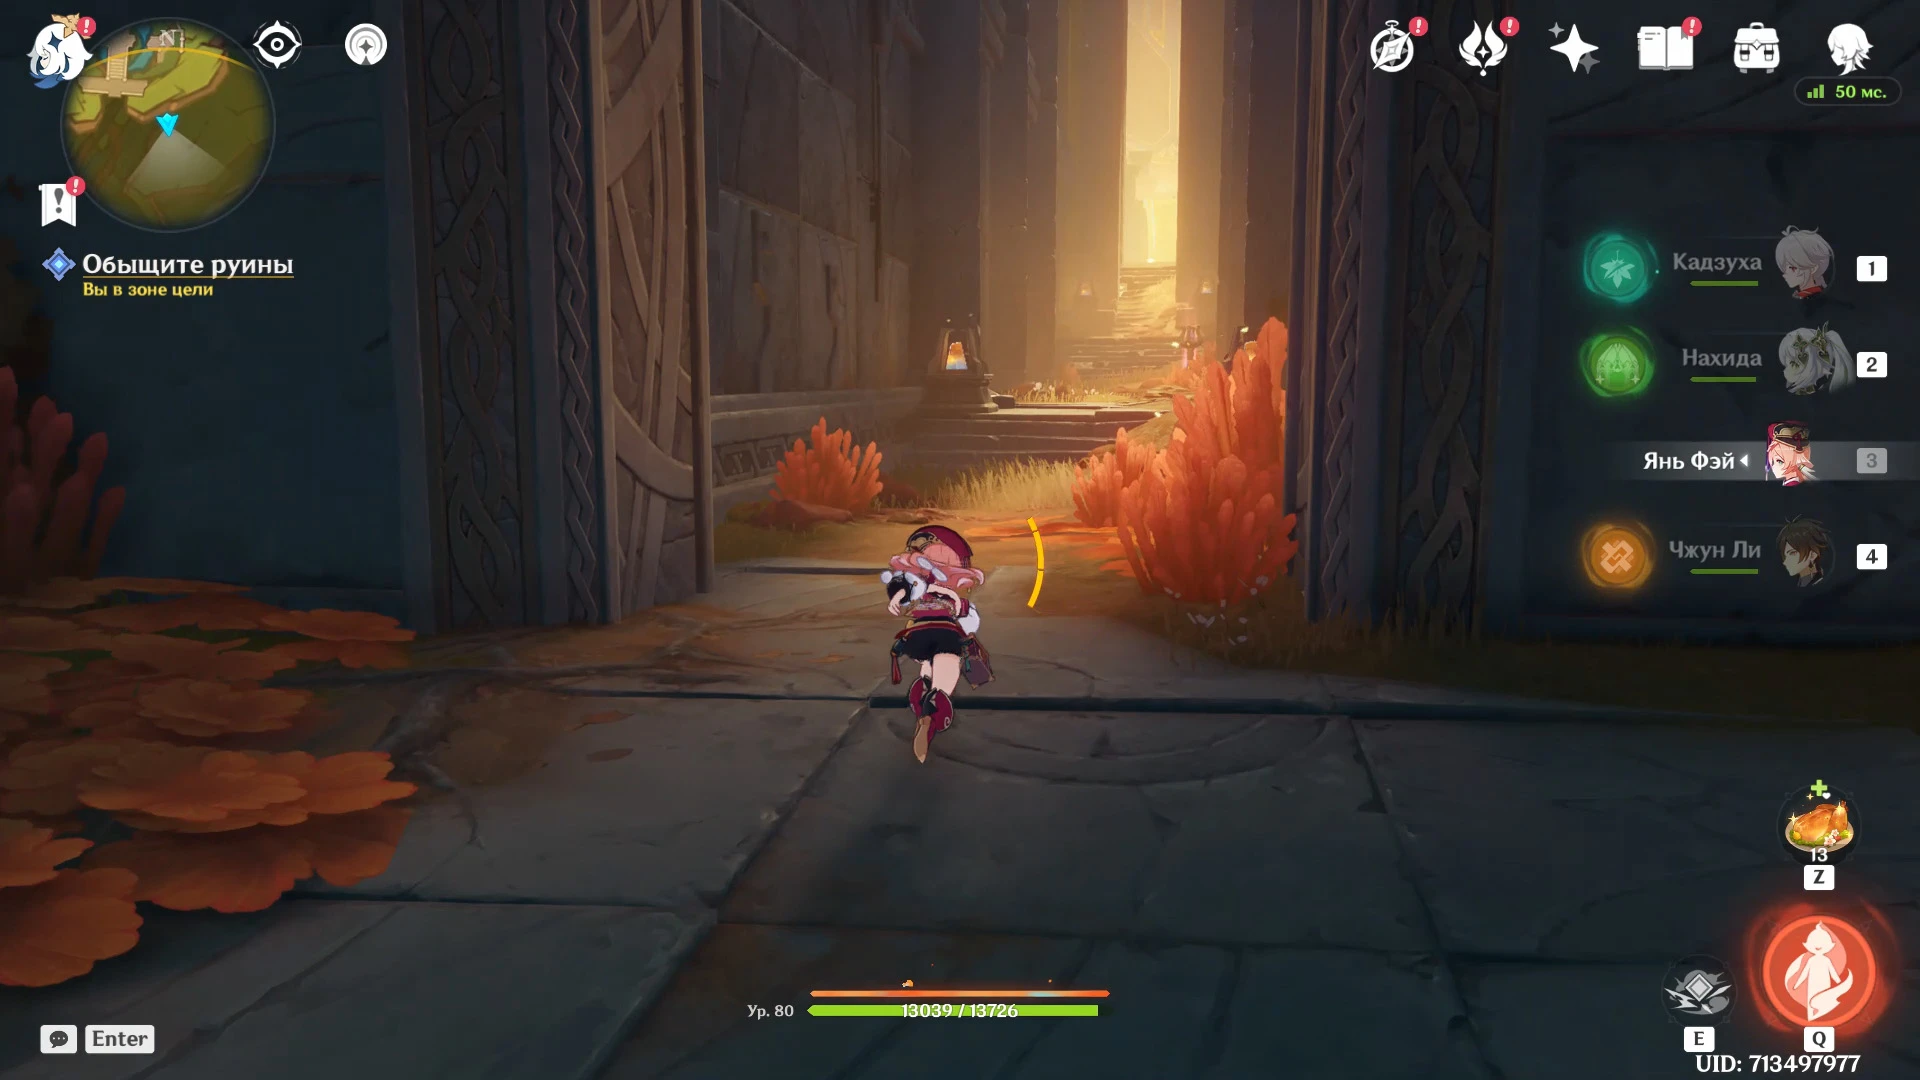
Glide down and then turn onto the stairs. In the new room, the Traveler will hear the Fire Lord's voice, and the door can be unlocked by solving the sensor puzzle.
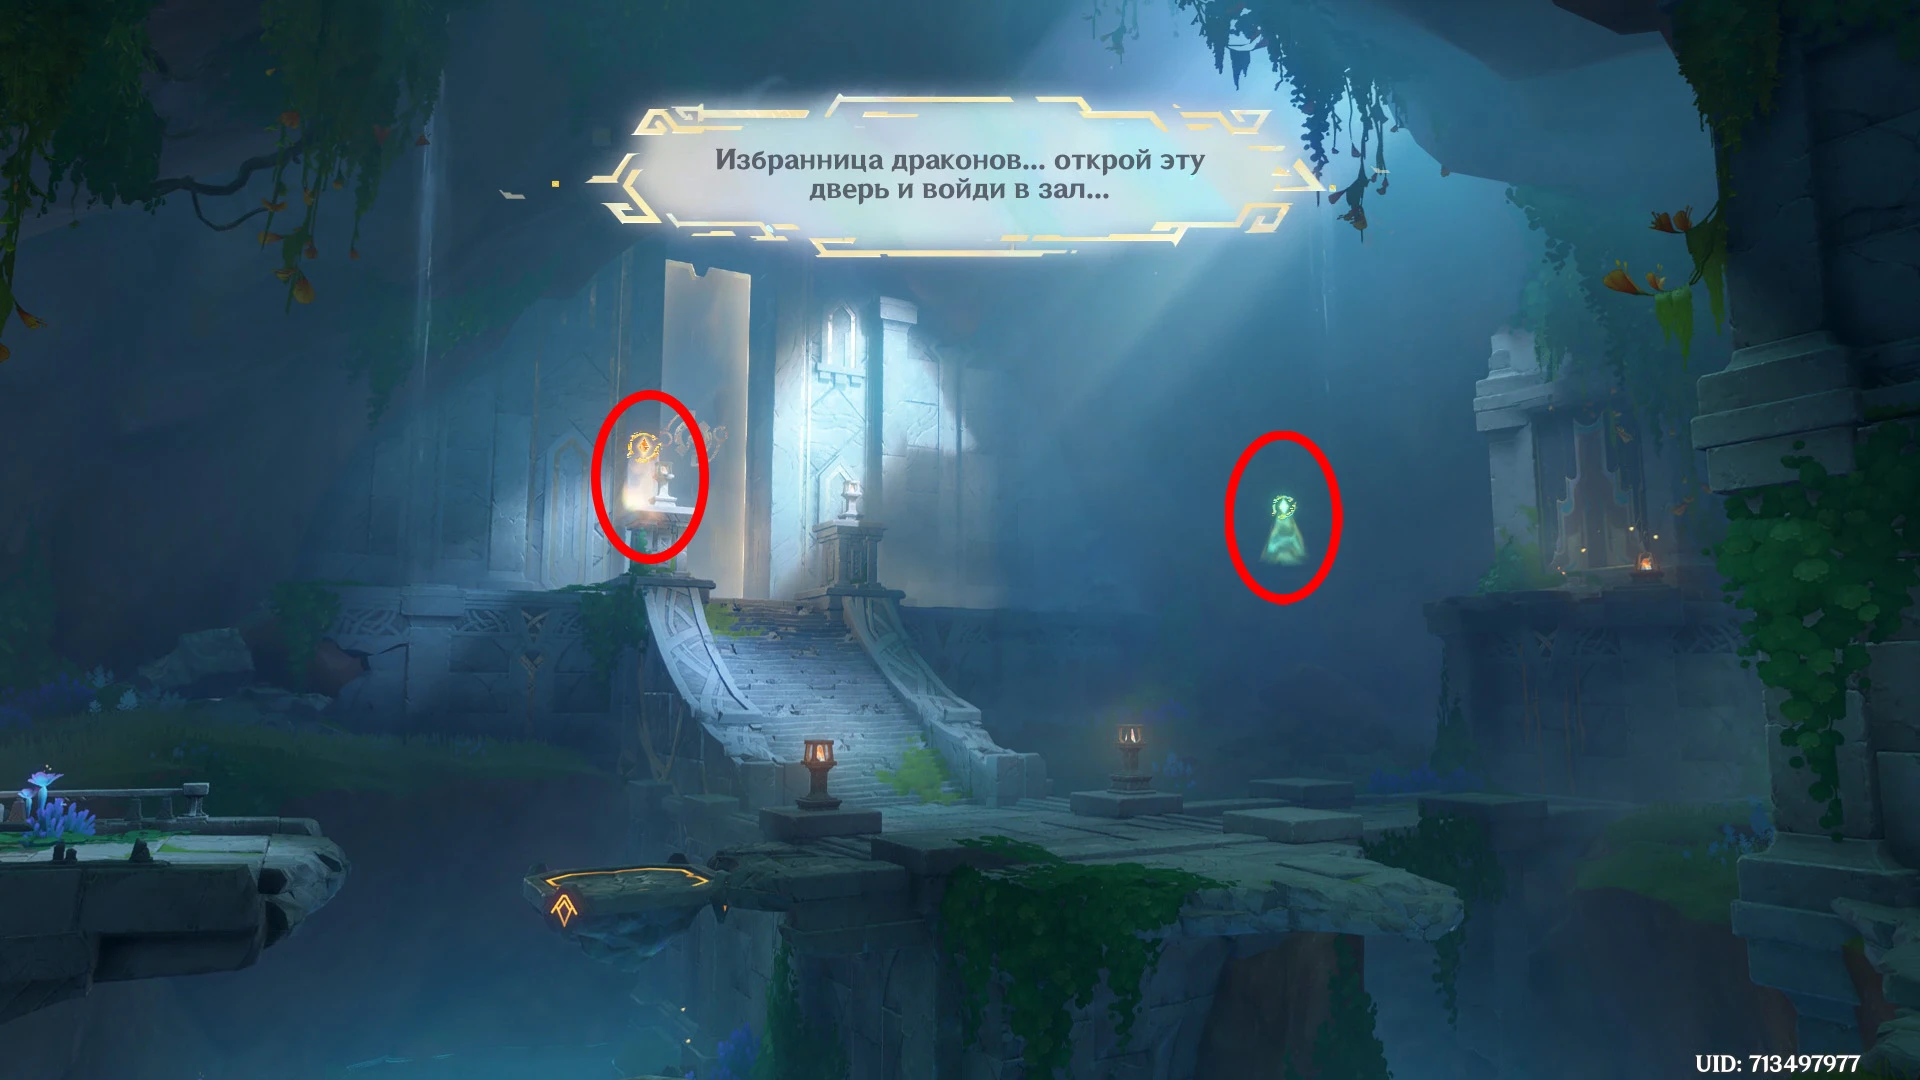
Switch the lever to green. Wait until the platforms change their position and the path to the left side of the hall will open.
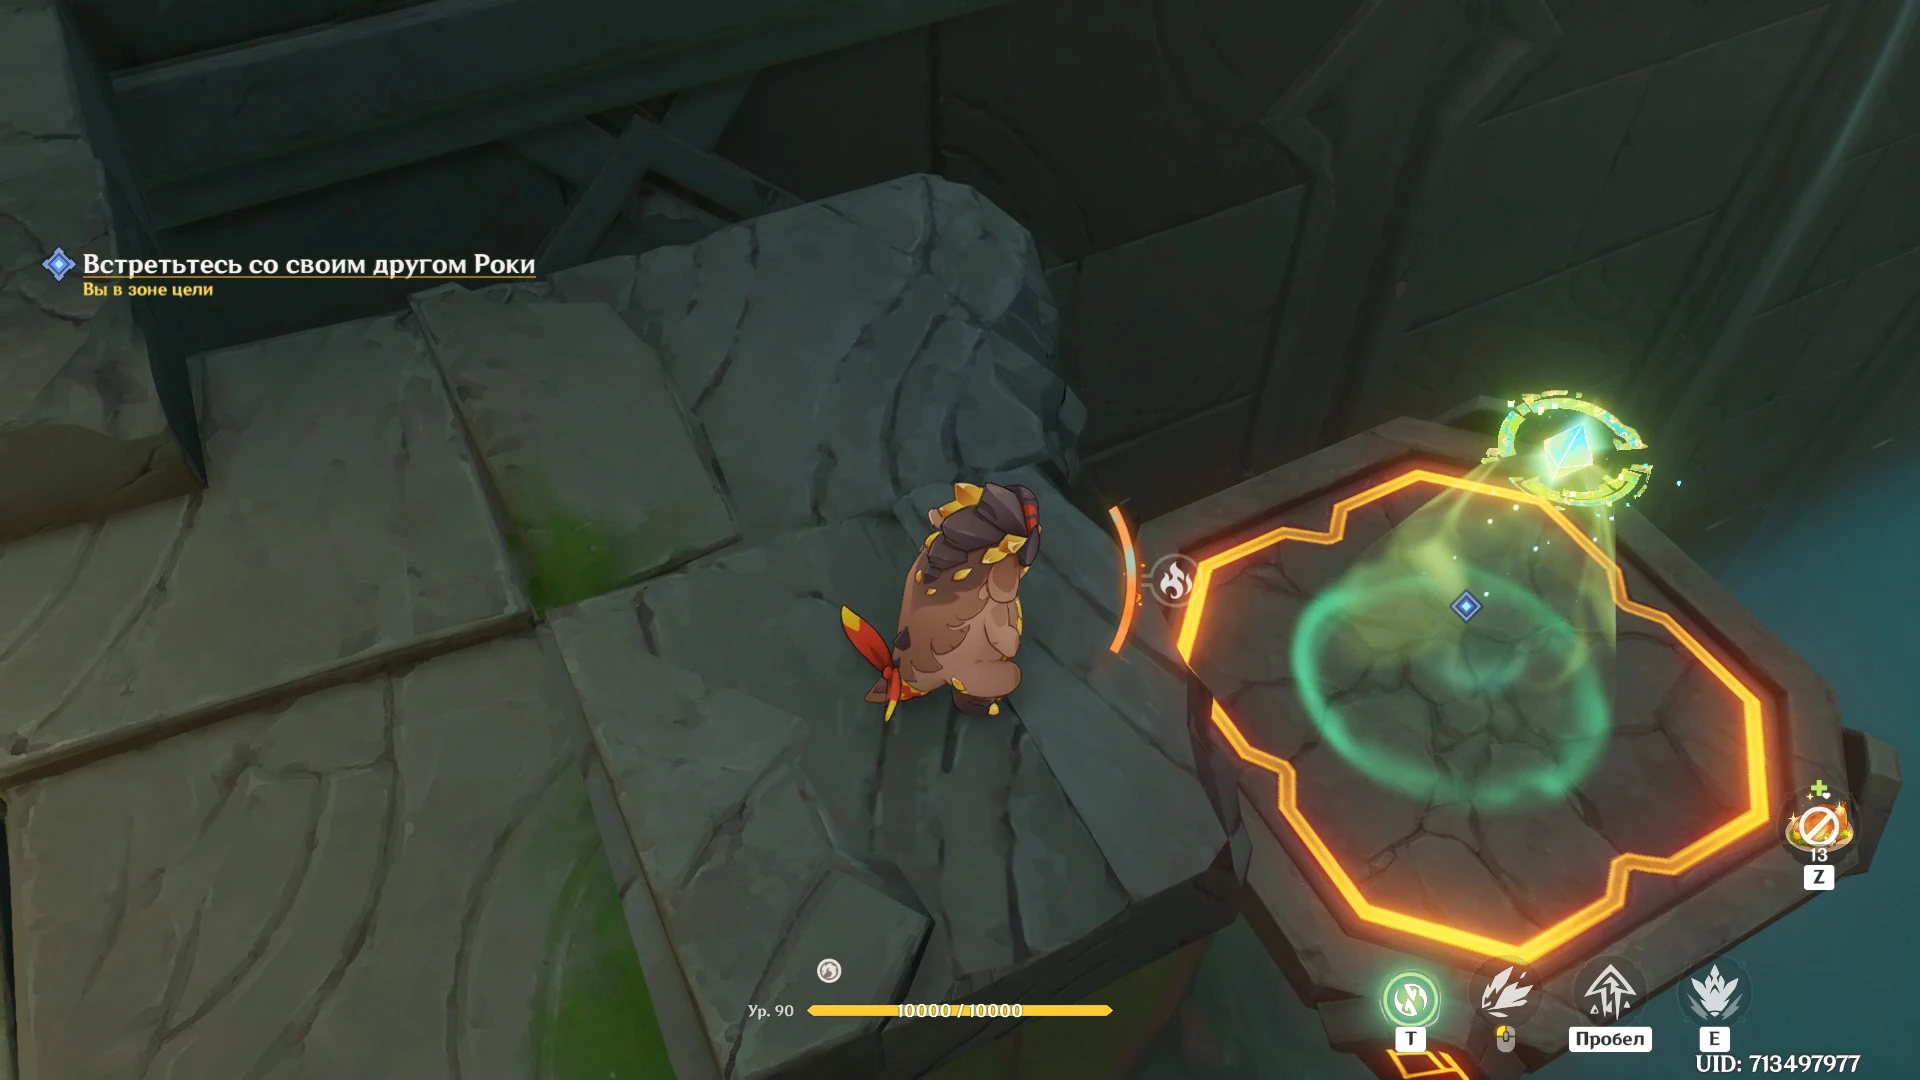
On the left side are Pyroculus and a Pyro monument hidden under some rocks. Use the Saurian's normal attack to dig up the monument, then light the monument with any Pyro character to create a path to the green sensor.
Switch back to the Saurian and go to the right side of the room. Use the Elemental Skill analogue to climb up the vertical wall. At the “Upstairs” there will be the same lever as at the bottom - switch it to orange.
Switch to the player character and stand on the platform under the gold sensor. Switch back to the saurian and move the lever back to the green state. If done correctly, the player character will be in the area of the gold sensor, and the saurian will be able to reach the green sensor.
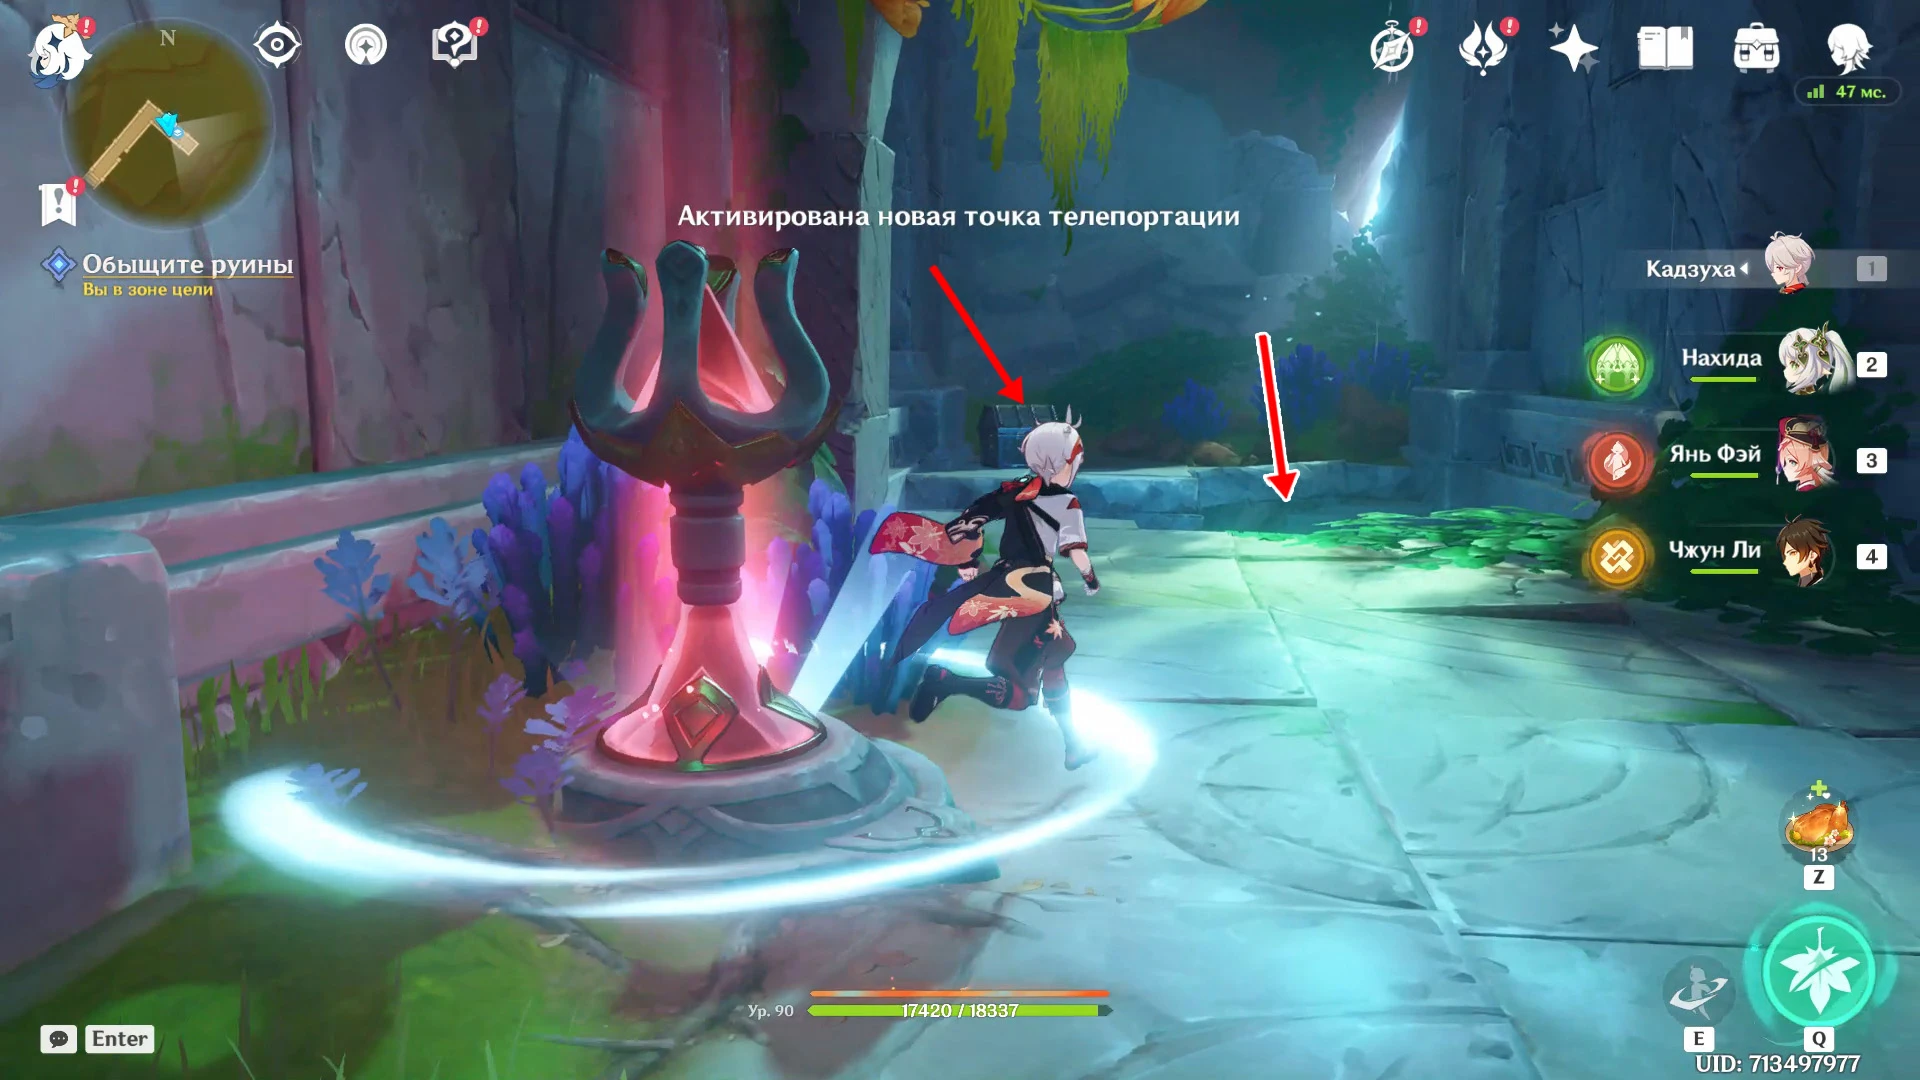
After talking to Paimon and the Saurian companion, you can continue searching the ruins. Climb the stairs to the treasure chest and listen to the message for the dragon messenger.
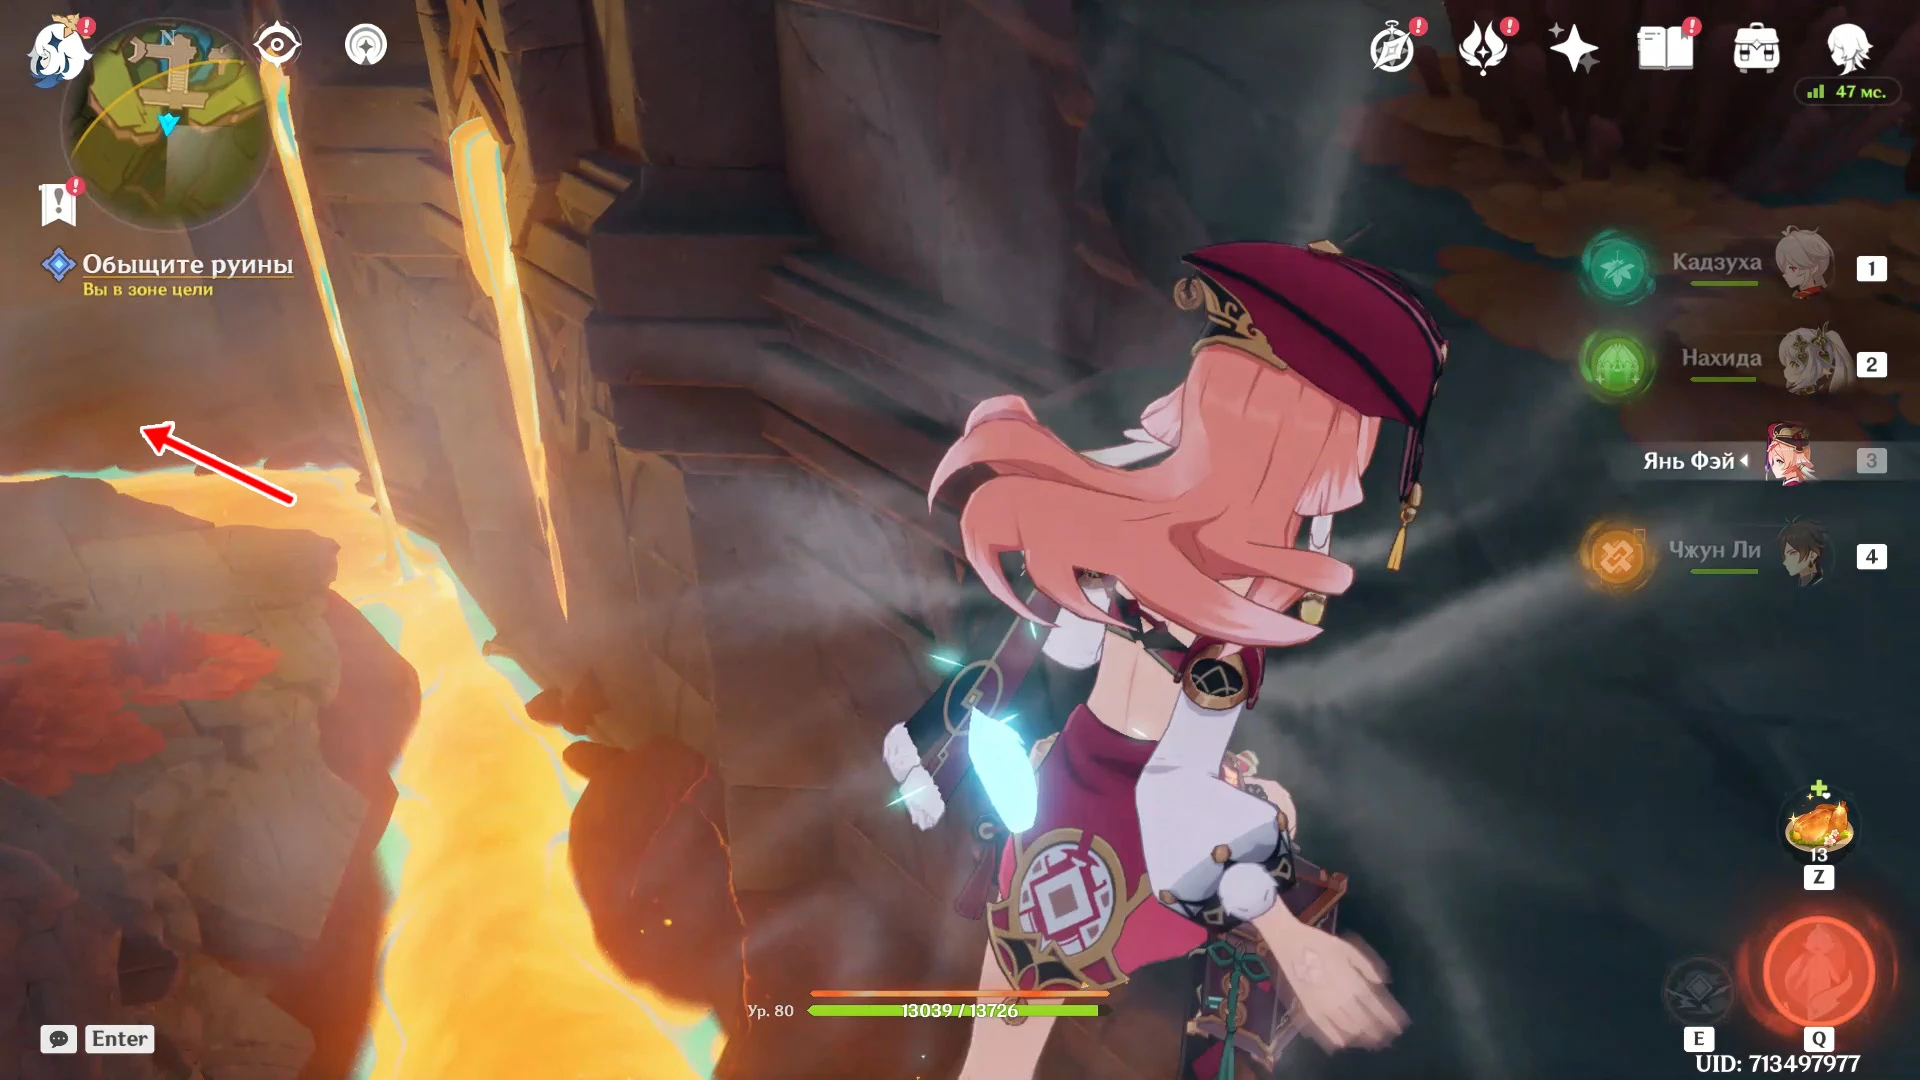
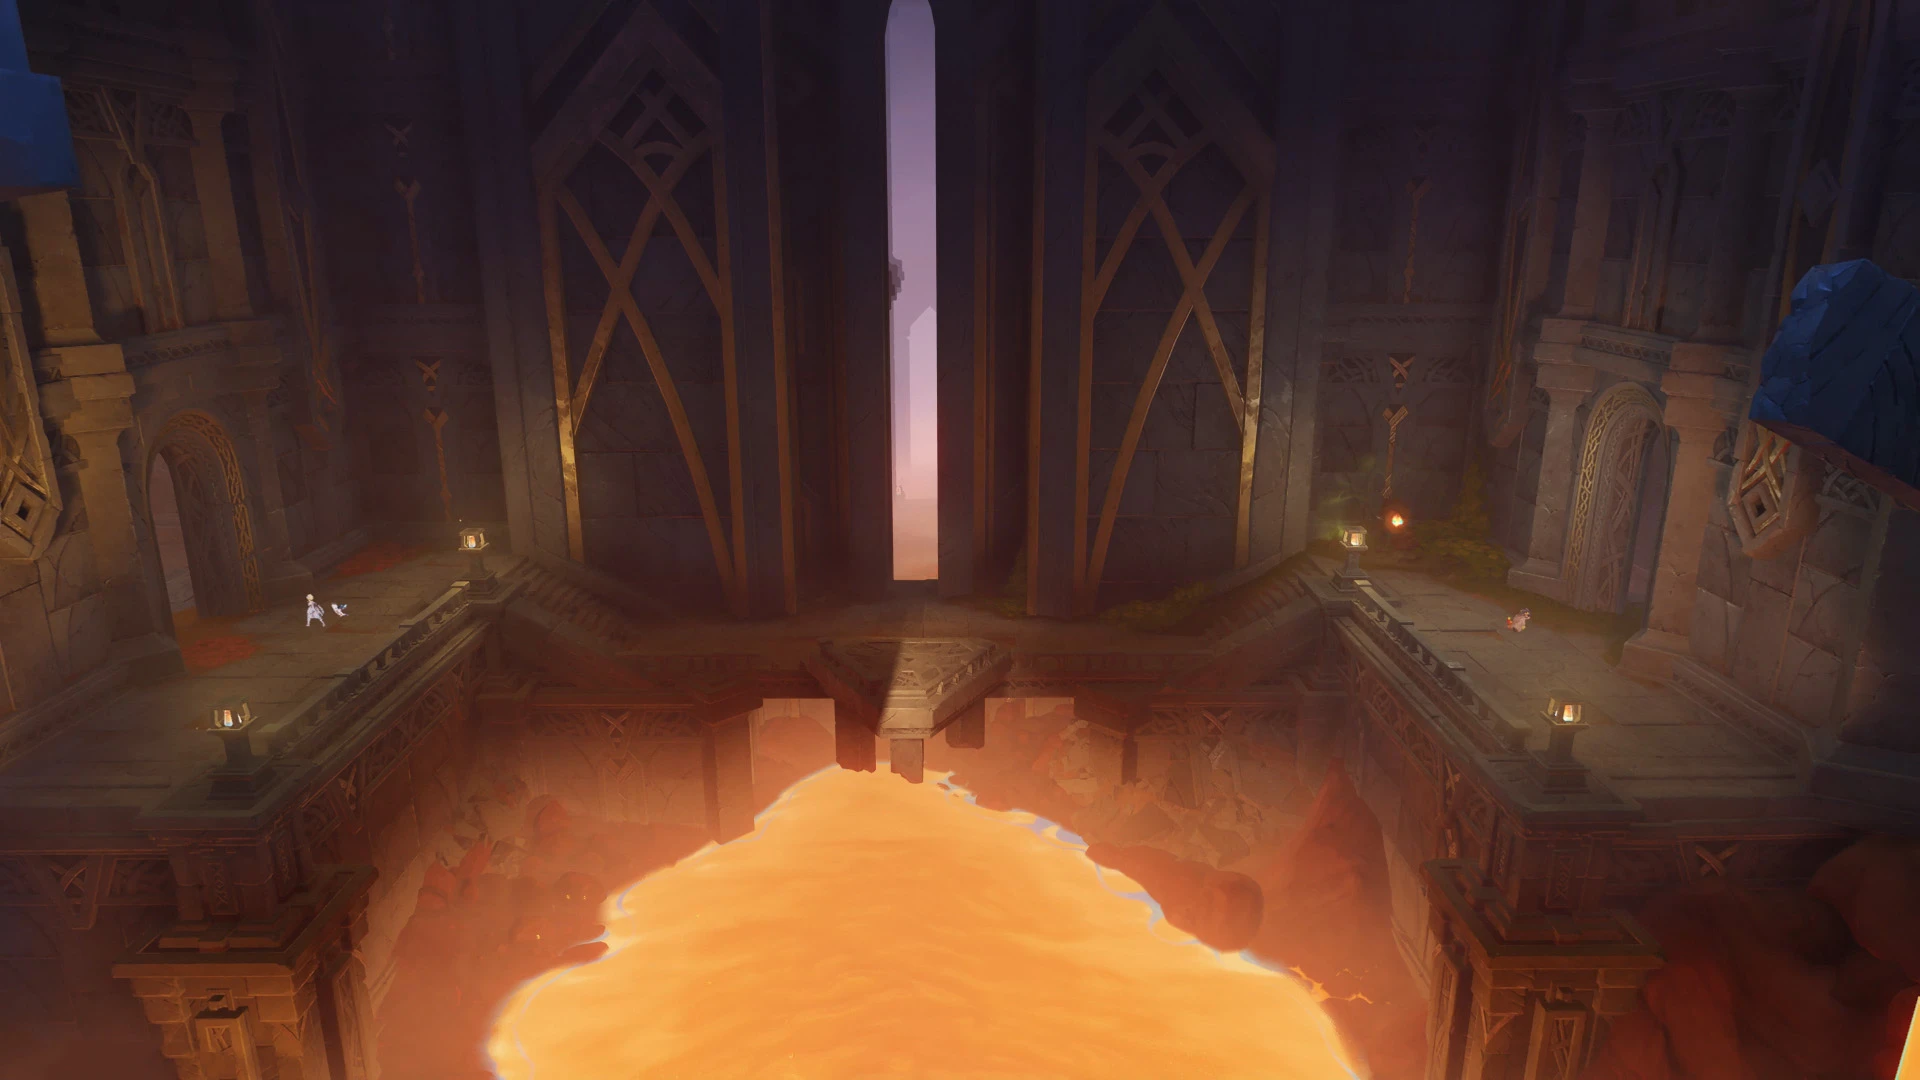
Glide over the liquid phlogiston and turn right, activate the teleporter and go into the next room with a huge drawing on the wall.
Walk down the corridor
This time the companions' path will split. Switch to the saurian and lead him to the right passage with the green mark, and the traveler to the left, under the gold mark.
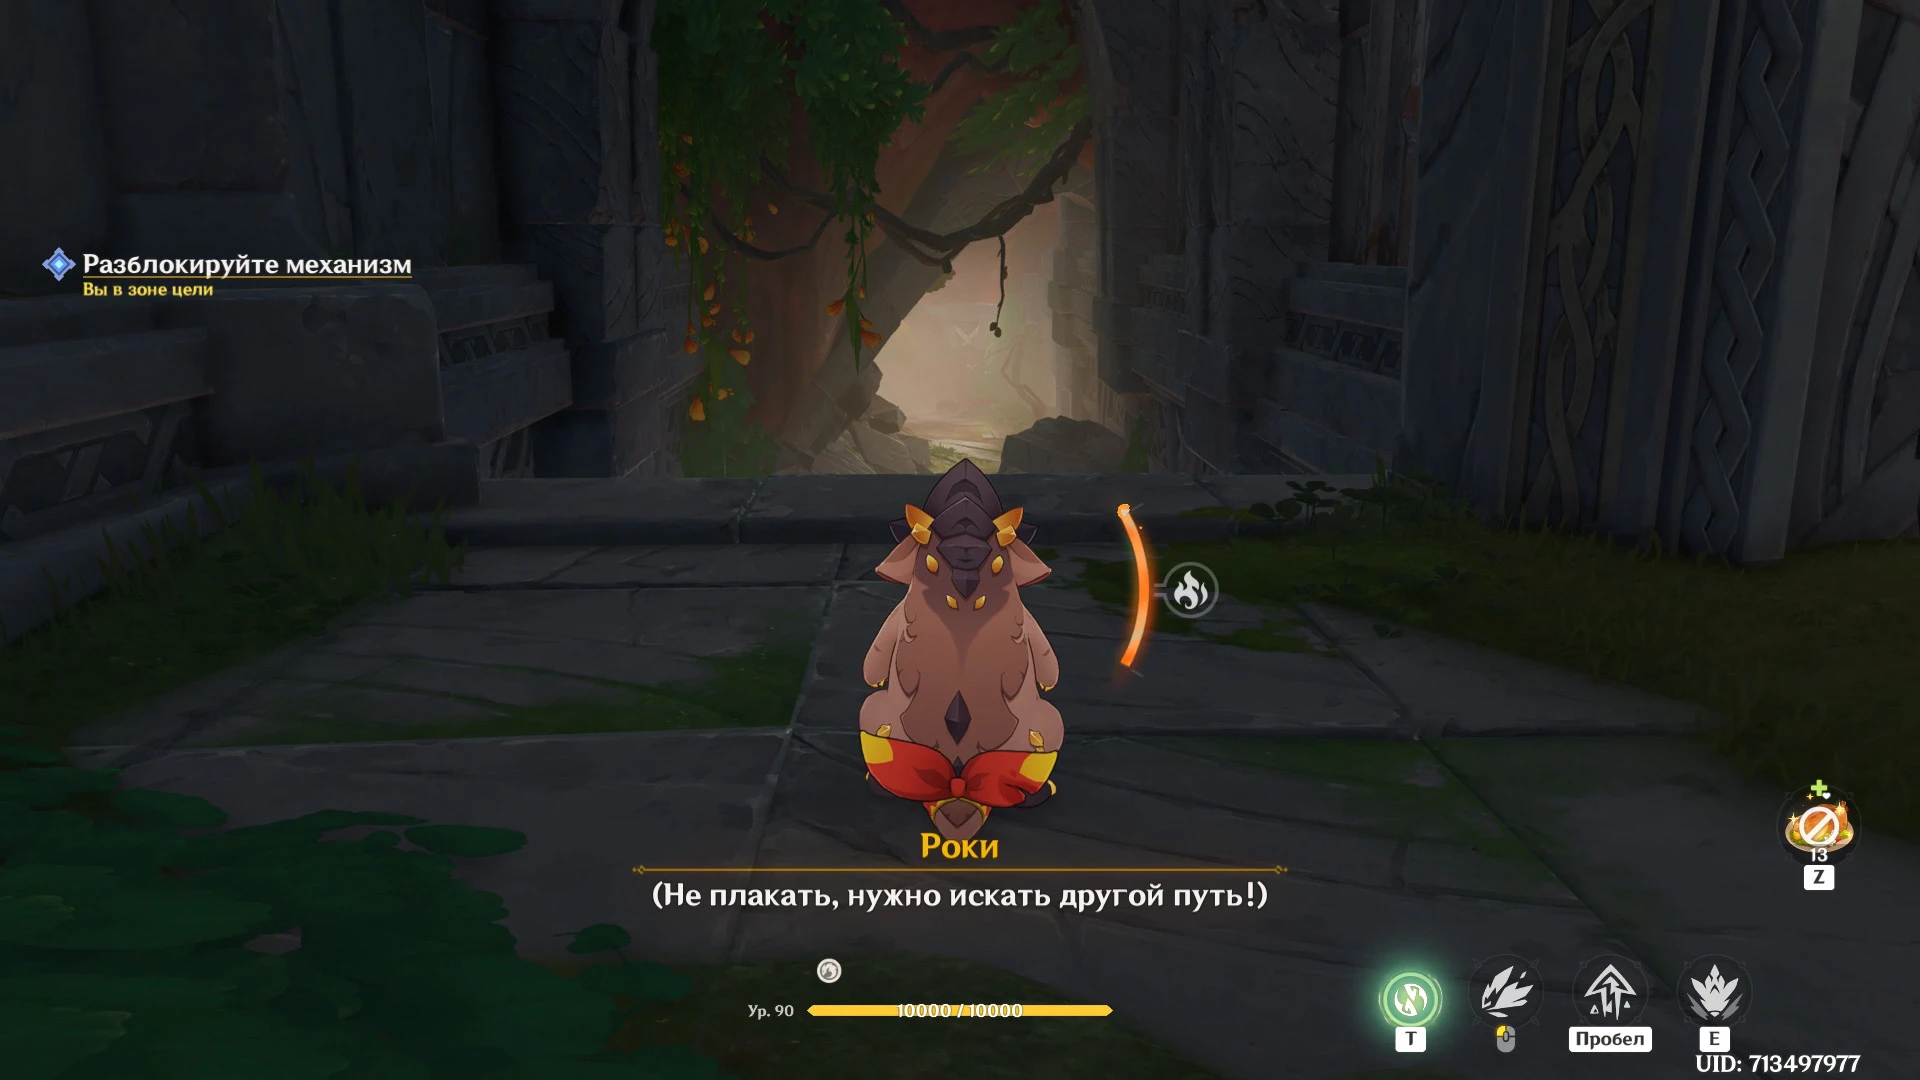
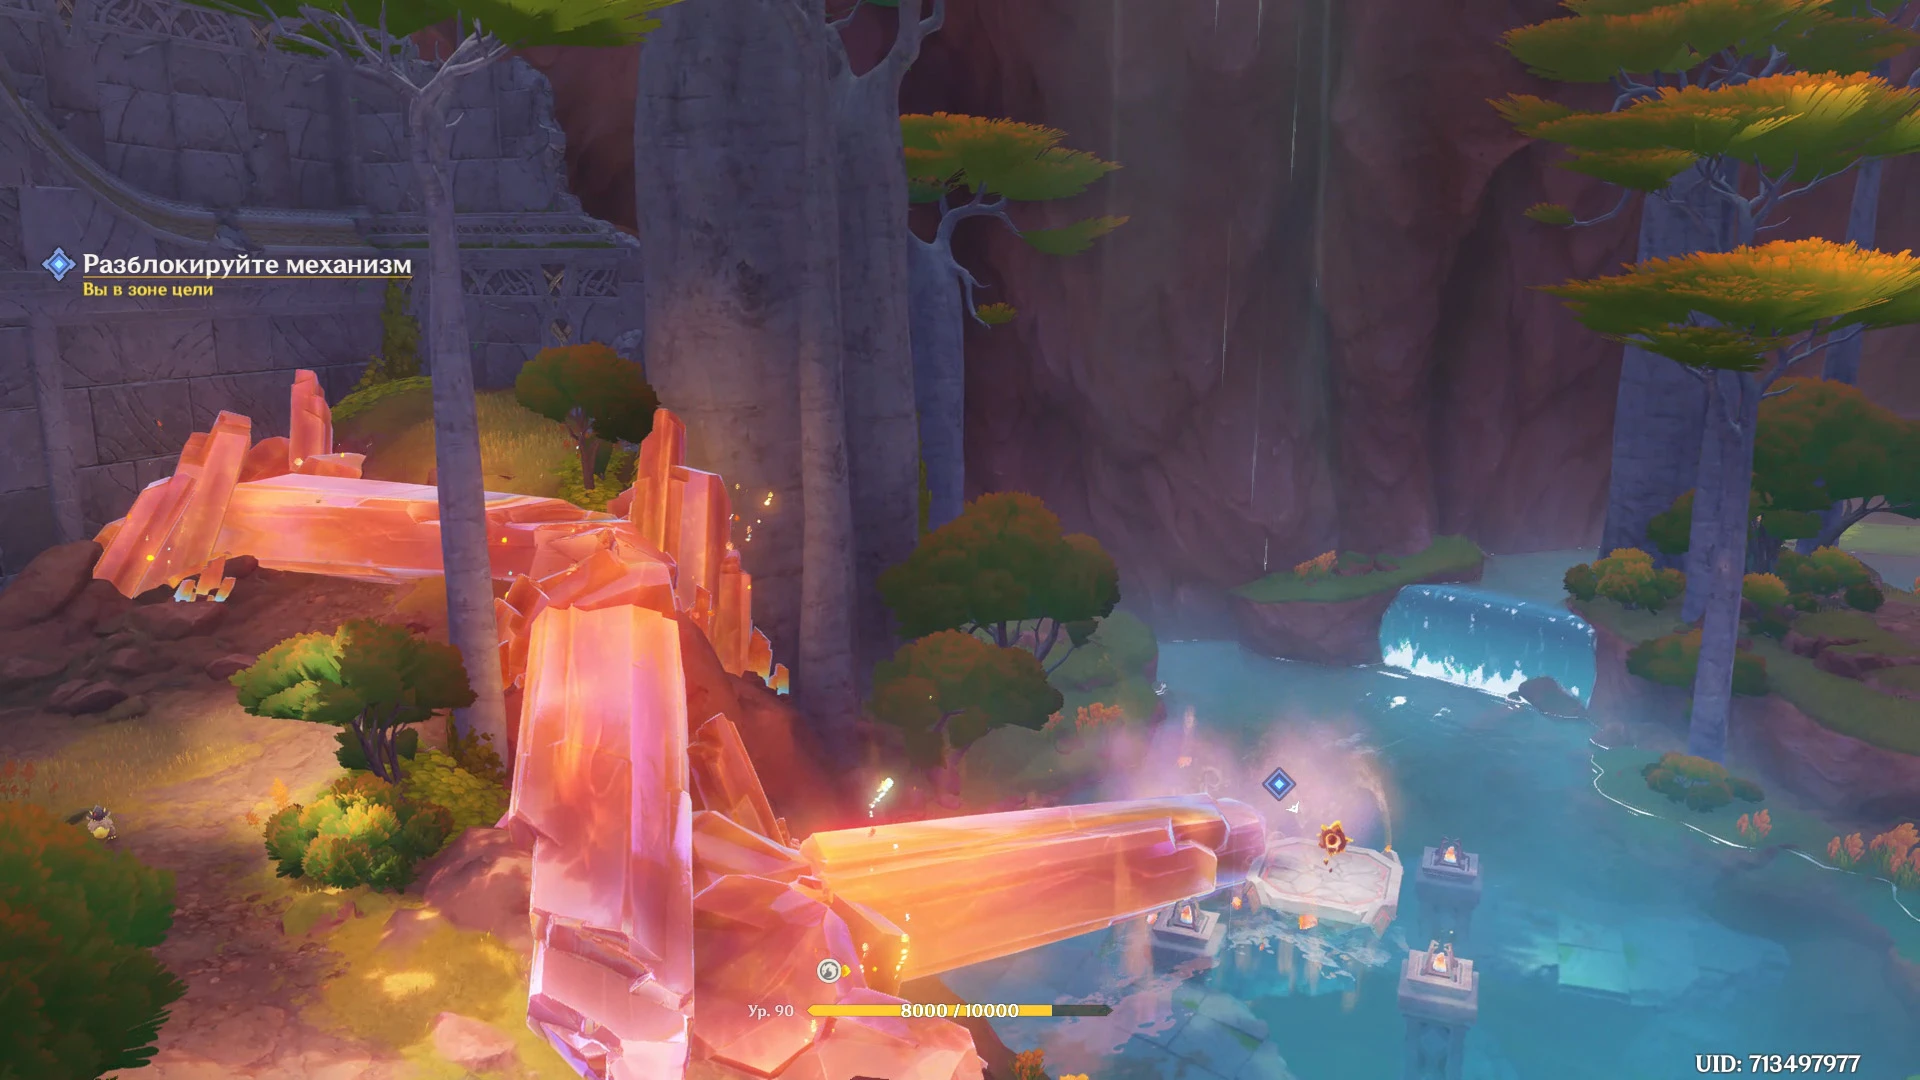
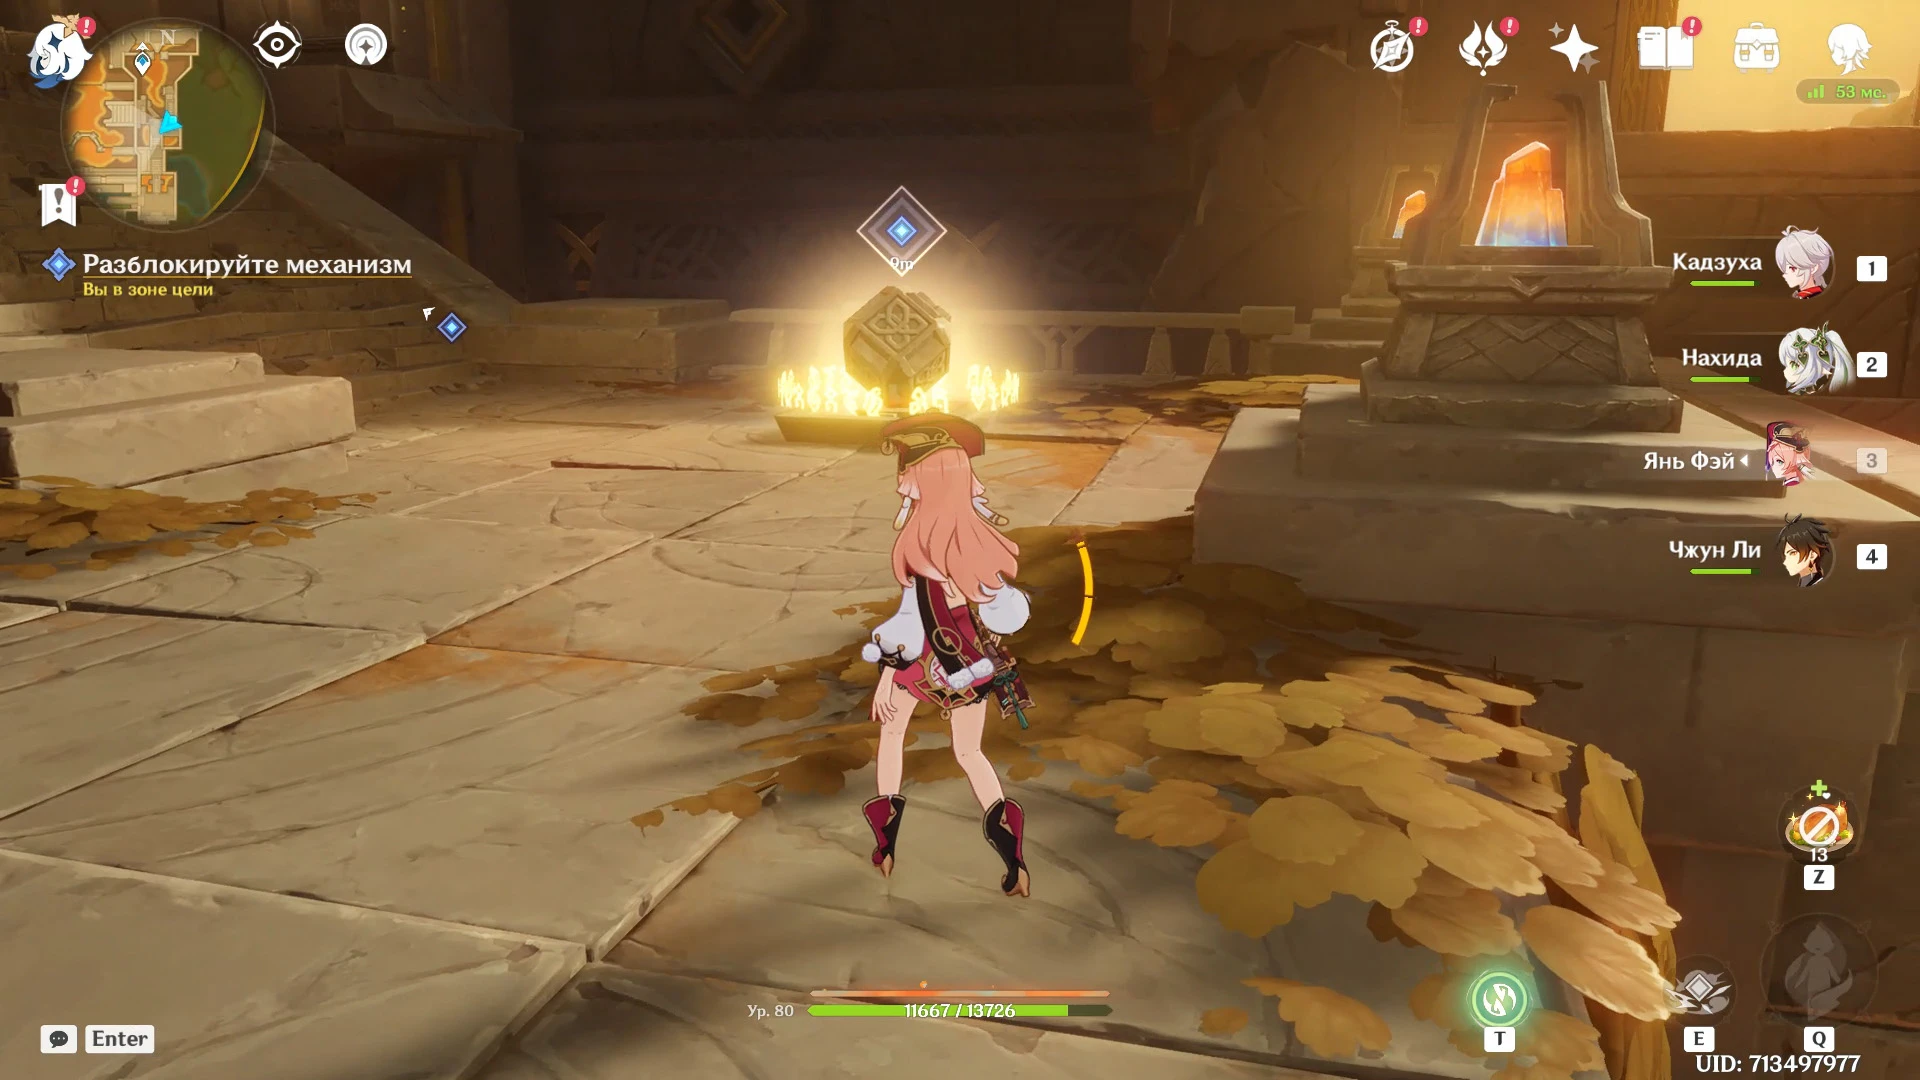
Unlock the mechanism
The riddle of this stage must be solved in two rooms, switching between the saurian and the traveler.
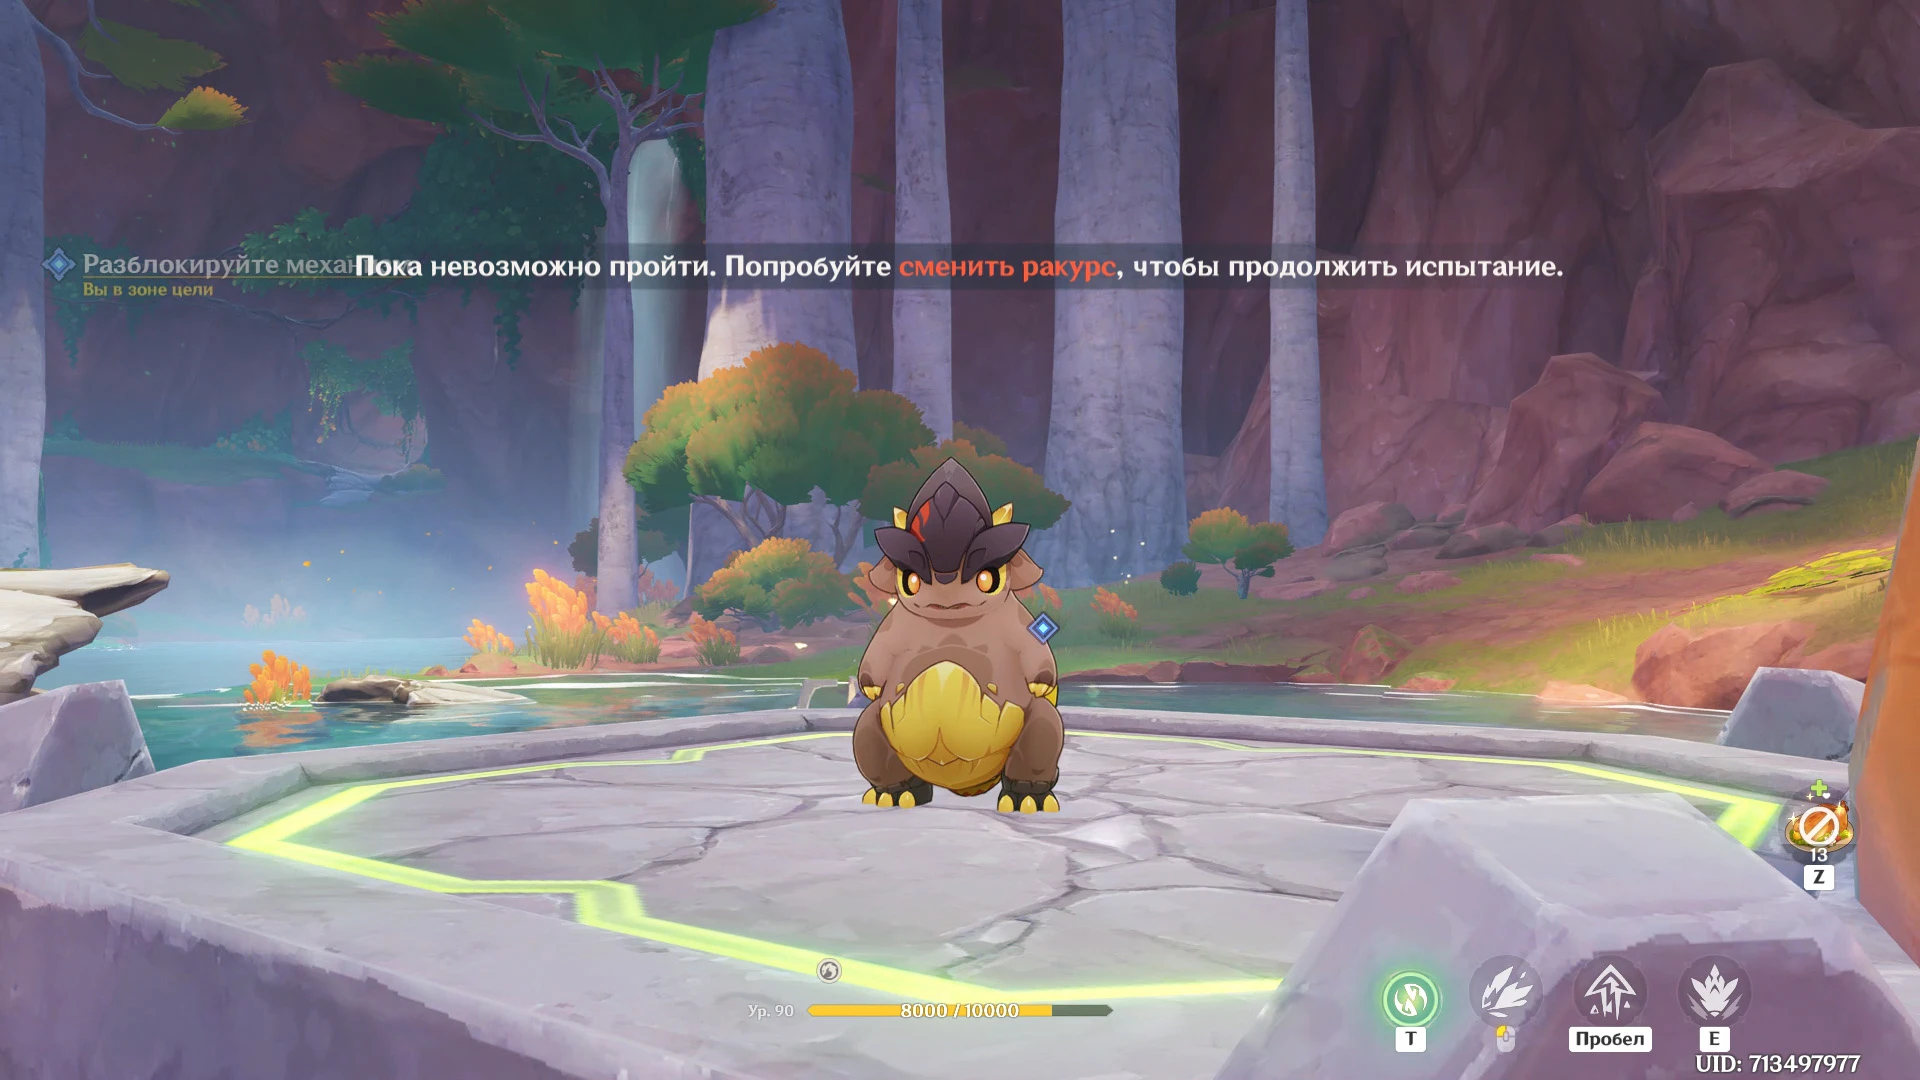
The first puzzle (zaurian)
Using the saurian, go deeper into the ruins until you reach the natural area. Keeping to the right, climb the hill. Keep in mind that you cannot go down into the water with the dragon companion.

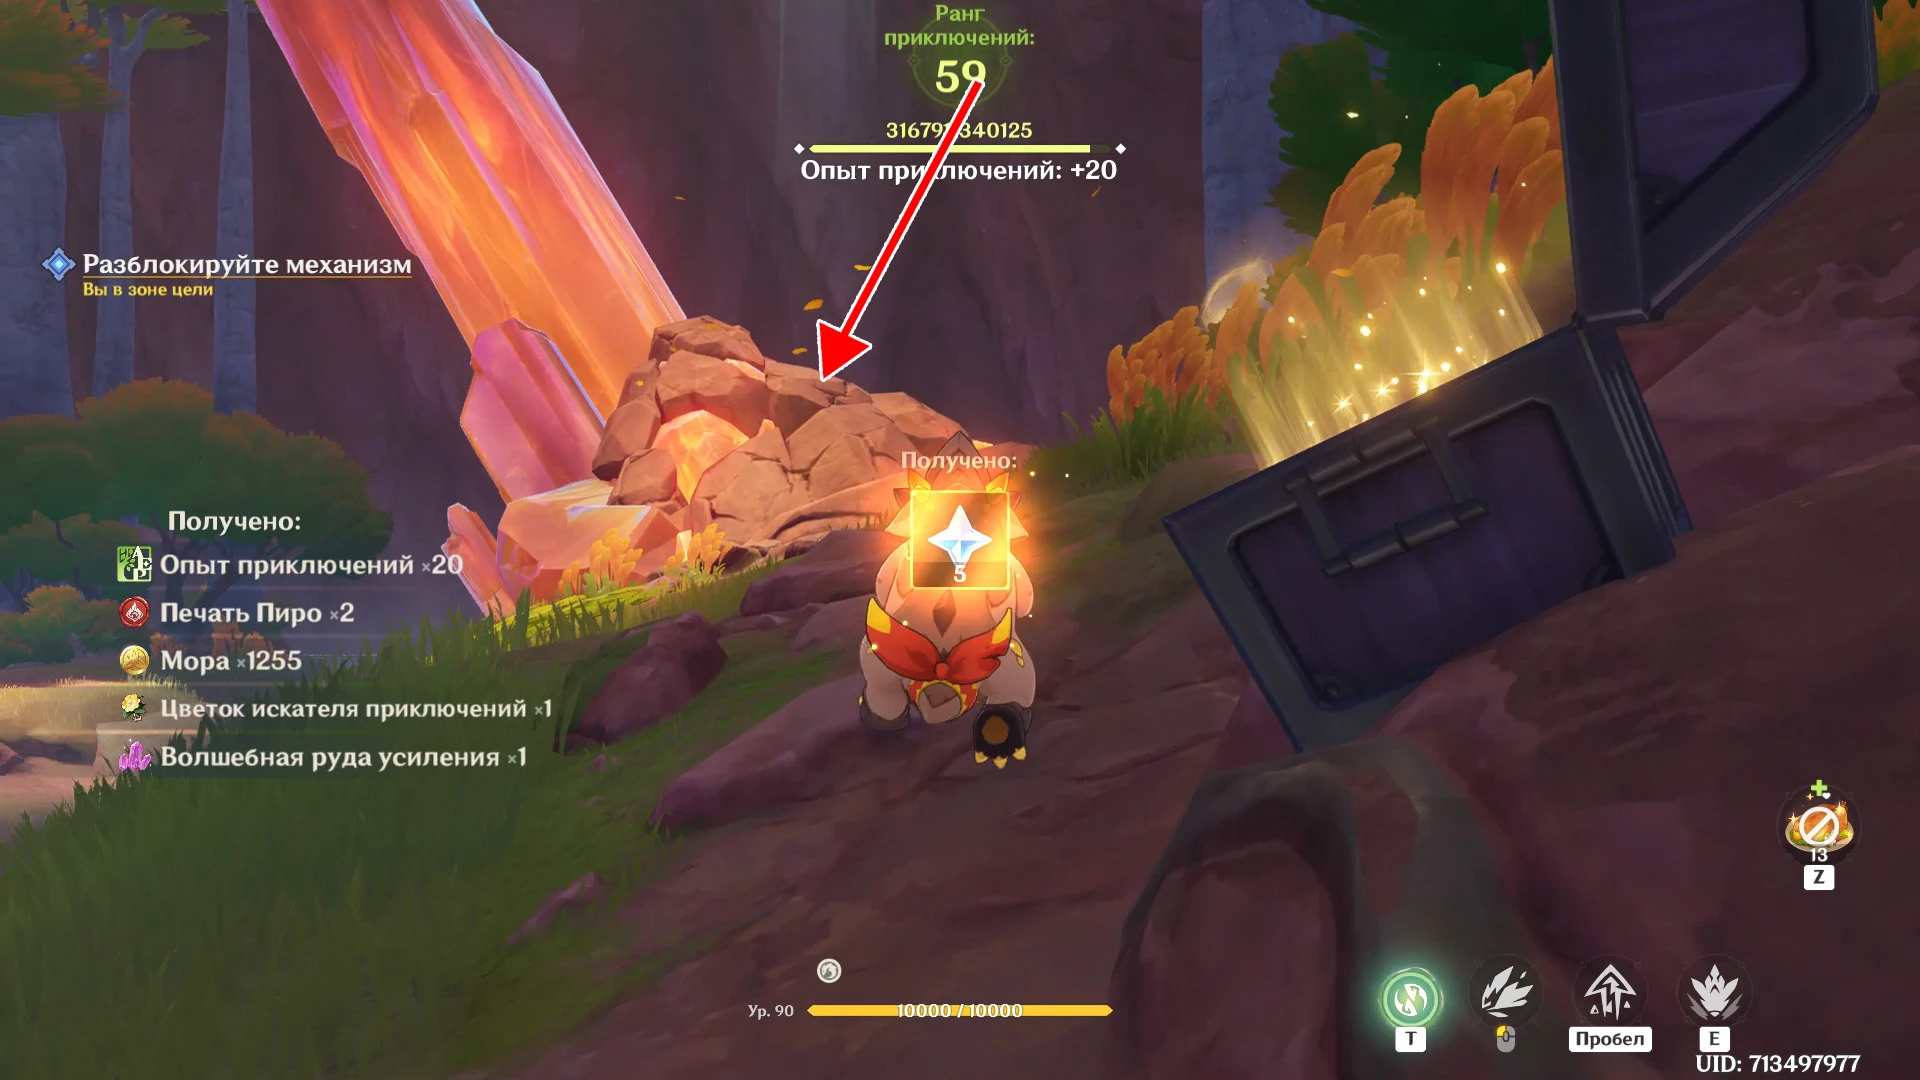
Once you've climbed the hill, smash the pile of rocks to get a rich chest and head towards the huge orange crystal. Use the Teleptisaurus' normal attack on it to smash the rocks at the base.
A resonating Elemental Reaction: Crystallize will appear where the pile of rocks were. Hit it with a normal attack to create resonance.
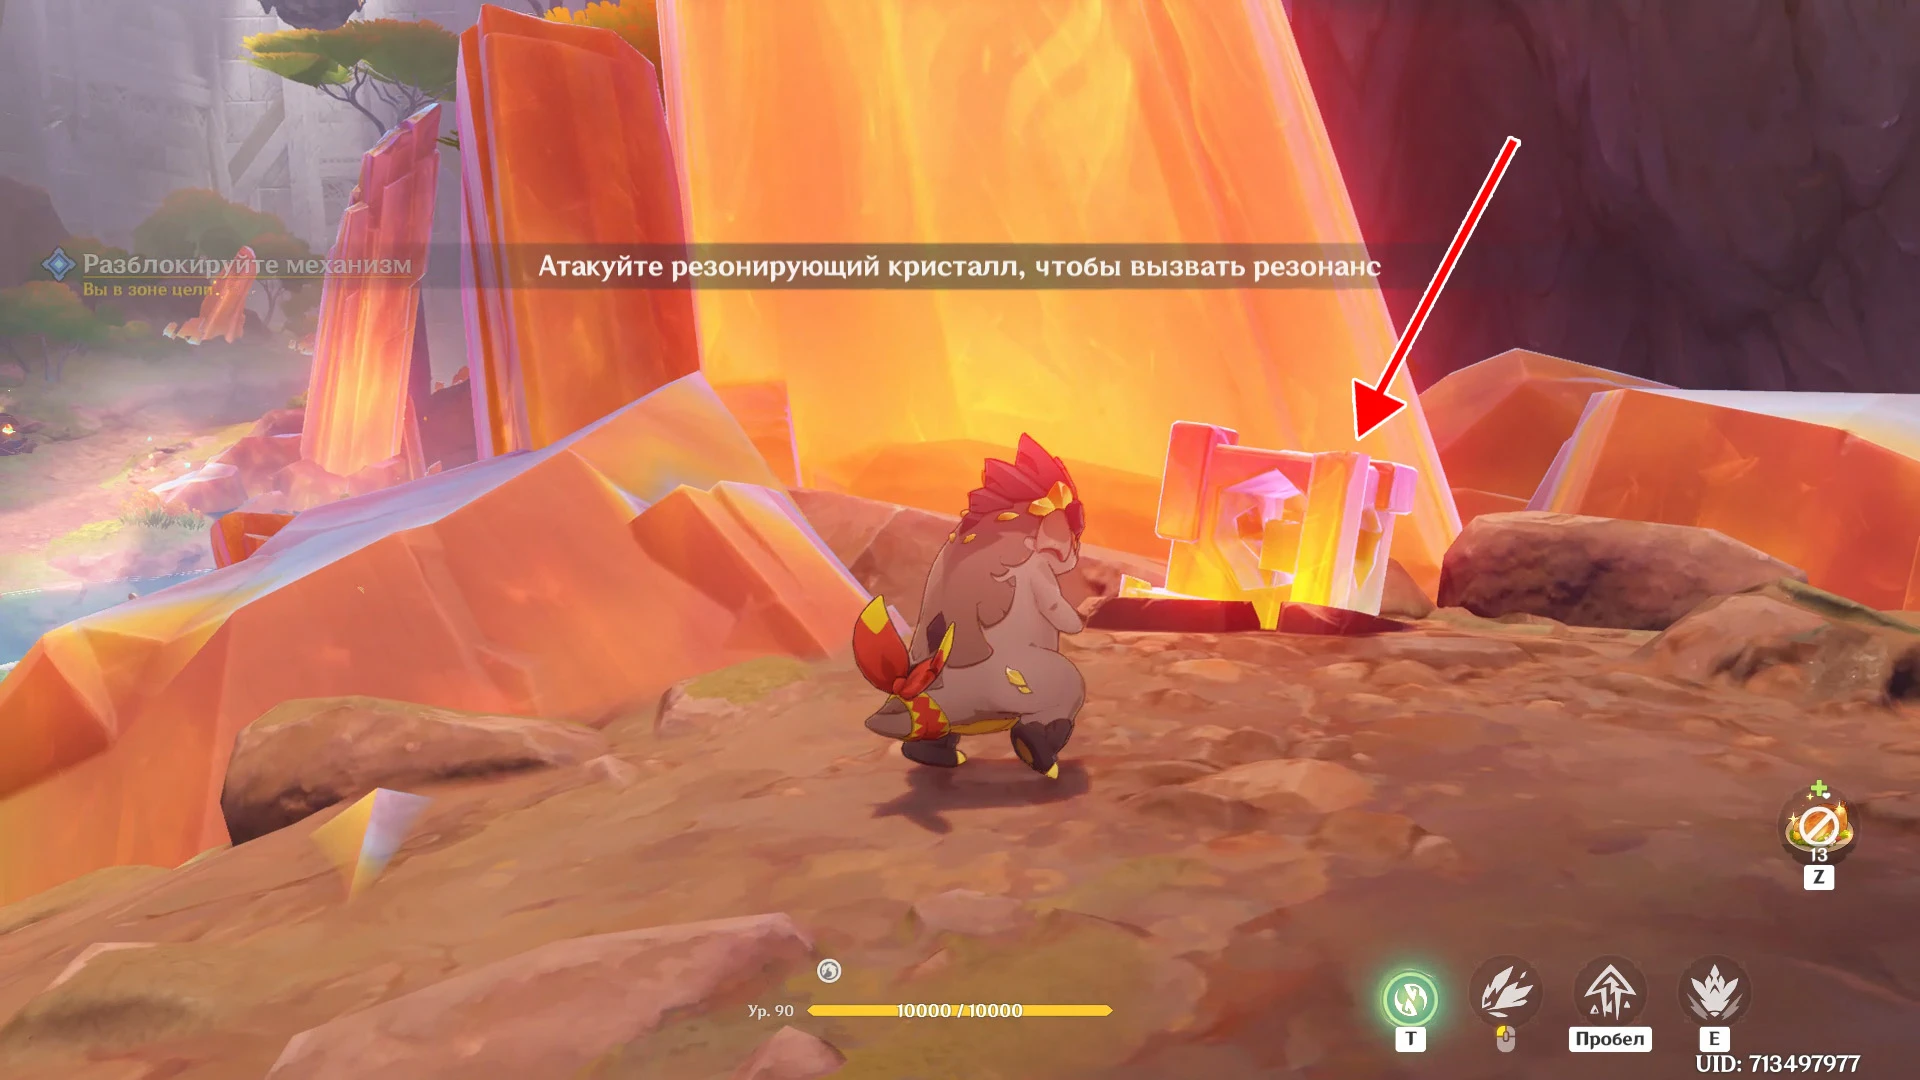
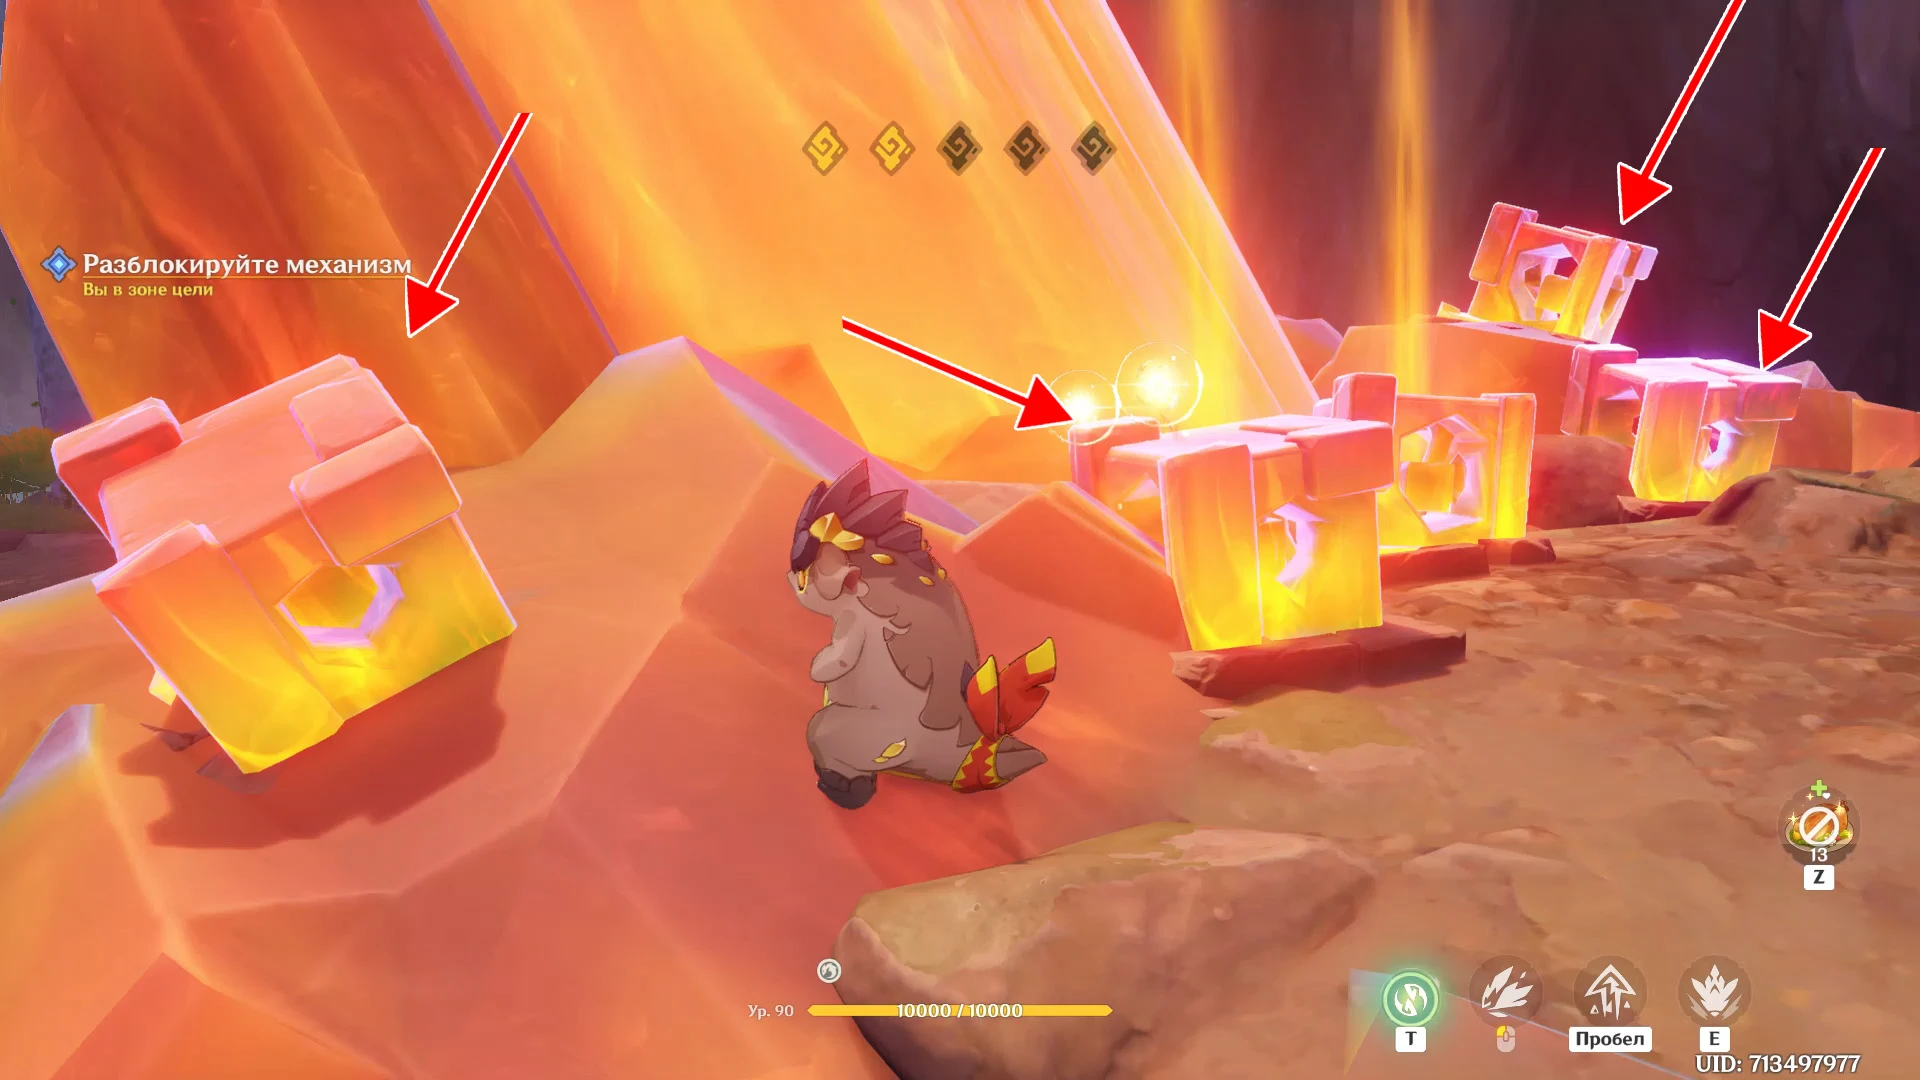
The resonance will trigger four more orange cubes to appear. Hit each one to trigger a giant crystal to fall.
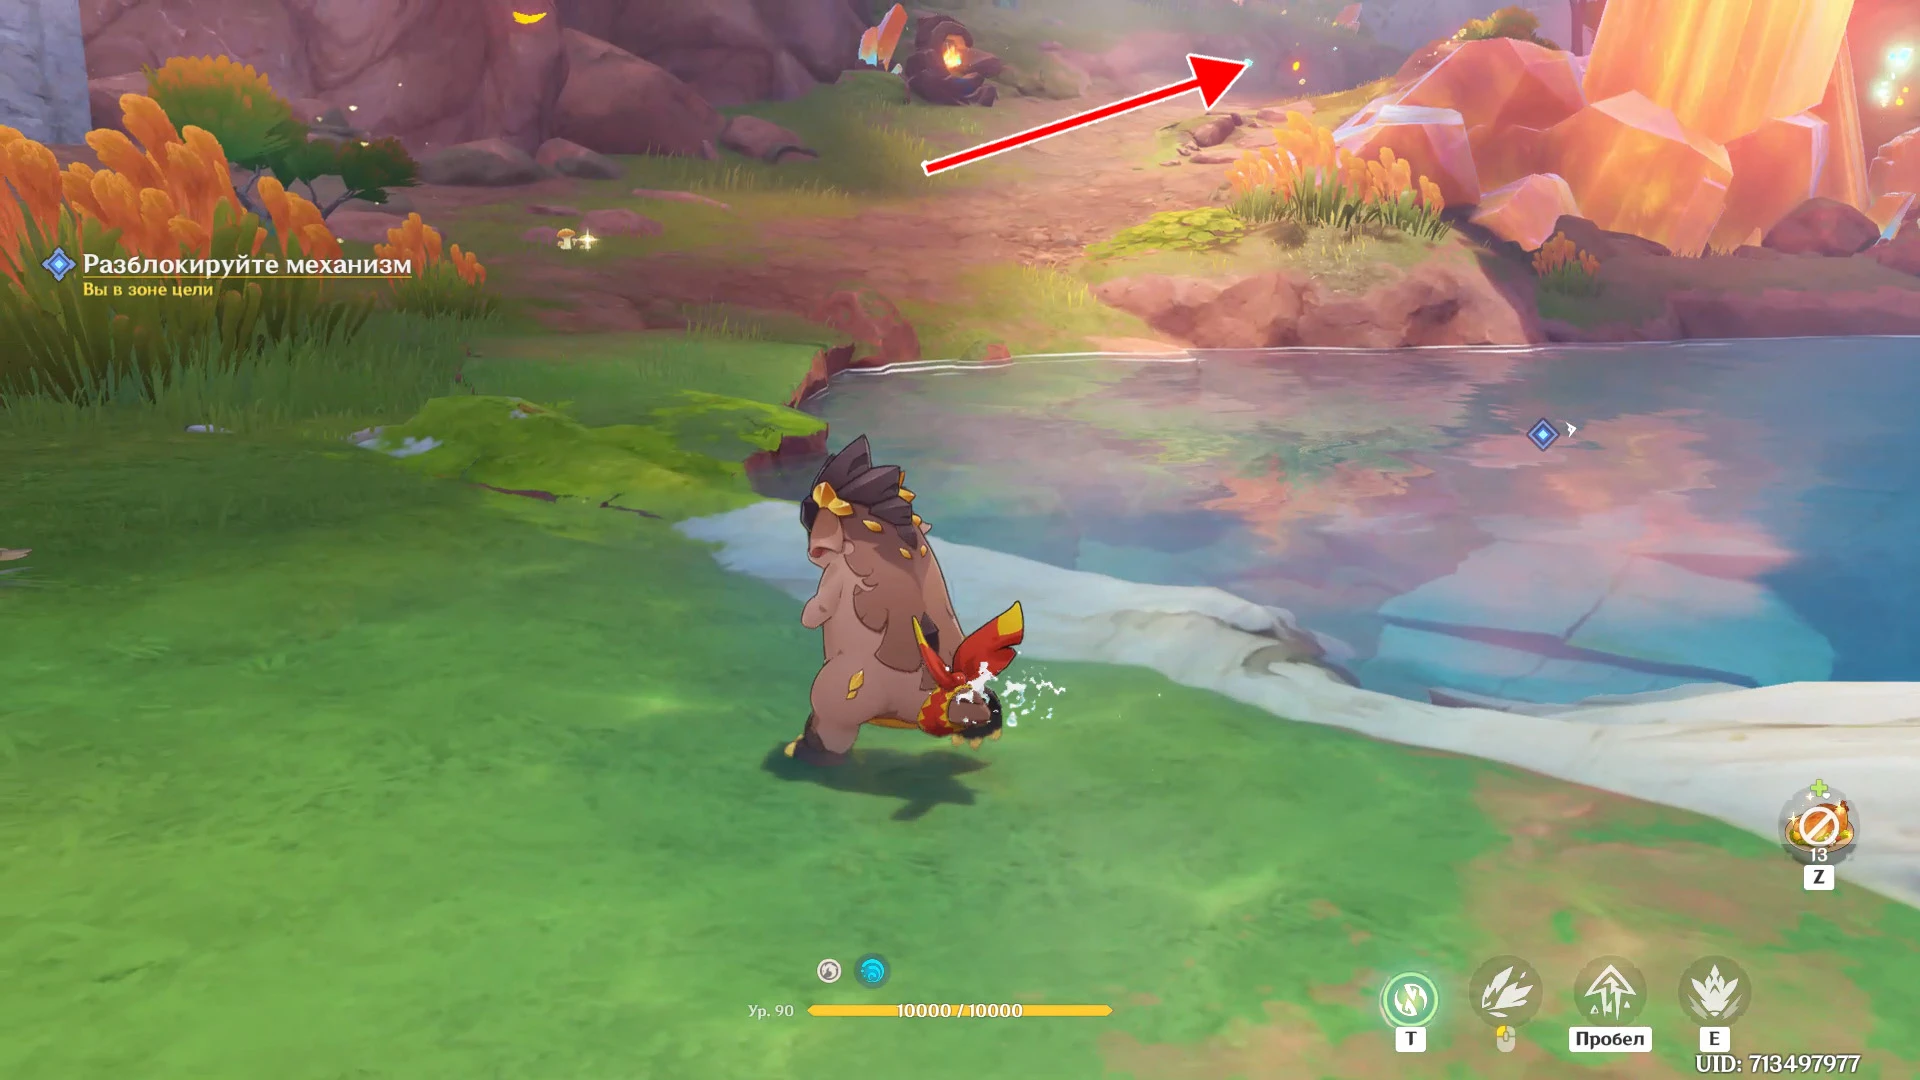
Walk on the fallen crystal and cross the pond on the hollow tree. Climb the path above - at the foot of the second giant crystal is a resonating cube.
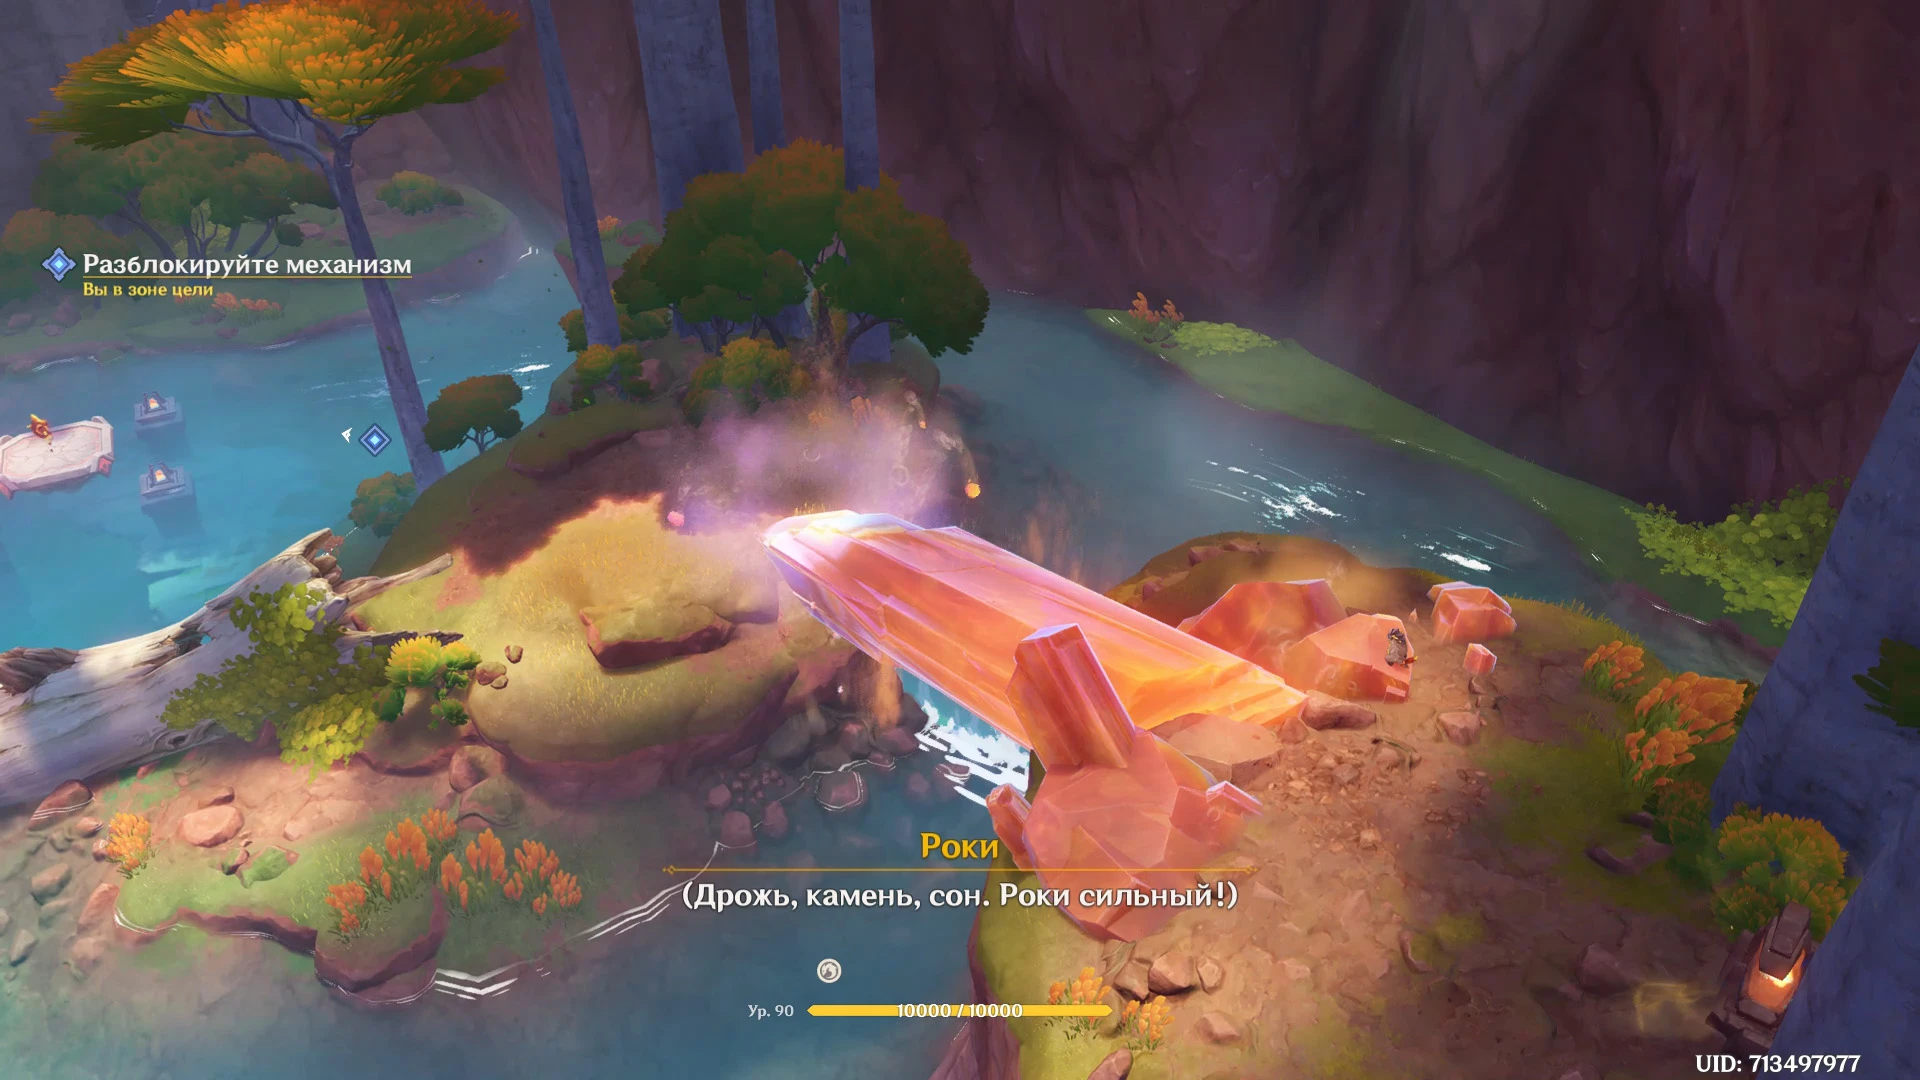
Hit the cube. This time, one additional cube will appear on the left side after hitting it, and so on after each triggered resonance. Resonate with a total of five cubes to knock down two crystals and clear a path for the Saurian to reach the platform with the Pyrocule.
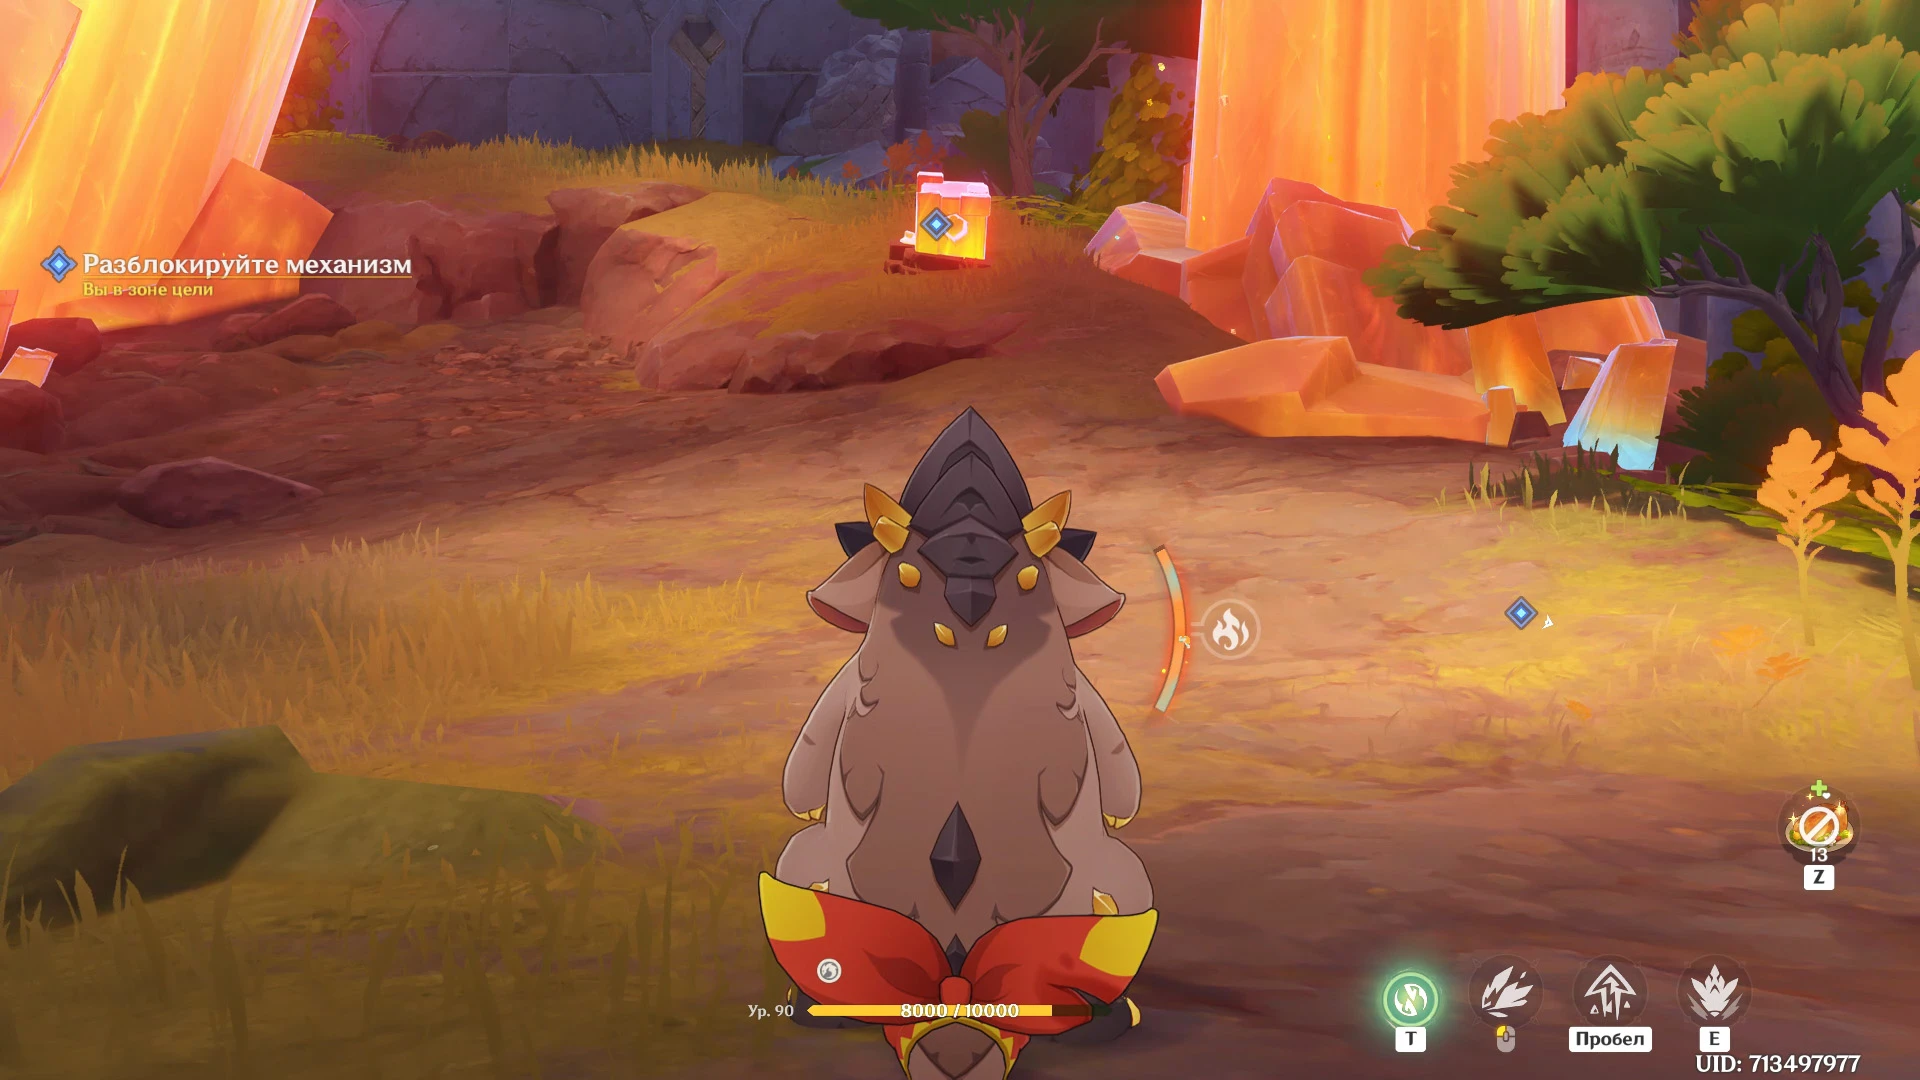
Proceed to the platform. The path behind the saurian will be blocked; switch to the traveler's control to continue A Decision the puzzle.
Second puzzle (character)
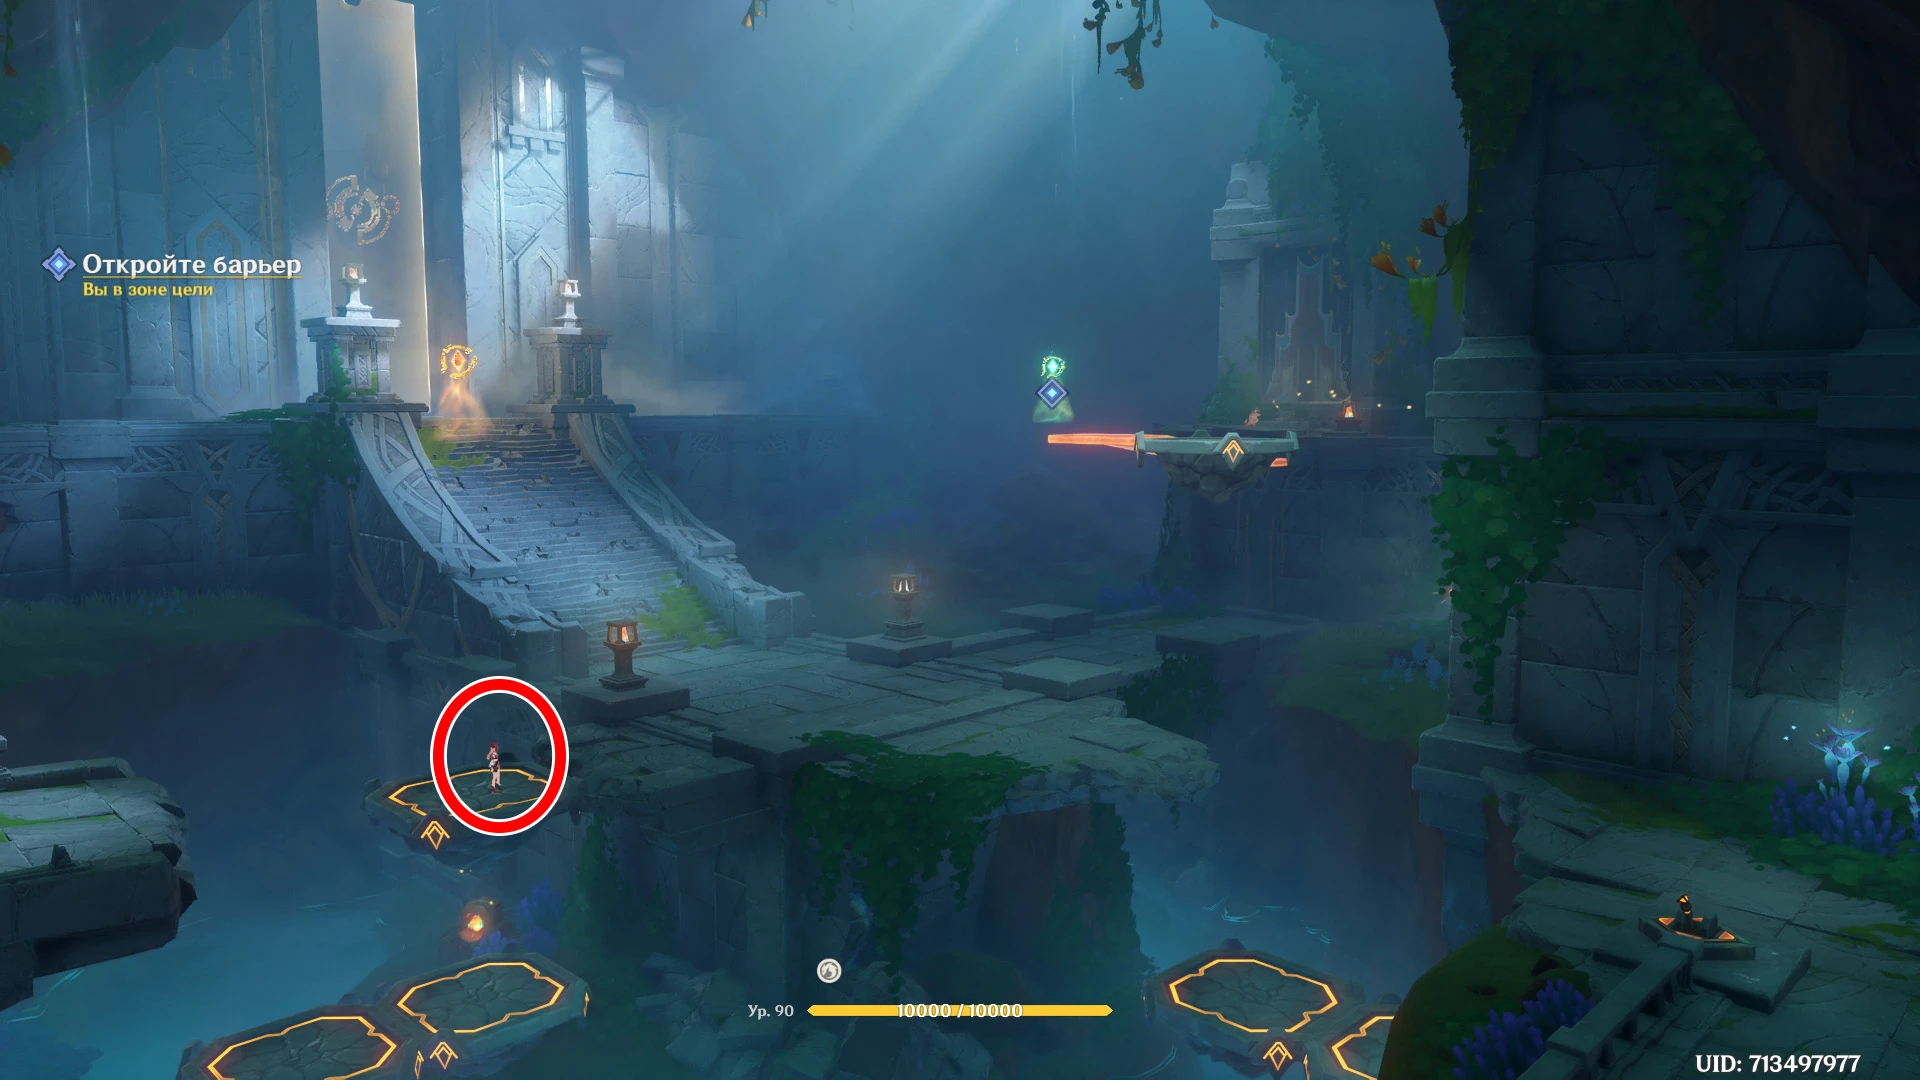
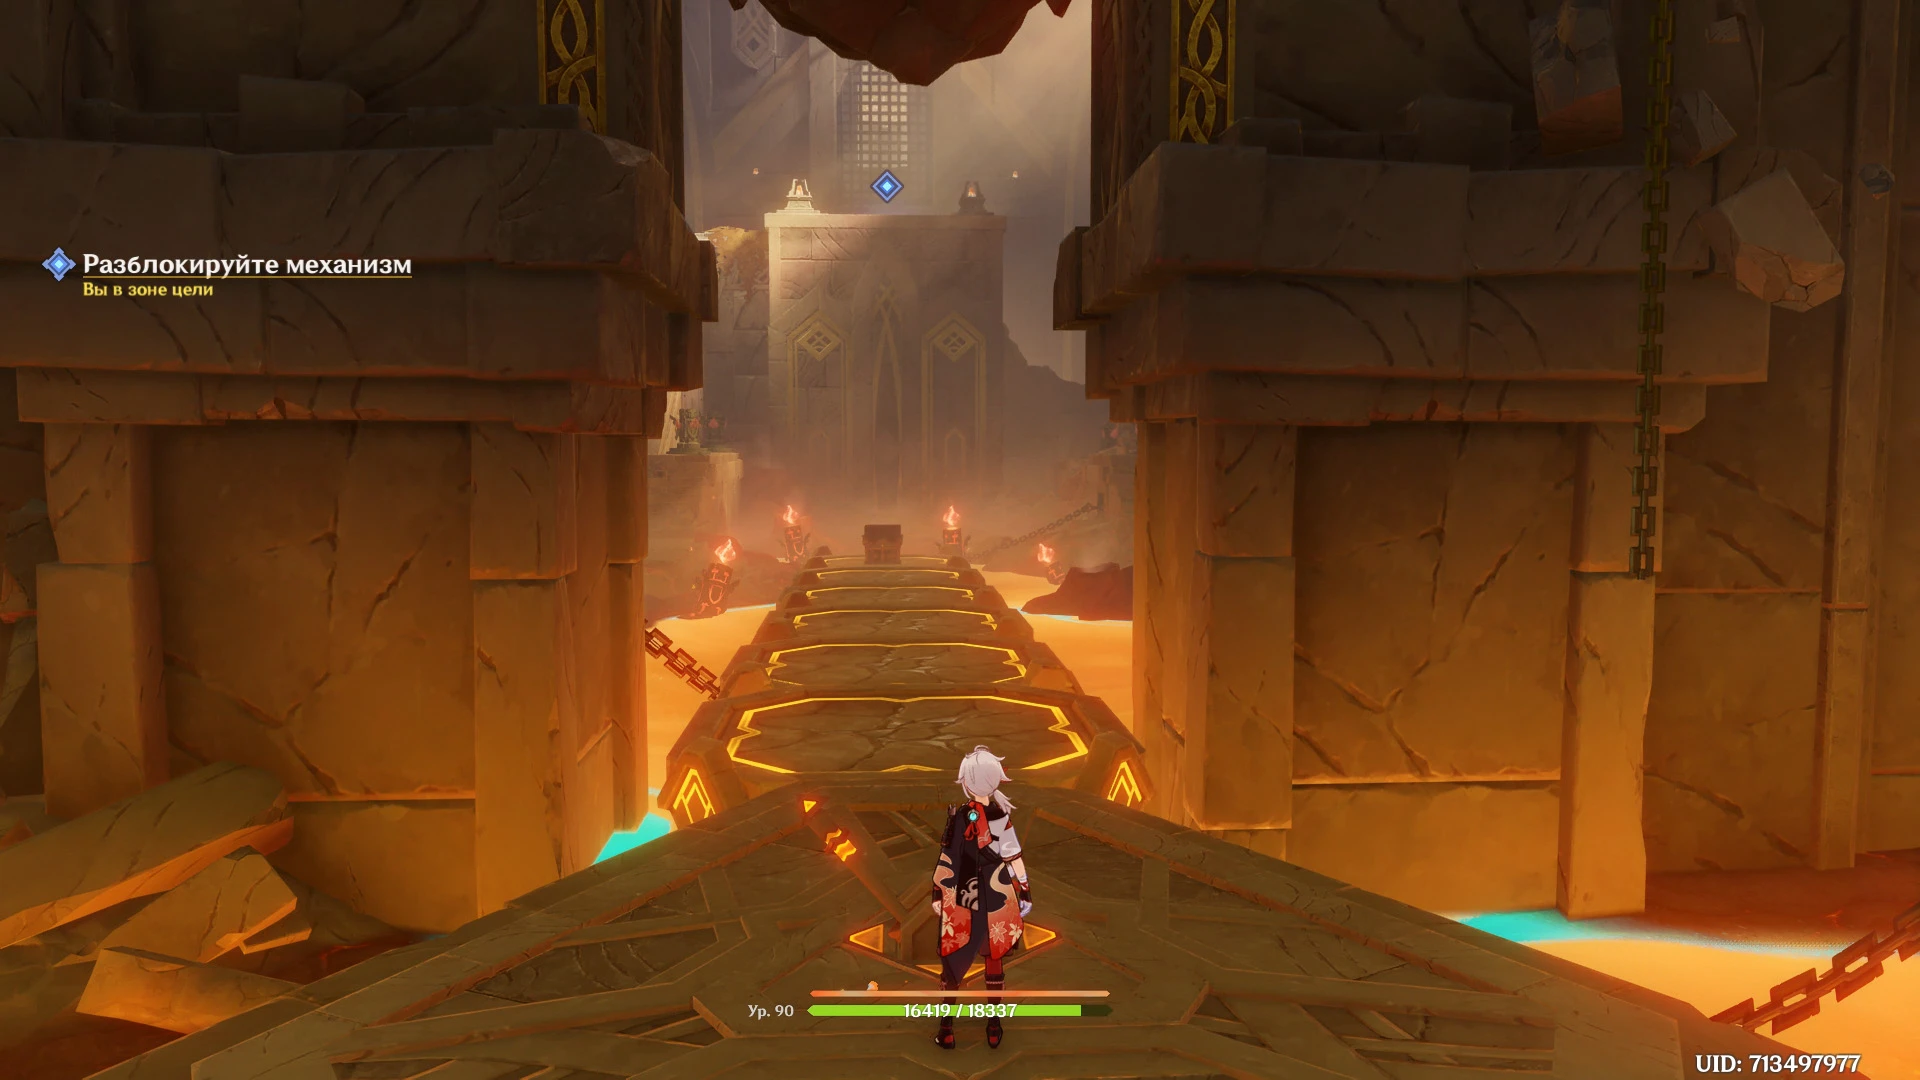
The Achievement: Hero will find himself on the edge of a platform with liquid phlogiston underneath. Crossing the laser line will not cause damage to the character, but will cause the phlogiston level to rise so much that the character will drown in it.
Go down one level. Break the unstable wall with normal or Geo attacks, collect the Pyroculus and go up the stairs on the left.
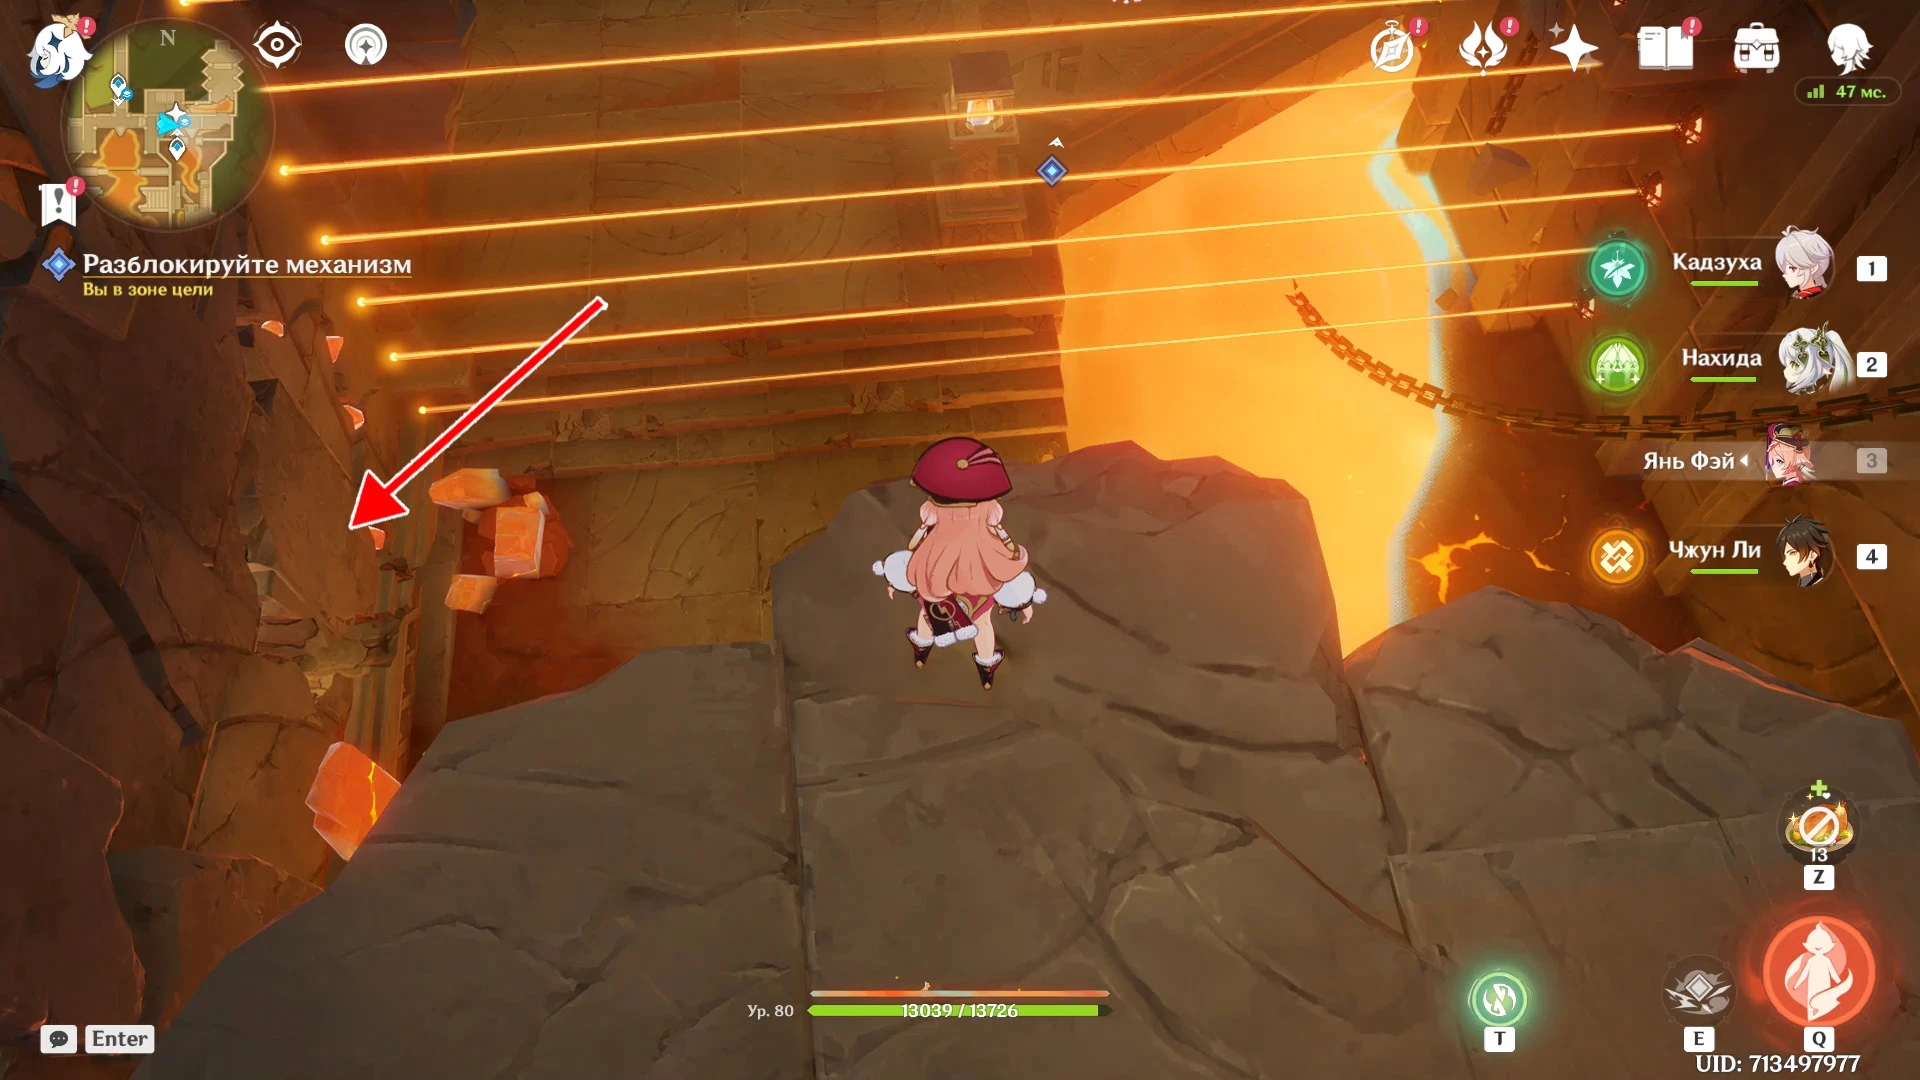
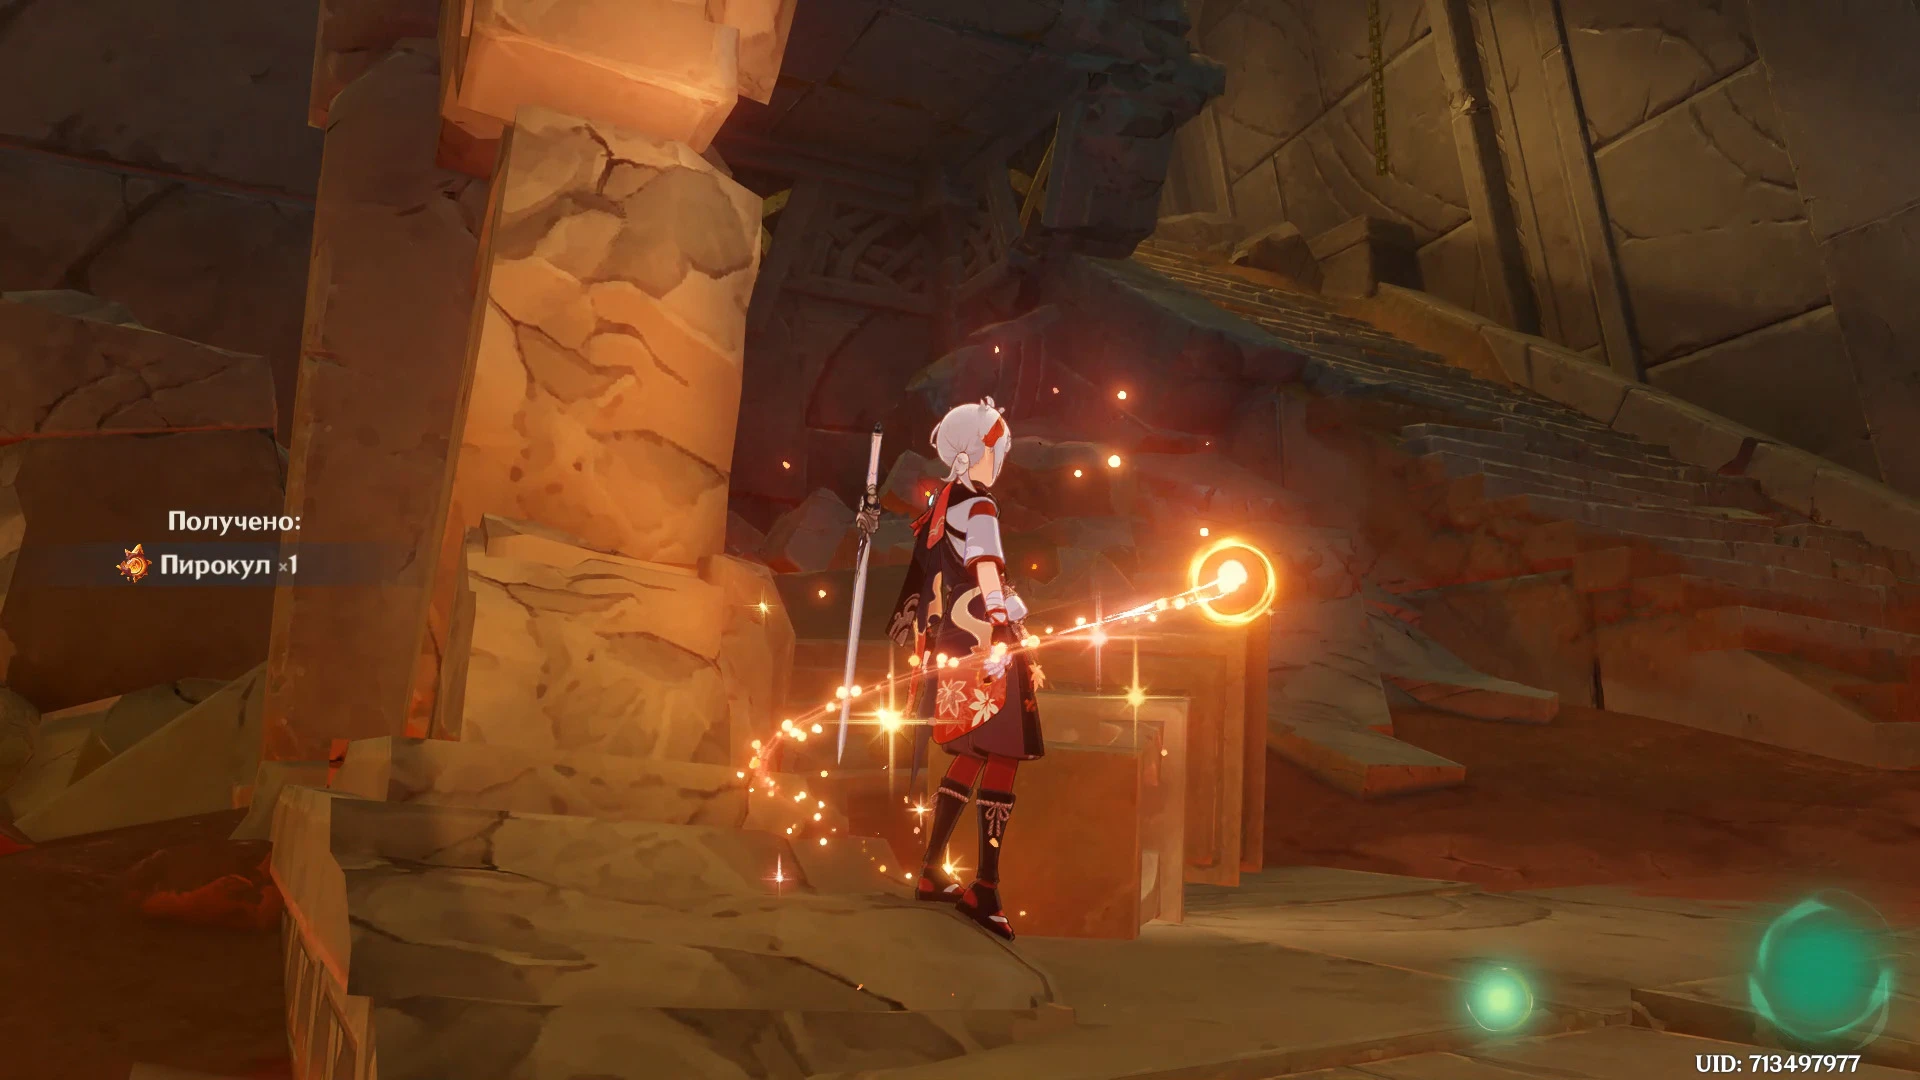
At the “Upstairs”, open the rich chest and turn around in the opposite direction. Using the glider, fly over the lasers and go left along the lattice platforms.
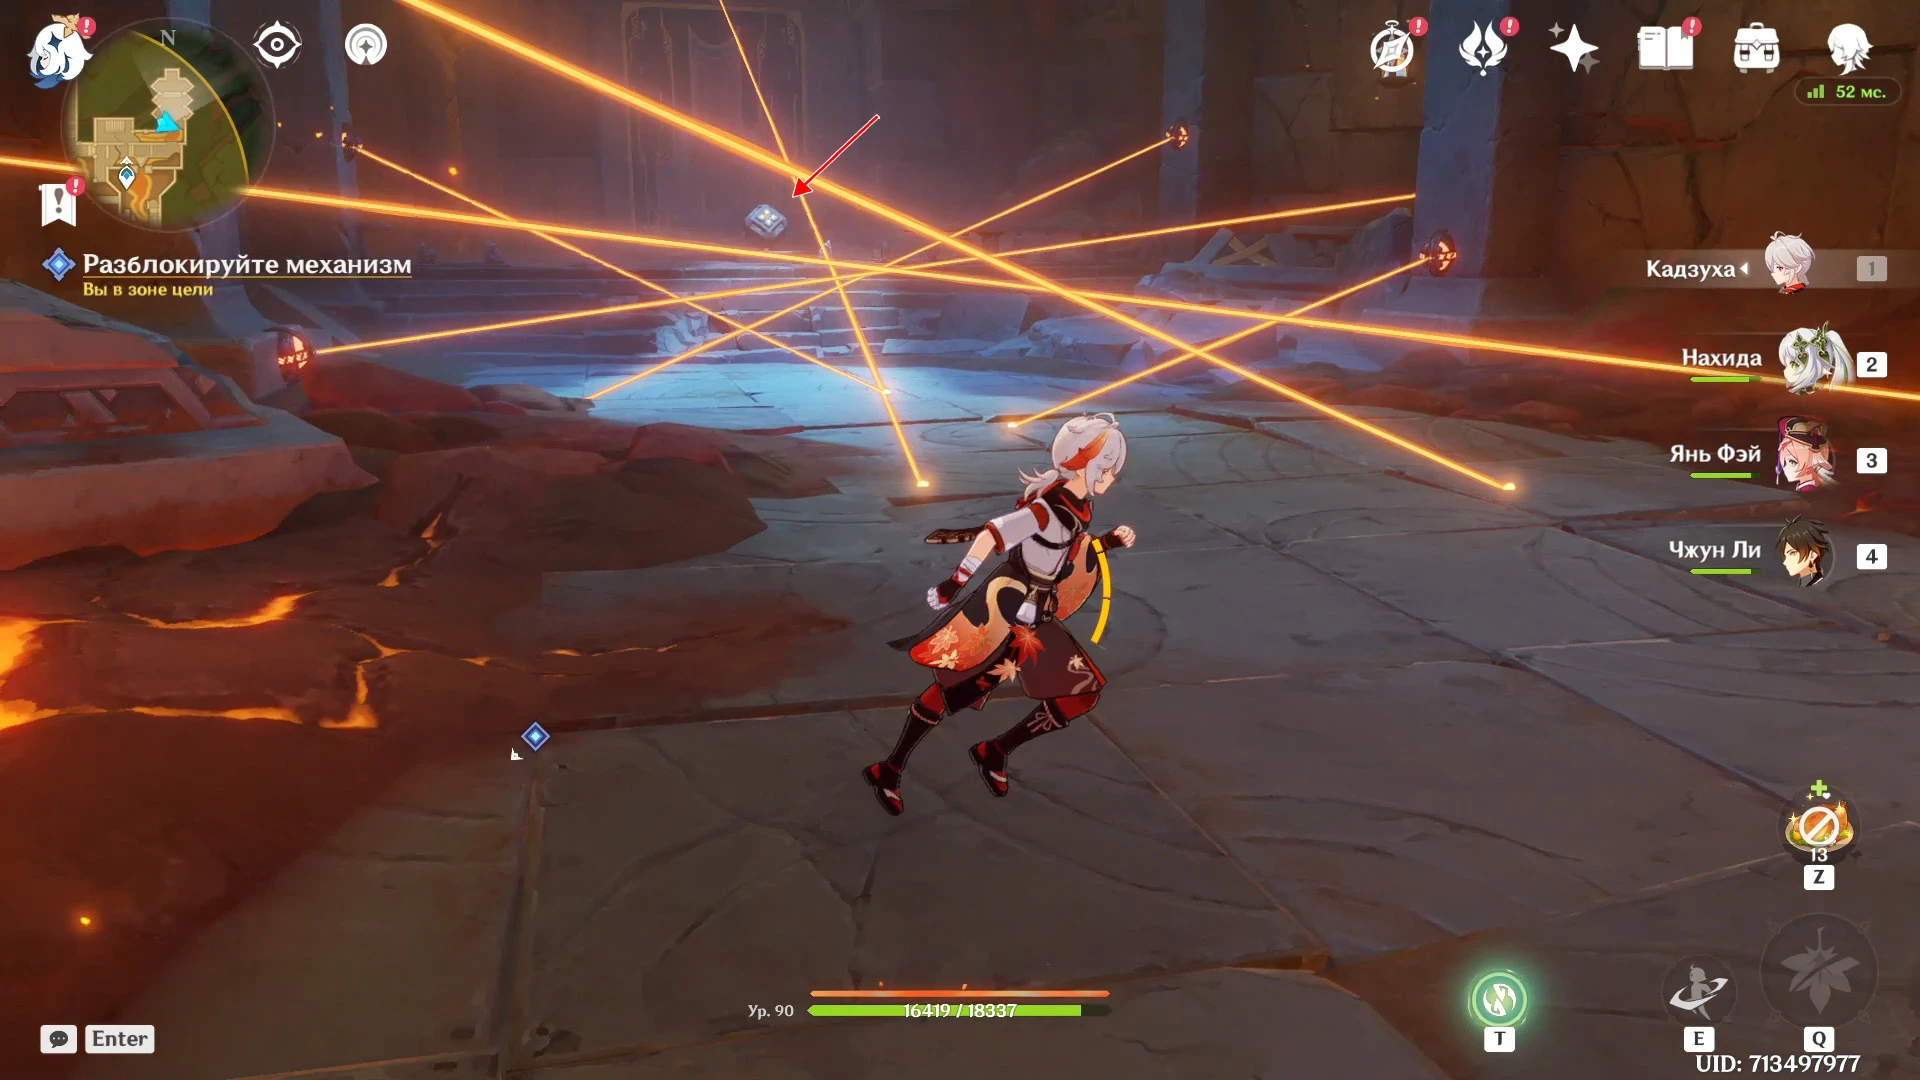
You will find yourself in a room with a mechanism that needs to be activated. The path to it is blocked by a grid of lasers. You can easily get over them with the help of characters who can rise into the air, or go between the beams behind short characters on the right or left side.

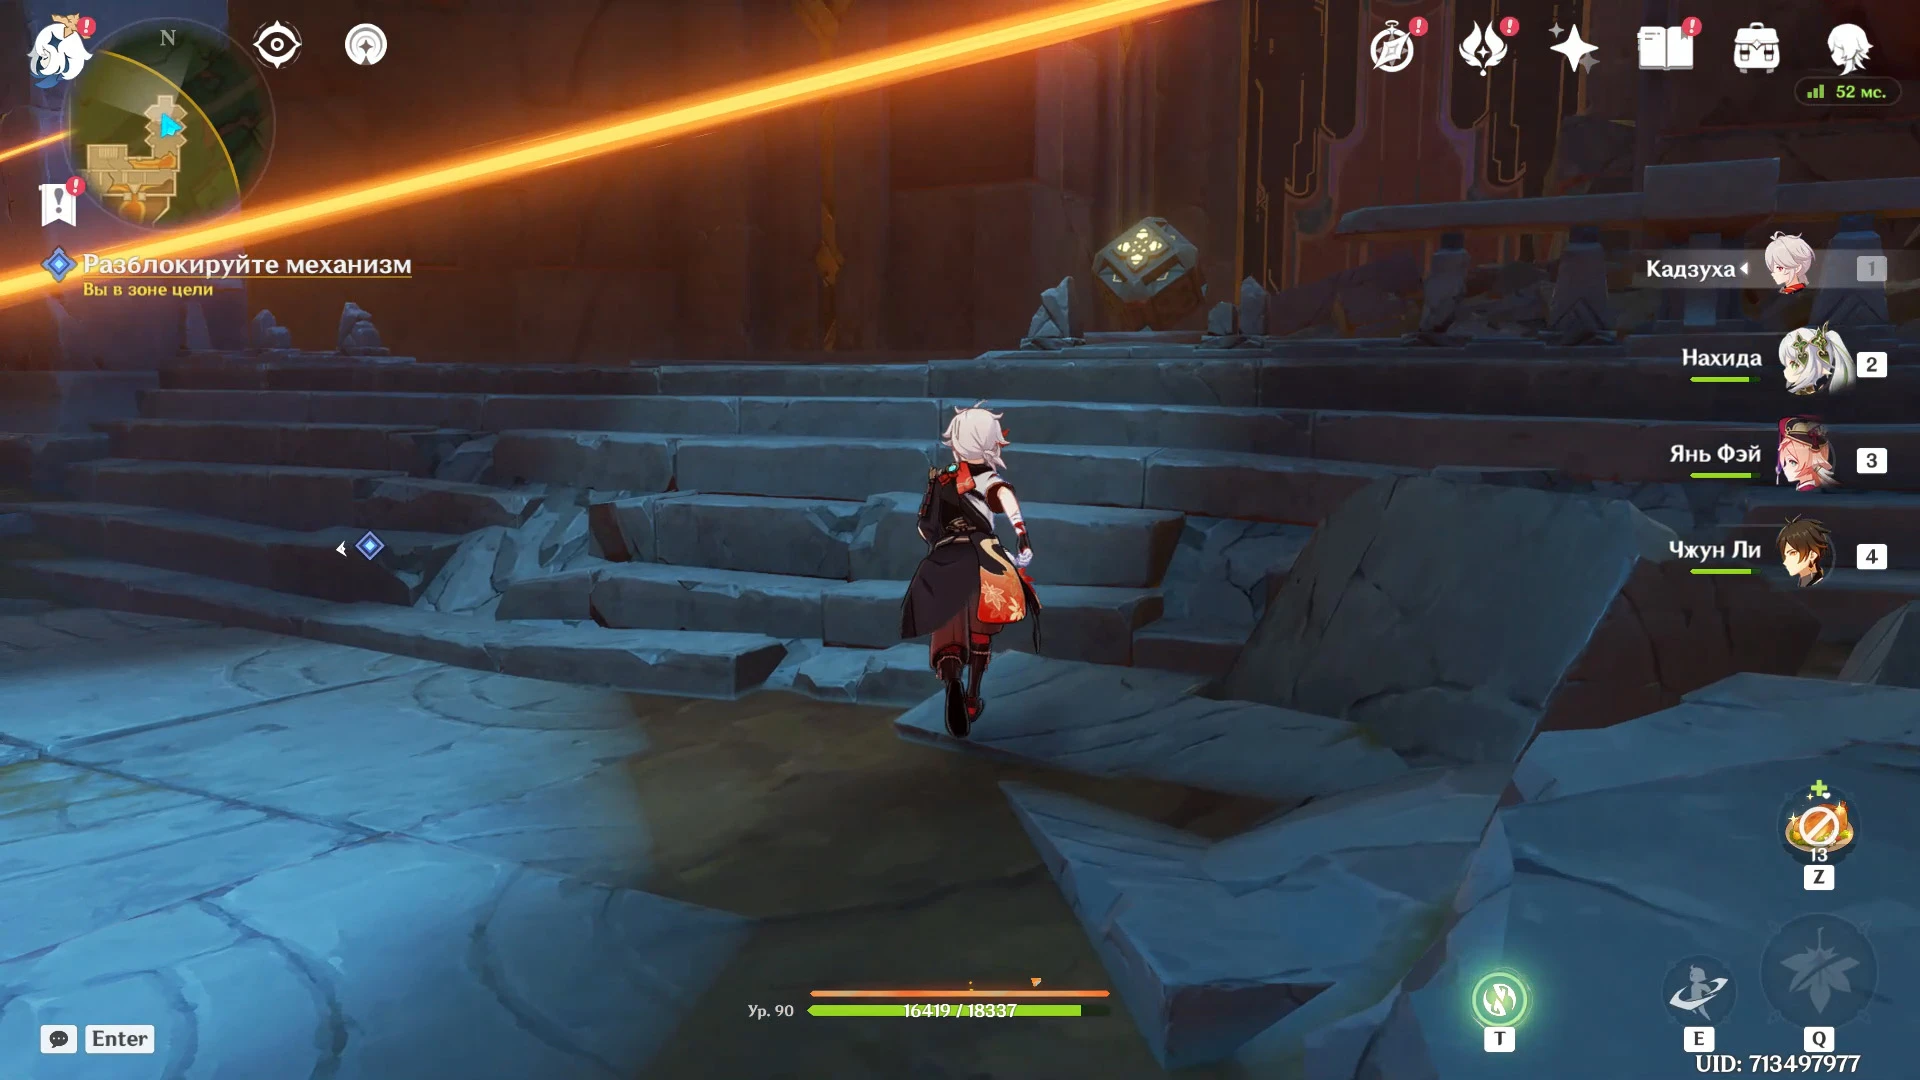
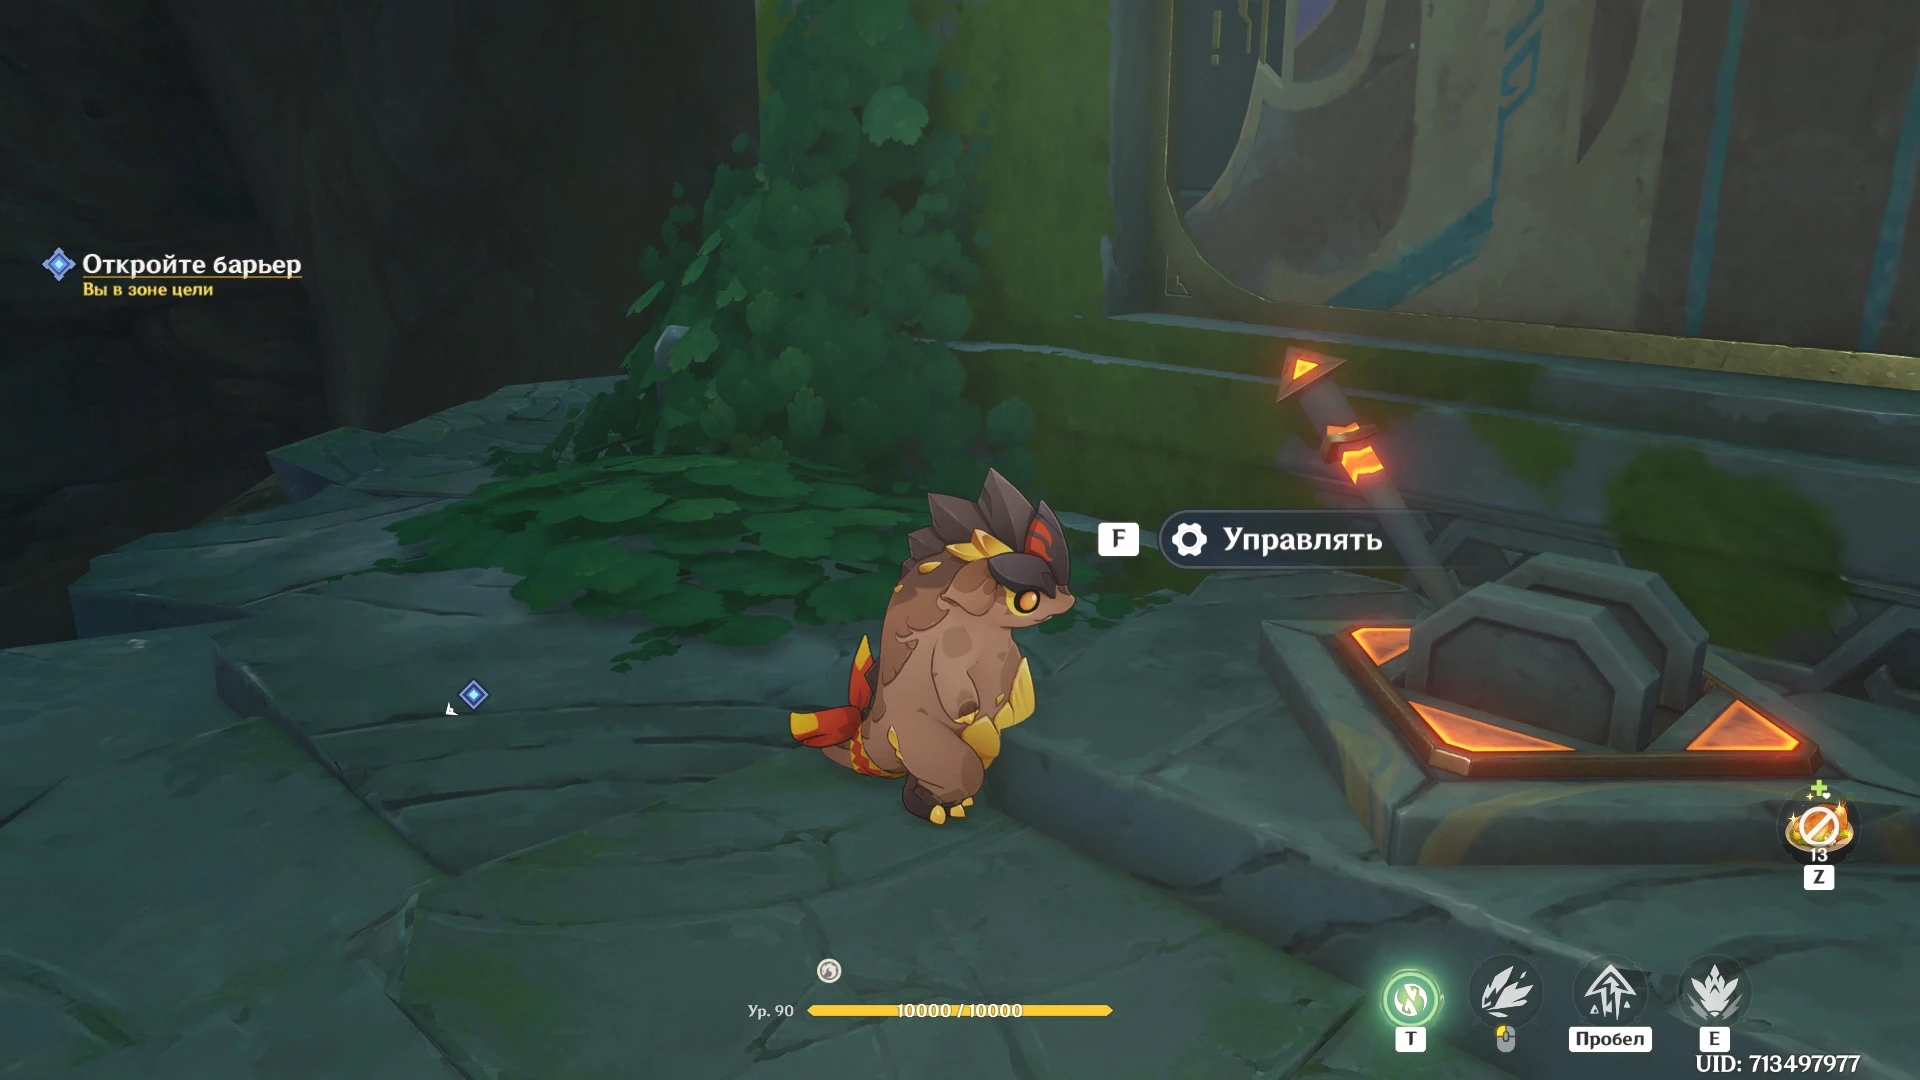
Once you're near the mechanism, press Control to disable the lasers and open the door at the other end of the room.
Head to the open passage. Once you reach the green lever, switch it to orange to pave the way to the precious chest and activate the movement of the platforms in the area where the Saurian is located.
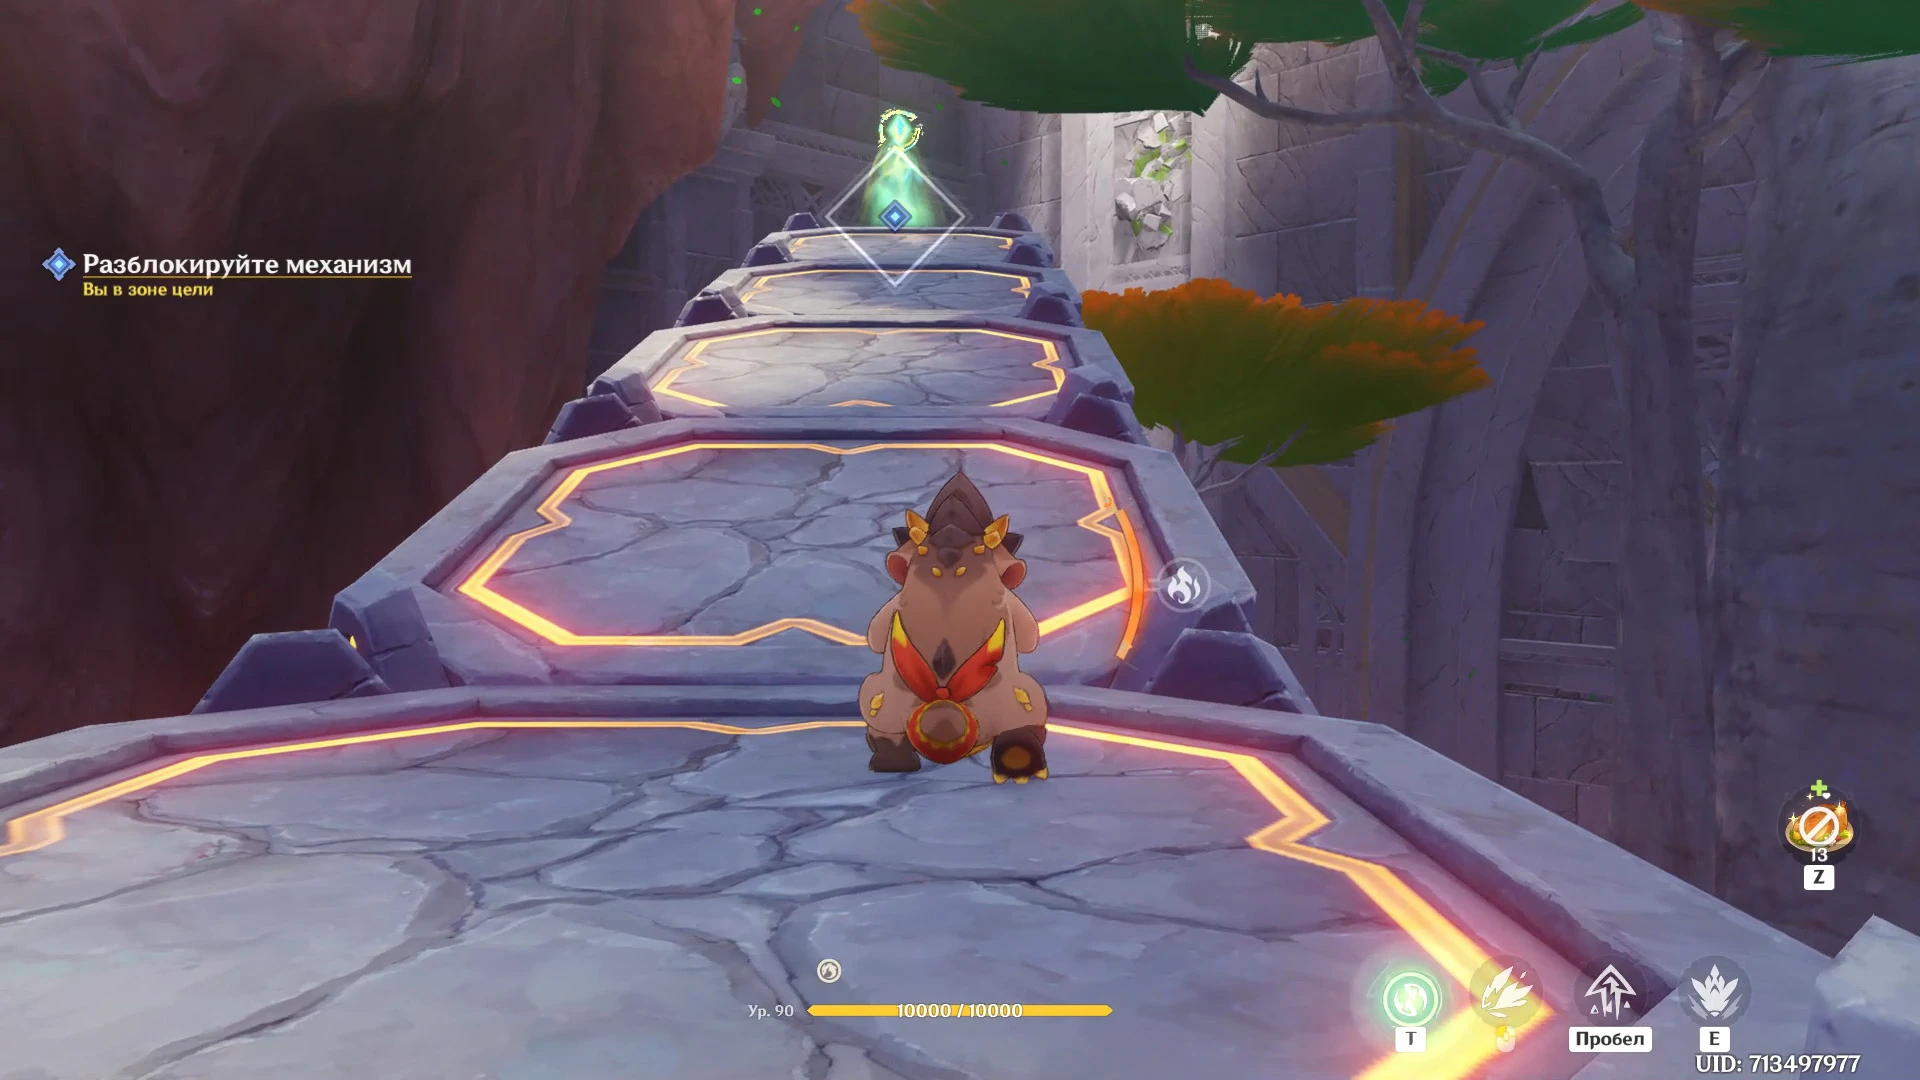
Switch to controlling the dragon companion and walk along the platforms to the green sensor, then return to controlling the game character.
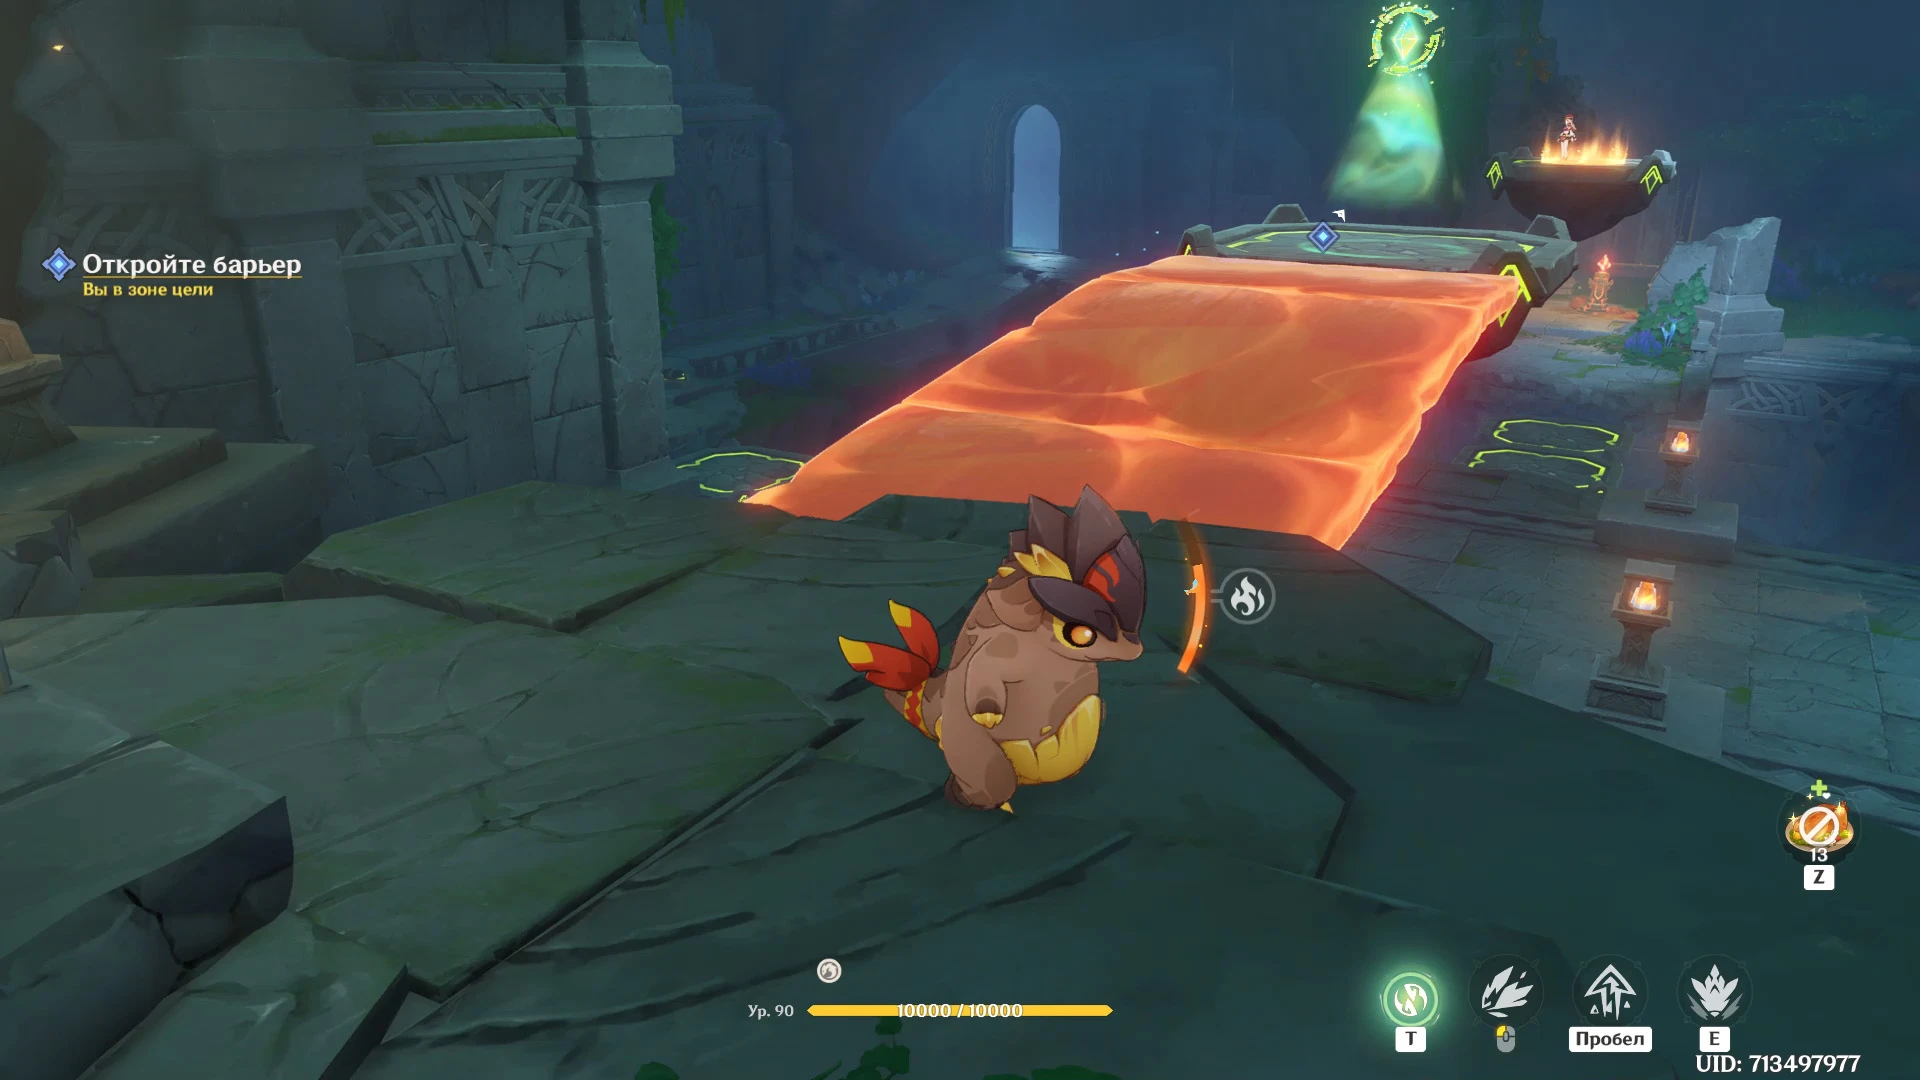
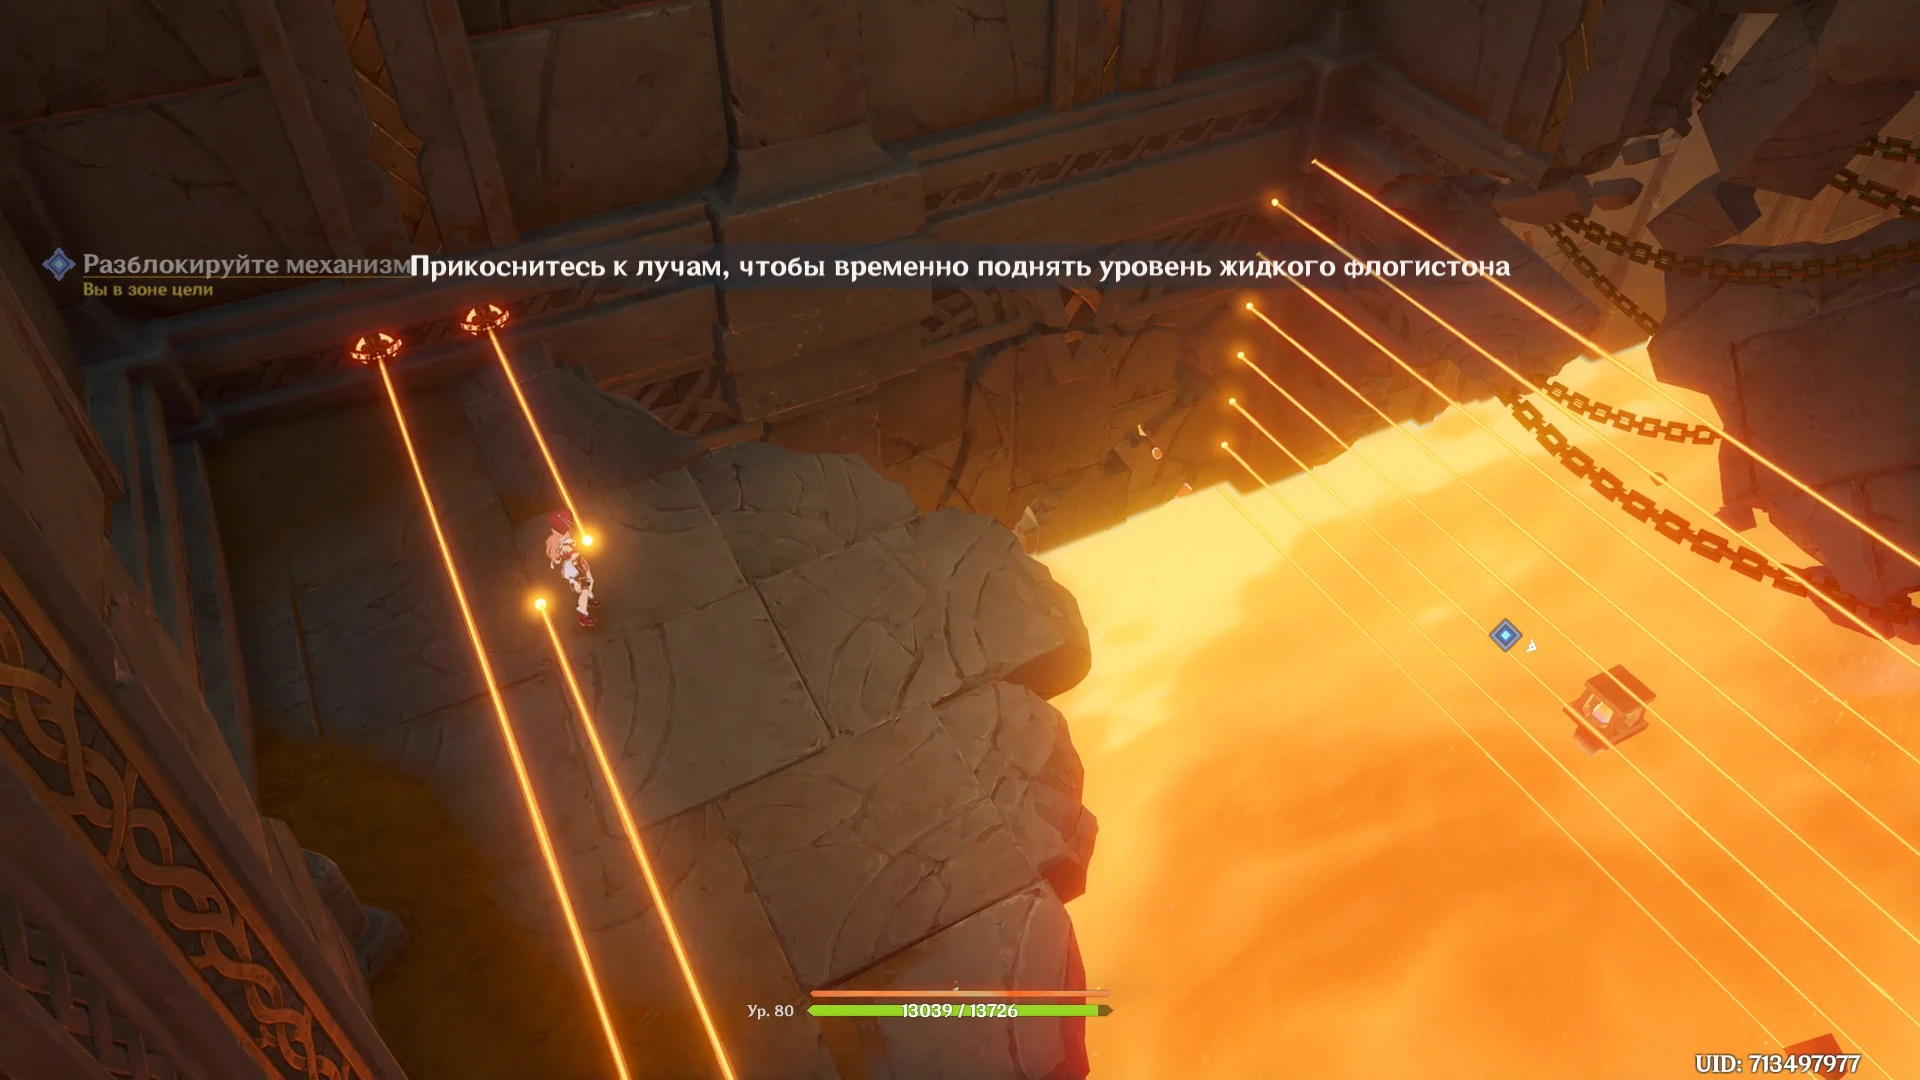
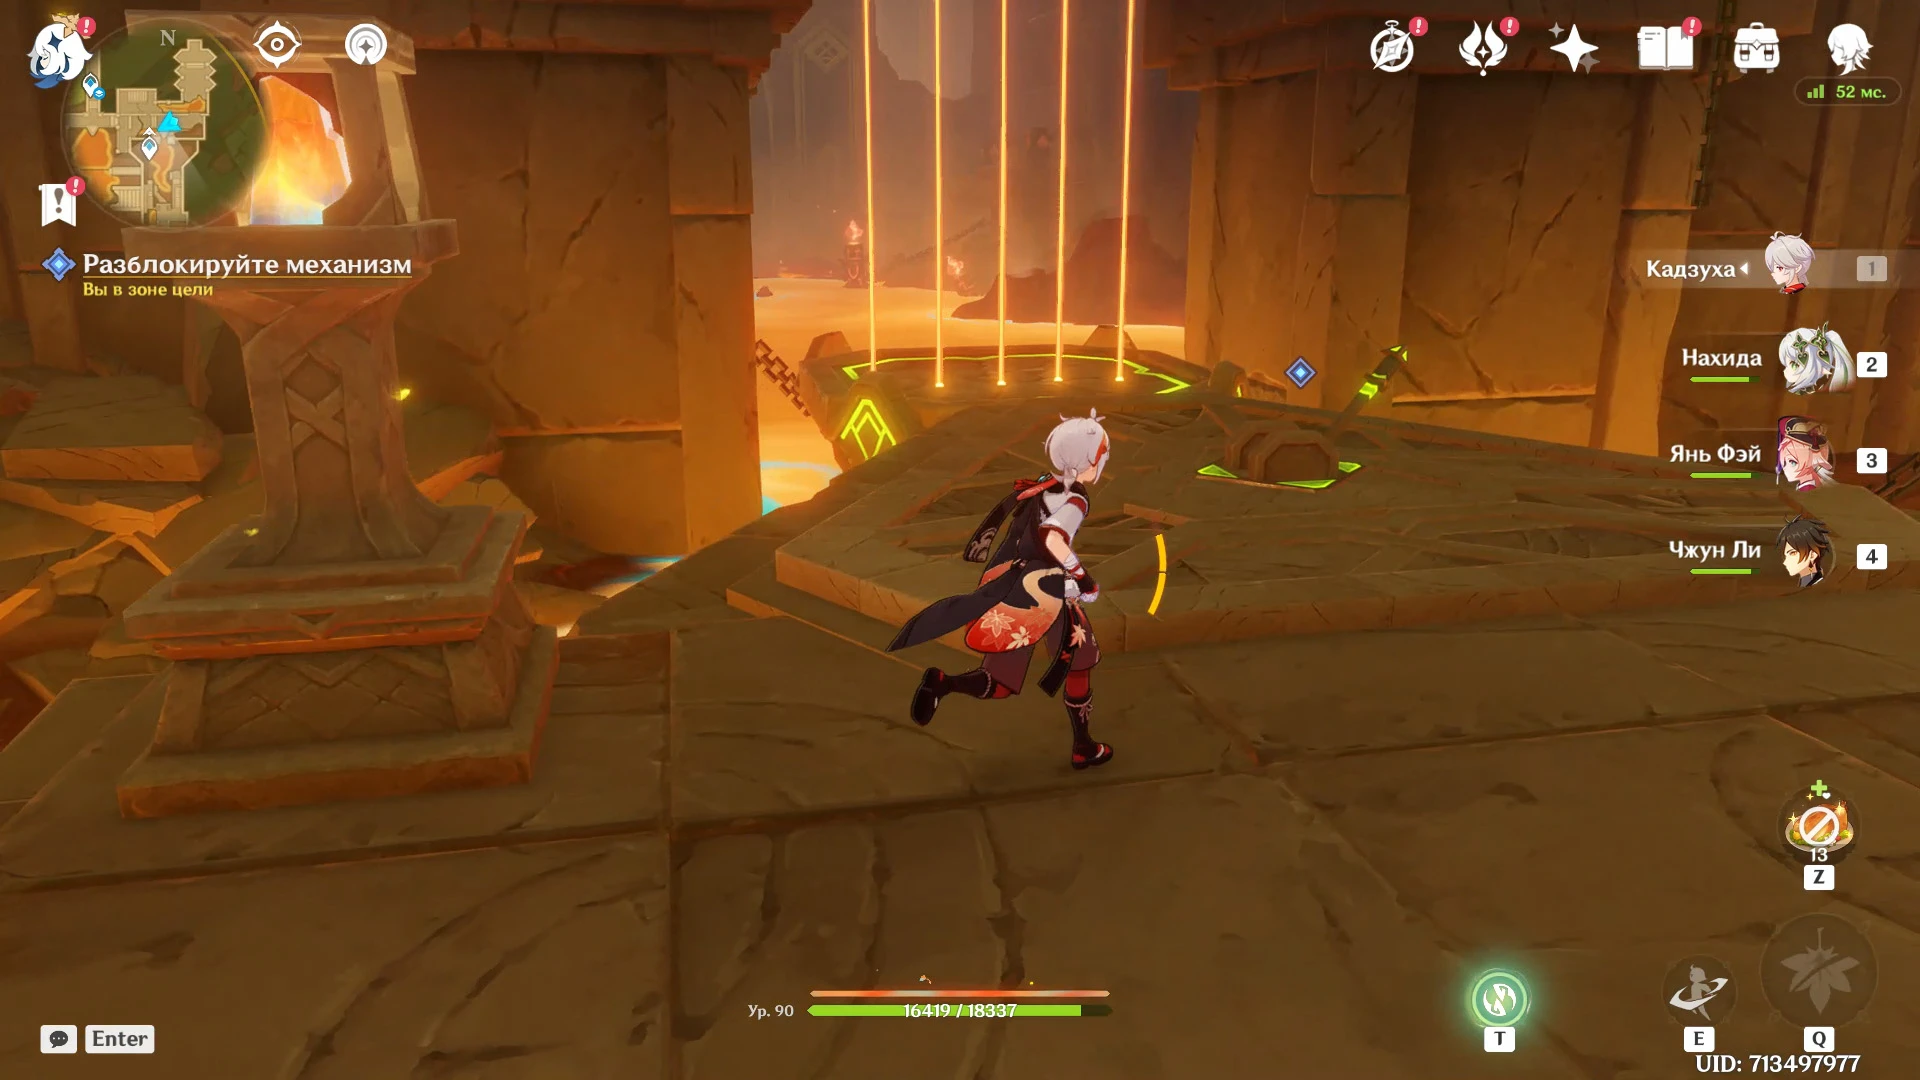
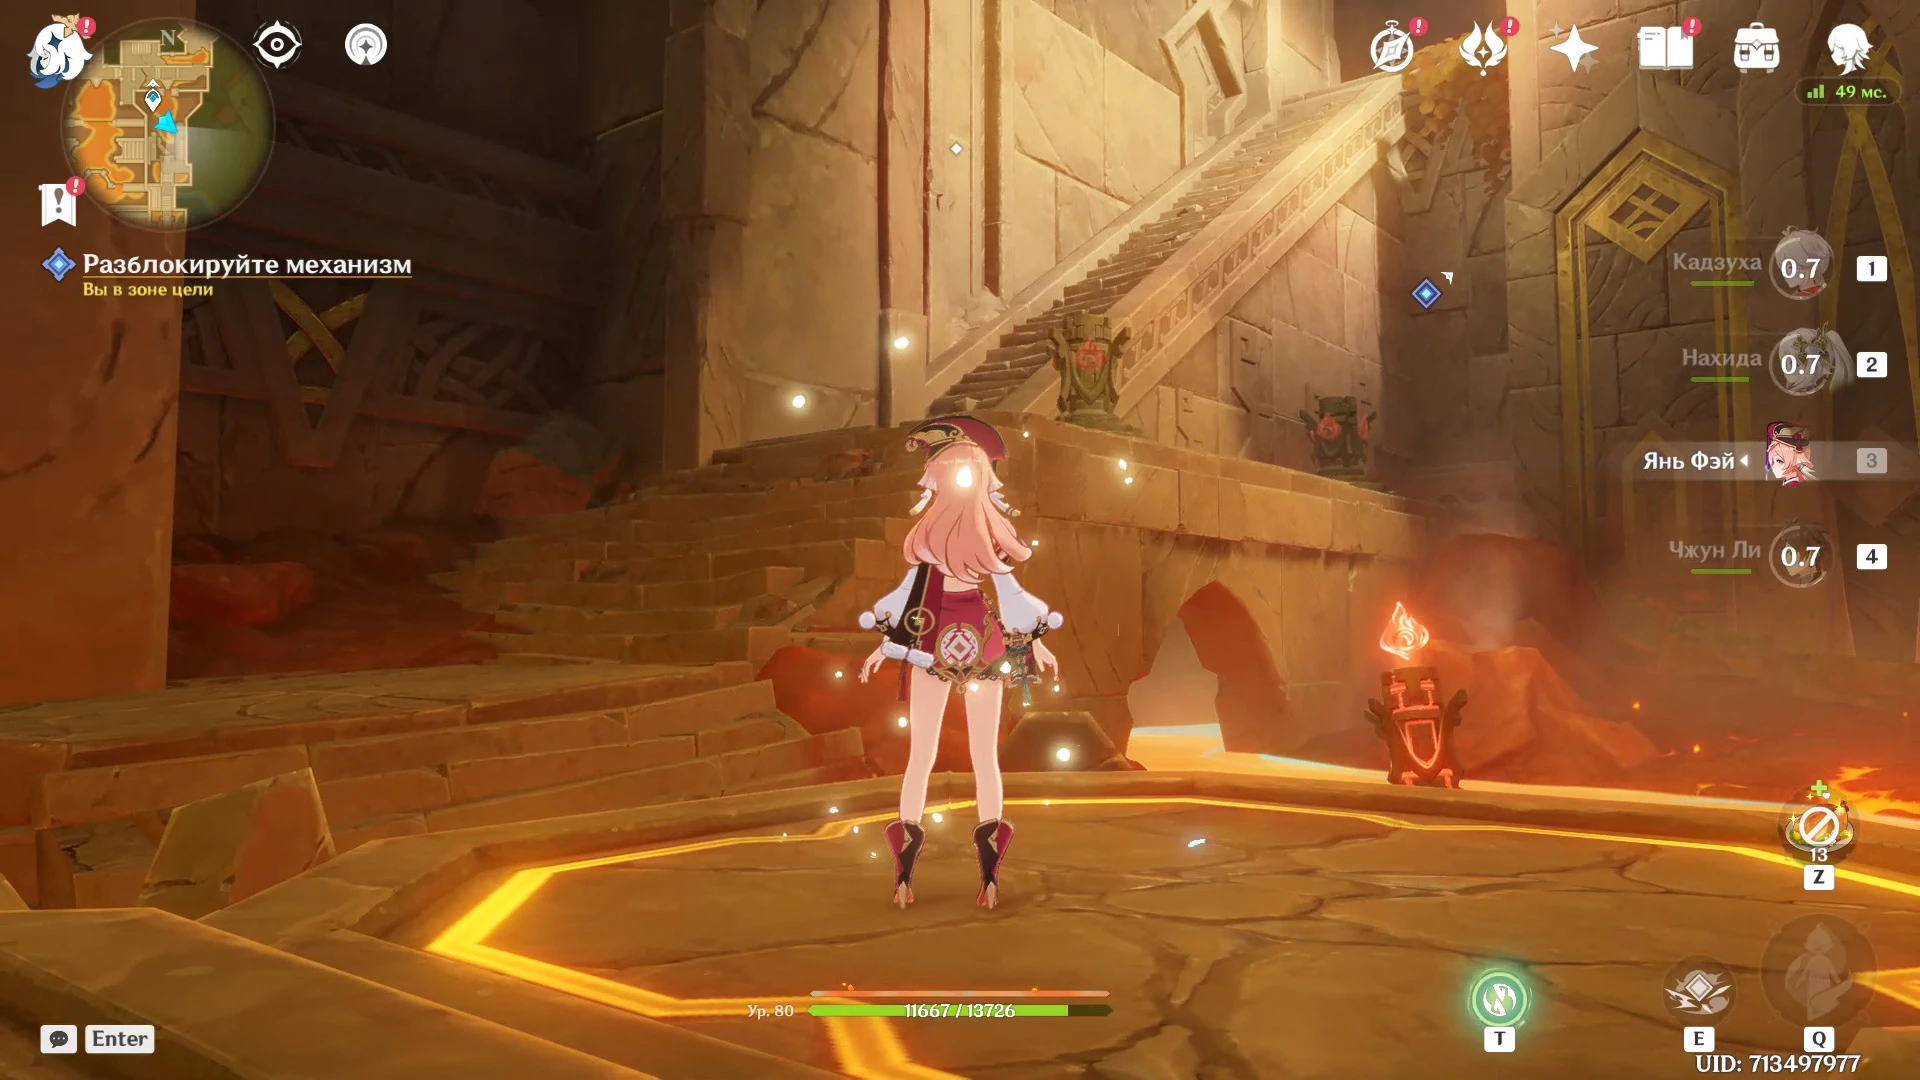
Move forward. At the end of the road, you will find a puzzle with four Pyro monuments. You cannot light the Pyro with attacks - the monuments go out very quickly. To solve the puzzle, climb the stairs and hit one of the lasers. The phlogiston level will begin to rise, simultaneously activating the mechanisms.
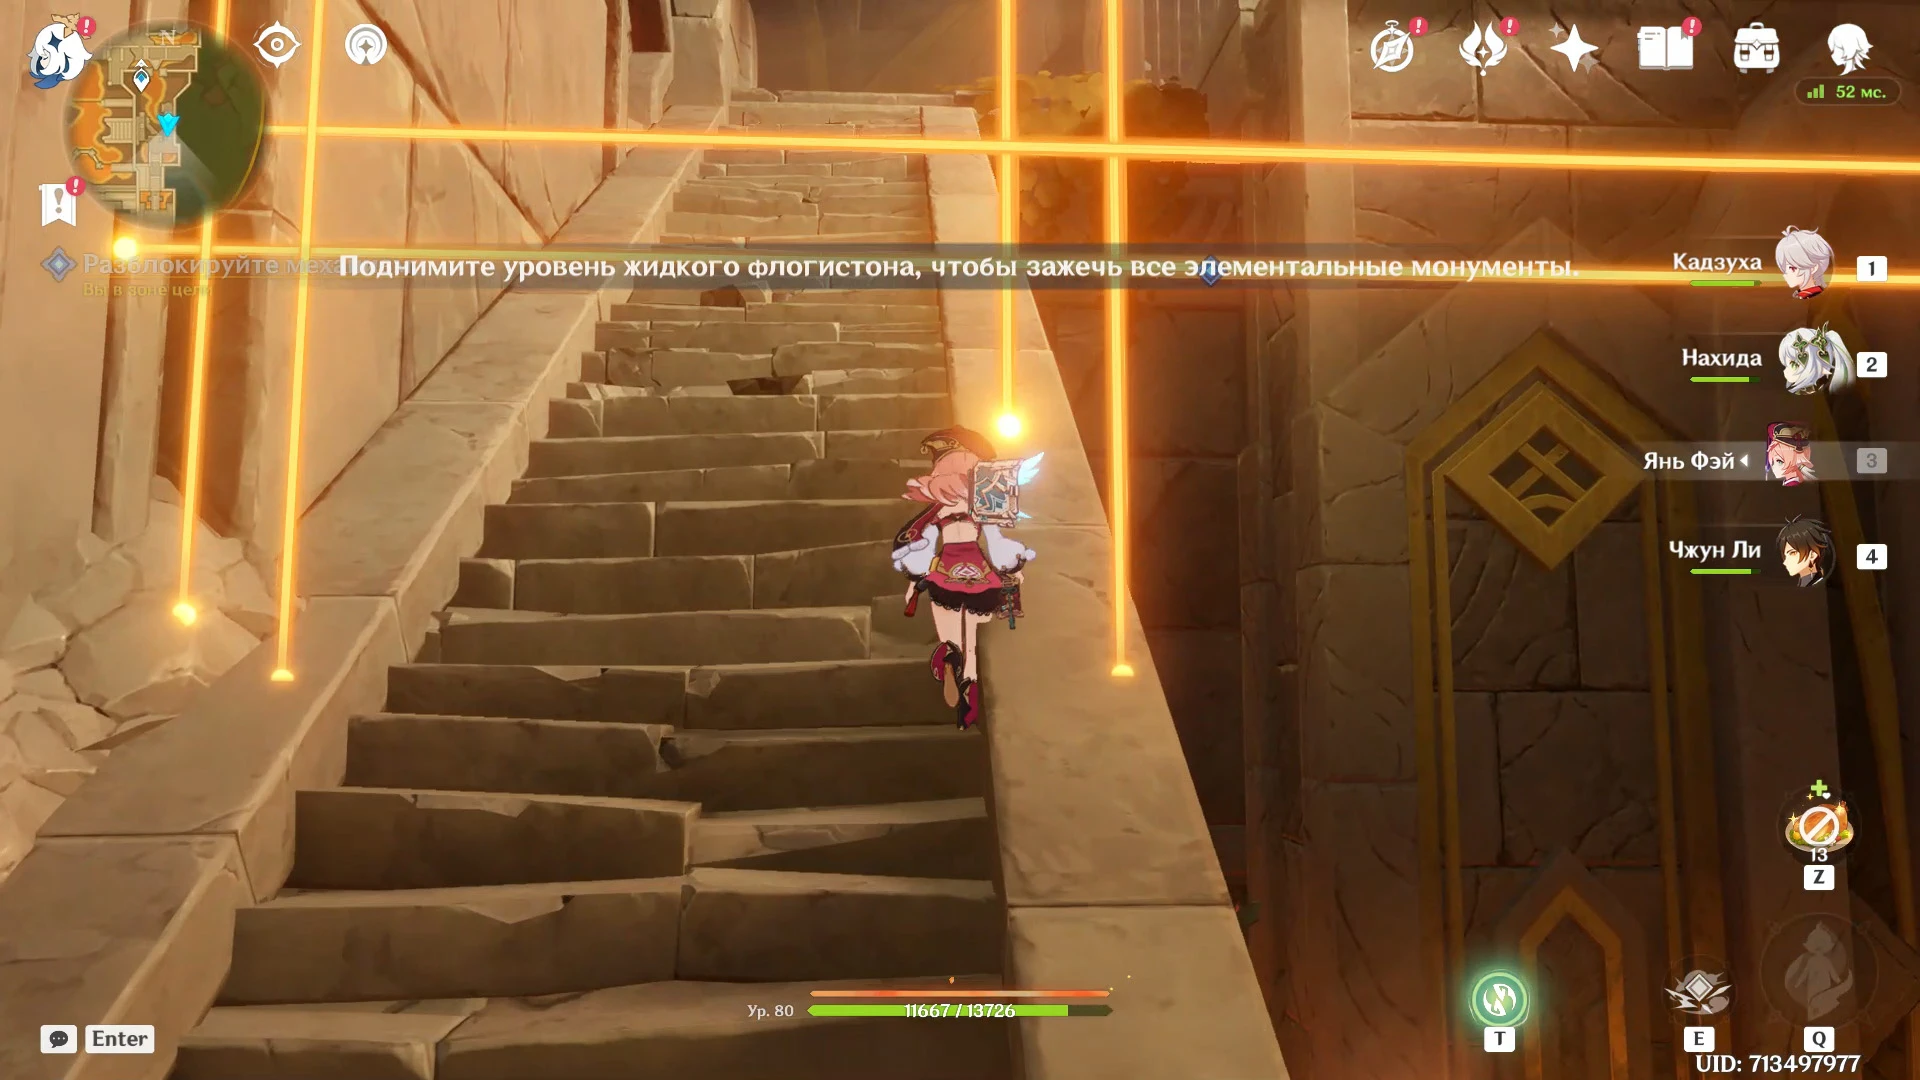
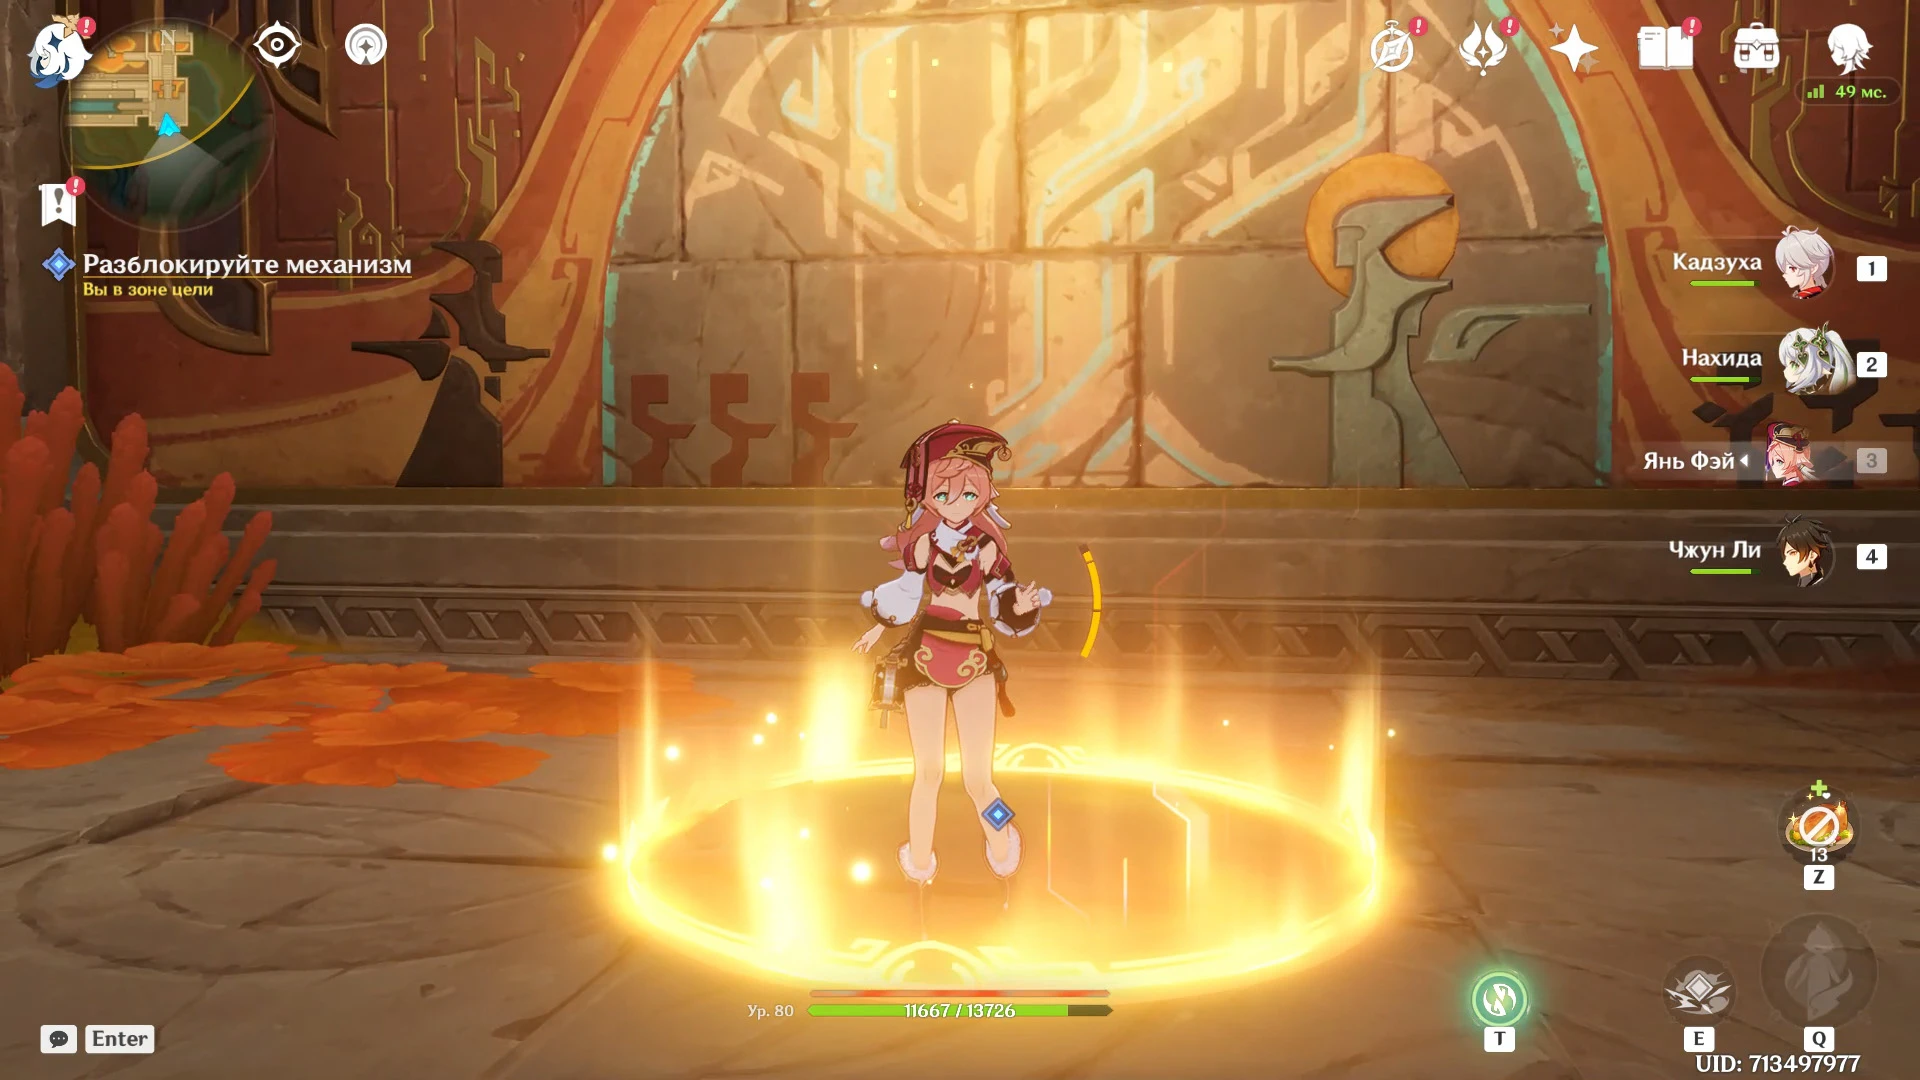
Before the liquid phlogiston level drops, climb up and activate the mechanism to open the gate. Stand in the area of the gold sensor. If for some reason you did not move the saurian to the green mark area earlier, use the switch on the wall to adjust the position of the platforms.
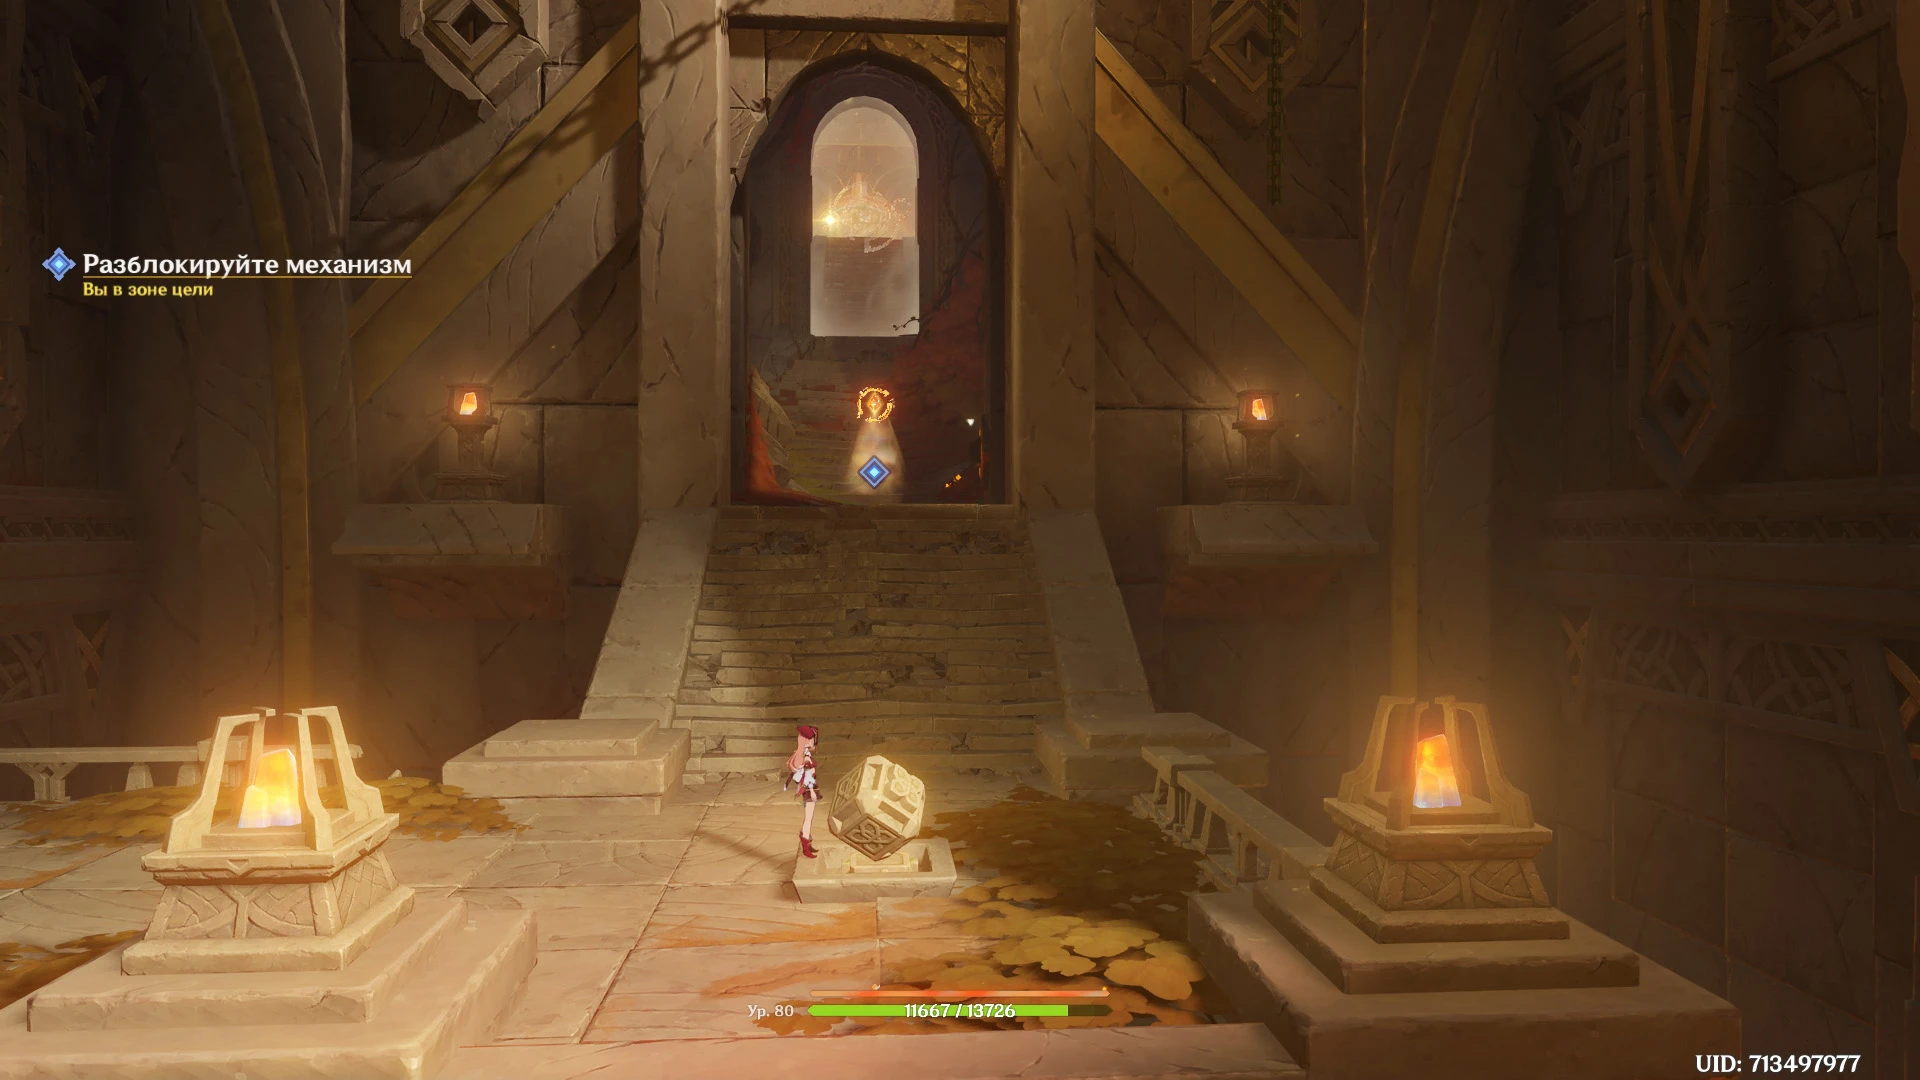
When the plot marker moves forward, go down the hall to the painting on the wall and take a position under the gold marker. Switch to the Saurian and go deeper into the room, standing on the green marker next to another painting.
Meet your Saurian companion
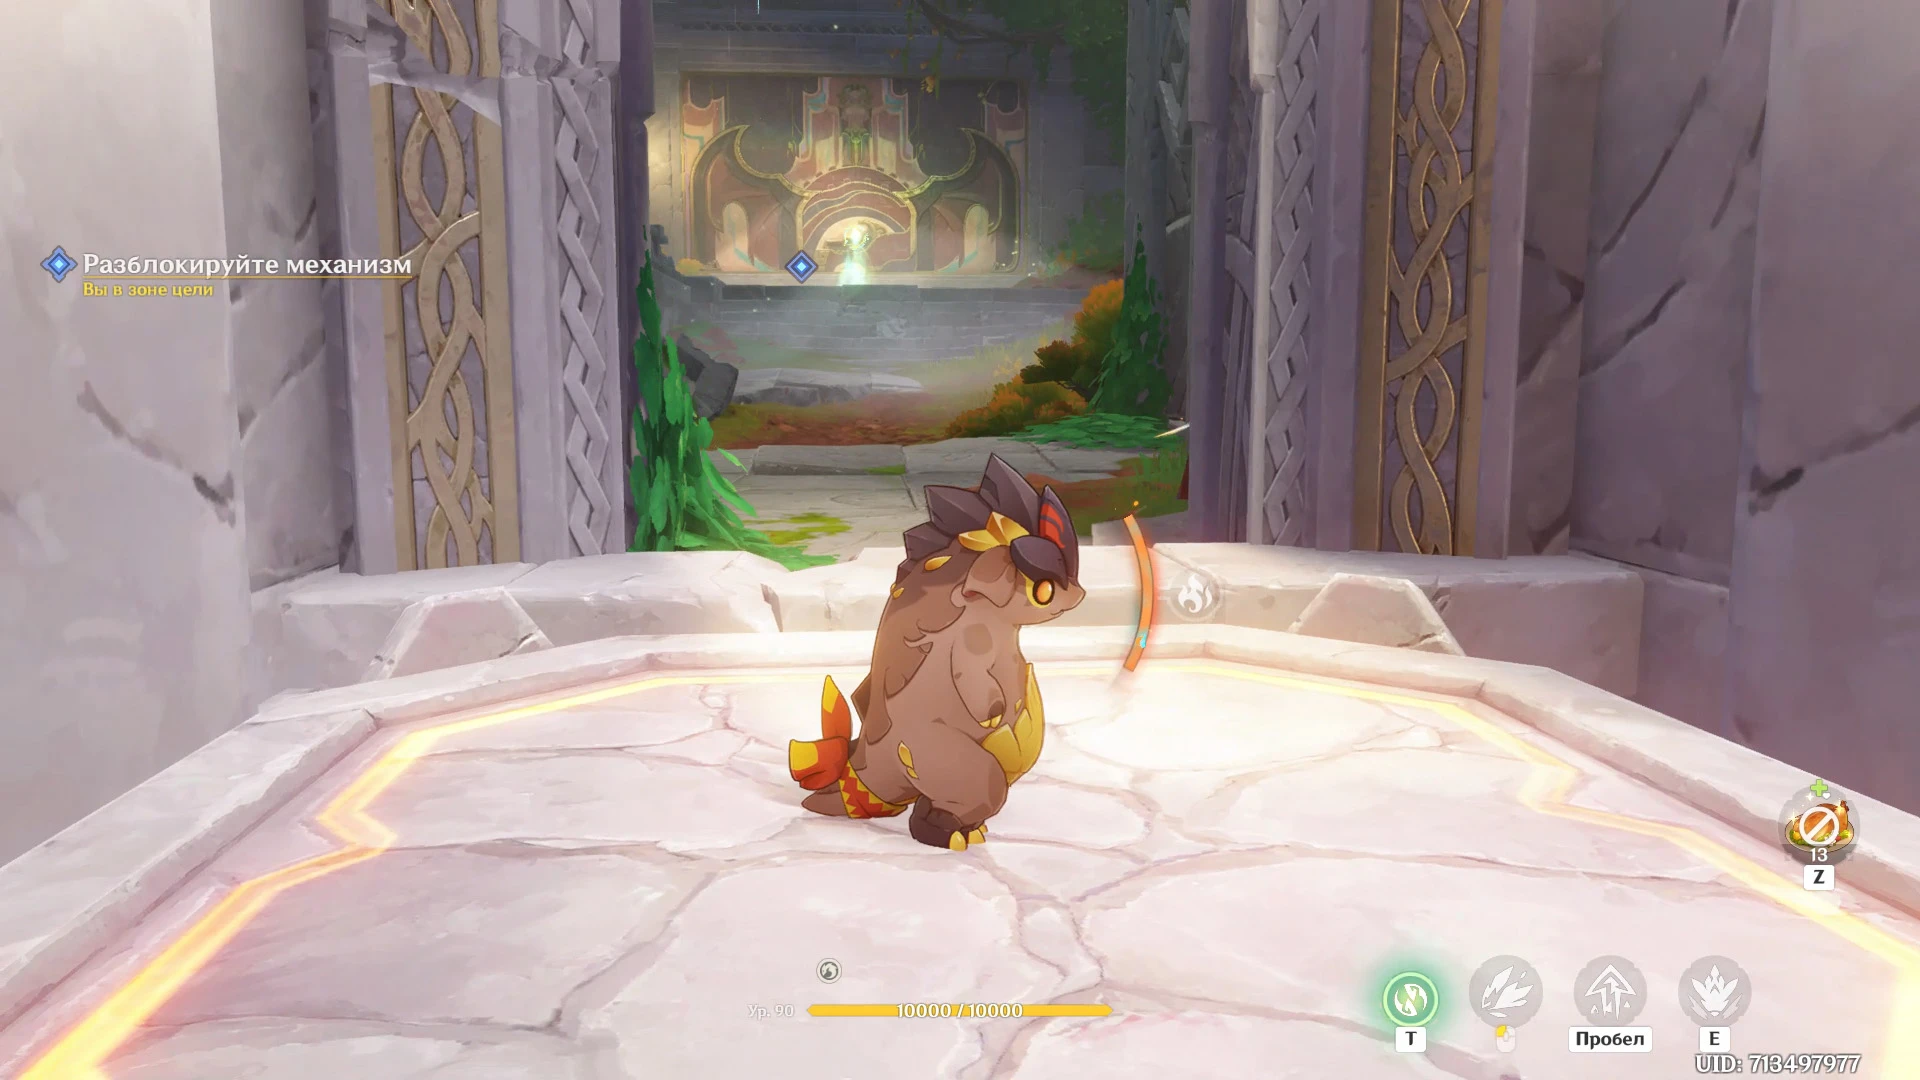
After reading the message, reunite with the teleptysaur: go through the passage on the left, take the rewards from the precious chest and take a position on the golden sensor.
Switch to the Saurian and jump down to the platform below.
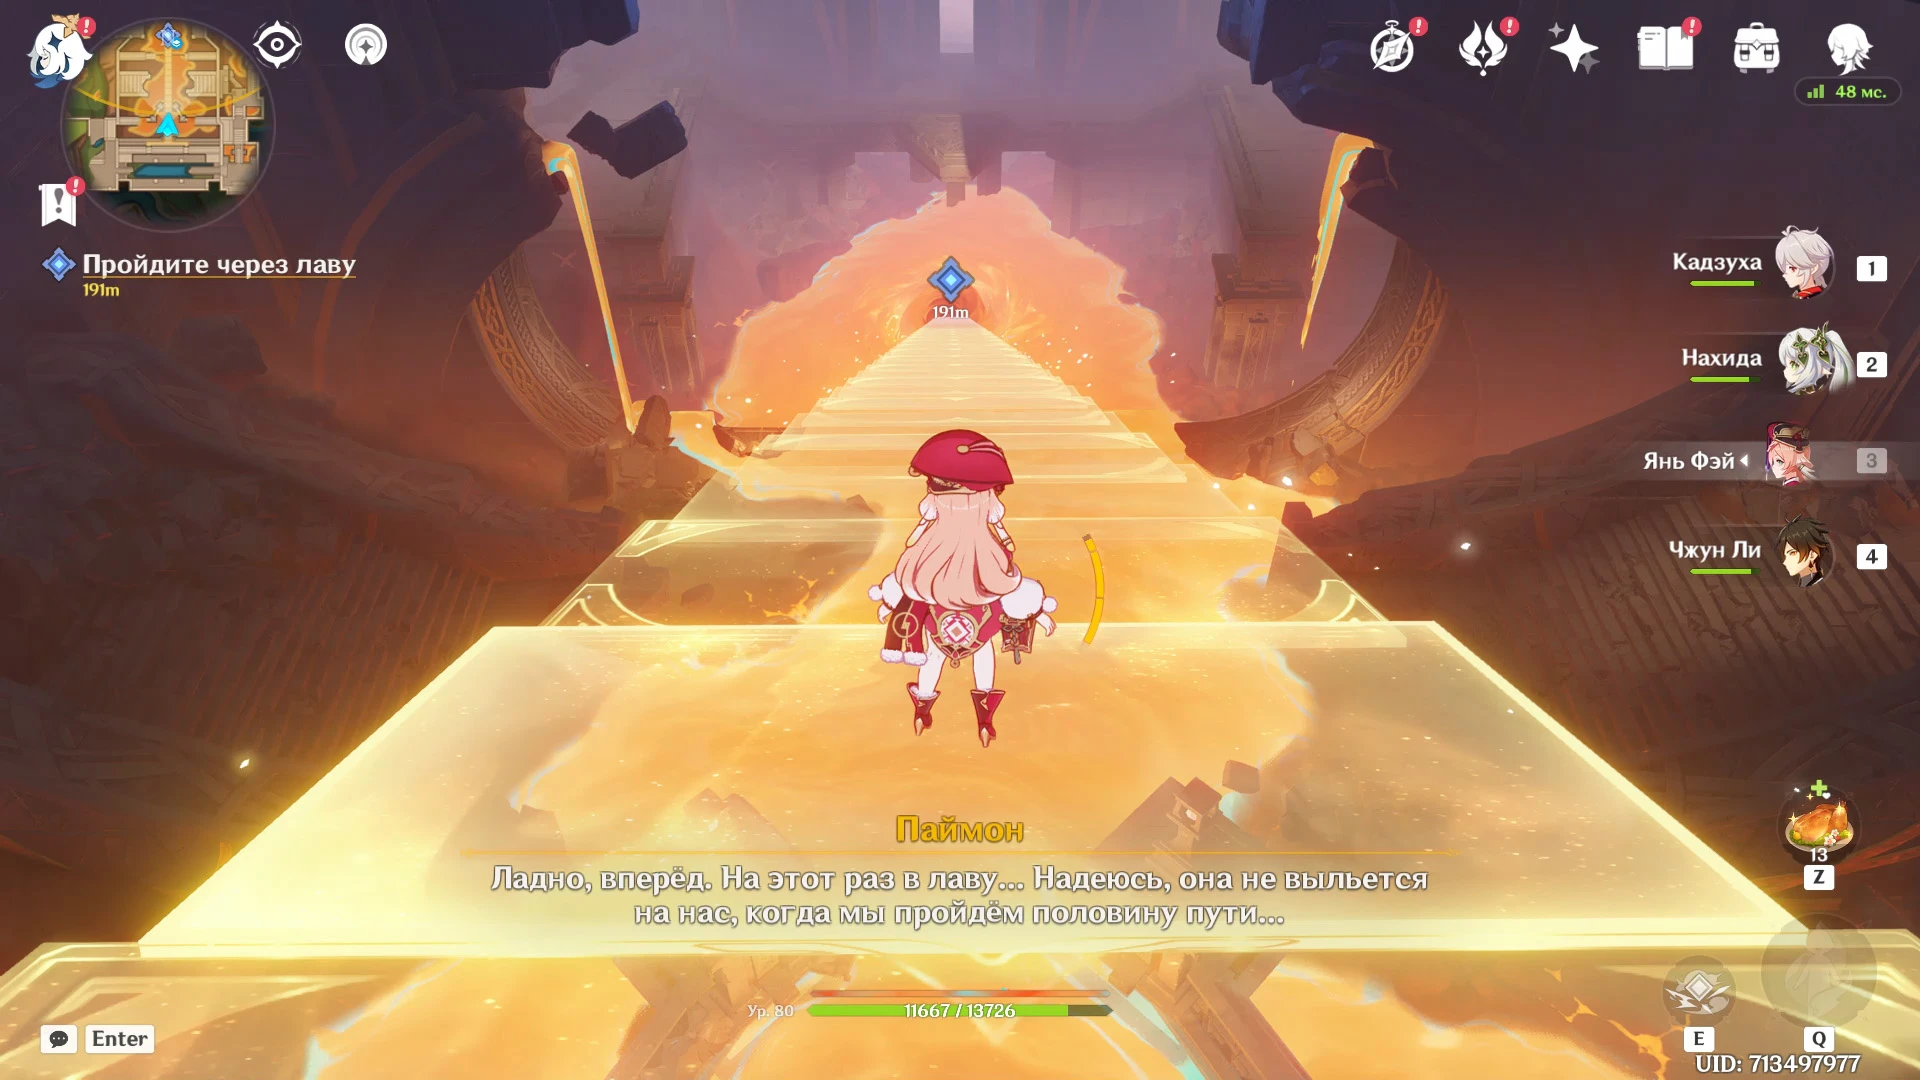
Go through the lava
After the cutscene is over, you can go down the stairs to the battlefield. You'll have to fight Golden wolf leader, no different from the boss that lives in the open world. It is recommended that before the descent, you put in the squad first of all characters that ensure the survival of the squad: shielders and healers, since in the battle with the boss, the saurian companion will be able to help you and inflict significant damage to the opponent.
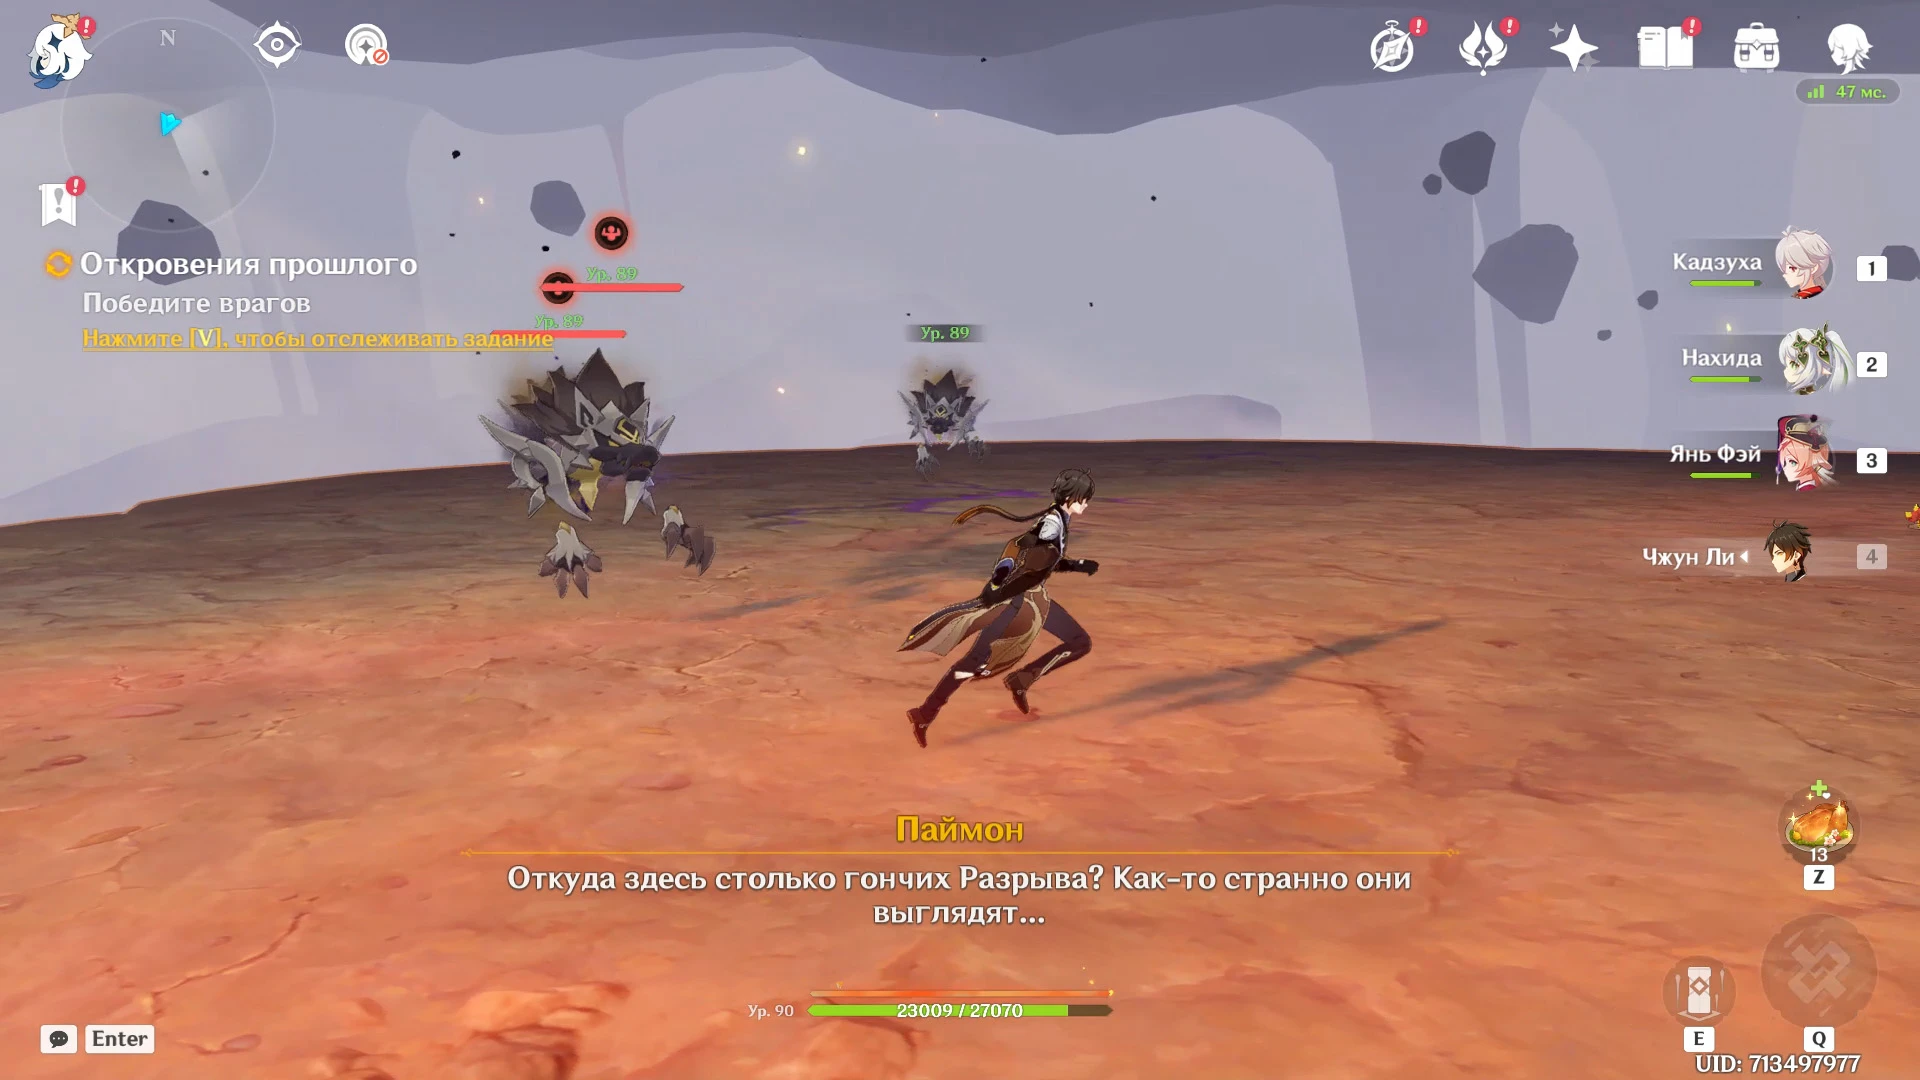
Fight in battle
Defeat several waves of Lesser Rip Hounds. When the Wolf Alpha appears, focus on surviving and dealing damage to it until its health bar enters the blue frame.
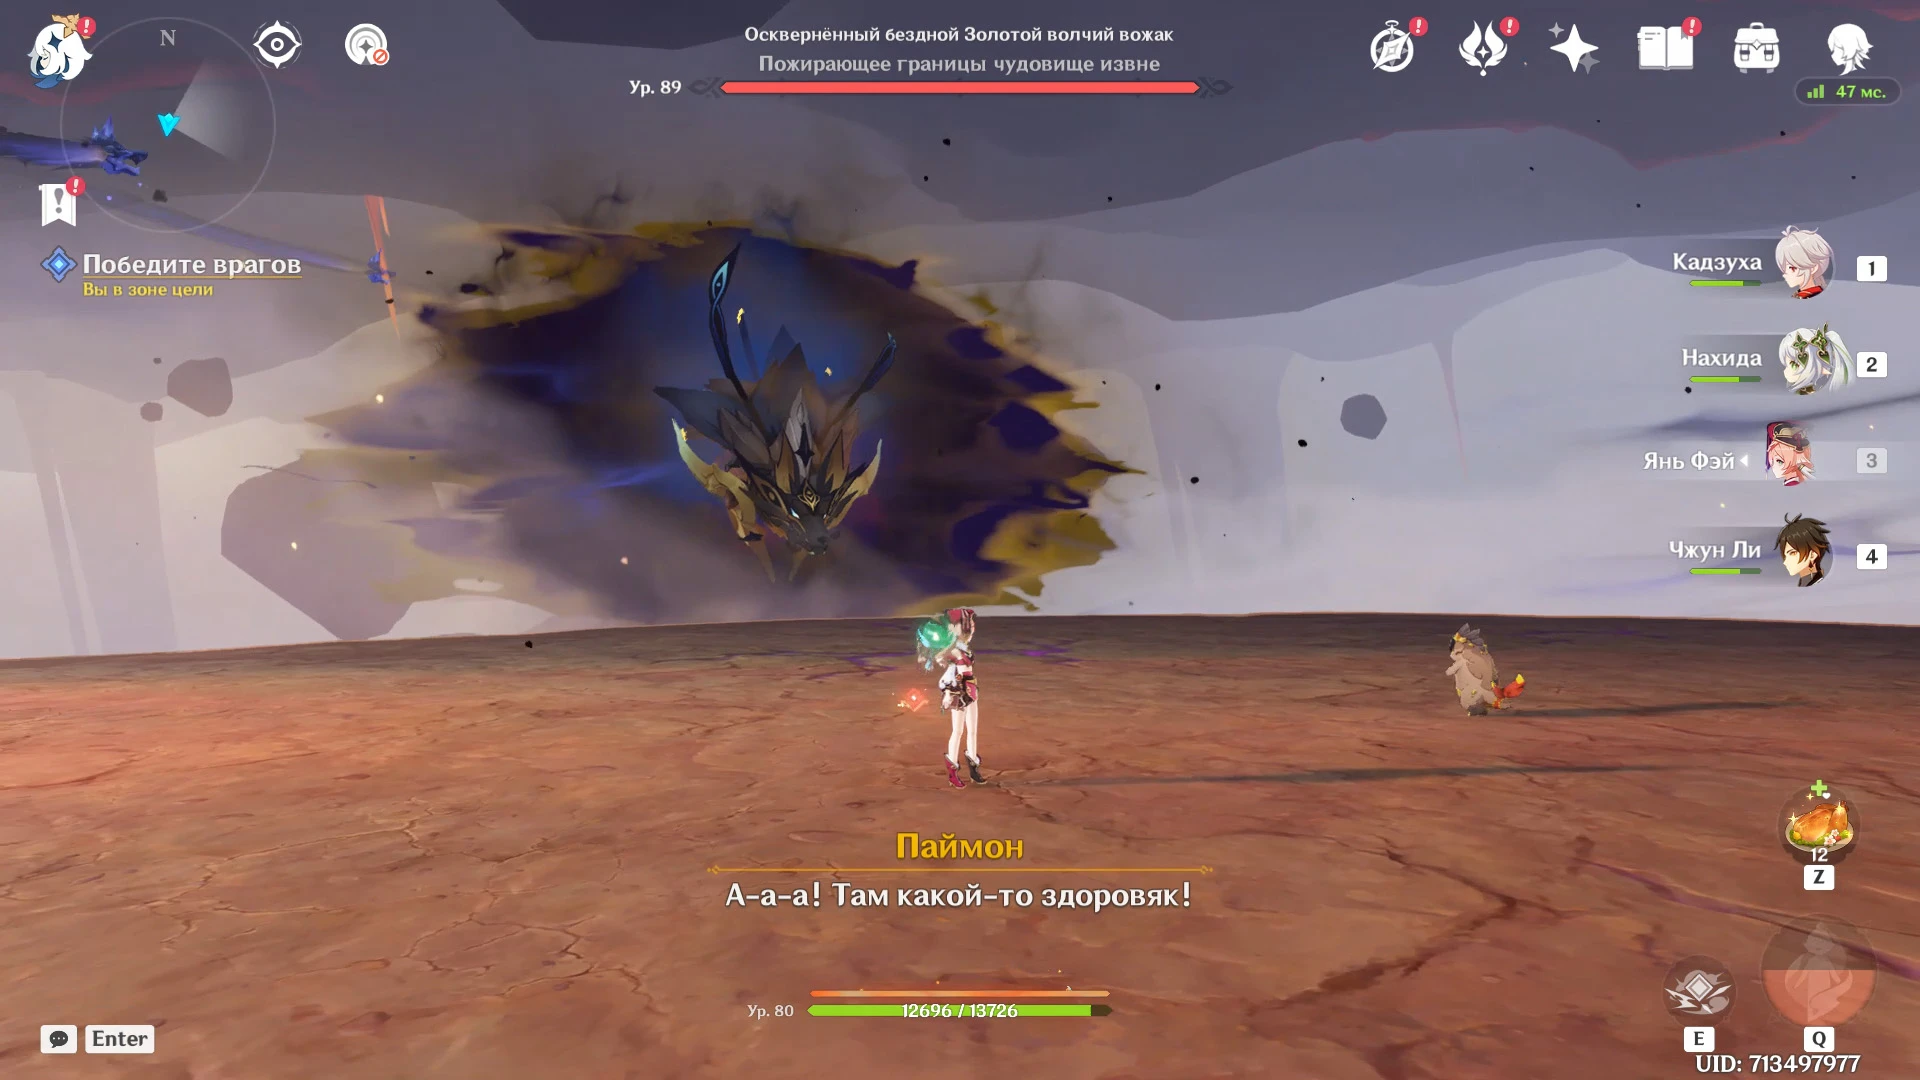
In this state, you will not be able to deal damage to the enemy. When an additional bar appears under the health bar, deal elemental damage to him to remove the Noelle: Protector.
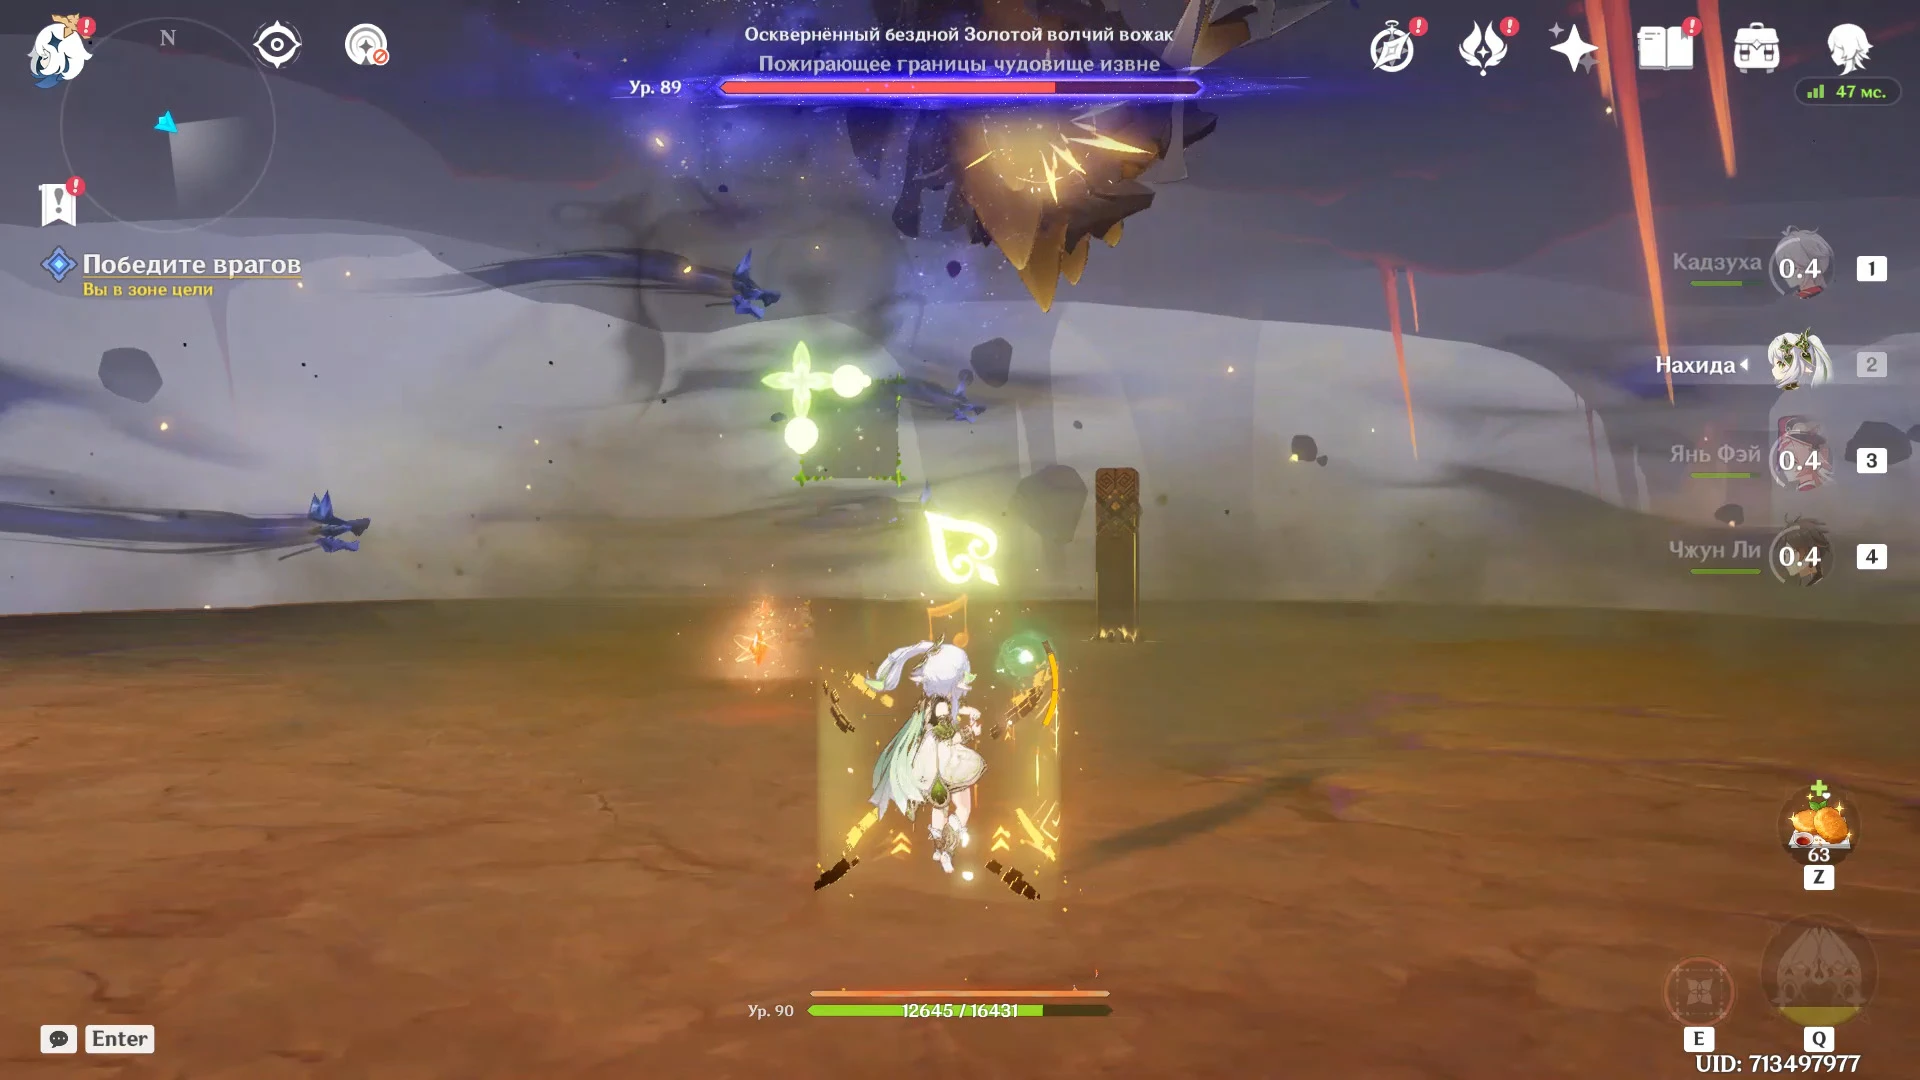
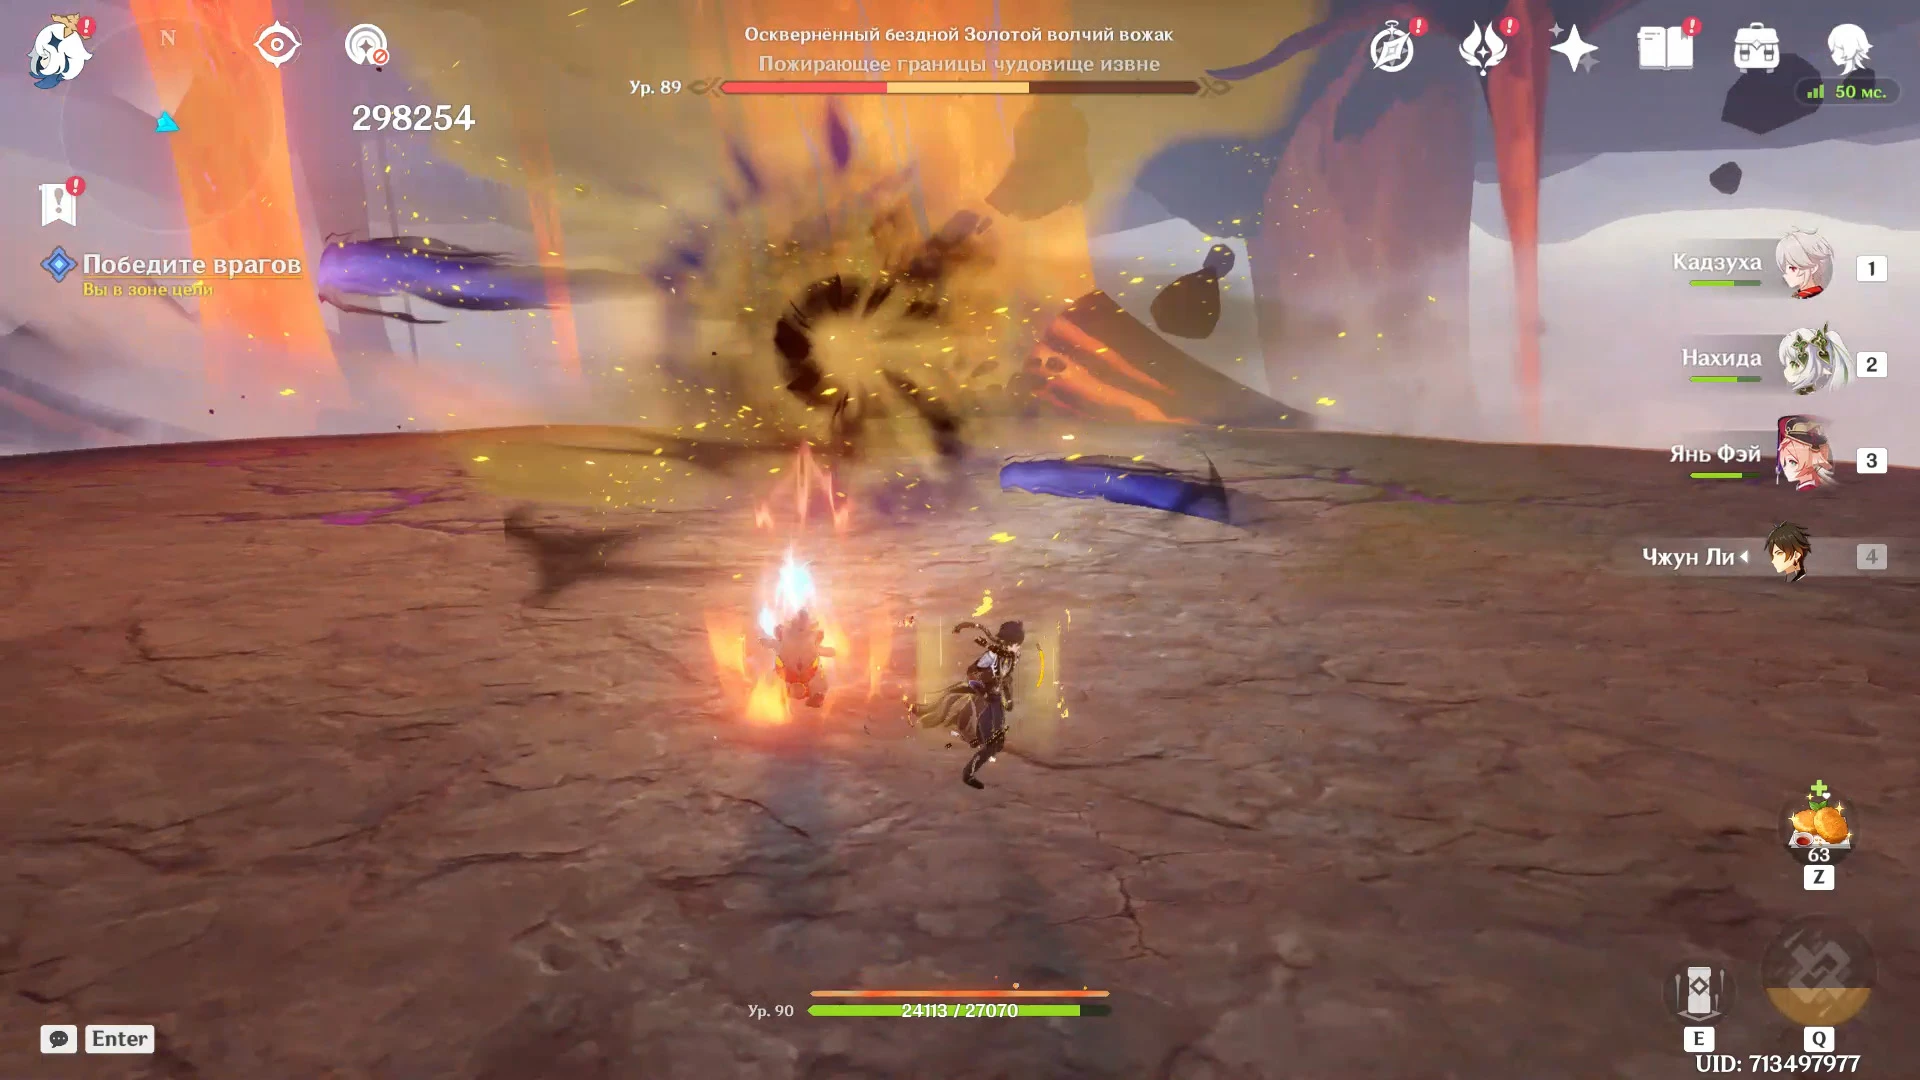
Also, at a certain point, your Saurian companion will awaken the power of the Firelord and will be able to deal significant damage to the boss.
Touch the inscription and move forward
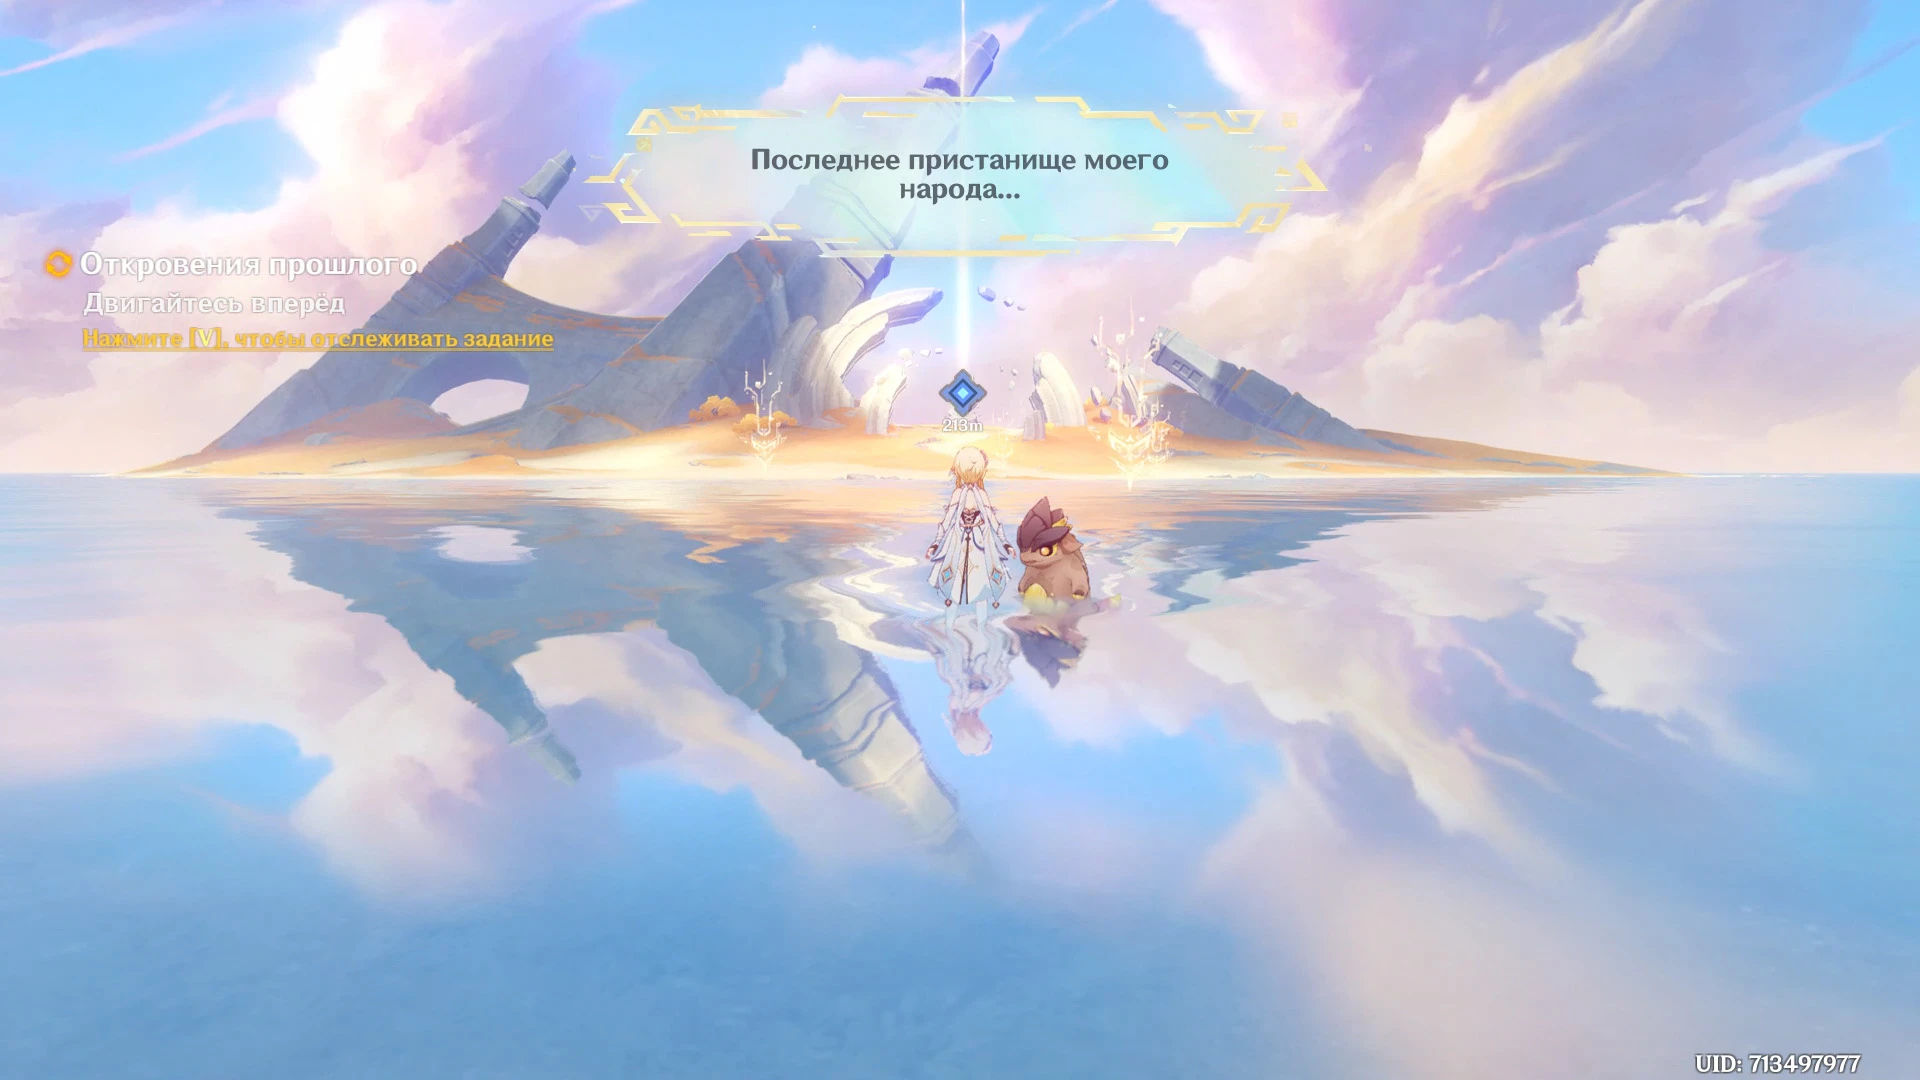
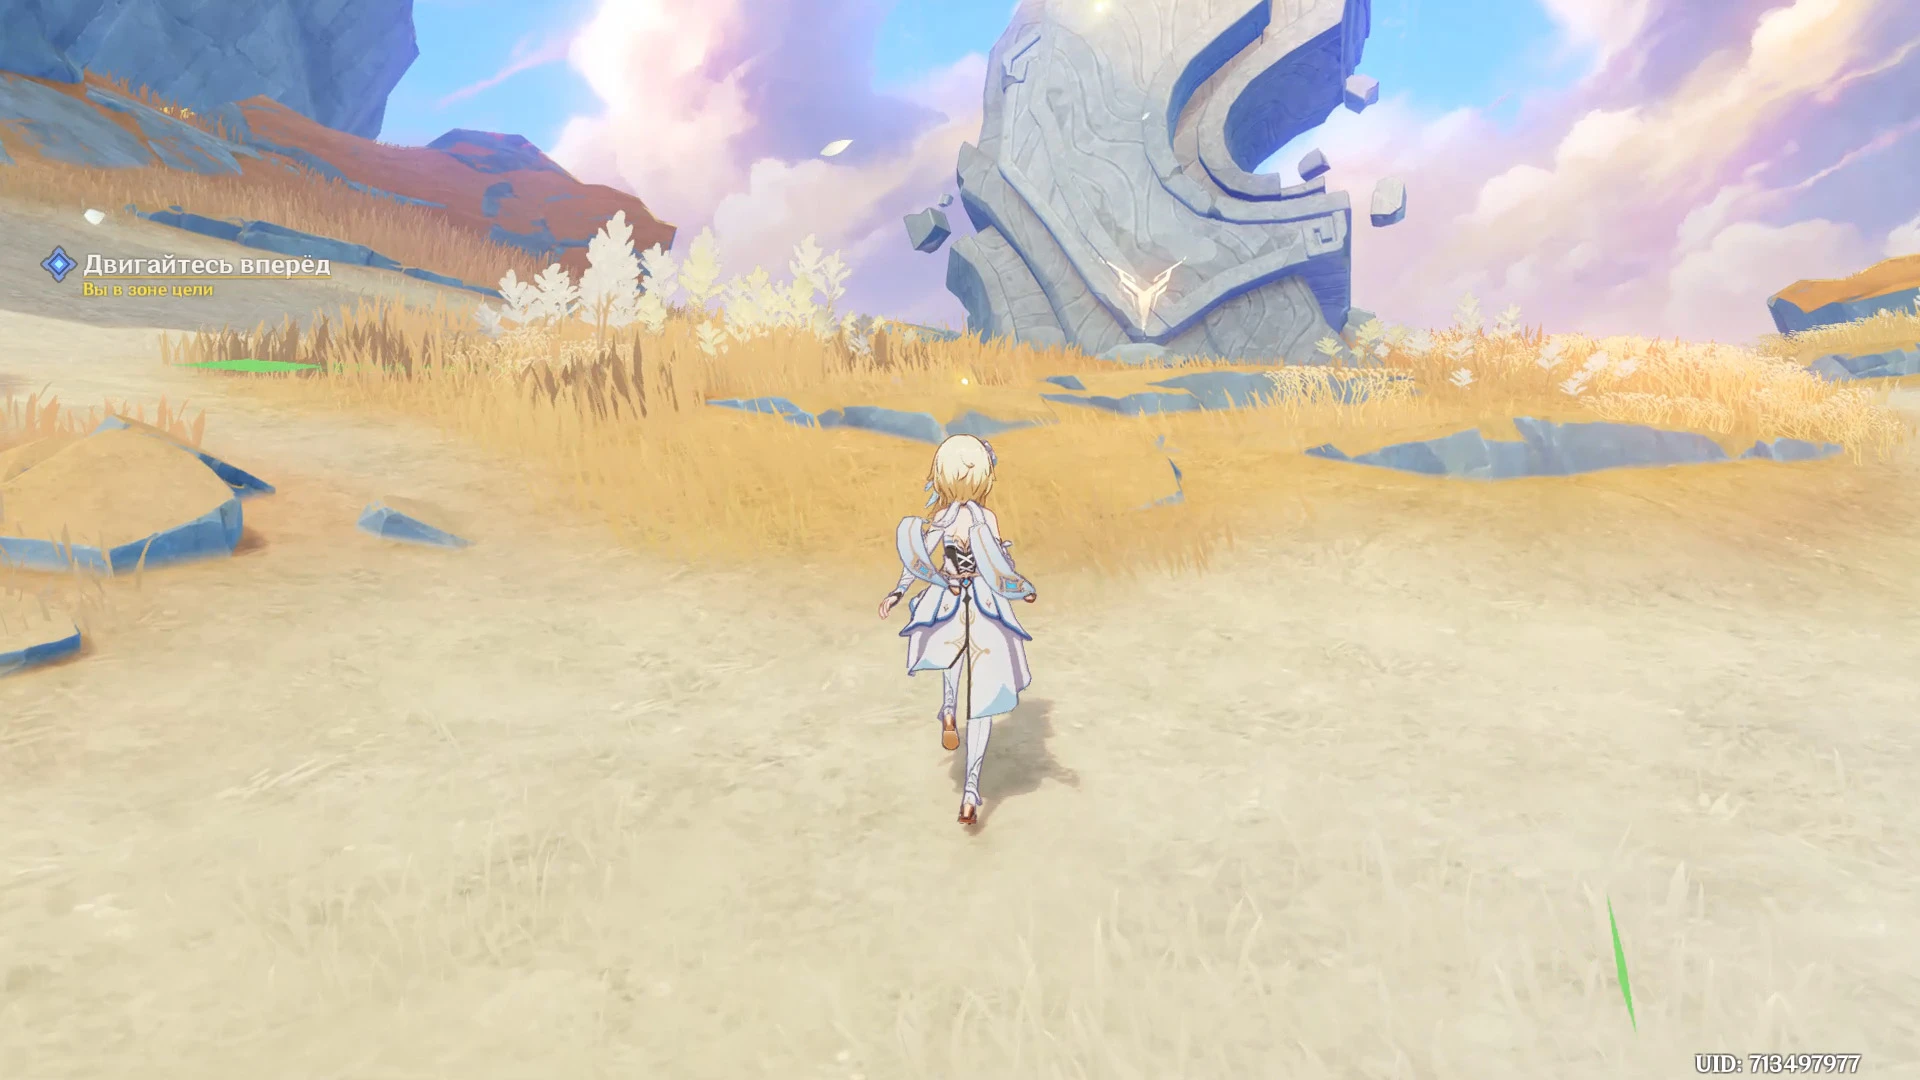
Once the fight is over, tap the inscription to move to a new location. Follow the quest marker to approach the center of the island and receive the Firelord's gift.
Comments
You need to login to add comments.
You can login with