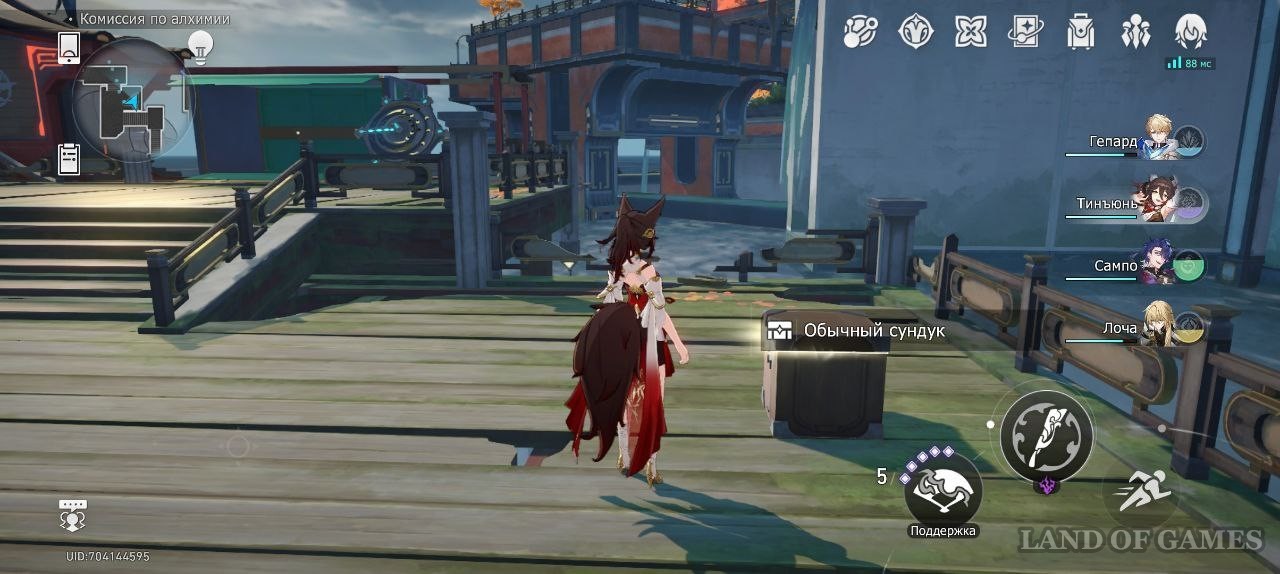
In Honkai: Star Rail chests at the Alchemy Commission located in Lofu Xianzhou, are valuable objects in which various treasures are hidden, ranging from arrows and ending with star jade. In this guide, you will learn where to find them and how to open them, because in order to gain access to some chests, you must first solve a puzzle, complete a task, or defeat dangerous enemies.
Where to find chests in the Alchemy Commission
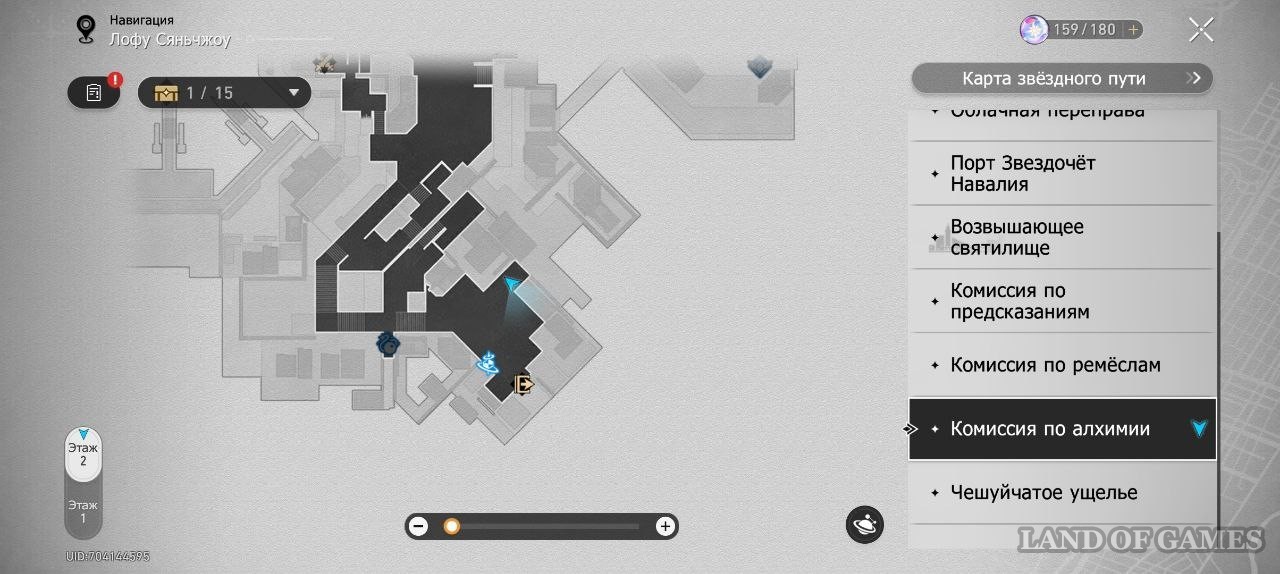
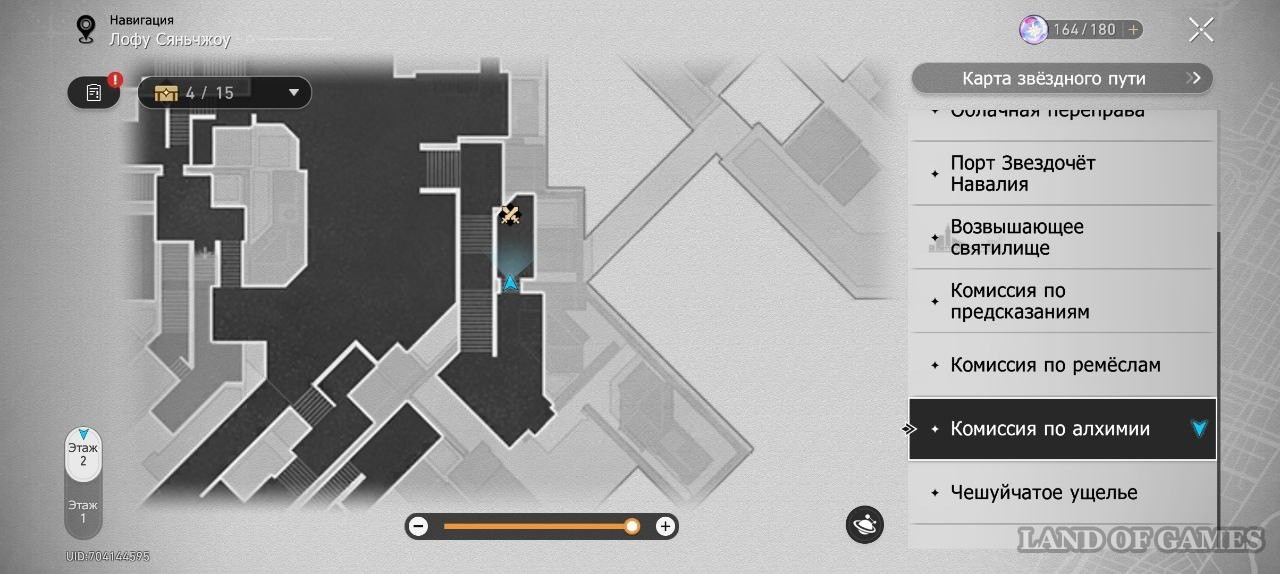
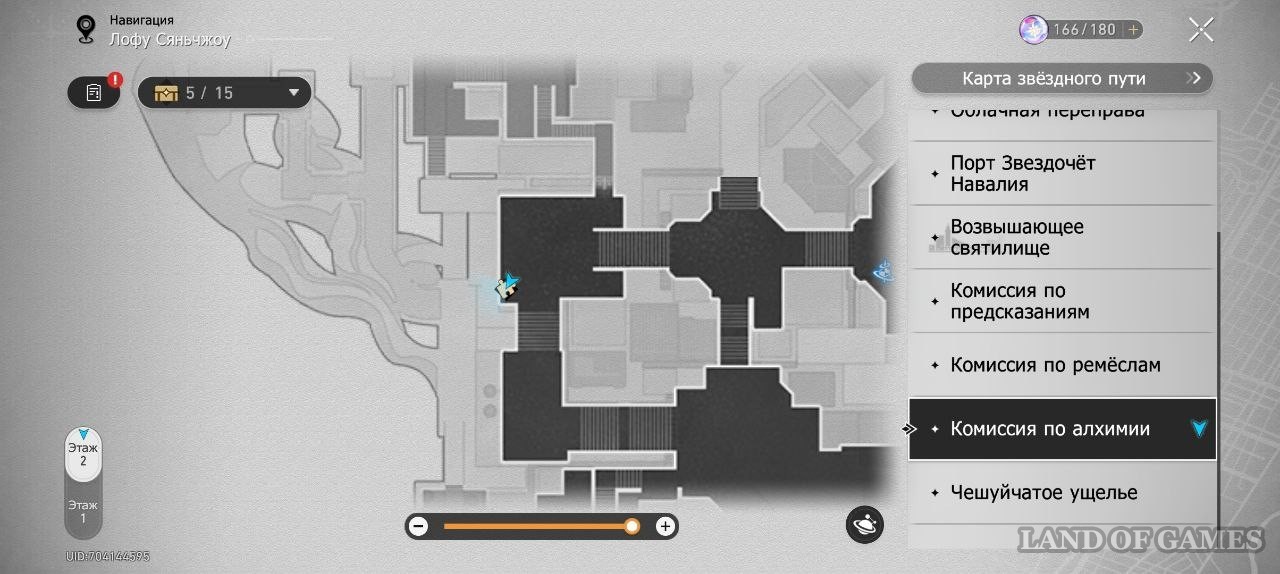
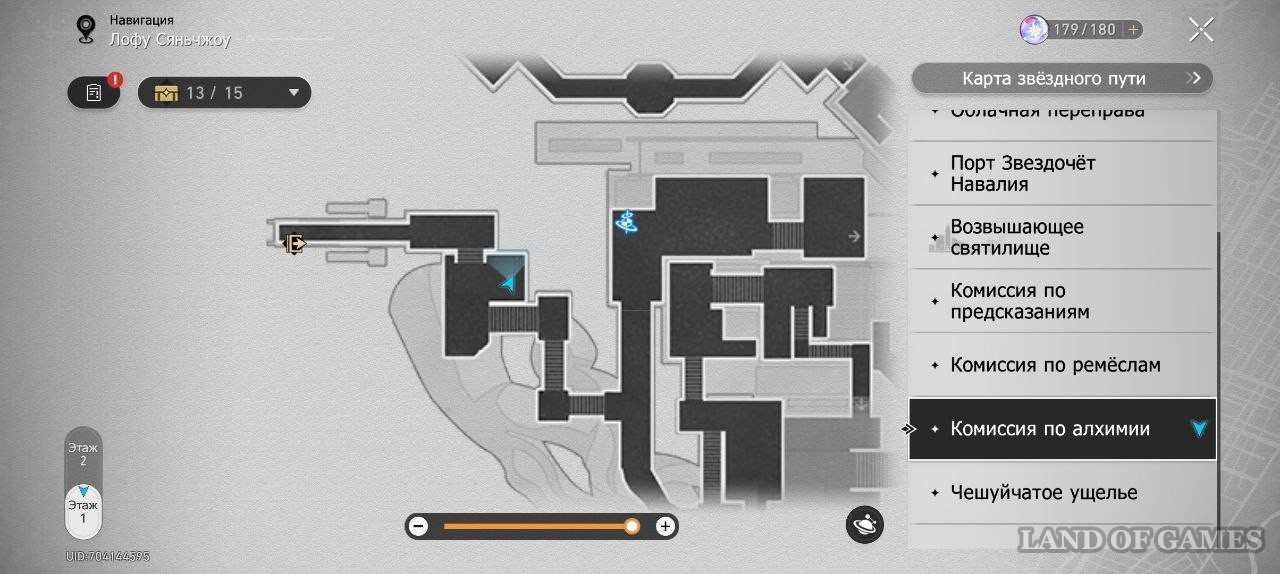
Access to this location you will open during the passage of the story quest chain "Hyperion Tower", however, we advise you to take up its study after it has been completed. It consists of several areas where you can find 22 chests of different rarity levels. On the maps below you can see their approximate location. Below we will tell you in detail how to get to them.
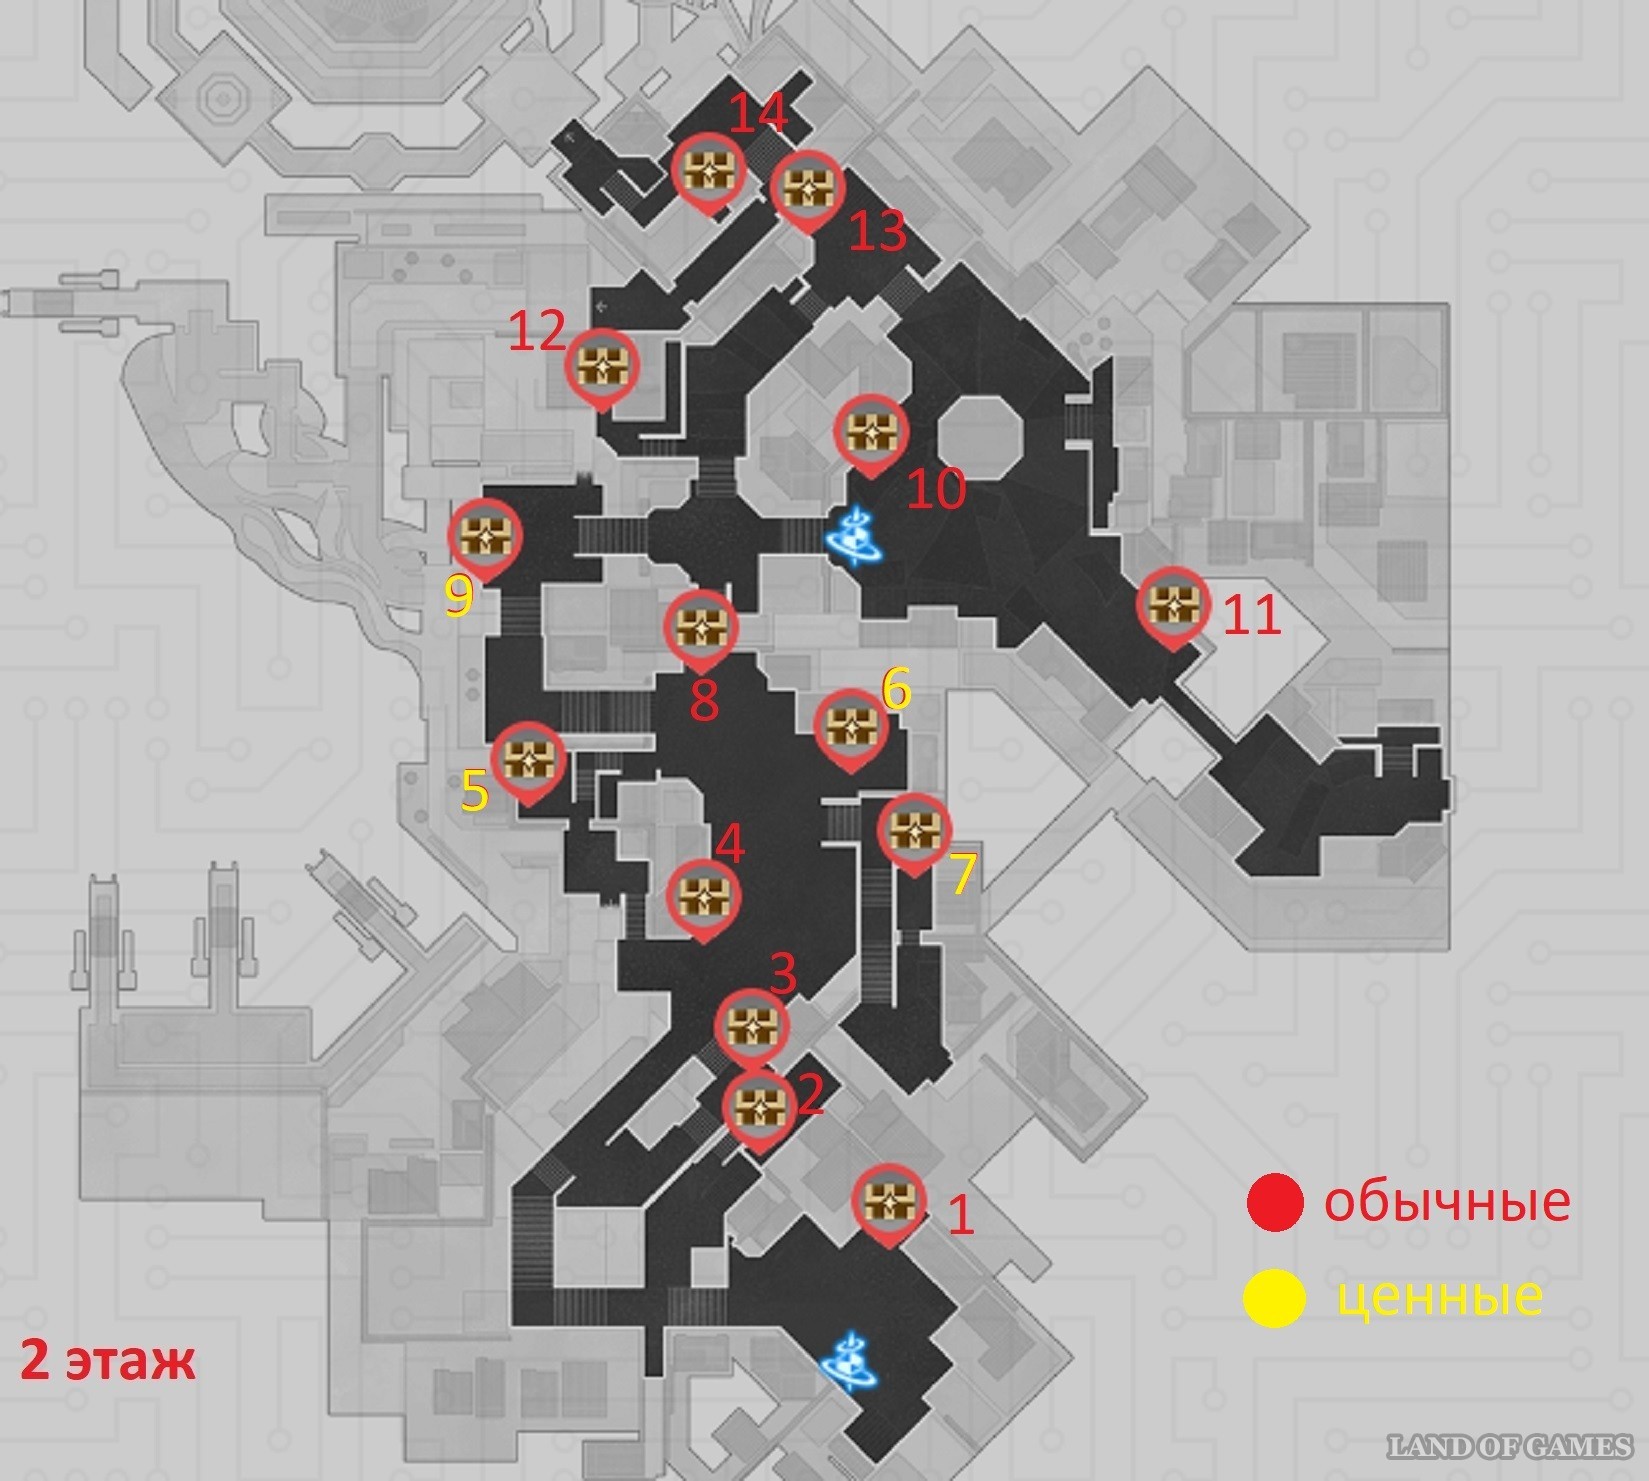
Chest 1
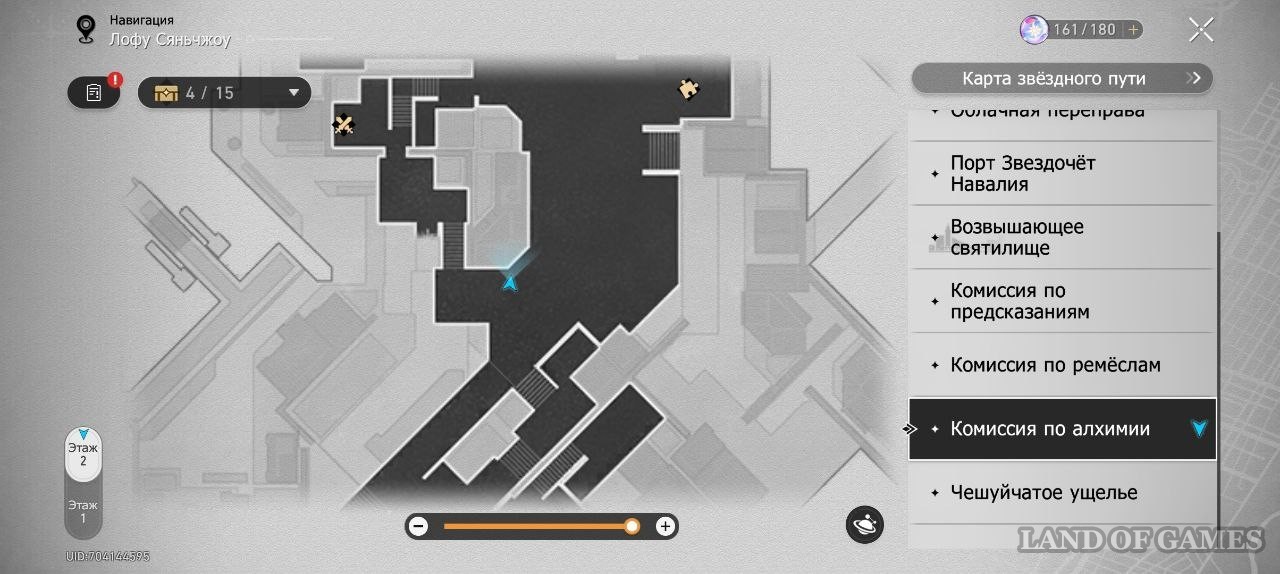
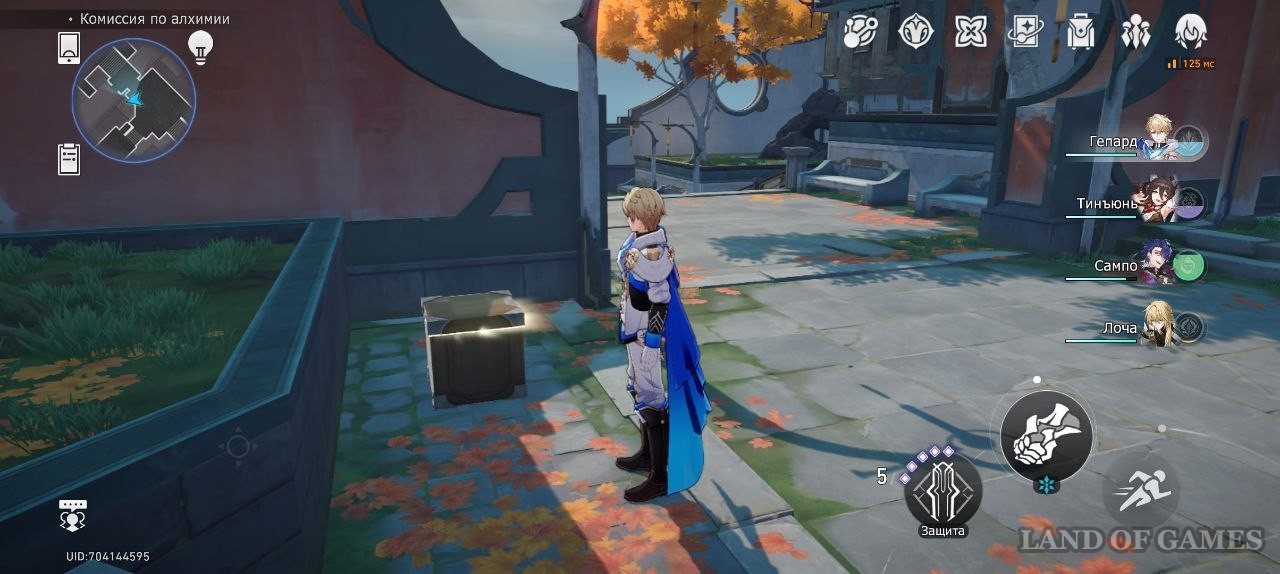
When you first enter the Alchemy Commission from the Crafts Commission, you will find yourself on its second floor, near the southern teleport. Go north a little and go around the corner.
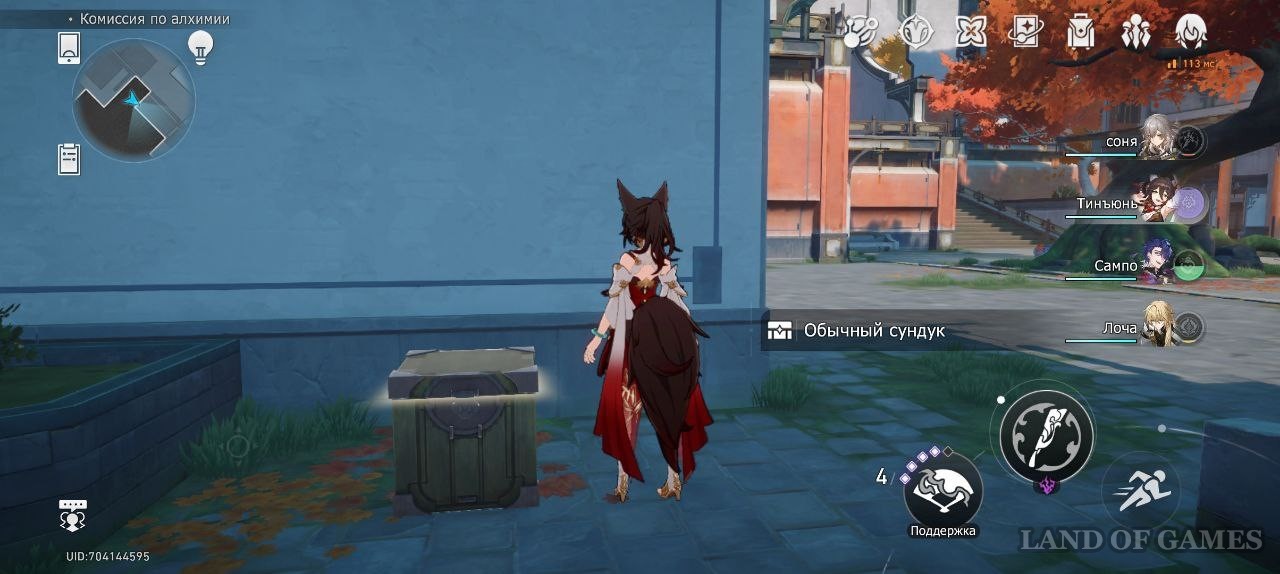
Chest 2
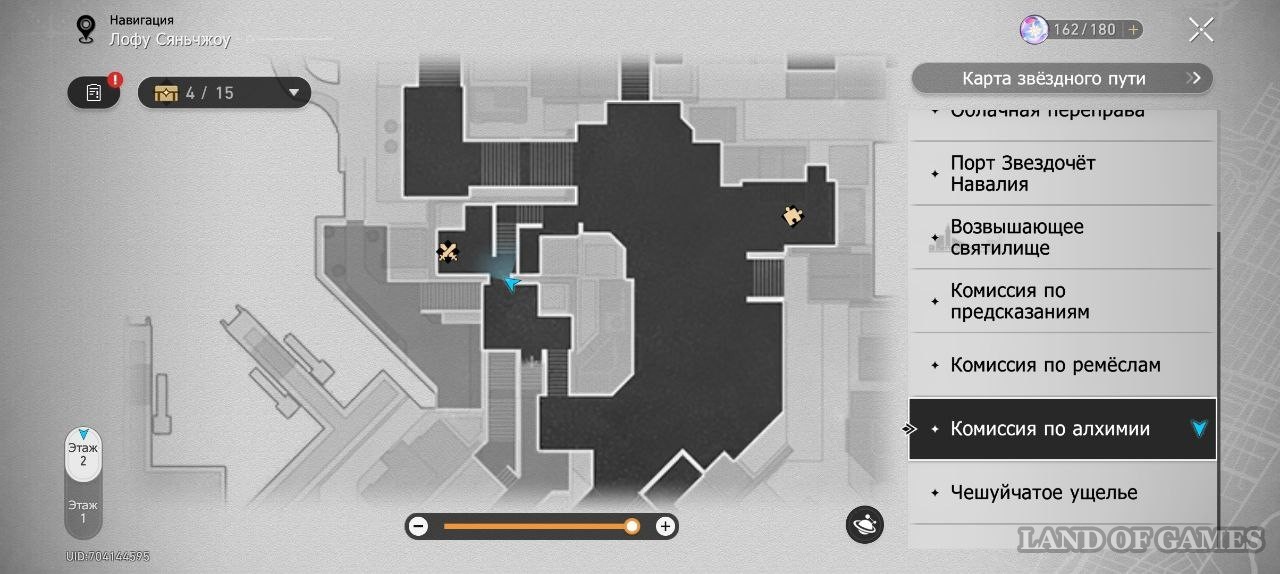
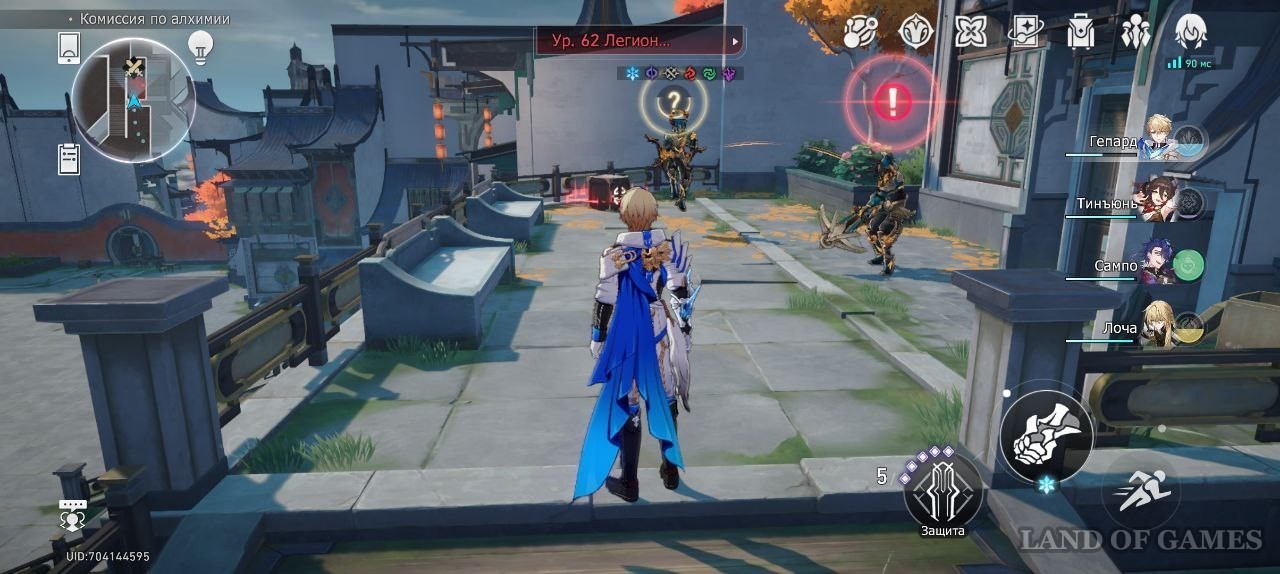
From the previous chest, move further along the location, turn right at the first fork. Most likely, along the way, you will have to fight the apprentice Sanctus Medicus and the Beasts of Opulence.
Climb the stairs - the chest will be at the top, next to it.
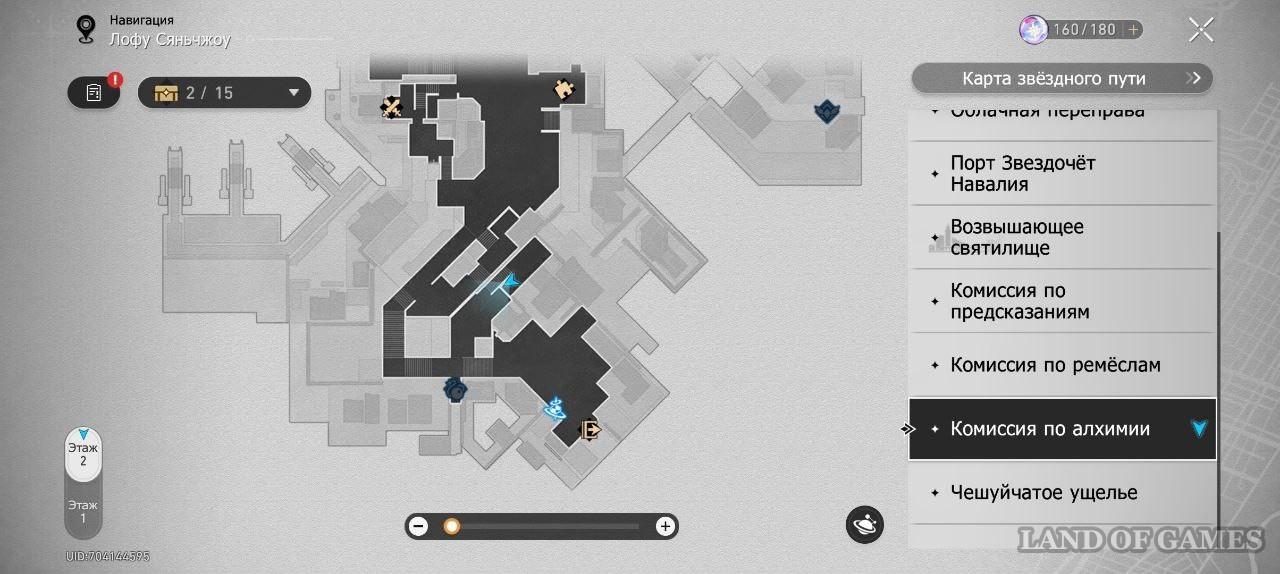
Chest 3
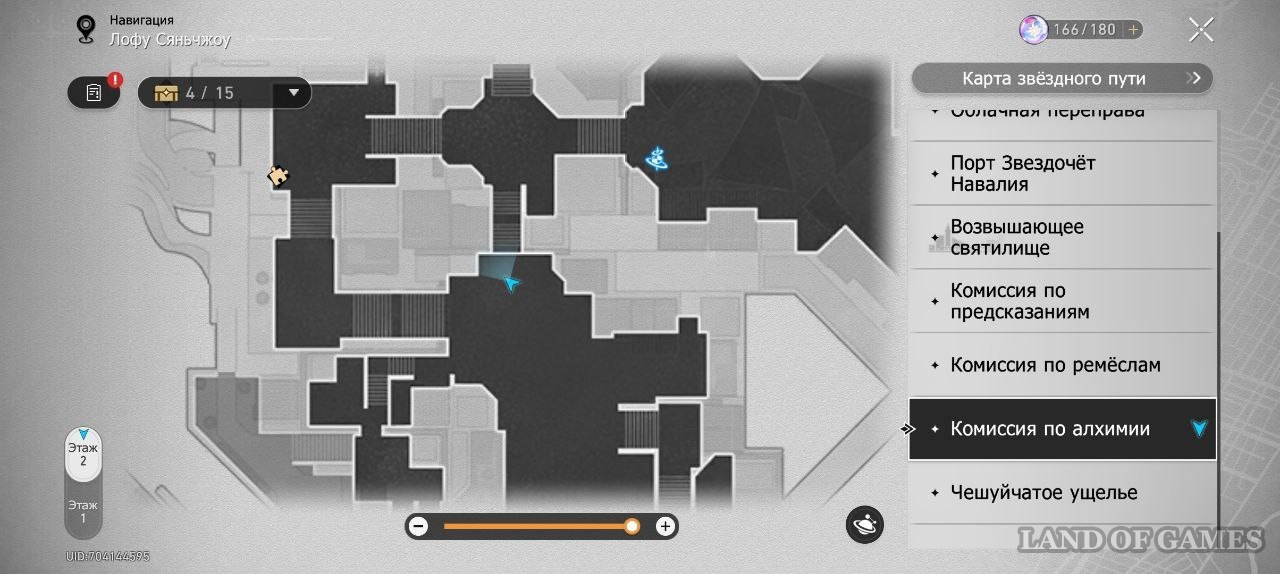
Return to the fork and now run west. Reach the second staircase on the right and climb it.

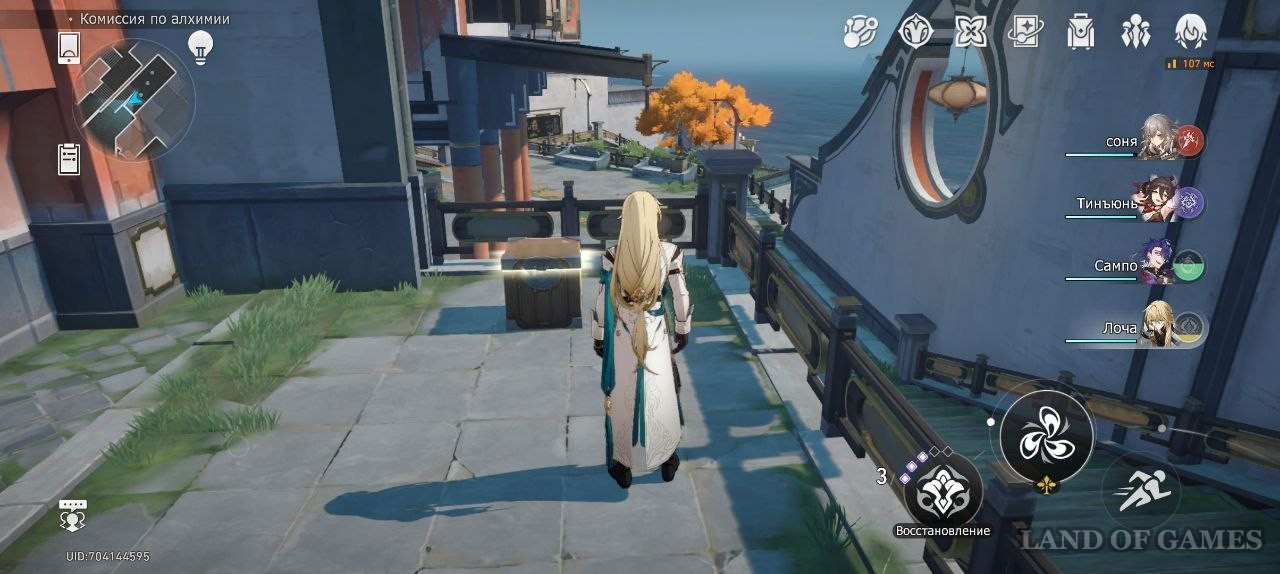
Chest 4
Climb down the stairs and run west. This chest is hard to miss.

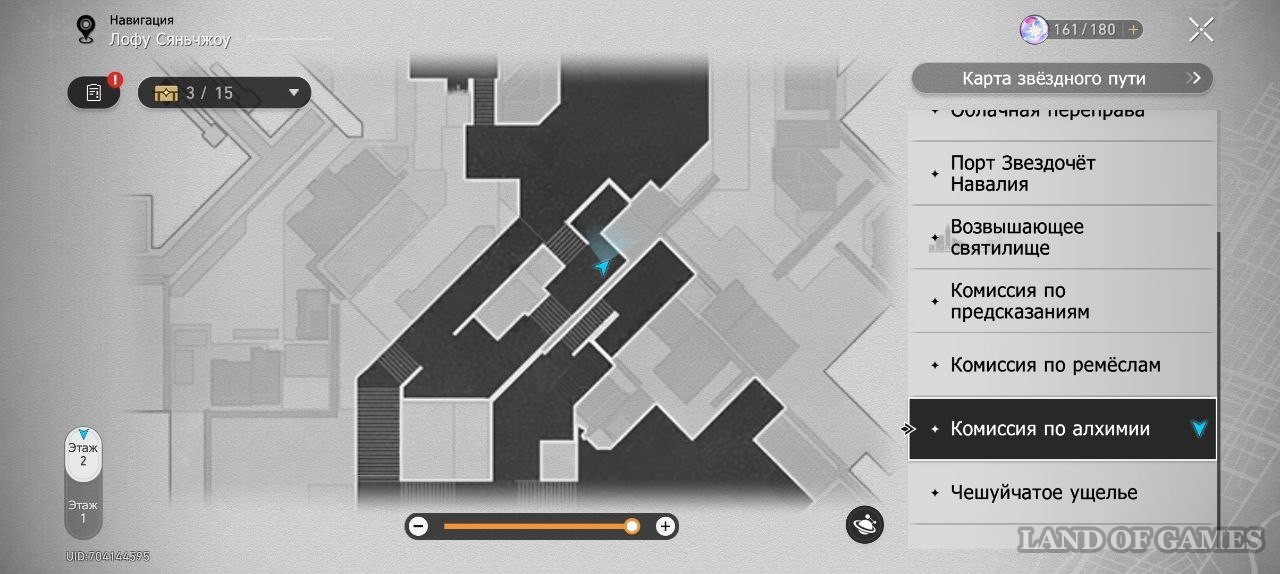
Chest 5
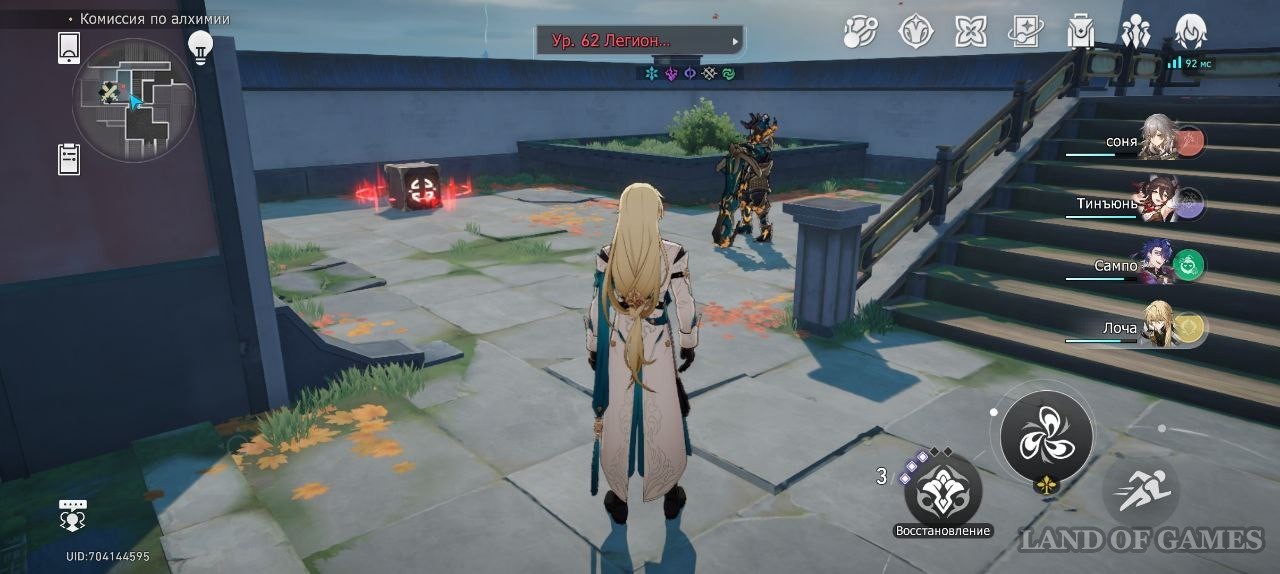
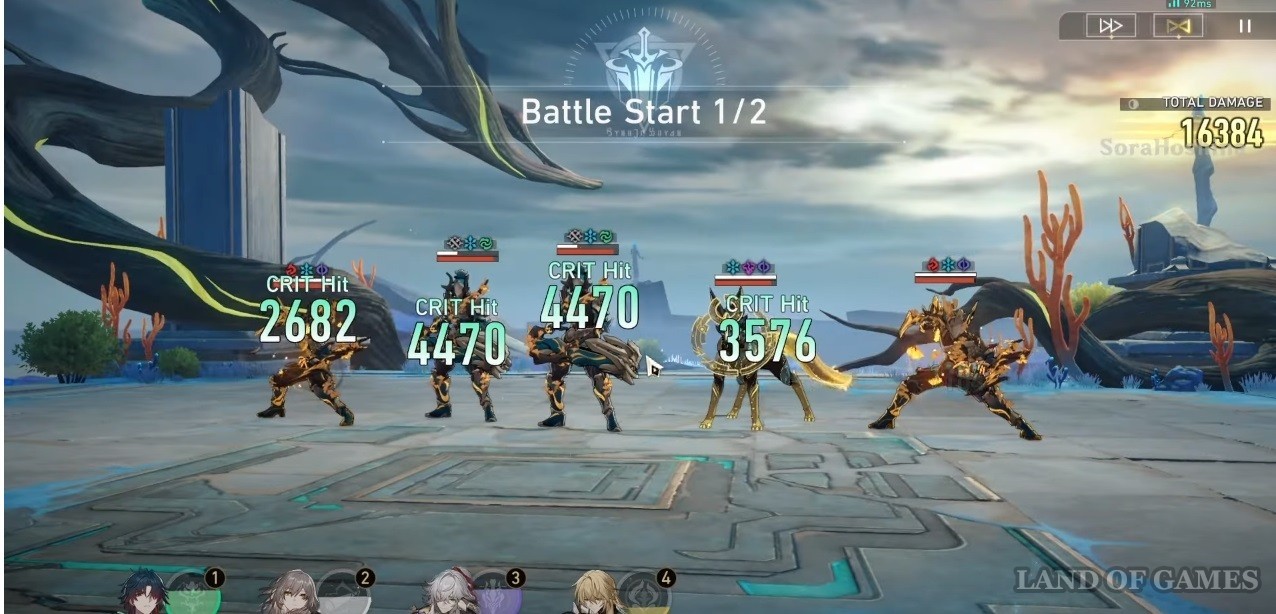
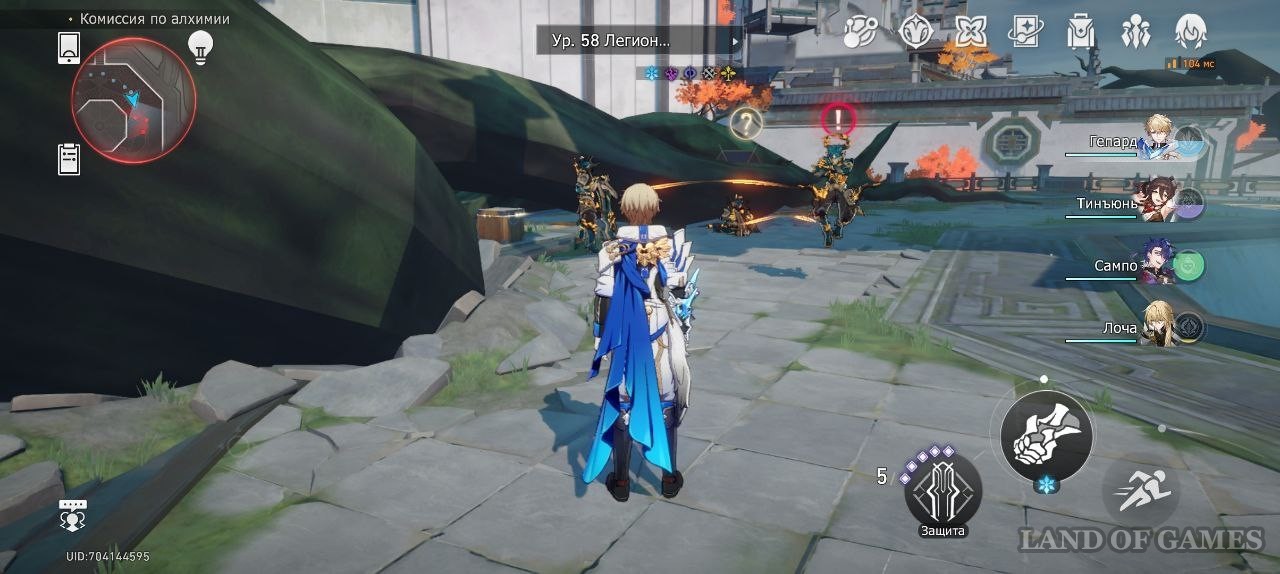
From the previous treasure, go west and follow the only path. Here you have to fight 3 Beasts of Opulence and 2 Sanctus Medicus Apprentices. They are vulnerable to all types of damage, but mainly to ice, electric and quantum damage - we advise you to take this into account when preparing a squad. Here, characters that can deal area damage will be extremely useful - you will have to fight 4 opponents at once in one wave.
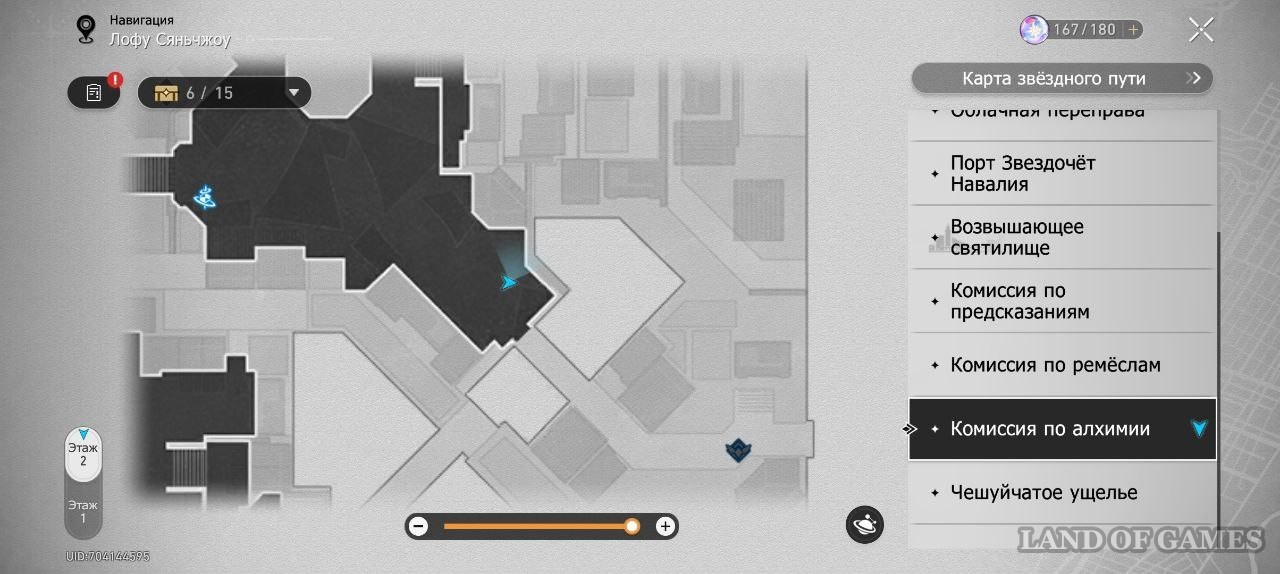
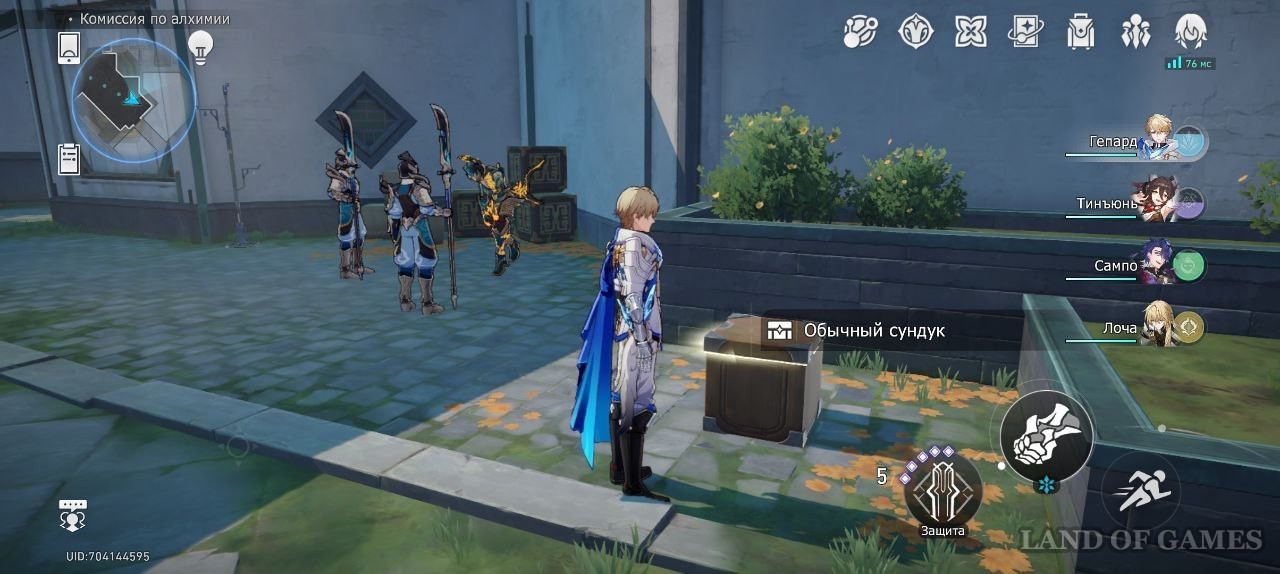
Chest 6
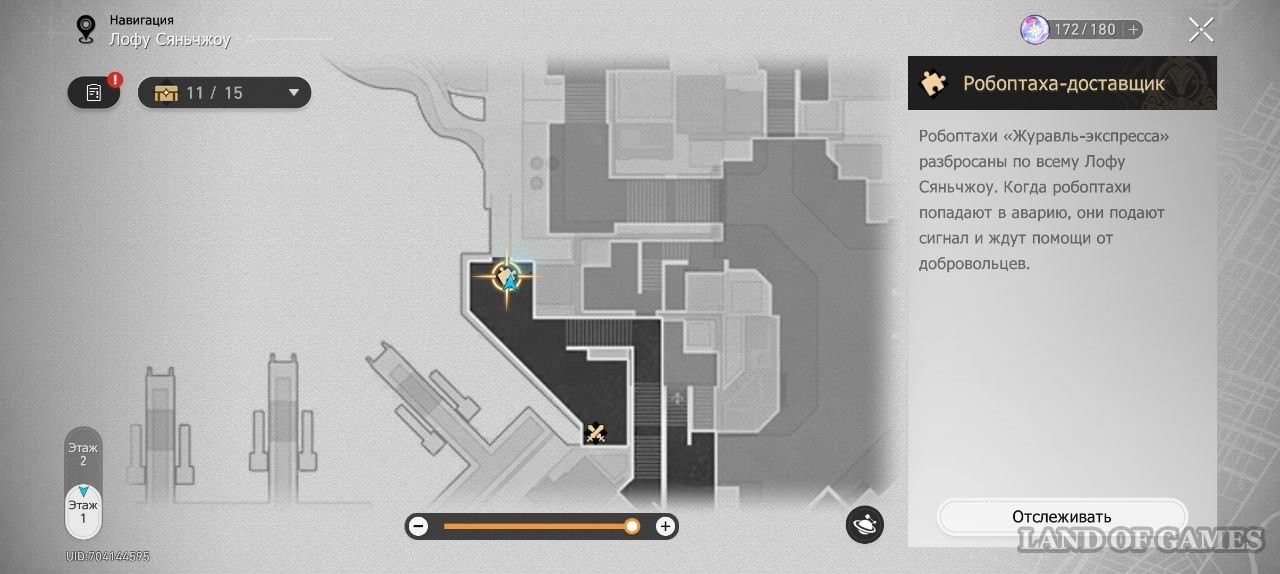
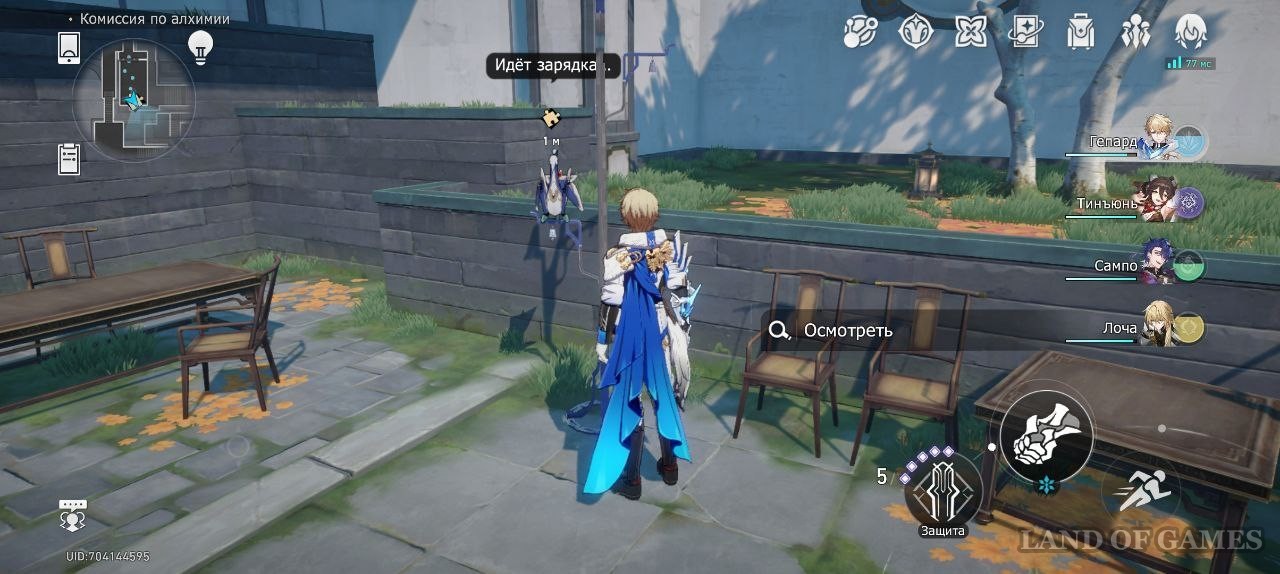
From the valuable treasure, take the stairs to the east and go in this direction to the end. Examine the delivery robot.


Follow the robot. In order for her to advance, defeat Mara's stricken soldier, Apprentice Sanctus Medicus, 2 Beasts of Opulence, and 2 Thunderspawn. There is a chance that the Sequence Piggy Bank will also join the fight - an alternate version of the Space Piggy Bank, which you can read about in our guide.


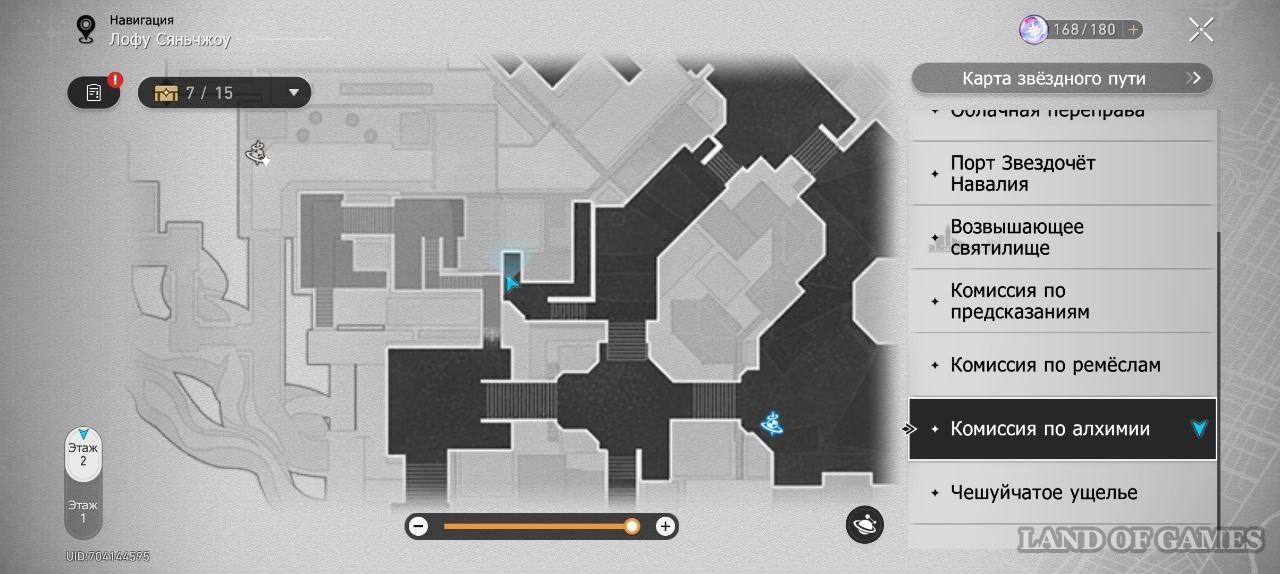
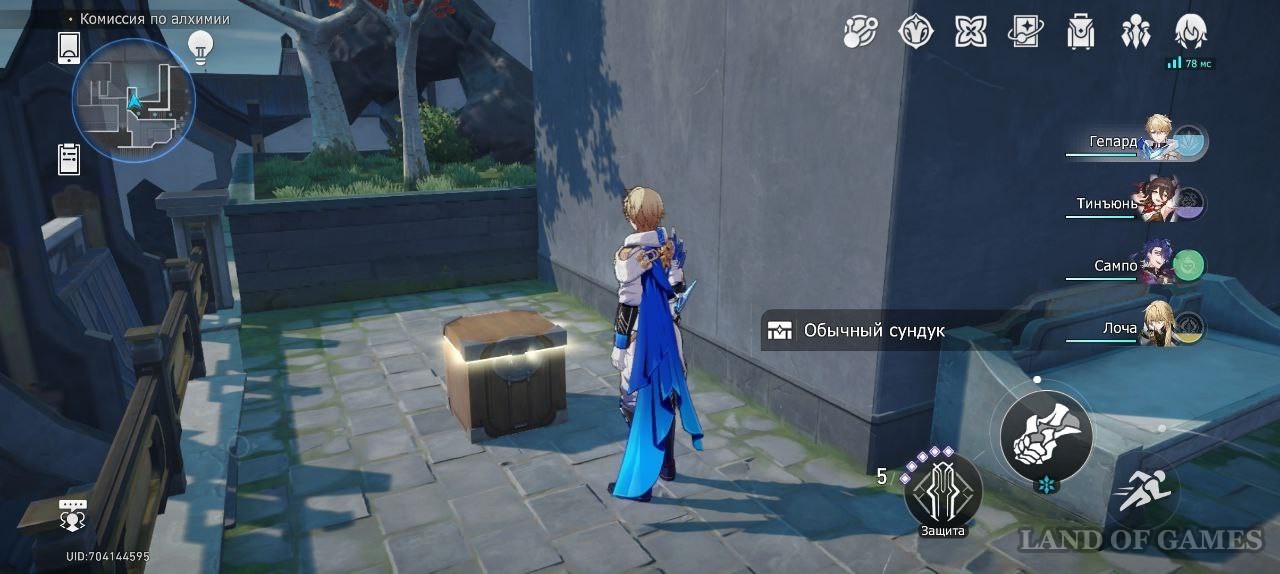
Chest 7
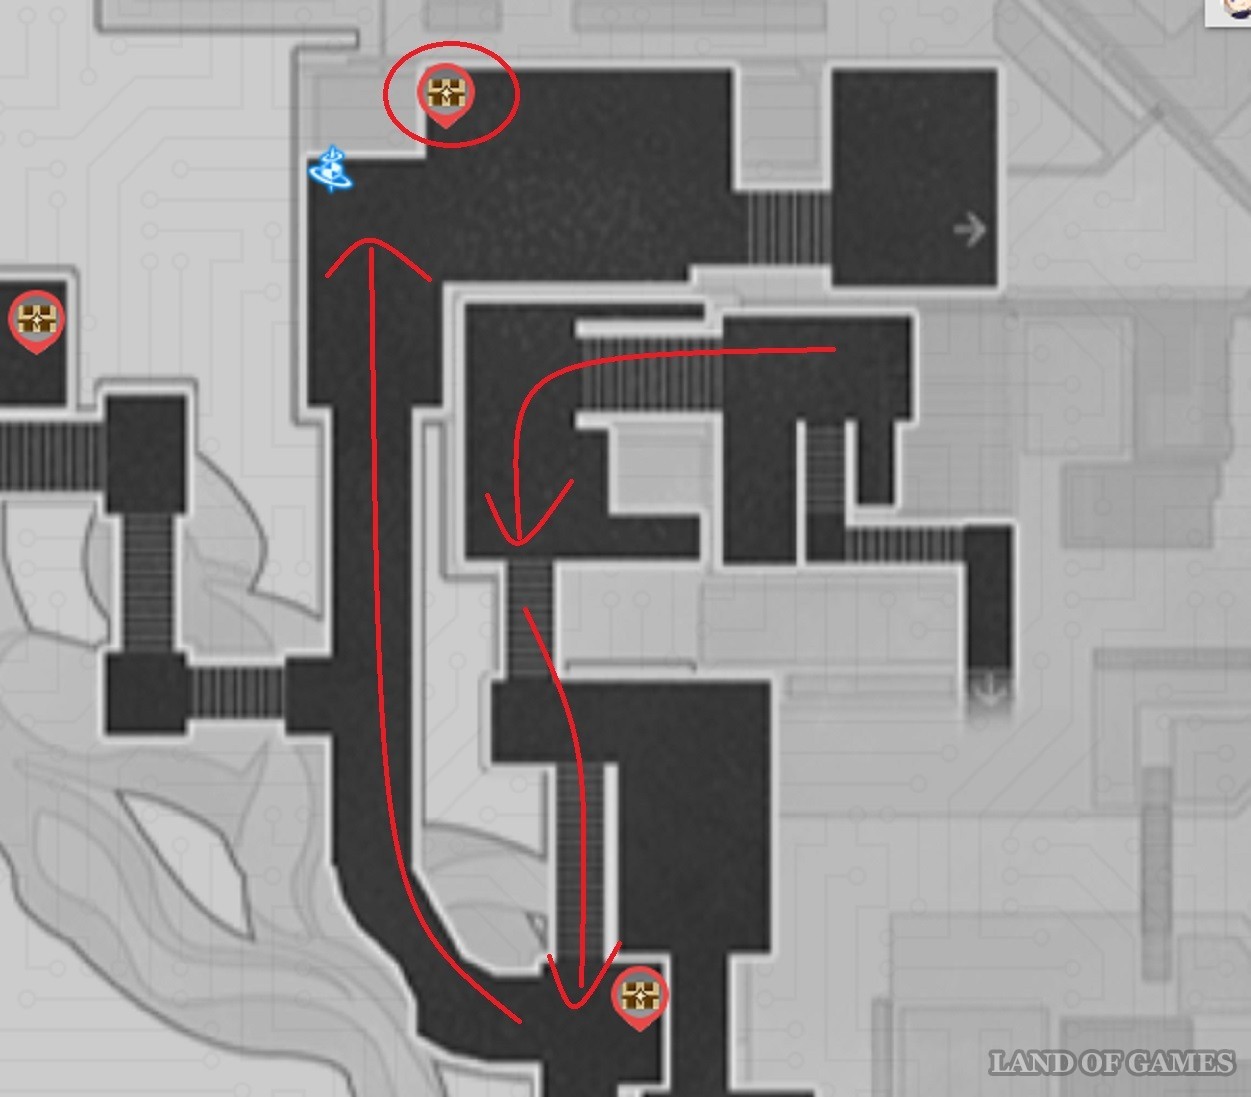
From the place where you brought the robot, go north.
You have to defeat 2 waves of enemies: 2 soldiers struck by Mara, 5 students of Sanctus Medicus and 2 Beasts of Opulence.
Enemies of the first wave have ice vulnerability, so heroes with this type of damage will be extremely useful. For the second wave, characters with physical damage can play a big role. In addition, it is worth taking heroes capable of striking in an area into the squad so as not to drag out the battle.
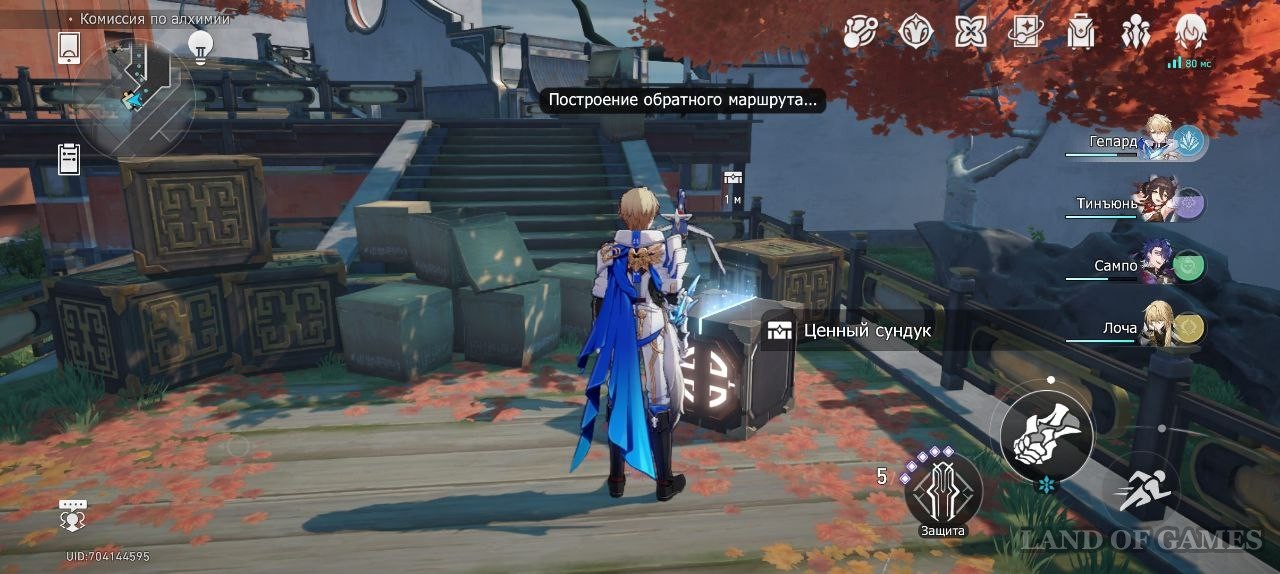
Chest 8
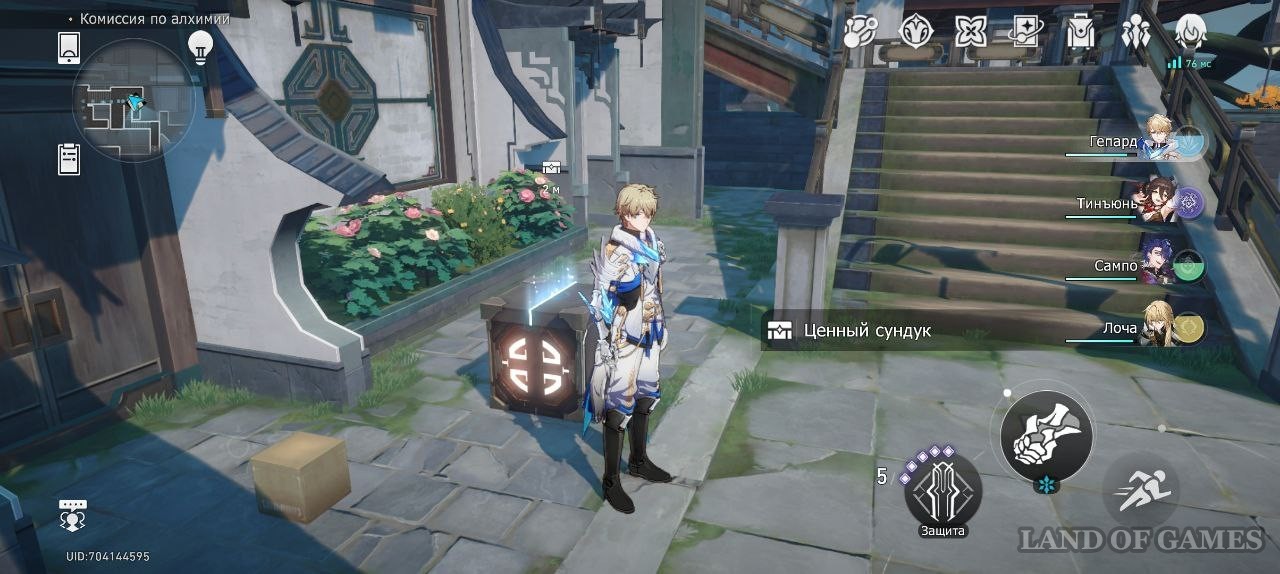
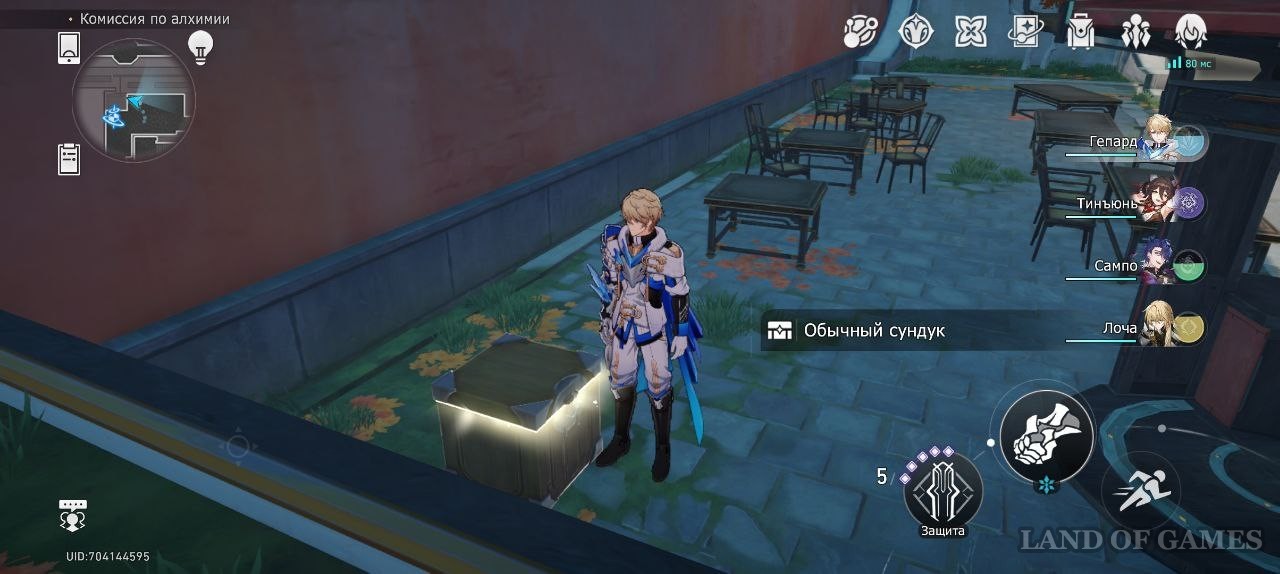
Return to the main square and go to the door, littered with tables and chairs - the chest is right there.

Chest 9
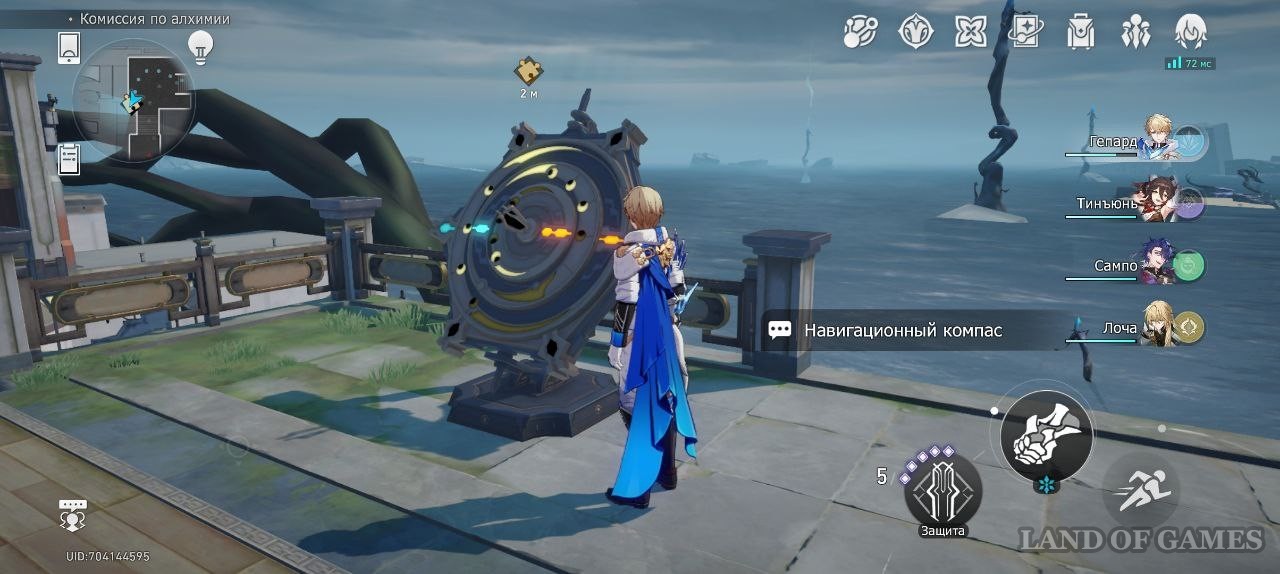
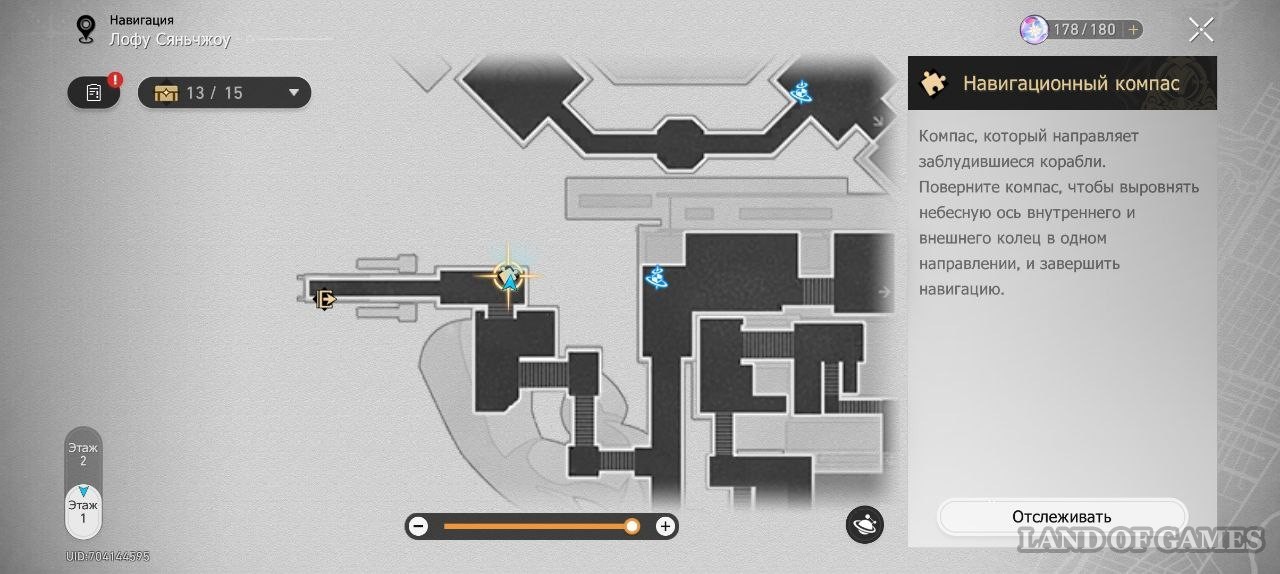
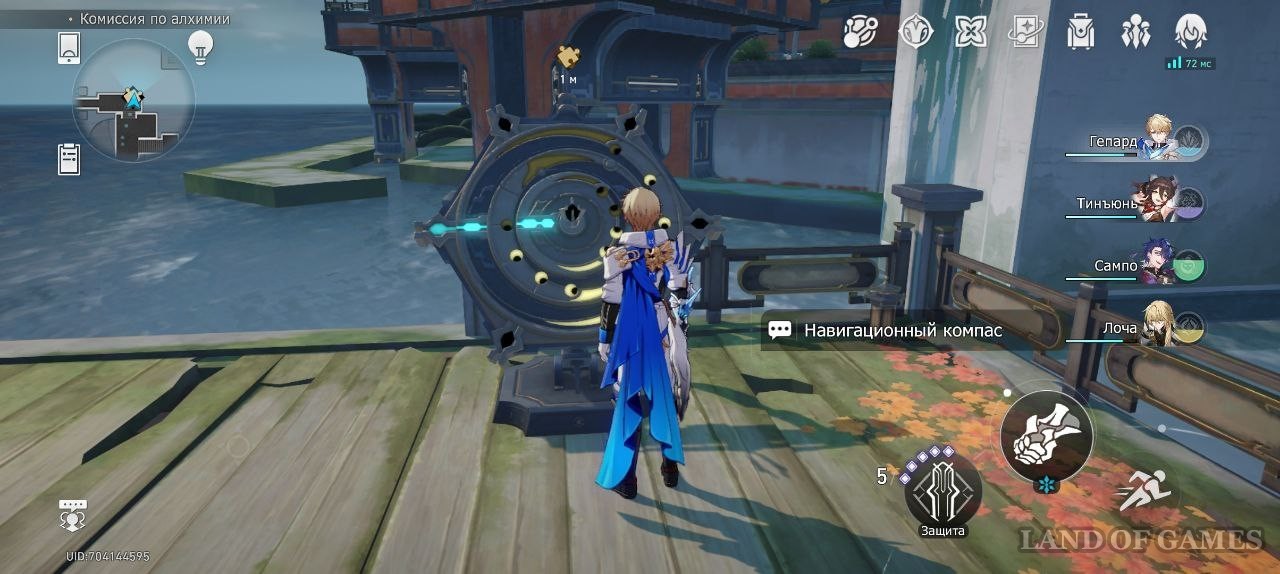
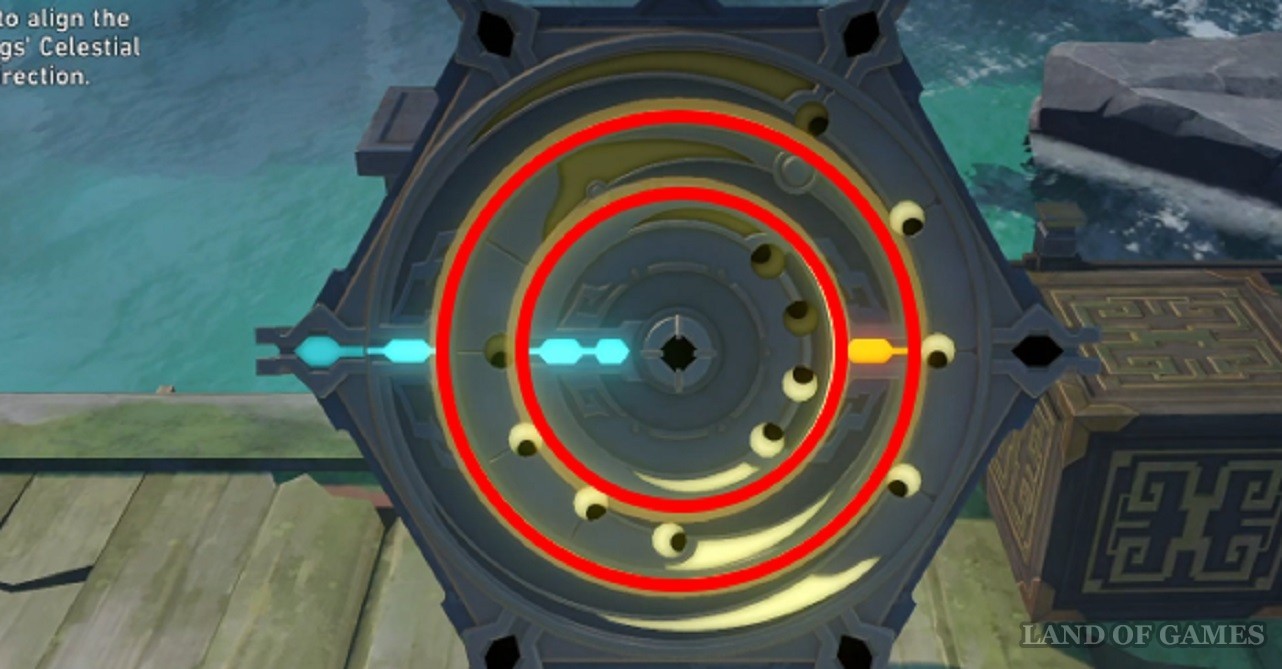
Take the stairs to the west and go further. Here you will encounter navigational compass.
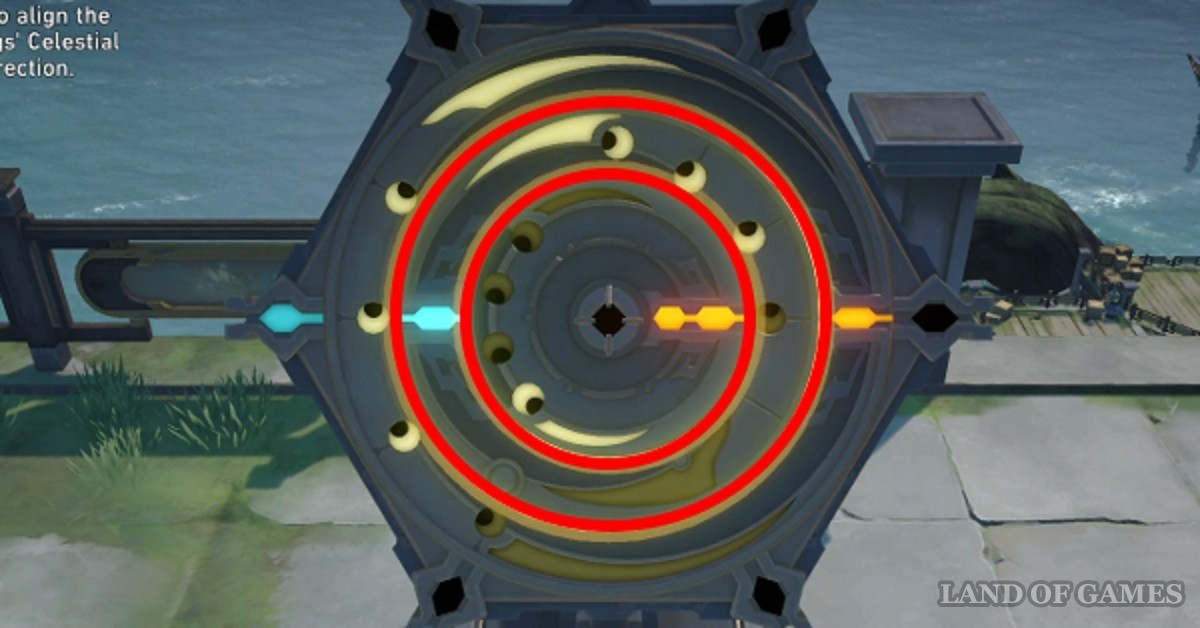
Puzzle solution:
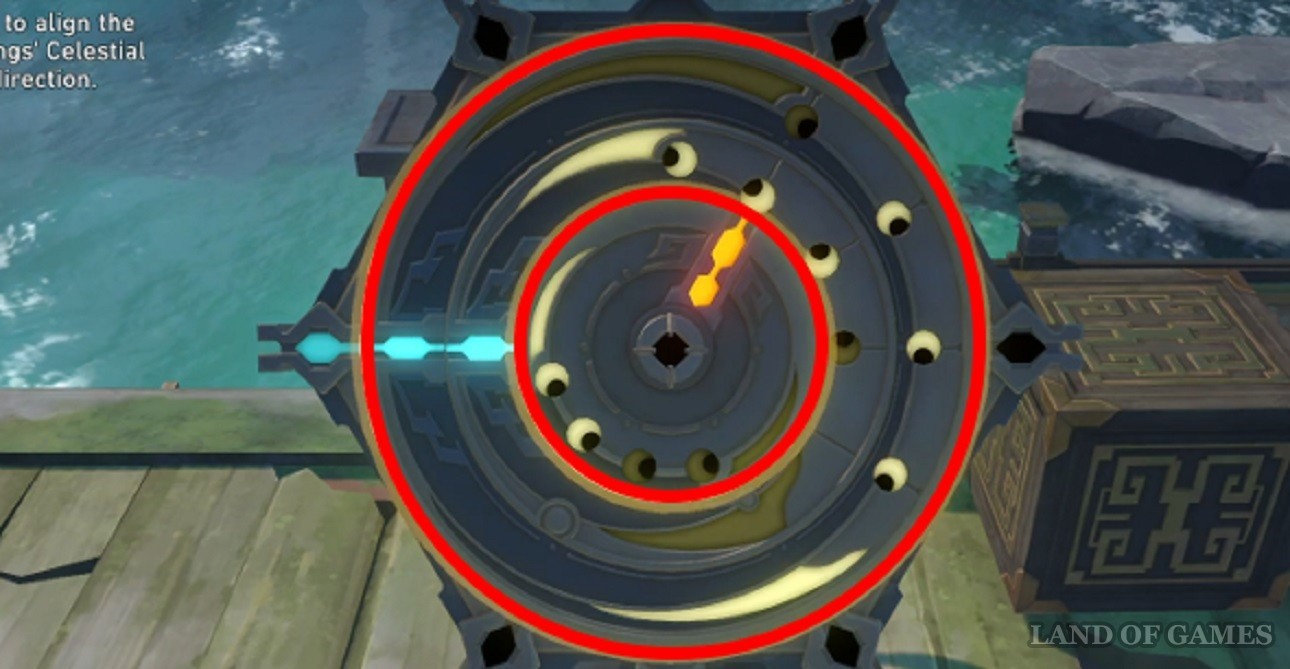
- Select the inner and middle rings (first screenshot), rotate them two times.
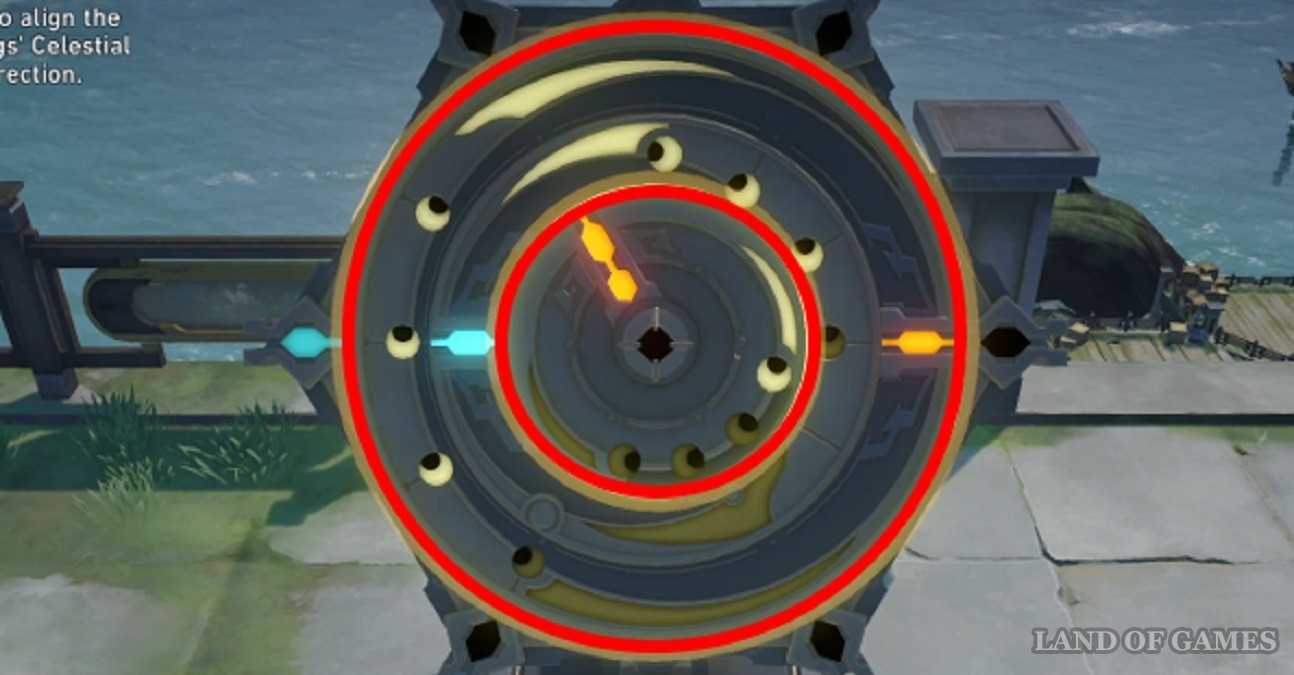
- Select the inner and outer rings (second screenshot), rotate them once.
Chest 10
Move to the anchor in the middle of the location and go a little to the north, to the tables.


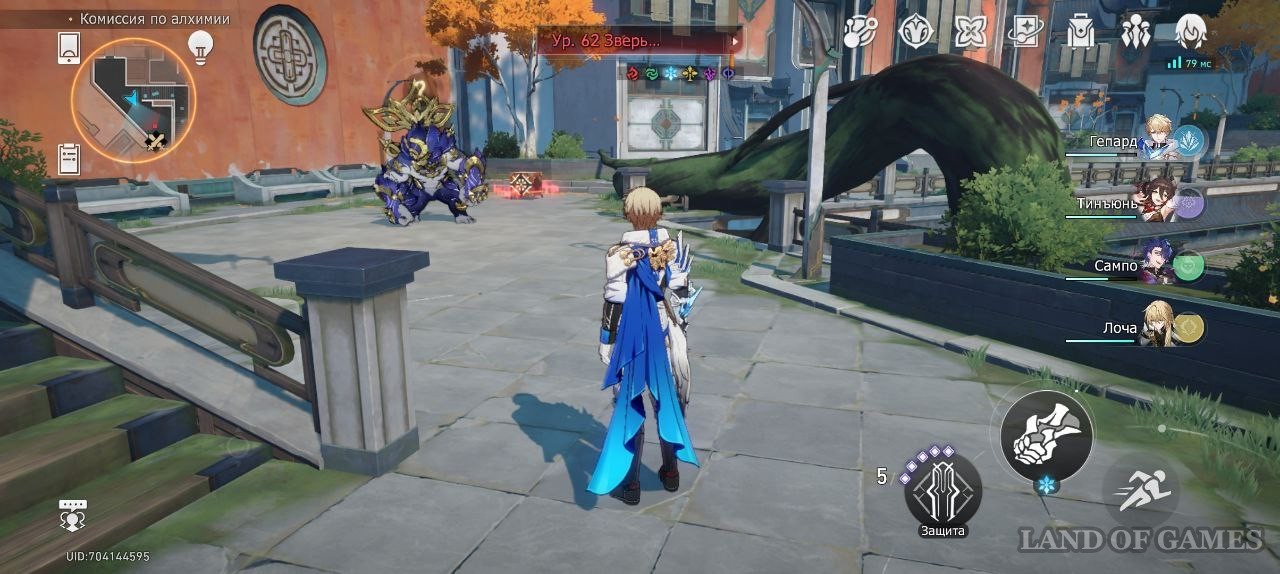
Chest 11
Go southeast. Here you will see 2 knights and an apprentice Sanctus Medicus - the chest will be nearby.
Chest 12
Return to the teleporter and go down the stairs to the west, then go north and immediately turn left.
Chest 13
Return to the main road and head north. The chest is to the left of the stairs.

Chest 14
Move further north. Go through the area with many enemies (it is not necessary to fight, you can just run past them) and run around the corner.

Chest 15
Head to the first floor - using the dimensional anchor or levitator not far from the previous chest - and follow the path. After passing all the crucible, you will get to the square. There's no avoiding a fight here - you'll have to defeat 4 Beasts of Opulence, 3 Sanctus Medicus Apprentices, one Mara-stricken Soldier, and possibly a Sequence Piggy Bank.

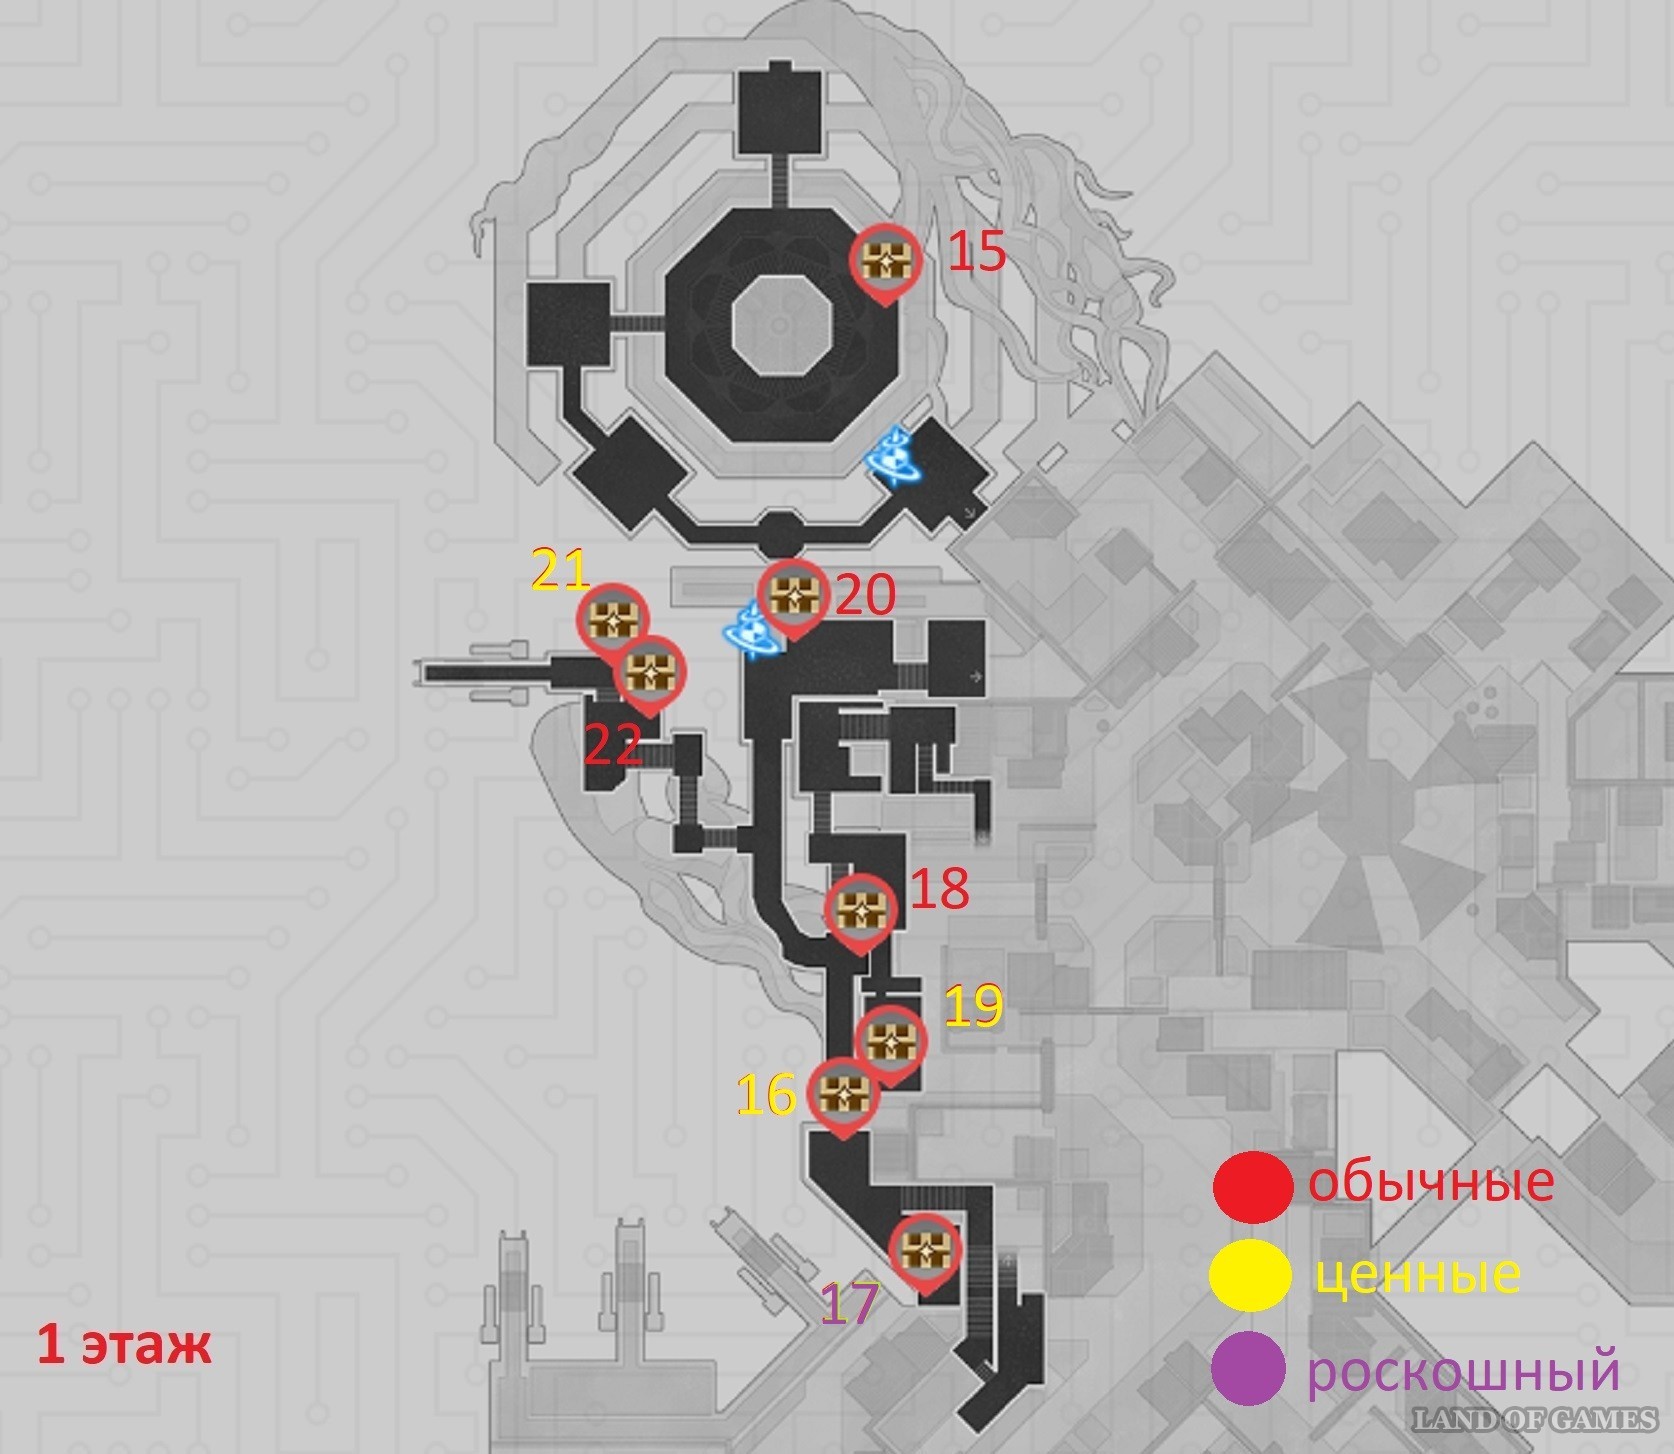
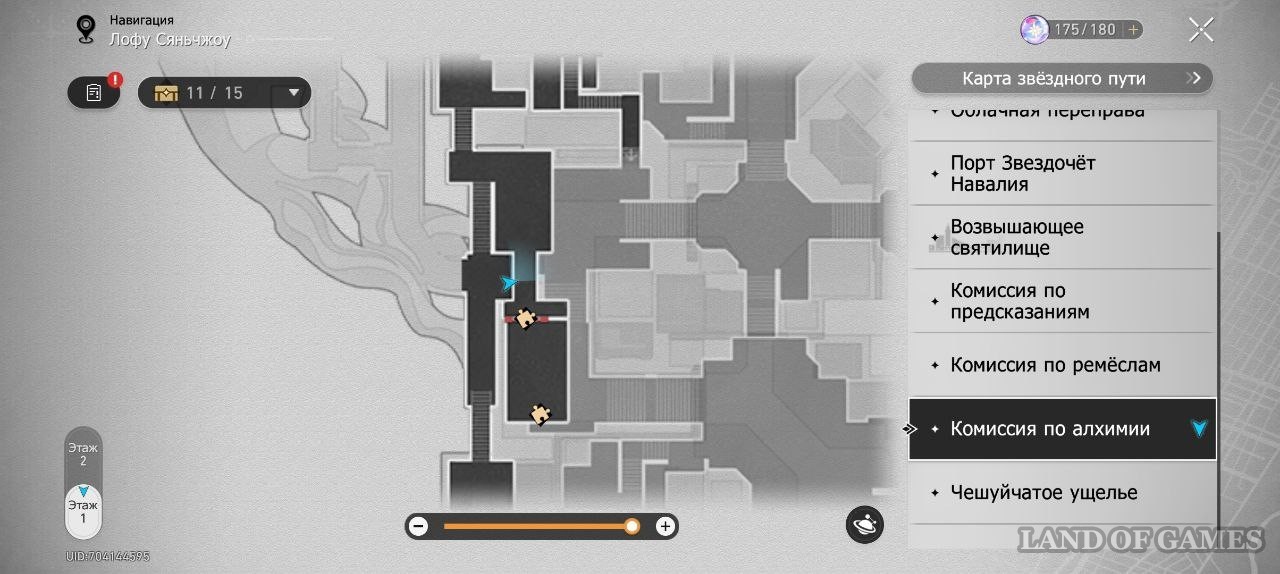
Chest 16
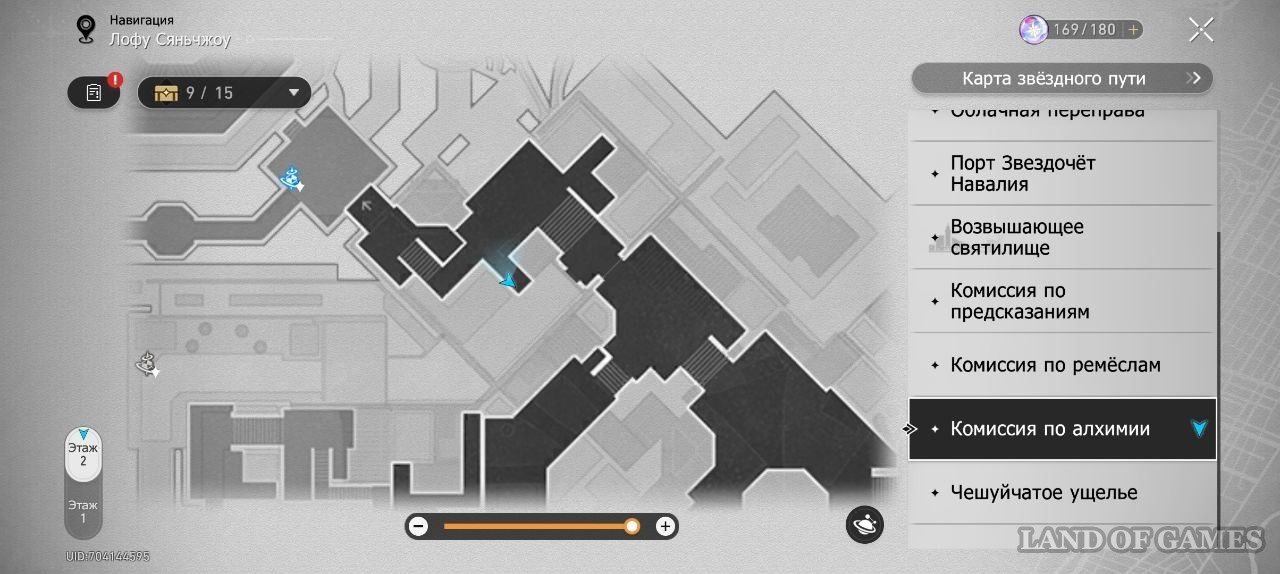
You can get to the first floor by going down the stairs in the southern part of the second - we marked the route on the map.
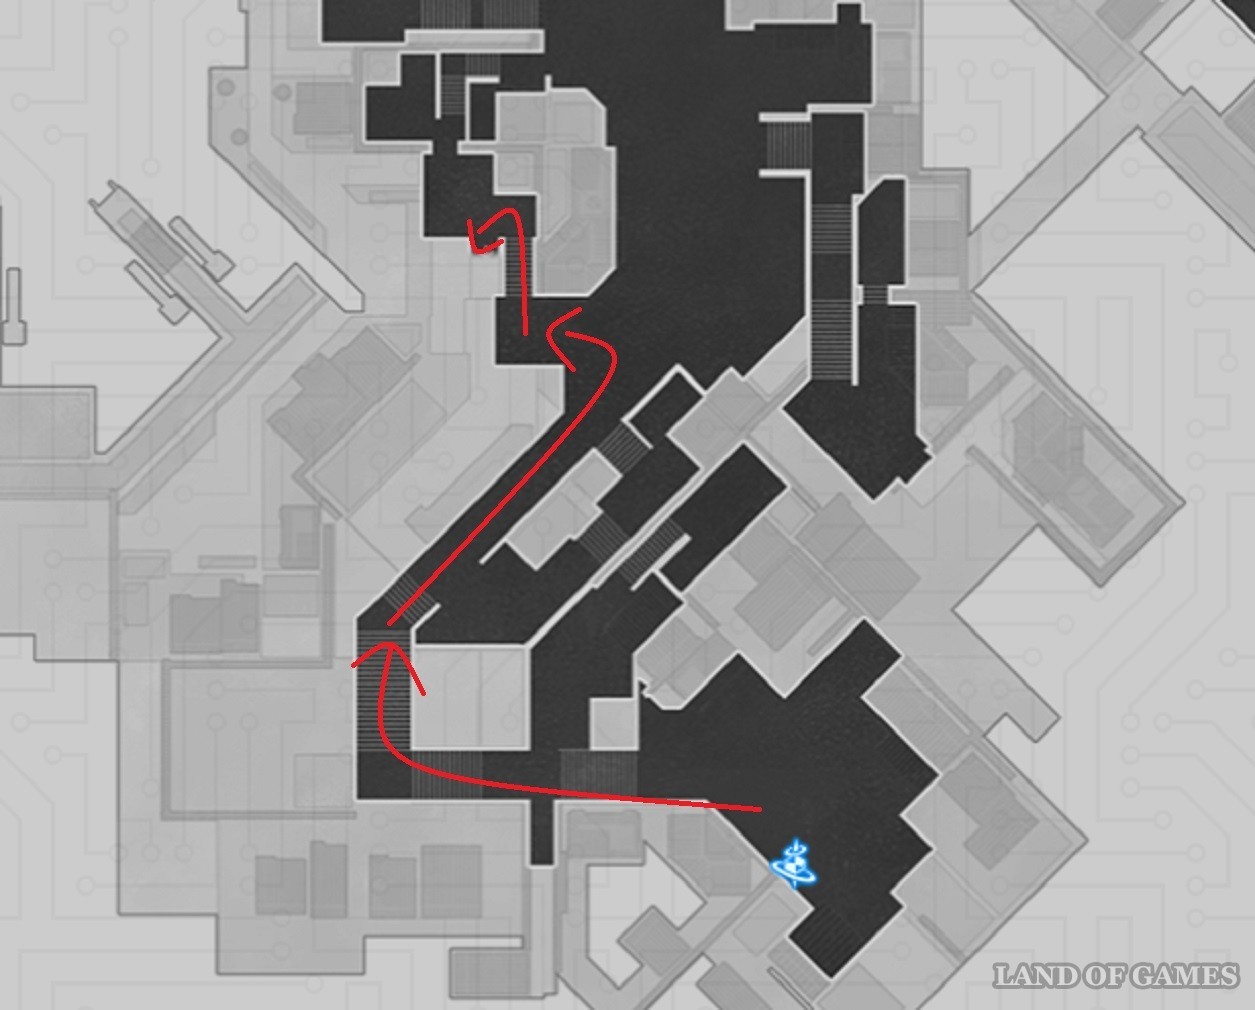
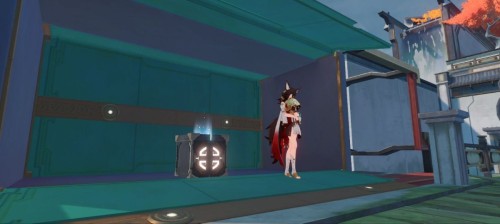
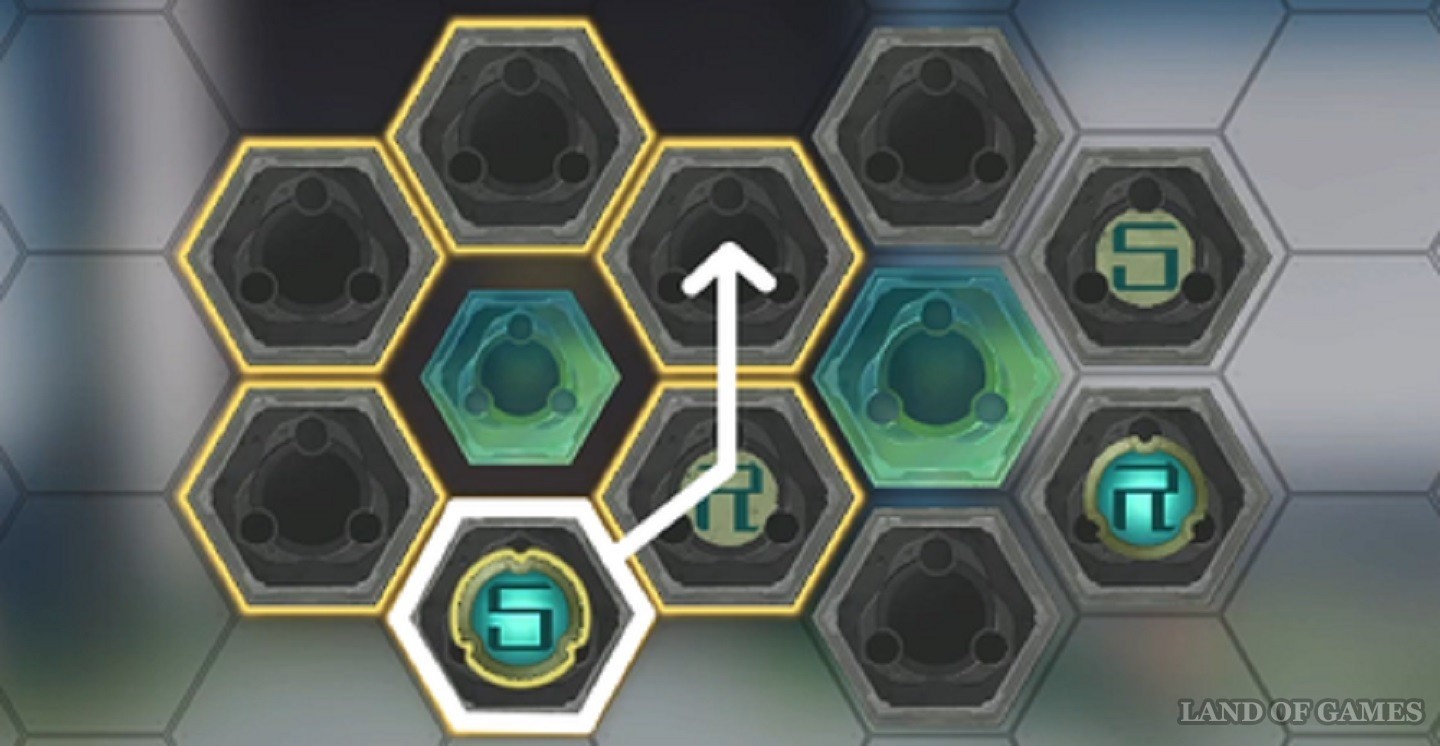
Go down a couple more stairs and turn right: here lies a broken delivery robot. To fix it, you need to solve a puzzle with a jade circuit - we have a separate one about these guide.

The way to solve this scheme is as follows:
- Click on the right hexagon and double click on the left arrow.
- Click on the top hexagon and double click on the left arrow.
- Click on the bottom hexagon and click on the left arrow three times.
- Click on the right hexagon and click on the right arrow once.
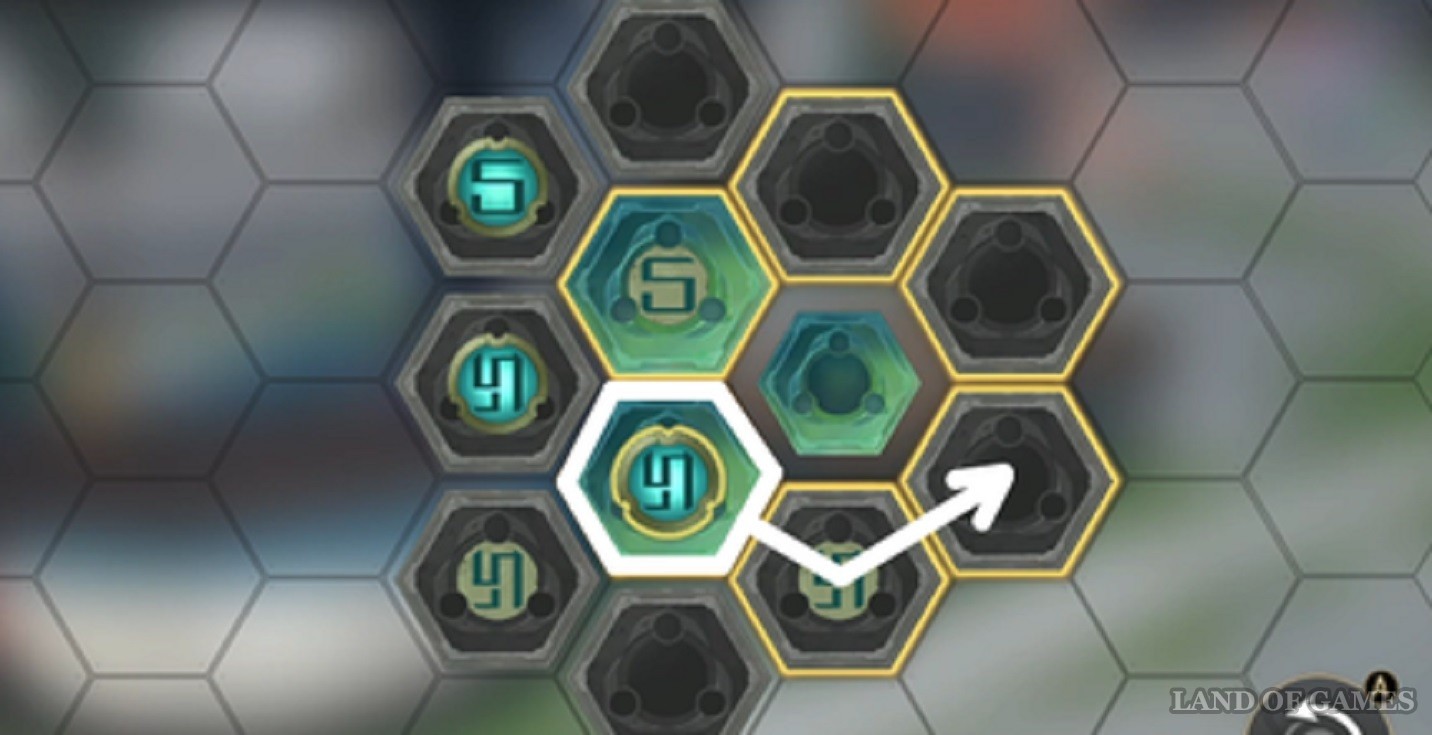


After that, inspect the bird and follow it.
Chest 17
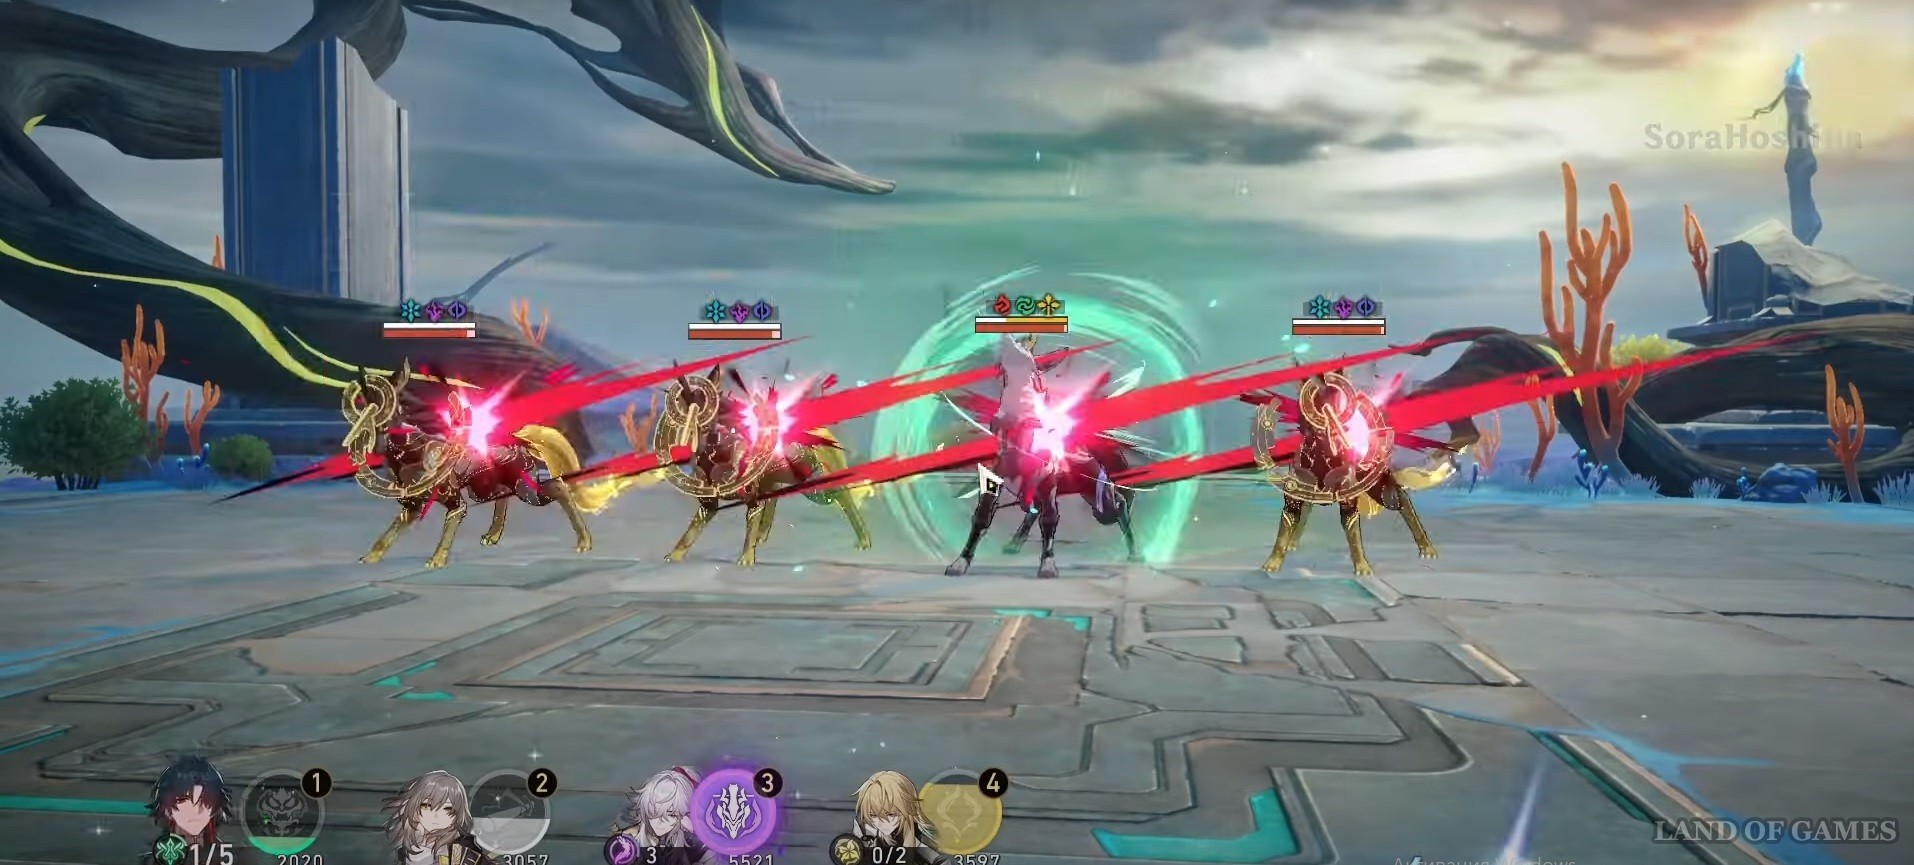
From the robot, go down the stairs and turn left. Here you have to fight with 3 animals of abundance: a hound, a wolf and a primate.
Your enemies have common wind and fire vulnerabilities, so heroes with this type of damage will make the fight much easier. The mighty primate is capable of delivering strong blows after a few turns of observation, so it is worth taking a healer or shielder to the team.


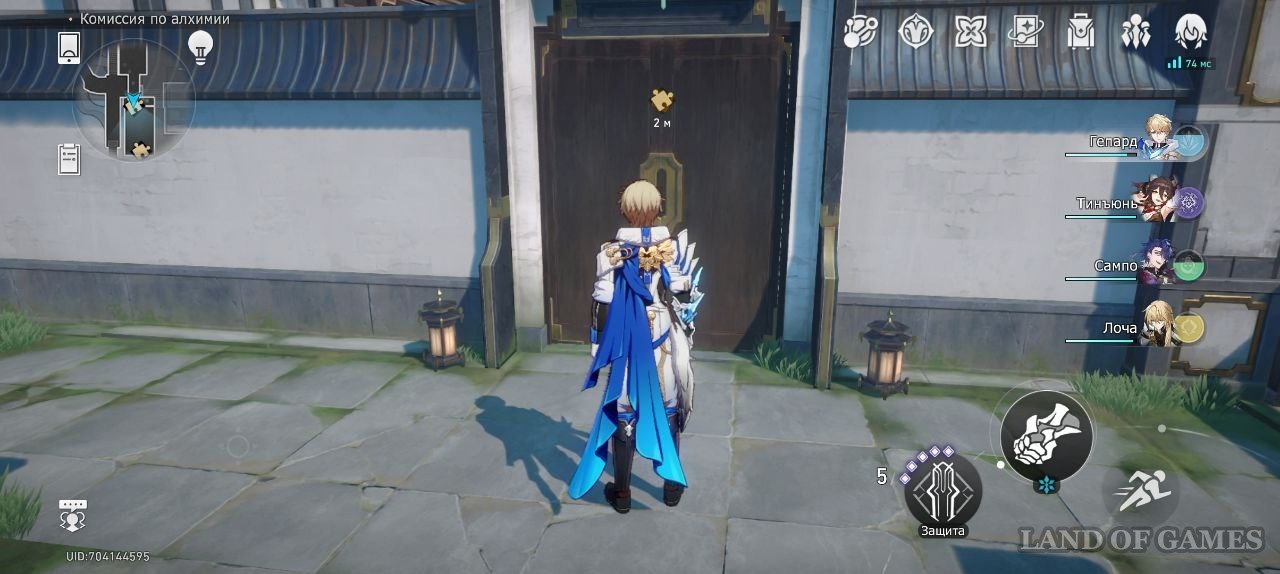
Chest 18
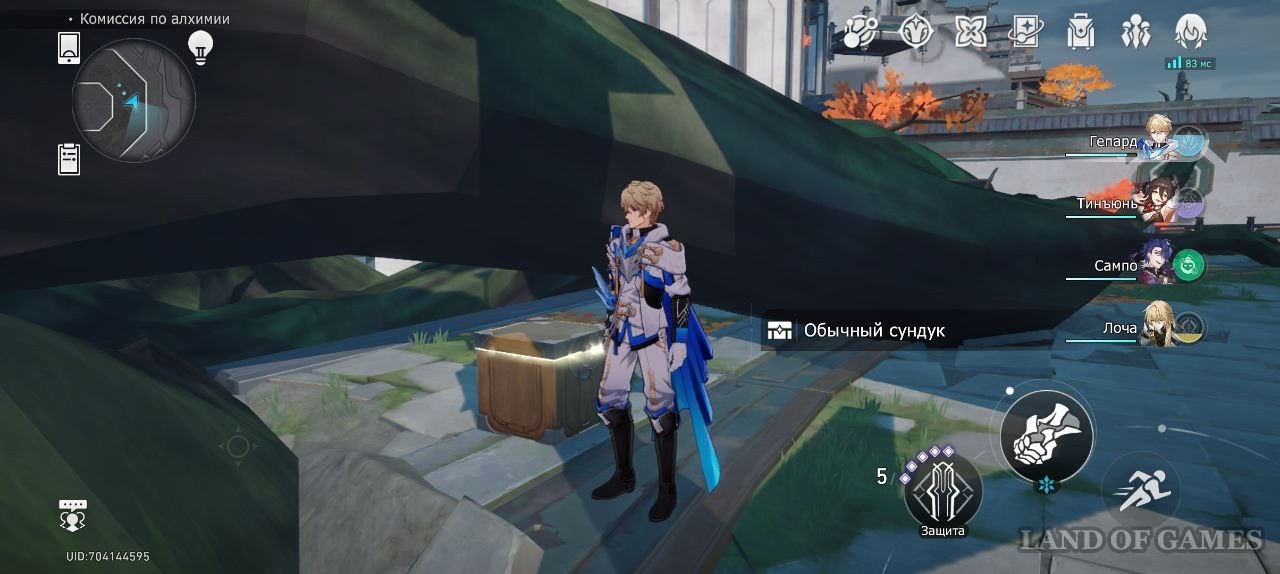
From the previous treasure, go north. This chest is to the right of the road, next to a destructible item with vehicle points.

Chest 19

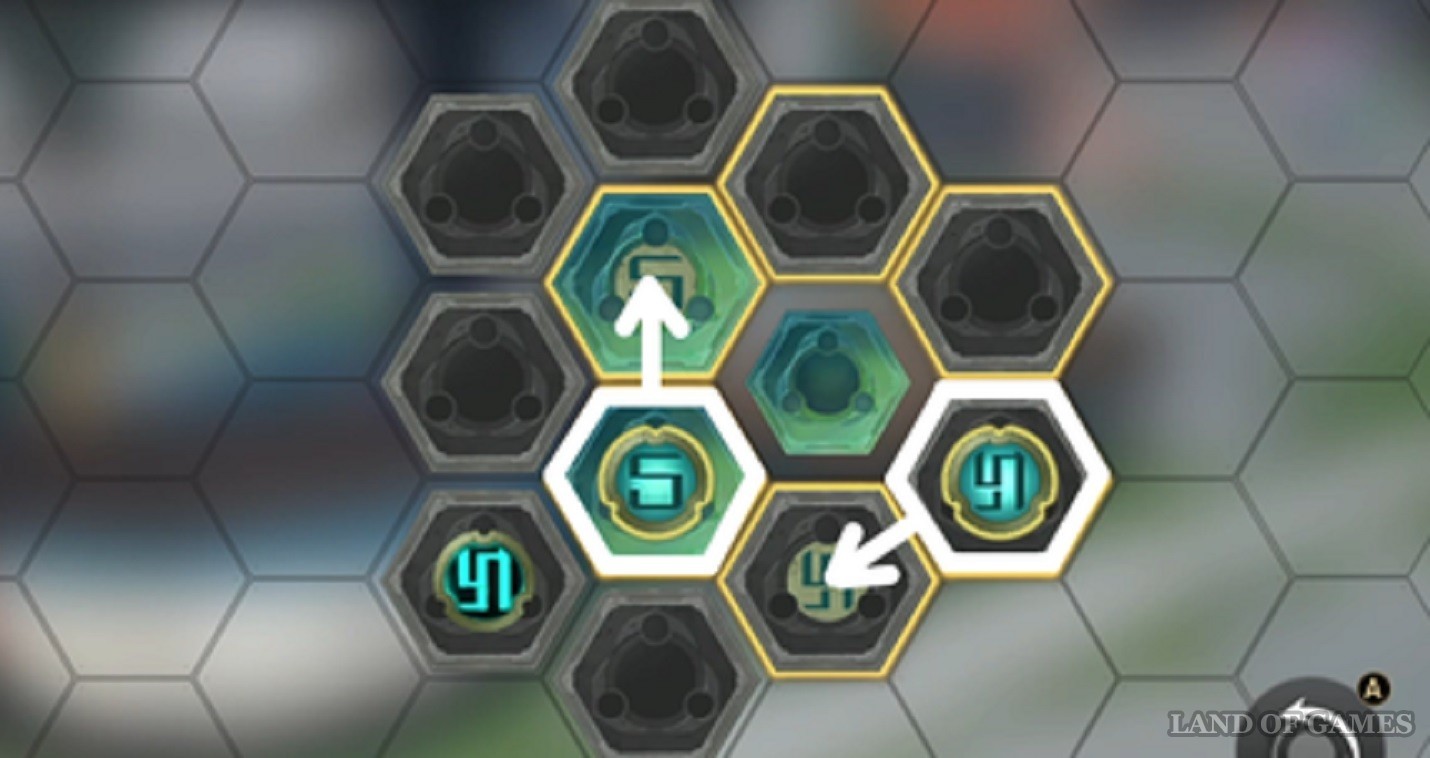
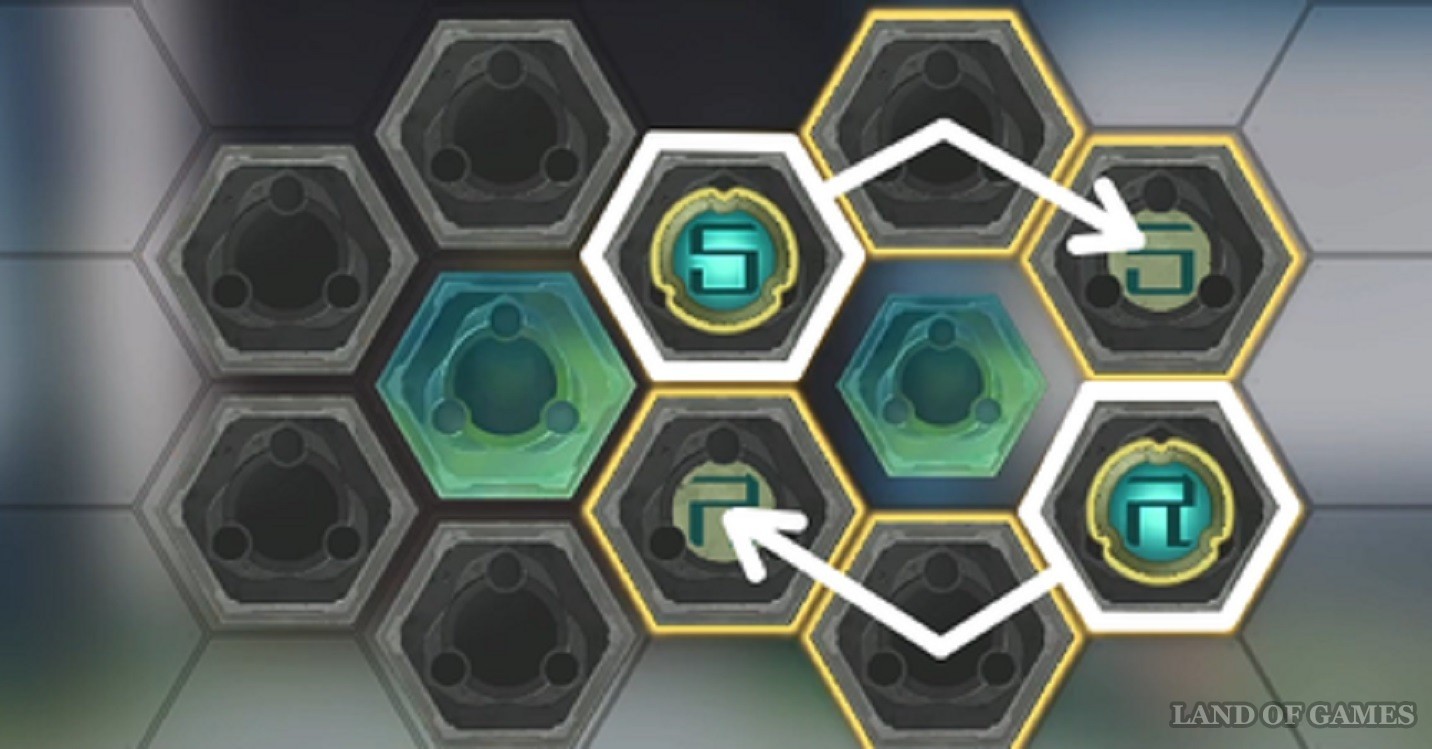
From the last chest, go north, then turn east and then south. There is a closed door with a jade circuit here, which can be solved like this:
- Click on the left hexagon and double click on the left arrow.
- Click on the right hexagon and double click on the right arrow.
After passing through the door, interact with the roboptah. Help her pick up the cargo and then just go to the right place.
Chest 20
Return to the indicated place and now turn west, then go north to the spatial anchor. The chest stands nearby, behind an empty kiosk.
Chest 21
Return to the fork and follow the western road.
Navigating compass puzzle solution:
- Select the inner and middle rings (first screenshot), rotate them once.
- Select the inner and outer rings (second screenshot), rotate them two times.
Chest 22
The last chest in this location is located just south of the navigation compass.
These are all common, valuable, and deluxe chests found in the Alchemy Commission in Honkai: Star Rail. We hope that our guide will help you discover them all.
Comments
You need to login to add comments.
You can login with