In Honkai: Star Rail World 7 is part virtual universe and a kind of dungeon, clearing which you can get a variety of rewards, including planar decorations "Starry Arena" and "Broken Keel". As part of its passage, you have to fight two elite enemies and the Black Deer of Plenty.
To successfully clear this level, you need to choose the right heroes to create an effective squad, choose the optimal Path, and also adhere to a certain strategy when collecting blessings and fighting the boss. In this guide, we will consider all these points in detail so that you can go through World 7 without any problems.
How to pass World 7 in the Virtual Universe
How to unlock World 7 in Honkai: Star Rail
Before you can take on the passage of the first level of difficulty of World 7, you will need to fulfill a couple of conditions, namely:
- Complete the Lofu Xianzhou Exploration Mission called "Branching Horns and Tangled Roots".
- Clean up World 6 at the first level of difficulty.
After that, just go to the Virtual Universe menu and select the desired dungeon - access to it should already be open.
Basic information
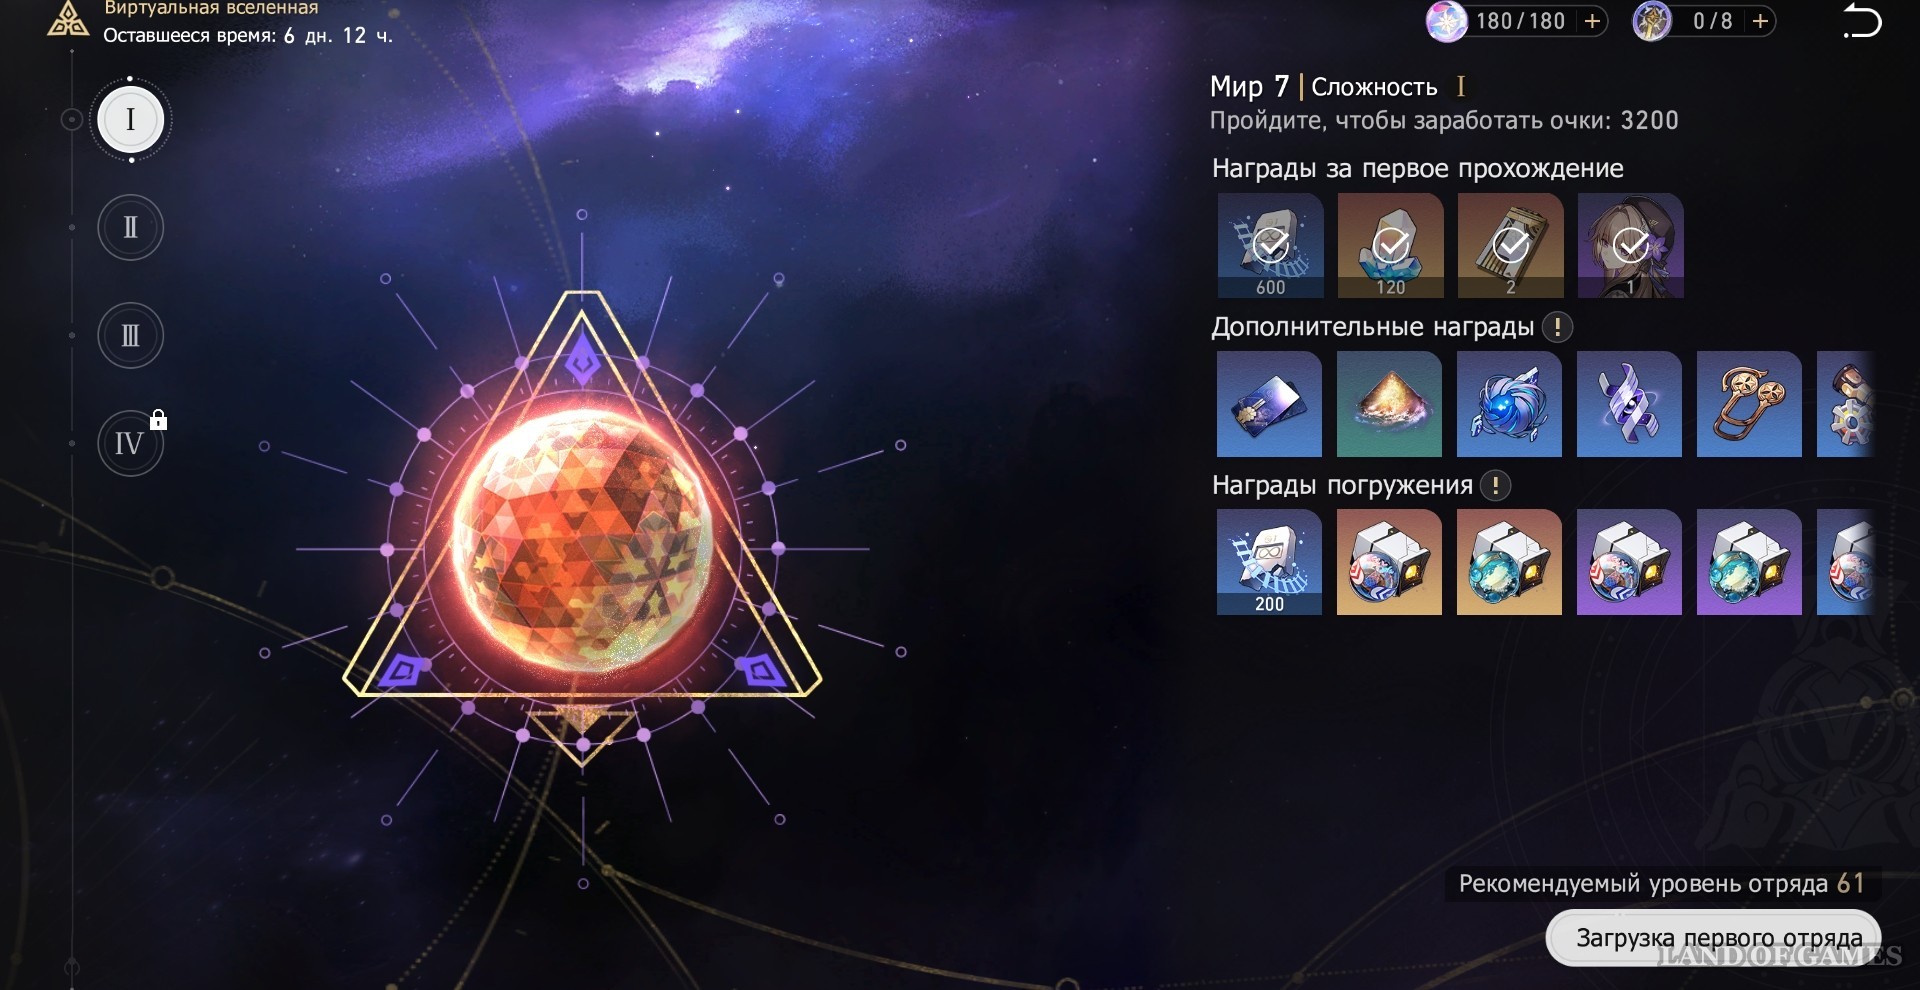
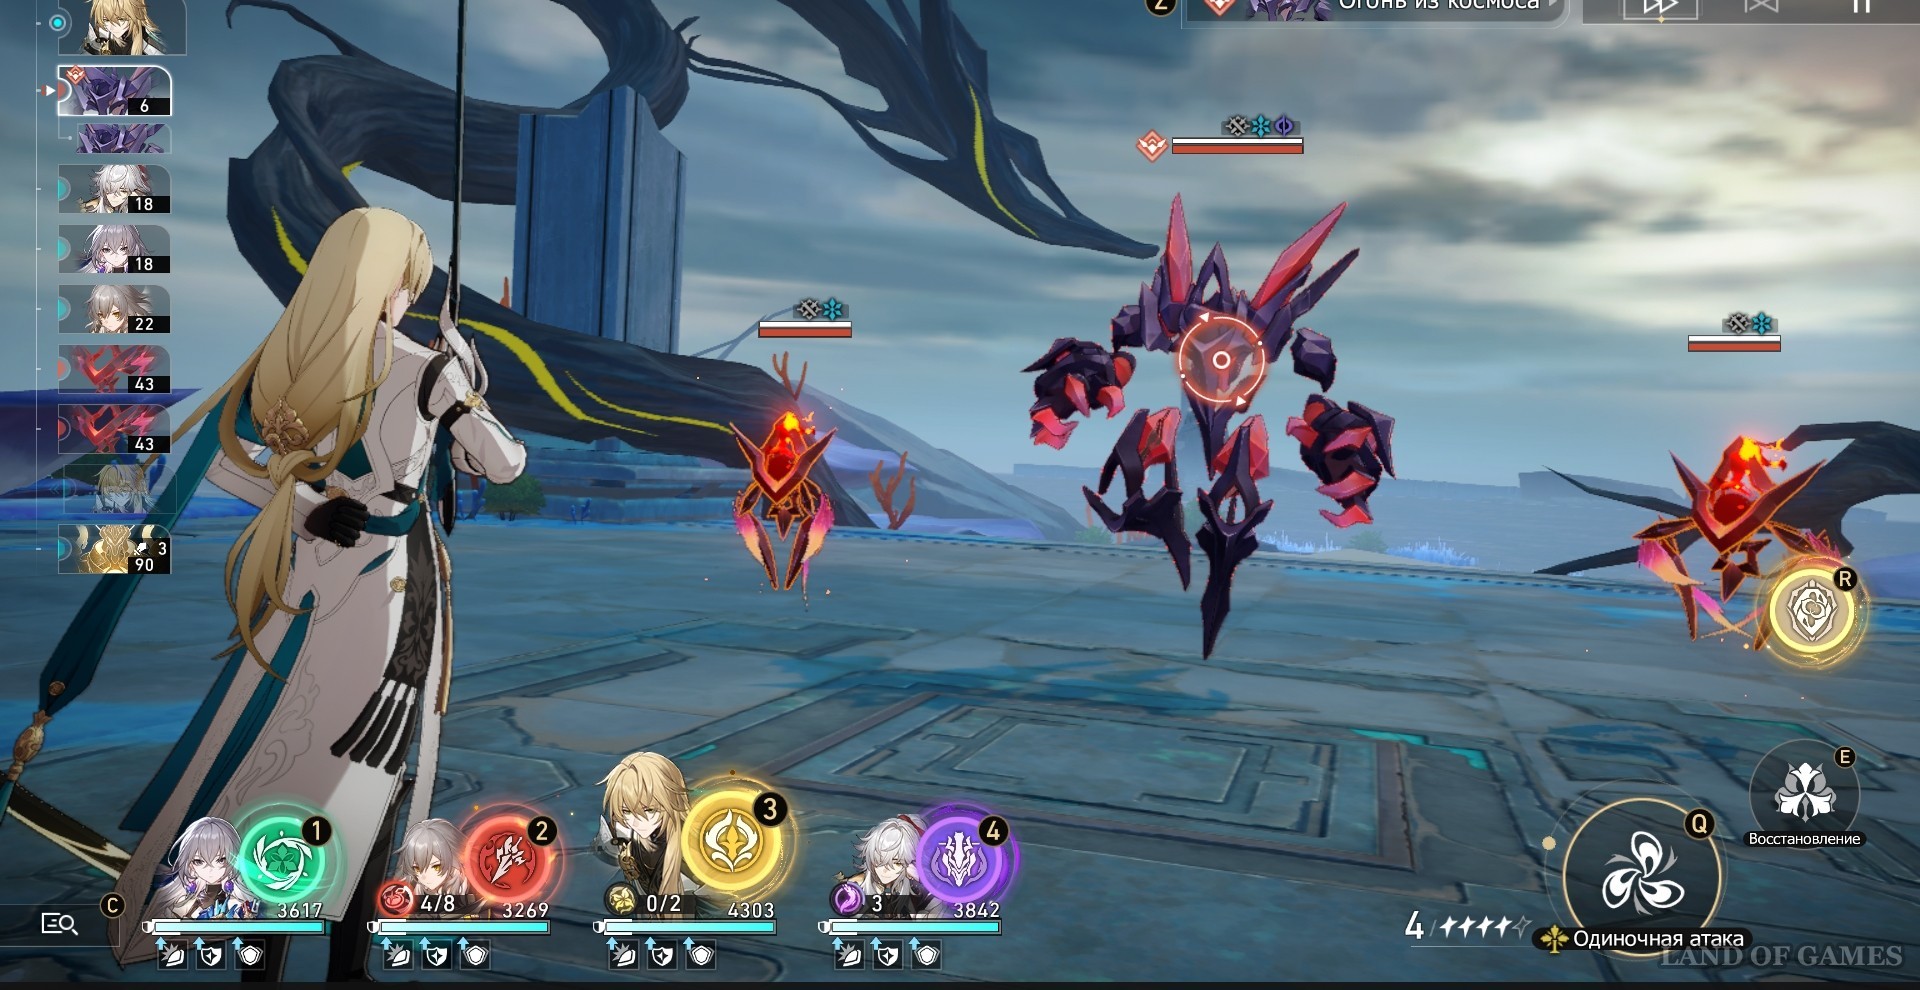
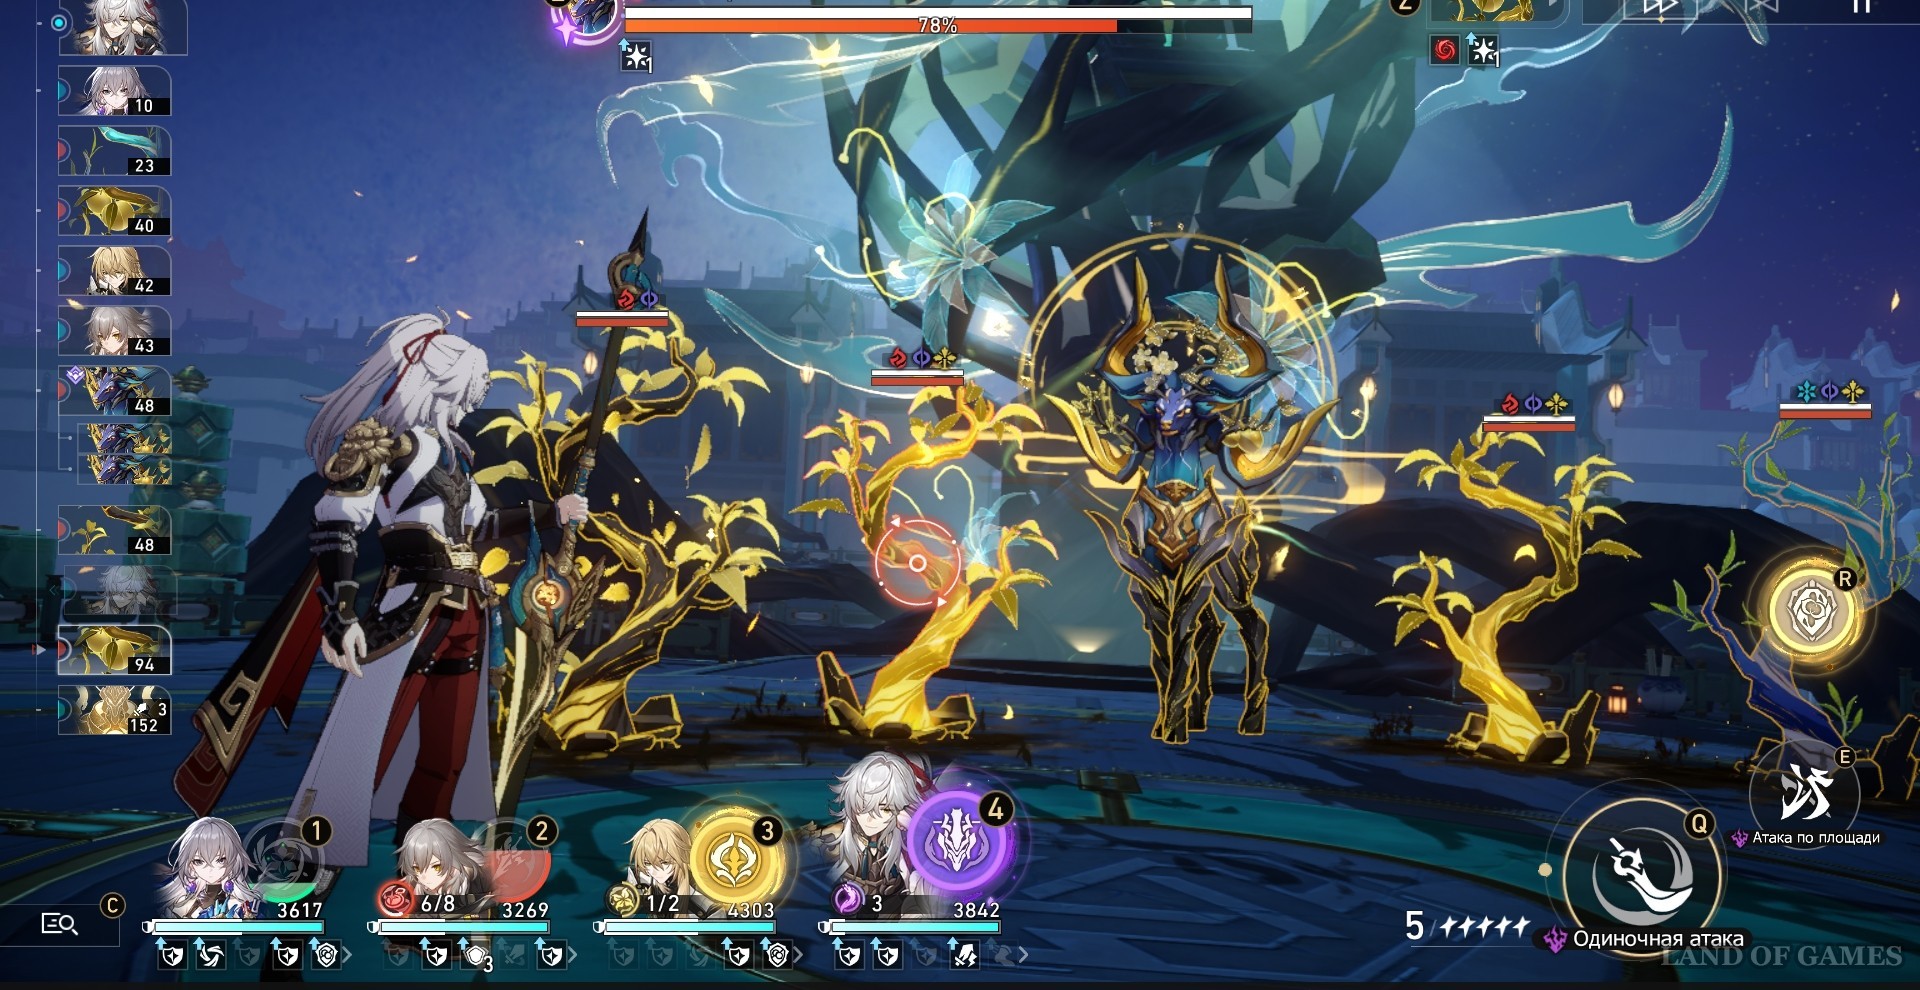
First, let's look at the basic information on this test. The level of your enemies will depend on the chosen difficulty. In the loading menu of the first unit, you can see four elite opponents, two of which you can face in their respective arenas (selected at random), and a boss, which will be played by the Black Stag of Plenty.
Dalek are the main characteristics of the elites and the boss that you can meet in this world.
| Name | Fortitude | Damage type | Elemental Resistance | Debuff resistance |
|---|---|---|---|---|
| Black Deer of Plenty (holistic) | 420 units |
Electric and wind |
Physical, electrical, wind and imaginary resistances |
Freeze 50%
Conclusion 50% |
| Ascended | 420 units |
Wind |
Wind, fire, quantum and imaginary resistance | |
| Beast of Plenty: Mighty Primate | 360 units |
Quantum |
Physical, electrical, quantum and imaginary resistance | |
| fire from space | 300 units |
Fiery |
Fire, electrical, wind and imaginary resistance |
Burn Resistance 100% |
| Petrel | 300 units |
Wind |
Wind, physical, electrical and quantum resistance | |
| Lieutenant of the Silvermane Guards (false) | 360 |
Physical |
Fire, electrical, wind and imaginary resistance | |
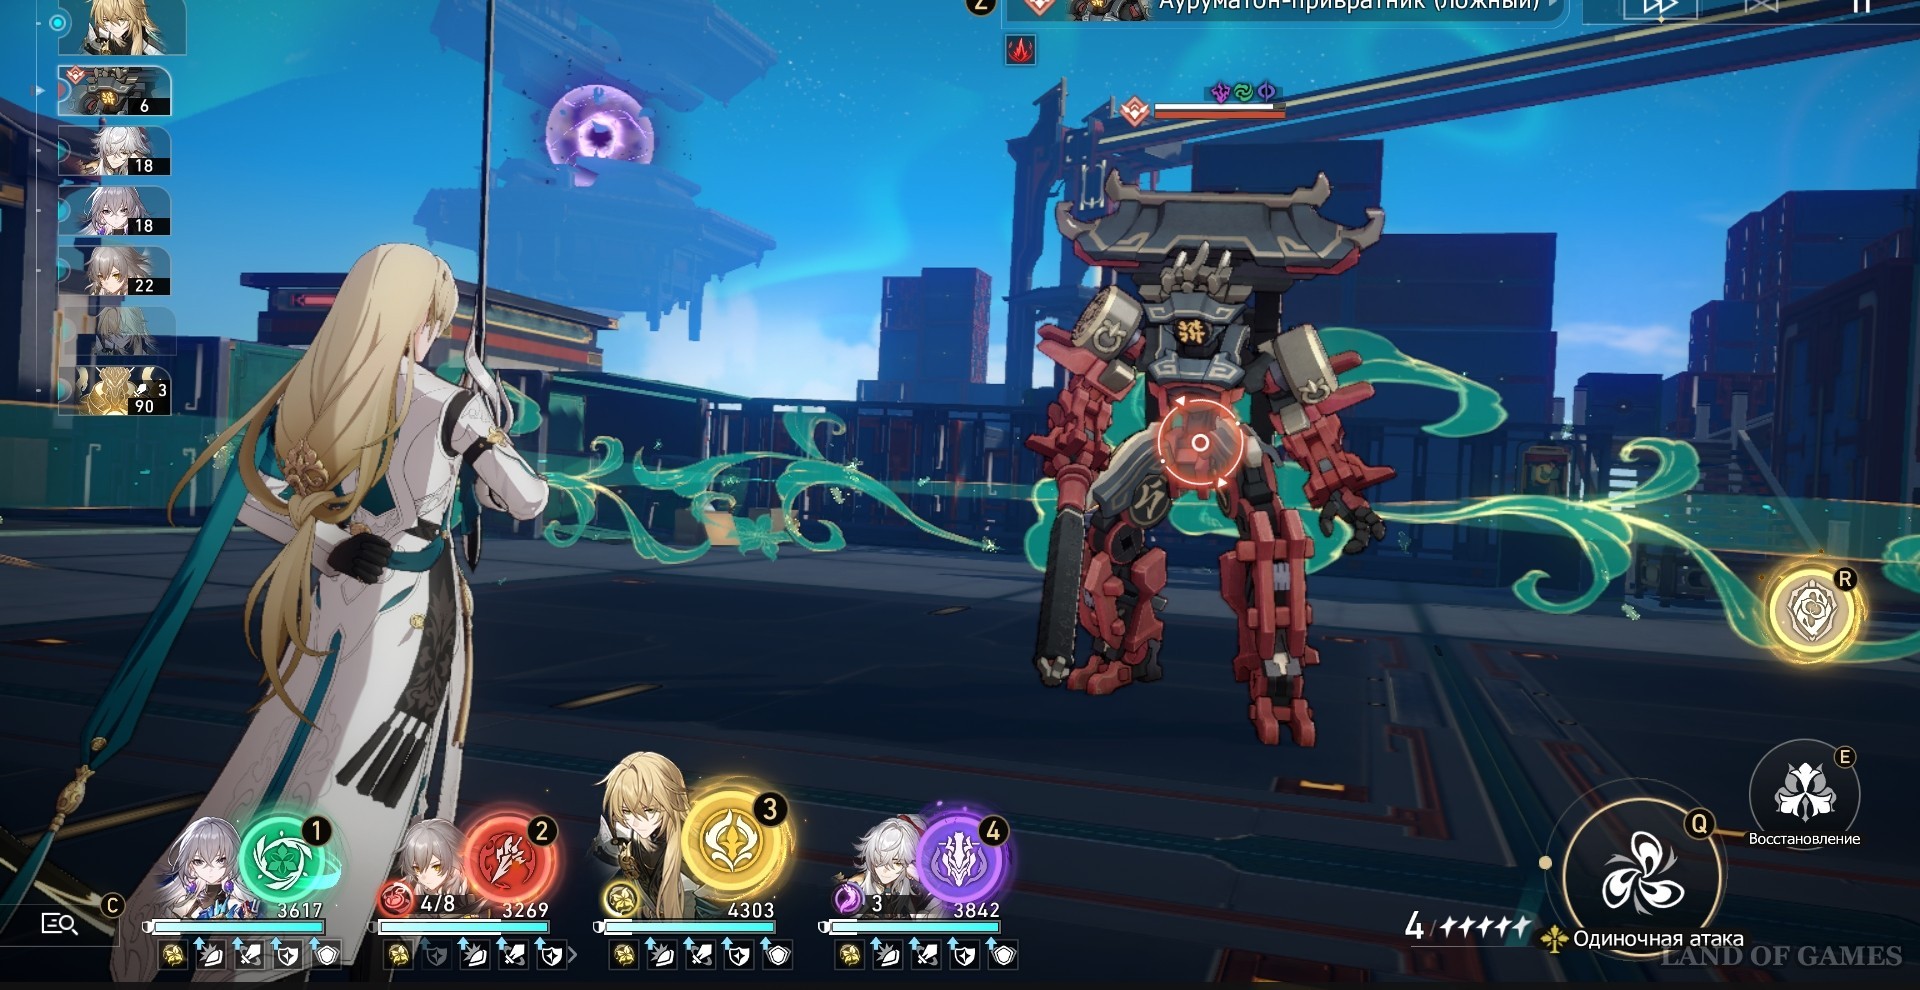
| Aurumaton gatekeeper (false) | 300 |
Imaginary |
Imaginary, physical, fire and ice resistance | |
| Apprentice Sanctus Medicus: Werewolf (false) | 360 |
Electric |
Physical, fire, electrical, quantum resistance |


Featured Characters
Heroes with quantum, ice or fire damage types are best suited for the role of main damage, since Black Deer has a vulnerability to it. As a sub-dp you can choose a character that is different from the element of the main damage dealer, but still corresponds to the weaknesses of the boss in order to deplete his stamina faster.
To protect your squad, all currently available shields in the game are suitable: Pyro GG, March 7 and Cheetah, as they not only protect the entire team, but also have elements corresponding to the vulnerabilities of the enemies, and the blessings of the Way of Preservation will further increase their effectiveness and benefit for the team.

Separately, it is worth noting that you will need heroes who are able to remove debuffs from allies. Such heroes can be Natasha, Armor and Locha. Black Deer creates vines that can take control of your heroes. This is where the skill comes in handy, which will help bring the character back to life. Otherwise, all healers are approximately equal, since the element of none of them corresponds to the vulnerabilities of the enemy.
Next, you can take a closer look at the features of the heroes that you can take with you to deal with all the enemies.
| Character | Peculiarities |
|---|---|
|
Yanqing |
One of the best characters to play in this World, since most of the enemies here have an ice vulnerability. Note that the Black Deer is 50% immune to Freeze. Blessings of Memory will help you lower it. |
|
Zele |
Also a great heroine for this challenge, since the final boss and the branches he summons have quantum vulnerabilities, which will increase her already high damage. |
|
Silver Wolf |
A very valuable ally, since the girl will be able to weaken all enemies, break through their quantum vulnerability, and, if necessary, add a weakness to your damage element. |
|
Hook |
Also suitable for this World, since the Deer has a vulnerability to fire damage. |
|
Pioneer (fire) |
An excellent and affordable support that can both protect the entire team and break through the vulnerabilities of the boss and his Branches. |
|
Locha |
Although he can't penetrate the vulnerabilities of most enemies, he can debuff them, keep the whole team alive, and remove debuffs from allies. |
|
sang |
It can also perform many functions: break through ice vulnerabilities, reduce the defense of enemies and debuff them. |


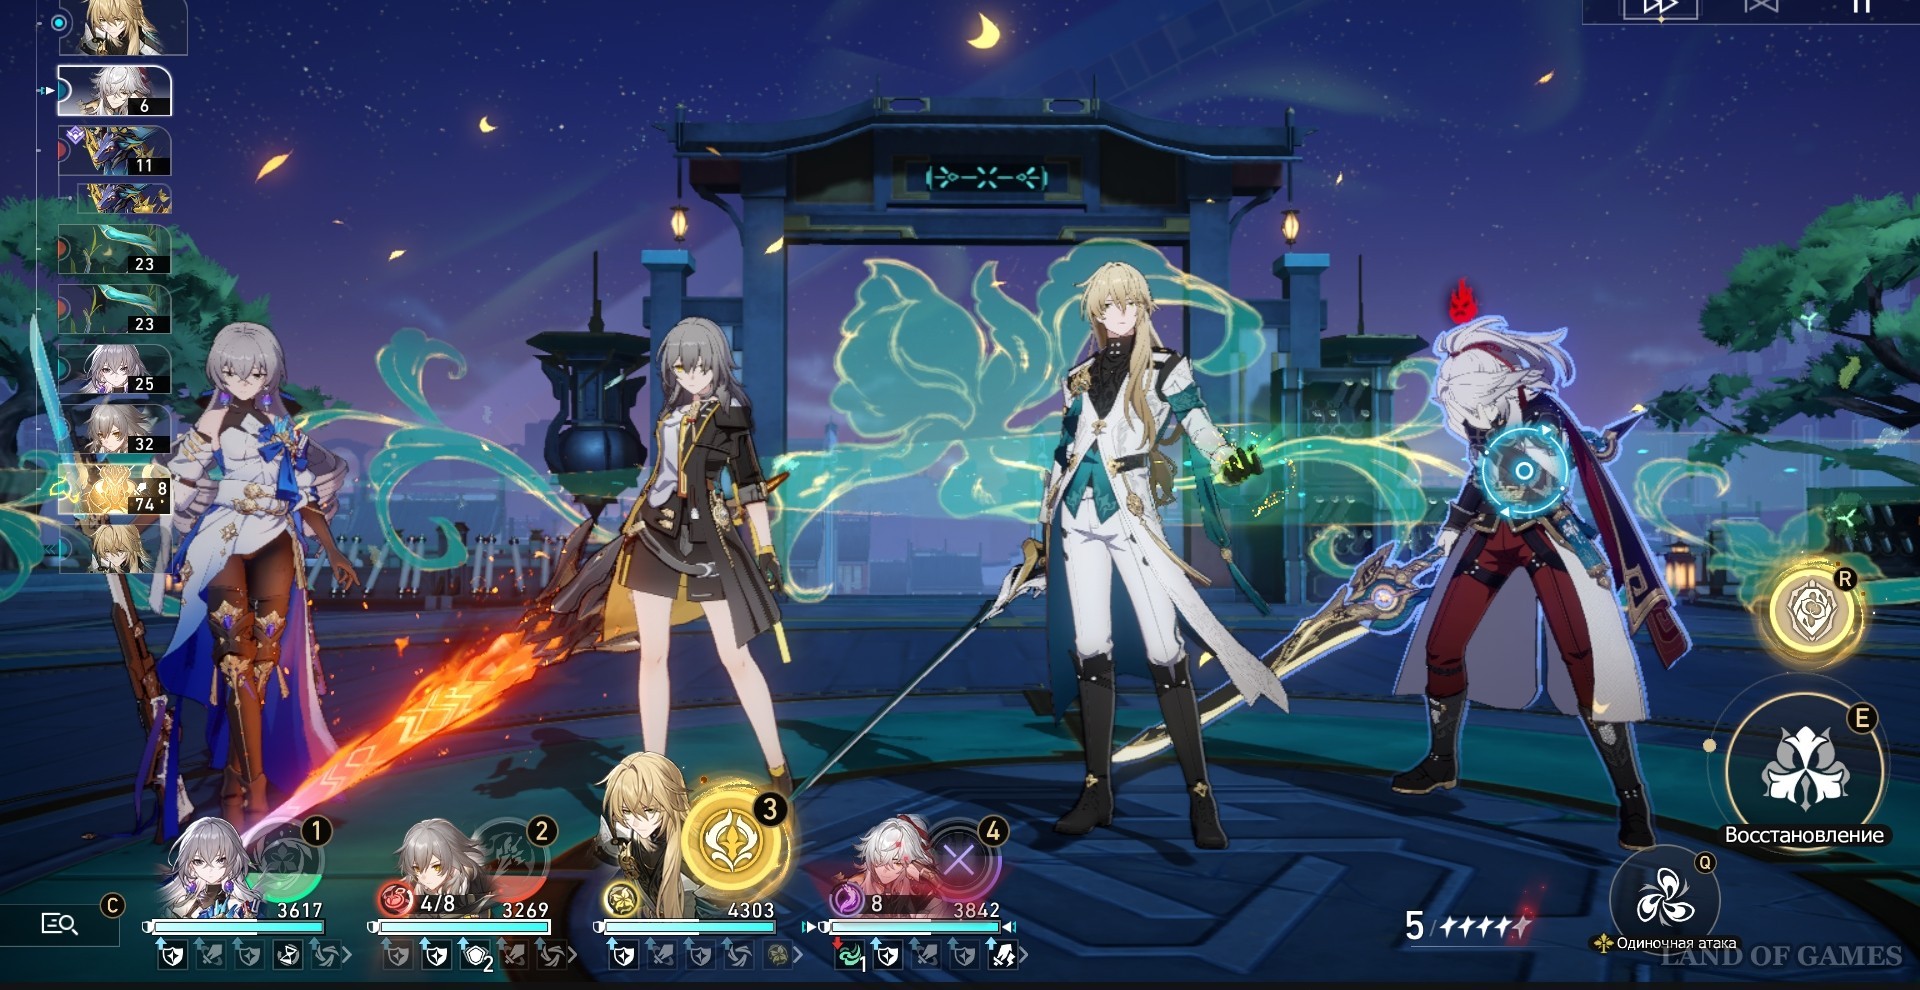
Optimal Teams
When assembling a team, do not neglect the leveling of your heroes. It is desirable that the average level of the characters meet the requirements for each difficulty level. Also don't forget to give your fighters the best cones and relics. It is important that their traces are pumped so that they perform their functions as efficiently as possible.
Featured Units
| Main-DD | Sub-DD | Sub-DD/Support | Support |
|---|---|---|---|
|
Qingque (Hertha) |
Pioneer (fire) |
Asta |
Natasha |
|
Yanqing (Hertha) |
Pela (Silver Wolf) |
March 7 (Cheetah) |
Locha (Baylu, Natasha) |
|
Zele (Qingque) |
Armor |
Pioneer (fire) |
Locha (Baylu, Natasha) |
|
Hook (Himeko) |
Pela (Silver Wolf) |
Pioneer (fire) |
Locha (Baylu, Natasha) |


The first squad is a fully F2P variant. All heroes in it are able to deal with the vulnerabilities of the final boss, deal massive damage and keep all allies alive.
The second team specializes in dealing ice damage. By taking a few blessings of Memory, you will be able to keep the freeze on enemies for quite a long time, and the hero of the Path of Nothingness you have chosen will be able to significantly weaken the monsters on the field.
In the next unit, Zele will be able to handle the Black Deer with ease, especially with the support of the numerous blessings of the Hunt. The armor will allow her to make her moves even more often, and the healer and shielder will effectively save the health of the entire team.
The last unit is focused on depleting the pyro resistance of enemies. Pela will be able to lower their defense, and Locha and Pyro GG will be able to protect all allies.
Best Paths and Blessings
In theory, you can complete World 7 by any Path that suits your characters. However, we still recommend that you choose the Save or Hunt Path, which can make your road to victory in all battles much easier.
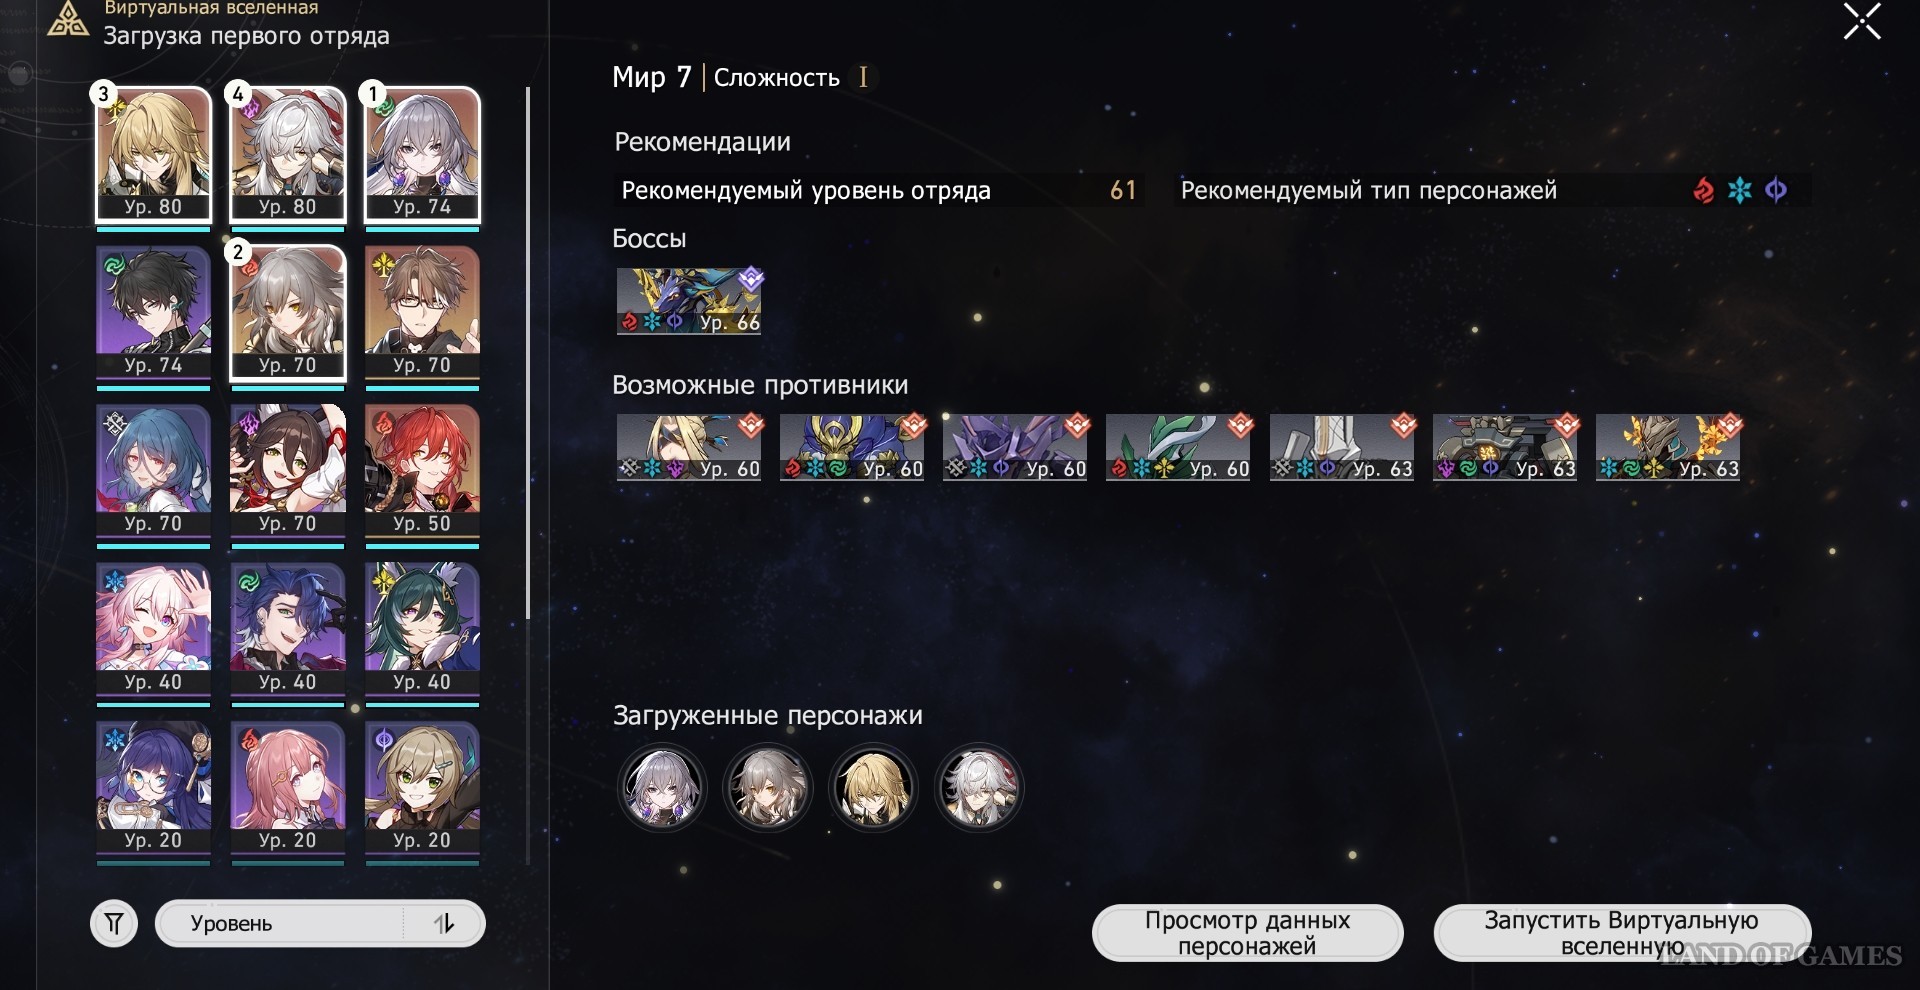
Conservation Path
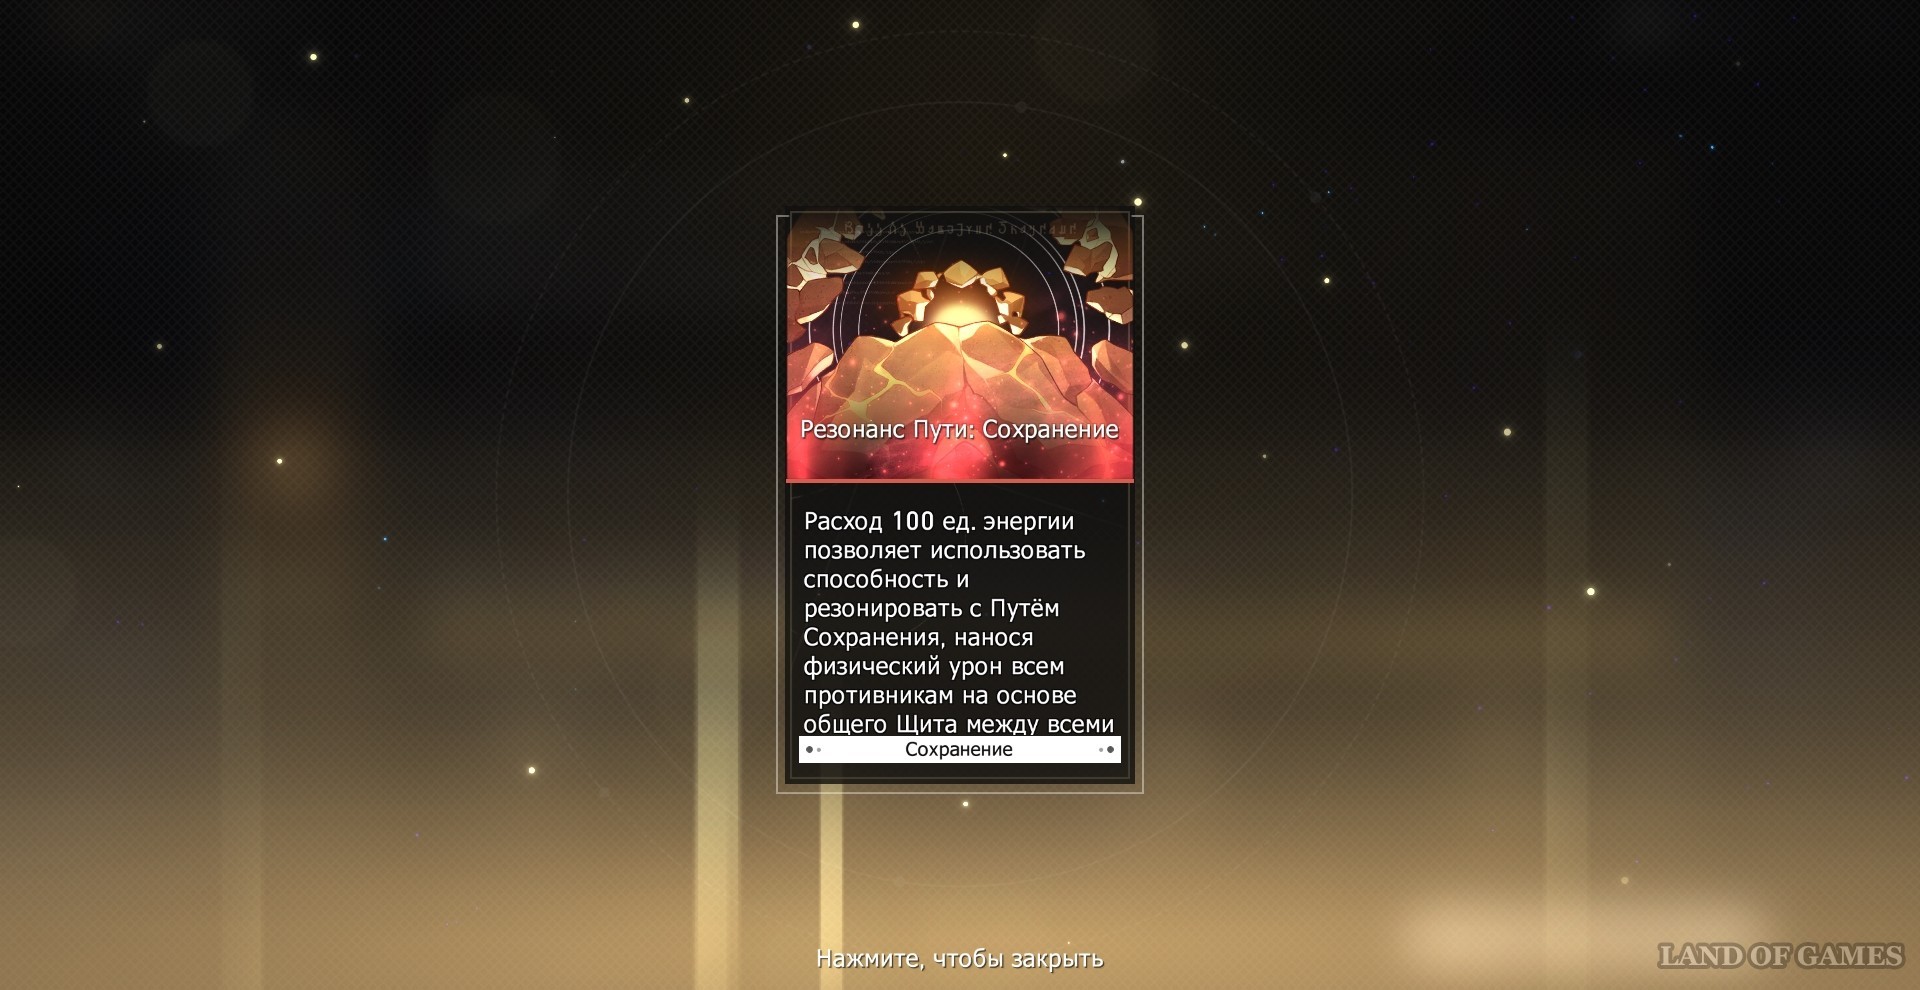
Since the main boss is capable of dealing high area of effect damage, one of the most useful Paths, especially for players with little variety or low level hero levels, will be Save. It will be able to boost shields created by Mart 7 or Fiery Pathfinder, as well as deal additional damage based on their durability.
You should adhere to the following order when selecting resonance formations:
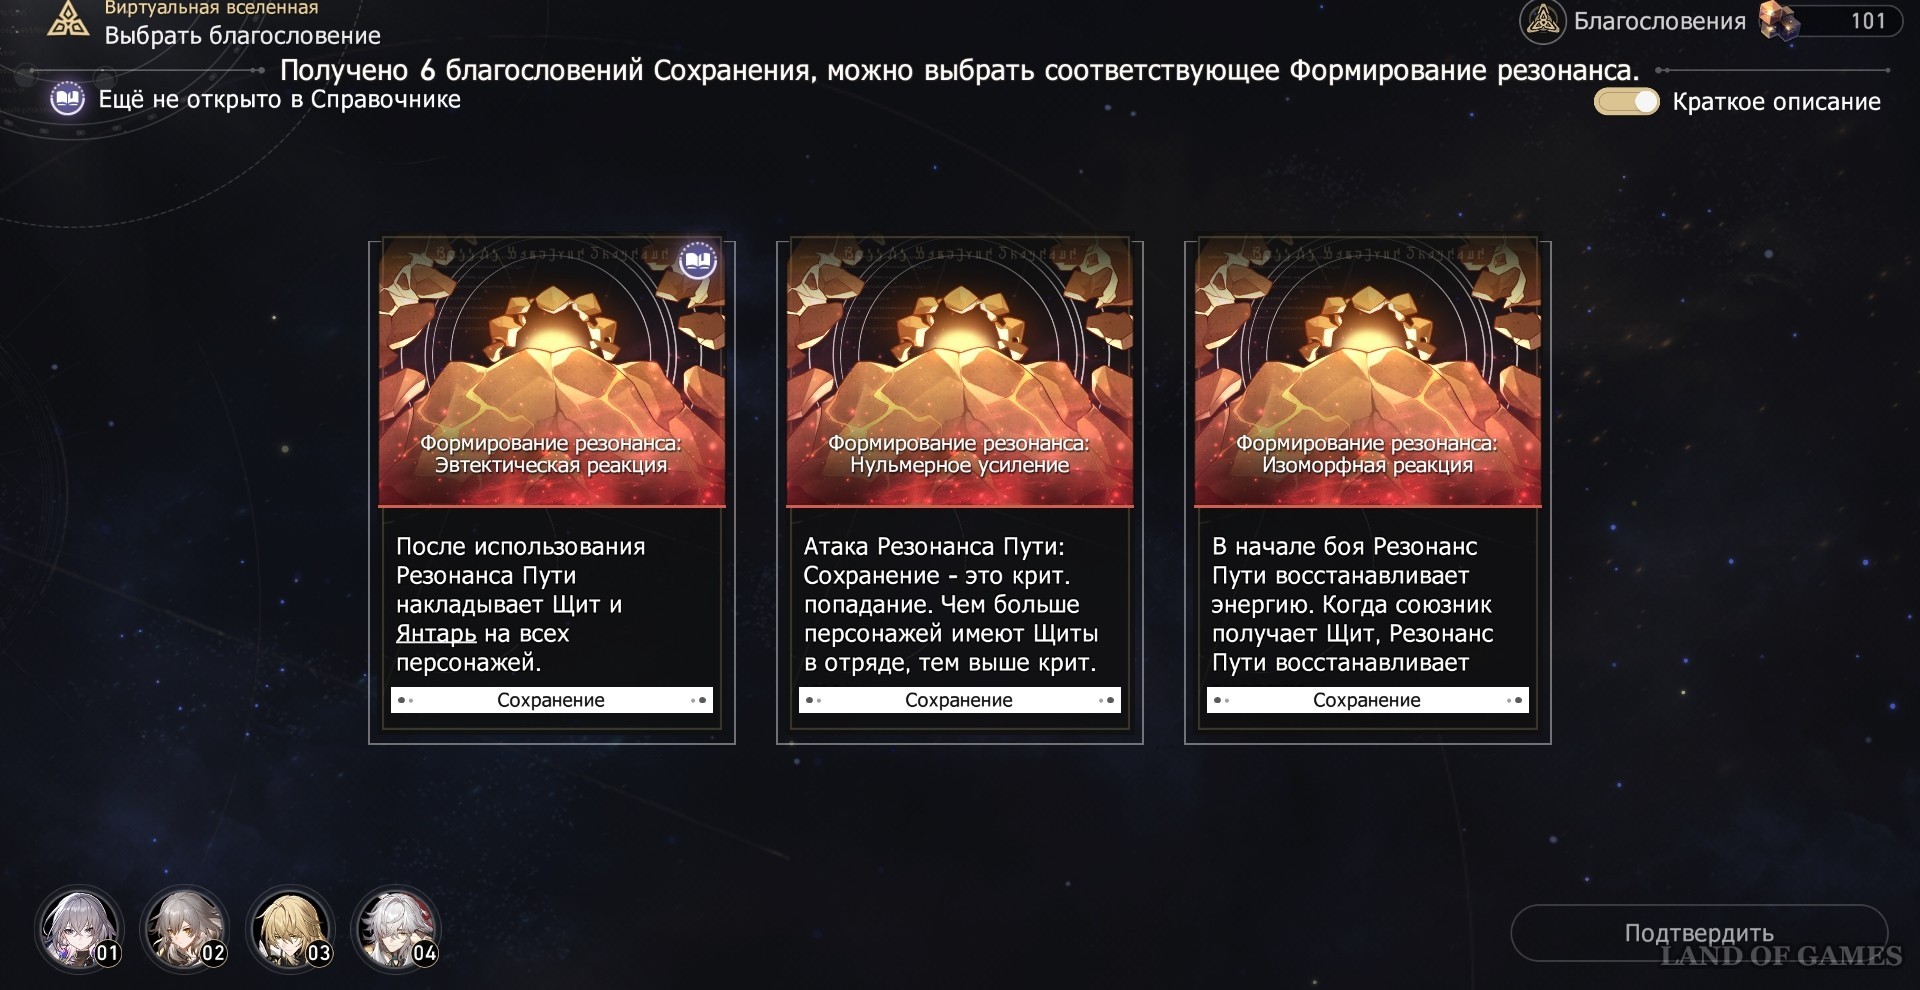
- Resonance Shaping: Zero Dimensional Dimension. Path resonance attacks become critical. Their crit. damage is increased by 15% for each ally protected by the shield. This formation will help you significantly increase the damage from the chosen Path.
- Resonance formation: Isomorphic reaction. When the battle begins, the Resonance of the Path restores 40% of energy, and when an ally receives a shield, it restores an additional 3%. This will allow you to use powerful resonance strikes more often, which will indirectly increase the damage you can inflict on the enemy.
- Resonance formation: Eutectic reaction. Using Resonance of the Path creates a shield for all heroes that can absorb damage equal to 1% of their maximum HP for two turns and gives them the Amber status, which once causes all damage in excess of the shield's absorption to be invalidated. Also a pretty useful formation that increases the security of your entire team.
Here are a few Conservation blessings that you may find most helpful:
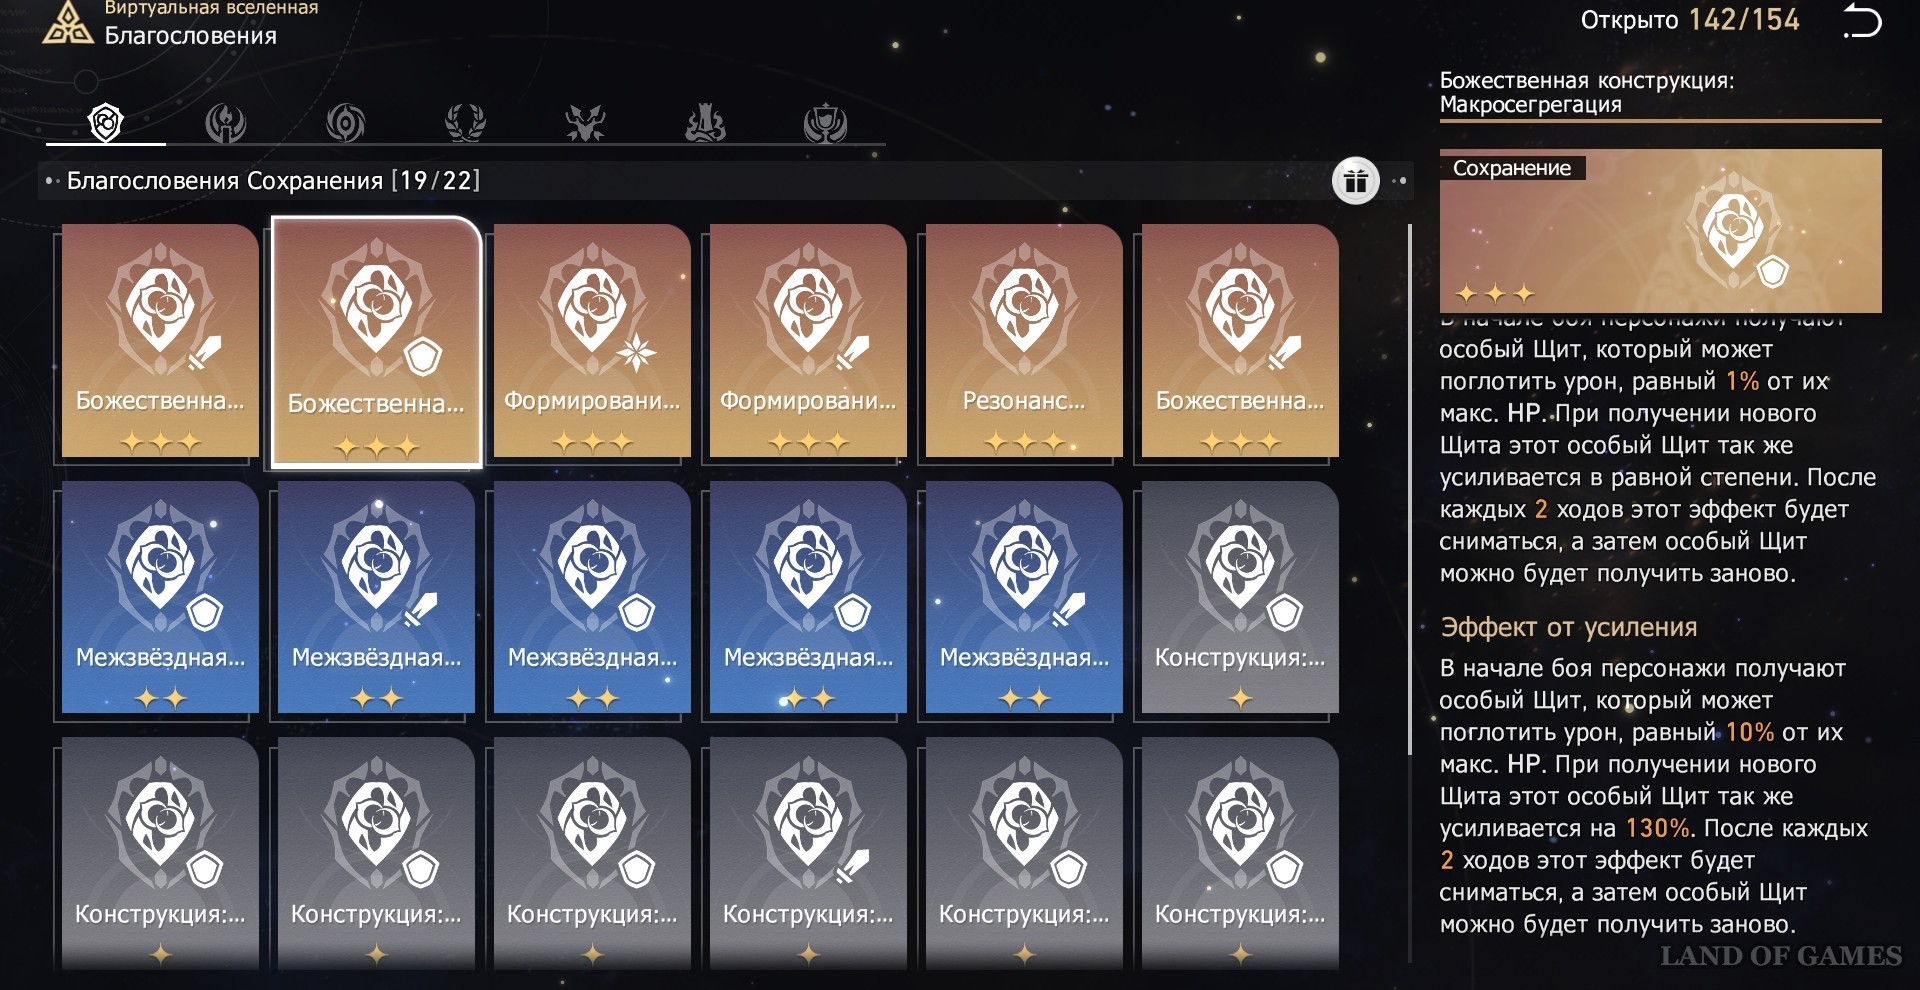
- Divine Construct: Macrosegregation (Enhanced): At the start of battle, all characters receive a special shield that can absorb 10% of their maximum HP damage. However, when they gain a new shield, this special barrier is increased by 130%. Every two turns it disappears and reappears.
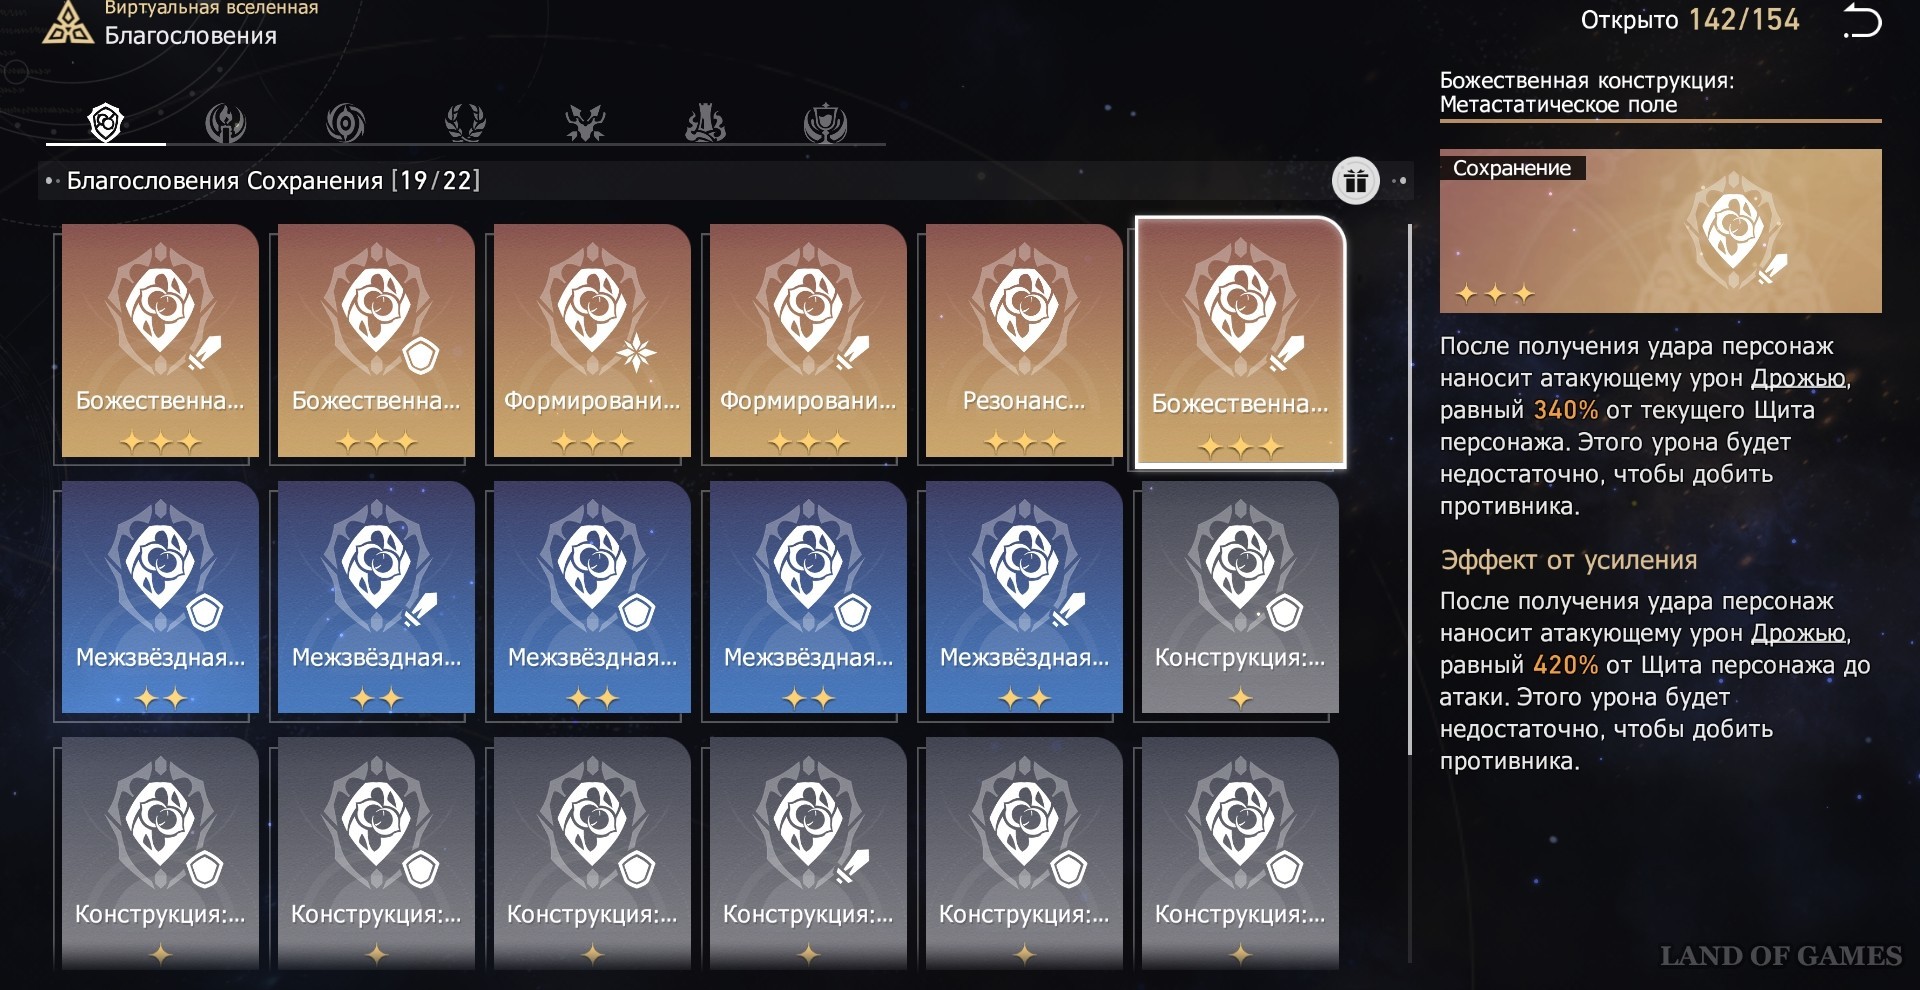
- Divine Construct: Metastatic Field (Enhanced): When an enemy attacks a character, they take 420% of the shields they were shielding with Shiver before hitting them in return. This damage cannot be a finishing move.
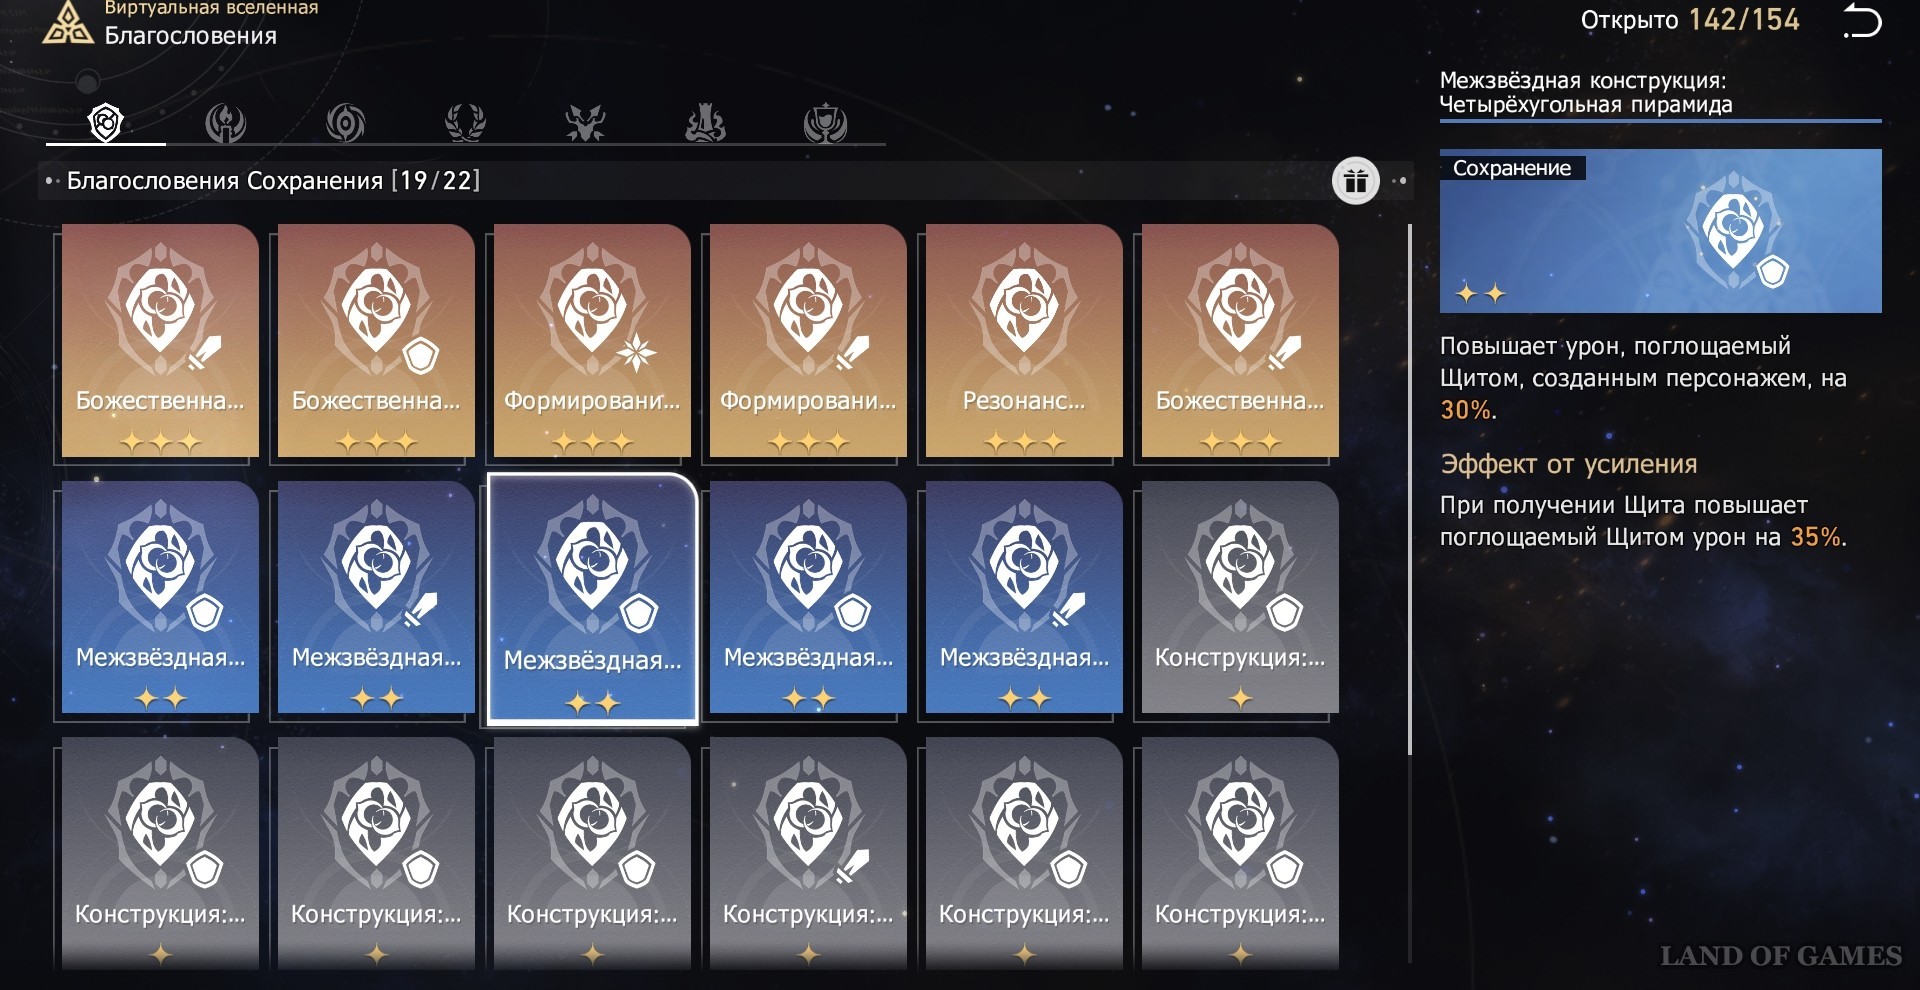
- Interstellar Construct: Quadrilateral Pyramid: Protective barriers created by heroes can absorb 30% more damage.
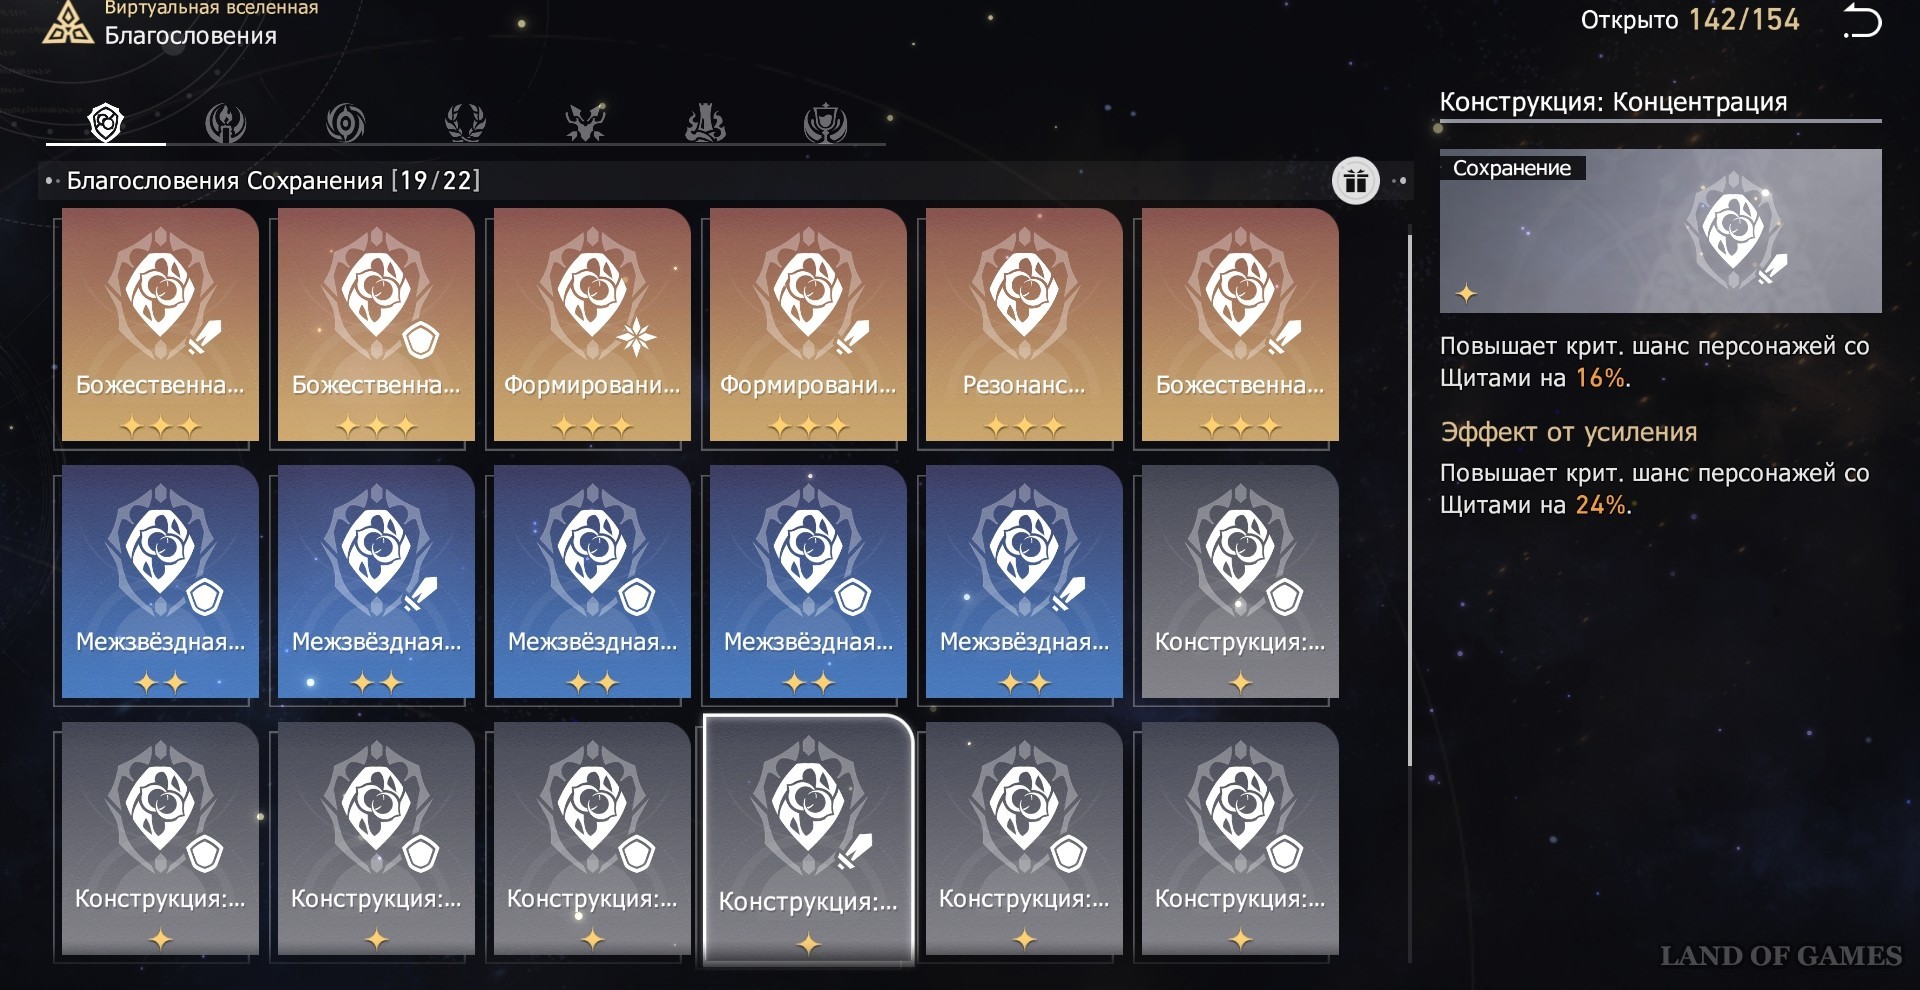
- Design: Concentration: The chance of a critical strike of a character with a shield is increased.
- Design: Durability: Heroes protected by a shield take 16% less damage.
- Design: Patch: When a character is attacked, he gains a shield for one turn that can absorb damage equal to 18% of the HP lost during this attack.
- Divine Construct: Resonance Transfer (Enhanced): When the character hits an enemy, they also deal Quake damage equal to 100% of their current shields + 20% of the total shields of all allies.
- Interstellar Construct: Explosive Grid (Empowered): Whenever a hero damages an enemy with Quake, there is a 100% chance to inflict Bleeding.
- Design: Rotation: When a character gains a shield, there is a 20% chance to remove one debuff from it.
- Design: Sentinel: At the beginning of the battle, all heroes receive a shield for two turns that can absorb damage equal to 16% of their maximum HP.
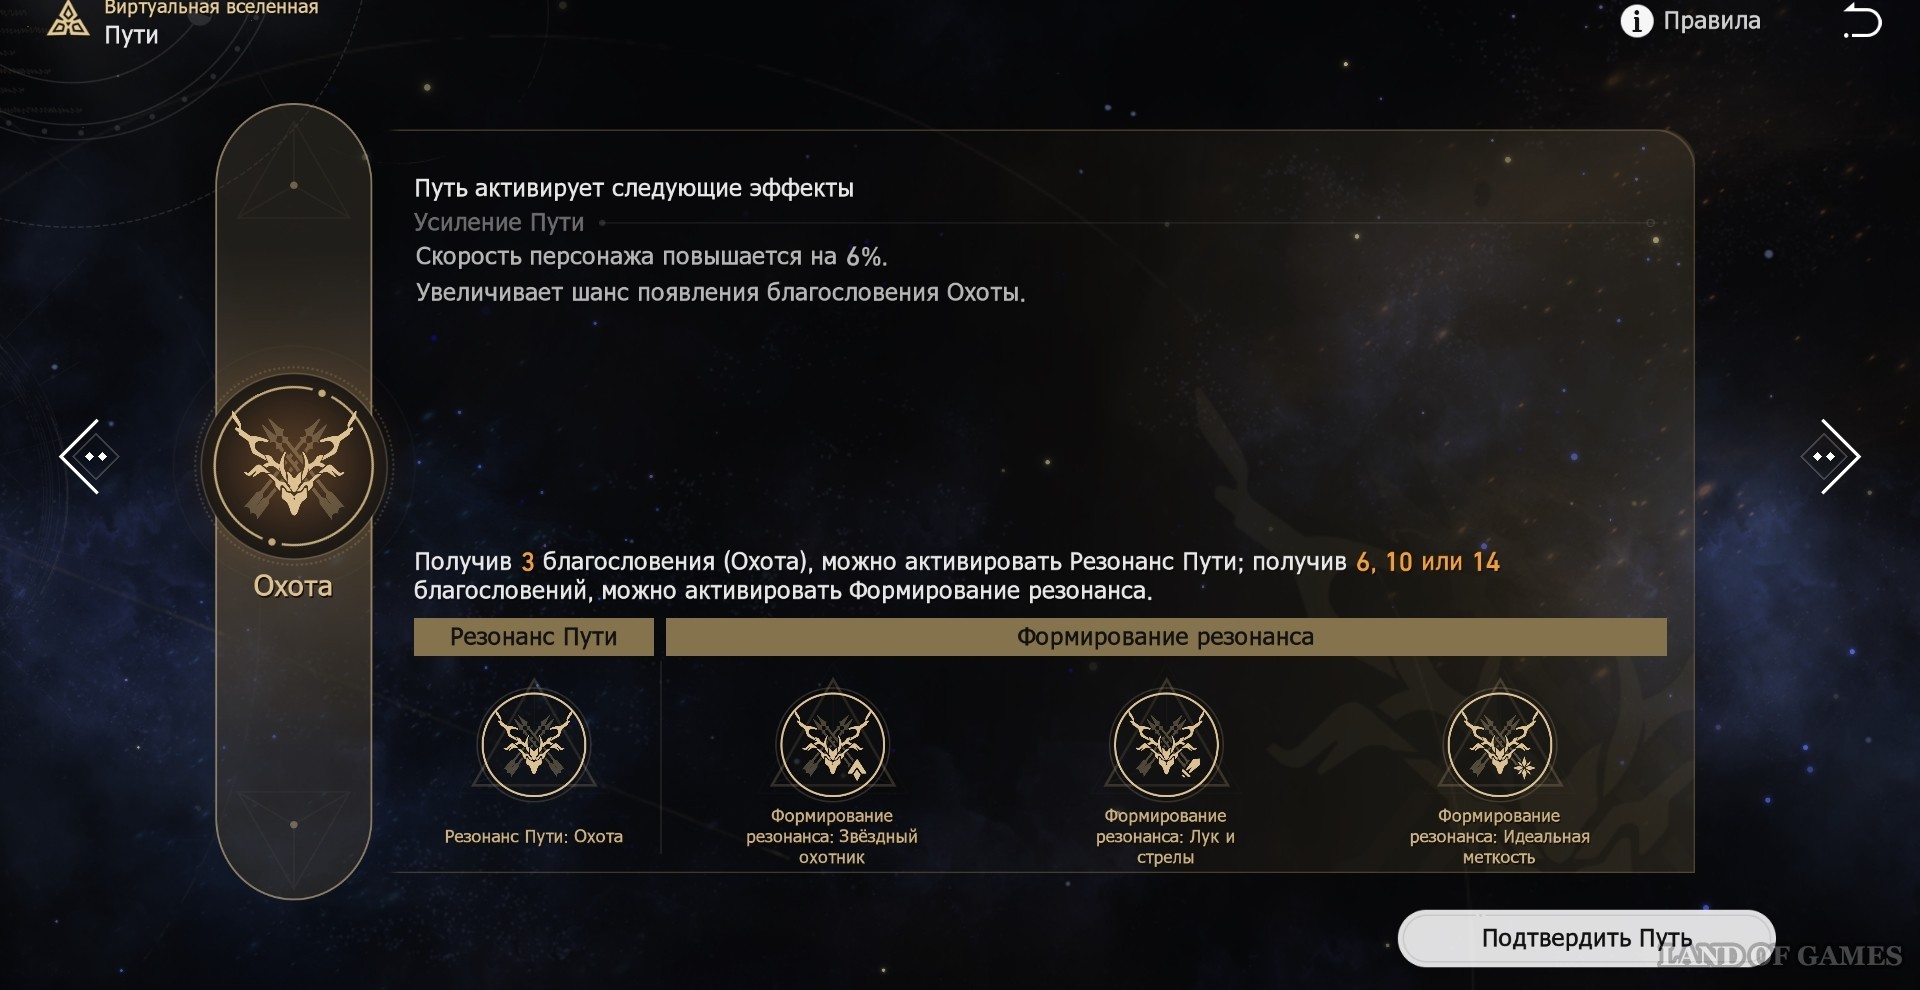
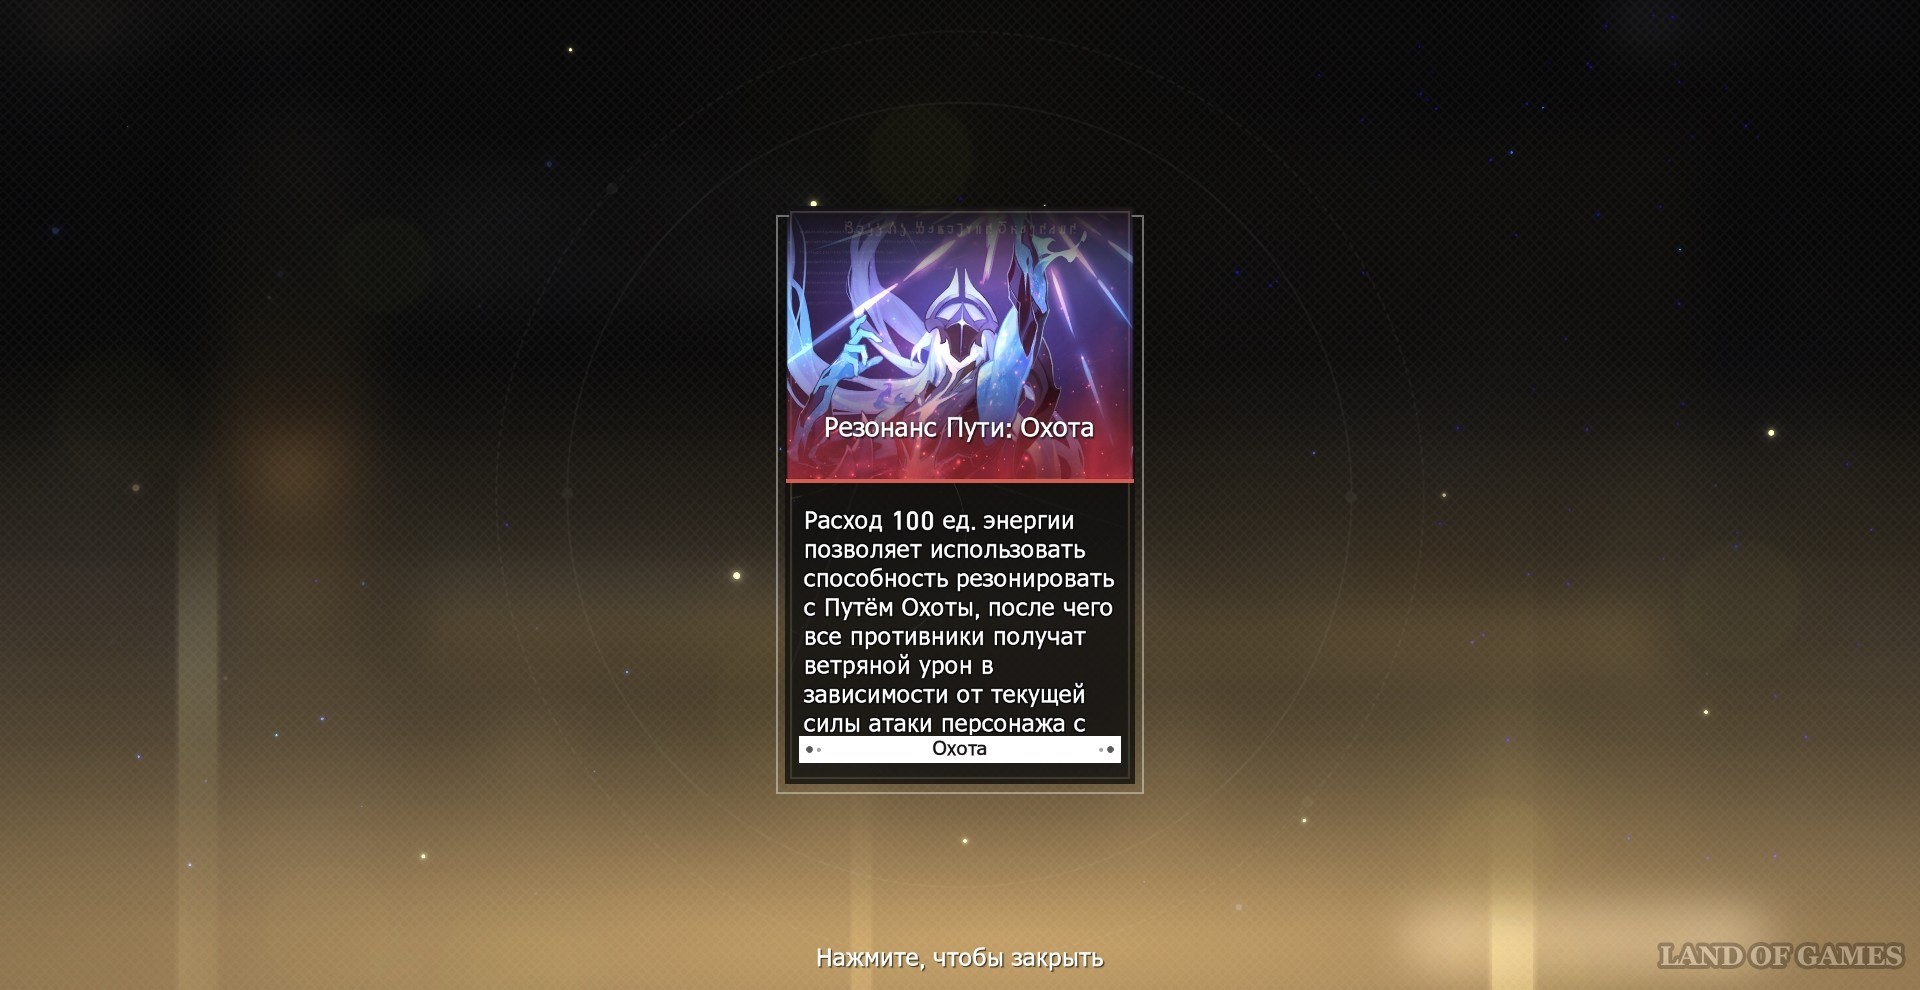
Path of the Hunt
The advantage of this Path is that it is capable of inflicting massive one-time damage, which can destroy the branches summoned by the Black Deer. Also, the blessings of this path buff crits, which is important for most characters who are suitable for passing through this World.
The following is the priority of selecting Resonance formations:
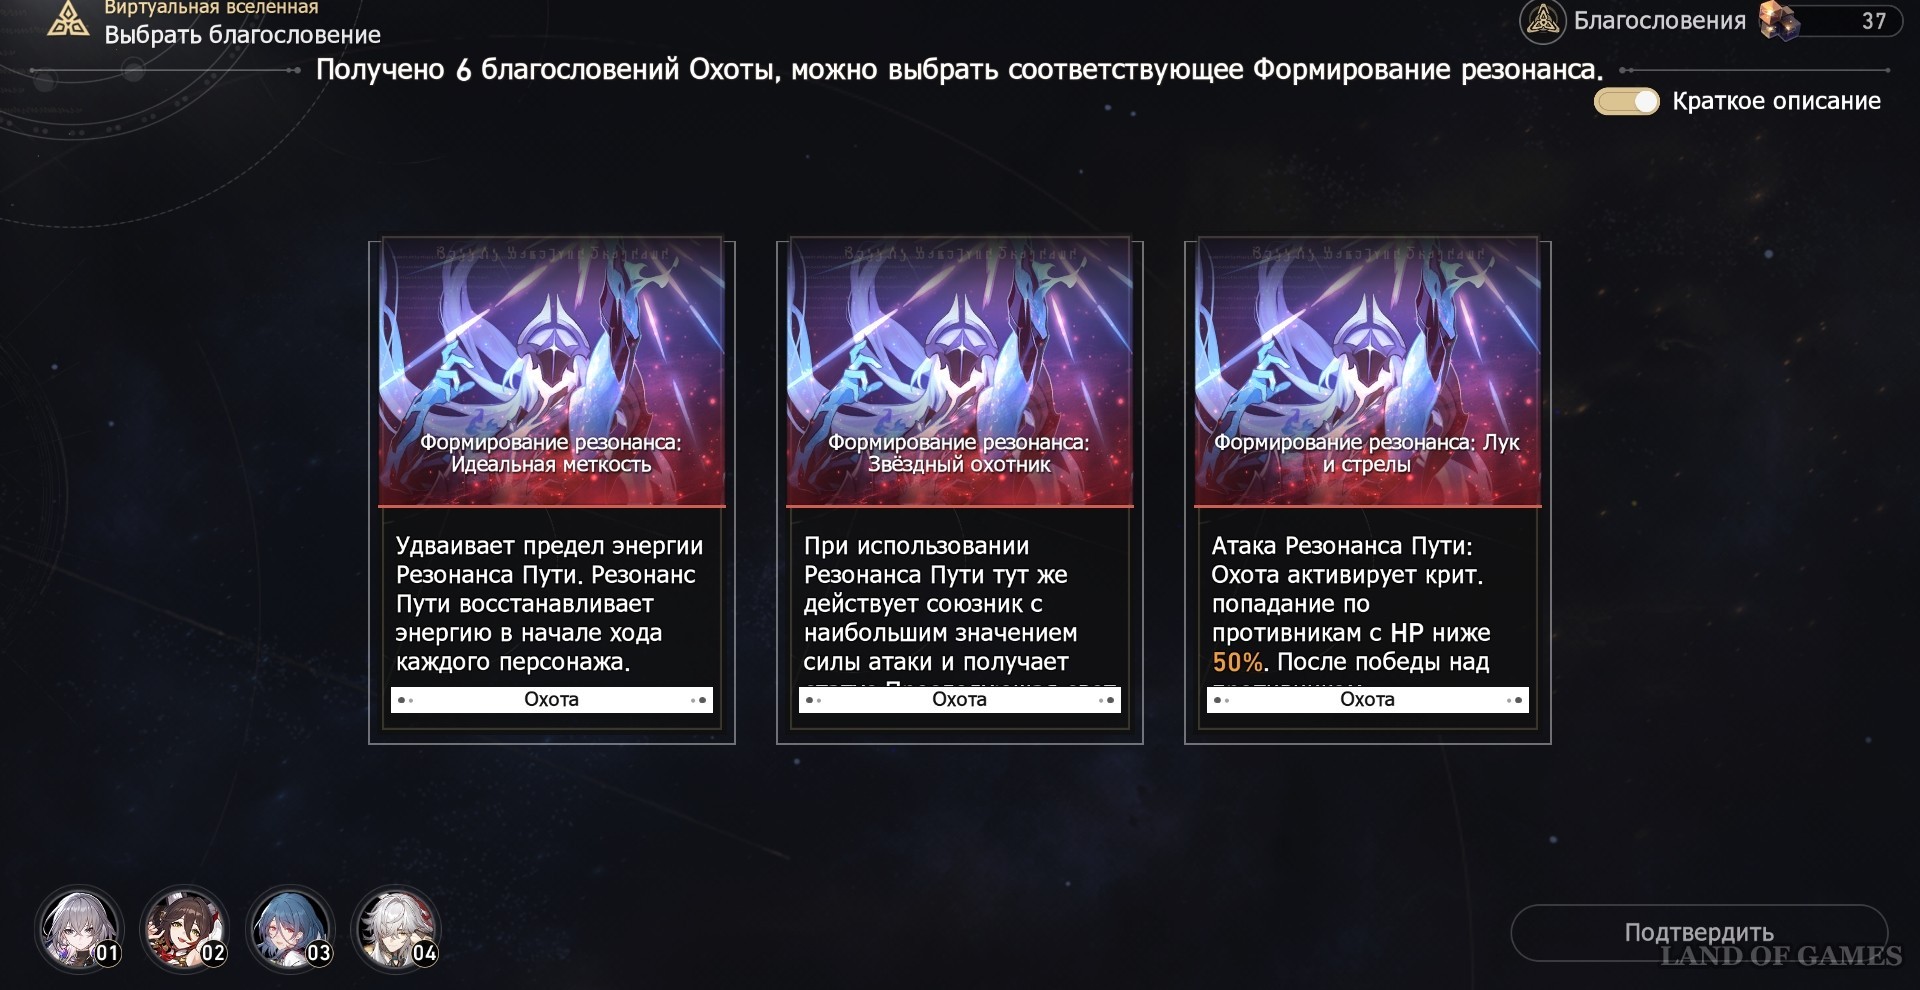
- Resonance Shaping: Bow and Arrow. Using Path Resonance inflicts critical hits on enemies below 50% health, and restores 50% energy when an enemy is hit. With this buff, you will be able to destroy branches faster, reducing the influence of the final boss on your team, as well as weakening him himself.
- Resonance Shaping: Perfect hit. Increases the energy limit for Resonance of the Path, which allows you to accumulate two applications at once, and the beginning of each ally's turn returns 3% of energy. It also allows you to damage more often with the chosen Path.
- Resonance Shaping: Star Hunter. Gives buffs to your ally with the highest attack stat. This enhancement is just as important as the previous one. You can decide what suits you better: use the Resonance of the Path more often, or buff your main damage dealer if it plays on a high attack stat.
Also on the Path of the Hunt, you can find many useful cards that you should choose at any opportunity.
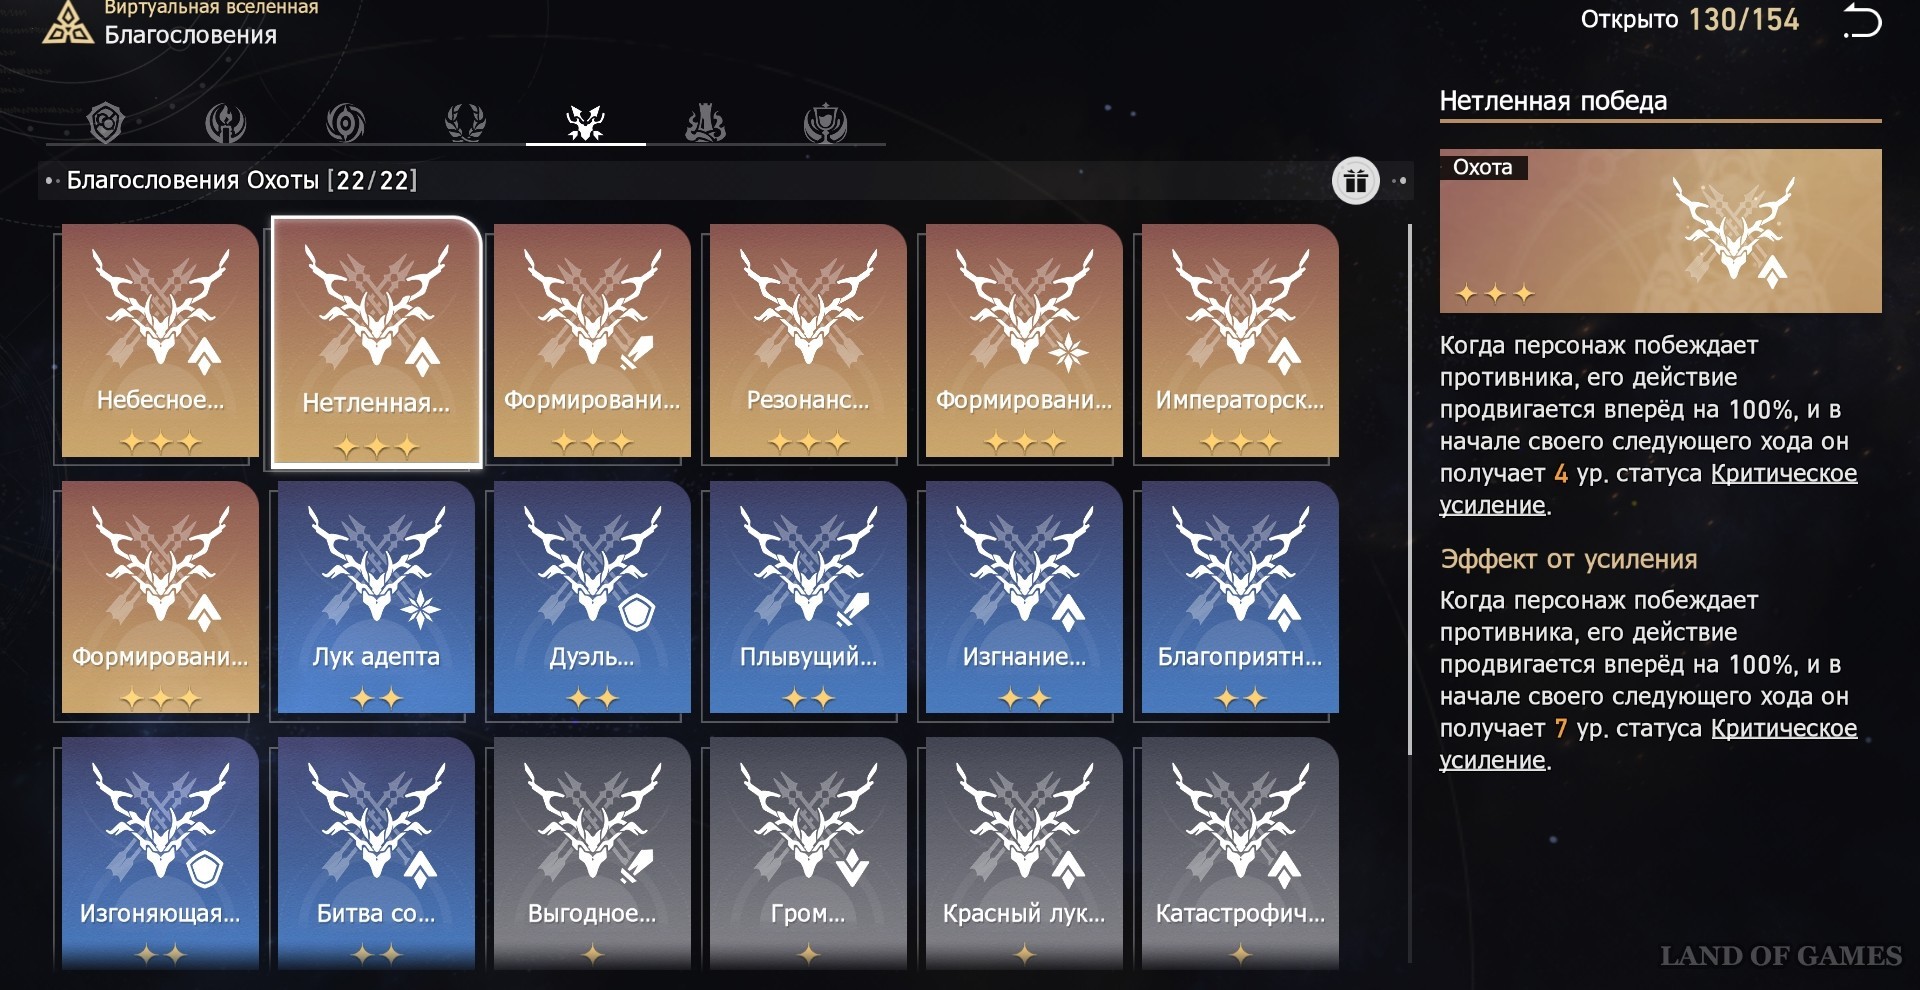
- Imperishable Victory (Enhanced): Advances the action and empowers the character after they destroy an enemy.
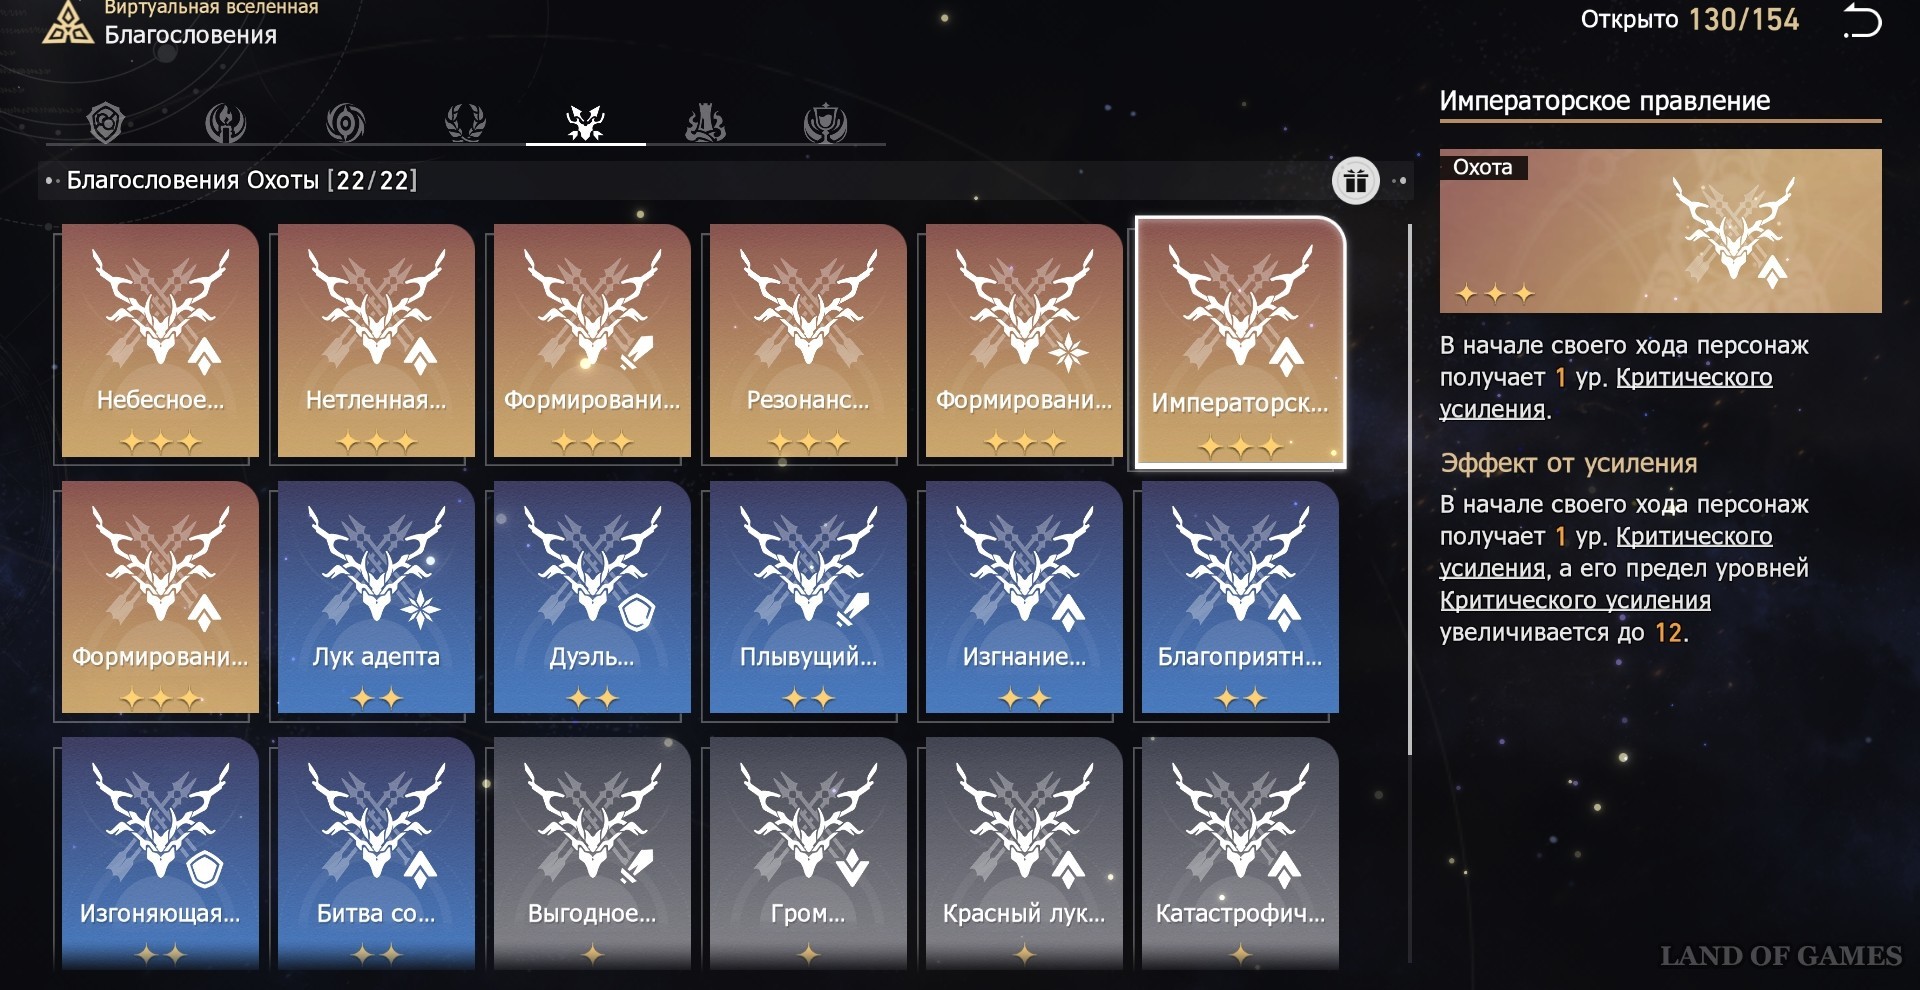
- Imperial Rule (Enhanced): Heroes in a party gain 12 levels of enhancement at the start of their turn.
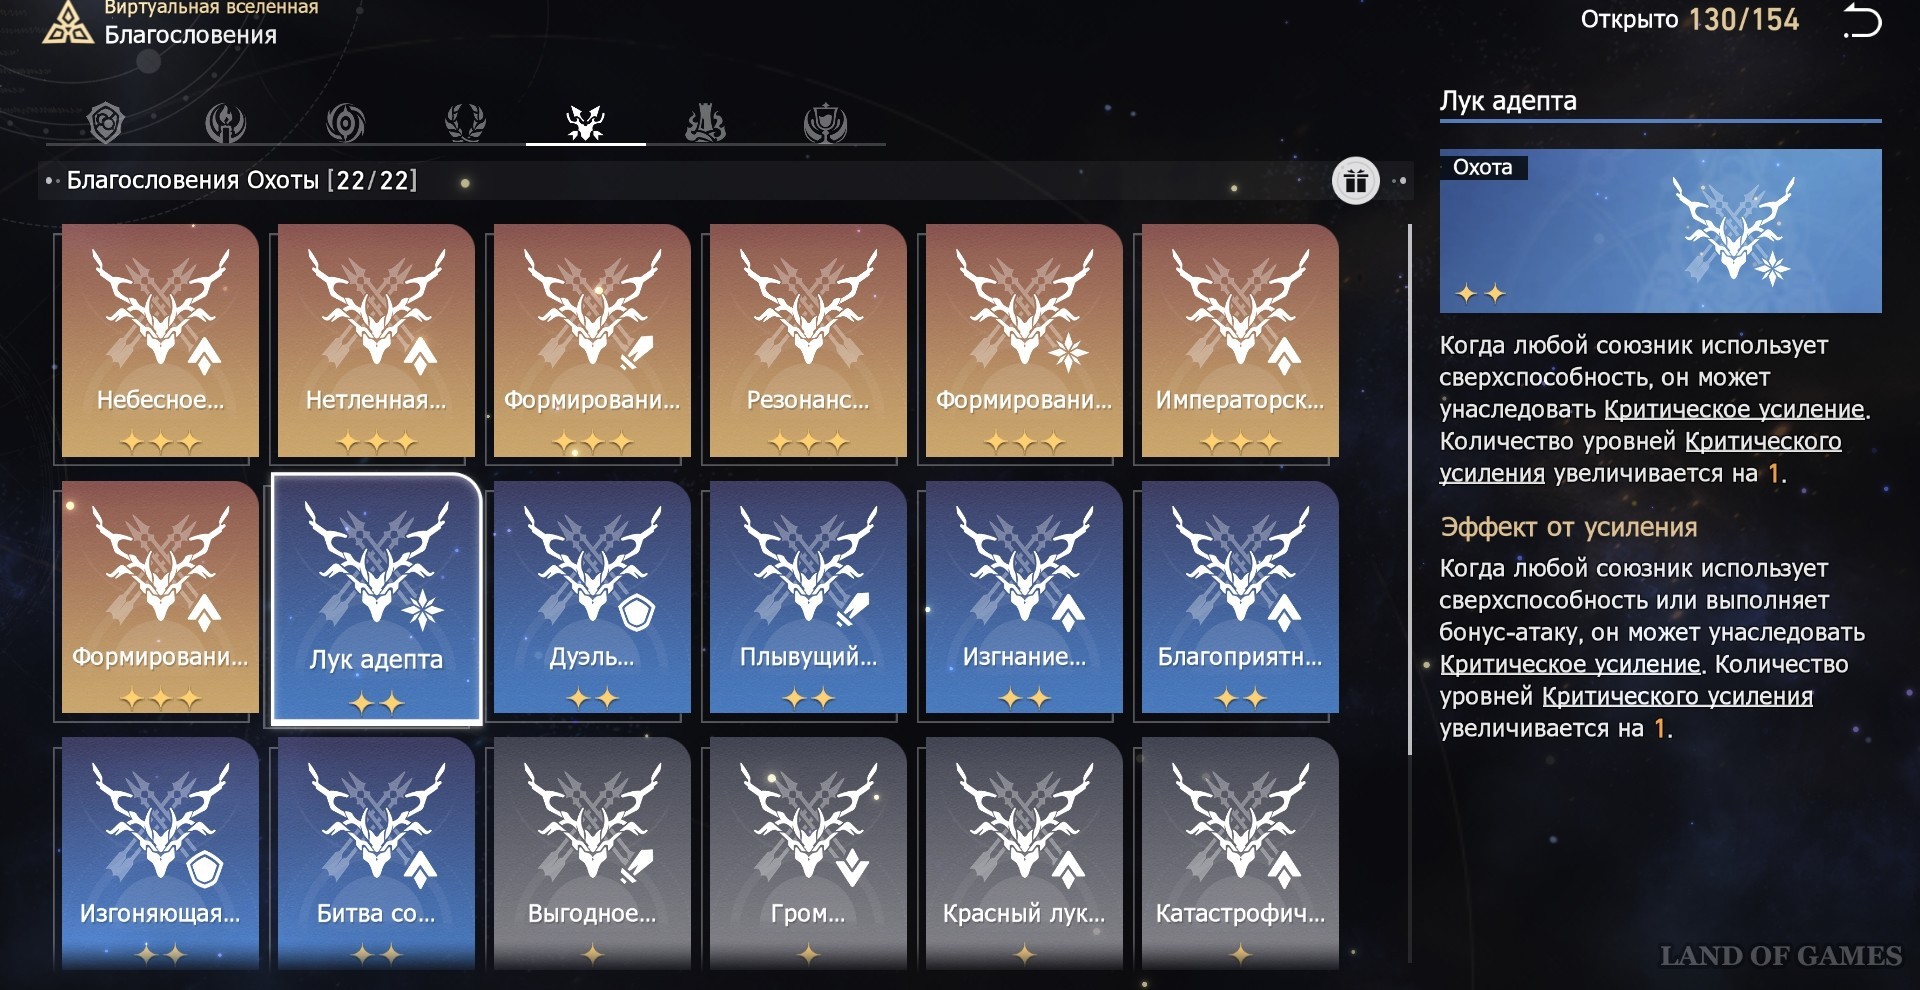
- Adept's Bow (Enhanced): Using a bonus attack or superpower gradually increases the number of levels of enhancement.
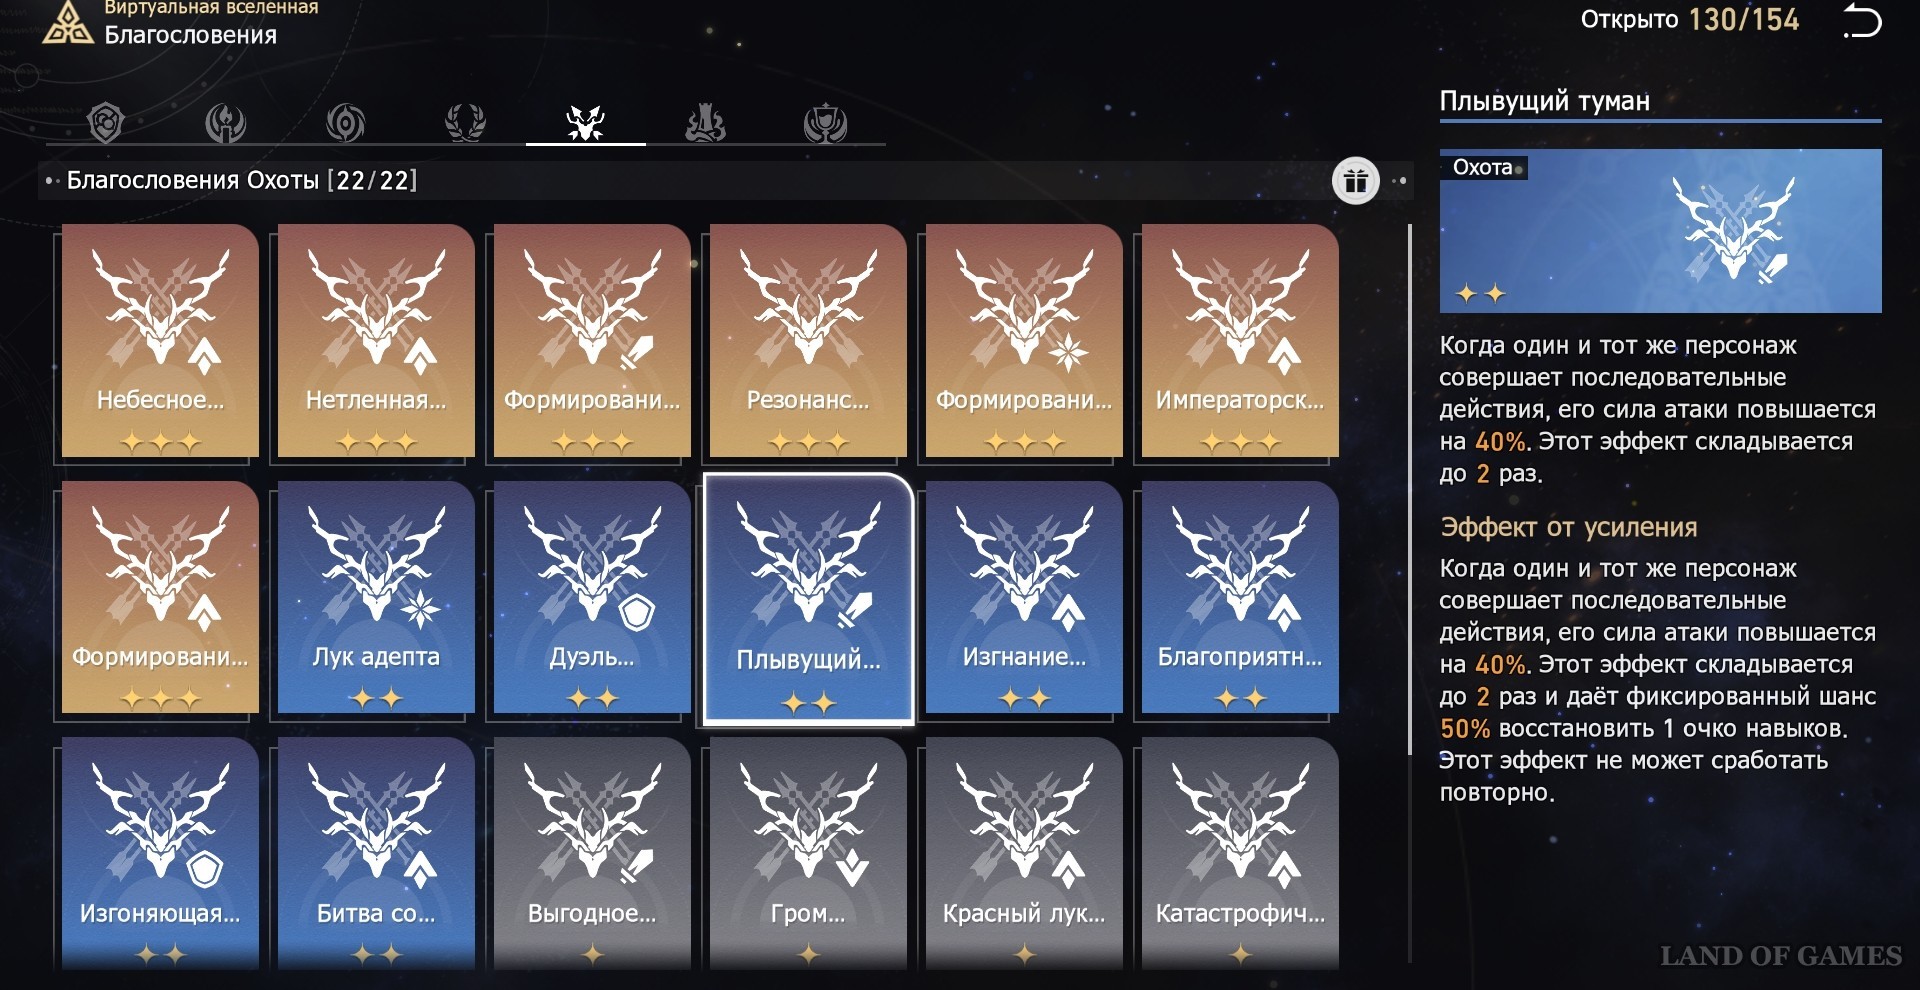
- Floating Mist: Successive hero actions increase attack power by 40%.
- Banishing Borisins (enhanced): every sixth turn, the current character's action moves forward 100%.
- Old Enemy Battle (Empowered): Increases the Hero's Critical Damage for every % of Critical Hit Chance above 100% by 3% and for each level of Critical Buff they have by 0.2%.
- Favorable location: increases crit stat. damage up to 30%.
- Thunder travels the ground: Enemy turns are delayed by 20% after their Fortitude is depleted.
- Catastrophic Constellation: At the end of the turn, the ally's action moves forward by 8%.
- High Aspirations: The character's energy at the start of the turn is restored by several points.
- Life and Death: Increases critical hit chance by 11%.
General Tips
For the most part, your task is to collect as many blessings of the chosen Path as possible. If in the first zone you are completely unlucky with the proposed gains, then you can try to start the test again. But in this case, you must first go to the second zone so that you still have the opportunity to get all the boost cards in the next attempt.
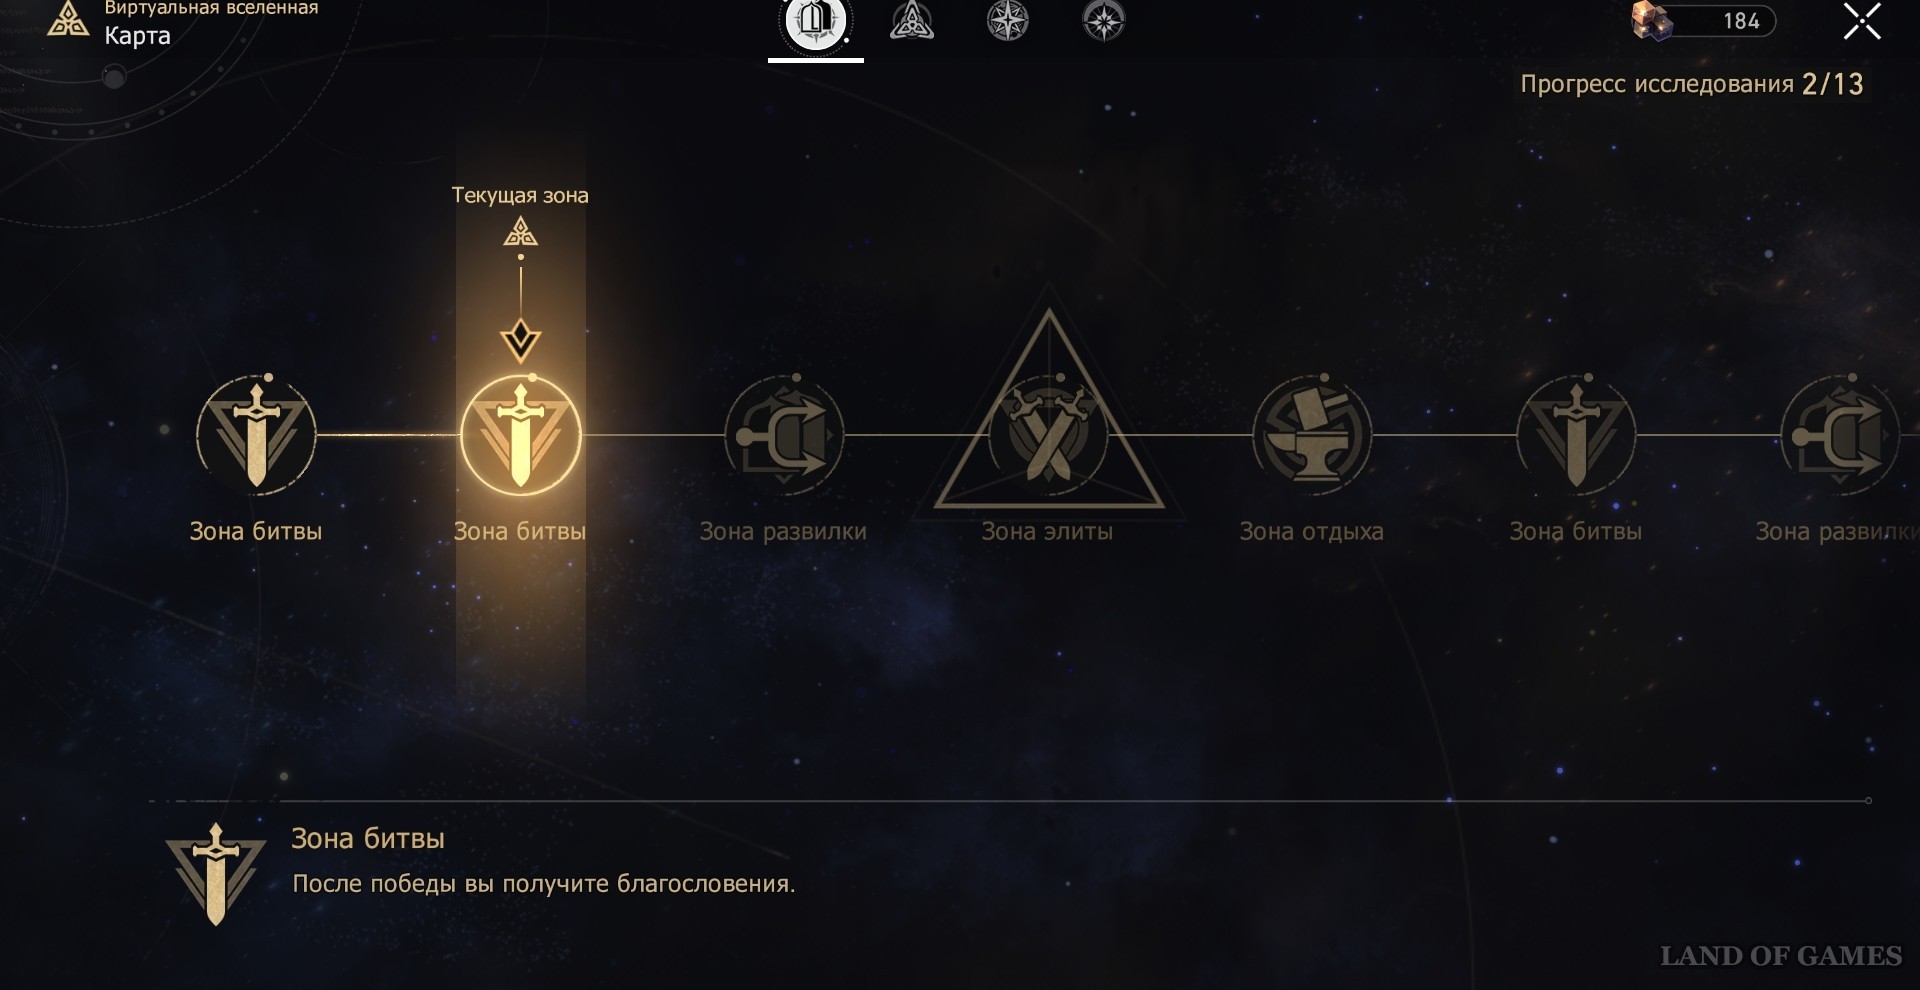
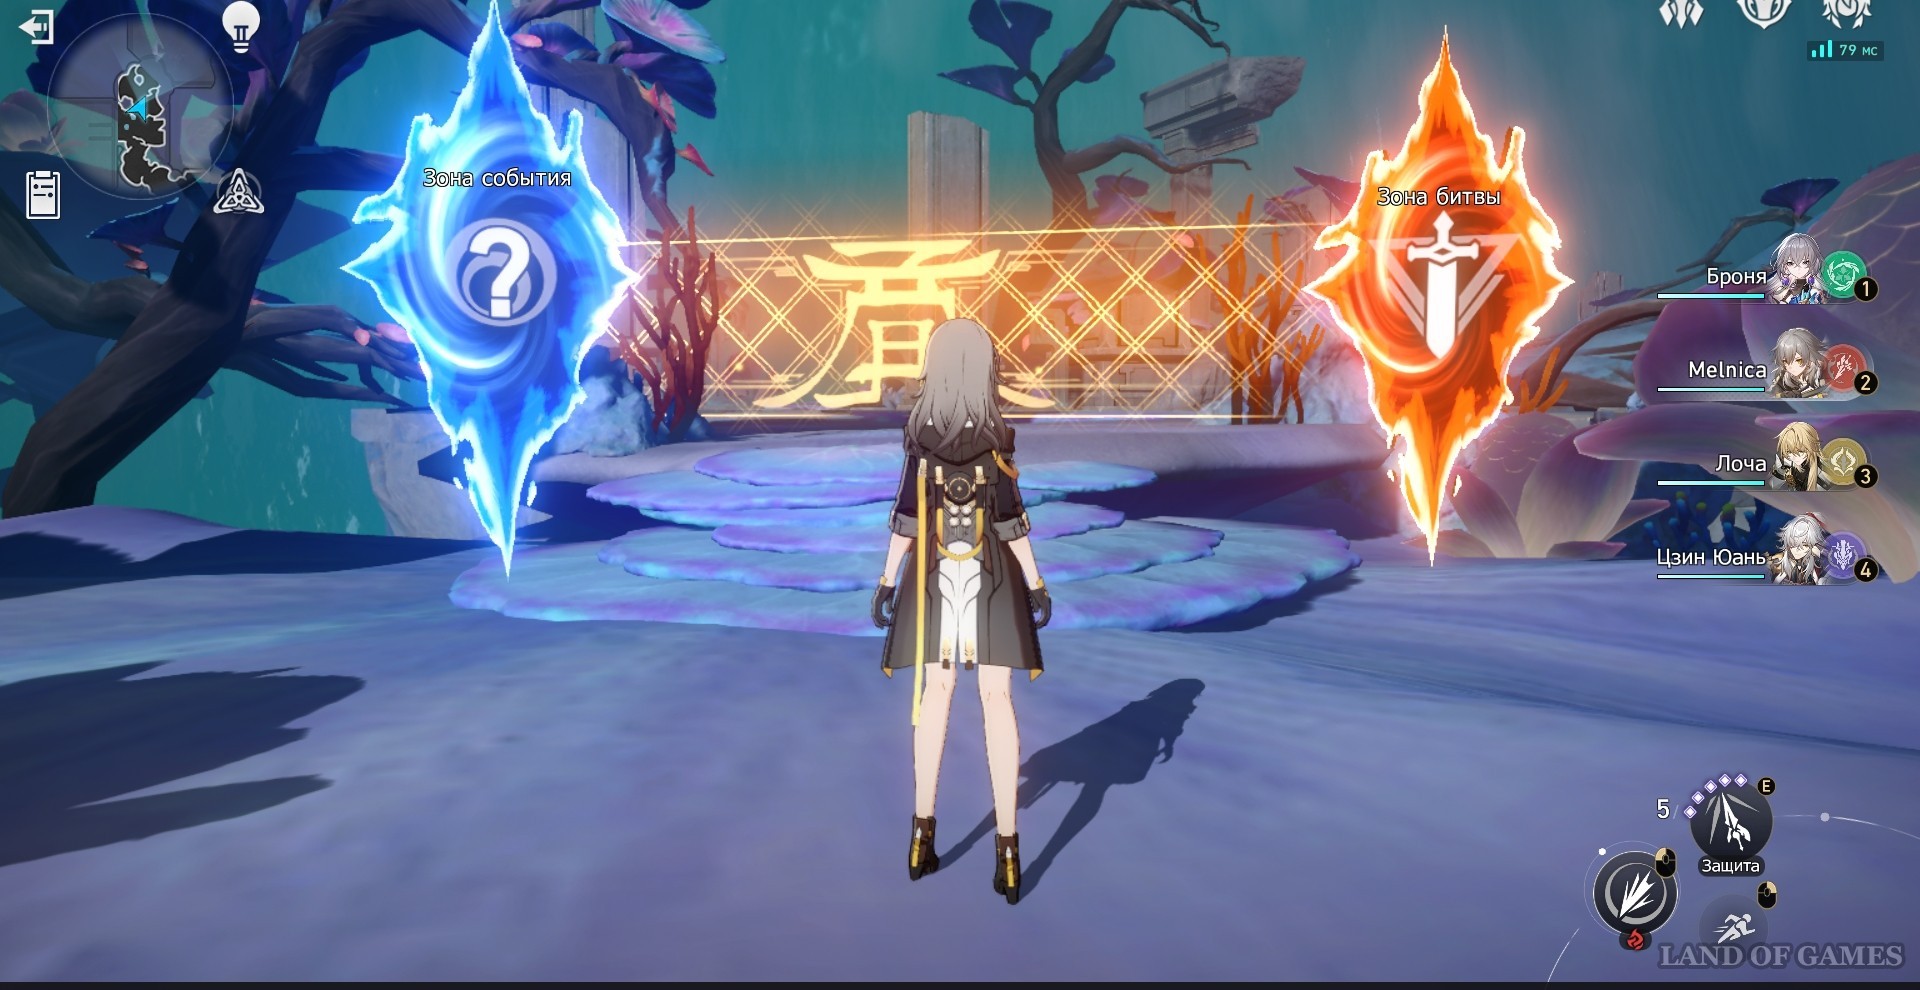
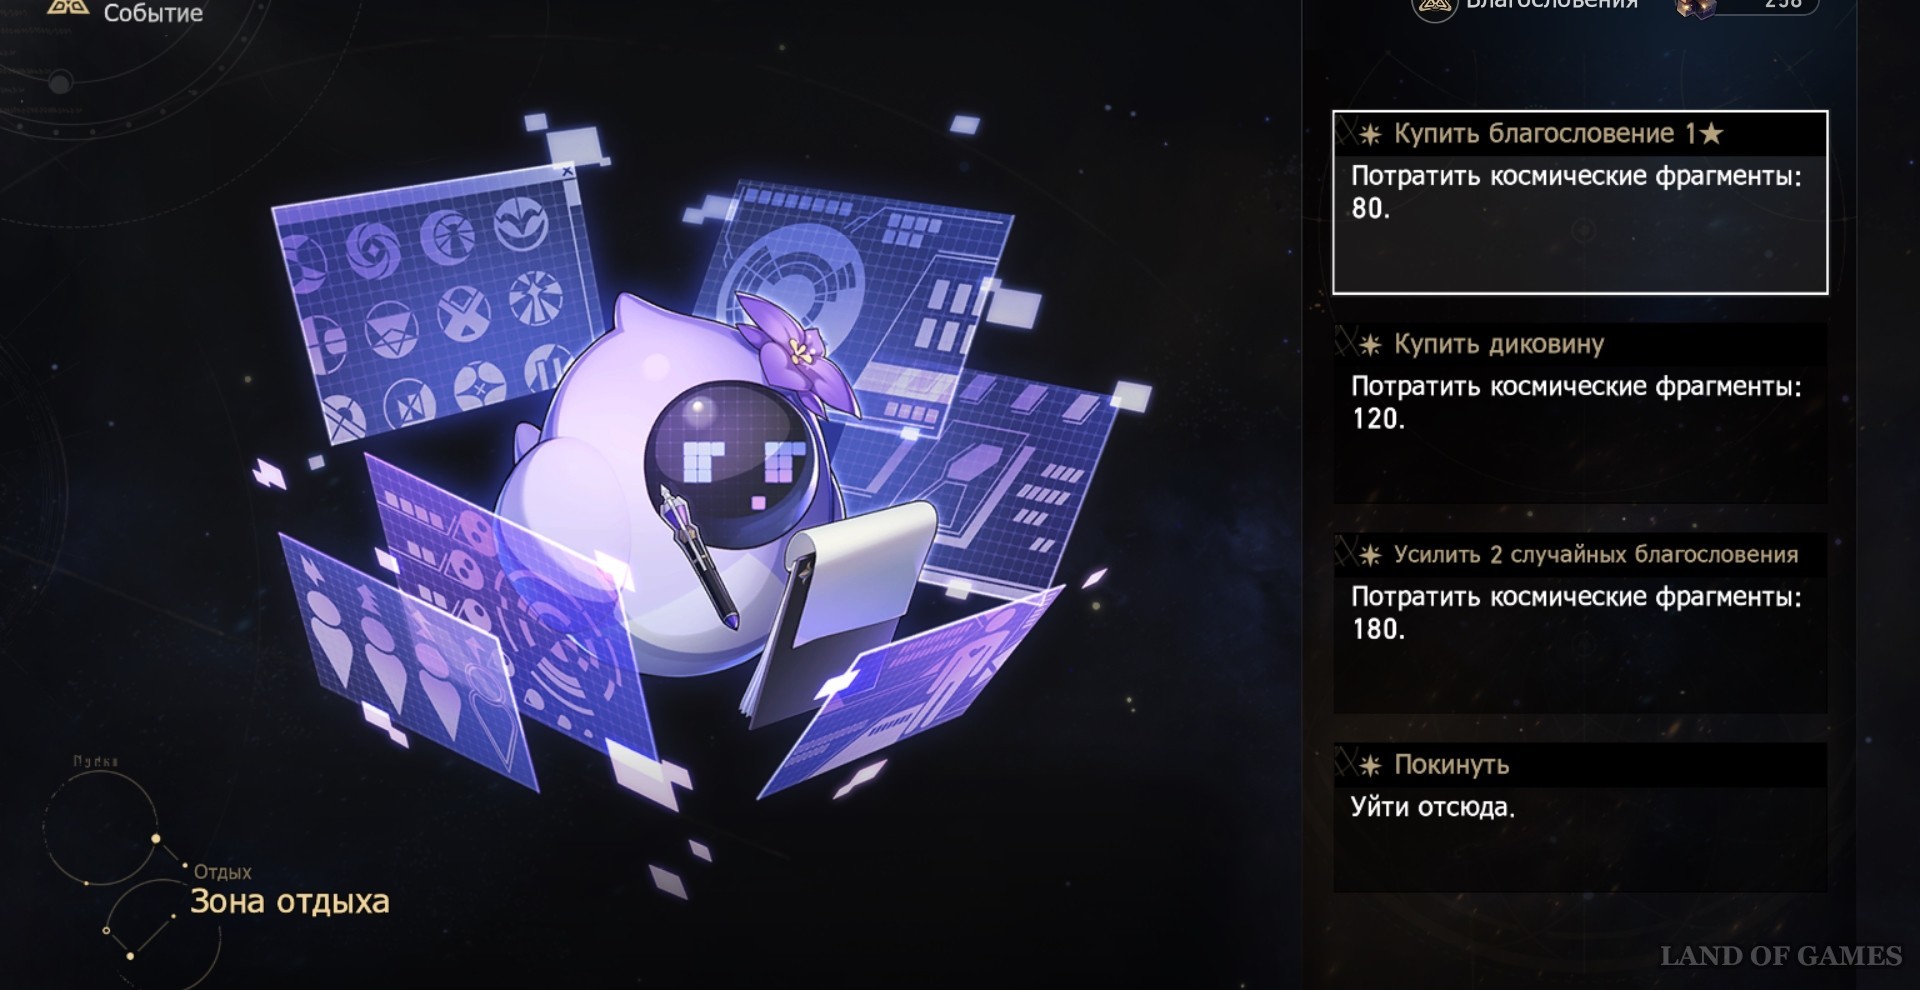
At the forks, try to choose battle zones, not events, since in the first option you are guaranteed to be able to pick up one blessing, which, perhaps, will be decisive for obtaining resonance formation. Also, do not neglect the opportunity to purchase power-ups from Hertha in the recreation area using space fragments.
If at the moment of choosing you do not have the blessings of the desired Path, you can take the Abundance card. If you have Ice Heroes in your squad, you will also benefit from Memory buffs. All of them will keep your squad viable, which is especially important starting from the second elite enemy, because up to this point you should not have any difficulties with proper leveling of heroes.
How to Defeat the Black Deer of Plenty
The last enemy you will face in this World will be the Black Deer of Plenty. Next, we will consider the features of all phases and point out the points that you should pay attention to in each of them.
Phase 1
At this stage, the deer's own attacks won't really do much damage. The main feature here is that it summons two Branches that can inflict Rage on your ally. With this status, you are unable to control his actions, and this hero will use a basic attack against his teammates. You can free it with a skill that removes debuffs. It's best to remove this effect before you move on to the next step. This is the only difficulty you should pay attention to while you are draining the boss' health.

Phase 2
At this stage, the Black Deer will summon two more Branches that will strengthen the boss's attacks. Your healers and shields will be especially important here. Also, these vines are able to attack the attacker in response. In addition, they can heal themselves and the main enemy. The very creature of Abundance acquires the same ability, but its heal will already be many times higher. So first destroy the buffing Branches, and only after that concentrate all your attention on the boss. Perhaps this stage will be somewhat delayed, but sooner or later you will be able to exhaust the animal.
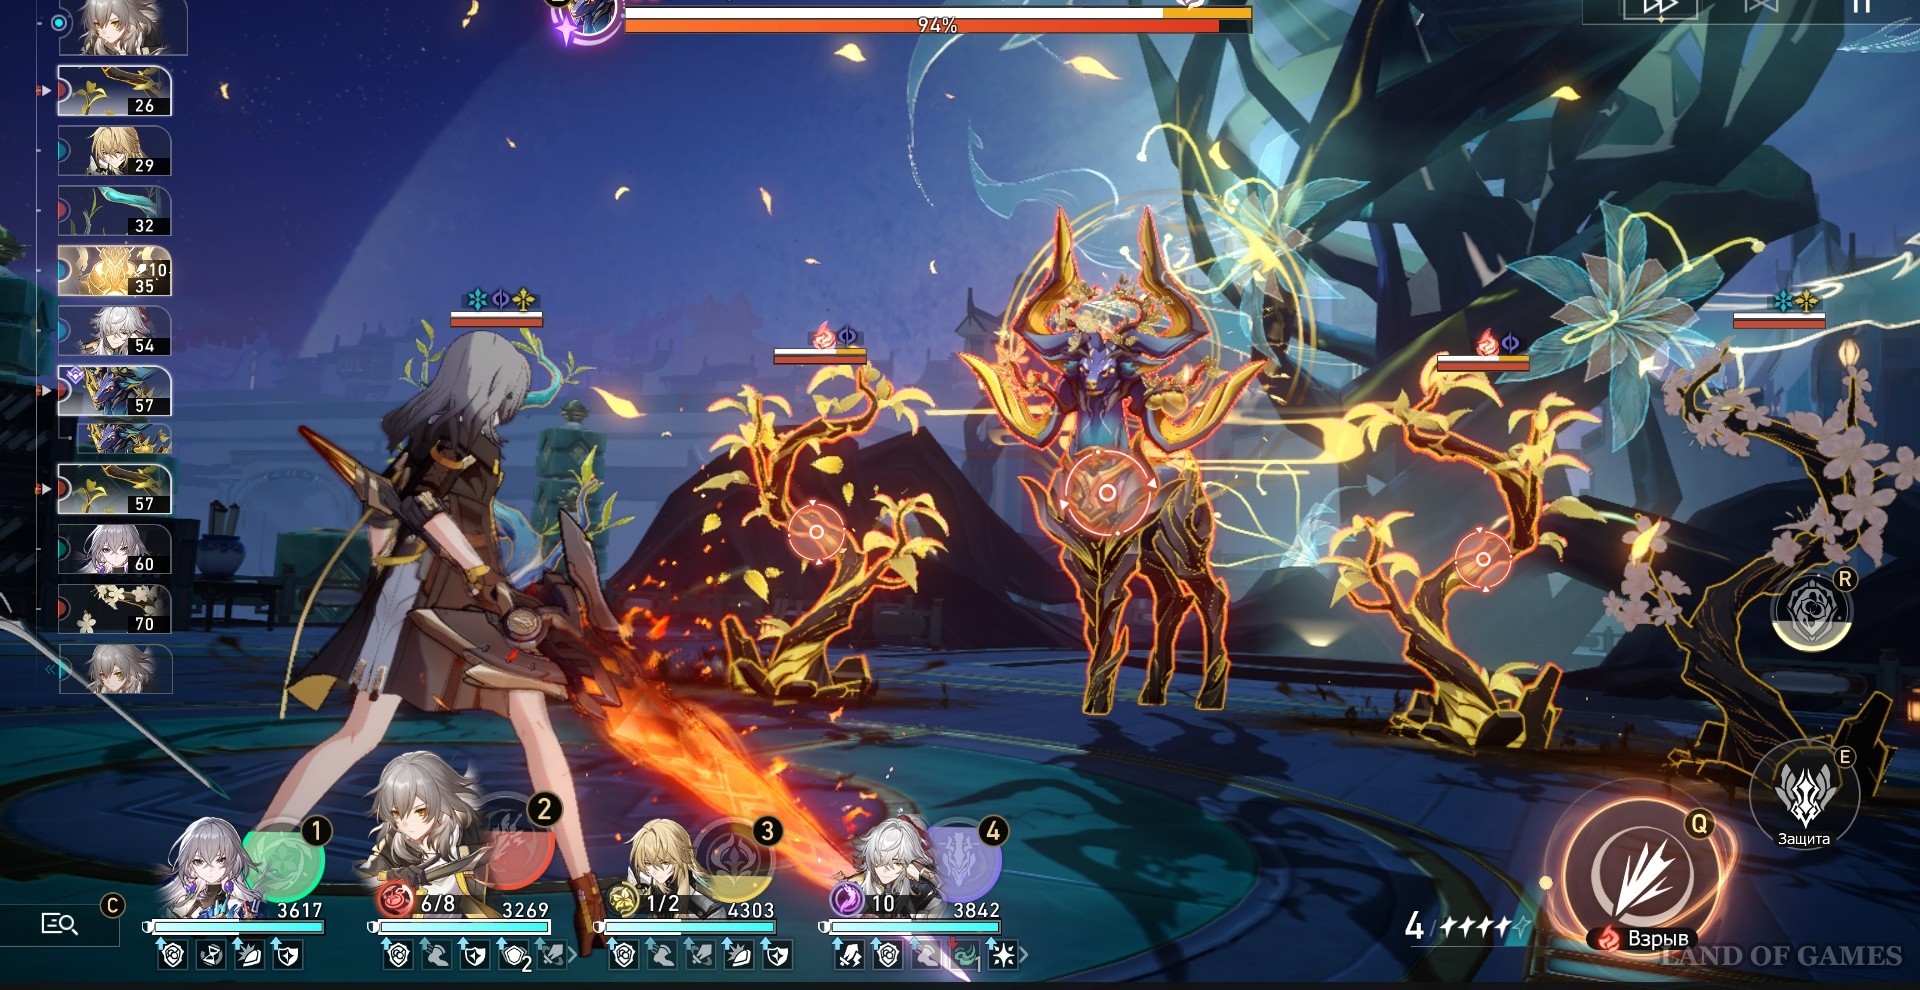
Phase 3
This time the Black Deer will summon four Branches: two of them will be combinations of vines you already know from previous phases, and two will be special fruit Branches. They are able to create special fruits. When there are two pieces, the boss will immediately be able to use a particularly strong attack, Stag Leap. Try to destroy these shoots as soon as possible.
When the Deer's health is depleted to 40%, try to focus all your attention on him in order to destroy him as soon as possible. So, step by step, you will definitely be able to defeat the boss in order to pick up well-deserved rewards.
Comments
You need to login to add comments.
You can login with