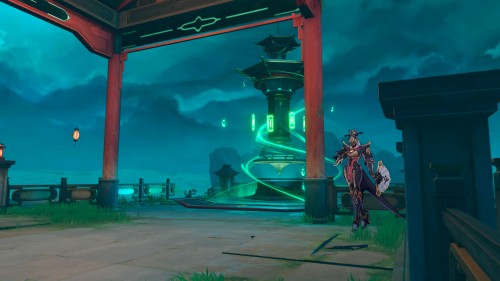
In Honkai: Star Rail "Exorcism Chronicles: Swallowsong Pavillion" is part of the multi-stage event challenge " The Fox's Ghost Story ", the action of which takes place in the territory of a teeming heliobi Garden of Serenity. After using the second Tower of Suppression, the heroes are able to dive into the battle chronicles and extract the Demonic Flame. Thanks to our guide, you can learn how to complete all difficulty levels and select winning units to get the maximum number of exorcism rewards.
Completing the "Chronicles of Exorcism: Swallowsong Pavillion" challenge
The Suppression Tower Trials are a serious competition that tests your tactical combat abilities and the level of your squad. Here, team selection plays an important, but far from the only role. For more information on how to start a task and what strategies to follow, read the guide to completing the first Tower, “ Chronicles of Exorcism: Pavilion of Rest "
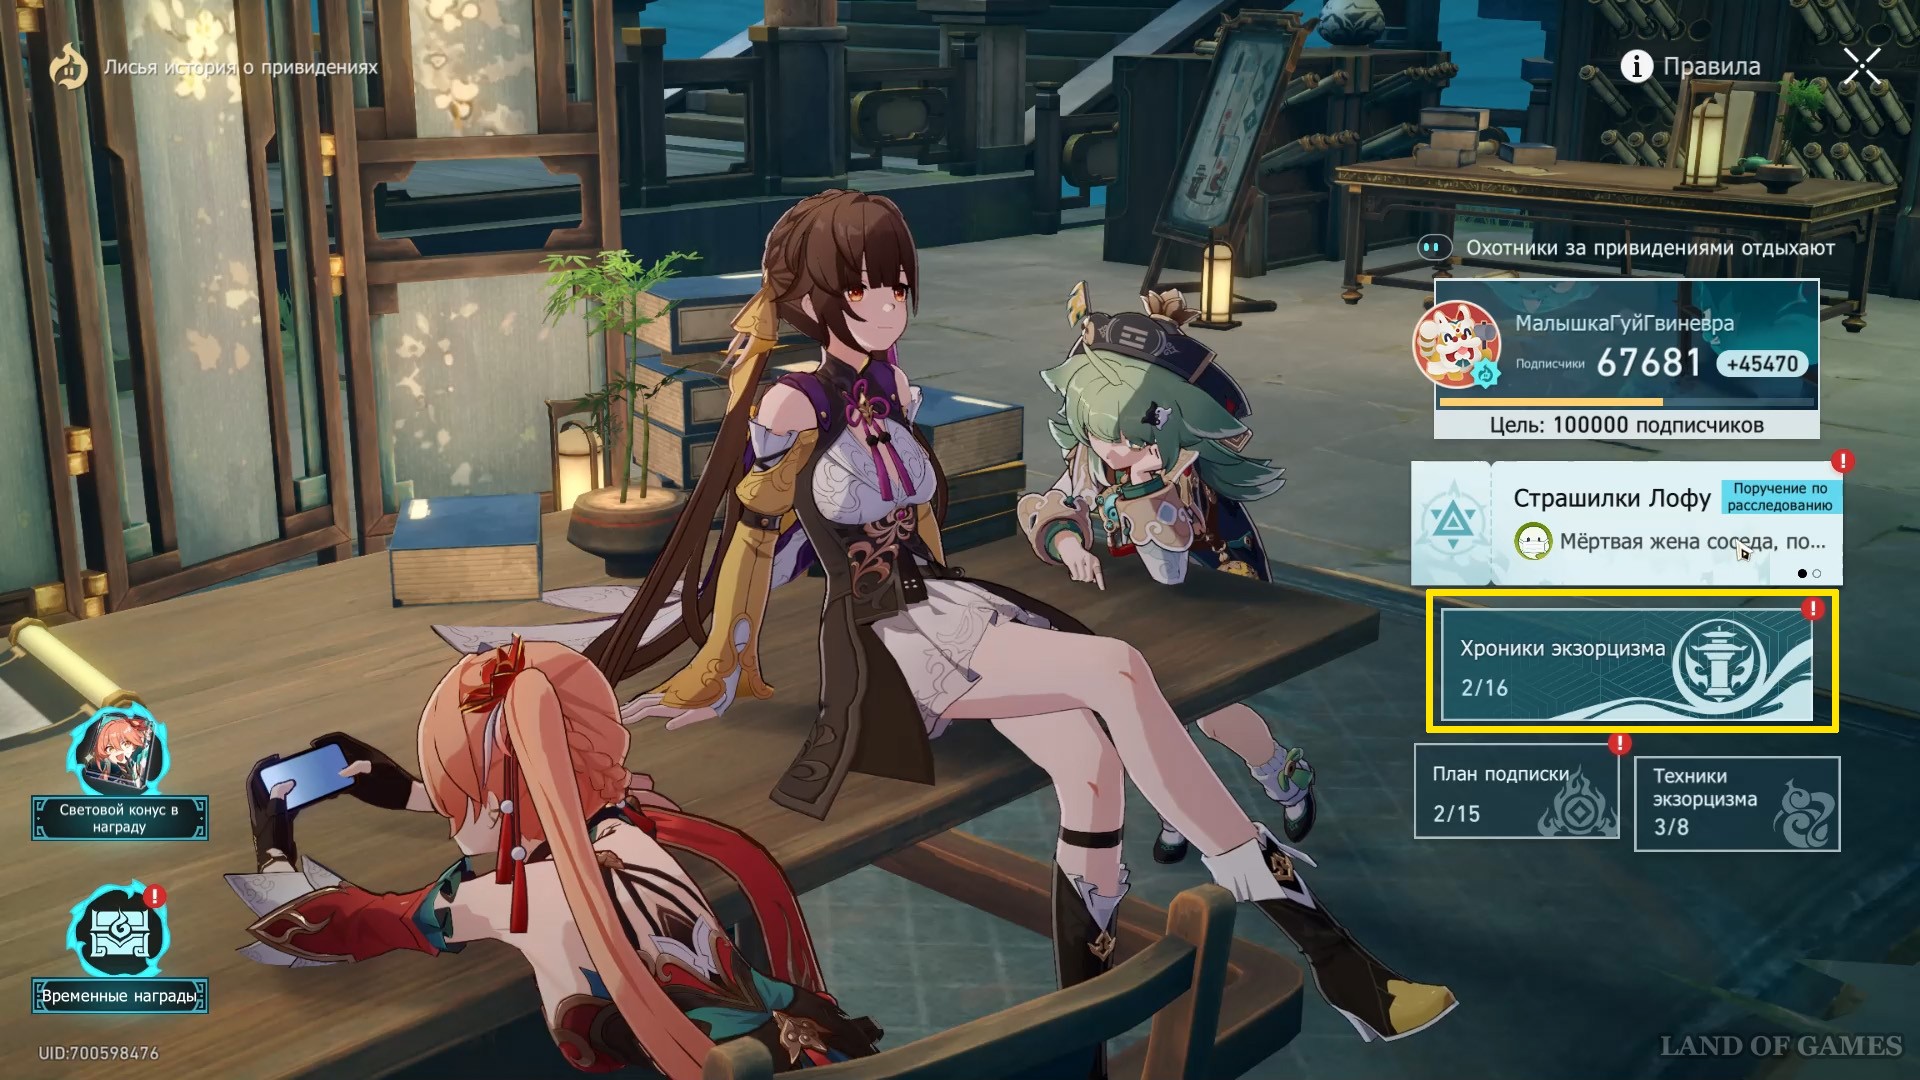

Also, before you start fighting, complete the quest " Insight " After that, in the events tab at the Ghostbusters meeting place A new, faster teleport will appear.
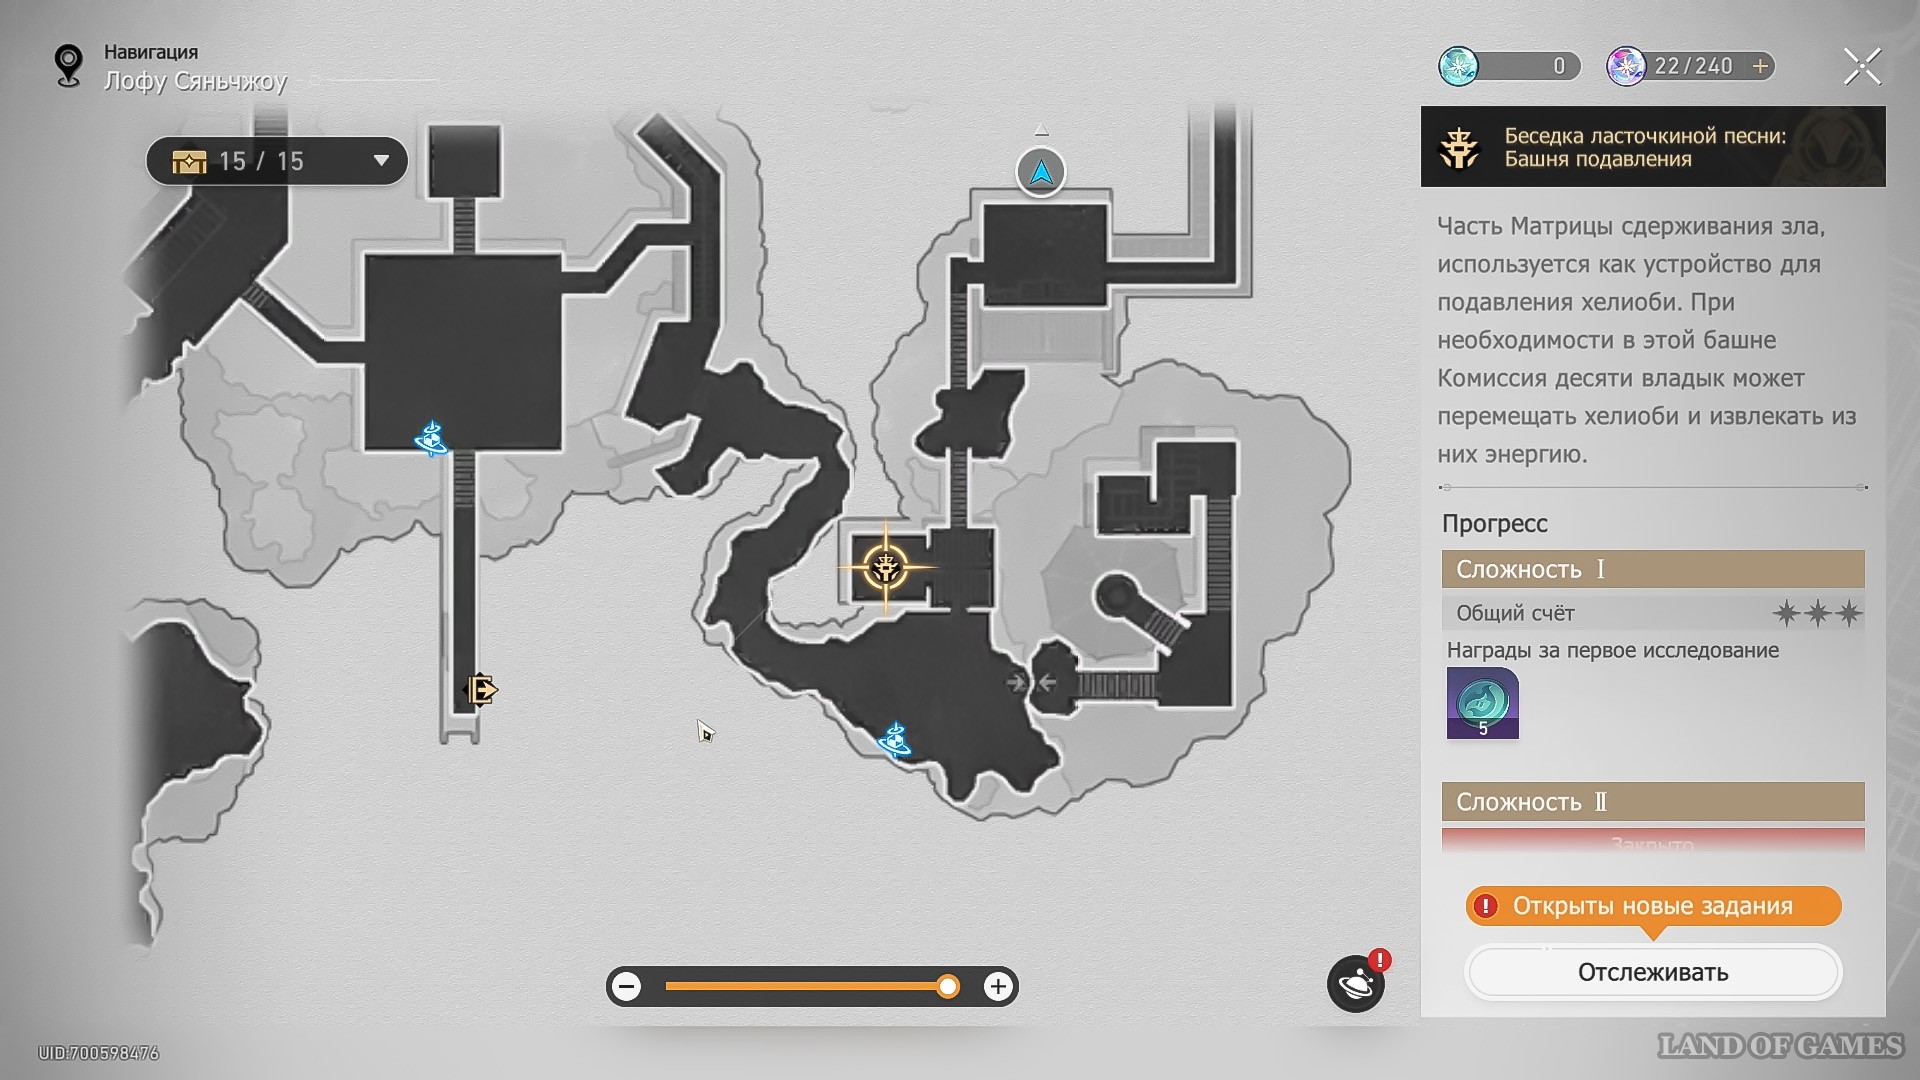
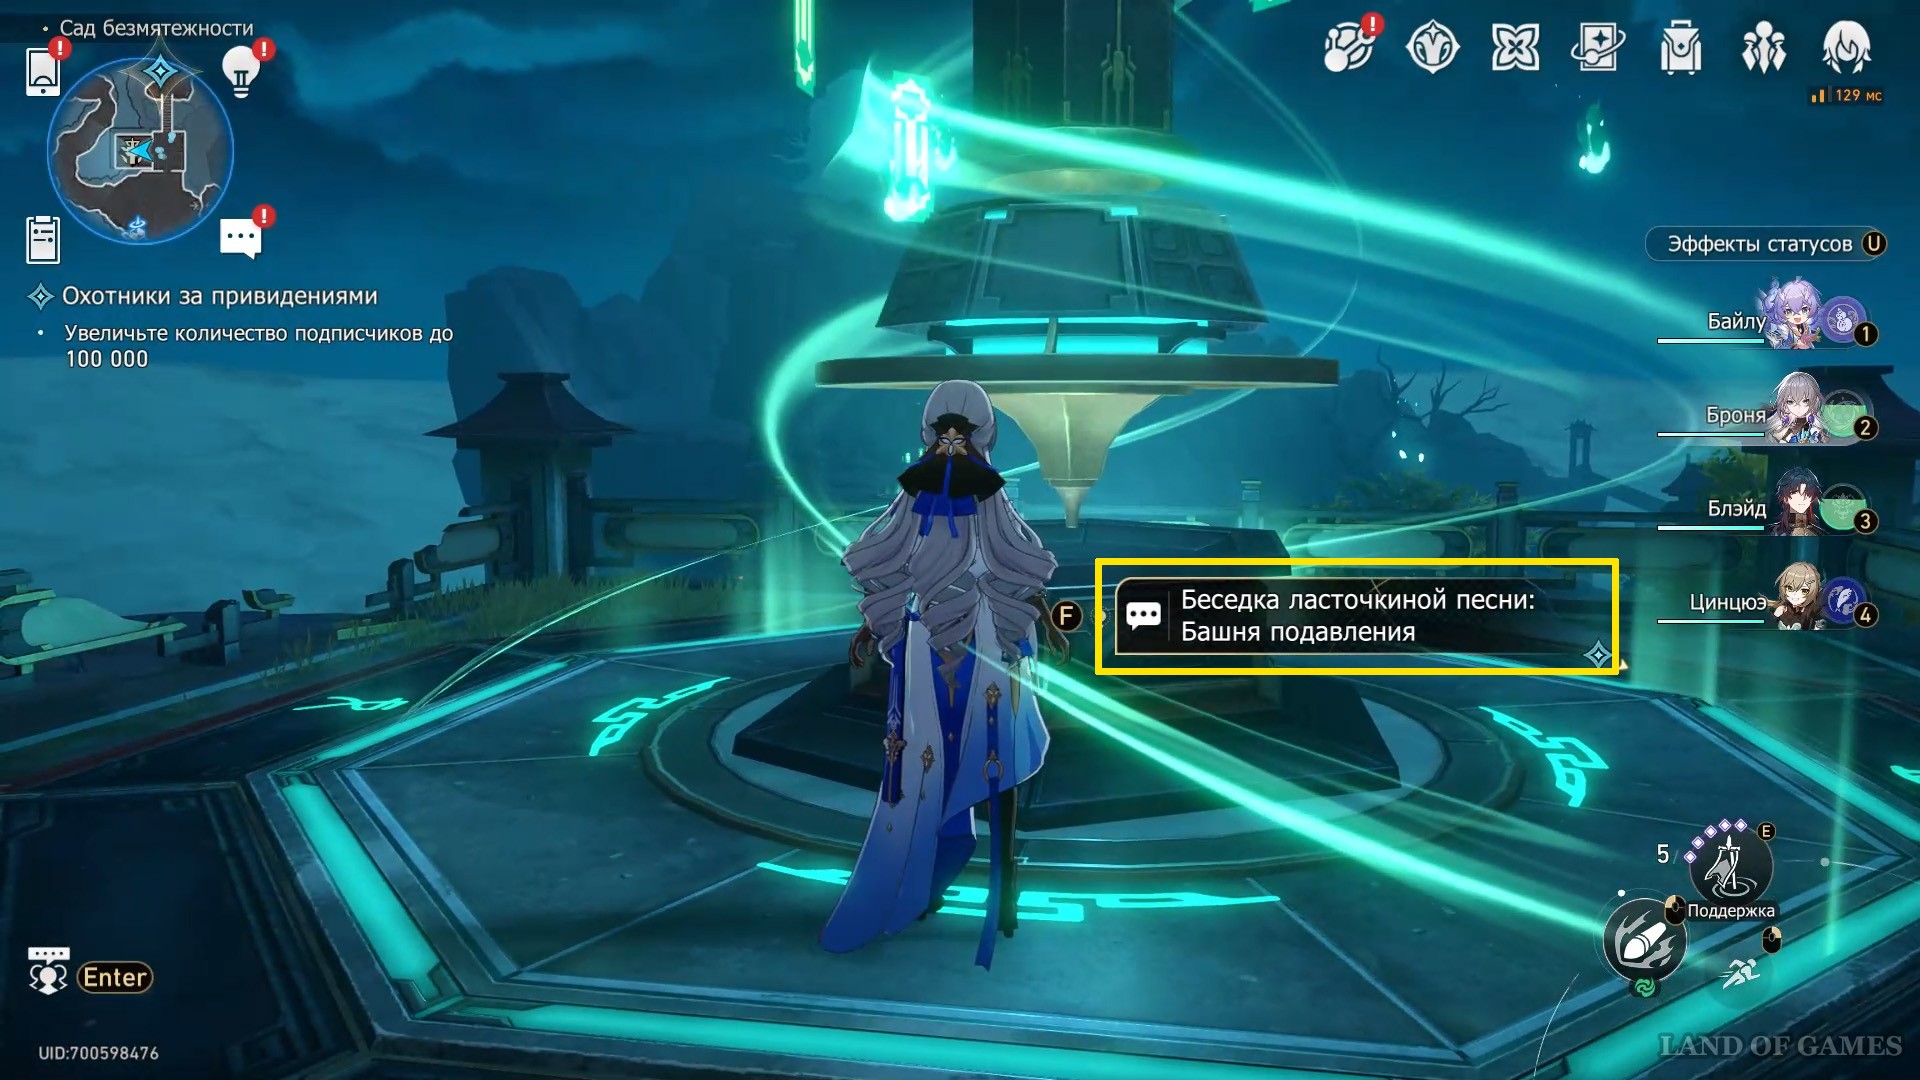
Get to the second Tower and click on its name in front of the structure to begin selecting the difficulty.
General recommendations on battle tactics
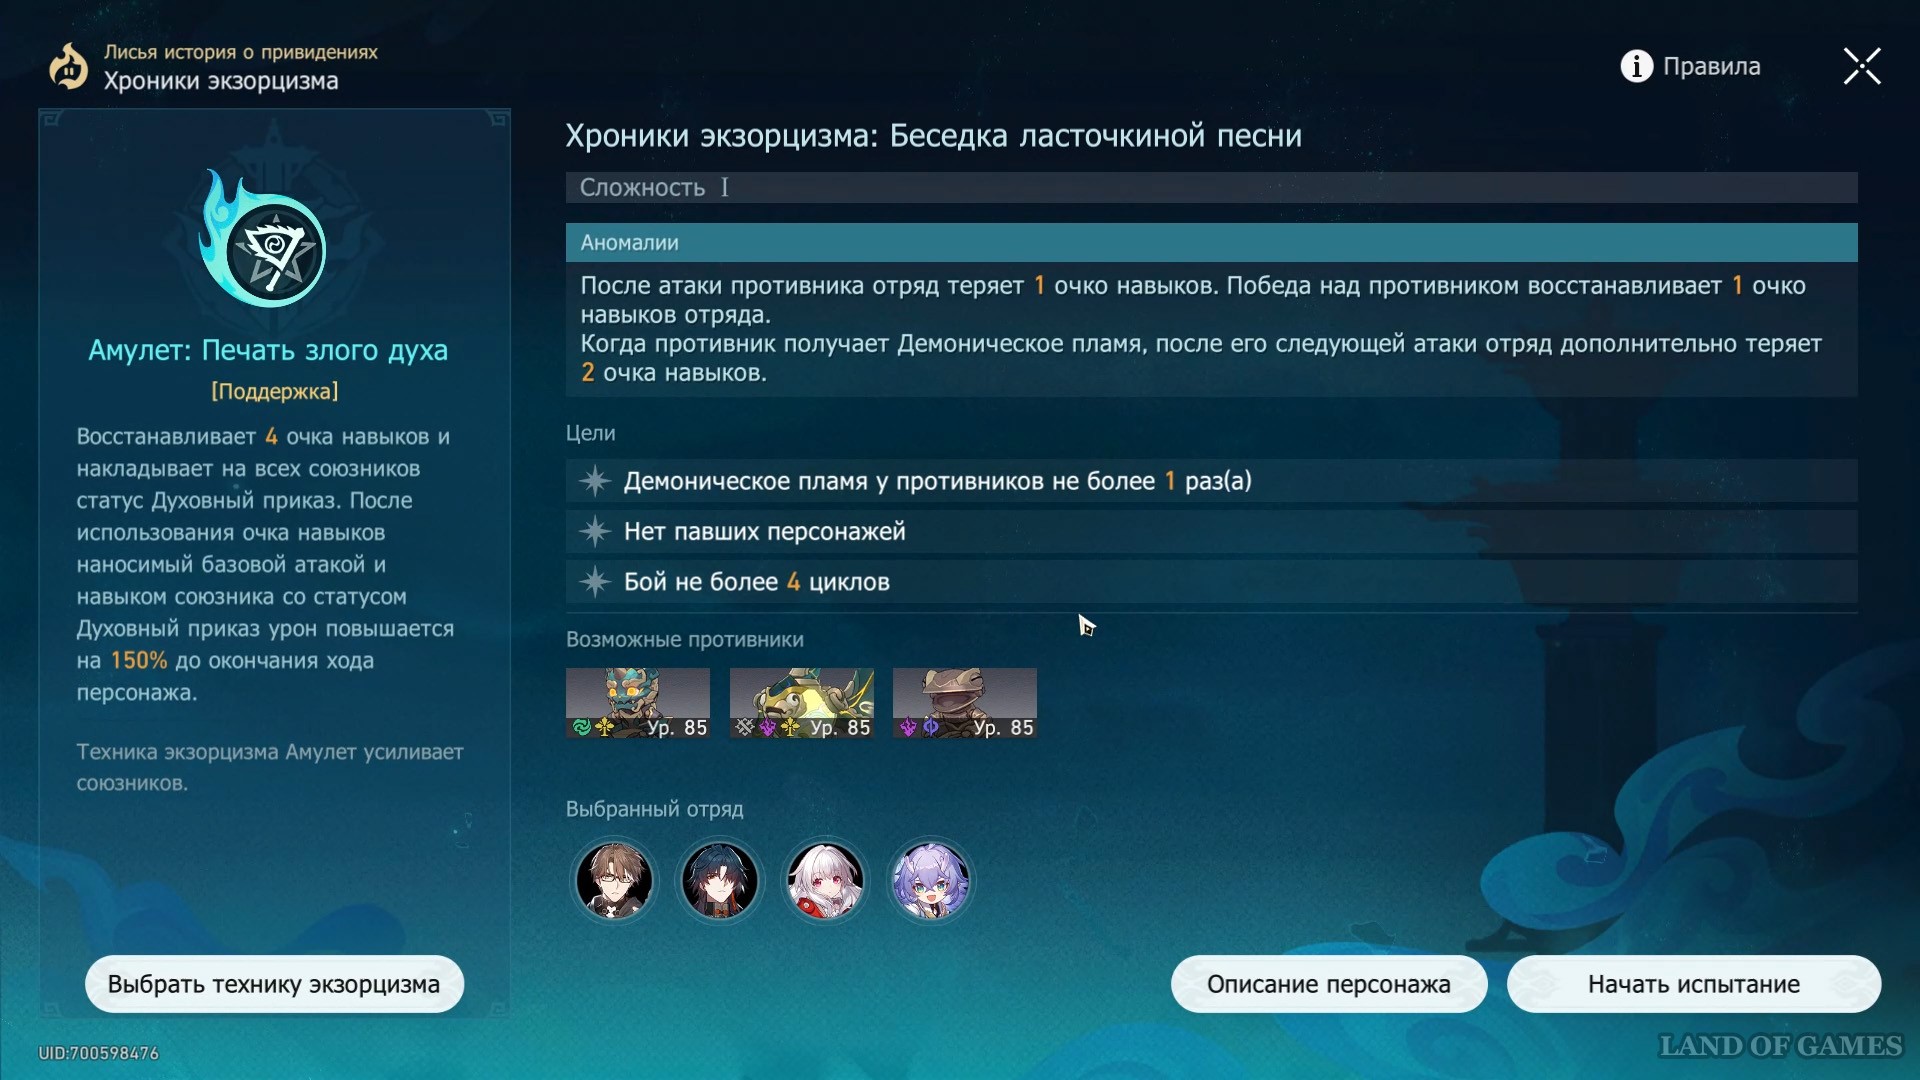
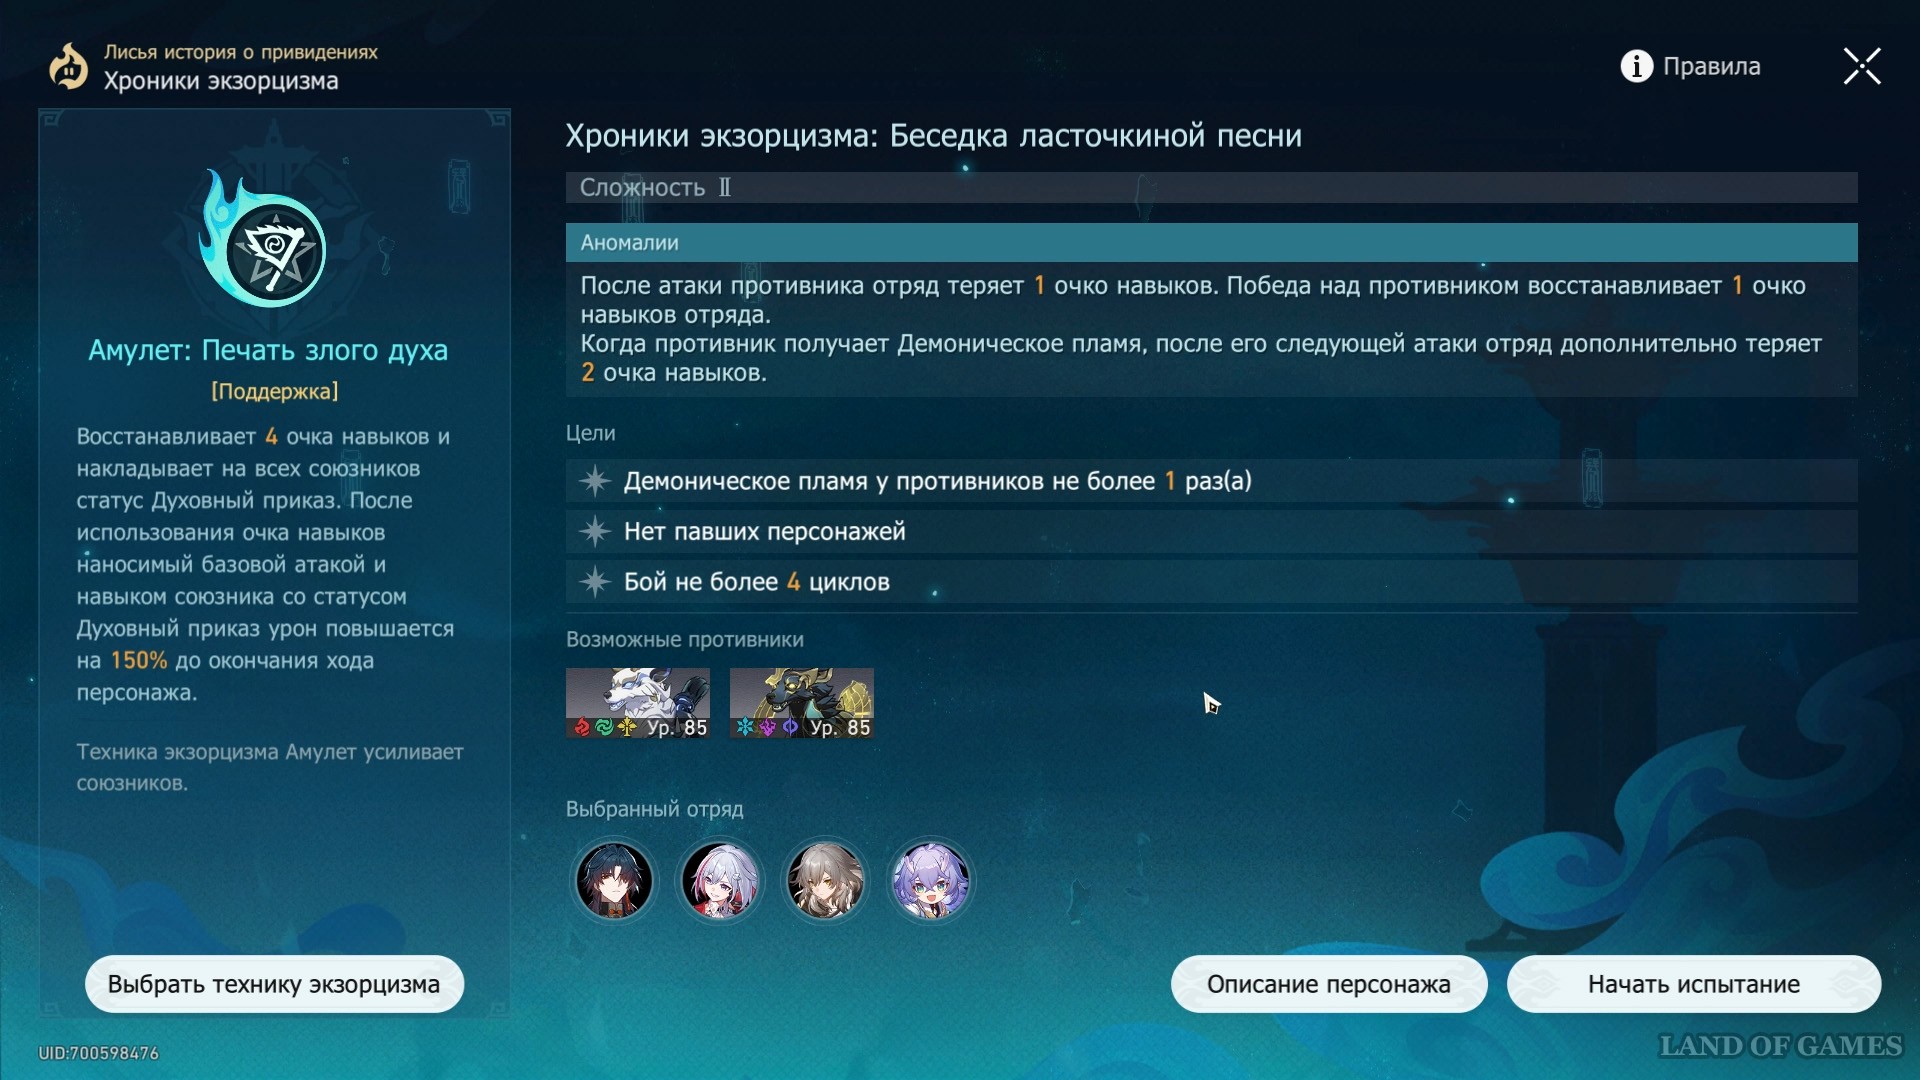
There is one significant feature in the “Swallow Song Bower”: the most suitable technique for completing it, “ Amulet: Seal of the Evil Spirit ", is not aimed at causing damage. Its main function helps to bypass the Anomaly, which eats up one action point (AP) of your squad after each enemy attack. Therefore, if you are going through with this technique, then take care of the following points:
- Your heroes should be maximally pumped up, since you will have to rely only on the personal damage of the squad;
- Take a pack of debuffers or supports with a speed buff to delay the action of enemies: the less they move, the more points you save;
- Characters who play from bonus actions or counterattacks will also help you a lot - they will deal damage without spending already scarce AP;
- There is no point in activating a vehicle before the actions of an enemy unit, since they will still take away the replenished supply. Only use the ability during your turns;
- Do not try to save points for E-shki: with this approach you will not have the need to activate the technique, which means you will start intercepting the Demonic Flame in vain;
Squad Selection: Level 1
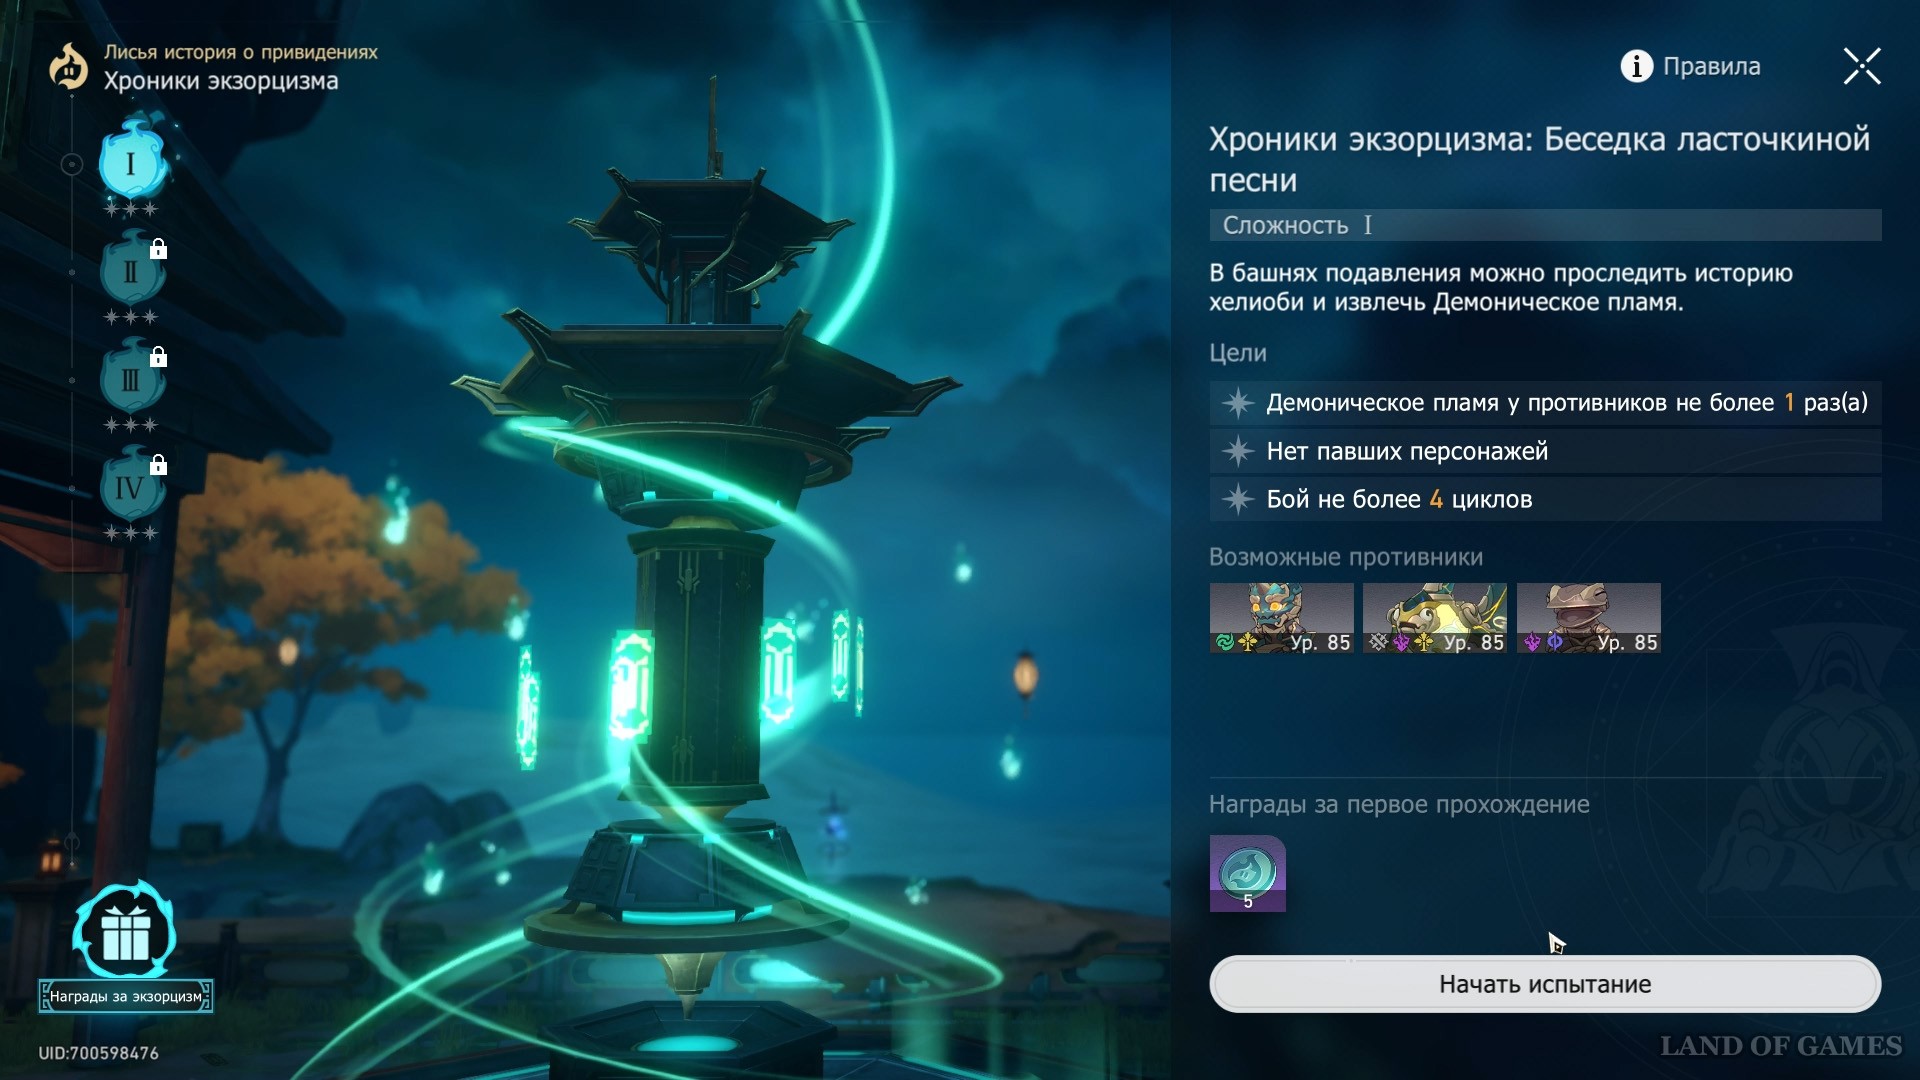
On Difficulty I you will find mobs with the following vulnerabilities: Imaginary, Electric, Wind and Quantum. The first level is always more flexible in terms of difficulty, so pay attention to the recommendations for squads below.
First team
| Maine-DD | Sub-DD | Sub-DD/Support | Support |
|---|---|---|---|
|
Serval |
Yukun |
GG ways of saving |
Natasha |


A cheap pack that can cover all the needs of the level: among the vulnerabilities there are two advantageous ones - Electric and Imaginary (they knock down the shields of most mobs). In addition to the damage from Serval and Yukun, Natasha’s usual pokes will also be useful to you, with which you can finish off exploding dragon fish, and the survivability of the squad, if anything, will be protected by the GG’s shields.
Second team
| Maine-DD | Sub-DD | Sub-DD/Support | Support |
|---|---|---|---|
|
Blade |
Clara |
Welt |
Bailu |


An expensive option with increased efficiency: Blade and Clara have bonus action mechanics that are unique to the 2nd Tower, and they also hit a group of enemies, and Welt is the best option to stun opponents.
But you can also replace Blade with Jing Yuan, Moon Eater (but remember that he requires a lot of action points) or Zele, support with Kafka, Tingyun or Armor, and trust the healing to Hoho or Loche.
Squad Selection: Level 2
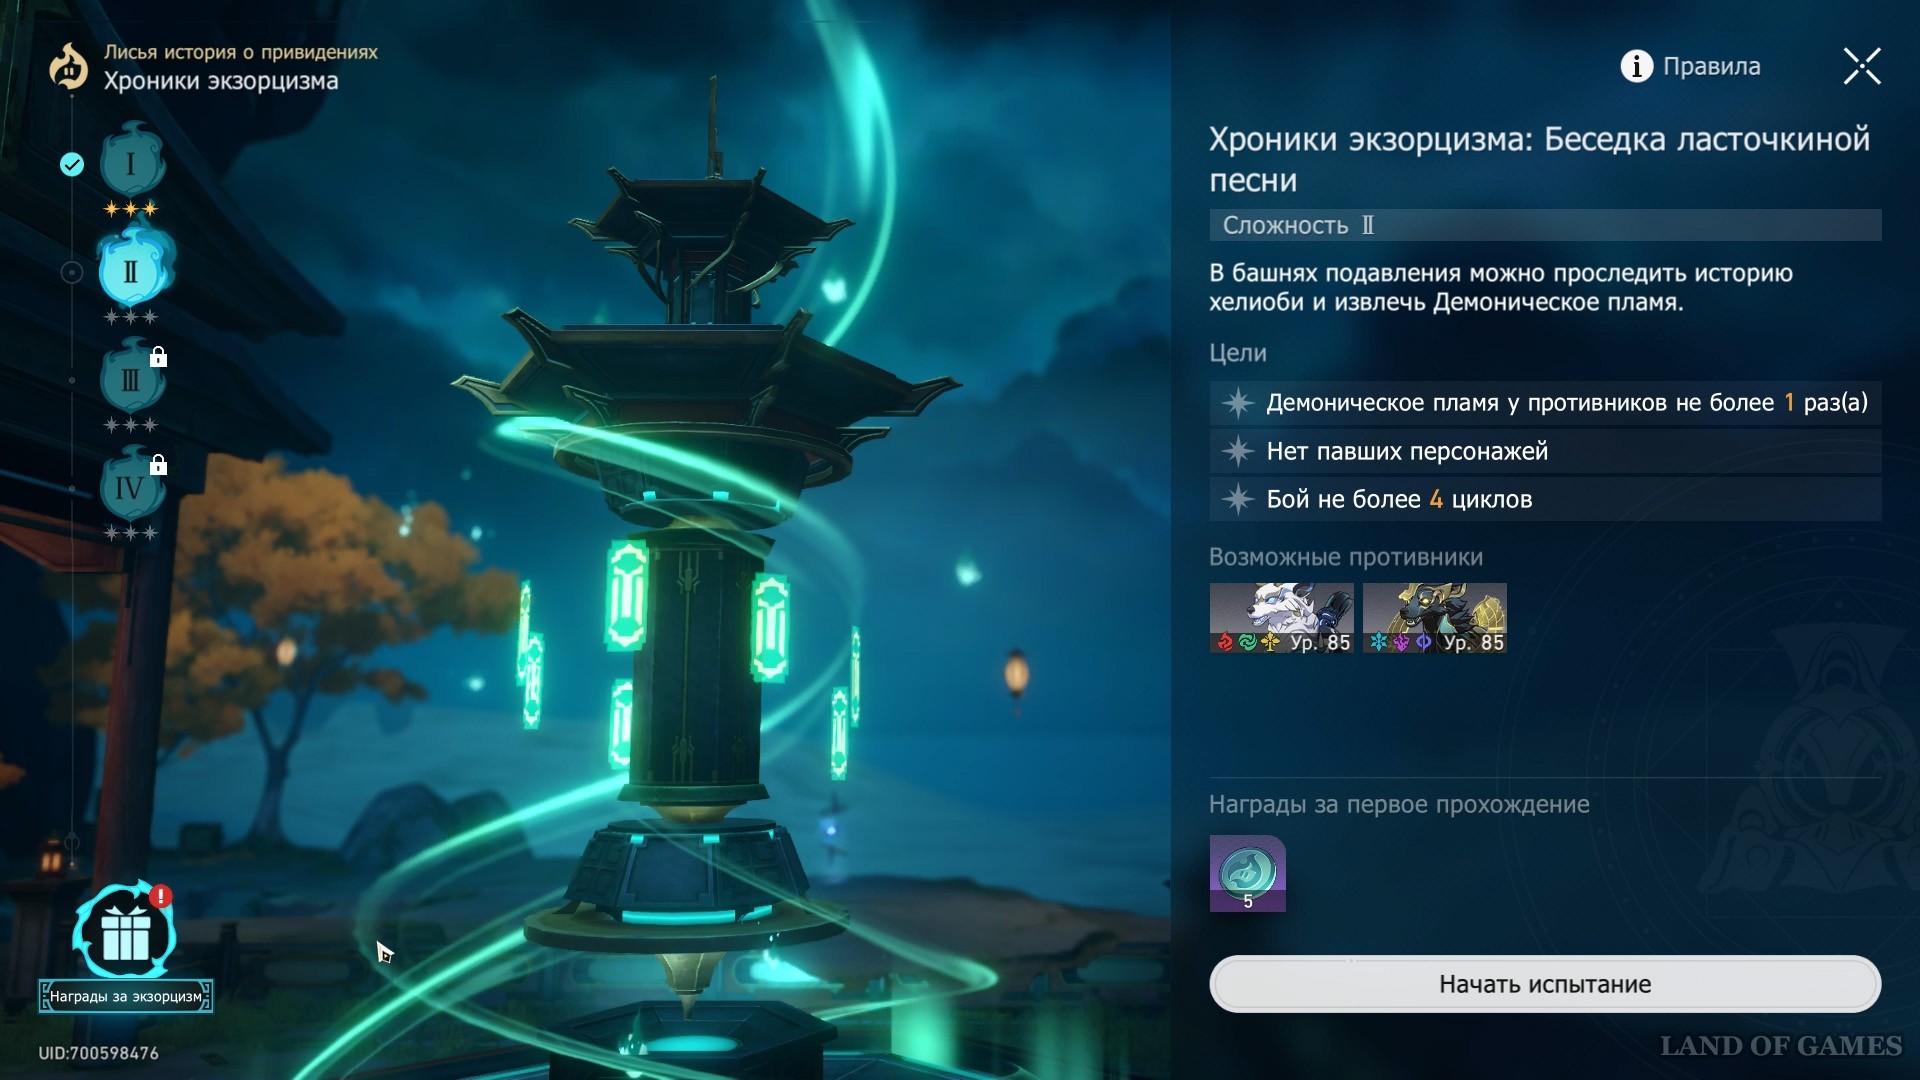
Unlike the first level, enemies on the second difficulty do not have adjacent vulnerabilities. Shields can be broken through by elements such as Fire, Wind, Imaginary, Electric, Quantum and Ice. Also during the battle, focus on the Timber Wolves, as the second enemy, the Golden Hound, instantly propels its allies up upon death. Let's look at suitable packs.
First team
| Maine-DD | Sub-DD | Sub-DD/Support | Support |
|---|---|---|---|
|
Dan Heng |
Yukun |
Asta |
Natasha |


The main trump card of this squad is Asta, who with her ultimate increases the speed of allies and advances their action forward (this is very useful, given the peculiarity of the mobs at the level). And since the first target is wolves, Dan Heng and Yukun will help finish them off faster.
Second team
| Maine-DD | Sub-DD | Sub-DD/Support | Support |
|---|---|---|---|
|
Blade |
Topaz (Himeko) |
GG ways of saving |
Locha(Khoho) |


Another unit that plays from bonus attacks with increased survivability, in which Topaz performs especially well due to the help of the Accountant and the ability to move his action up in the turn order.
You shouldn’t have any problems selling this pack, and as a replacement you can choose Zele, Devourer or Jingliu as a DD, Armor as the main support of the main damage dealer and Bailu as a healer (even though her impact is lower than that of Hoho and Lochi) .
Squad Selection: Level 3
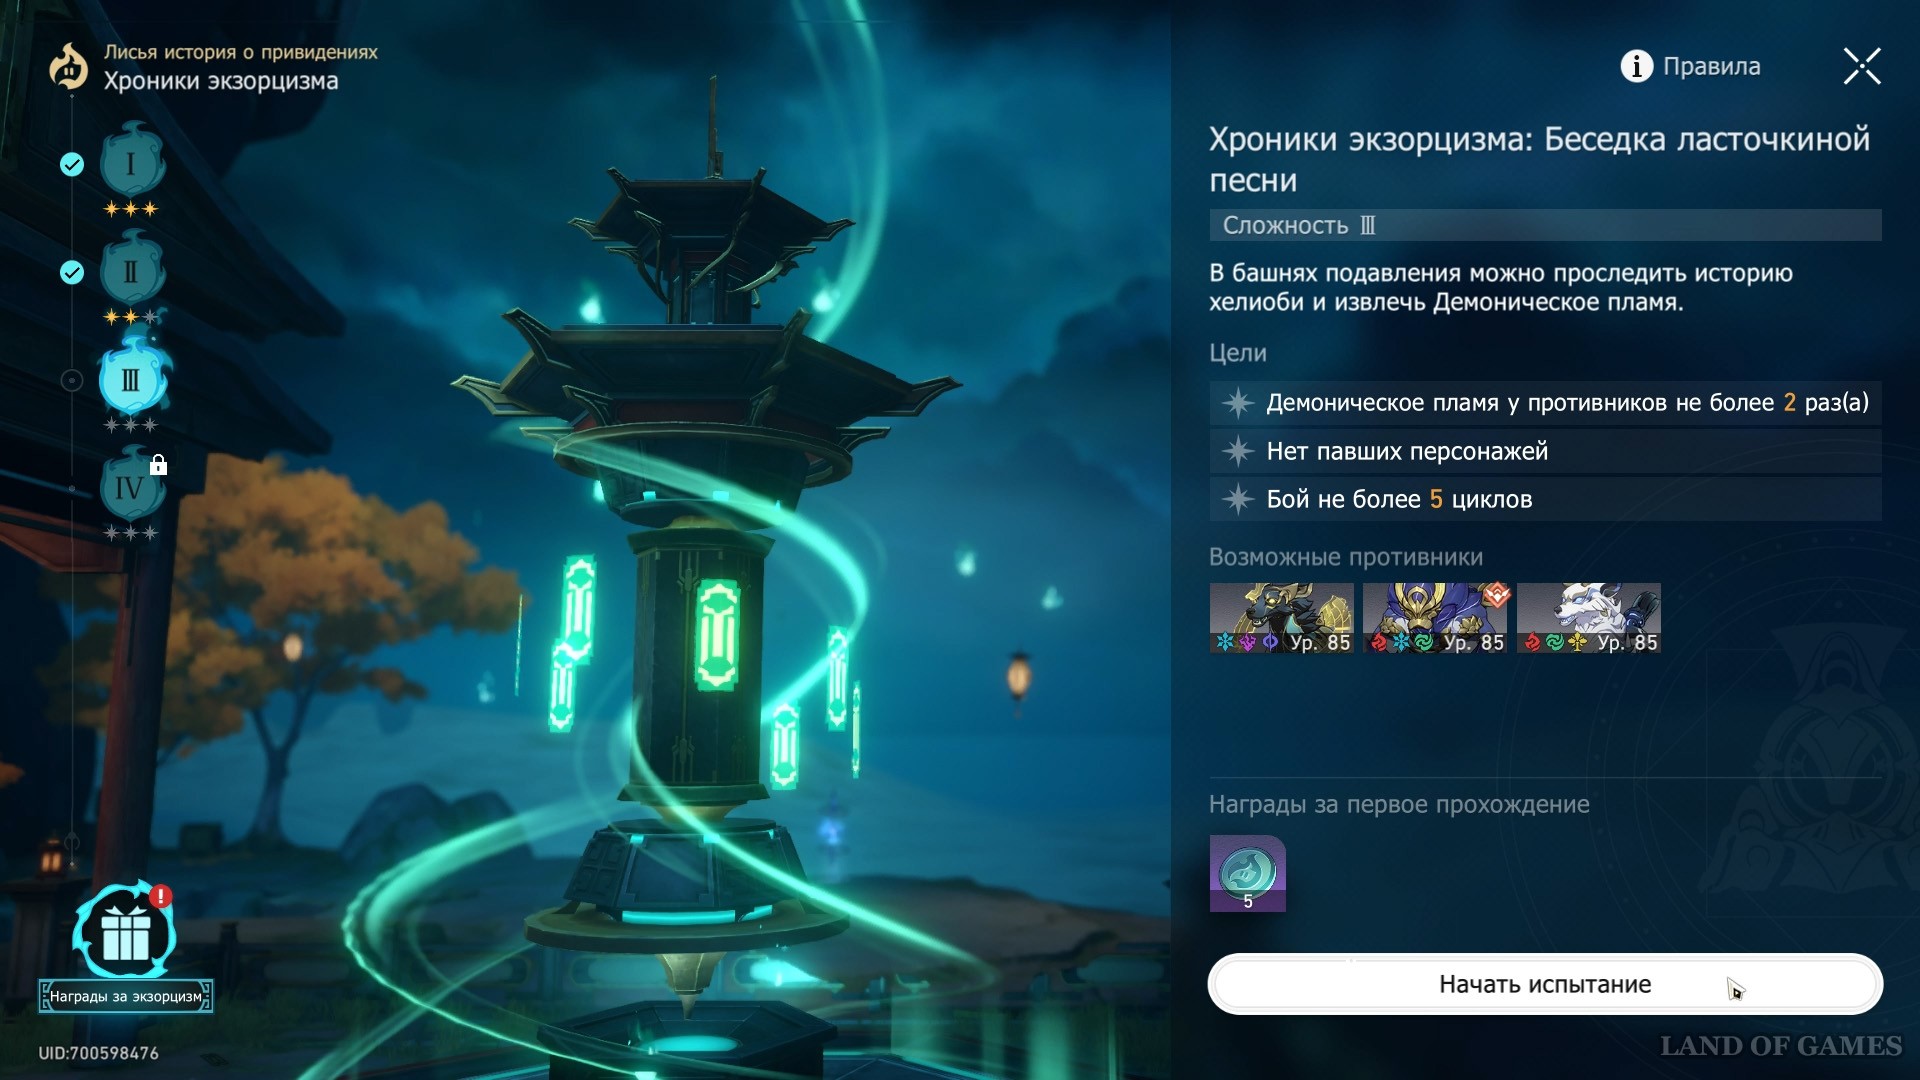
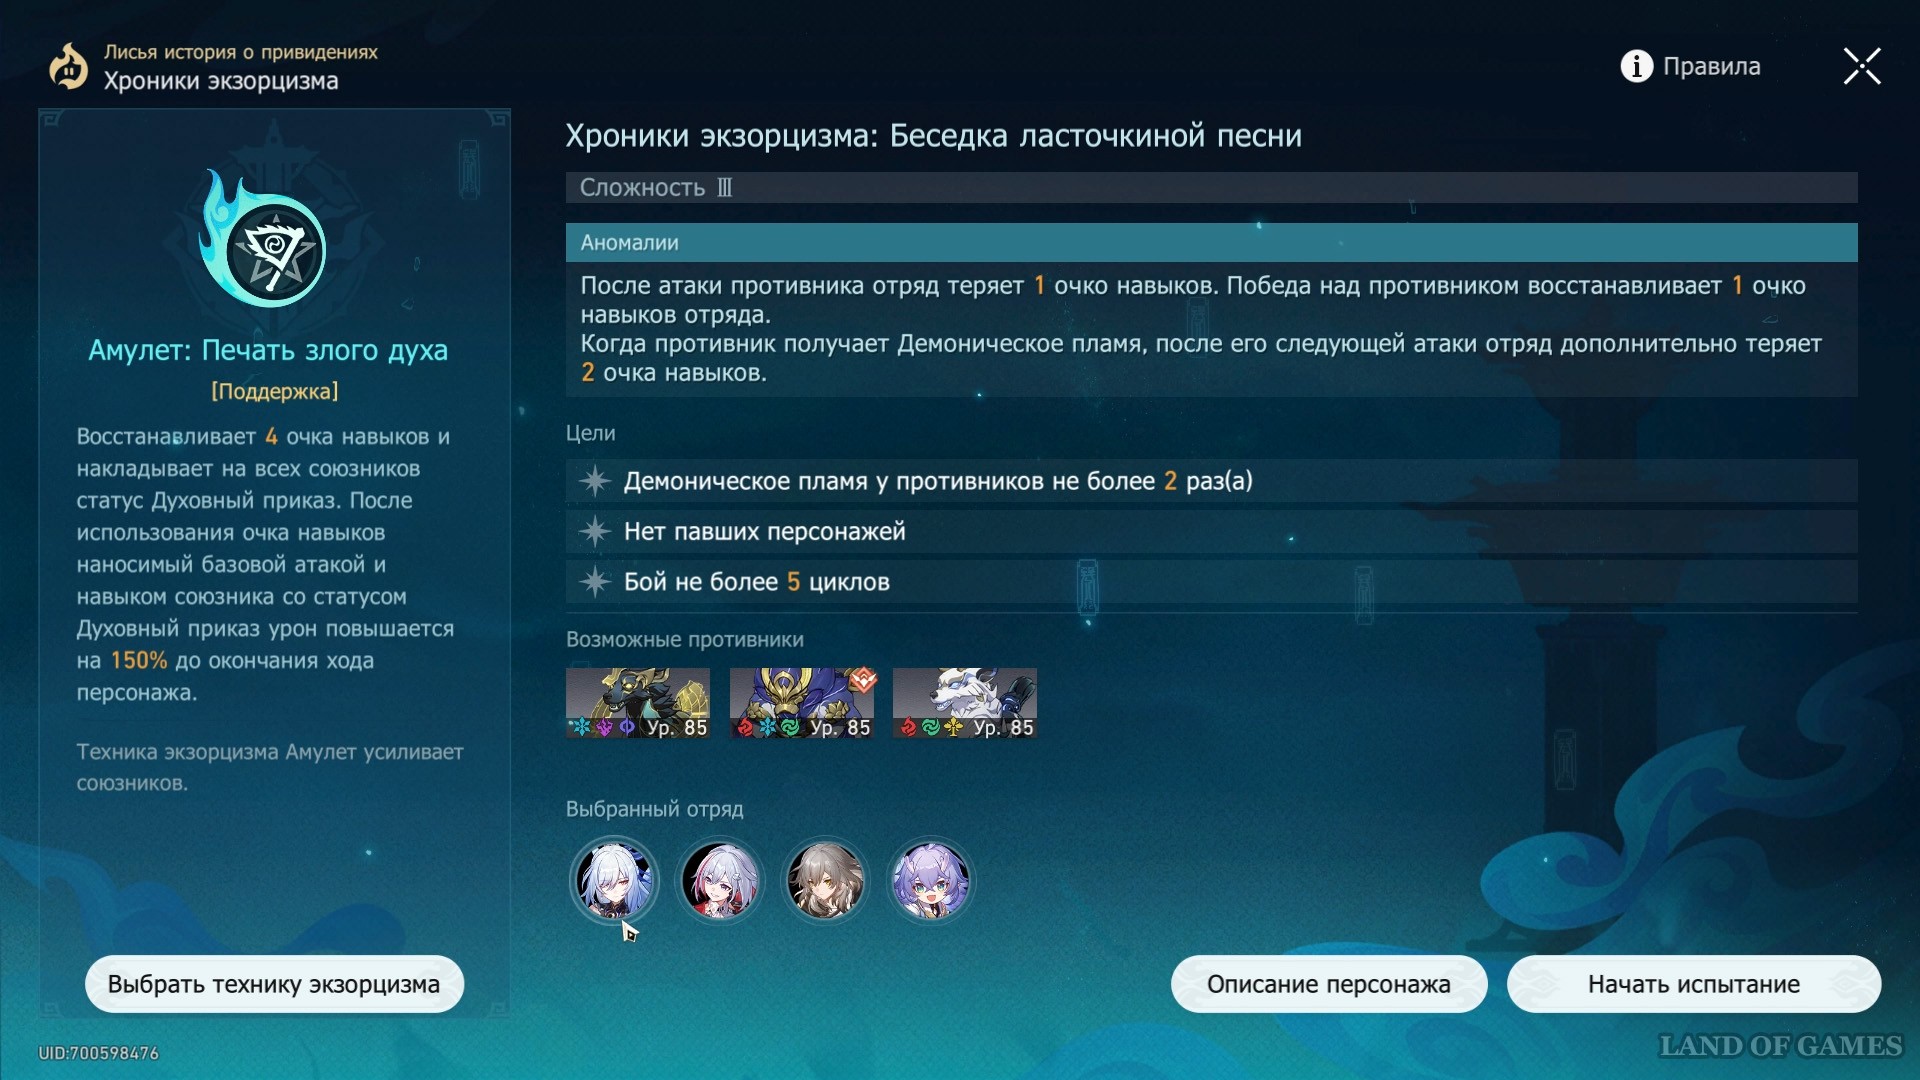
On the third difficulty, the first boss appears - the Mighty Primate. Among vulnerabilities, Wind, Fire and Ice damage types have an advantage. Additionally, you can take heroes of the Electric and Quantum elements. There are two tips based on level:
- You will face a lot of damage over time, so take the ones that remove the debuff into your squad;
- Do not forget to switch the primate’s attention to the most stable ally - not everyone will be able to calmly withstand his attack in the fall.
First team
| Maine-DD | Sub-DD | Sub-DD/Support | Support |
|---|---|---|---|
|
Dan Heng |
Asta |
March 7 |
Natasha |

Try to use Asta's ult wisely in order to increase the speed of the pack in time. The most important figure here is March. She removes weakening from allies (which means she will remove negative effects in time), applies a good shield and carries out counterattacks + she has the superpower of mass destruction. If she becomes the target of a primate, she will be able not only to survive, but also to carry out a retaliatory action (to do this, use your own E-shka on her in advance).
Second team
| Maine-DD | Sub-DD | Sub-DD/Support | Support |
|---|---|---|---|
|
Jingliu |
Topaz |
Cheetah (GG fire) |
xoxo |


A premium squad in which Hoho will help the entire pack both heal on time and remove weakening. Jingliu as a DD contributes a lot of damage, which is multiplied by Topaz's ult and the Accountant's bonus attacks. The cheetah takes on the primate's attacks and additionally provides protection to its allies.
Third team
| Maine-DD | Sub-DD | Sub-DD/Support | Support |
|---|---|---|---|
|
Blade |
Armor |
Sang |
Hoho (Bailu) |


The second version of the squad plays on Blade’s attacks: Armor promotes the action of an ally, gives boosts and removes negative statuses, Pela weakens opponents and additionally breaks through shields, and Blade himself can not only hit hard, but also take the attack on himself (and with joy, having received stacks for a bonus attack).
Alternative options: you can put the Devourer in the DD slot, Fu Xuan (or Himeko as the second damage dealer) is good for support, and Locha can be used to remove weakening + healing, although its type of damage will not break through the resistance of mobs.
Squad Selection: Level 4
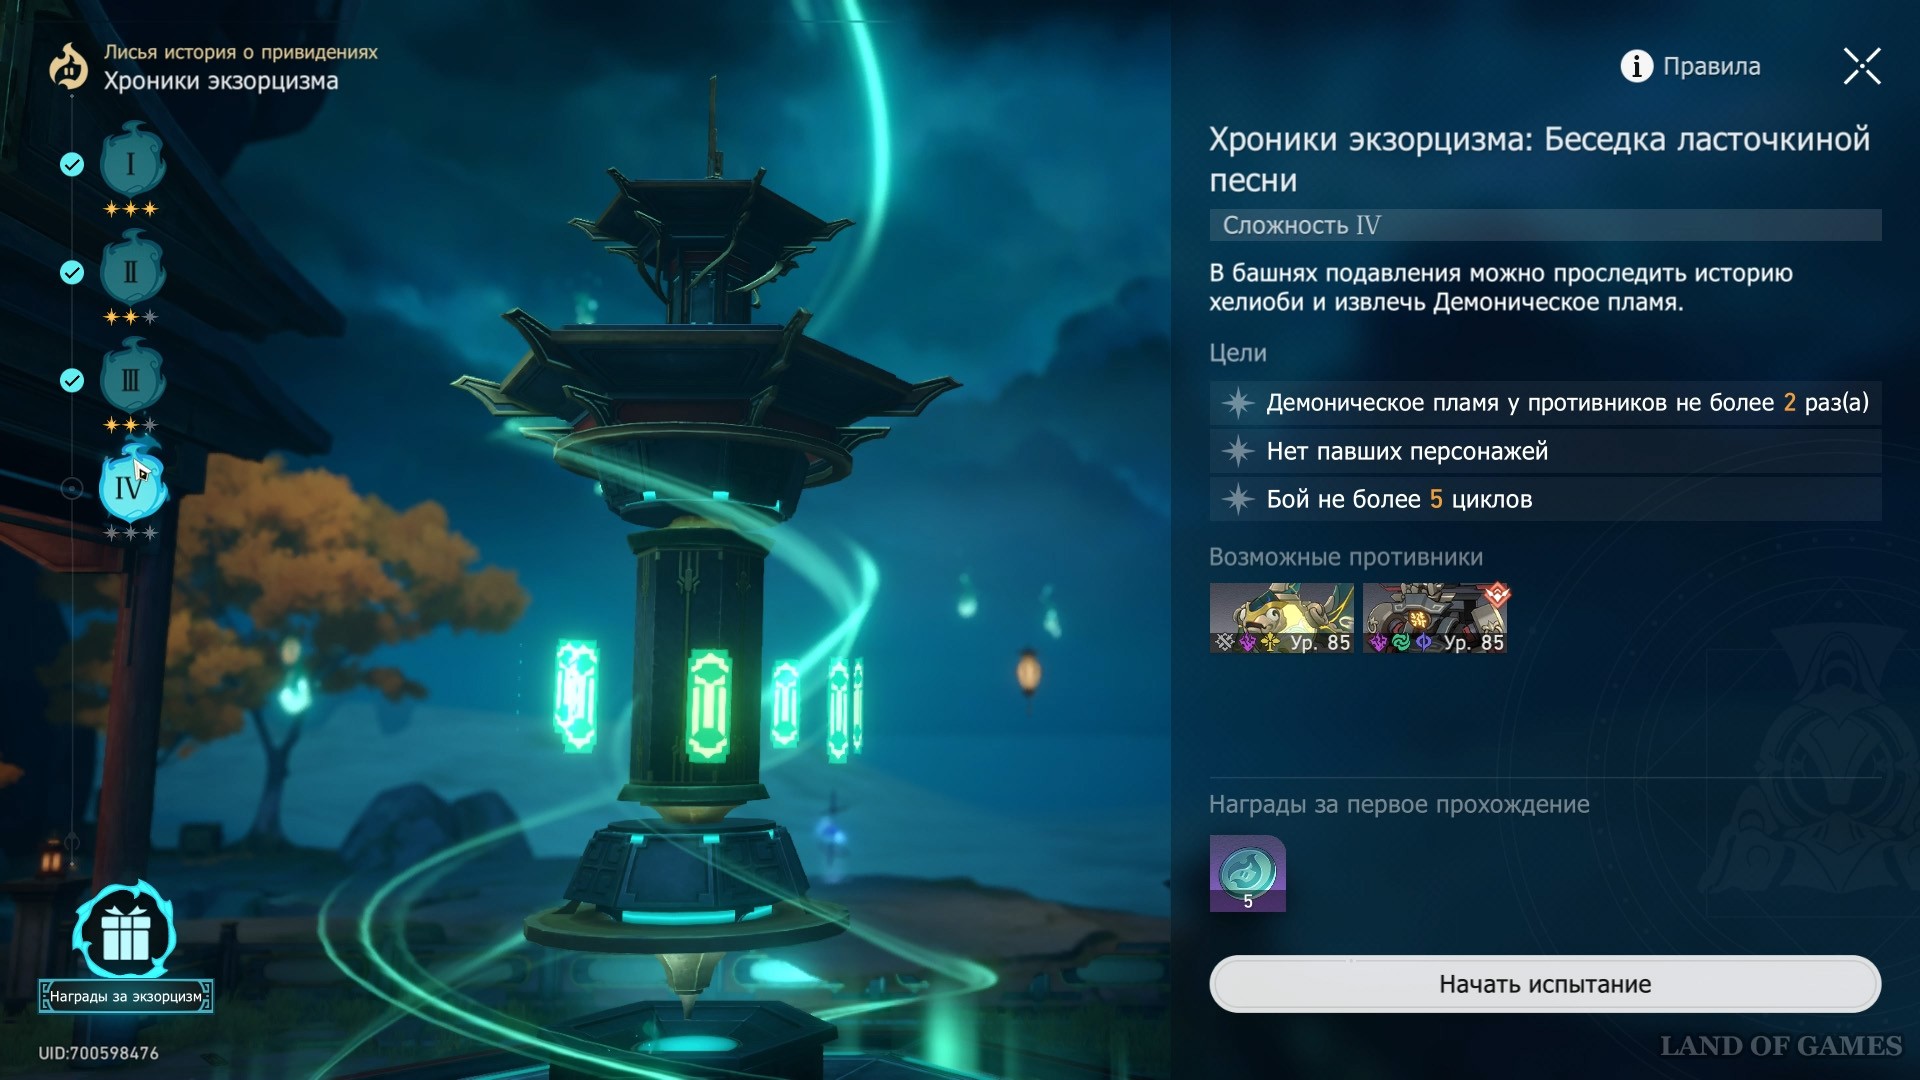
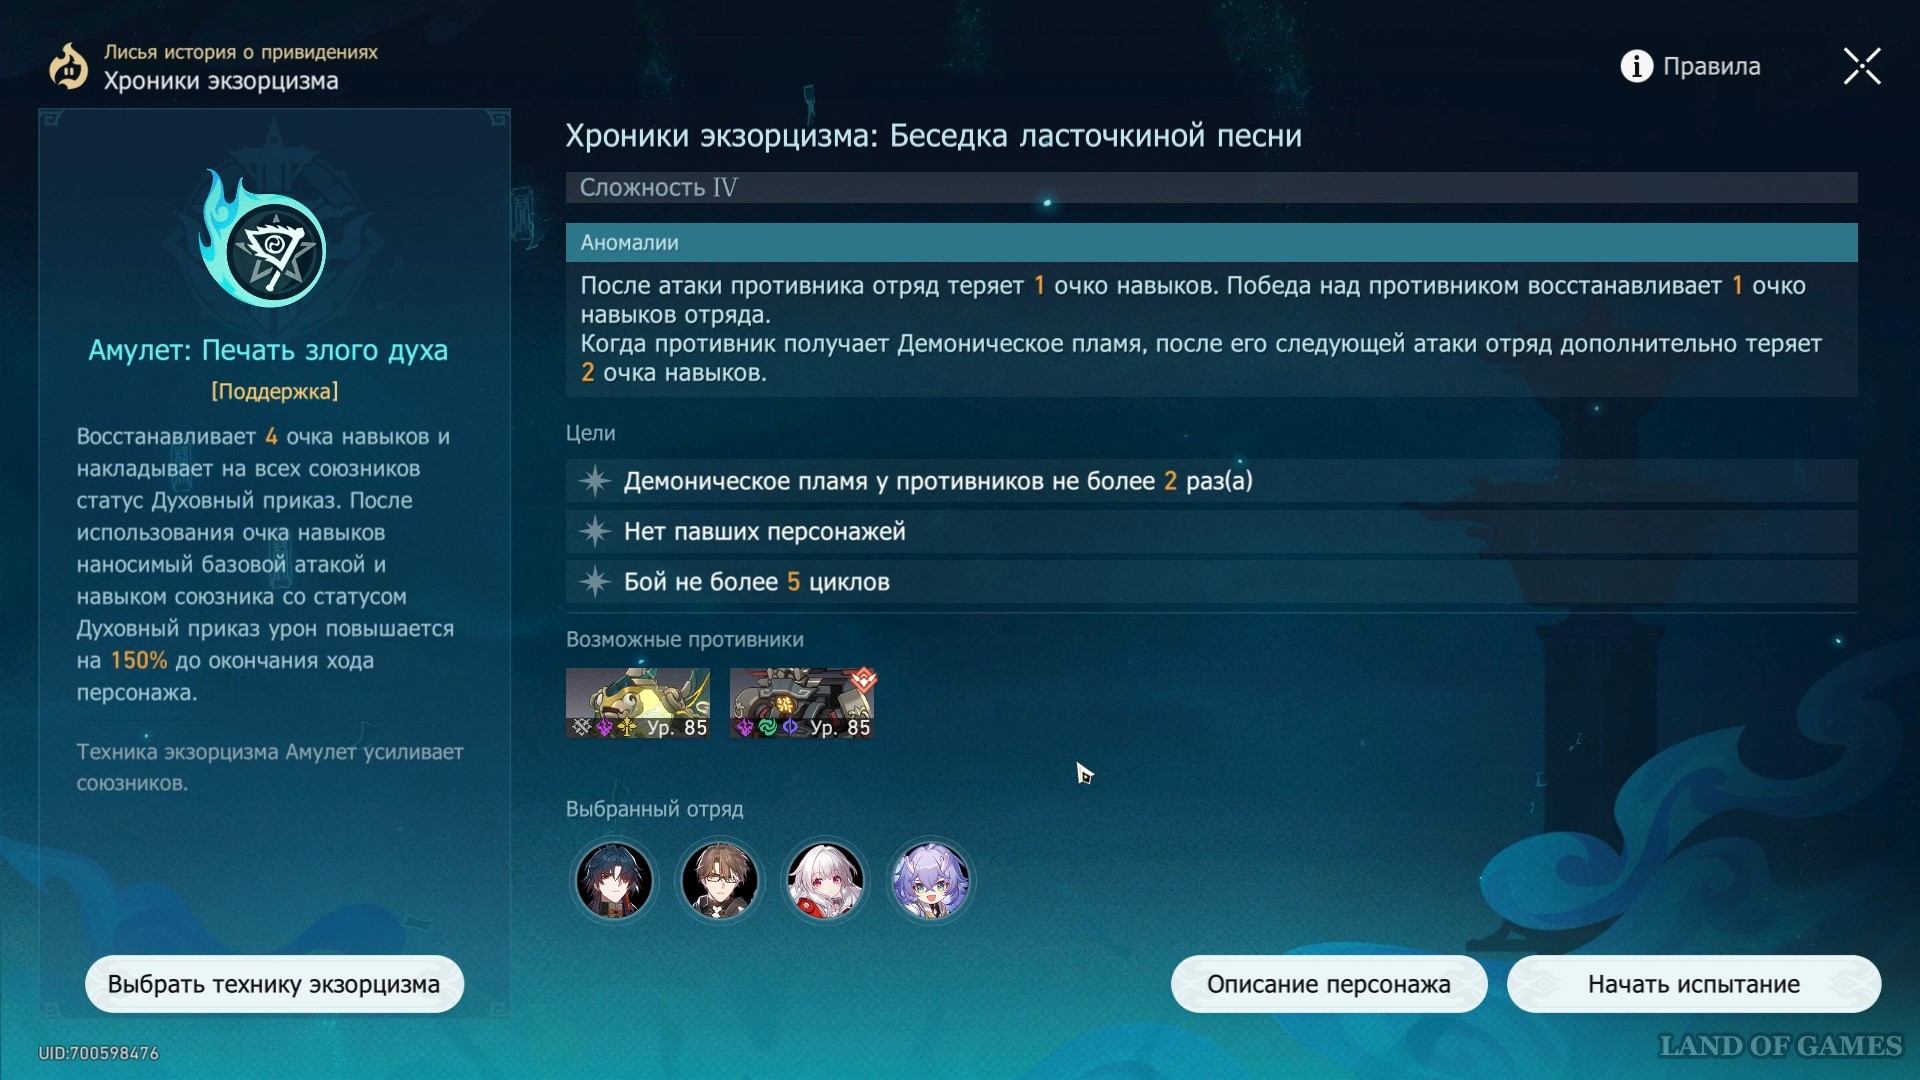
And finally, the last, 4th difficulty: we need heroes of Electric, Physical, Imaginary, (Wind and Quantum to a lesser extent) types. You will face a battle with aurumaton, which is capable of stunning the units of your pack, therefore, you need characters that remove weakening. Try the builds below.
First team
| Maine-DD | Sub-DD | Sub-DD/Support | Support |
|---|---|---|---|
|
Serval |
Yukun |
GG ways of saving |
Natasha |
This F2P command will first of all help you kill dragon fish as quickly as possible, and then they will deal additional damage. damage from explosions. The hero in the squad will aggro opponents more often than others (in particular, robot attacks that inflict an imaginary stun), so make sure that his stats have a sufficient % resistance to effects.
Second team
| Maine-DD | Sub-DD | Sub-DD/Support | Support |
|---|---|---|---|
|
Jing Yuan |
Armor |
Tingyun |
Locha(Khoho) |


This pack contains two heroes capable of removing the robot's stun: Bronya and Locha. The entire squad plays to strengthen the General, whose attacks and bonus actions can quickly disable the fish and the main boss.
Third team
| Maine-DD | Sub-DD | Sub-DD/Support | Support |
|---|---|---|---|
|
Blade |
Clara |
Welt |
Bailu |
We have already examined their advantages in the analysis of packs for level 1, but it is worth adding that this team, although it does not have heroes that remove negative statuses, is capable of stopping the Aurumaton himself and his assistants due to Velt’s imaginary attacks. Clara's e-shka is effective against fish, and the heroine herself can take the blow and counterattack.
You can also put Kafka, Fu Xuan and Zele in the squad combination.
Awards
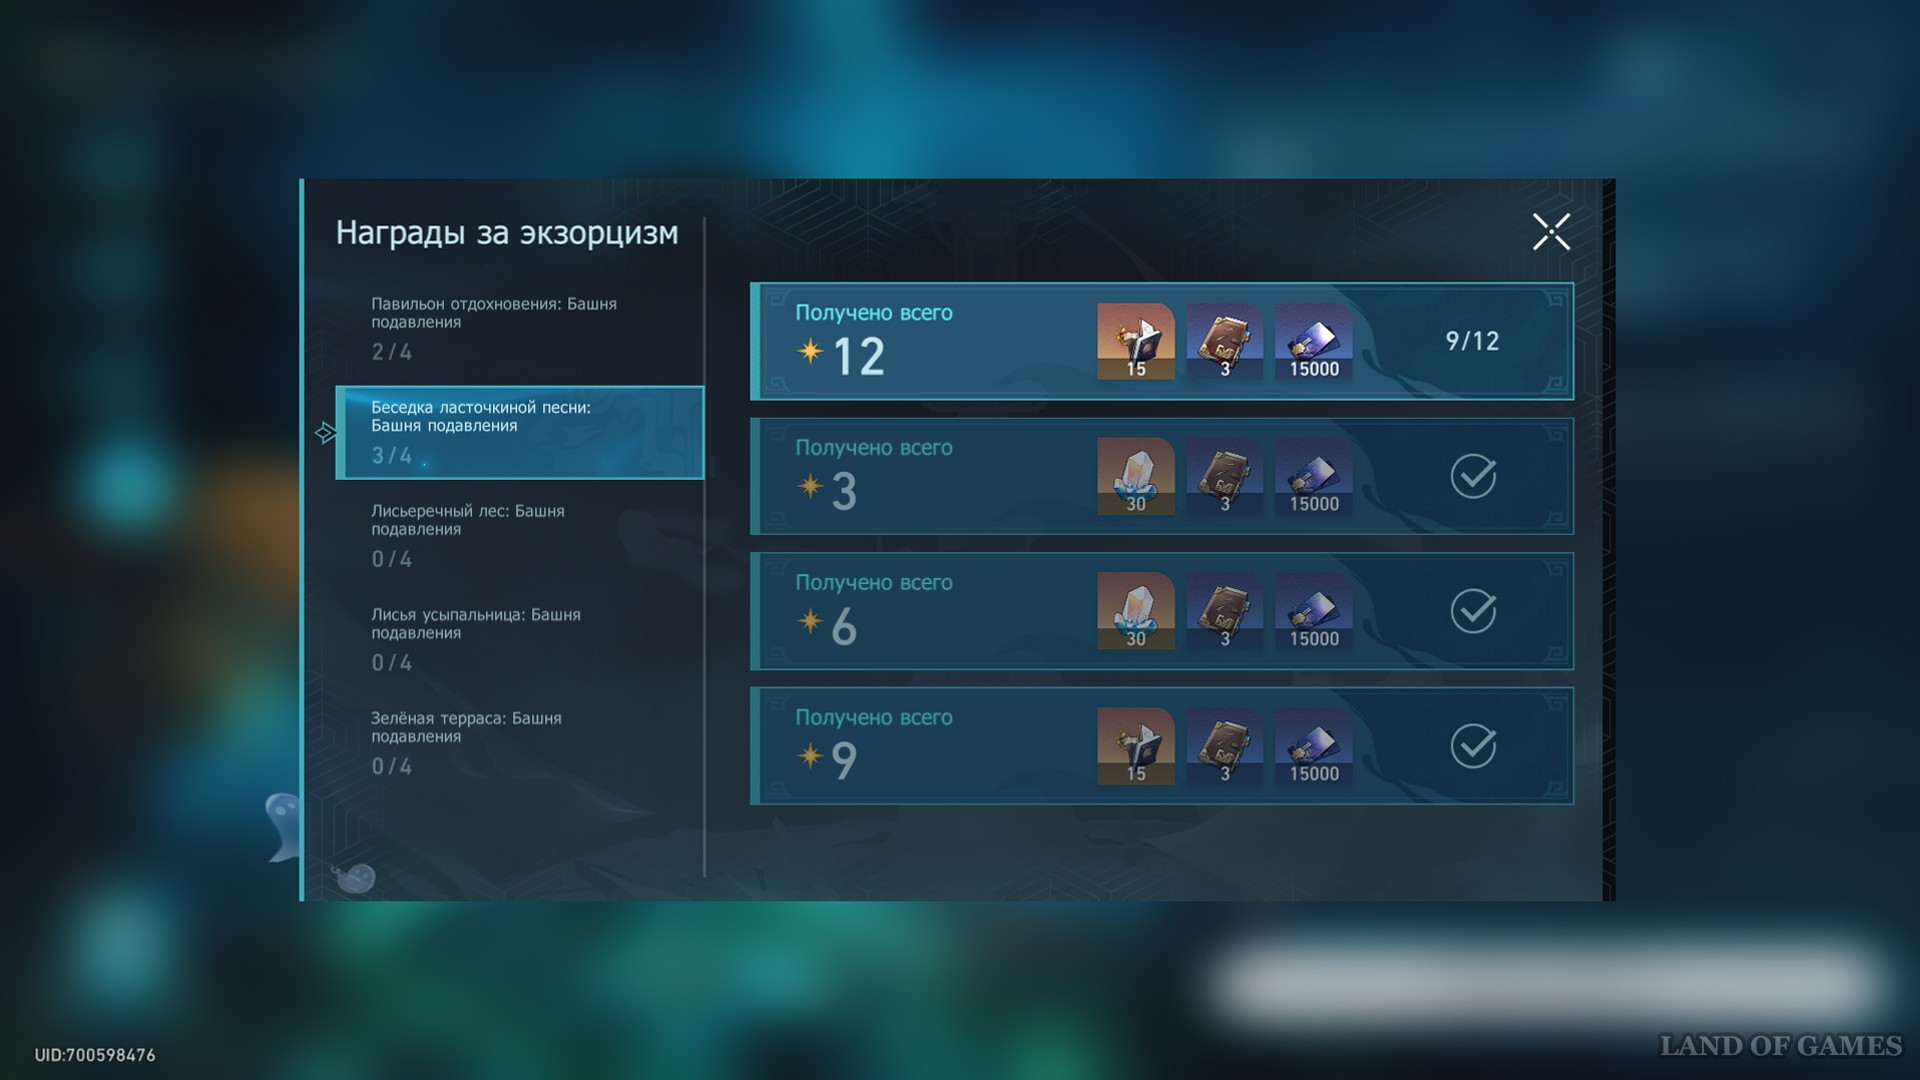
After completing all difficulty levels, you will also be given 60 star jade, 12 experience logs, 30 Relic Fragments and 60 thousand credits, however, to receive the volute for spins, you will only need to pass the test for a total of 6 stars.
Comments
You need to login to add comments.
You can login with