The Secret of Al-Ahmar Genshin Impact is part of the line "Golden Land of Dreams" And twilight desert world quest, in which you have to open the coffin in the tomb of King Deshret and find Benben by solving spark puzzles and fighting various opponents. If you're having trouble starting or completing a quest, check out our guide.
Passage of the quest "The Secret of Al-Ahmar"
How to start a task
To do this, complete the last mission of the chain called "An Introduction to Indoor Archaeology" . The required quest should immediately appear in your journal. If this does not happen, then try logging out of your account, wait 20-30 minutes and re-login.
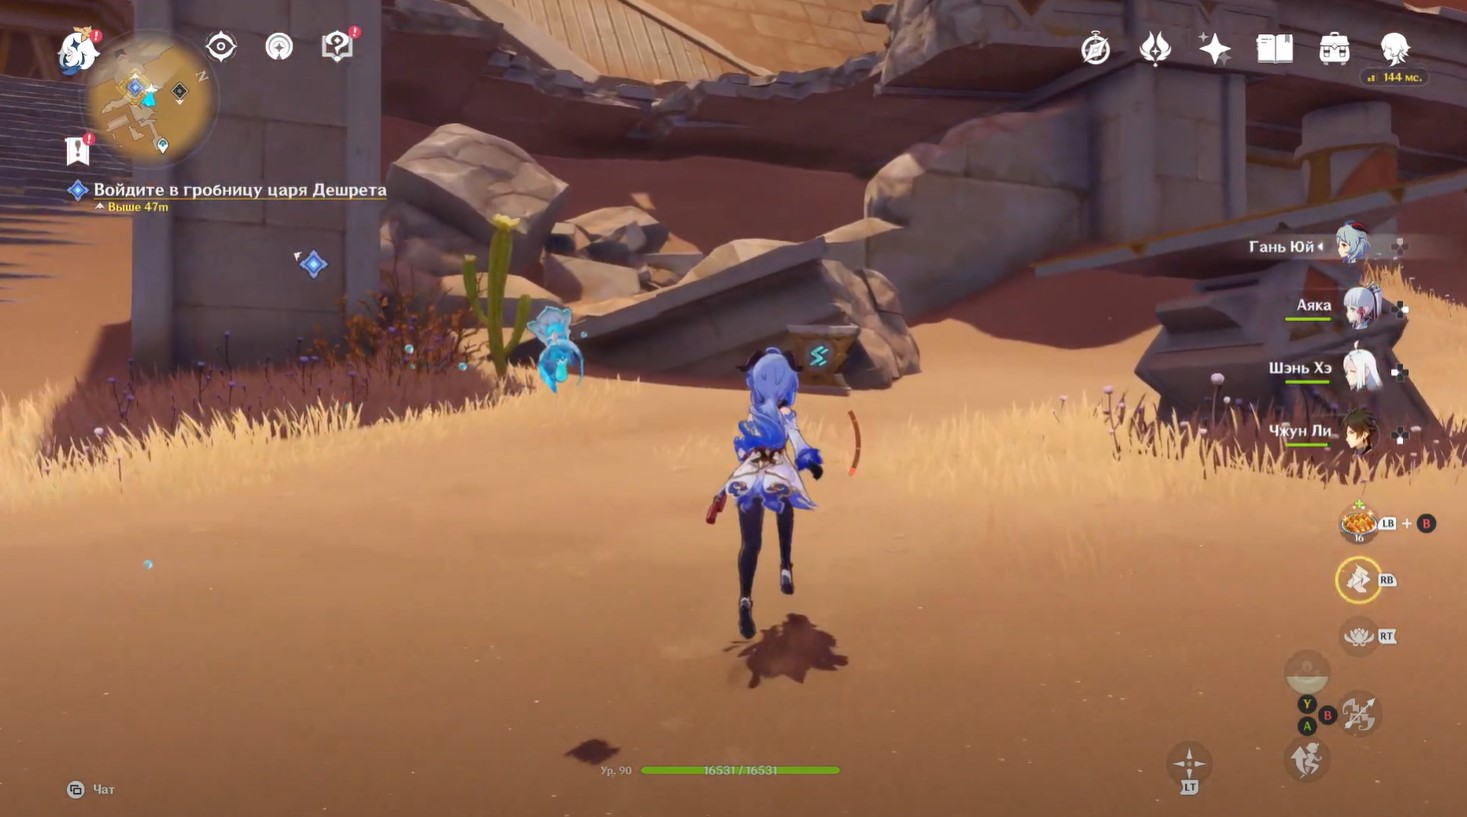
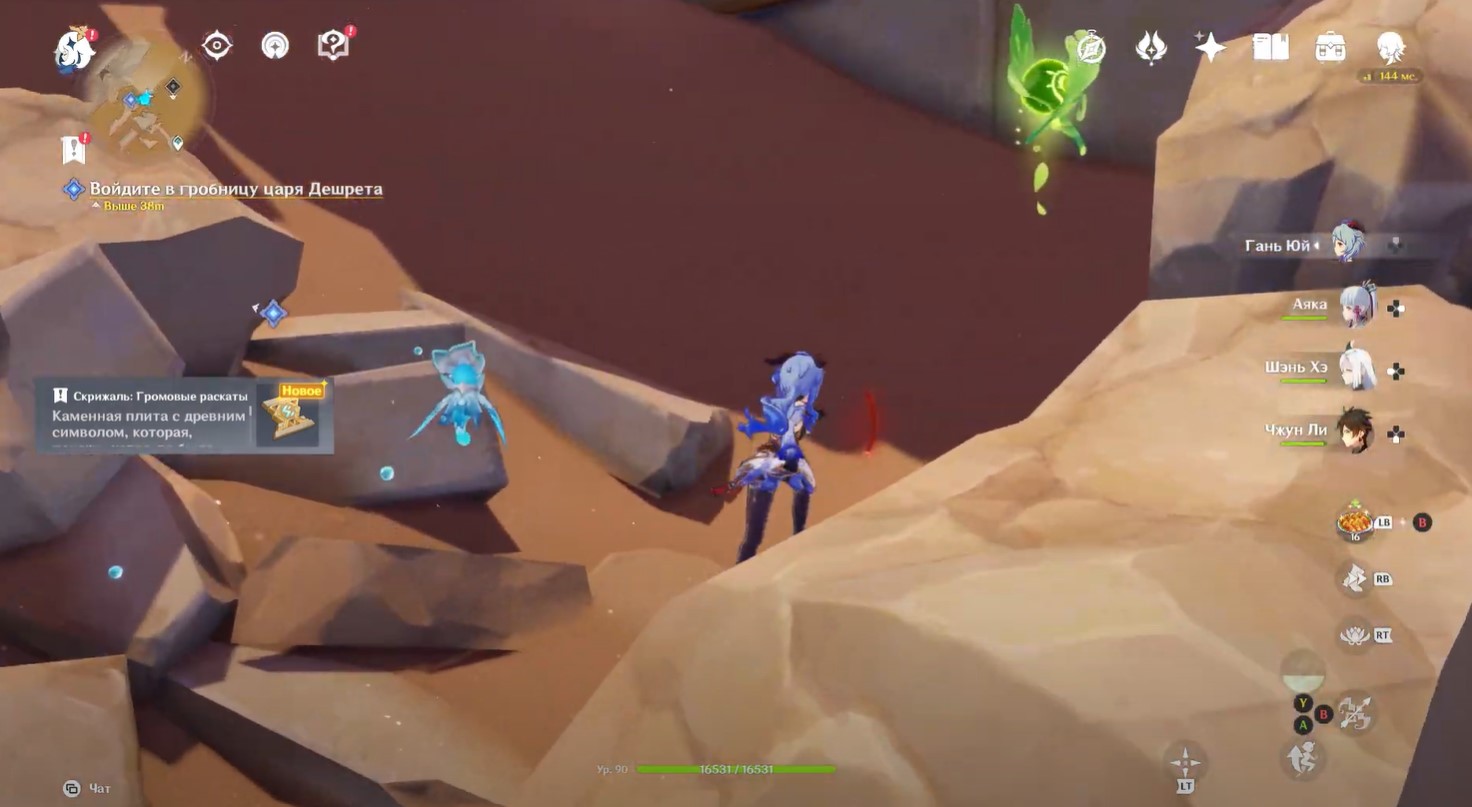
Next, follow the marker to the lift and activate it to go up to the tomb of King Deshret. A cutscene will start immediately. After its completion, you will need to enter the ruins. Run to the passage, but before you climb the stairs, turn right and pick up Sacred Seal: Thunderstrike. Behind her can be found Dendroculus.
Explore the tomb of King Deshret
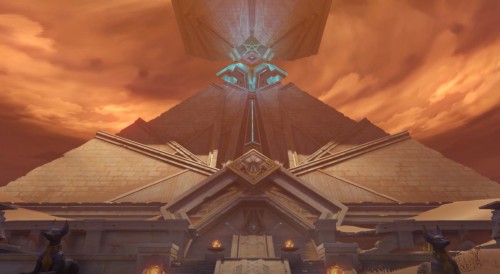
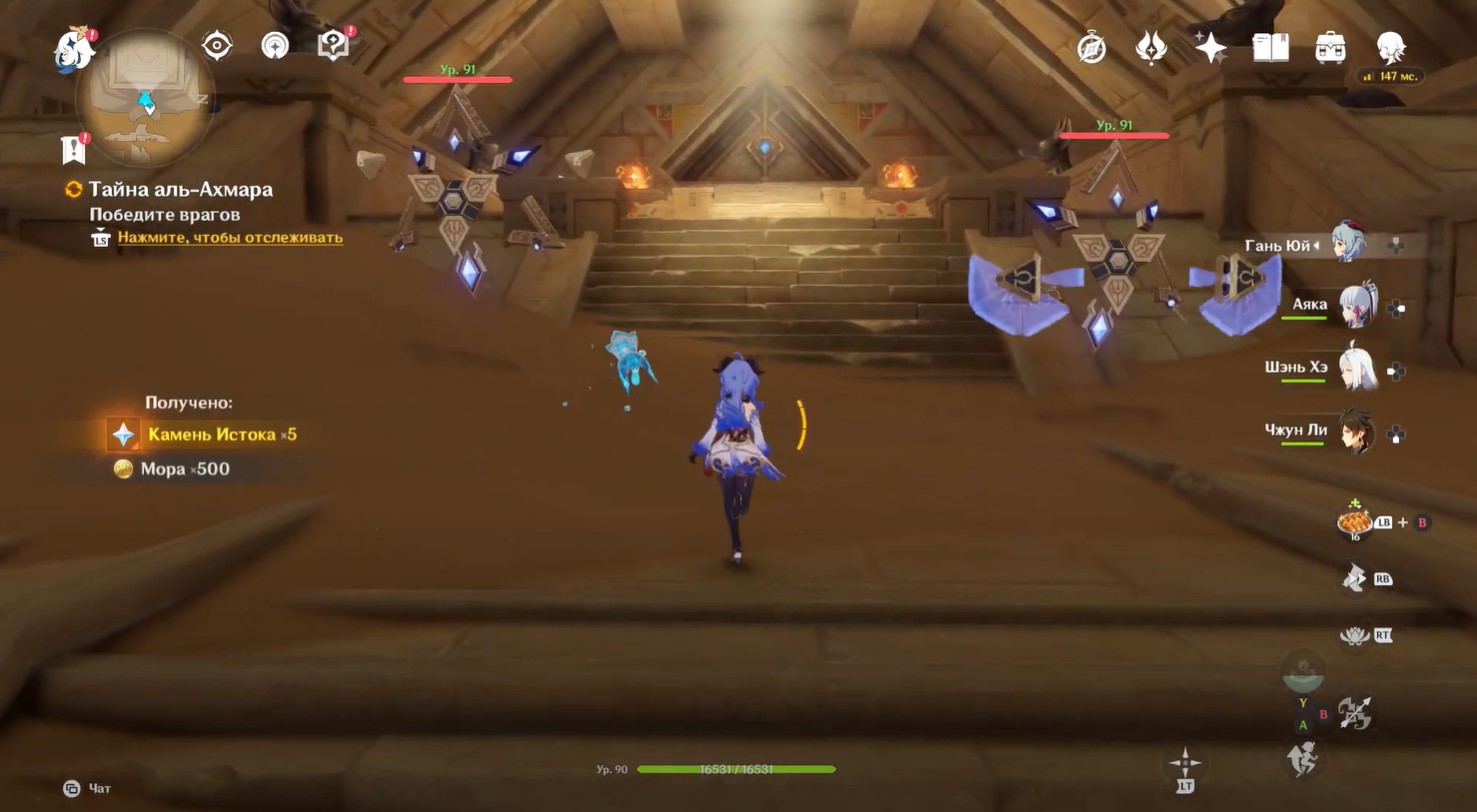
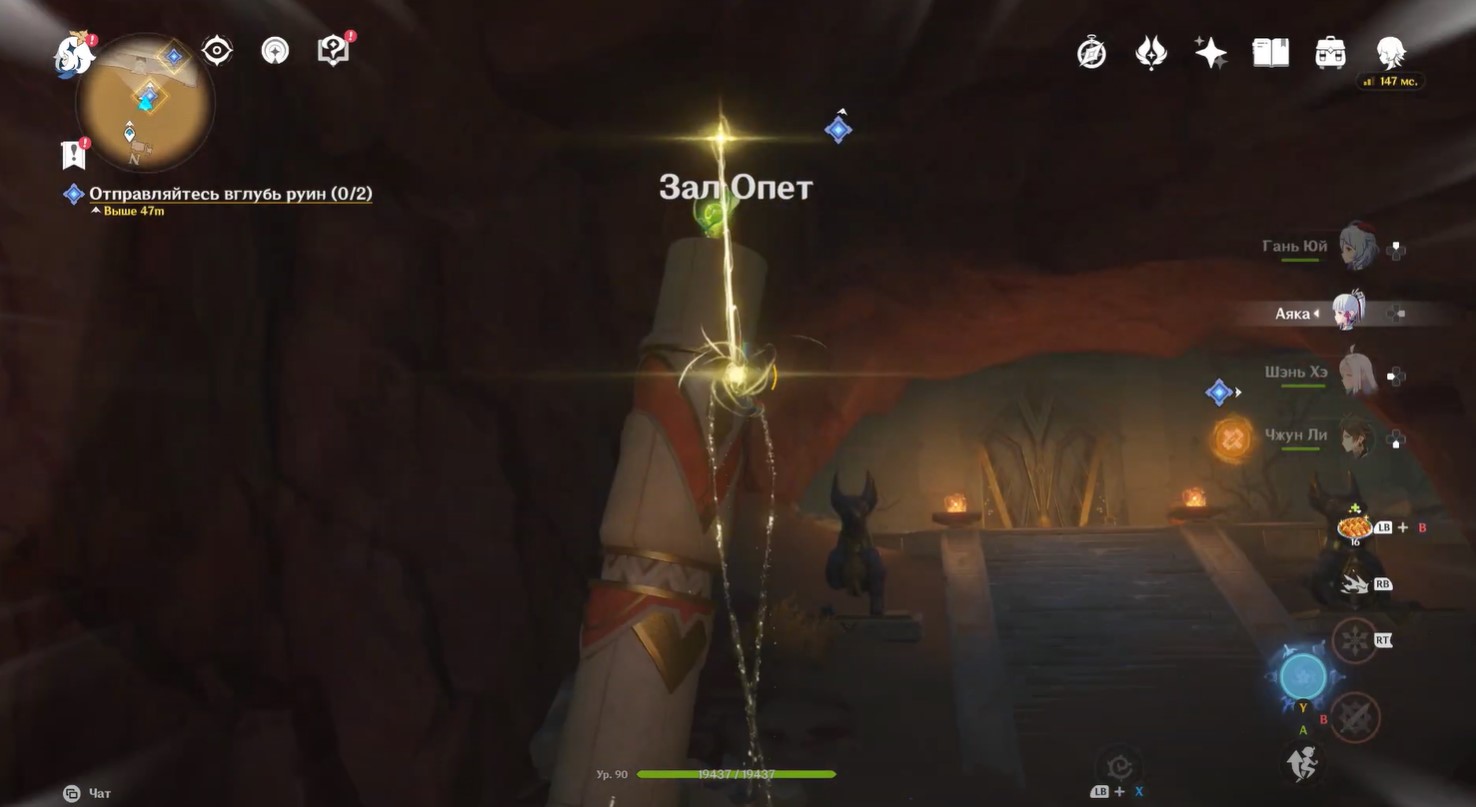
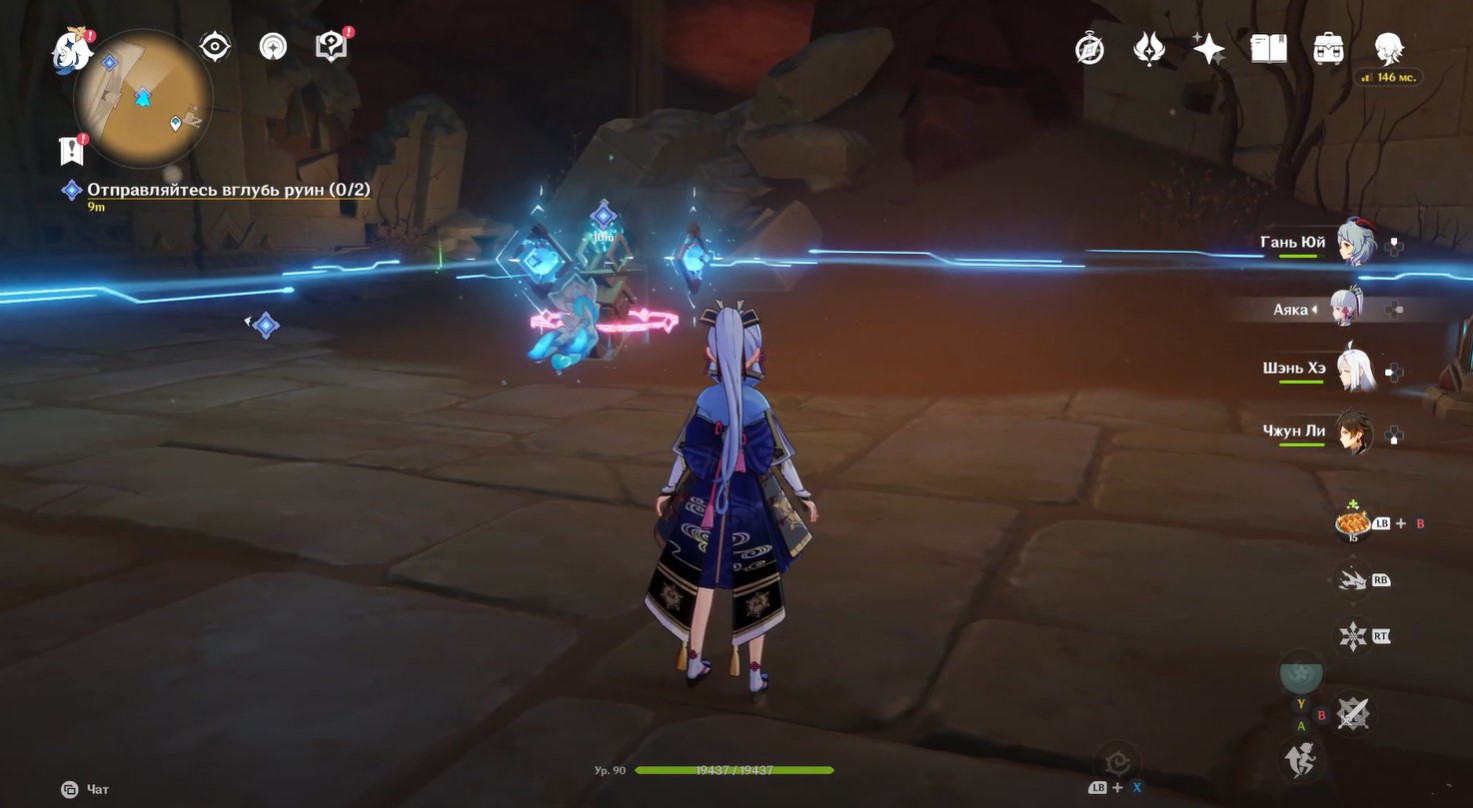
Climb up the ladder and stand in front of the giant triangular gate. Watch another cutscene of Benben opening the door. Enter inside and deal with a couple of opponents in the face of pristine structures. The hermits will help you in battle.
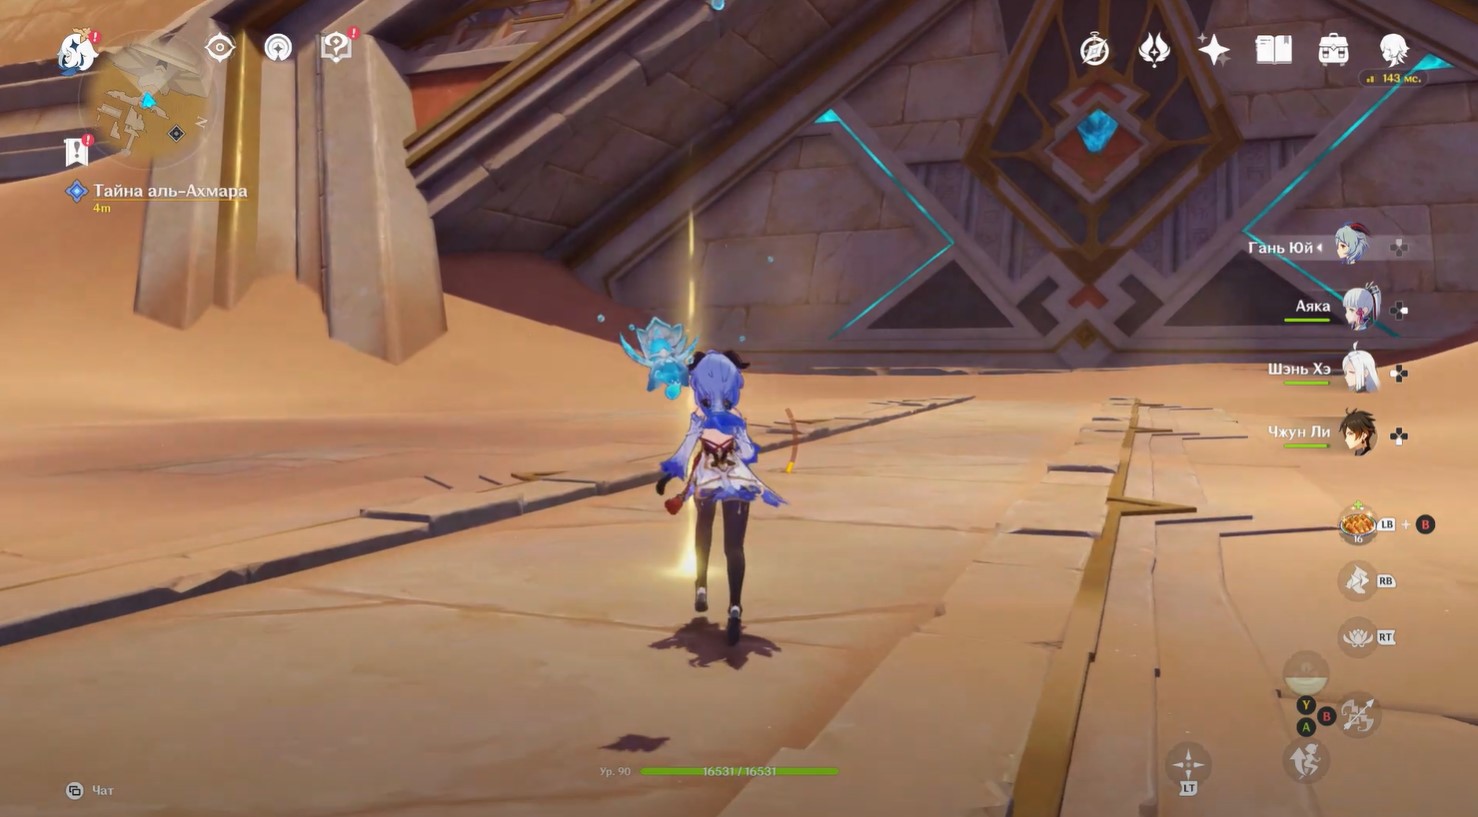
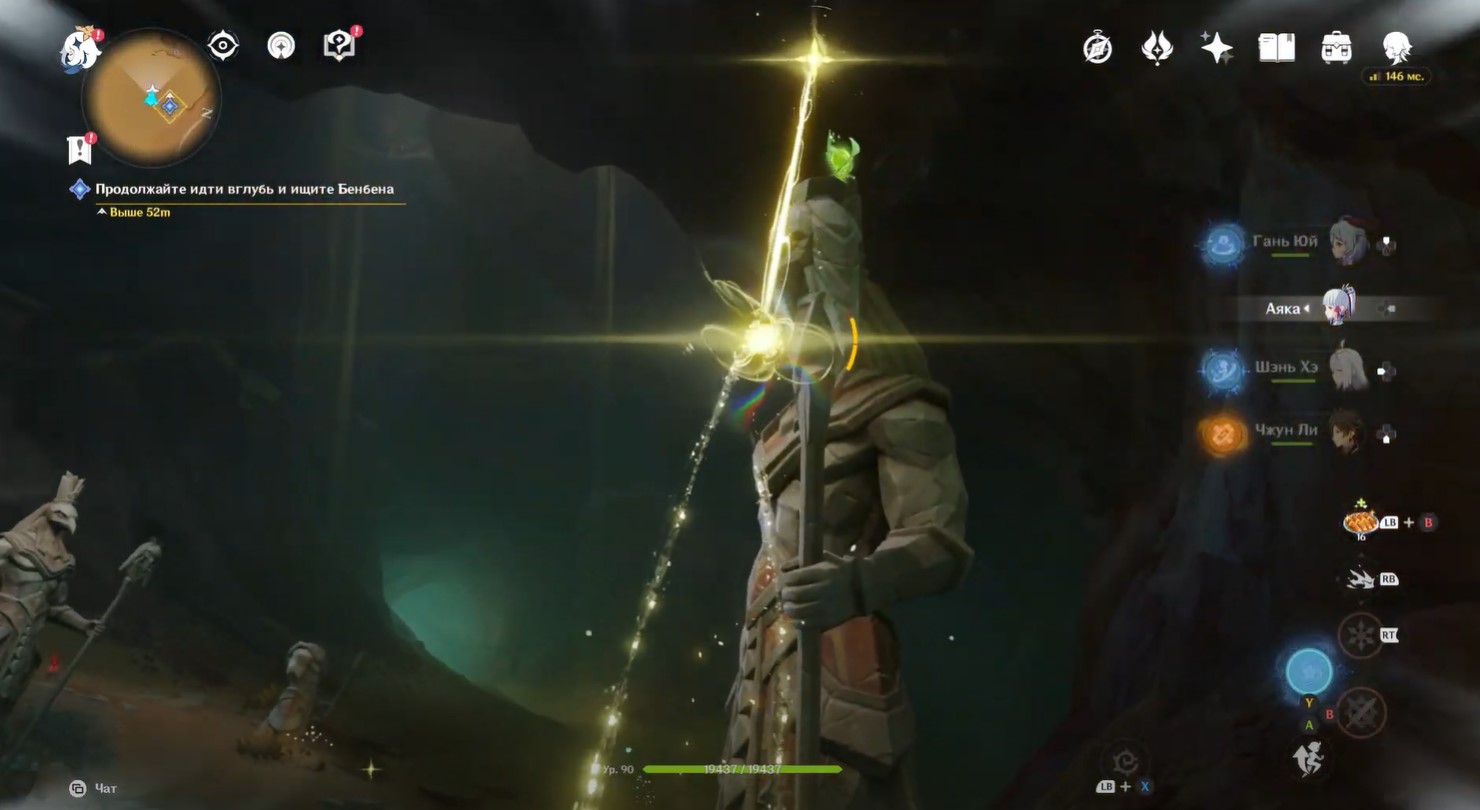
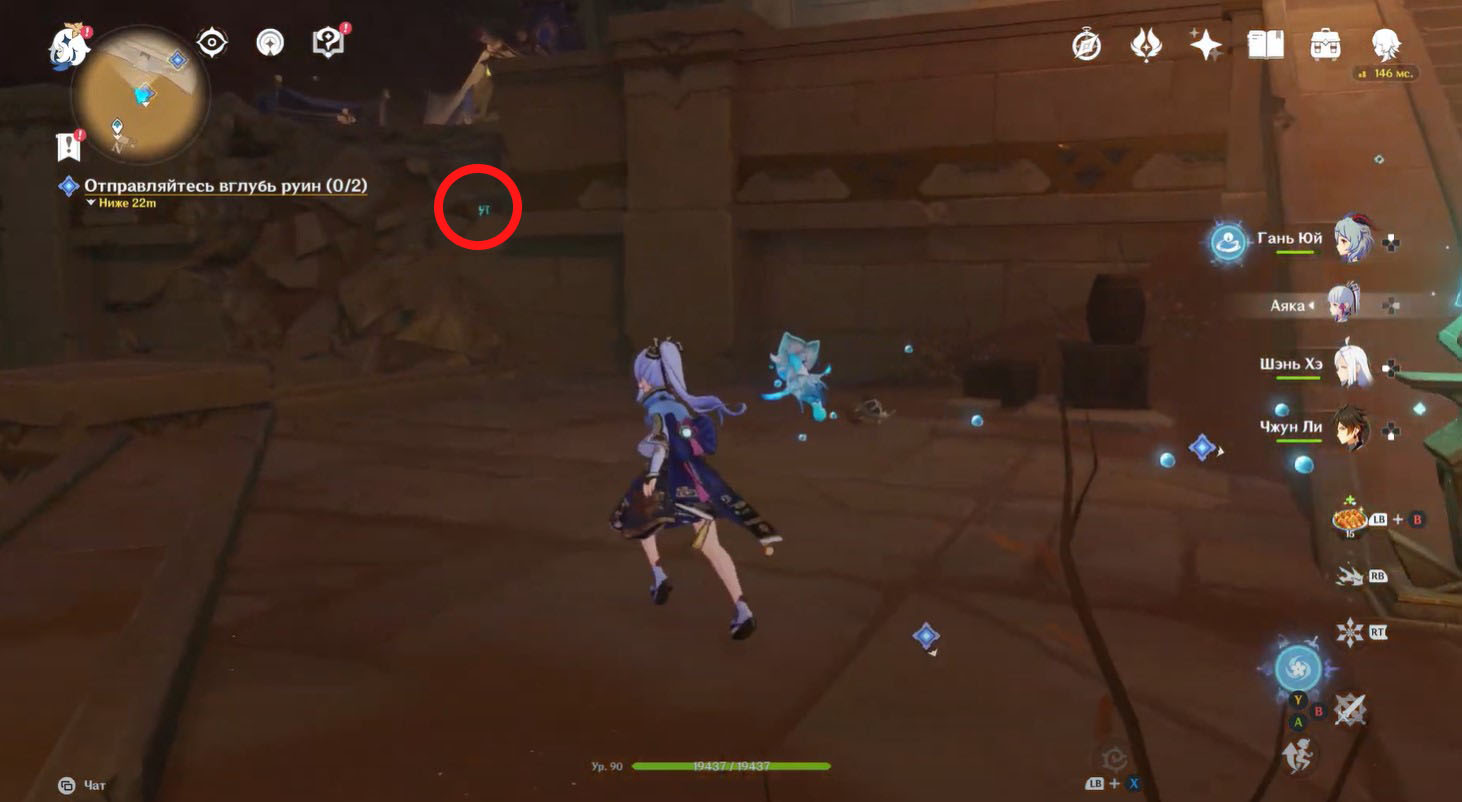
Go deep into the tomb, running forward without turning anywhere. Watch another video where the heroes will find an unusual sarcophagus. Tirzad will immediately want to open it, which you will do in the future.
How to open a coffin
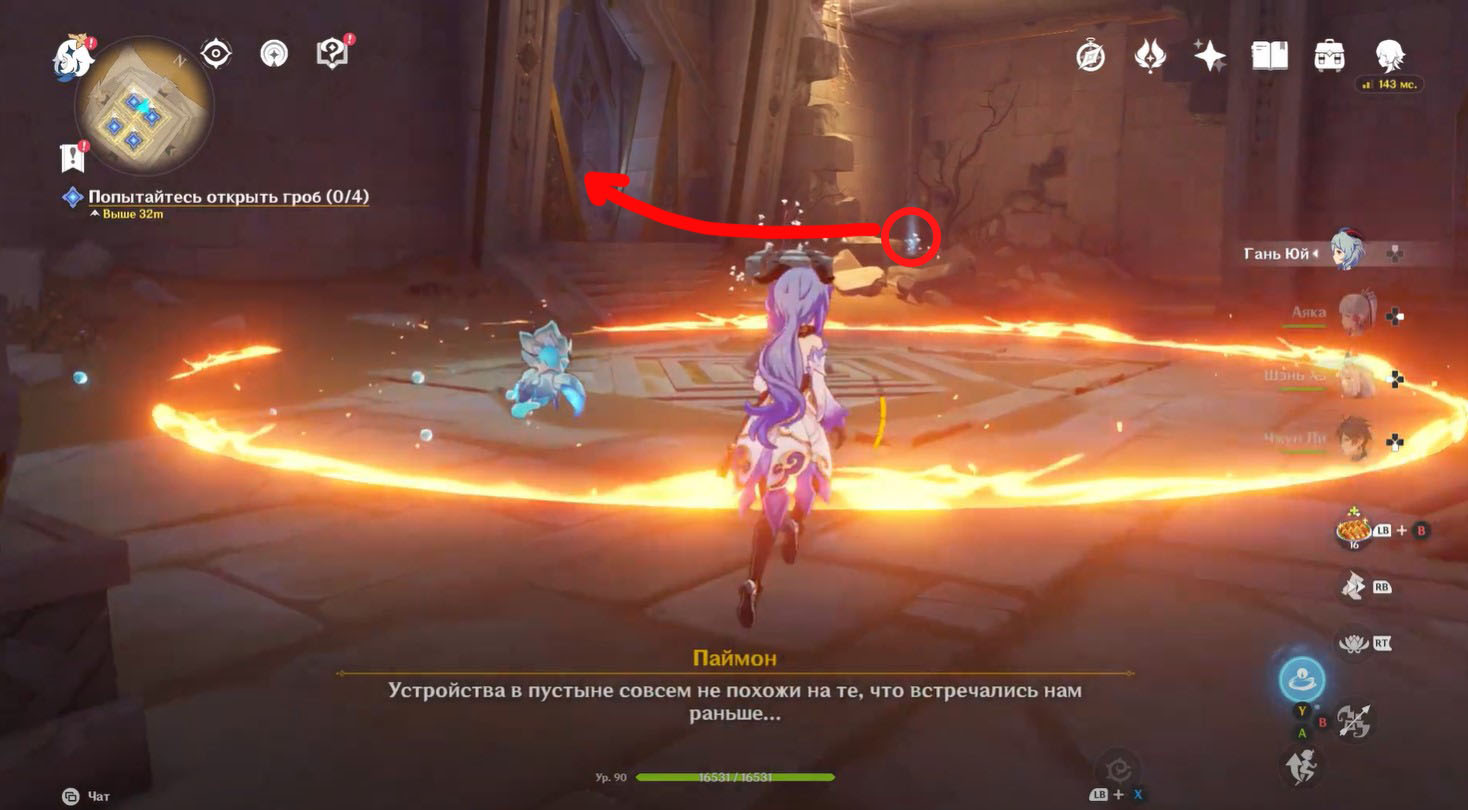
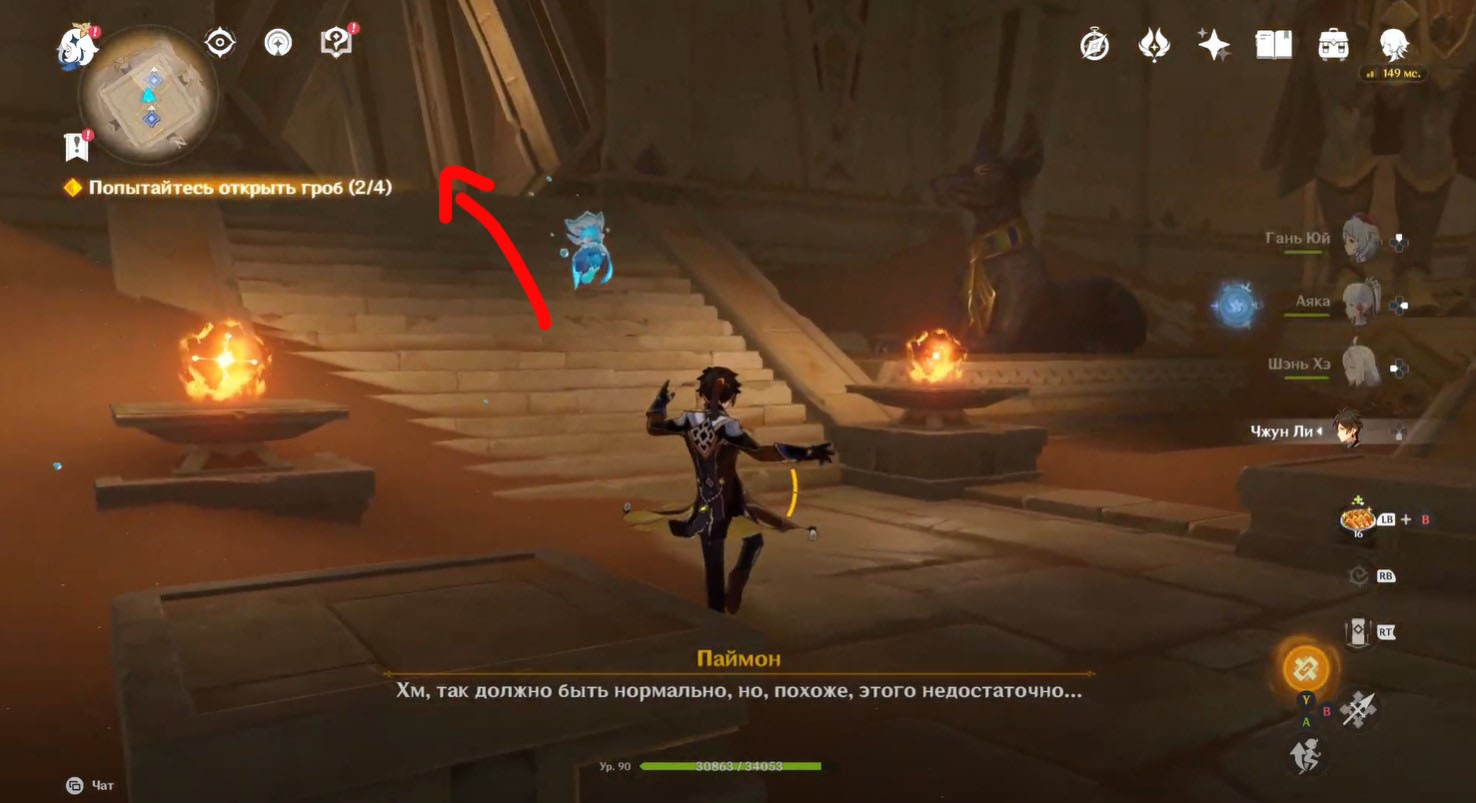
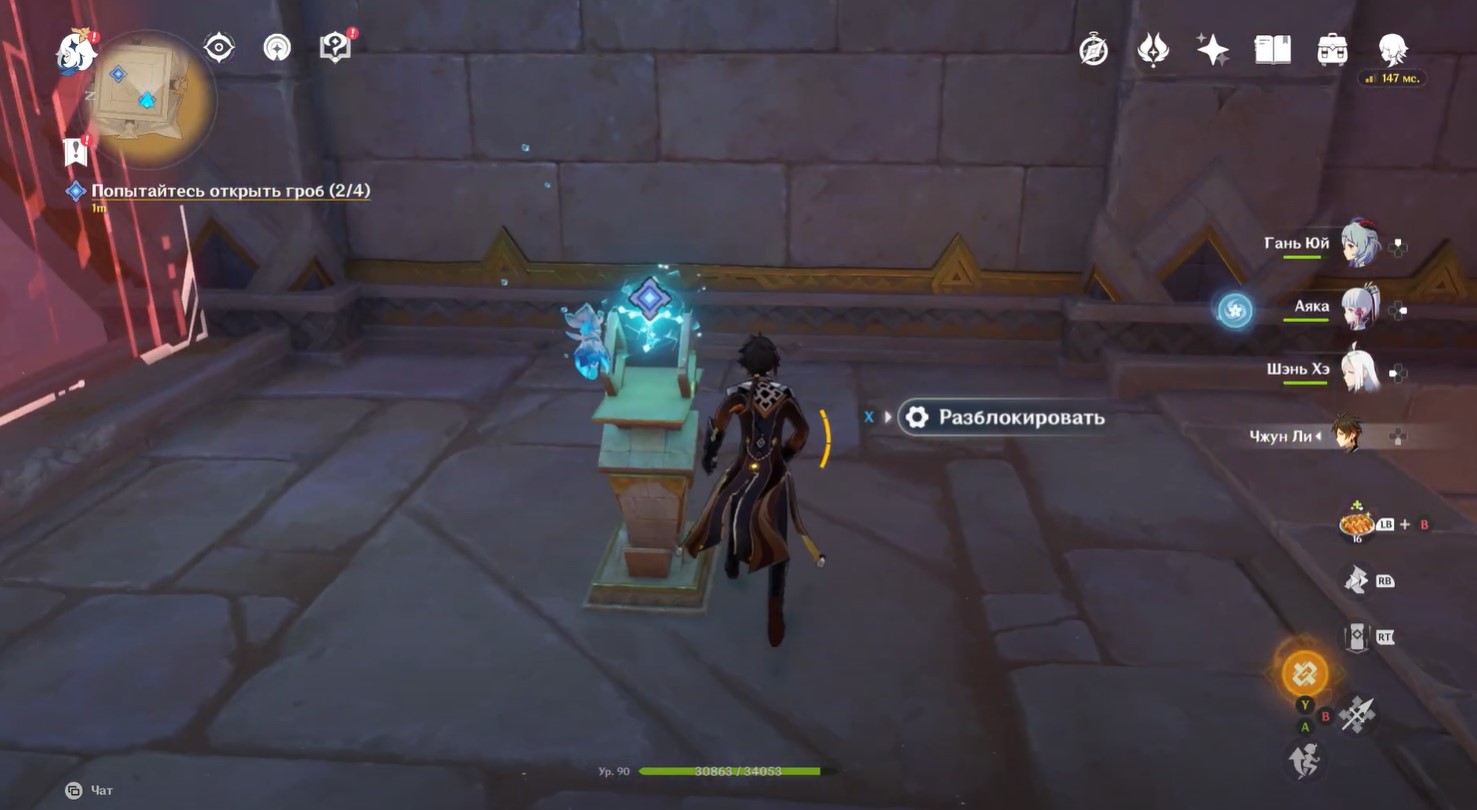
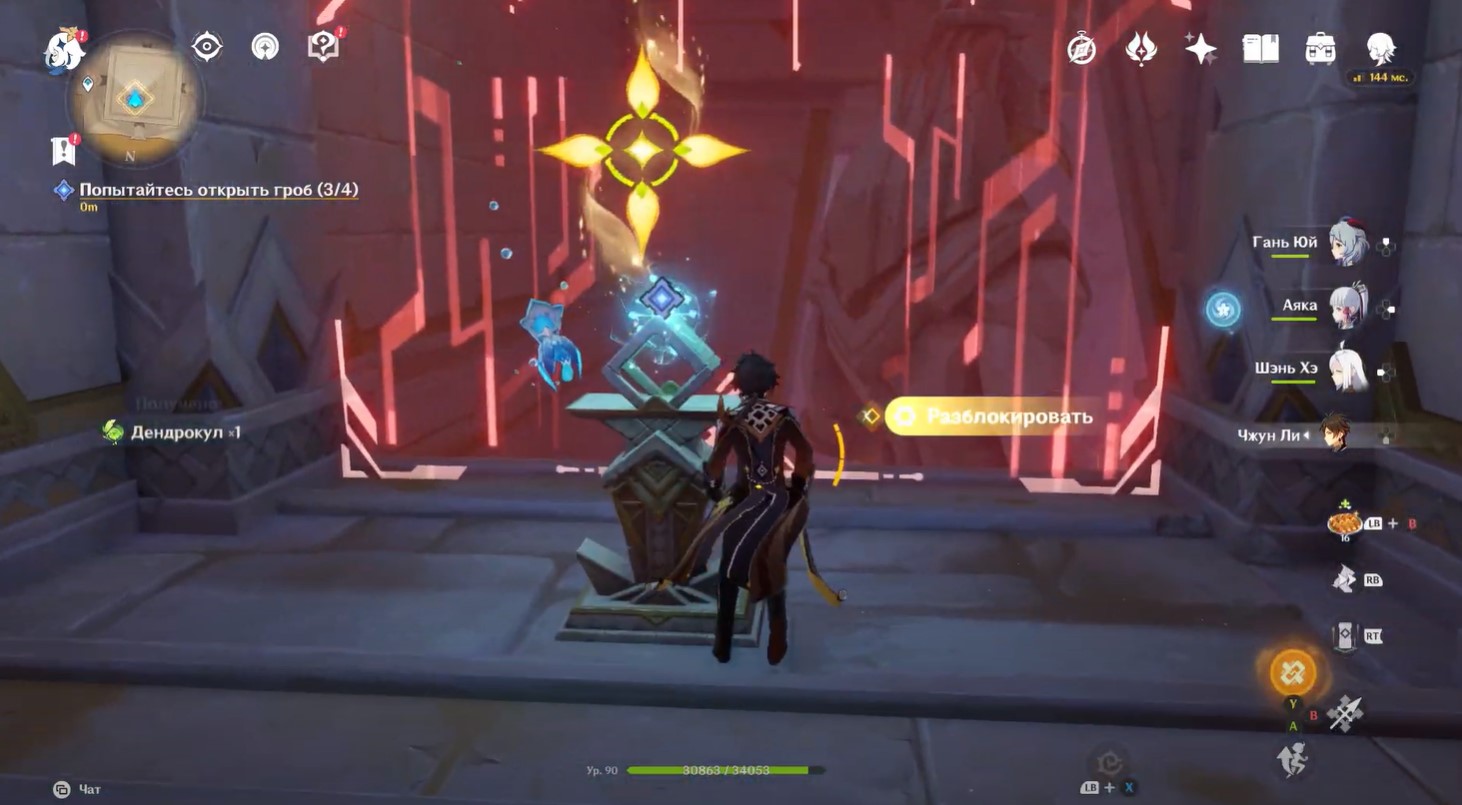
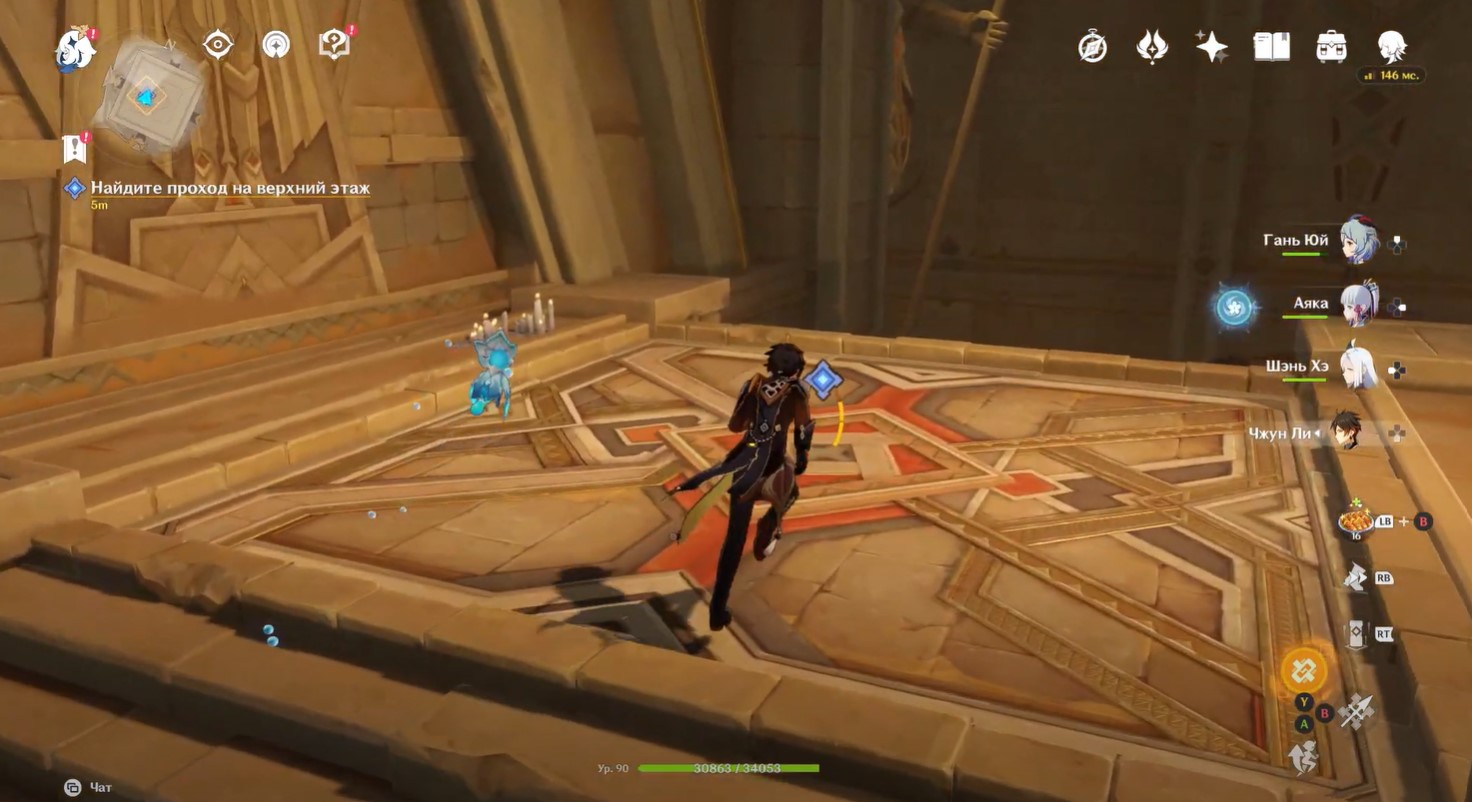
Next to the coffin you will see 4 Primordial Torches, which, as you remember, are activated with the help of Primordial Sparks - you will have to look for them. Below we will tell you where you can find these sparks, and how to bring them to the columns. The order in which the torches are activated is not important.
First primordial spark
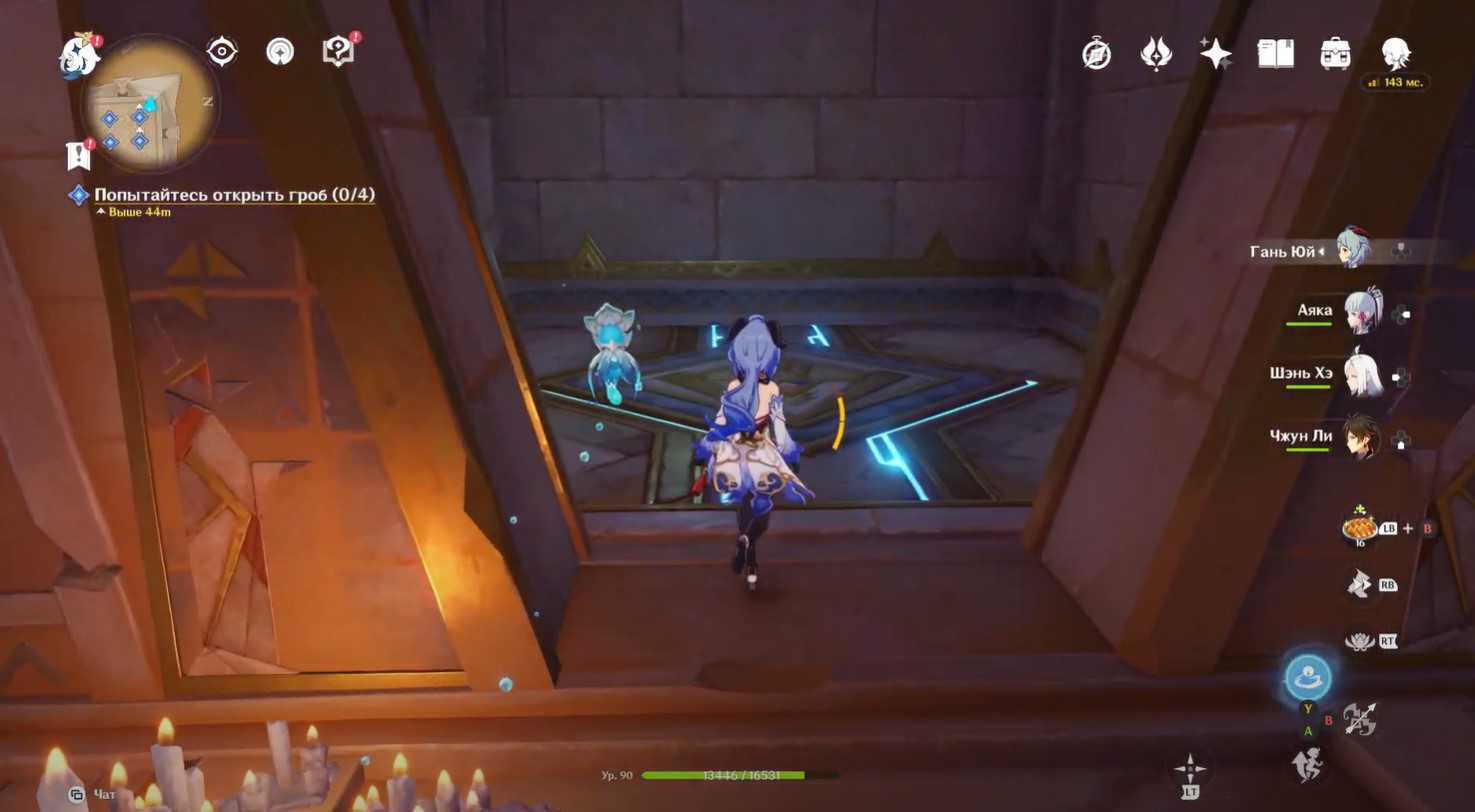
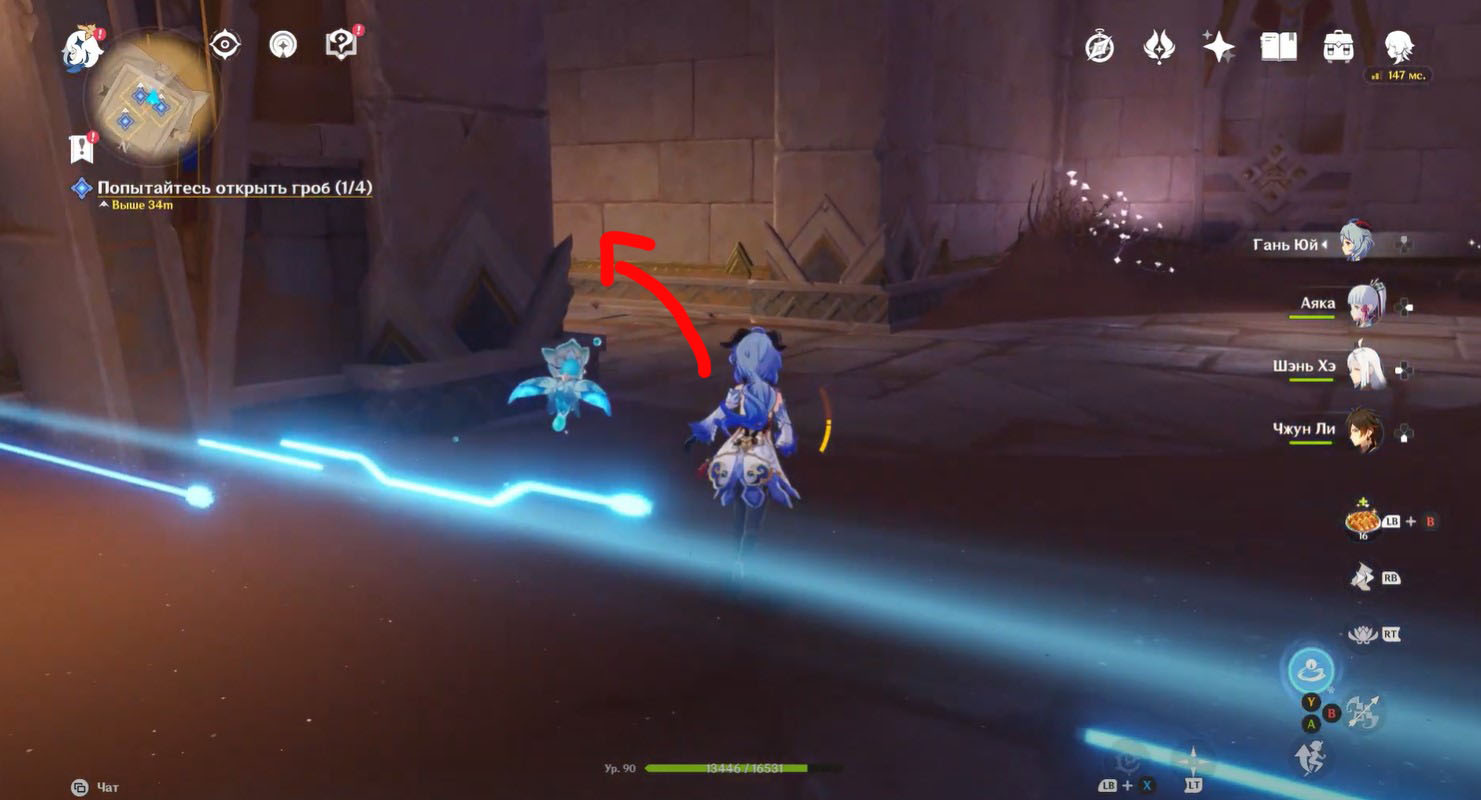
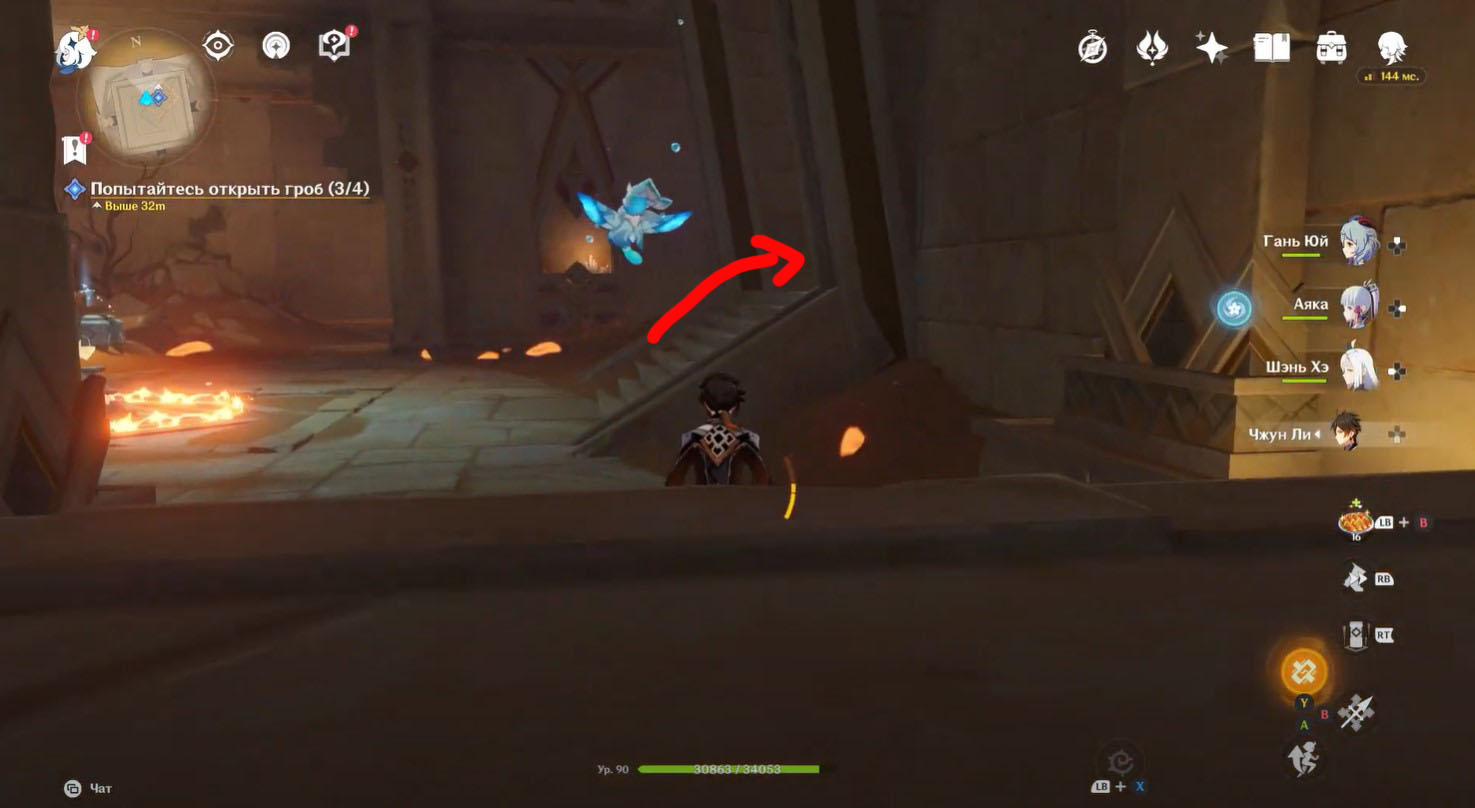
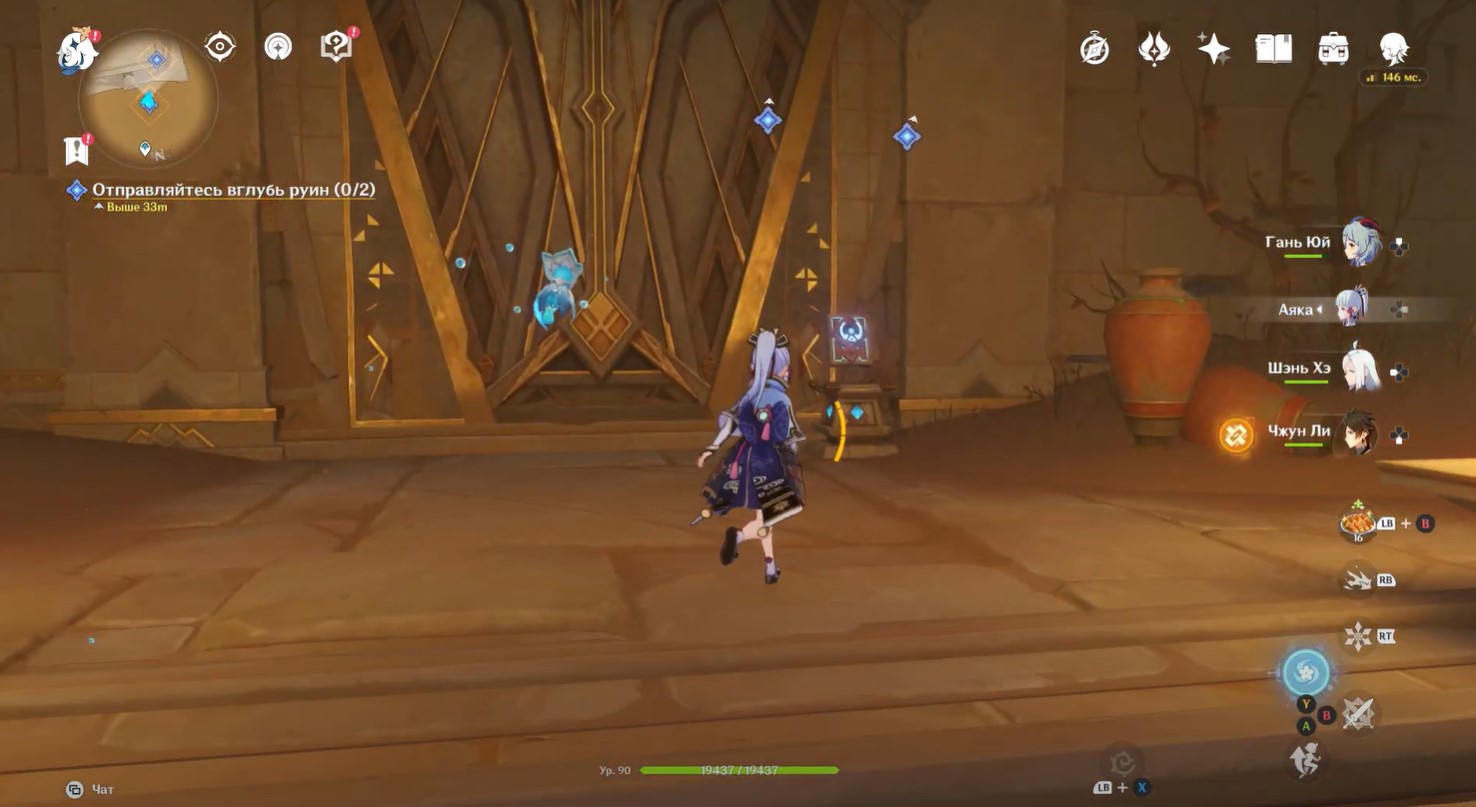
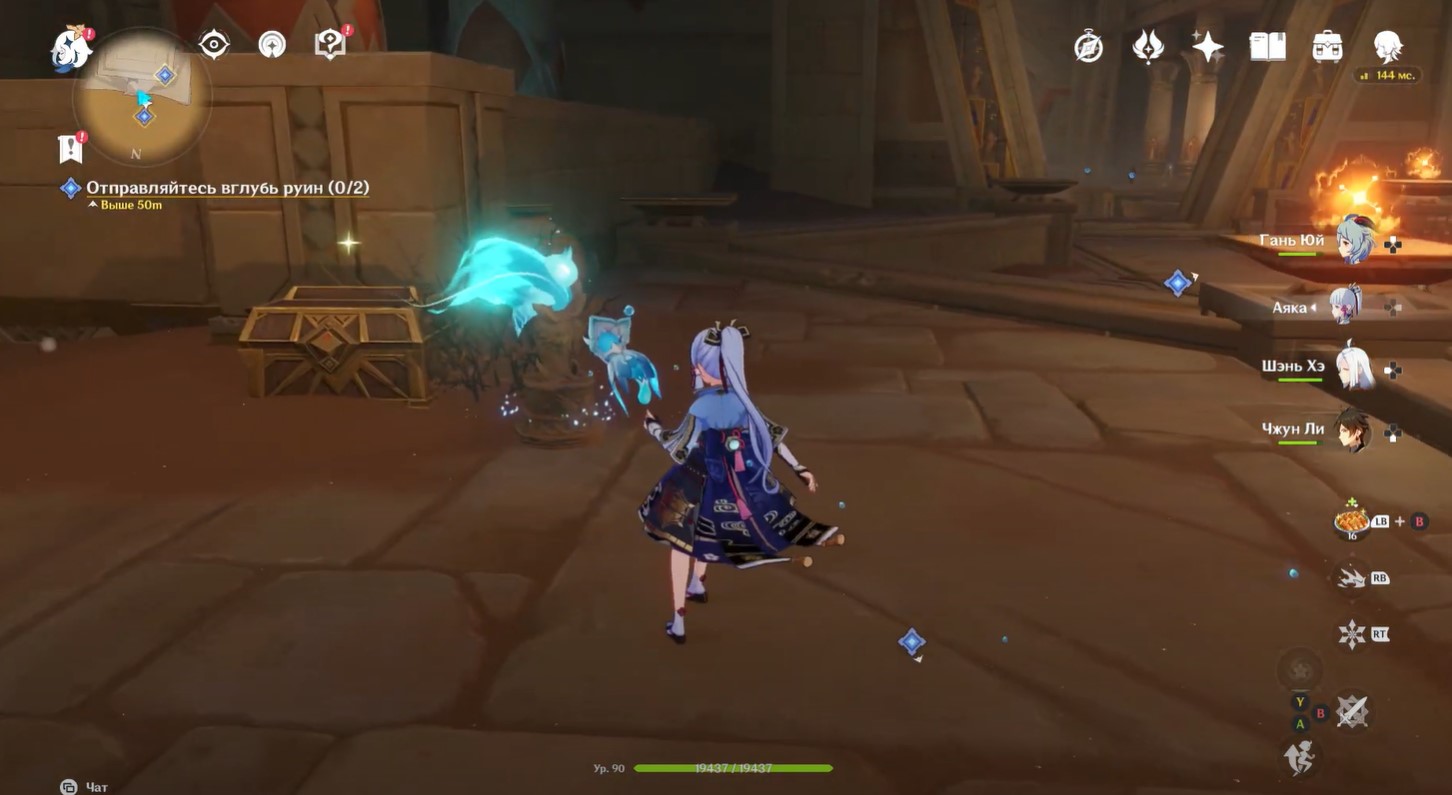
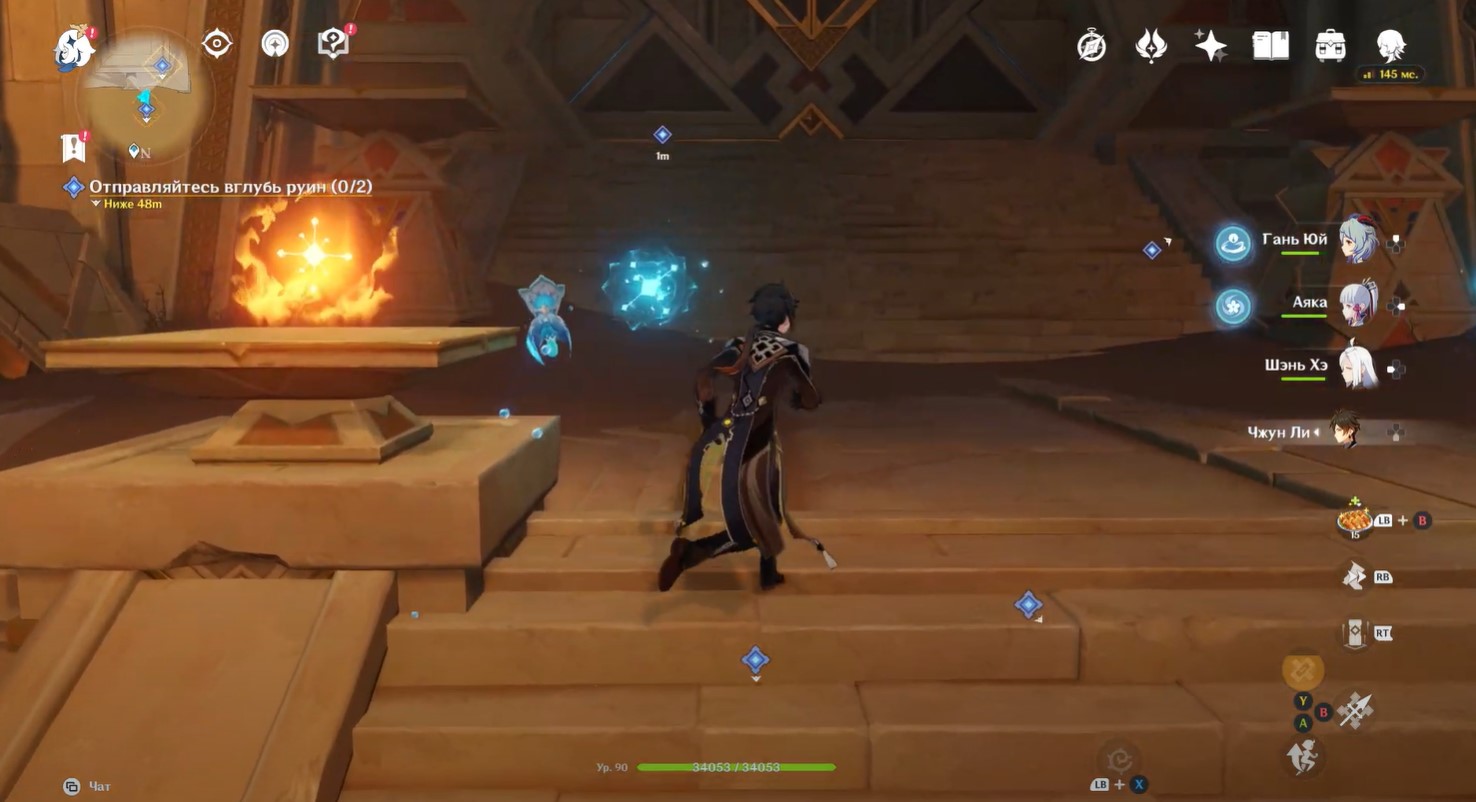
Stand facing the coffin, and then go to the right passage shown in the picture below. You will enter a room with a pillar of fire. Jump over the flame and pick up the primordial luminary to the right of the left entrance.

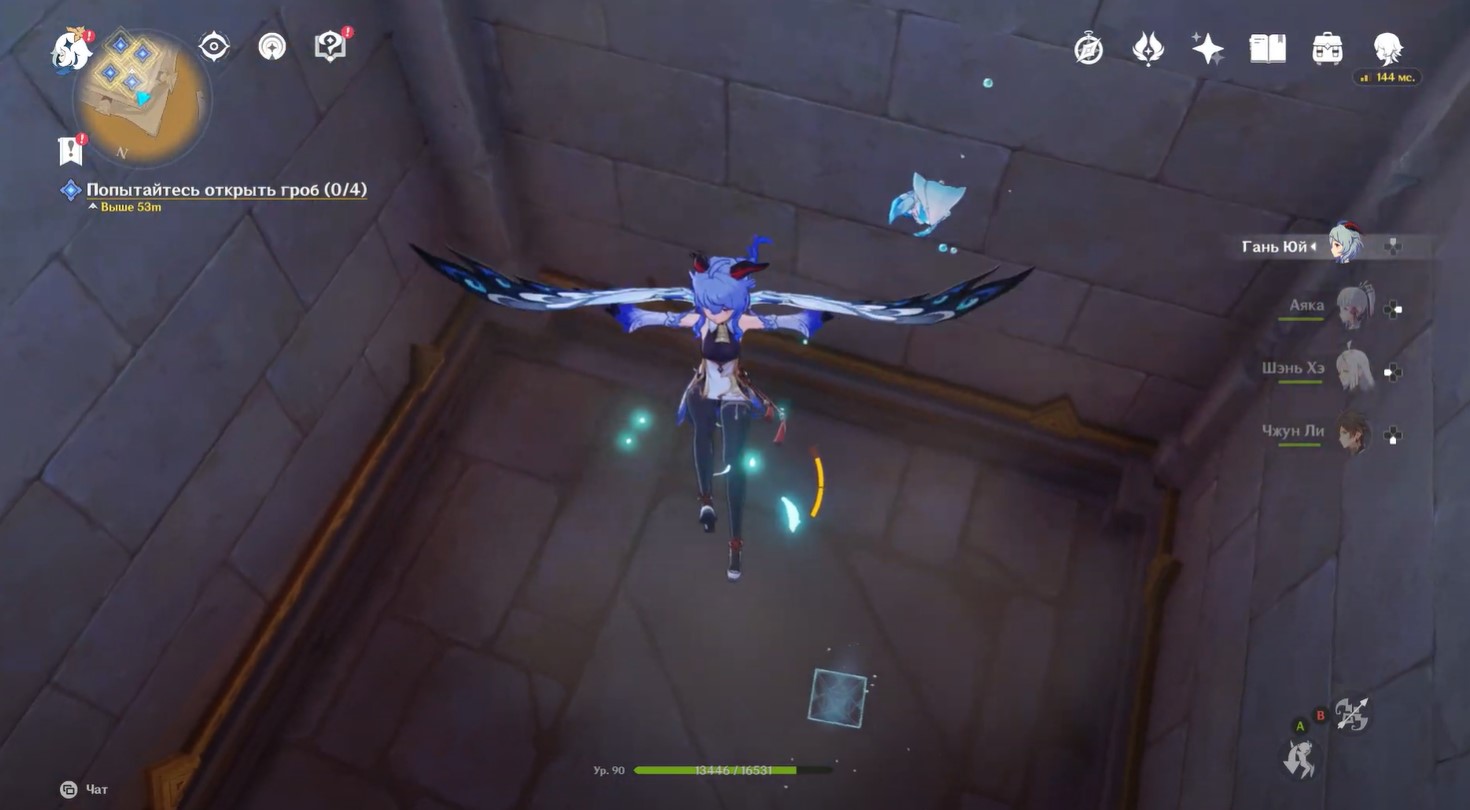
Go further and stand on the platform so that an hourglass appears, but you won't be able to use it now. Move further along the corridor. You will see a glowing plate. Step on it and it will soon disappear. Jump into the hole and pick up the second luminary.
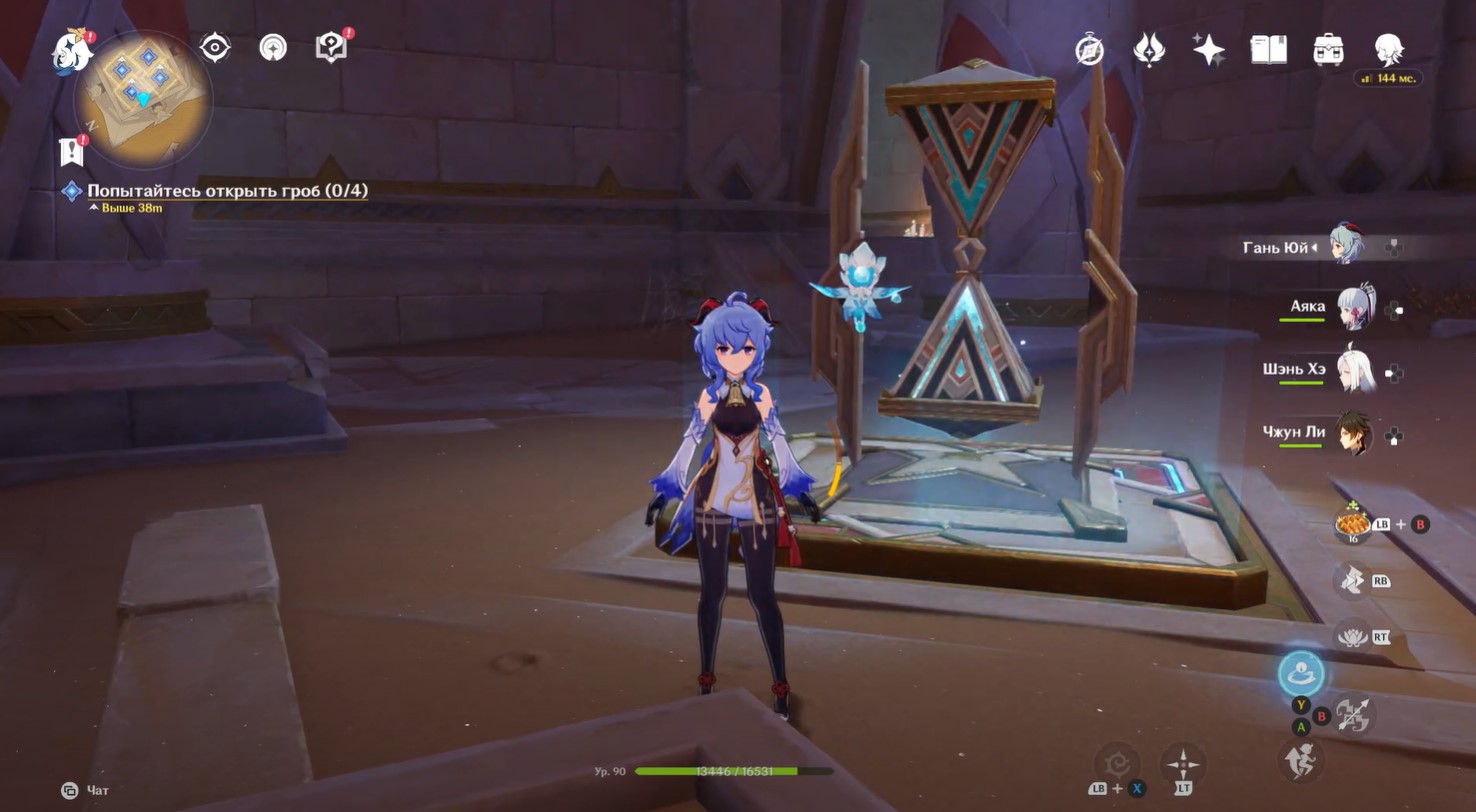
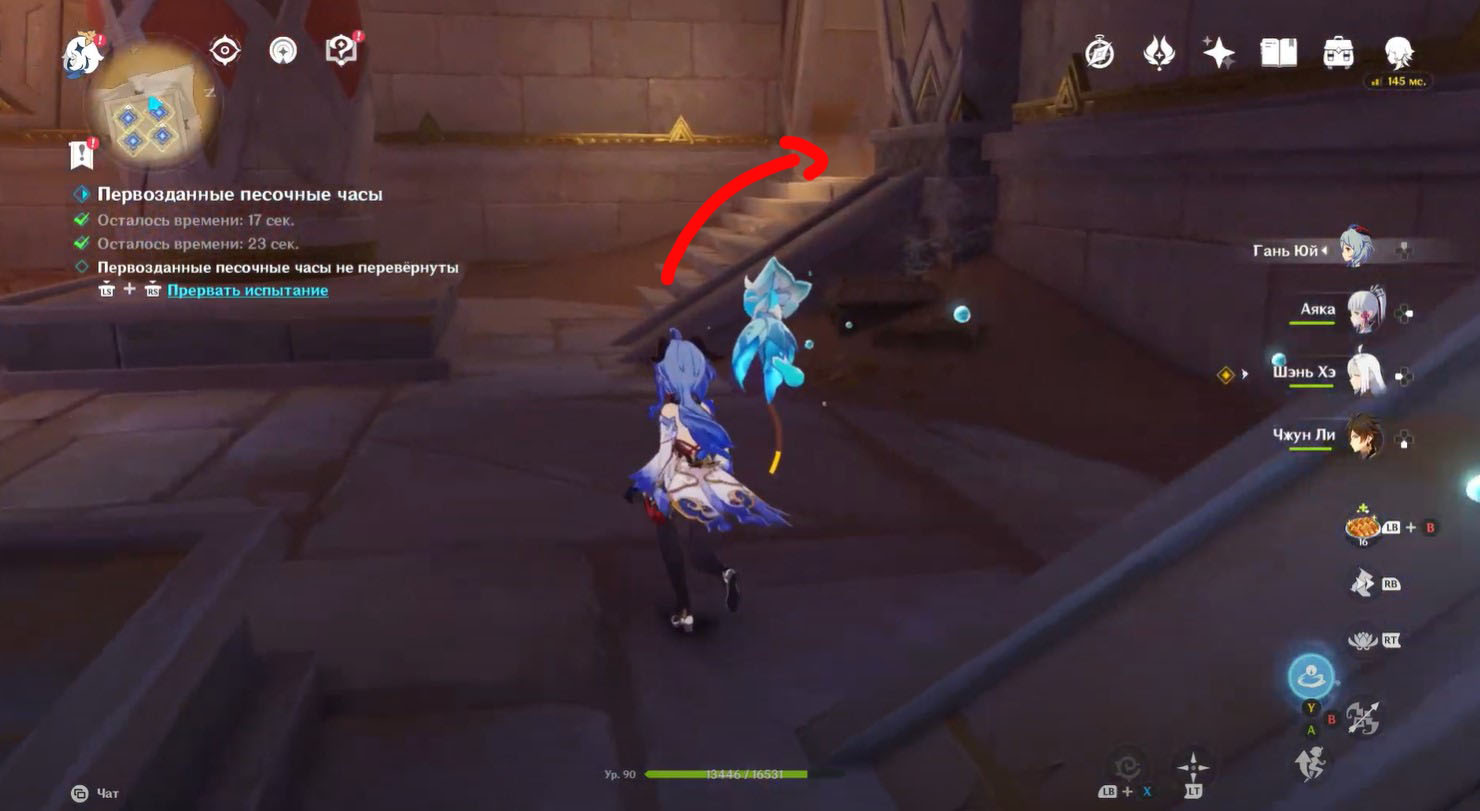
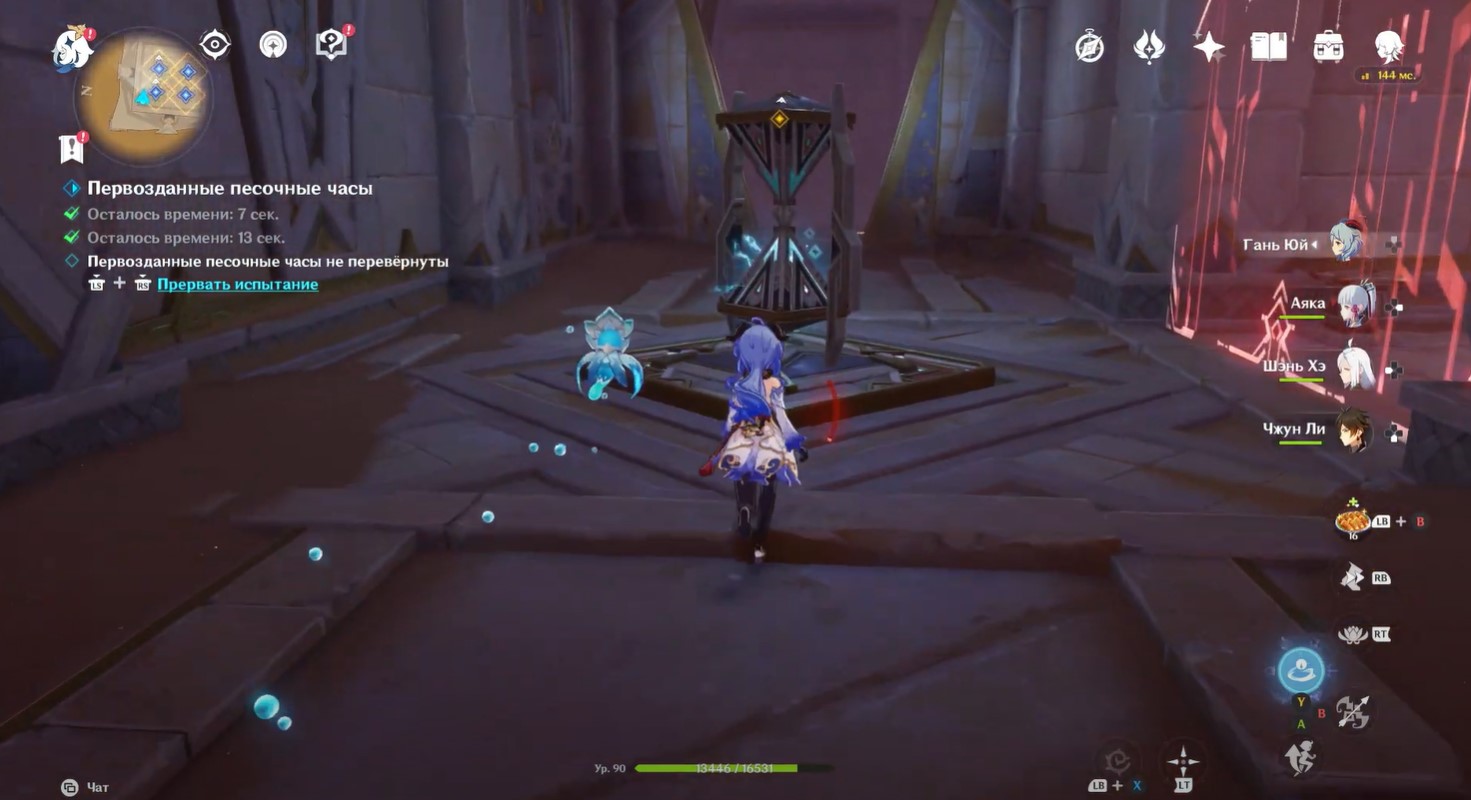
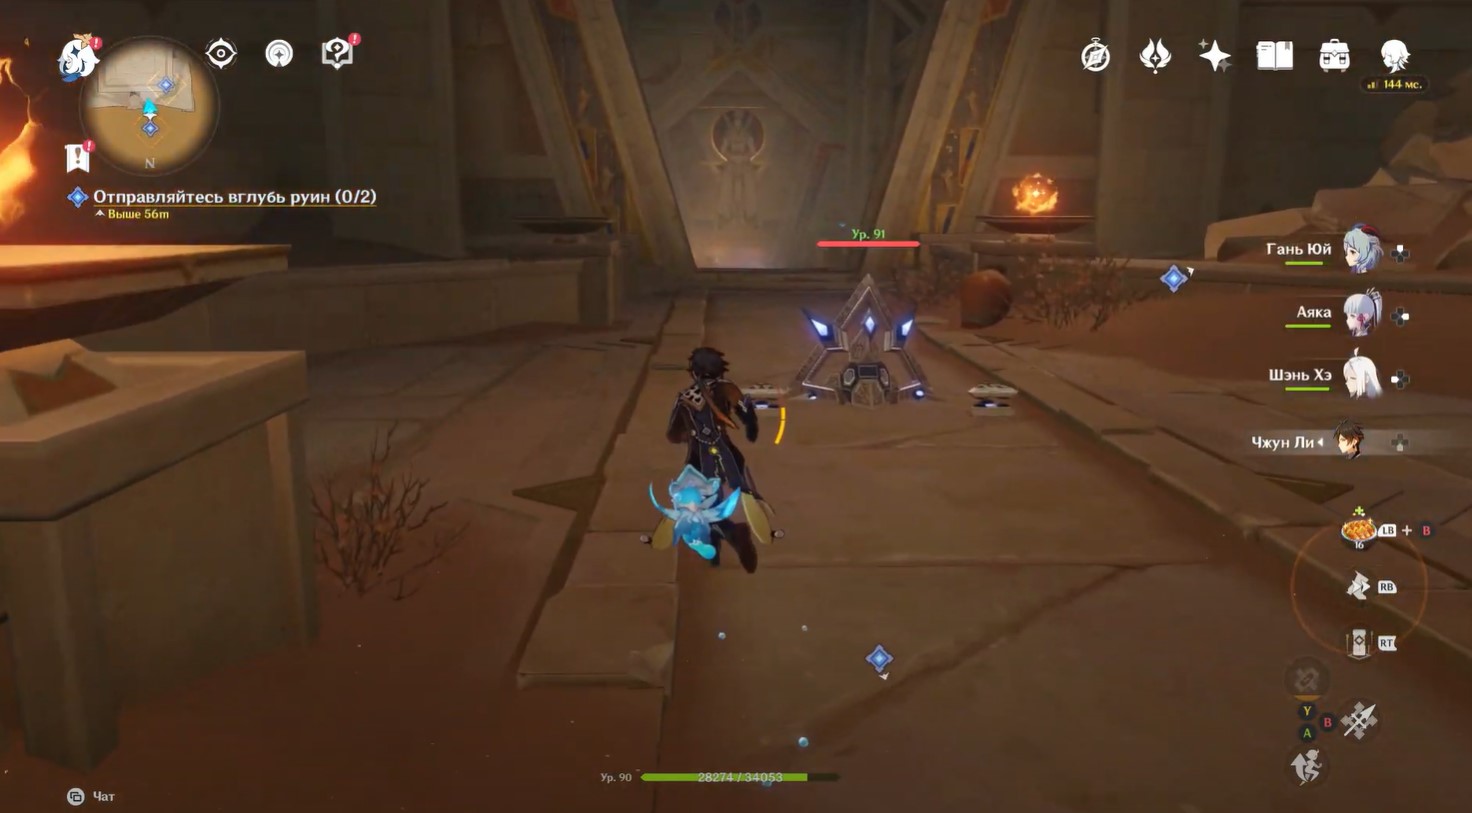
Get out of the hole and keep running forward. You will find yourself in a spacious room with another platform - stand on it to make the hourglass appear. Activate them, and then find two more hours in half a minute. To do this, turn around and run into the passage shown in the image below. As you enter the corridor, turn left almost immediately and you will see a new hourglass ahead.
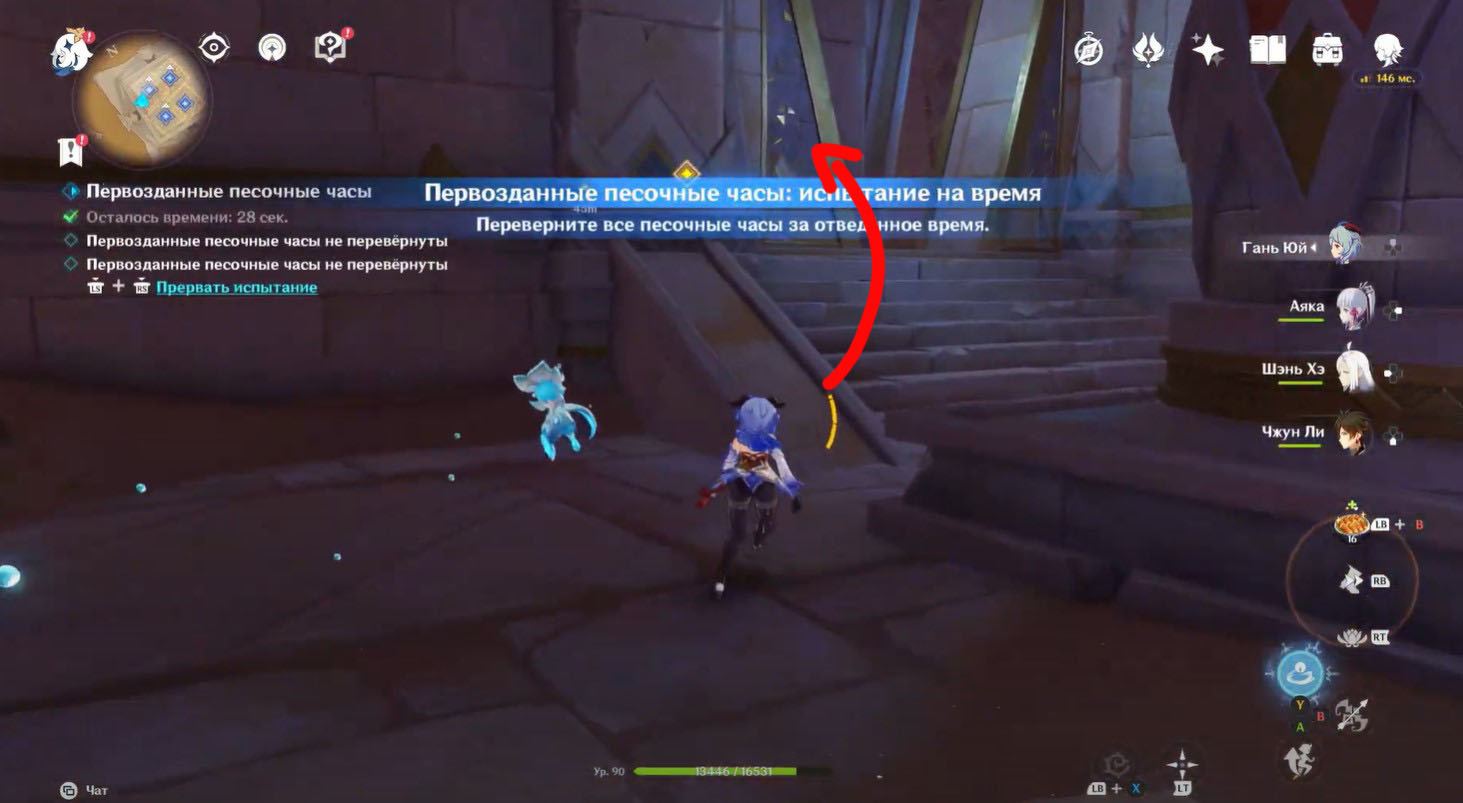


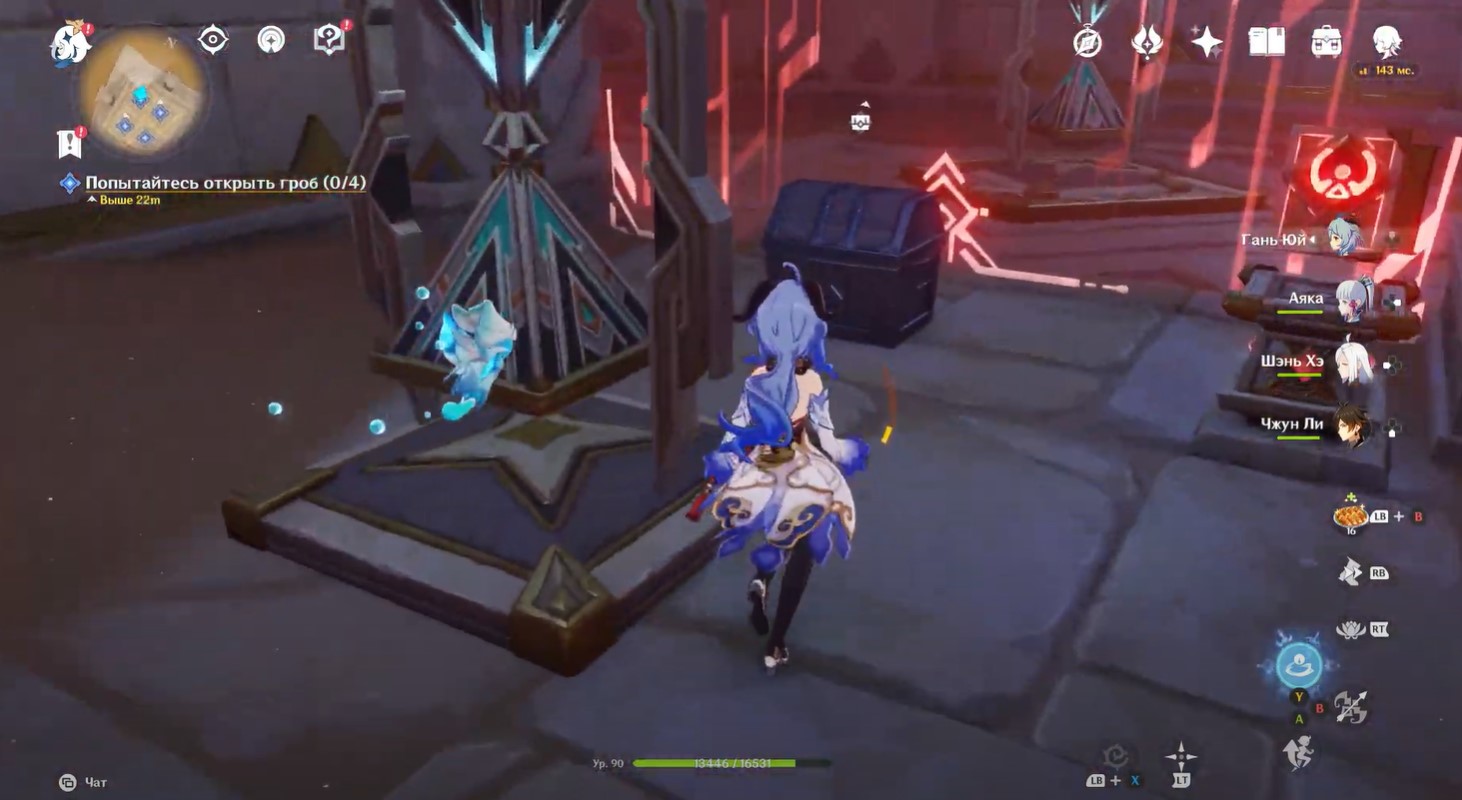
Now run back, going down the corridor and jumping over the hole to the clock, which was previously inactive. Now you can rotate them. The test will be completed. Behind the red barrier you will see a rich chest, so return to the third clock to collect the treasure.
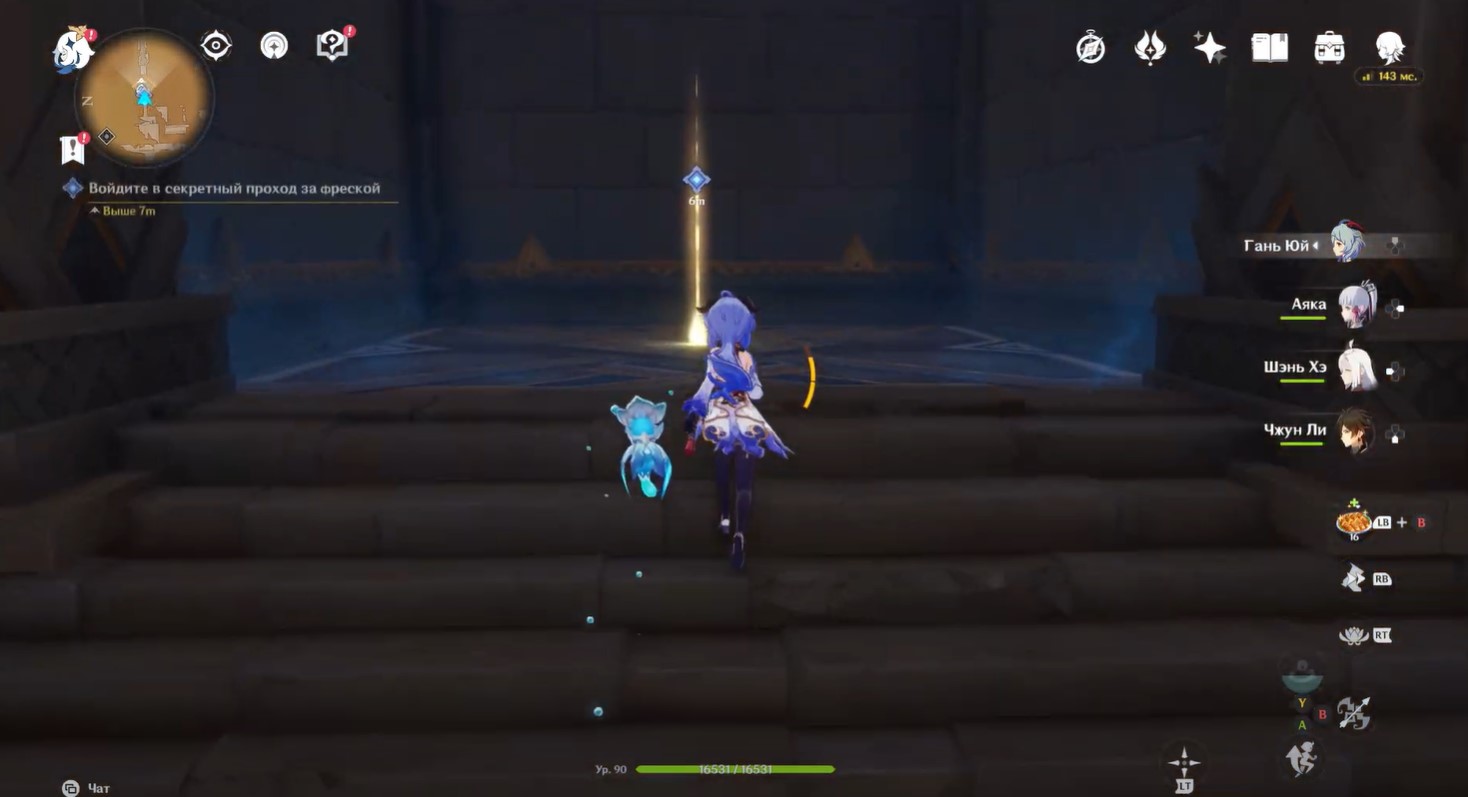
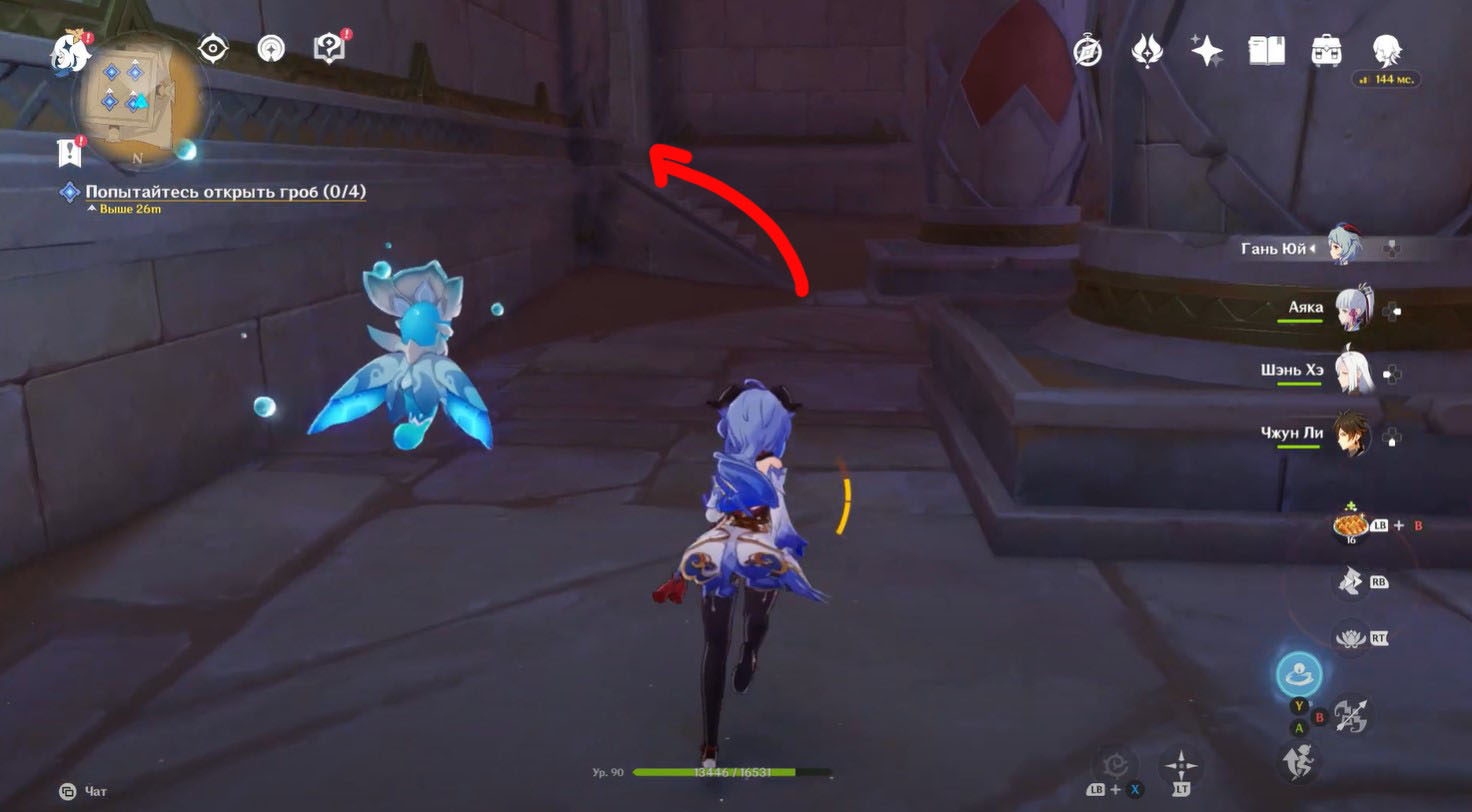
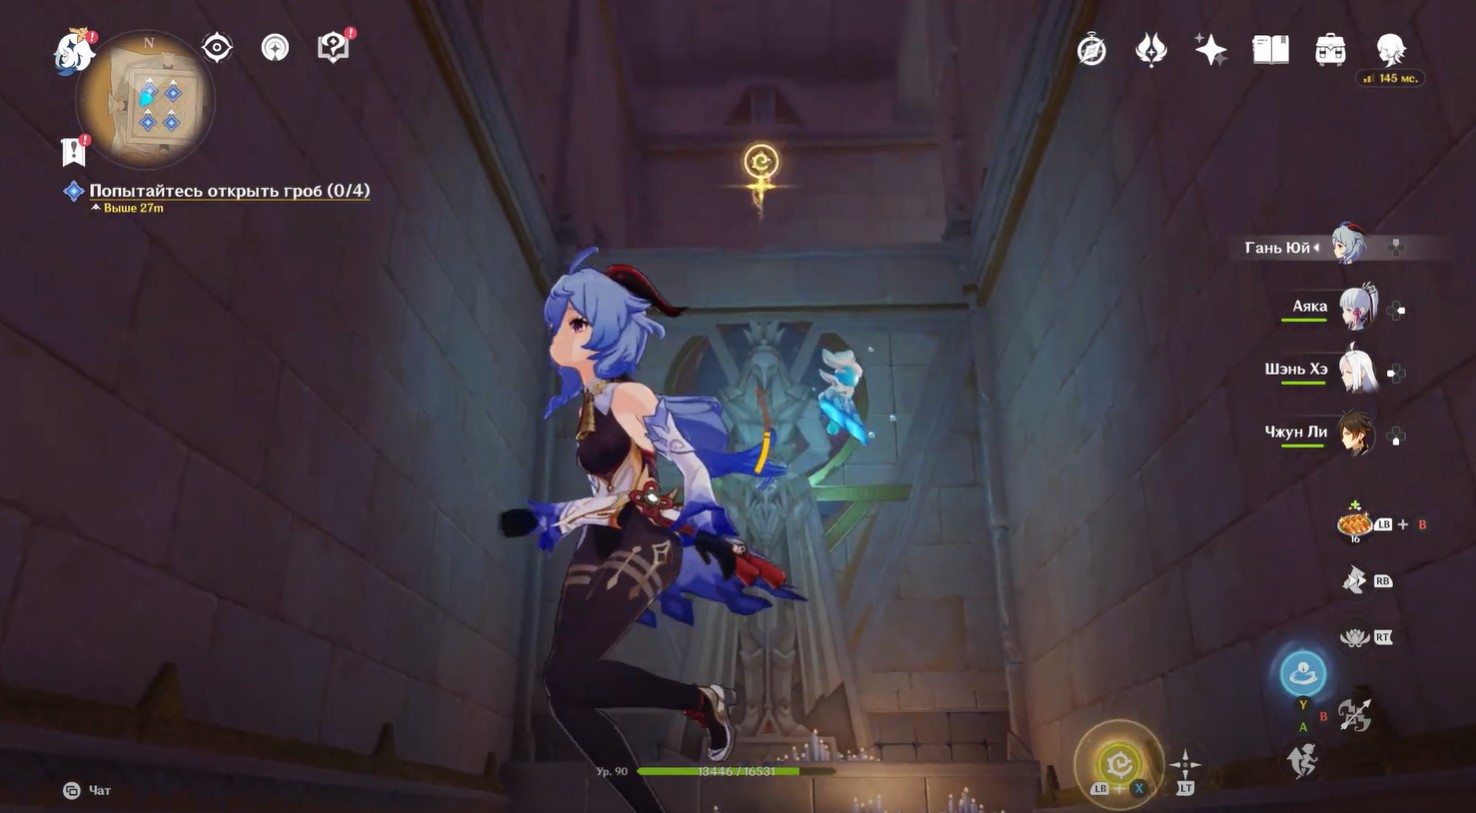
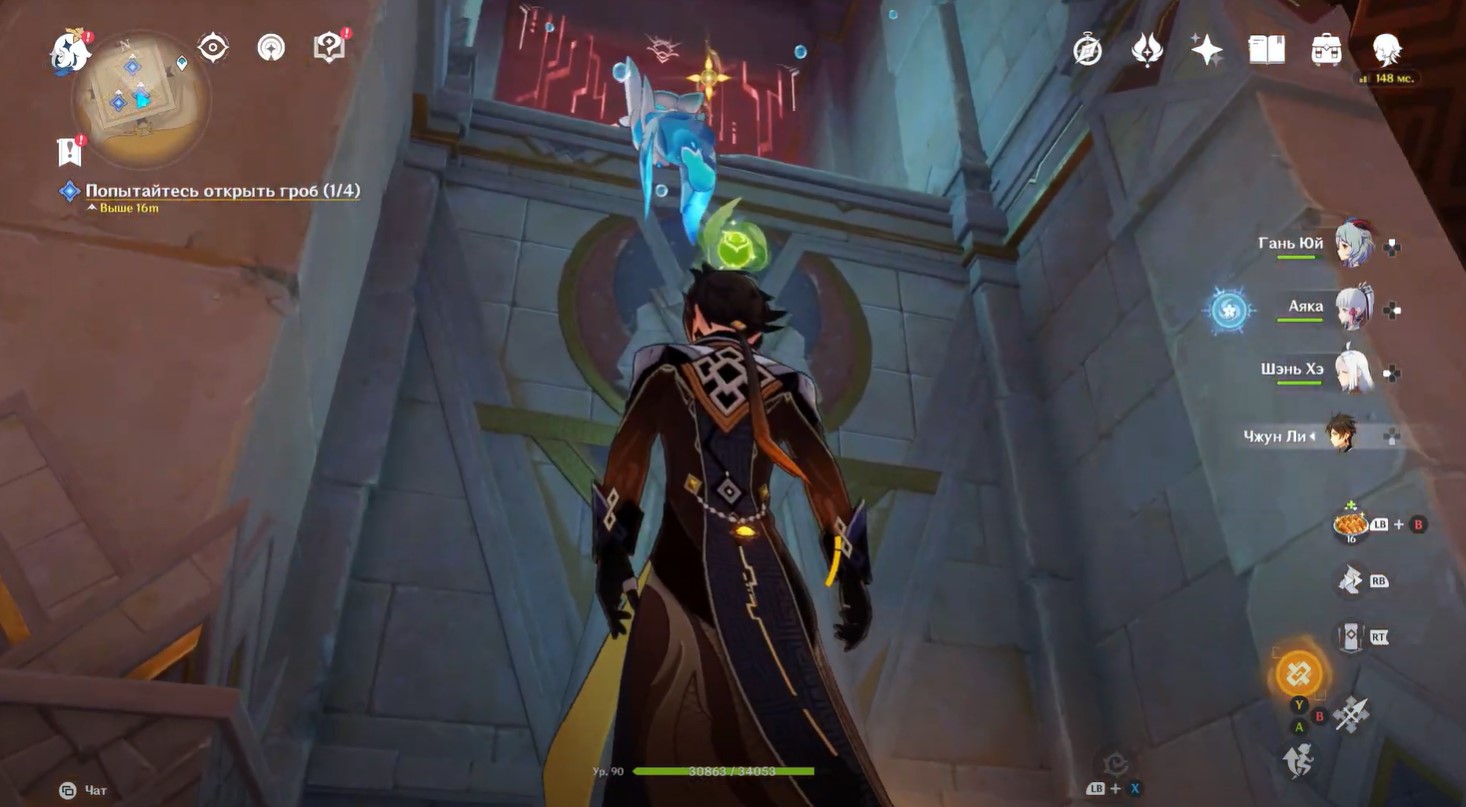
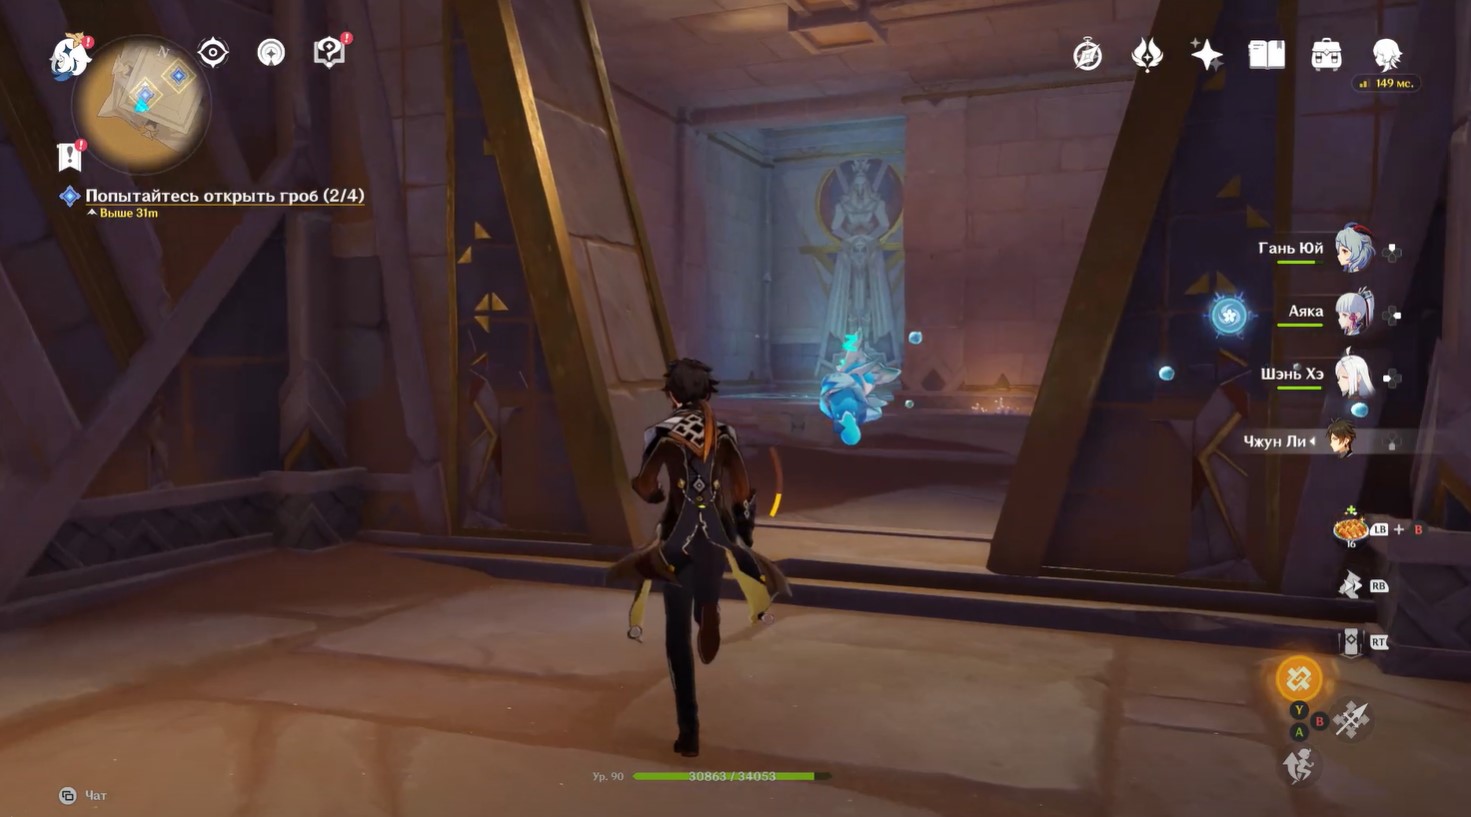
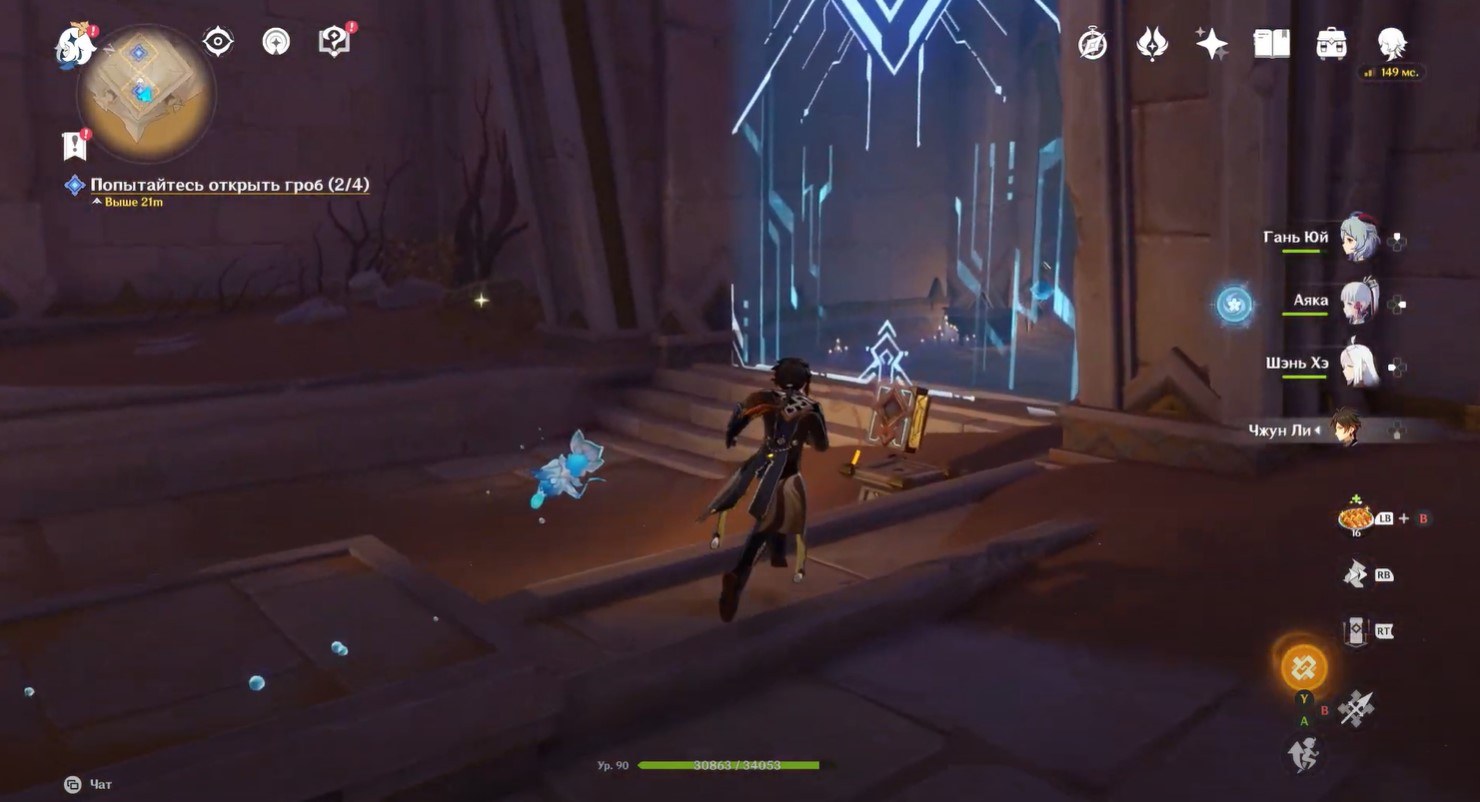
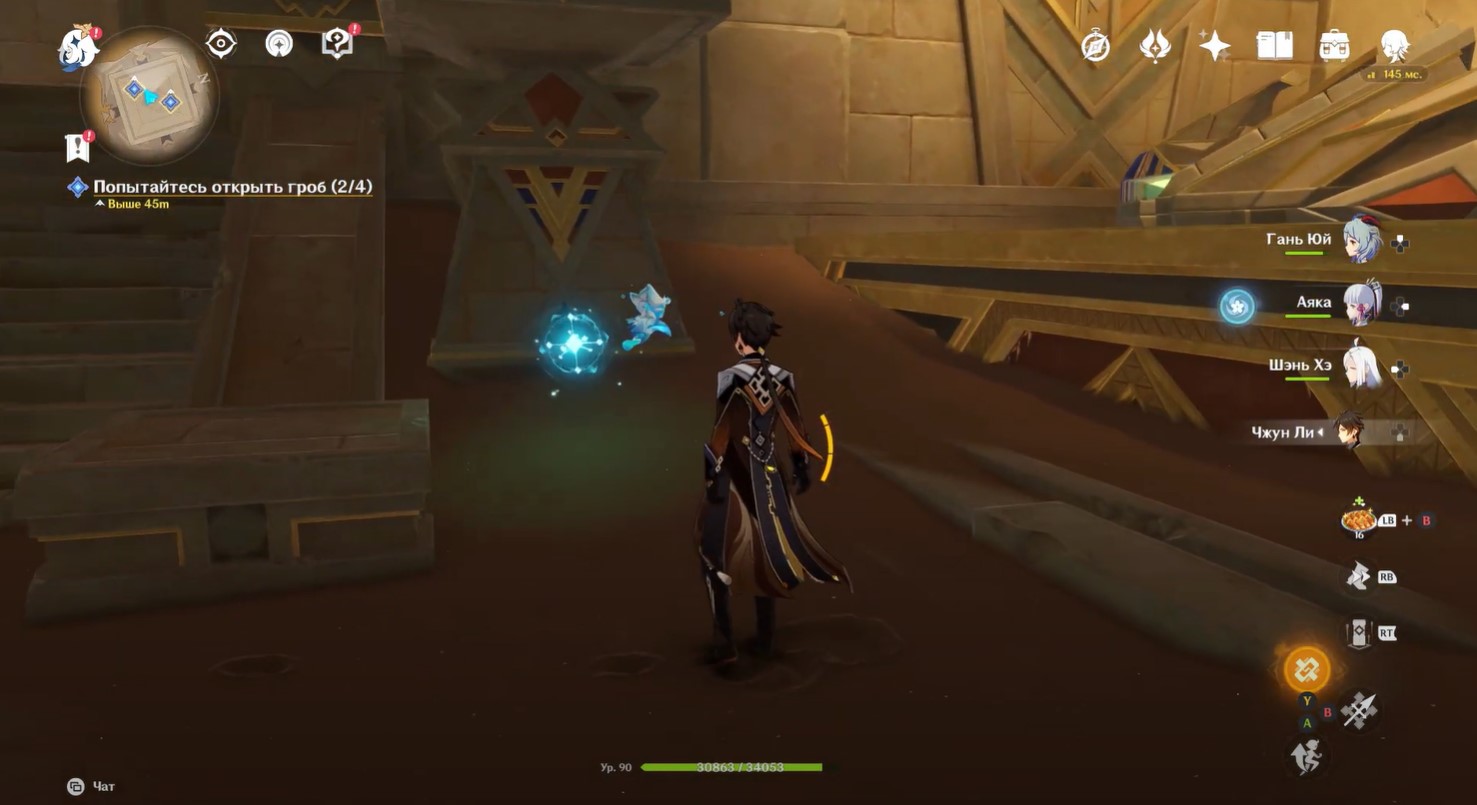
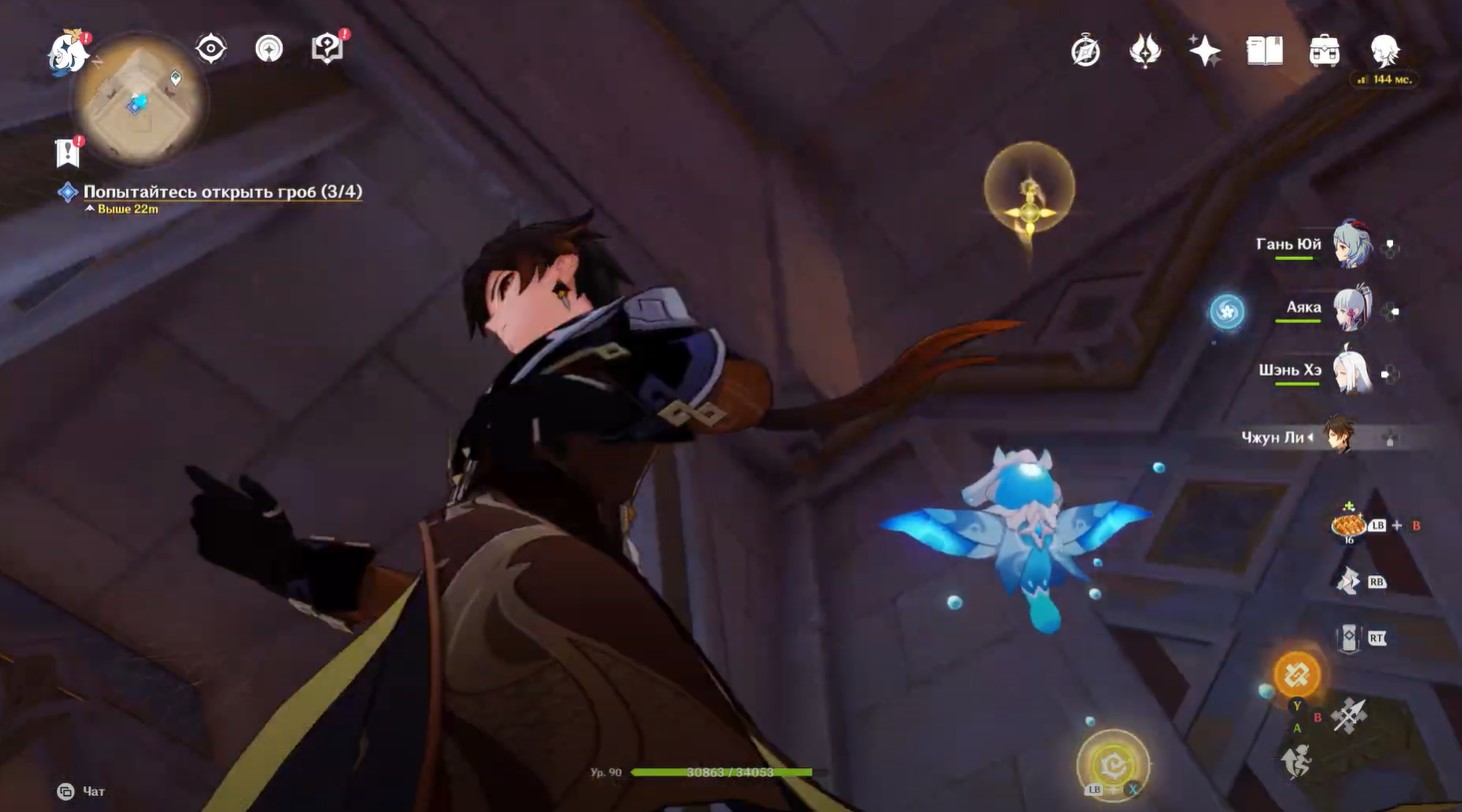
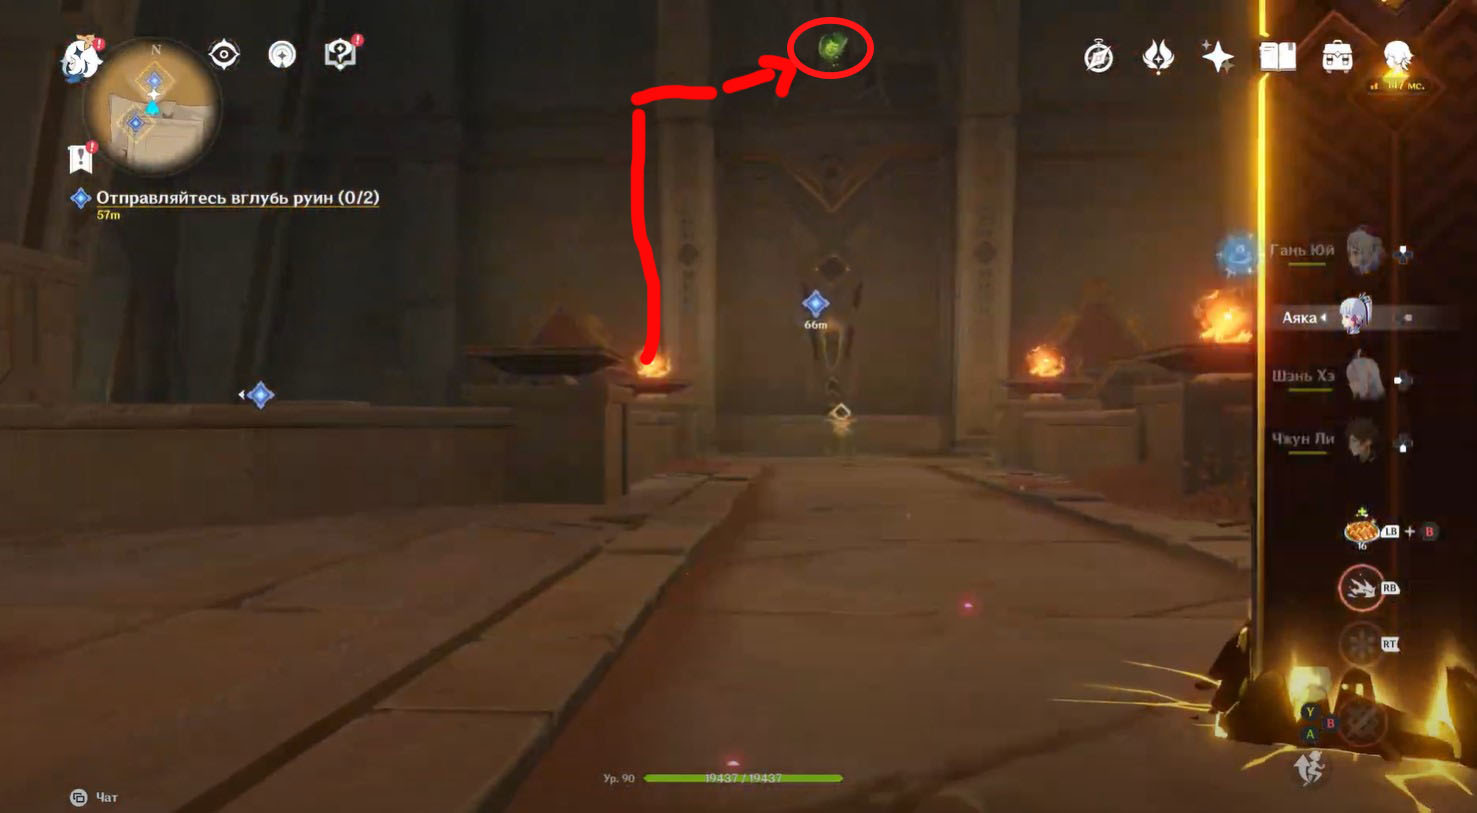
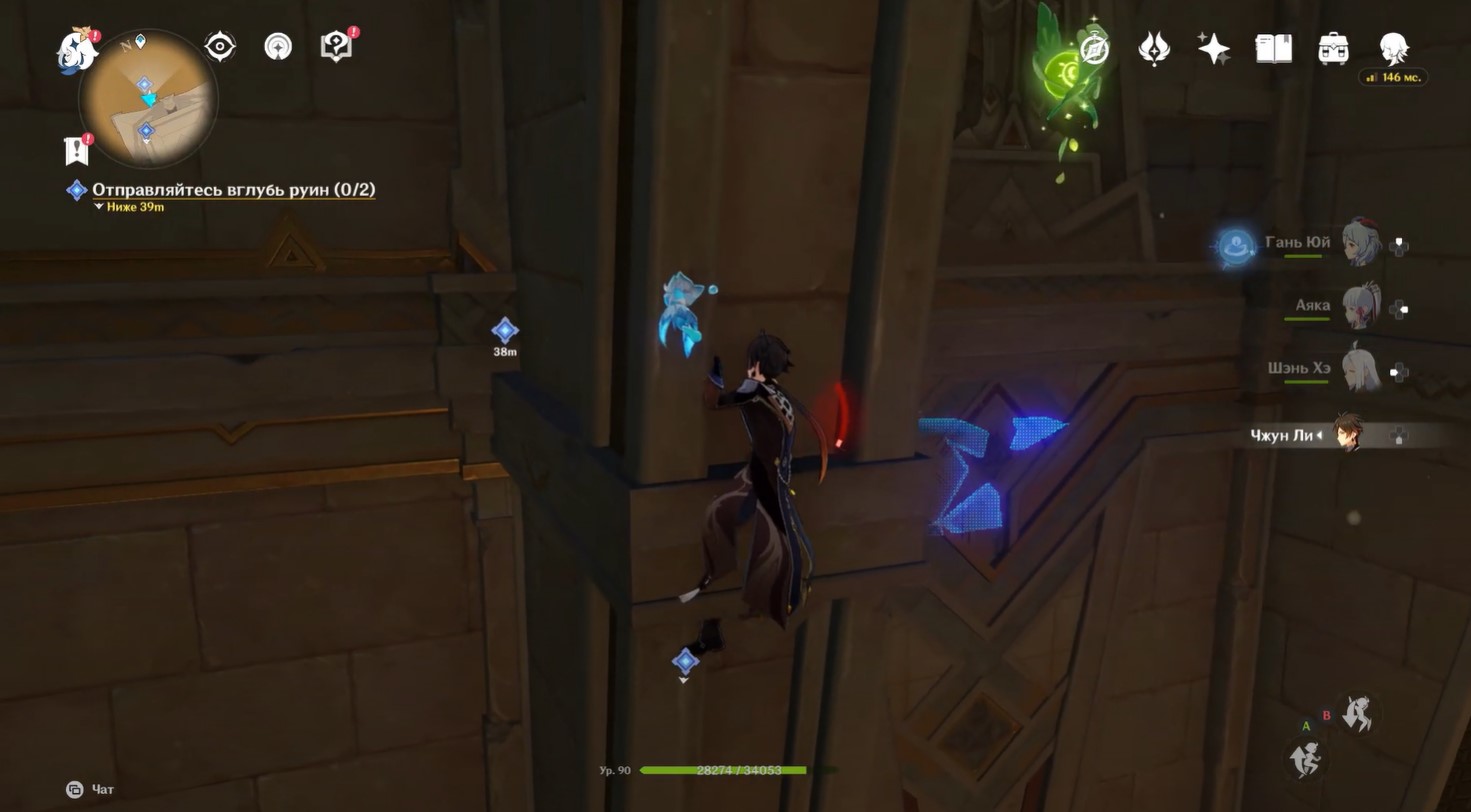
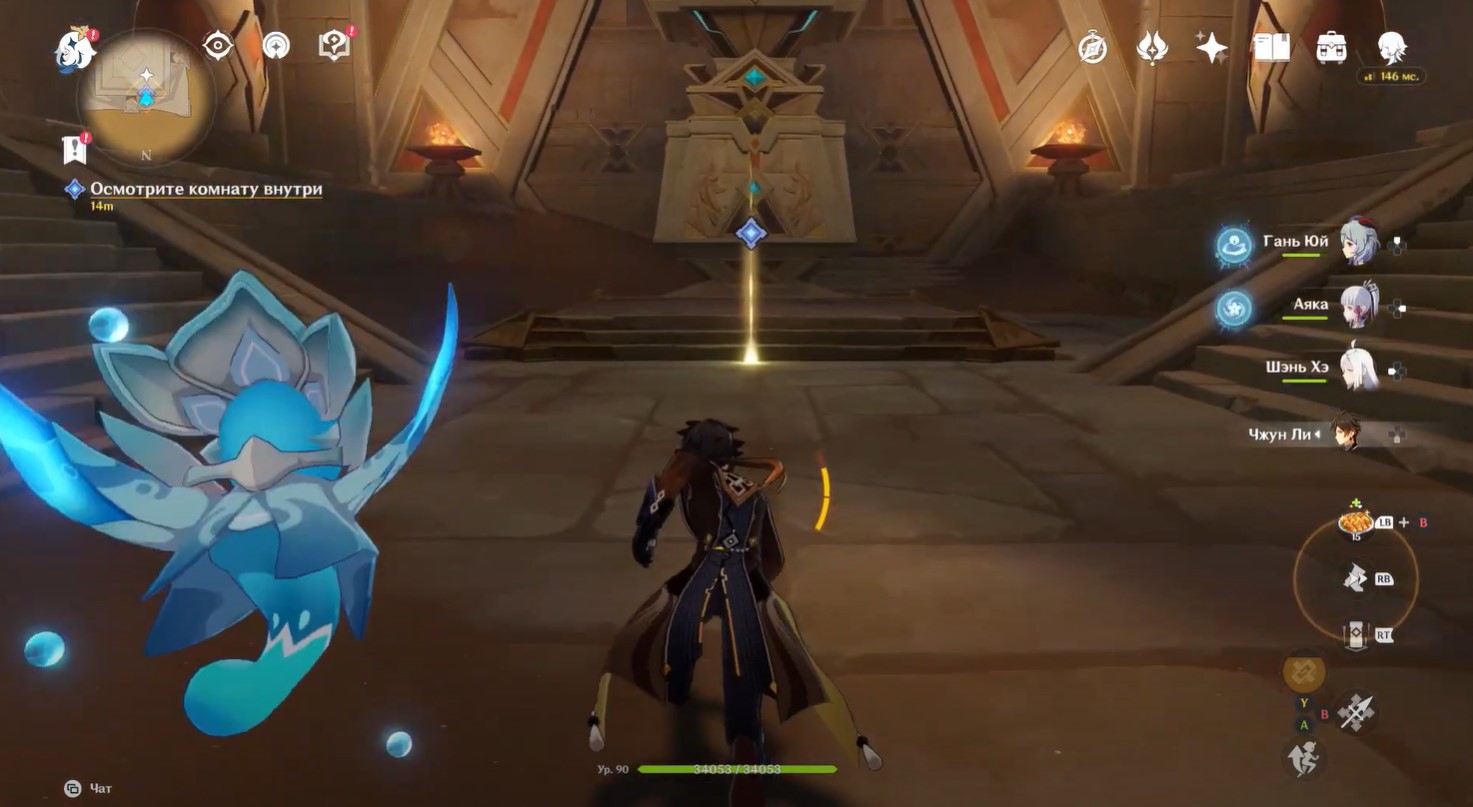
Go to the central room with the fairy (approach her so that she starts flying in the right direction) and the platform and turn into the passage shown in the picture below. Above the fresco you will see a four-leafed symbol, with which you will be able to get upstairs With You the spirit.

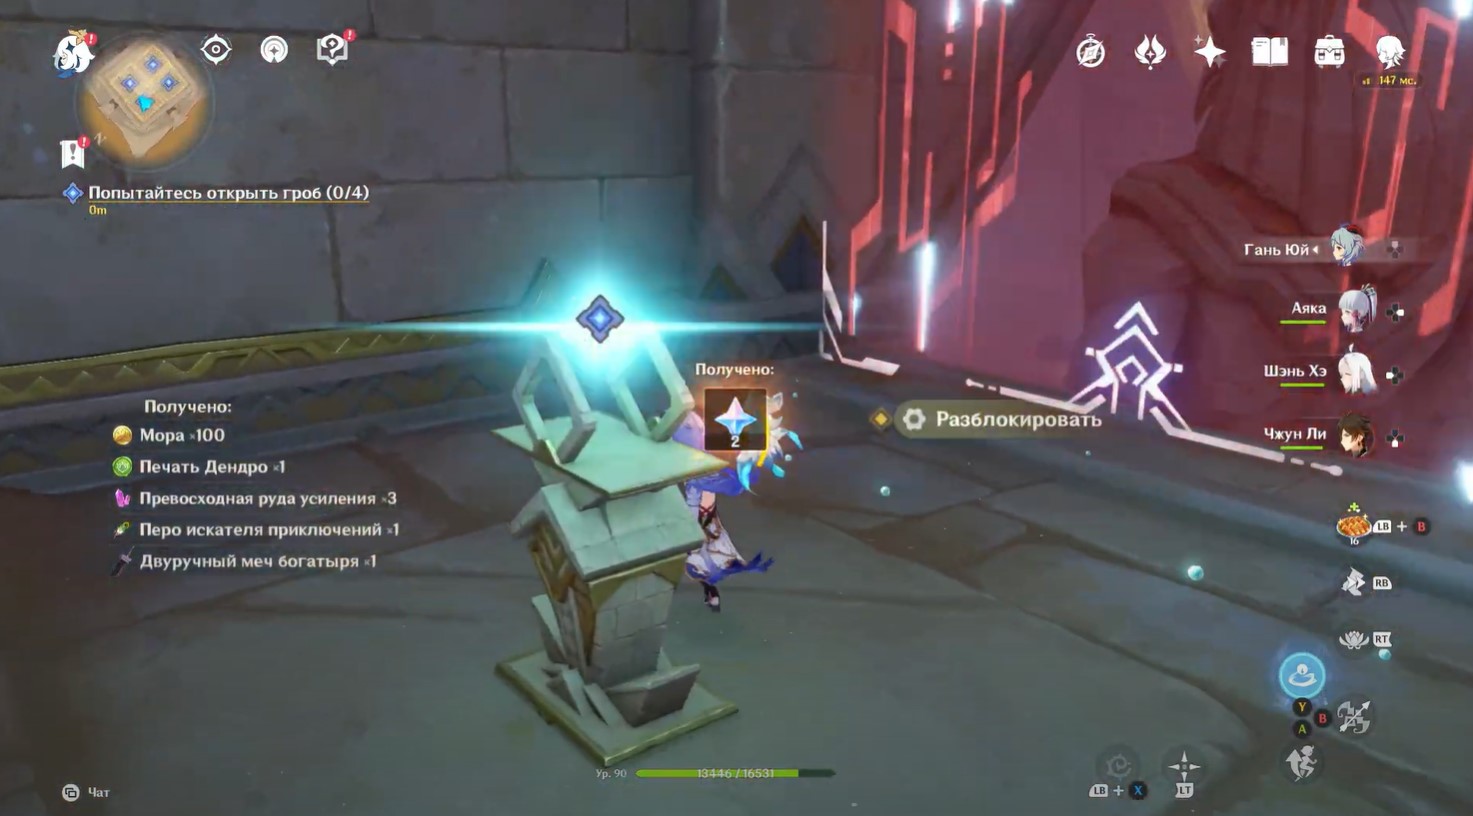
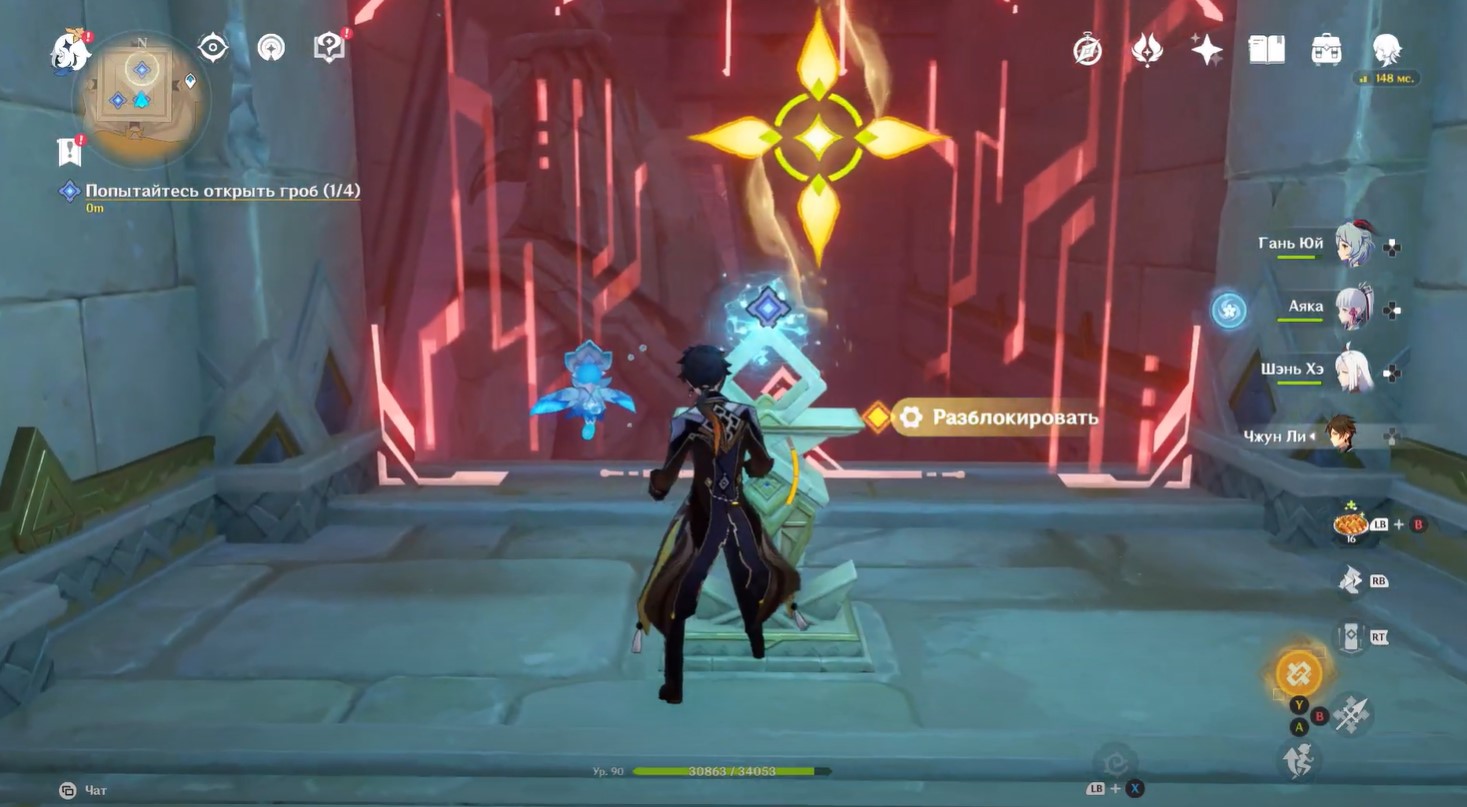
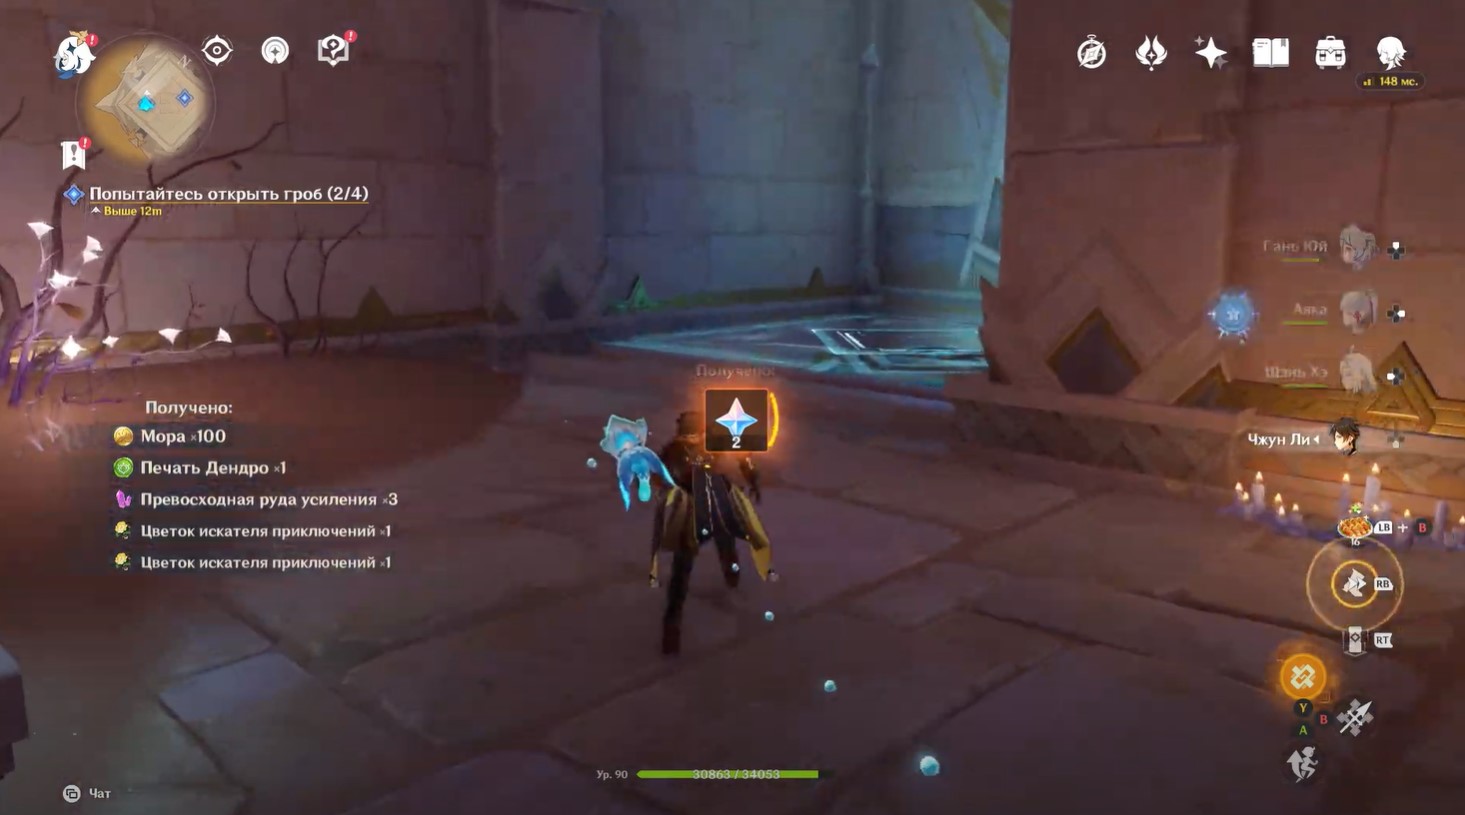
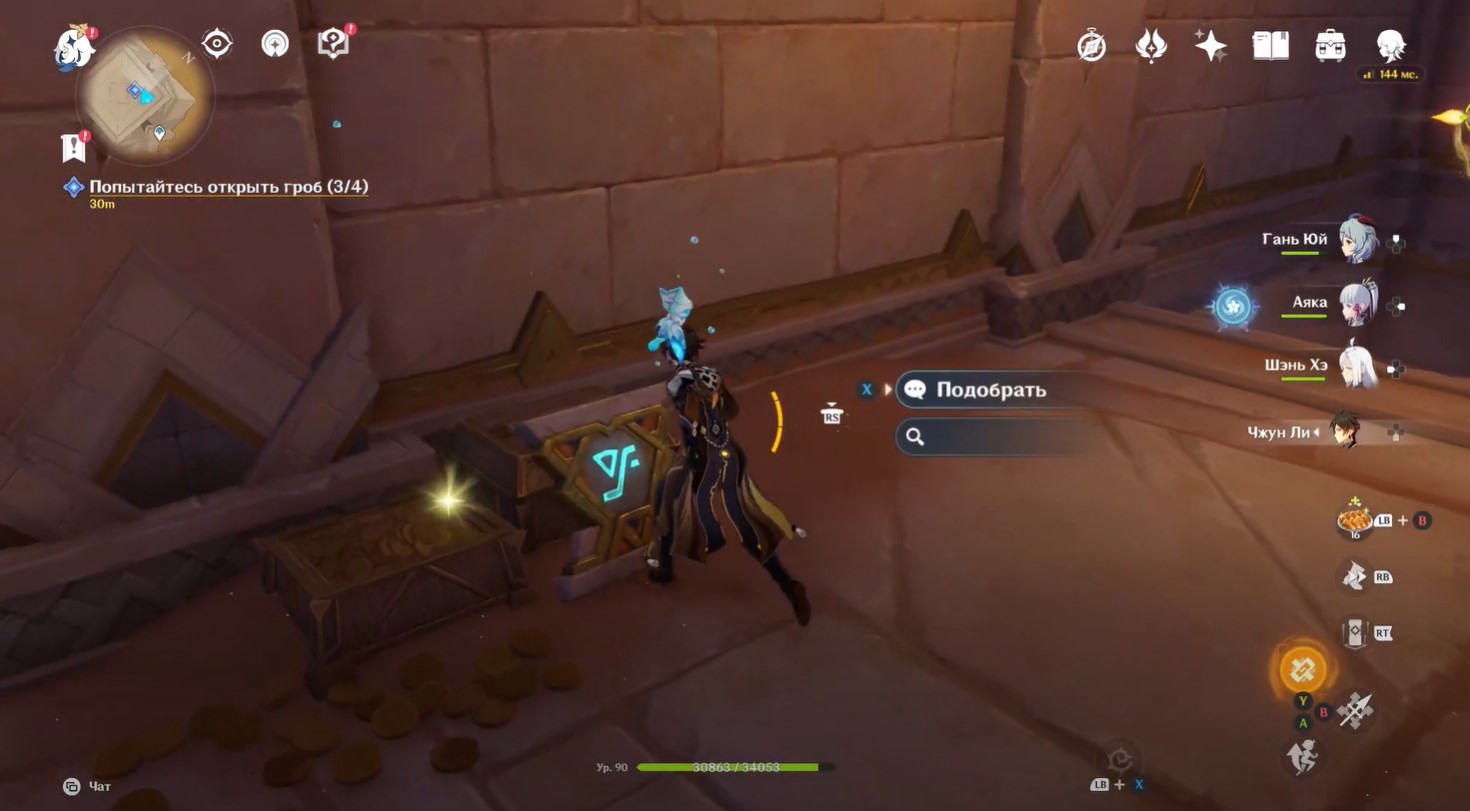
Bringing the fairy to the pedestal, you will receive an ordinary chest. Next, unlock the primordial spark. Follow her to the first primordial torch to activate it.
Second Primordial Spark
Stand facing the coffin and go through the left passage shown in the picture below. Move forward, go past the beam and turn left, hitting a spacious area with a pristine structure. Approach it and destroy it to unlock a regular chest.


Then go to the drawing on the wall and use the four leaf symbol to climb up. Grab along the way Dendroculus.
You can now unlock the Primordial Spark. Follow her to the torch to activate it.
Return to the room where you destroyed the robot, deactivate the Hurdle and open the door using the console - this will come in handy in the future.


Third Primordial Spark
Facing the coffin, take the left passage again, shown in the screenshot below. Go past the beam again, but now turn right. Go down the corridor, and then turn right again into the room with the blue barrier.

Remove the barrier by interacting with the mechanism to the right of the force field. Next, open the door so that the beam hits the prism and you get a rich chest. Open the opposite door. In the corridor you will see a sign to start the Achievement: Challenger - you can pass it if you wish (you need to collect 12 Dendro particles in 60 seconds).


Return to the main room and run to the glowing platform near the fresco. Stand on it and wait for the wind flow to appear. After rising to the upper level, unlock the Primordial Spark and accompany it to the pillar in the central hall.
Fourth Primordial Spark
Standing facing the coffin, turn right again, but now instead of going left, turn right and open the door with the mechanism.
Go into the corridor and turn into the first right passage. Use the four leaf symbol to go upstairs. On the way, don't forget to grab Dendroculus. At the top you will find a primordial spark, but do not rush to unlock it just yet, as you can find a couple of useful things in this location.
Go down the corridor again, go forward a little and turn into the second right passage right next to the fire turret. After walking about 5-7 meters, turn the camera up and to the left to see the four-leaf symbol - go upstairs and pick up Sacred Seal: Sheep Head.

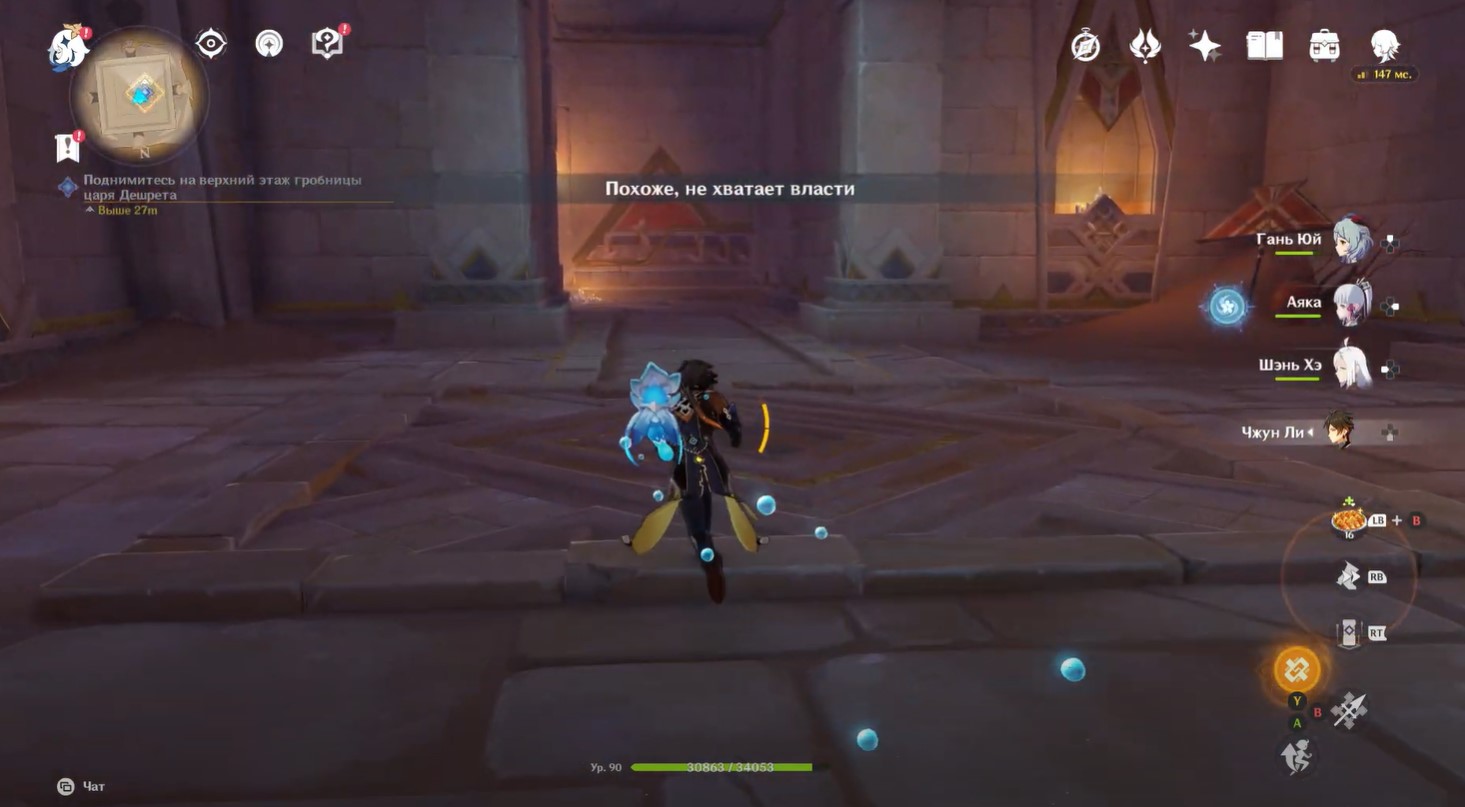
Now you can return to the original spark and bring it to the last torch. Next, watch the cut-scene with the opening of the coffin and use the elevator to get to the upper level. Once up, turn right and climb the steps to the very top. Watch another video.
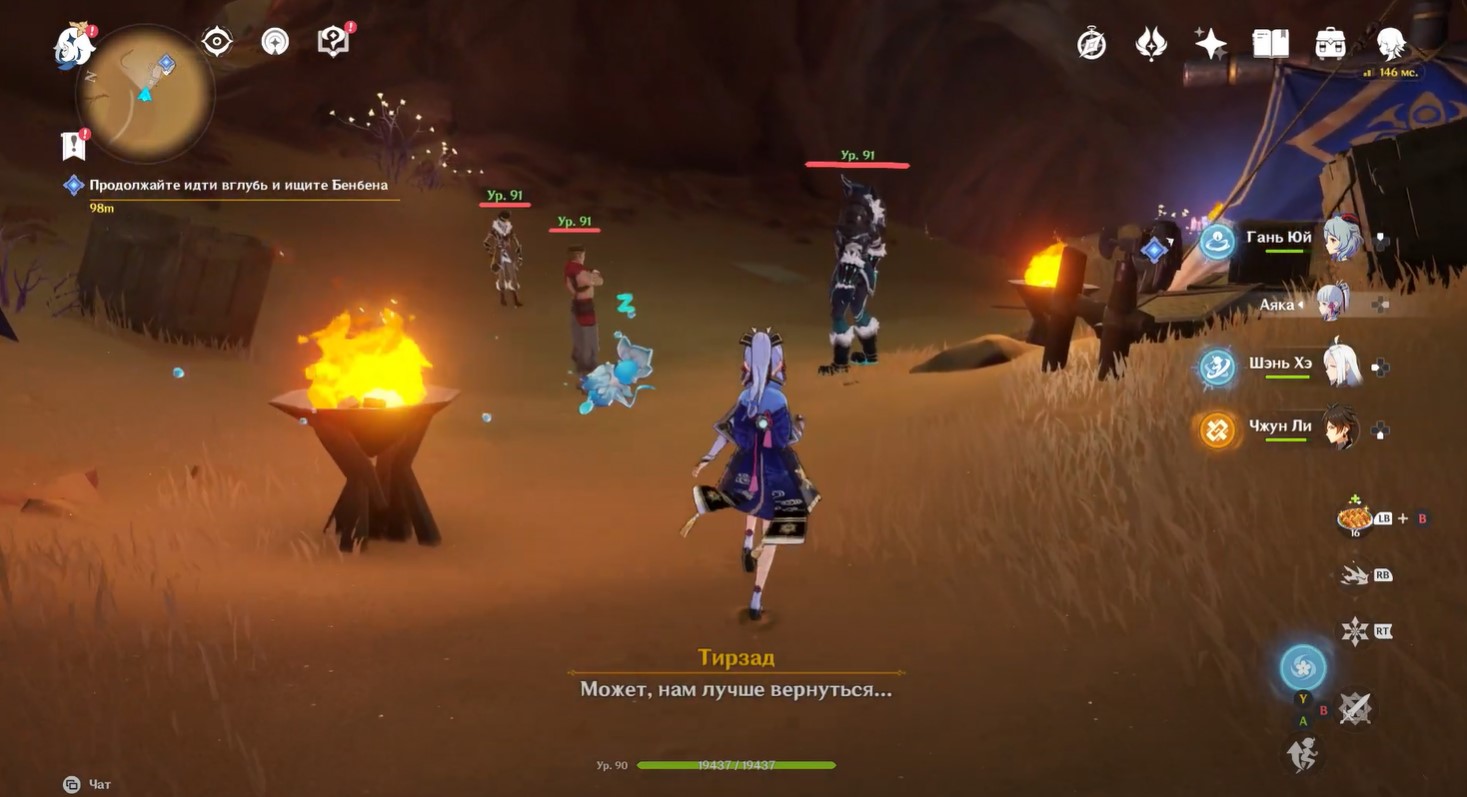
Locate the Archaeological Squad and defeat the Fatui
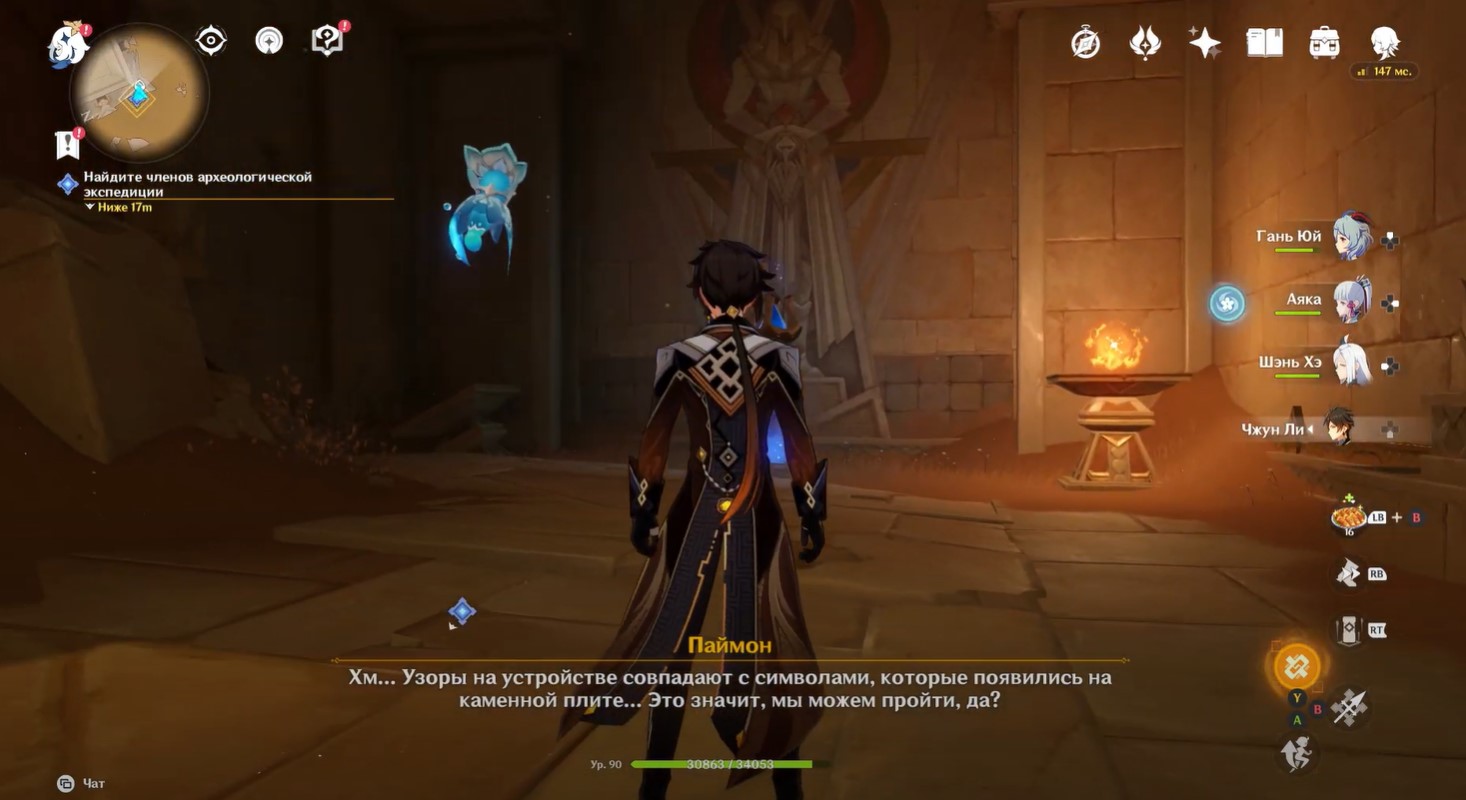
Waking up (you will receive a trophy "Create, Swap, Store, and Use" ), activate the teleport if you still have it not enabled, and then open the door and go into the spacious cave. Downstairs, deal with the two skirmishers of Fatui. Then talk to the scientist and hermits.
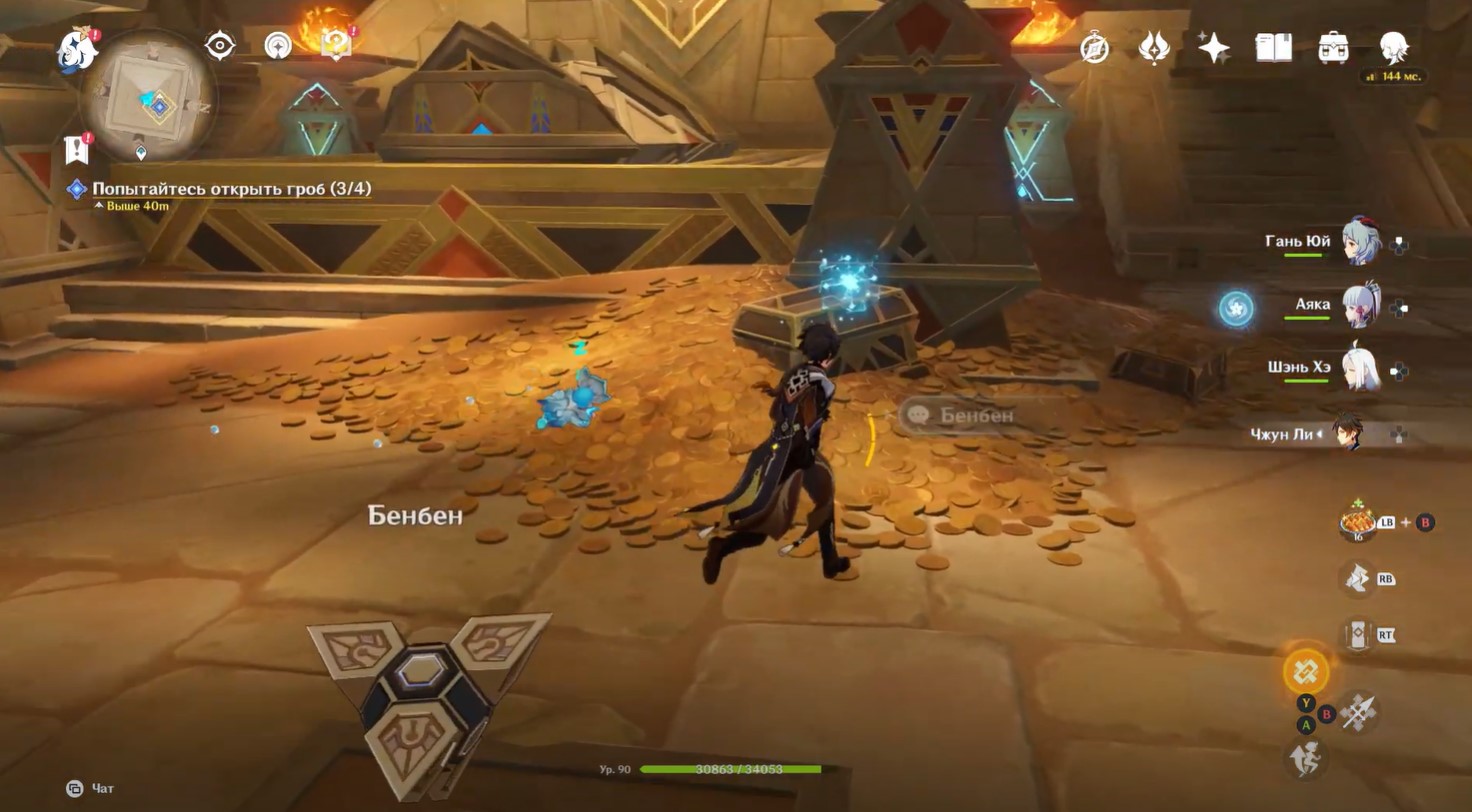
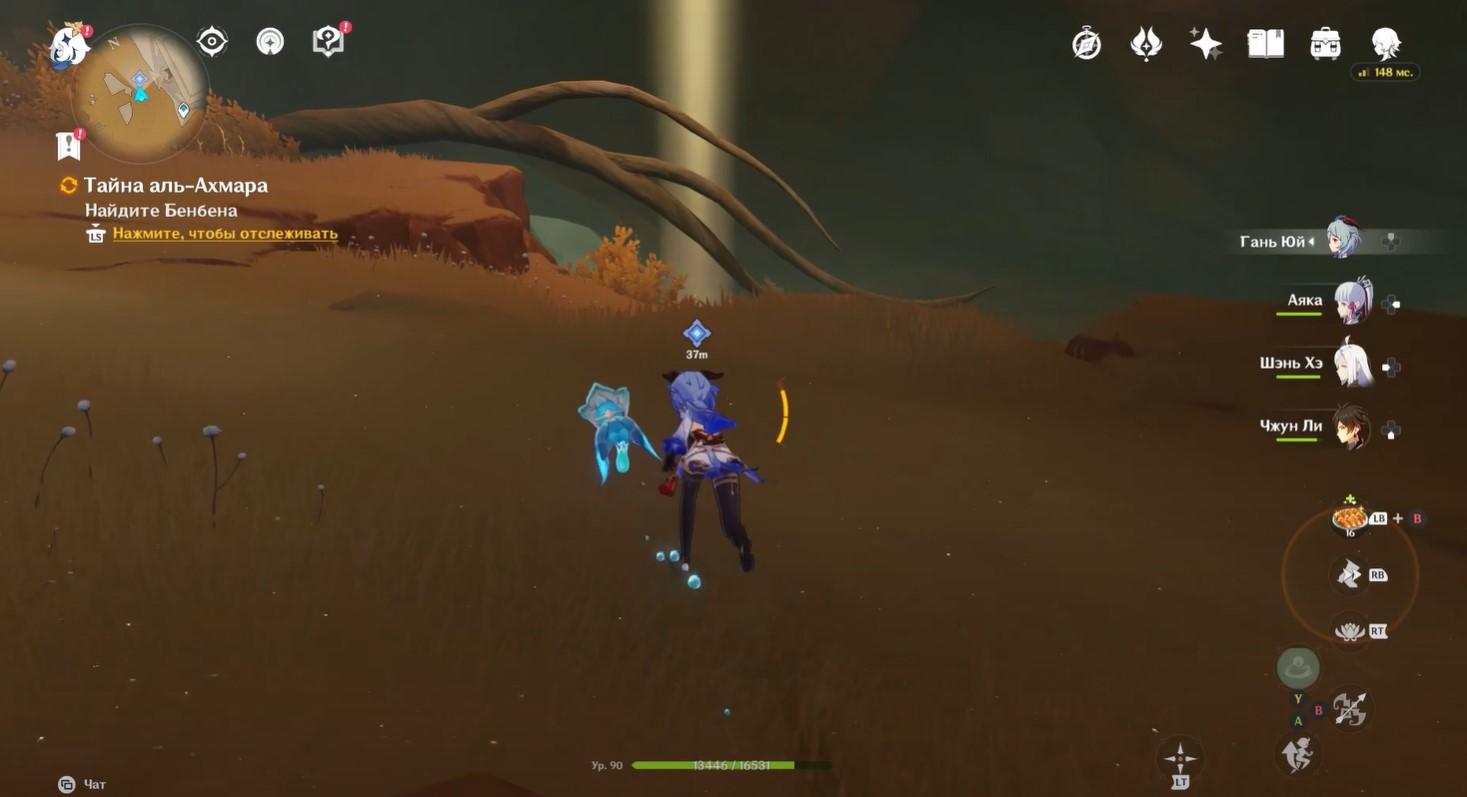
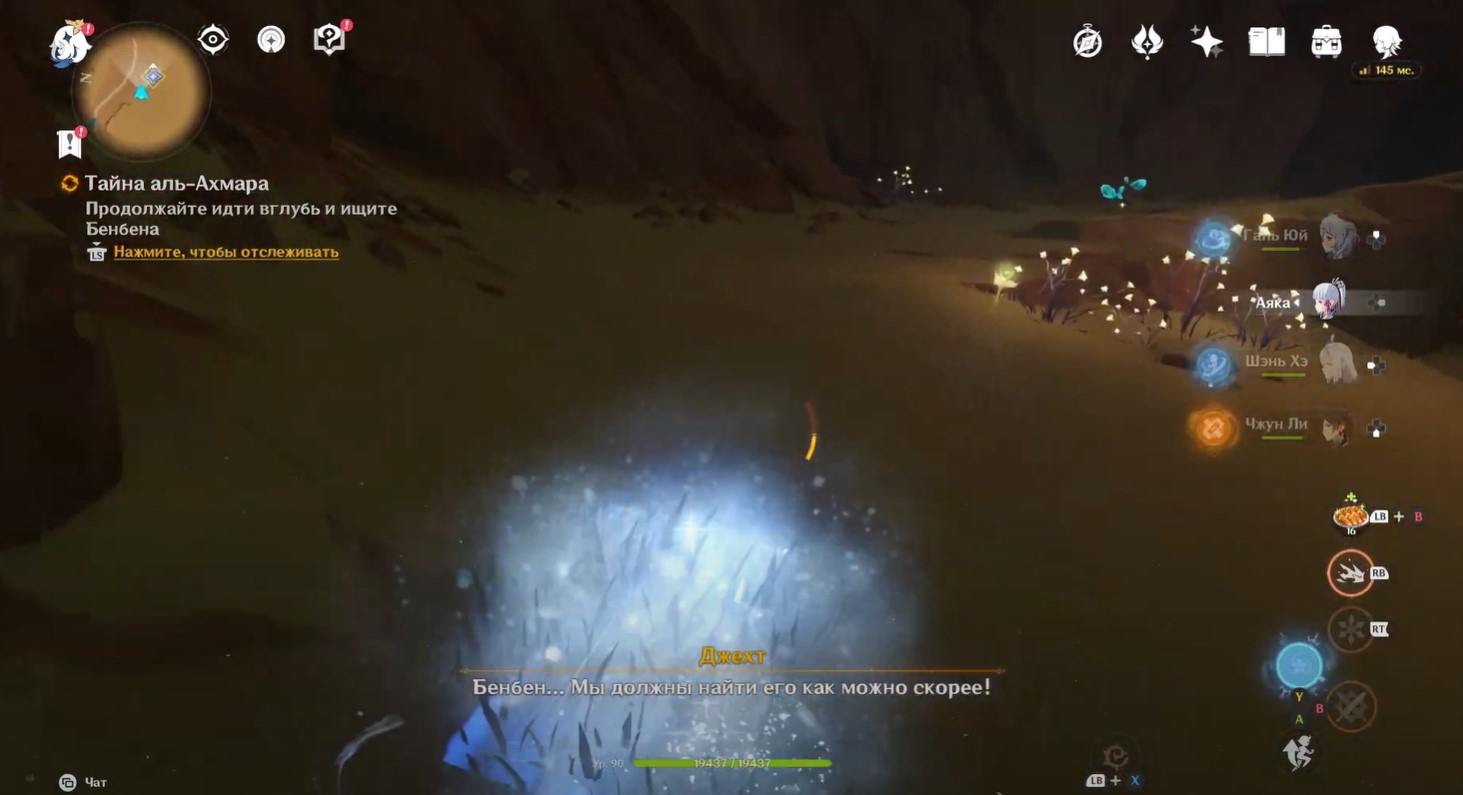
How to find Benben
From your current location, run north towards the withered root. Go down a little and go into the tunnel. When you reach the fork, turn left and go down the stairs. Deal with the molds in the room to unlock the chest. Then open the door with the console.

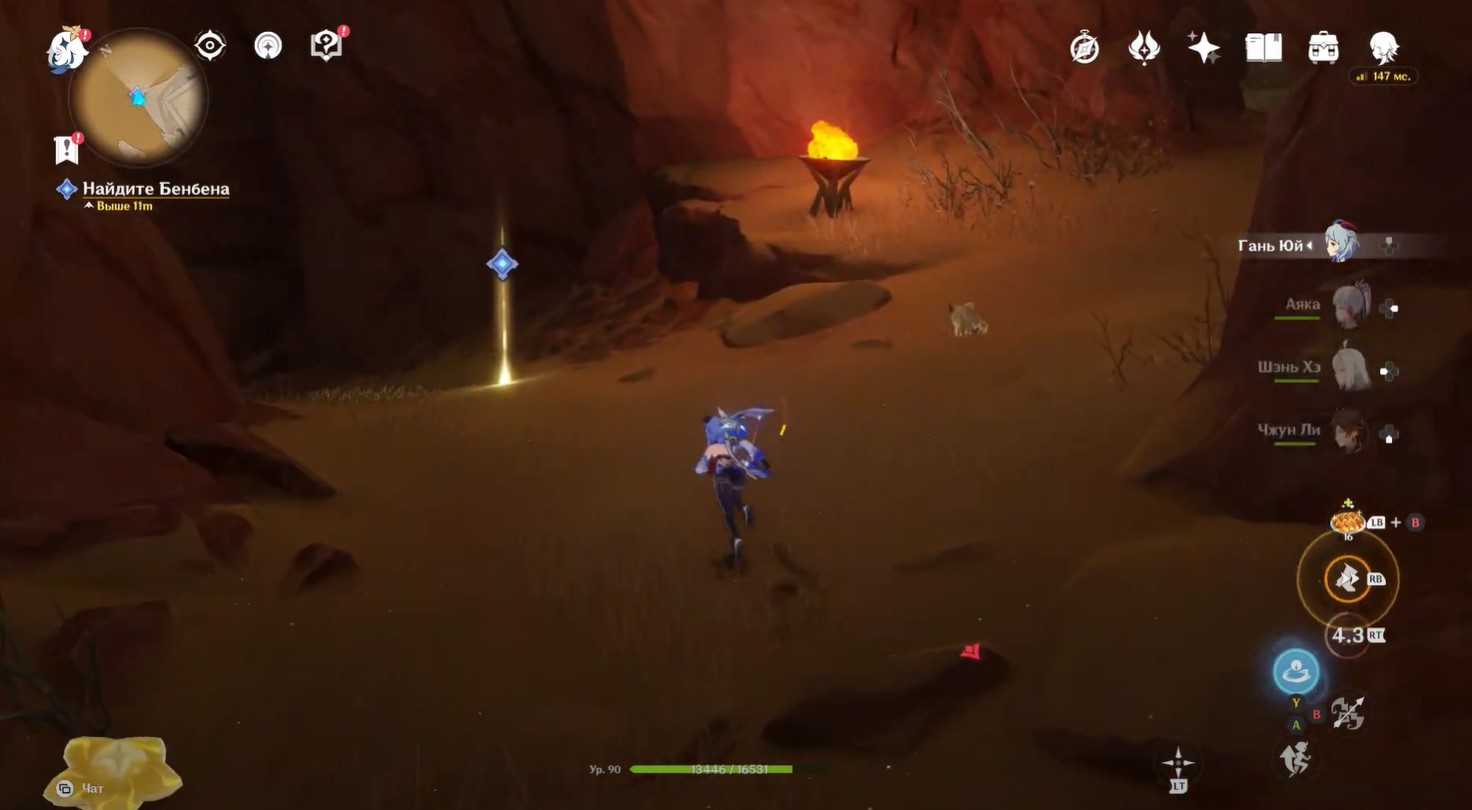
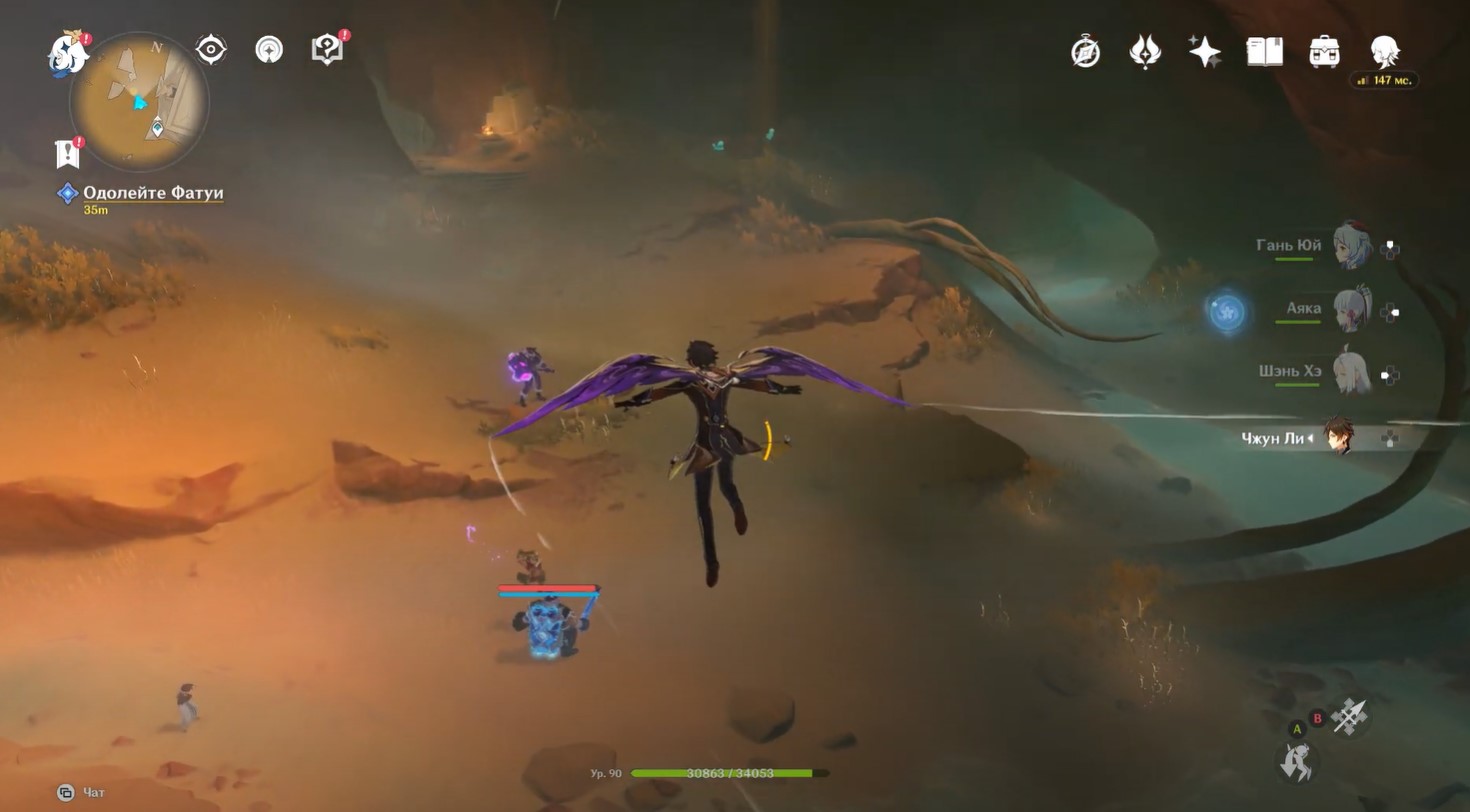
Behind the door you will encounter one Fatui - deal with him and continue to follow the marker. On the way you can pick up Dendroculus hanging over a huge statue (use a quatrefoil). Climb up the path and use the four-leaf symbols to fly over the abyss.

Move through the tunnel and get to the fatui camp. Here you will also have to fight with the hermits. After dealing with them, do not forget to inspect the rich chest on the right side. Keep following the pointer and watch the new cutscene.
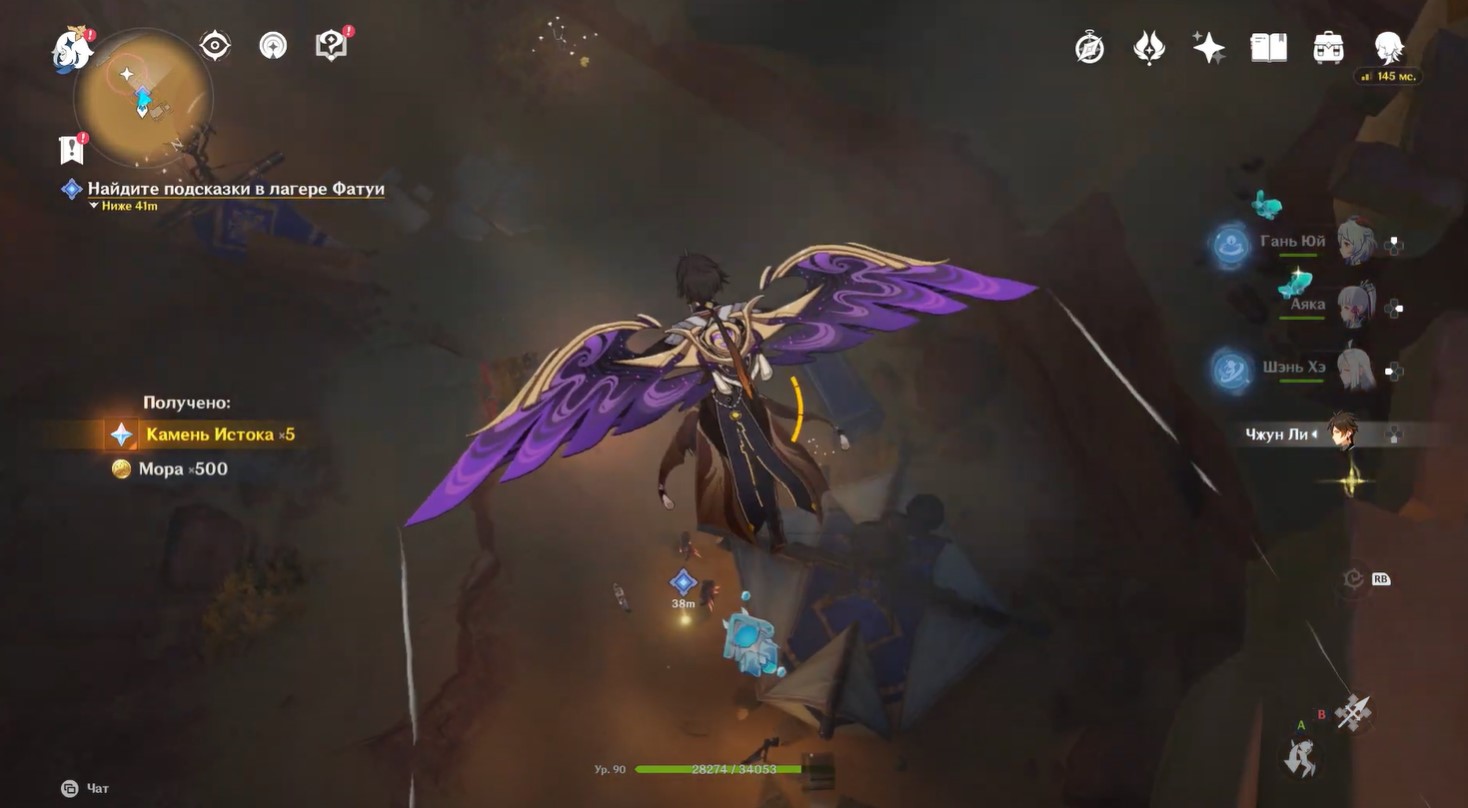
Find clues and defeat Samiel
After watching the cut-scene, do not forget to activate the teleportation point. If you did not activate the teleport and left the location at the same time, then you can simply move to the entrance to the tomb and go through the entire previous route again. Fortunately, you don't have to solve the riddles again.

Jump off the broken bridge to Fatui Camp and watch the new cutscene. Next, you will need to deal with Samiel (differs from ordinary enemies only in increased health and attack power) and fighters from Snezhnaya. If your characters are well pumped, then this fight will not cause you problems. You can use Freeze (Hydro + Cryo) to permanently immobilize enemies.

After dealing with the opponents, watch another cut-scene, which will show how the heroes free Benben. You will also learn about Jabrail's past. Keep exploring the ruins.
Where to find Primal Embers
Run forward to the marker, picking up another one along the way. Dendroculus, which hangs above the column. Approach the door and open it with the console. Enter and immediately turn right. In the hallway you will find Sacred Seal: Valley. Now you can go back and up the stairs.

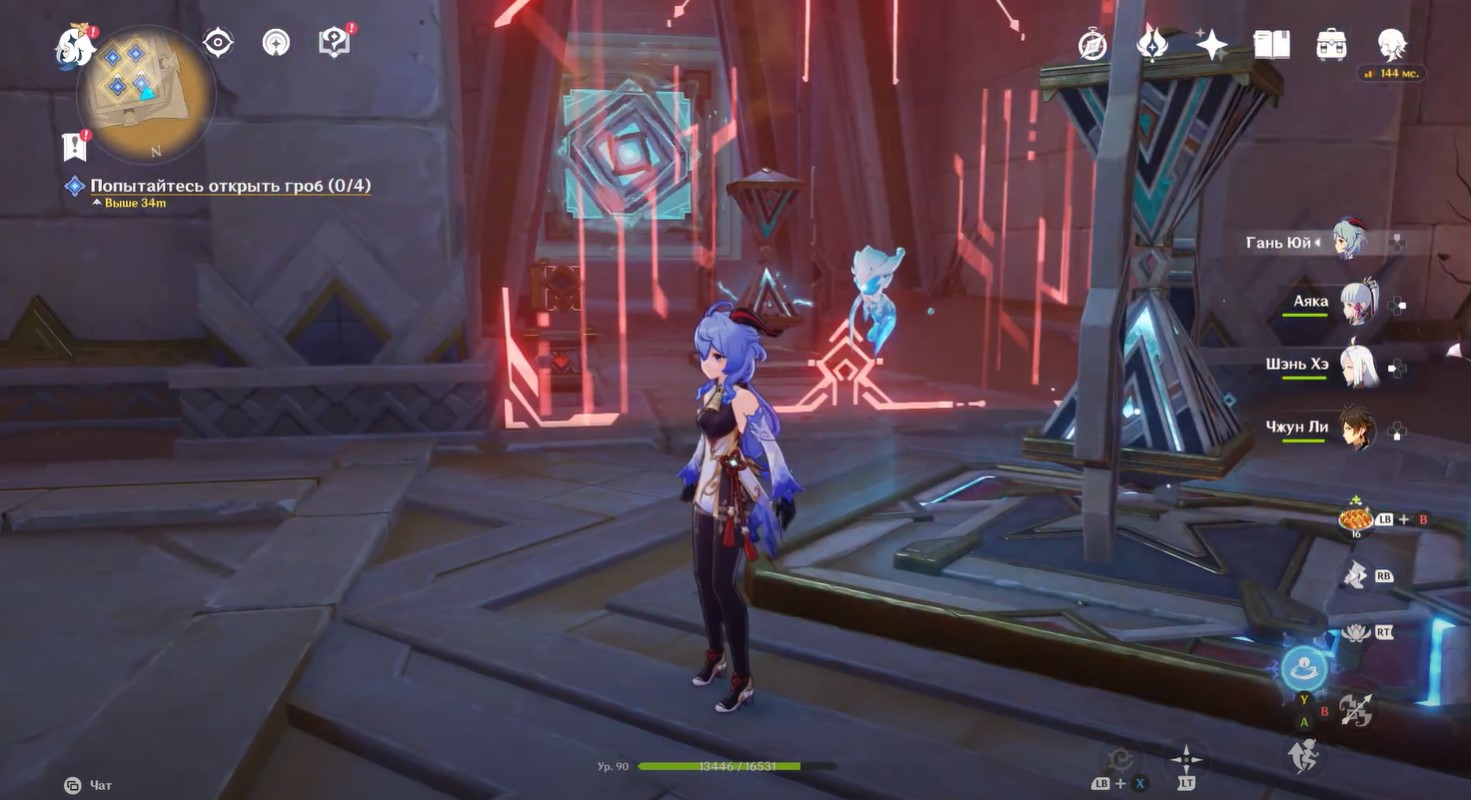
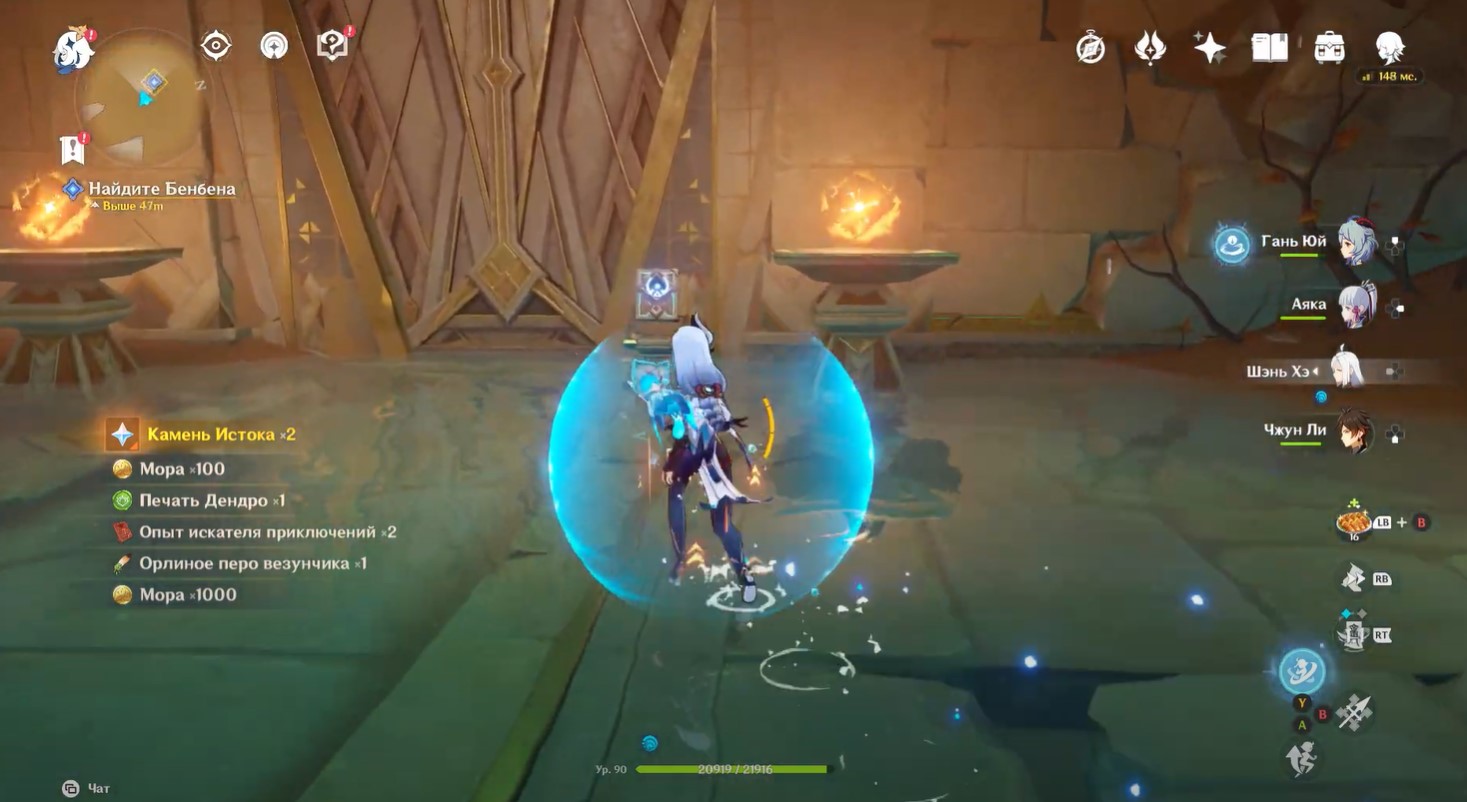
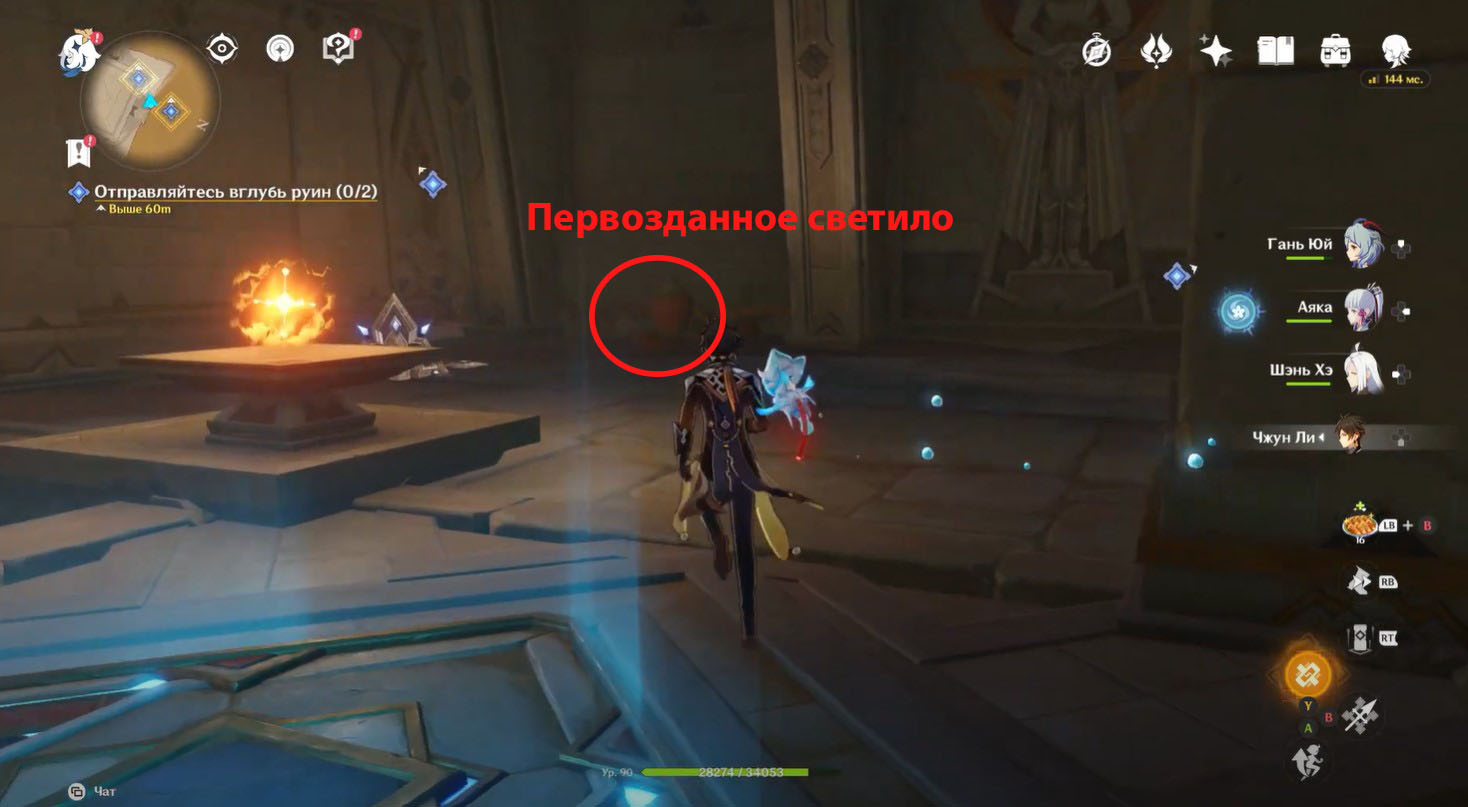
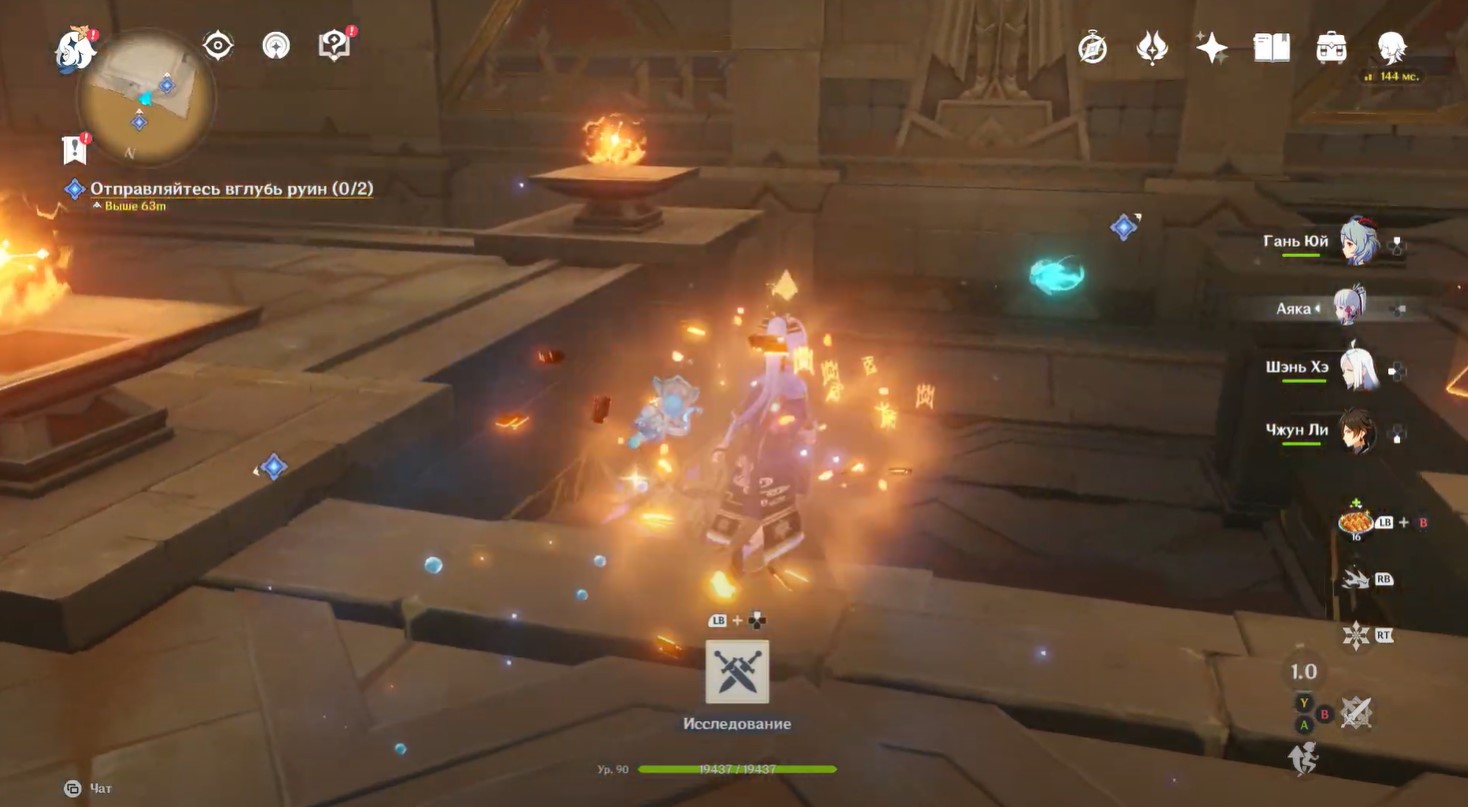
At the top, deal with the original construction. During the fight, you will surely break the vase standing nearby. The primordial luminary is hidden in it. Pick it up and place it on the illuminated platform to reveal the Cage of Truth.
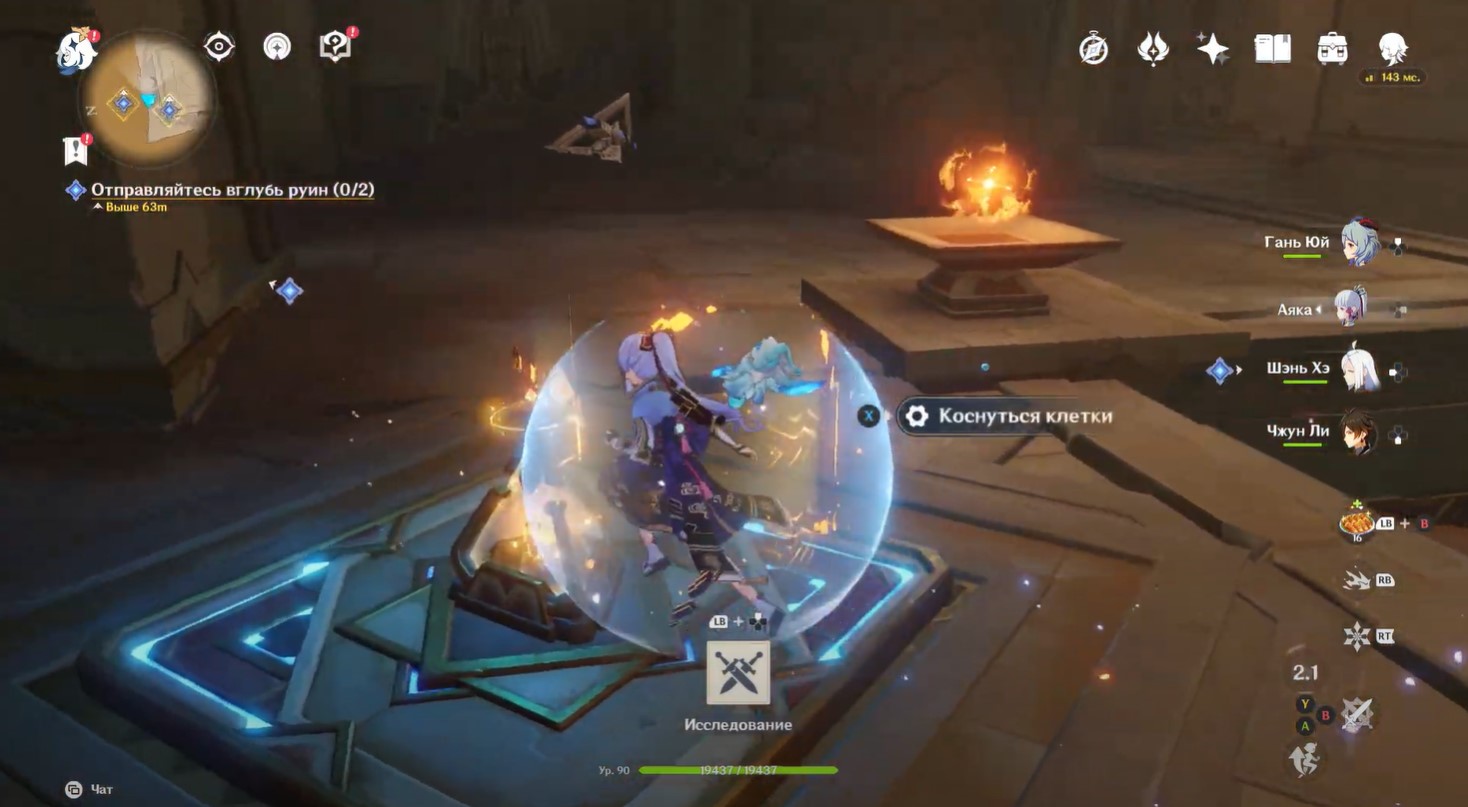
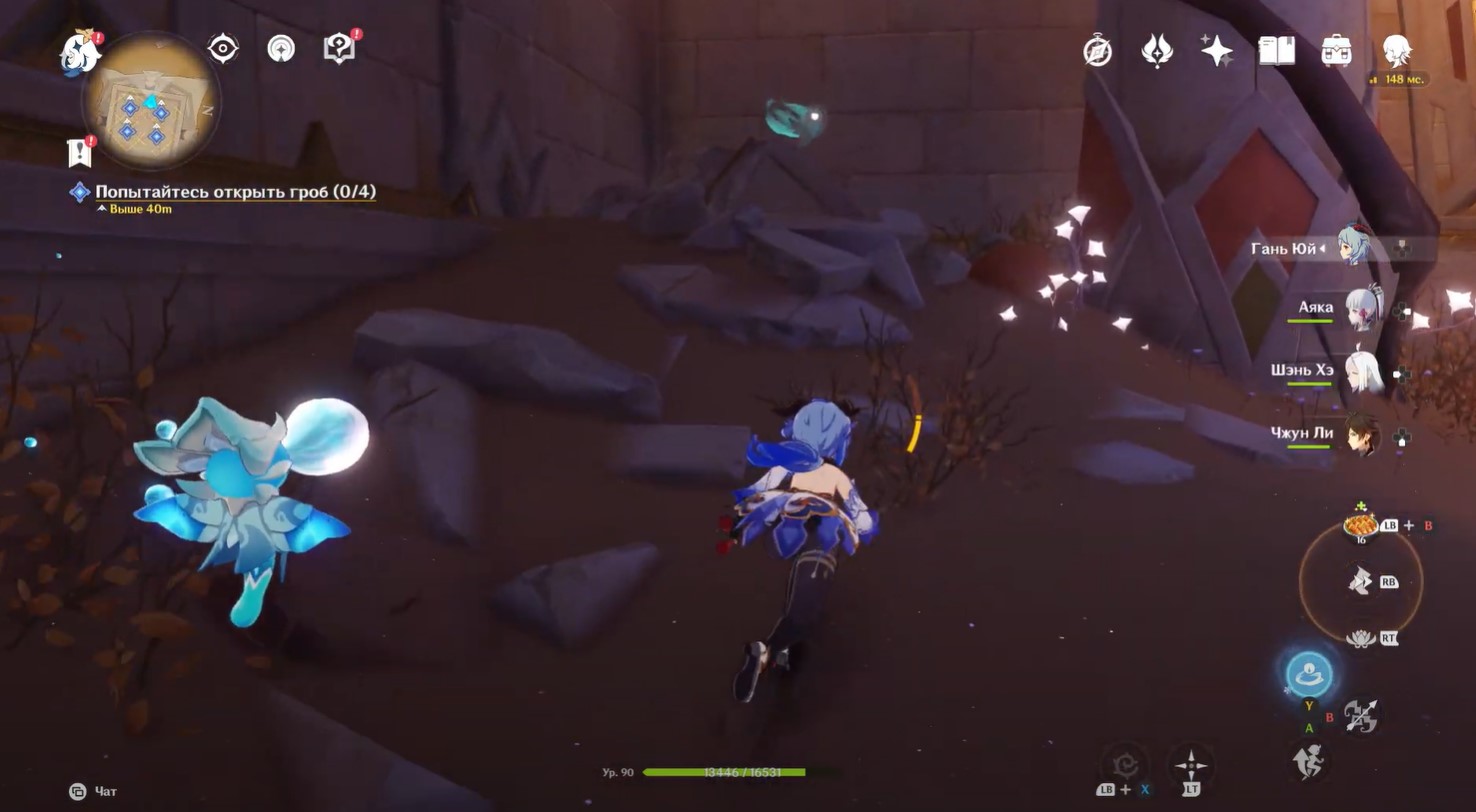
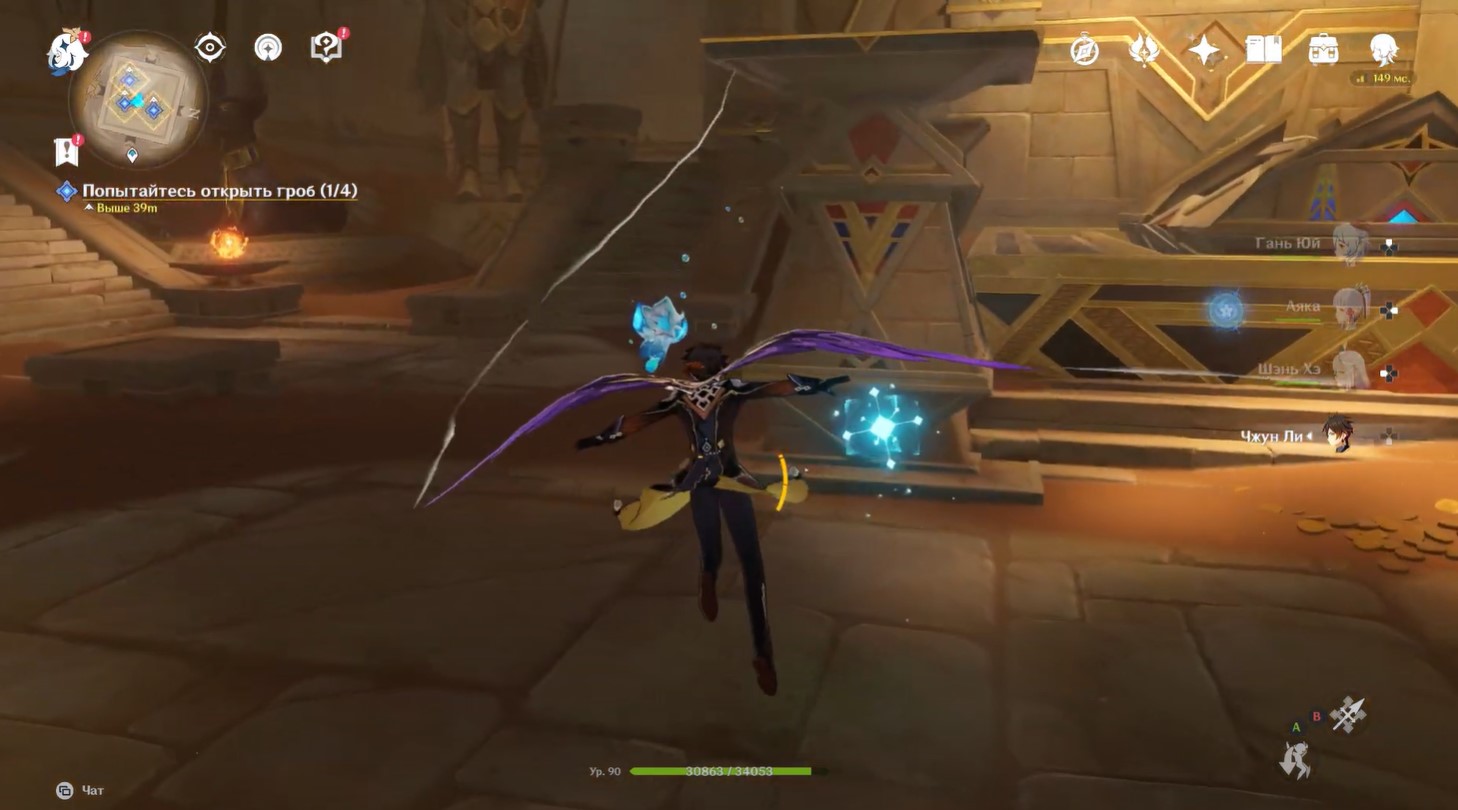
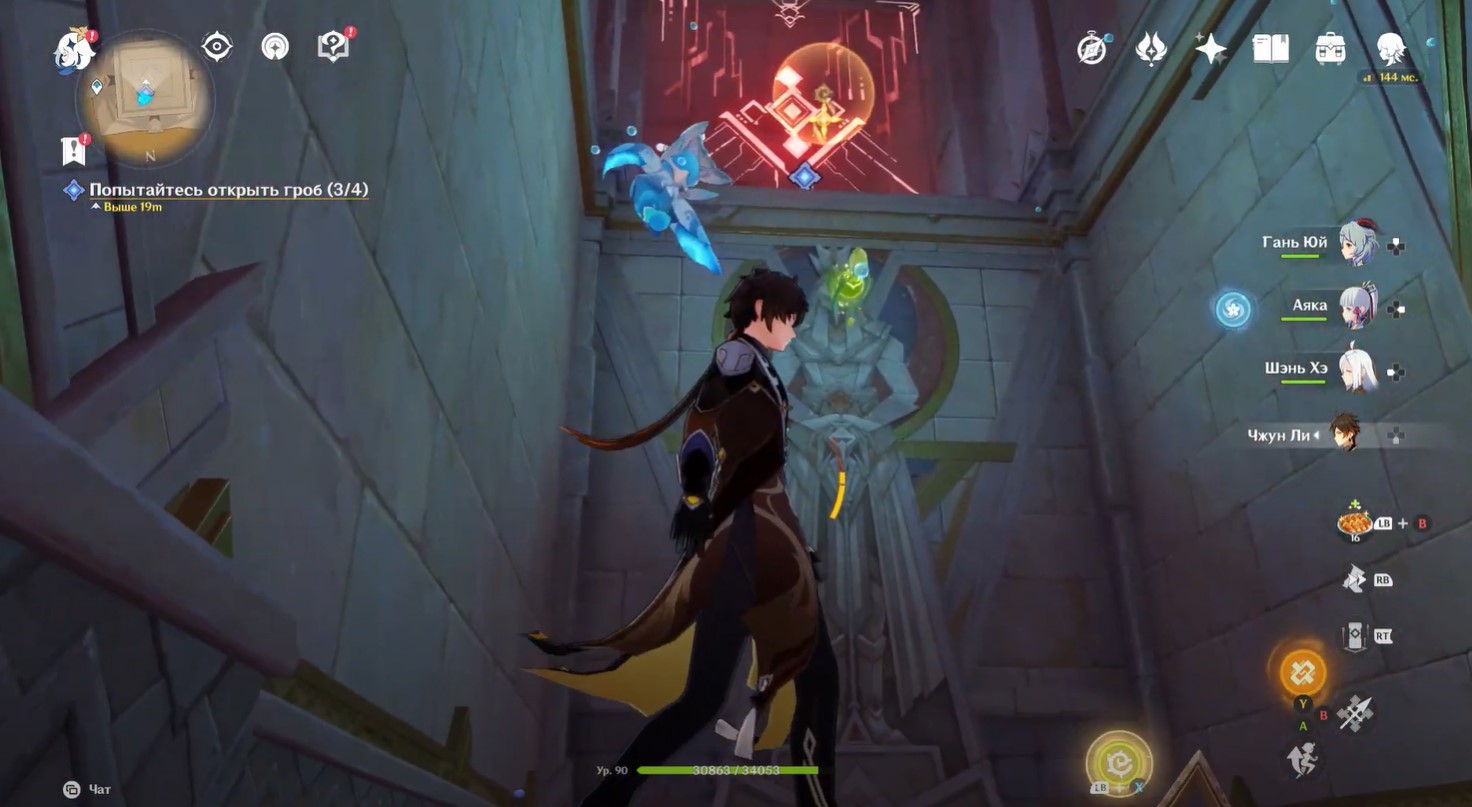
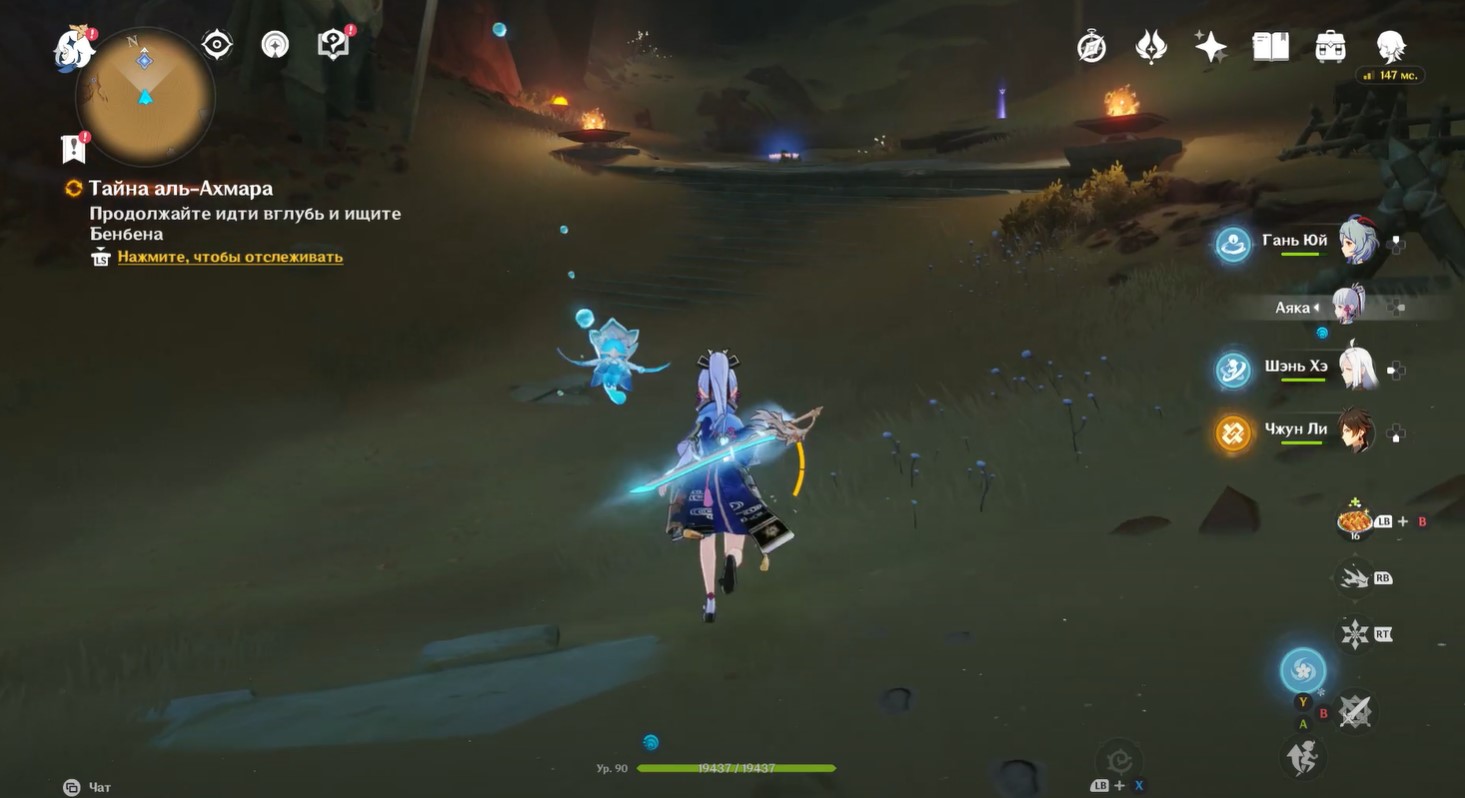
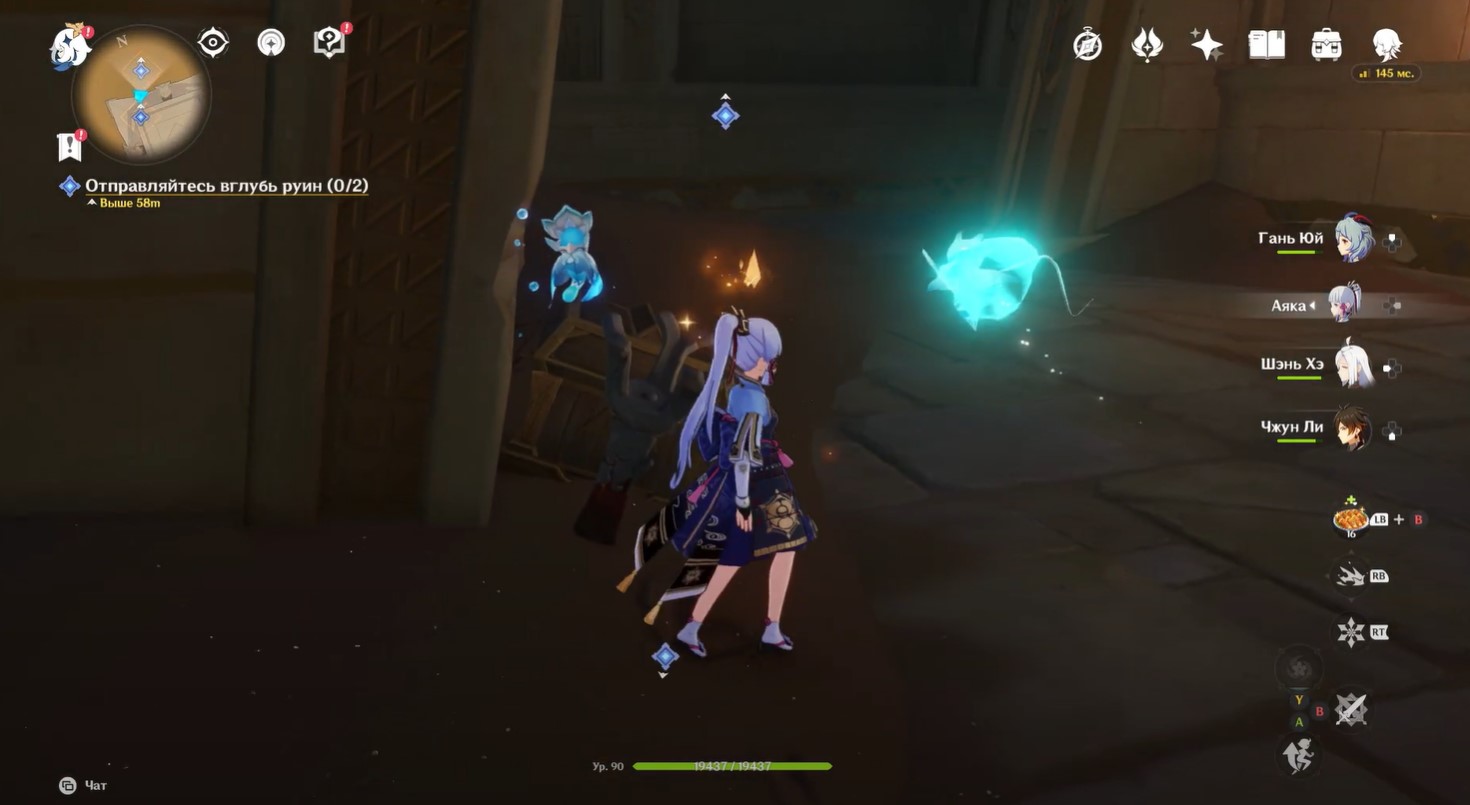
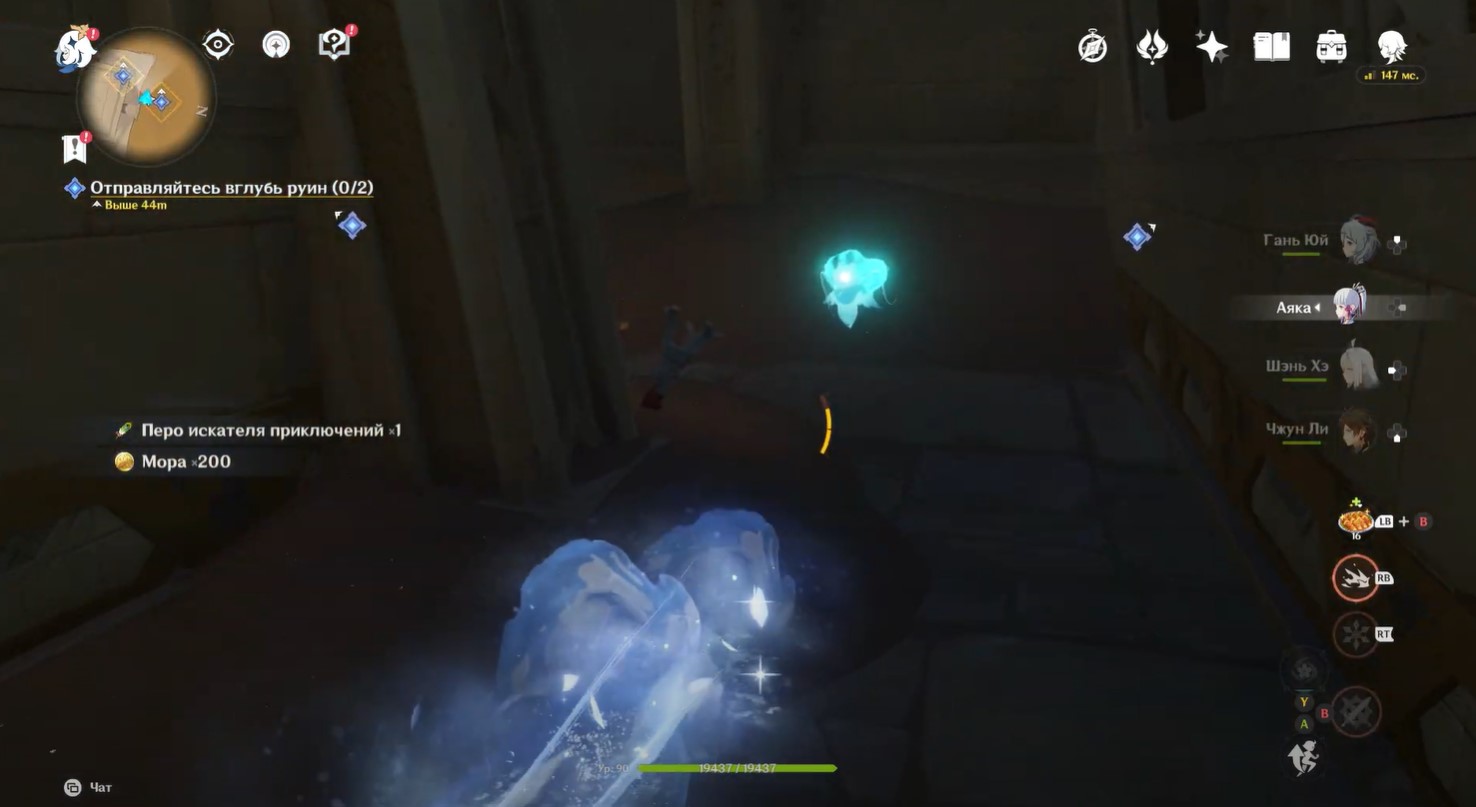
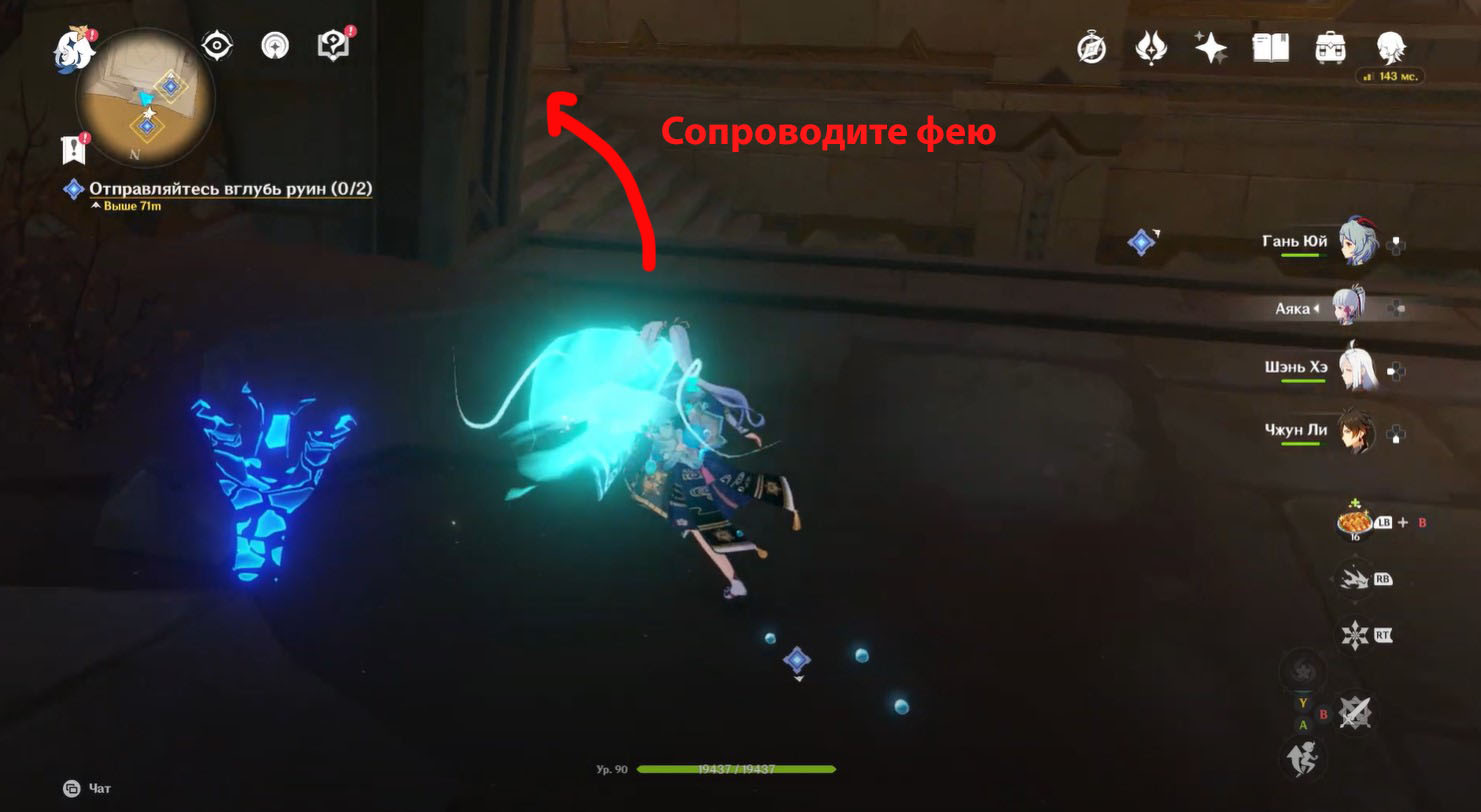
Interact with her so that you can materialize ghostly torches. Their location will be indicated by a fairy hovering nearby (see screenshot below). Approach the spirit and start following it. In total, you need to find and light 4 torches. All of them are shown in the images below. After their activation in the middle of the room there will be amazing chest.

First primordial spark
Next, bring the fairy to the pedestal at the top (climb the stairs) to get a regular chest. Deal with the original structure located in the middle of the location so that it does not bother you later. Turn around and raise the camera up - you will see Dendroculus. To get to it, you need to climb the left wall. Otherwise, you will rest your head against the blue Hurdle.
Go down and go through the passage to a new room with a locked gem chest and four gears on the right and left sides. First, we will tell you how to unlock the chest.

To do this, turn the nearest device on the right once, and the device farthest on the right twice, as shown in the first picture below. Go to the left side and turn the mechanism closest to the exit from the room two times, and the one farthest once. As a result, you will unlock a precious chest.

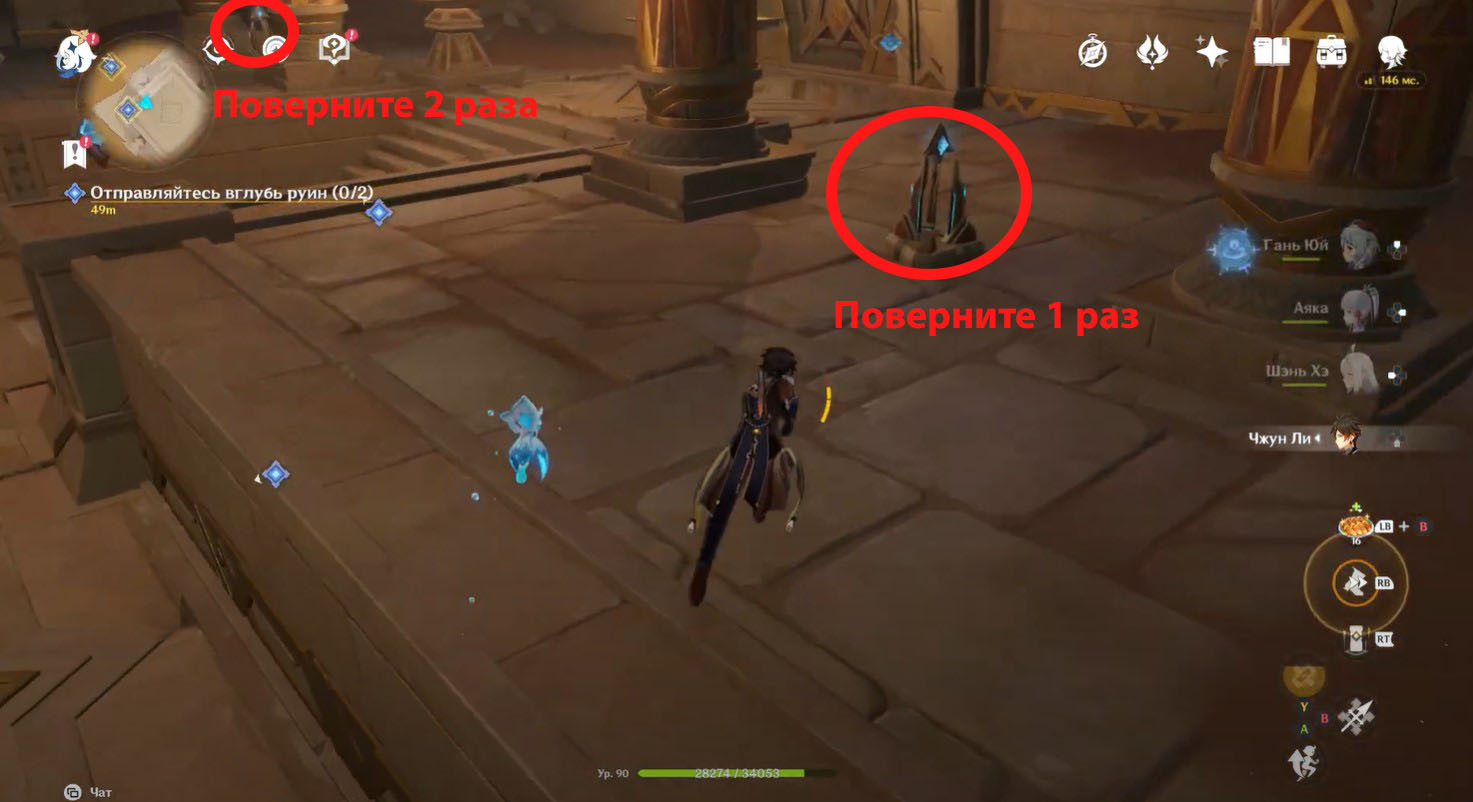
Next, you will need to open the door on the right, directing the rays from the mechanisms to the prisms near the gate. To do this, turn the nearest device on the right side twice (once if you solved the chest puzzle), and the furthest device once (twice if you solved the chest puzzle).

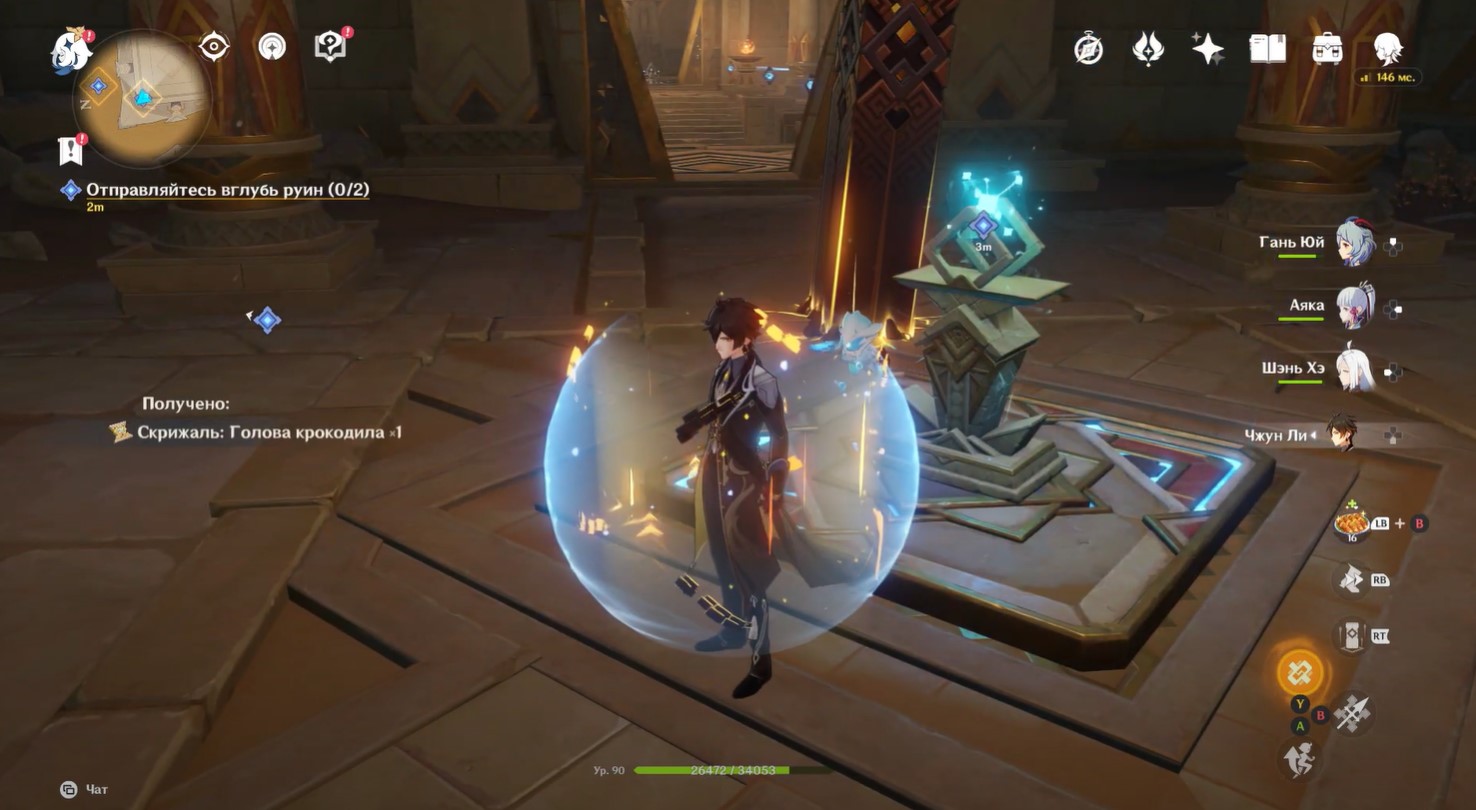
Go inside and deal with the enemy. Then pick up the primordial luminary and Sacred Seal: Crocodile Head. Stand on the platform for the candlestick to spawn with the primordial spark - start leading it towards the torch. Halfway through, she will stop near the pedestal, so you will need to unlock it again. Then run to the right and upstairs, open another door and go down the corridor.


Second Primordial Spark
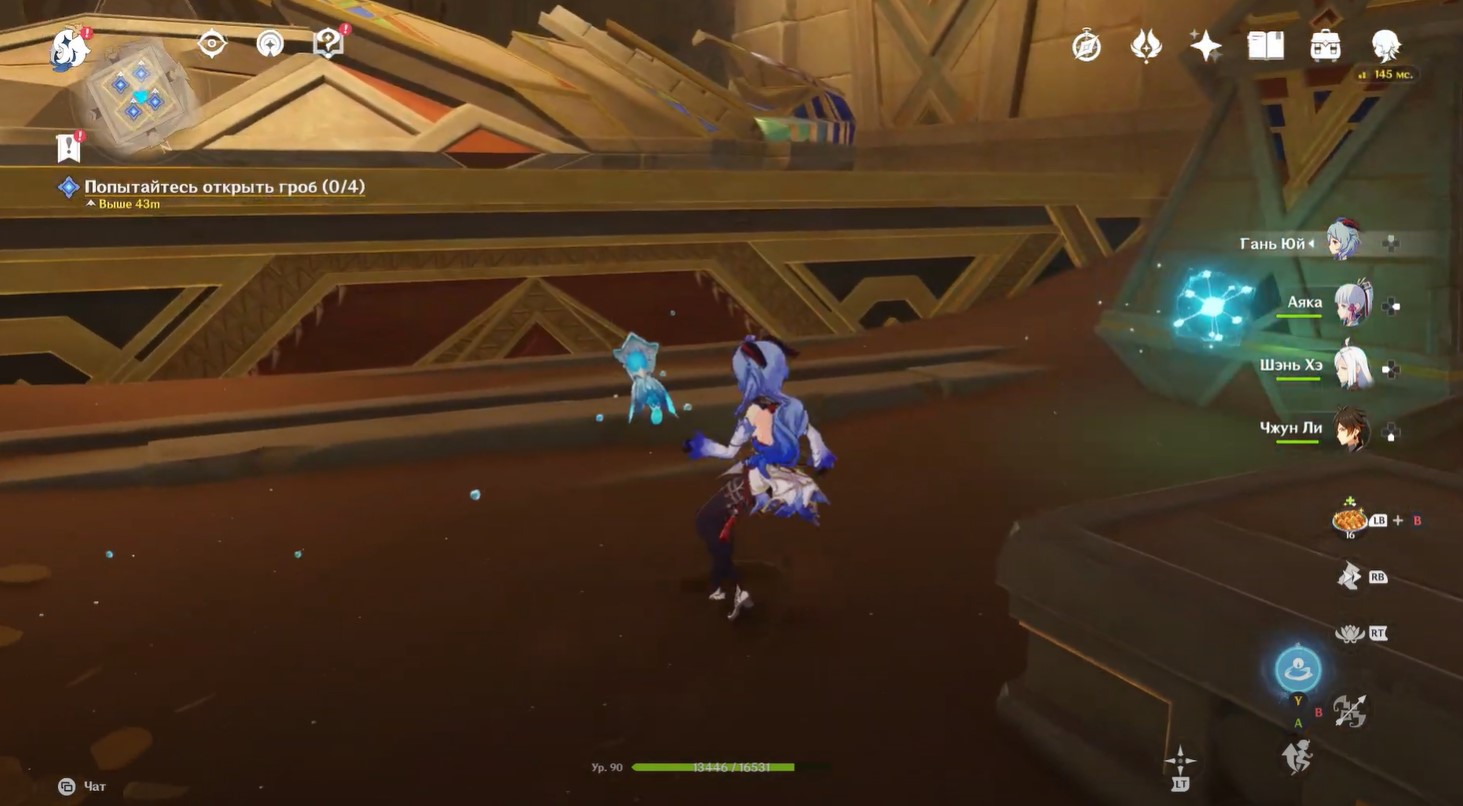
A Primal Construct will stand in your way - destroy the enemy. To the right of it there will be another puzzle with replicator stones. Approach the mechanism from which the beam comes and interact with it to move the Elemental Reaction: Crystallize to the right and open the door. Behind it you will find a illuminated platform - you need to put a luminary on it, hanging nearby above the wreckage.

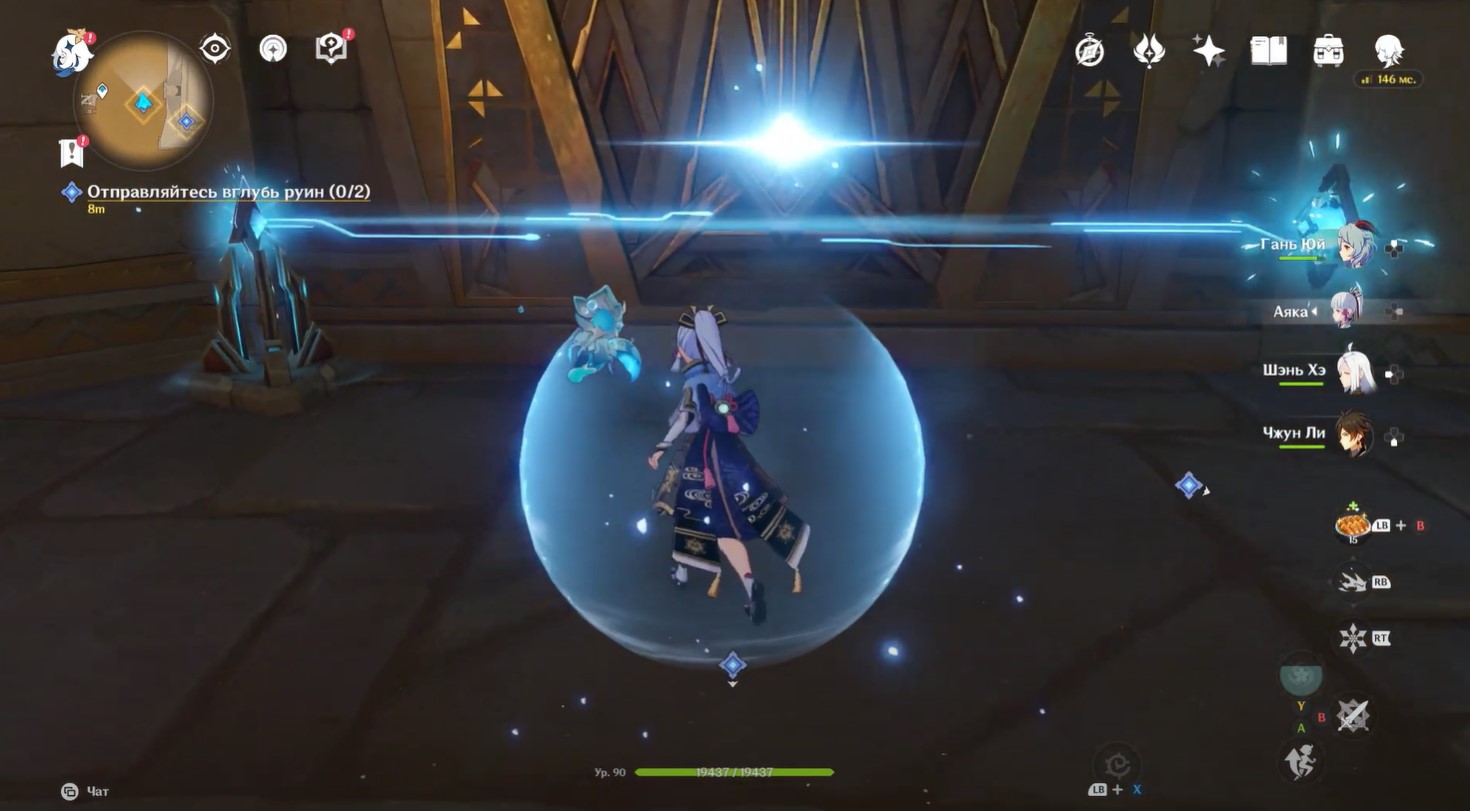
As a result, another cell will appear - you do not need to rotate it. Approach the mechanism near the door and move its stone to its original position so that two beams look at the pedestal with a spark. Now it remains to unlock the second spark and take it to the first.

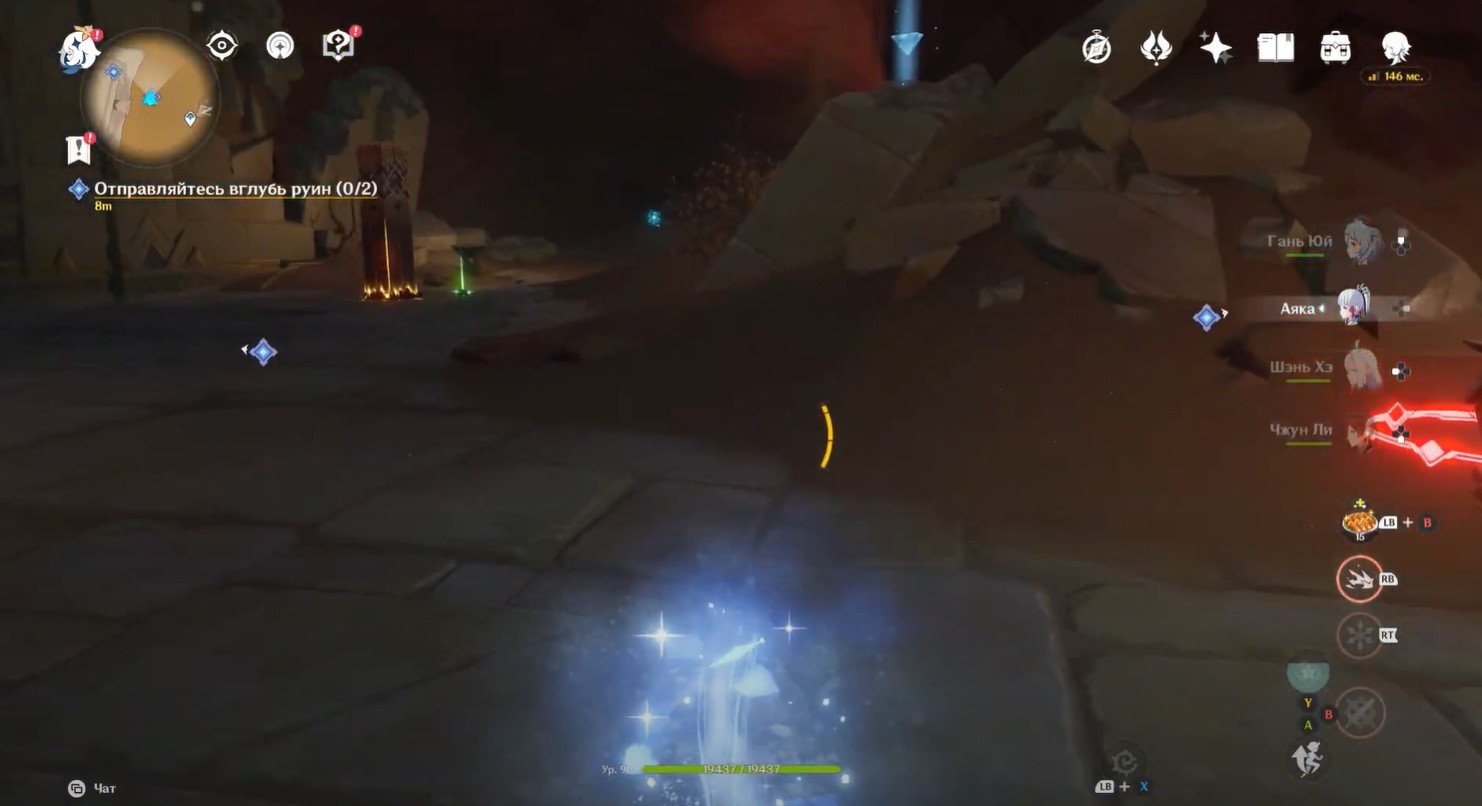
The stone blockage will be destroyed, so you can go forward. Deal with another enemy and follow the sparks into the cave. Get to the big staircase and start climbing it. When the sparks stand on the pedestals, go a little to the left to find Sacred Seal: Danger.

Unlock the sparks again and climb even higher to the giant gate. The torches will be lit and the door will open. Go into the room to the marker to start another cut-scene. After completing it, the mission will come to an end, and you will unlock the trophy "The Amazing Pyramid".
As a reward, you will be given 500 adventure points, 50 thousand pestilence, 5 hero books, 60 primogems and 5 magical enhancement ore. You can also start the quest "Dreams Beneath the Searing Sand". We advise you to re-explore the Hall of Opet later to find all the chests and other valuables. IN separate guide we talked about his complete cleaning.
Comments
You need to login to add comments.
You can login with