Сны под жгучими песками в Genshin Impact является финальной частью линейки «Золотая страна грез» и мировым квестом сумерской пустыни, в ходе которого вам необходимо будет пройти три испытания, найти путь в Хадж-нисут и активировать механизм в центре зала, решив несколько головоломок. При возникновении сложностей с началом или прохождением этого квеста изучите наше руководство.
Прохождение квеста «Сны под жгучими песками»
Как начать задание
Для этого следует просто завершить прошлый квест цепочки под названием «Тайна аль-Ахмара», а затем открыть журнал и начать отслеживать новую миссию. Если она не появилась, то попробуйте выйти из учетной записи, подождать 20-30 минут и перезайти.

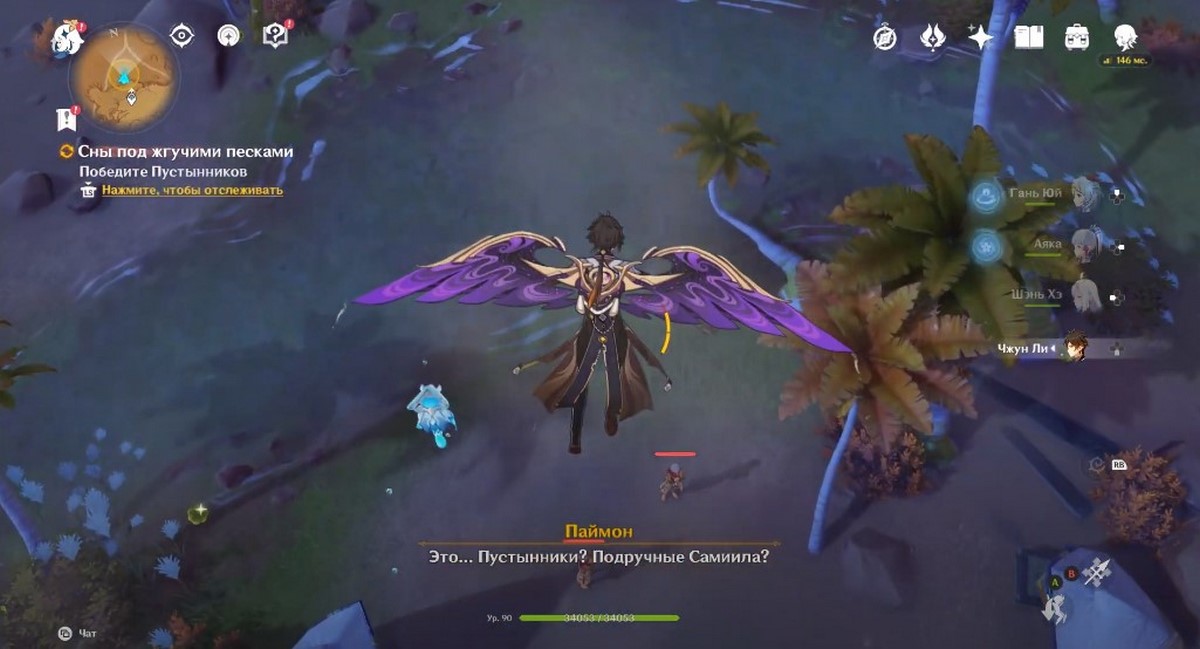
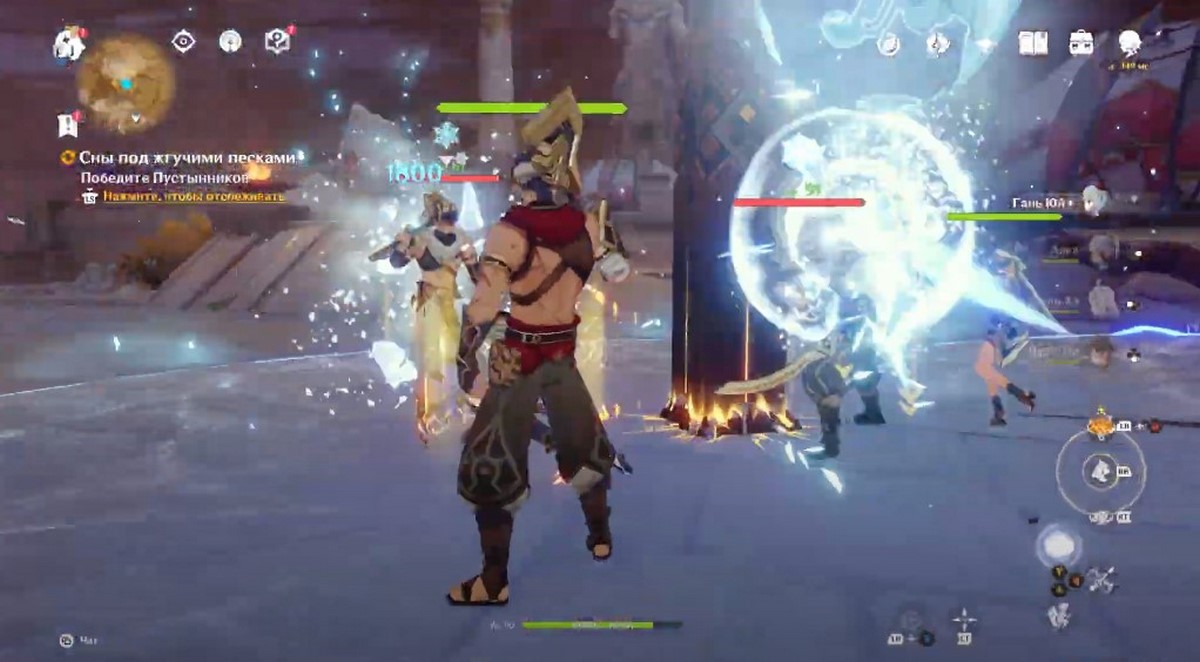
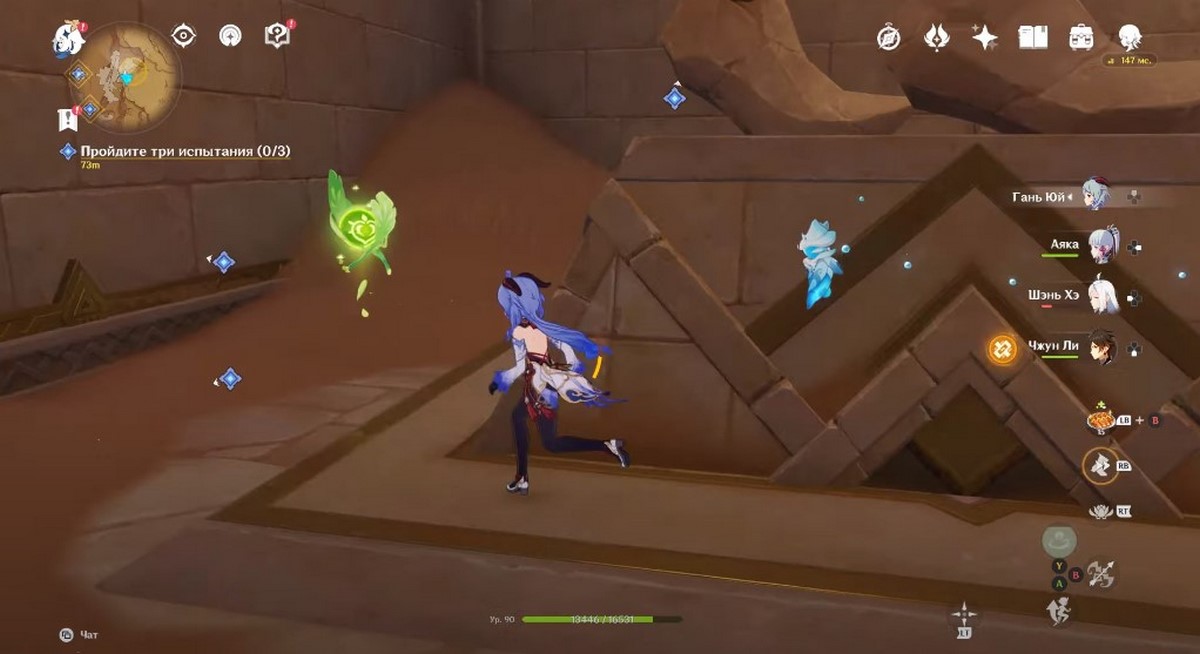
Итак, первым делом вам предстоит возвратиться в оазис Собека. Откройте карту и переместитесь к телепорту, расположенному ближе всего к квестовому маркеру. Затем доберитесь до отмеченной локации и расправьтесь с группой пустынников. Вам также нужно будет сразиться с элитным врагом Зачарователем камней. Впрочем, для прокаченной группы он не составит проблем. Далее посмотрите ролик.
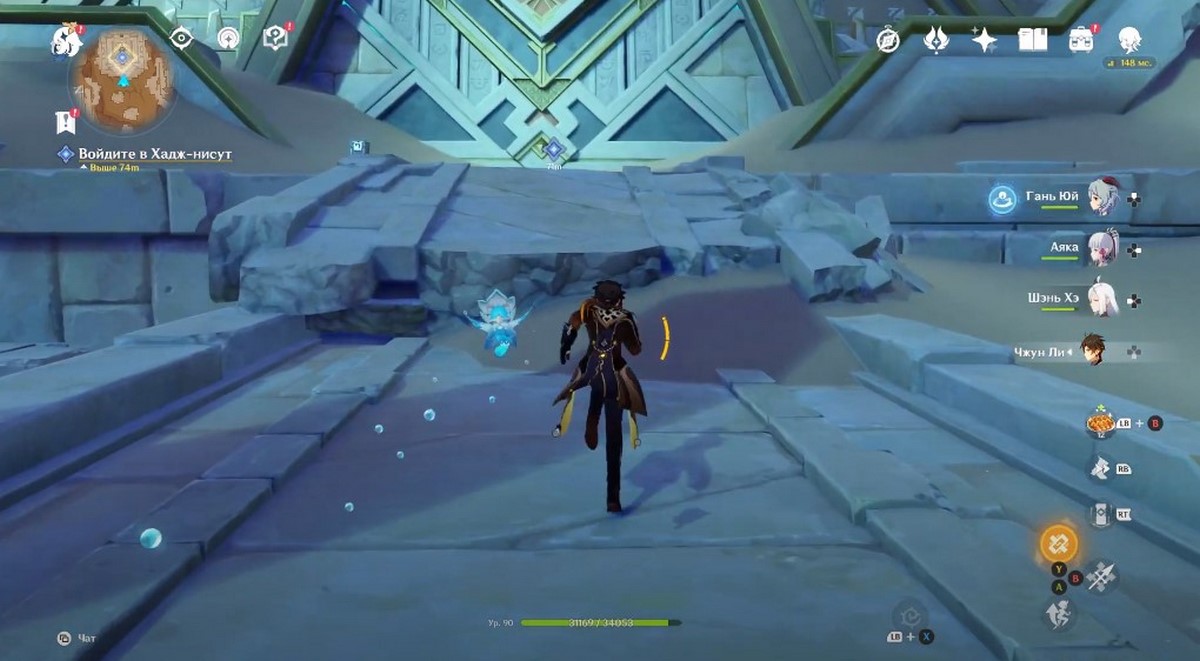
Где найти Хадж-нисут
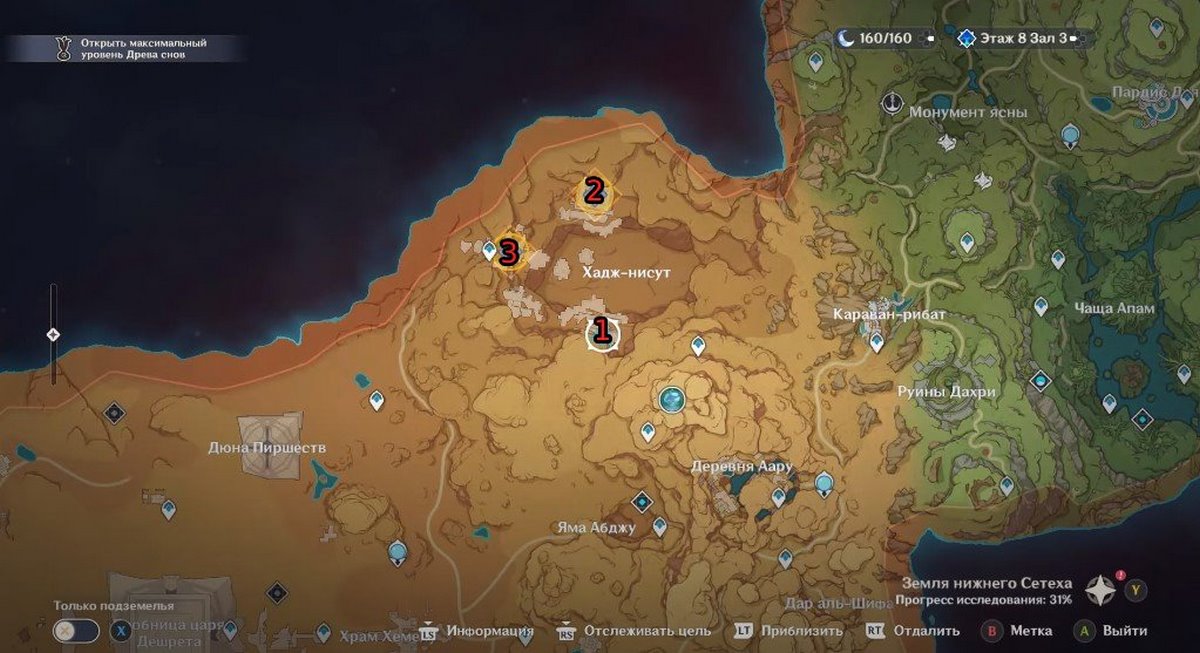
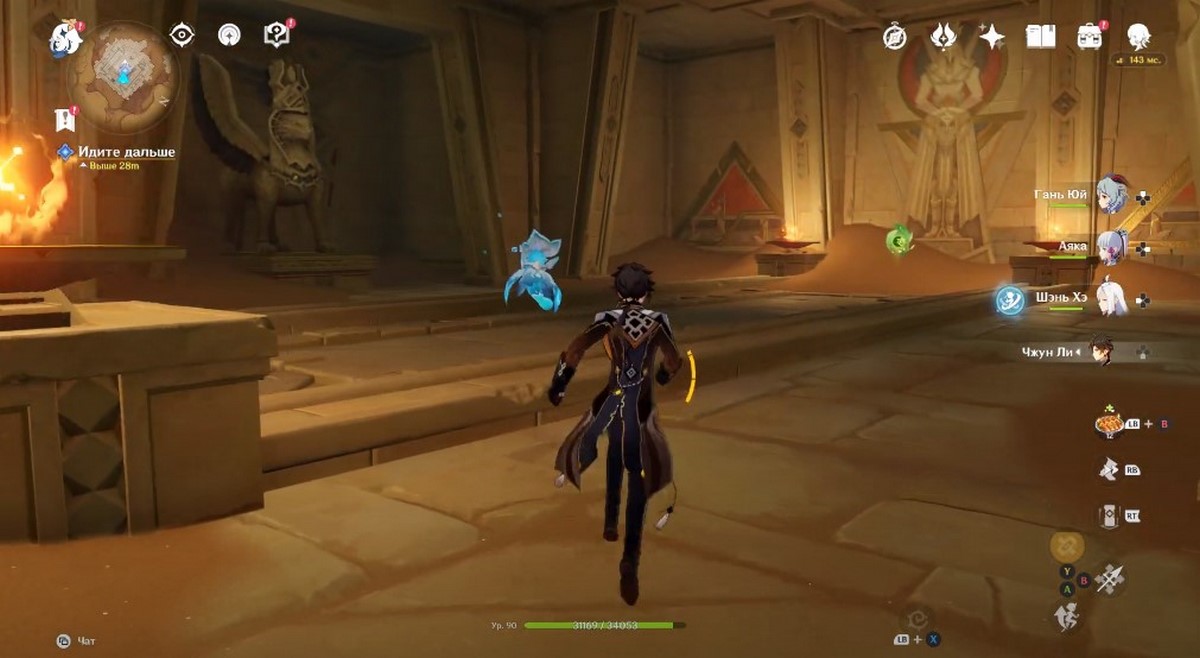
Сначала вам нужно добраться до следующего оазиса, находящегося северо-восточнее дюны Пиршеств. Если вы еще не бывали в этой локации, то вам необходимо просто пройти по главной дороге на север мимо статуи семи архонтов. В ином случае сразу же переместитесь к ближайшей телепортационной точке.
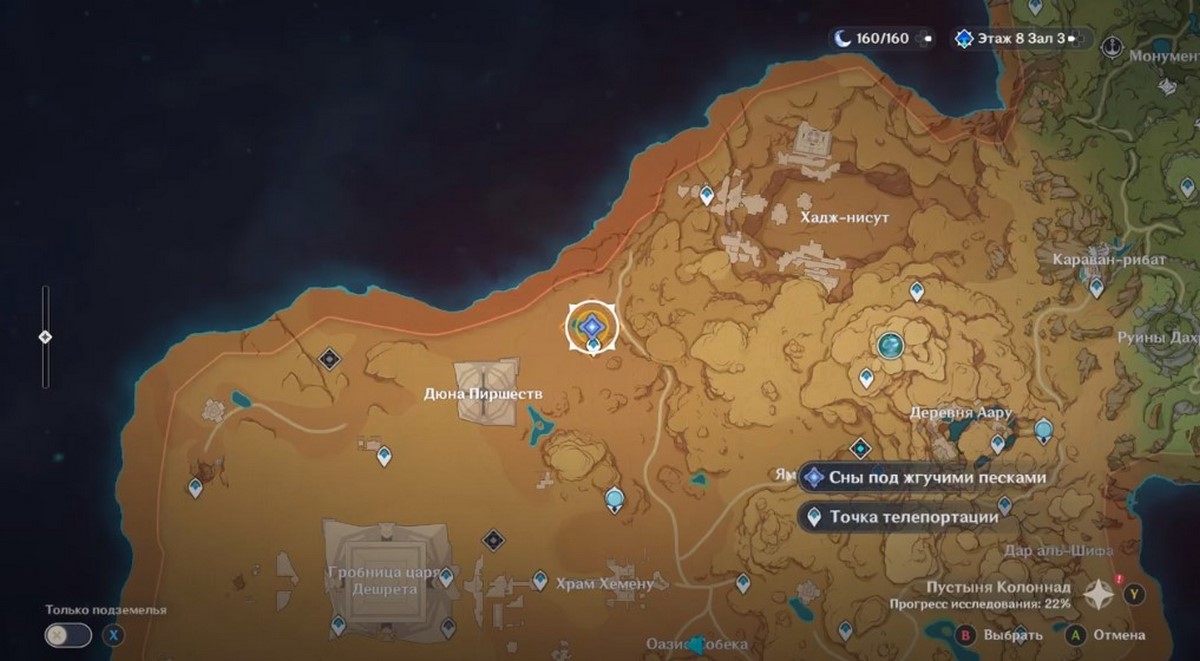

Подойдите к квестовому маркеру возле водоема, чтобы началась очередная продолжительная кат-сцена. Когда она завершится, вы сможете отправиться в Хадж-нисут, который находится на северо-востоке от вашего текущего местоположения. Рядом с нужным указателем находится телепорт, поэтому вы можете сразу же переместиться туда. Подойдя к обрыву, посмотрите новый ролик.


Как найти подсказки в лагере пустынников
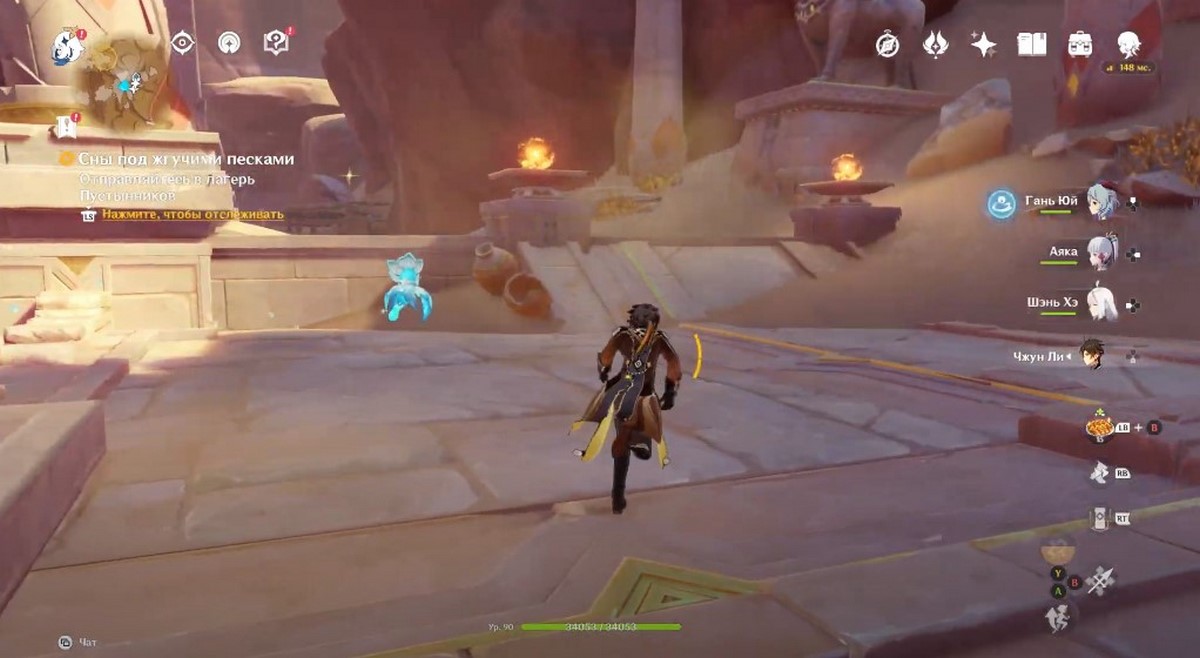
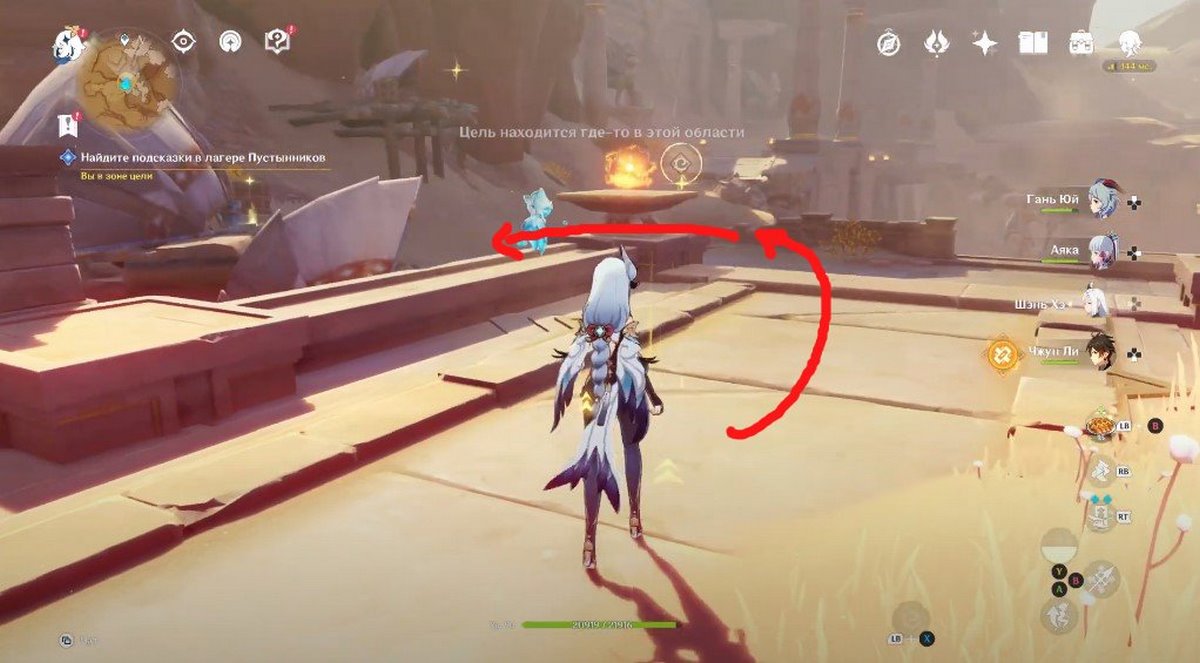
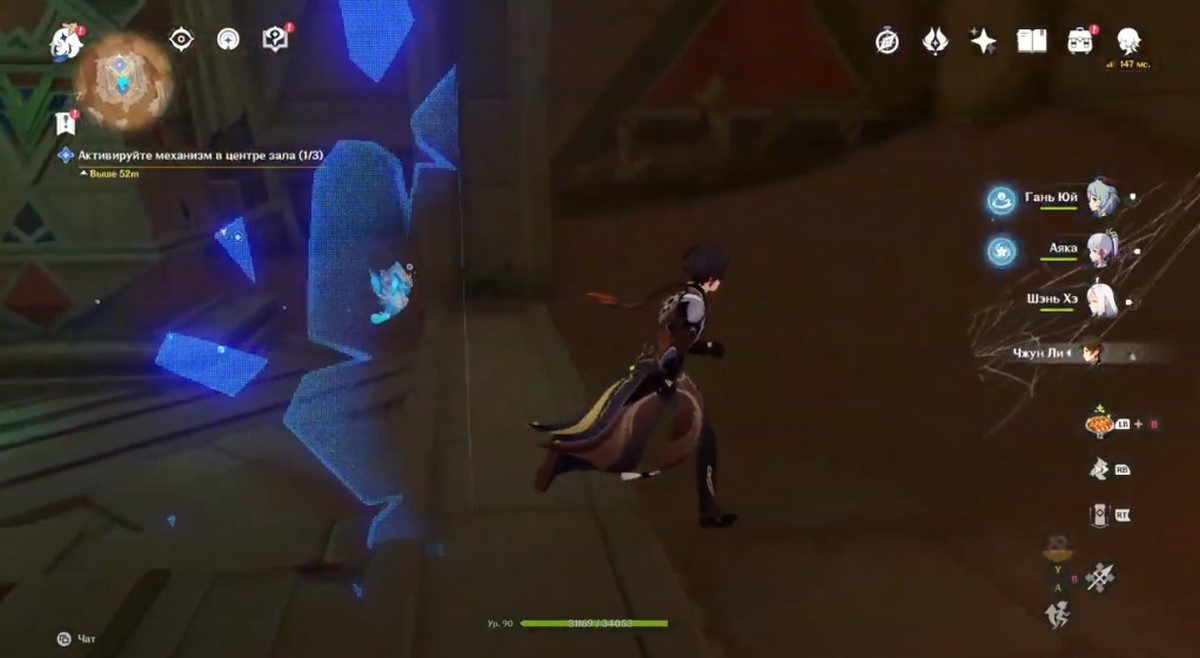
Завершив беседу, сверните вправо и бегите к следующей отмеченной области. Используйте четырехлистники, дабы быстрее добраться до лагеря пустынников. Там разберитесь с несколькими врагами, а затем поговорите с друзьями.
После беседы с ними начните осматривать лагерь в поисках подсказок. Пройдите вперед и направо и осмотрите огонек на ящиках (это не то, что вы ищите). Подберите также Лучистый кристалл 86. Далее развернитесь и бегите в сторону телепортационной точки. Спустившись по лесенке, сразу же поверните влево и подойдите к огоньку возле палатки – осмотрите его для нахождения письма.


Возвратитесь к Джебраилу и поведайте ему о своей находке. Гляньте небольшой ролик с беседой. Далее вас ждут особые испытания.
Как пройти три испытания
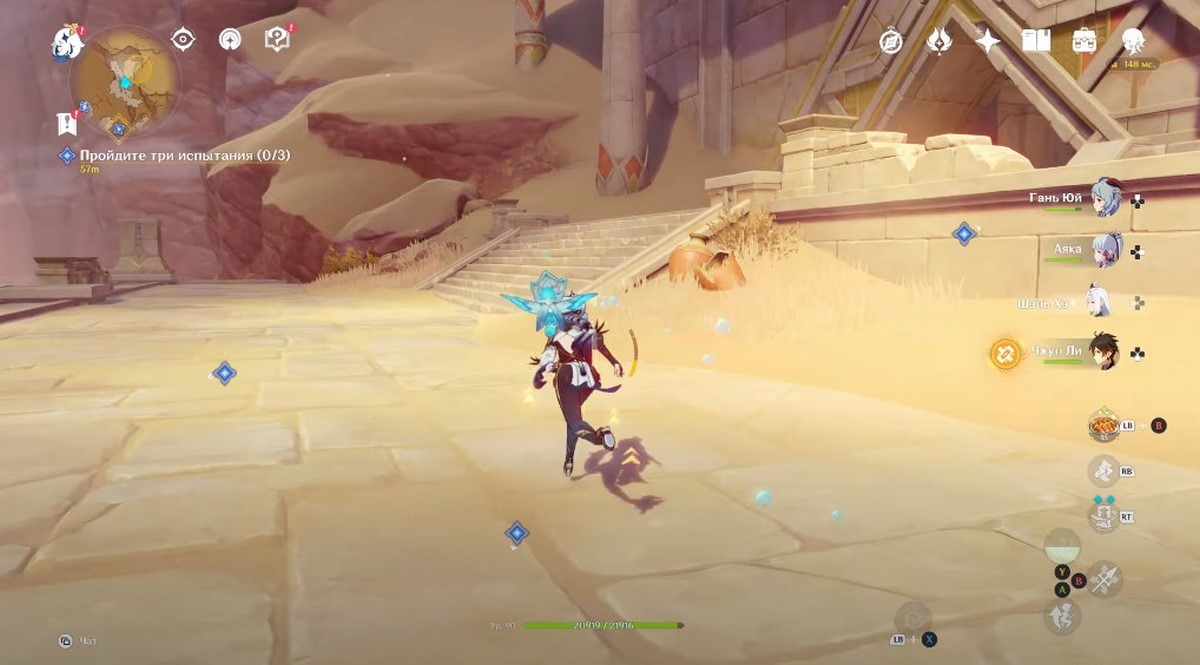
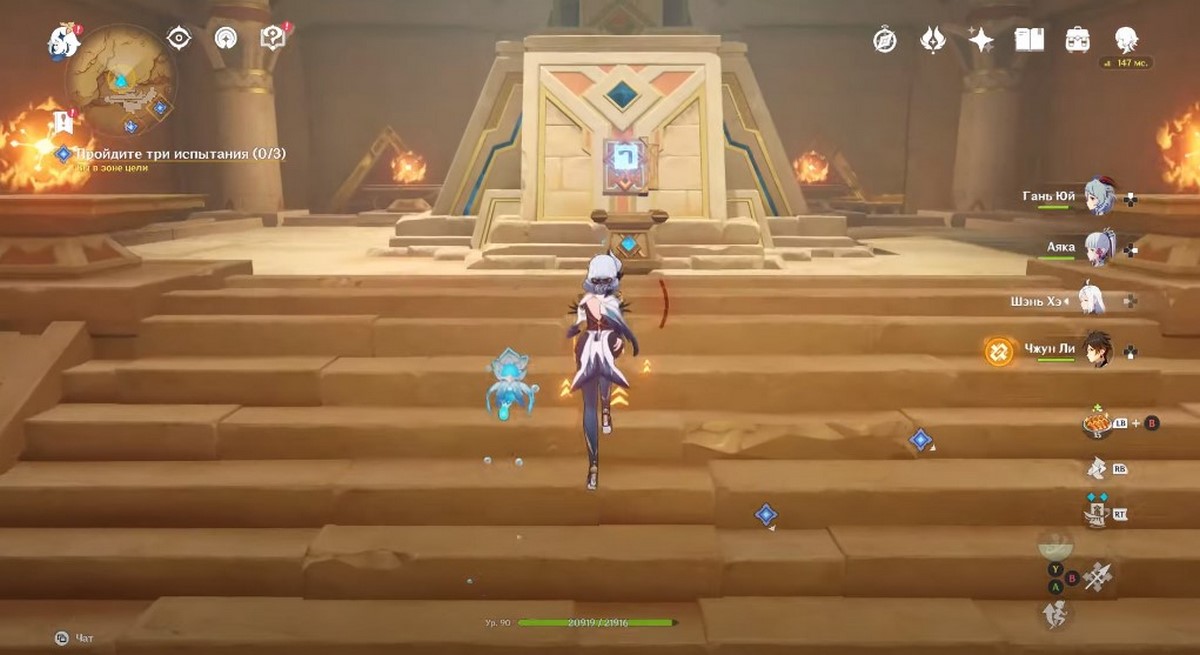
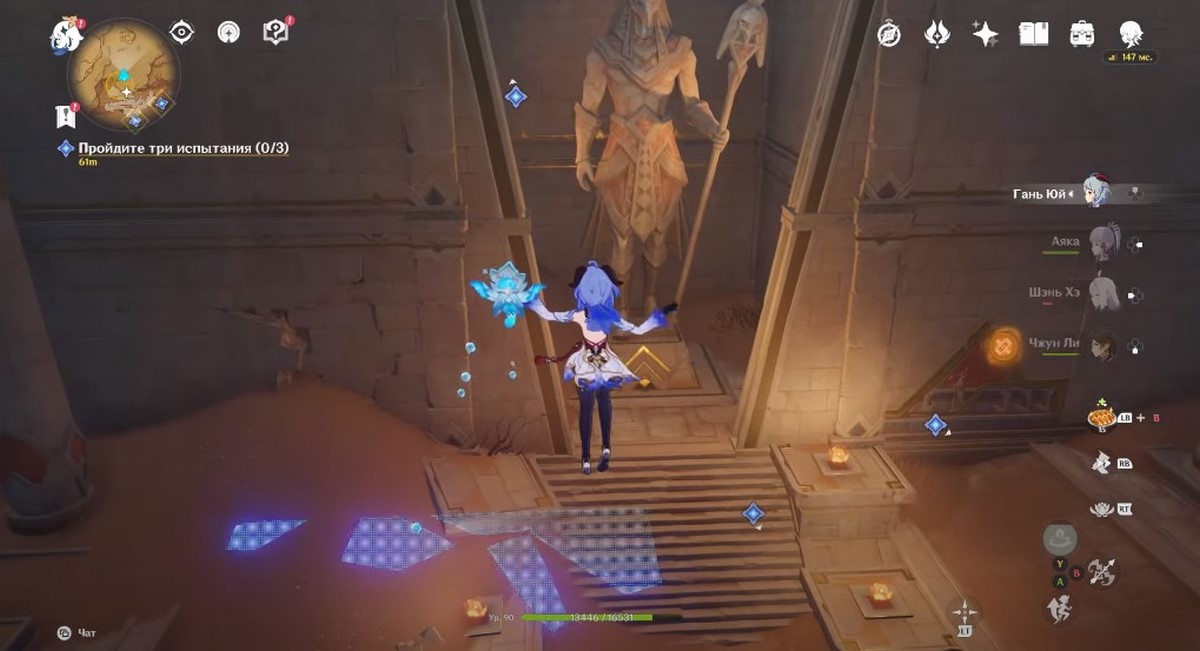
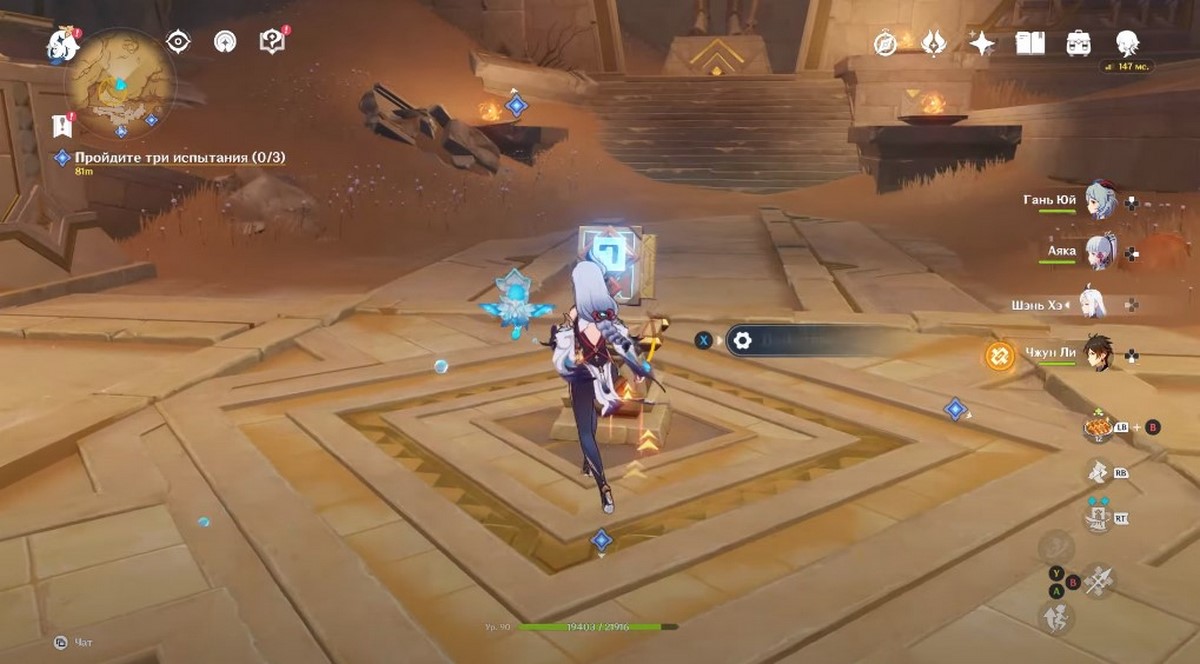
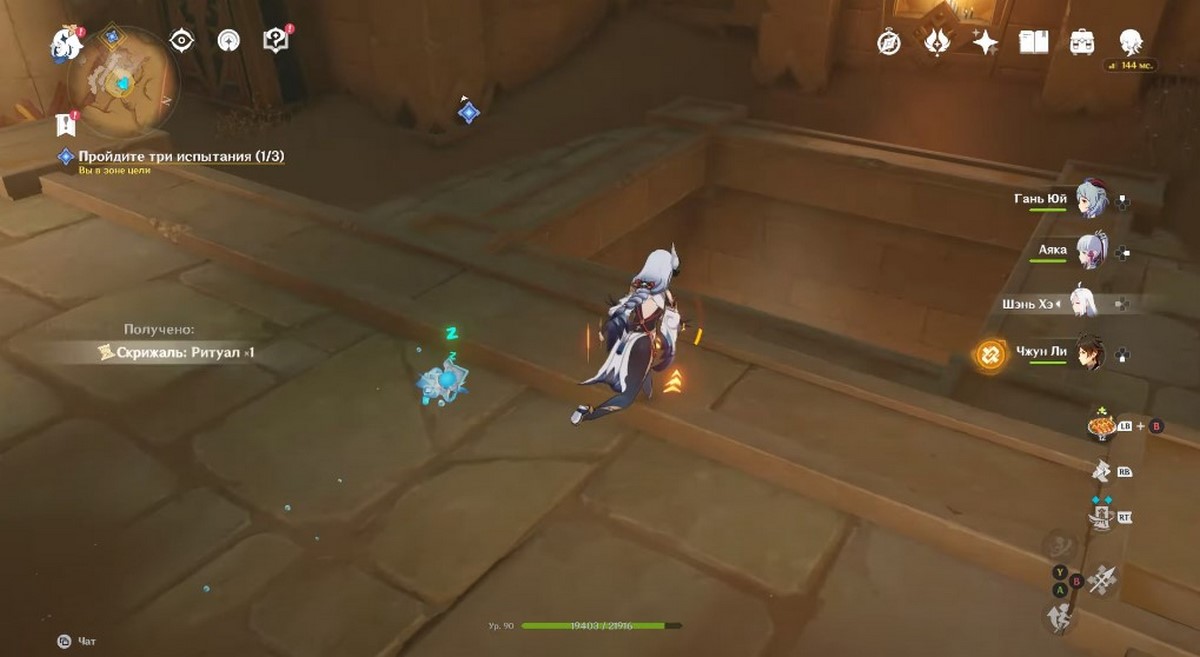
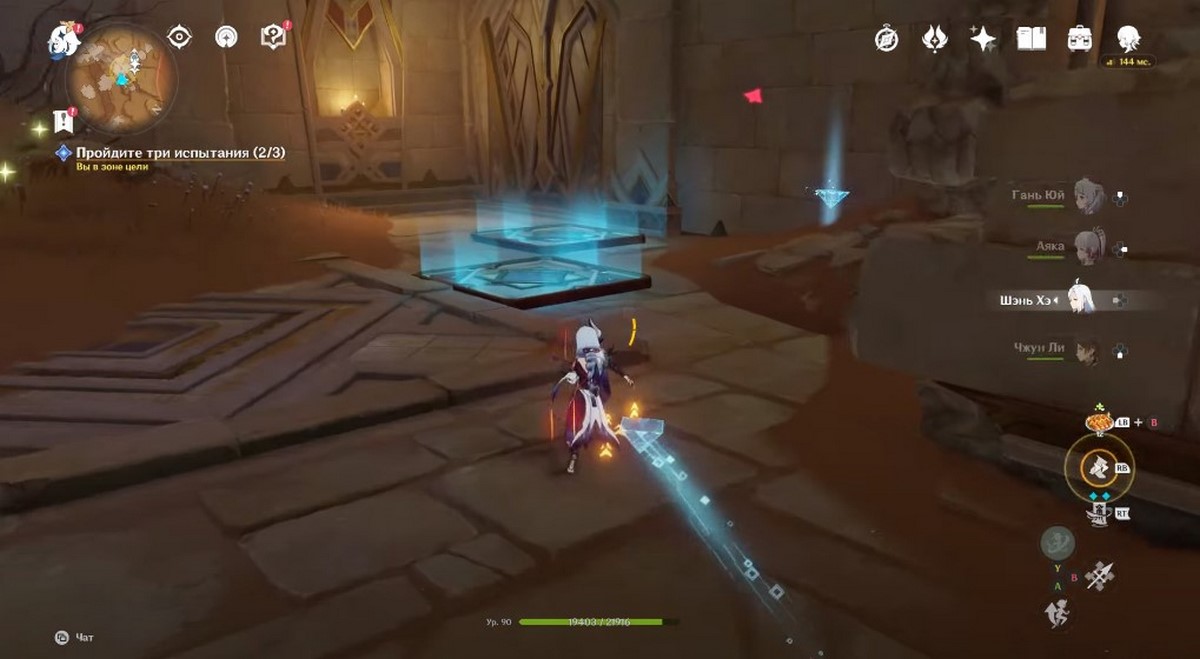
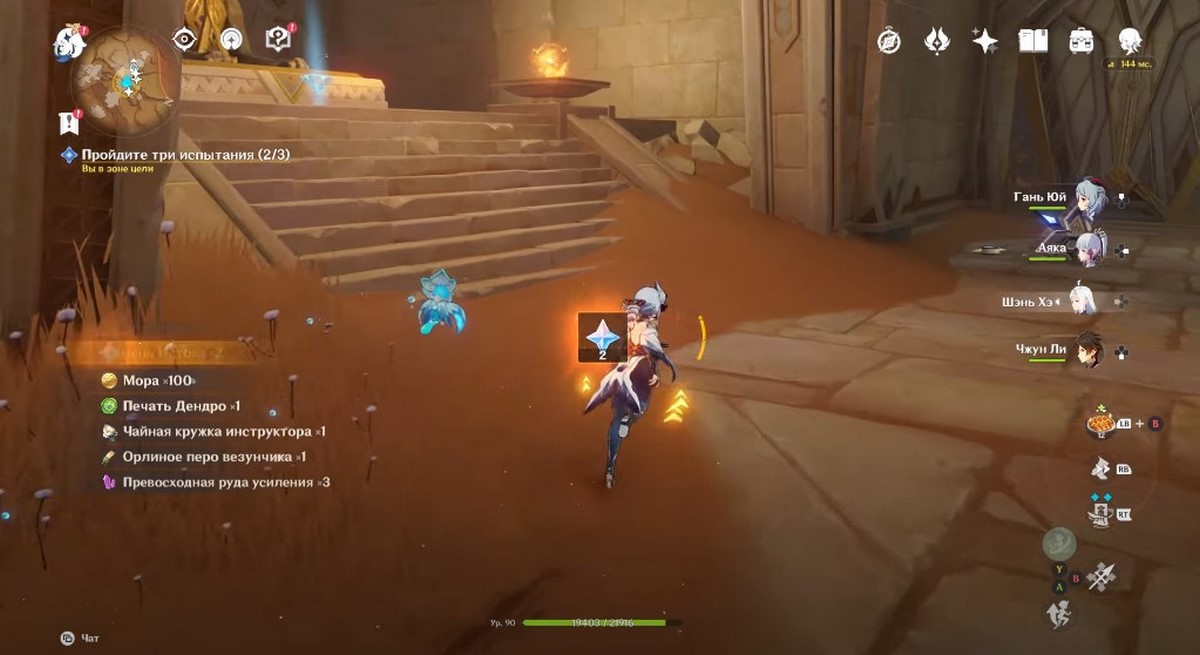
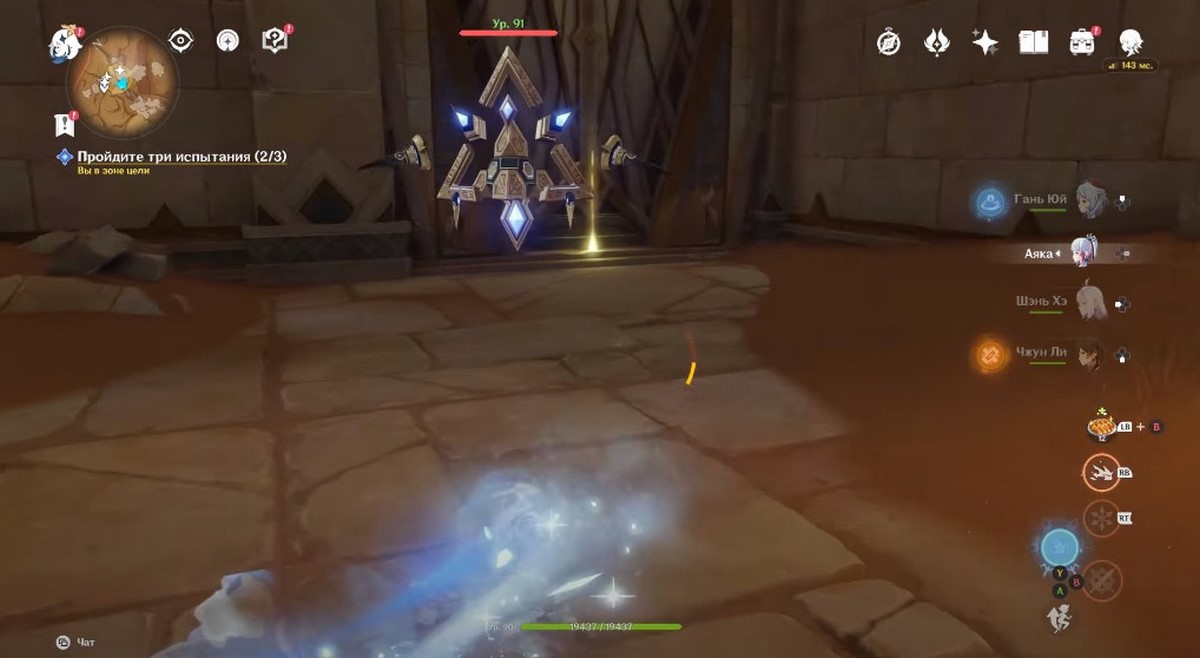
На территории развалин возле Хадж-нисут вам предстоит завершить особые испытания (будут показаны на карте), связанные с решением различных головоломок, включающих в себя взаимодействие с клетками, первозданными устройствами и камнями-репликаторами. Тем самым вы будете активировать особые монументы.
Первое испытание (лабиринт)
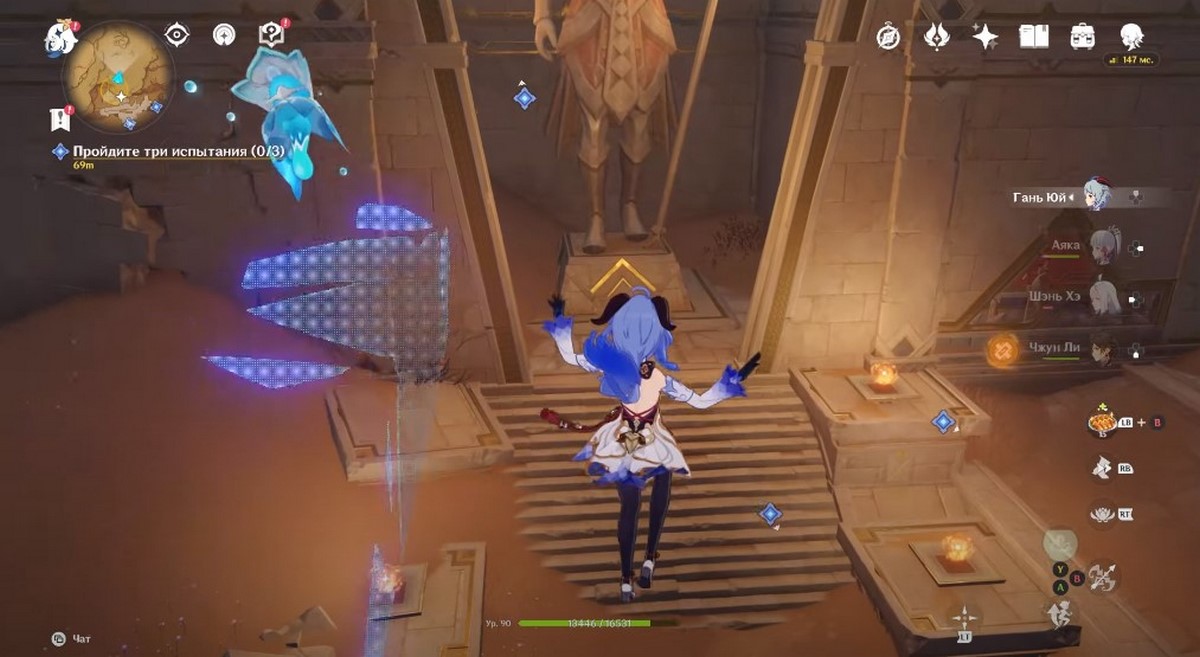
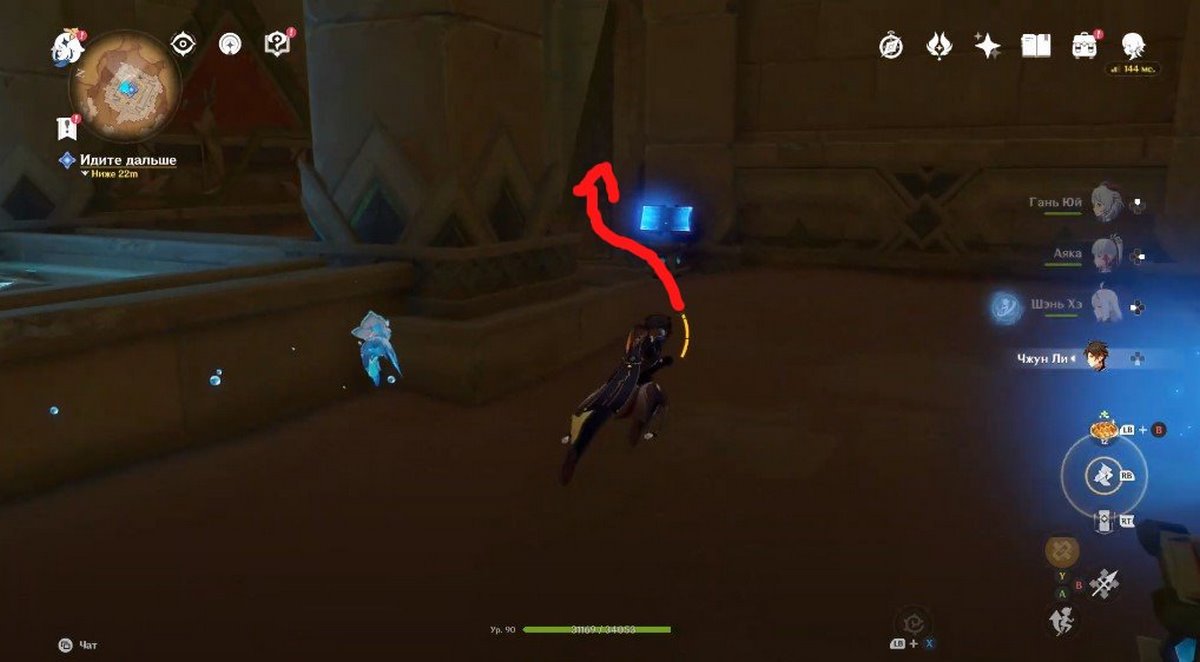
Двигайтесь к первой области, расположенной на юго-востоке локации, и войдите в храмовой комплекс. Нажмите на консоль в виде книжки, чтобы открыть дыру с правой стороны. Спрыгните в нее и сразу же раскройте планер, так как через 15-20 метров вы упадете на синий барьер, из-за чего ваш персонаж может умереть.
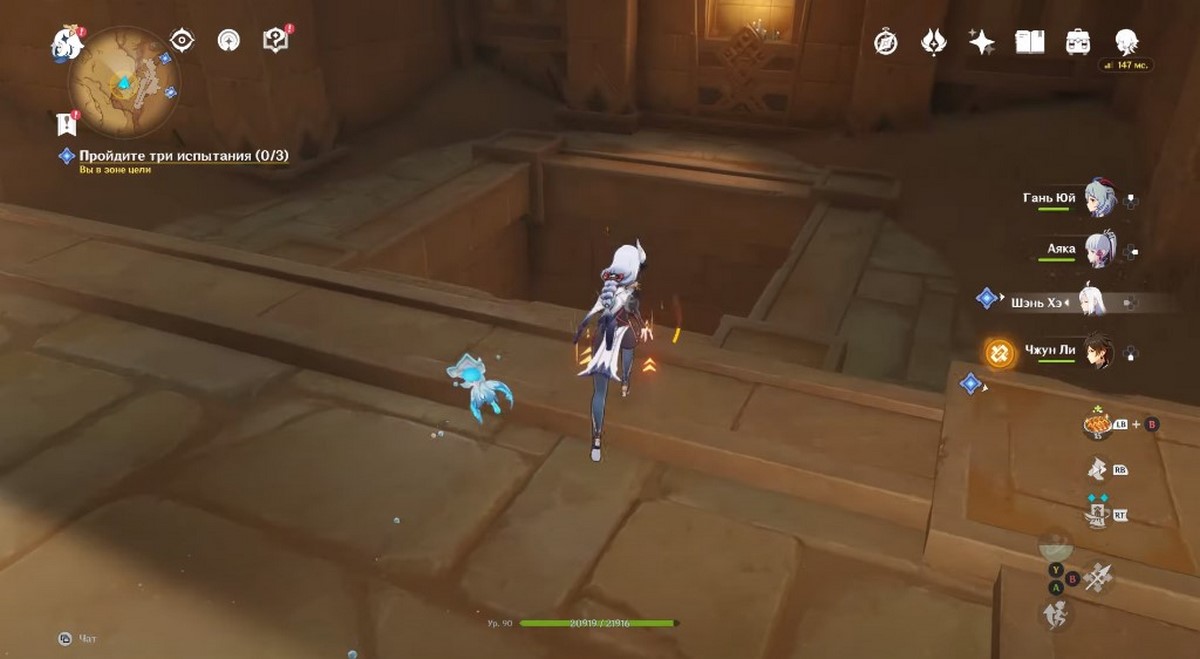
Здесь вам необходимо будет пройти многоуровневый лабиринт с невидимыми стенами, которые подсвечиваются, когда вы подходите к ним. Объяснить, куда нужно идти тут, довольно трудно, поэтому мы просто прикрепим видео с его прохождением (нужный момент начинается с 5:15 минуты).
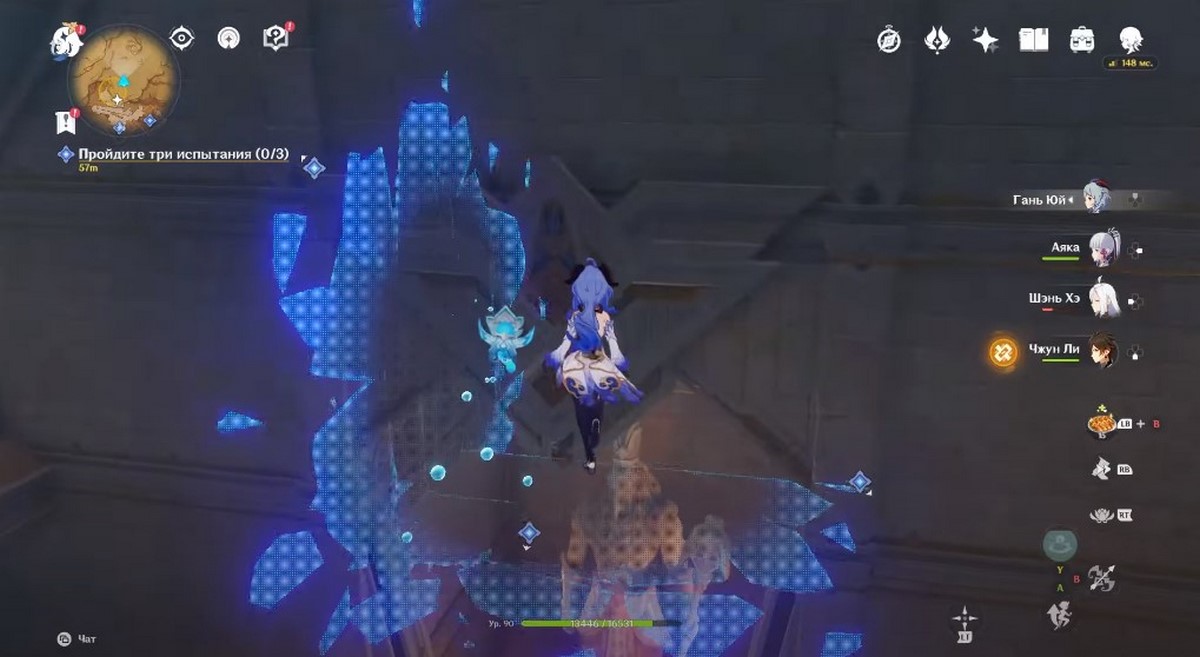
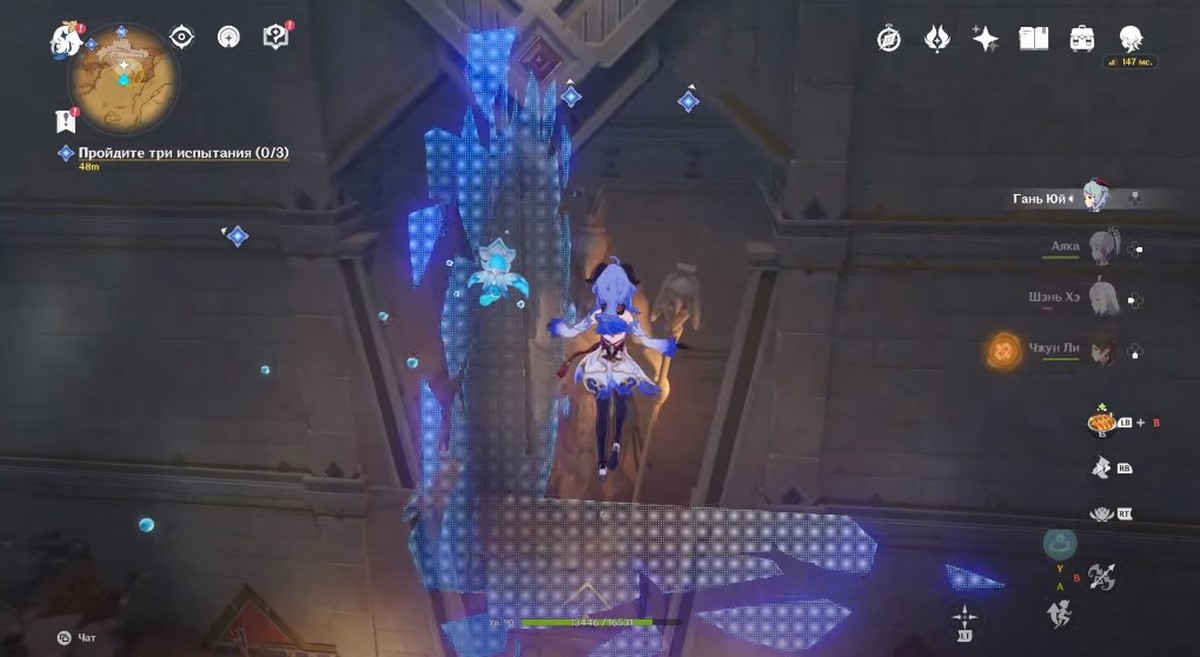
На первой картинке ниже показано место, где вы сможете спрыгнуть с самого верхнего яруса на 2-й нижний уровень. На втором скриншоте показано место перехода на 3-й ярус, а на третьем – на 4-й ярус, откуда вы сможете сразу же спуститься вниз, пройдя немного вправо. Как вы, наверное, уже заметили, все места для спуска находятся прямо перед статуями, поэтому нужно искать точки, в которых вы стоите лицом к ним.
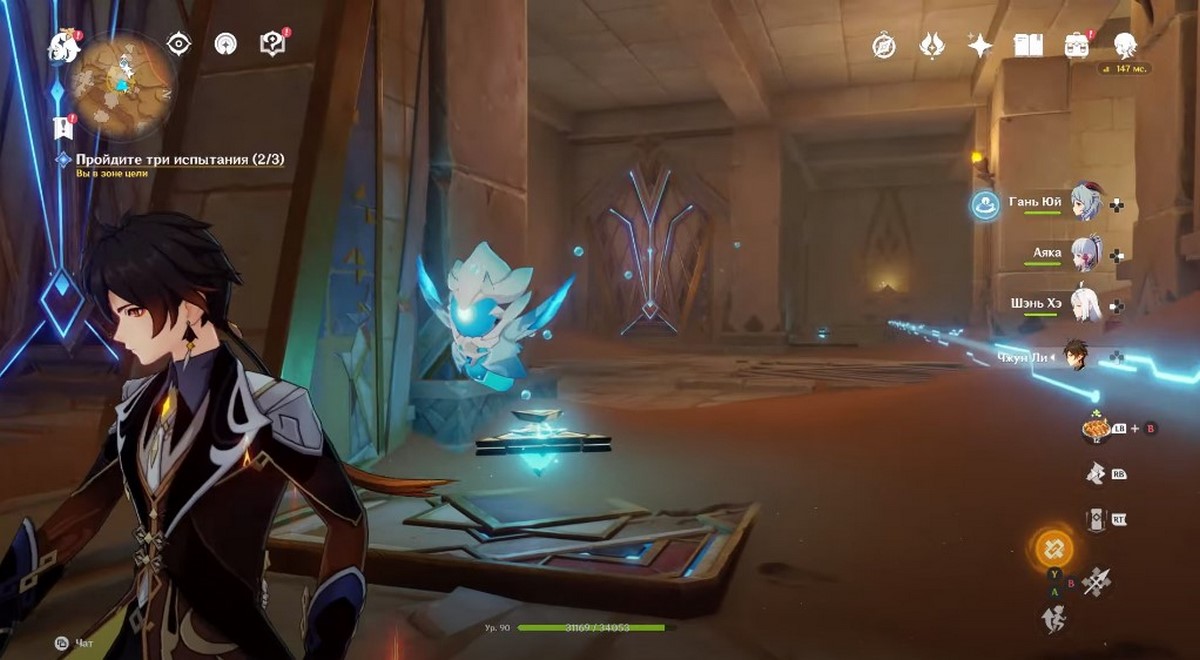
Спустившись, подберите Скрижаль: Долина на земле и пройдите вперед к статуе в небольшой нише. Позади нее вы обнаружите дендрокул. Развернитесь и пройдите в центр локации, чтобы взаимодействовать с консолью и активировать монумент. В результате первый челлендж будет завершен. Можете воспользоваться воздушным потоком и ветряными кольцами, чтобы возвратиться наверх.
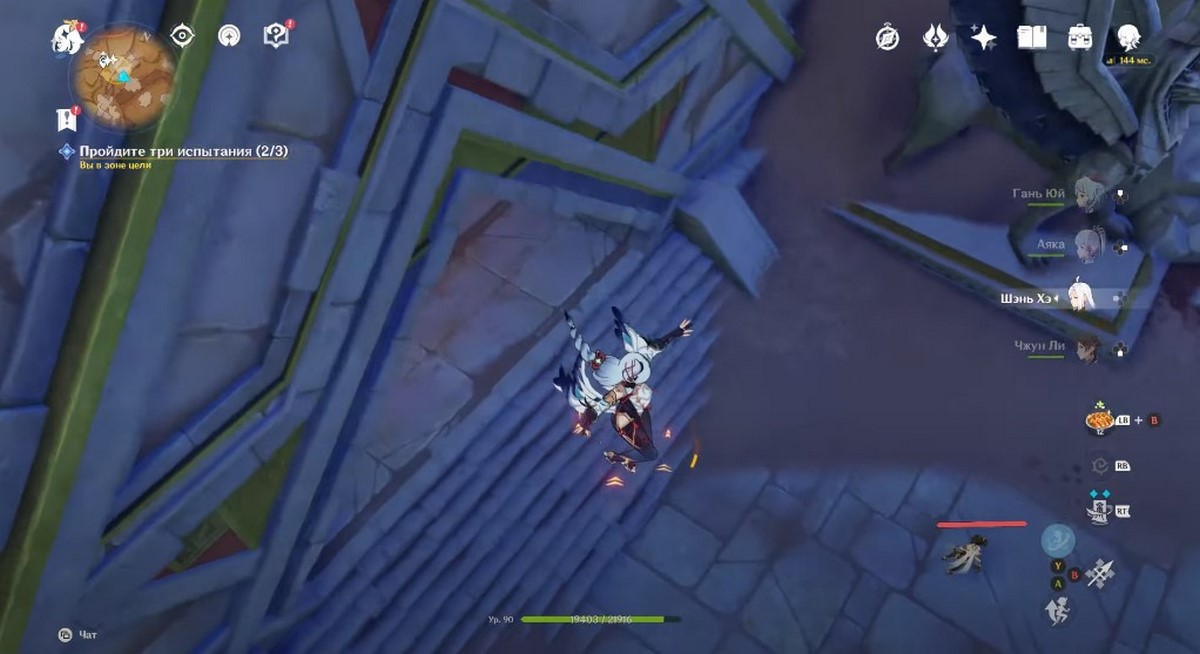
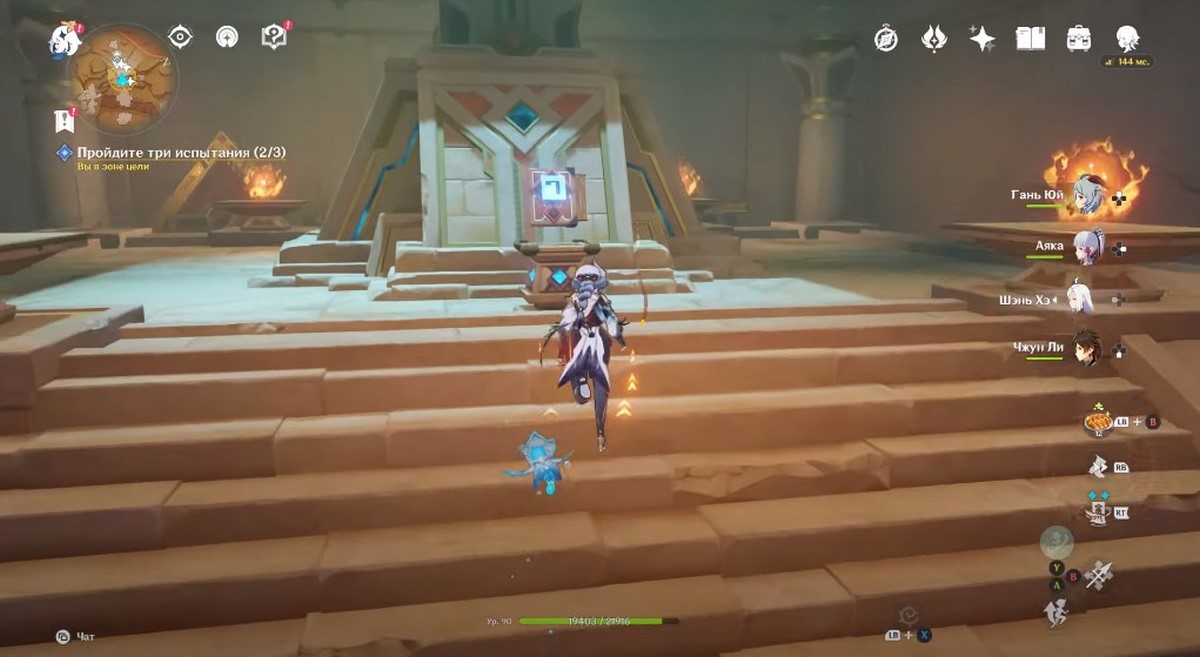
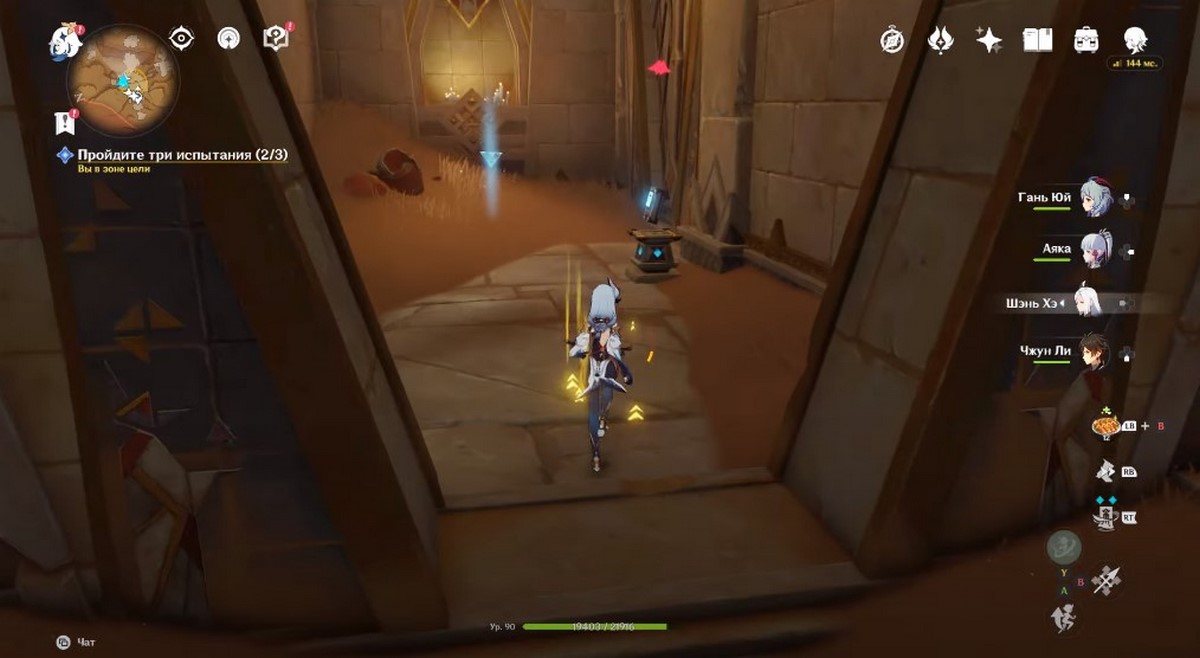
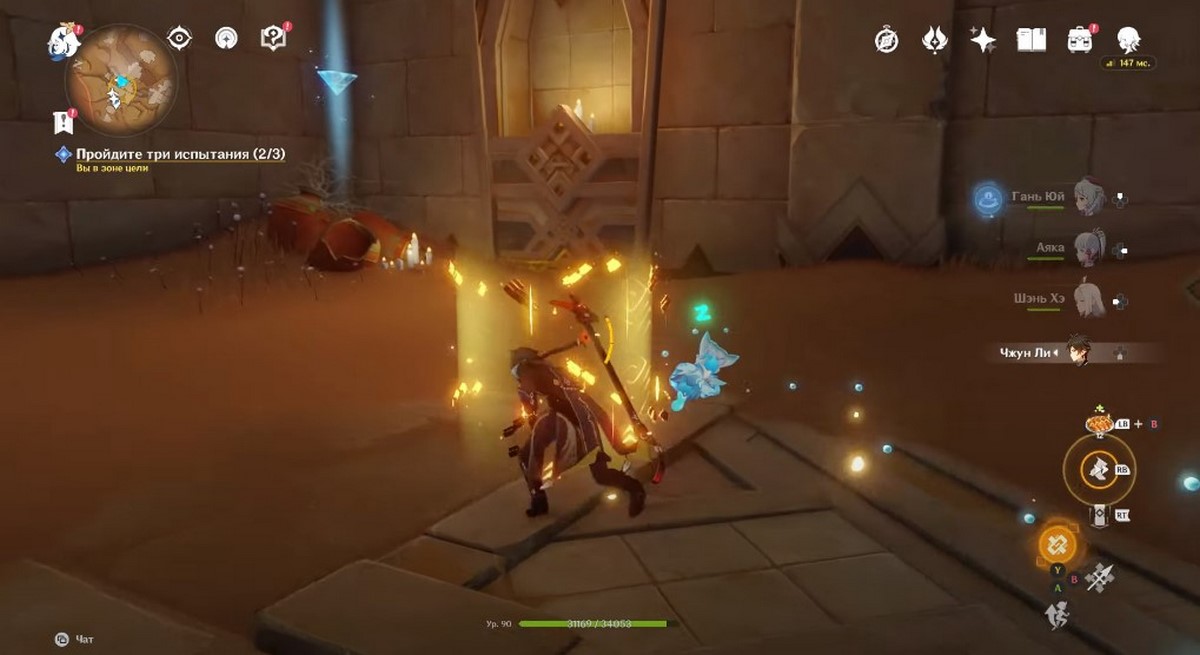
Второе испытание (бой)
Переместитесь к западному телепорту и бегите на северо-восток к следующему храму. Войдите в него, взаимодействуйте с консолью, подберите Скрижаль: Ритуал и прыгните в дыру, которая появится в левой части помещения.
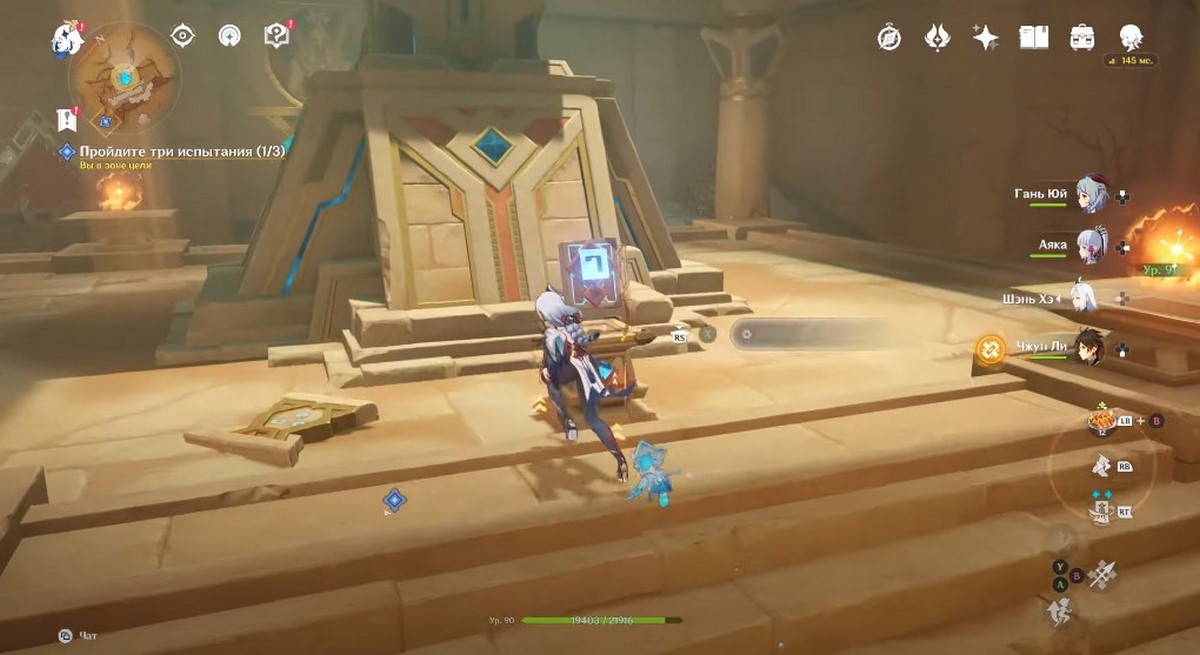
Спустившись вниз, вступите в схватку с двумя первозданными конструкциями и уничтожьте их. Далее взаимодействуйте с консолью для открытия еще одного прохода вниз. Спрыгните туда и на этот раз расправьтесь с уже четырьмя роботами. Вы разблокируете второй механизм – активируйте его, чтобы включить монумент и закончить второй челлендж.


Можете воспользоваться воздушным потоком и ветряными кольцами, чтобы выбраться наружу или просто сразу переместиться к западному телепорту.
Третье испытание (загадка с лучами)
Появившись возле точки телепортации, бегите вперед и спрыгните с разрушенного моста на самый нижний ярус. Там вы обнаружите проход в руины. Войдите внутрь и, как обычно, активируйте консоль для открытия прохода с правой стороны, из которого начнет дуть ветер. Спрыгните вниз, не расправляя крылья.

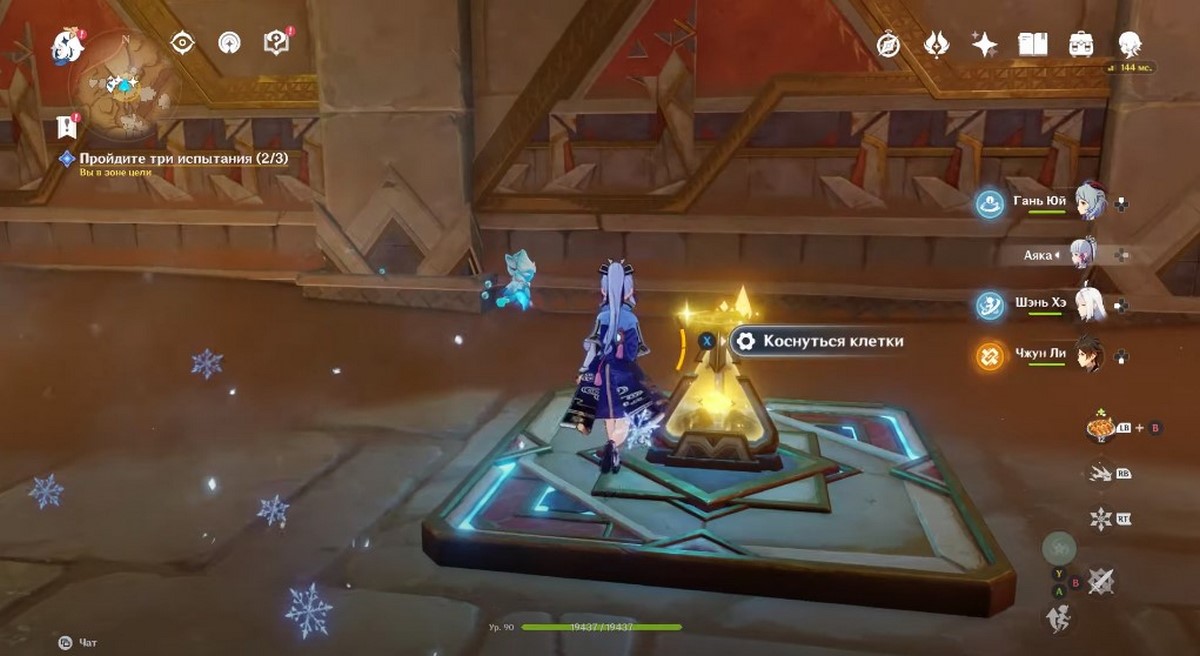
Внизу пройдите в следующее помещение и подберите первозданное светило. Отворите дверь с помощью консоли справа. В новой комнате поместите синий треугольник на любую из двух платформ. Потом подберите второе светило и поместите его на оставшуюся плиту.
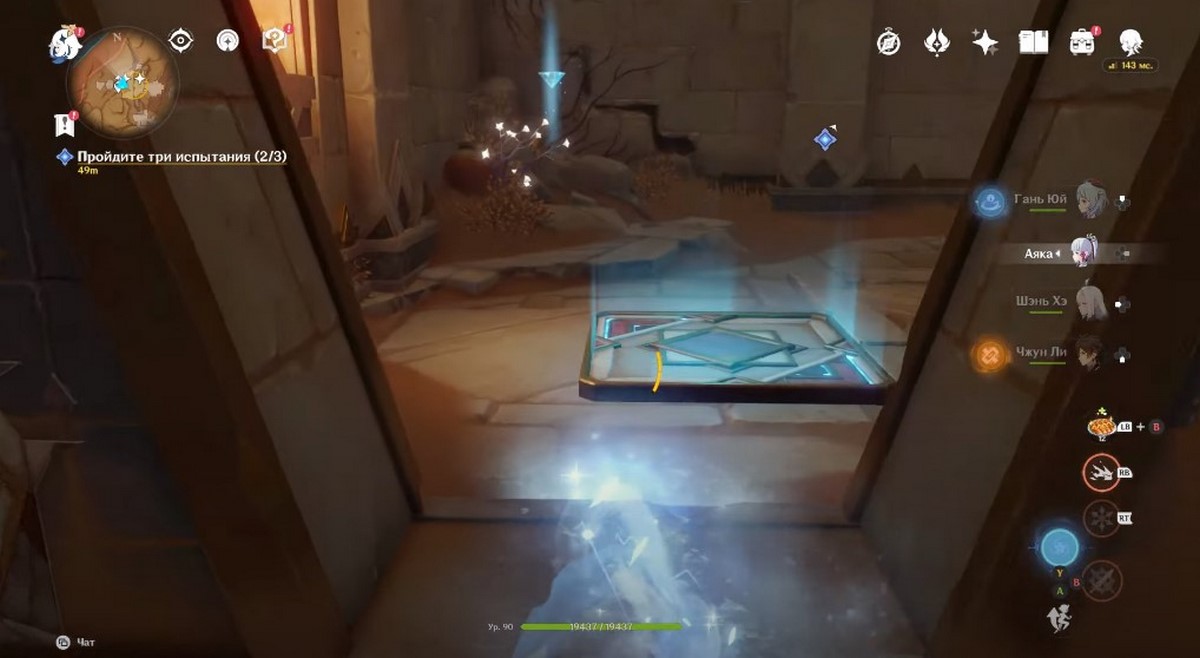
Коснитесь клетки сокрытия для открытия прохода с левой стороны и удаления иллюзорной стены справа. Войдите в новую локацию и осмотрите обычный сундук. Теперь возьмите 2 первозданных светила: одно из них находится в левой части помещения, перед статуей, а второе – неподалеку от места, где была иллюзорная стена.
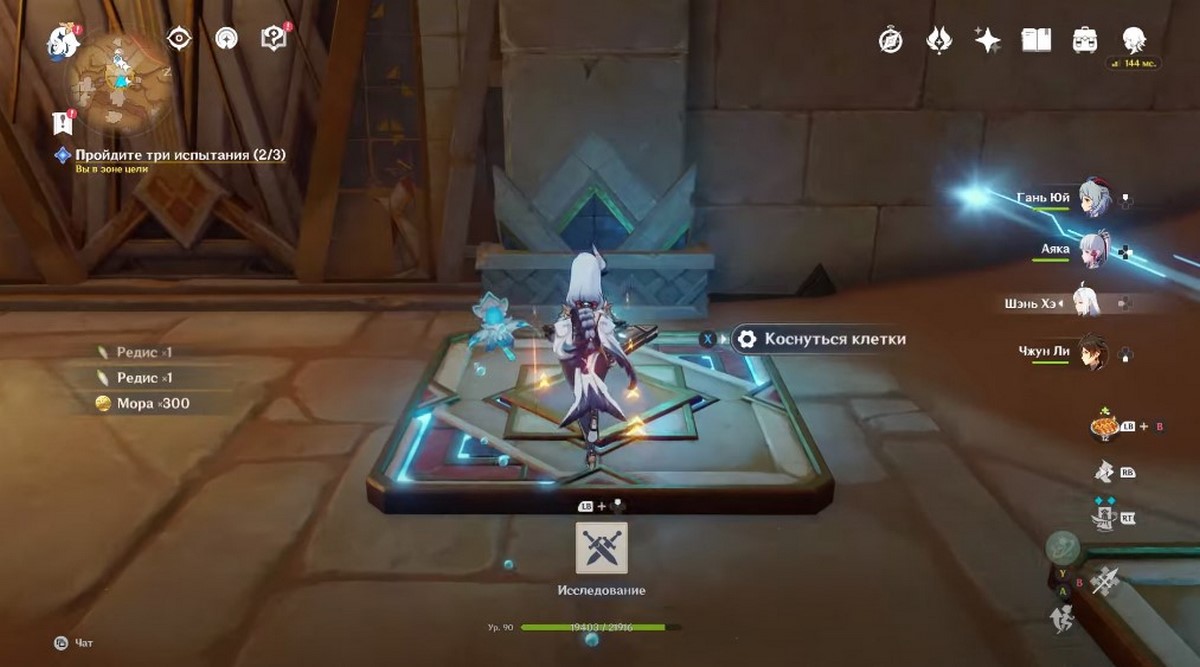
Расположите оба треугольника на платформах, чтобы появились новые механизмы. Коснитесь клетки справа, чтобы слева возникла стена и открылась дверь. Пройдите в другую комнату и поверните направо – в небольшой нише вы найдете удивительный сундук с чертежом «Пустынная печь: Тепло».


Далее взаимодействуйте с консолью для открытия двери, пройдите по коридору и спрыгните в дыру, из которой вырывается воздушный поток. Внизу расправьтесь с роботом и откройте дверь, взаимодействовав с разблокированной консолью. За ней вы увидите сундучок, в котором спрятан Замковый камень I.
Возвратитесь назад и подойдите к двери, возле которой светит желтый огонек. Установите в нее ранее найденный камешек для открытия нового прохода. Войдя, сразу же поверните направо и подберите светило. Затем войдите в комнату впереди и установите на платформе треугольник.


Подберите второе светило, висящее над камнями, и поместите его на вторую плиту для появления новых устройств. Откройте обычный сундук для получения Замкового камня II и коснитесь клетки, дабы убрать иллюзорную стену.

Возвратитесь в помещение, где вы нашли первый «ключик», расправьтесь с роботом и поместите замковый камень II в дверь с белым огоньком. Она откроется, и вы сможете пройти внутрь. Войдите в новую комнату и возьмите первозданное светило в правом уголке, а затем разместите его на платформе для появления клетки. Взаимодействуйте с ней для удаления стены.

В итоге все лучи соединятся, а двери разблокируются. Подбегите к статуе шакала с правой стороны и активируйте консоль для включения последнего монумента. Третье испытание будет завершено.
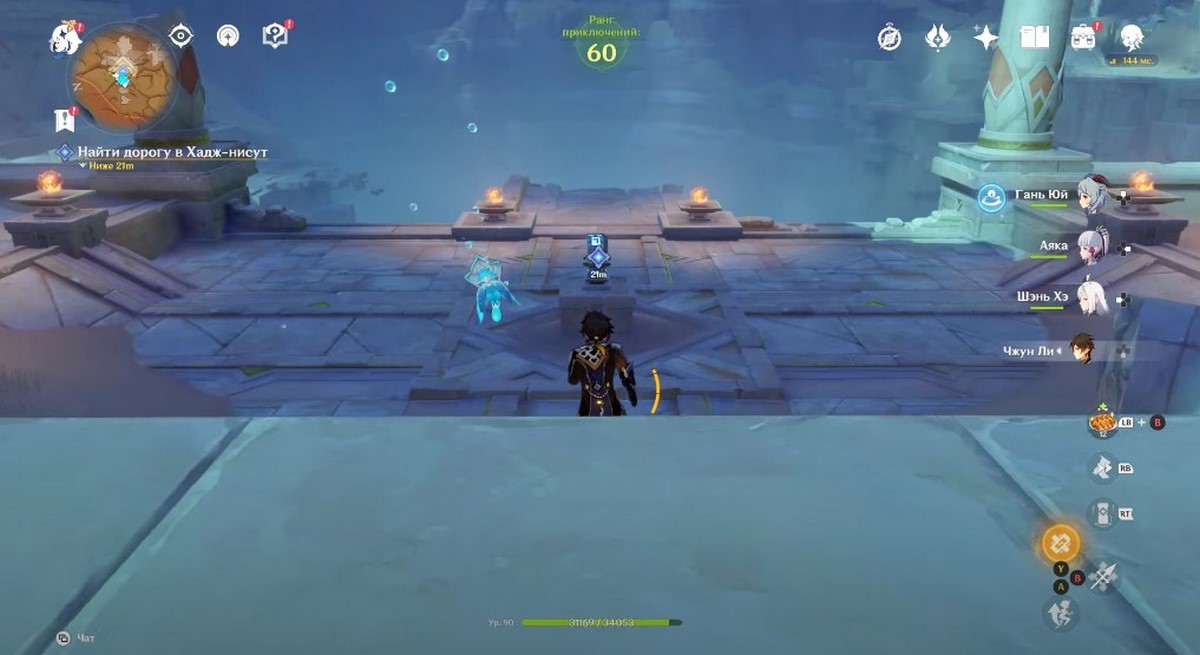
Как попасть в Хадж-Нисут
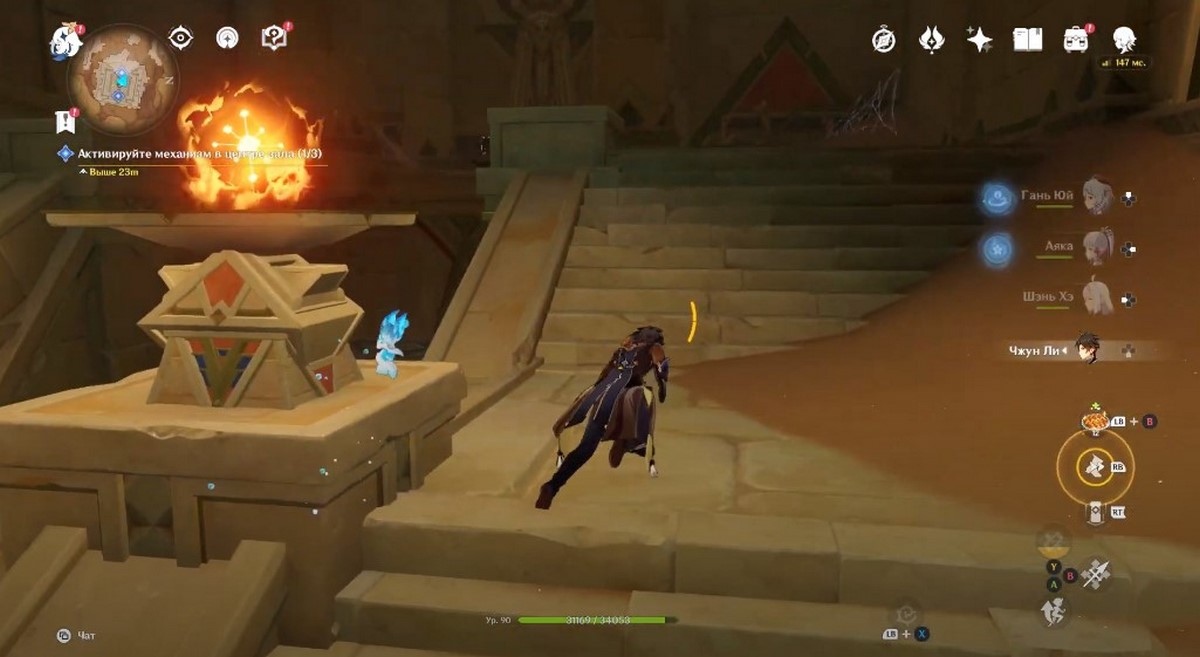
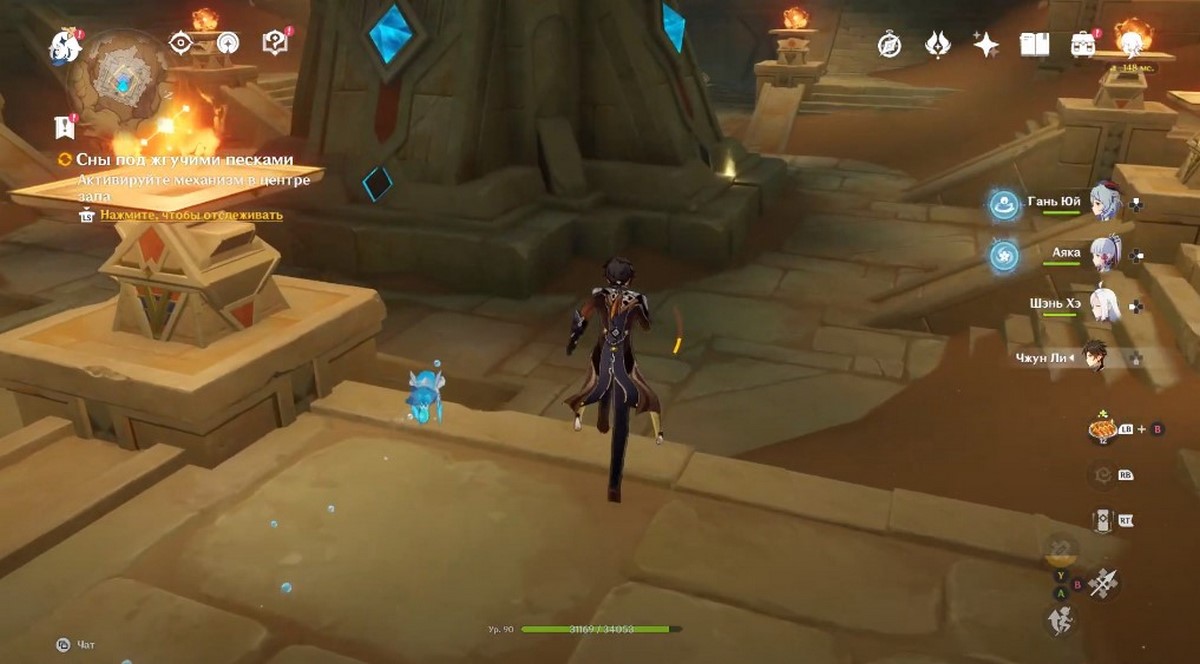
Телепортируйтесь к точке перемещения на западе и взаимодействуйте с разблокированной консолью, расположенной чуть ниже впереди. В результате барьер будет снят. Подойдите к краю обрыва и при помощи четырехлистников перелетите на другую сторону. Там активируйте очередную консоль, чтобы открыть огромную дверь. Войдите внутрь и гляньте новую кат-сцену.

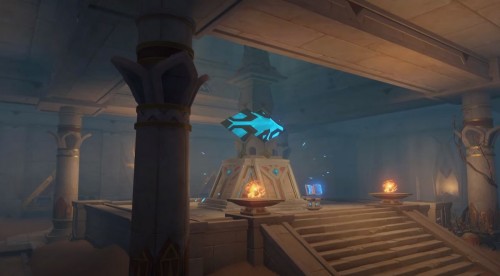
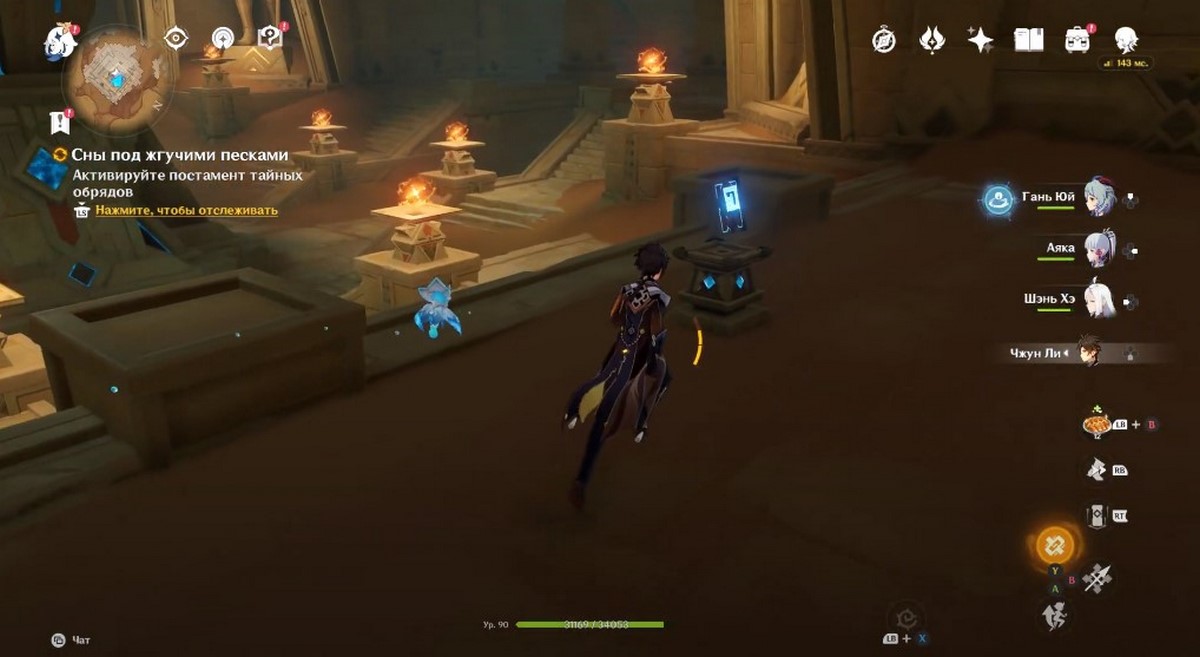
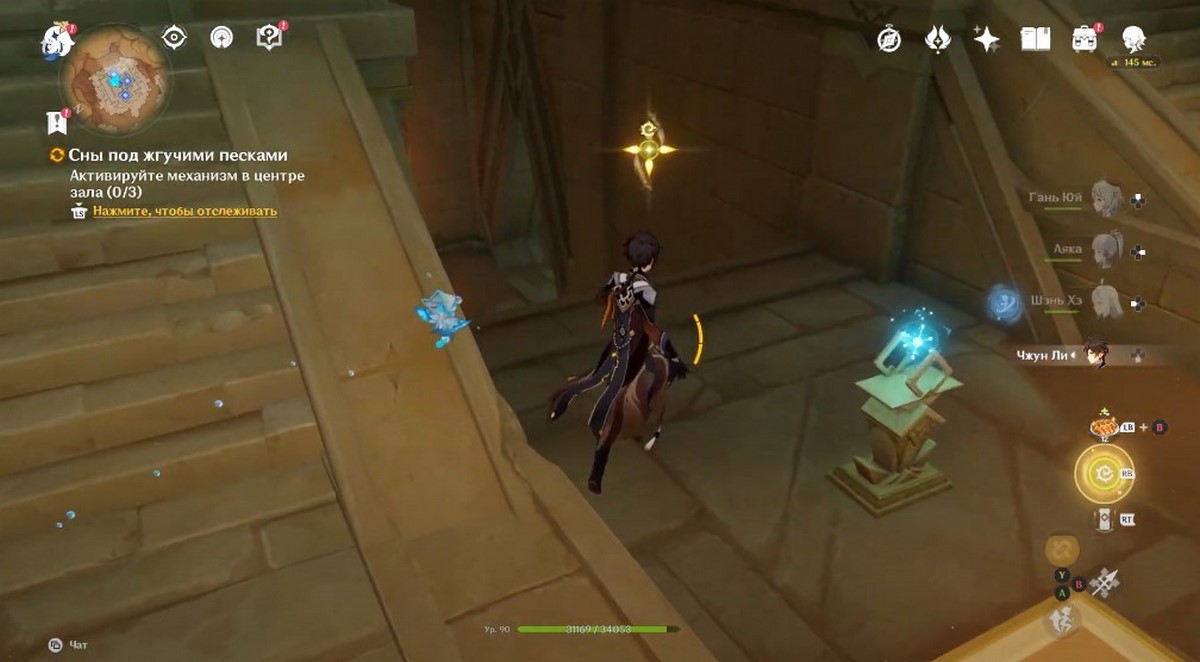
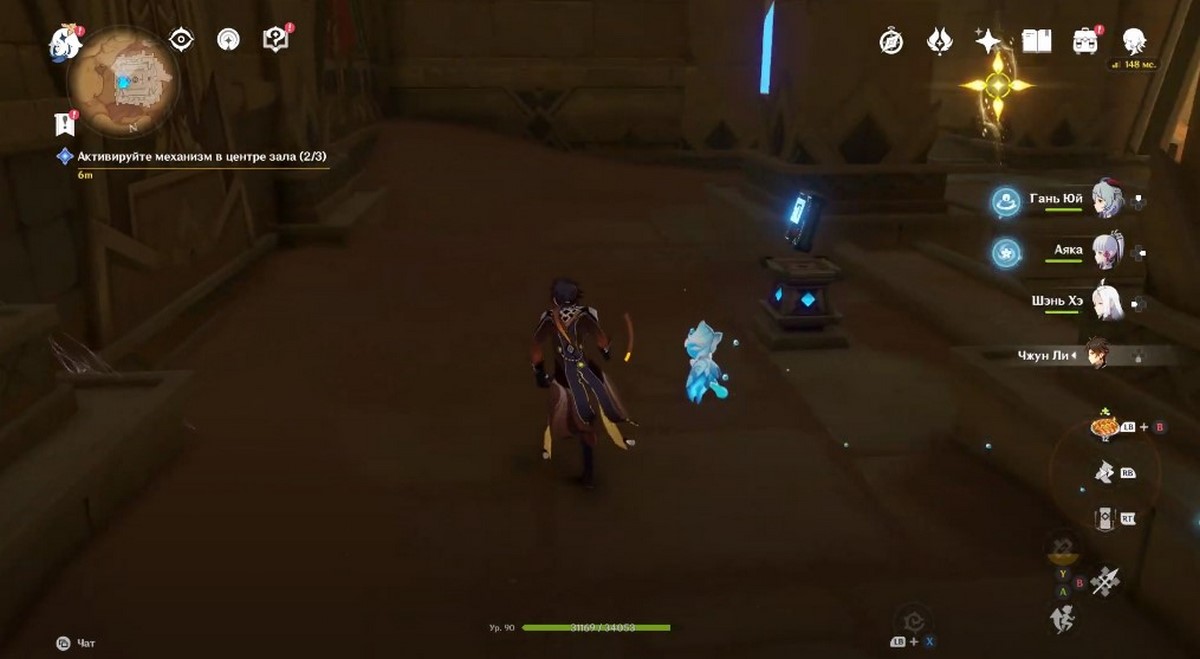
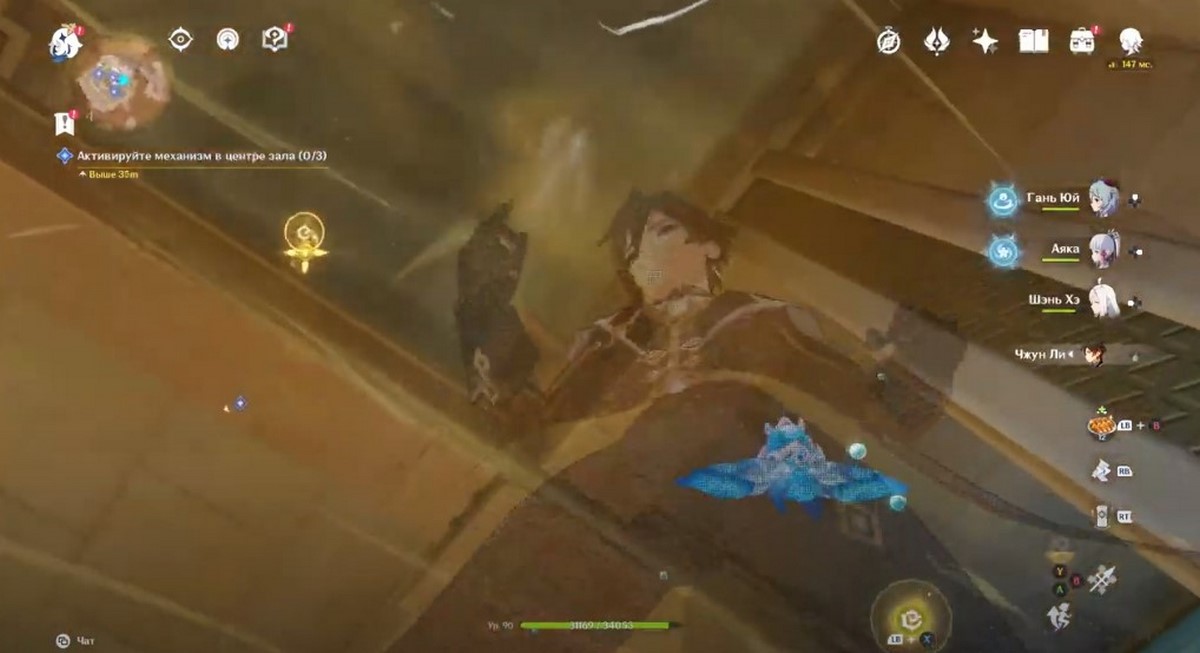
Как активировать механизм в центре зала
После ролика сверните влево и спрыгните вниз через отверстие, чтобы попасть на нижний уровень руин. Далее активируйте постамент тайных обрядов, расположенный справа. Пройдите в проход позади воздушного потока. Дверь за вами закроется. Спрыгните в дыру и разберитесь с первозданными конструкциями для разблокировки драгоценного сундука.

Возвратитесь наверх с помощью воздушных потоков. Теперь пройдите в комнату с левой стороны от синей платформы с ветром. Спрыгните в дыру, пройдите через коридор и попадите в просторное помещение с дендрокулом. Добежать до него напрямик не получится из-за синих барьеров, поэтому бегите зигзагом, чтобы обходить силовые поля.
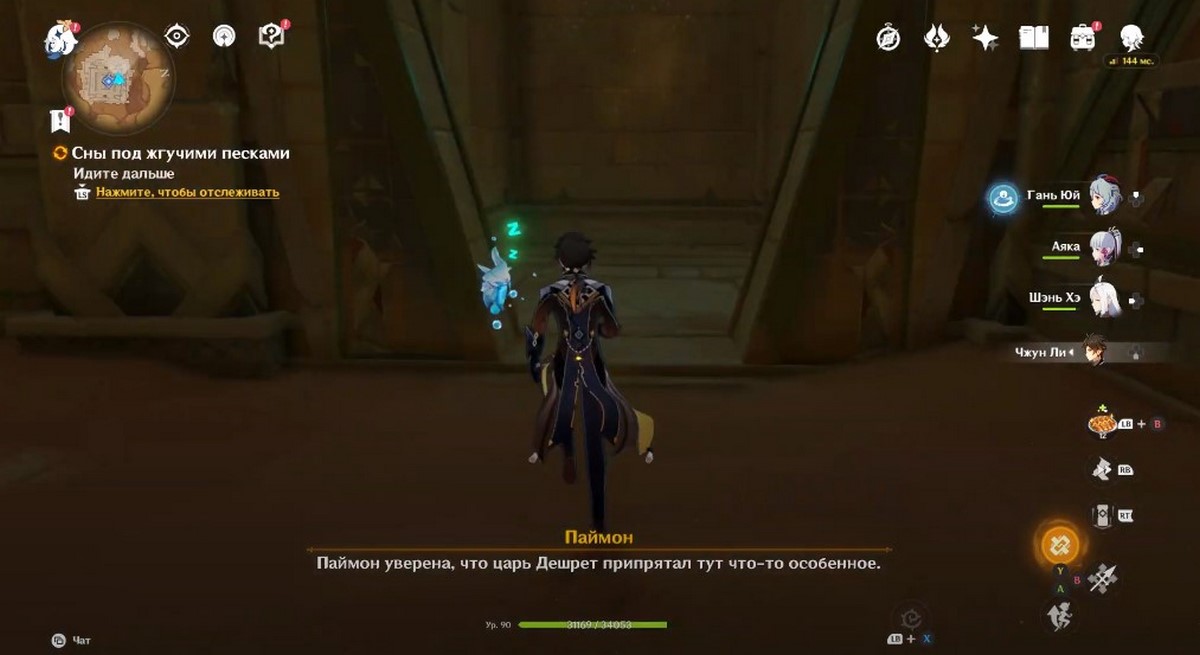
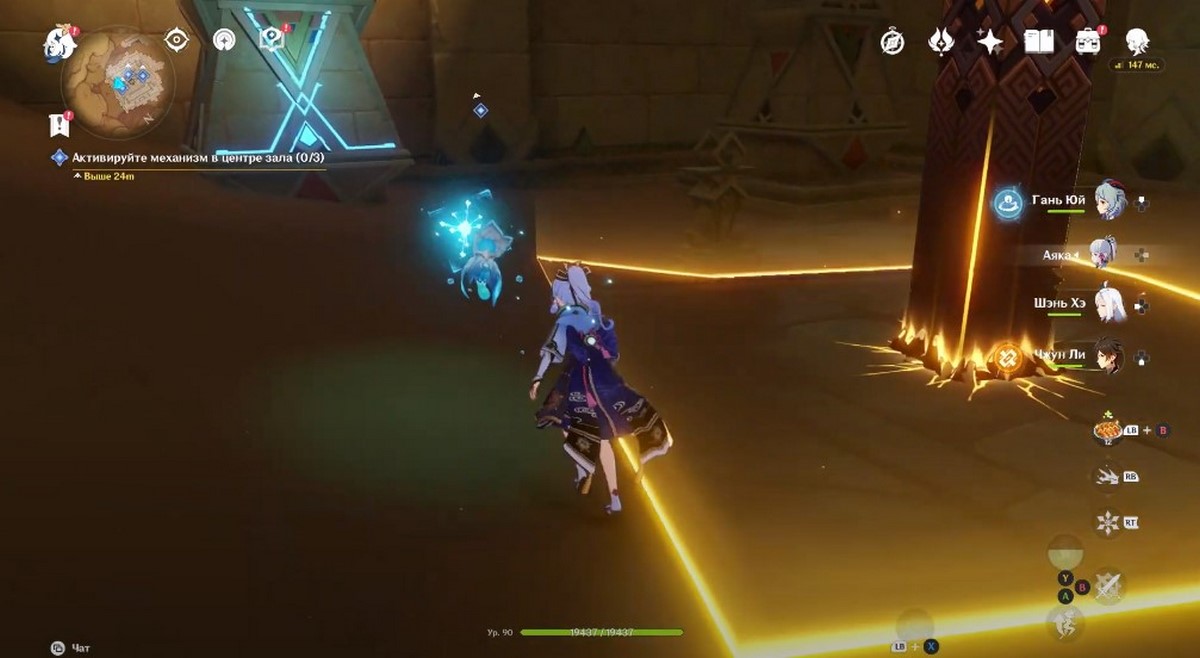
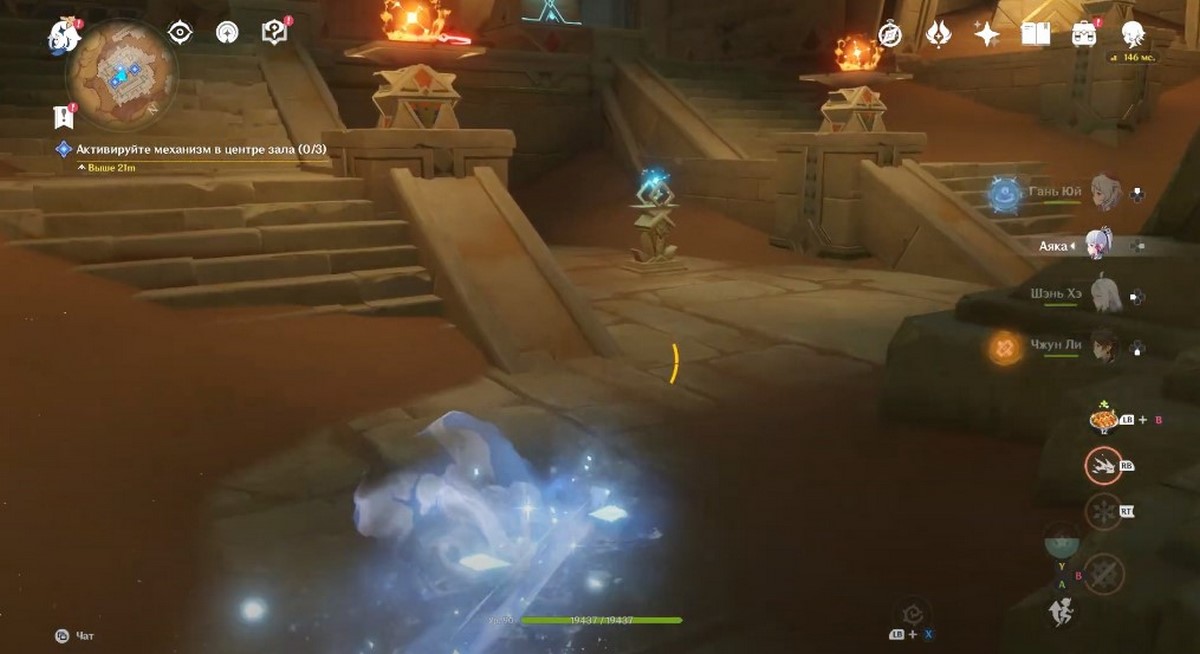
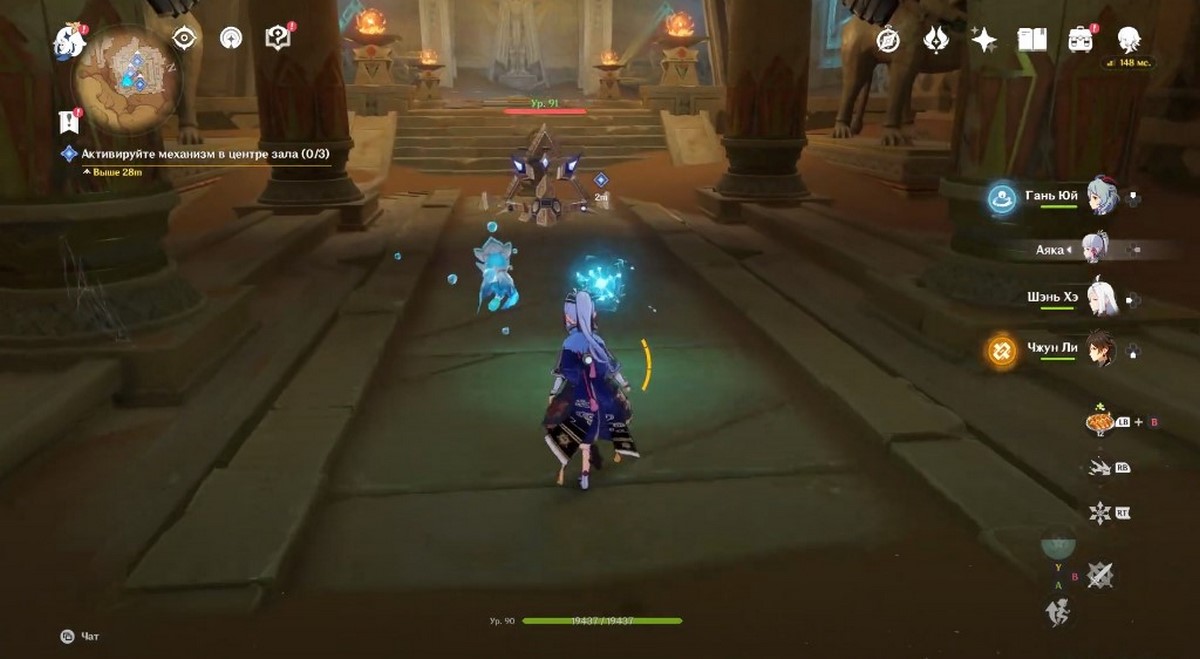
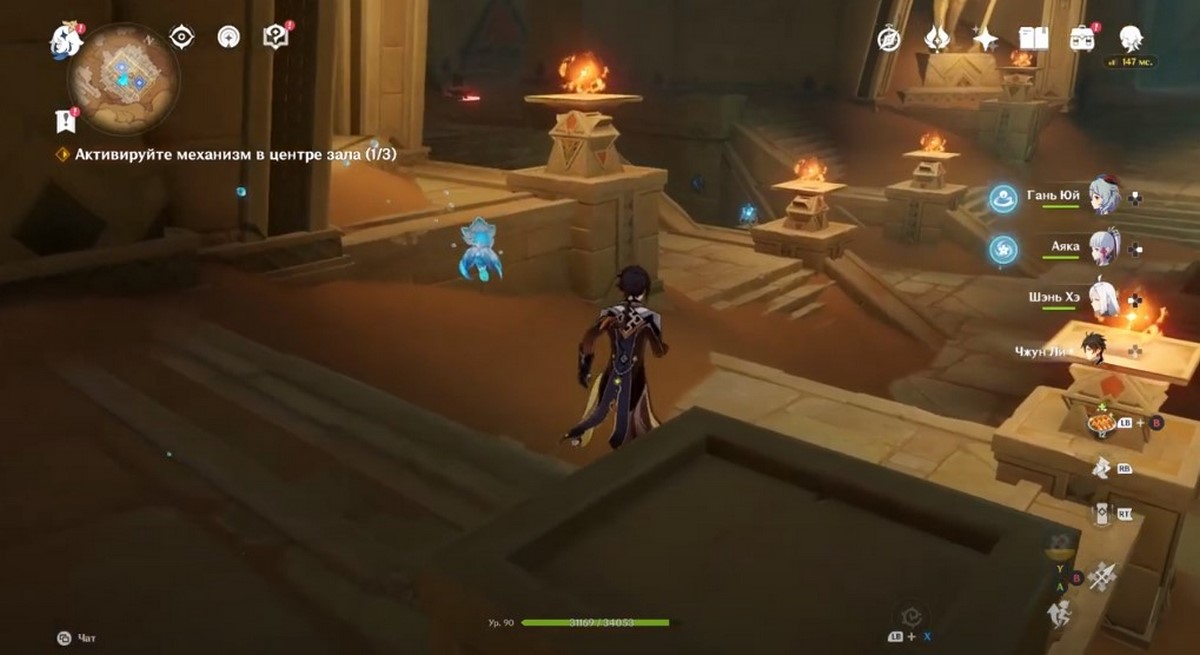
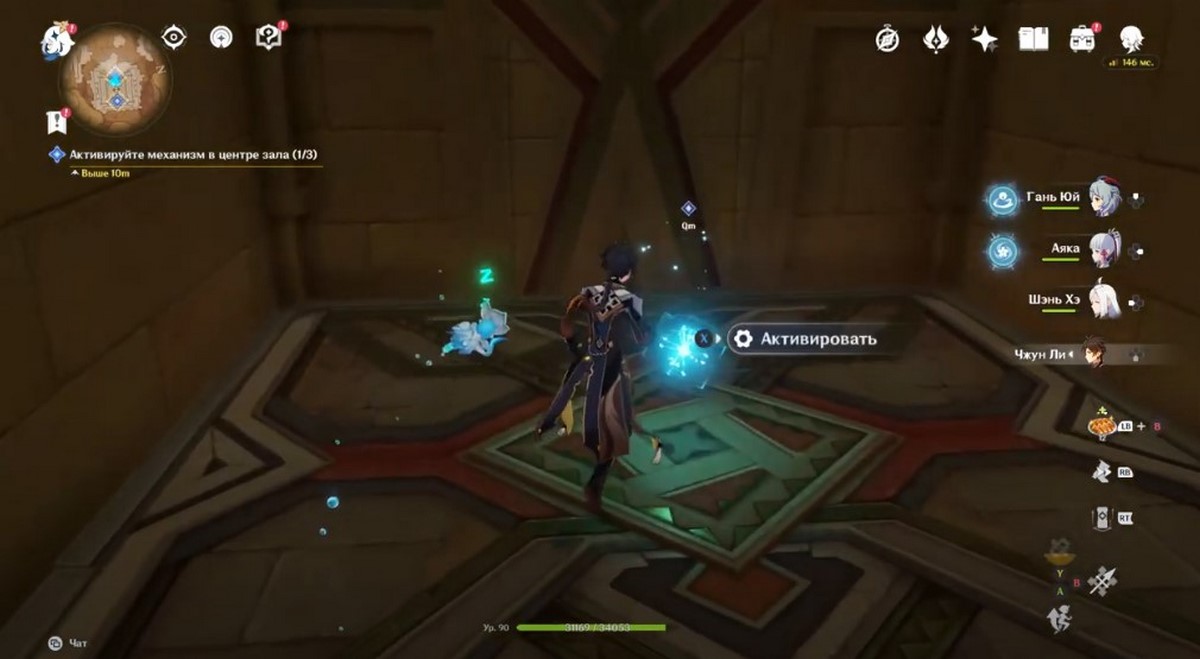
Снова вернитесь наверх в центральный зал. Тут вам предстоит активировать главный механизм, включив несколько первозданных факелов. Для этого необходимо довести до них первозданные искры. Ниже мы расскажем, где их можно найти.
Первая первозданная искра
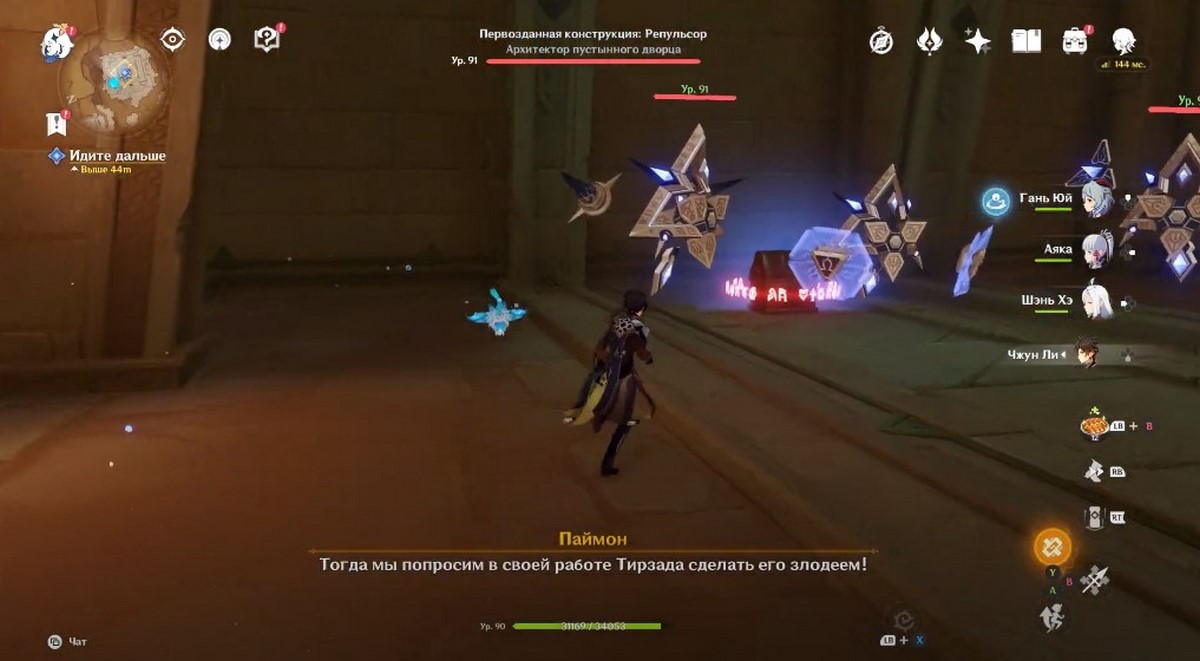
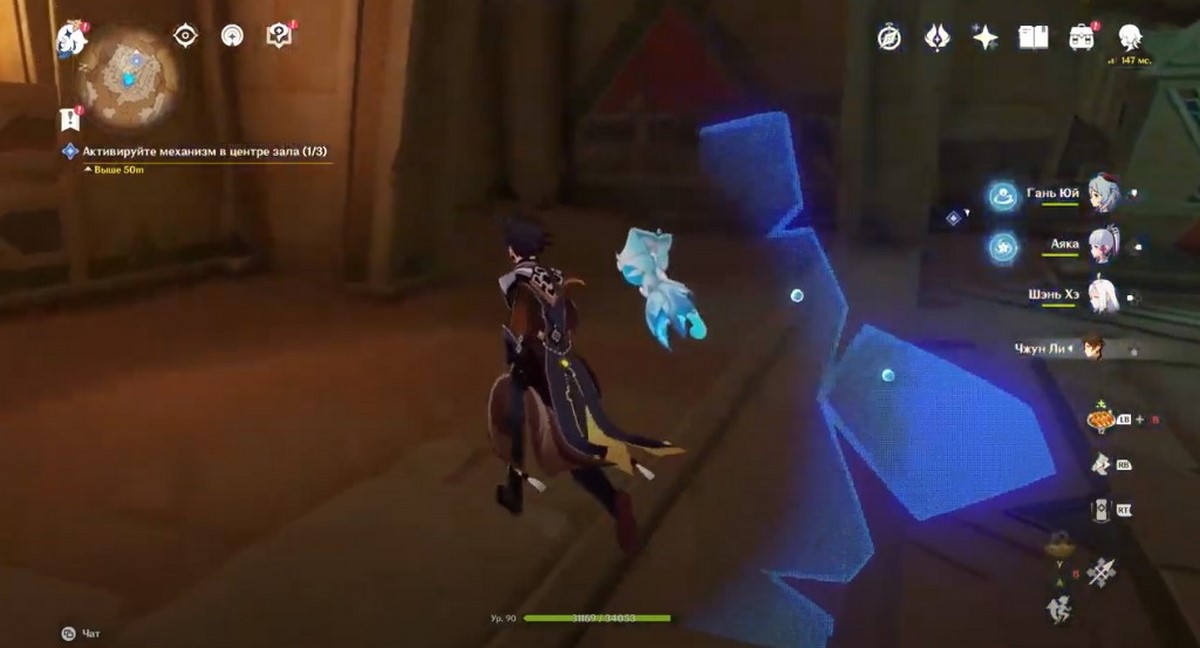
Встав лицом к устройству, поверните налево и отыщите подсвечник – проведите разблокировку искры и начните следовать за ней, спустившись вниз. Разберитесь с конструкцией и приведите искорку к постаменту – вновь разблокируйте ее, чтобы она наконец-то вошла в факел.

Возвратитесь в центральный зал с помощью четырехлистного символа, поднимитесь по лесенке рядом с пустым подсвечником и обязательно активируйте постамент.
Вторая первозданная искра
Поверните налево, чтобы взаимодействовать со следующим подсвечником. Снова начните бежать за синим кубом, который повернет к постаменту с первой искоркой. Поднимитесь по лесенке и сверните вправо в коридор. Затем спрыгните вслед за искрой в дыру и пройдите в просторное помещение.

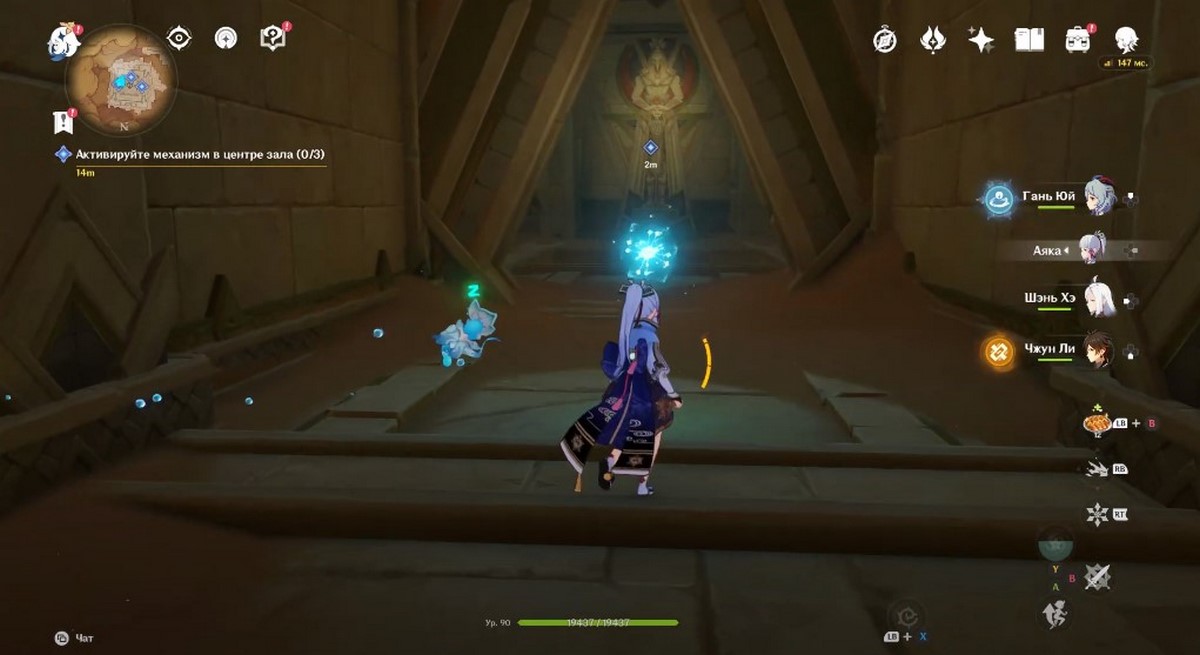
Разберитесь с роботом и снова проведите разблокировку искры. Проведите ее через воздушные потоки по бокам, а потом встаньте на платформу и притянитесь к четырехлистнику. Доведите куб до второго факела, а потом взаимодействуйте с разблокированной консолью с левой стороны.

Третья первозданная искра
Снова поверните налево и бегите к третьему подсвечнику с искрой. Проведите разблокировку и начните следовать за огоньком. Активируйте лифт и спуститесь на нем вниз. Там вас ждет очередной лабиринт с невидимыми стенами.
Вначале пробегите влево до самого конца, а потом направо, чтобы обойти преграды и добраться до колонны. Она активируется, и вы сможете возвратиться назад, используя лифт. Выйдите из подъемника и поднимитесь по лесенке слева или справа. На выступе вы найдете постамент, который нужно активировать.
Далее пройдите в центр зала и взаимодействуйте с устройством, подойдя к огоньку. После небольшого ролика бегите к маркеру и с помощью воздушных потоков поднимитесь наверх.

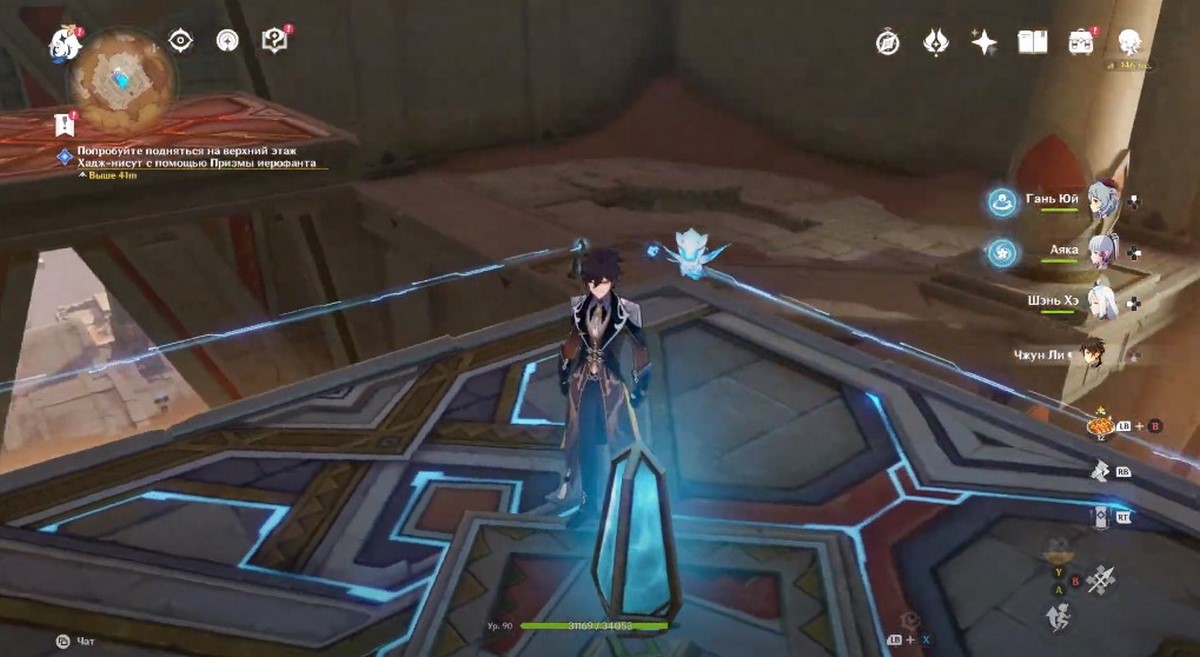
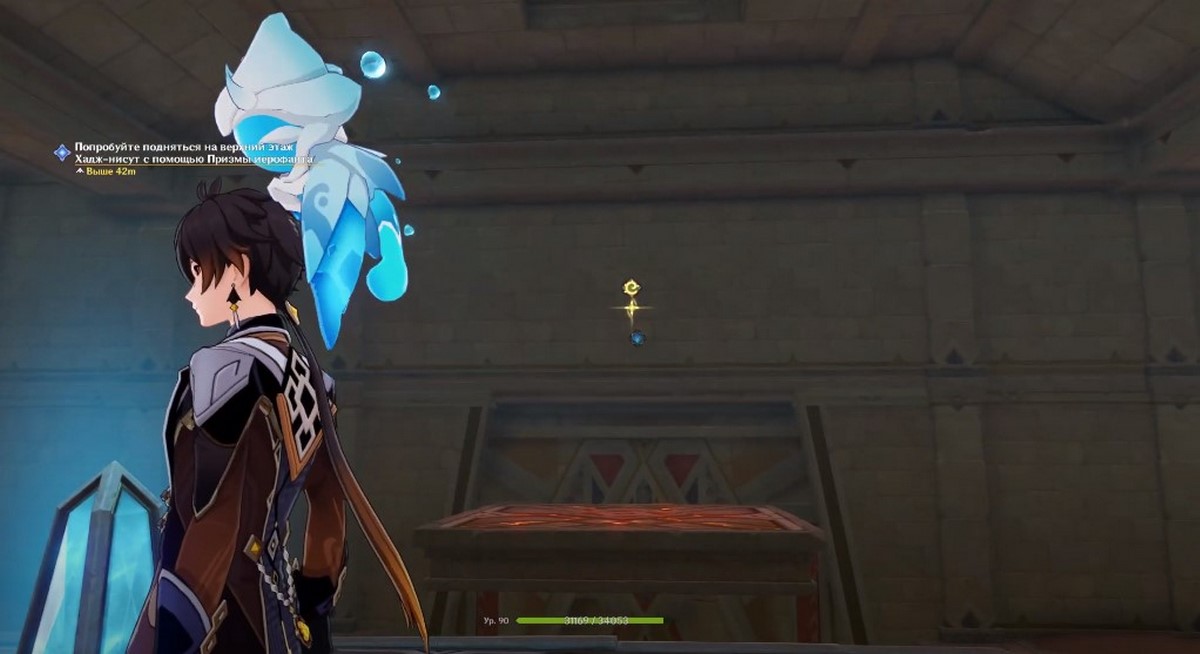
Как попасть наверх с помощью призмы иерофанта
Используйте четырехлистные символы, дабы попасть на красную площадку в середине помещения. Там вы обнаружите нужное устройство, которое позволяет изменять цвет платформ и местоположение плит, имеющих такую же расцветку, что и призма иерофанта.

Чтобы решить головоломку, выполните следующие шаги с механизмом:
- Действие
- Сменить
- Действие
- Действие
Если вы все сделали правильно, то платформы встанут так, чтобы не мешать лучам внизу. После этого появится четырехлистный символ. Притянитесь к нему и активируйте устройство на стене. В зале появится подъемник, на котором вы сможете попасть на верхний уровень гробницы.

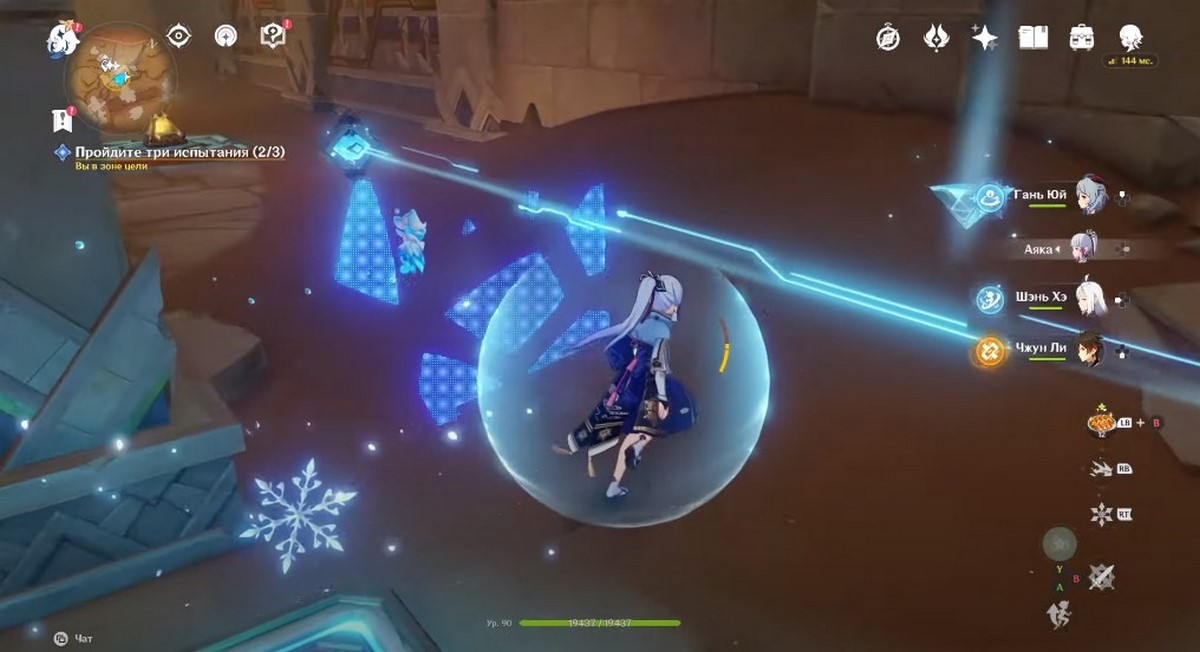
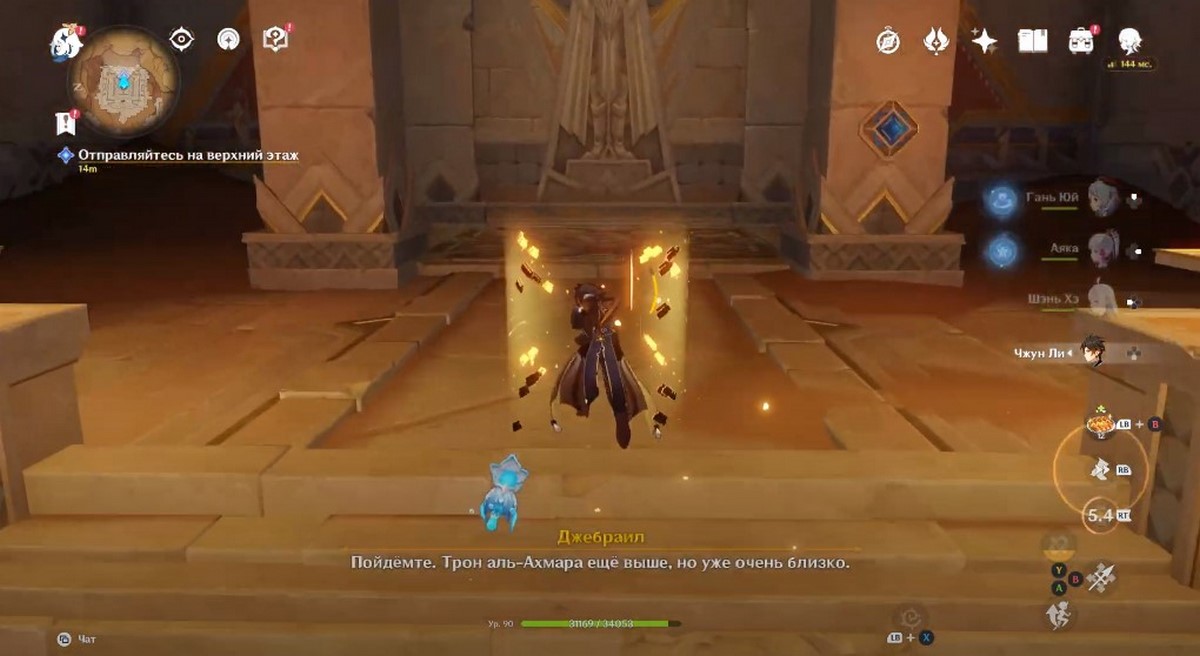
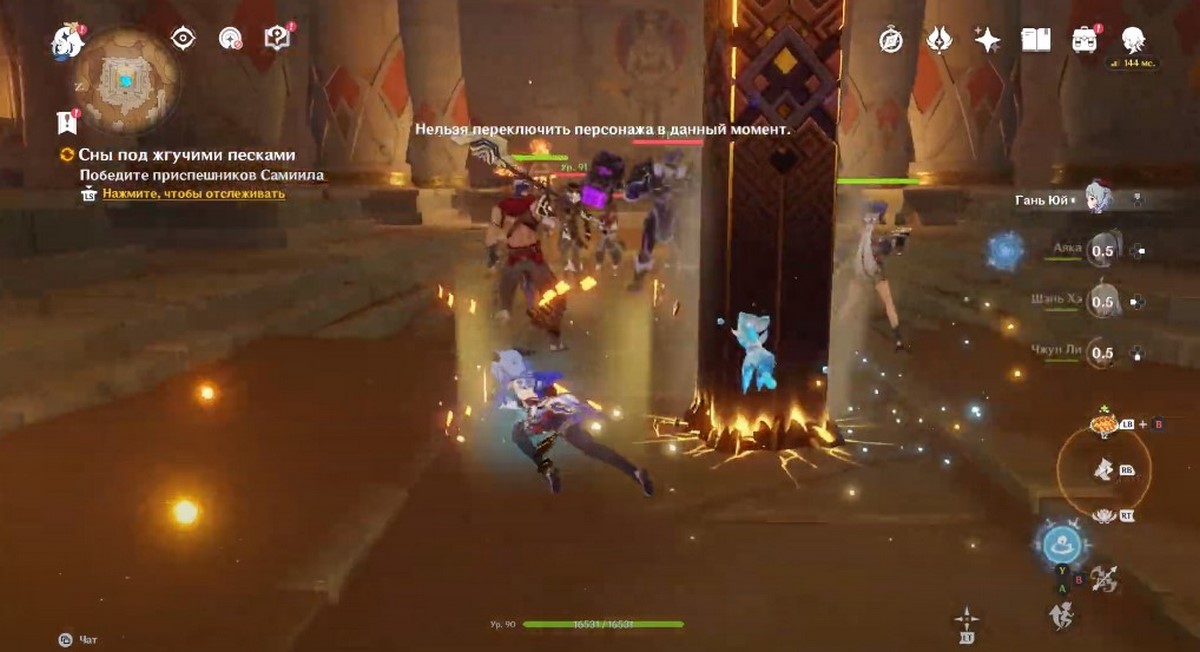
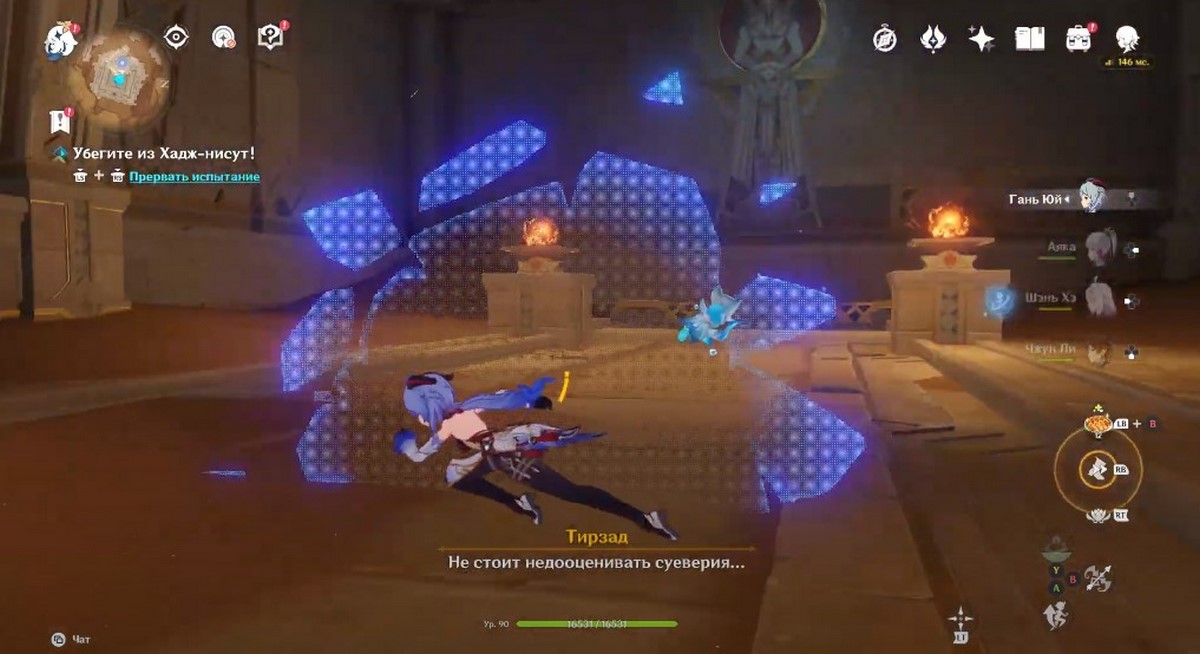
Поднявшись, идите мимо четырех первозданных конструкций. Пройдите еще немного вперед и воспользуйтесь вторым лифтом. Затем подойдите к трону, и посмотрите новый ролик. Далее вам нужно будет разобраться с приспешниками Самиила. Приготовьтесь к сражению с тремя волнами противников. Во второй волне на вас нападут опасные элитные противники, поэтому будьте осторожны. После боя будет еще одна кат-сцена.
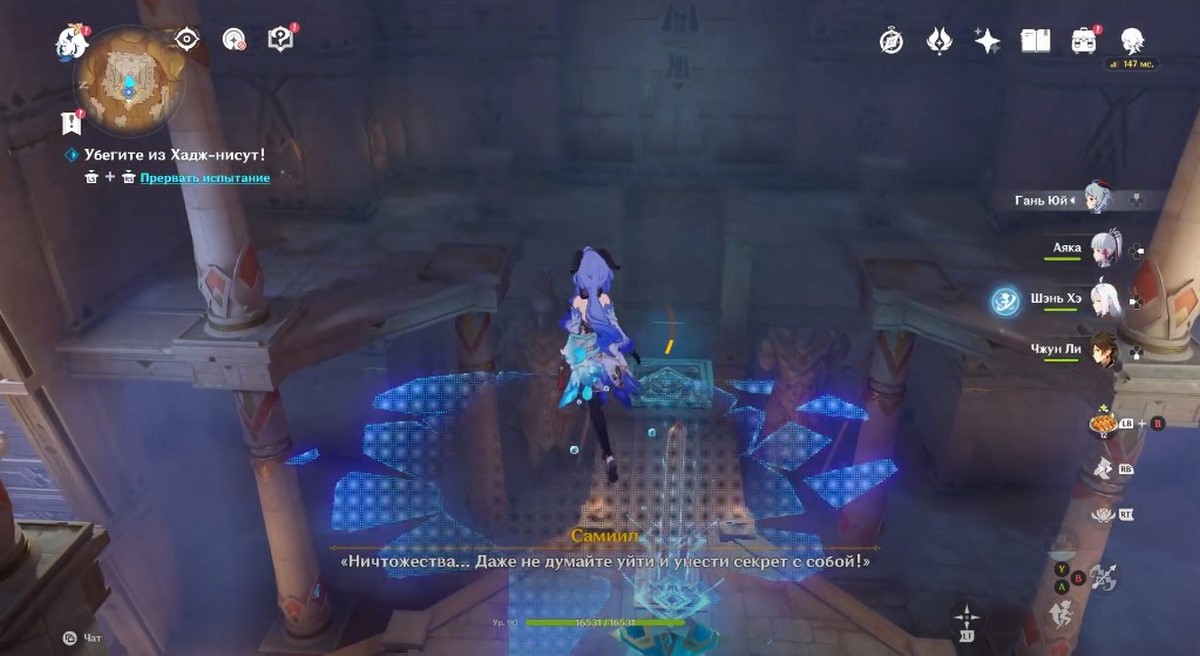
Как убежать из Хадж-Нисут
Вам нужно будет как можно быстрее покинуть разрушающийся храм (таймера не будет, поэтому, скорее всего, можно не спешить). Для этого развернитесь и спрыгните в дыру, из которой вы ранее попали на верхний этаж. Далее обойдите синие барьеры: бегите вначале влево, а потом вправо.
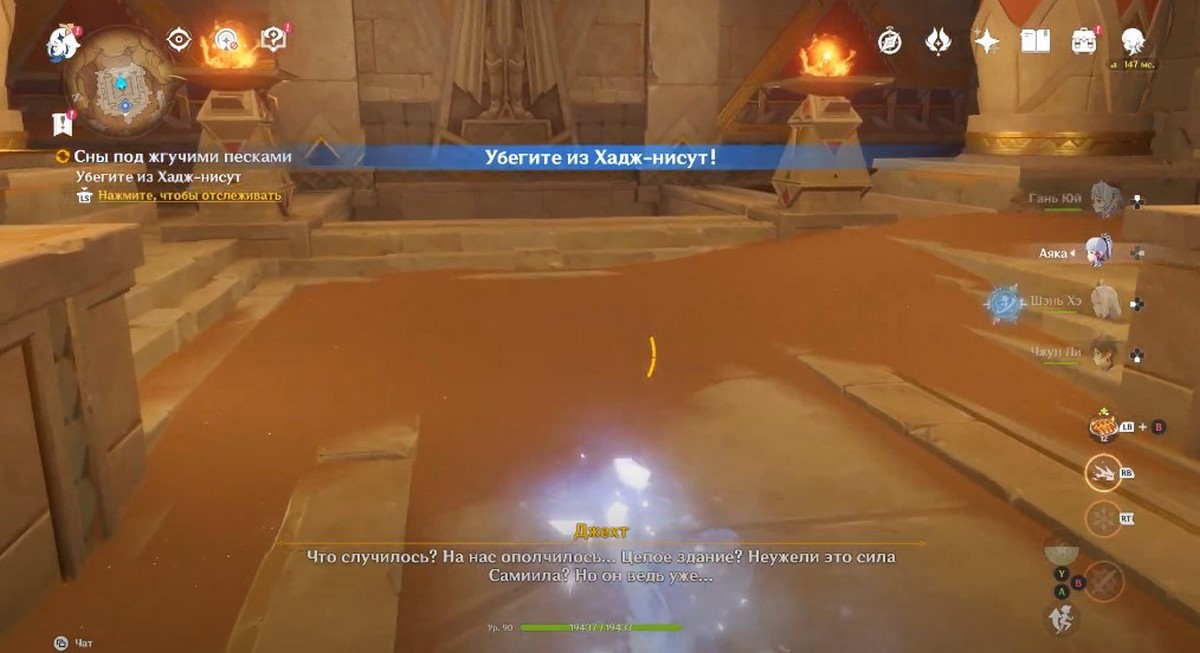
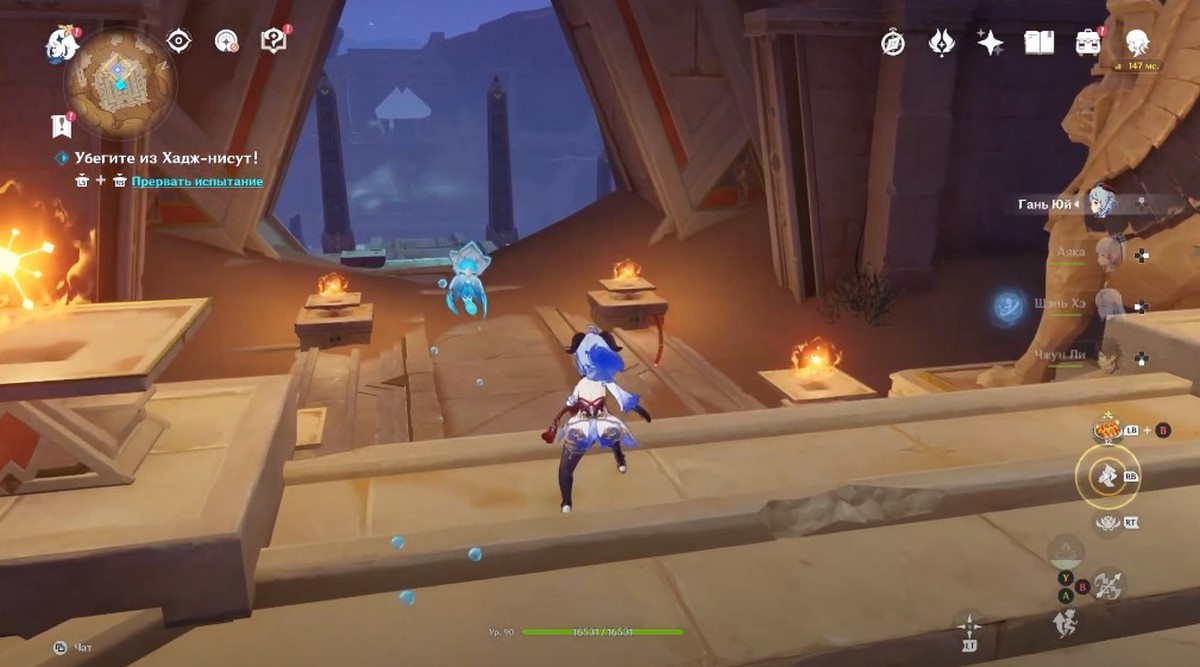
Спрыгнув в очередное отверстие, сразу же раскройте глайдер, иначе ваш персонаж может погибнуть, ударившись об невидимый синий барьер внизу. Спустившись вниз, бегите к выходу. Дверь перед вами закроется. Посмотрите длинную кат-сцену.
В конце вы возвратитесь в деревню Аару. На этом задание и вся цепочка завершится. Вы откроете трофей «… Соплеменник грез» и получите в награду 450 очков приключений, 5 книг героя, 40 тысяч моры, 50 примогемов и 5 волшебной руды усиления. Ровно через один реальный день вы сможете начать задание «Двойное доказательство» из линейки квестов «Древний язык, новые знания».
Добавим, что вы можете возвратиться в Хадж-нисут, чтобы снова исследовать его. Повторно решив головоломку с призмой, вы сможете получить роскошный сундук и открыть достижение «На бис!». Мы подробно рассказали об этом в отдельном руководстве.
Комментарии
Для добавления комментариев необходимо авторизоваться.
Вы можете войти через