In Genshin Impact Dual Evidence is part of the line "Old Notes and New Friends" And twilight desert world quest. As part of it, you will need to collect all the power using a stone slab, turn on a huge device, activate primordial torches and fight many enemies. If you're having trouble starting and completing a mission, check out our guide.
Passage of the quest "Dual Evidence"
How to start a task
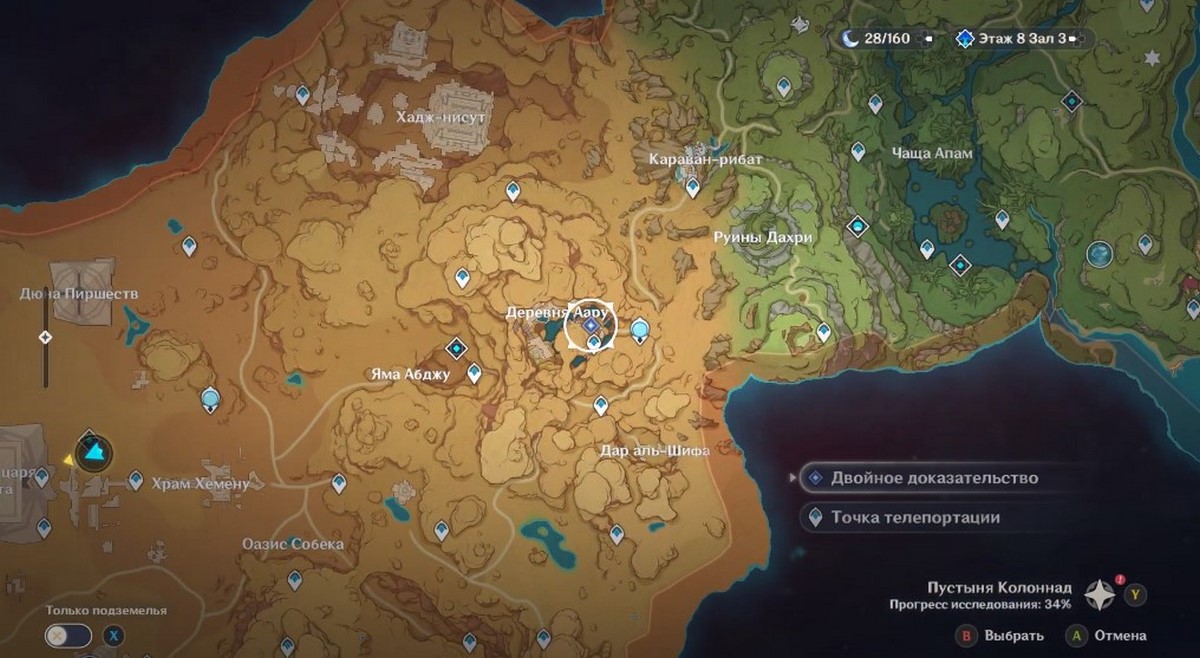
Access to it will open after completing the mission called "Dreams Beneath the Searing Sand". However, it will not be possible to immediately take up its implementation - you must wait for the server to be reset, that is, wait until tomorrow.
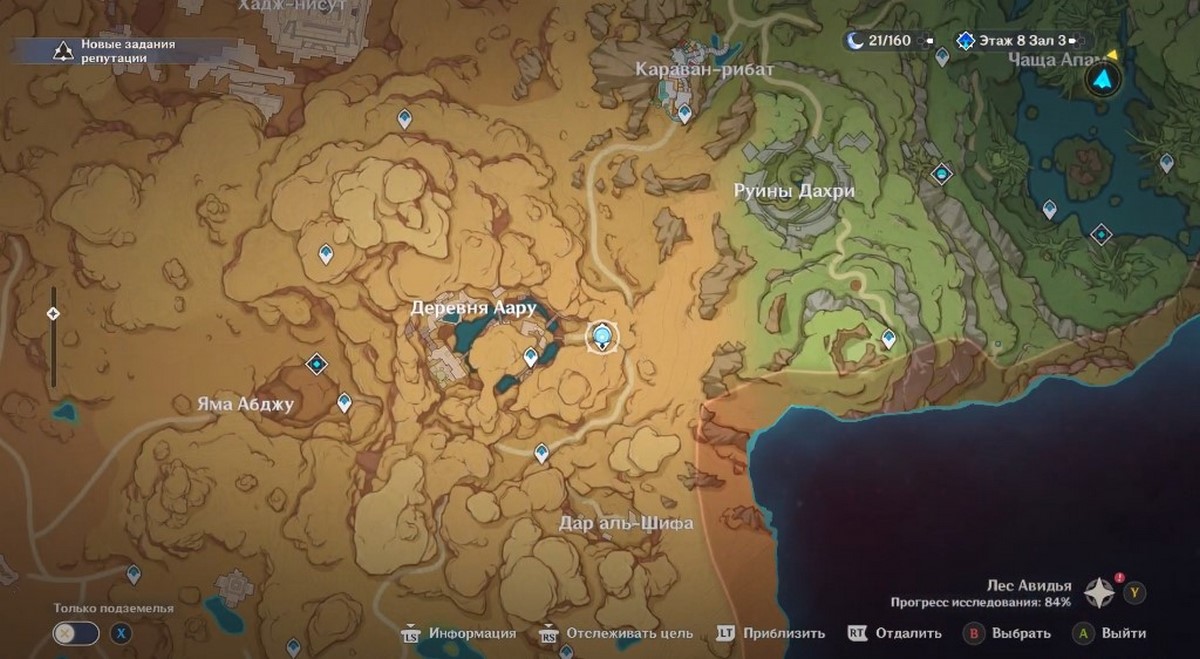

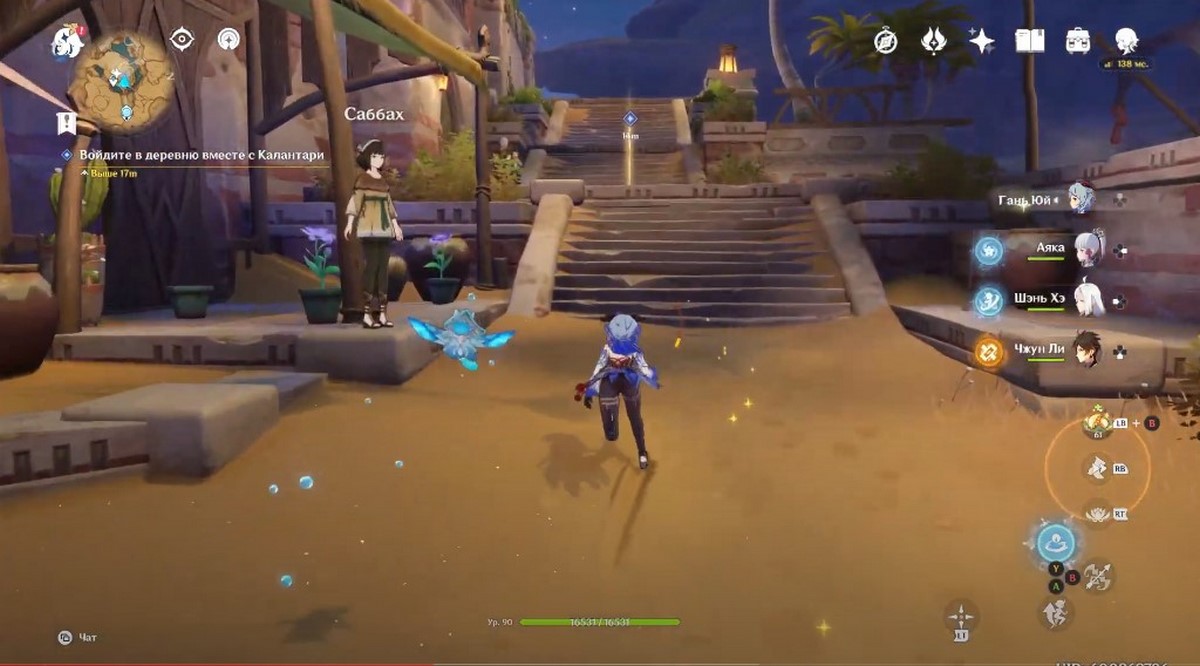
After fulfilling the indicated conditions, move to the statue of the seven archons, located east of the village of Aaru. You can also just walk around the village if you are already nearby. Almost immediately, the plot scene starts, which will give rise to the task you need.
How to find the place pointed to by the Stone Slate
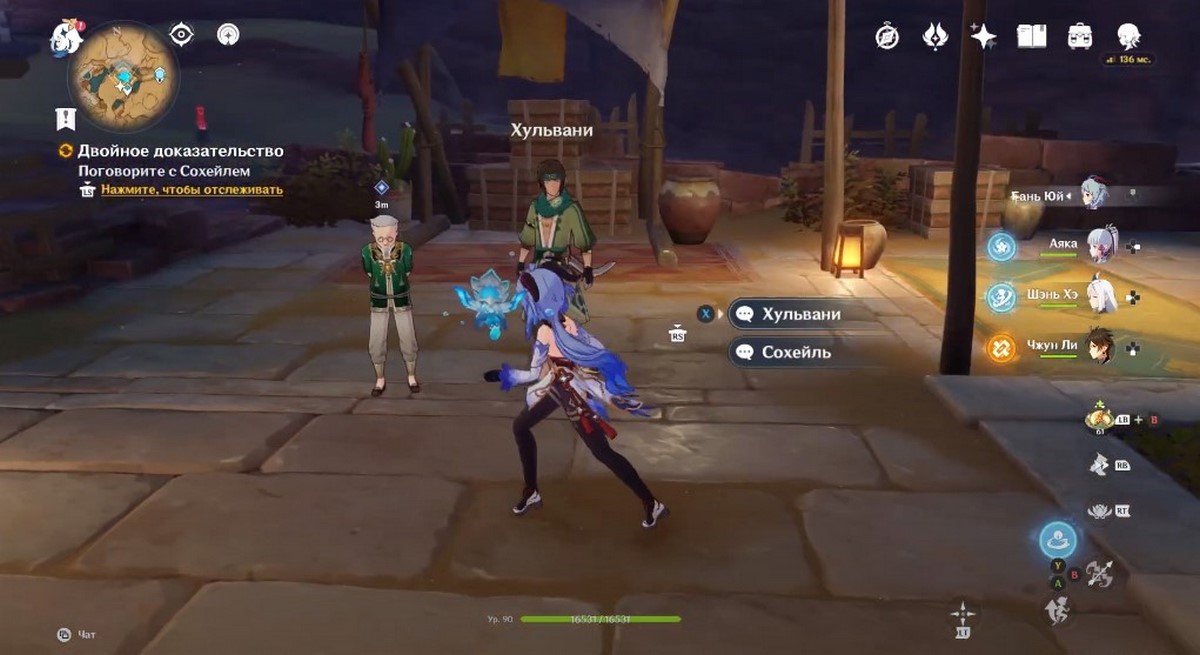
After the conversation, go deep into the village, following the quest marker. Watch another cut-scene in which you will meet a scientist named Soheil. When the conversation is over, approach the old man and talk to him alone. You will get his opinion on Tirzad's work.
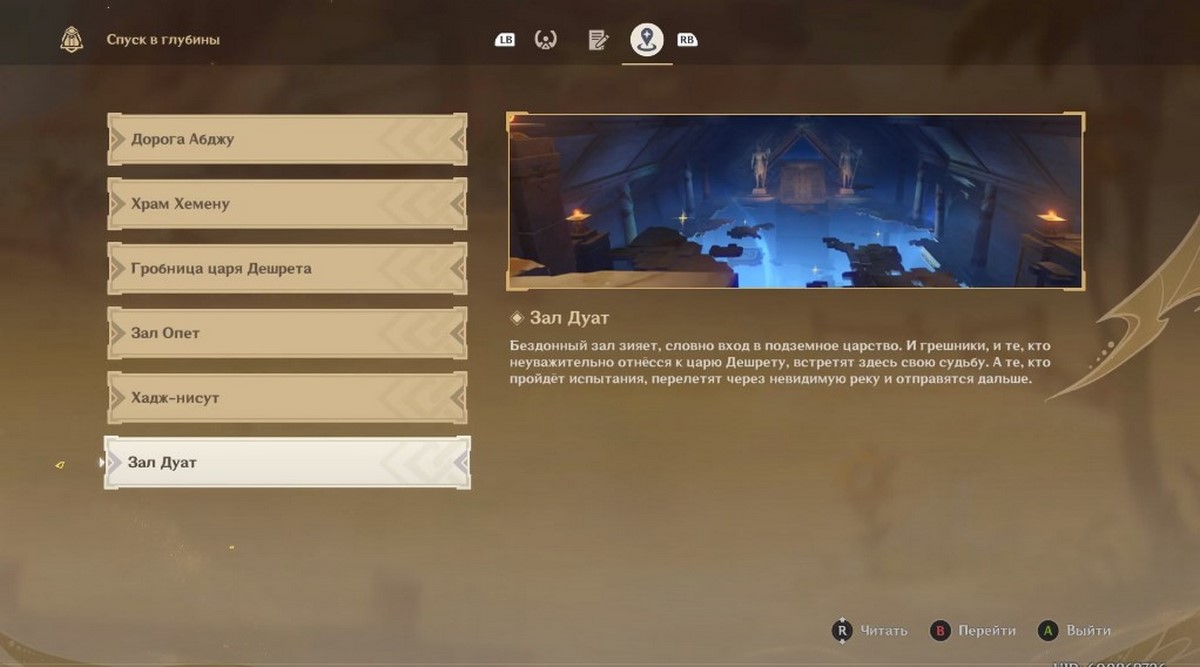
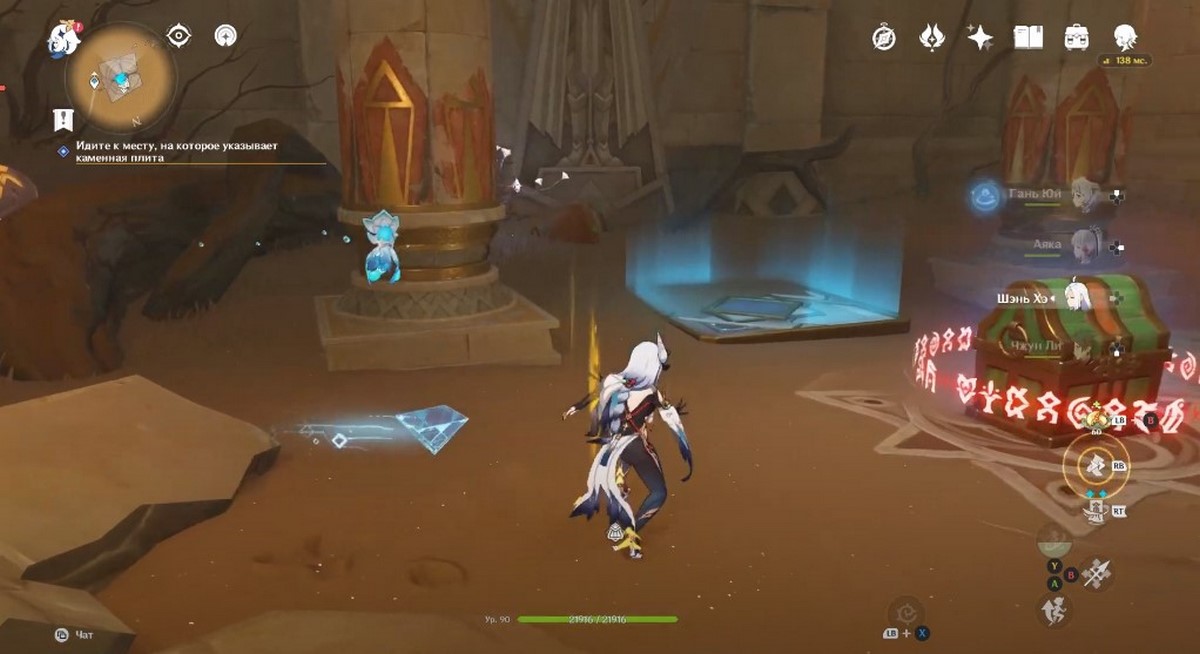
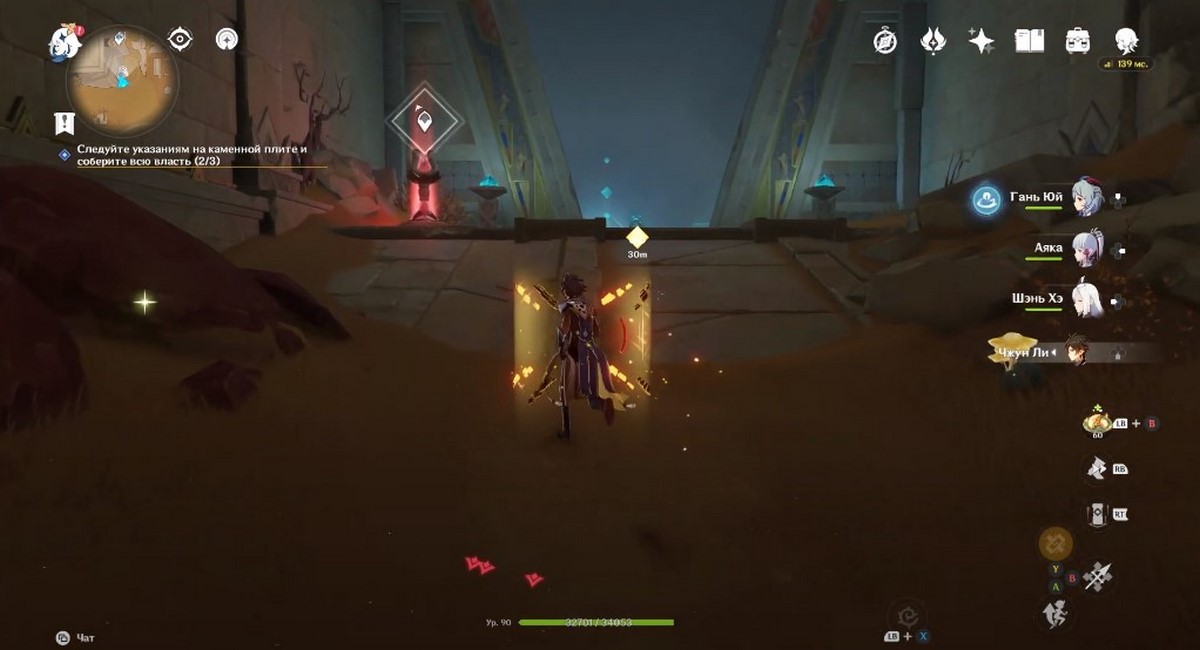
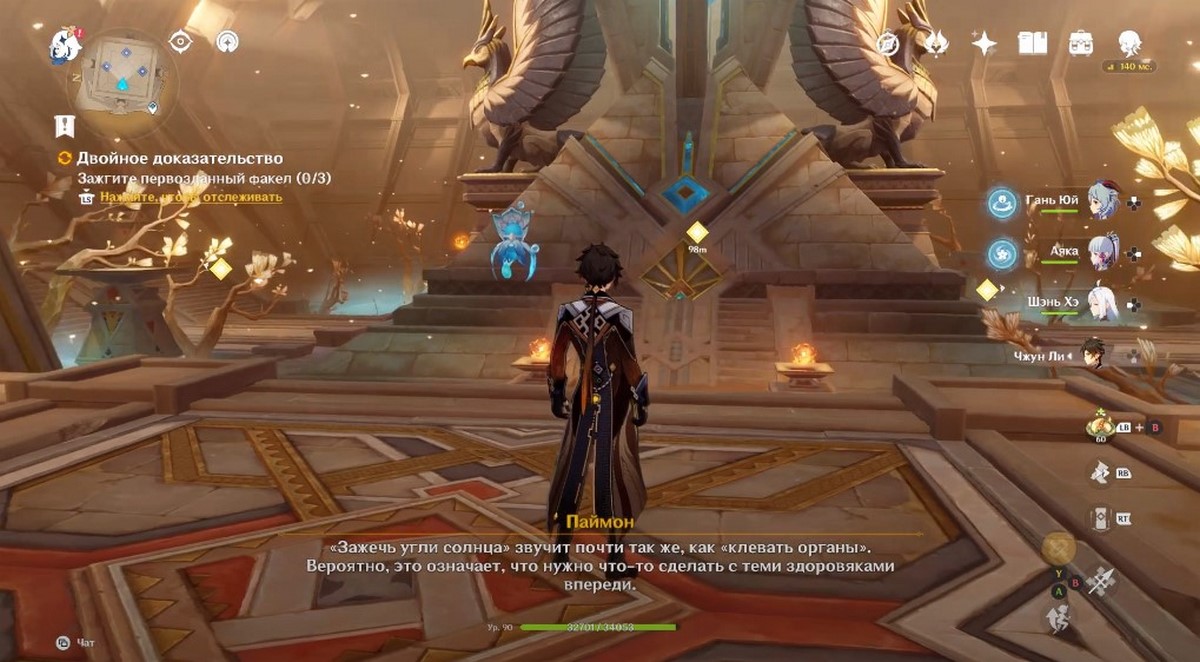
After the conversation, study the new instructions for using the Red Sands Plate. Then enter the inventory, find the required tool and view it. You will see the opening of a new symbol and learn that an additional area has been unlocked - Duat Hall. Indicate this location in the list and click on the inscription "Go" so that the corresponding label appears on the map.

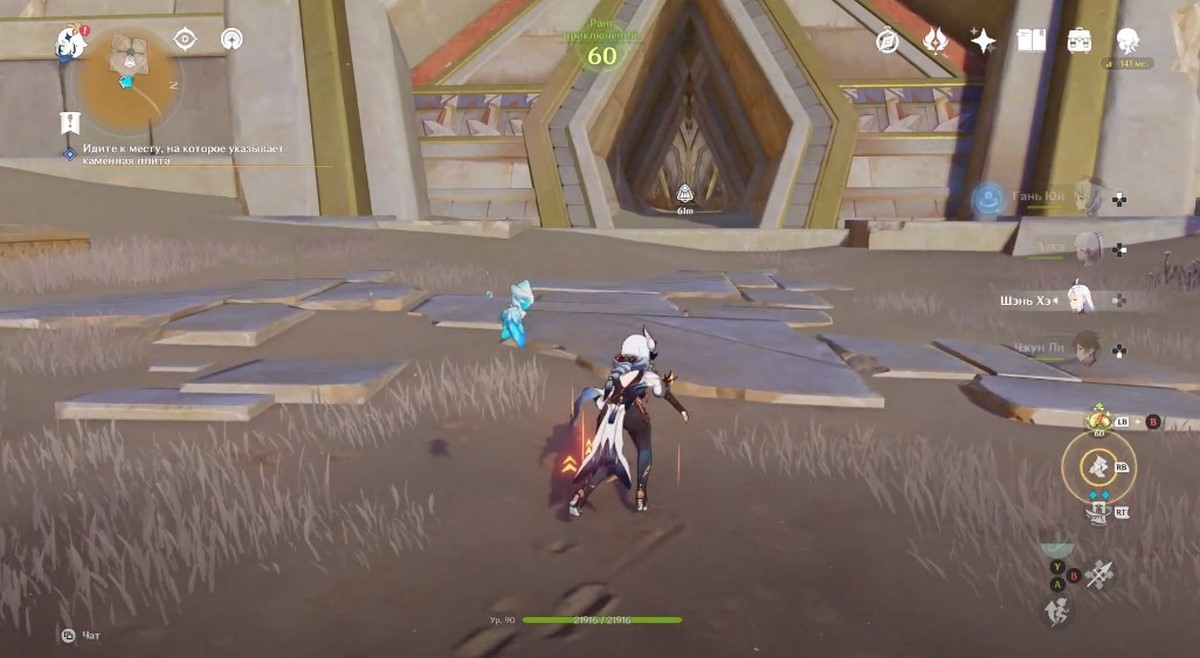
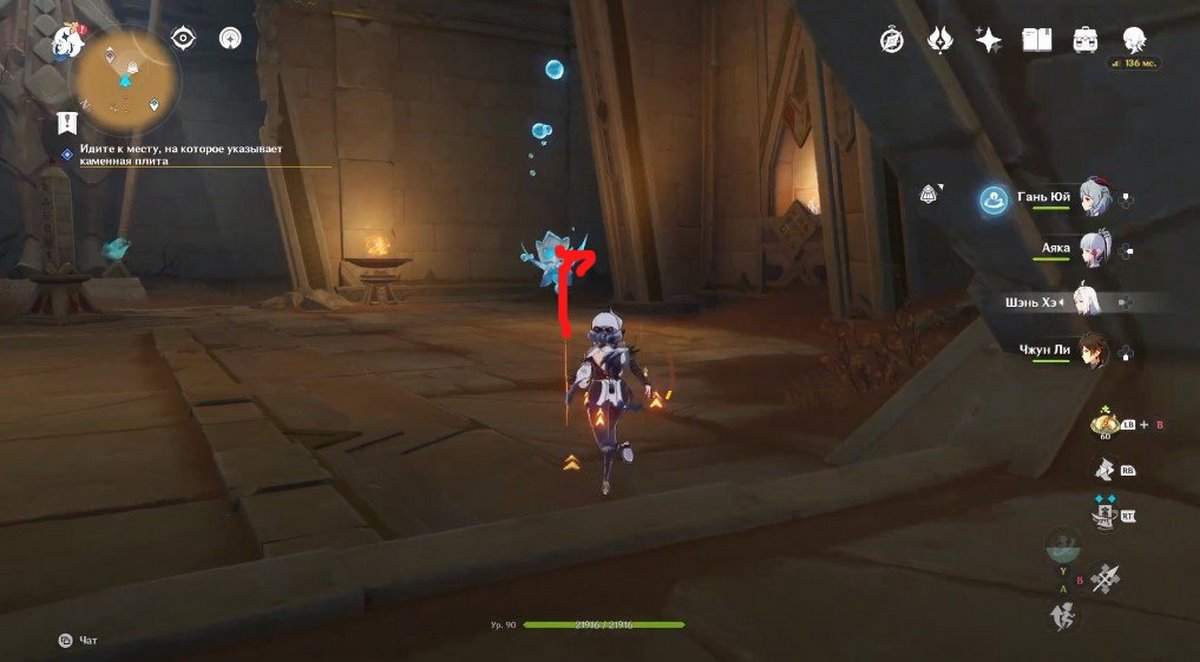
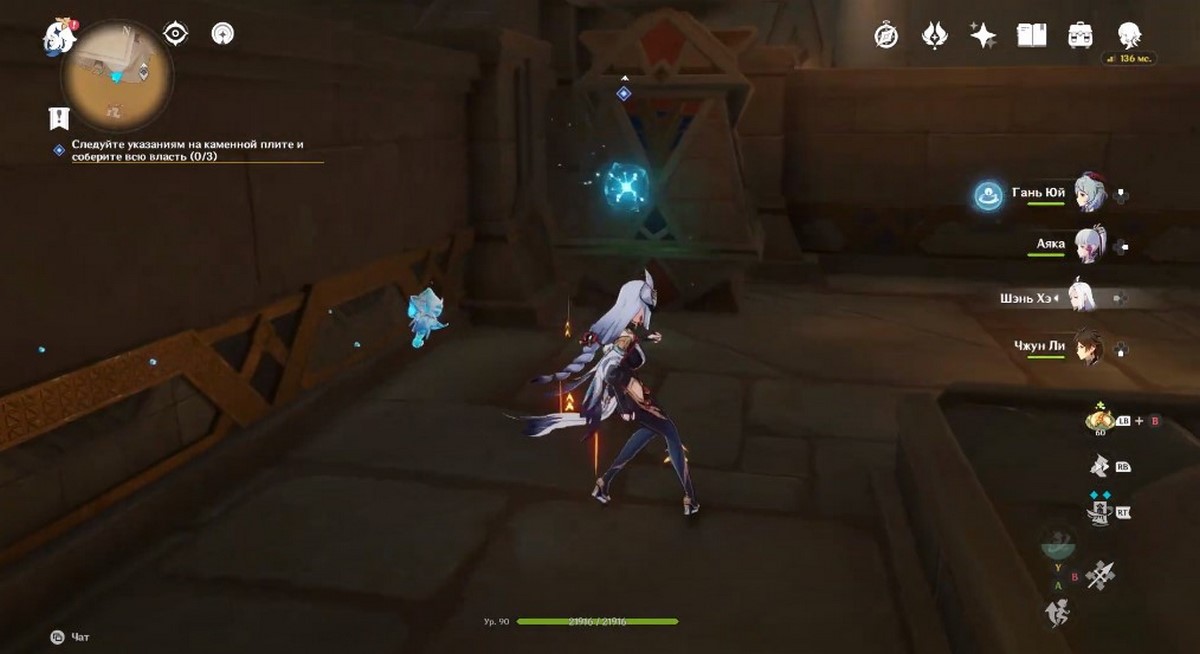
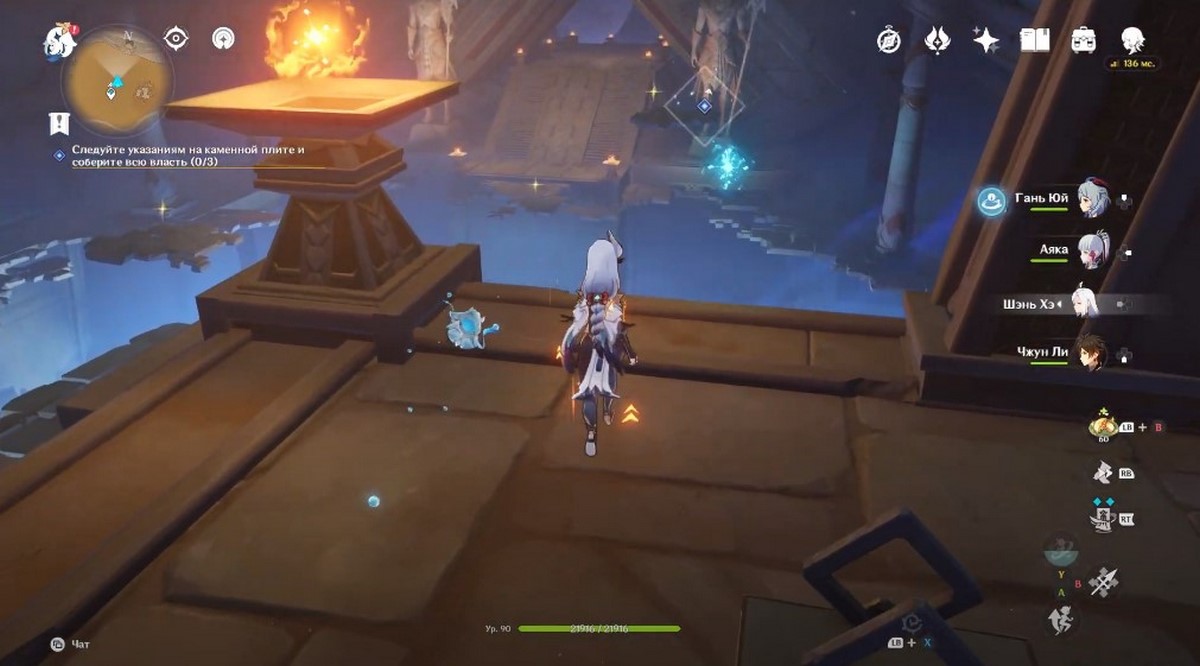
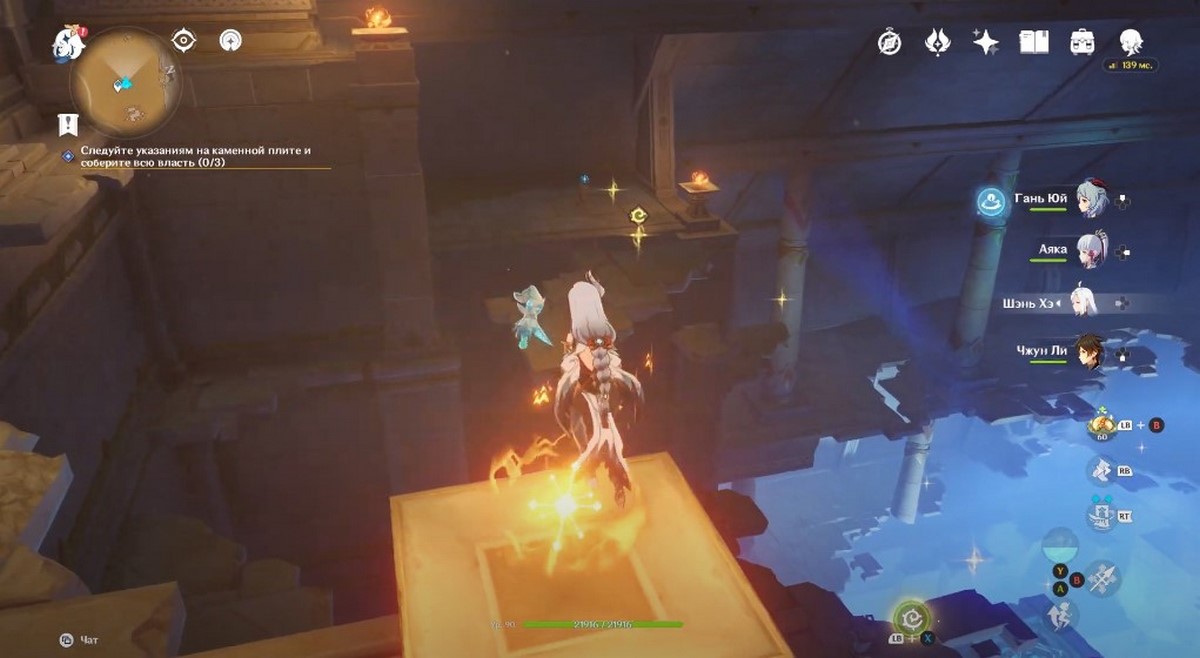
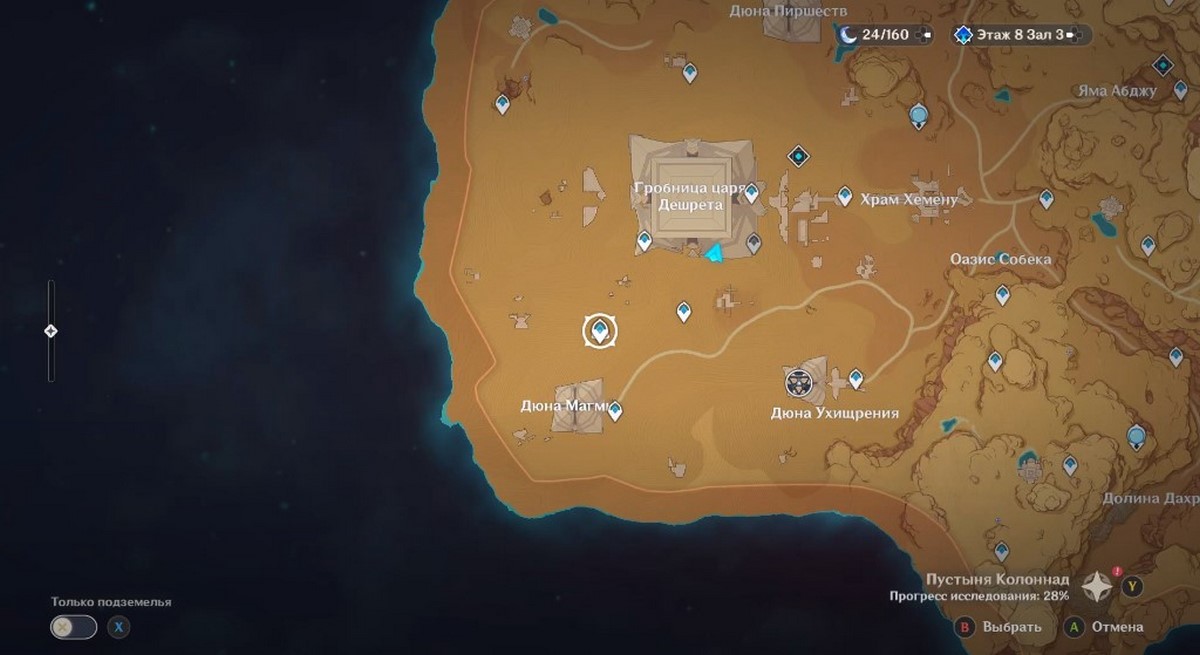
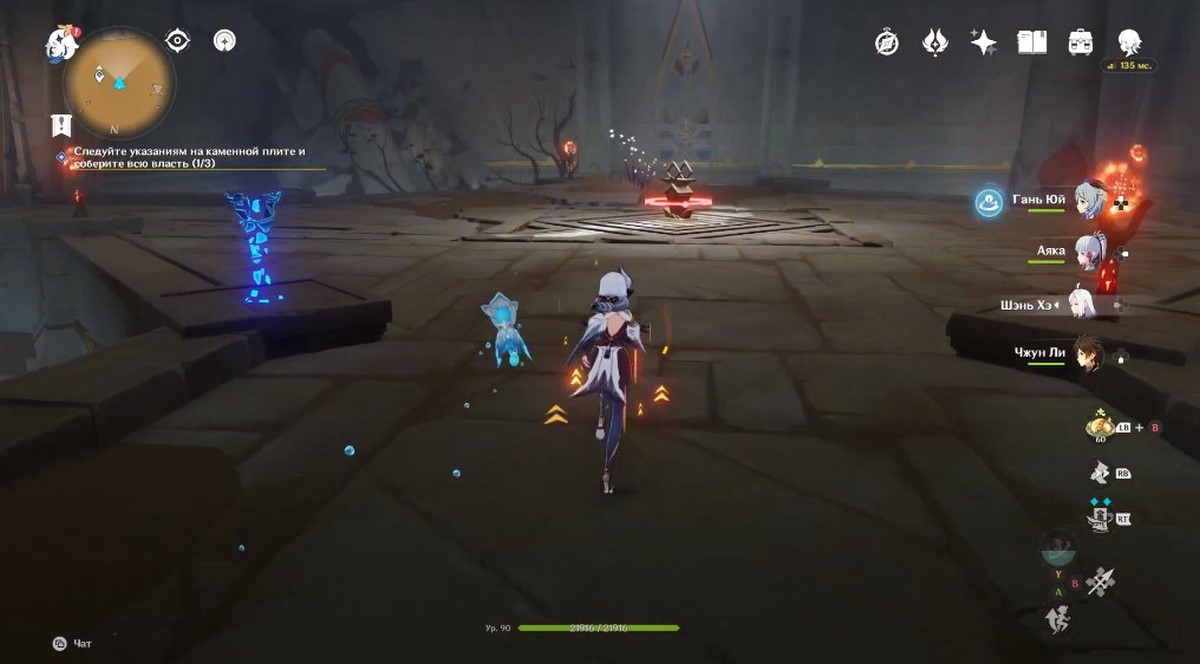
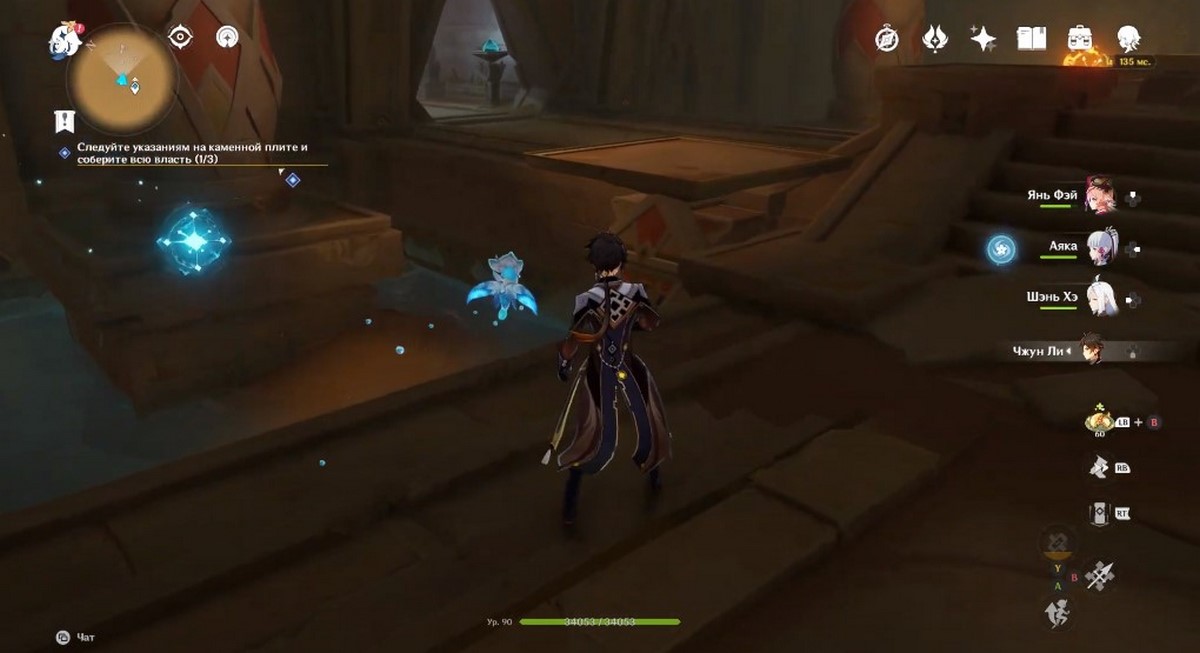
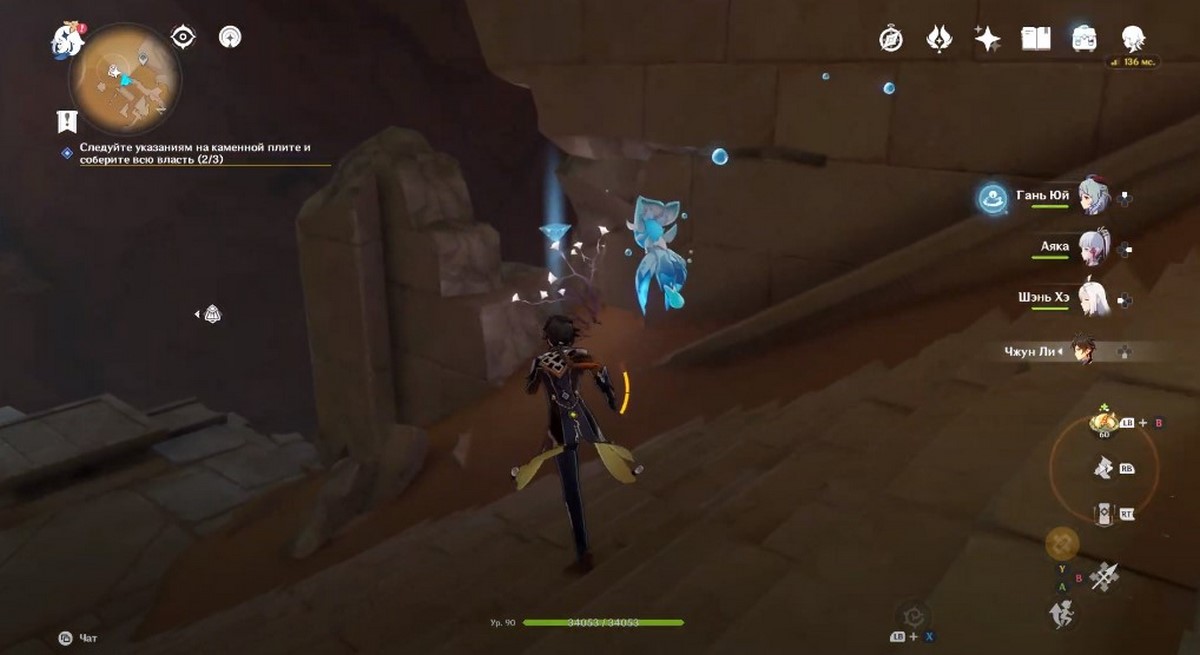
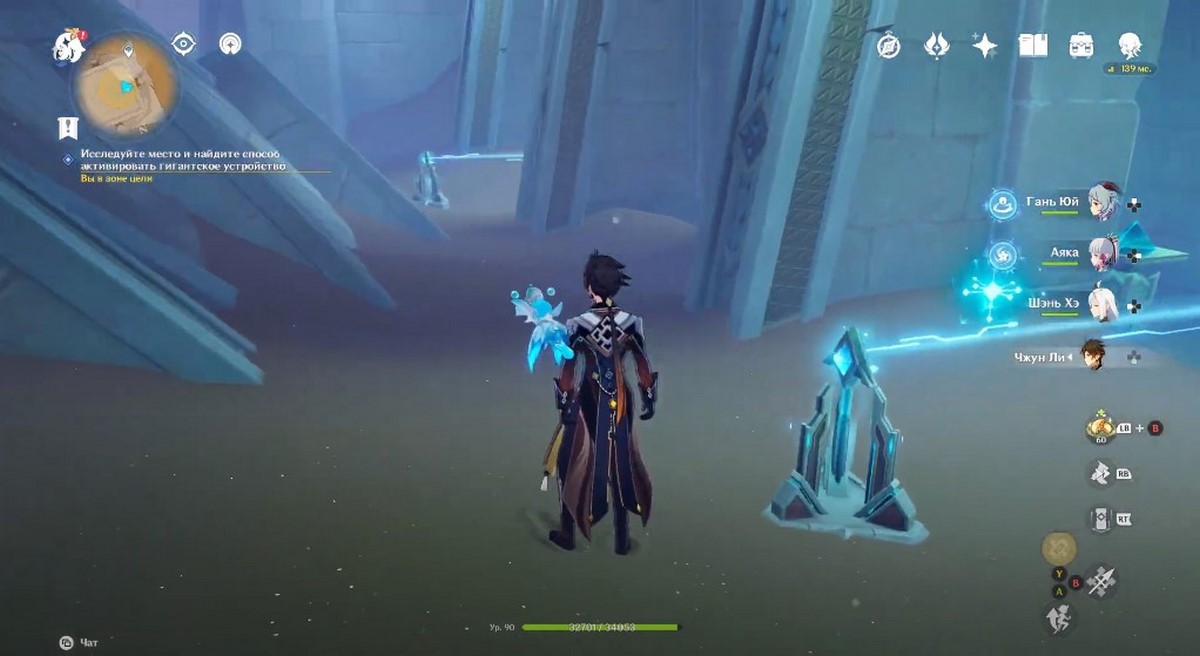
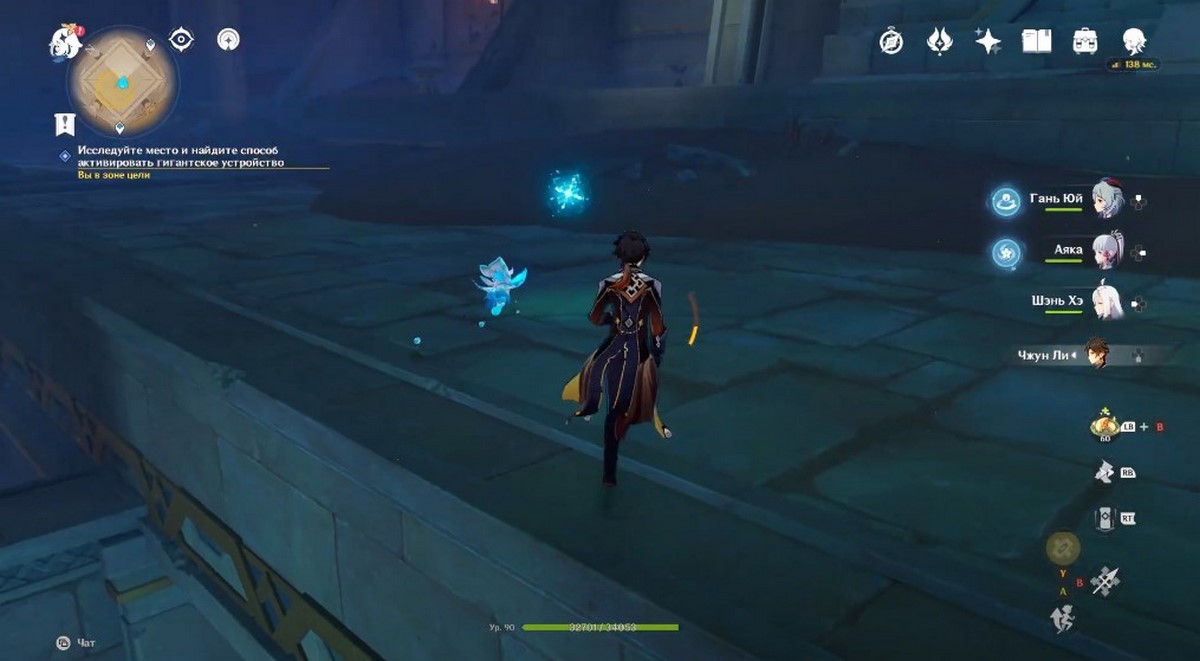
The necessary point is located in the dune of Magma. Move there, turn left and enter the temple. You will see two torches, one of which is not activated. Turn left, go to the barrier and remove it by interacting with the pedestal nearby. Climb down the stairs, go through the air platform and pick up Sacred Seal: Raised Arm left.


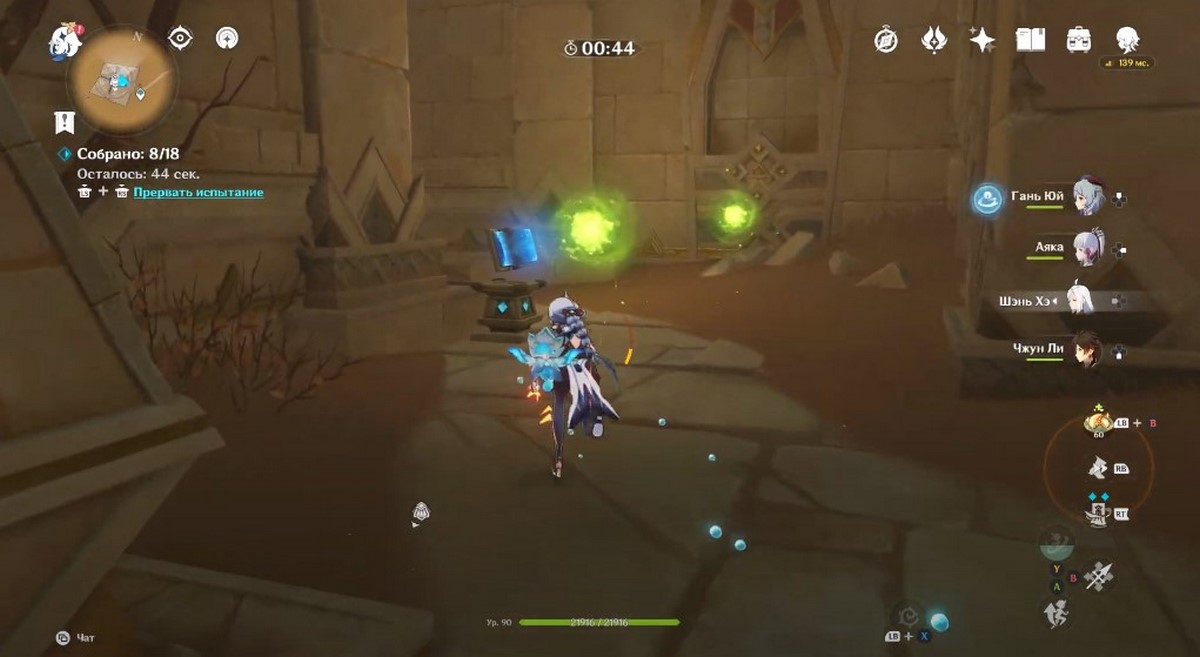
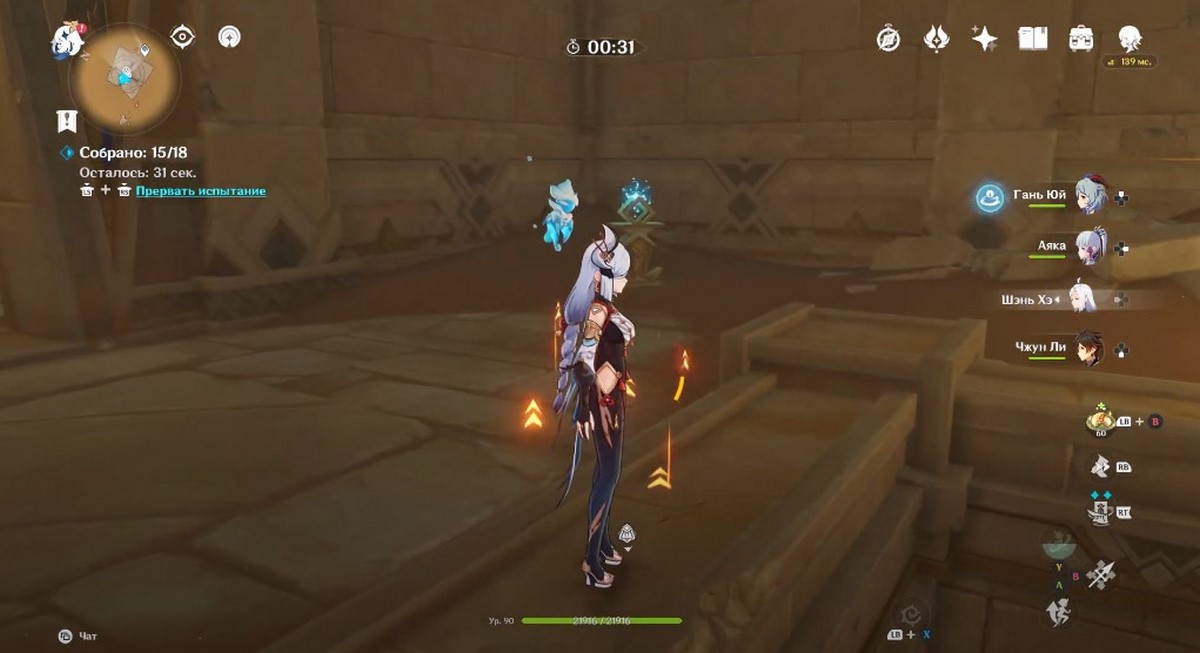
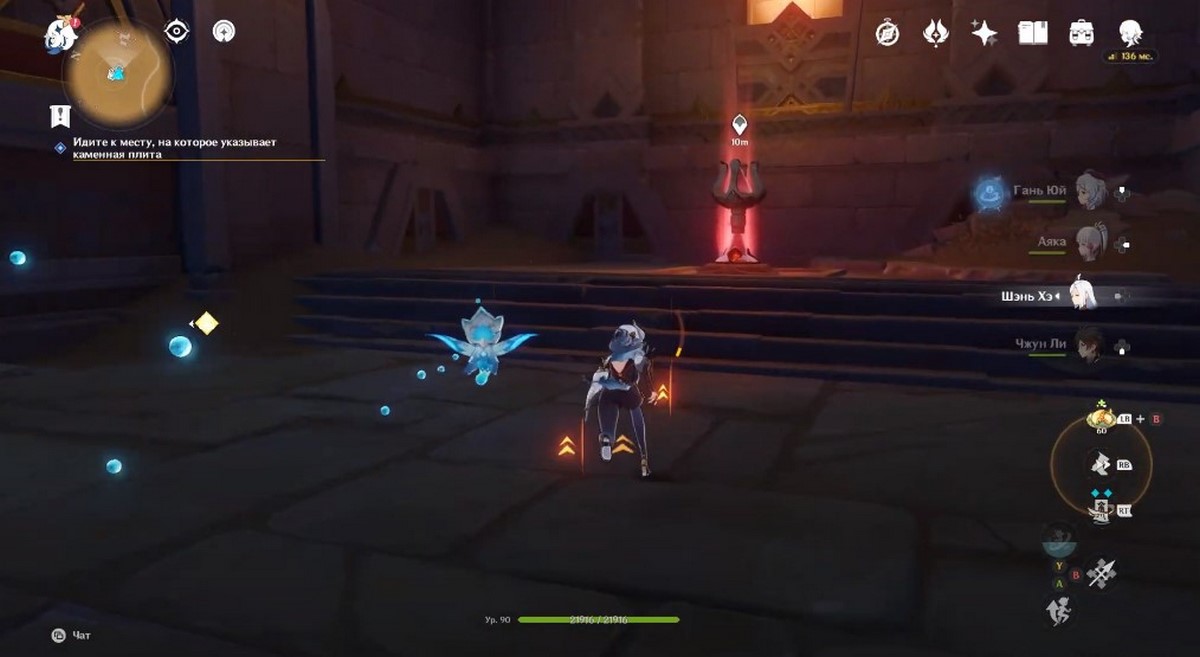
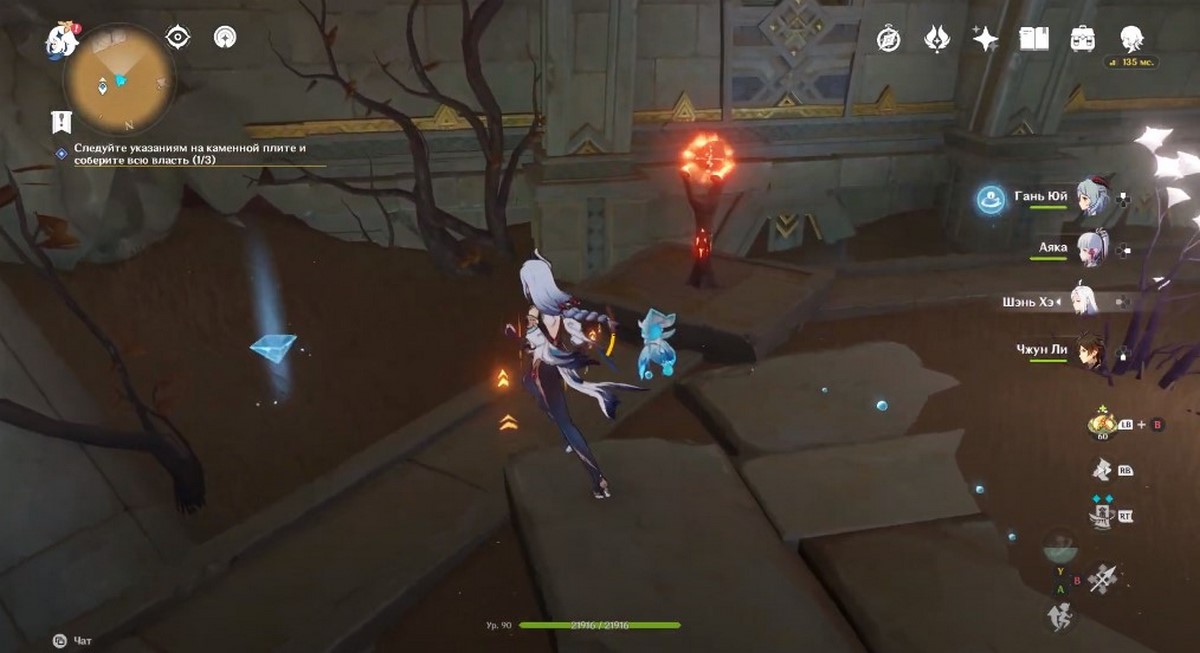
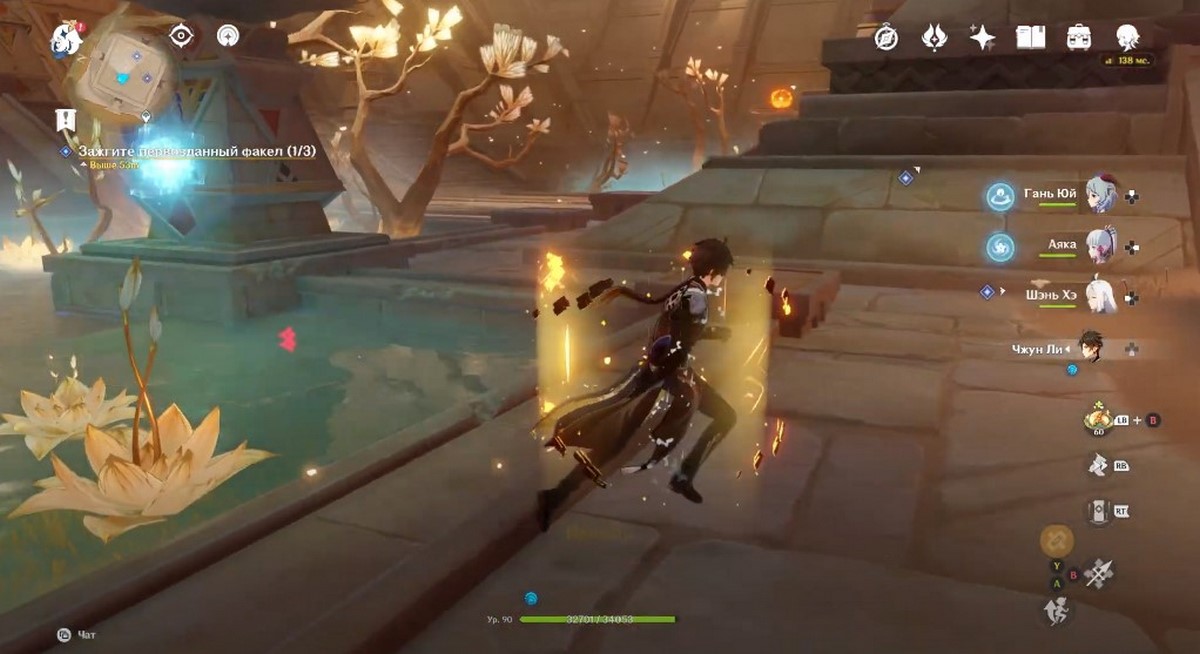
Here you can also start a challenge to collect 18 Dendro particles (optional for the quest) to receive a regular chest as a reward. Go back up to the torches and now go right. Remove the Hurdle by interacting with the console nearby. Climb up the stairs, go down the corridor and unblock the primordial spark, located in the near left corner of the room.
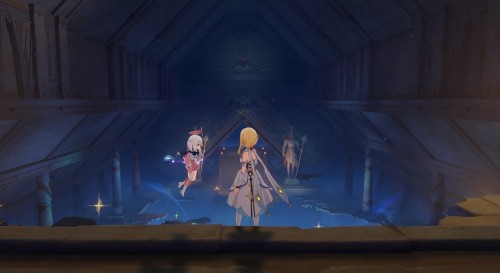
Start driving the blue cube towards the torch. You will have to jump into the hole, and then climb up. After bringing the spark to the column, you will open the door, behind which you will immediately see the primordial luminary - pick it up and jump into the hole. At the bottom there will be a puzzle with an amazing chest and ghostly torches. We will indicate its solution in another guide.

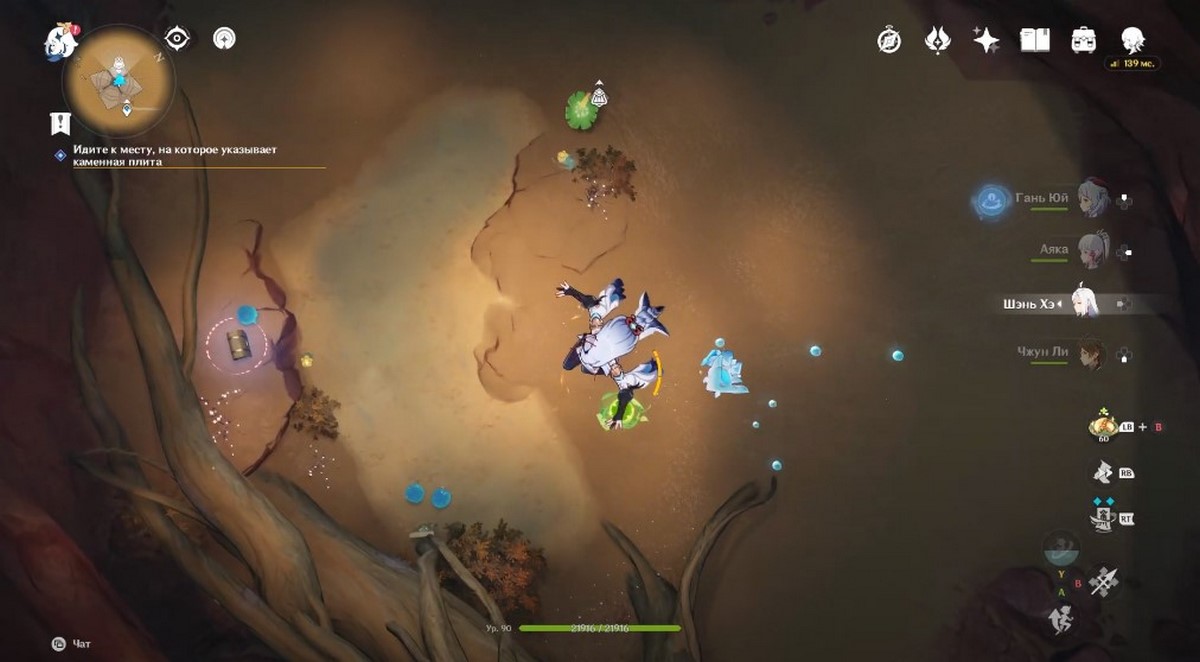
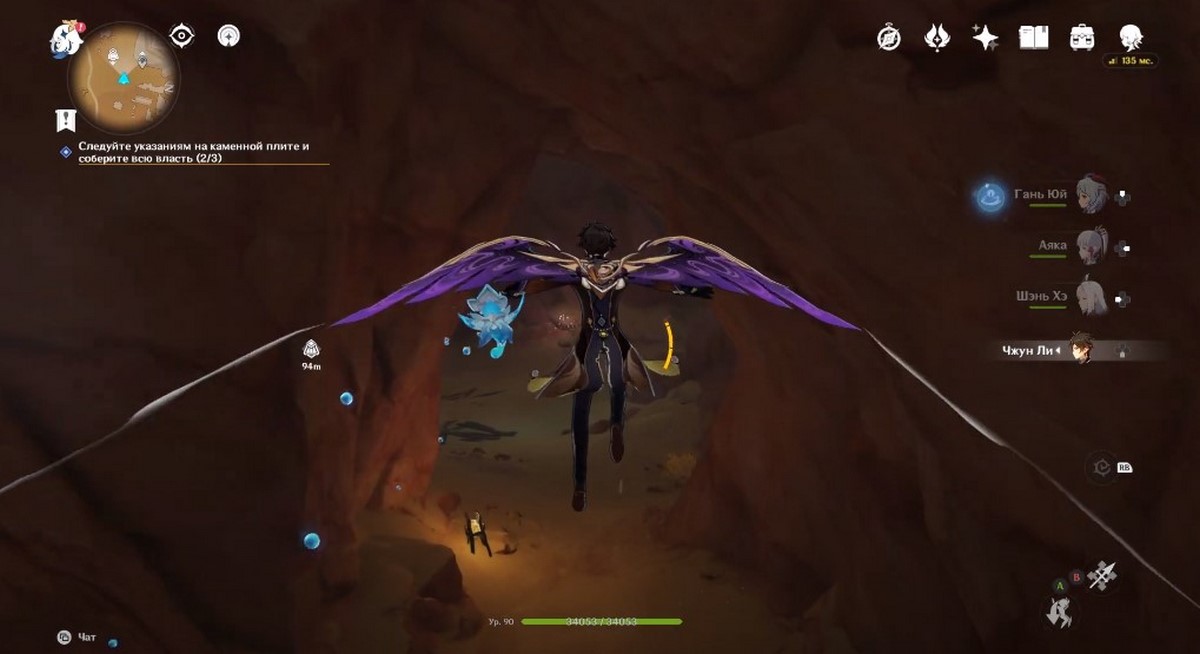
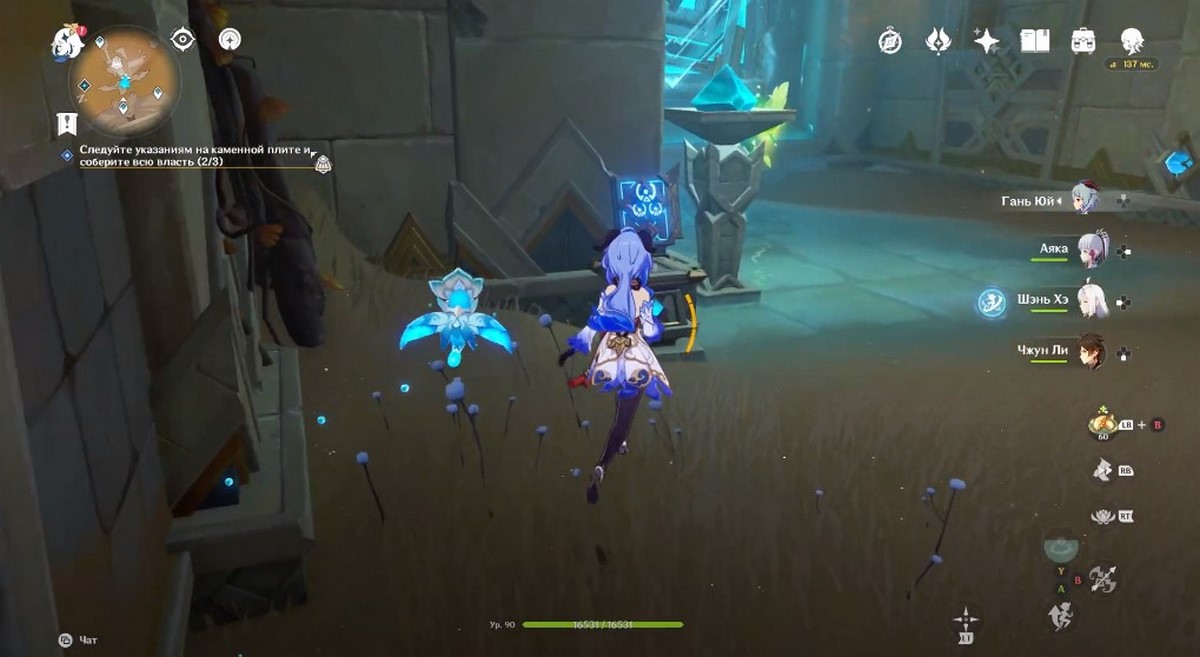
For now, just place the luminary on the platform to make a cage appear, and then drop down into another hole. We advise you to open the glider in advance in order to collect Dendroculus. Enter the tunnel by moving towards the white dot on the screen. Keep running through the cave until you come out into a spacious area.
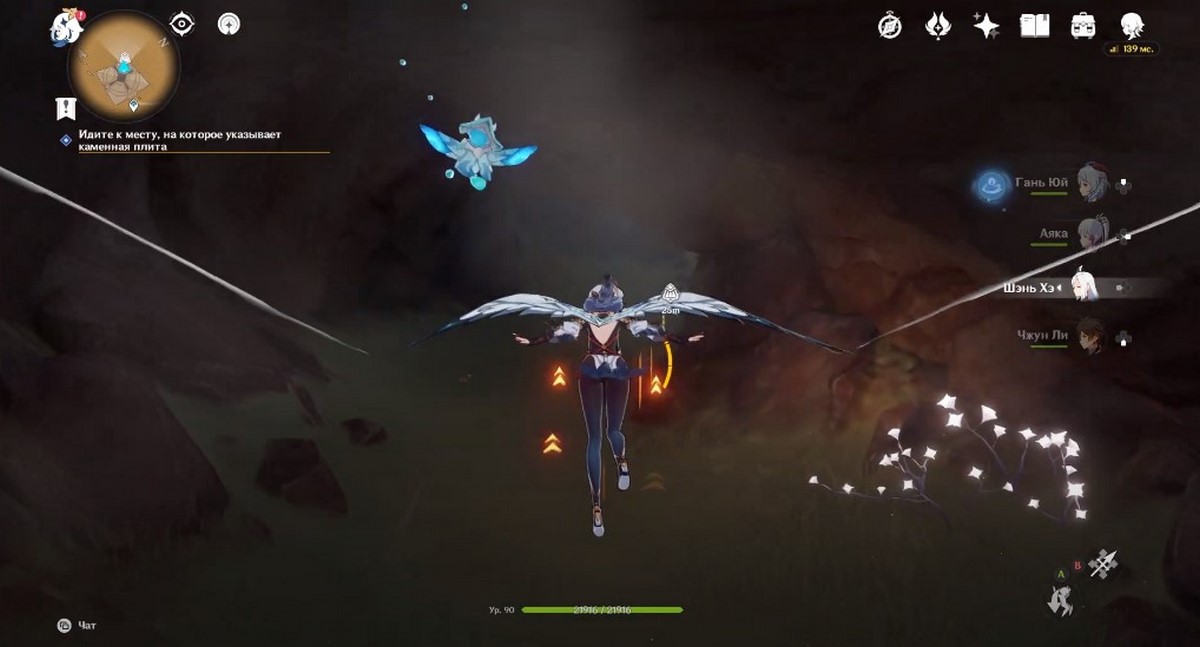
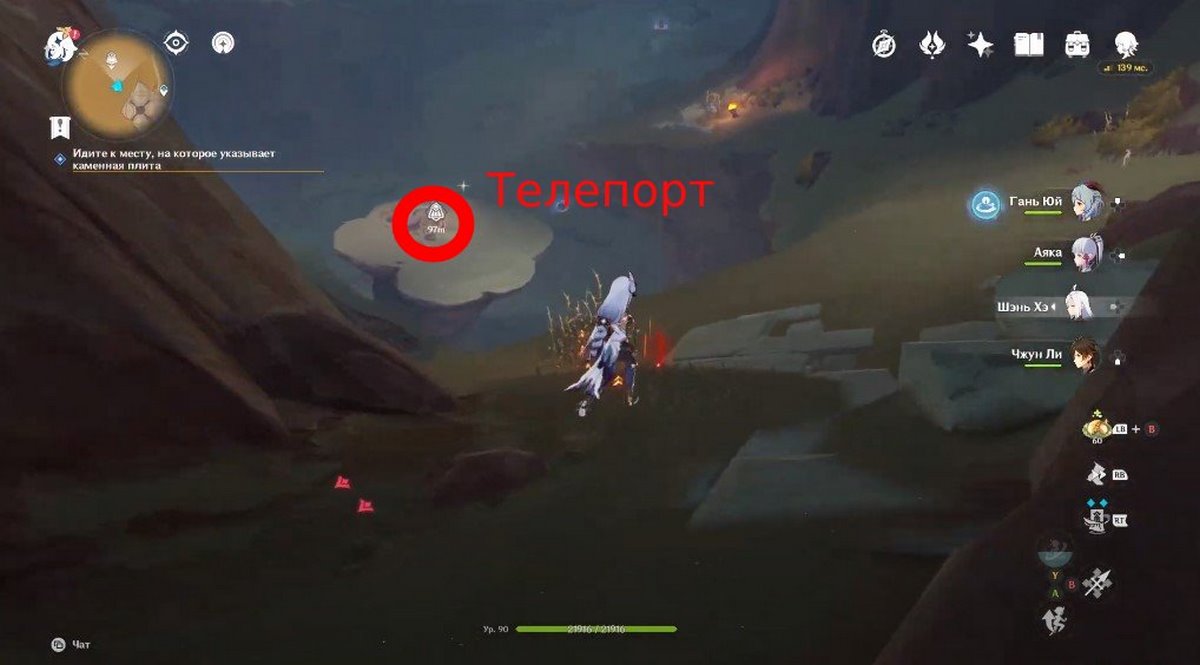
Be sure to activate the teleportation point on the small ledge in the center of the location so that you can quickly return here later. Next, fly to the triangular entrance leading deep into the ruins. Don't forget to pick up along the way Dendroculus hanging to the right of the stairs.
Once inside, turn right and go up the stairs, continuing to follow the sign. At the top you will find another teleport. Open the Achievement: Gate using the pedestal installed nearby. Pick also Sacred Seal: Labor lying on the left side. After entering the new spacious area, watch a short cutscene.
How to collect all the power by following the directions on the stove
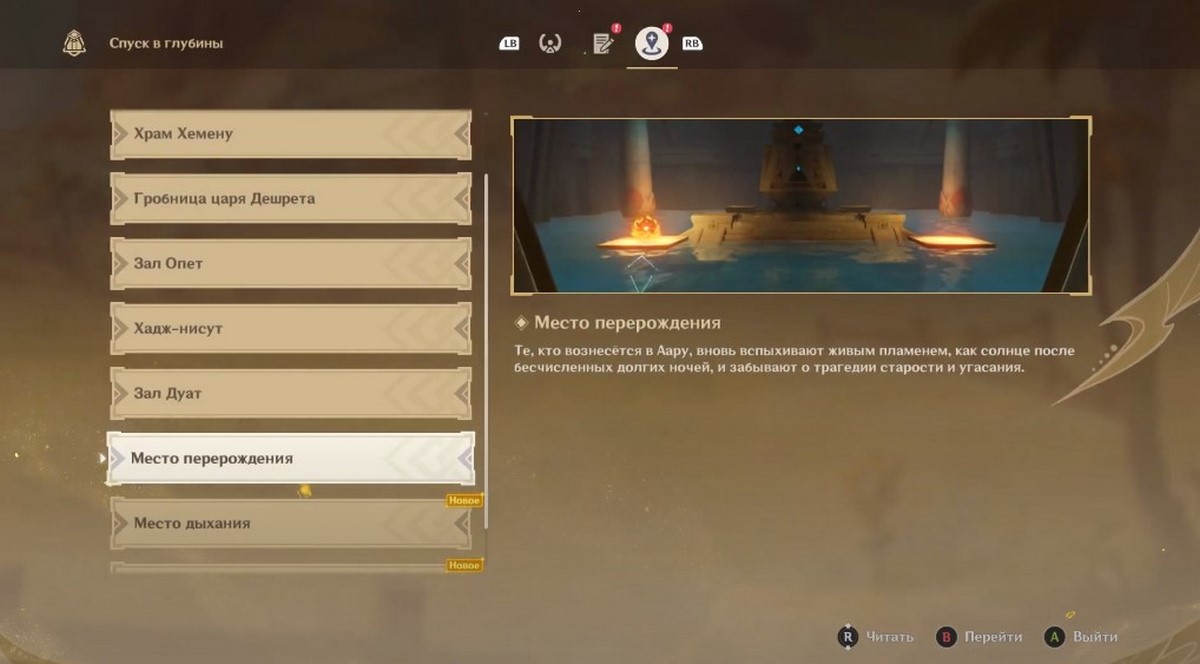
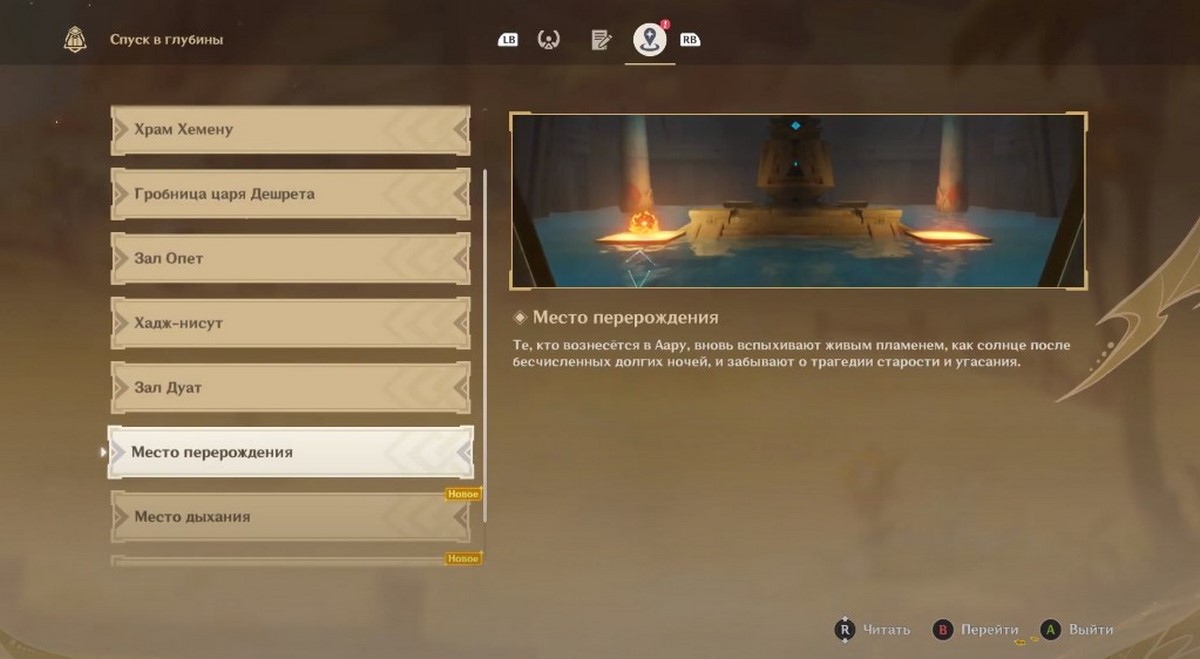
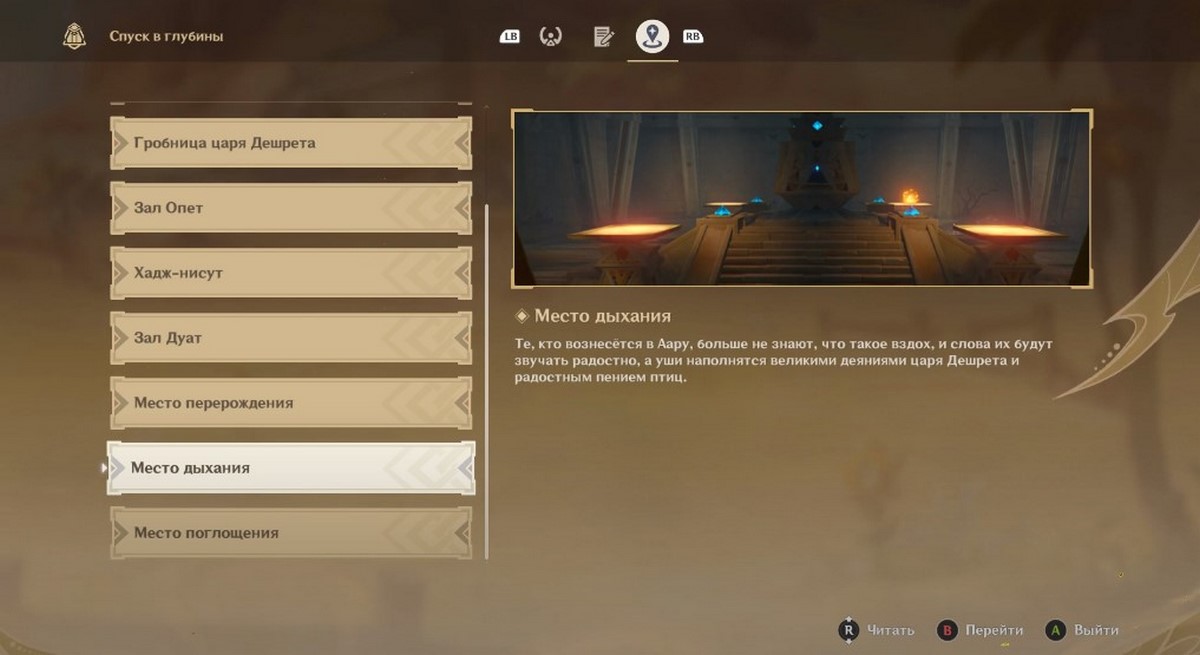
Use the Red Sands Slab again to find out what new locations have become available to you. These are the Place of rebirth, the Place of breathing and the Place of absorption. You have to visit all three (select them in the list) and solve the riddles there to increase power and open the desired passage. Next, we will consider each area separately.
Place of takeover
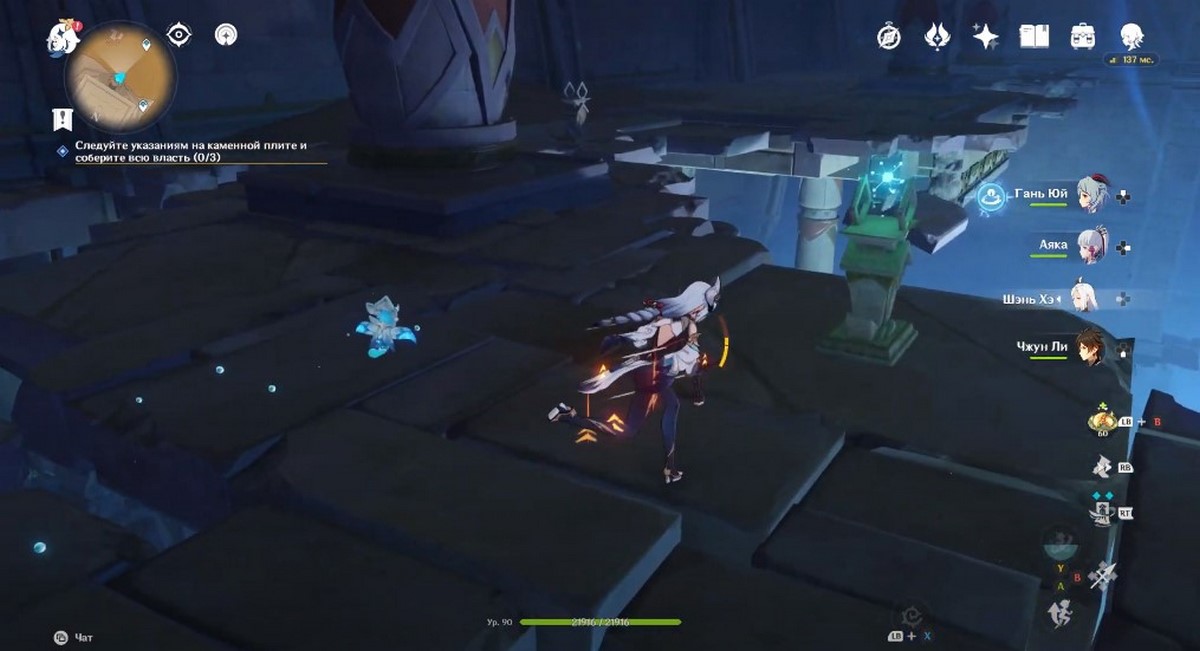
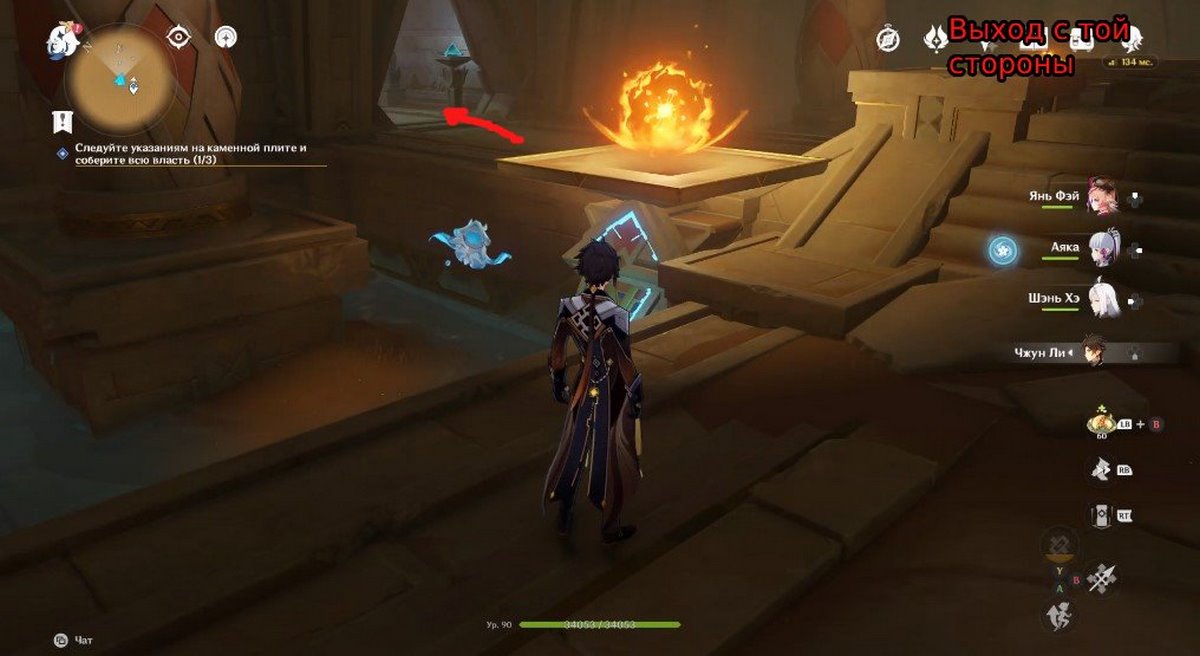
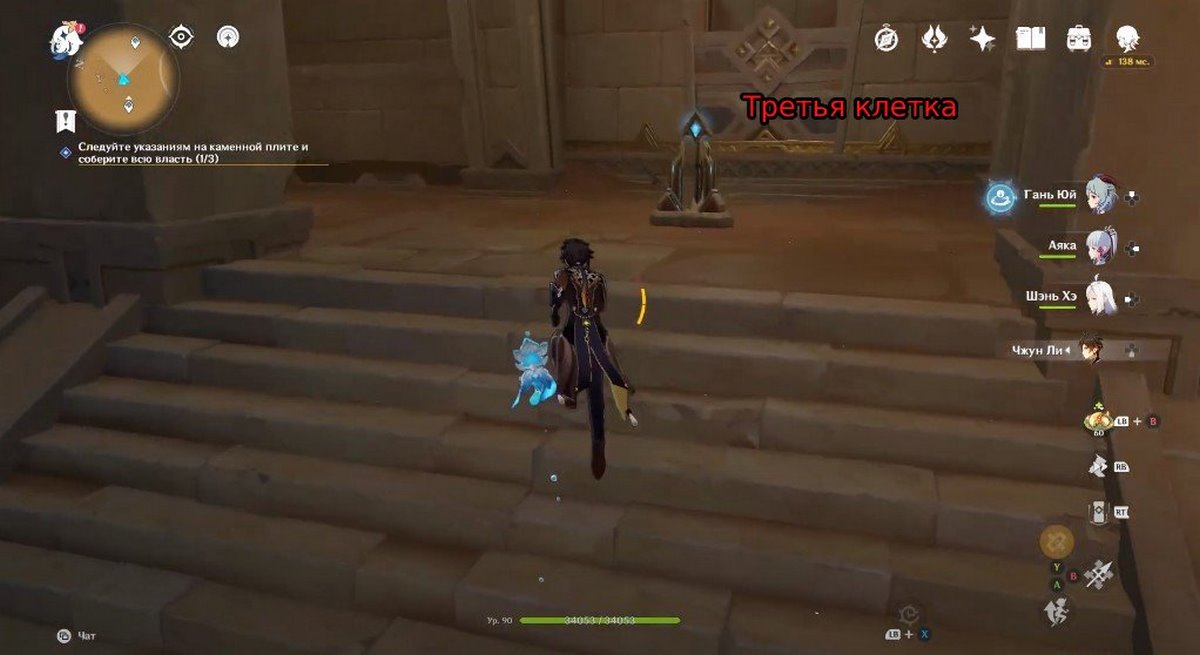
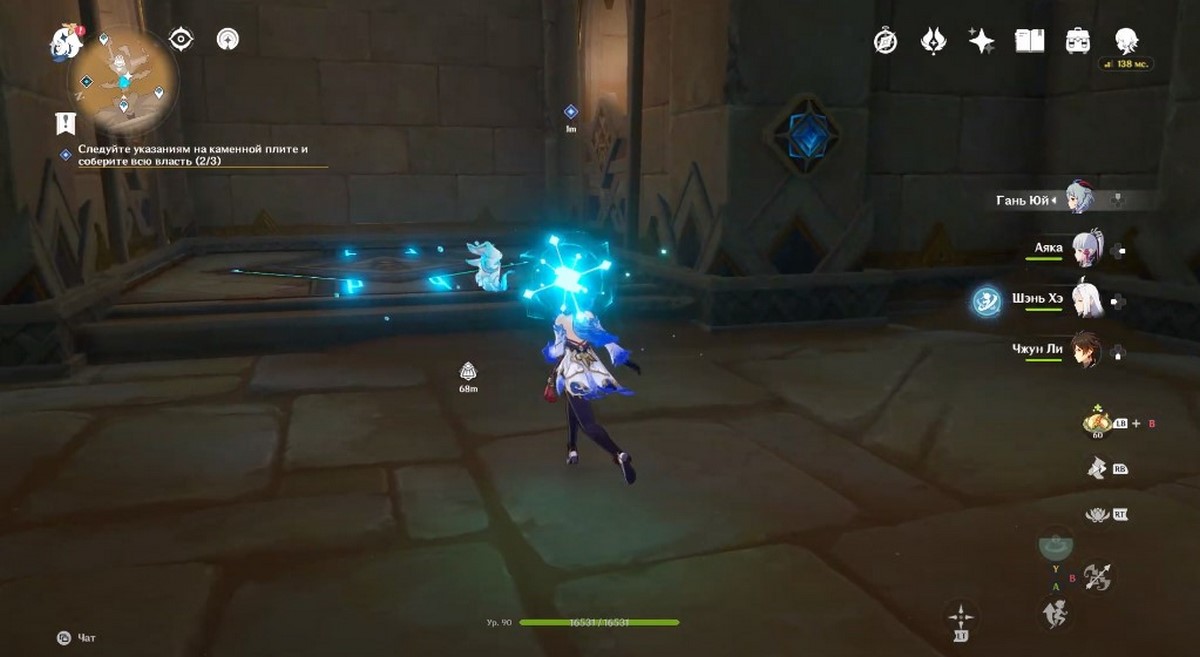
It is in the same place where you are now. To solve the local puzzle, you need to find 3 Primal Embers and bring them to the torches. The approximate location of the sparks is shown in the screenshot below. Next, we will tell you in detail how to get to them.
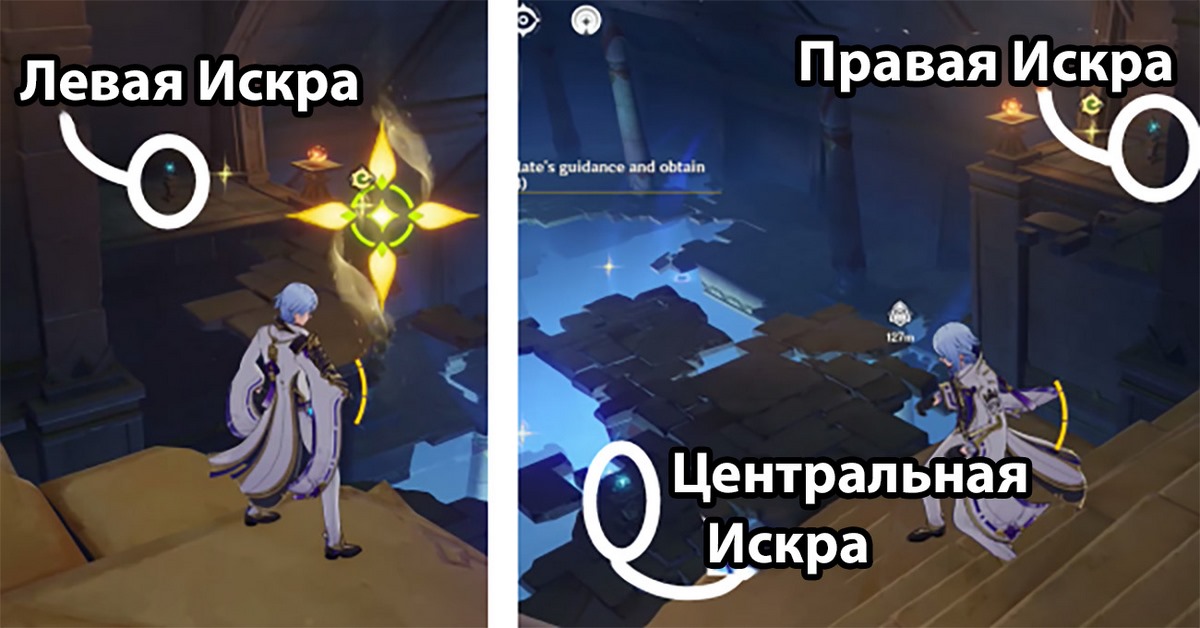
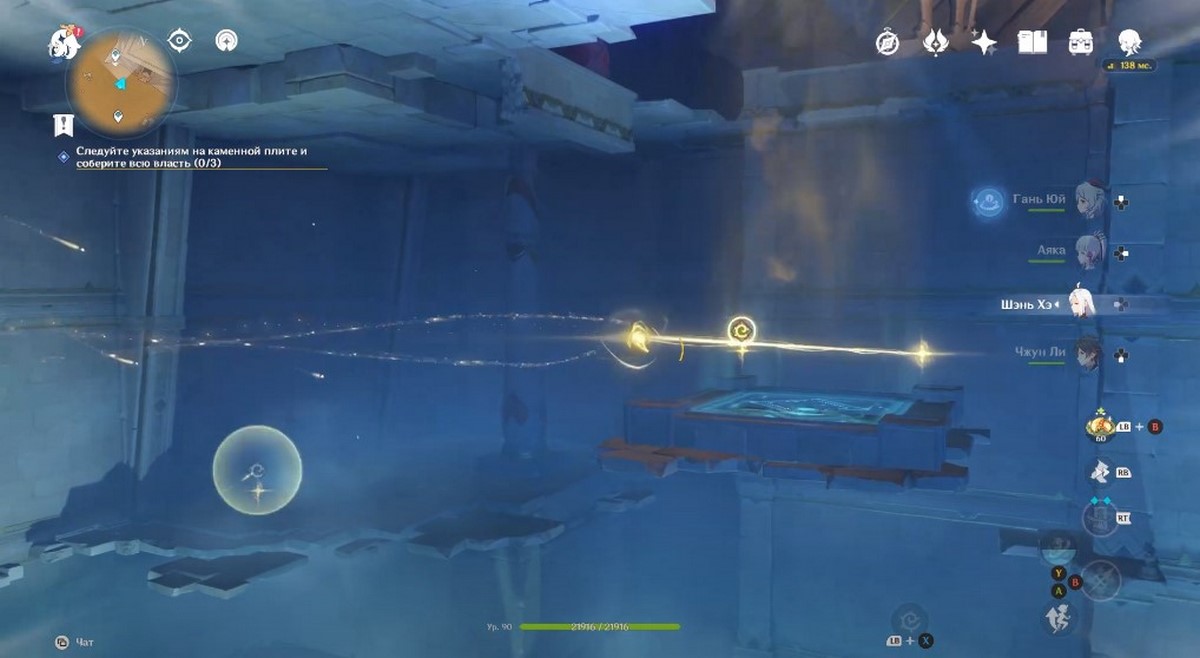
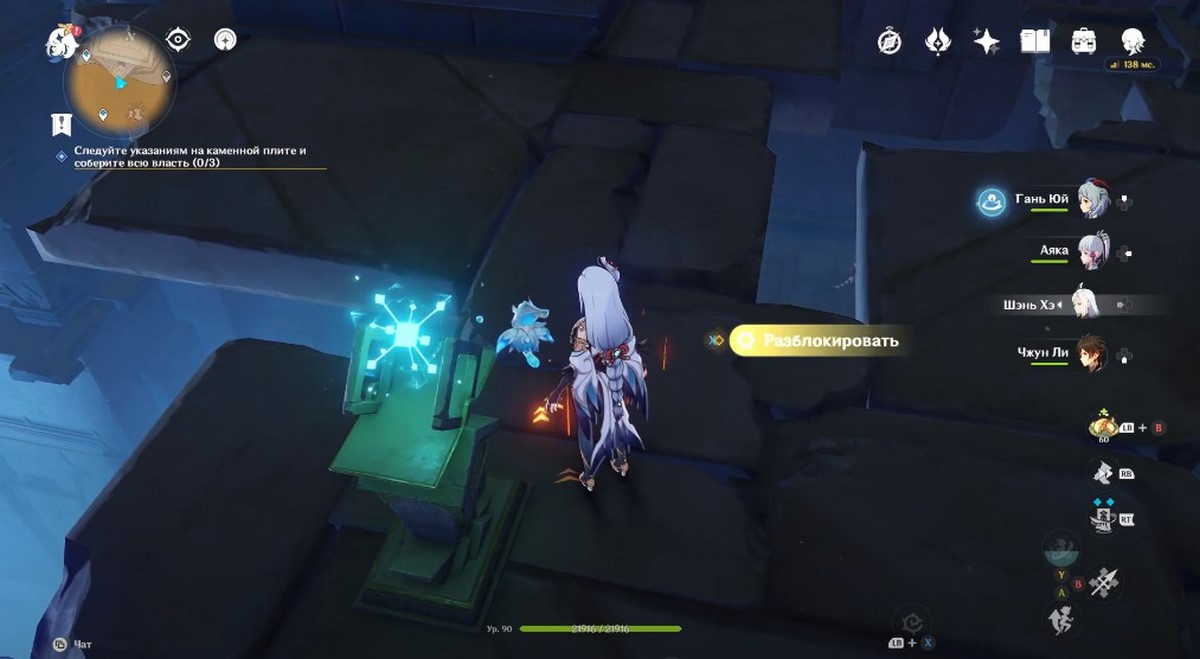
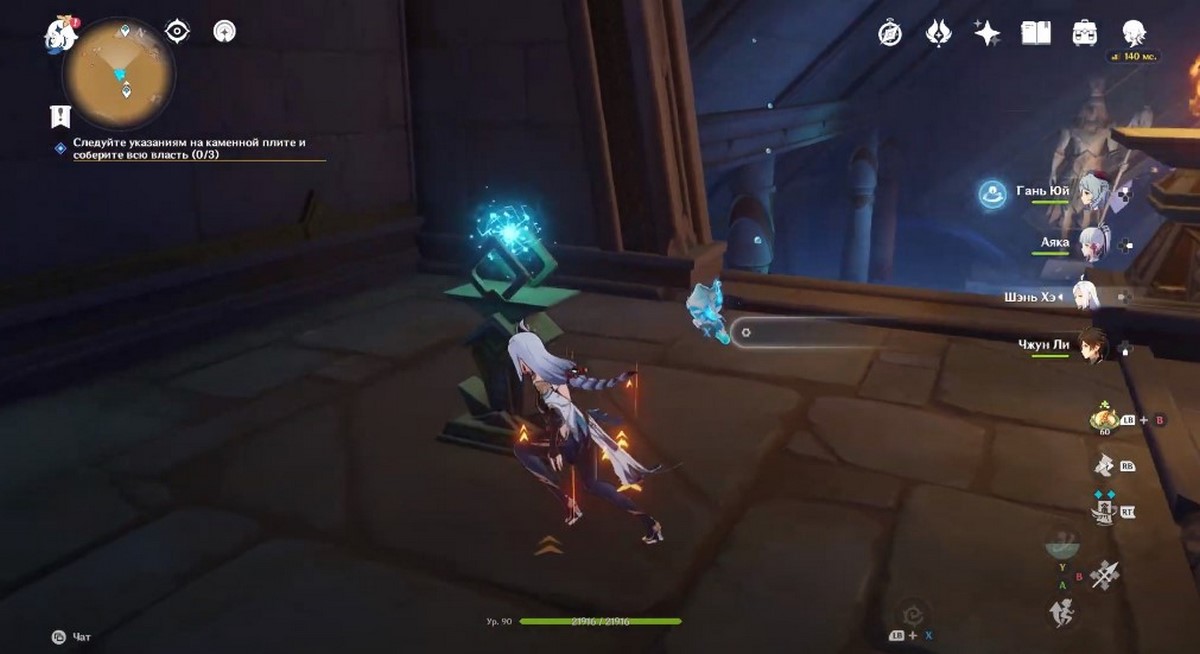
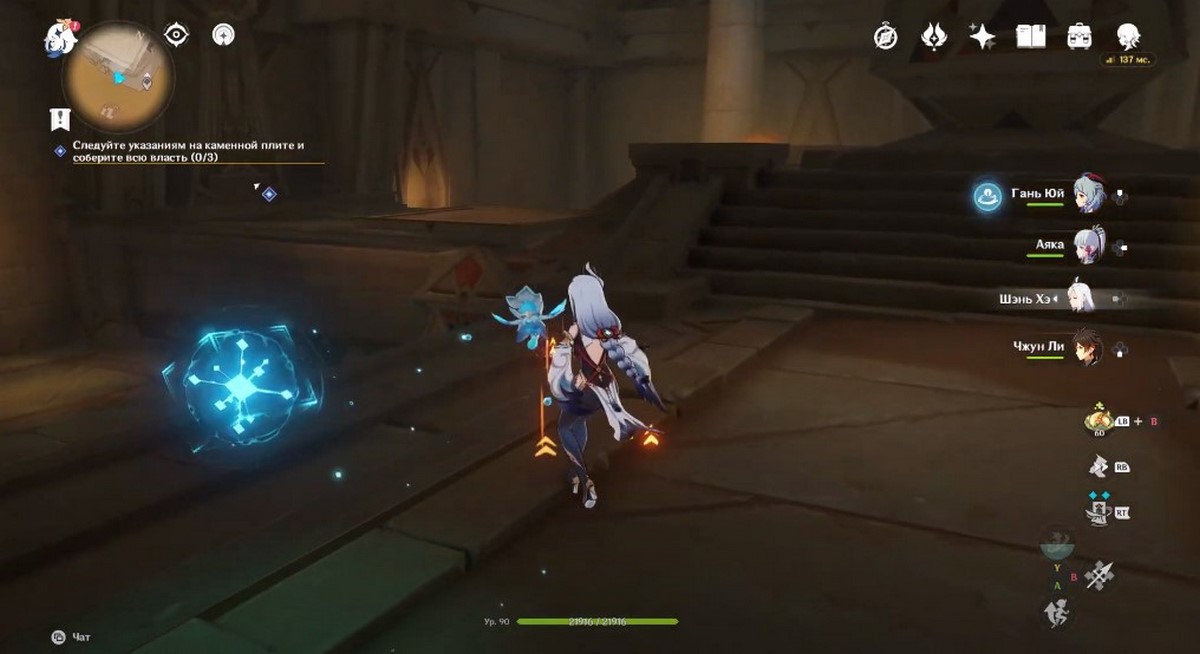
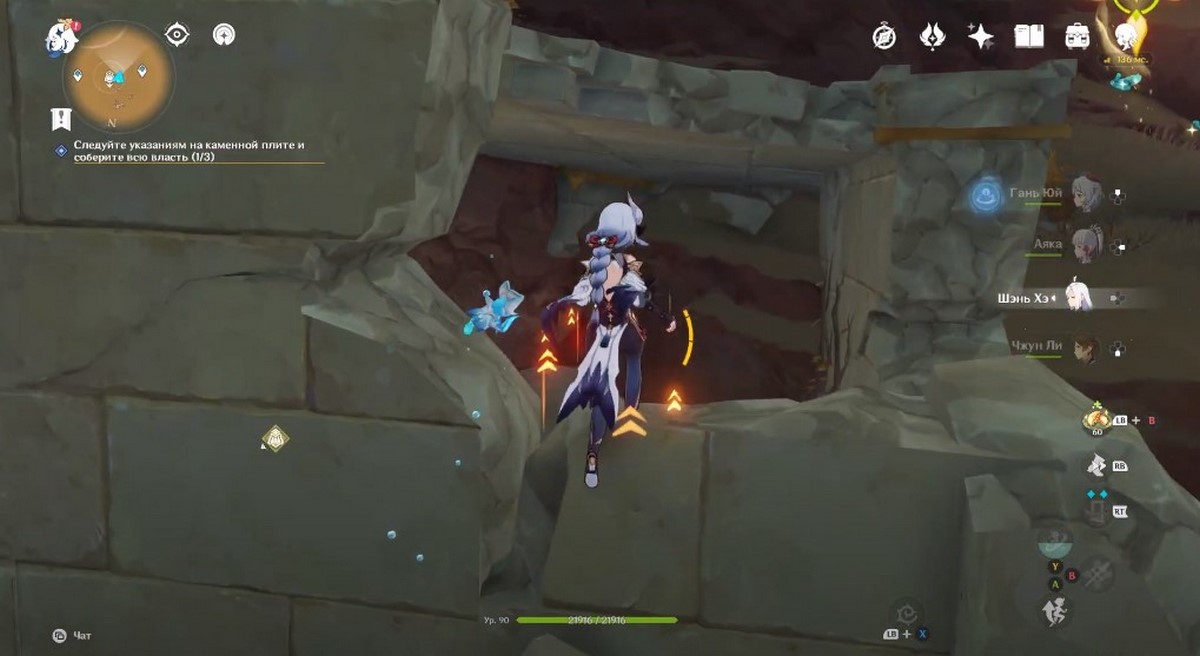
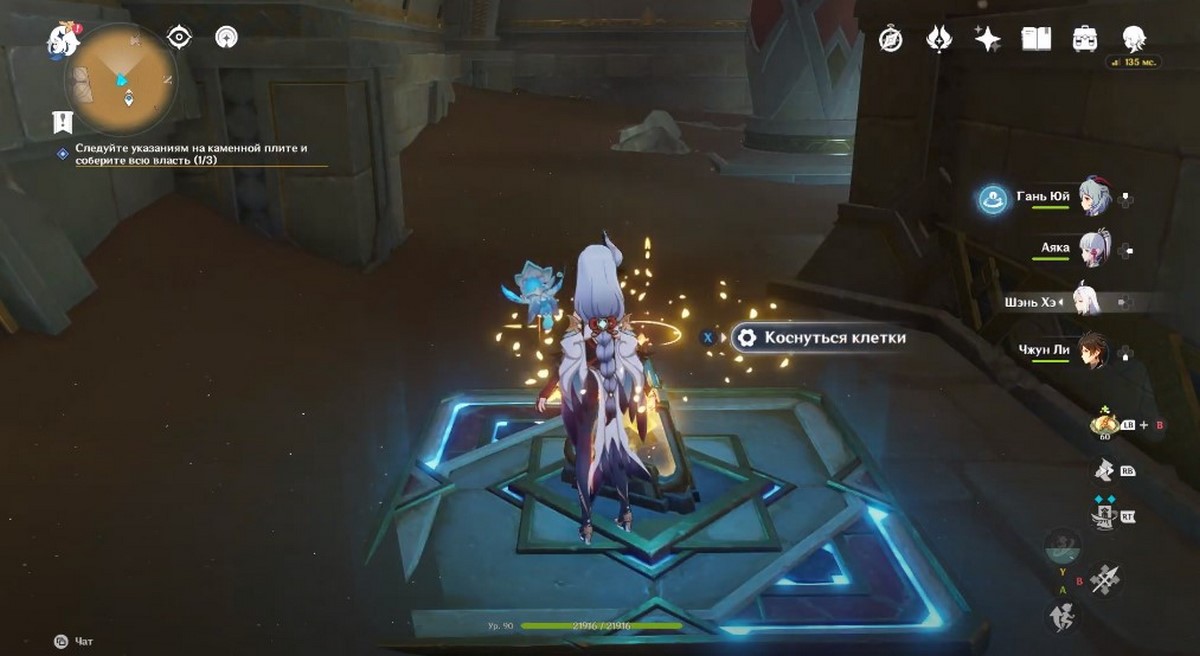
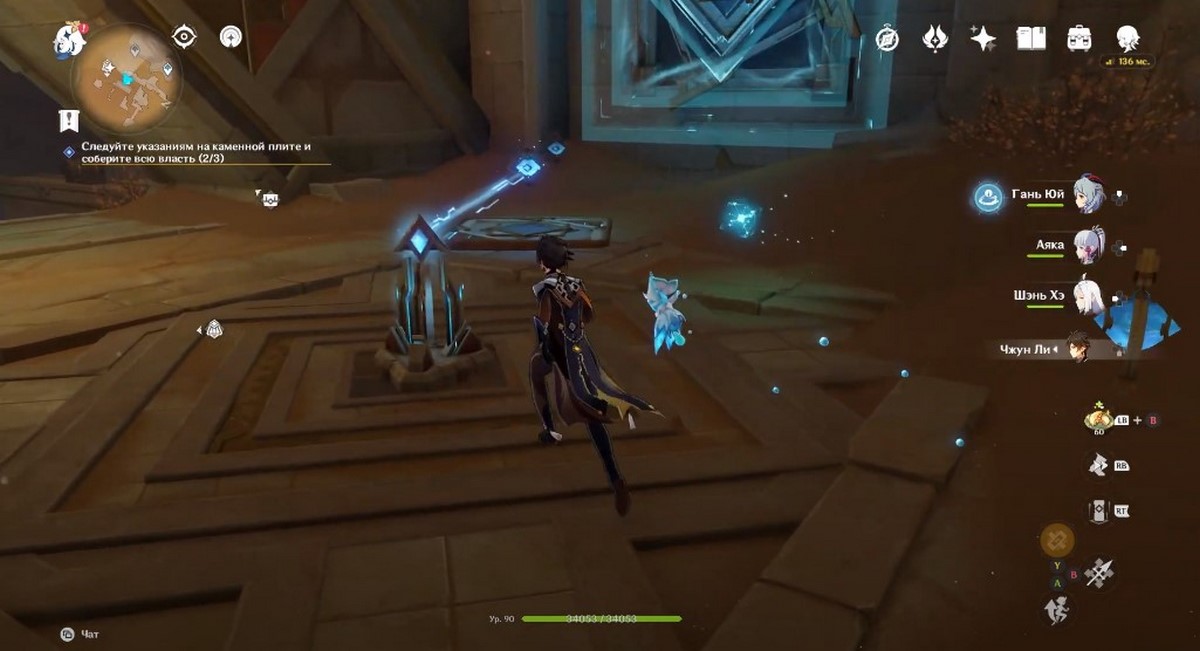
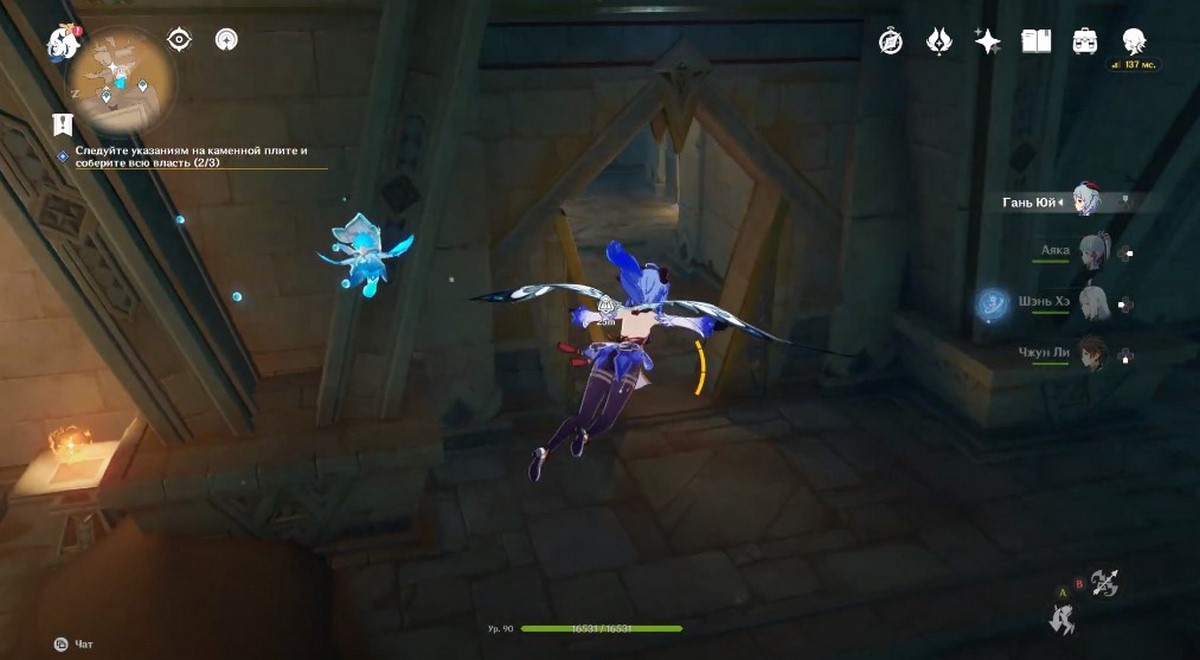
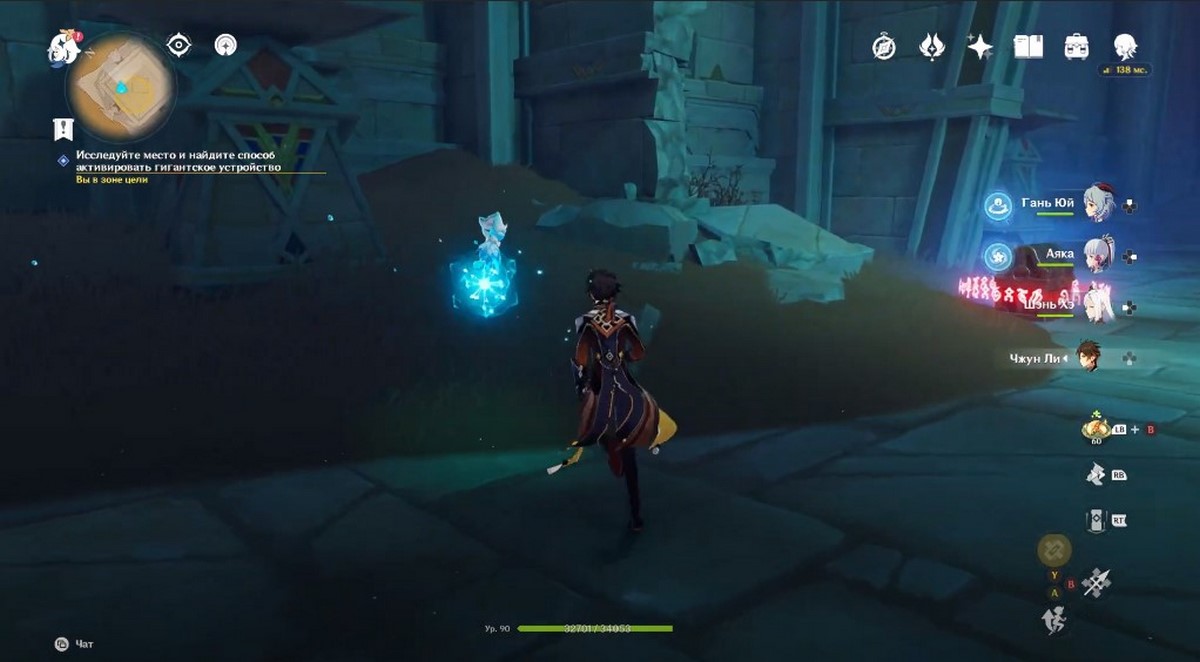
Immediately after watching the cutscene, go downstairs and approach central spark. Unlock her and start following her to the lower level. When she gets into the second candlestick, wait until the air flow disappears, and only then unlock the cube so that it is not blown away by the wind.

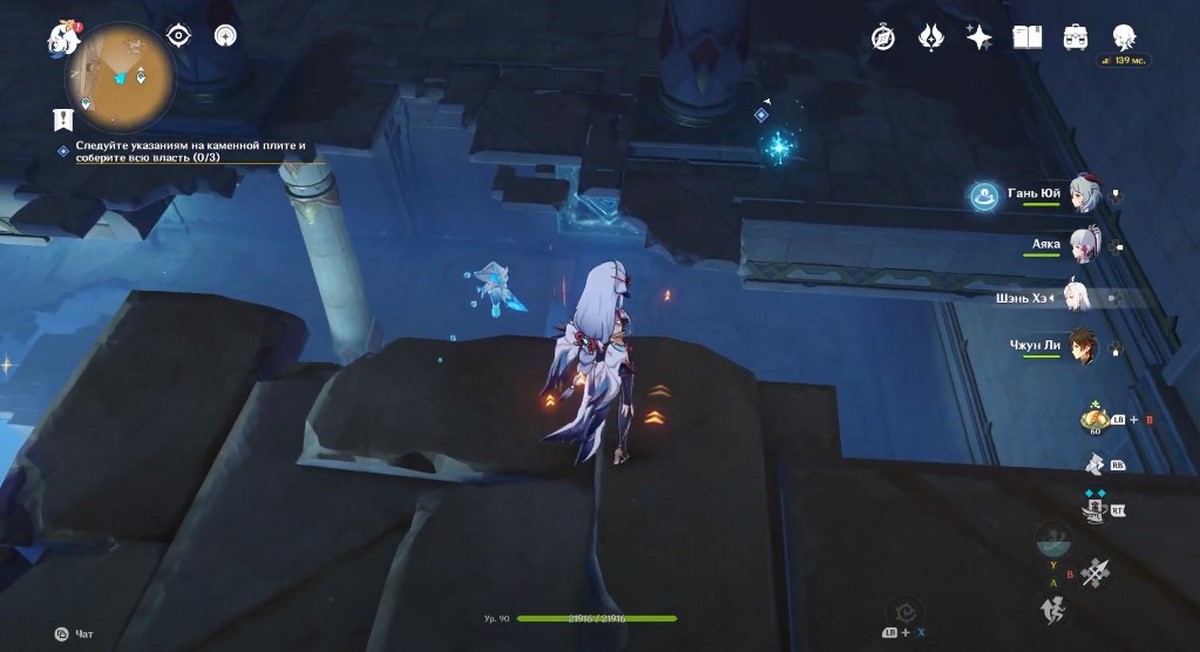
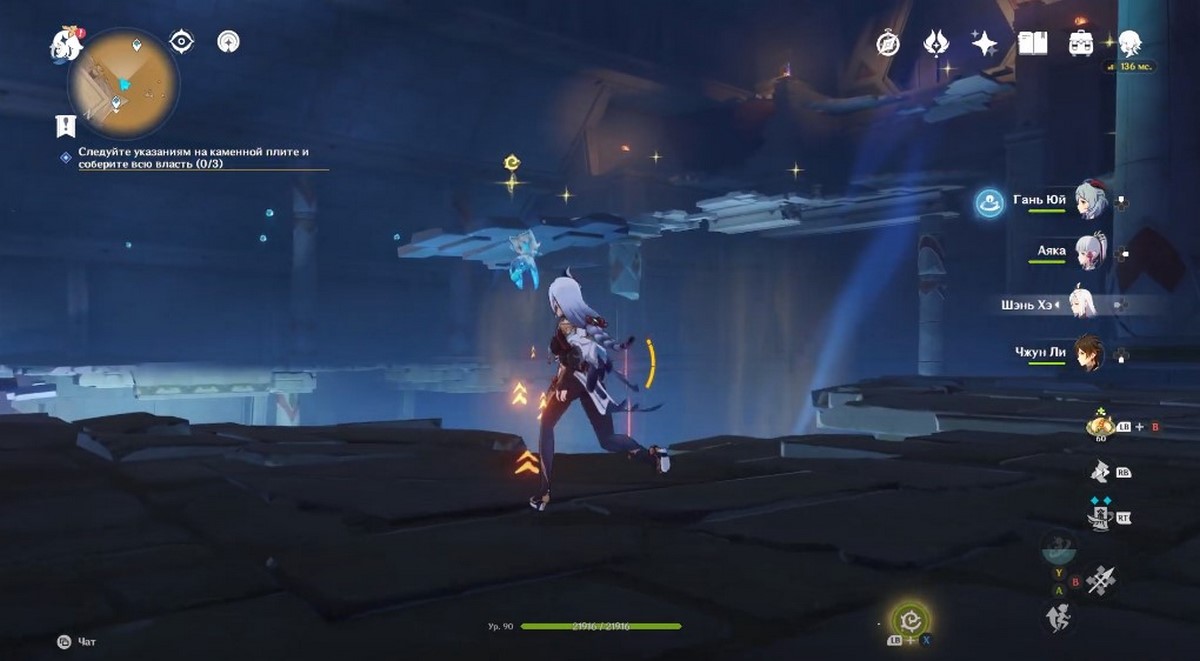
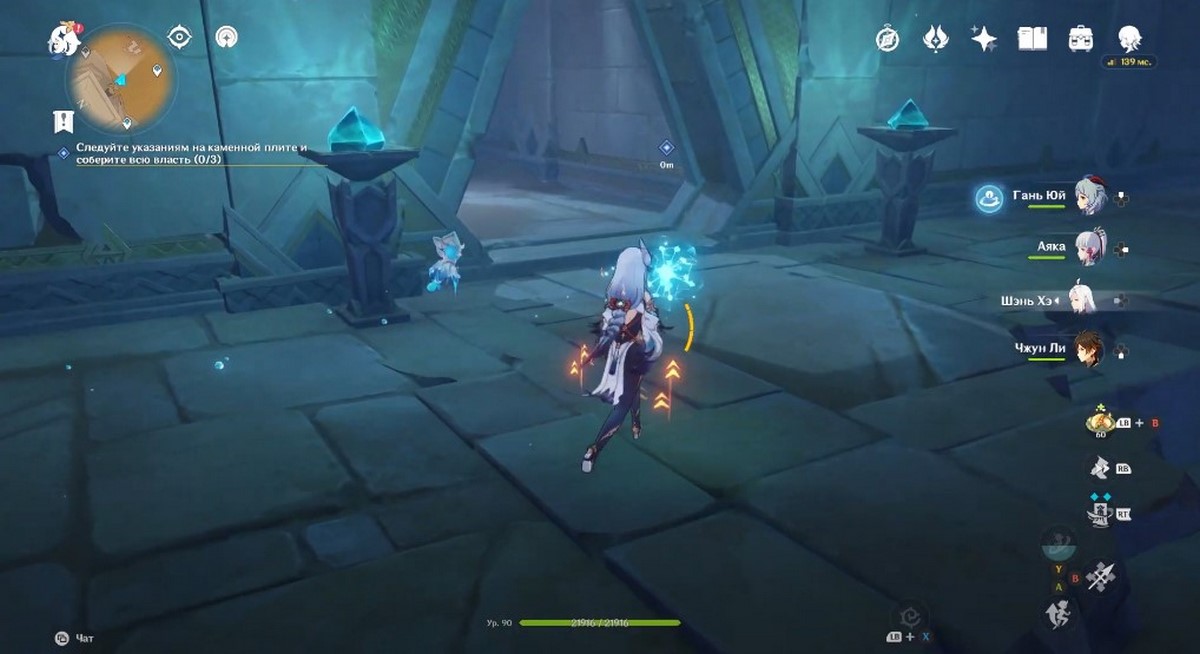
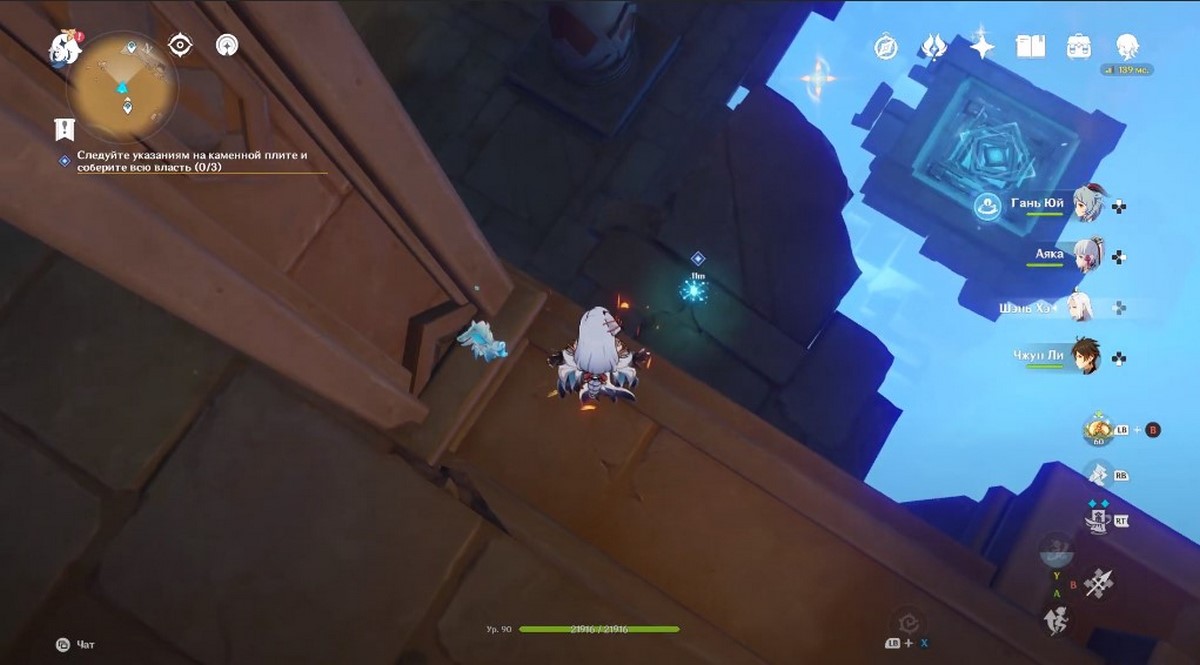
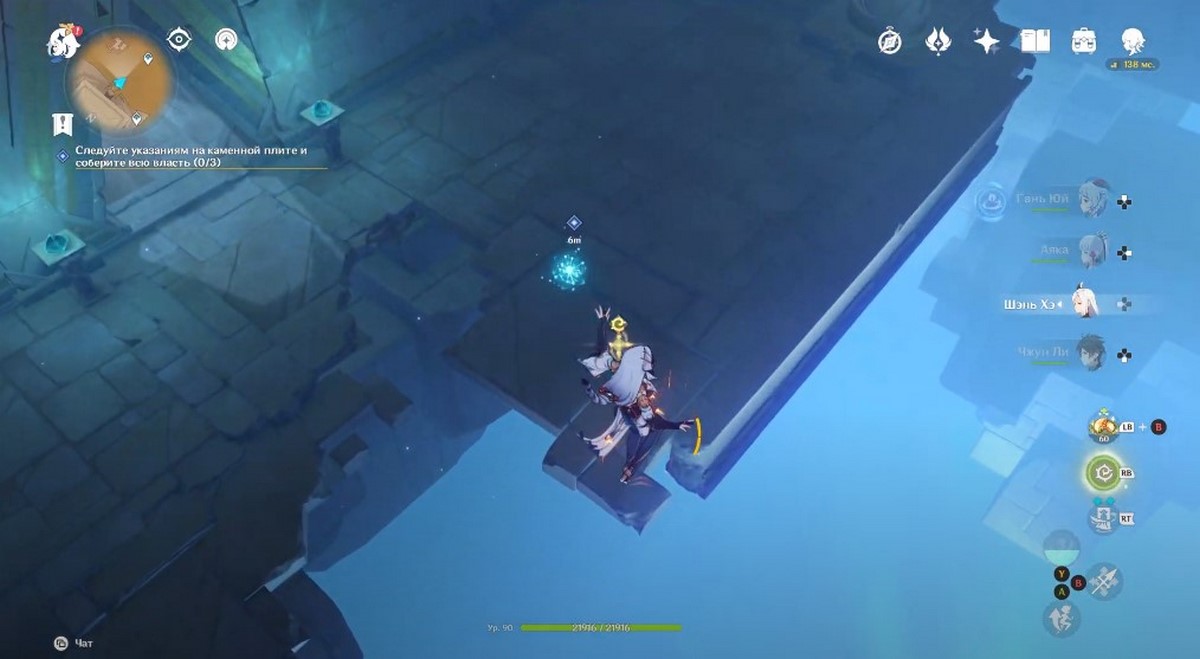
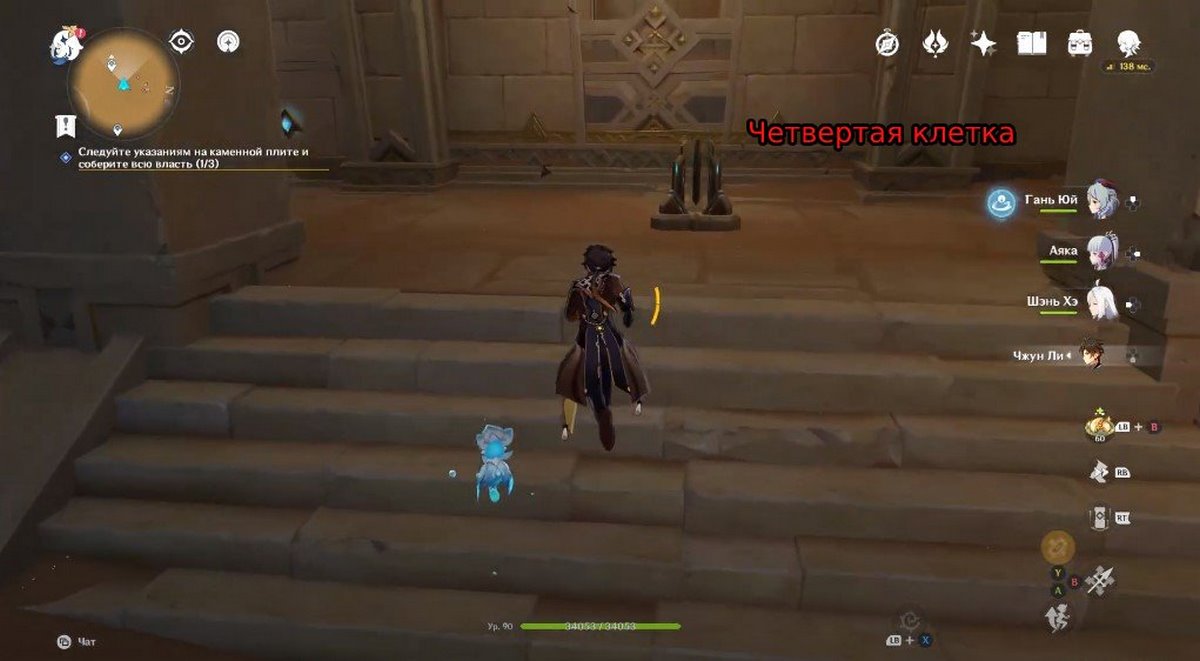
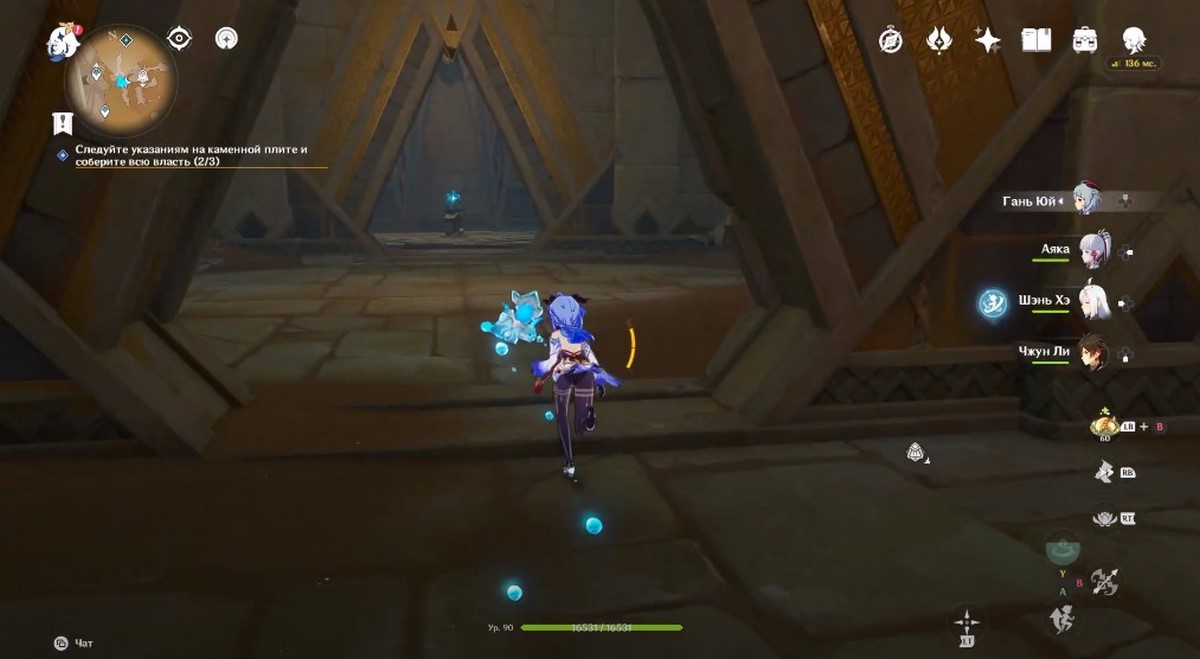
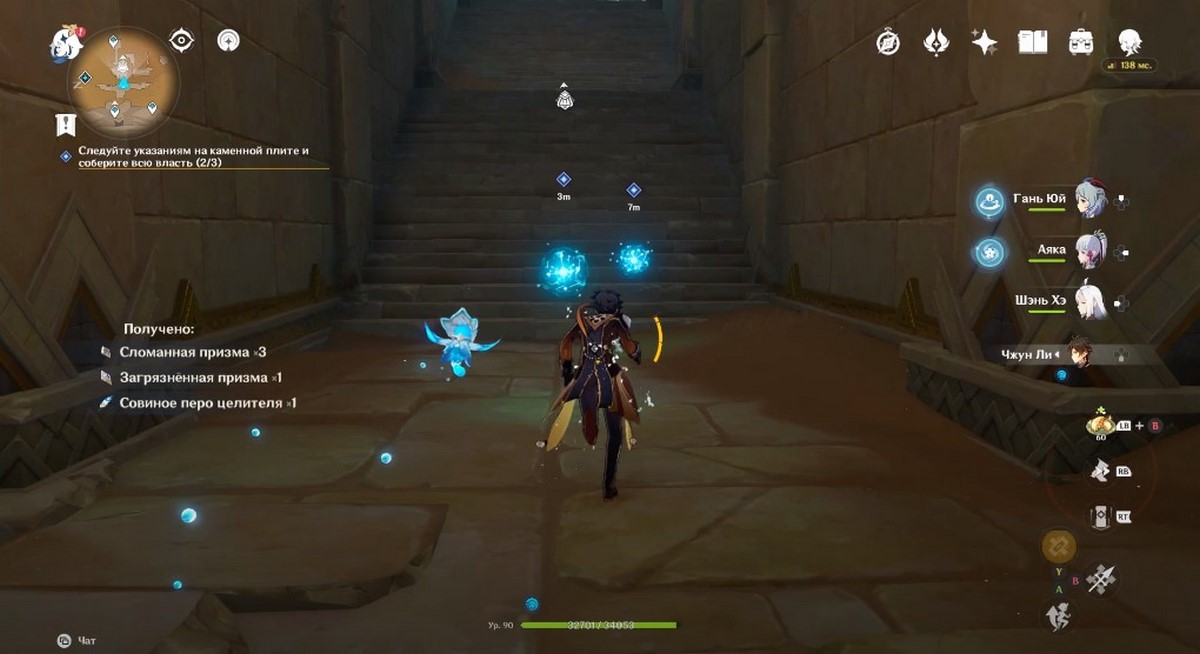
Then the spark will fly into the passage on the right. Run after her, go down the stairs, turn left and go up the stairs. After entering the new room, turn right, jump off the ledge and activate the first torch.

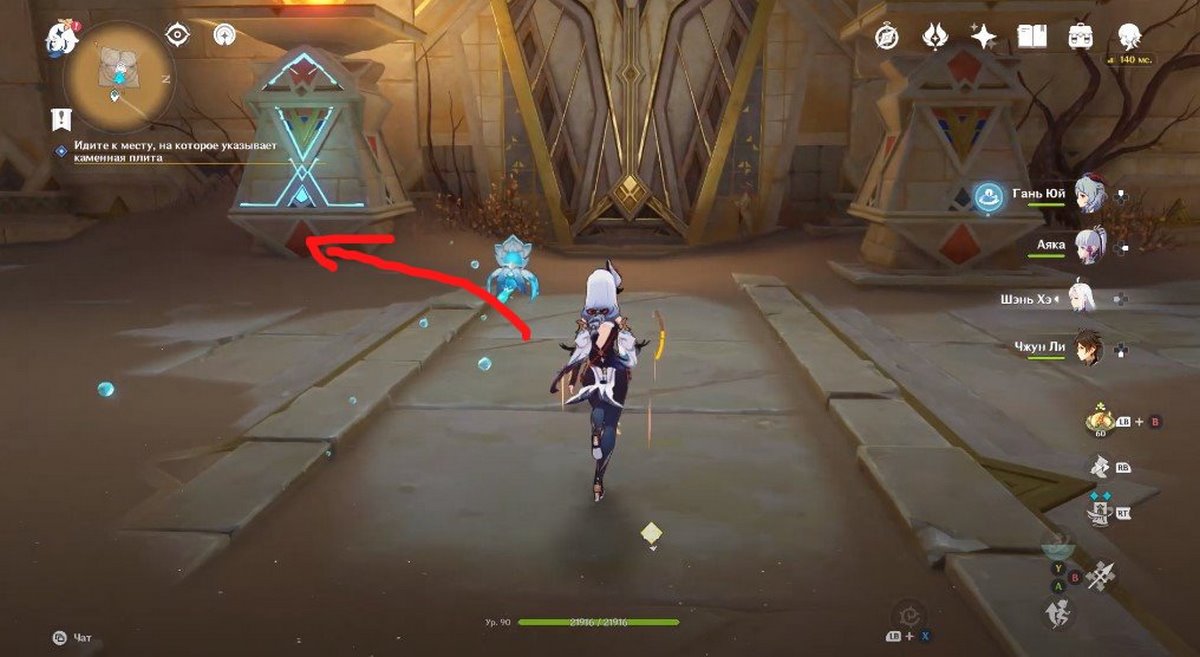
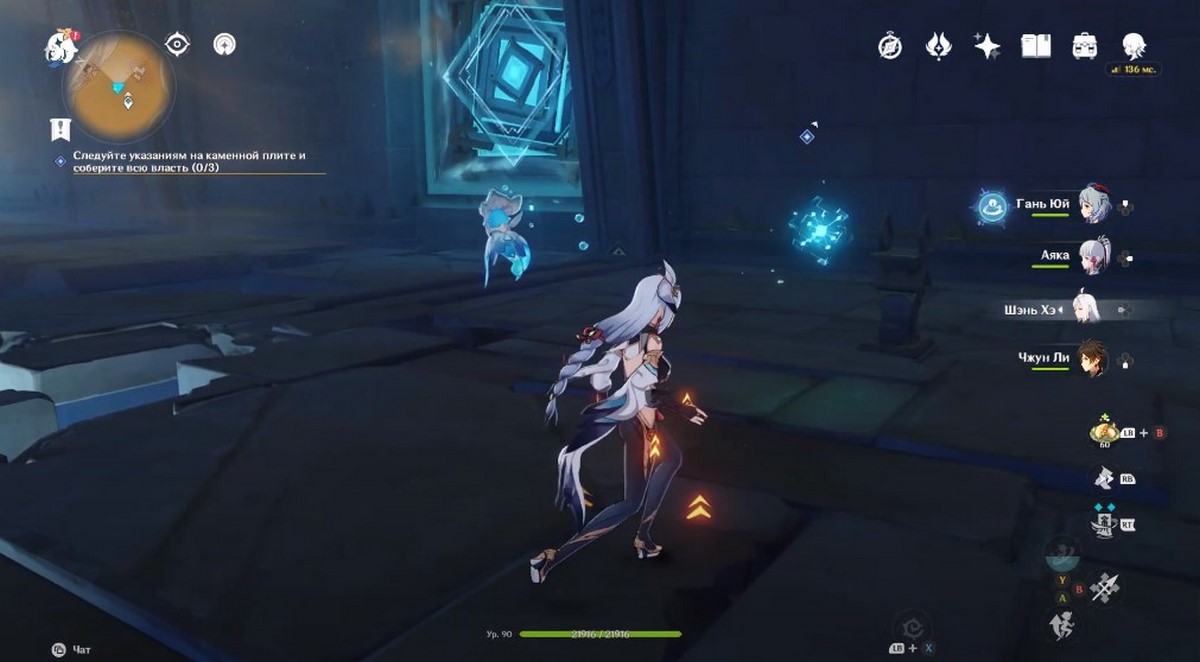
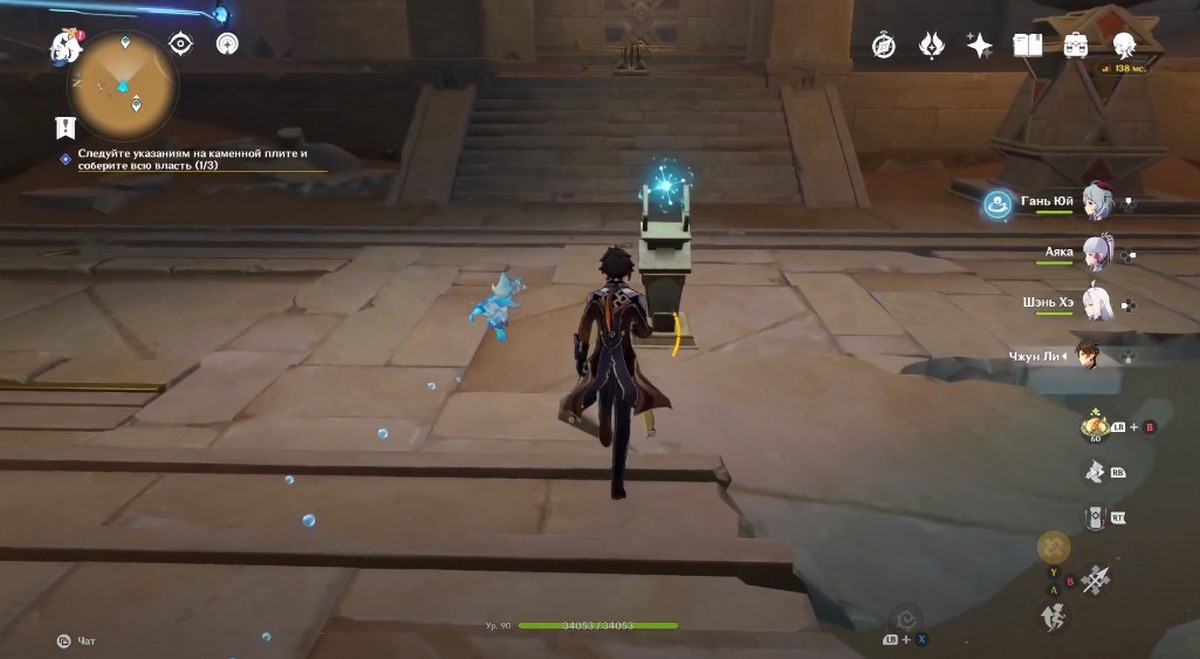
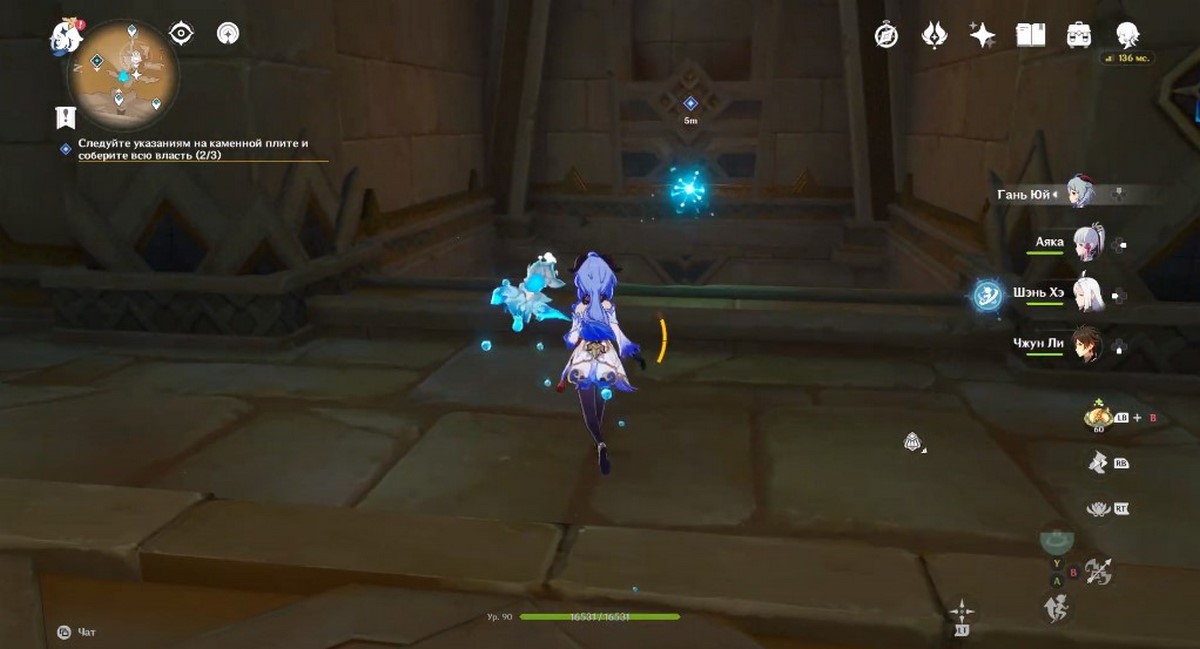
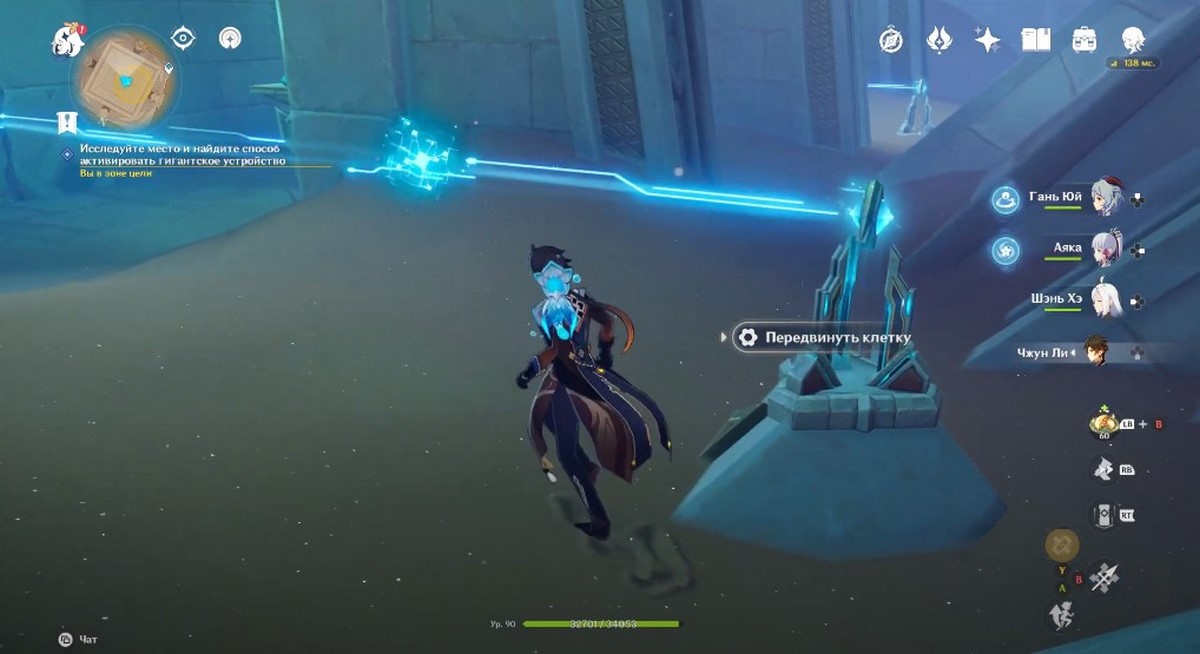
Return to the Duat Hall and use the four leaf symbols and air currents to rise again to the upper tier. Now unlock right spark shown in the third screenshot below. She will immediately fly forward, and then down and to the right - follow her.
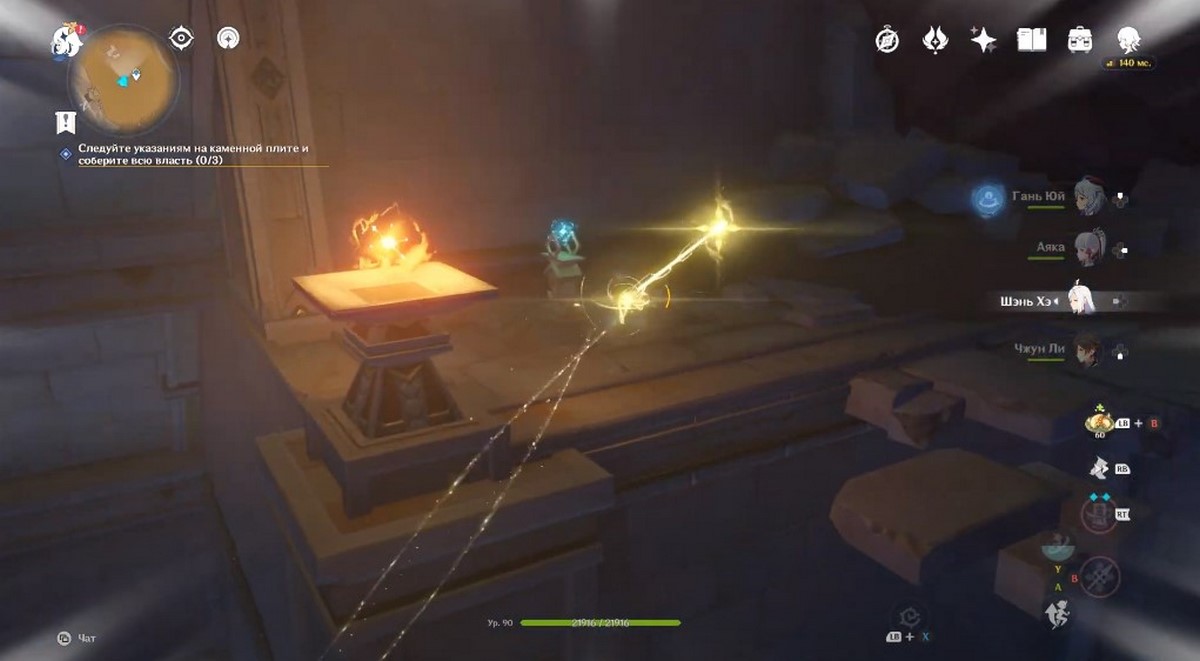
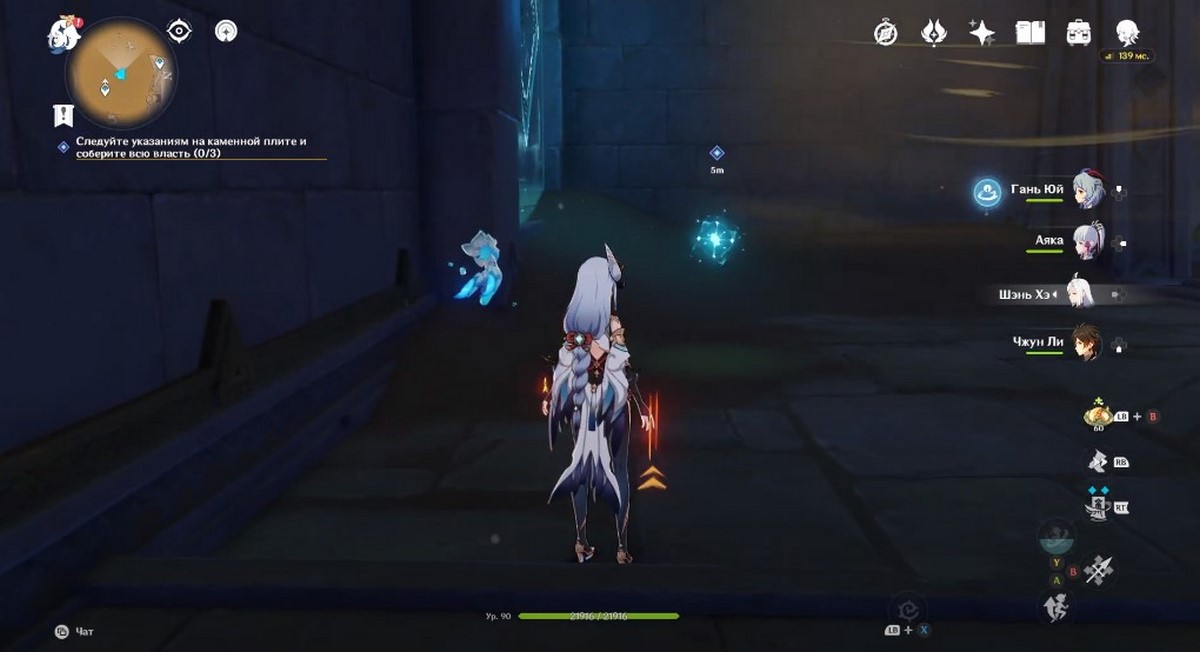
The cube will stop near the candlestick. Unlock it again and run forward after it. He will stand next to the third candlestick and the hole from which the wind blows. Wait until the air flow disappears, and only then activate the spark, otherwise it will immediately return. Next, jump after her into the hole and enter the left passage.

As usual, go down and up the stairs to get into a spacious room. Here, just bring the spark to the Second Torch, located in the far right corner of the room. Again return to the Duat Hall and go upstairs using the streams and quatrefoils.

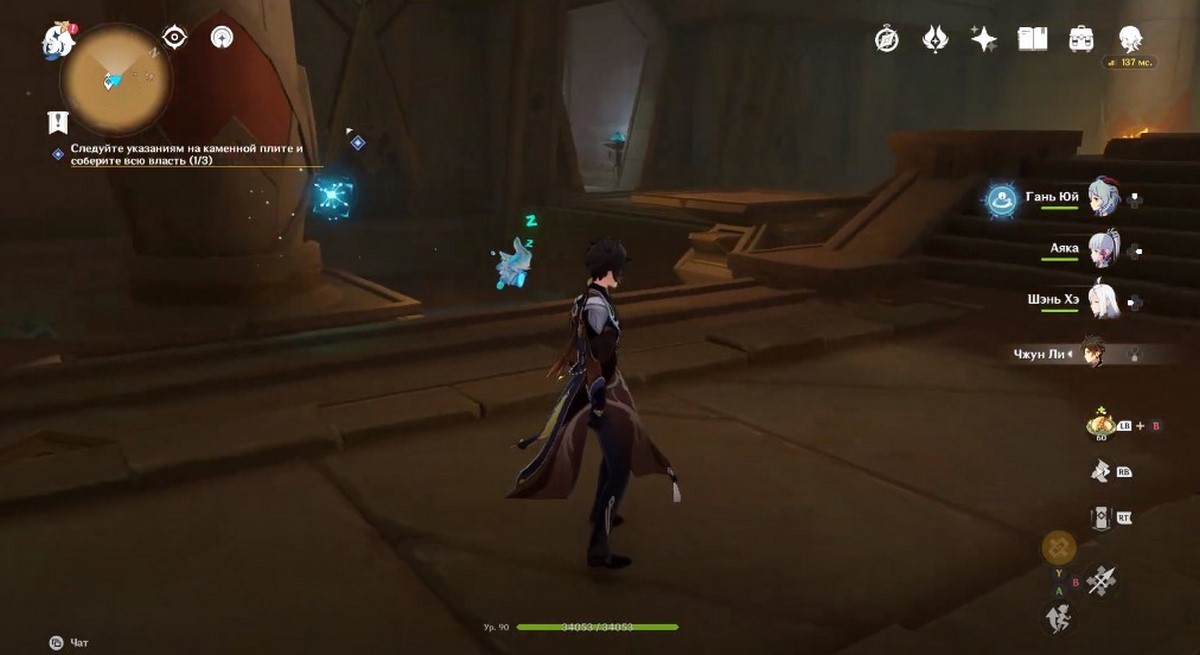
Then plan for left spark and unlock it. She will immediately fly forward, and then down and to the left. Follow her and go down to the bottom floor. She will stand near the air platform. Approach it only after the wind has disappeared. Then she will stand near the candlestick - unlock again, and she will fly up and to the right.

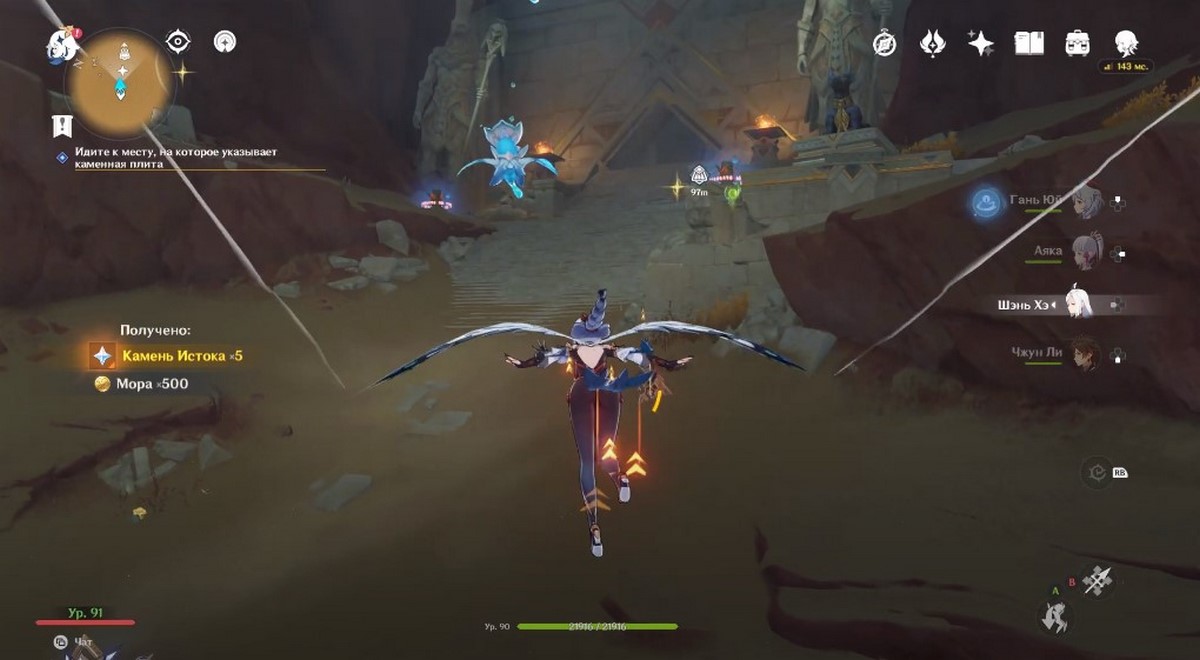
Follow the cube using the four leaf symbols. Keep flying from one platform to another until you are on the opposite side. Go to the third candlestick and again unlock the spark, which will fly down to the entrance you already know. There, bring the cube to the third torch and watch the cutscene. The first test has been completed.

Note: We add that a detailed study of the Hall of the Duat is presented in our separate guide. In this area, you can find two luxury chests and one precious chest.
Place of rebirth
Apply the Red Sands Slab, select the Spawn Place from the list and click on the inscription "Go" so that the corresponding mark appears on the map. The desired location is north of Magma Dune - teleport there.
Then run to the entrance ahead, but right near the foot of the stairs, turn right and drop down into the opening where you picked up the Dendroculus earlier. Then run into the cave, continuing to follow the white mark.


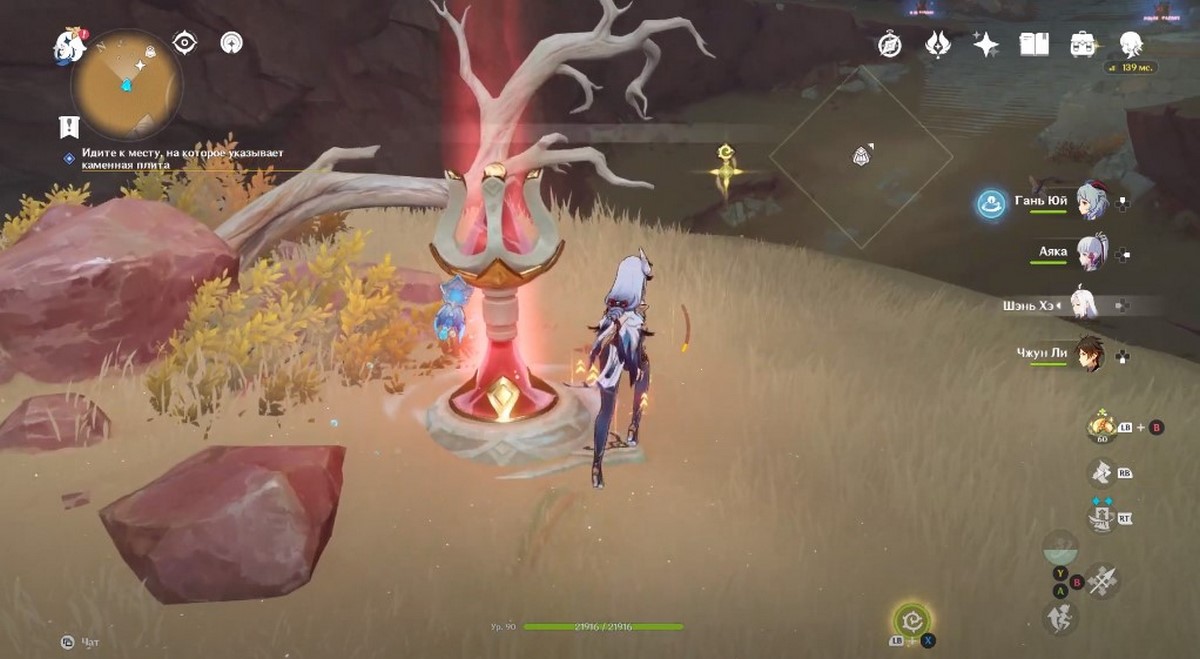
Drop down to the bottom of the dungeon and unlock The first primordial spark. Start leading her into the half-flooded room ahead. She will go under the water and light one of the four torches. At the same time, the water will partially sink. You have to find 2 more sparks and bring them to this room.

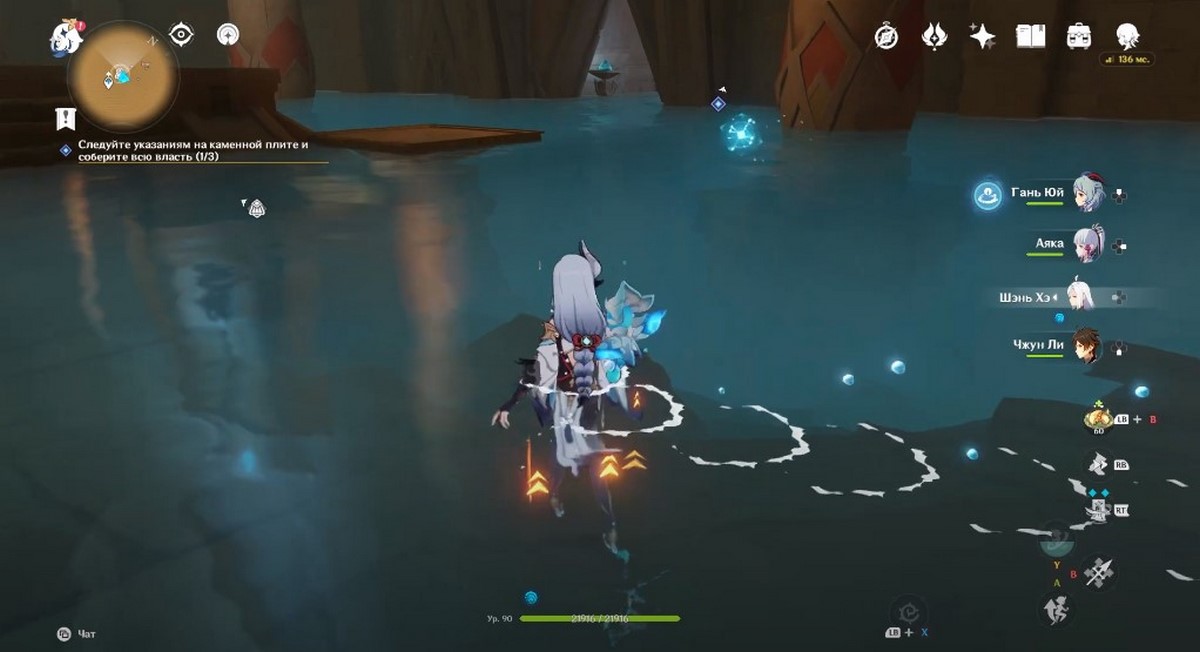
Next, go forward and enter the passage behind the mechanism. Move through the corridor until you find yourself in a spacious room with a locked Second spark and phantom torches that need to be lit. To do this, first pick up the primordial luminary located in the far left corner next to the lit torch and place it on the platform on the right.
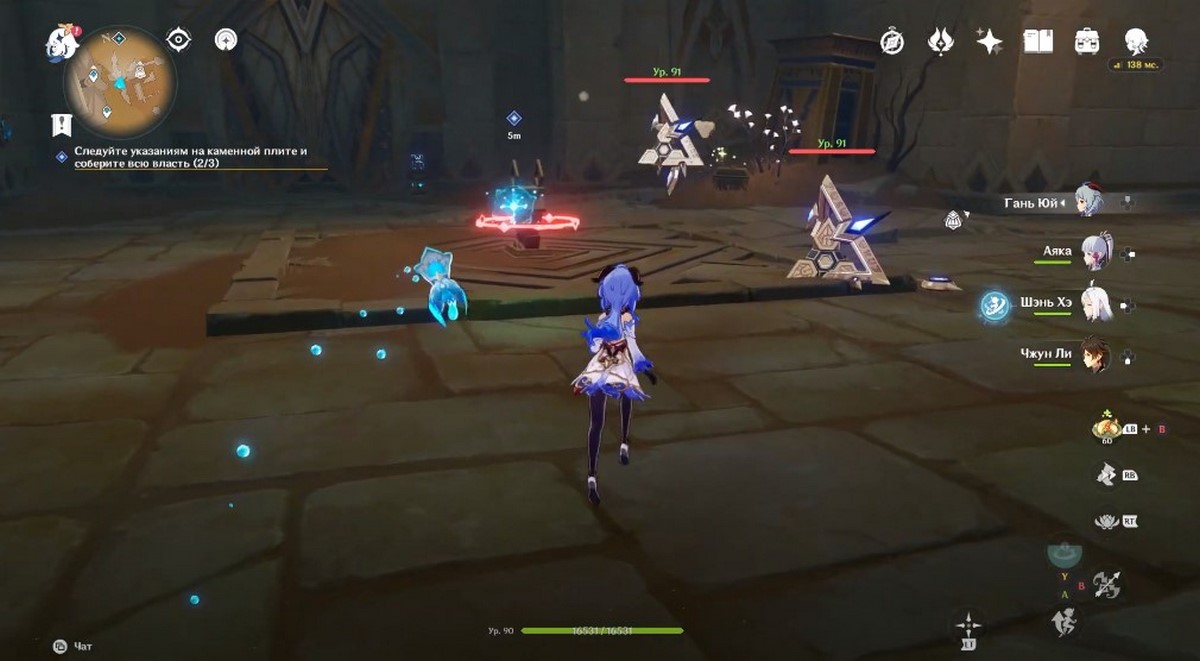
Touch the cage, and then run near all the phantom torches to restore them. Next, light the braziers with any Pyro attacks - the order of ignition is unimportant. By doing this, you will remove the Hurdle from the candlestick. Deal with the structures that appear and unlock the spark. Start following it until you reach the second column, which lowers the water a little more.
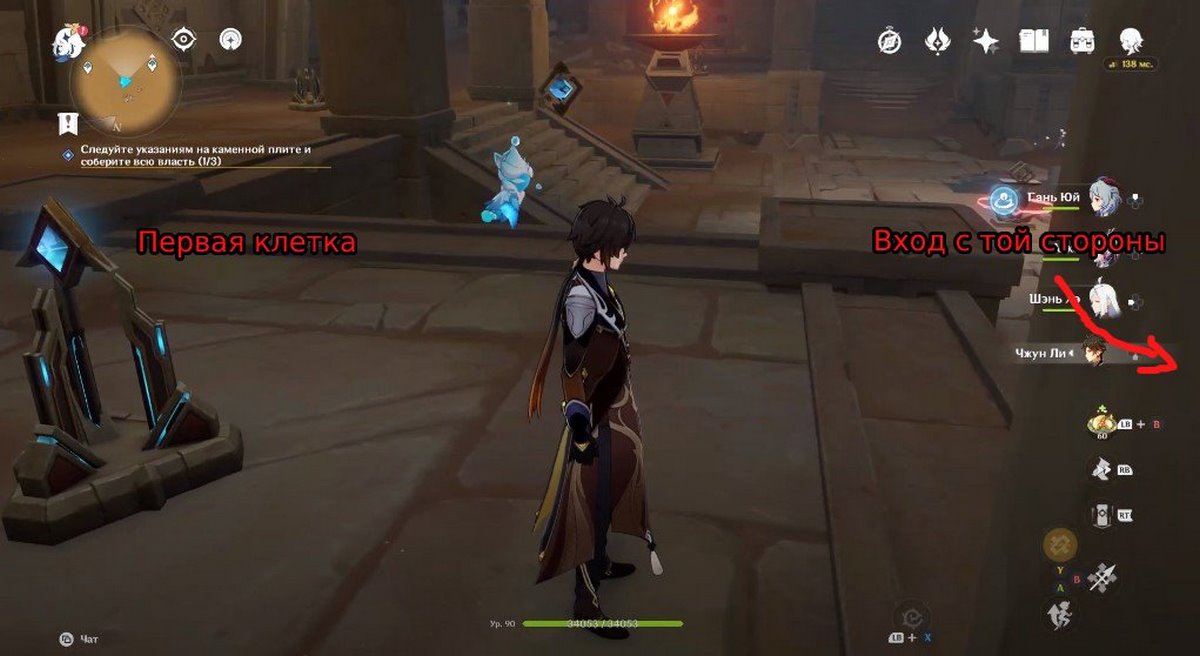
Now go to the left passage shown in the screenshot below, go down the corridor and go down the stairs to a new spacious room with a locked Third primordial spark. To solve the puzzle, you will need to rotate two cells so that the rays from them fall on the prisms from the other side.
We add that both devices have a hidden time limit, so you need to move the cells in turn, and not separately. If you do not have time, they will return to their original positions. We also advise you to destroy all structures in advance so that they do not interfere with you.
We will try to describe the necessary actions in steps. First you will need to move the cell to the left of the entrance. After that, immediately run to the far right corner to the second cage (next to the cobblestone) and move it.
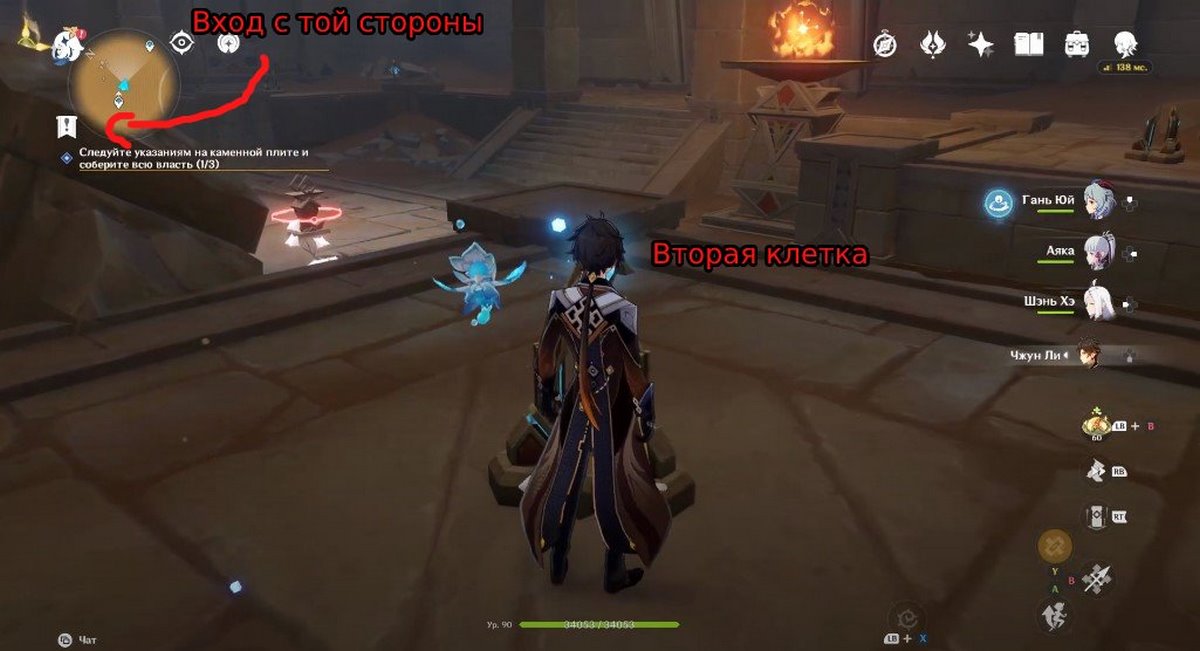
Run to the left side again and move the Elemental Reaction: Crystallize already in the middle so that it reaches the end. Go back to the right and also move the cell that will stand in the center so that it reaches the other side. The last screenshot below shows the final result.

After unlocking the spark, start following it to the closed door. Open it with the console and light the last column. With this, the second test will finally be completed. Watch a short video.

Place of breath
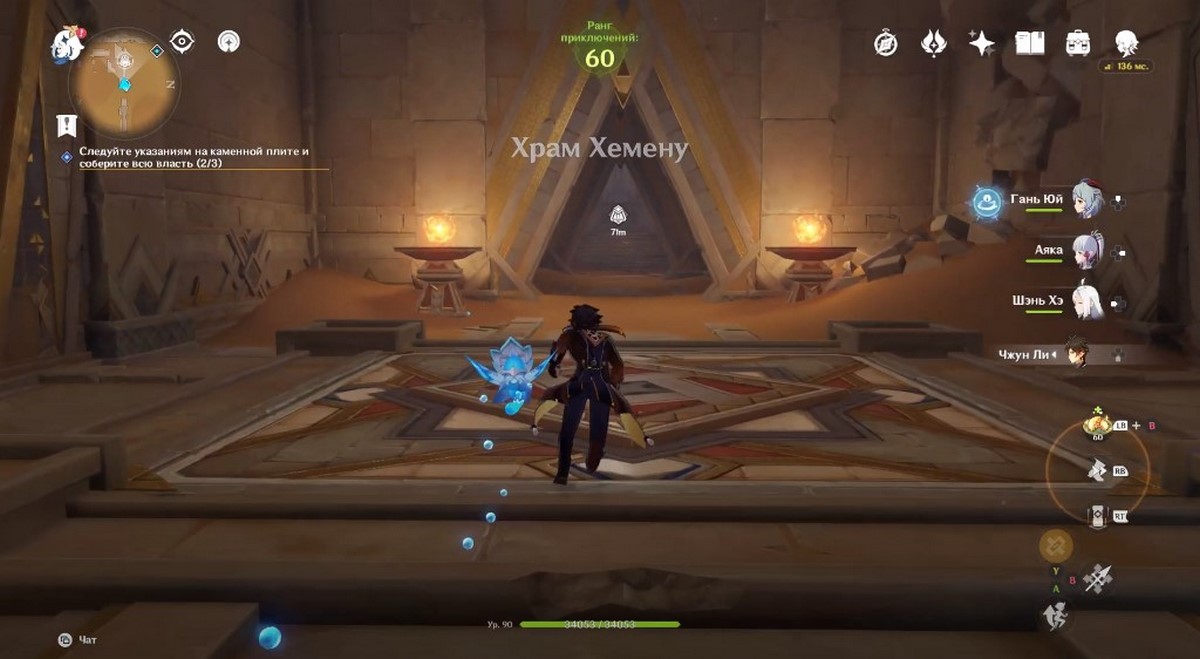
Reapply the Red Sands Slab, select the Breathing Spot from the list, and click on the "Go" button. The location you need is located near the temple of Hemenu. Move there and run into the passage ahead, following the marker.

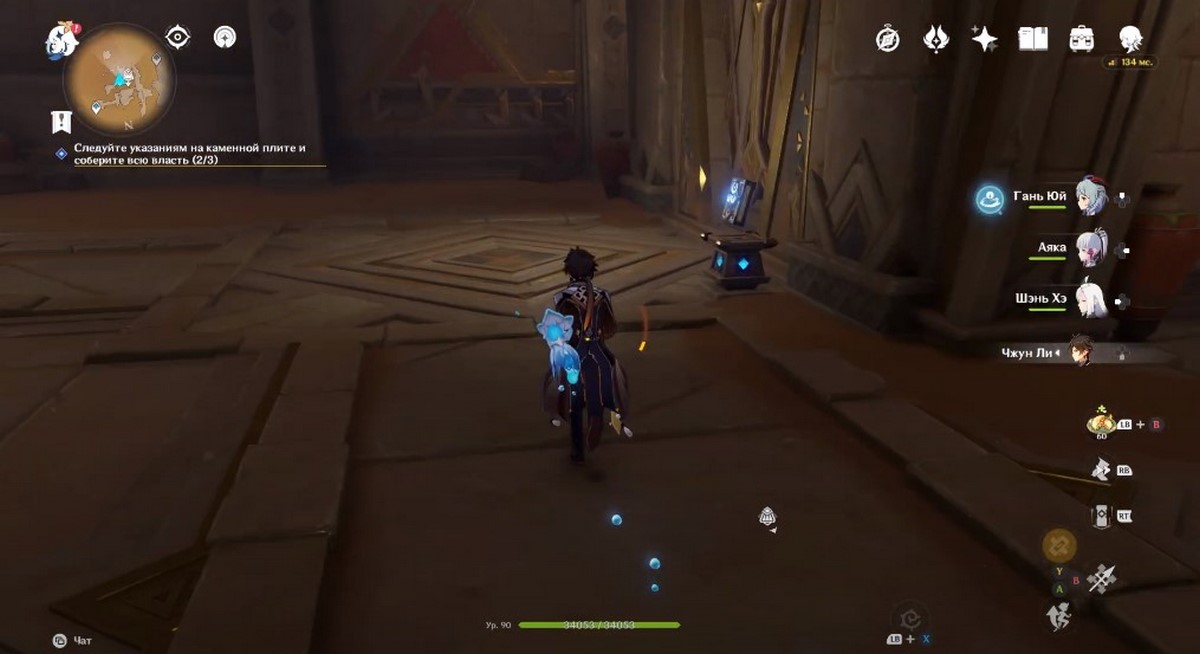
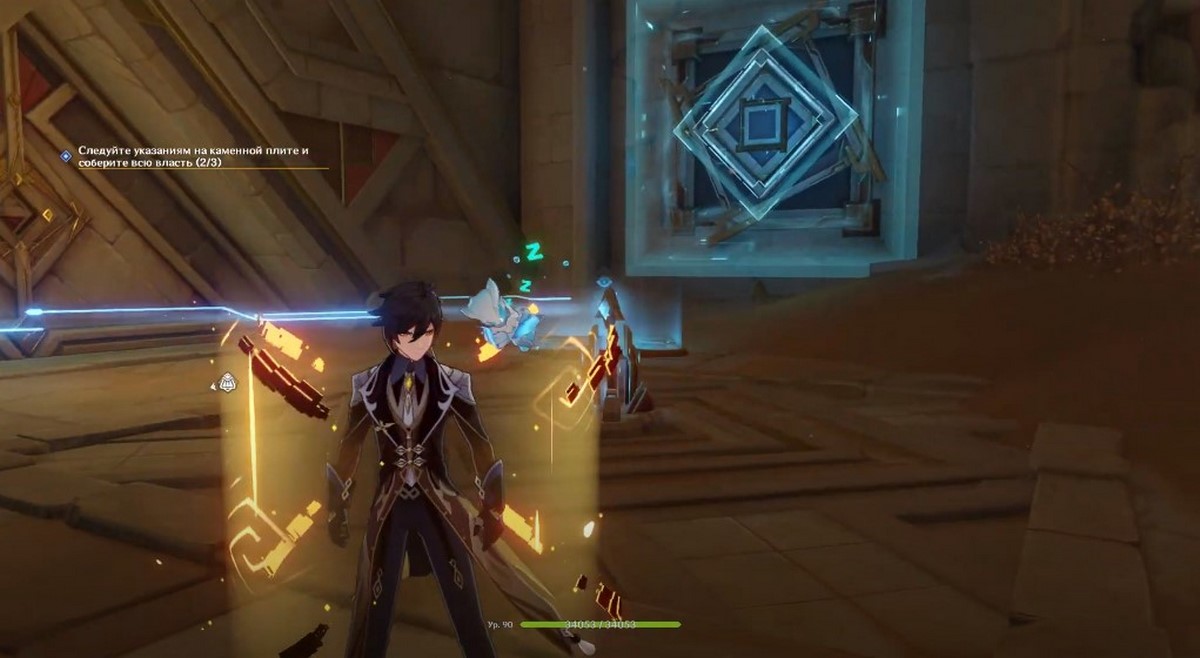
Once in a spacious room, turn left and enter the left passage. Use the plinth to open the door and jump down the hole. Here you will find a small puzzle with a cage of eternal light. First, destroy a bunch of red cobblestones to the right of the entrance to the room. Behind it you will find a second prism.


Then just turn the cage once to unlock the door, go down the stairs and immediately turn right to collect the primordial luminary. Place it on the platform at the top for another prism to appear. Rotate the cage again and unlock the spark, which can now safely fly further (the wind will no longer interfere with it). However, to complete the quest, it is not necessary to free the cube.
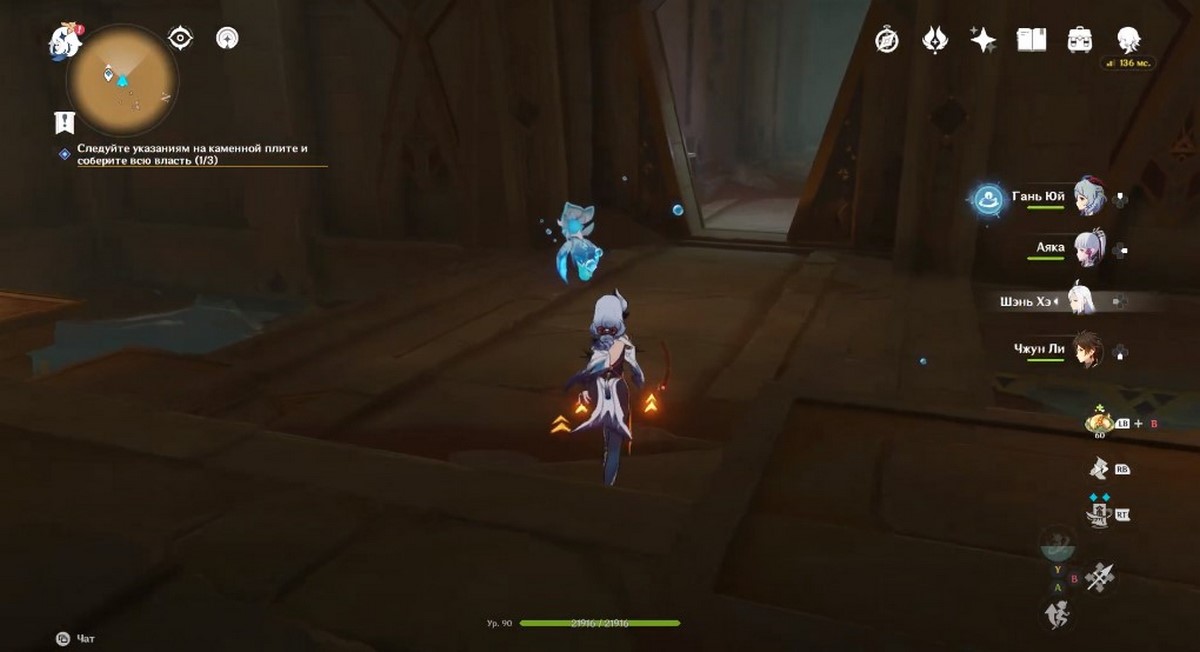
Go down the stairs again and go to the broken bridge. Jump down from it, picking up along the way Dendroculus. Fly into the tunnel following the sign. You will find yourself in a new spacious area. Start climbing up the spiral slope. For now, you can ignore the enemies and puzzles - just go to the entrance to the ruins and deal with the structure near it.

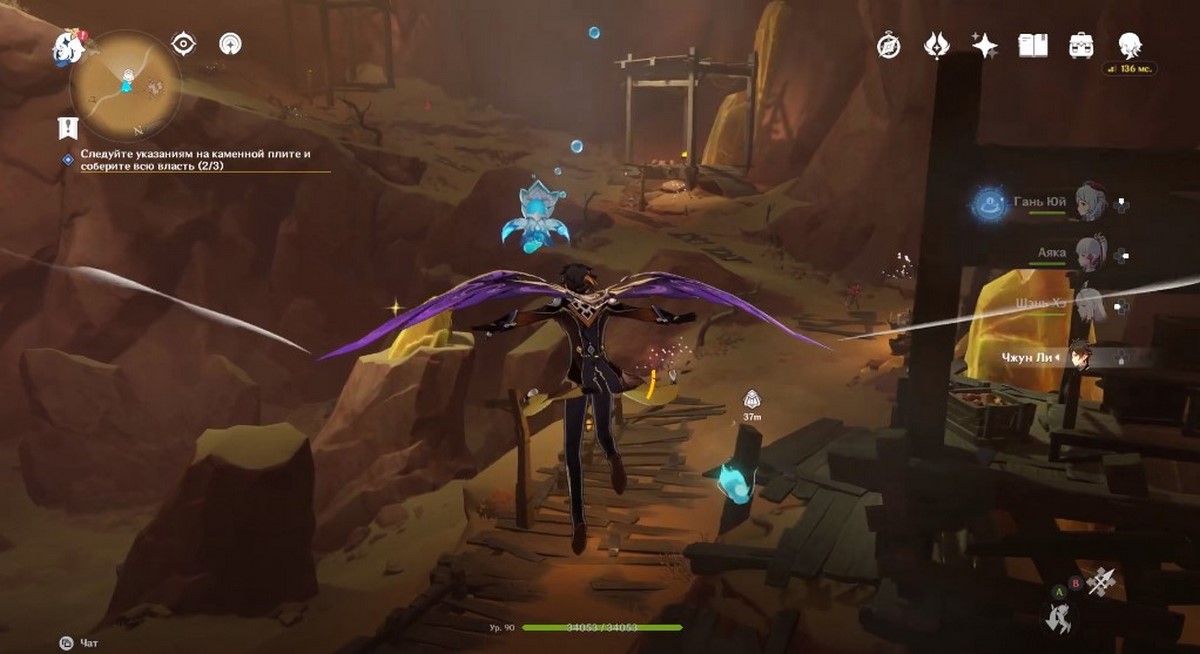

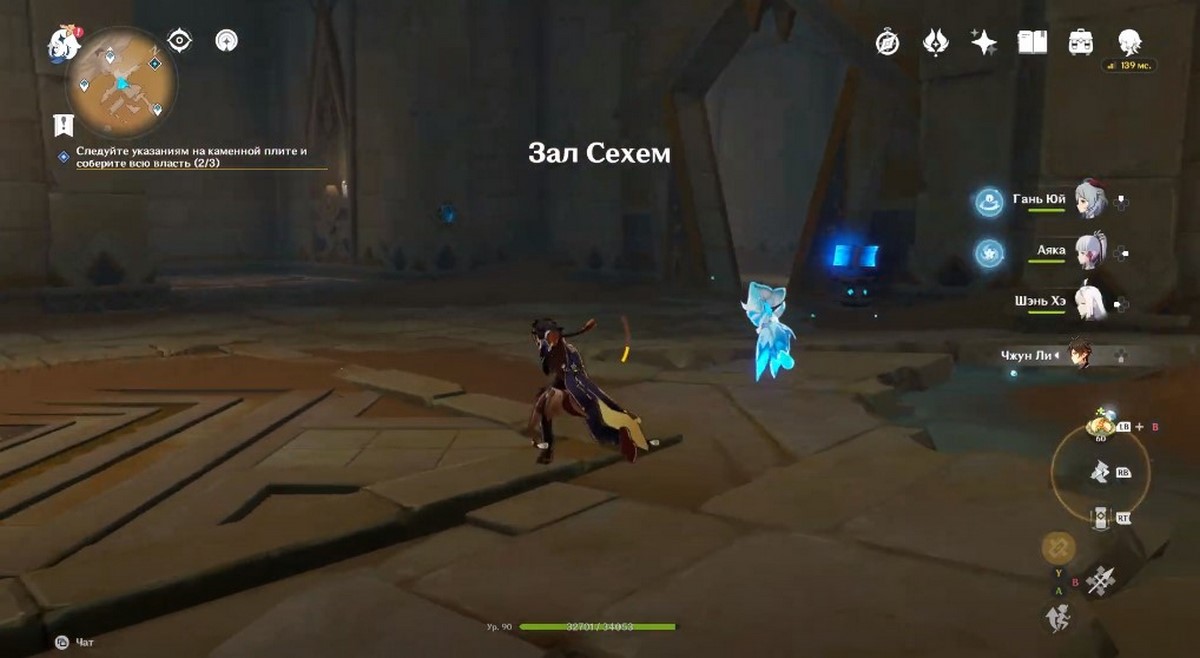
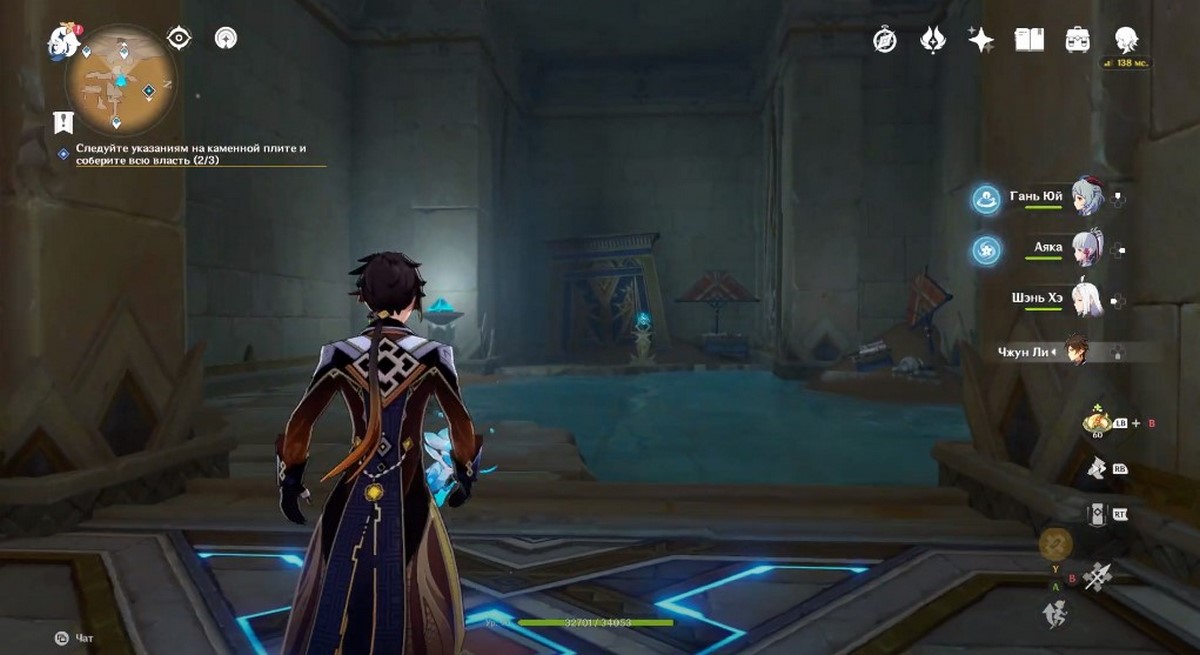
Keep climbing and go through another entrance, to the left of which is a teleportation point. Enter Sechem Hall. There will be a lot of puzzles here, but for this task you do not need to solve them (we will talk about them in separate guide ), so immediately turn right, go through the corridor and ahead you will see the first primordial spark. Unlock it and jump down the hole after it.
Run after the spark and stand on the illuminated stove. Soon it will disappear, and you will be able to go down even lower. Once down, start gently sparking through the air currents, turning them off with the help of pedestals (next to the first one you can find Dendroculus ). Go down even lower through the second illusory slab.
You will find yourself in a spacious area with two structures. Deal with them and unlock the second spark. With You with two cubes, climb the stairs and bring them to two primordial torches.
To find the last spark, return to the room where you defeated the robots and go into the passage on the right (open it with the pedestal if you haven't already). Inside you will find a candlestick and a lift - get into it and jump down when it passes the second floor, where the blue cube is located.

Unlock the spark and jump down. Bring her to the last torch to complete the third Achievement: Challenger. You will see that another sign has activated on the Red Sands Plate. Select the Great Hall of Truth from the list and click on the inscription "Go".
How to activate the giant device
The required location is located south of the tomb of King Deshret. Move there and go to the Duat Hall, where you completed the first test earlier. Fly over to the other side and enter through the triangular entrance. Watch a short cut-scene and fly up to the quest marker near the device.


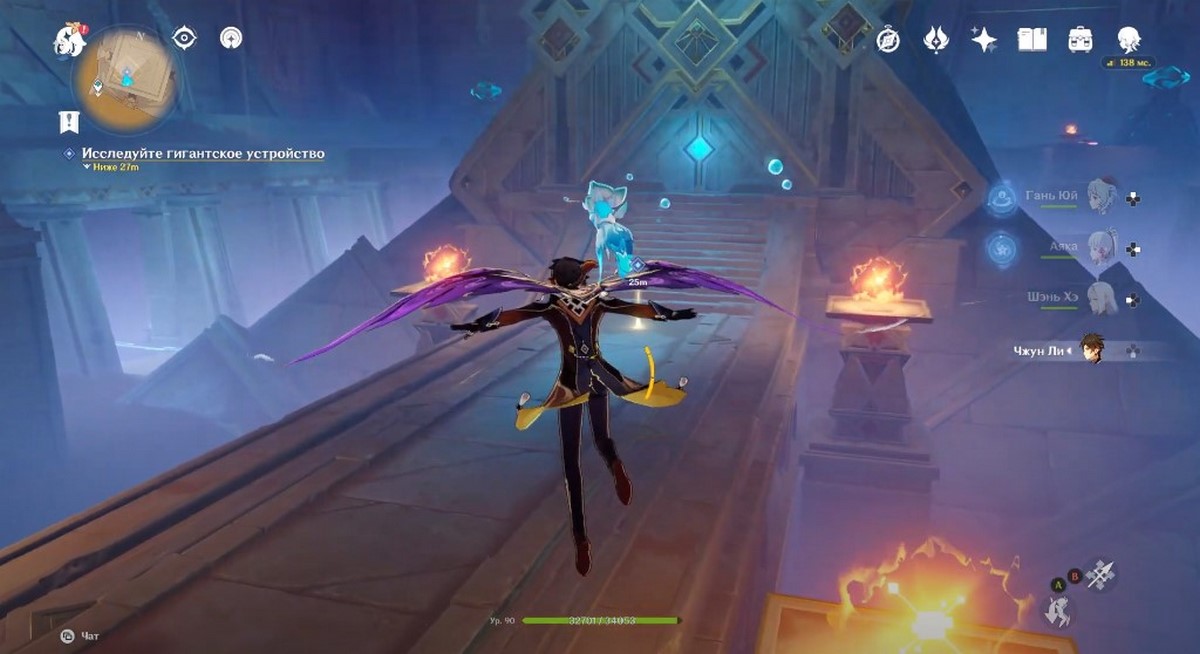
You will need to activate the mechanism. To do this, interact with the pedestals located on four sides of the device near the huge crystals (shown in the screenshots below). Next, watch the cut-scene.

How to open a precious chest
If you want to open the precious chest located in this area, then you will need to activate 2 Primordial Torches by finding the same number of sparks.

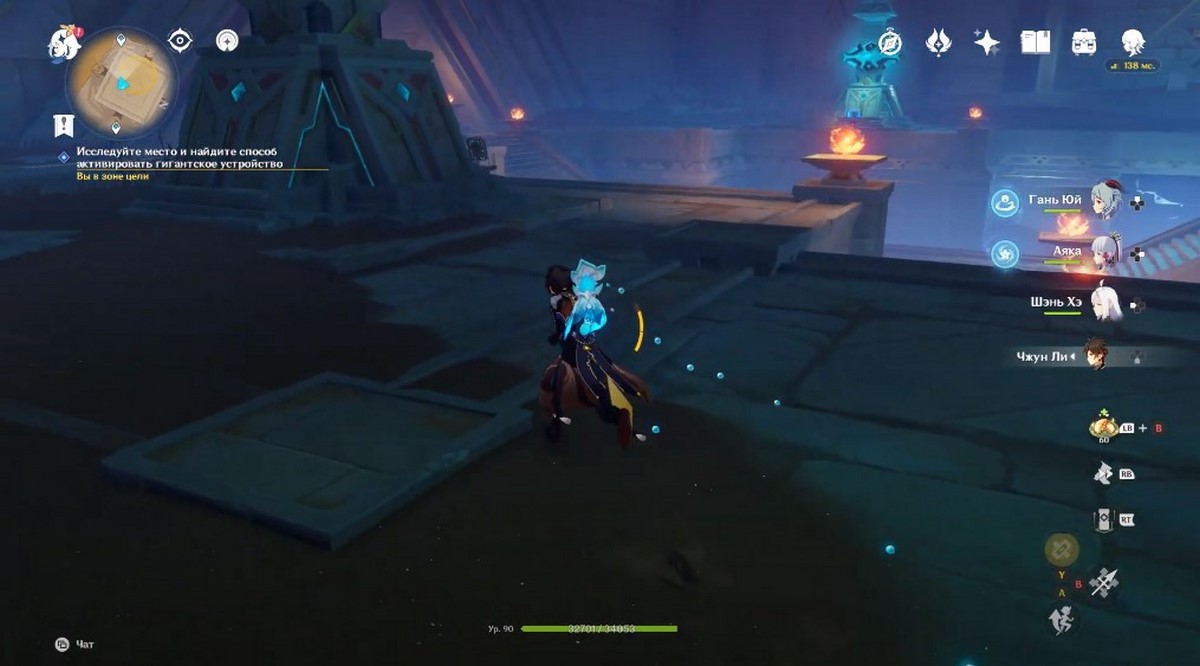
Jump down to the base of the device and move the cells so that the beams look into the prisms on the left side, as shown in the first picture below. This will release the first spark. After that, she will be waiting for you between the two left pedestals. Approach it and bring it to the column.

Go down again and now move the cells so that the rays shine into the prisms from the other side. This will release the second spark. Climb up after her, bring her to the column. Now you can examine the chest.
Light the primordial torches
Then go to the entrance to the device, and you will automatically move to the top. After a short conversation with Paimon, you will unlock The Straight Path achievement. You will need to activate 3 torches by bringing to them the same number of sparks located nearby.

Their location will be indicated by markers, so you will quickly locate the candlesticks. However, be prepared for the fact that after bringing them to the columns, structures will begin to appear that will interfere with you in every possible way.
In general, this stage is much simpler than the previous ones, since all the sparks and torches are in the same room. At the end, you just need to activate the device and watch a short video.
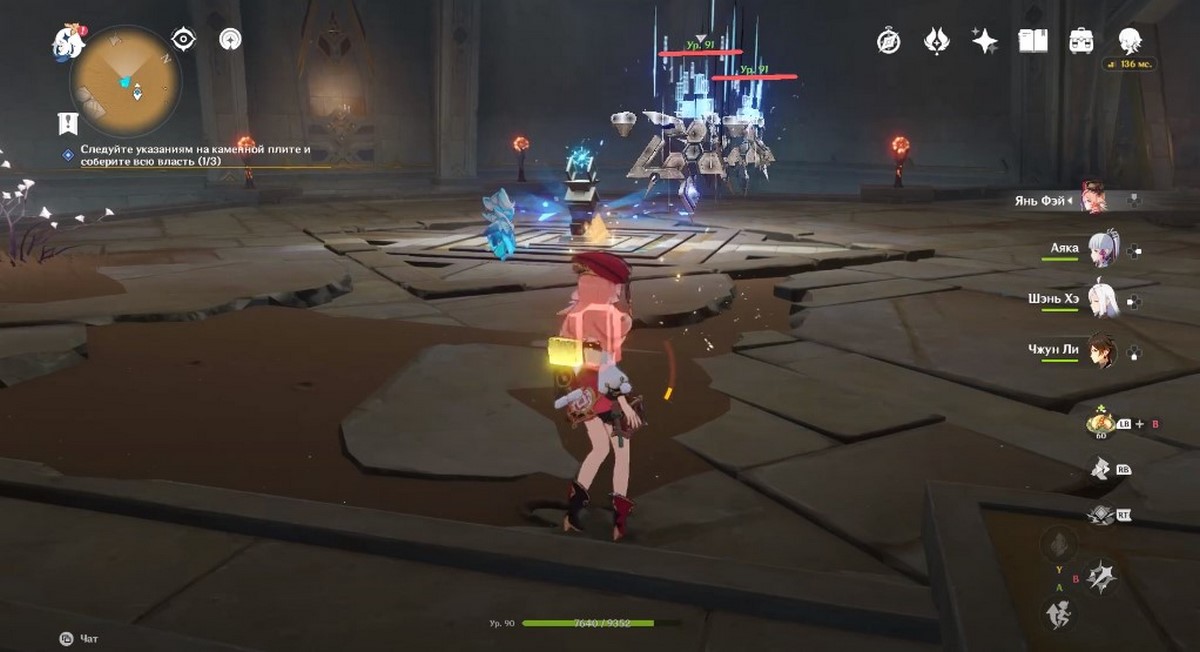
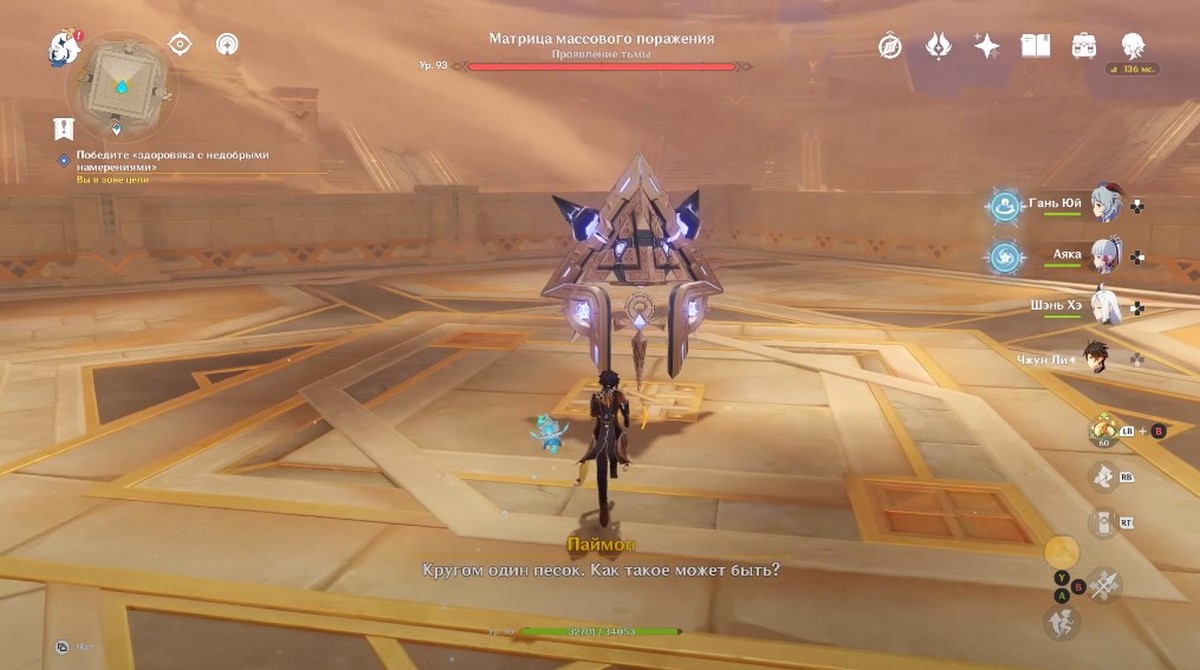
How to beat the Matrix of Mass Destruction
At the top, you will need to deal with the boss, which is a weakened version of the Semi-Eternal Observation Matrix Algorithm. Read our guide about him to know how to deal with him quickly.
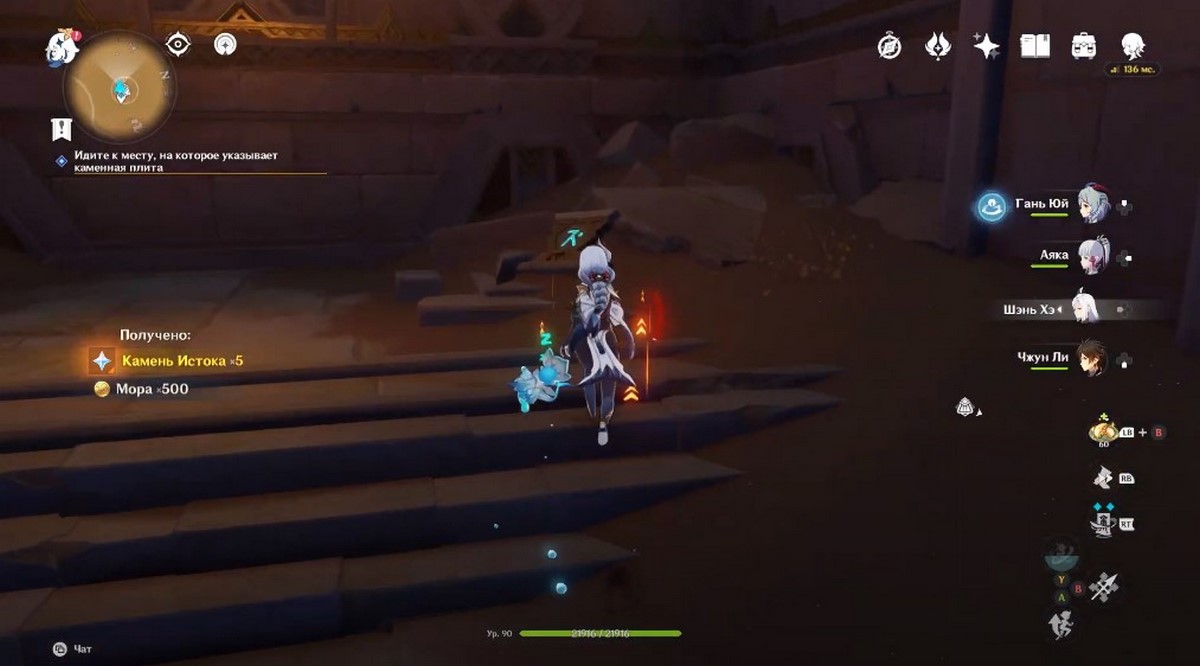
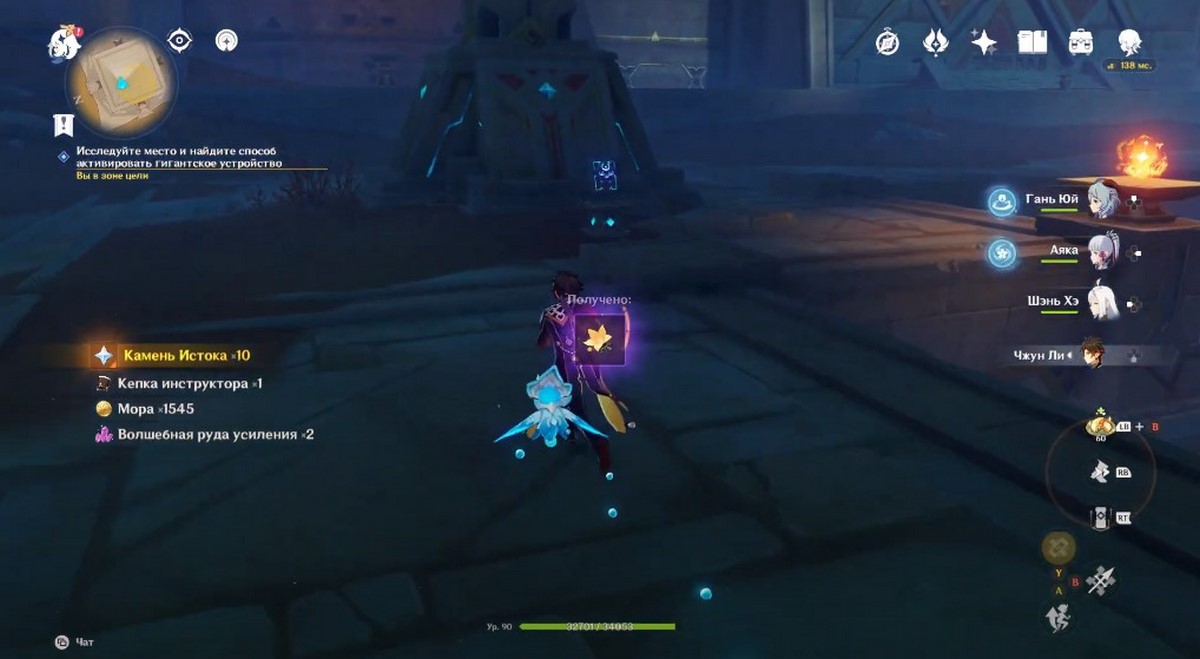
Watch another cut-scene and open the treasure chest, which will reveal Record of Aaru’s Shut. At the end, return to the village and talk to Soheil again. This will complete the task.

As a reward, you will receive 500 adventure points, 60 primogems, 40 thousand pestilence, 4 hero books and 4 magical enhancement ores. You can also take on the next mission in the line called "Soheil’s Wish" .
Comments
You need to login to add comments.
You can login with