Slaughterhouse in Honkai: Star Rail - This adventure mission on Penaconia, during which you will have to help journalist Singler solve the case of a mysterious painting in the Dream World. In the guide we will tell you how to complete the task and solve all the puzzles with bubble bridges, as well as learn the story of Hamilton and get the “Space Walk” achievement.
Passage of the quest Slaughterhouse
How to start
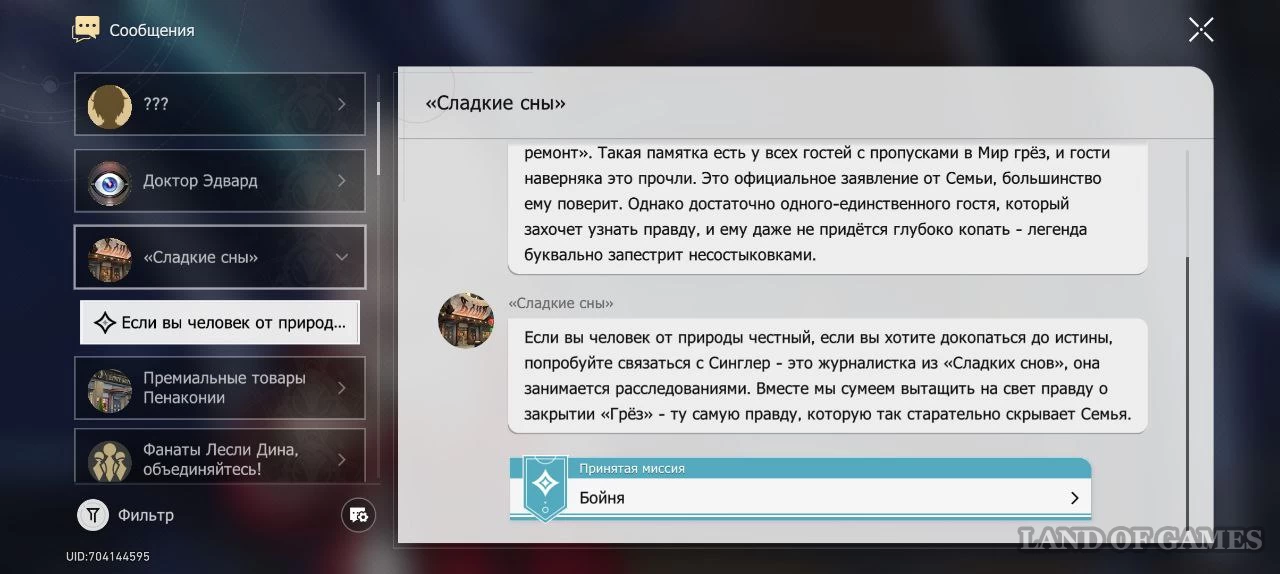
After completing the story mission “And who is the killer?..” from the line "The Sound and the Fury" A message from “Sweet Dreams” will be sent to the Pioneer’s smartphone. It reports that a terrible secret is hidden behind the closure of the Dreams Hotel. You are invited to contact a Sweet Dreams journalist named Singler and together with her reveal the truth that the Family is hiding.
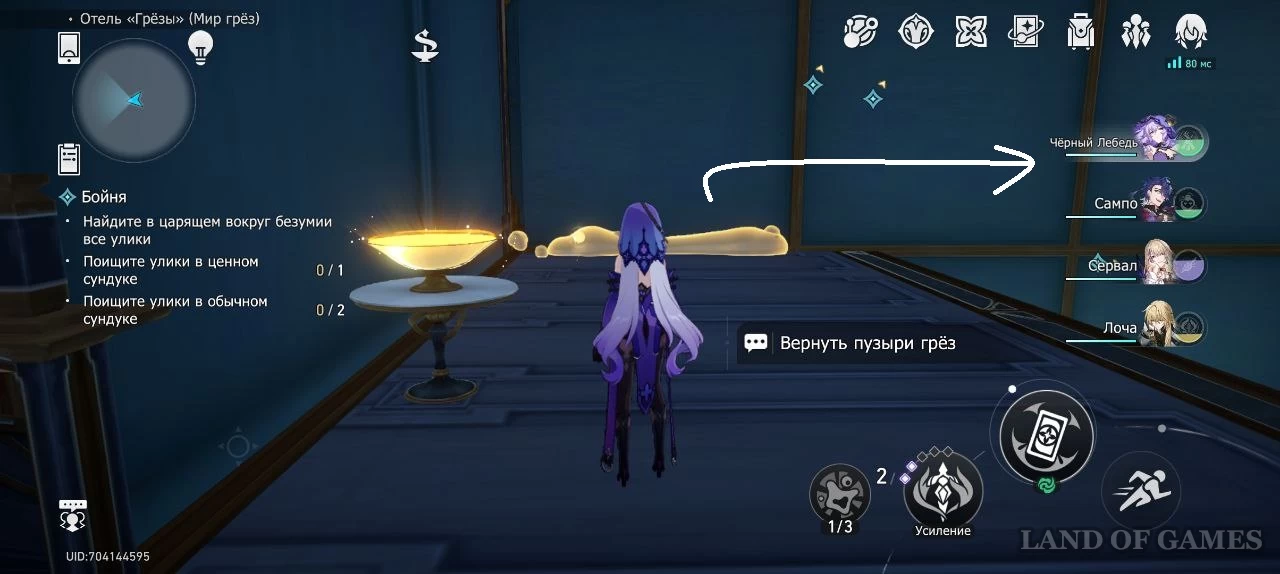
From the messages menu, you can go to the mission log and start tracking the mission.
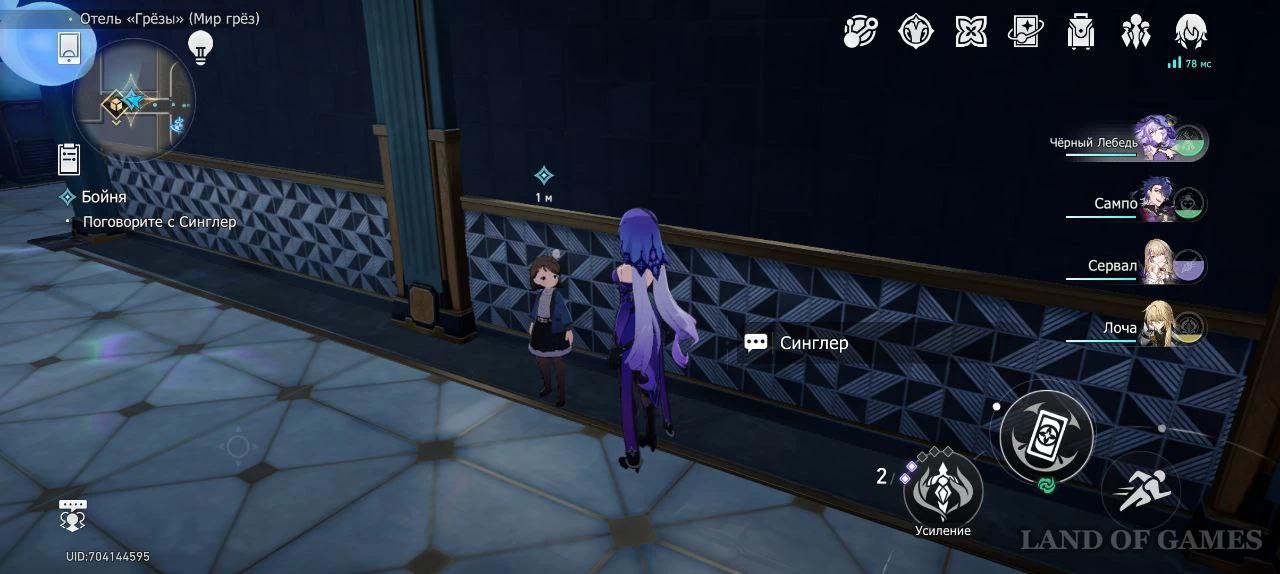
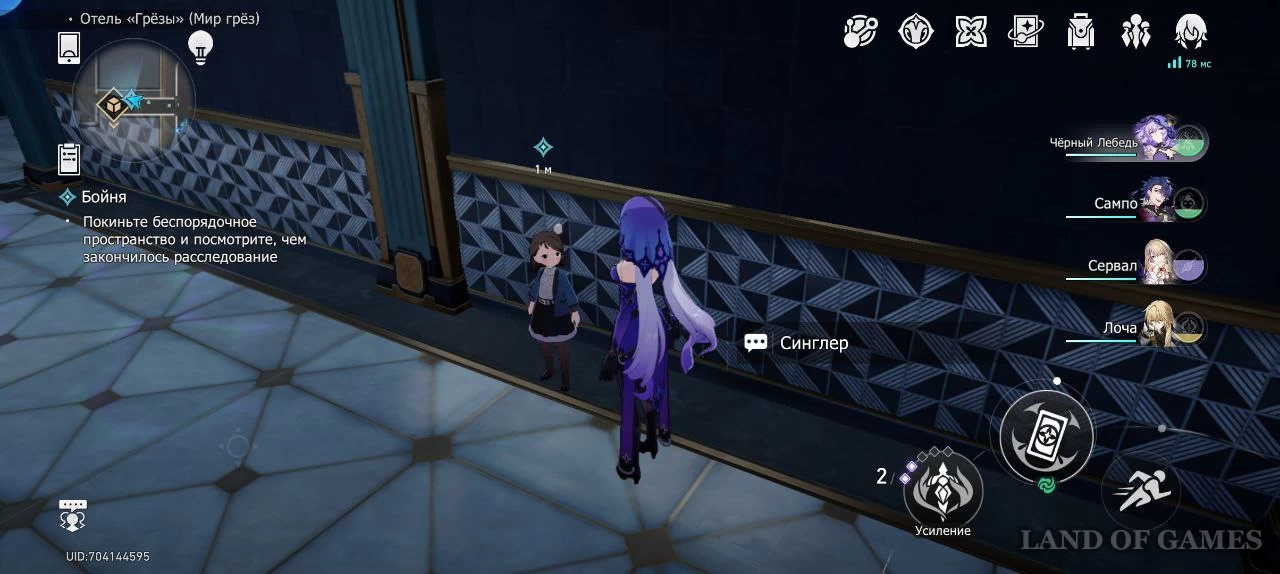
Talk to Singler
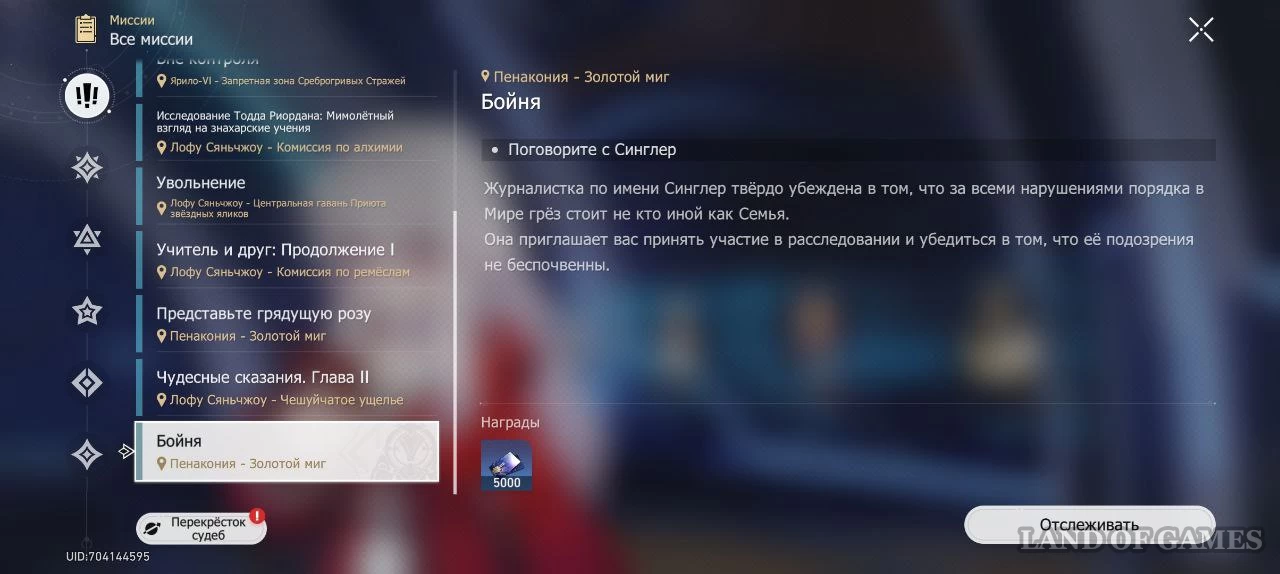
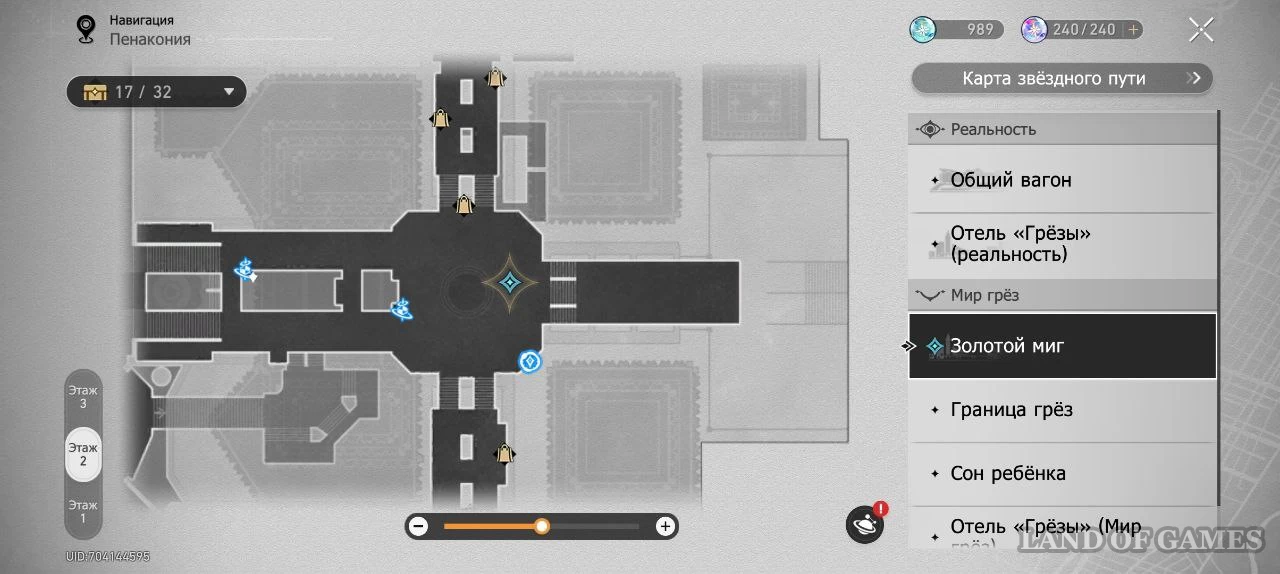
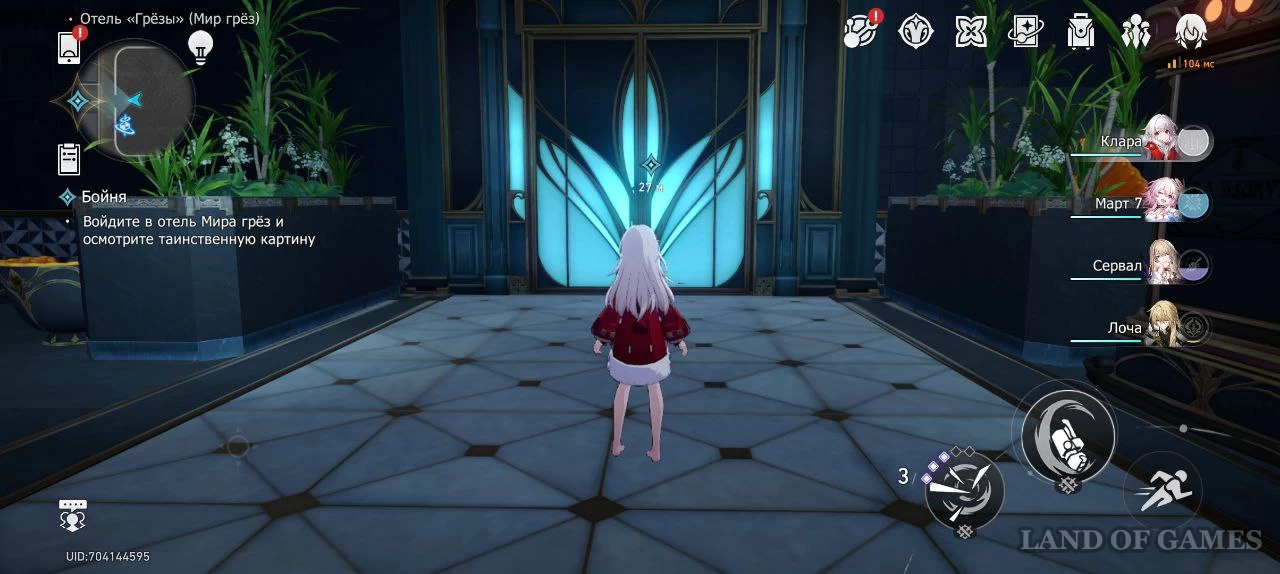
Travel to the eastern part of the Golden Moment and talk to the Pepeshi journalist.
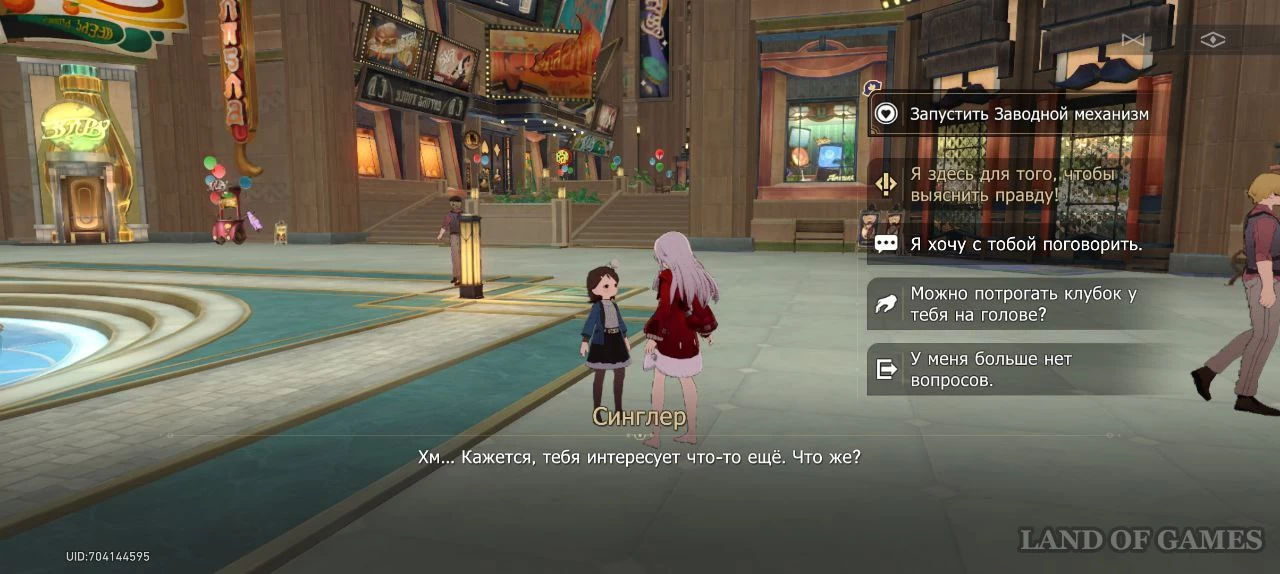
In the dialog, select an option "I want to find out the truth"
. You'll have to get the girl to talk a little so that she believes you and tells you about her suspicions.
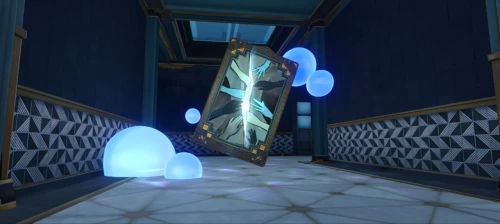
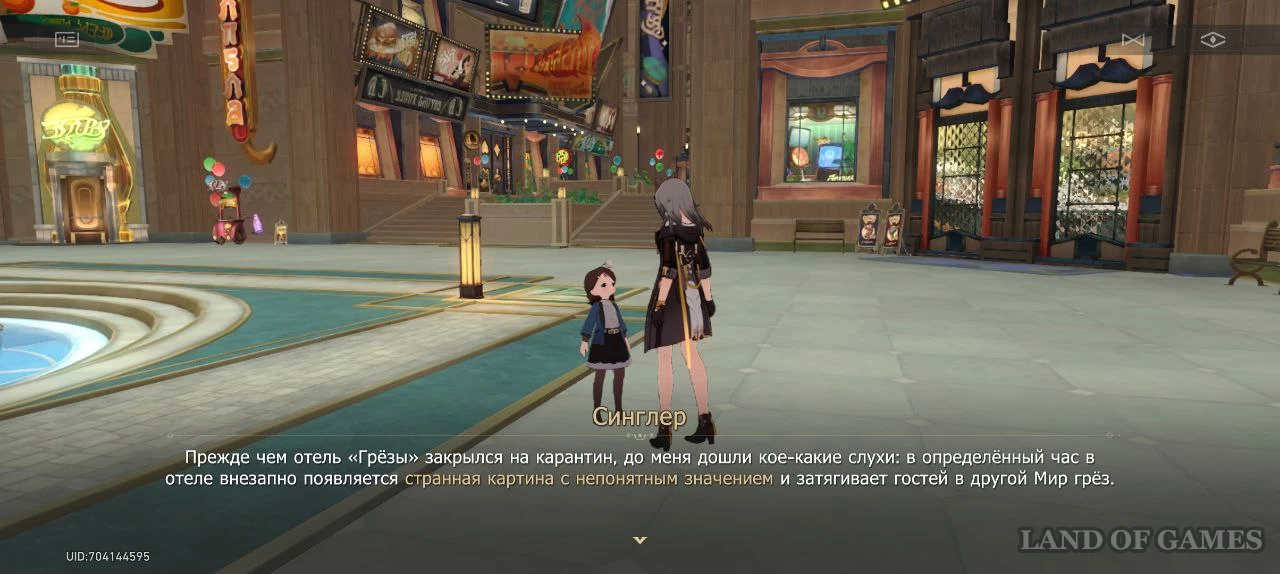
Singler will report that, according to rumors, a strange picture appears in the hotel at certain times and draws guests into another Dream World.
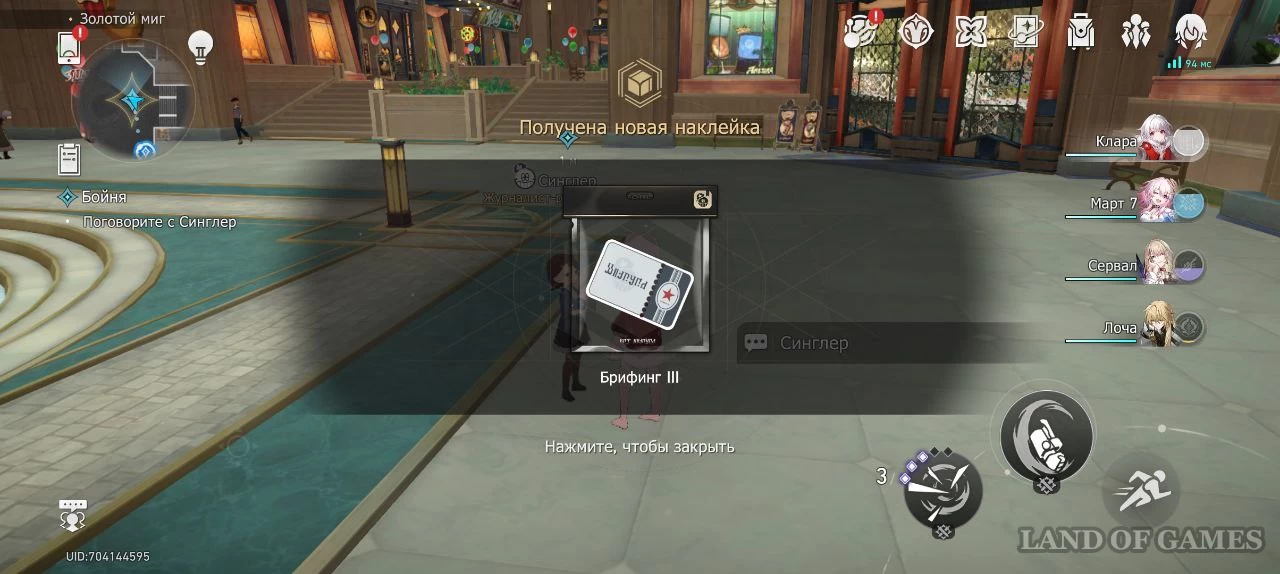
After speaking with Singler, you will receive the Briefing III sticker from the Sleepless City pack. Talk to the journalist again to go to the painting together.
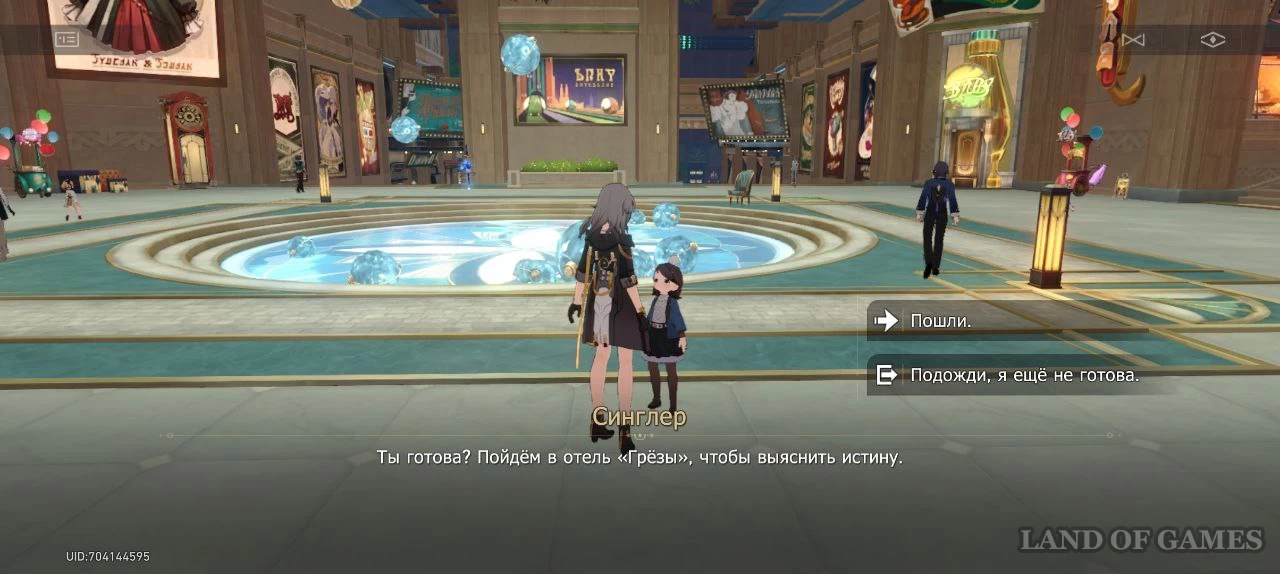
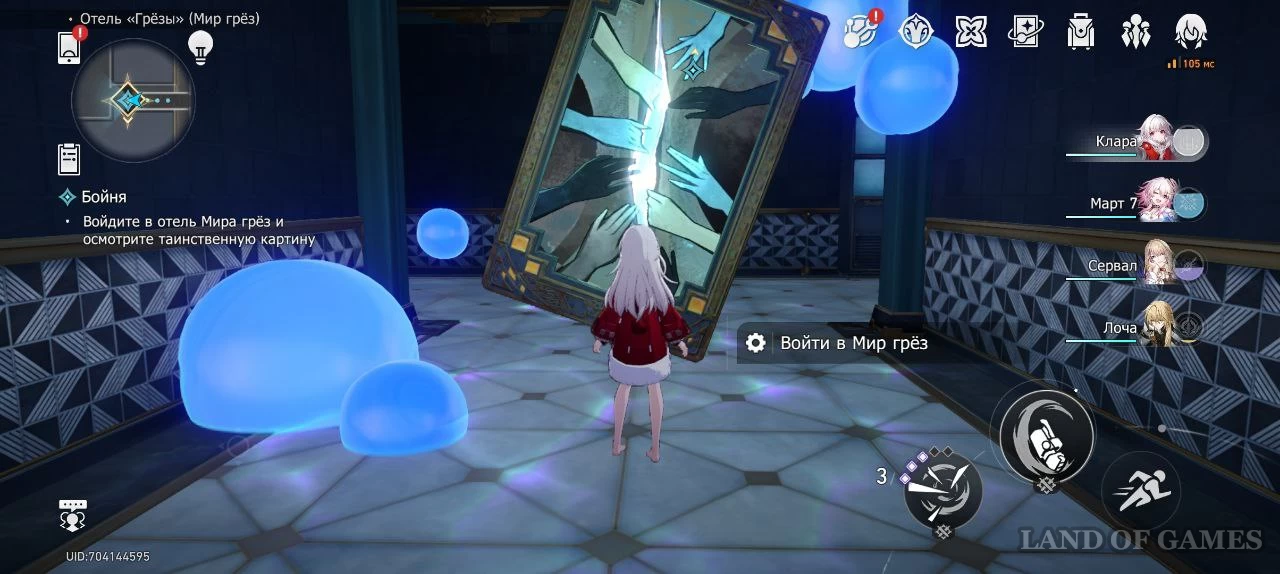
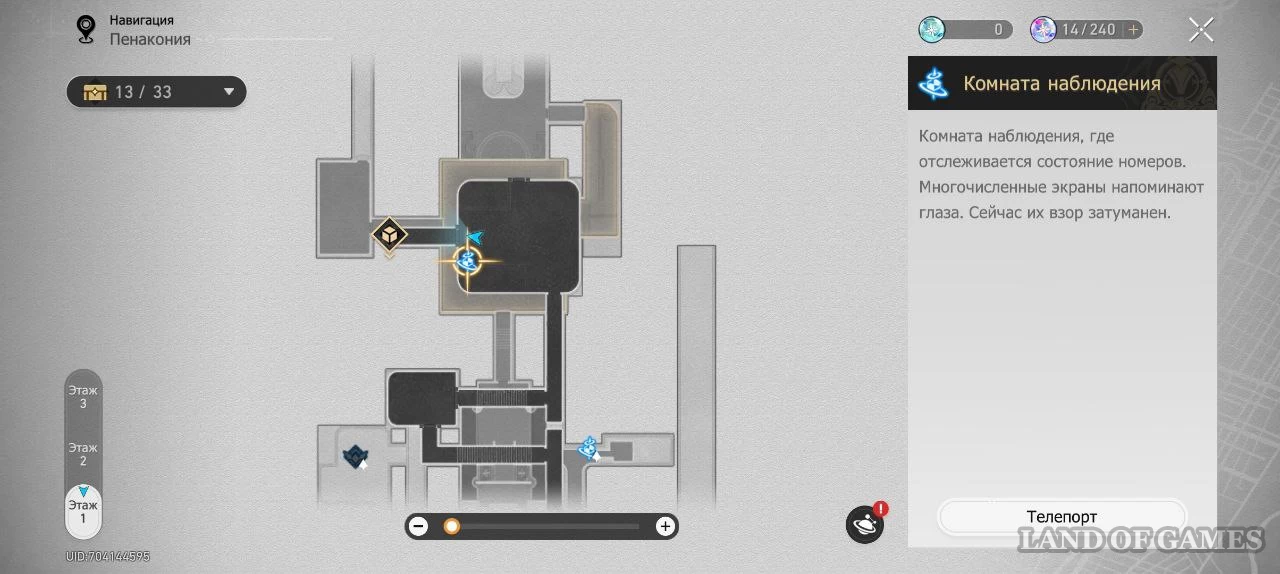
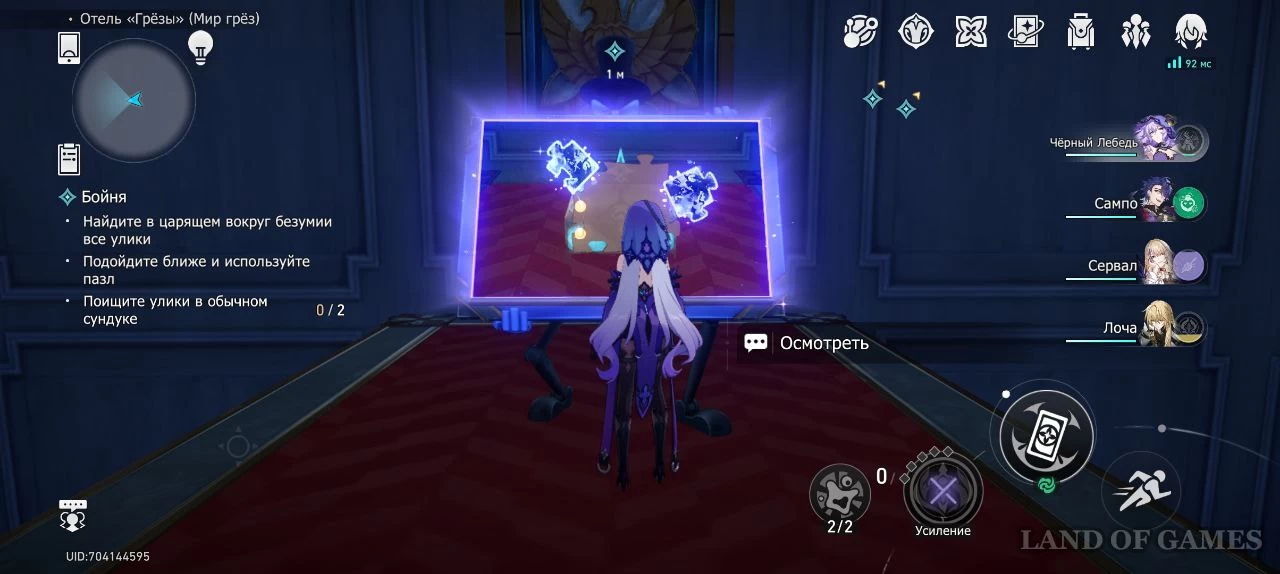
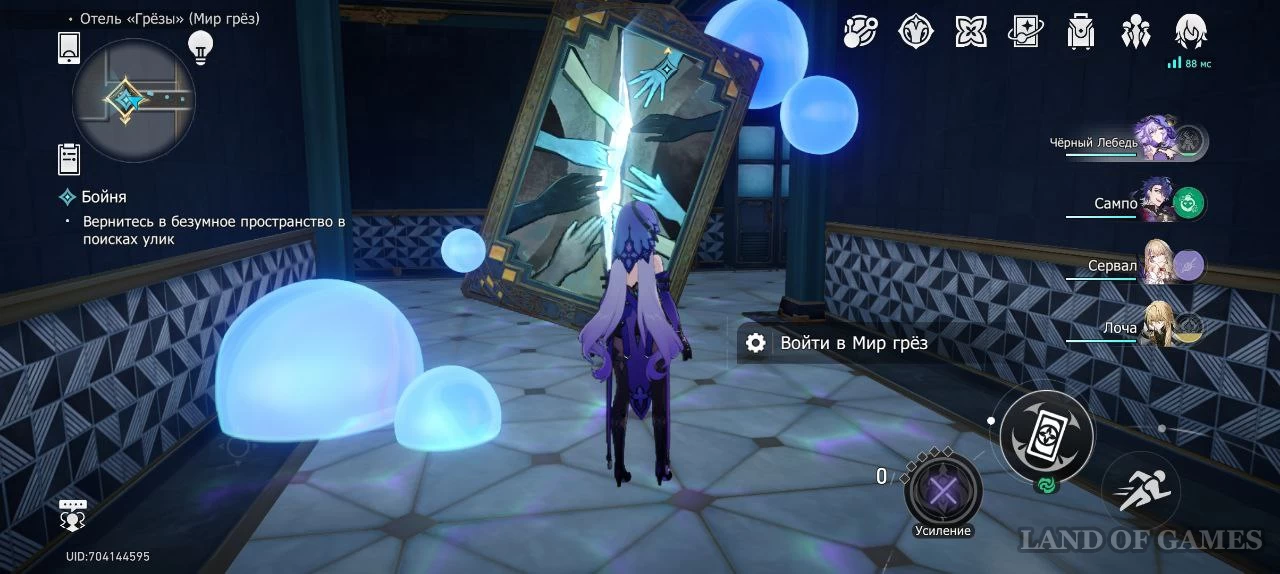
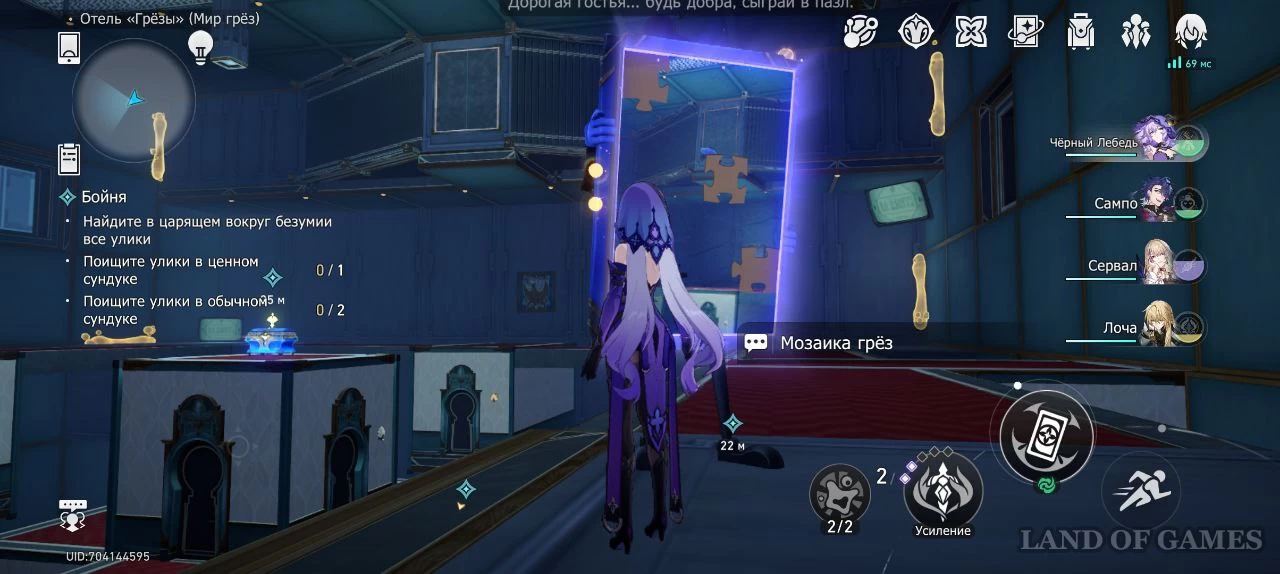
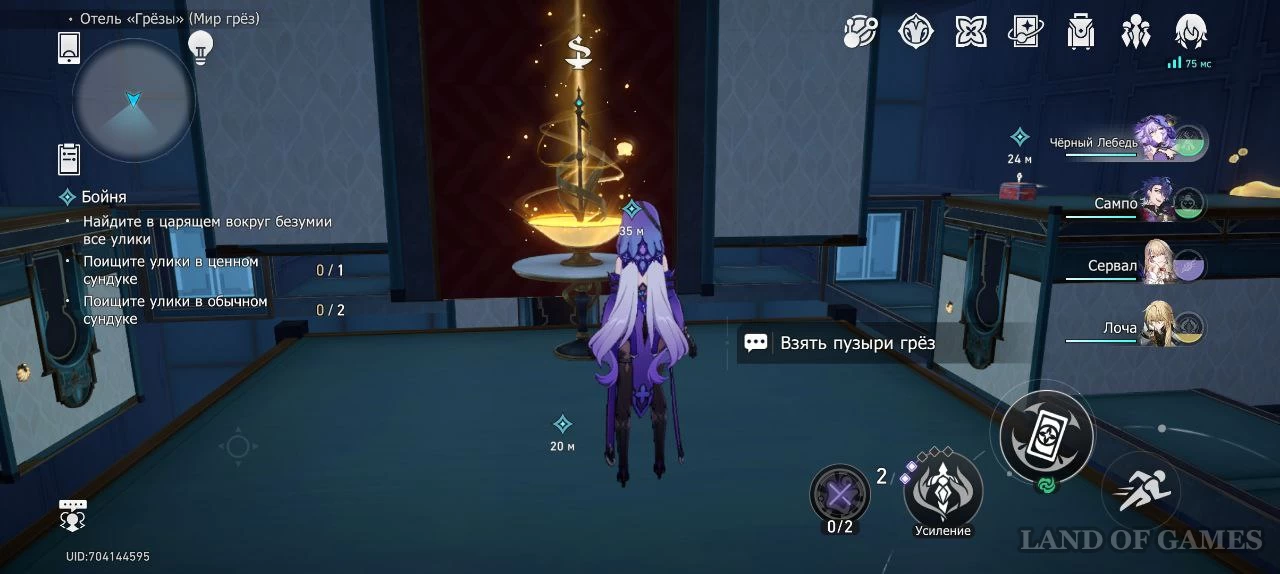
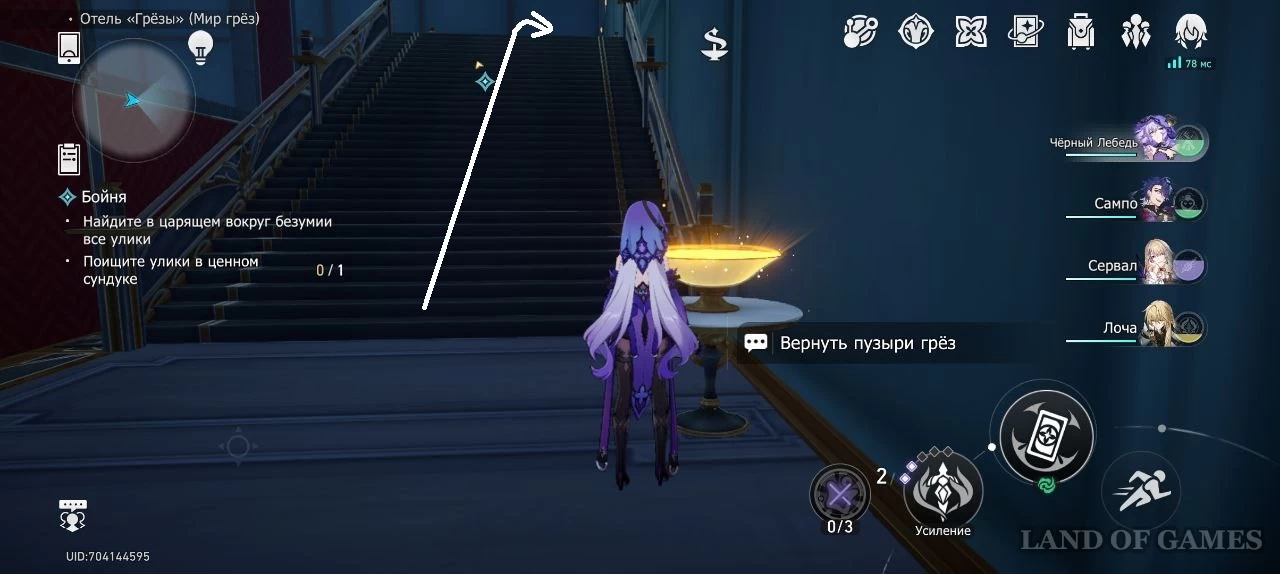
Once at the hotel, go forward and look at the painting with many hands. Interact with the canvas to get to the desired location. If for any reason you left this place, you can return by moving to the “Observation Room” teleport in the hotel.
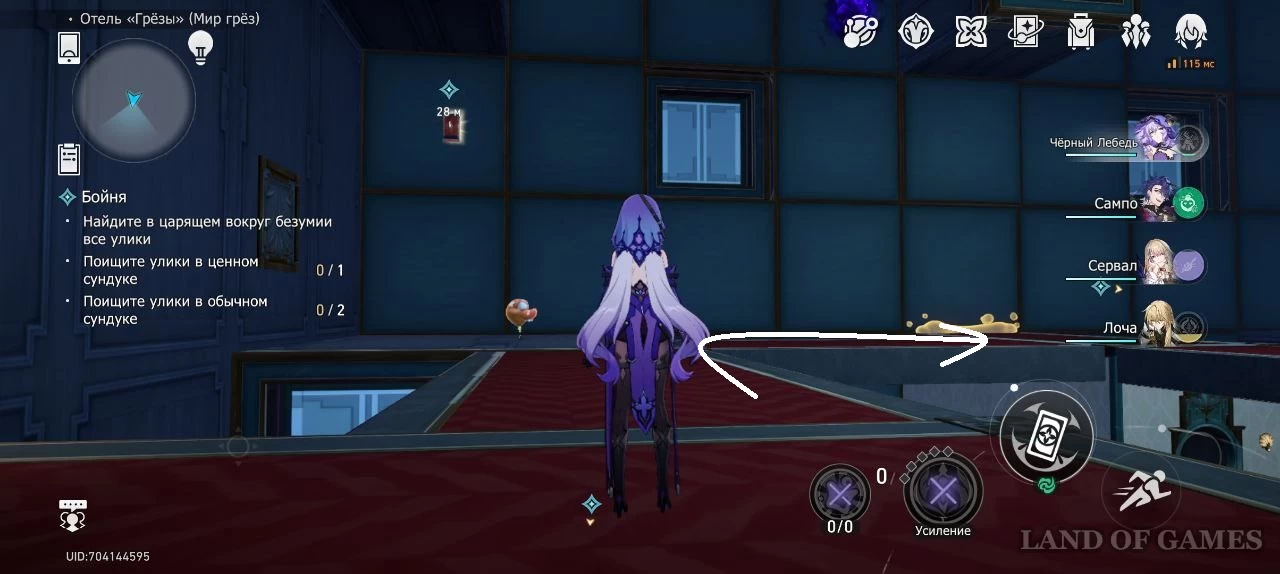
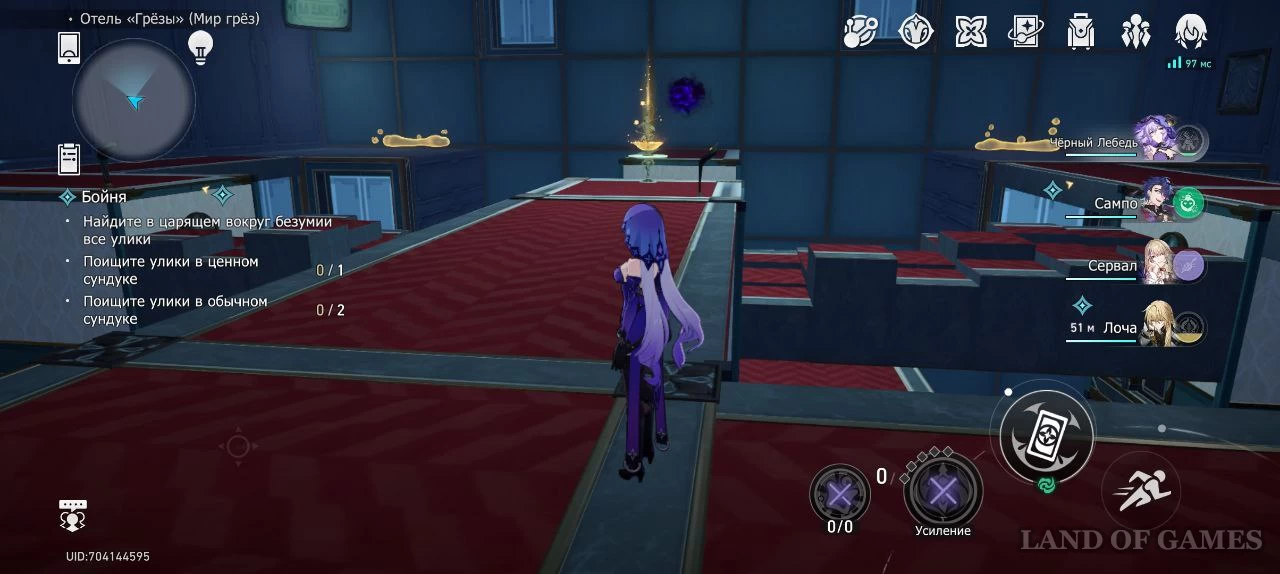
Find clues
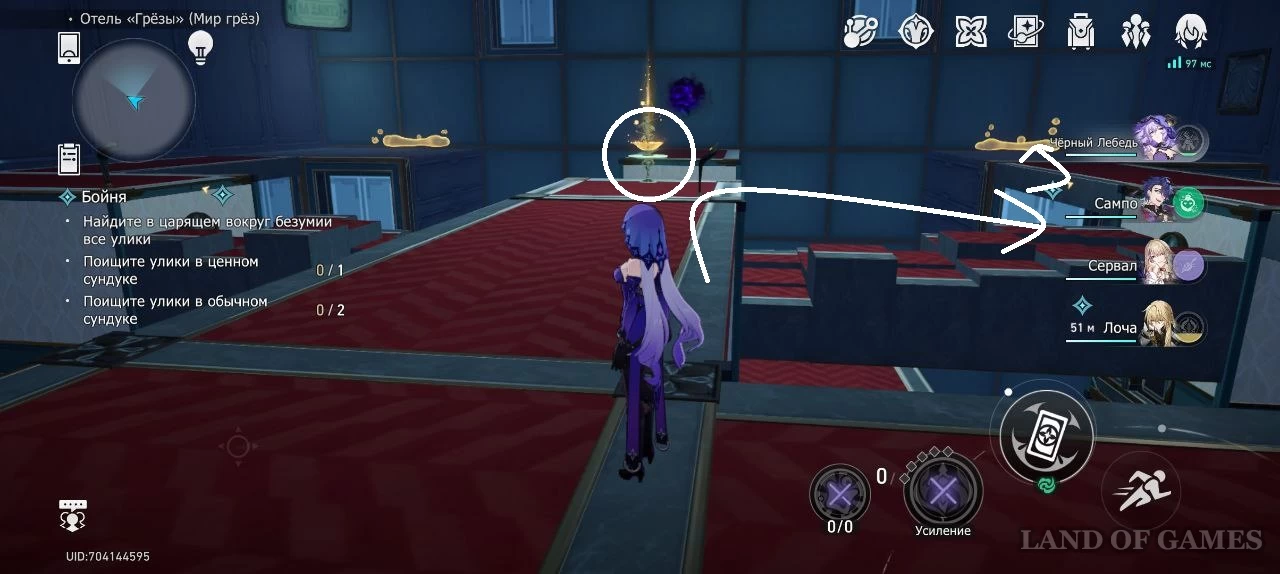
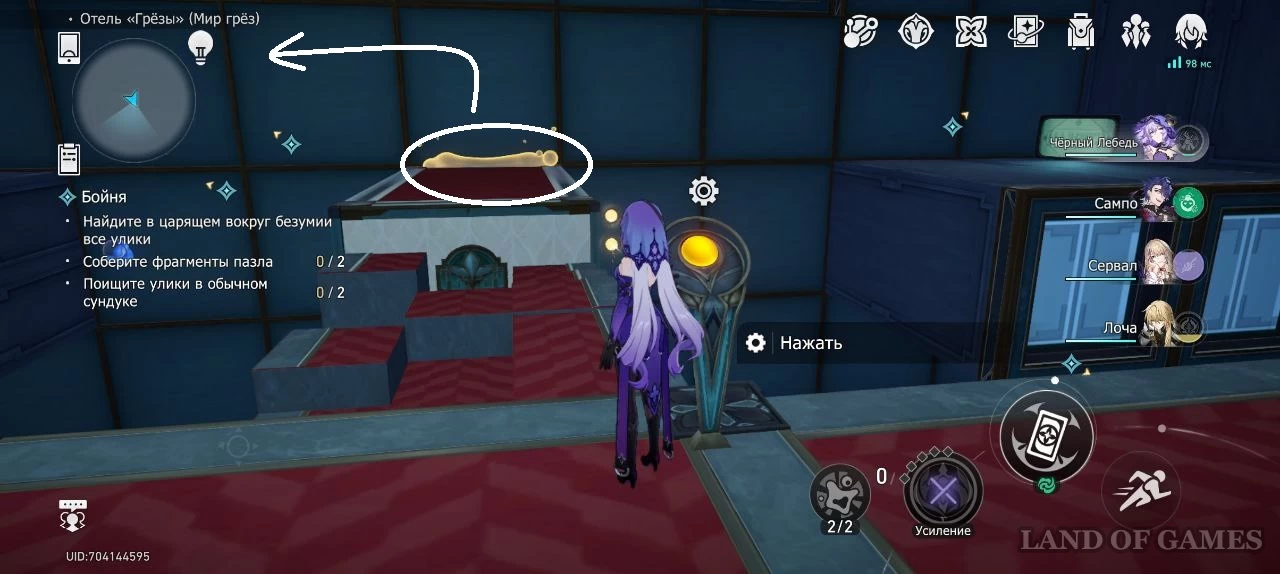
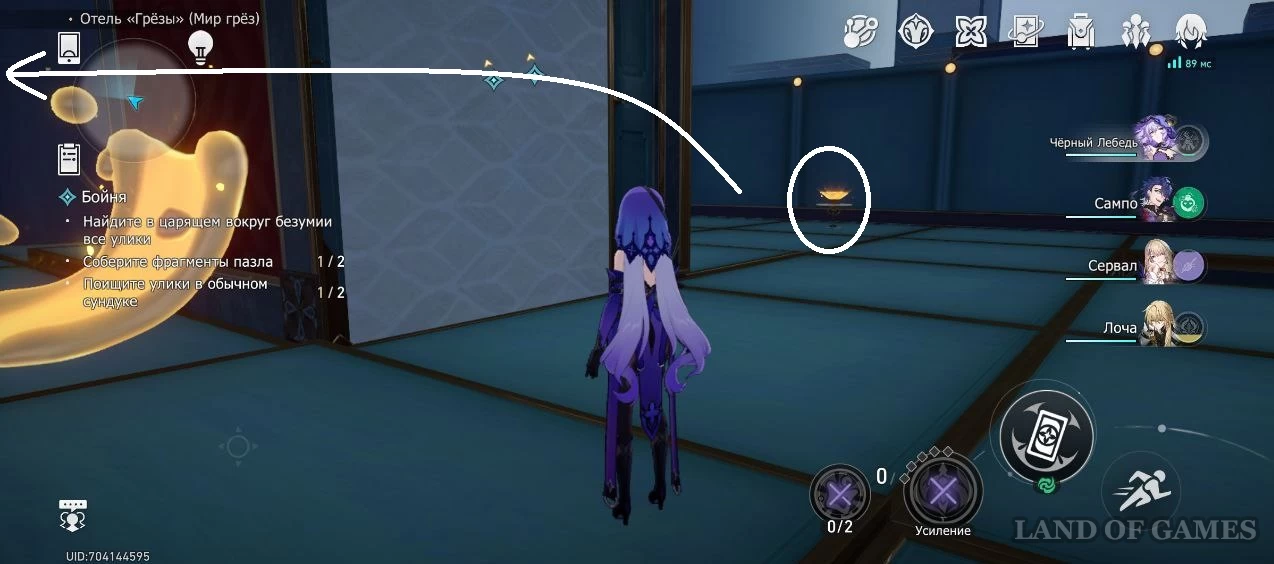
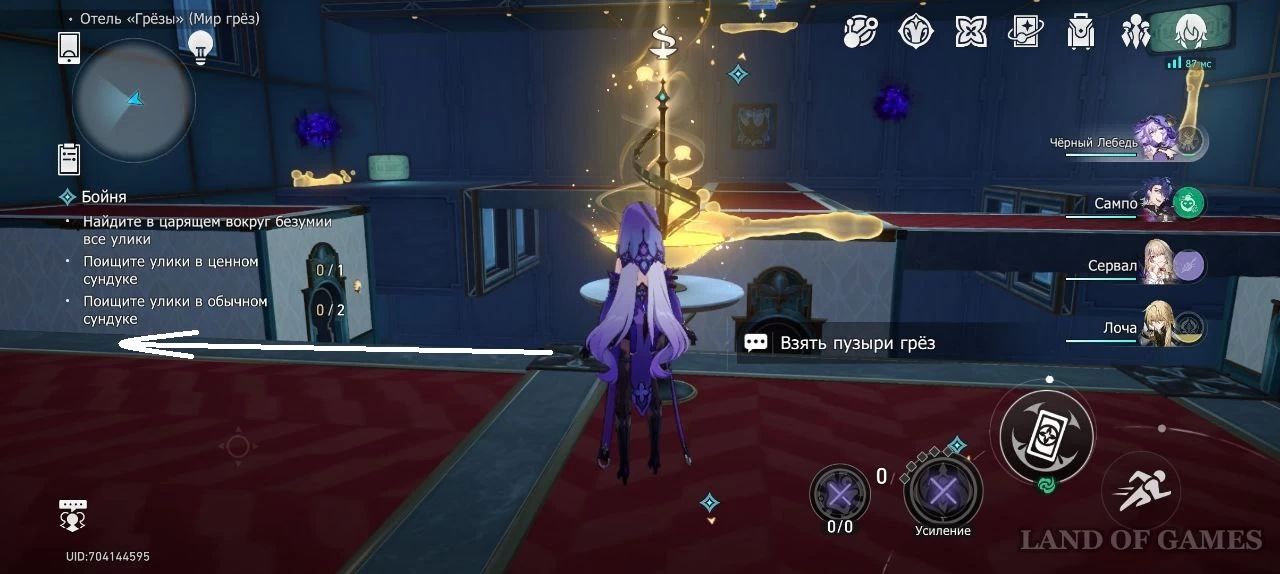
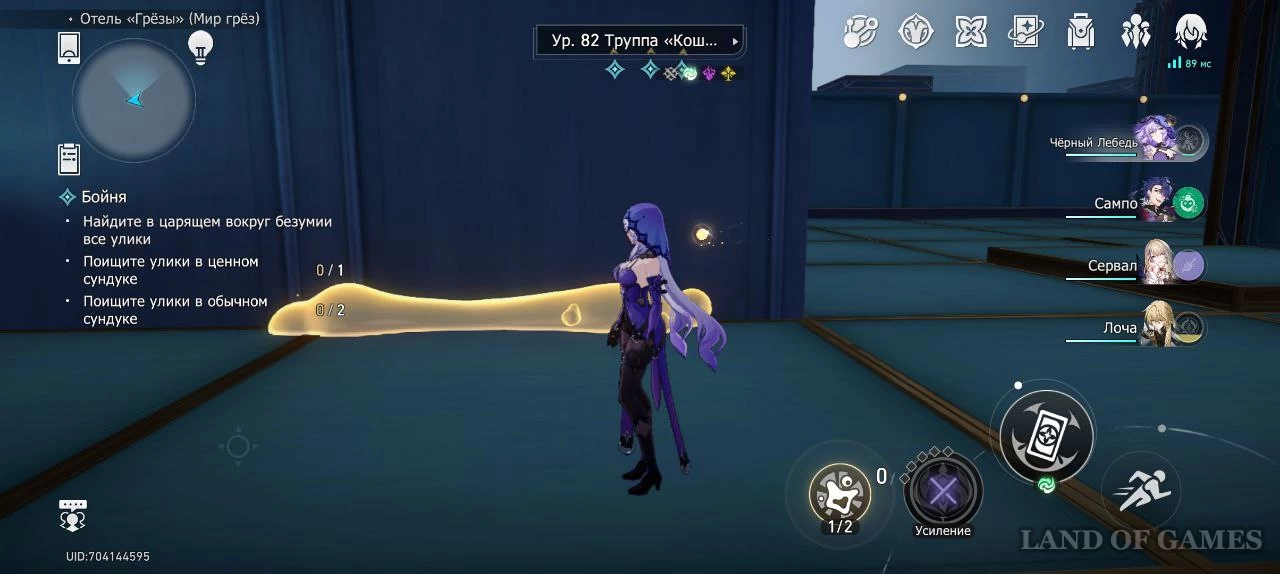
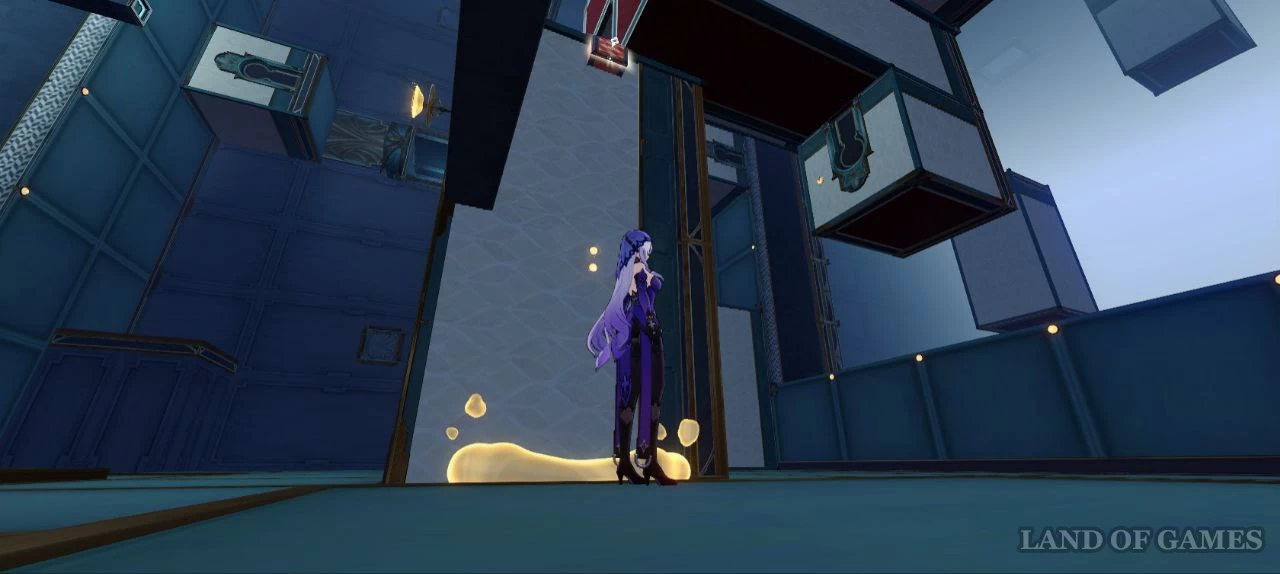
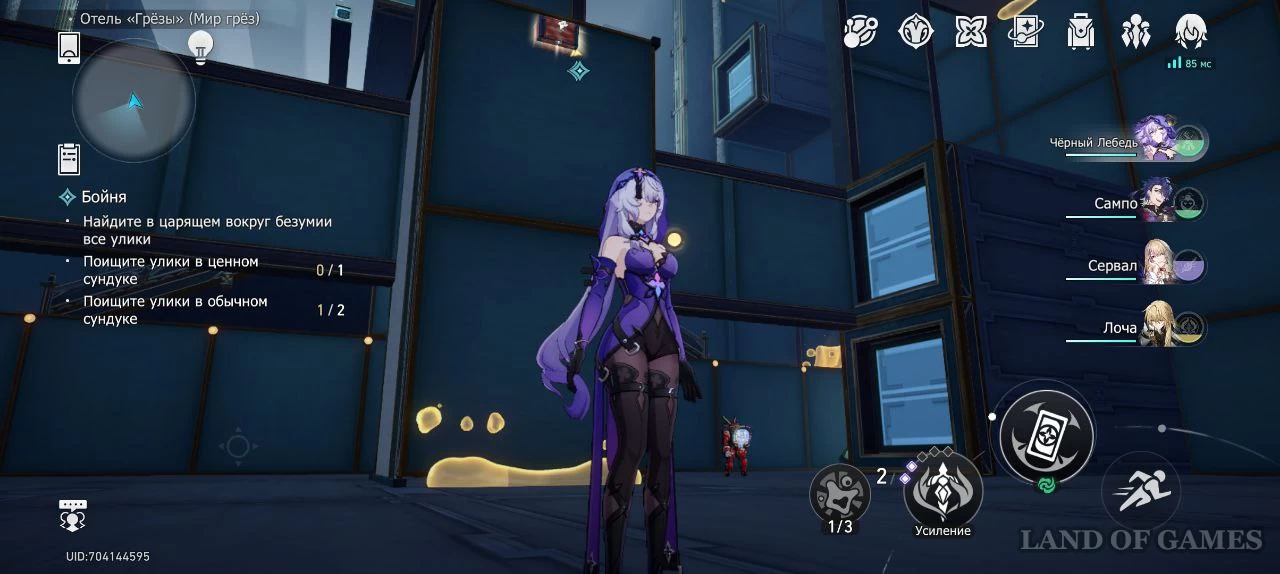
Normal chest 1
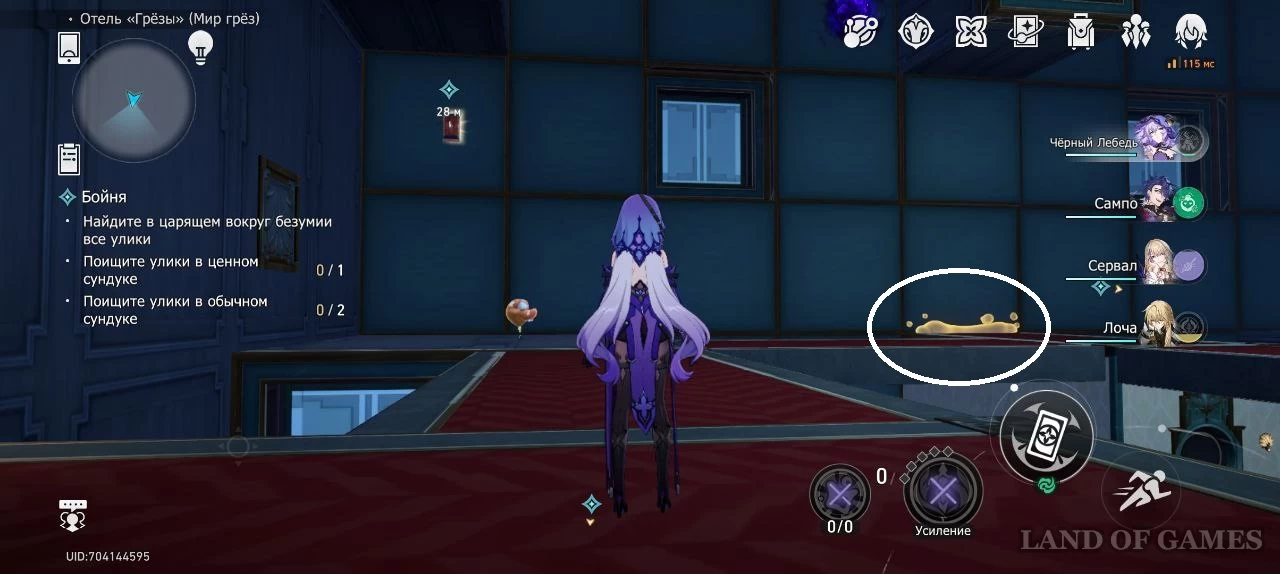
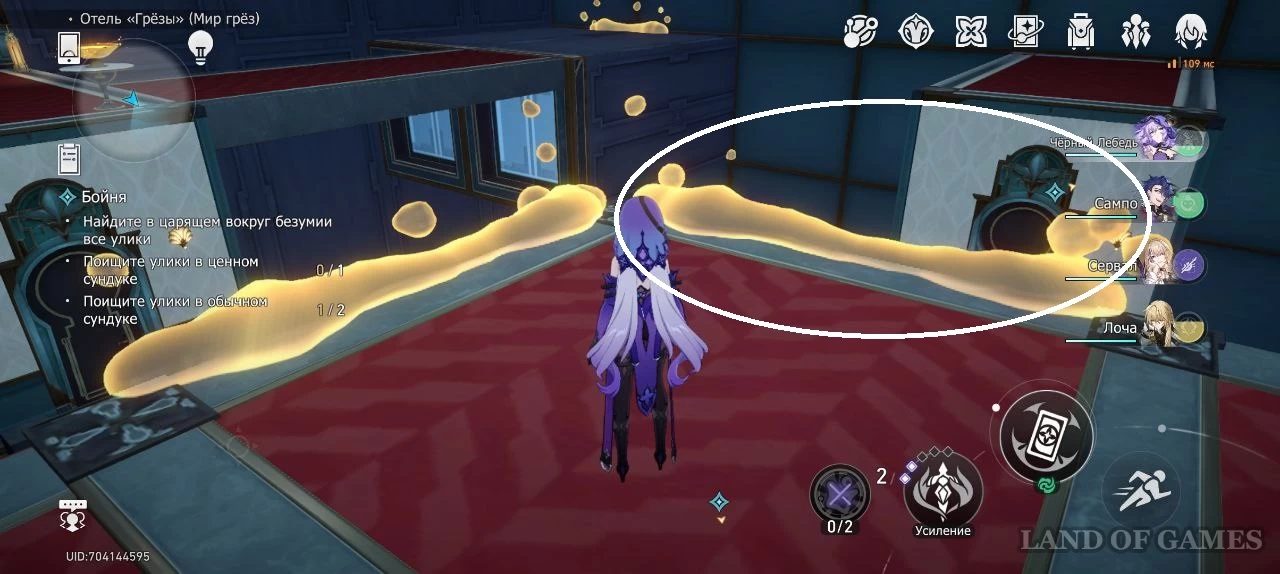
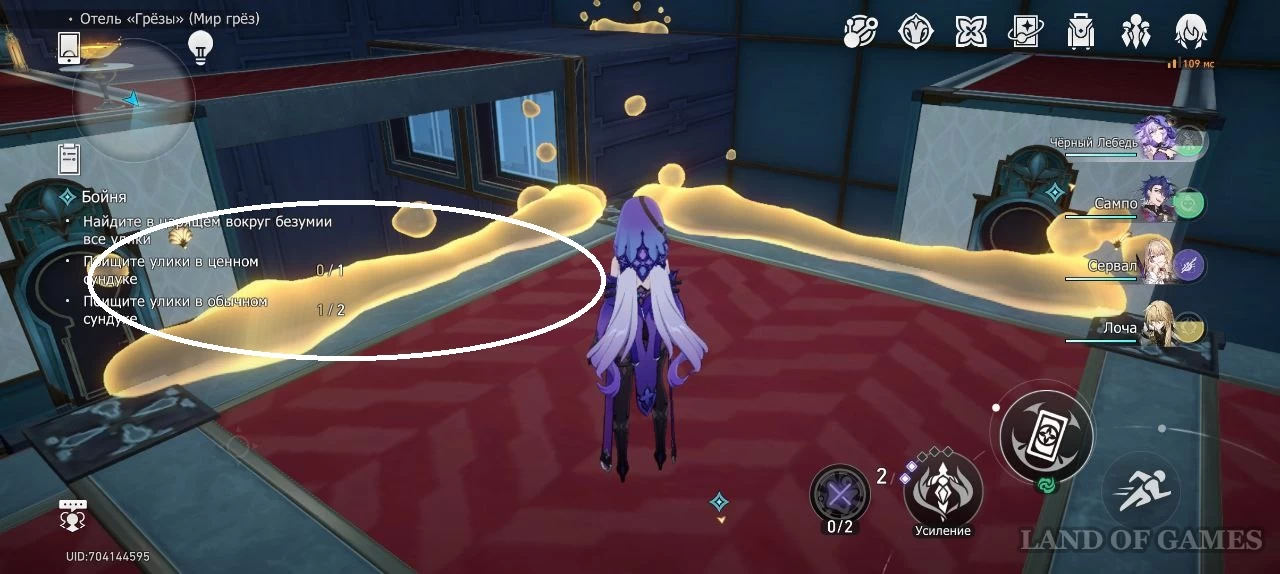
To find the first two clues, go forward and turn left.
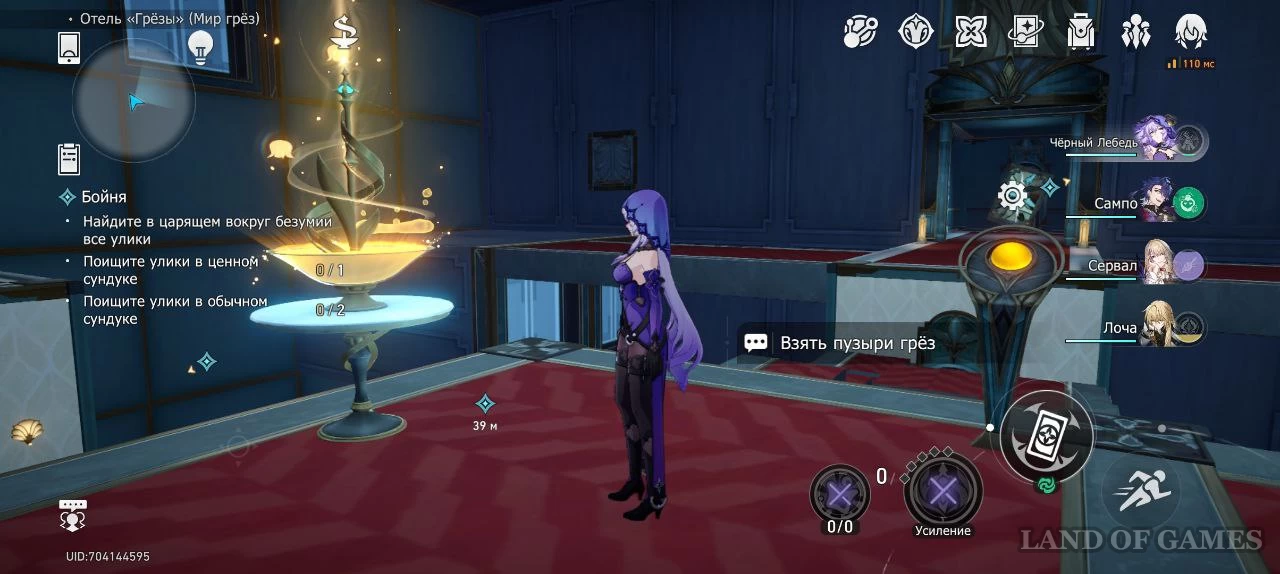
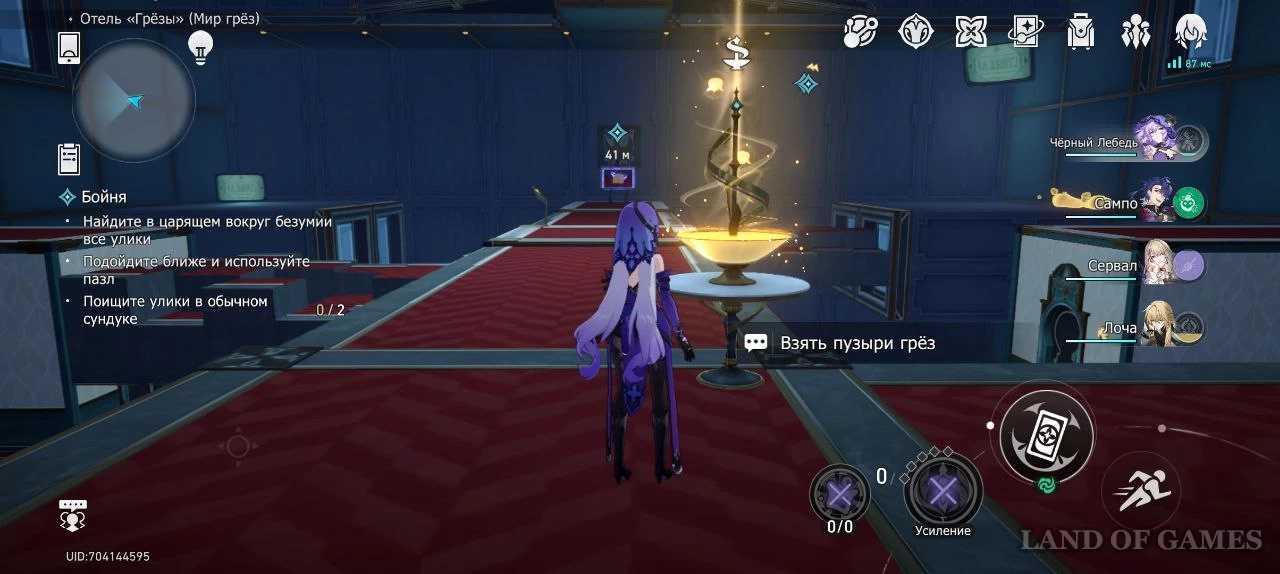
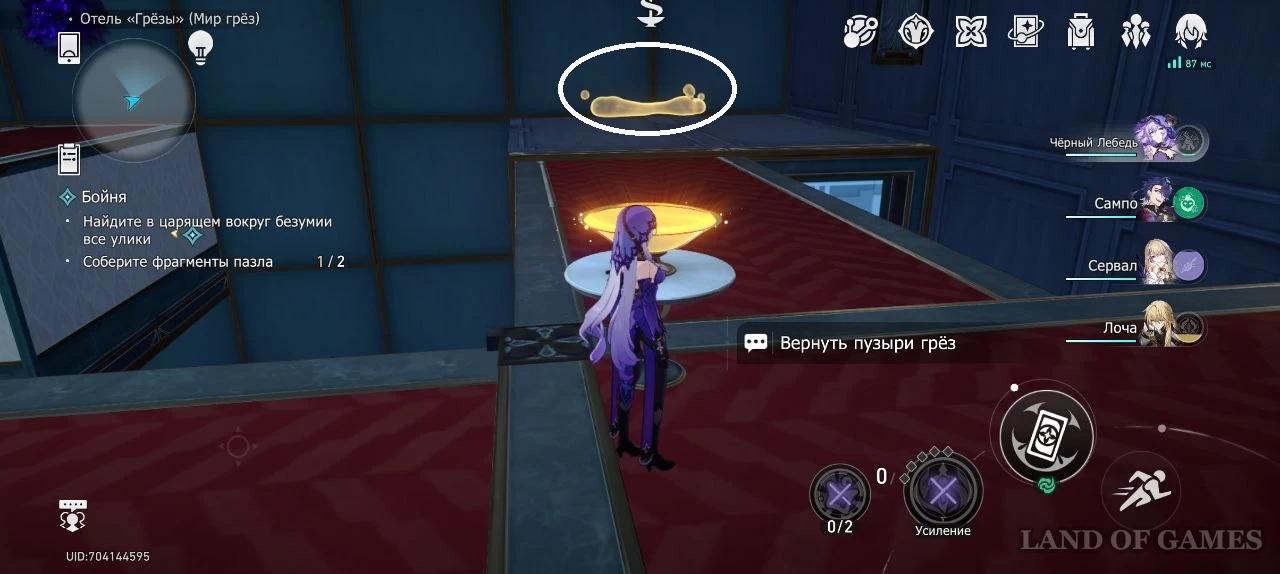
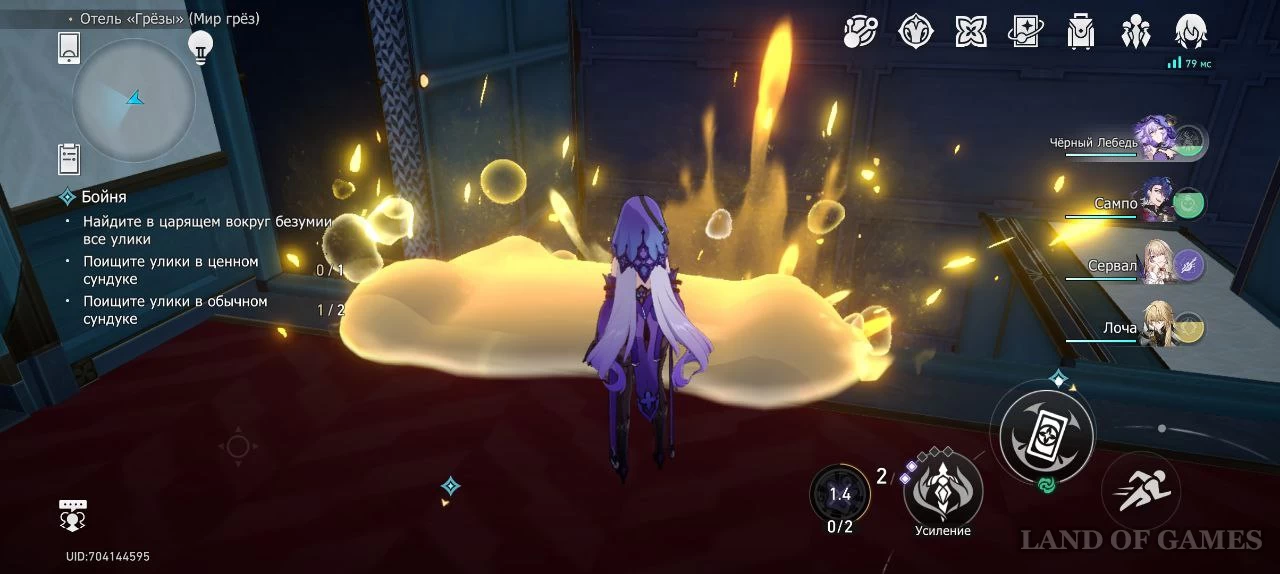
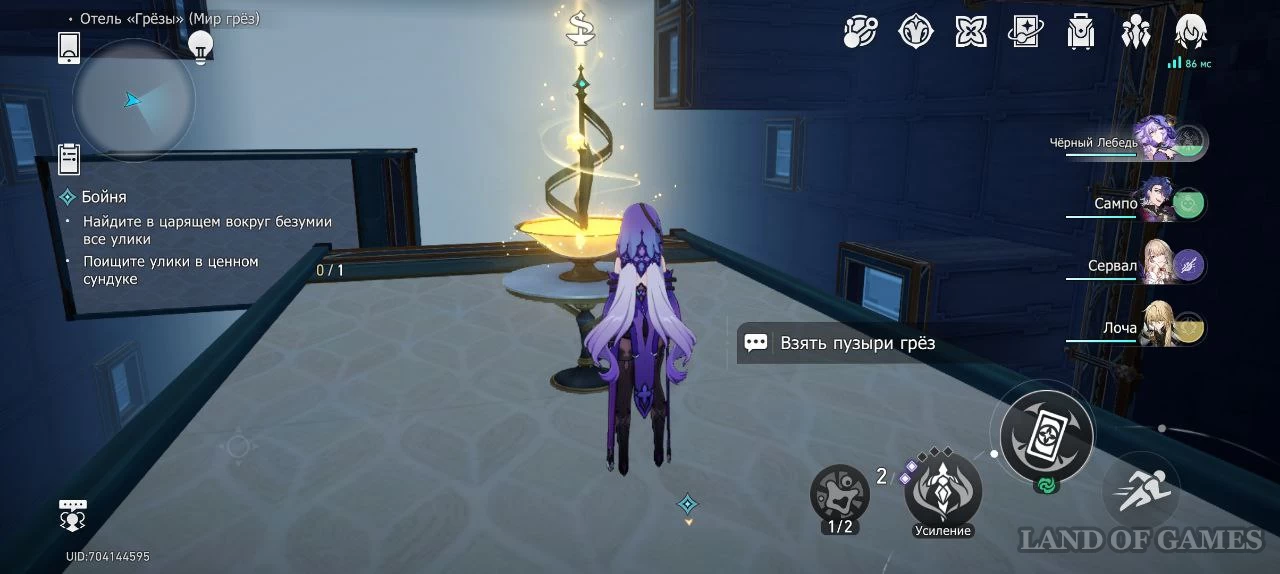
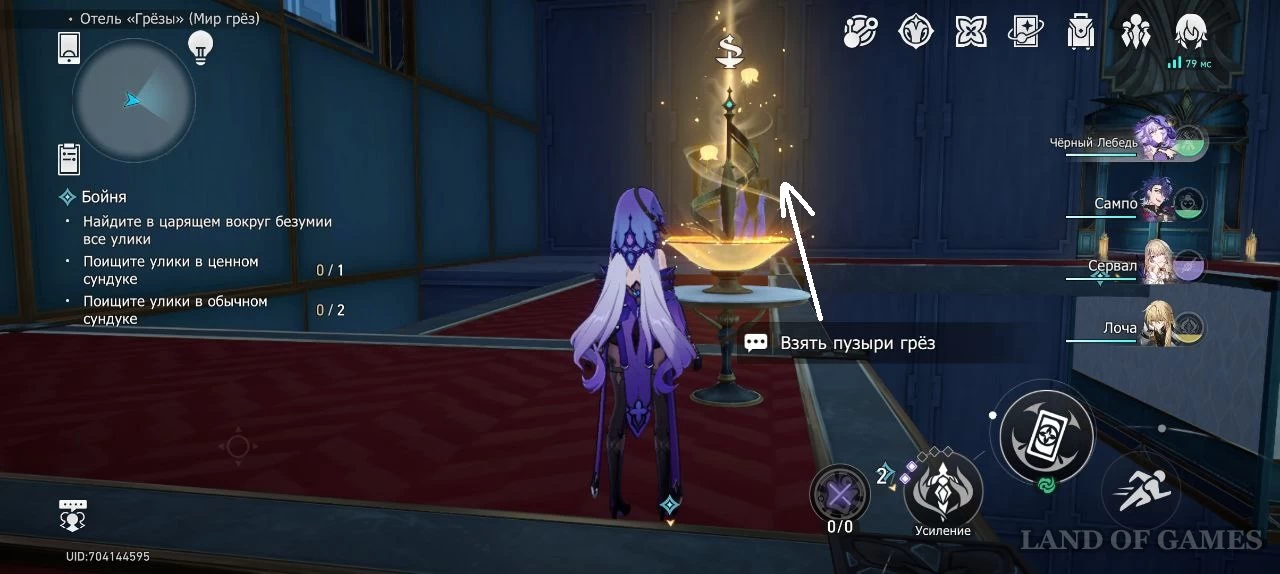
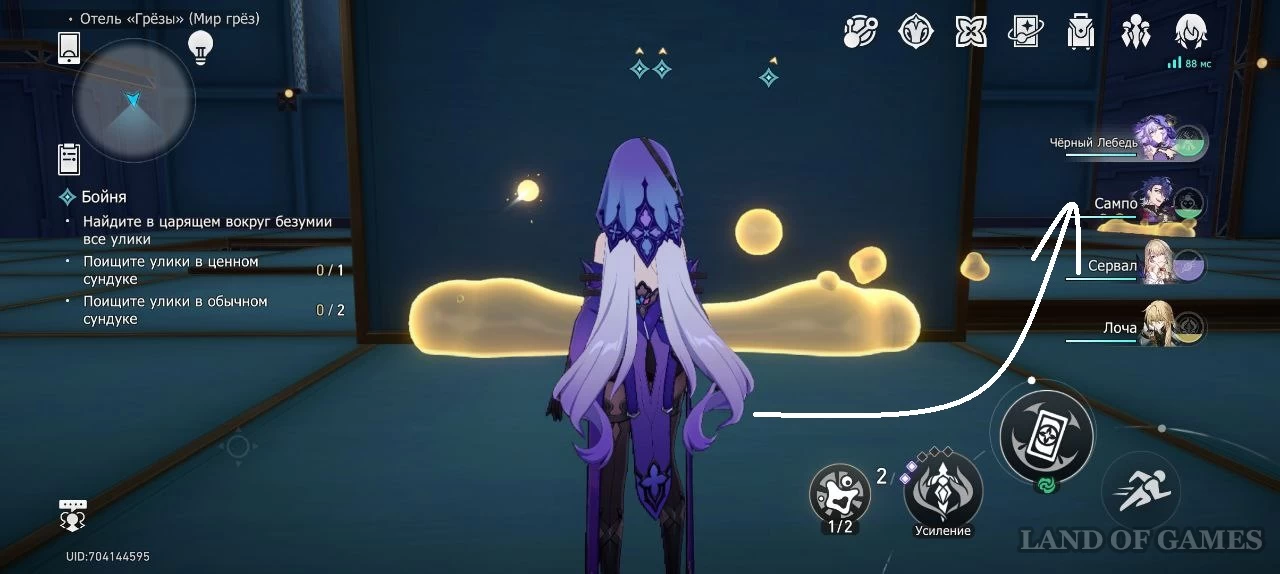
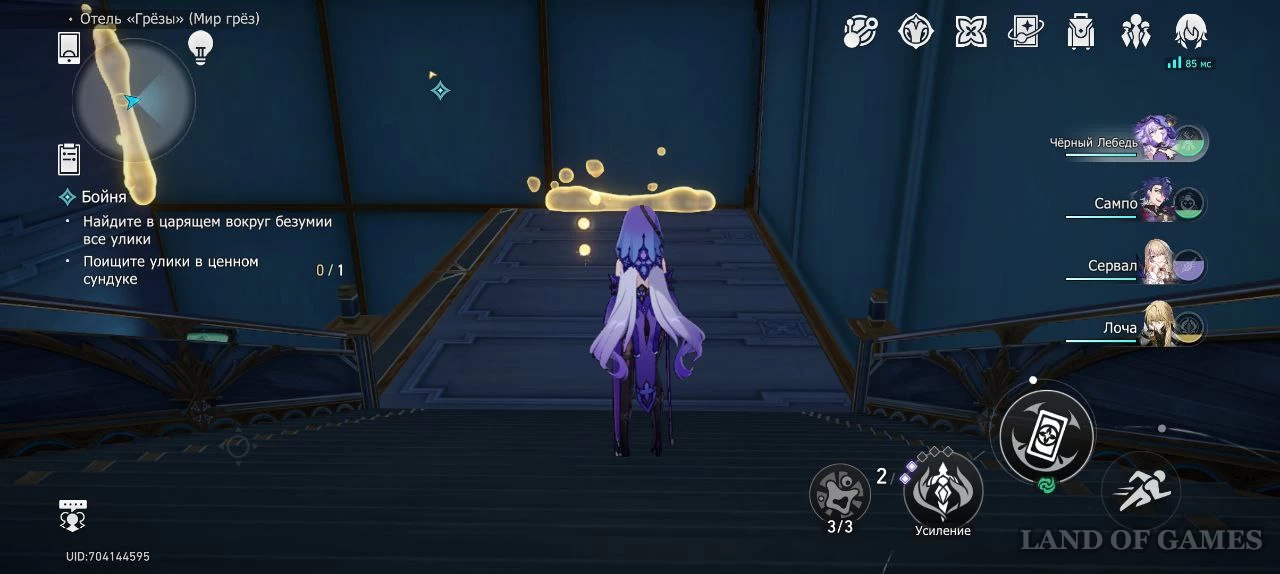
Then turn right twice and take the bubbles from the fountain. You can immediately use a special mechanism and restore the moving floor.
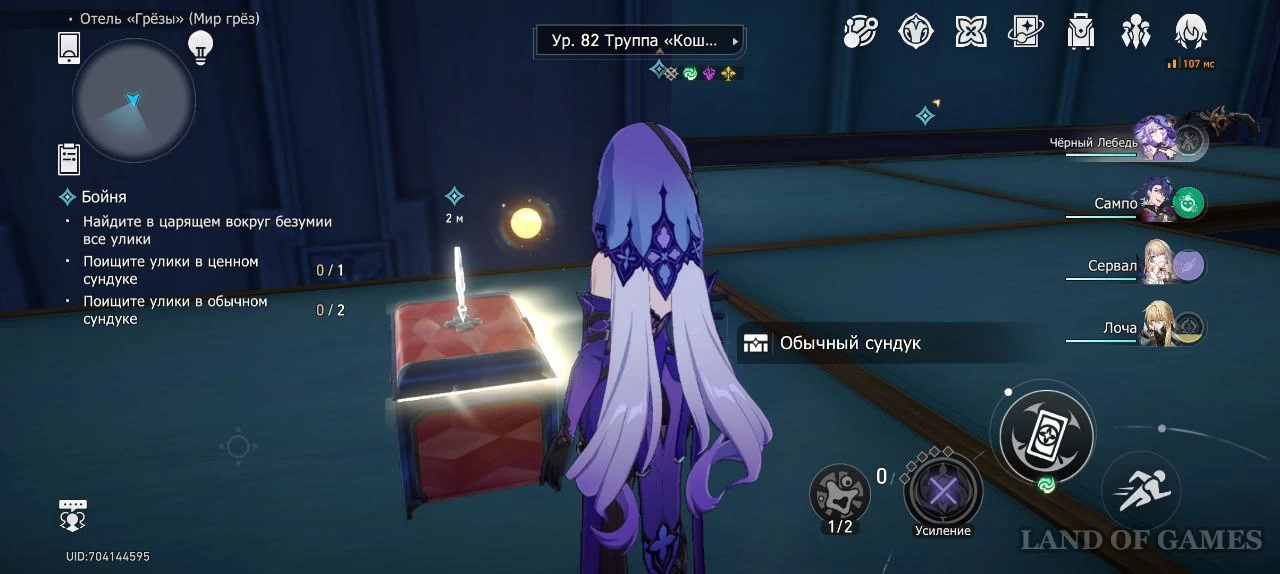
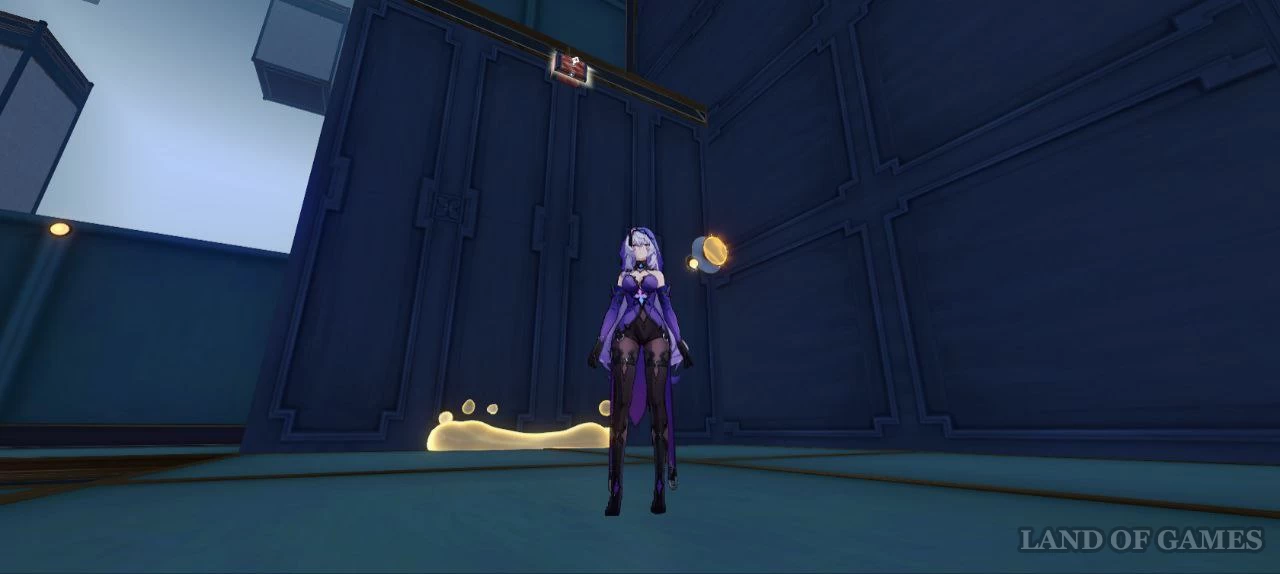
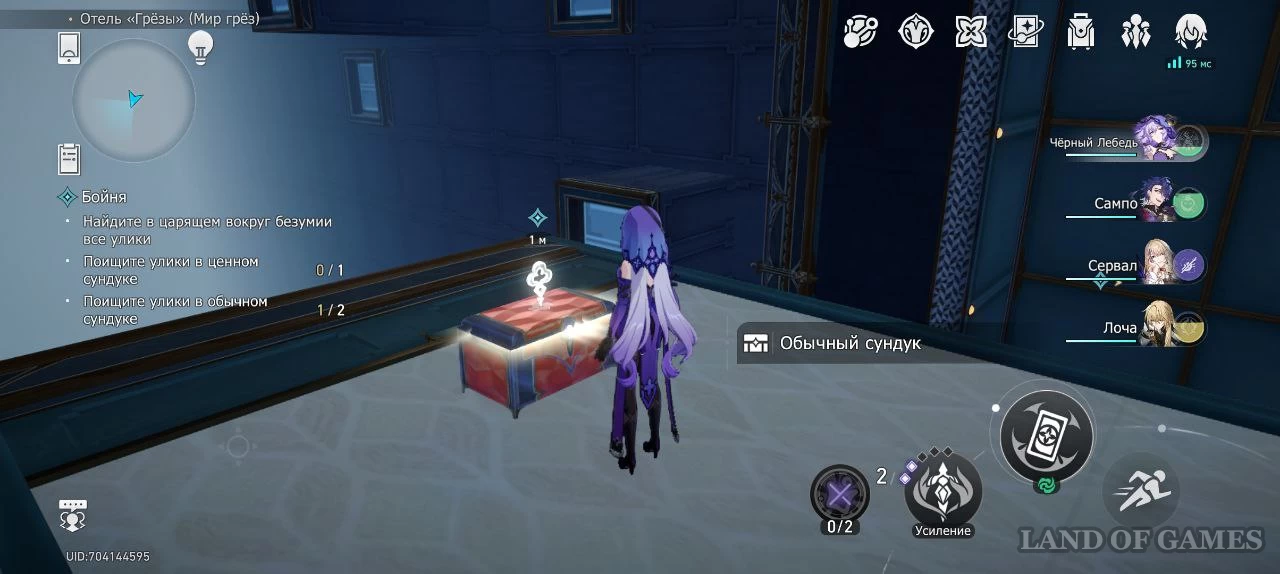
Run to the bubble wall and create a bridge. Climb the wall and open the regular chest. There you will find a certain note.
Regular chest 2
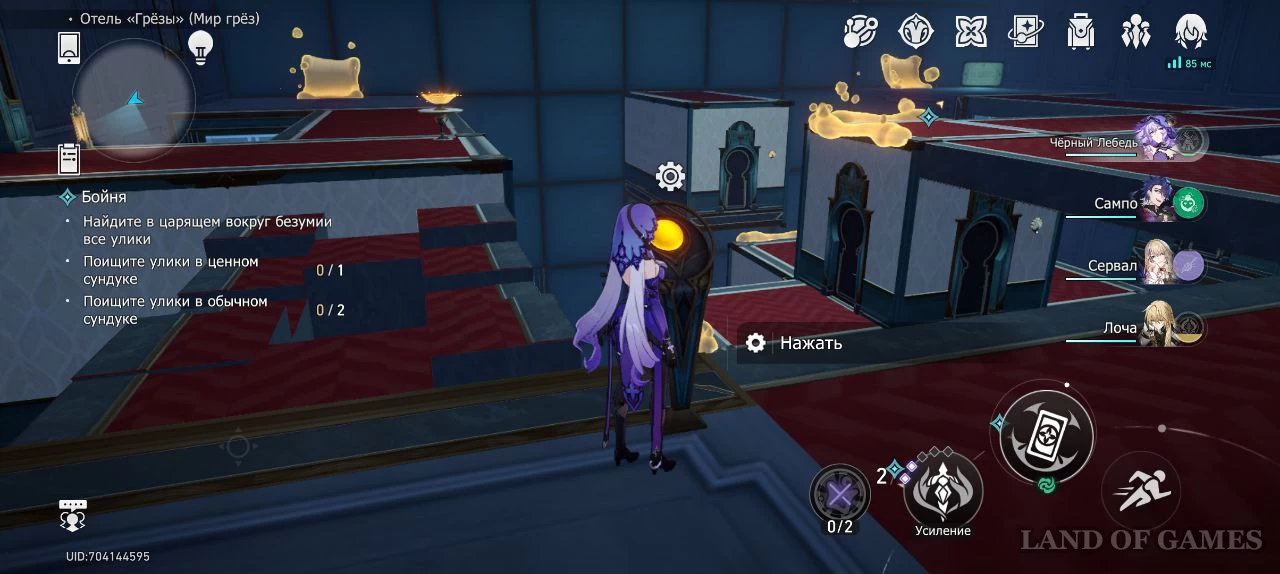
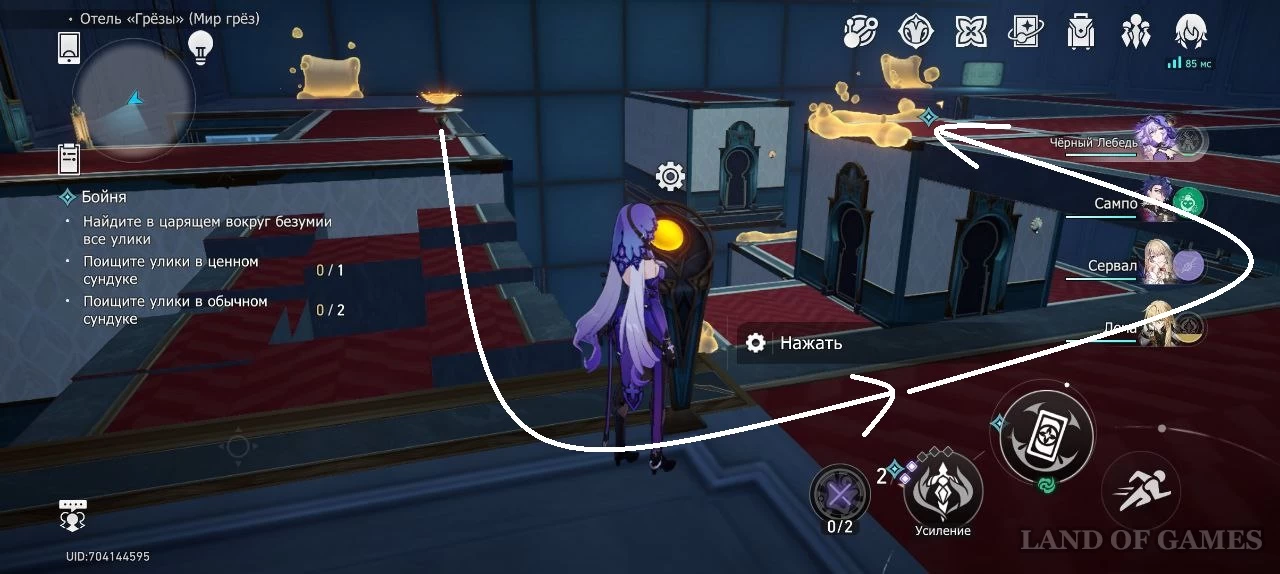
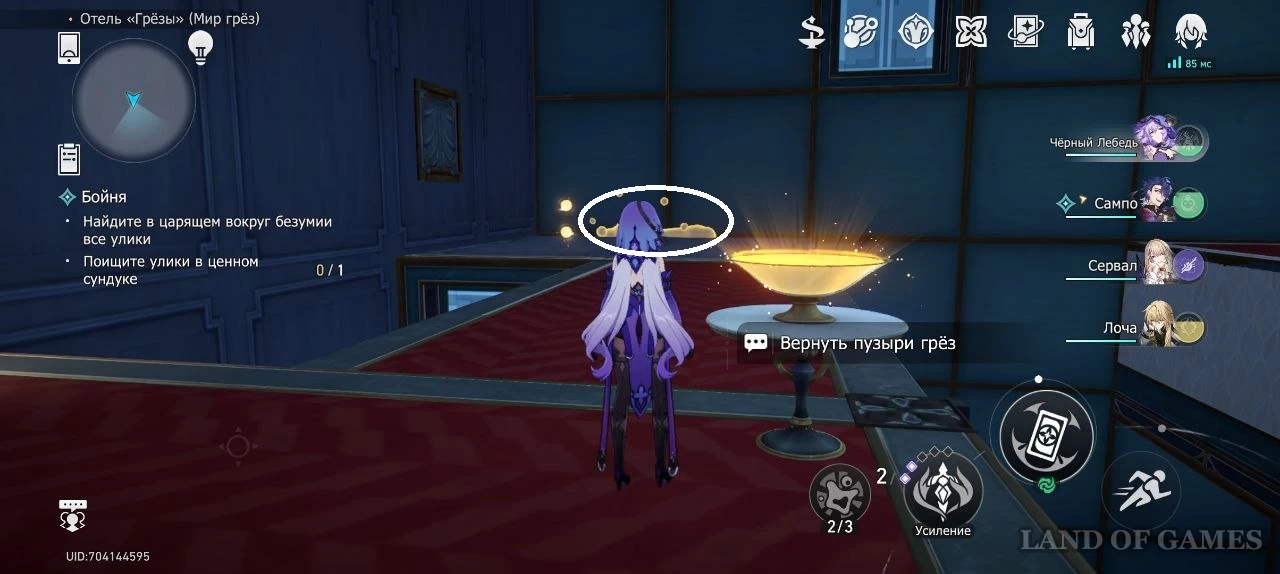
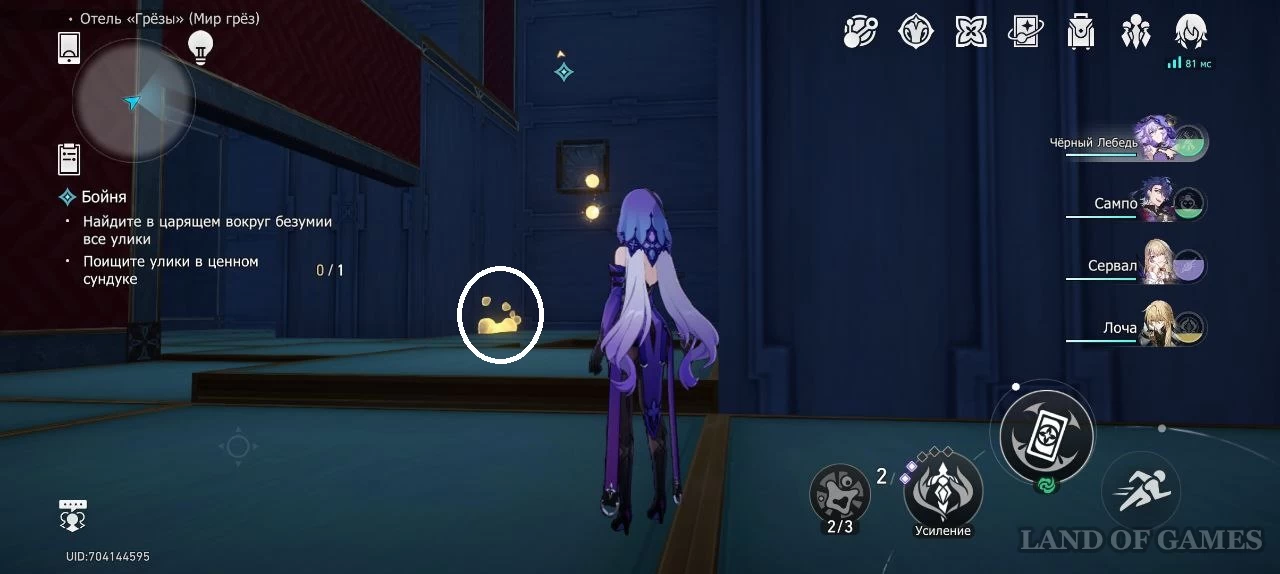
Go back down to the floor and return the bubbles to the fountain. Then walk forward along the floor you restored and turn left. Create a new bubble bridge.
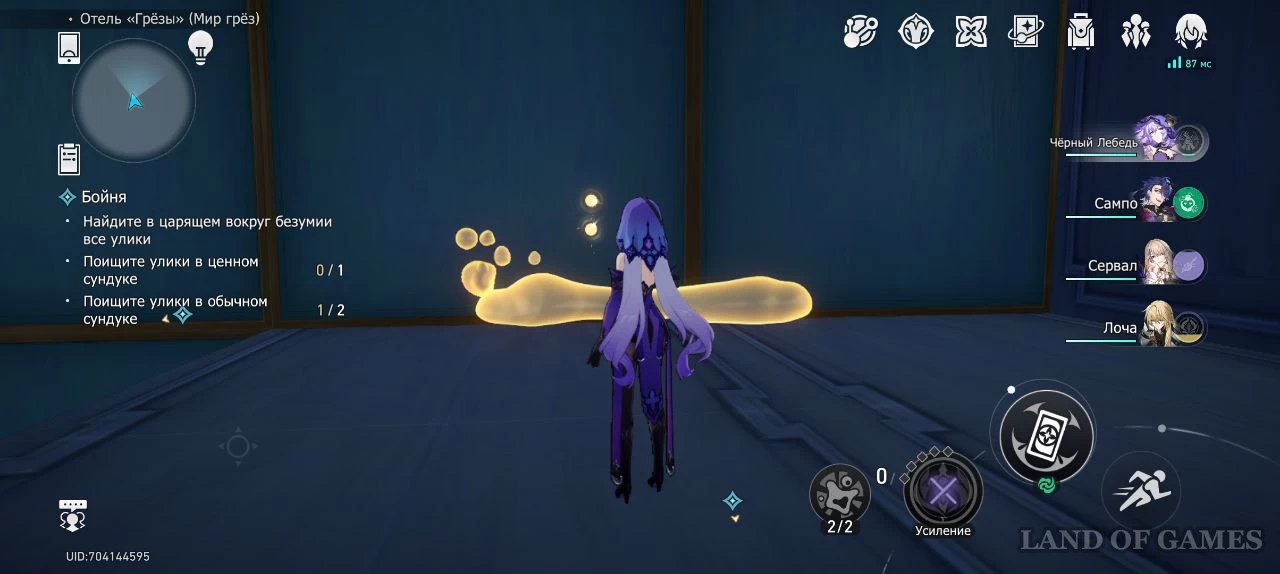
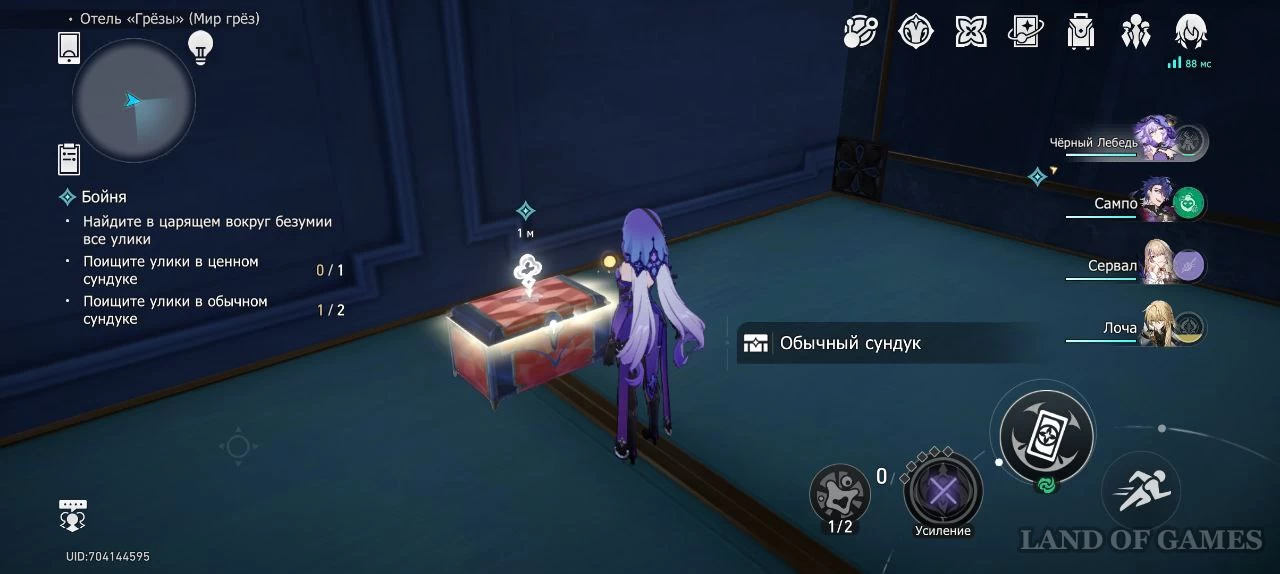
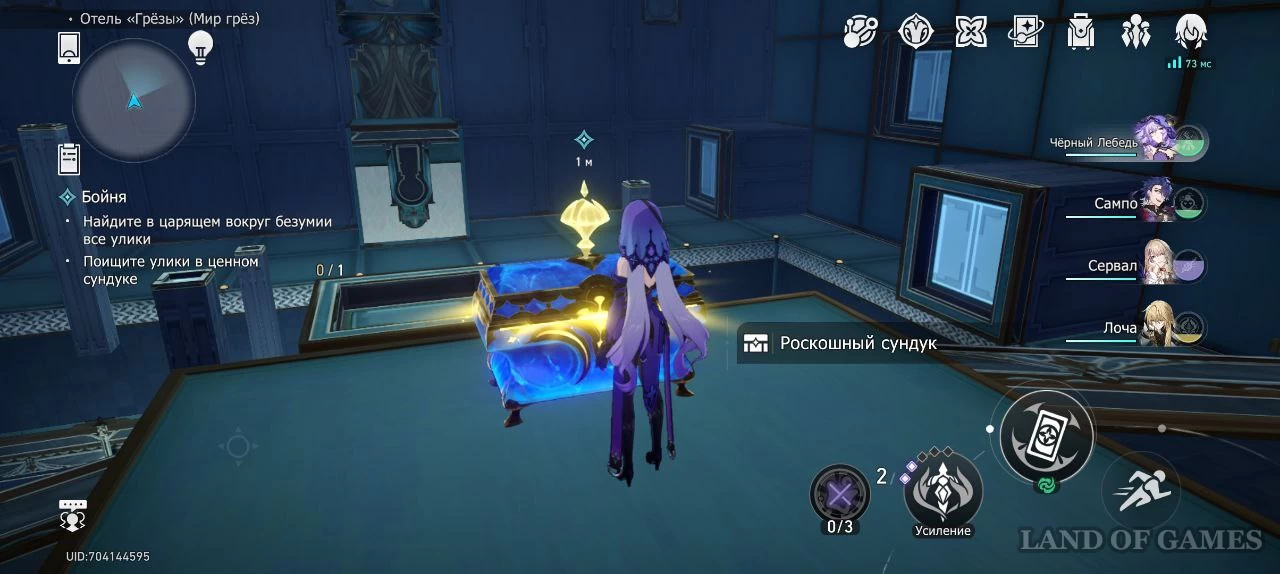
After climbing the wall, go forward and turn around the nearest corner. Open another chest.
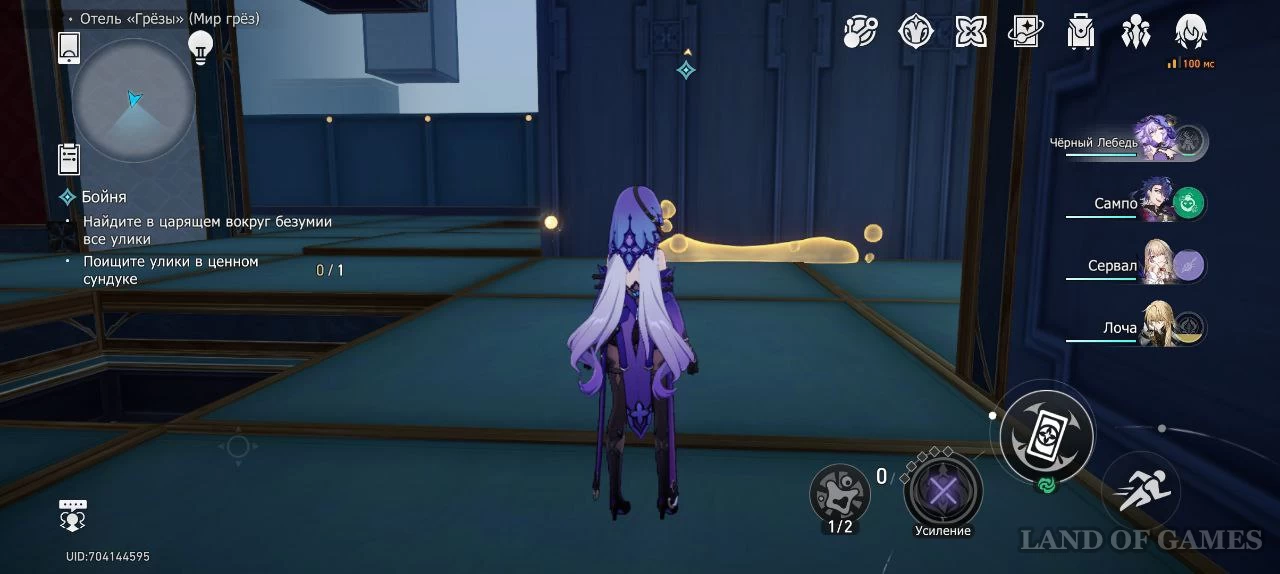
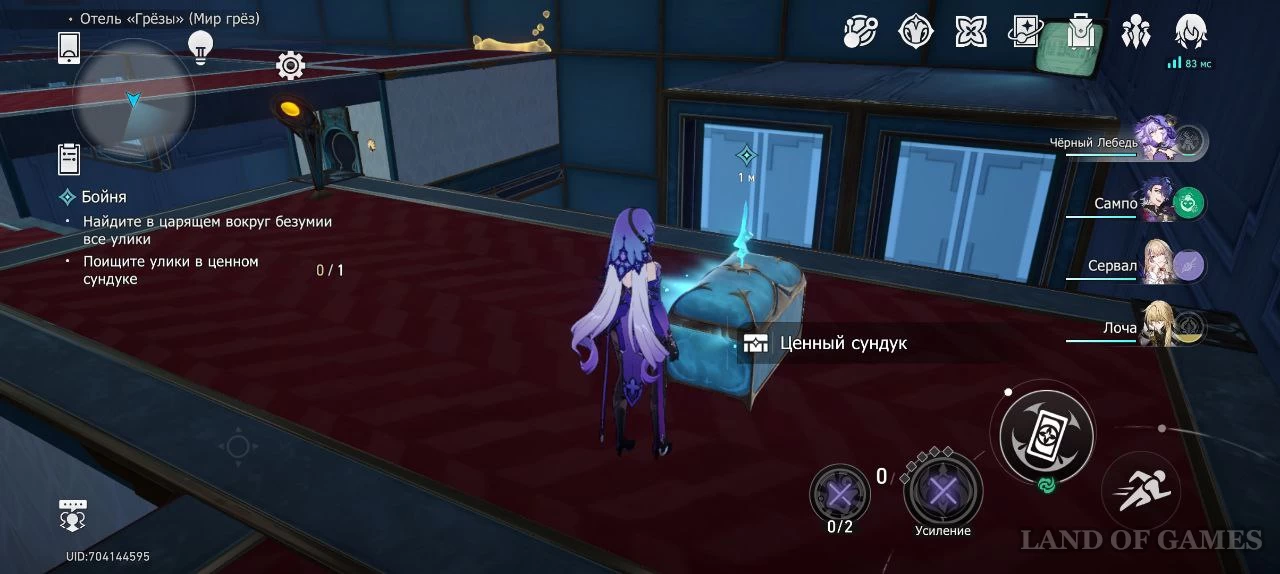
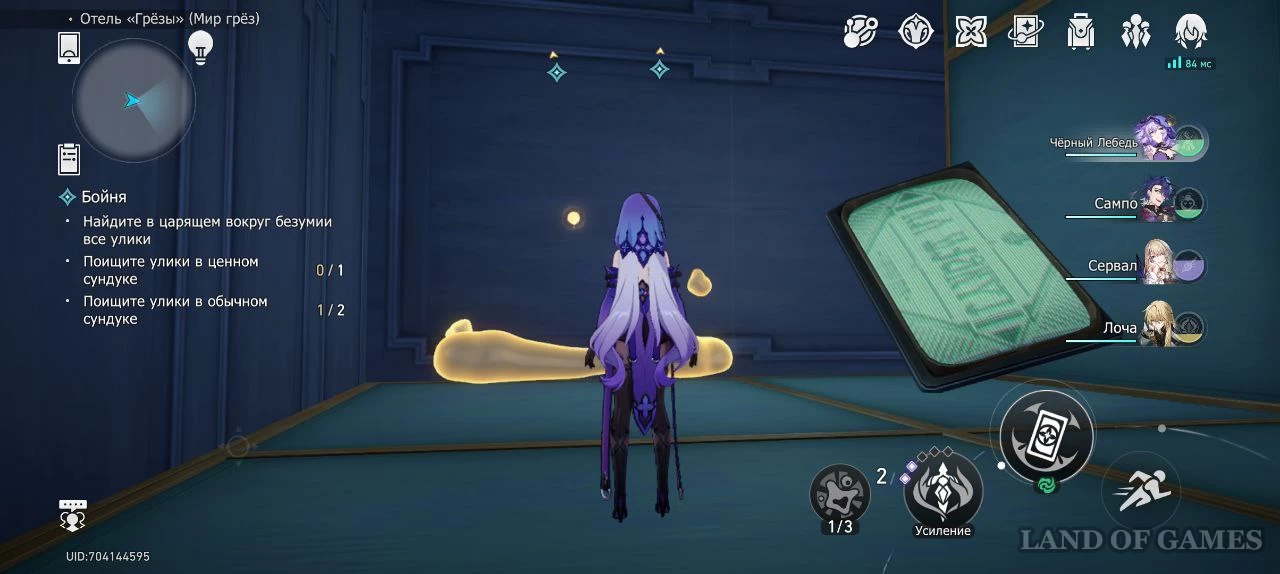
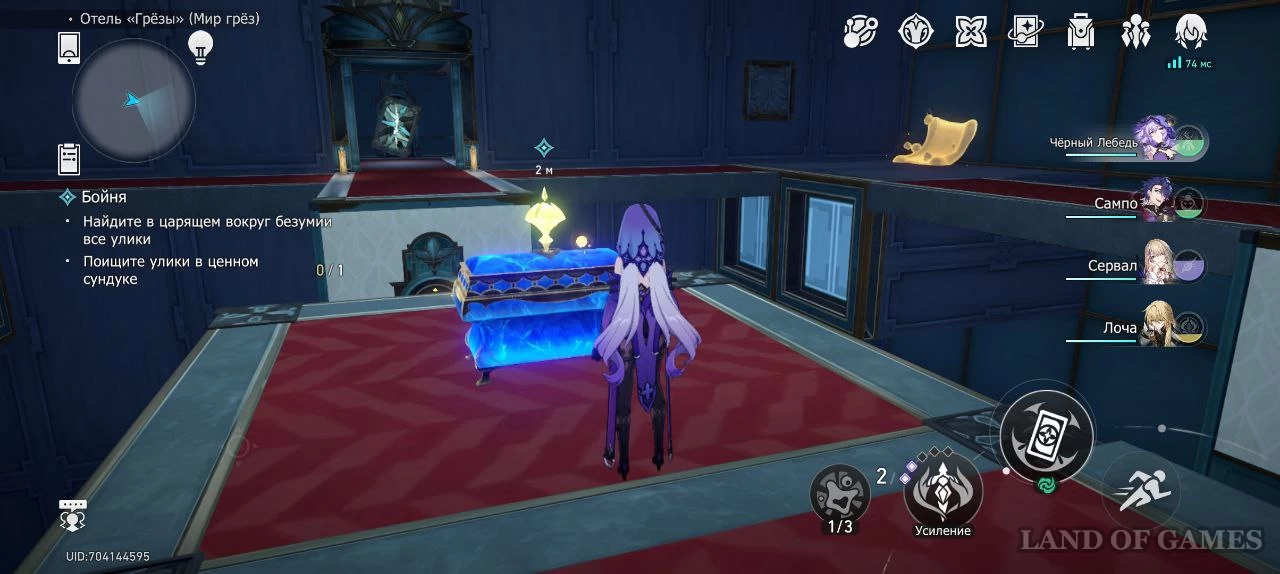
Valuable chest
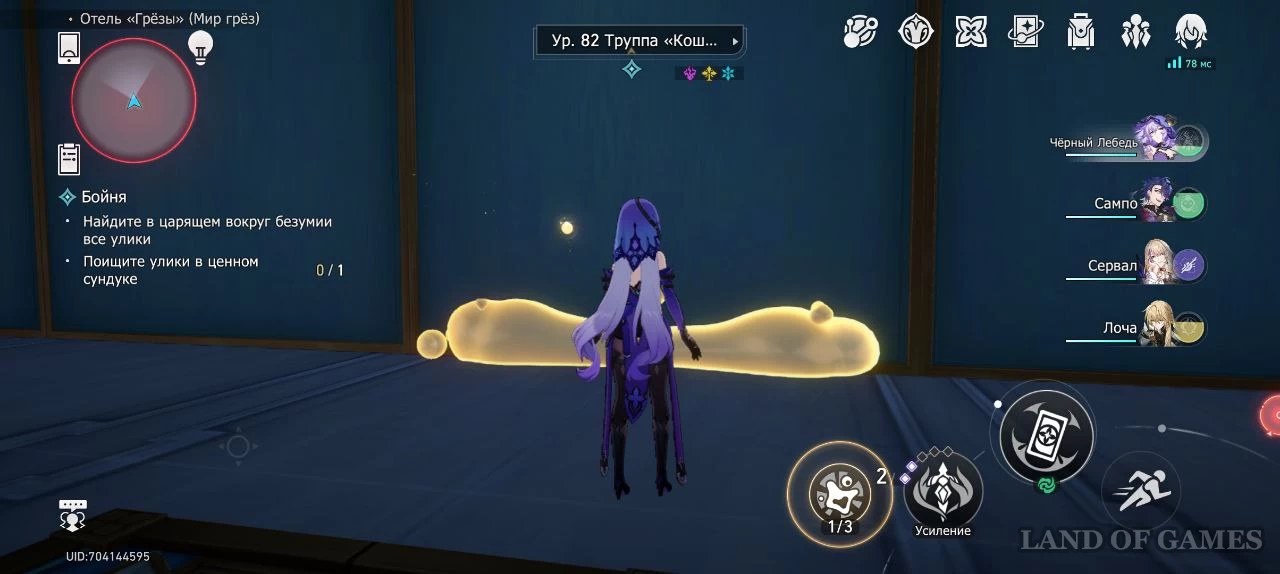
Run past the enemy and go to the next bubbles. Build a bridge and run to the valuable treasure.
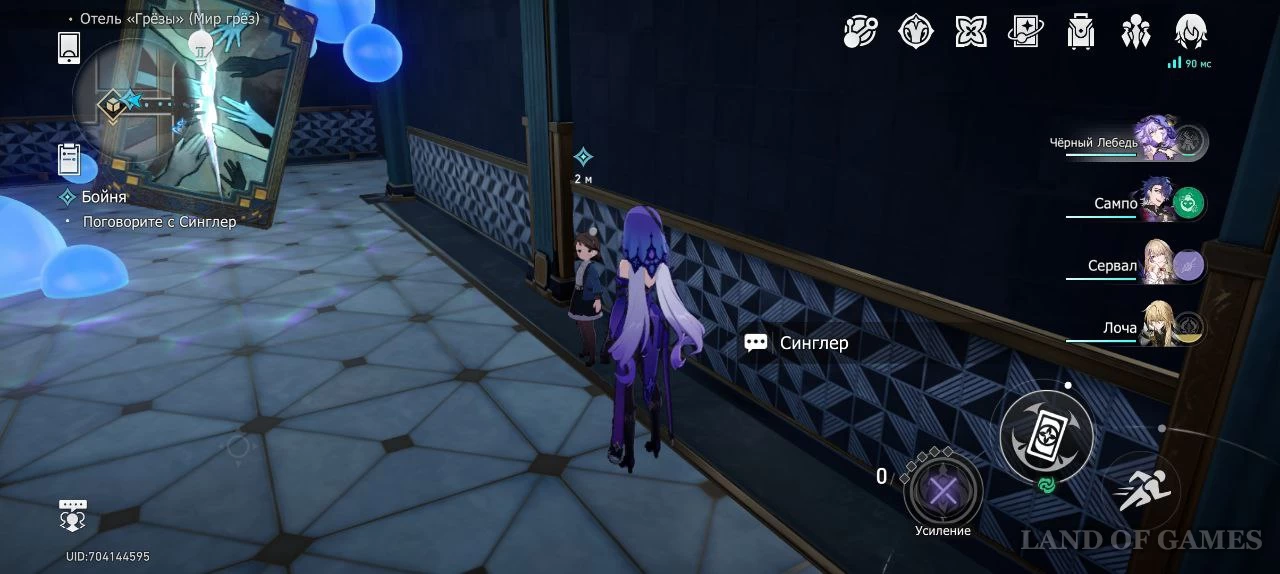
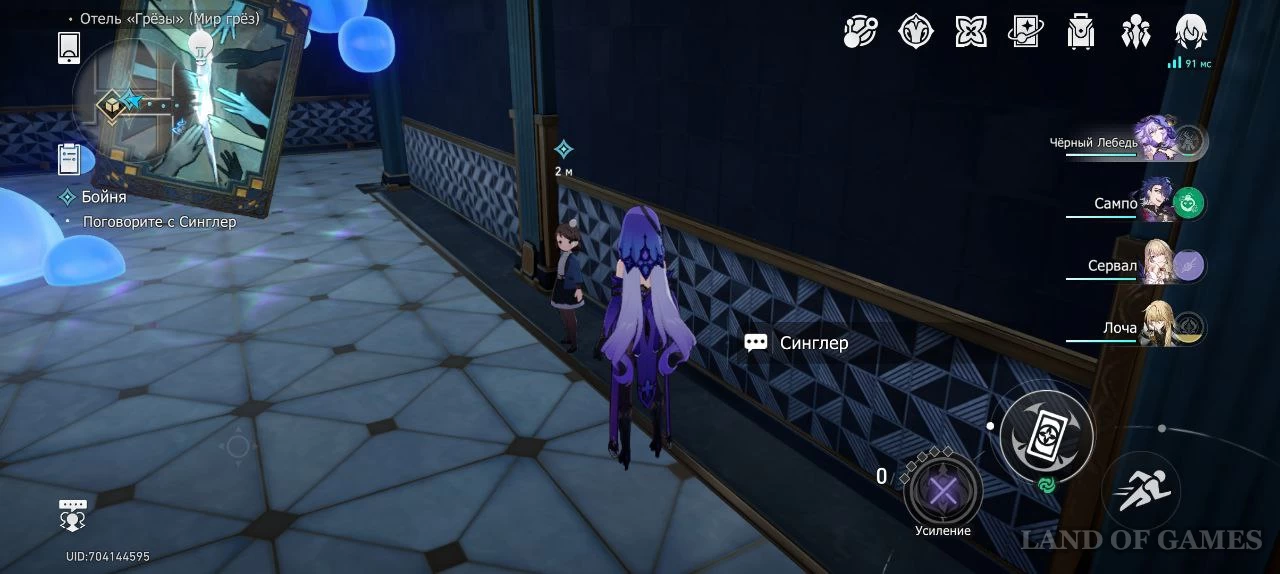
Talk to Singler
You will automatically be transported to the entrance to the room with the painting. Go forward and start a dialogue with the journalist. Examine the evidence.
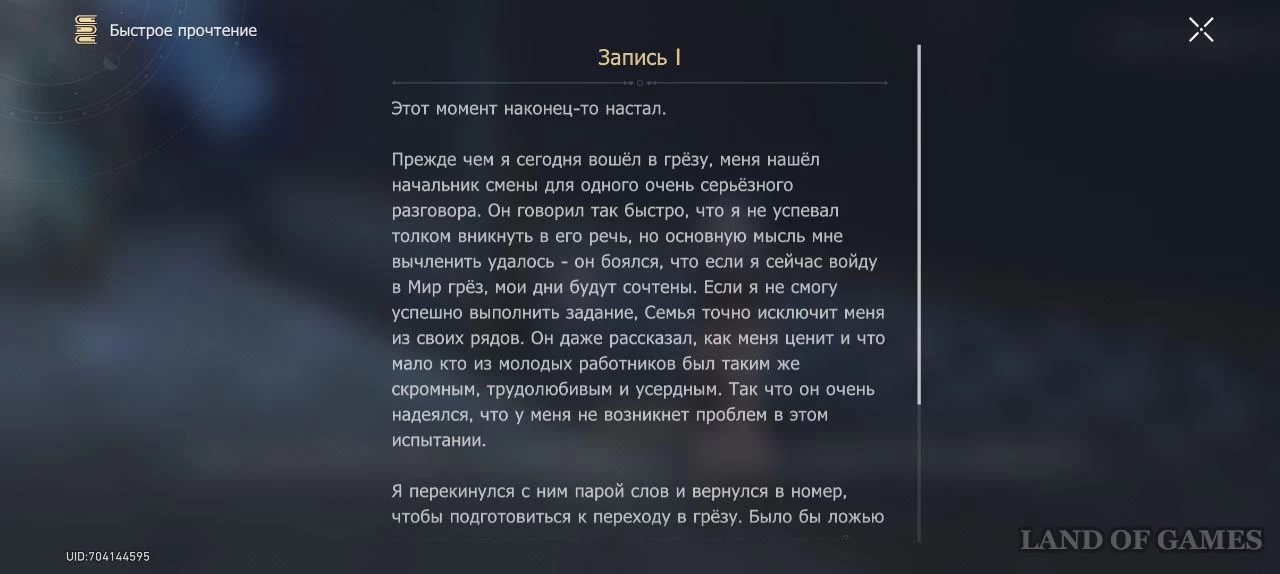
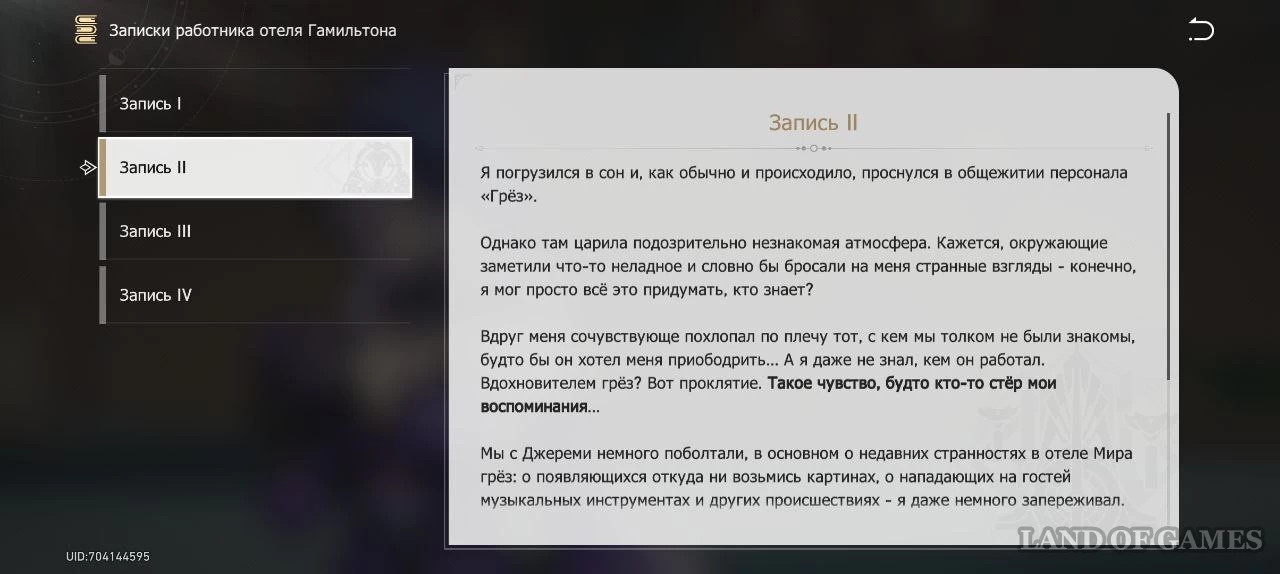
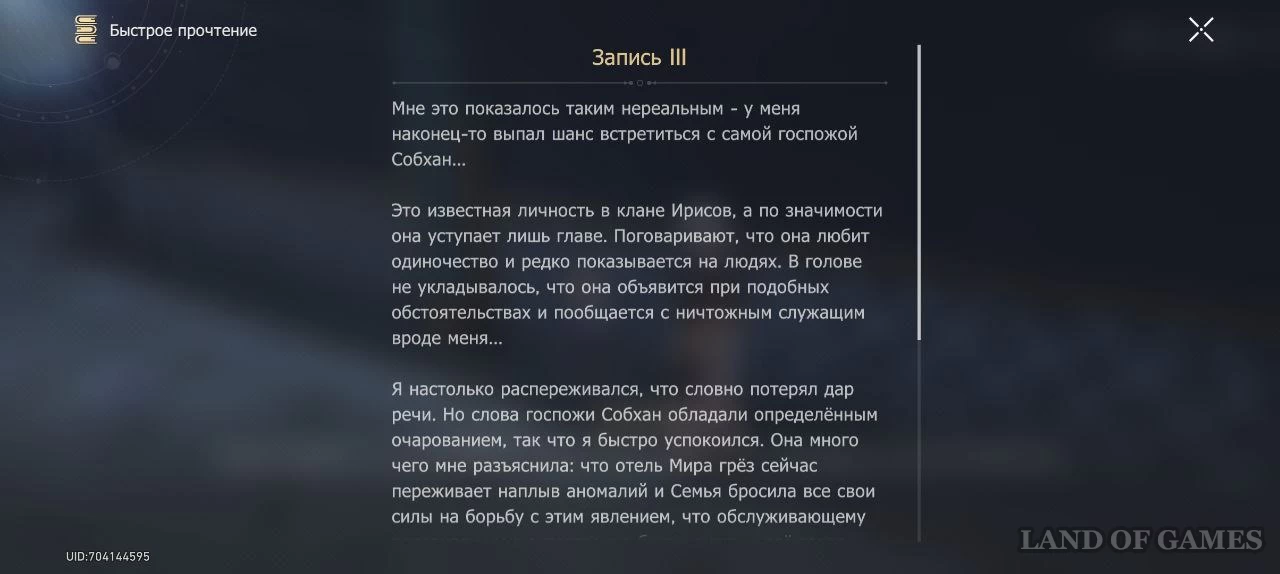
In Entry I, an author named Hamilton talks about a test in the Dream World that he was tasked with by the Family.
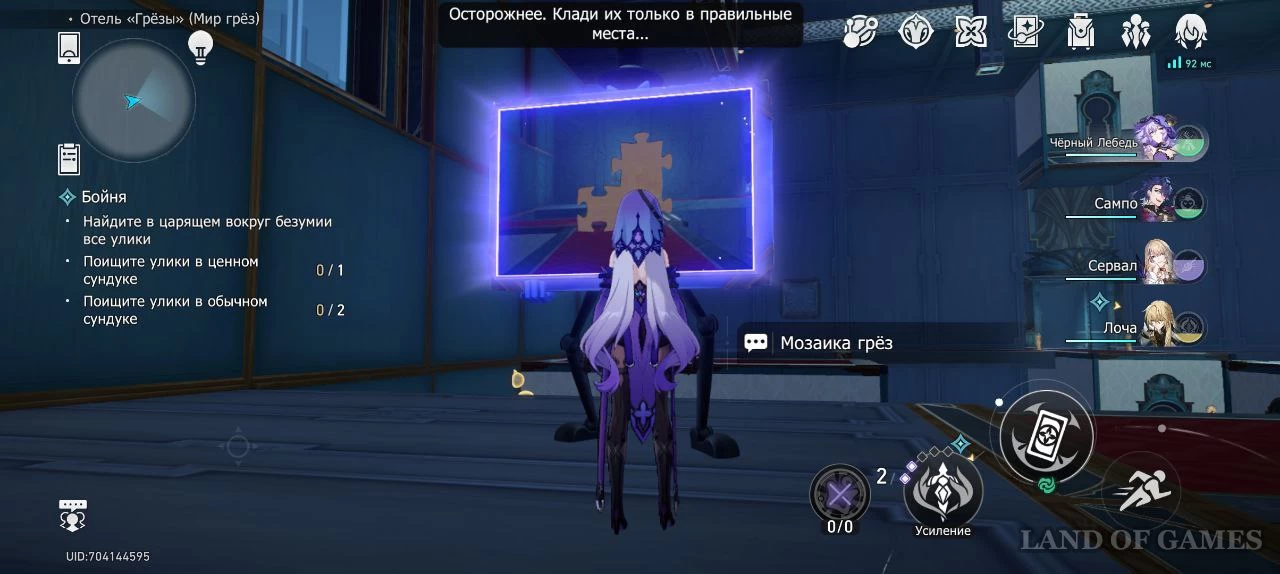
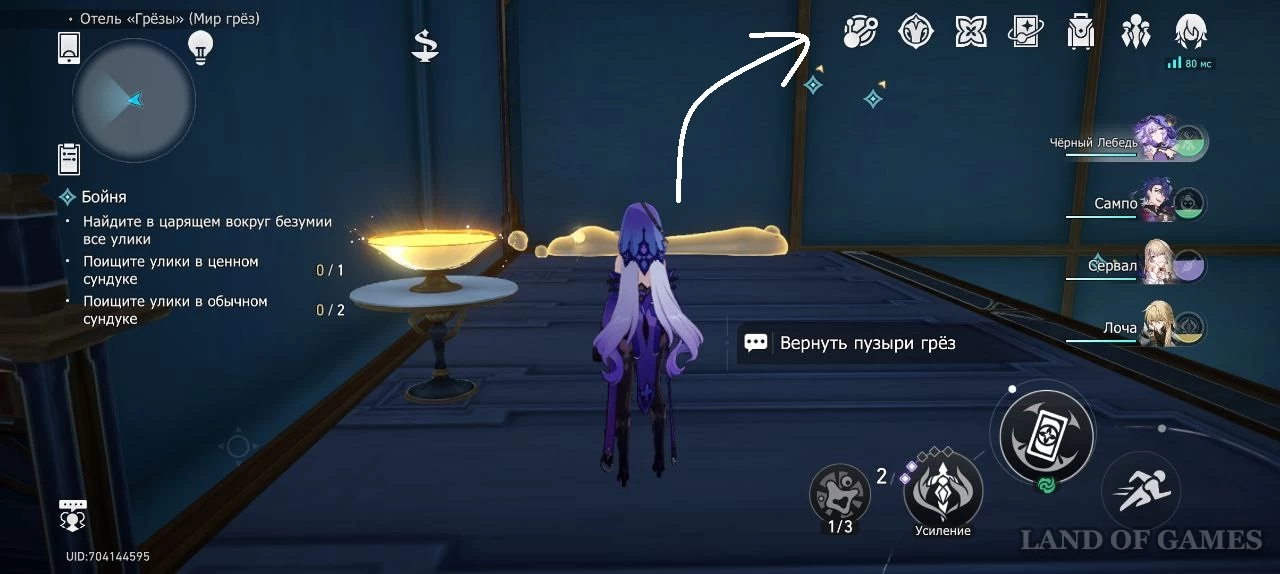
Return to crazy space
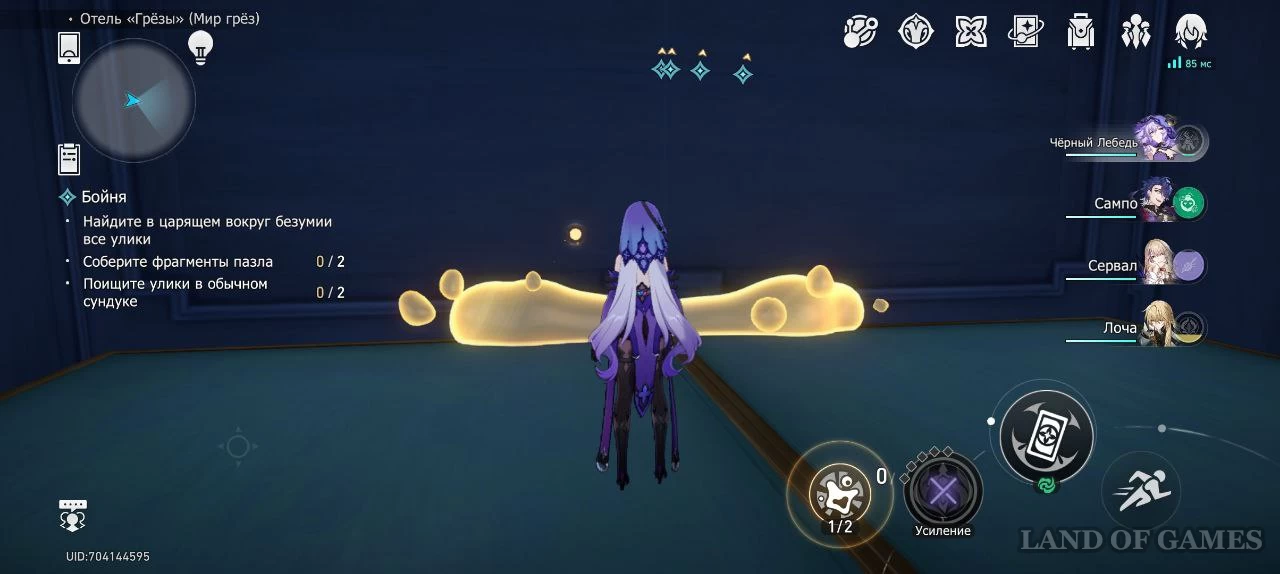
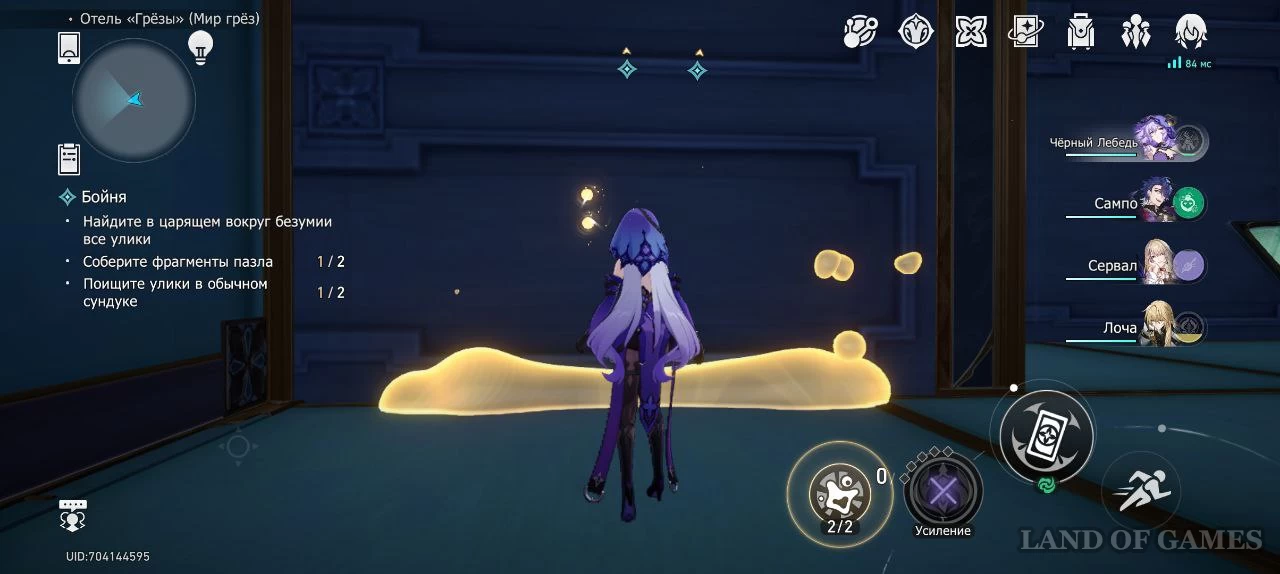
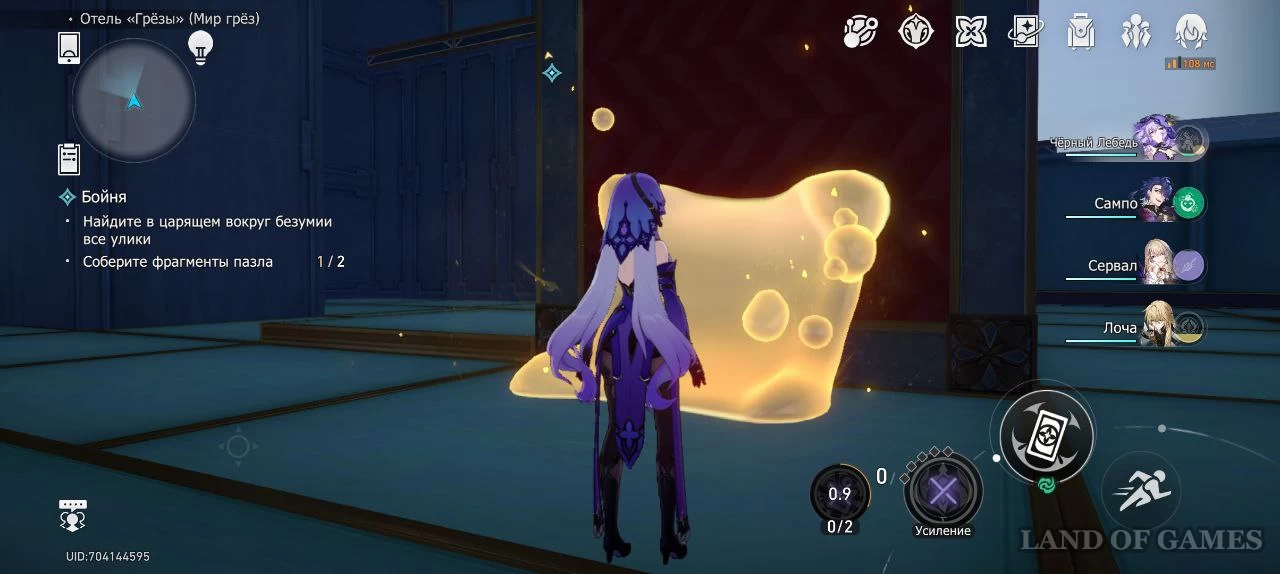
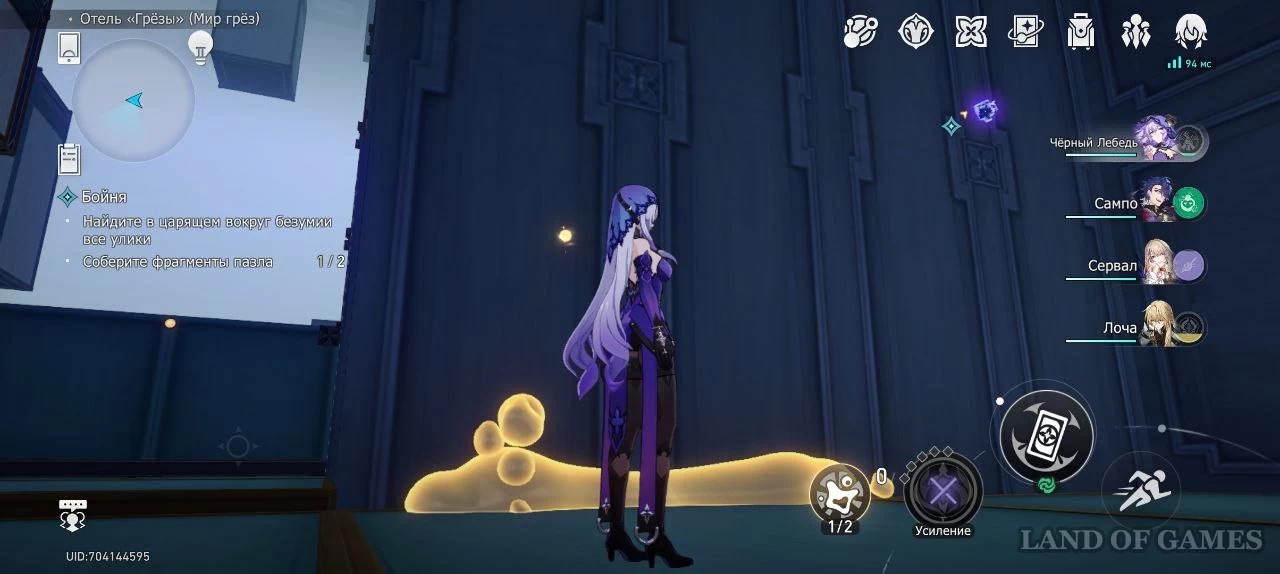
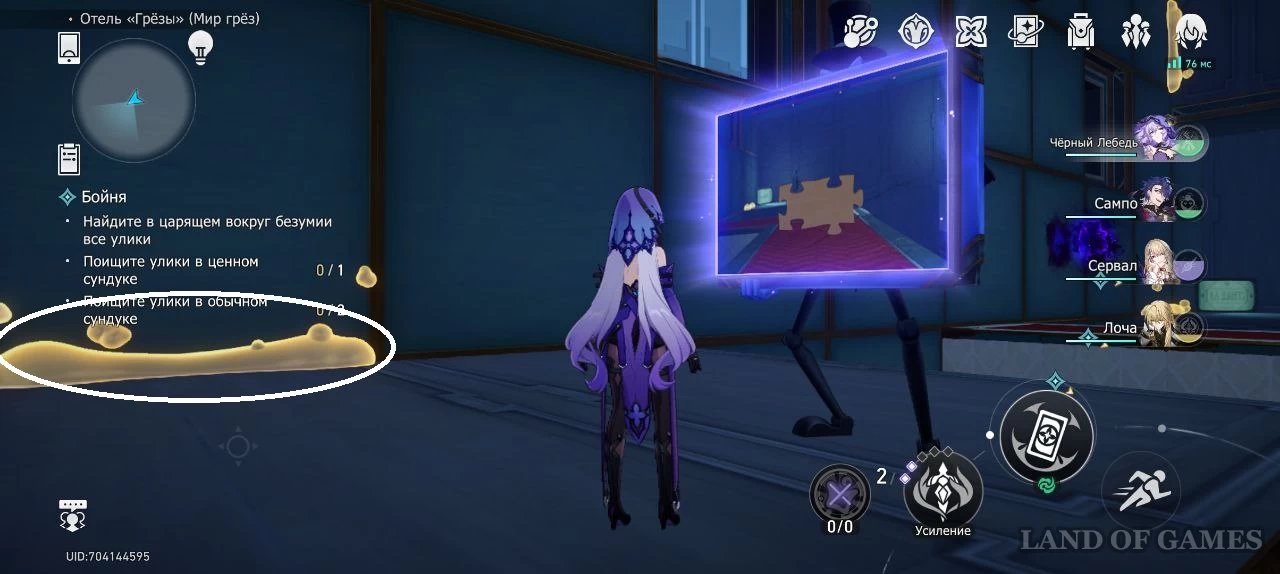
Interact with the painting again. Walk forward and take the bubbles from the fountain.

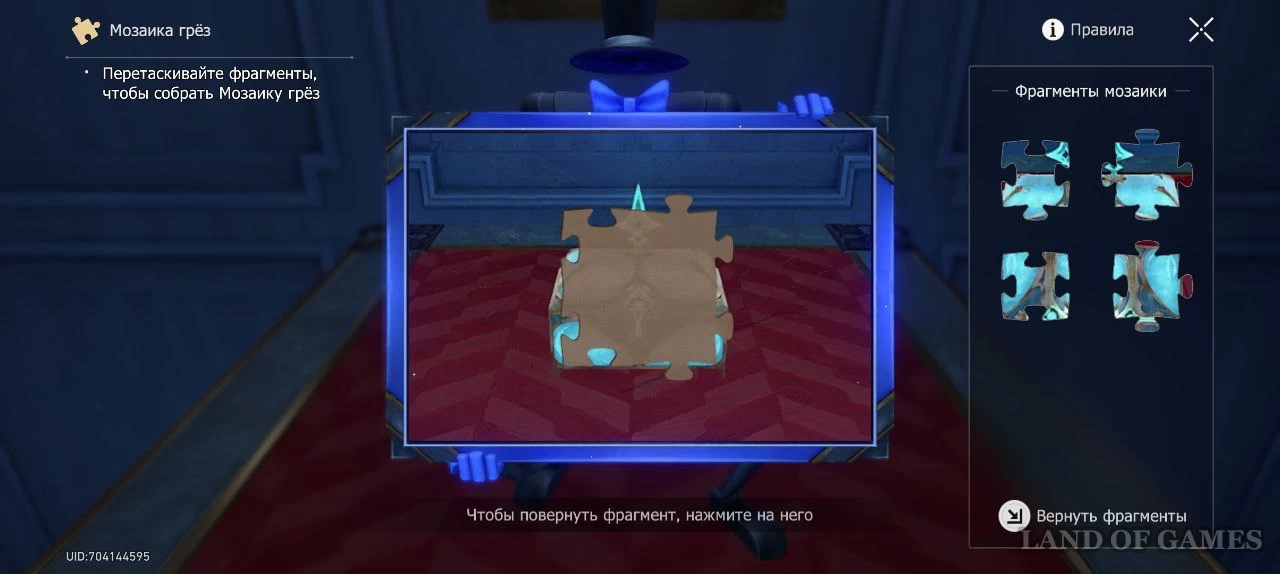
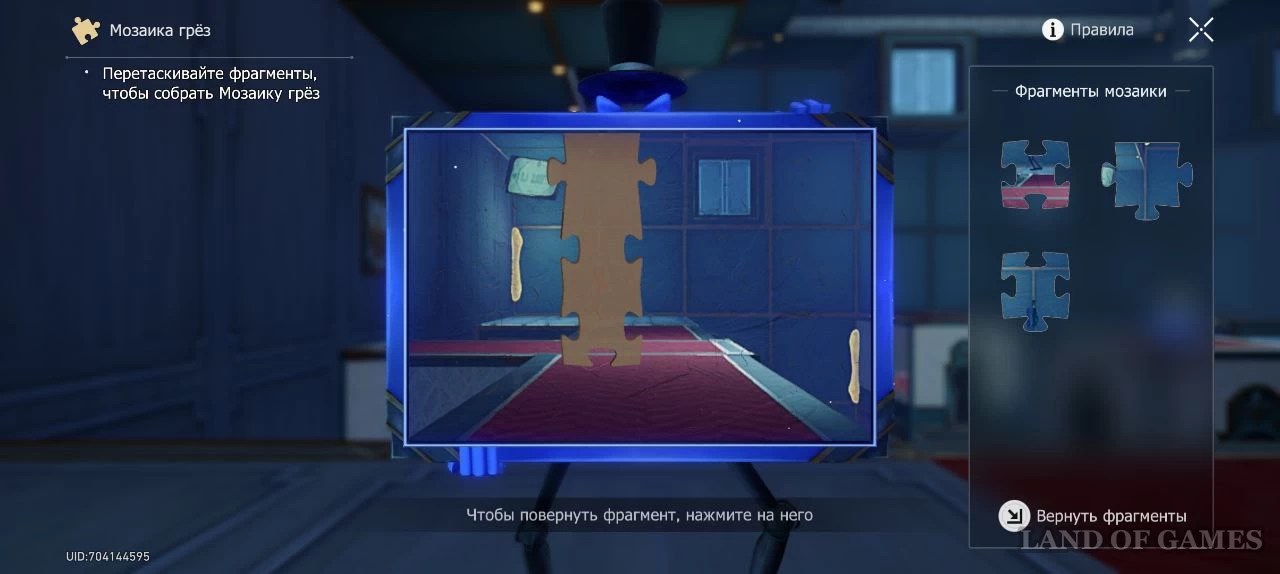
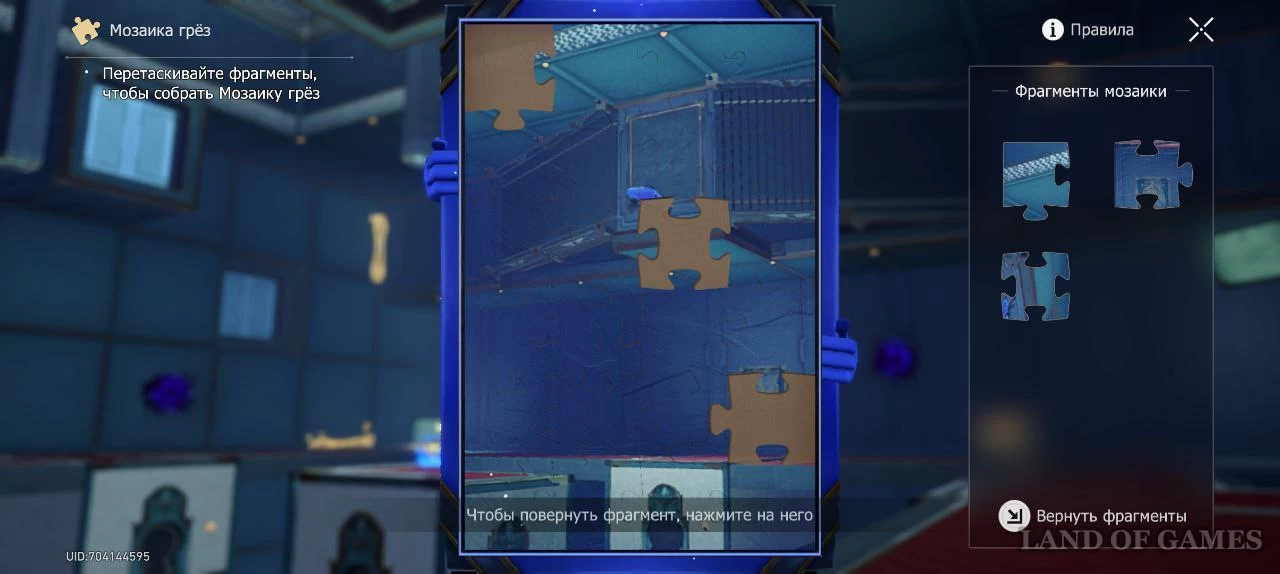
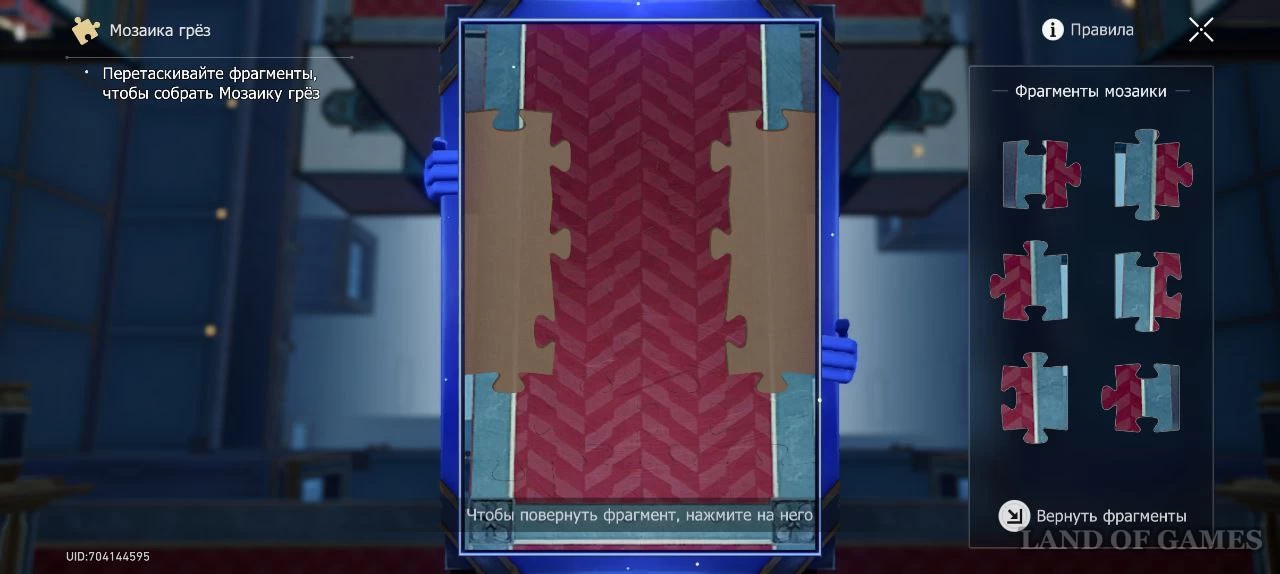
Use a puzzle
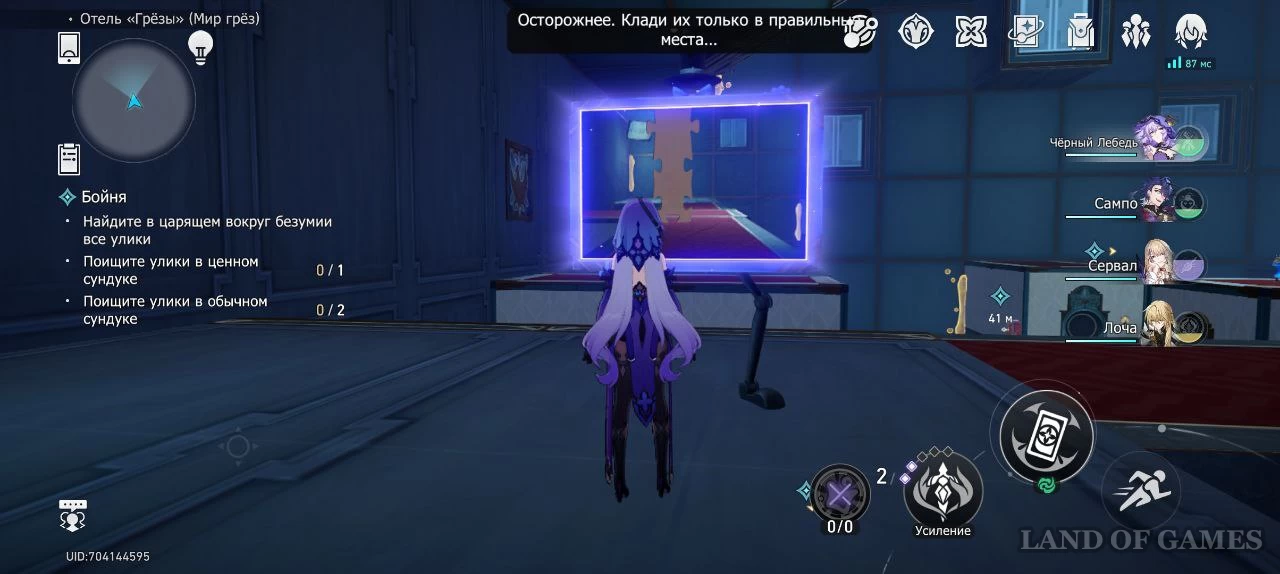
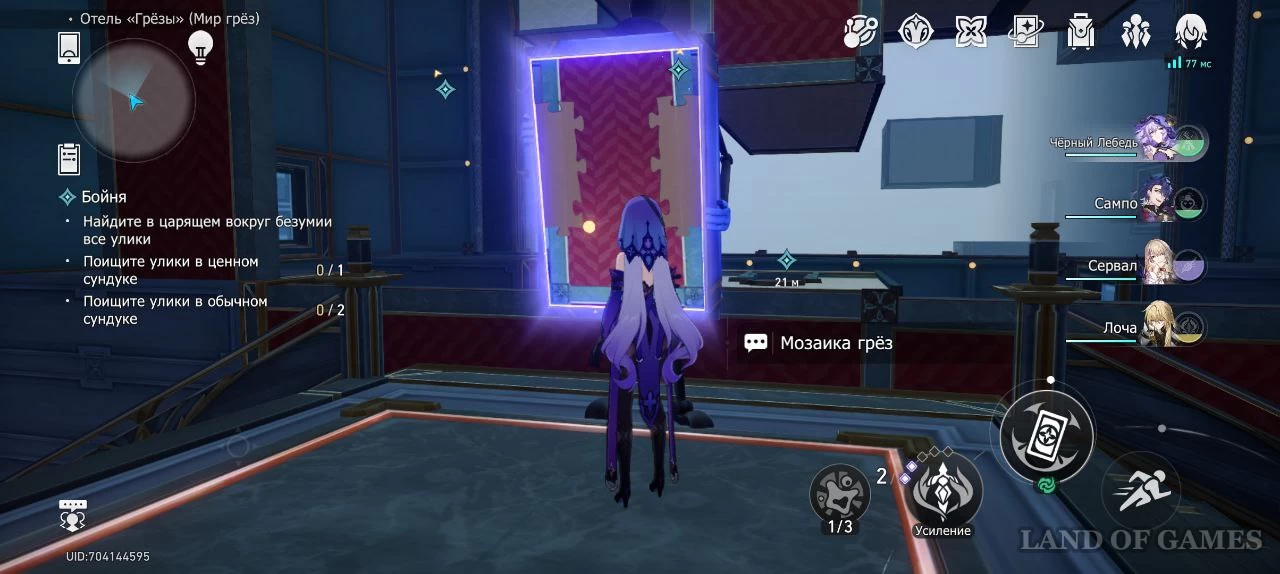
Going even further, examine the mosaic. Its pieces will scatter throughout space.
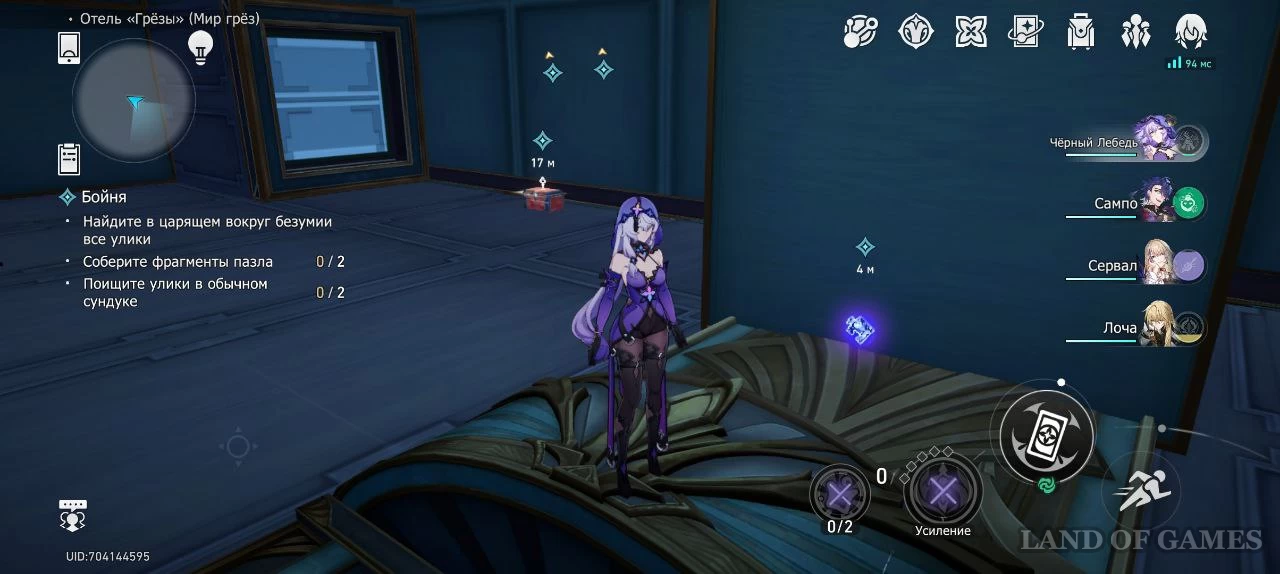
Find clues (first chest and puzzle piece)
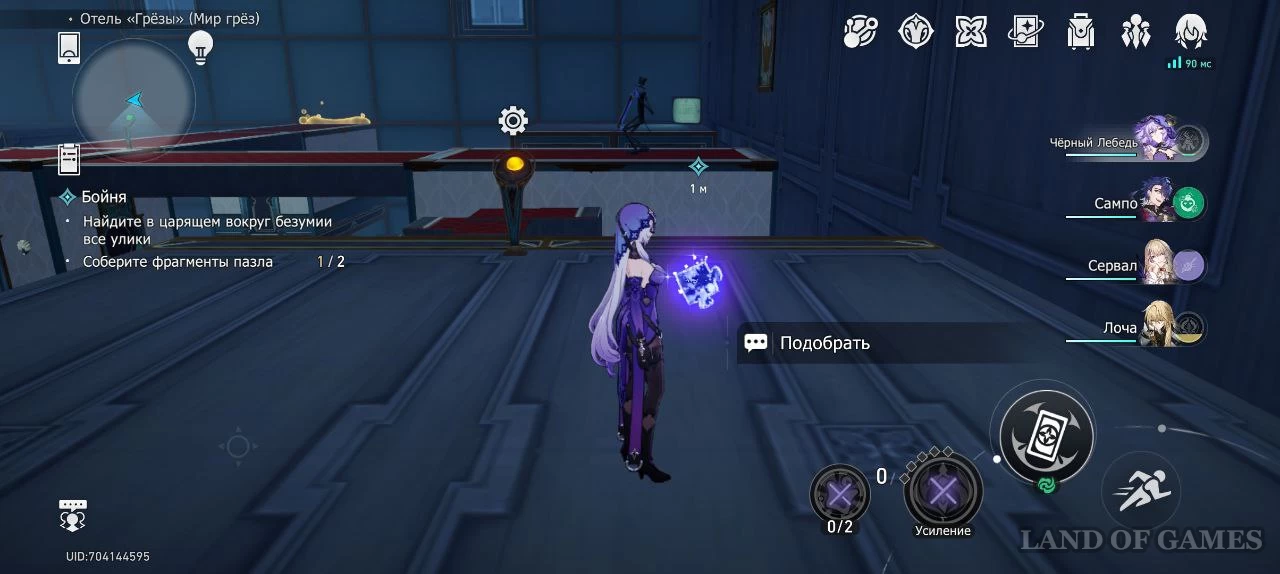
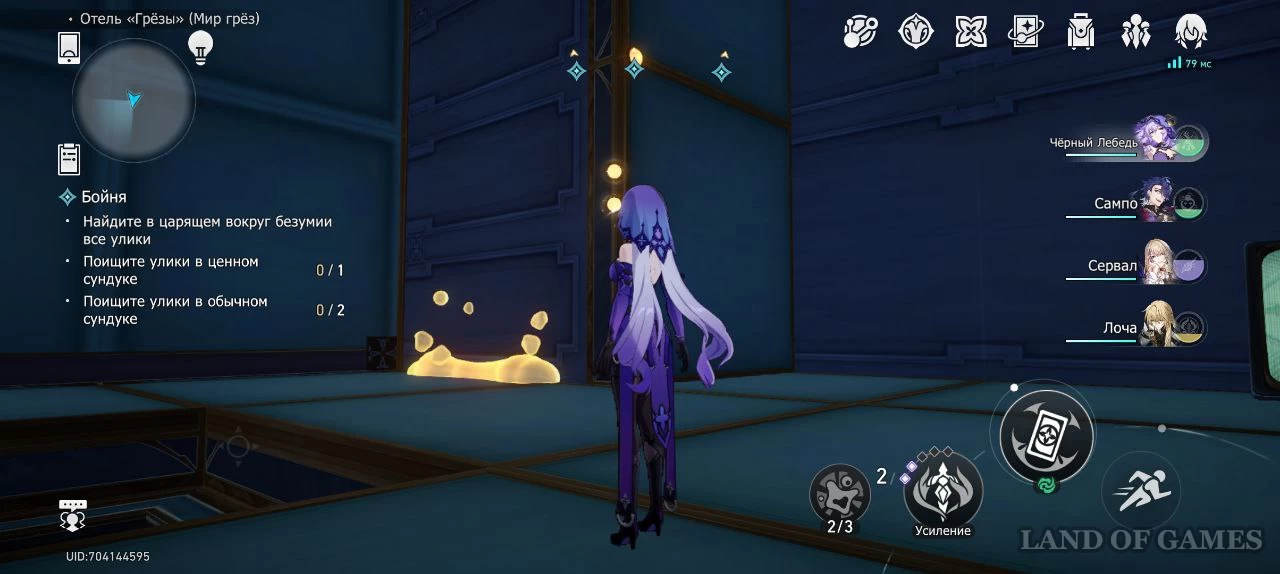
Go back towards the fountain and activate the mechanism halfway along the path.
Walk across the restored floor and create a bridge. Turn left and build another bridge.
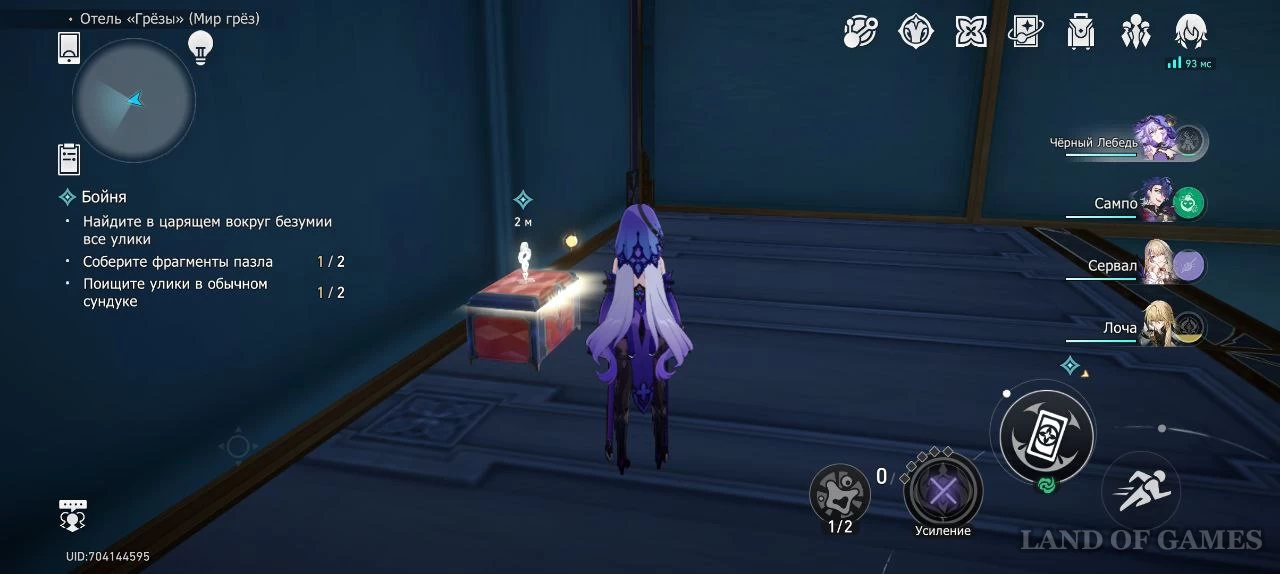
Climb the wall, take the puzzle piece and open the regular chest.
Second chest
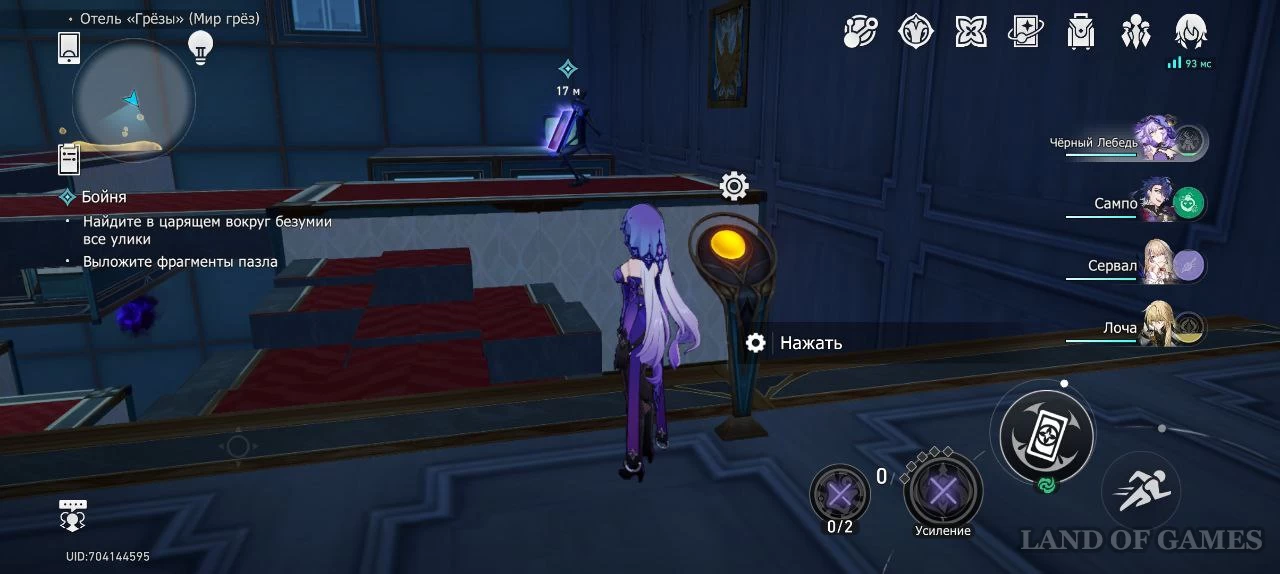
Go back one plane and restore the bubbles in the fountain. Stand with your back to the fountain and run to the right, create a new bubble bridge. Run up the stairs and open the chest.
Second fragment of the mosaic
Run back and use the bubble bridge to return to the floor. Turn right, restore the bubbles and go to the next bridge. Run past the enemy, build another bridge and pick up the second piece of the puzzle.
Lay out the puzzle pieces
Immediately activate the mechanism to quickly go to the mosaic.
Lay out the fragments in the same order as they appear on the screen. Fragment 3 will need to be rotated 3 times, fragment 4 - 1 time.
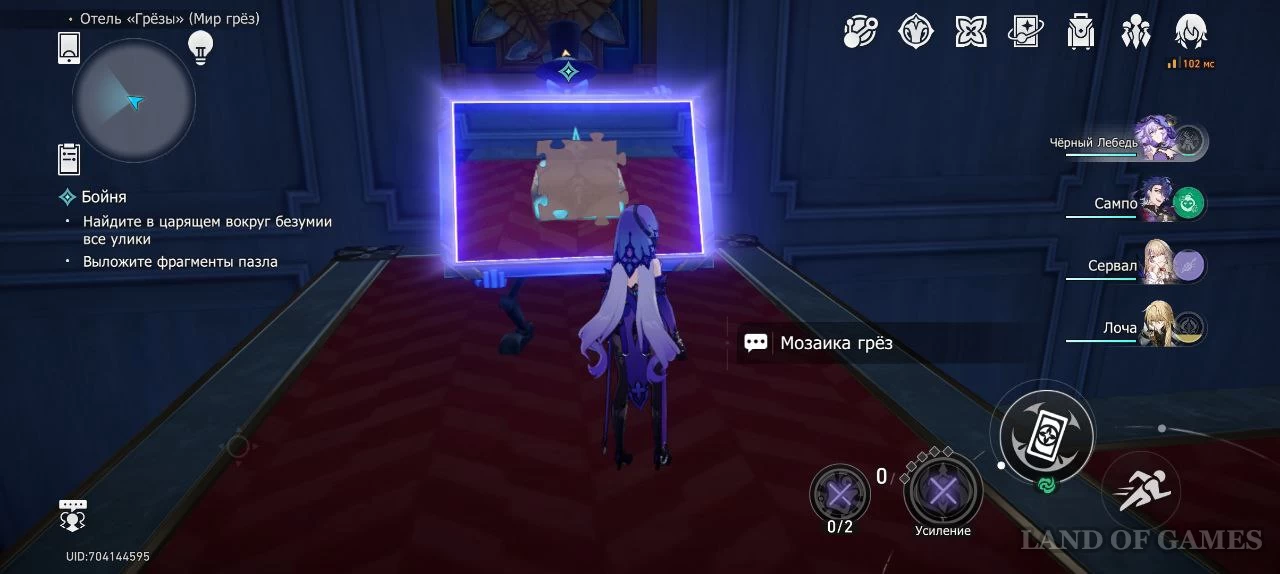
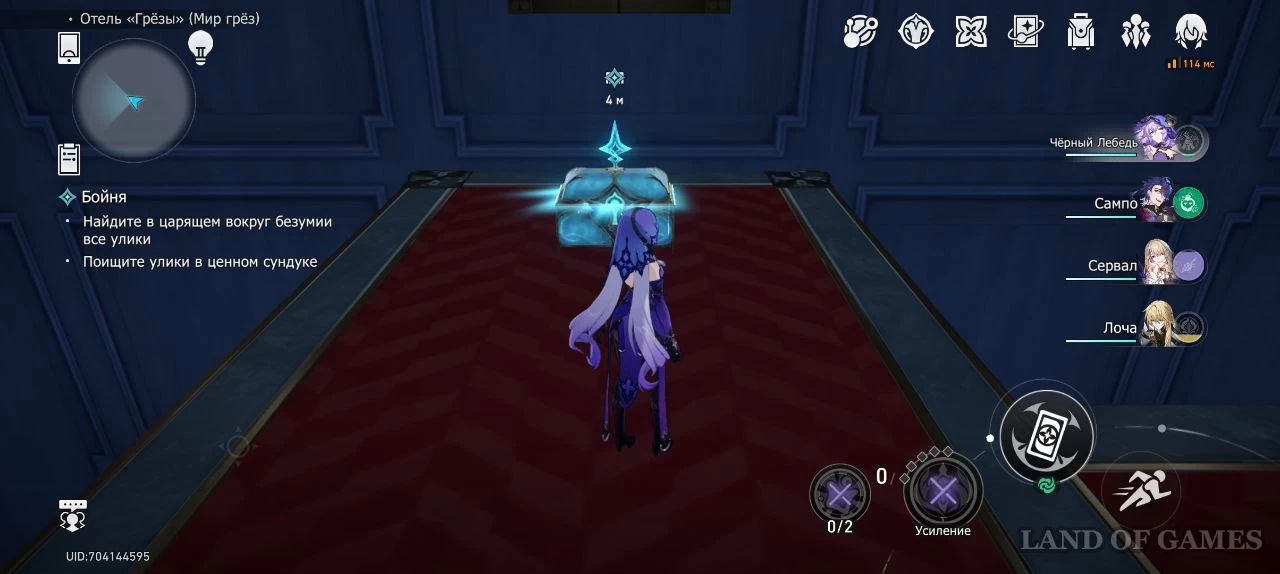
Open a valuable chest.
Talk to Singler
Go back to the painting and talk to the journalist. In Entry II you will find the continuation of Hamilton's story. In the Dream World, the man felt that someone had erased his memories.
Return to crazy space
Use the painting and re-enter the strange space.
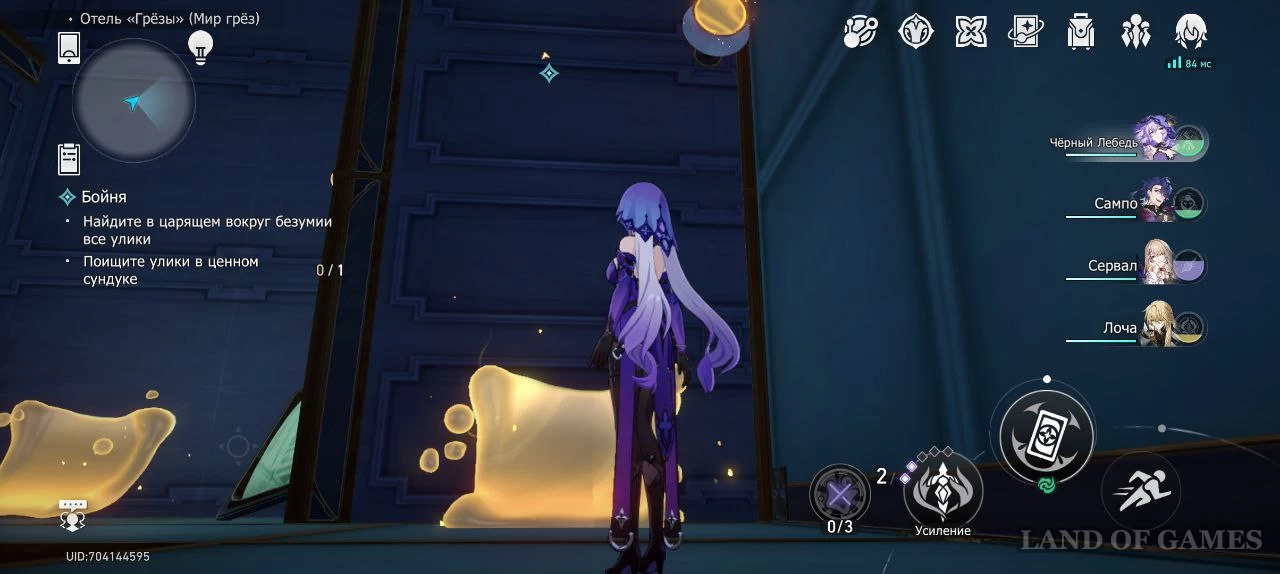
Normal chest 1
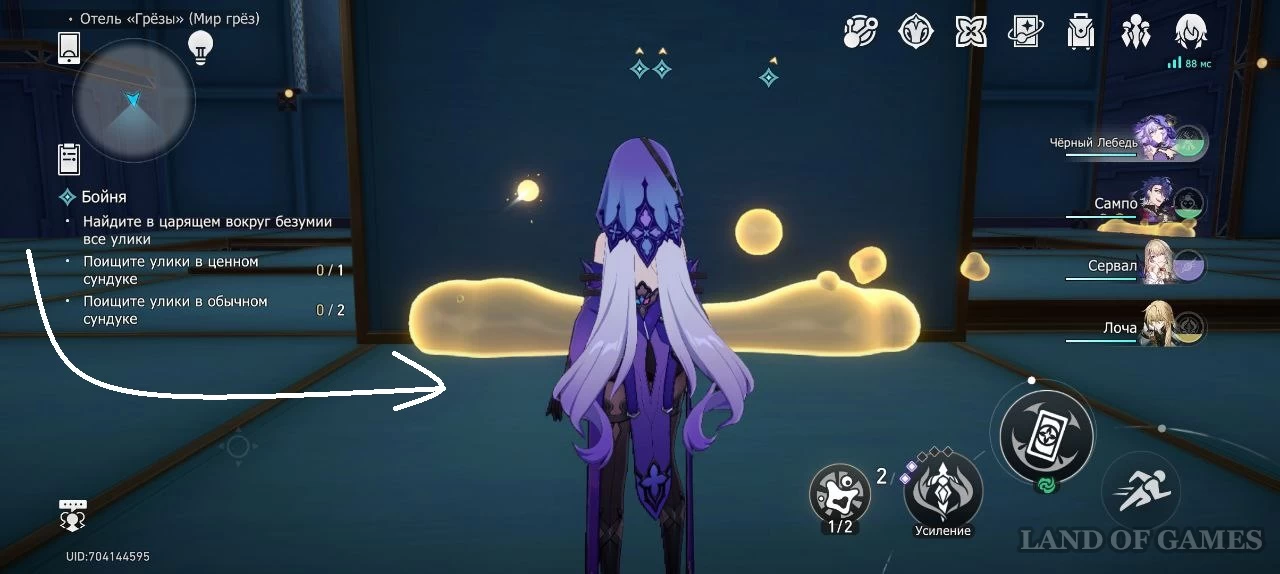
Take the bubbles and turn left. Build a bubble bridge.
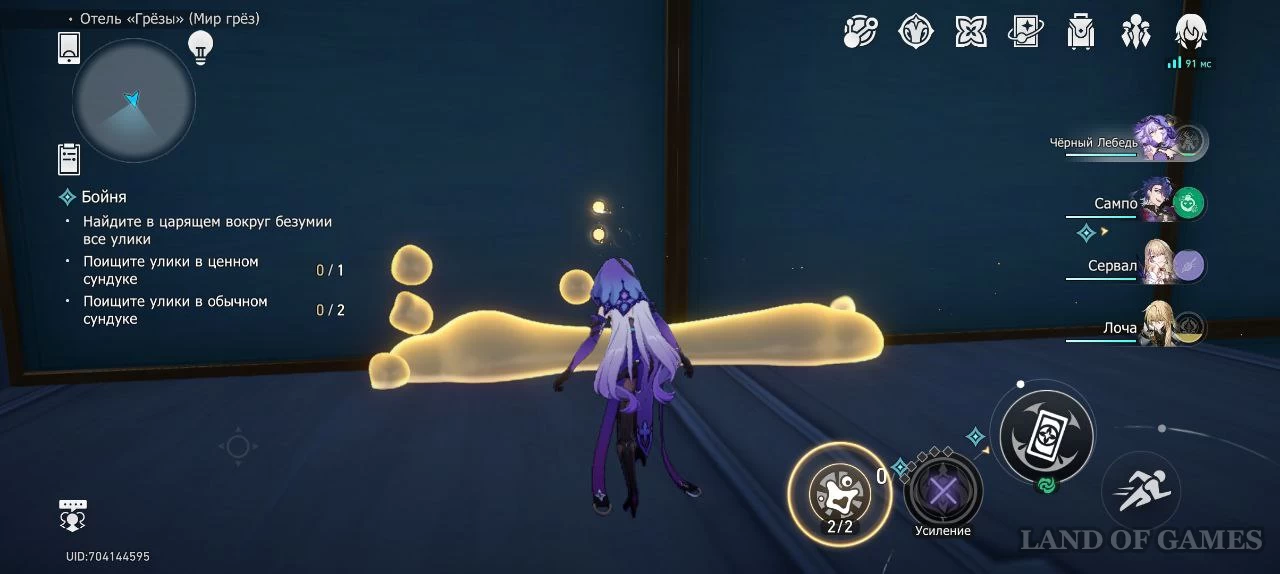
Go to the next bubbles and create a bridge.
Run along the road. Activate the mechanism to access the fountain and return the bubbles. Build the nearest bridge.

Run forward and left. Find the wall with the chest and climb onto it using bubbles. Open the chest.
Regular chest 2
Return along the already built bridges to the floor. Return the bubbles from the same fountain and go to the place where you can build two bridges. First activate the right one, a little further - another one, and open the chest.
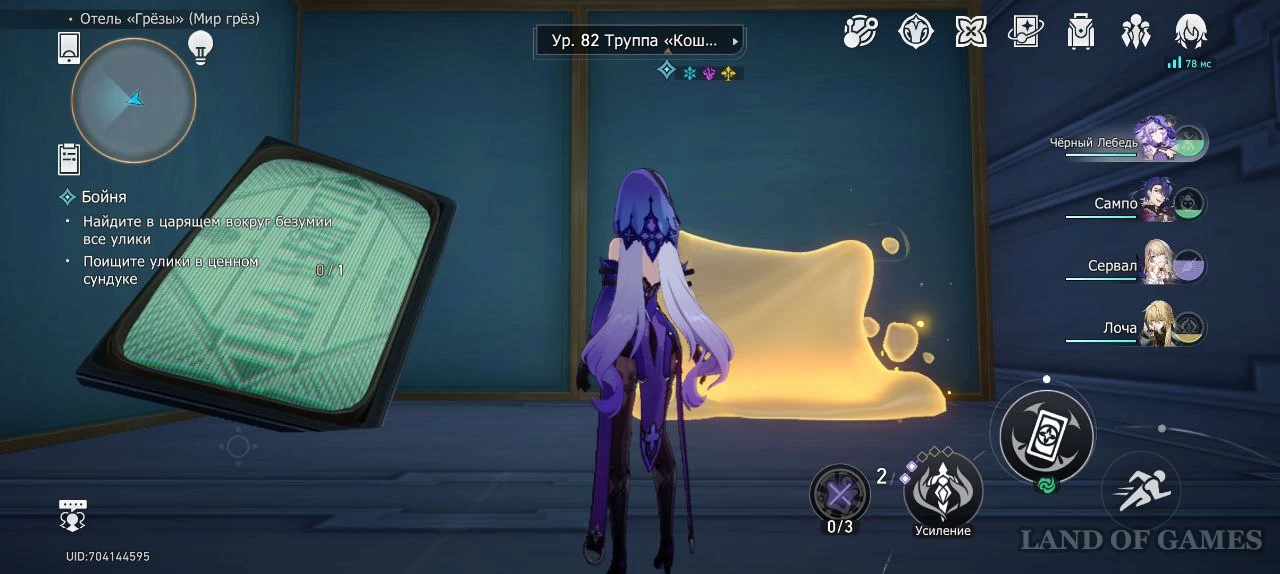
Valuable chest
Go back to the same place and now create a bridge on the left. Take bubbles from the fountain to increase your limit.
Return to the fountain on the floor, refill your bubbles, and head towards the area where you found the first normal chest. However, now you need to climb another wall, next to the green screen.

Run past the enemy and create another bridge. Open a valuable chest.
Talk to Singler
Talk to the journalist again and read Entries III. In them, Hamilton talks about meeting Mrs. Sobhan from the Iris clan.
Explore the crazy space one last time
Re-enter the Dream World through the painting.

Run left and examine the dream mosaic. Here you need to insert only 2 fragments, there is no need to turn them over. Solving the puzzle will open a new passage for you. Walk forward along it and examine the second puzzle.

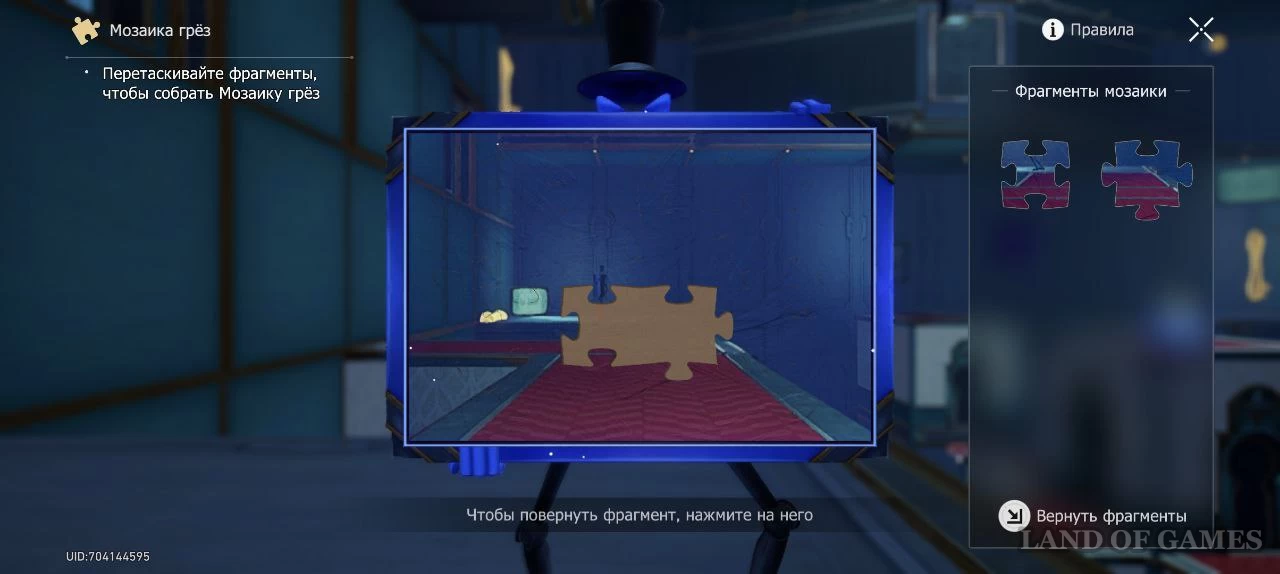
There are 3 fragments here; you don’t need to rotate them either.
Go along the new passage. Examine the third mosaic. Here you will need to rotate the third fragment 3 times.
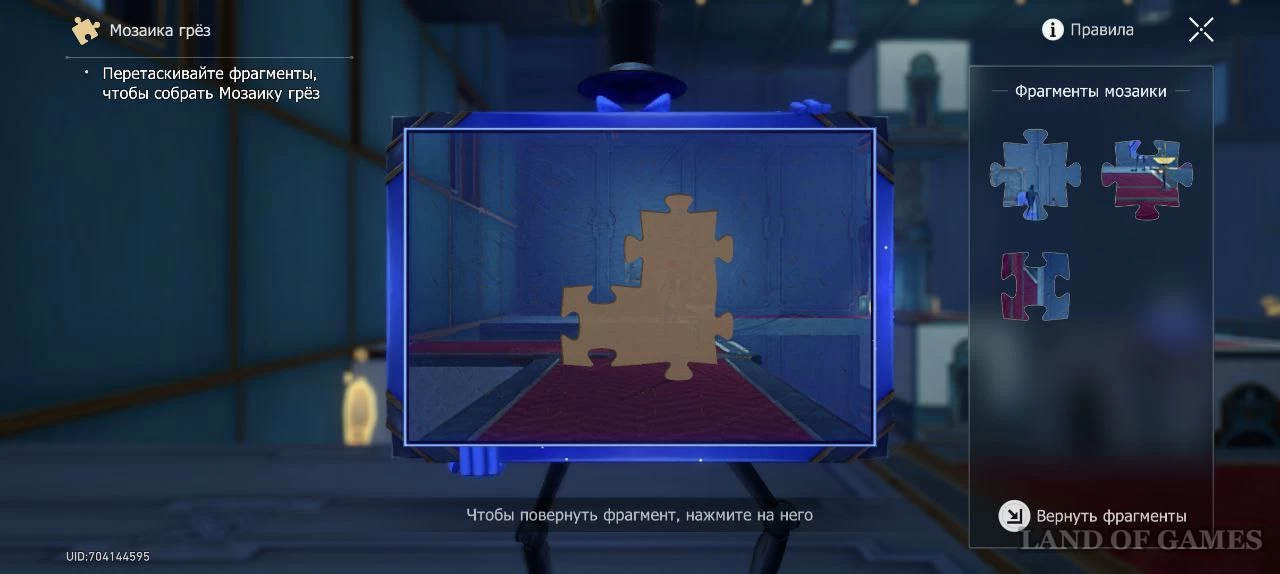
Run along the passage to the fountain and take the bubbles from it. Go a little further and solve another puzzle. The second fragment needs to be rotated 2 times, the third - 1 time.
Normal chest 1
Return to the place where you solved the first mosaic and create a bubble bridge.
Run forward and to the right. The enemy here moves around the column, so the battle can be avoided. Activate the bridge on the column. Grab bubbles from the fountain to replenish them and increase your limit.
Return to the previous plane of space and go left and back. Activate the left bridge.
Go up the stairs and solve the puzzle. There is no need to turn the pieces over.
Go down the second ladder, return the bubbles and create a new bridge. Run forward a little and to the right. Create a bridge and open the chest.
Regular chest 2
Return to the plane with the stairs, restore the bubbles and go down again. Turn right and activate the bridge near the green screen.
On this plane the enemy also walks around the column. There is also a bridge on it leading to the second chest.
Valuable chest
Return along the constructed bridges to the stairs.
Take the bubbles.
Go down the second ladder, cross the bridge, and a little further activate another one to return to the floor. Now you can easily access the valuable chest.
Find out how the investigation ended
Talk to Singler again.
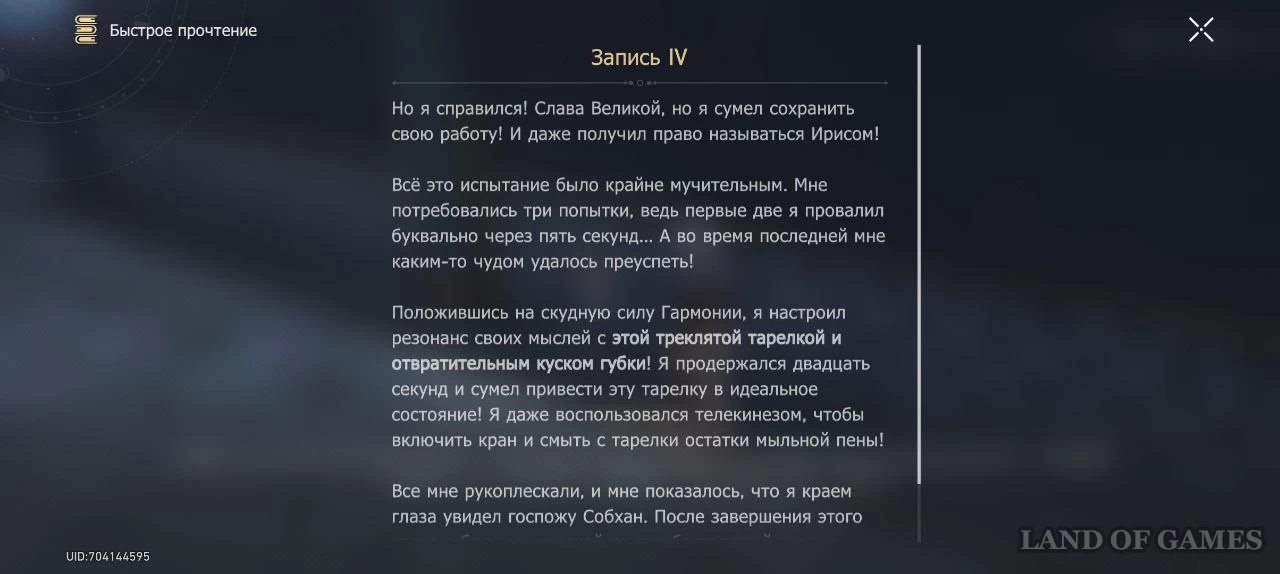
In Notes IV, Hamilton reports that he finally completed the test and became a member of the Iris clan. He mentions that he was able to tune the resonance of his thoughts with a plate and a piece of sponge. Singler will become so angry that he will boil and faint. This will end your joint investigation.
Awards
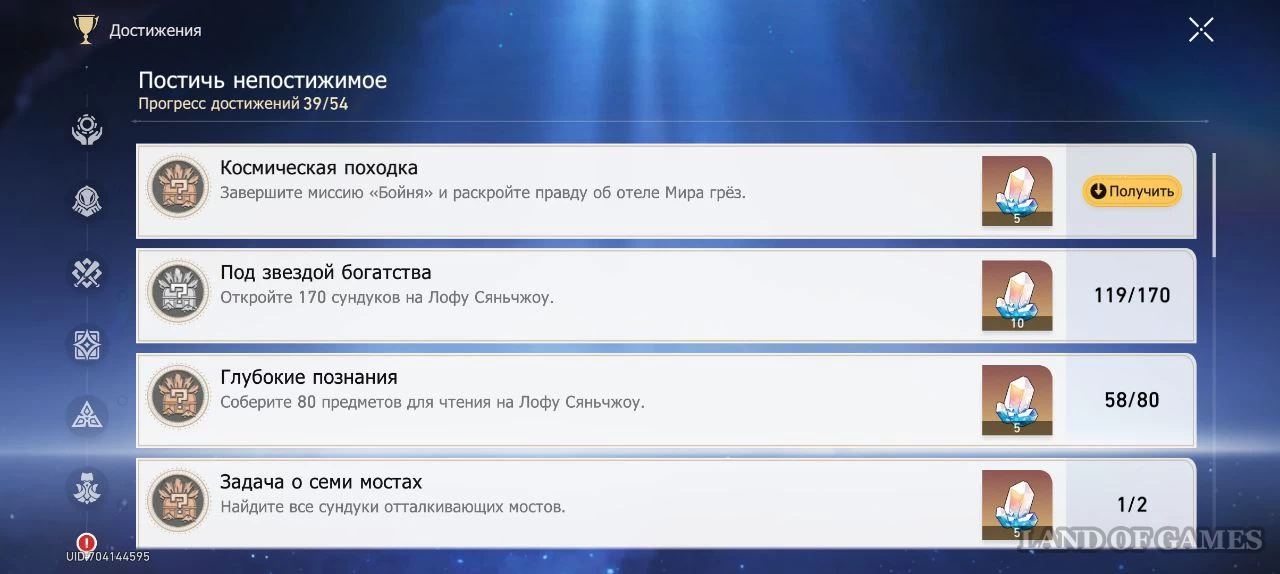
The reward for completing the task is small - 5000 credits and an achievement "Space Walk" from the “Understand the Incomprehensible” section, which will give you 5 Star Jades. However, for collecting chests you will receive many more resources:
- 160 jades
- 160 experience points
- 160 hour credits
- 4-5 star relics
- Various upgrade materials
Comments
You need to login to add comments.
You can login with