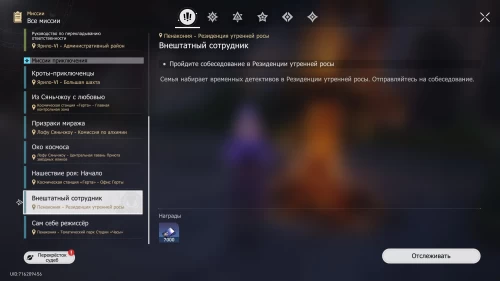
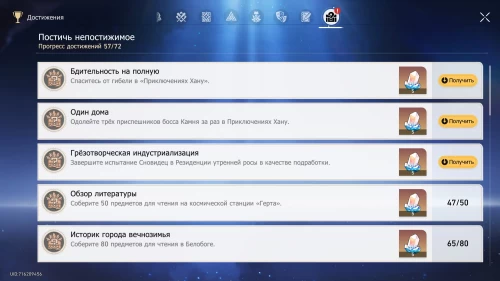
In Honkai: Star Rail A Outsourcer is adventure mission Penaconia, after passing which you can gain access to a closed location in Morning Dew Residences and open achievement "Dream-creative industrialization". During it, you will have to look for the documents the Family needs and the second half of the report. If you have difficulties receiving and completing this quest, then study our guide.
Walkthrough of the Outsourcer mission in Honkai: Star Rail
How to start a task
Before you can take on its passage, you will need to meet a couple of conditions, namely:
- Reach at least Mastery level 34. Complete the quest chain called "Cat Among Pigeons".
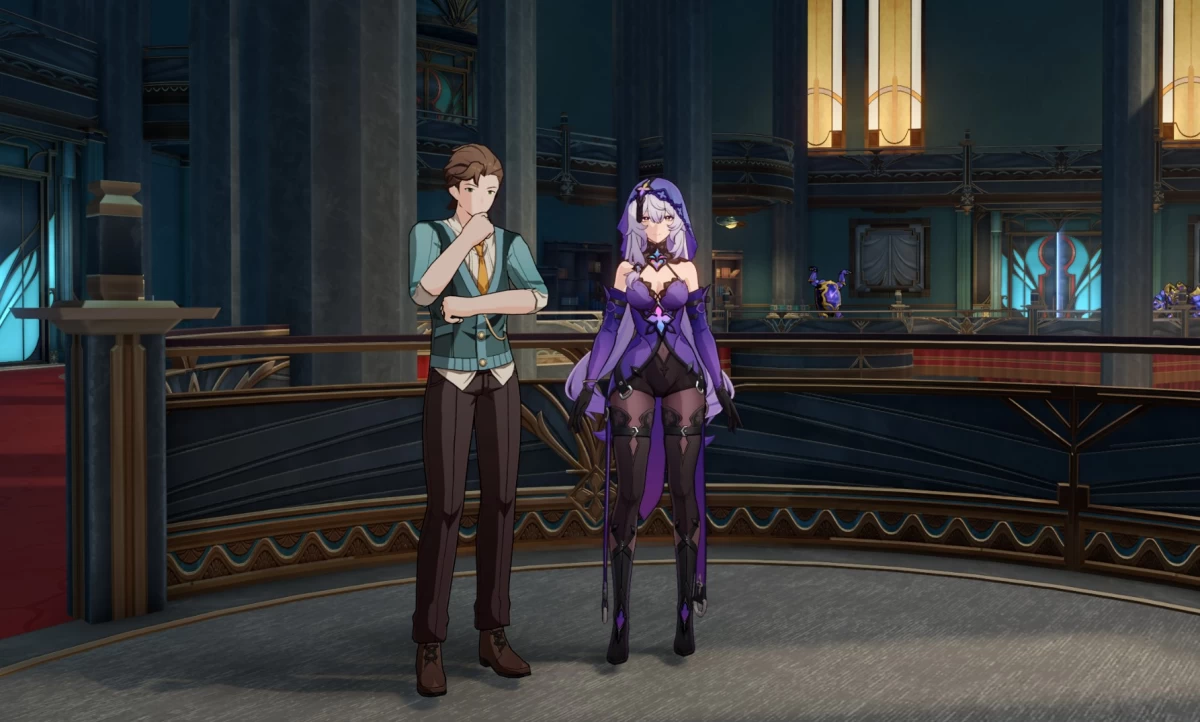
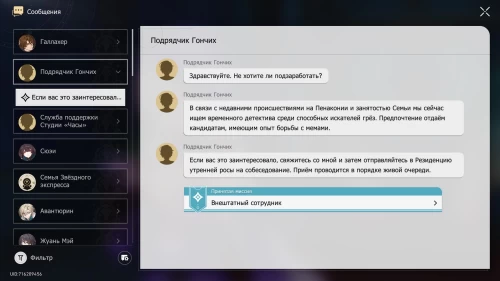
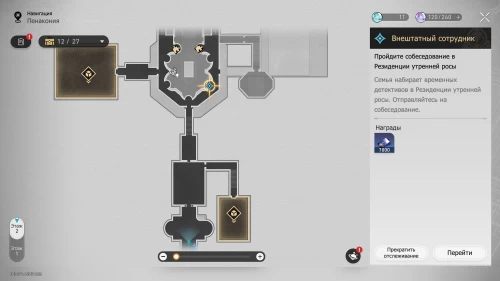
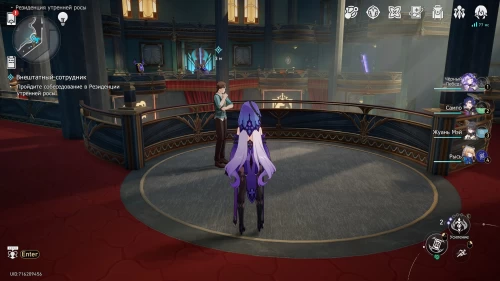
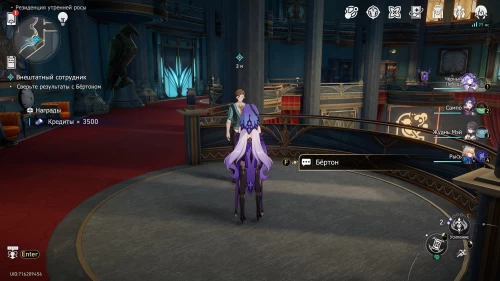
Having dealt with these requirements, you should almost immediately receive a message from the Hound Contractor on your smartphone. He will offer you to earn a little extra money by becoming a temporary detective. Next, move to the "Reception Hall" anchor in the Morning Dew Residence, go north and chat with Burton.
Where to find the documents the Family needs (I)
First documents
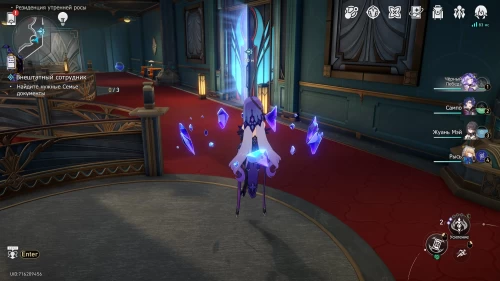
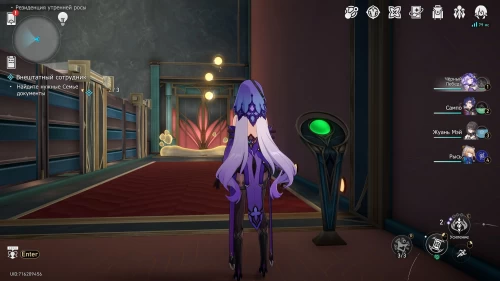
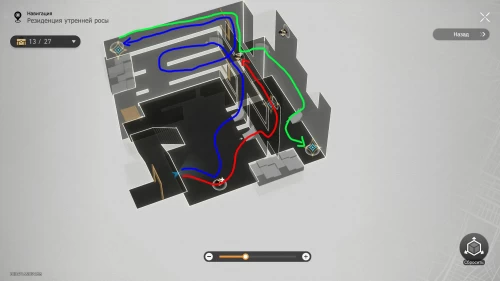
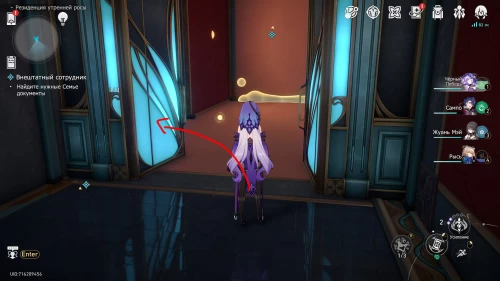
After speaking with the employer, turn around and go through the blue double doors to go upstairs and into a room with a 3D map. This is where the items you need are located.
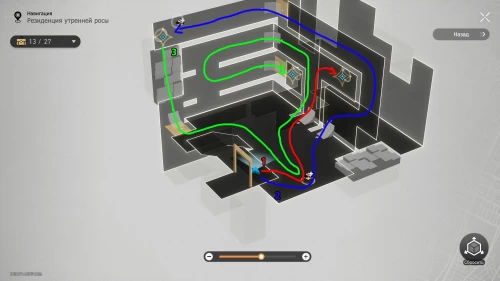
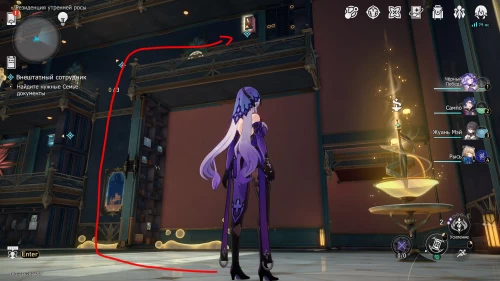
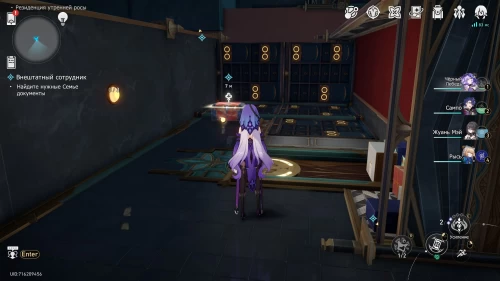
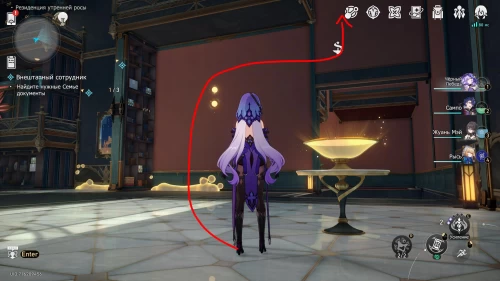
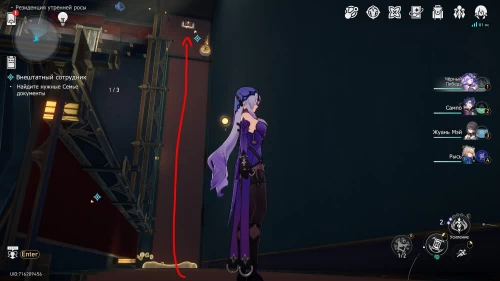
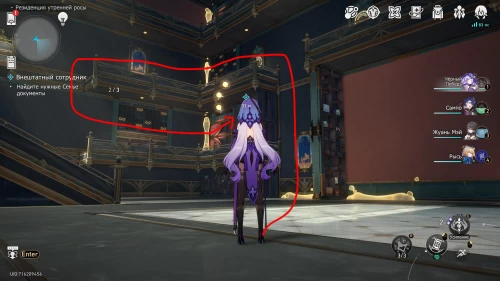
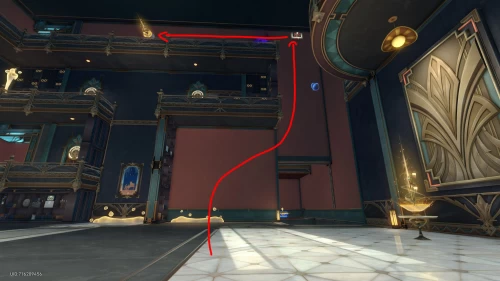
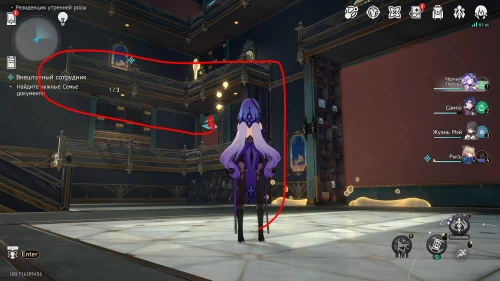
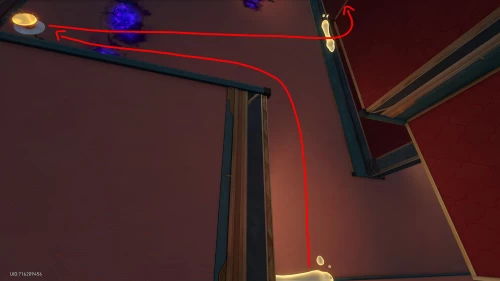
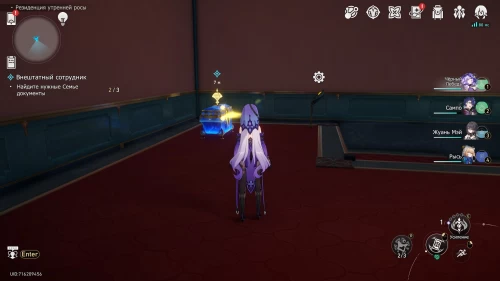
Go down and interact with the golden bowl to get 2 Dream Bubbles. Now go across the second bubble bridge on the left side. After crossing onto the wall, go forward and turn right to open a regular chest, where the first document is hidden.
Second documents
Go back to the fountain and click on it again. Next, go along the first bubble bridge on the left. Once on the wall, run forward and activate another bridge to get over to the ceiling. Then move straight to the regular chest and pick up another document. Don't forget to also interact with the bowl to the right of the casket to increase the number of dream bubbles you have to 3.
Third documents
Click on the button to the left of the chest and cross the bridge to return to the very beginning. Interact with the fountain again and go across the second bubble bridge on the left again, but this time turn left at the fork and activate another bridge.
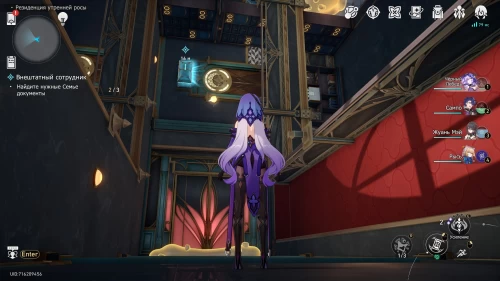
Then make a sharp turn to the left, go across the third bubble bridge and open a valuable chest containing the papers you need. At the end you will need to check the results with Burton - just chat with him.
Where to find the documents the Family needs (II)
First documents
After talking with the employer, return to the spacious room, go down to the bowl and interact with it, and then go along the first bubble bridge on the left. Move forward to the chest, open it and click on the second fountain to increase the number of dream bubbles. Now you can return to the original plane.
Second documents
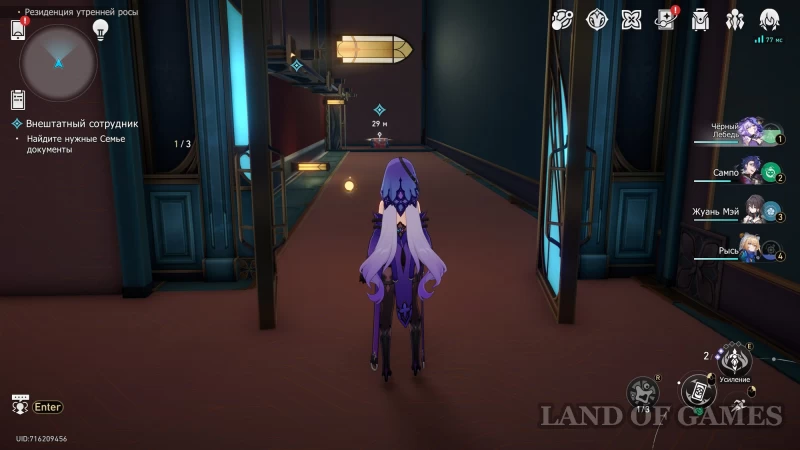
Click on the first fountain to reset the level, then go through the second bubble bridge on the left. Go forward, turn left and activate another bridge. Move on and make a sharp turn to the left, then go through the open doors and turn left again.
Go through the second open doors, and you will see the chest you need with the Family papers ahead.
Third documents
Go back to the bubble bridge and activate it. After moving to another plane, turn left, deal with two groups of enemies and interact with the bowl to restore your dream bubbles. Now expand the bridge on the right to give yourself access to a luxurious chest.
Immediately after opening the chest, you will immediately move to Burton - talk to him again to compare the results.
Where to find the second half of the report (III)
First part of the second half of the report
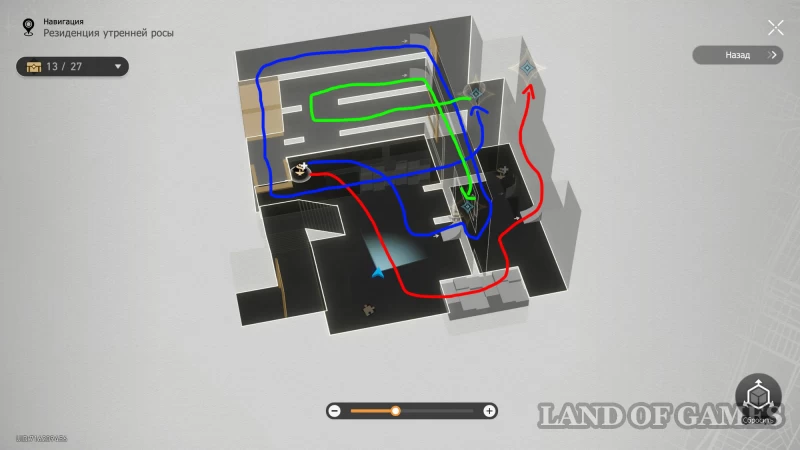
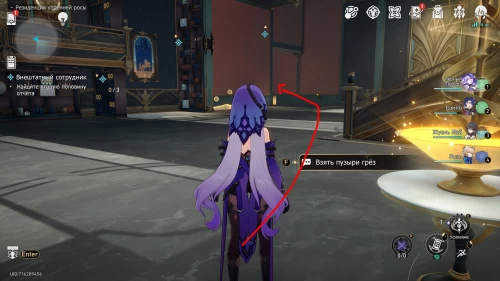
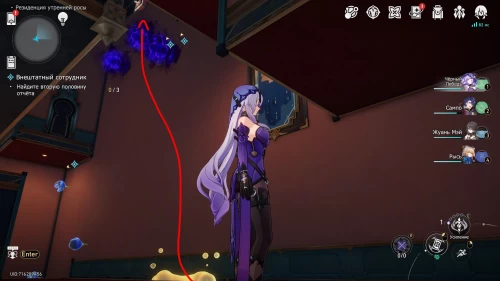
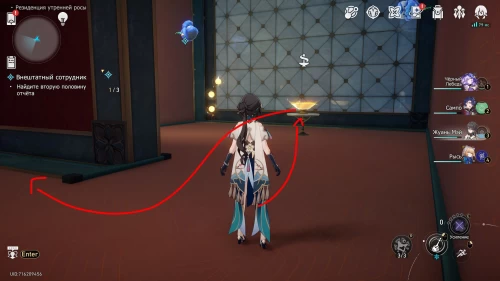
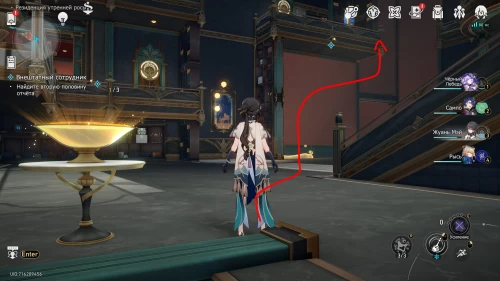
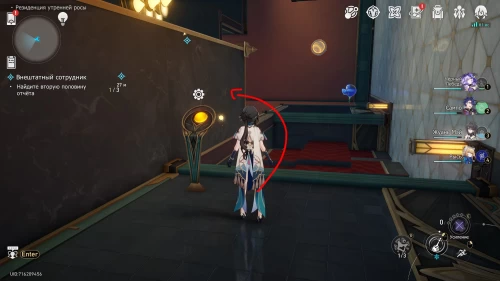
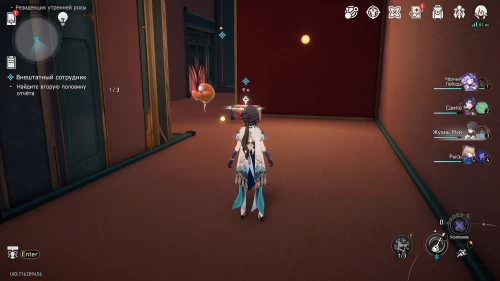
Return to the spacious hall and take the dream bubbles from the golden bowl on the left side of the room. Then go to the right corner, press the button and activate the bubble bridge on the right side to go to the wall and open a regular chest, defeating several opponents before doing so.
Second part of the second half of the report
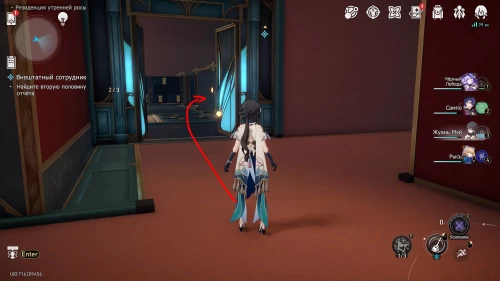
After opening the previous chest, turn around and go right. Interact with the second fountain and then return to the original bowl below to reset the level. Then turn around and walk across the bubble bridge ahead.
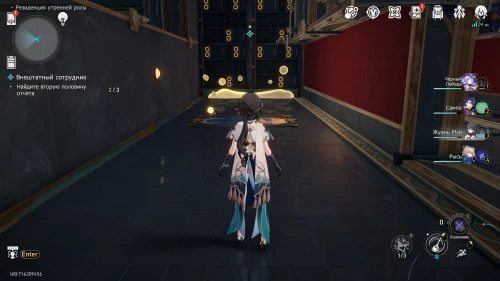
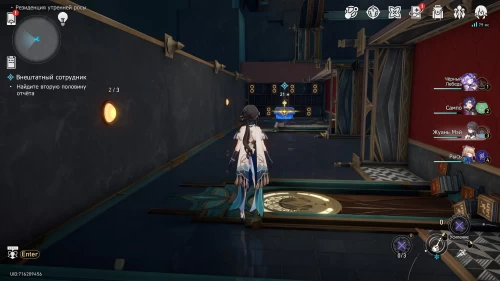
Start moving forward, activating bridges along the way. When you reach the button, click on it to create a path further. Then turn left and open the regular chest to get the items you need.
The third part of the second half of the report
From the previous chest, turn left into the open passage, and then turn right twice and activate the last bubble bridge, which will lead you straight to the luxurious chest. After taking its contents, you will automatically be transported to Burton.
Talk to the man one last time to learn with him about the deception. He will pay you 7 thousand credits. In addition, you will unlock the "Dream Creative Industrialization" trophy, which rewards 5 star jades.
Comments
You need to login to add comments.
You can login with