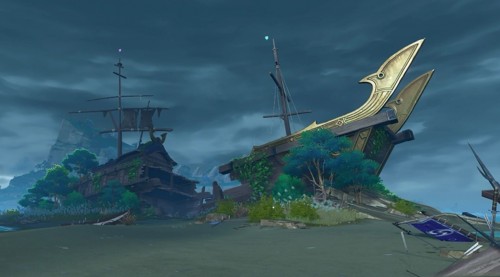
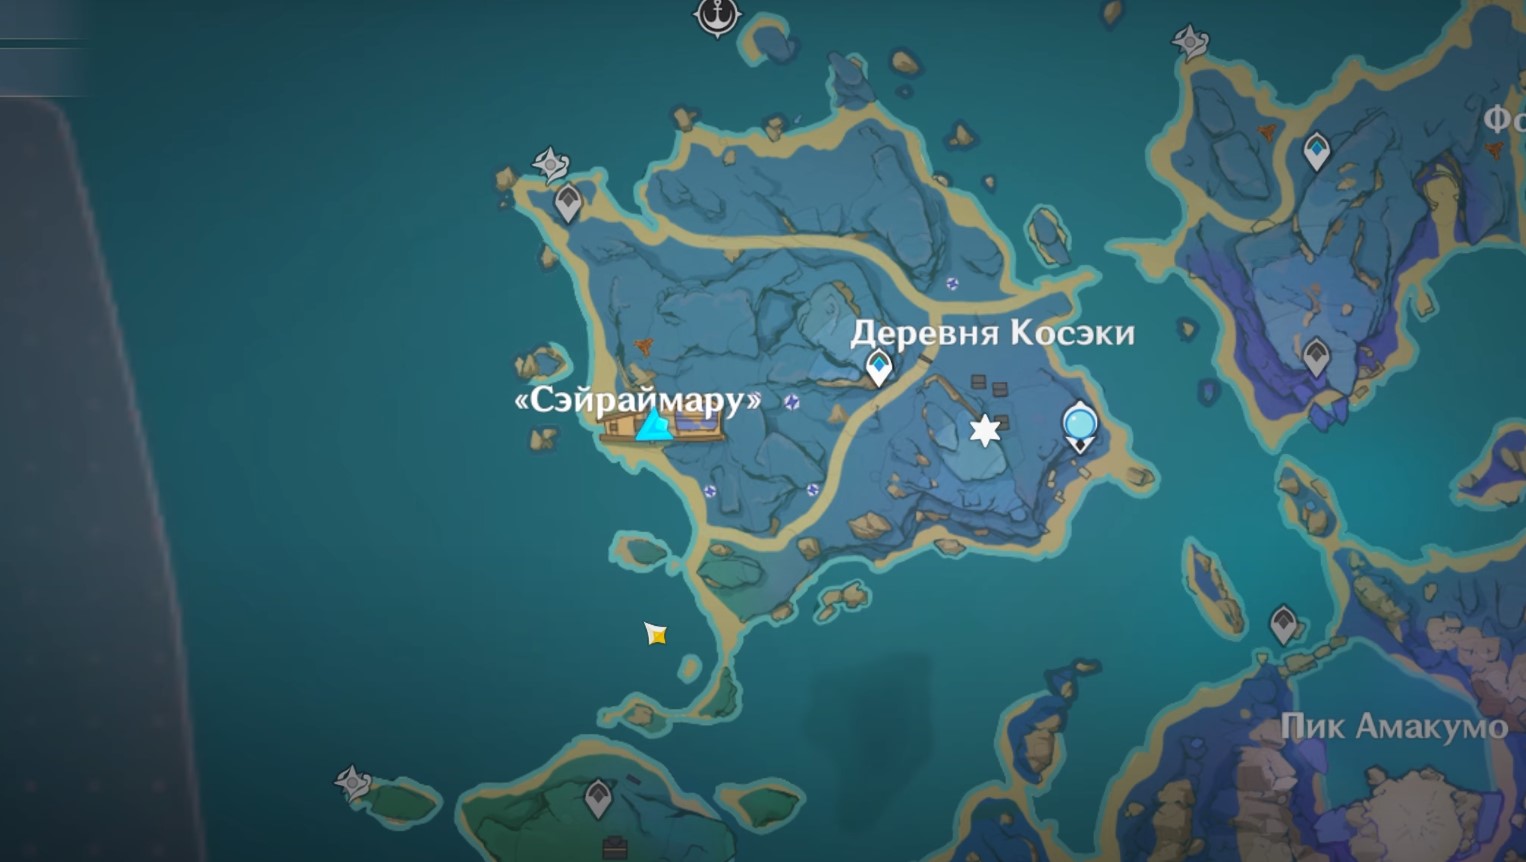
В Genshin Impact корабль «Сэйраймару» является локацией на острове Сэйрай, где находятся различные головоломки, за решение которых можно получить доступ к двум роскошным сундукам. Вы также откроете секретное достижение Инадзумы. В этом руководстве мы покажем вам, где именно находится это разбитое судно, а также расскажем, как разгадать все загадки на нем, и отыскать неповрежденный ключ.
Головоломка со штурвалами
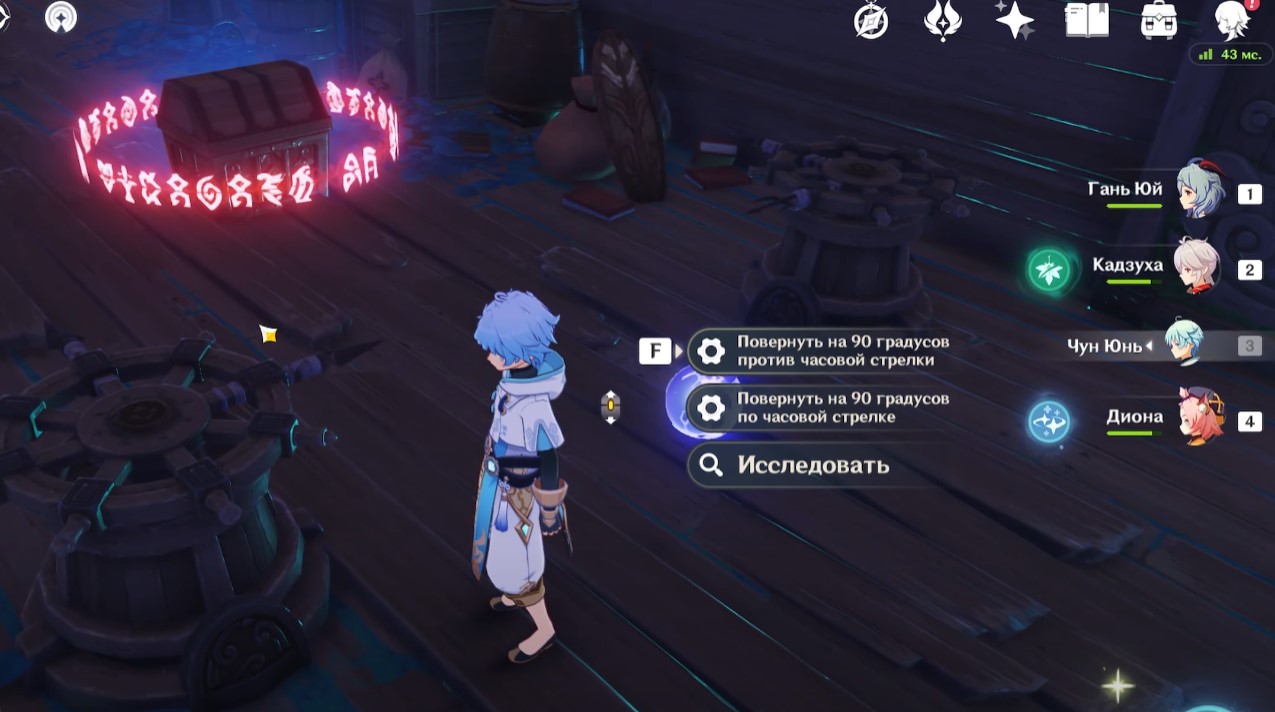
Она находится прямо на палубе корабля «Сэйраймару», расположенного в юго-западной части острова Сэйрай. Здесь будут 4 штурвала, которые вы сможете крутить по и против часовой стрелки на 90 градусов, и один заблокированный сундук. На штурвалах при этом можно увидеть выступающие части, образующие прямой угол (смотрите скриншот ниже).

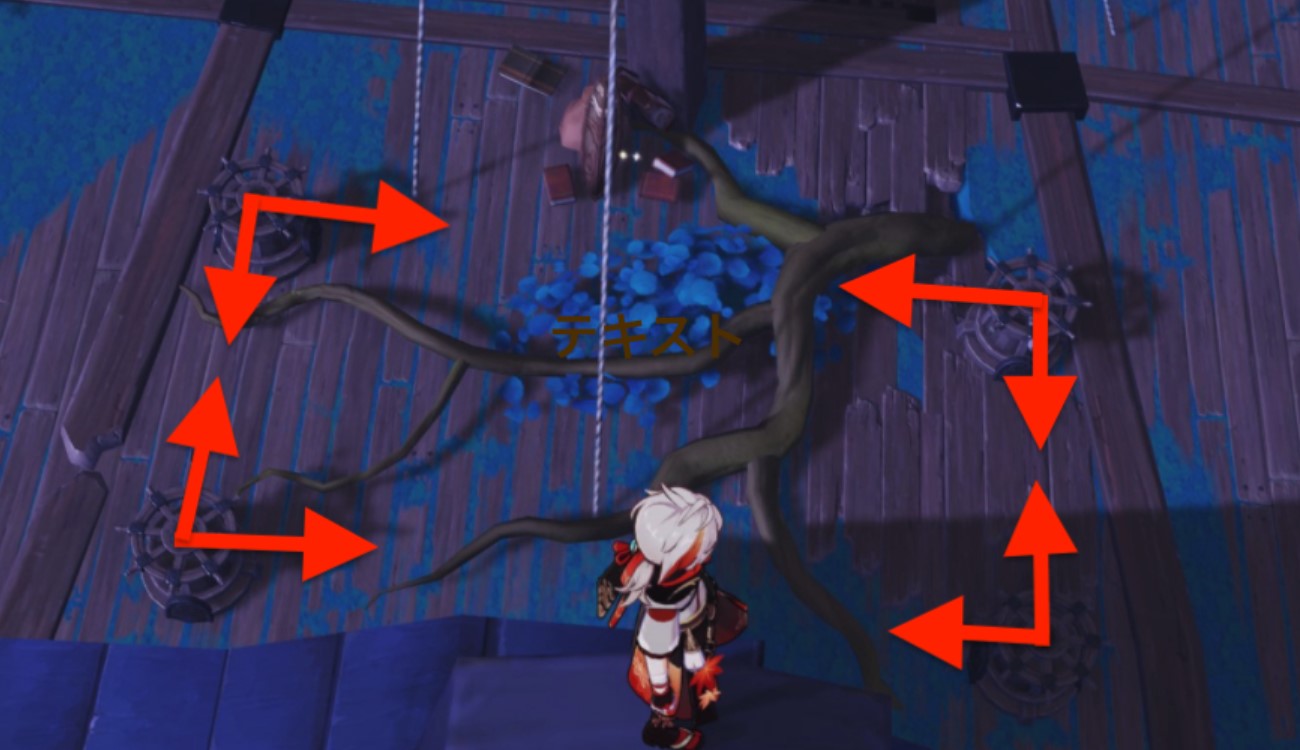
Вам нужно будет повернуть эти штурвалы таким образом, чтобы их выступающие части образовали прямоугольник. На изображении выше показан готовый результат. В итоге вы откроете проход на нижнюю палубу судна.
Найдите ржавый ключ
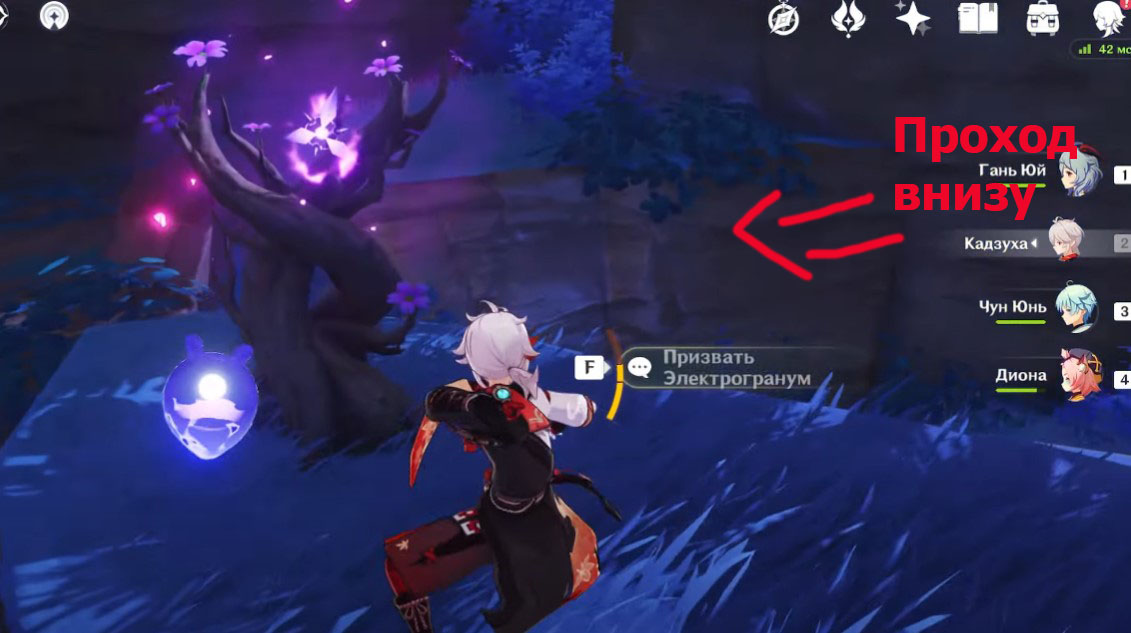
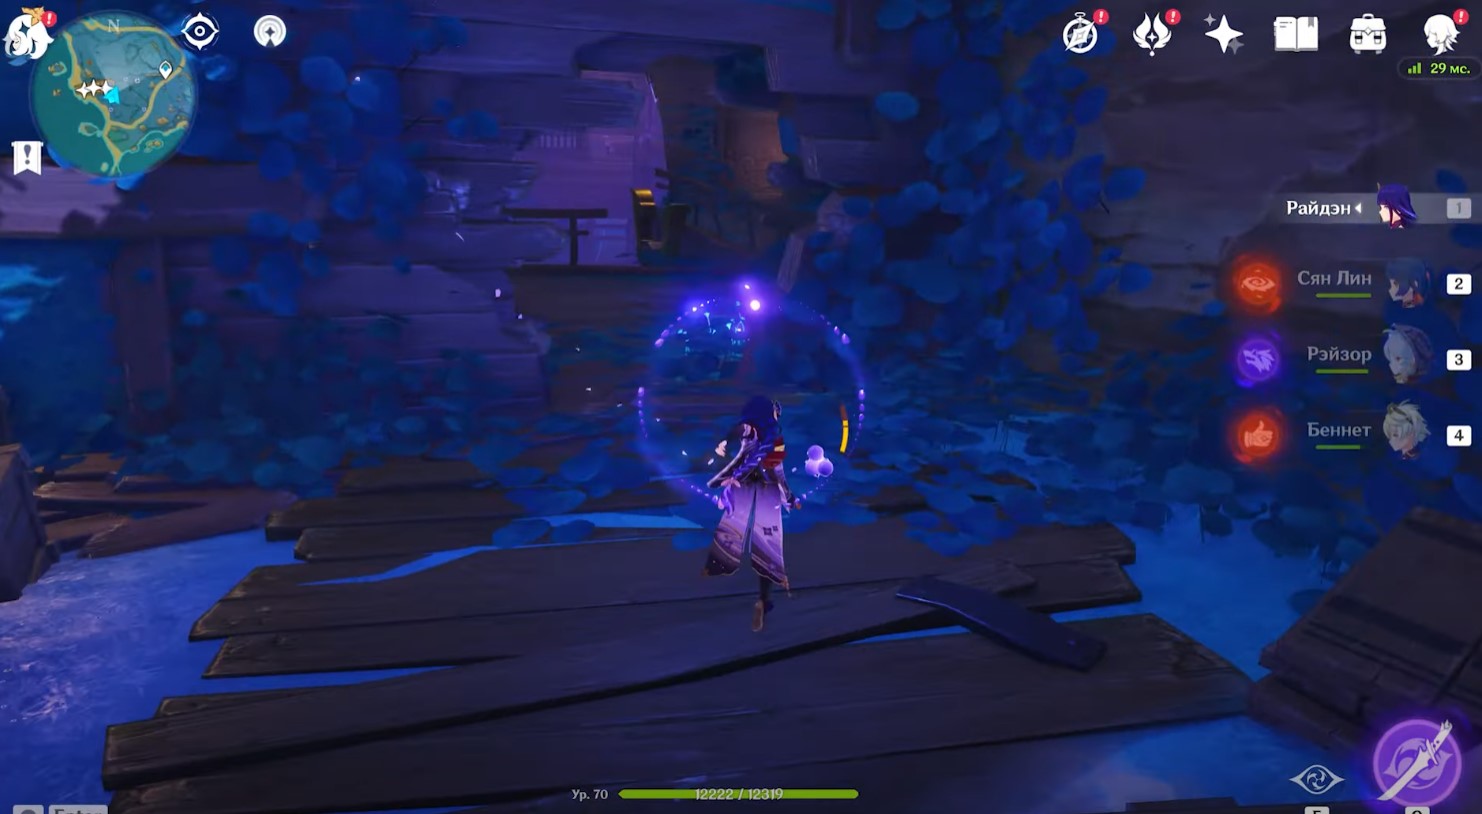
После открытия прохода, подойдите к ветви громовой сакуры и возьмите электрогранум. Затем спрыгните вниз и пройдите через открывшееся отверстие. Спуститесь еще ниже, поверните направо и войдите в Электро барьер, чтобы затем отключить его.

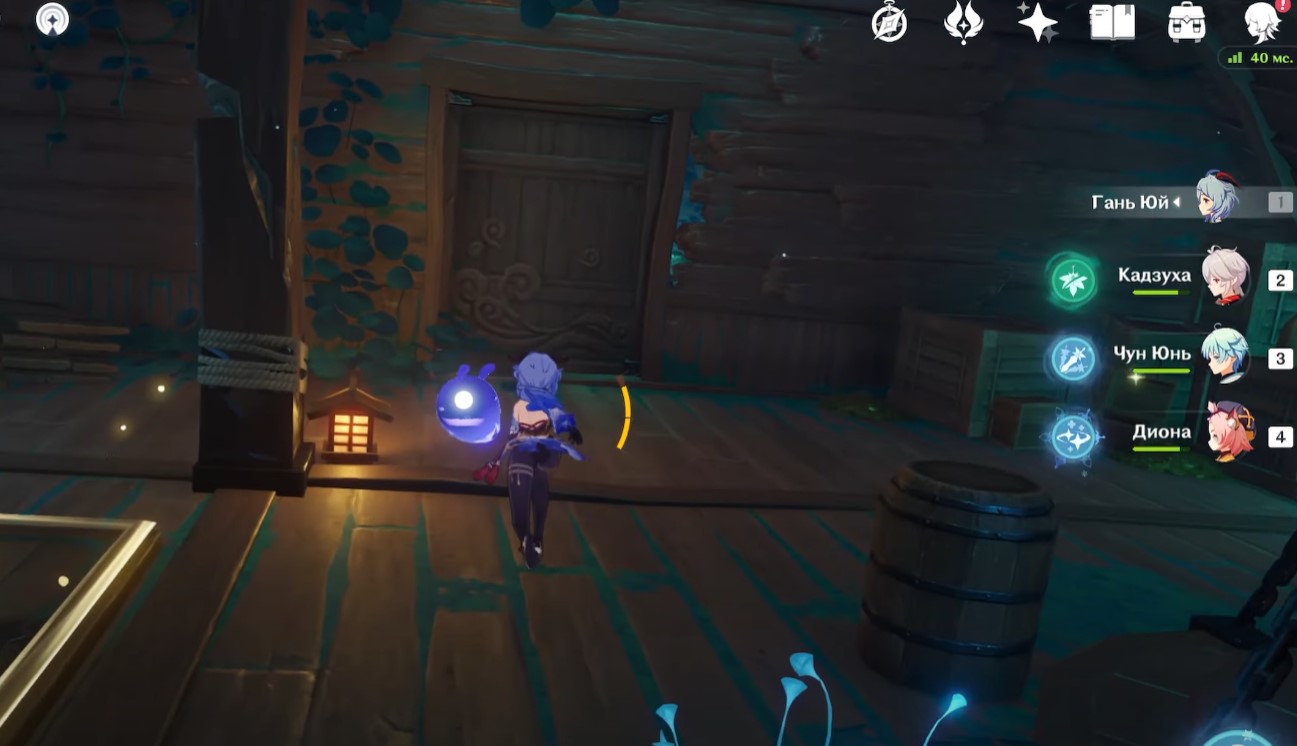
Теперь осмотрите сундук впереди, чтобы взять из него Ржавый ключ. Вернитесь на нижнюю палубу и разберитесь с мобами. Можете также собрать электрокул, висящий под потолком. От него пройдите чуть вперед по верхней деревянной площадке и откройте дверь полученным раннее ключиком.
В новом помещении вам снова нужно будет решить головоломку со штурвалами, то есть сформировать из их выпирающих частей прямоугольник. Откройте сундук и пройдите через следующую дверь.
Головоломка со светящимися плитами 1
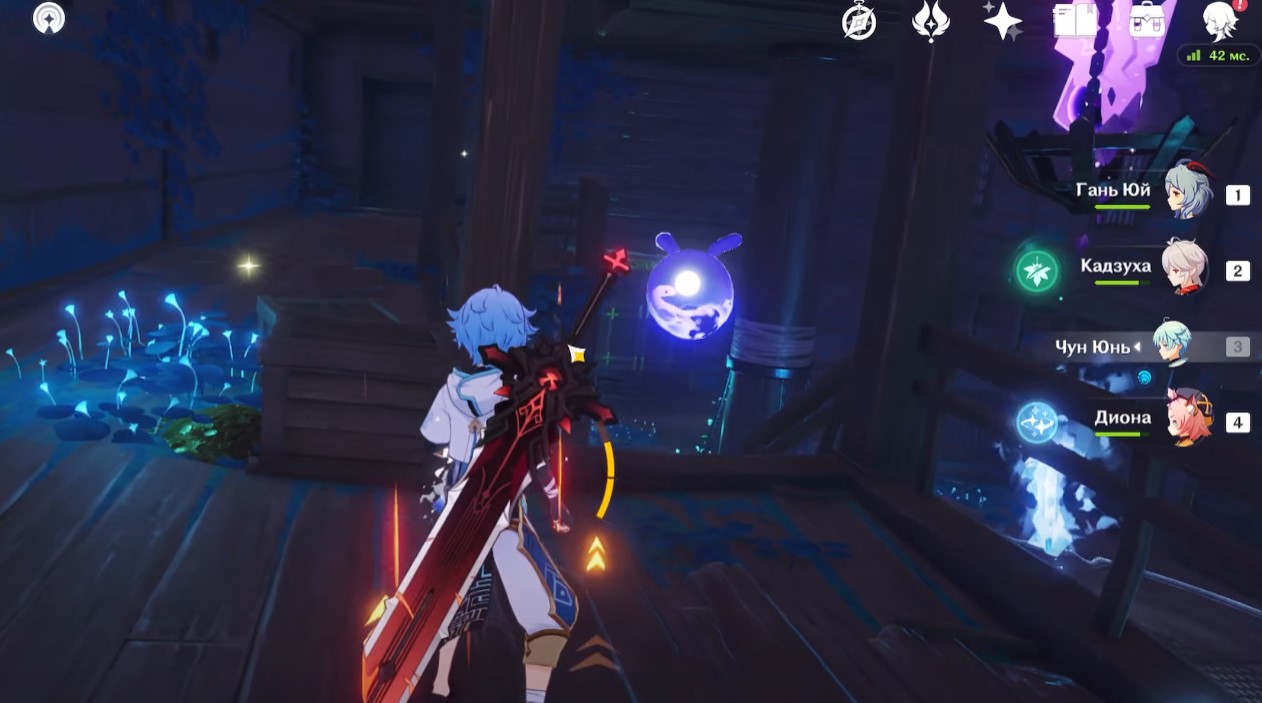
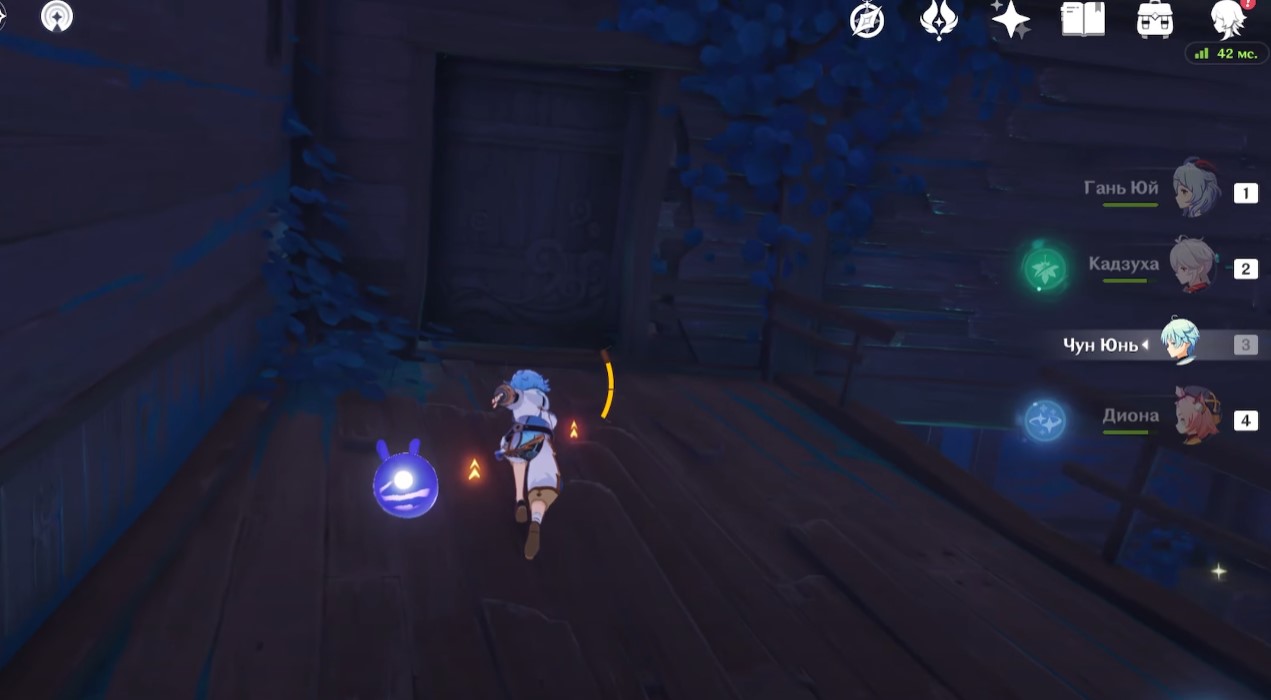
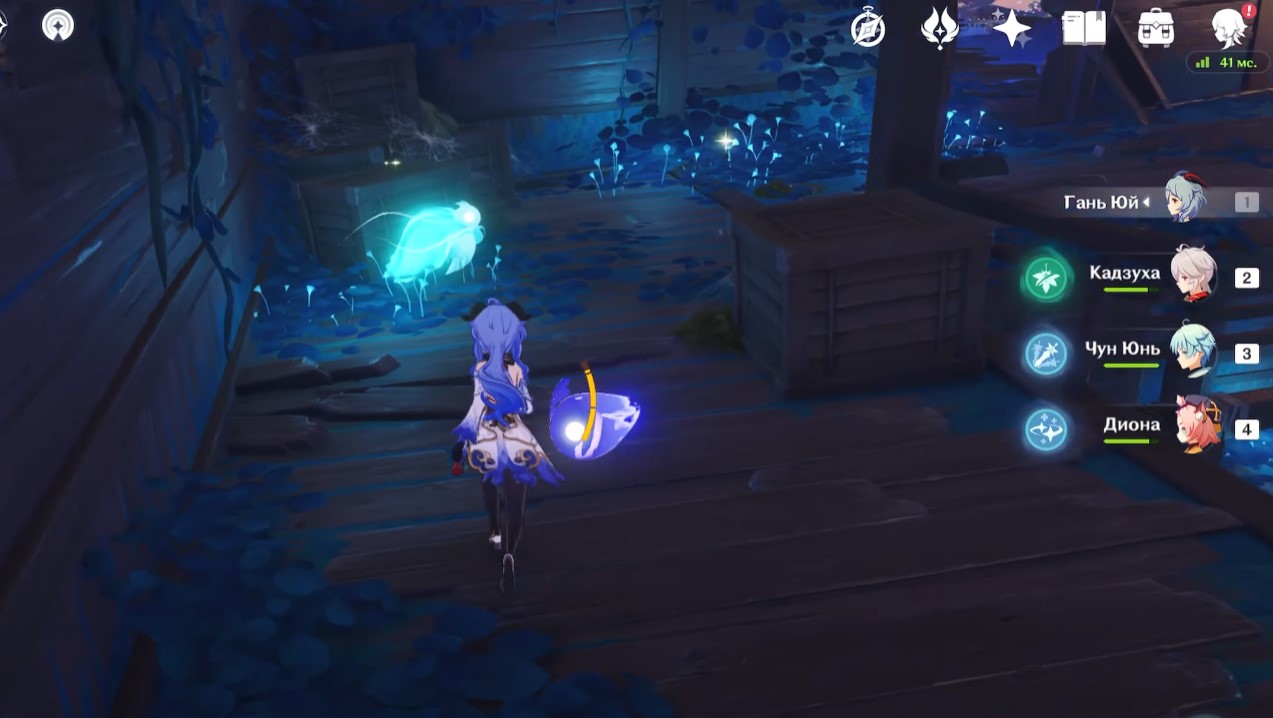
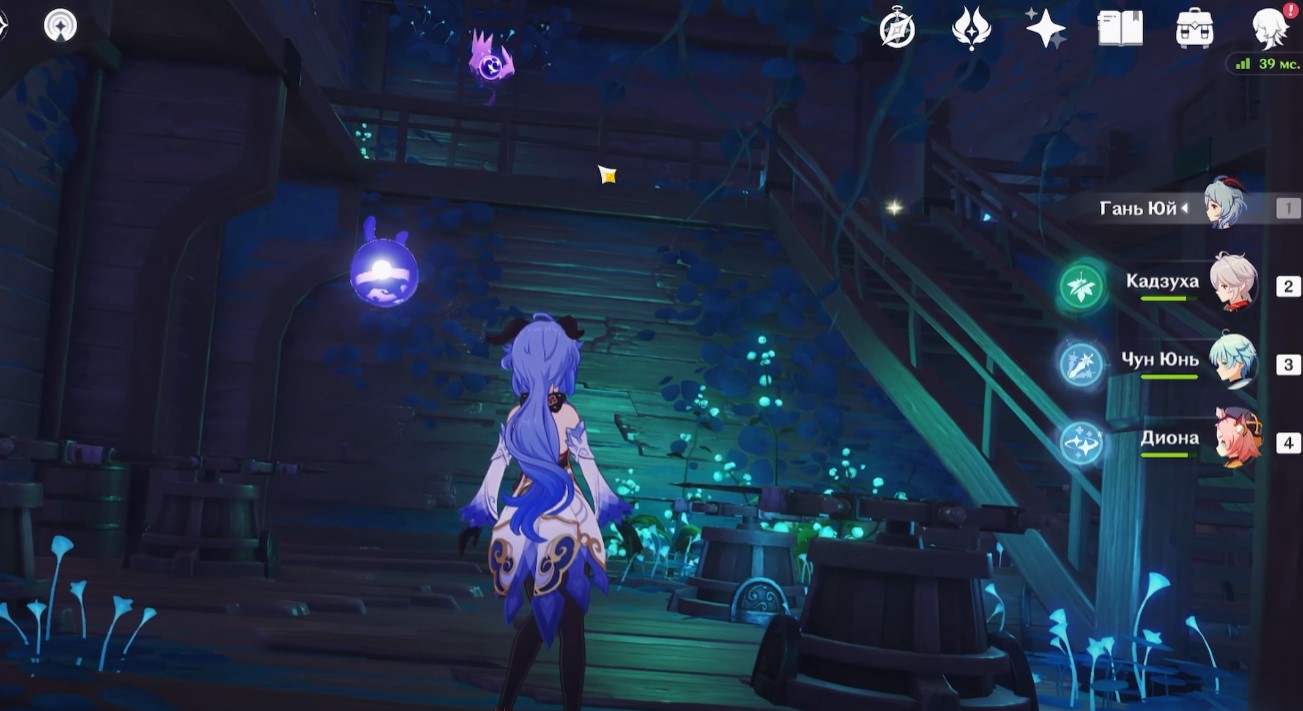
Бегите вперед, спрыгните вниз и подойдите к фее. Она полетит дальше. Следуйте за ней, свернув направо. Продолжайте бежать за духом, пока он не уйдет за деревянный барьер. Теперь вернитесь на нижнюю палубу, и вы увидите тут несколько нажимных плит с рунами. Некоторые из них будут светиться.
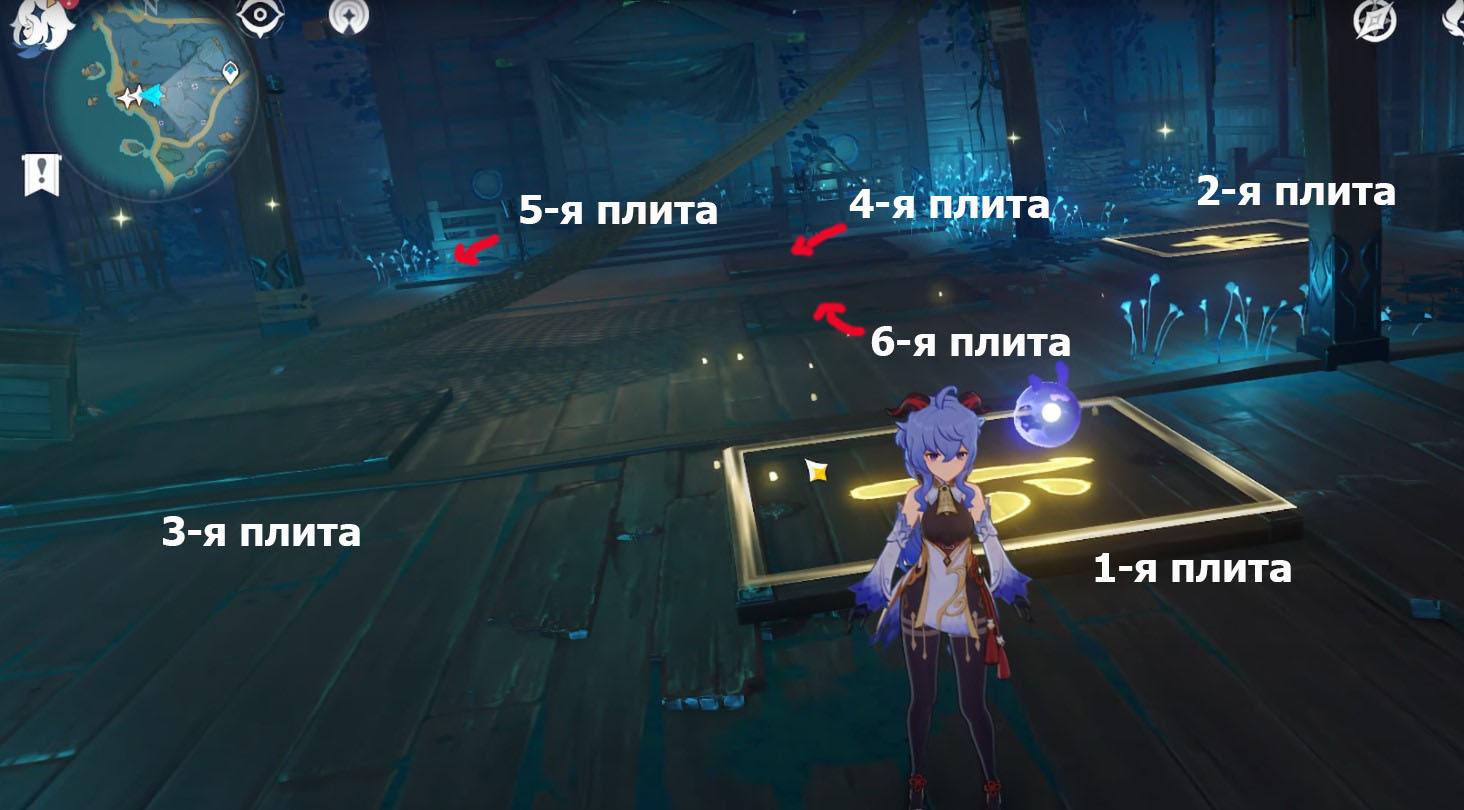
Вам нужно сделать так, чтобы они все засветились. Для этого необходимо последовательно наступать на пары квадратов с одинаковыми символами. На скриншоте ниже показан правильный порядок. Просто следуйте ему, чтобы убрать барьер на полу. Откройте сундук и спуститесь вниз.
Головоломка со светящимися плитами 2
Внизу вас снова ждет загадка с квадратами и символами. Вам опять нужно будет подбирать пары с одинаковыми рисунками, чтобы они засветились. На скриншоте ниже показано решение этого пазла. Просто пройдите по тому же маршруту.
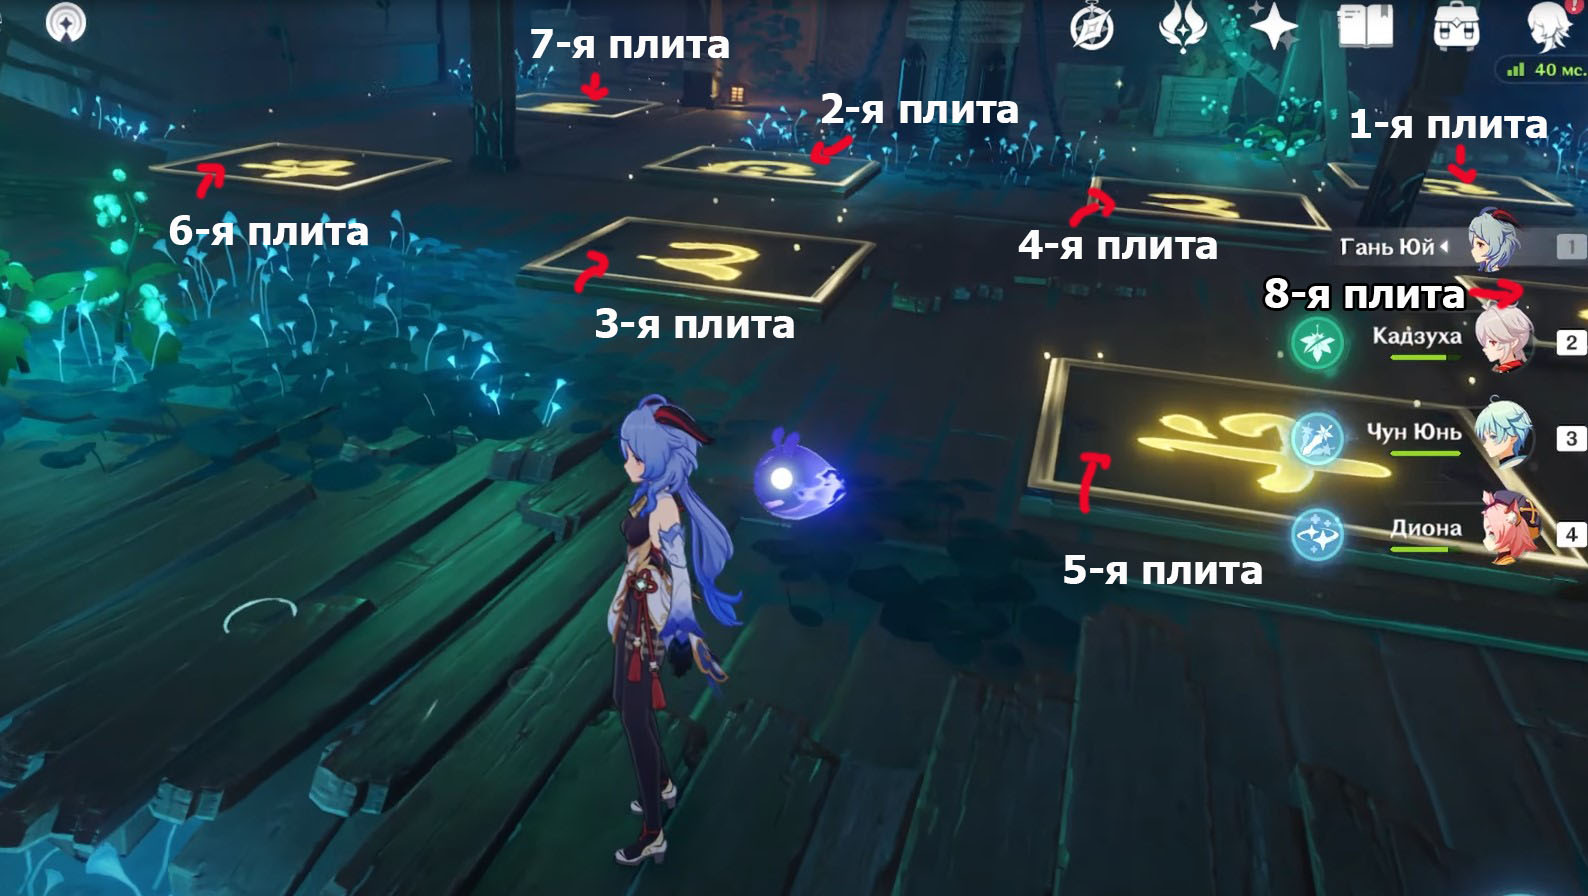
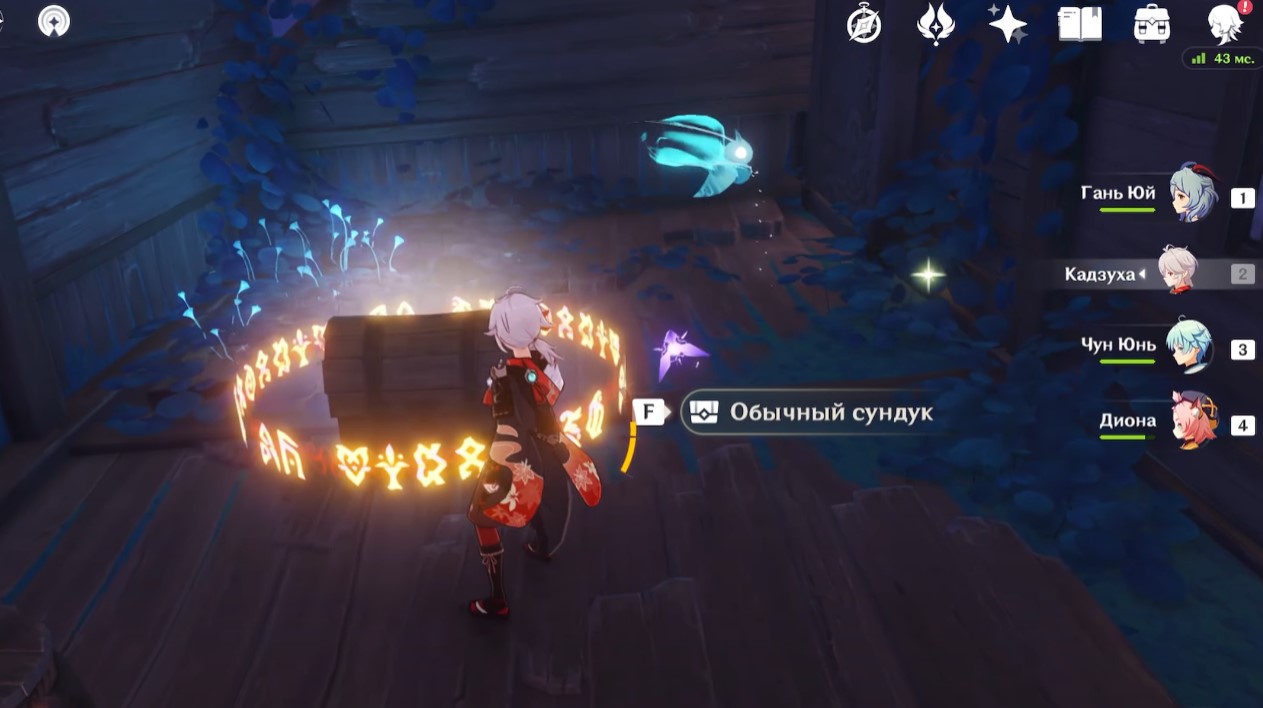
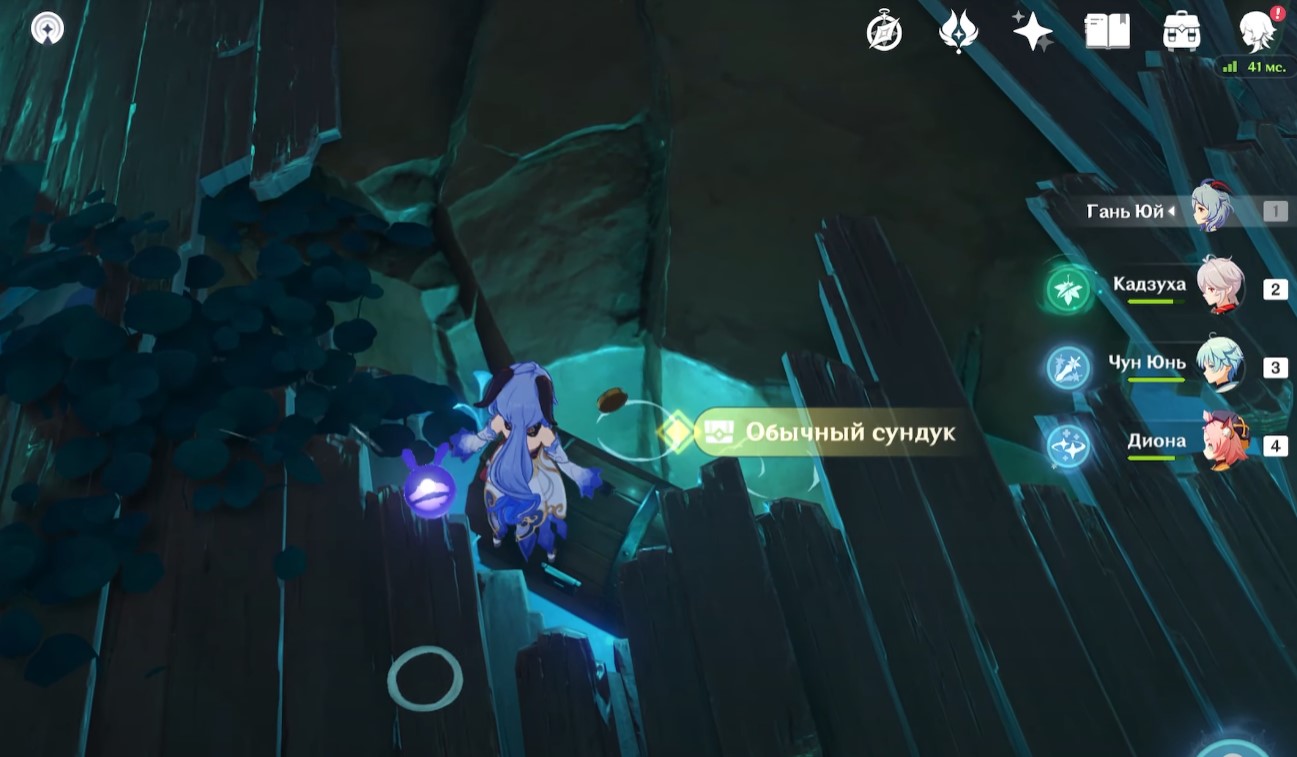
После того как засветятся все платформы, откроется новый проход. Далее отыщите неподалеку от плит обычный сундук в небольшой дыре. В нем вы обнаружите Неповрежденный ключ, который нужен для открытия запертой двери, расположенной в этом же помещении.
Пройдите внутрь и вновь разгадайте загадку со штурвалами. Вам нужно сформировать прямоугольник из их выпирающих частей. Разблокировав роскошный сундук, вы получите секретное достижение «Ящик Дэвиса Джонса».

Головоломка с релейными камнями
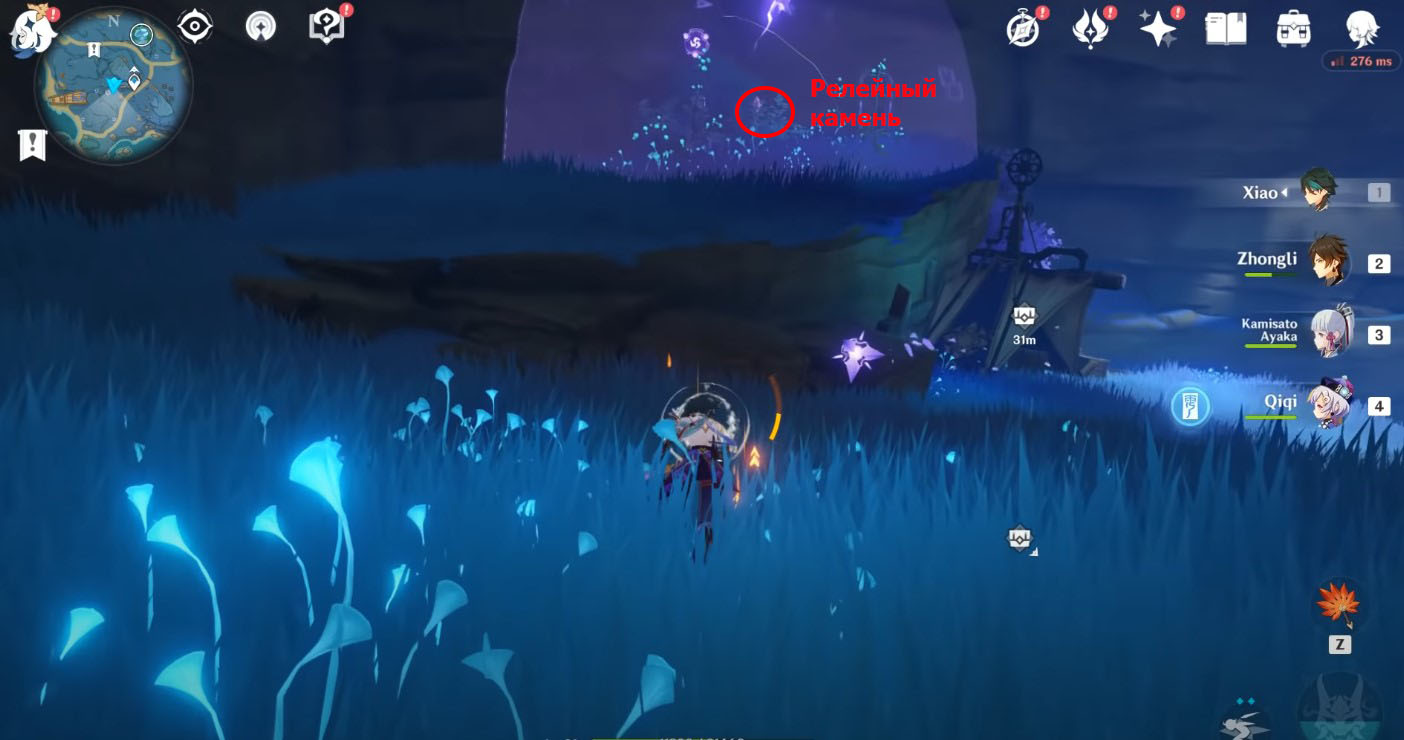
Теперь вернитесь немного назад к месту, где вы ранее открыли проход. Там вы обнаружите просторную локацию с несколькими врагами и сундуком. Здесь также будут установлены фазовые ворота и релейные камни. Взаимодействуя с ними, вы сможете добраться до сундучка и электрокула, висящего высоко в небе.
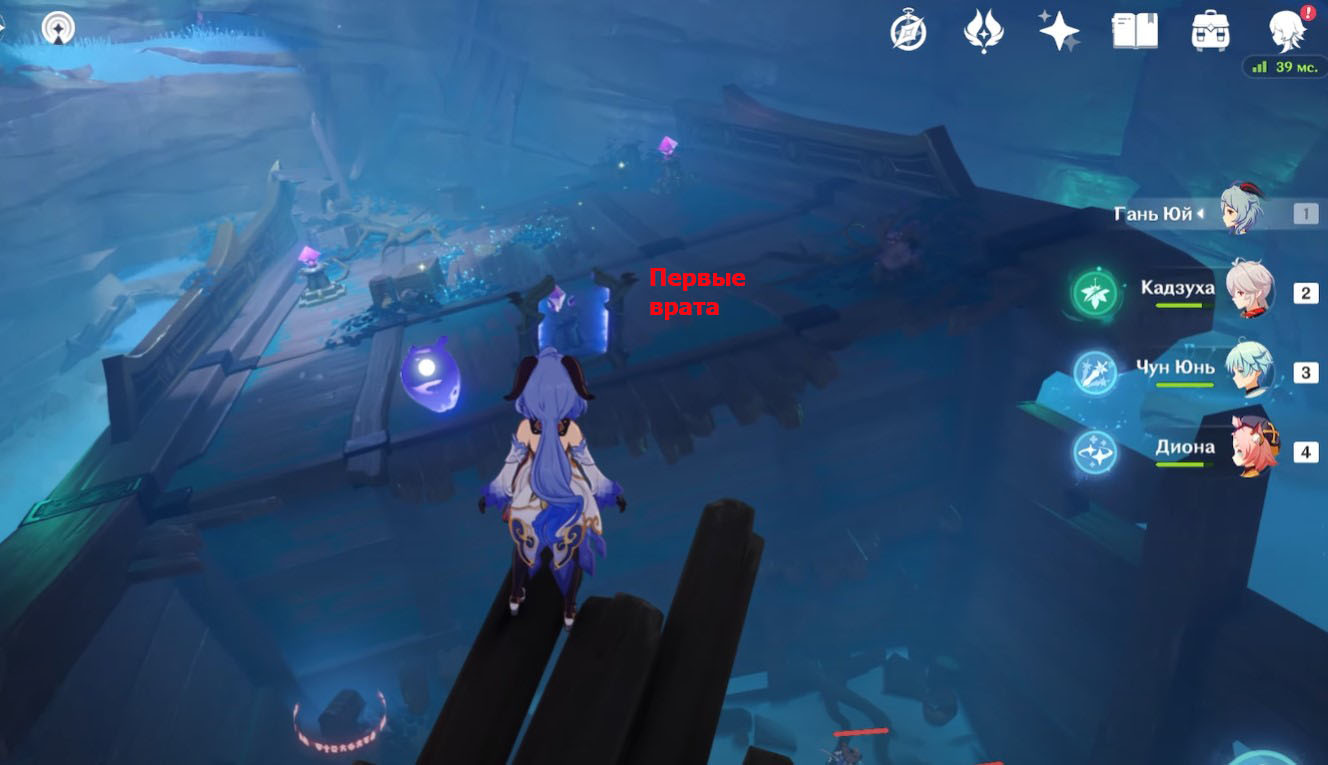
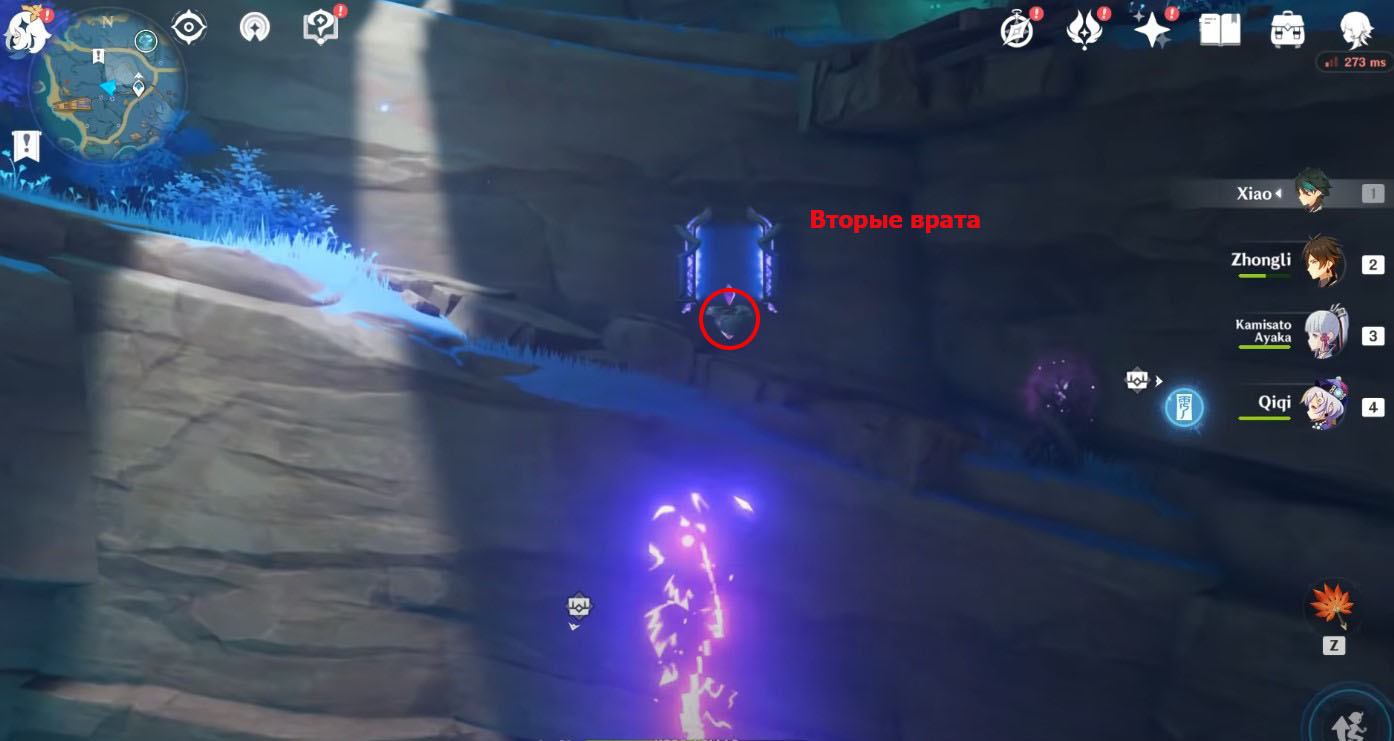

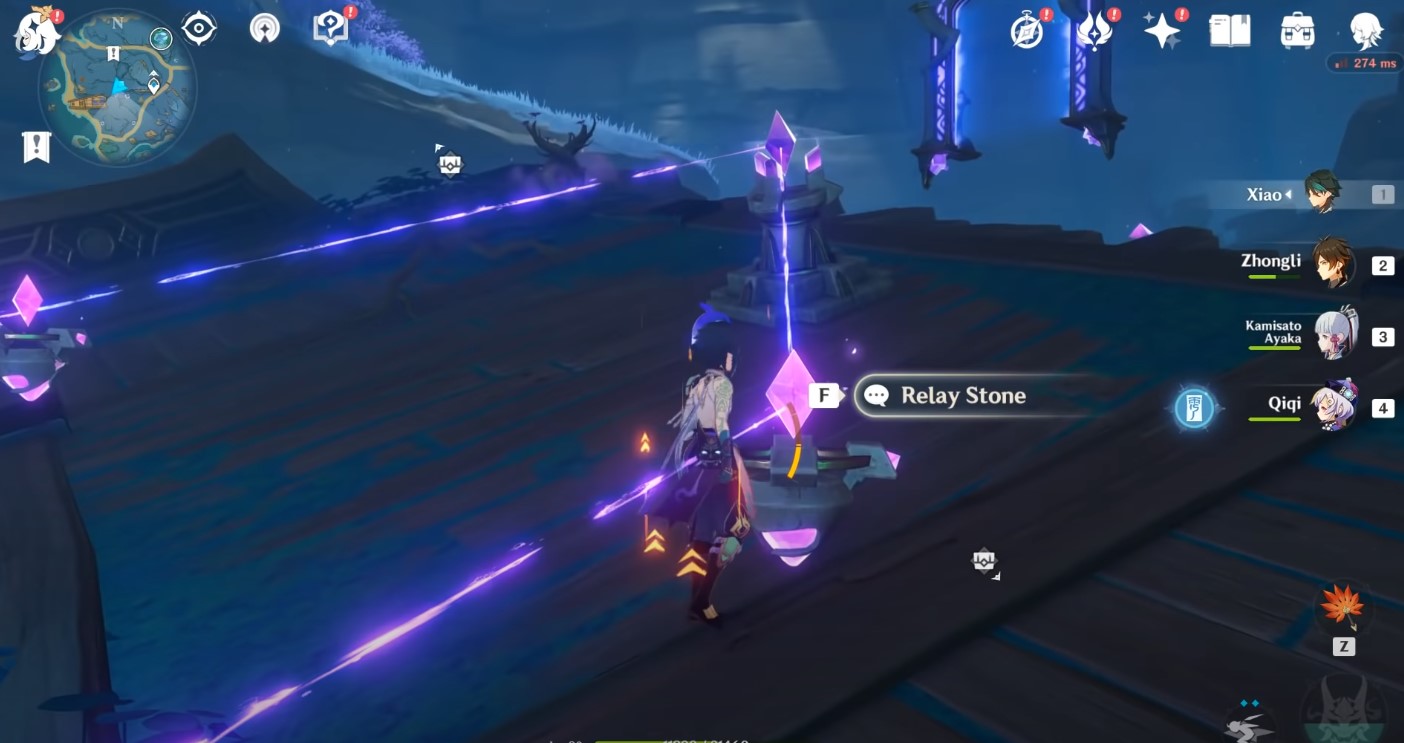
Итак, спланируйте вниз к первым фазовым воротам. Воспользуйтесь ими, чтобы полететь ко вторым воротам чуть выше, на каменном выступе. Возьмите там релейный камень и вернитесь назад, чтобы поместить его между двумя релейными столпами. Снова летите ко вторым воротам и призовите электрогранум с ветви громовой сакуры.
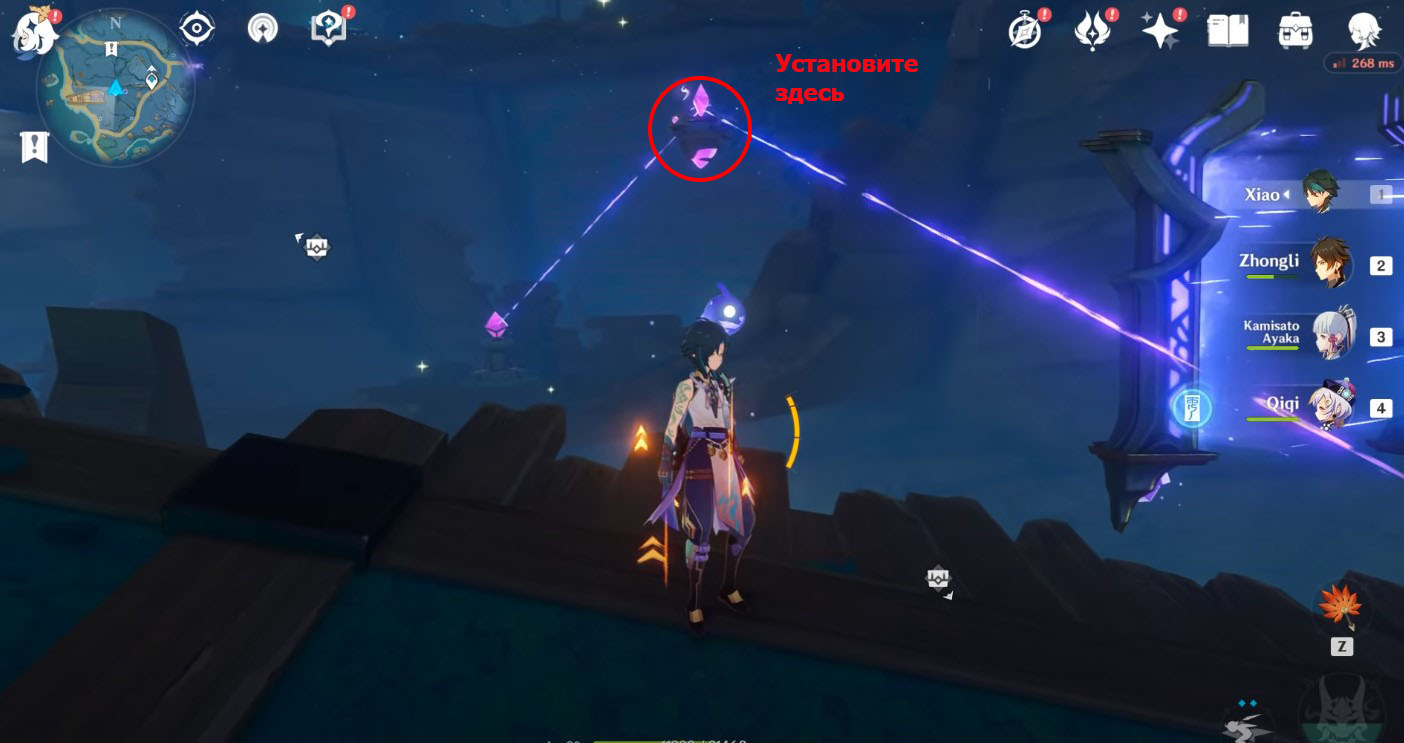
Вскарабкайтесь наверх и идите к громовому барьеру с правой стороны. Возьмите здесь еще один релейный камень, спрятанный в кустах. Вновь спуститесь к первым вратам и разместите кристалл между двумя столпами, соединив их электрической связью.
Опять летите ко вторым фазовым вратам и возьмите электрогранум. Теперь бегите налево к следующему громовому барьеру. Под ним вы найдете новый релейный камень и третьи врата. Взяв кристалл, летите вниз к первым вратам и установите его между двумя столпами, как показано на скриншоте ниже.

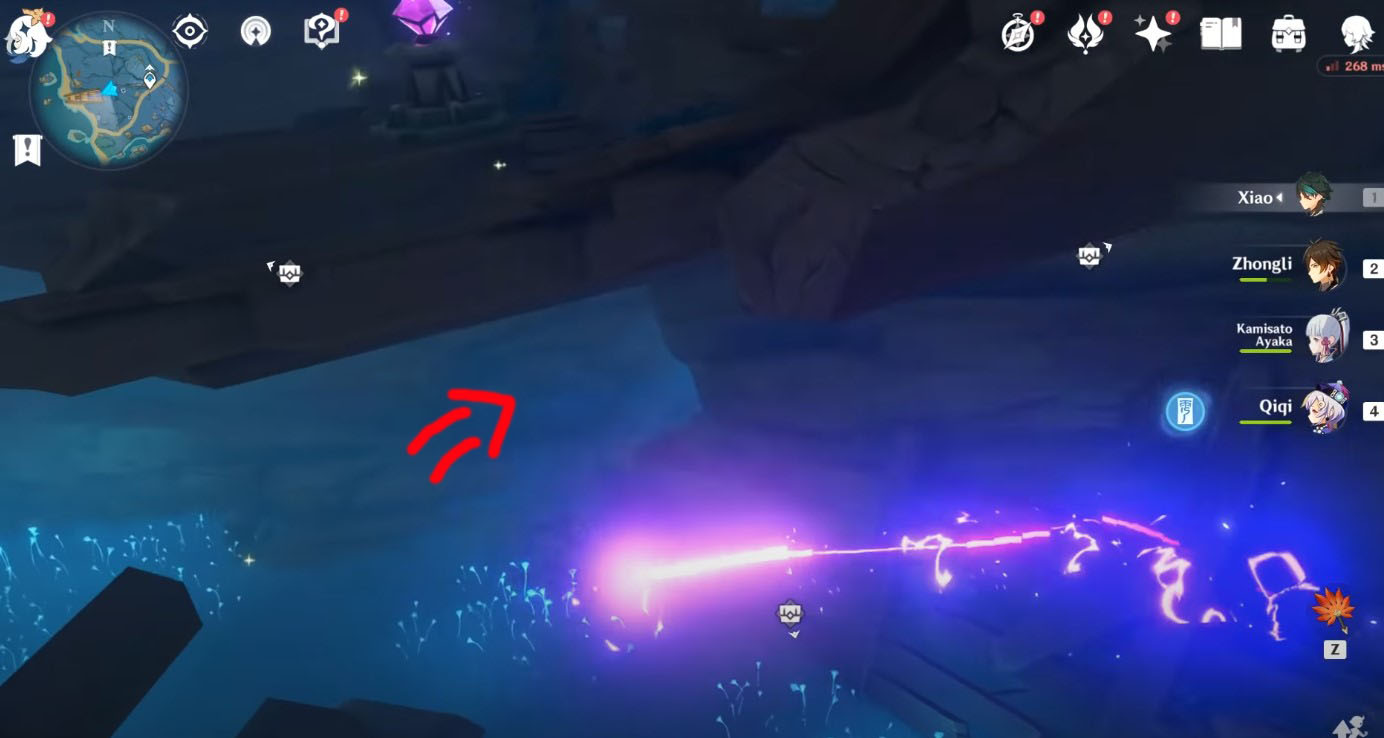
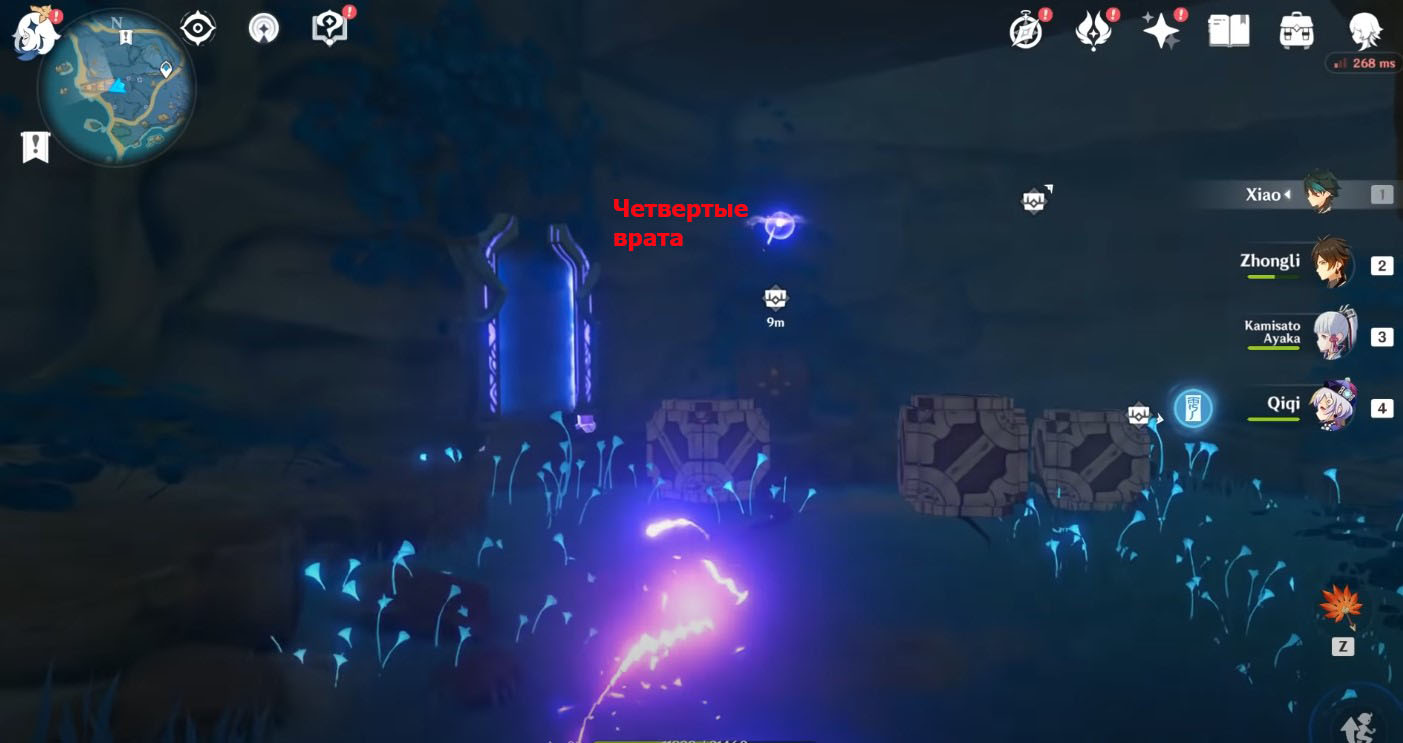
Теперь поверните первые фазовые врата и пройдите через них, чтобы полететь вниз, залететь в небольшой проход и добраться до четвертых врат. Здесь разберитесь с руинными стражниками, а затем осмотрите сундук. Появится Электро фея, которую нужно будет сопроводить. Подойдите к духу, а затем следуйте за ним в четвертые врата.
Вы снова окажитесь возле первых врат, причем рядом с ними наконец-то заработает ветвь громовой сакуры. Возьмите электрогранум и воспользуйтесь им, чтобы взмыть в небо с помощью громовых сфер и взять электрокул.


Затем вернитесь назад к сундуку, осмотр которого позволил вам получить трофей, и поднимитесь по деревянной лестнице, чтобы взять третий электрокул. Не забудьте также сопроводить фею до конца, которая приведет вас прямо к выходу из корабля и последнему сундучку.
Комментарии
Для добавления комментариев необходимо авторизоваться.
Вы можете войти через