В Baldur’s Gate 3 Адамантиновая кузня является особым местом в Гримфордже, которое нужно найти в рамках одноименного квеста, а также позволяет создать мощное адамантиновое оружие и доспехи. В этом руководстве мы расскажем вам, как отыскать эту кузницу, активировать и использовать ее.
Вы узнаете, где можно найти мифрильную руду и формы для изготовления адамантинового снаряжения, а также как победить защитника кузни по имени Грим. Отметим, что всего этого можно достичь уже в первом акте.
Где найти адамантитовую кузню в Baldur’s Gate 3
Как попасть в Гримфордж
При исследовании Подземья вы можете наткнуться на зачарованных дроу и других противников неподалеку от Наблюдателя. Разобравшись с ними и получив кристалл памяти, вы сможете узнать, что они искали Гримфордж и способы победить защитника кузни Грима (советуем вам внимательно ознакомиться с данной информацией, так как она пригодится вам в будущем).
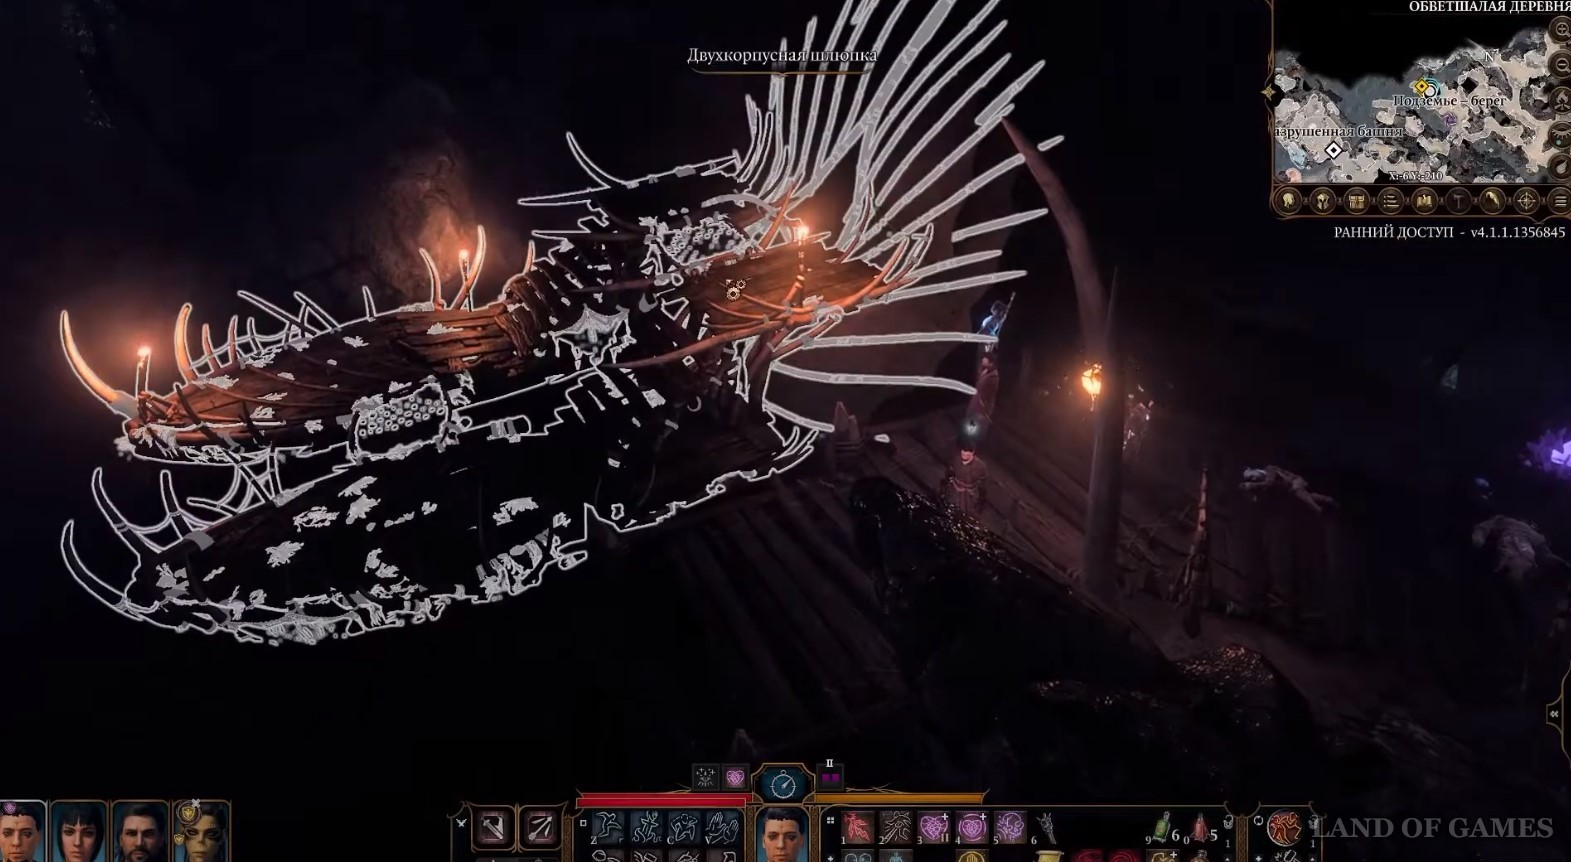
Впрочем, натыкаться на этих врагов и побеждать их вовсе необязательно для попадания в нужную вам локацию – просто это будет более правильно в плане истории. Так что можете просто сразу отправиться в Обветшалую деревню и отыскать там Двухкорпусную шлюпку (Х: -6; Y: 210). Сядьте на корабль и посмотрите короткий ролик.
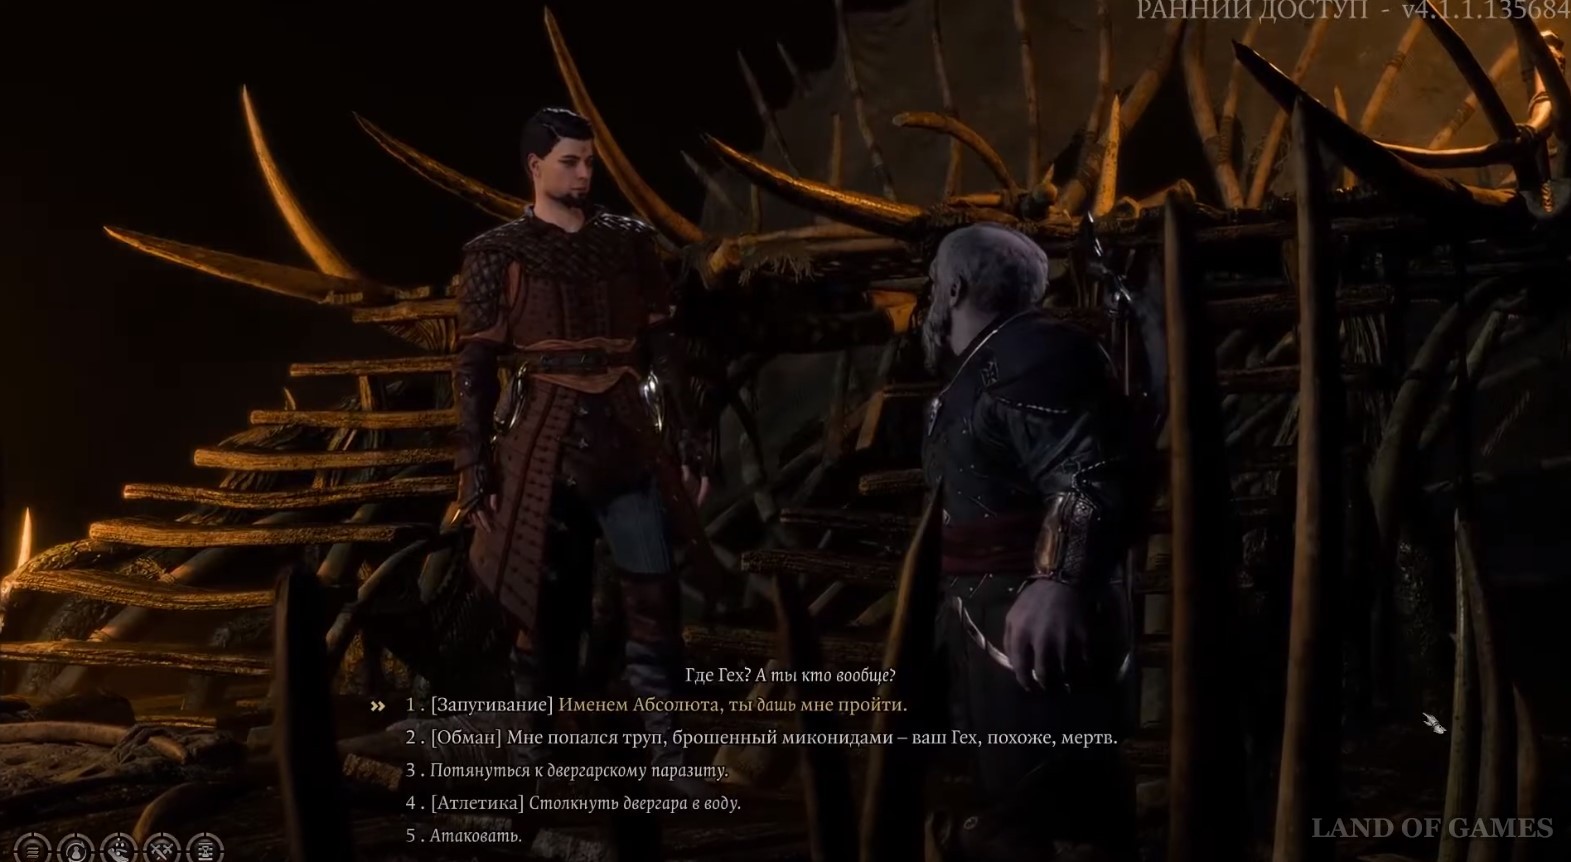
По пути вы встретите двергара, который спросит вас, что случилось с Гехом. Вы можете обмануть его или запугать Абсолютом. В ином случае придется вступить с ним в схватку. Можно, кстати, попробовать столкнуть собеседника в воду, чтобы убить его, однако будьте осторожны, так как он может сделать то же самое с вами.
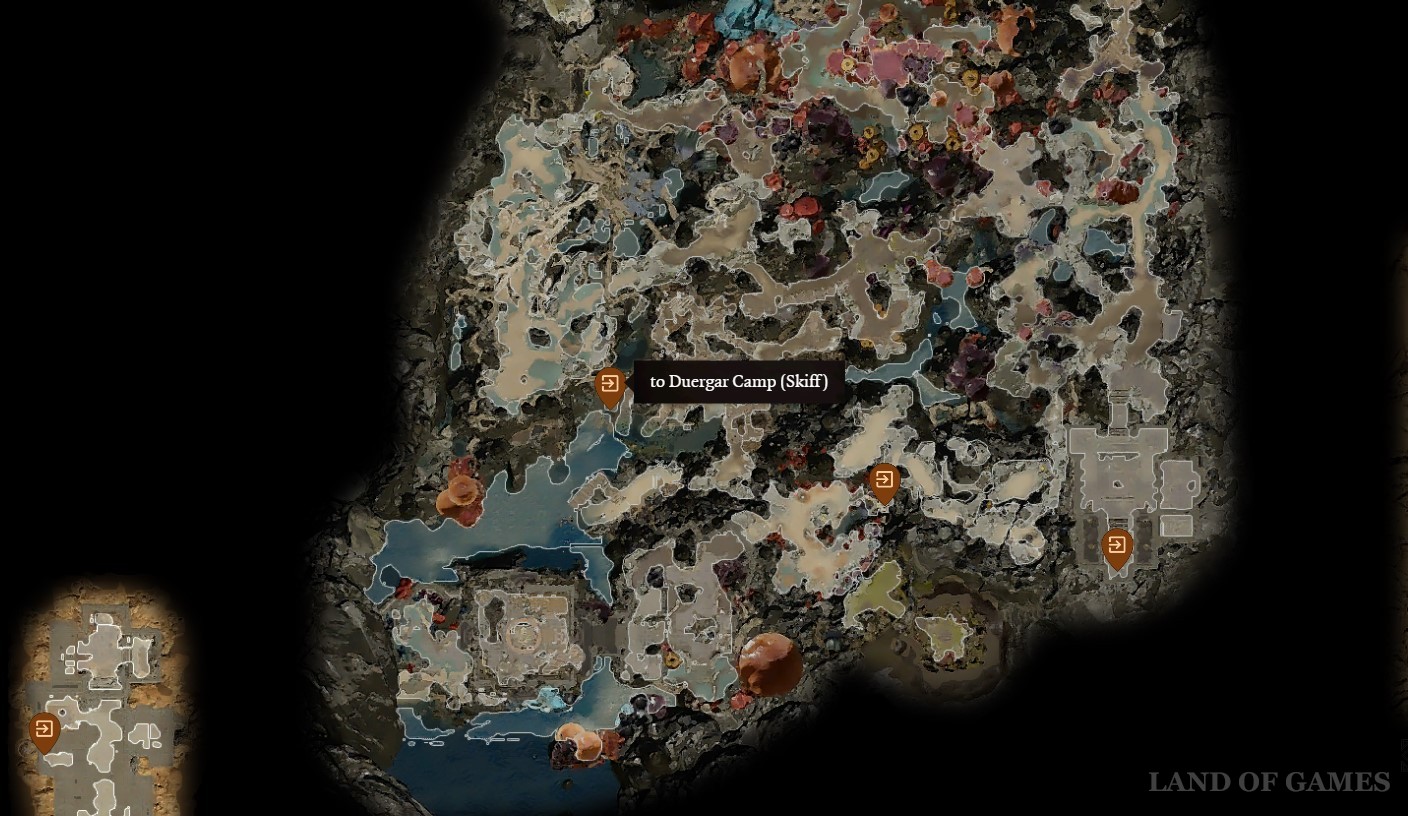
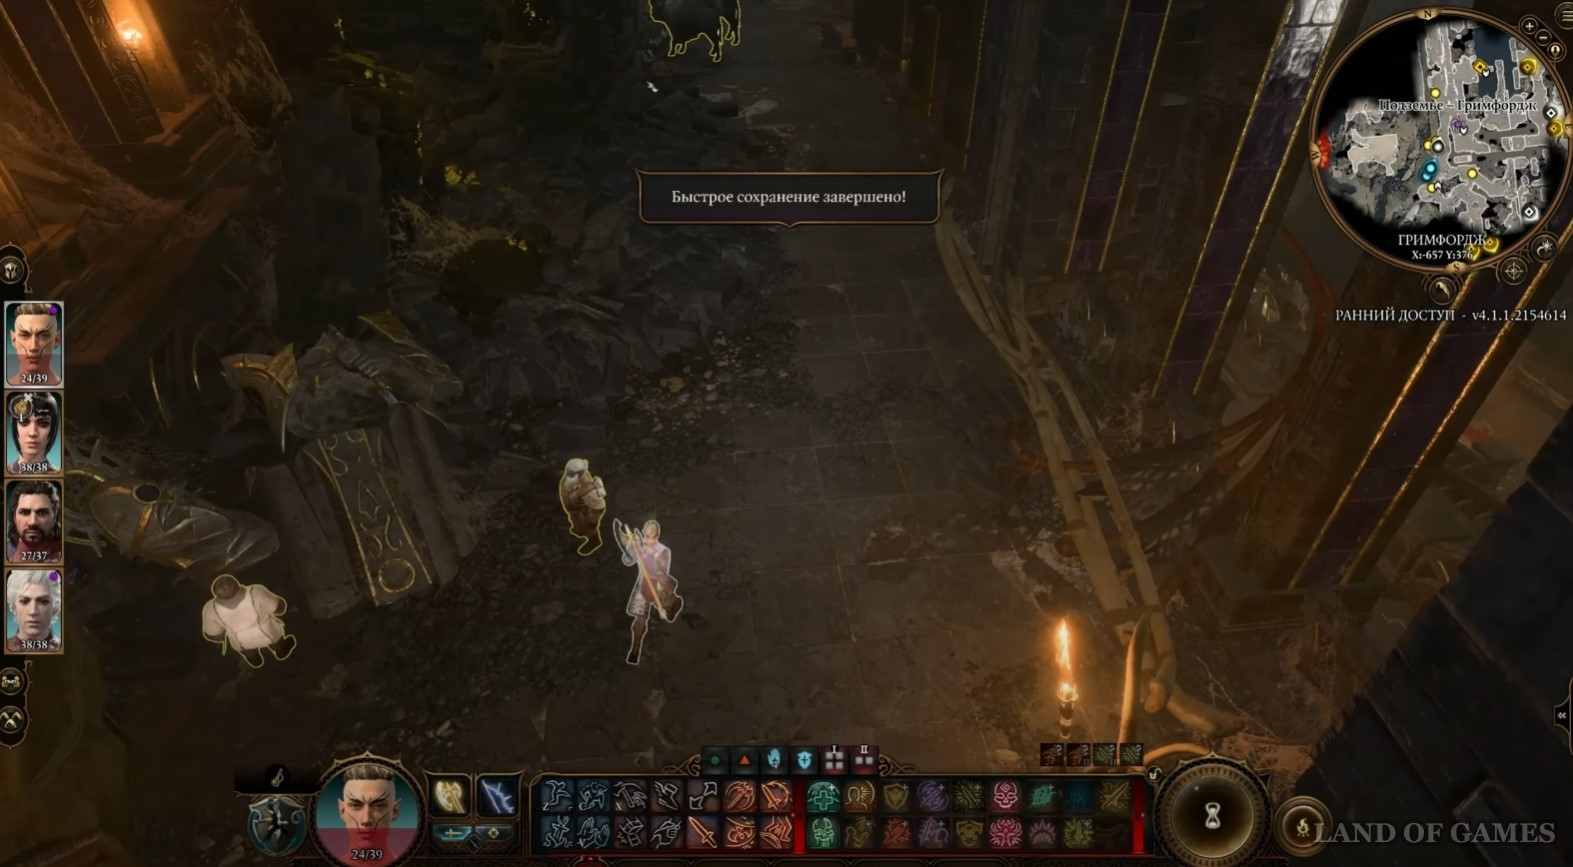
Разобравшись с проблемой тем или иным образом, вы наконец-то доплывете до Гримфорджа, где встретите еще двух двергаров. Можете сразиться с ними или убедить их, что вы тоже с Абсолютом (не стоит платить им 100 золотых). Неподалеку можно отыскать карту и записку. Поднимитесь по лестнице, и вы обнаружите телепорт (Х: -465; Y: 385). Теперь можно отправиться прямиком в Адамантиновую кузню.
Как решить головоломку с рычагами (путь до кузни)
От телепортационной точки бегите на юг по лесенке, пока не дойдете до мертвых тел темных юстициаров. Затем сверните влево, и вы увидите, как несколько двергаров пробуют с помощью роте расчистить каменный завал (Х: -661; Y: 443).
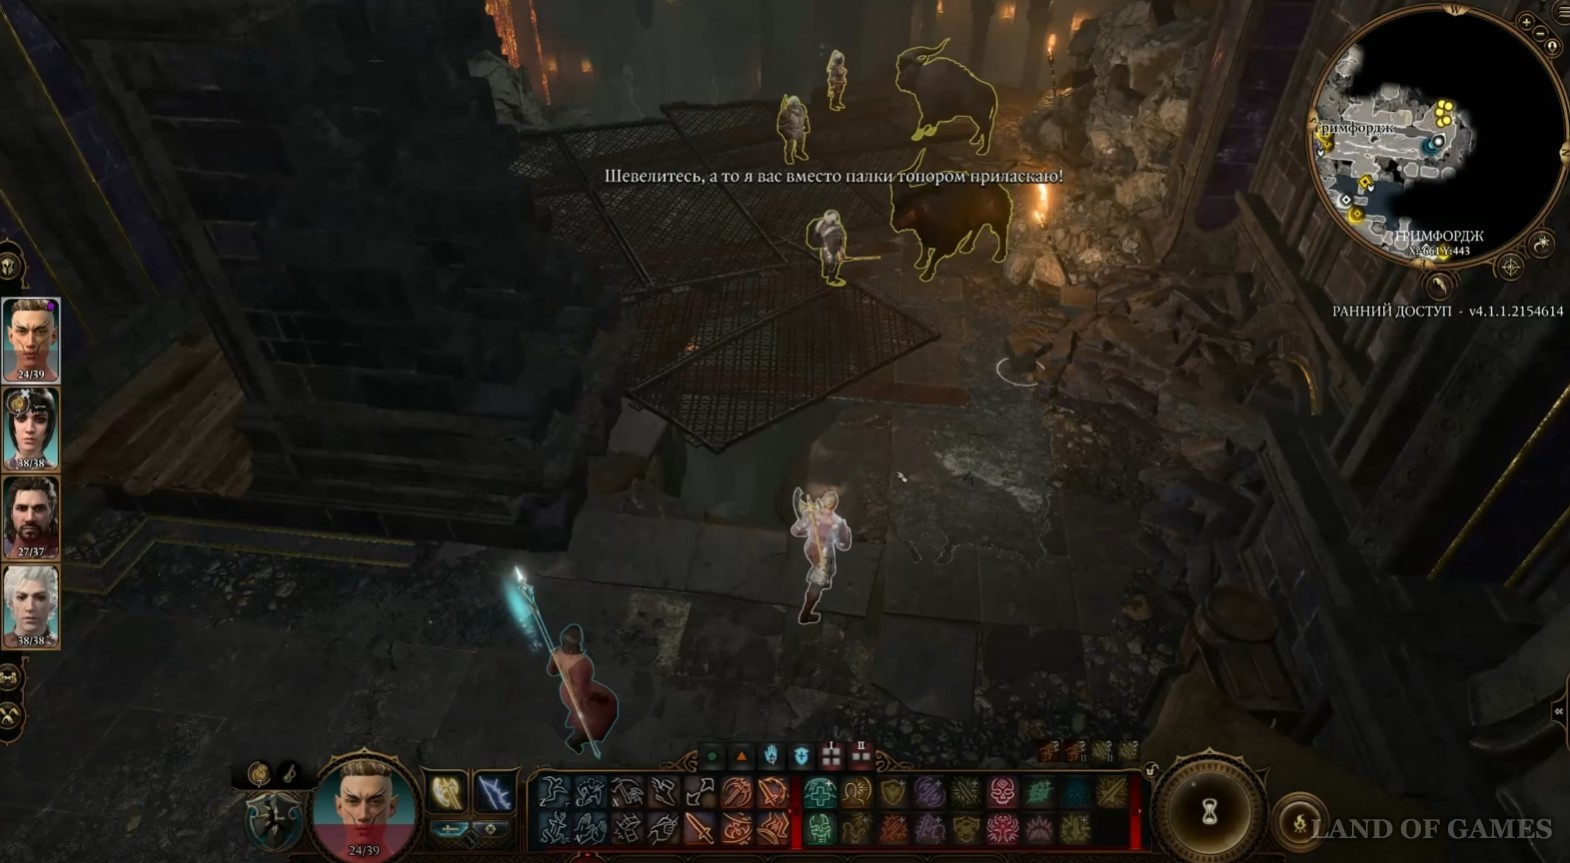
Побеседуйте с командиром группы и скажите, что сможете заставить зверей работать. Используйте заклинание для разговора с животными или выпейте соответствующее зелье, а потом поговорите с роте. Советуем вам убедить их напасть на двергаров, так как те в любом случае попытаются убить вас.

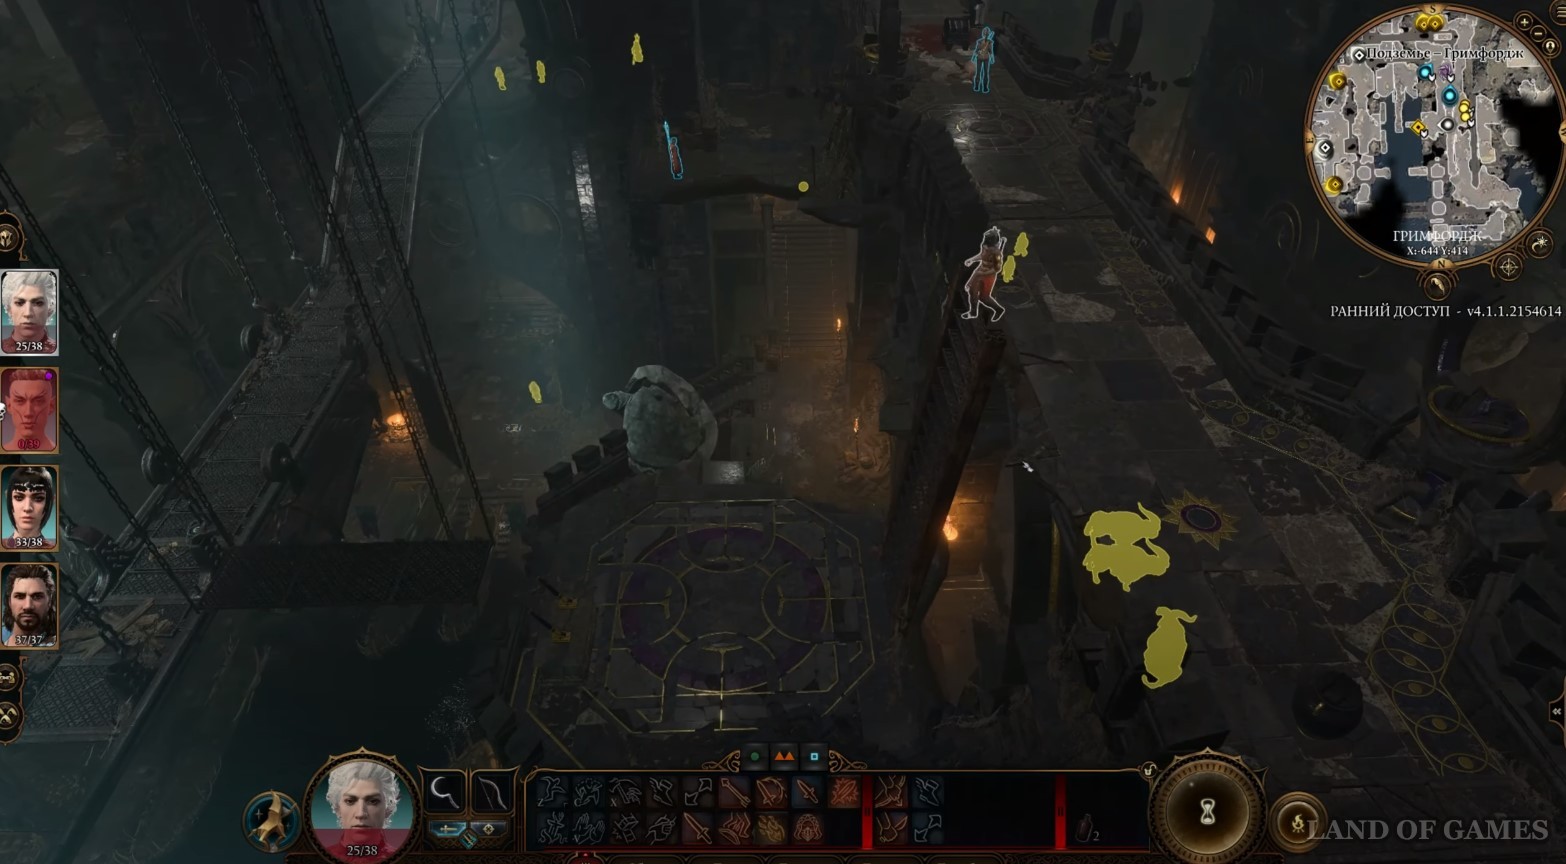
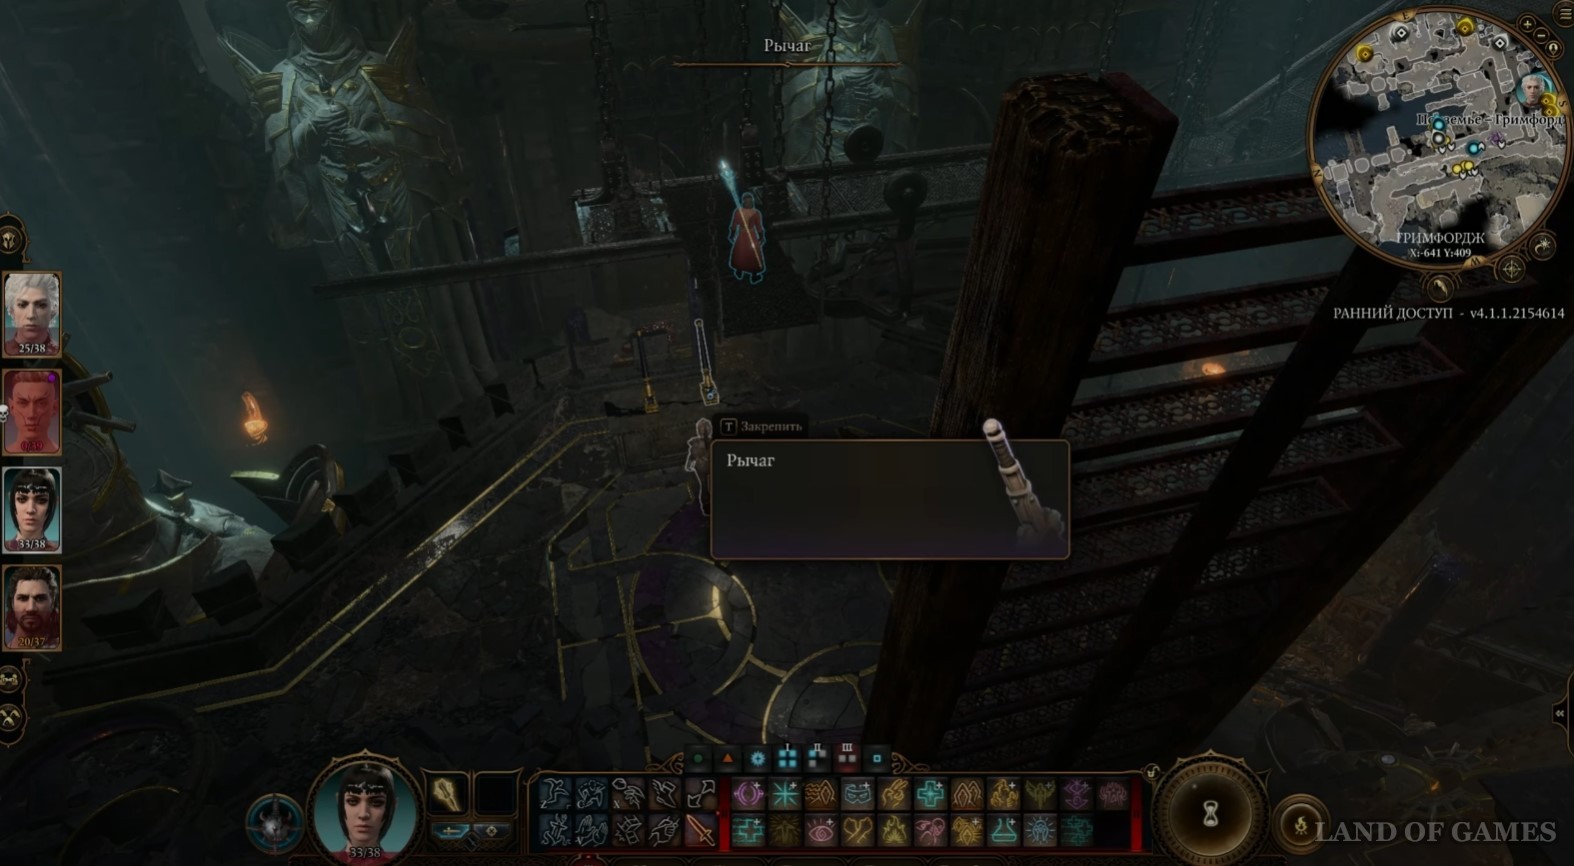
Расправившись с двергарами, снова побеседуйте с роте и попросите их все же убрать завал. Пройдите в возникший проход, перепрыгните через ловушки или деактивируйте их, и доберитесь до первой лесенки слева. Спуститесь по ней вниз, и вы окажитесь на площадке с двумя рычагами (Х: -639; Y: 414).
Примечание: Попасть на этот мост с лестницей можно и с другой стороны, однако данный путь более длинный и требует обезвреживания большего количества ловушек.
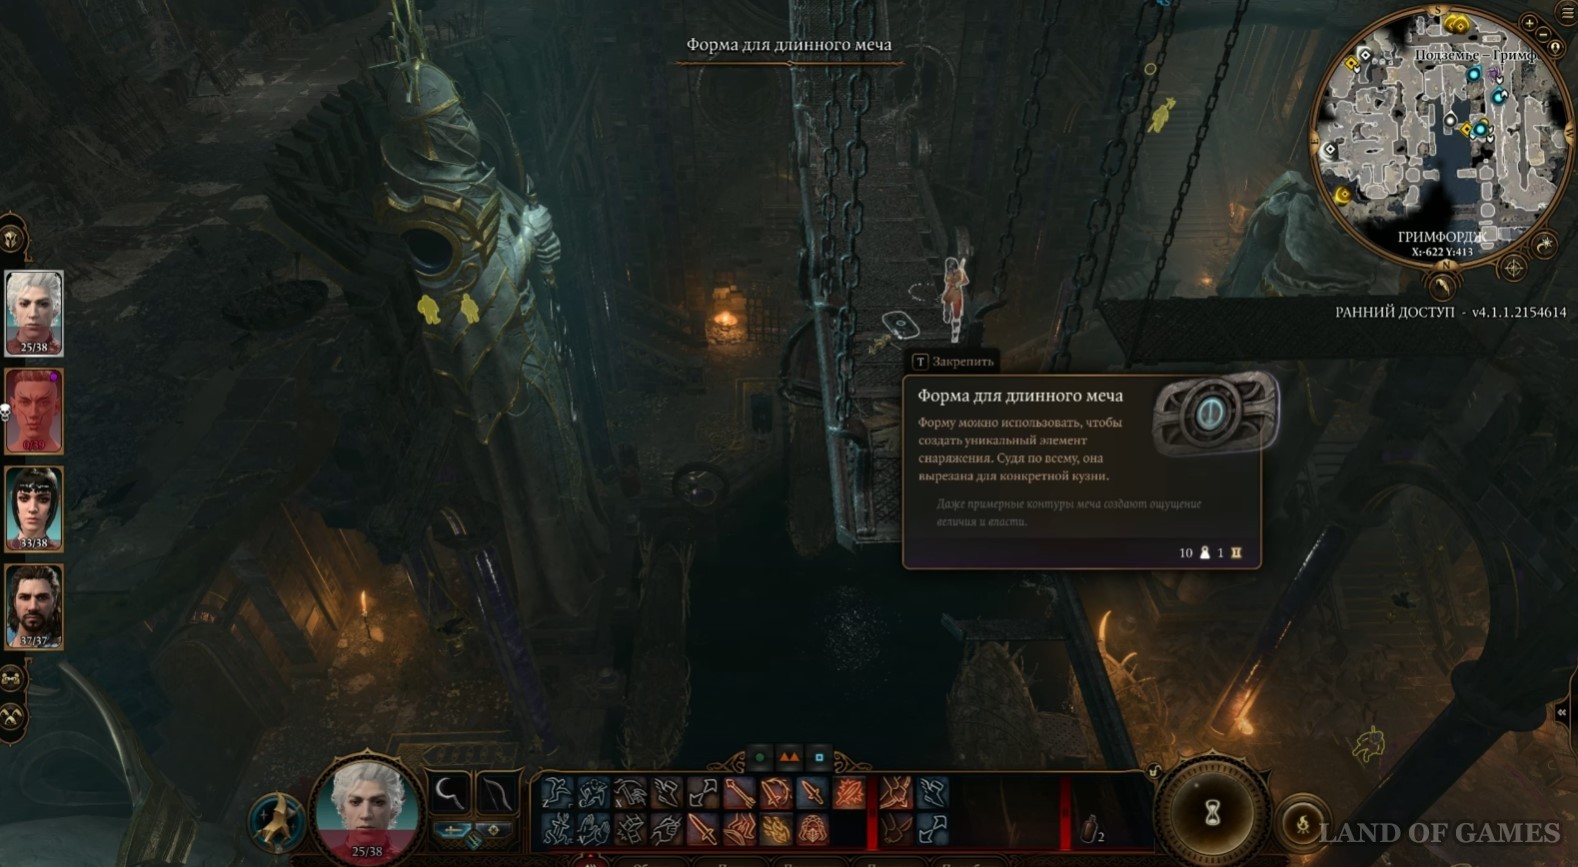
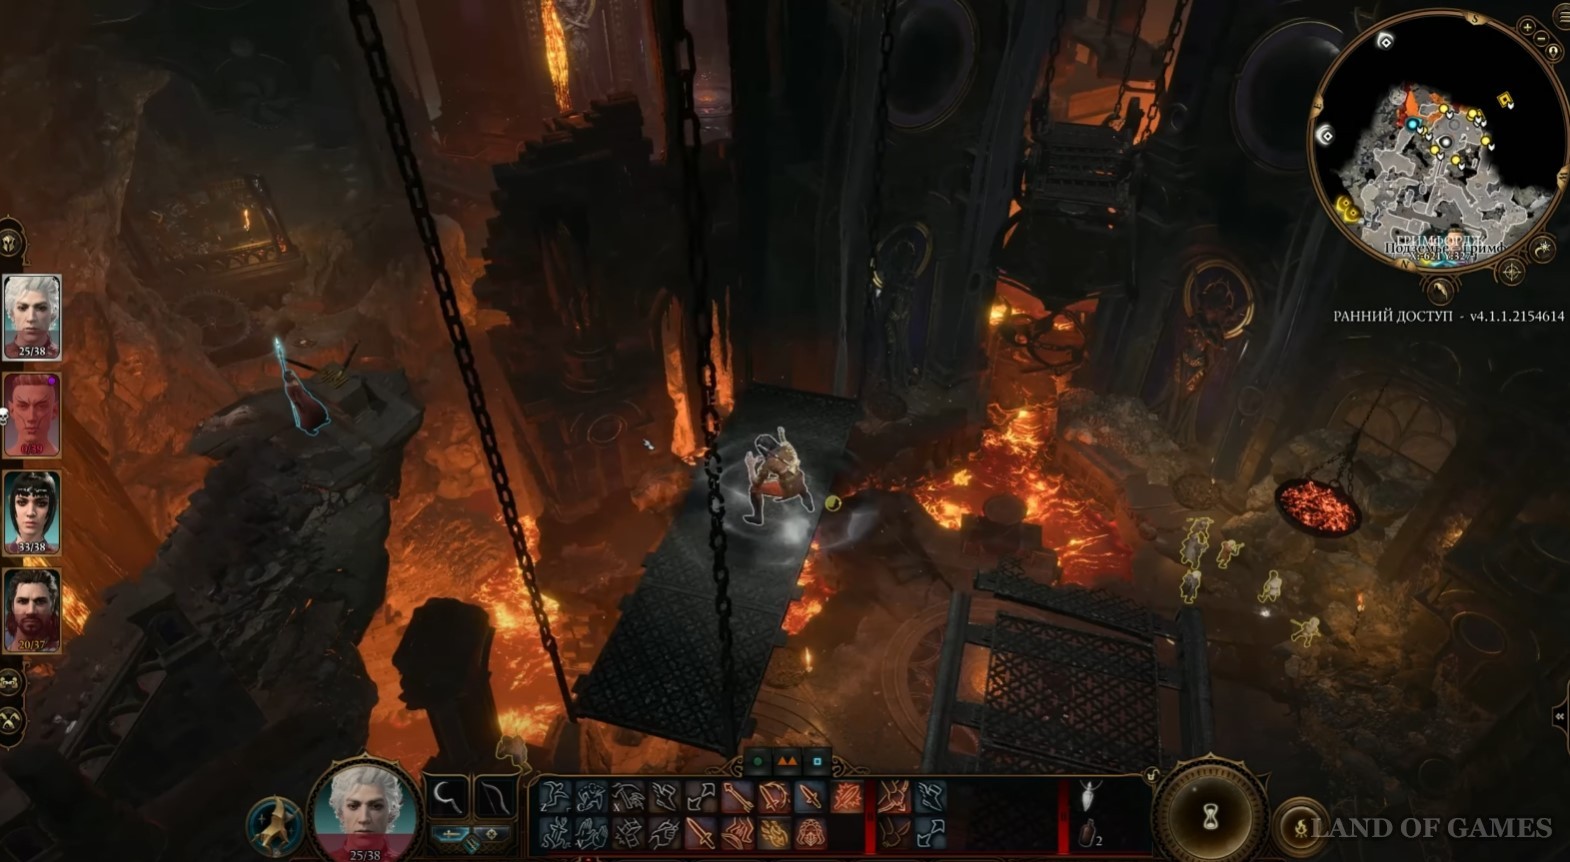
Оставьте тут первого персонажа, а другими запрыгните на висящую платформу. Выберите второго героя и спрыгните им на следующий мост чуть ниже, чтобы подобрать Форму для длинного меча (Х: -622; Y: 413). По дороге в кузню вы найдете несколько таких форм. В отдельном разделе чуть ниже указано точное расположение всех отливок.
Переключитесь на самого первого персонажа, которого вы оставили на площадке, и кликните по правому рычагу, чтобы подвесная платформа с двумя вашими героями двинулась к противоположной стороне, где им нужно будет слезть.
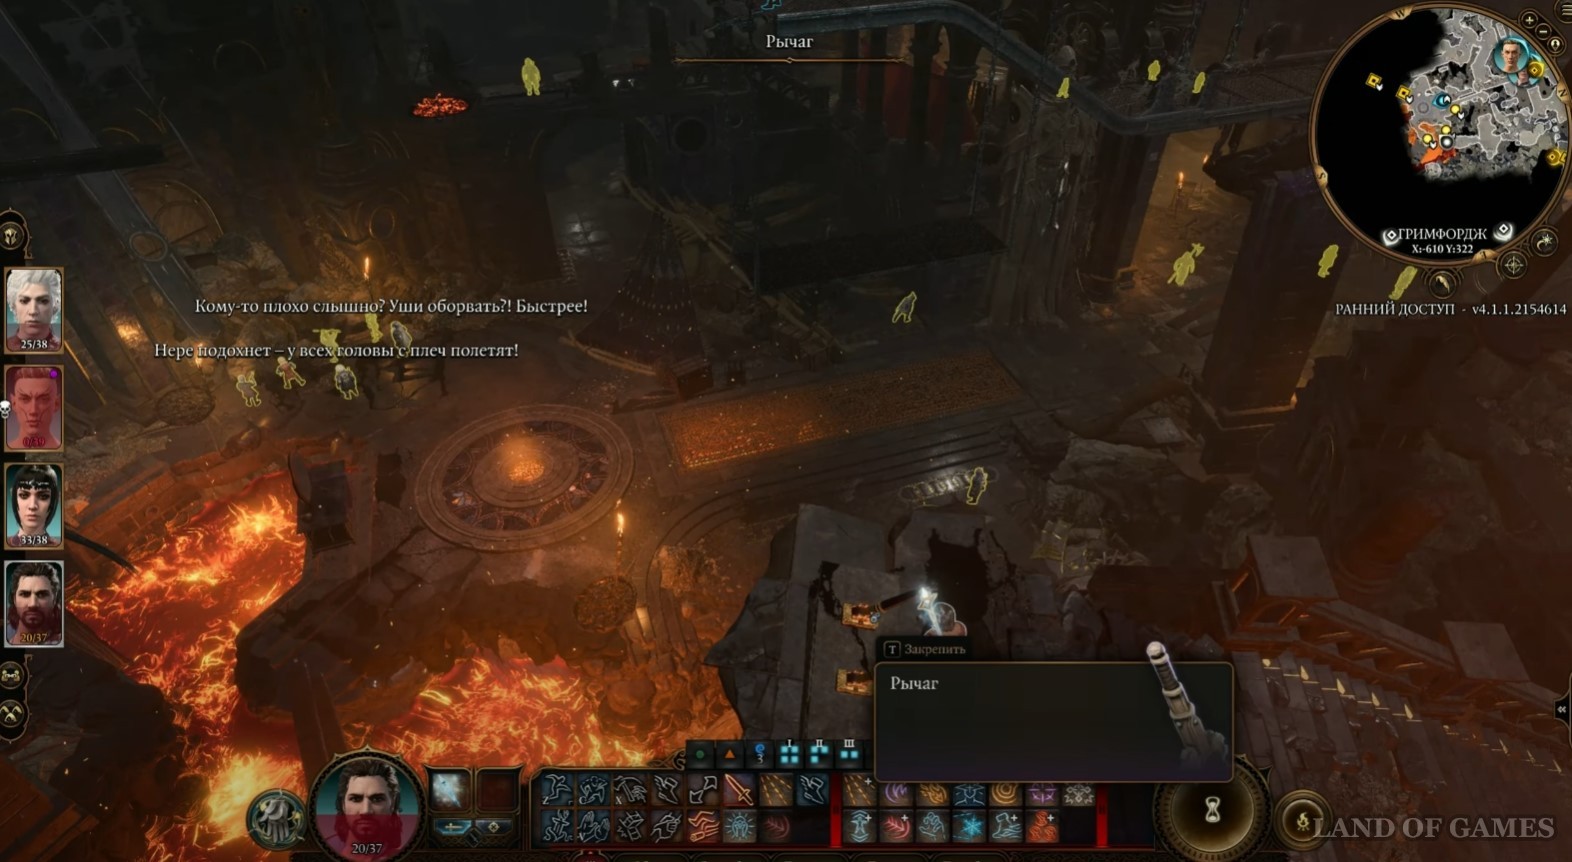
Бегите этими двумя бойцами на юг (S), заберитесь на выступы и возле трупа юстициара поднимитесь по лестнице наверх к еще двум рычагам (Х: -607; Y: 321) и Форме для скимитара. Оставьте здесь третьего персонажа.
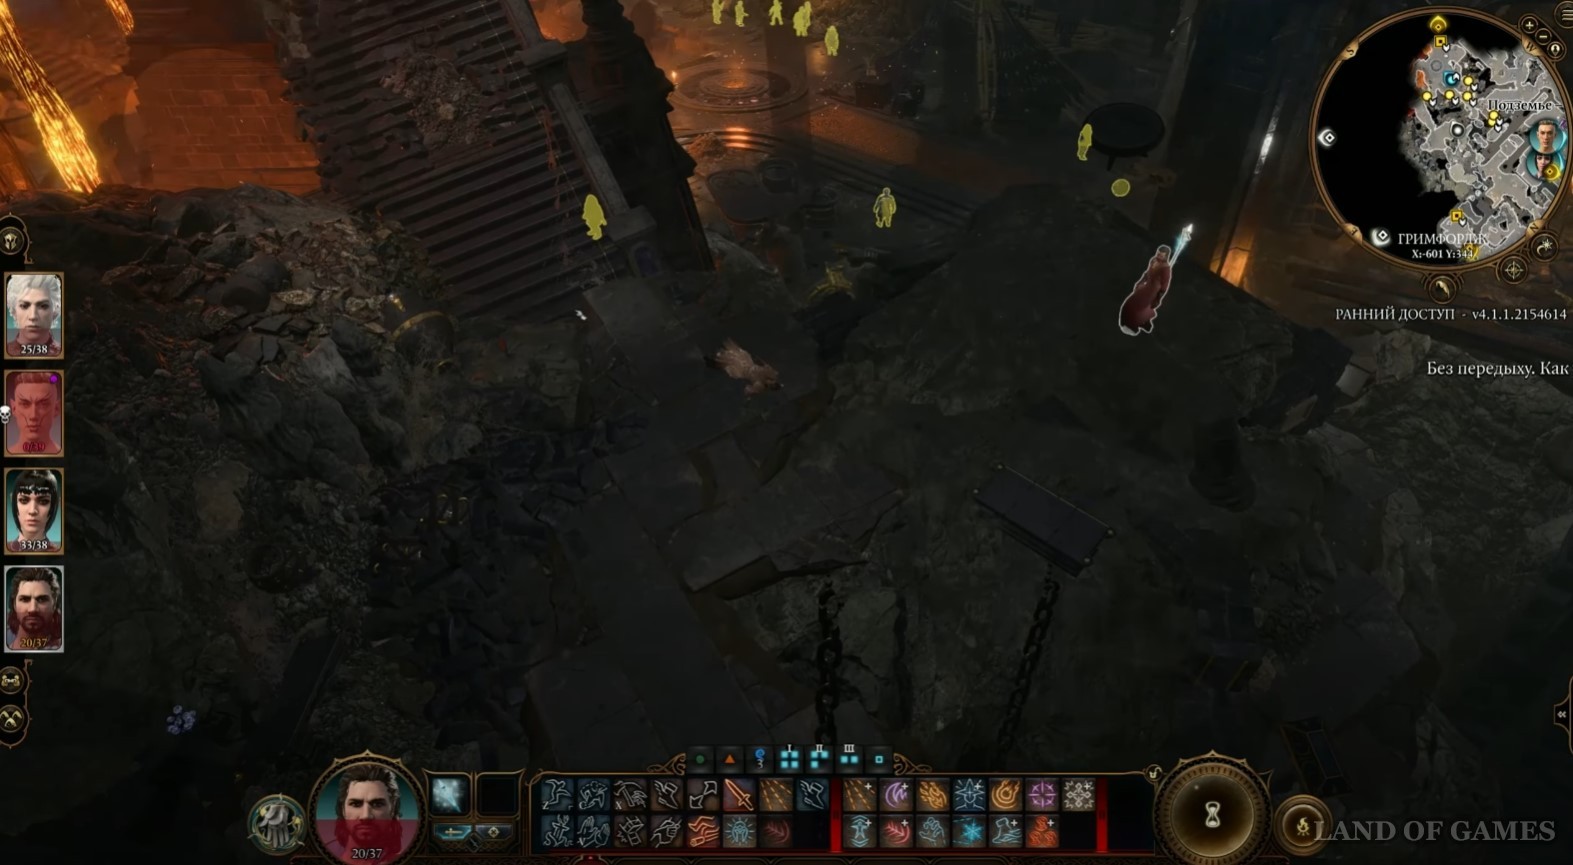
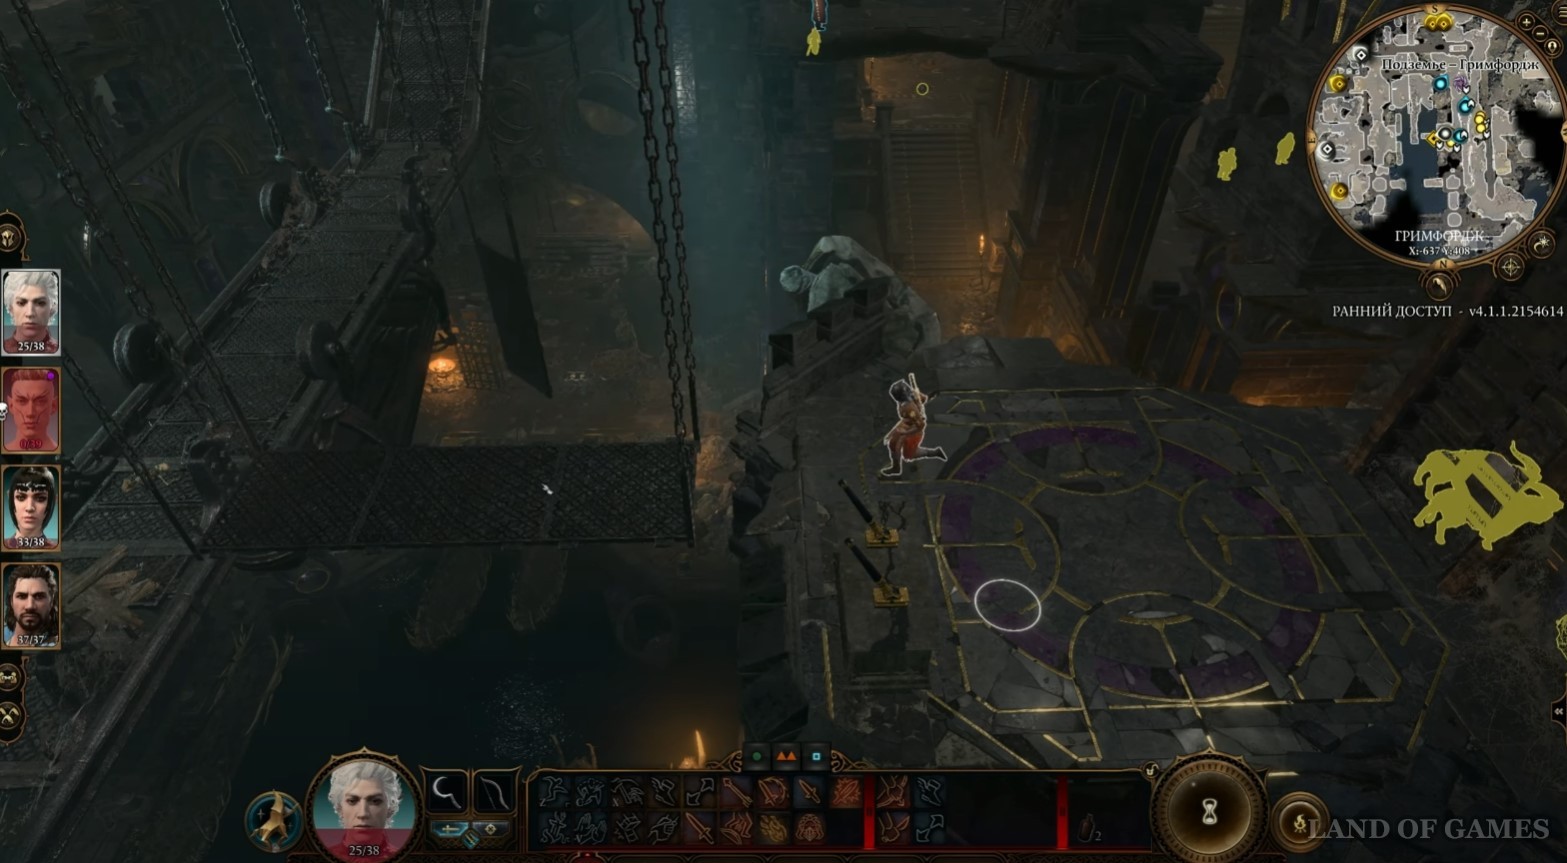
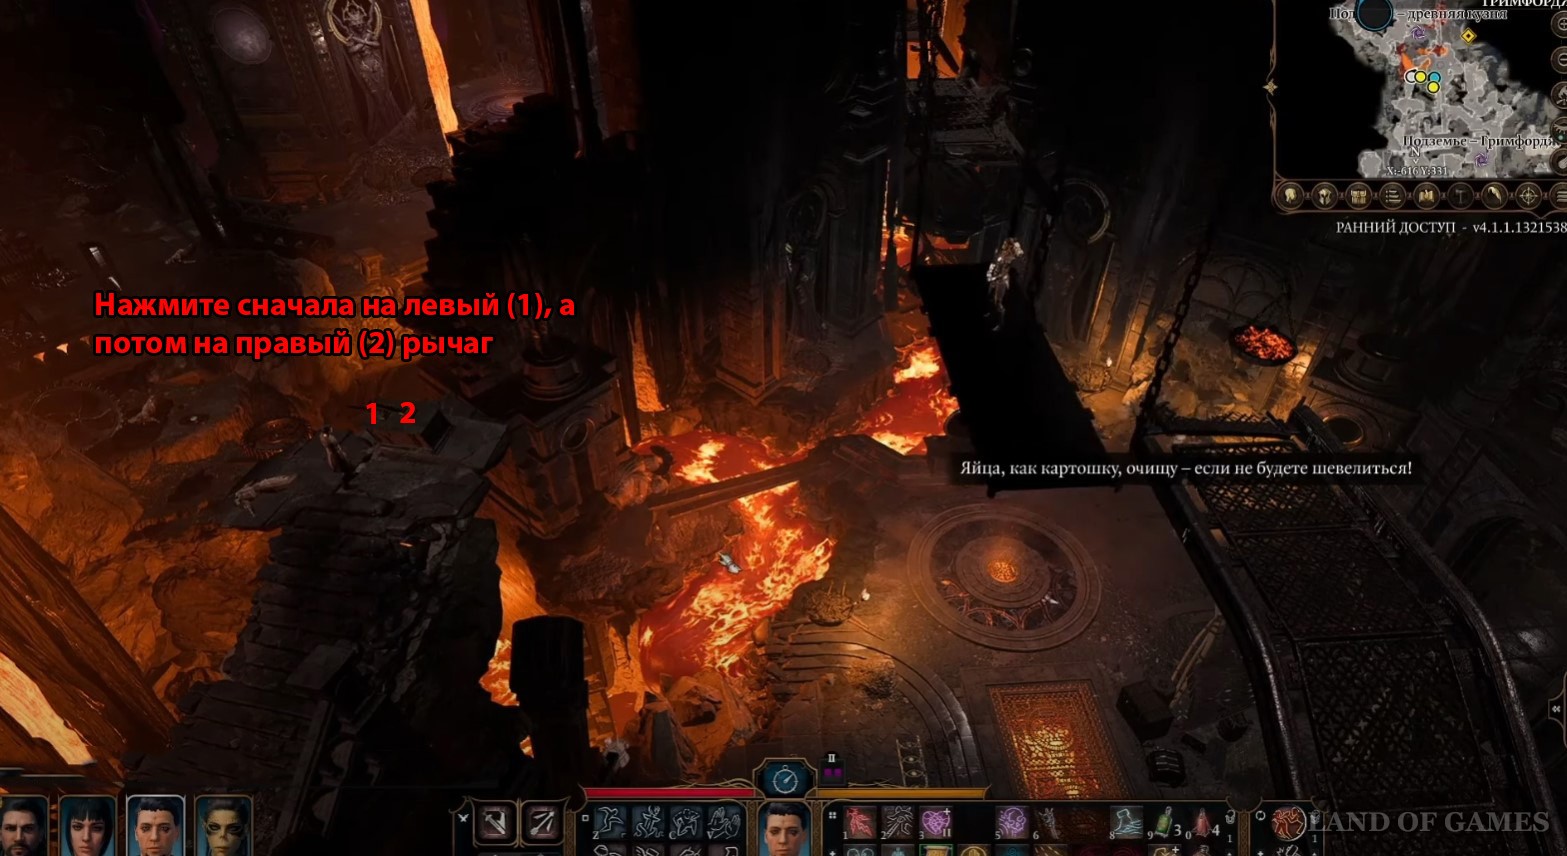
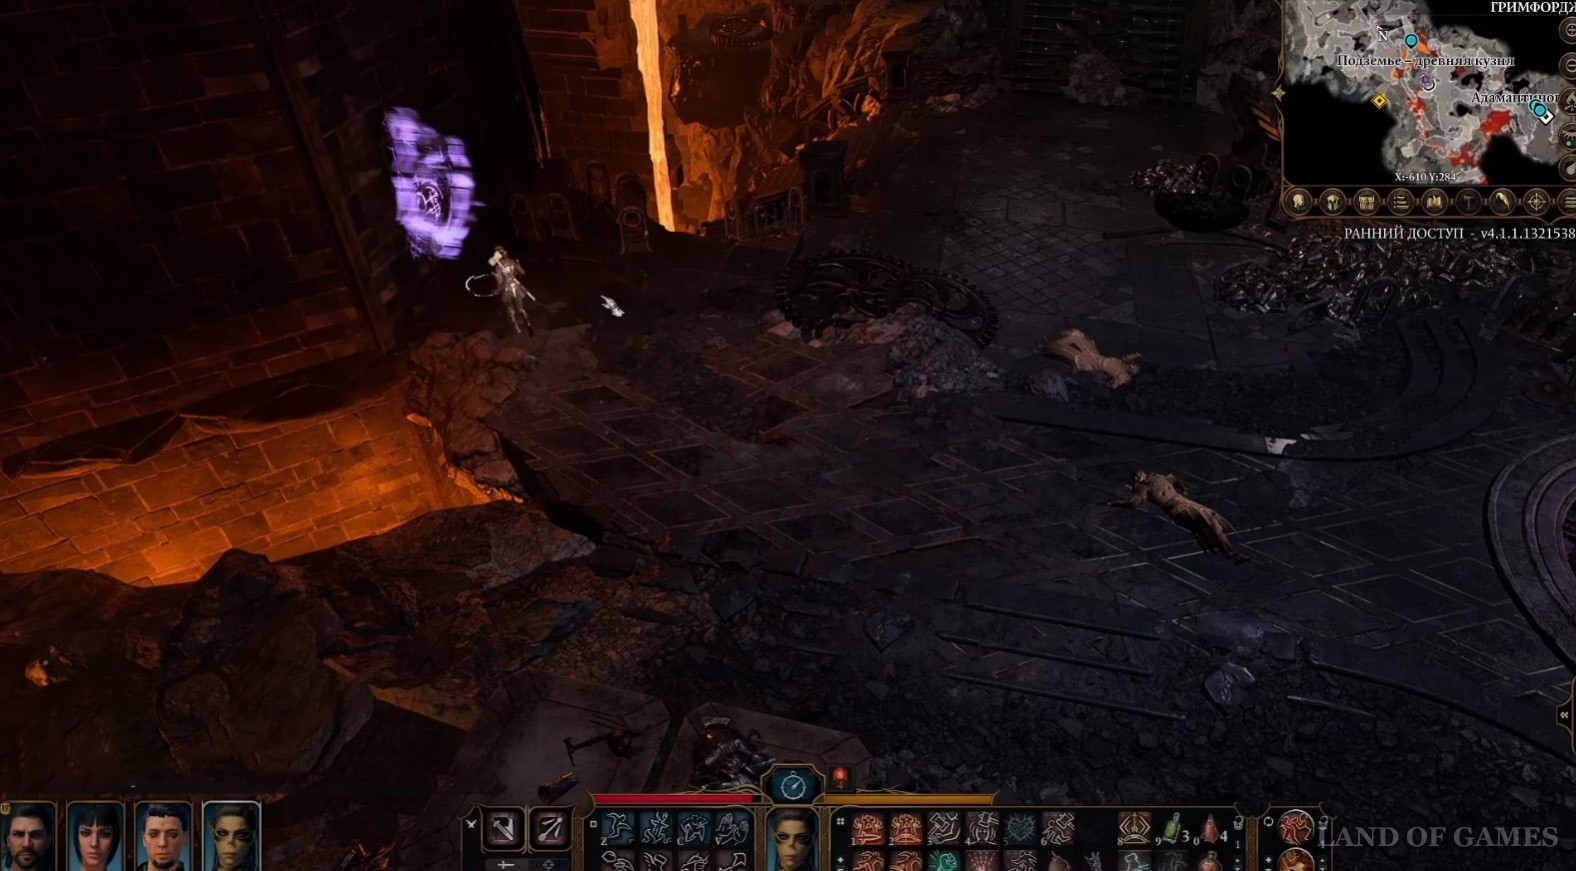
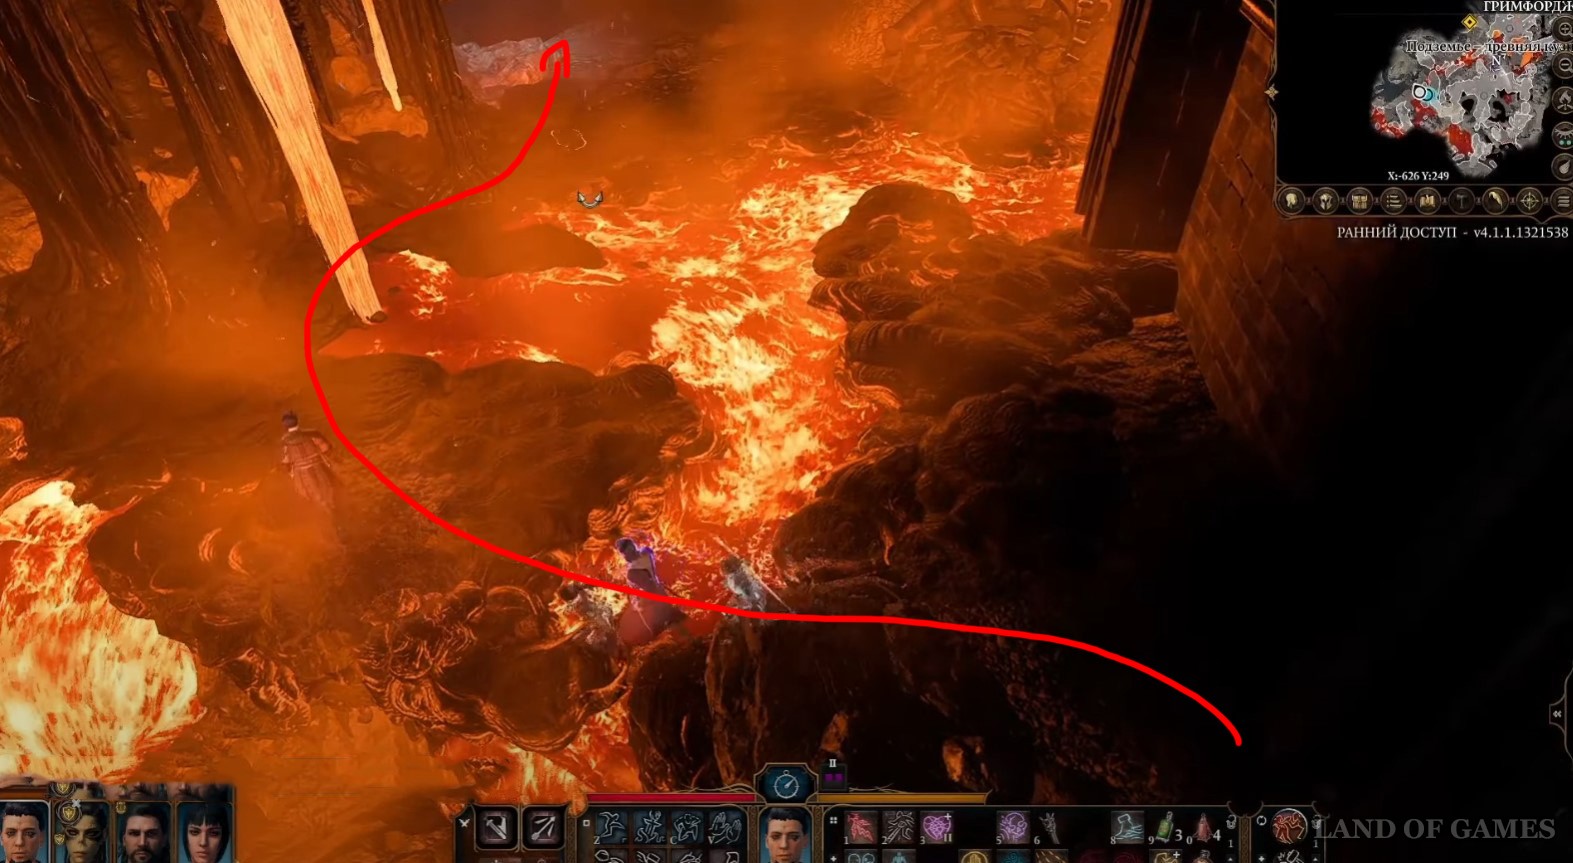
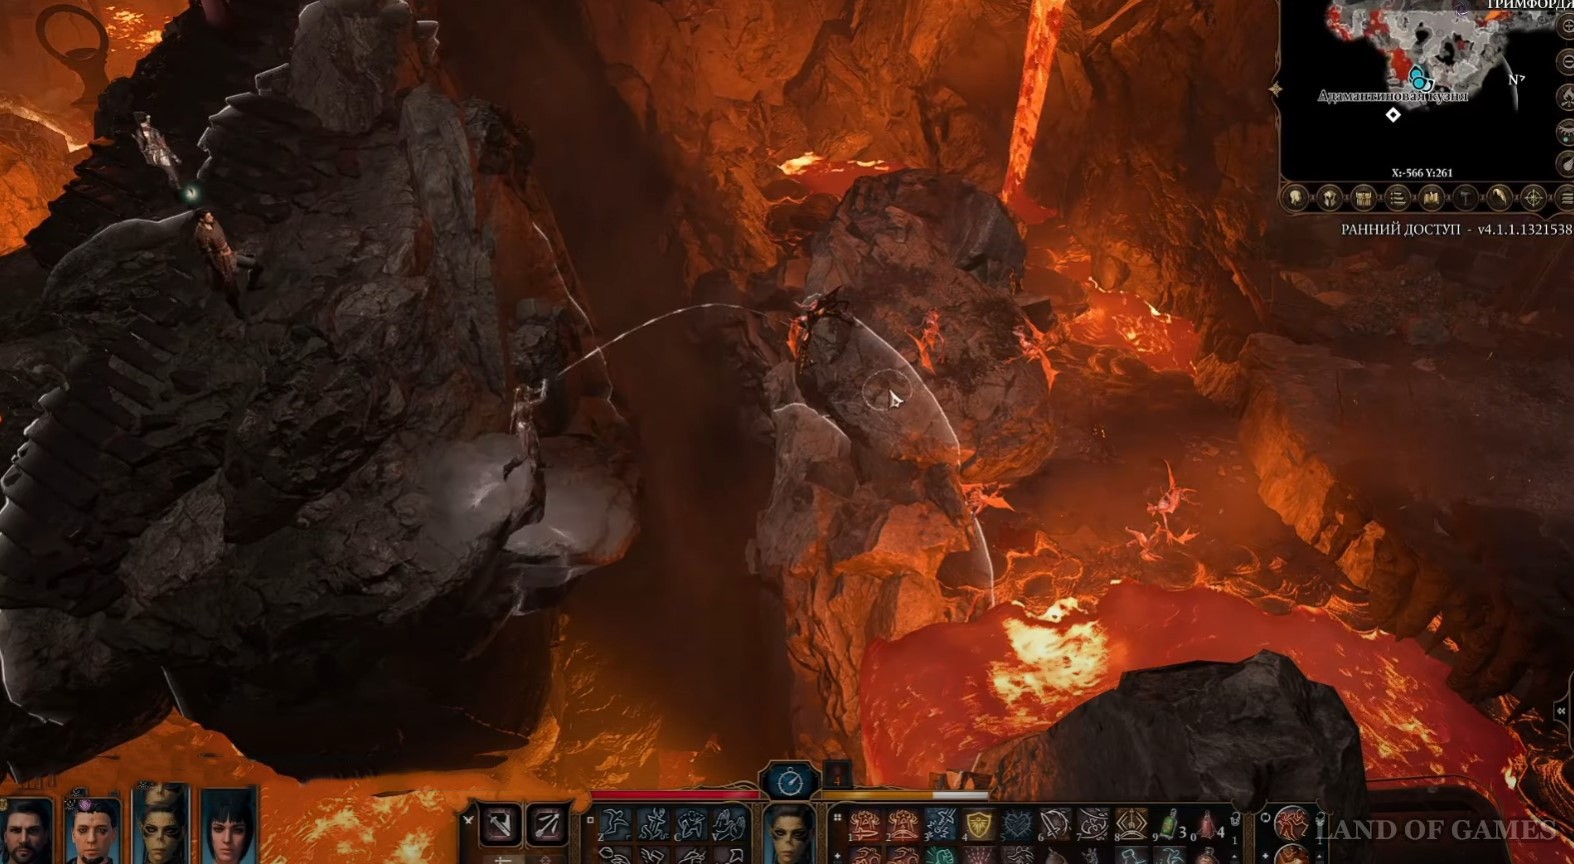
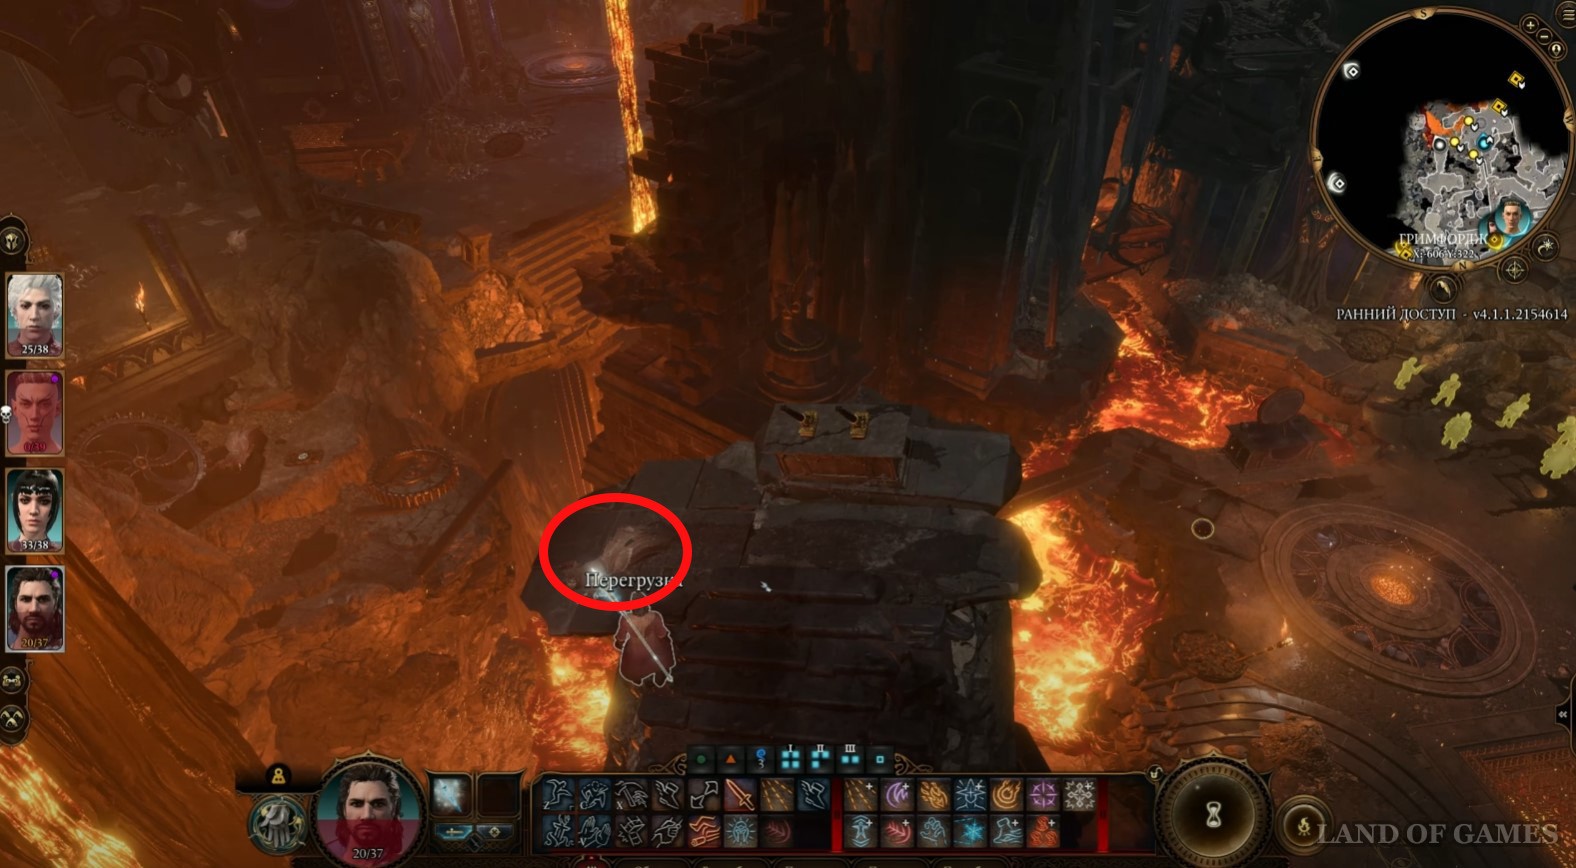
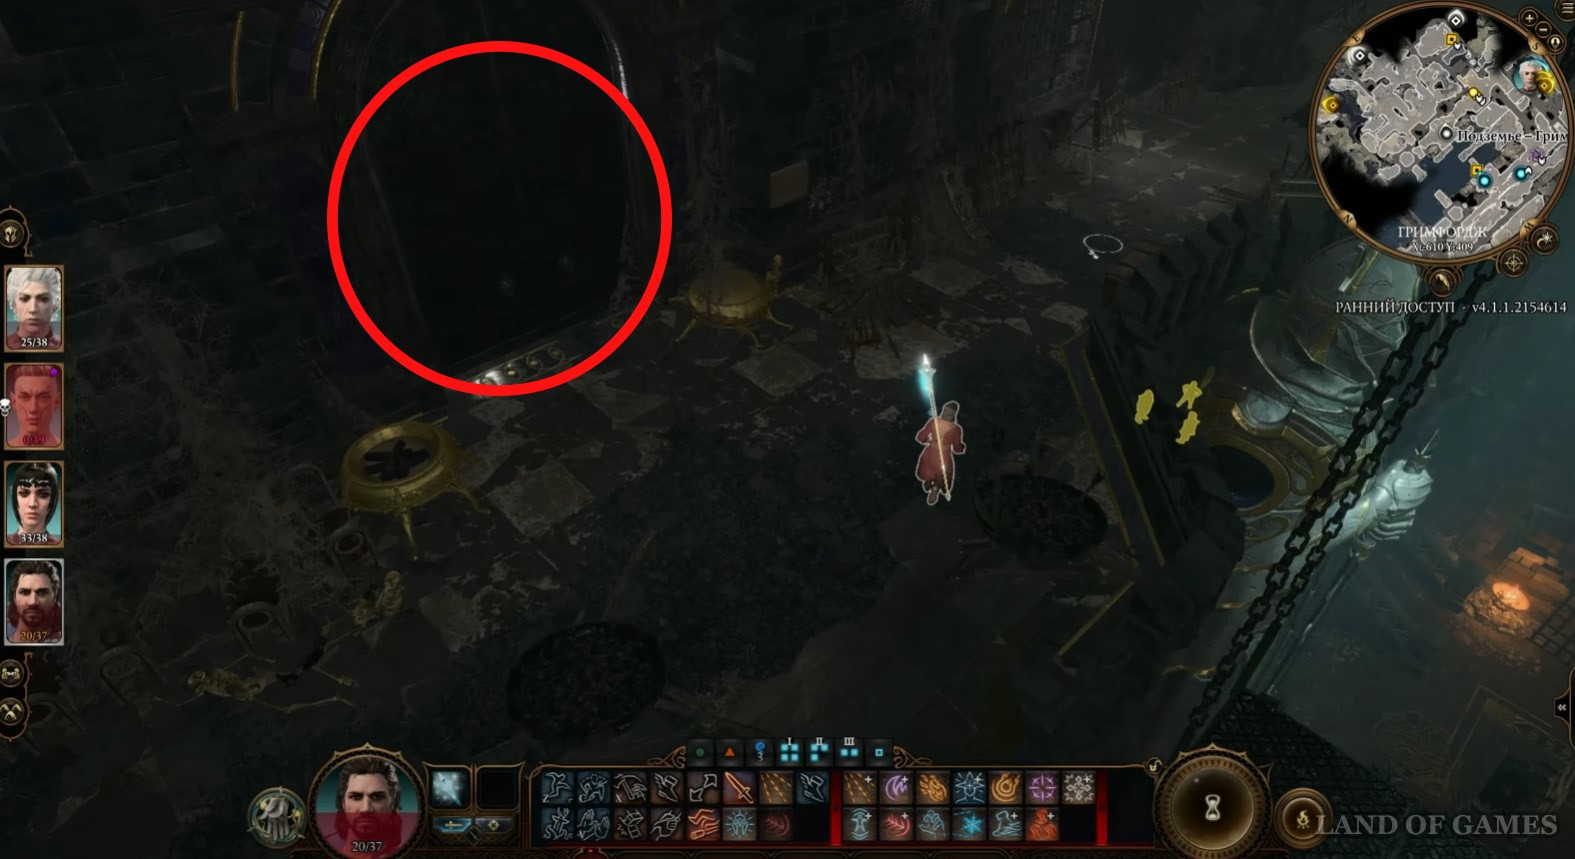
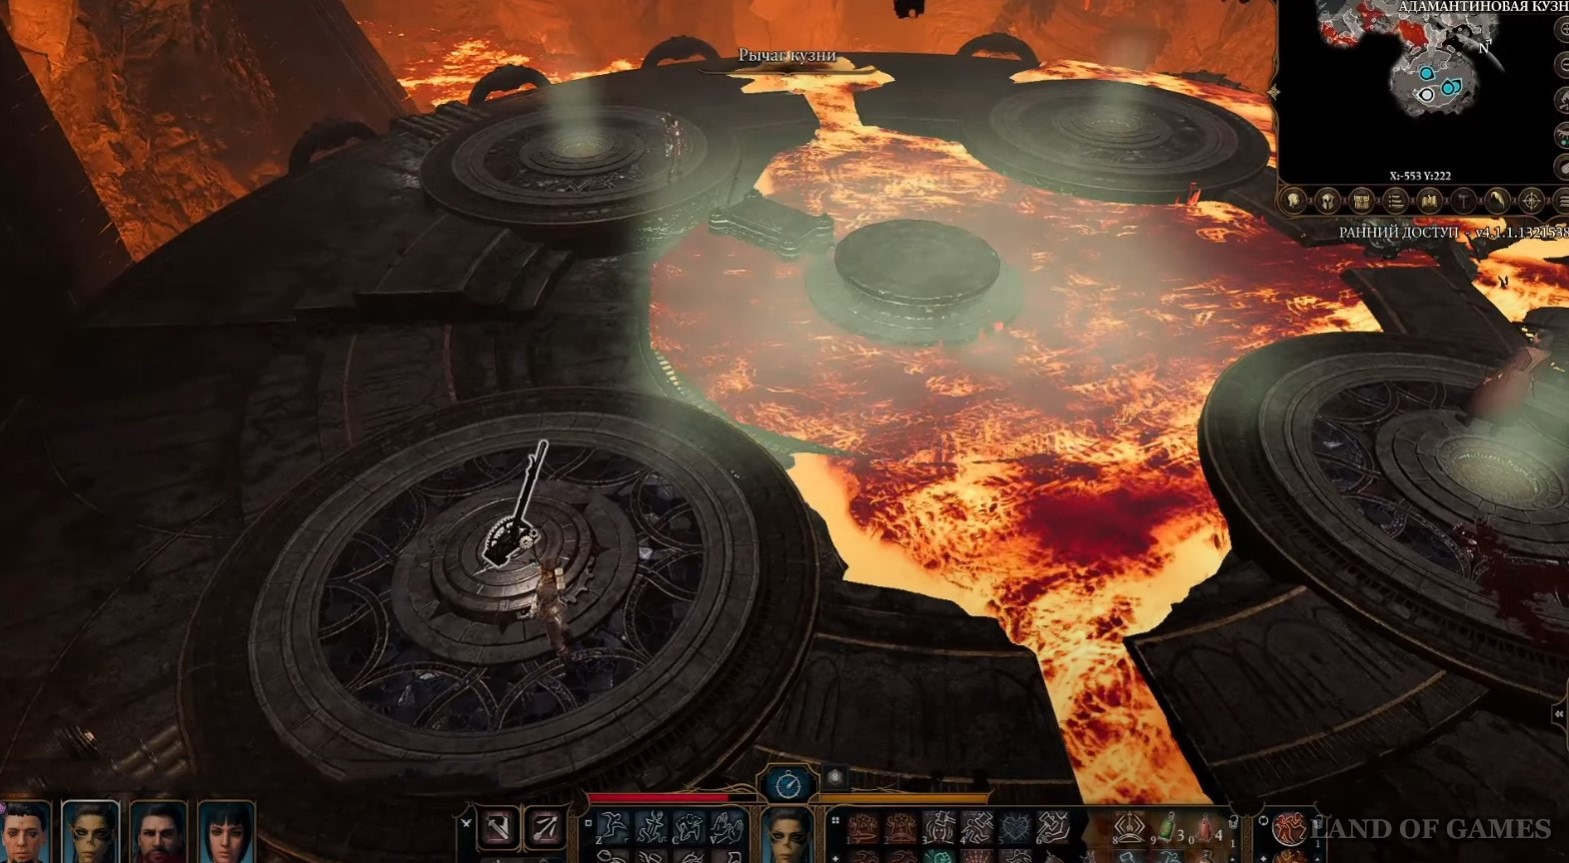
Возвратитесь ко второму персонажу, который находился на мосту, где вы нашли отливку для длинного меча, и бегите им на юг до самого конца пути. Вы окажитесь на обрыве (смотрите первый скриншот ниже). Снова переключитесь на третьего героя и нажмите им на правый рычаг.
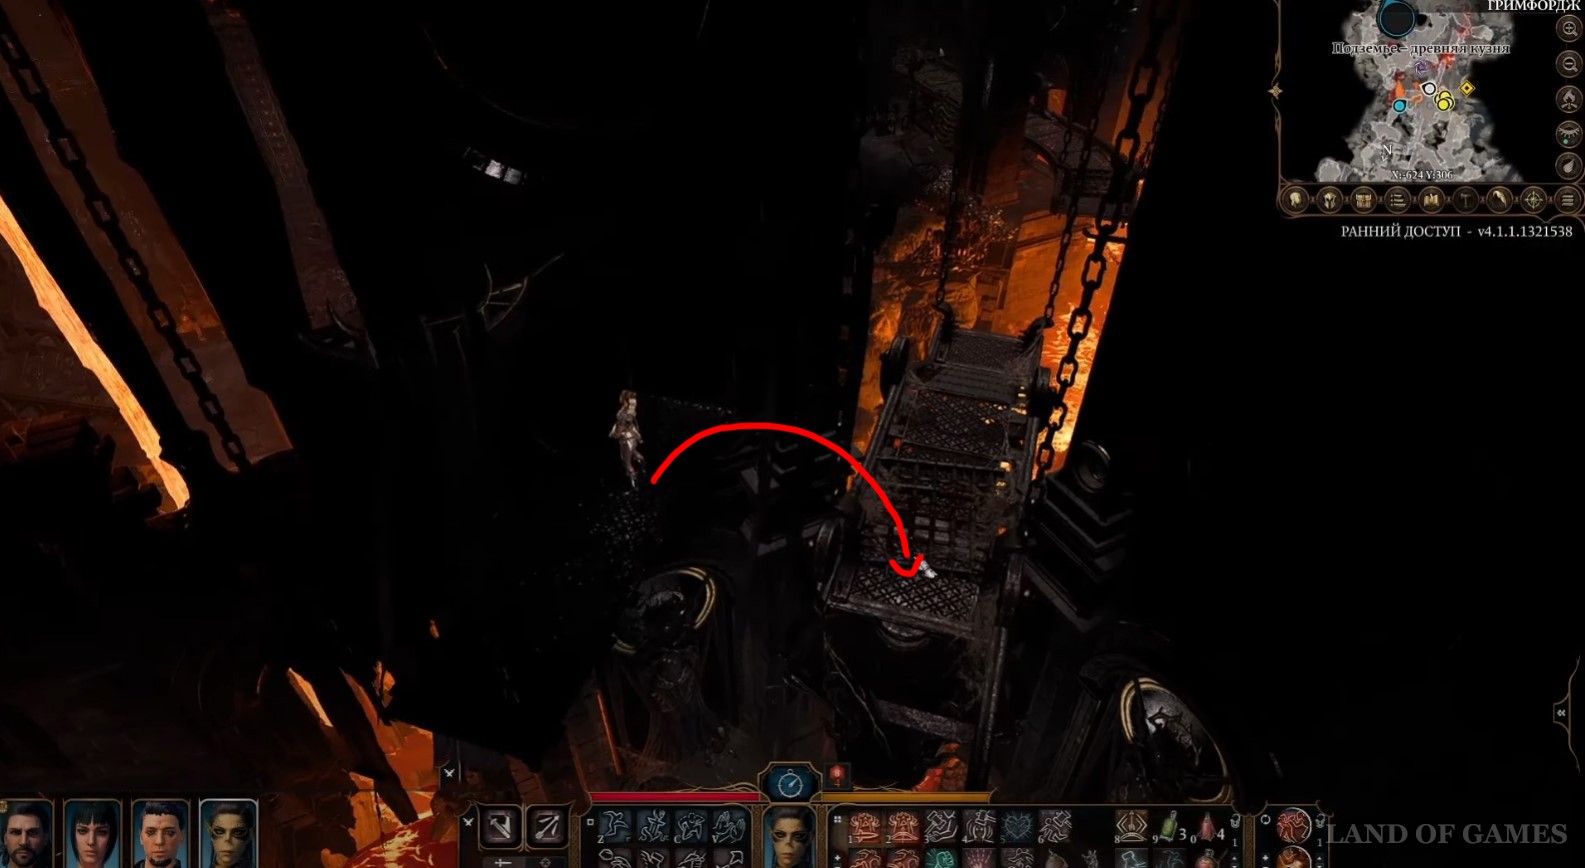
Опять выберите второго бойца и выполните прыжок, чтобы взобраться на появившуюся с левой стороны платформу (смотрите первую картинку ниже). Вновь возьмите управление над третьим персонажем и нажмите вначале на левый, а потом на правый рычаг. Когда платформа доедет до другой стороны, спрыгните на нее вторым героем.
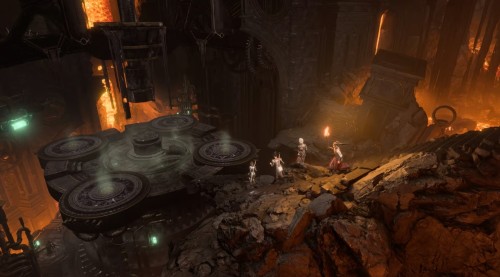
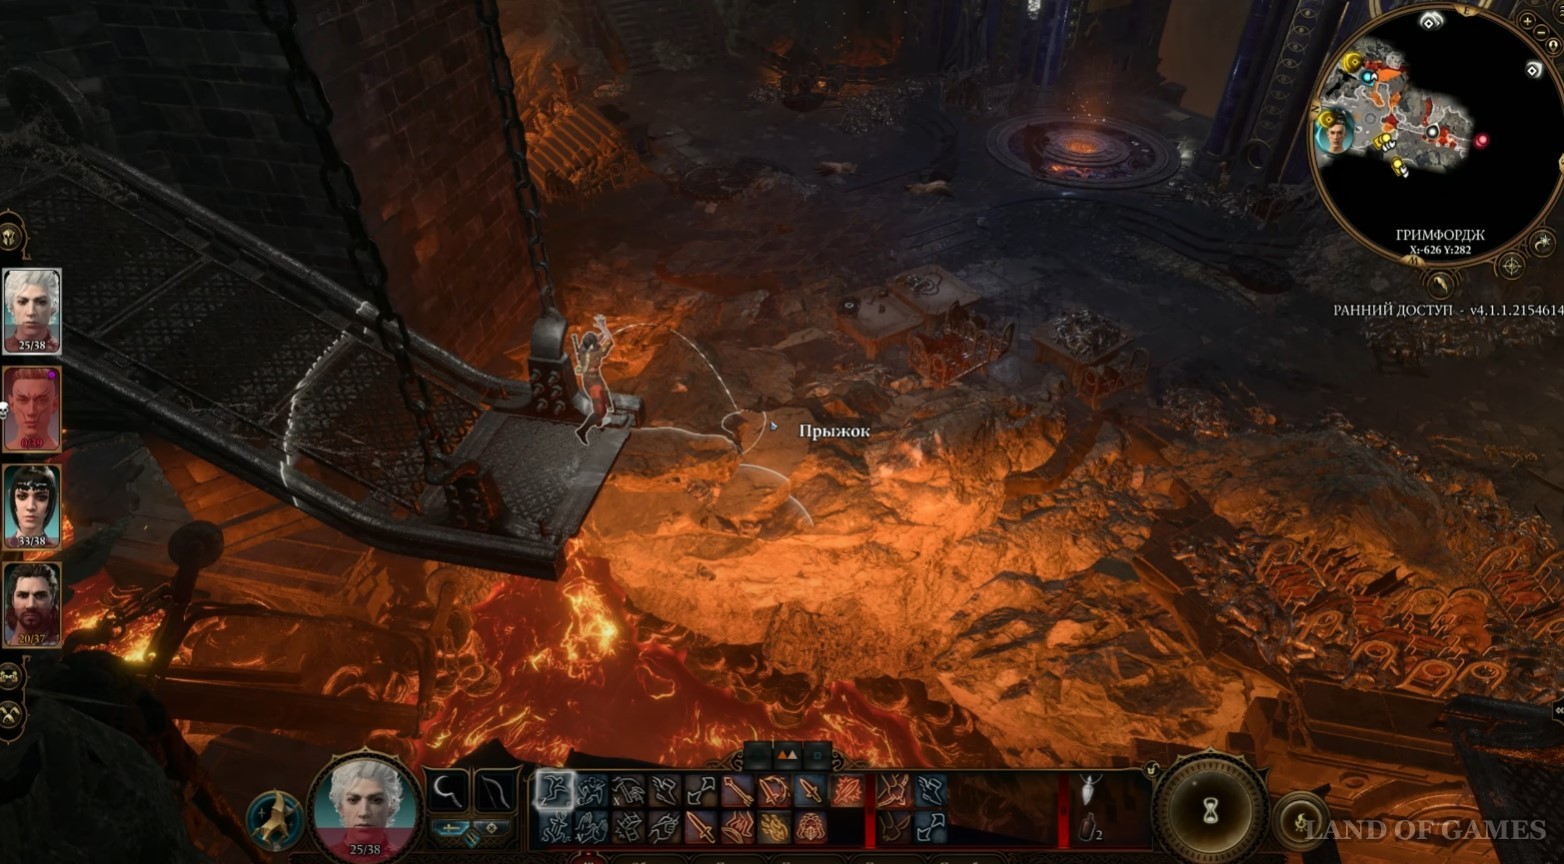
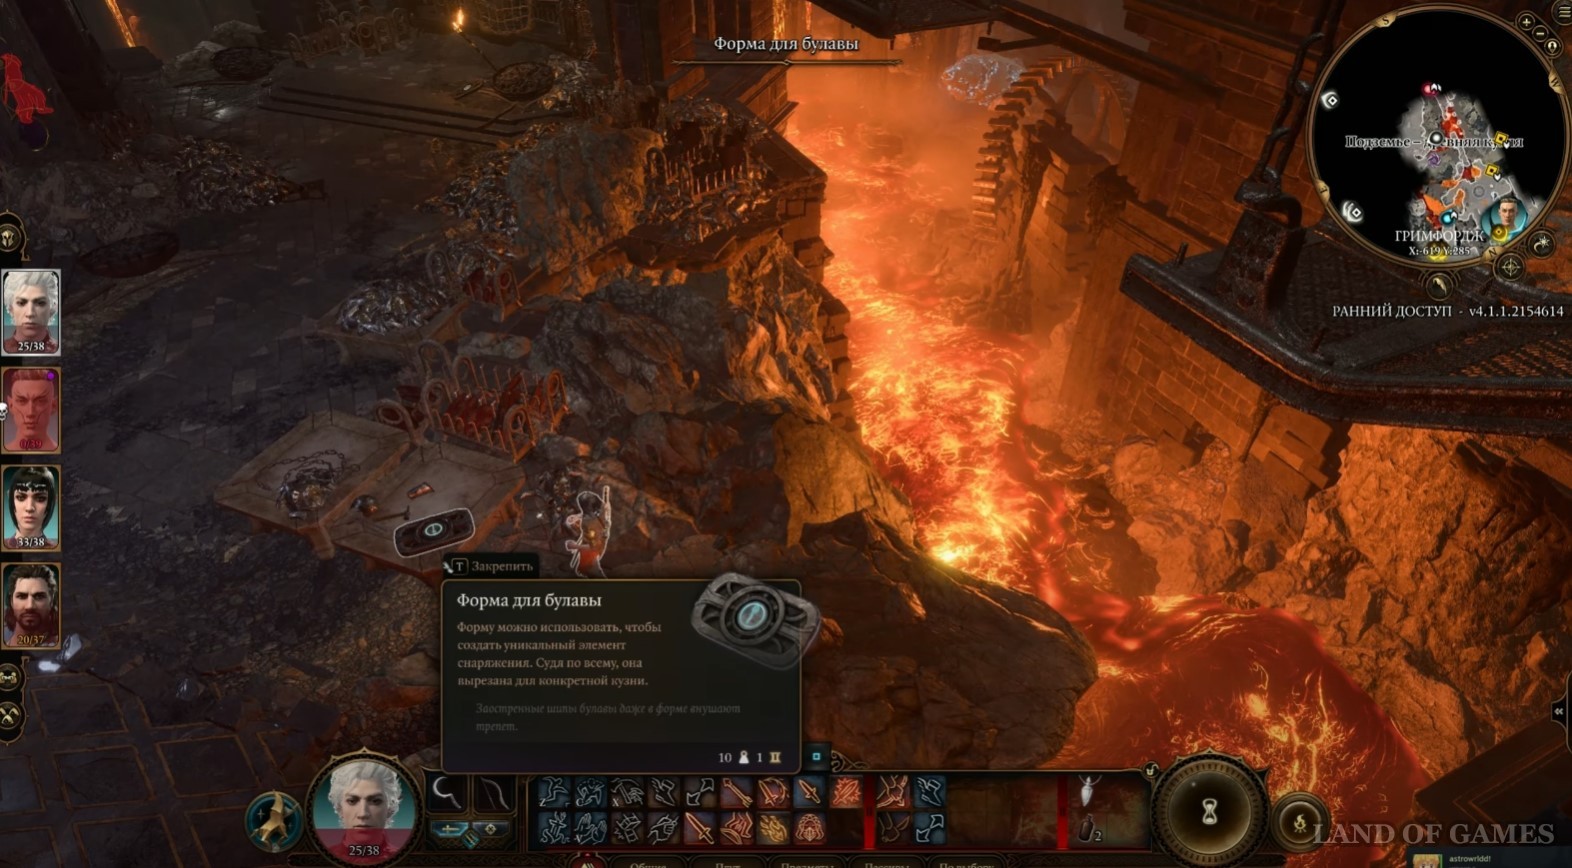
Бегите вперед до самого конца, а затем спрыгните на землю. Здесь на столе вы найдете Форму для булавы (Х: -619; Y: 285). Чуть сзади и слева находится телепорт «Гримфордж - Кузня» – активируйте его и снова соберите свою команду вместе. Теперь идите вперед, где находится вход в Адамантиновую кузню, и спуститесь вниз.
Примечание: Добавим, что вы можете добраться до телепорта более простыми способами, например, при помощи заклинаний призыва ворона или телепортации. Однако мы не стали рассматривать их, так как не у всех игроков могут иметься необходимые для этого инструменты.
Как активировать Адамантиновую кузню
Для этого вам нужны будут два основных предмета: мифрильная руда и форма для отливки оружия. Сначала расскажем вам, как отыскать все эти материалы, а затем уже покажем, как именно активируется кузня.
Где найти мифрильную руду
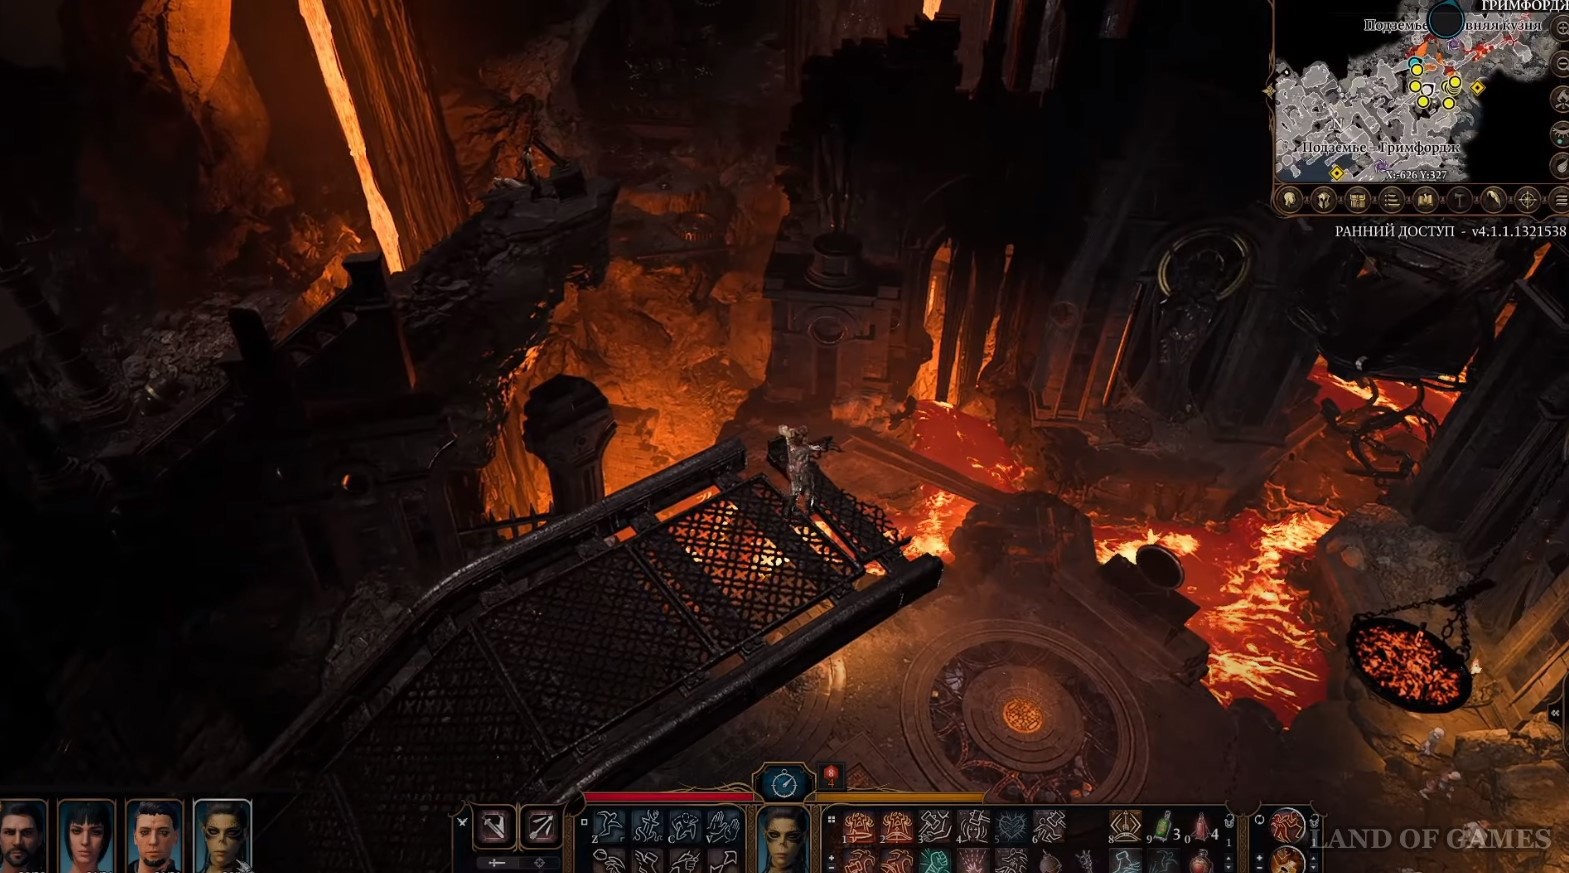
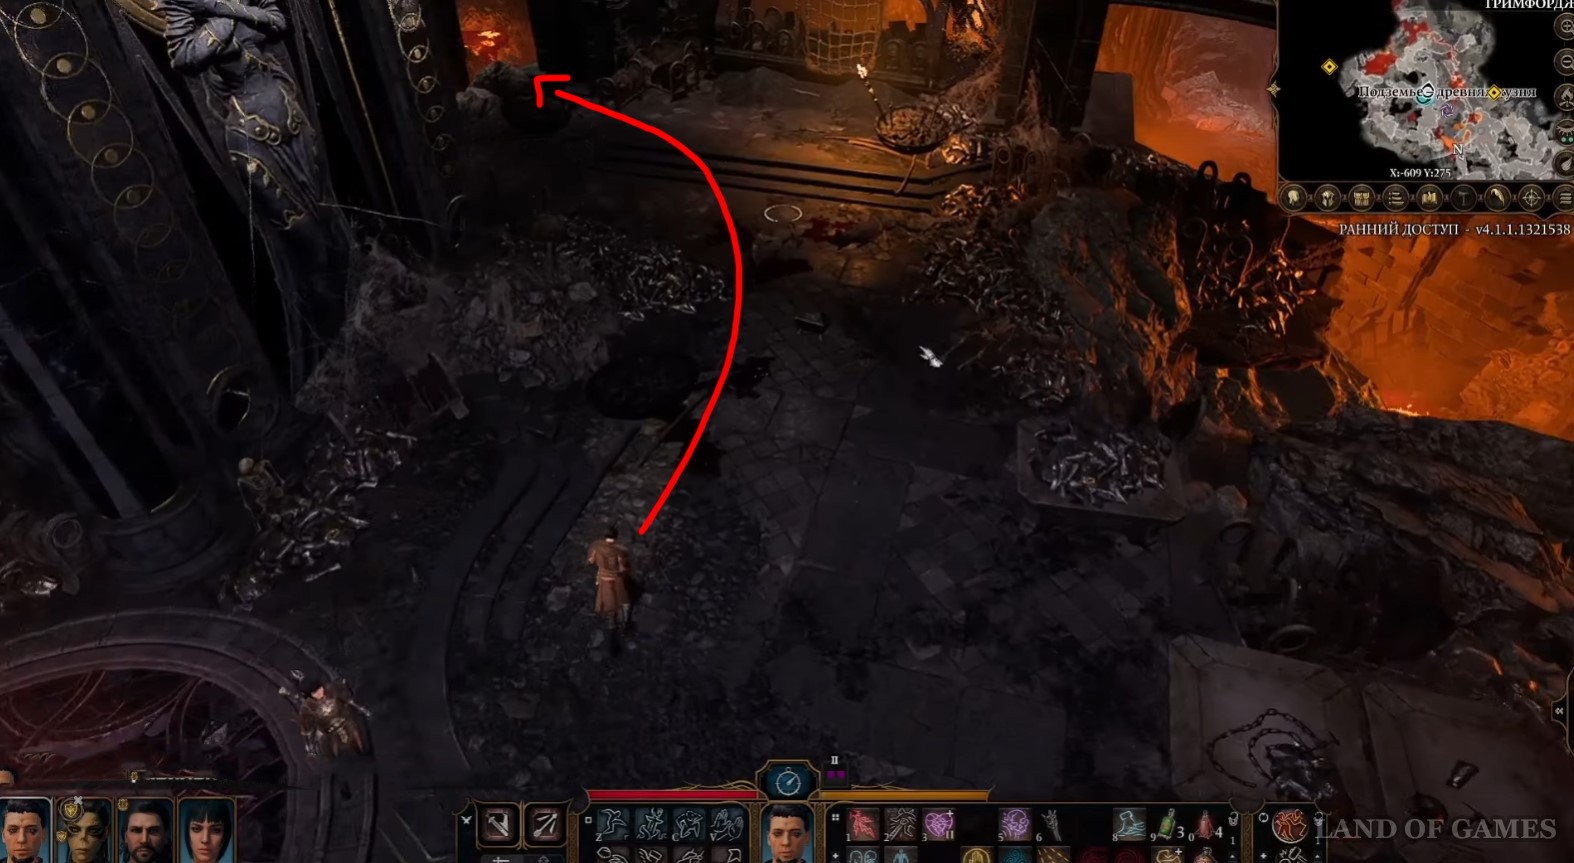
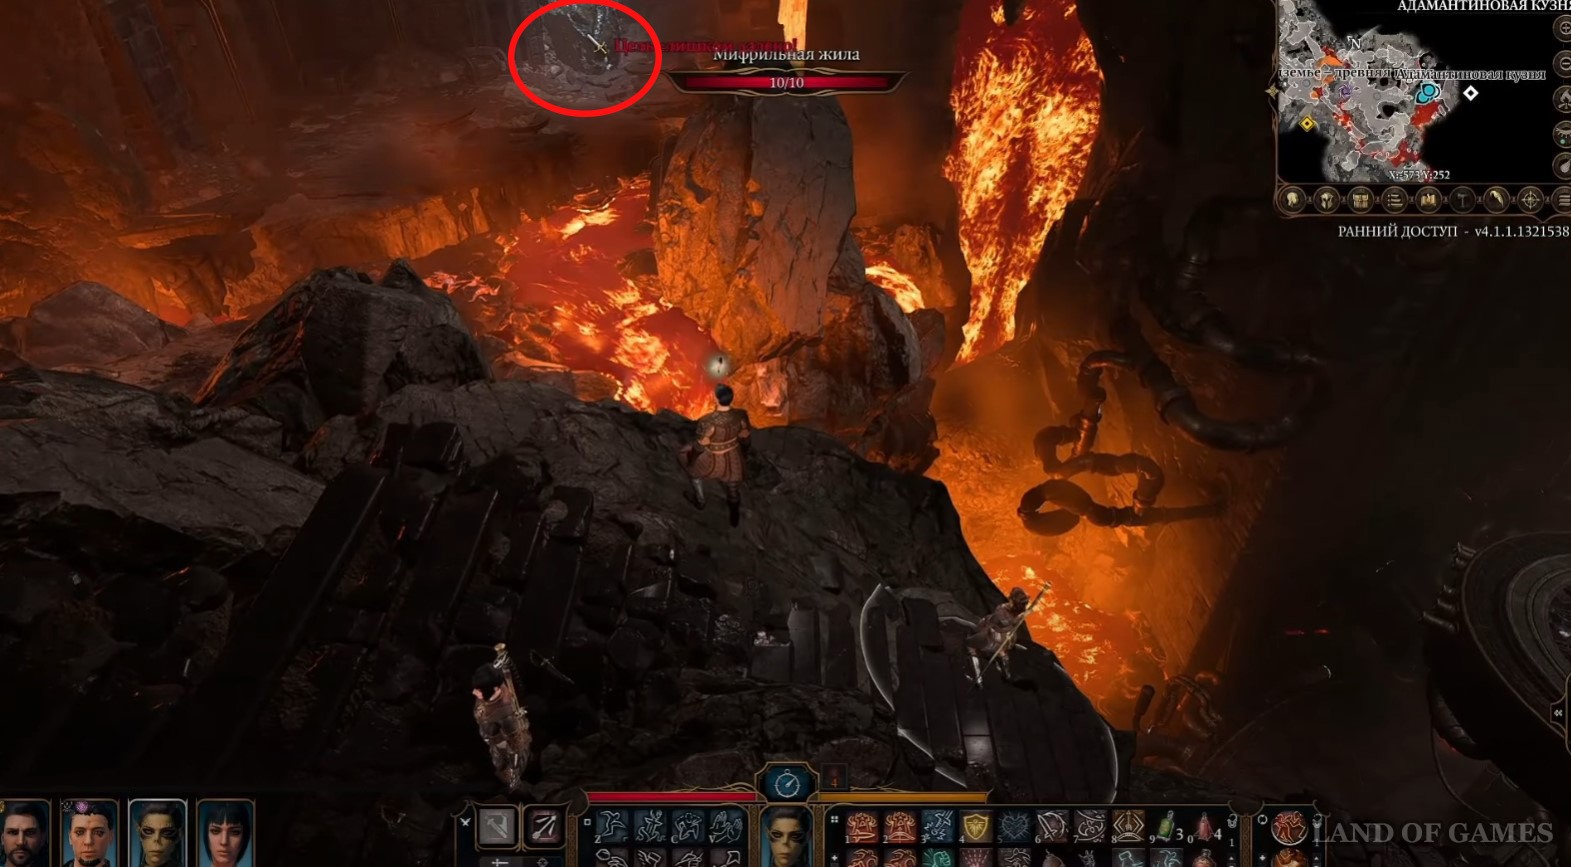
Вернитесь к входу в кузню и сверните вправо в место, где вы ранее расправились с ожившими доспехами, а затем поверните влево и спуститесь вниз к лавовой реке. Бегите по ней на запад, и вы обнаружите мифрильную жилу (Х: -644; Y: 258). Стукните по ней несколько раз дробящим оружием, чтобы добыть один мифрил.
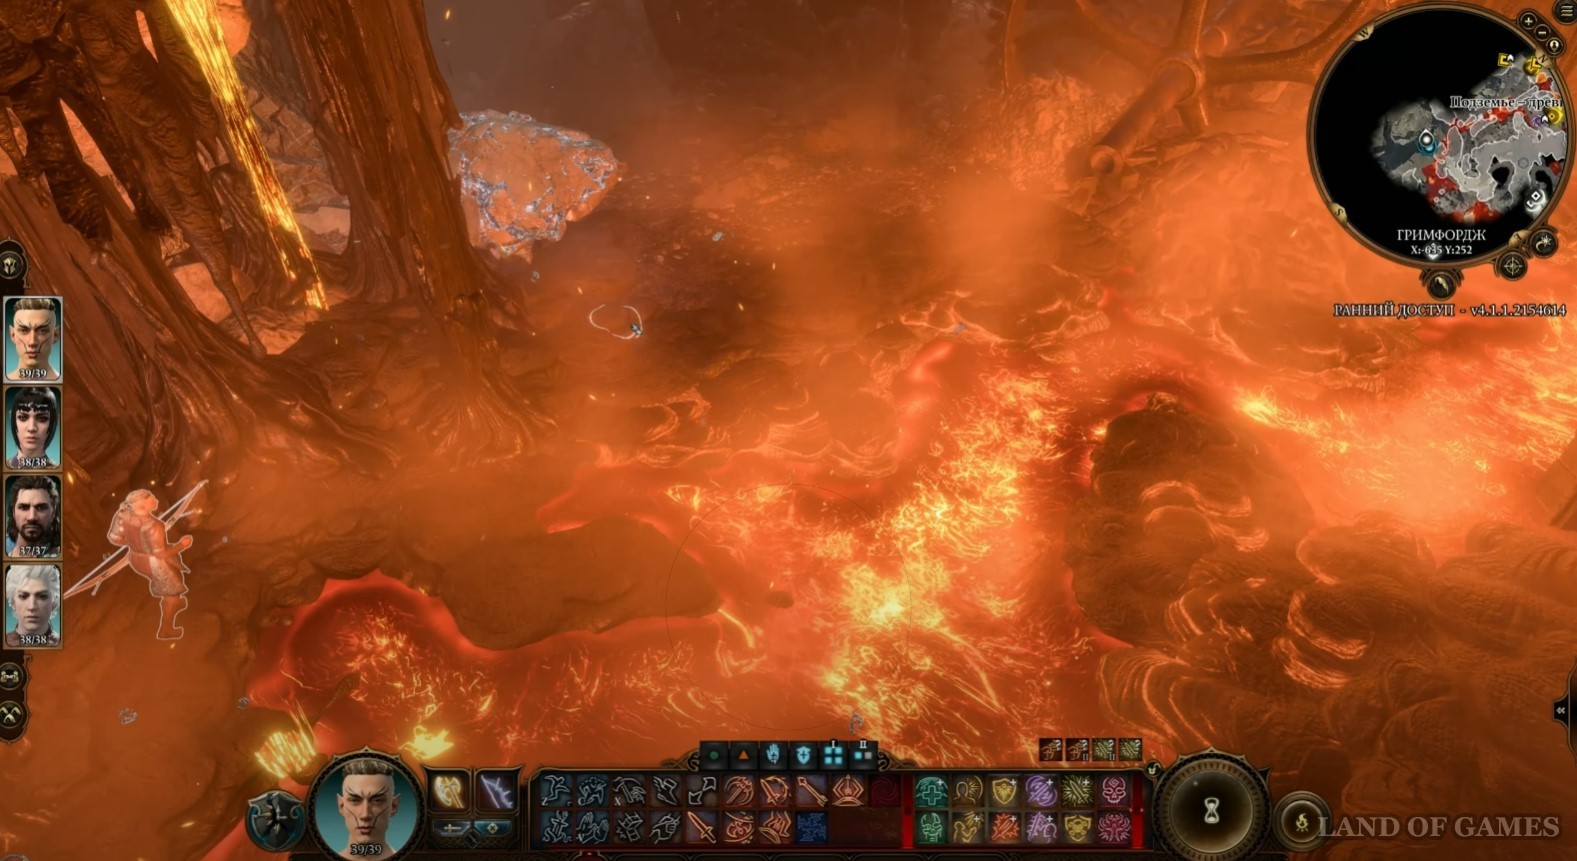
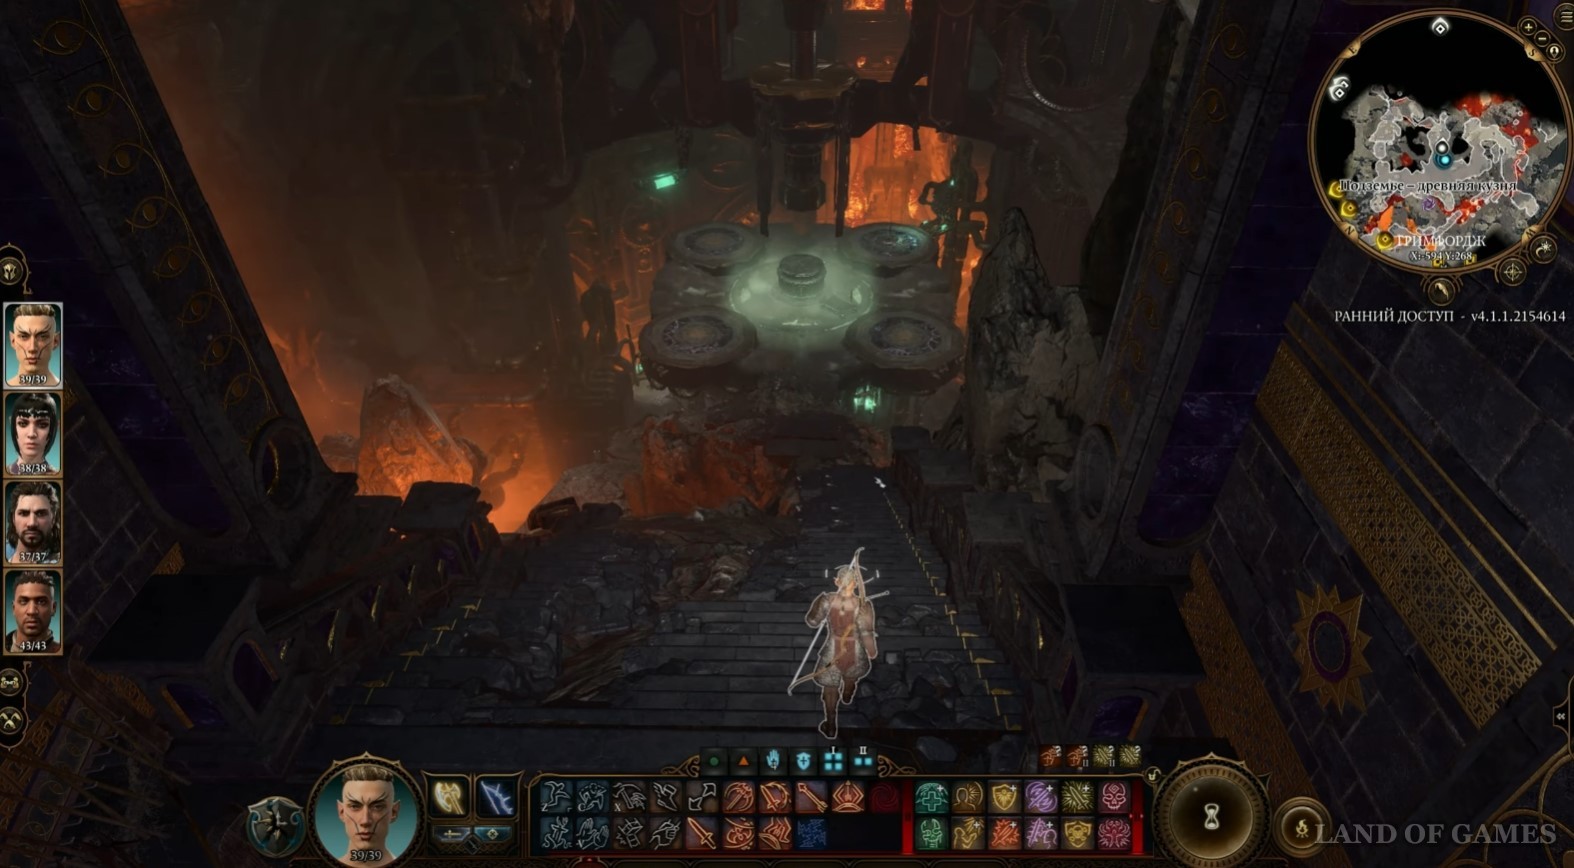
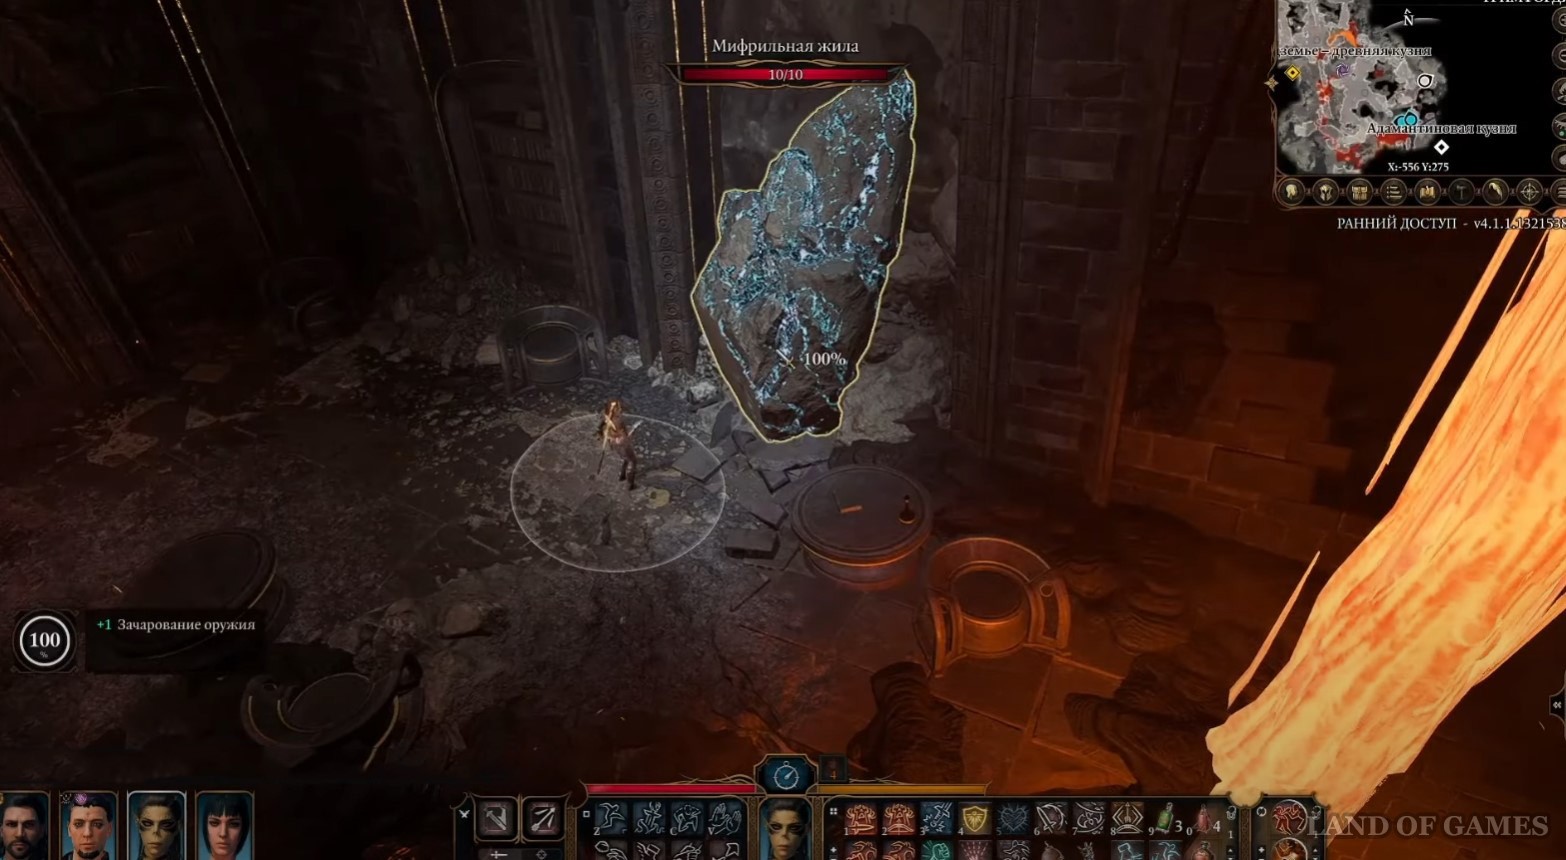
Возвратитесь к входу в кузницу и начните спускаться вниз по лестнице. Не доходя до круглой платформы внизу, поверните камеру налево, и вы обнаружите вдалеке новое месторождение руды. Спуститесь на нижний выступ и перепрыгните на другую сторону персонажем, имеющим усиленный прыжок.
Разберитесь с магматическими мефитами и пройдите вперед к мифрильной жиле (Х: -556; Y: 275). Как обычно, разломайте ее с помощью дробящего оружия и добудьте одну мифрильную руду. Таким образом, на данный момент времени вы сможете сделать лишь две адамантиновые вещи. Будем надеяться, что после выхода финальной версии игры количество ресурсов увеличится.
Где найти формы
Адамантиновый длинный меч
Лежит на мосту (Х: -622; Y: 413), куда вы должны спрыгнуть вторым персонажем, оставив первого героя на площадке с рычагами.
Адамантиновая булава
Лежит на столе (Х: -619; Y: 285) неподалеку от телепорта, расположенного возле входа в кузню. Вы вряд ли пропустите ее.
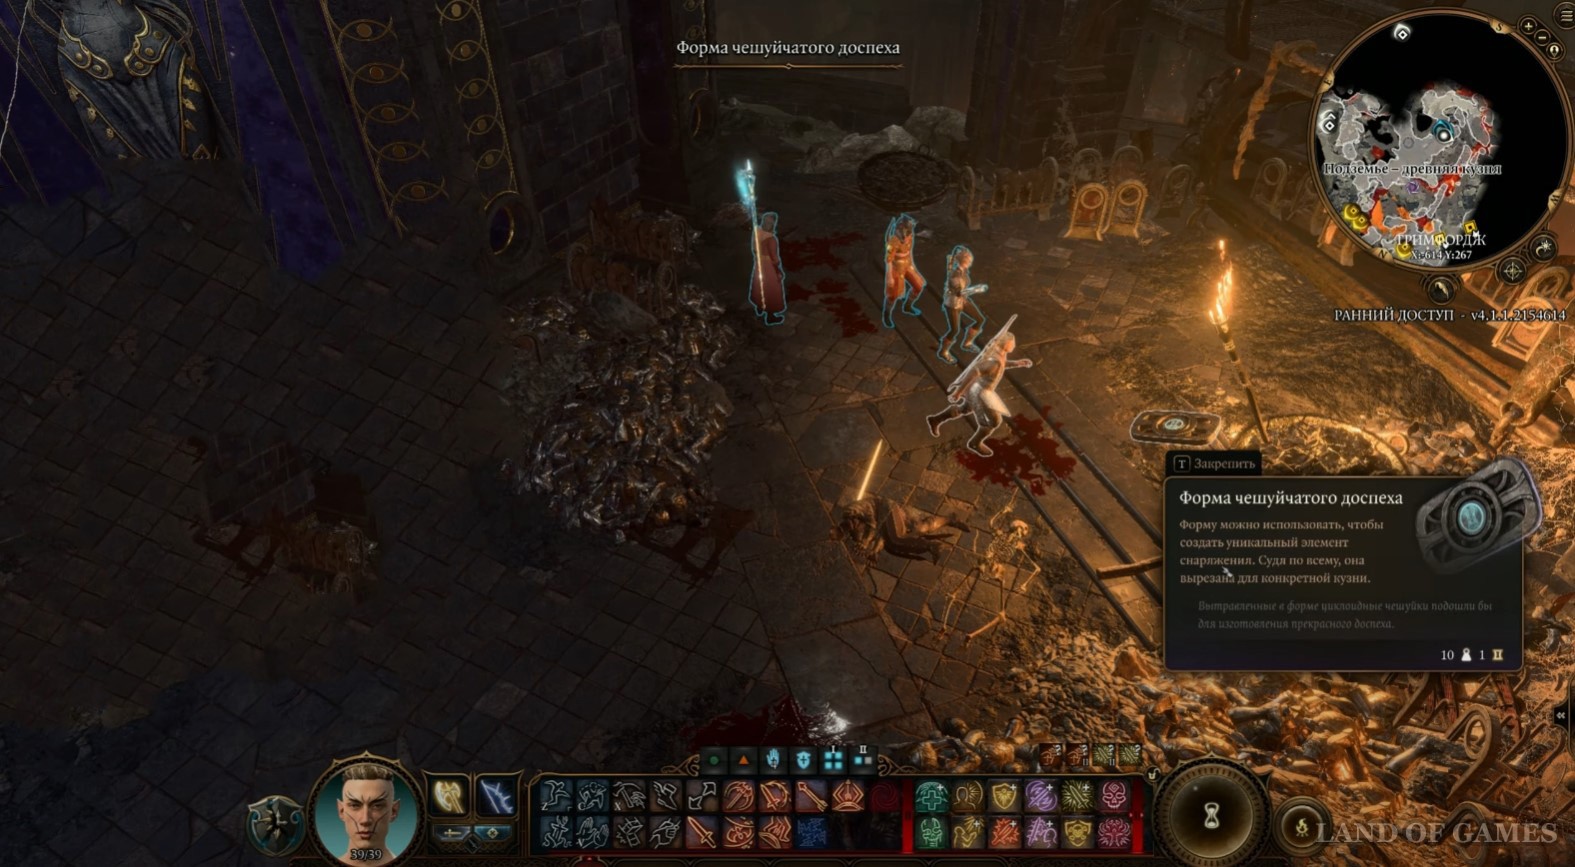
Адамантиновый чешуйчатый доспех
Можно отыскать с правой стороны от входа в кузню, неподалеку от того места, где нужно драться с оживленными доспехами. Ищите по координатам Х: -617; Y: 266.
Адамантиновый пластинчатый доспех
Тоже находится на обзорной площадке, однако теперь уже с левой стороны от места, где ранее на вас напали оживленные доспехи. Ищите по координатам Х: -591; Y: 302.
Адамантиновый скимитар
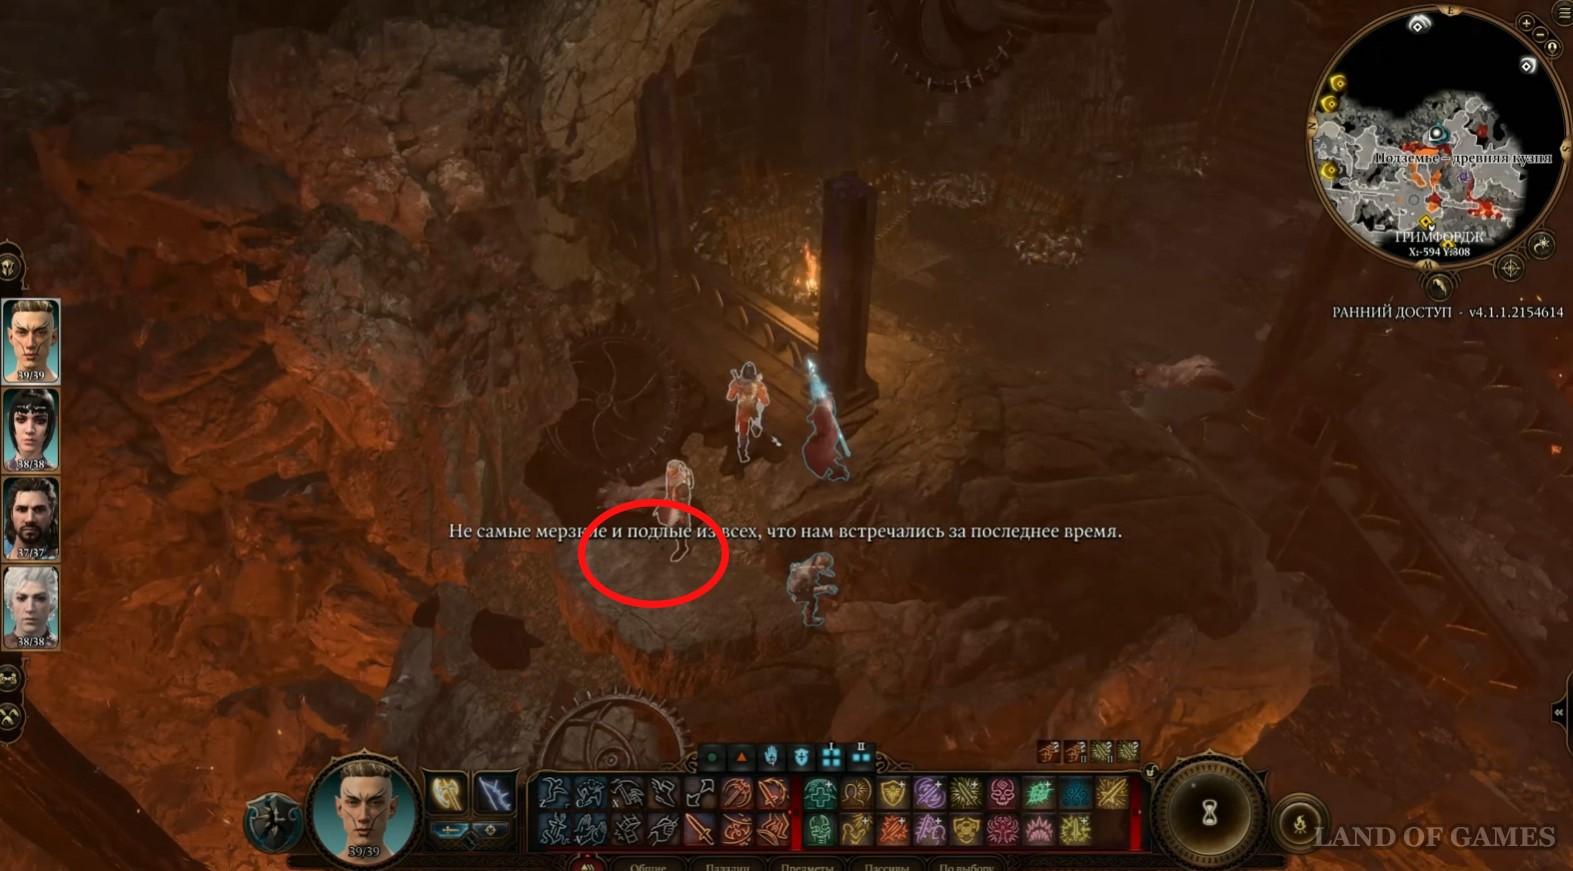
Можно найти возле рычагов, где ранее вы оставили своего третьего персонажа. Эти рукоятки двигают площадку, висящую над Нере. Чтобы получить форму, нужно осмотреть скелет, лежащий слева от рычагов. Ищите по координатам Х: -606; Y: 322.
Адамантиновый щит
Его можно найти в спальнях, куда ведет огромная двойная дверь, которую можно обнаружить на пути ко вторым рычагам. Ищите ее по координатам Х: -603; Y: 311.
Активация Адамантиновой кузни
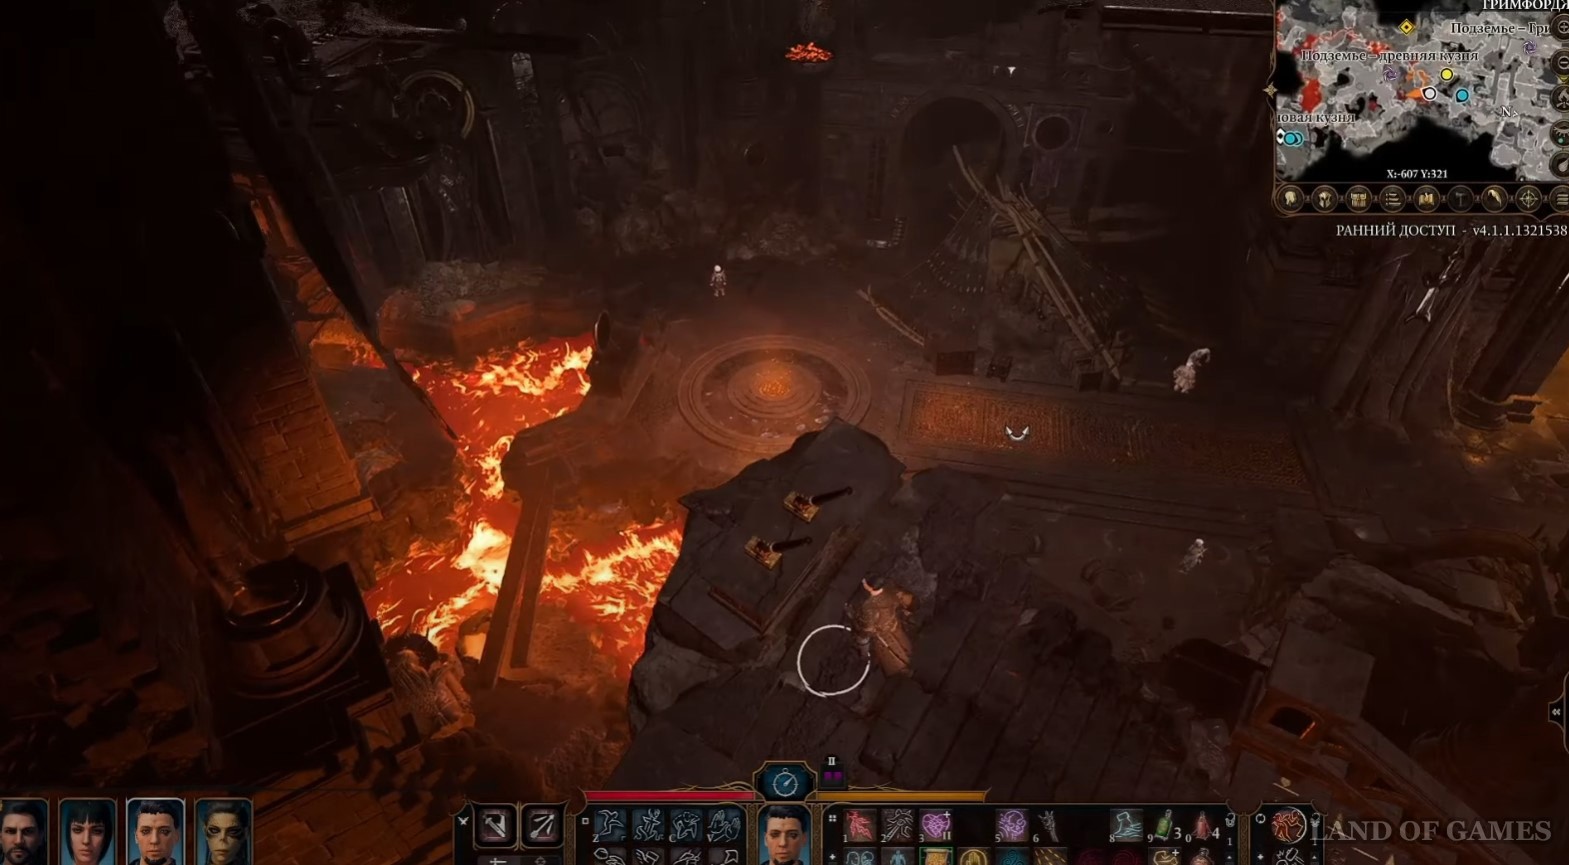
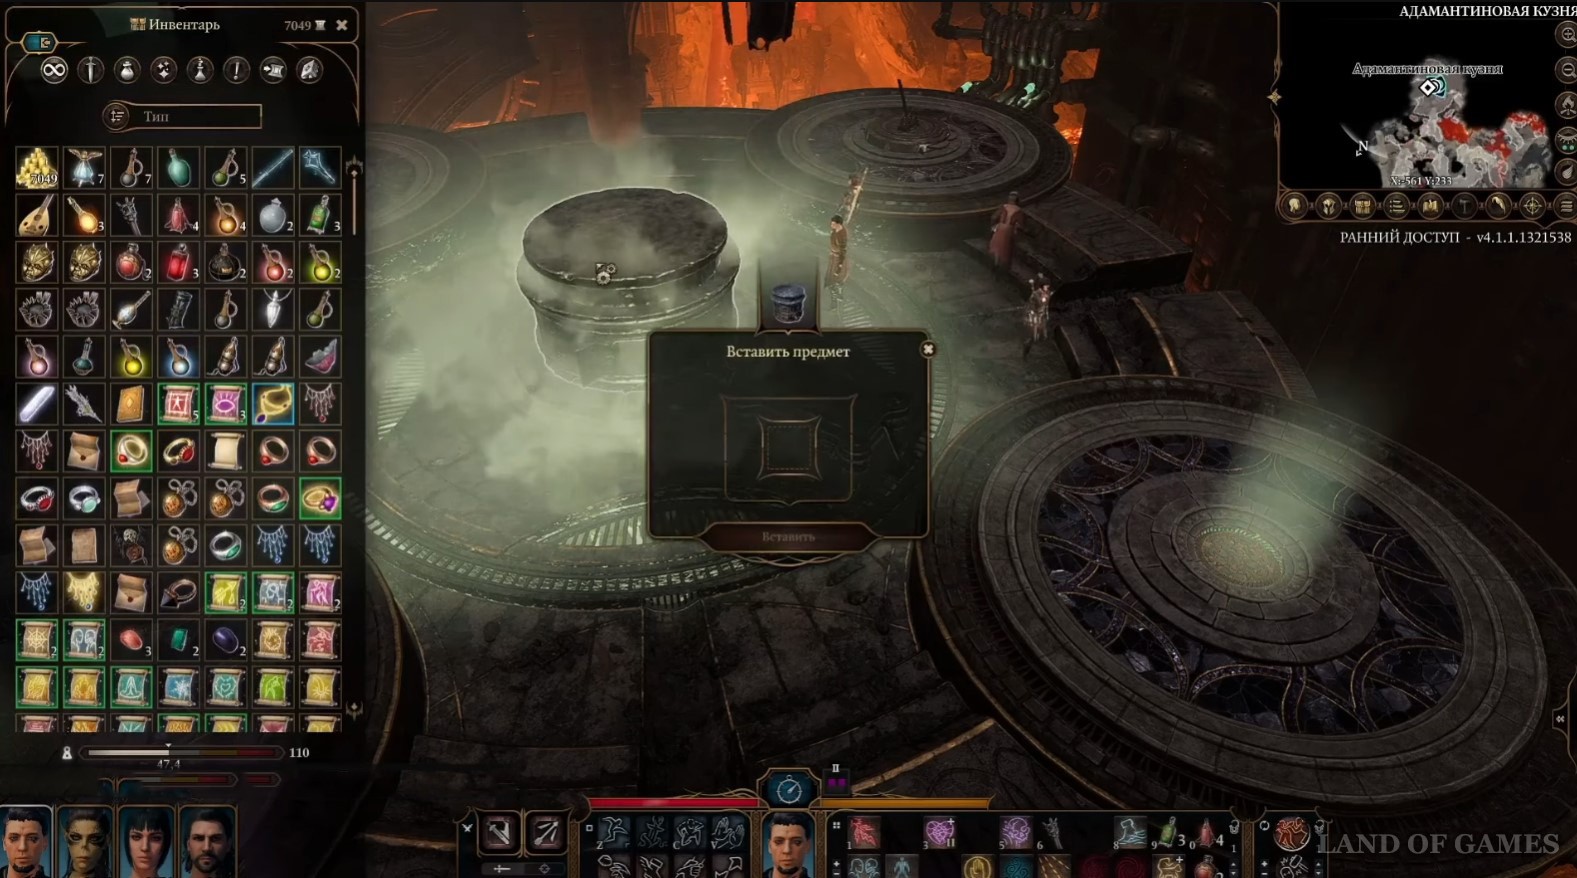
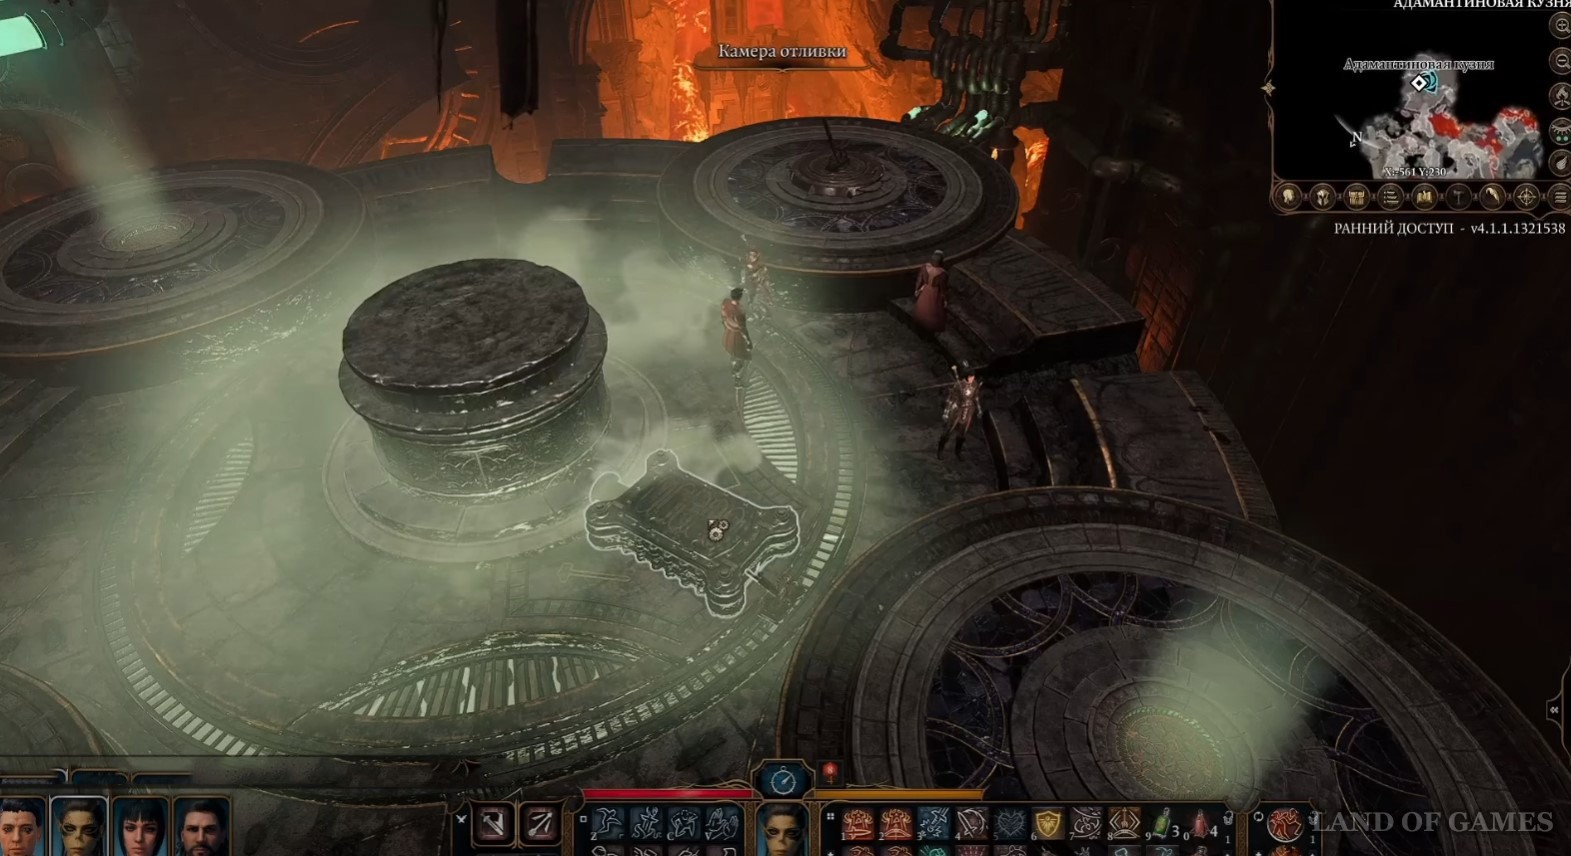
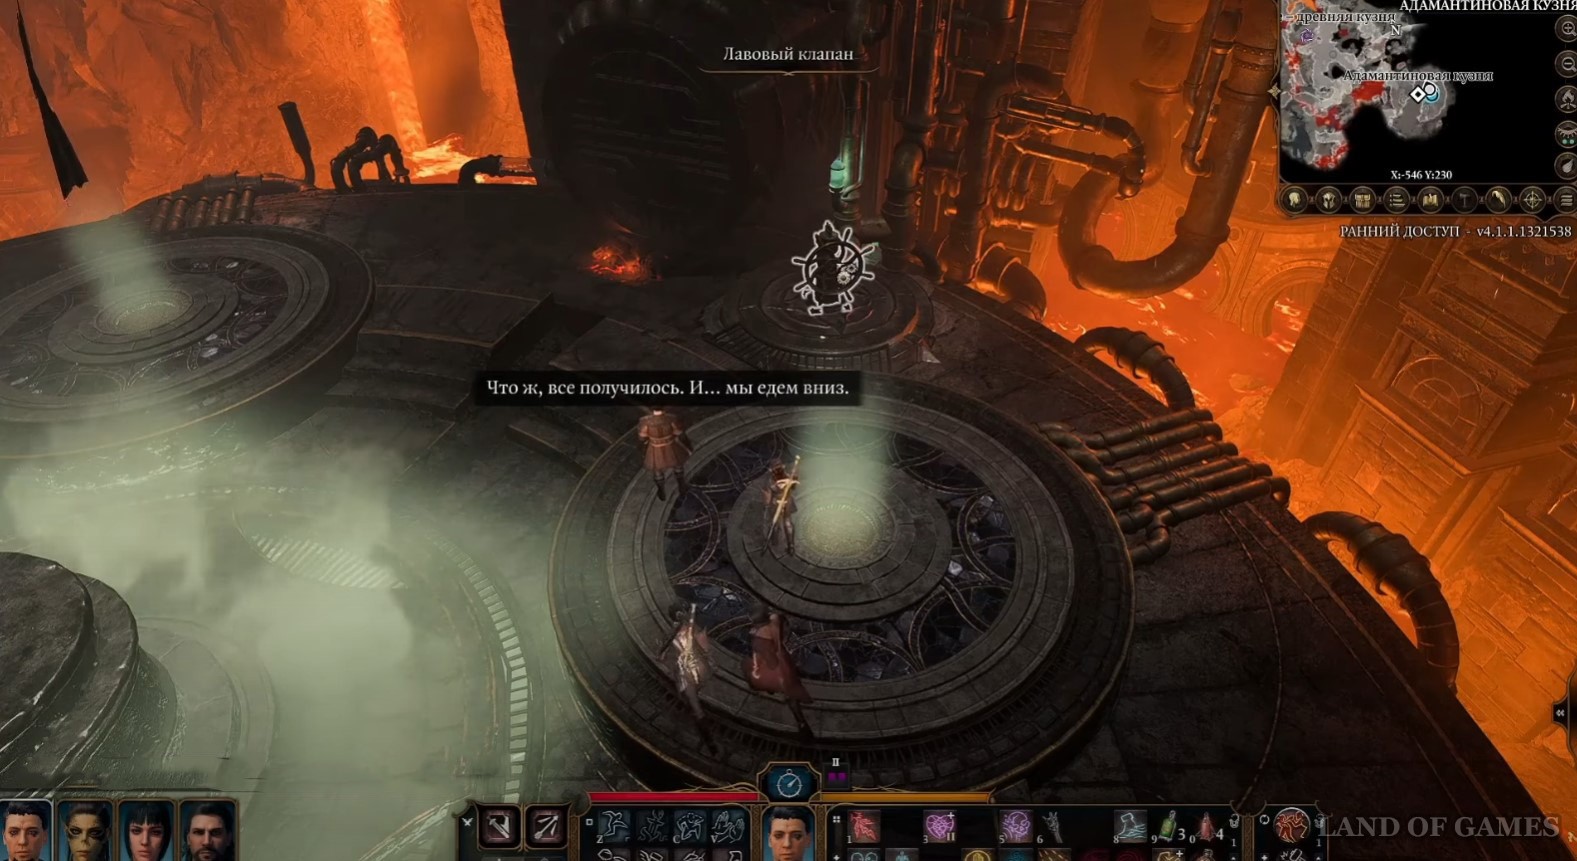
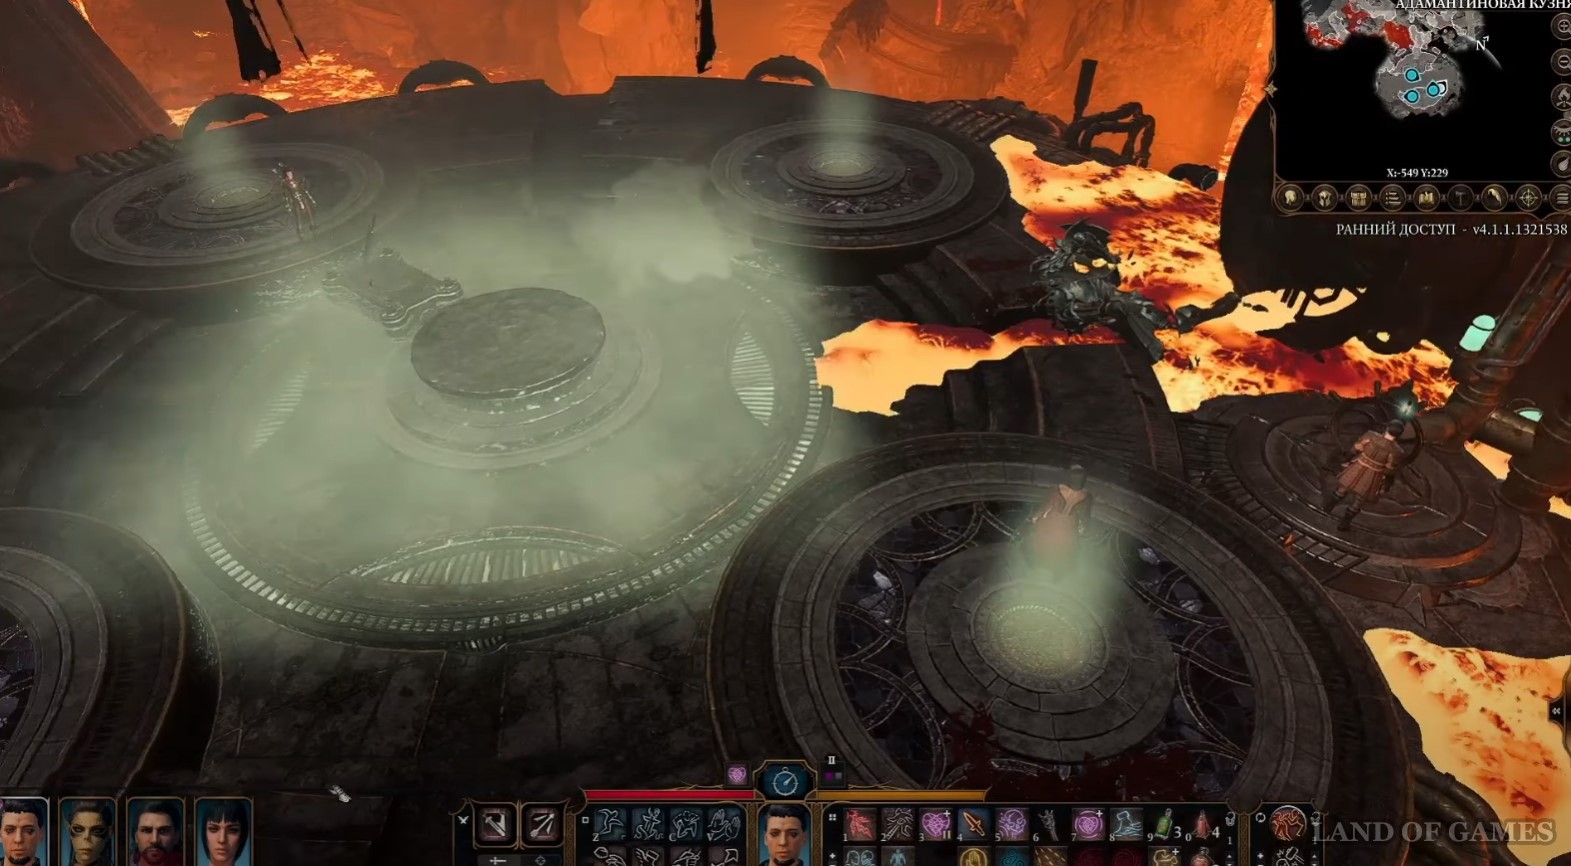
Добыв все нужные материалы, возвратитесь в кузню и спрыгните на круглую площадку, а потом положите одну мифрильную руду в Тигель в центре. Затем взаимодействуйте с Камерой отливки, расположенной рядом, и поместите в нее форму оружия или доспеха, который вы хотите скрафтить.
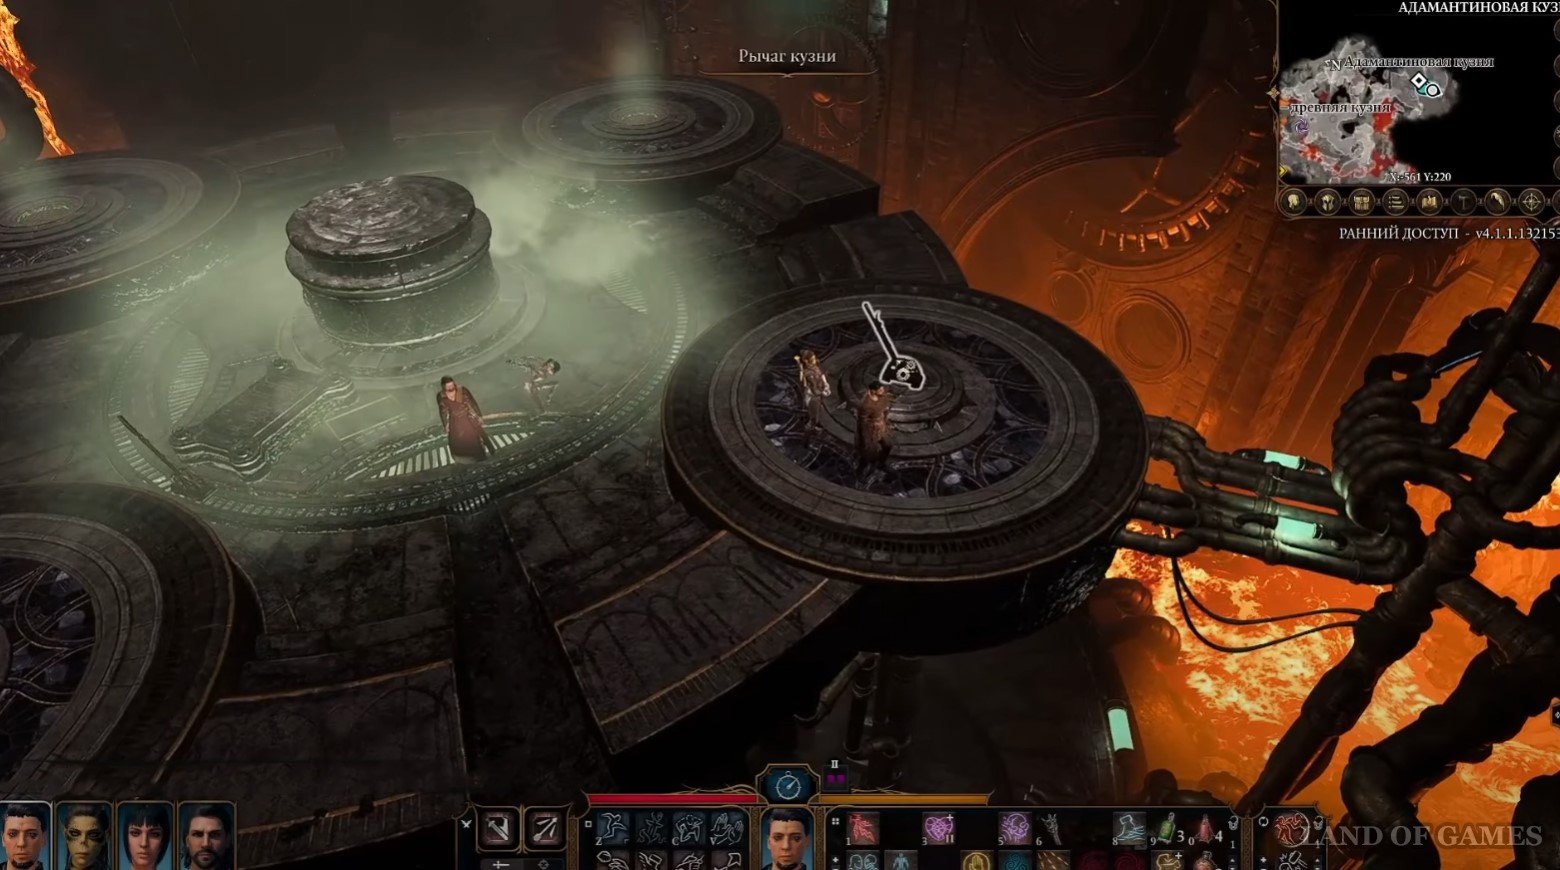
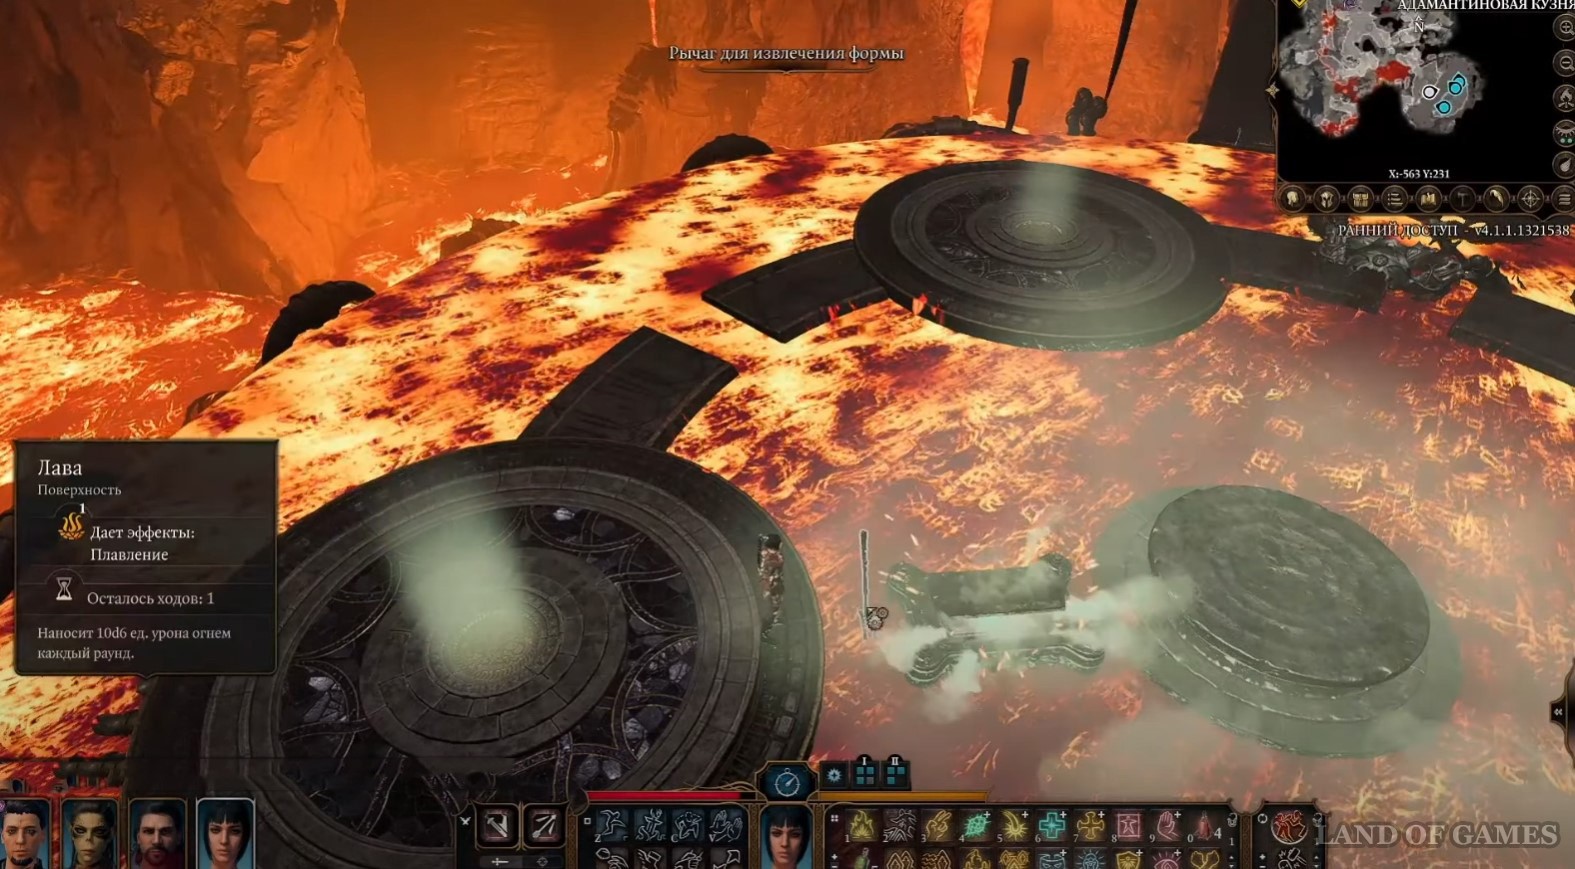
Теперь нажмите на рычаг кузни, находящийся неподалеку, и посмотрите небольшой ролик, в рамках которого платформа опустится вниз. Затем поверните Лавовый клапан, чтобы выпустить магму. Однако советуем вам перед этим хорошенько подготовиться, так как дальше вас ждет битва с сильным боссом.
Как победить защитника кузни Грима
Здесь мы опишем наиболее простой способ победы над боссом, к которому можно прийти самостоятельно, если внимательно читать все записки, связанные с кузней. Другие тактики описаны в нашем отдельном руководстве по сражению с Гримом.
Итак, в обычном состоянии враг неуязвим к урону. Наносить ему повреждения можно только тогда, когда он наступает на лаву и получает статус «Плавление» (длится 2 хода). Противник, кстати, уязвим к дробящему оружию. Добавим, что после получения удара он изменяет приоритет угрозы, пытаясь убить того героя, который атаковал его последним.
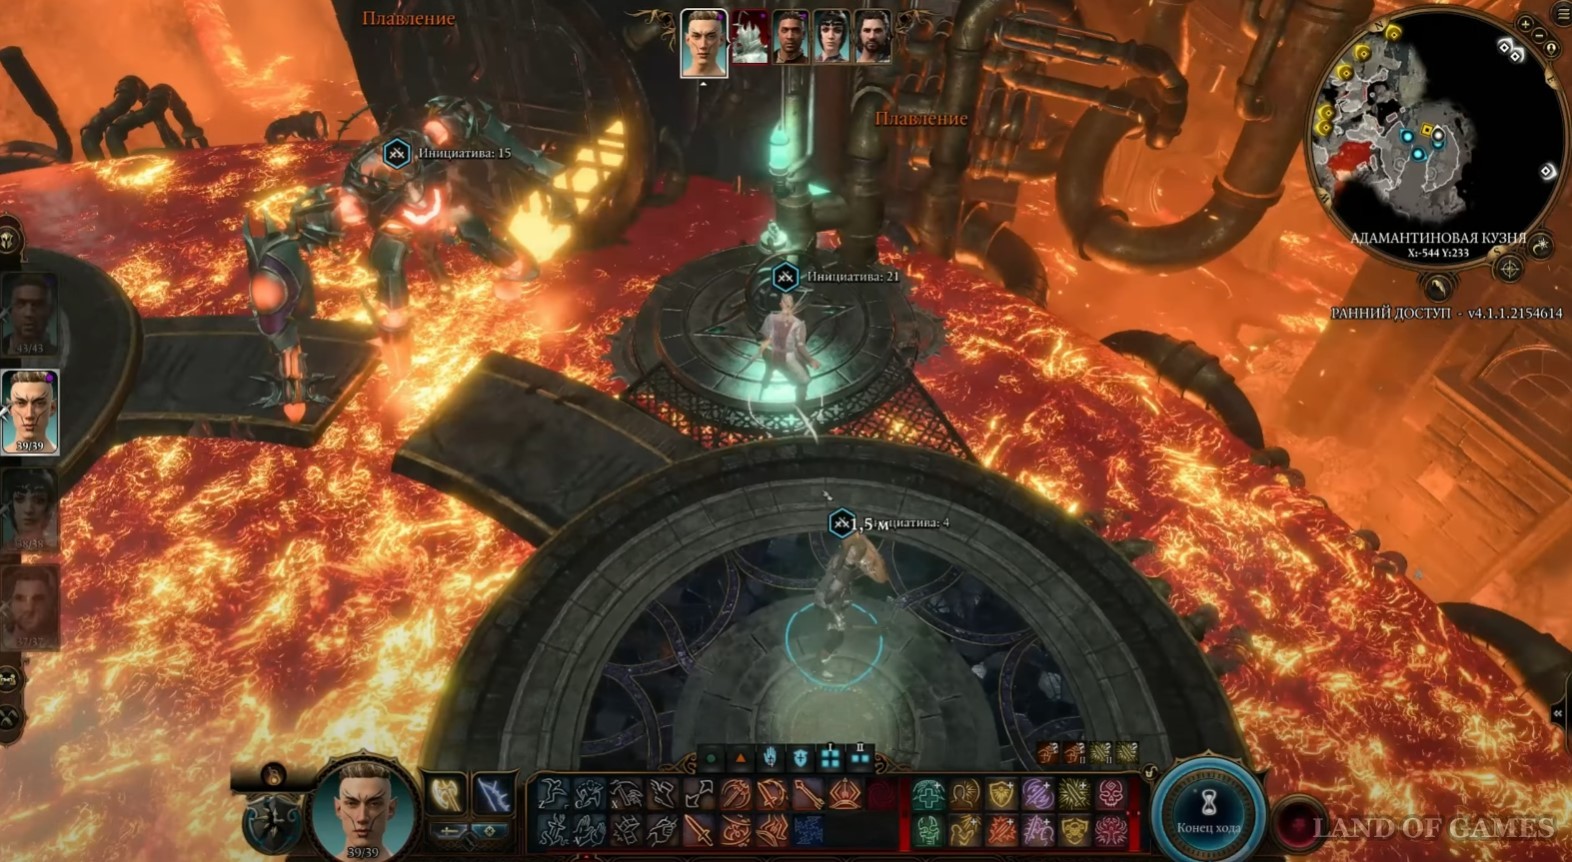
Учитывая всю эту информацию, перед сражением разделите свою команду и выберите персонажа, обладающего Туманным шагом. Запрыгните им на тигель и ждите. Второго героя поставьте рядом с лавовым клапаном, а третьего и четвертого – на западную площадку внизу.
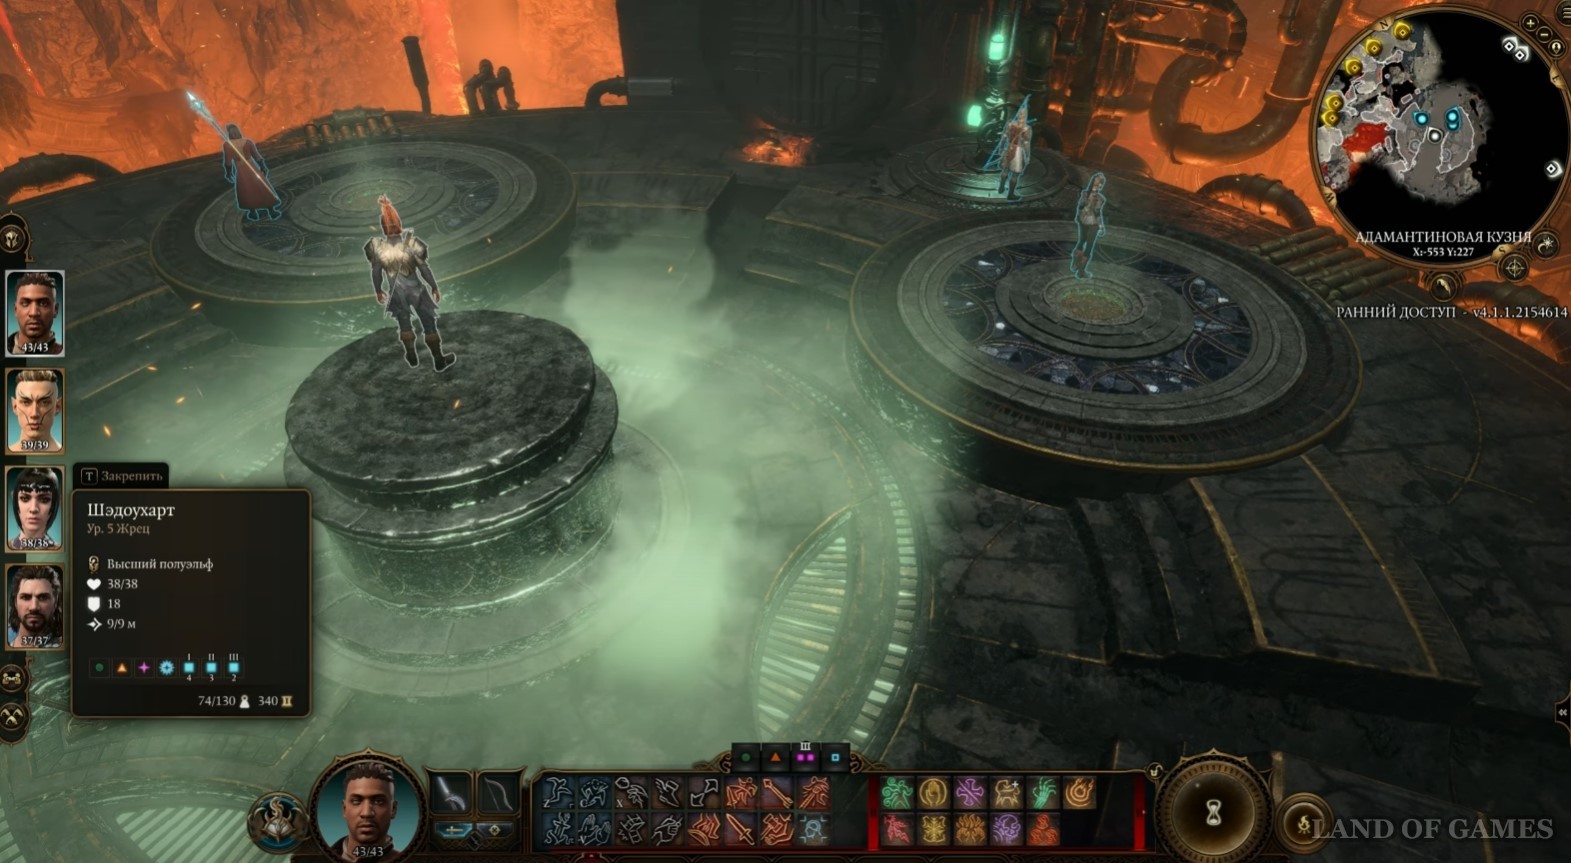
Возьмите под управление персонажа, стоящего возле клапана, и активируйте его. Когда защитник выйдет, атакуйте его героем, забравшимся на тигель. Снова переключитесь на второго бойца и ведите его к рычагу кузни. Остальные члены команды должны пропустить ход. Босс выберет приоритетной целью героя, находящегося в центре арены.

На следующий ход используйте Туманный шаг, чтобы телепортироваться подальше от Грима, а затем вторым персонажем нажмите на рычаг кузни. В результате молот рухнет прямо на босса, снеся у него 120-140 единиц здоровья. Далее расправьтесь с группой магматических мефитов, которые появятся на западе (для этого вам и понадобятся находящиеся там два члена отряда).


Теперь нужно повторить весь этот процесс заново. Не забудьте вновь открыть клапан, чтобы защитник попал в лаву. В ином случае он не получит урона от молота. Когда у него останется 20-40 единиц жизни, можете попробовать добить его самостоятельно.
Как использовать Адамантиновую кузню
Разобравшись с боссом, опять взаимодействуйте с клапаном, чтобы на площадку вылилась лава. Далее нажмите на рычаг кузни, дабы ударить молотом по тигелю. В конце кликните по рычагу для извлечения формы. В итоге вы сможете забрать созданное оружие или доспехи.
Для крафта другого снаряжения просто снова поместите в кузню мифрильную руду и иную форму, а потом повторите вышеописанный процесс.
Характеристики адамантиновой экипировки
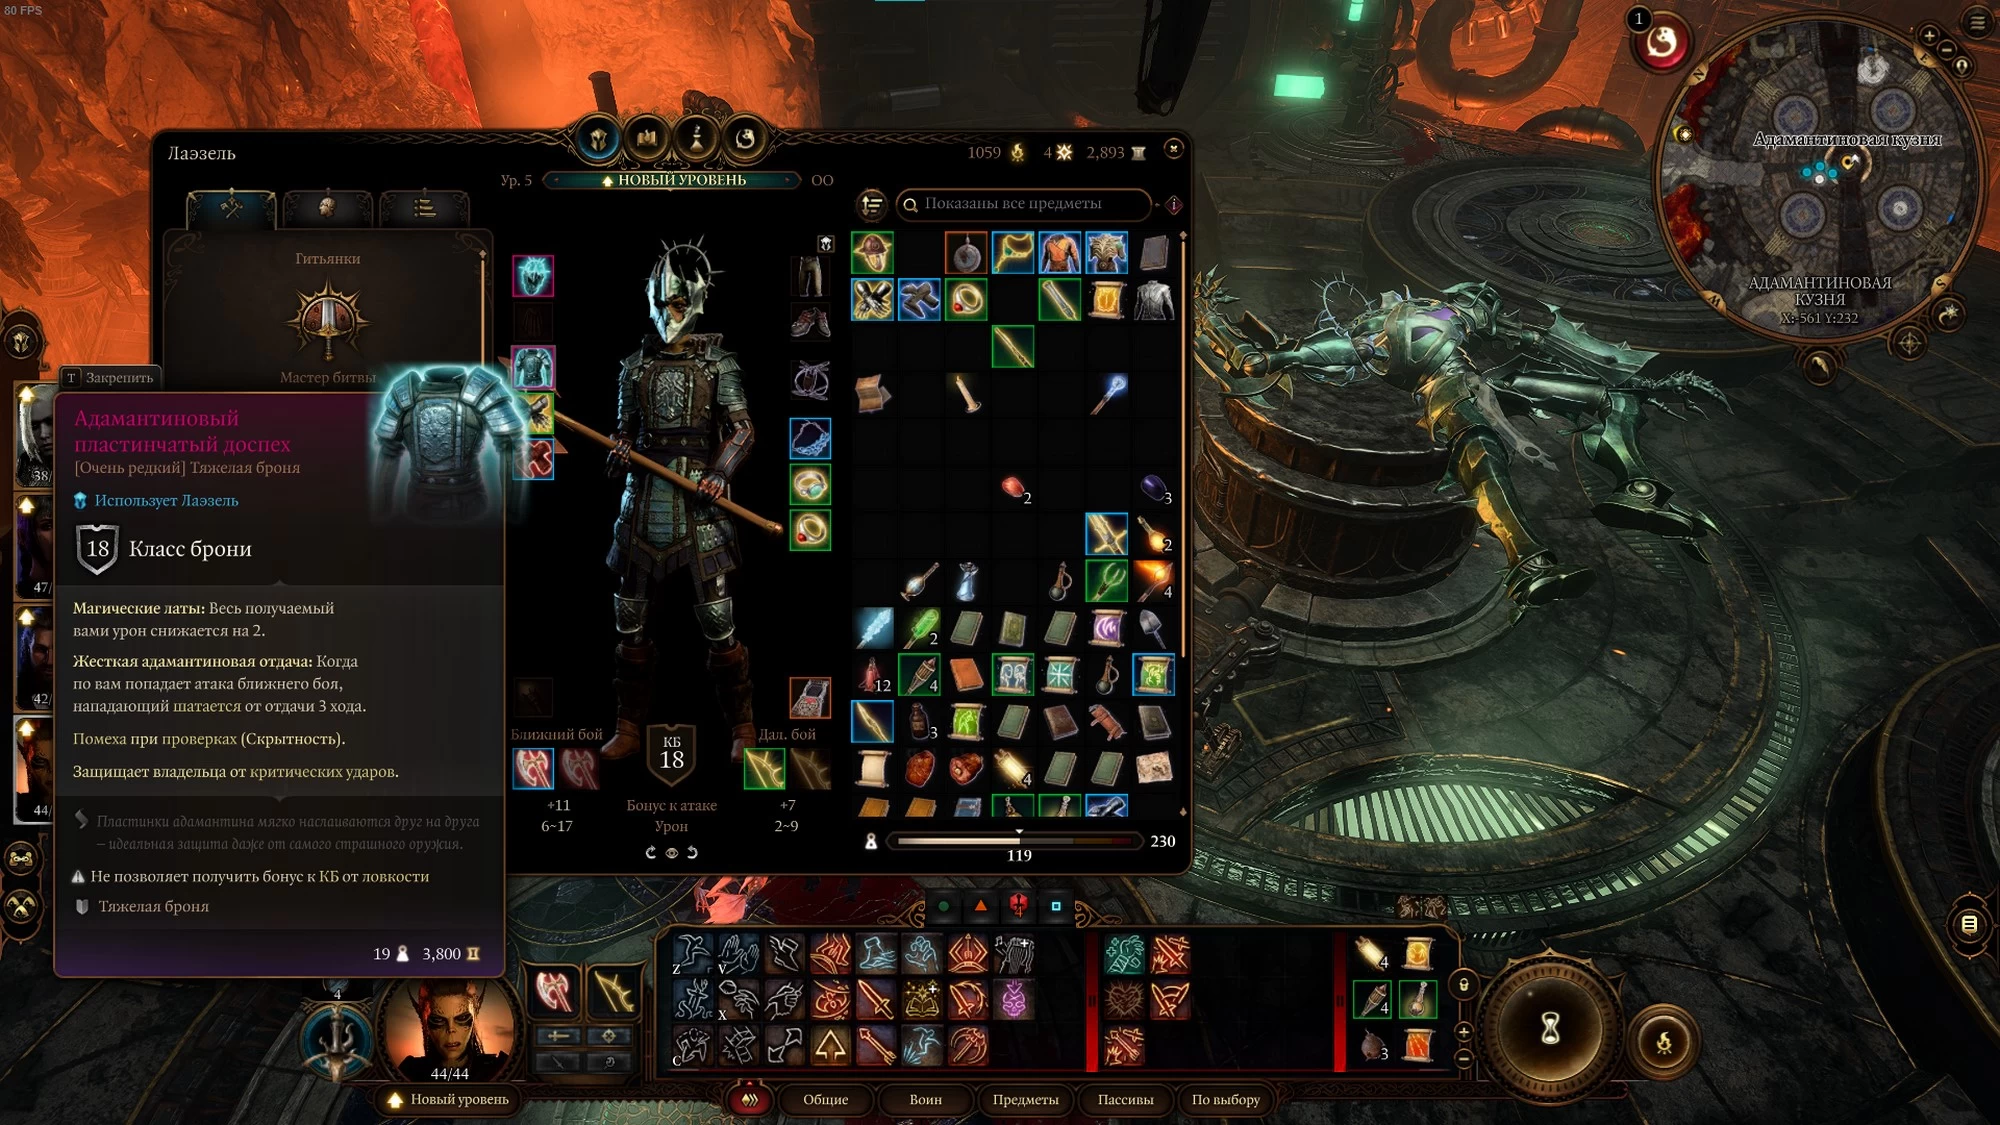
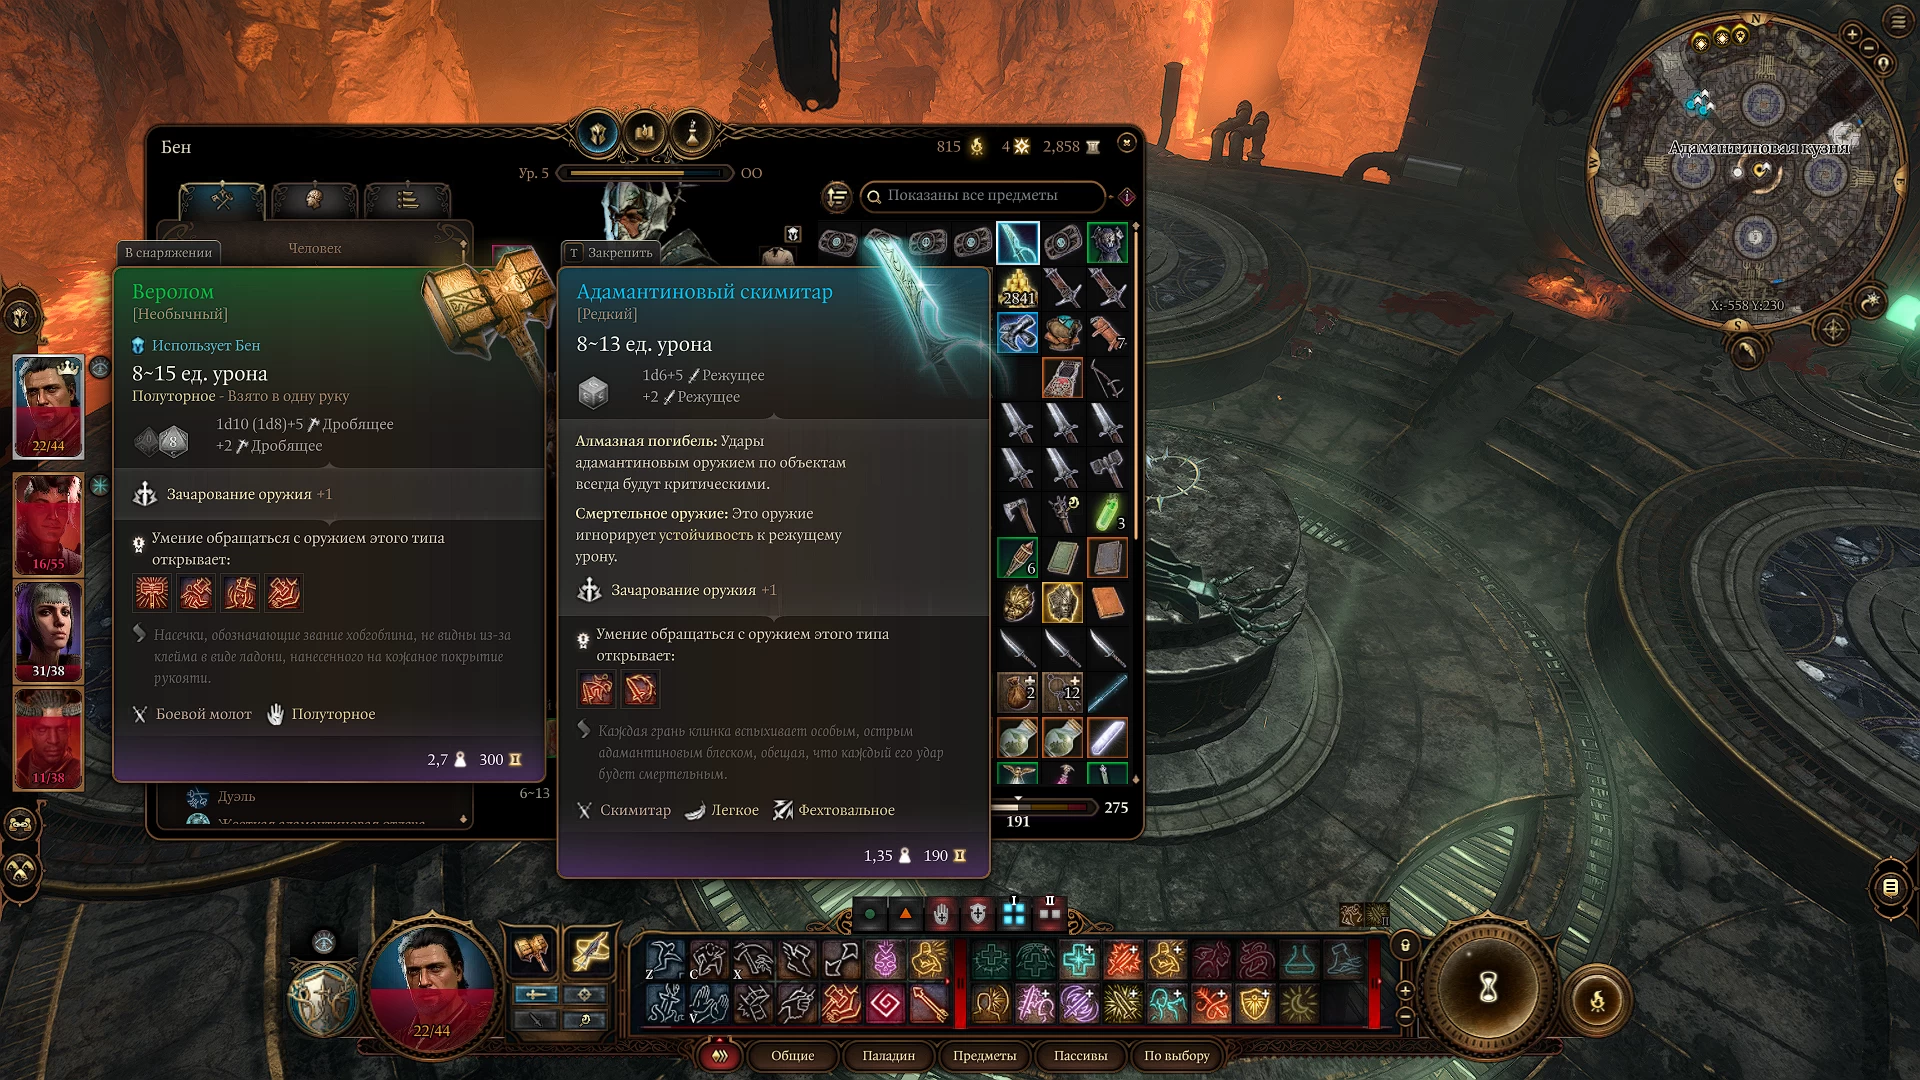
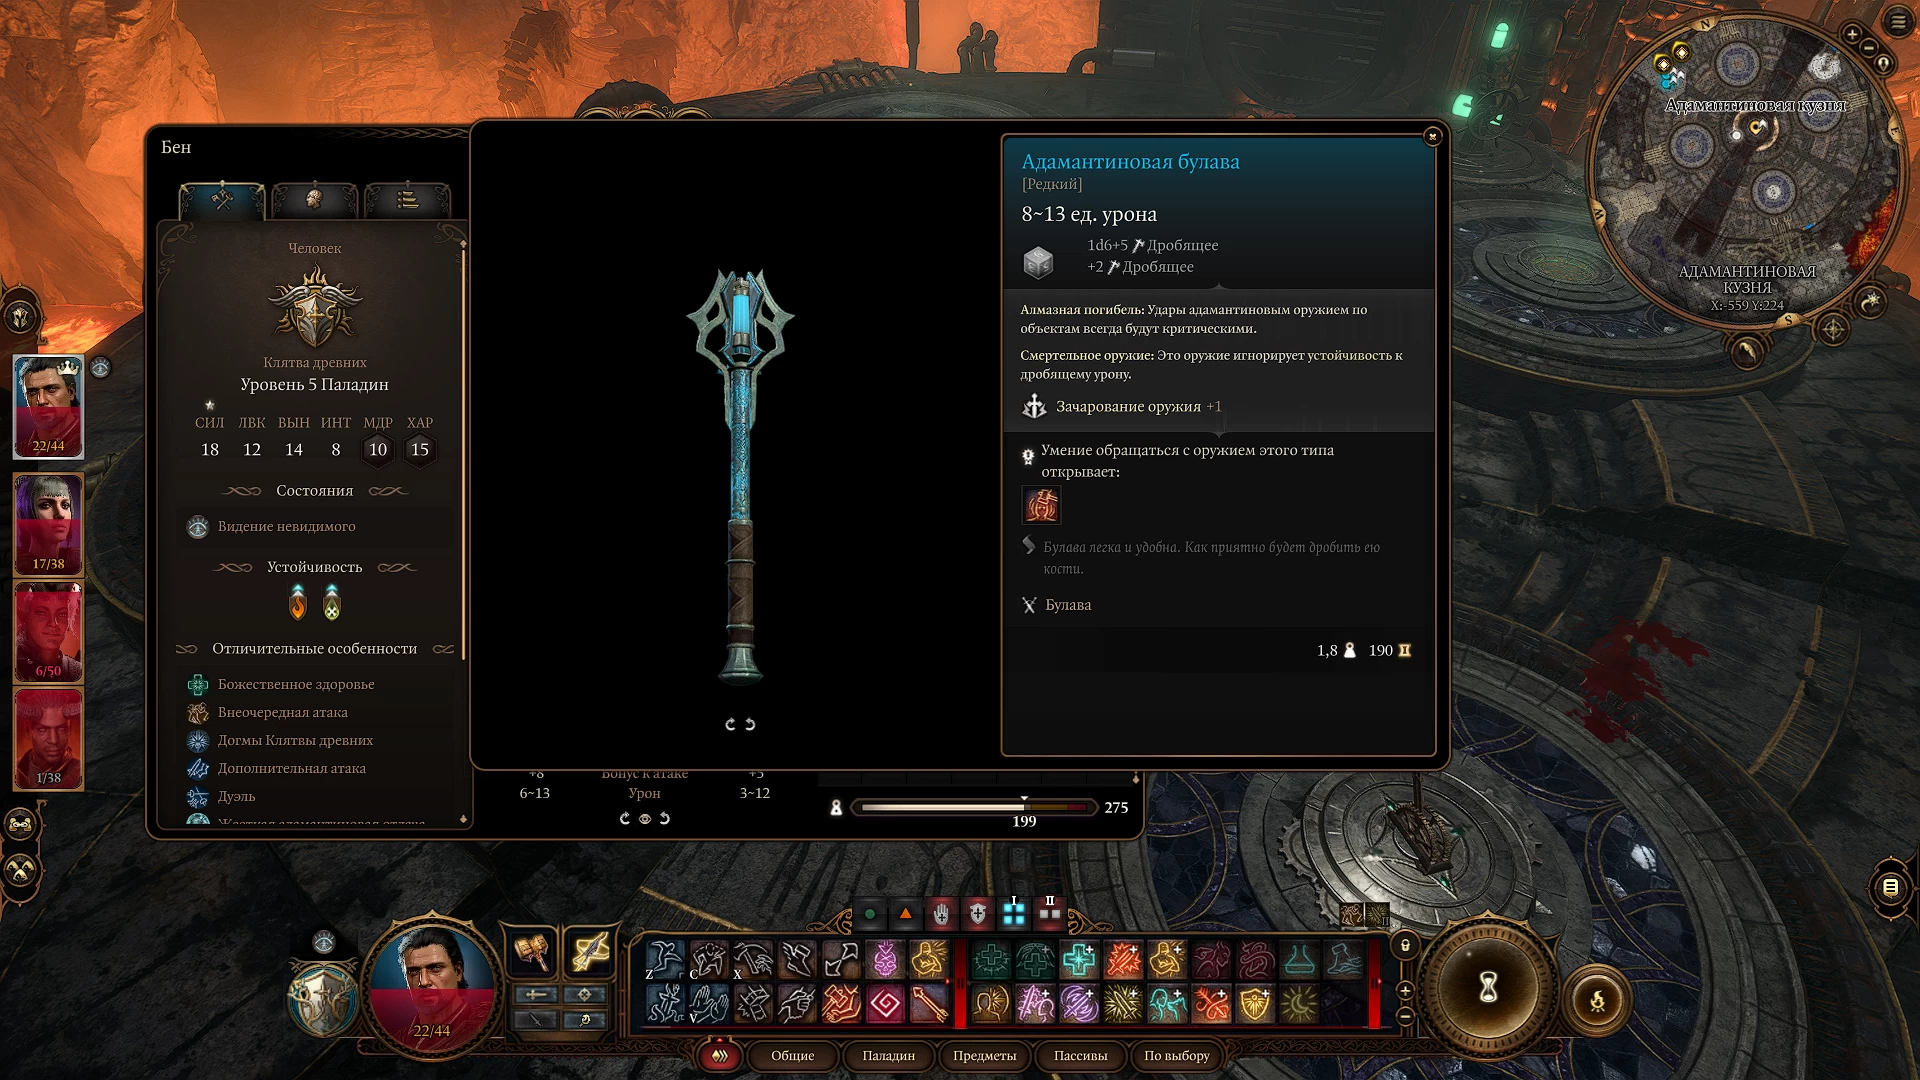
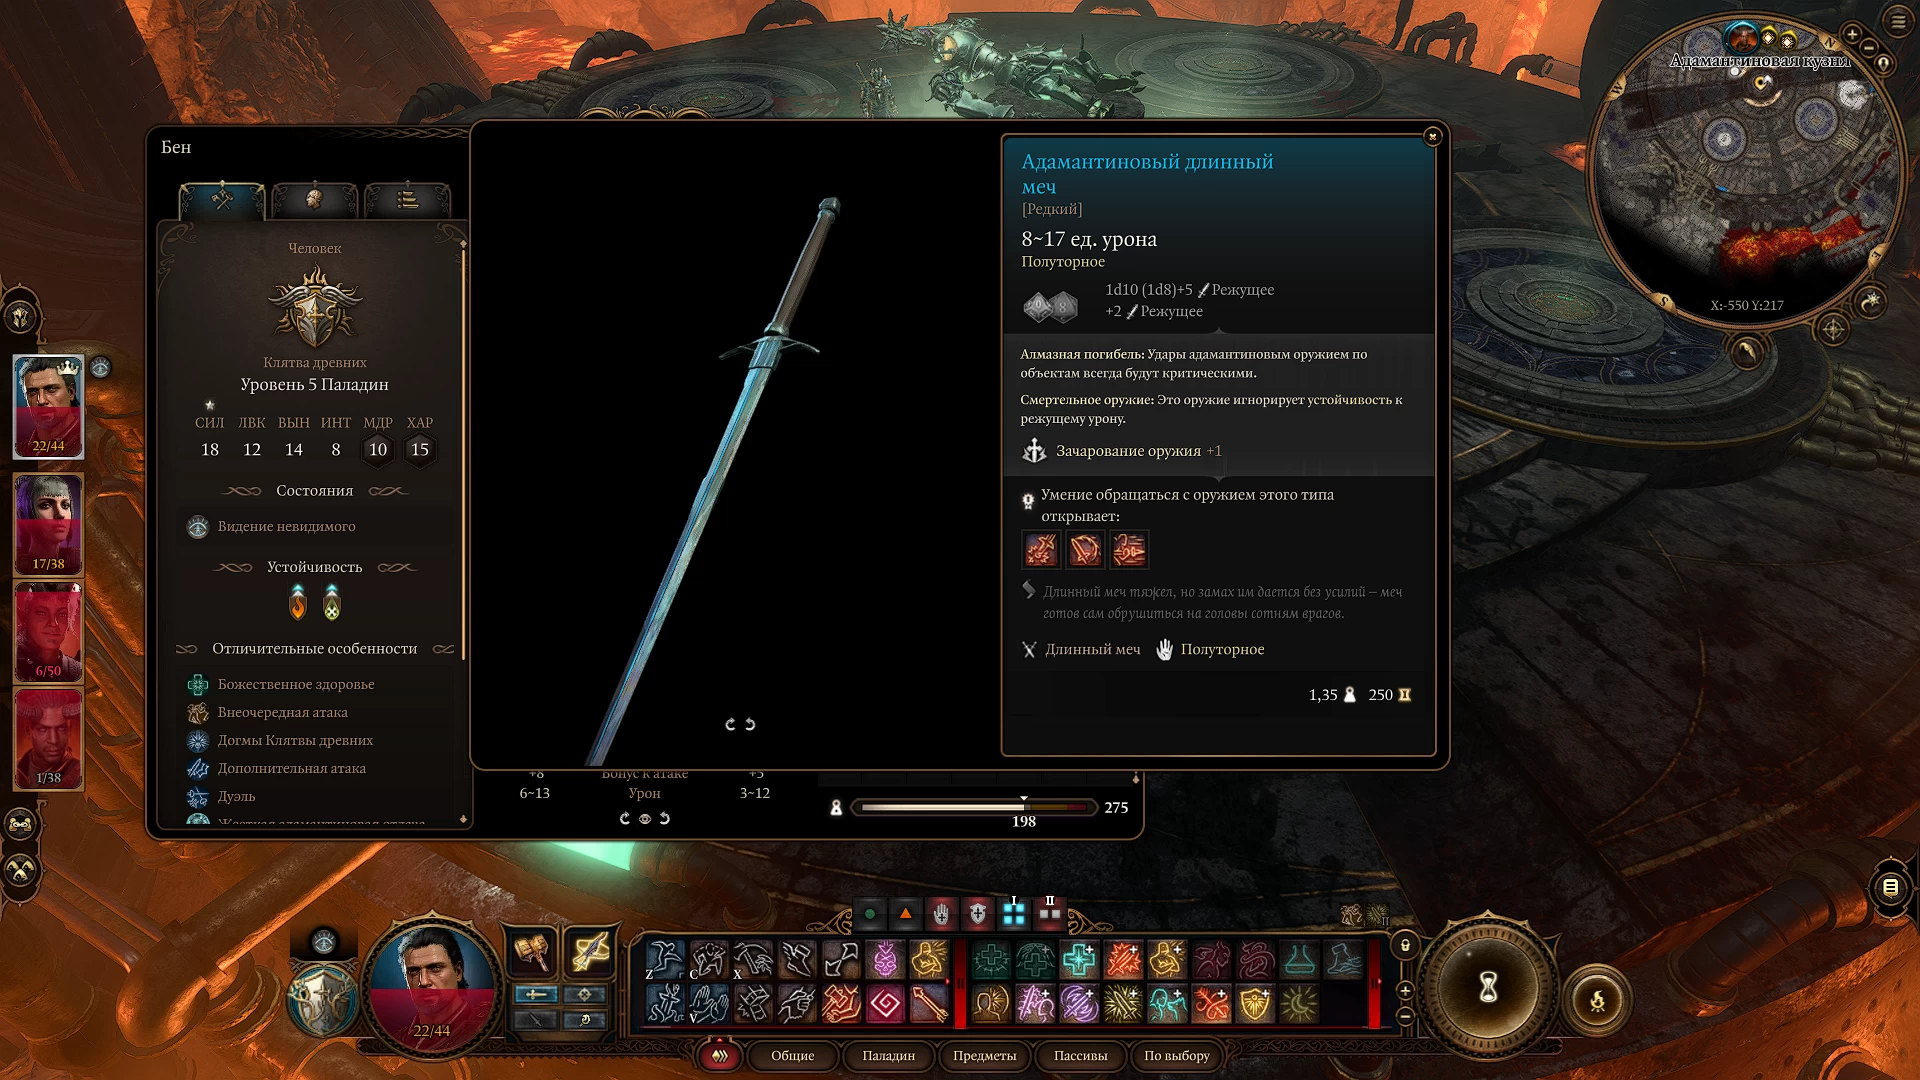
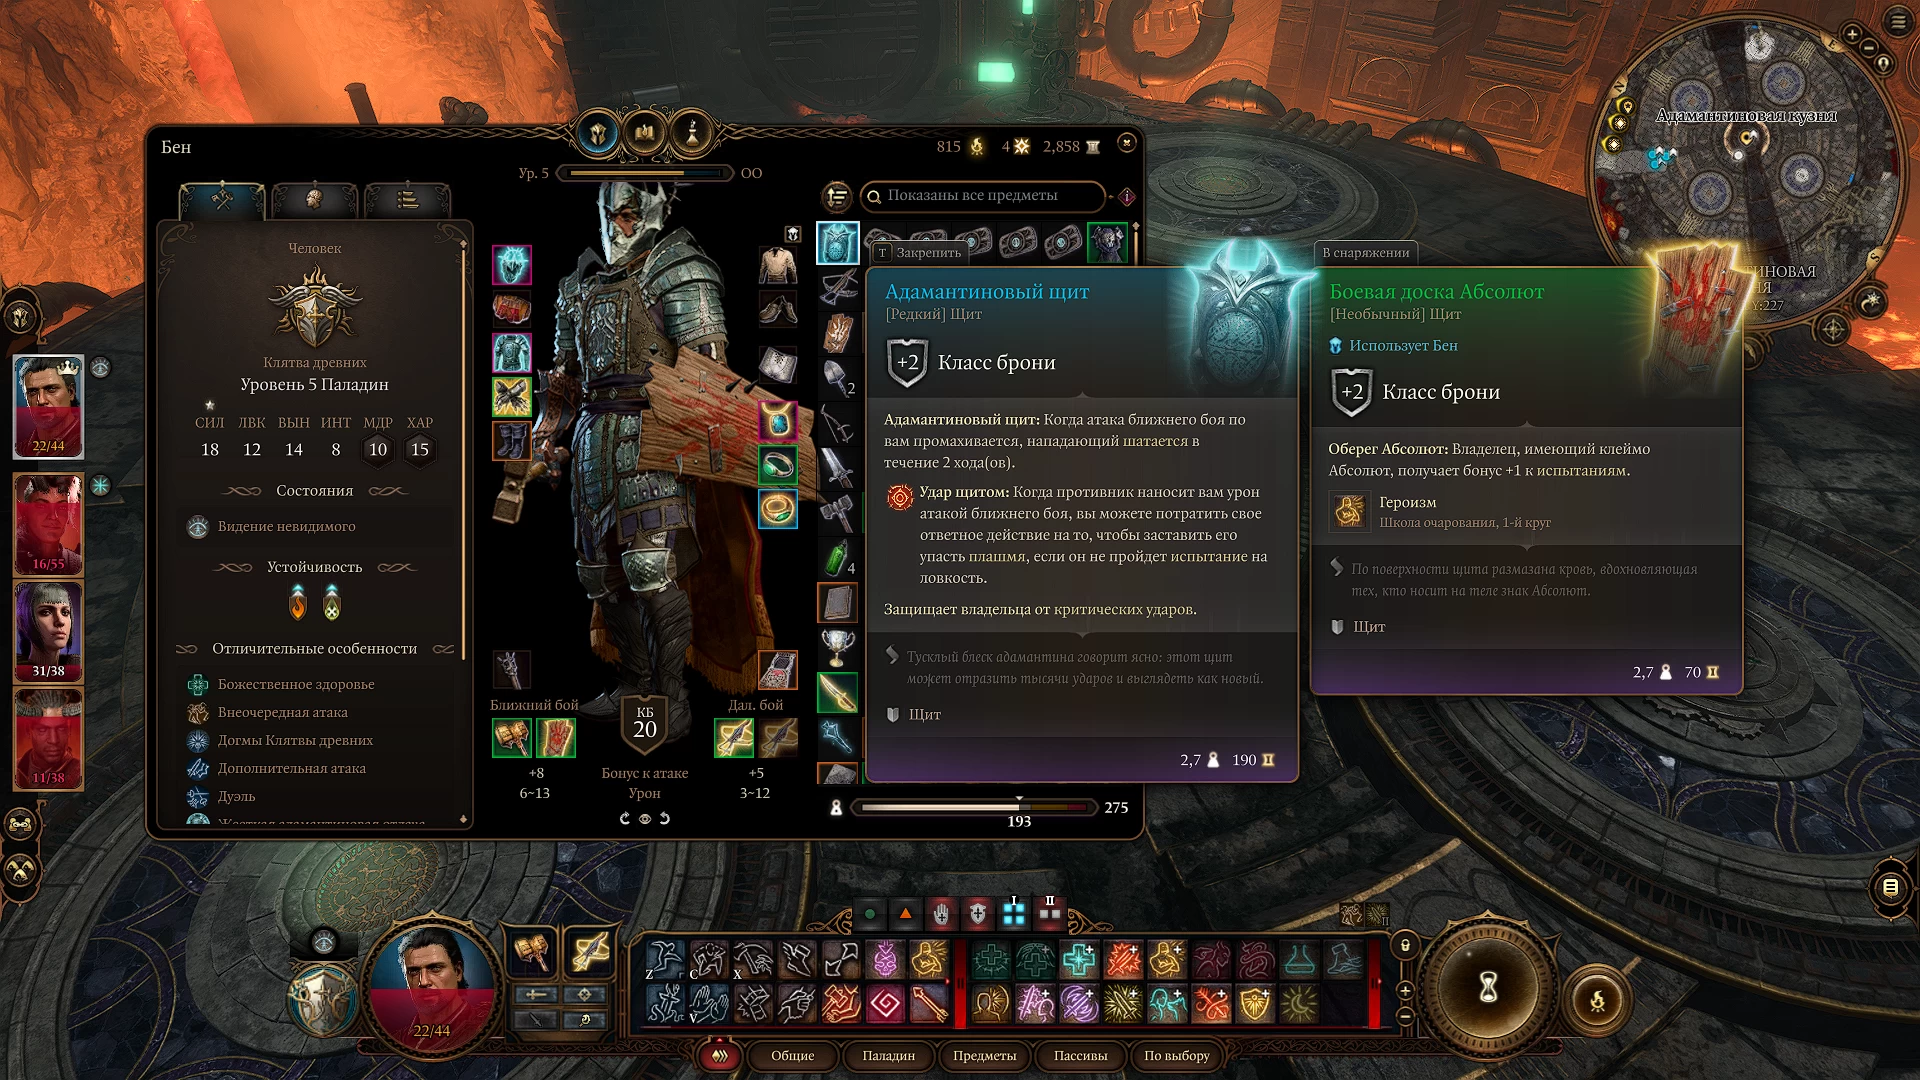
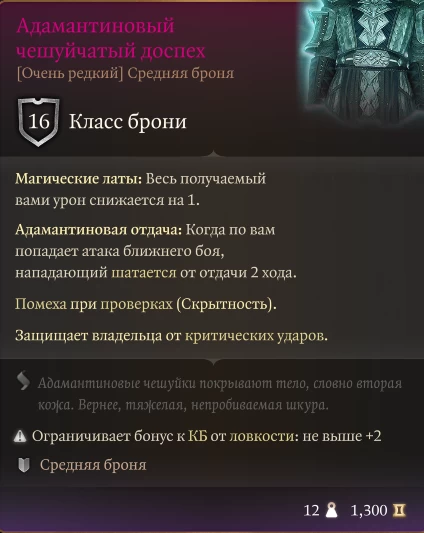
В целом это неплохая экипировка для первой половины игры, которую можно без проблем передать как главному герою, так и его спутникам. В большинстве своем она может накладывать на врагов Шатание, что весьма полезно при сражении с большими группами противников. Со всеми характеристики адамантинового снаряжения можно ознакомиться на картинках выше.
Комментарии
Для добавления комментариев необходимо авторизоваться.
Вы можете войти через