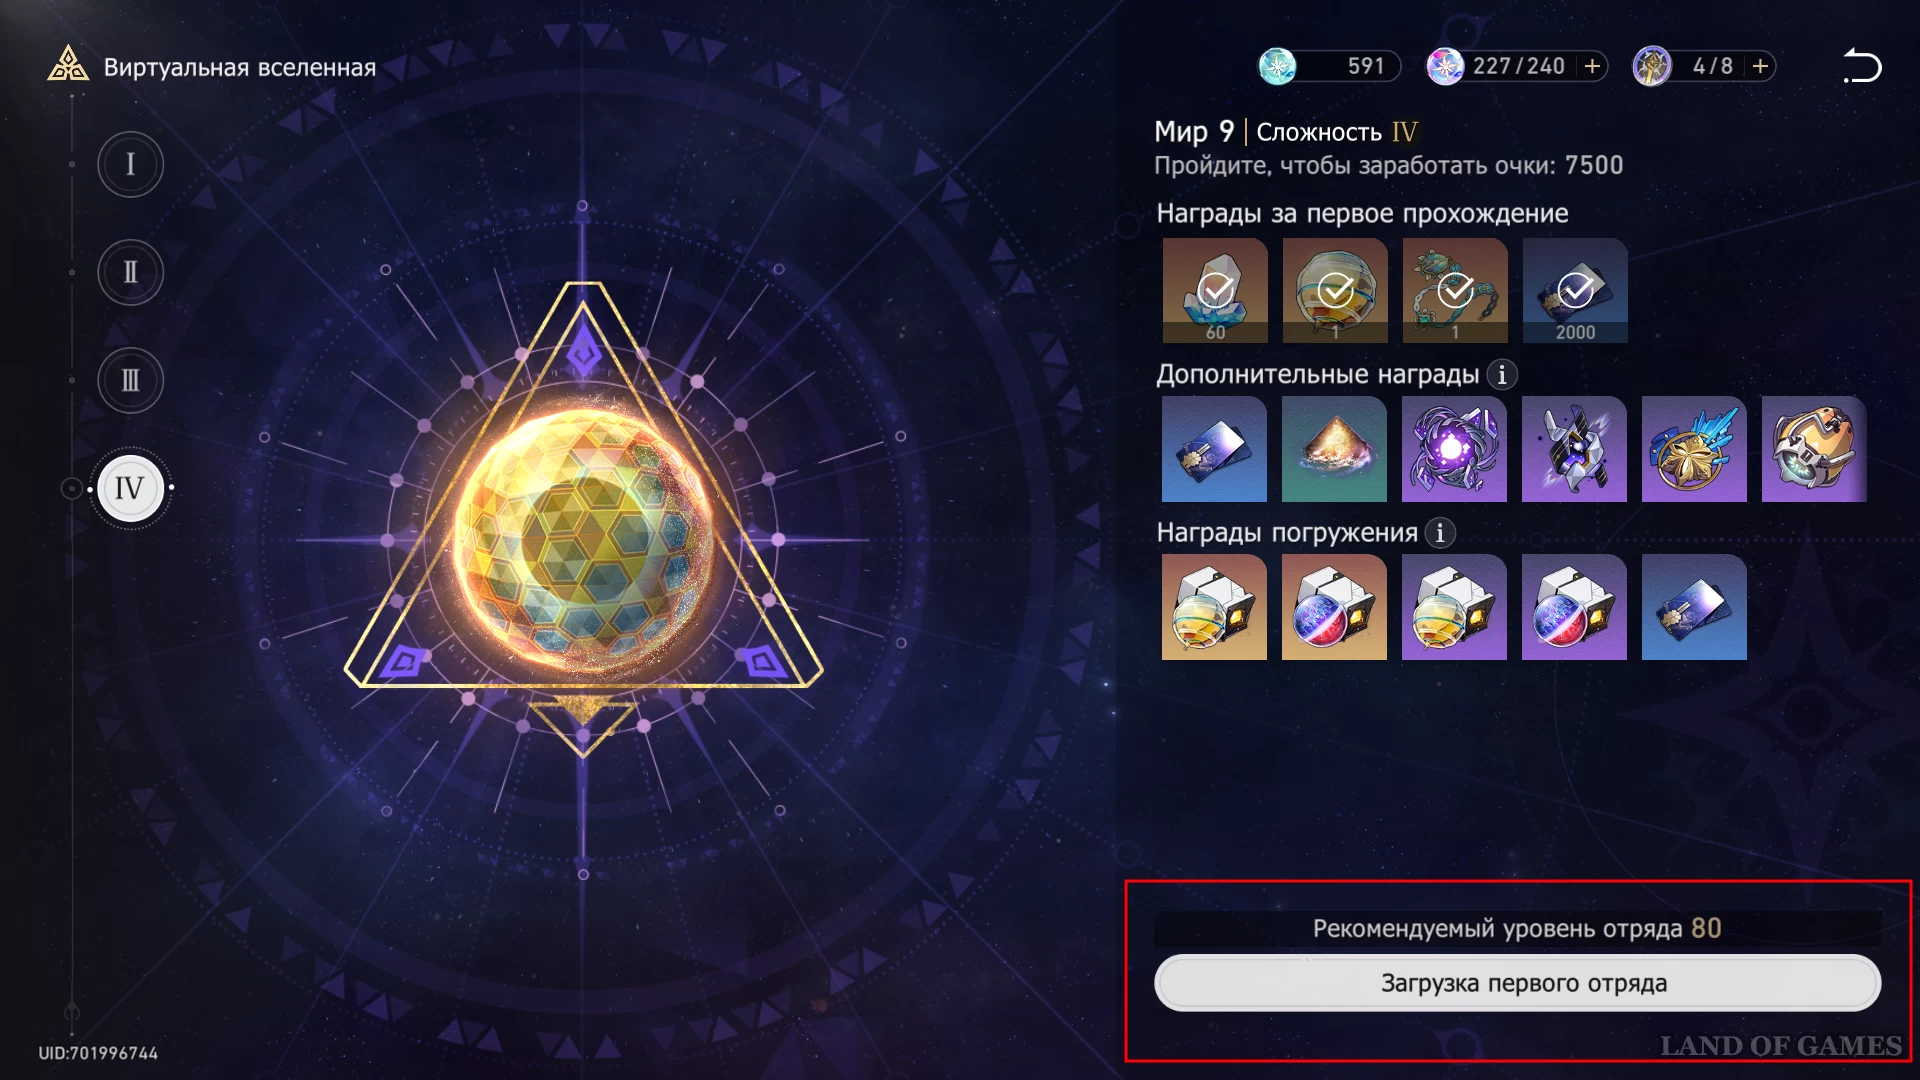
In Honkai: Star Rail World 9 is part Virtual universe and a dungeon of sorts that will reward you with a variety of rewards, including the Izumo World and Takama Realm and Barren Sigonia planar decorations. During its passage you will have to fight two elite enemies and a meme of the memory zone "Something to Death".
To successfully clear this level, you need to wisely select characters to create a powerful squad, choose the optimal Path, and also adhere to a certain strategy when choosing blessings and fighting the boss. In this guide, we will look at all these aspects in detail, which will allow you to complete World 9 without any problems.
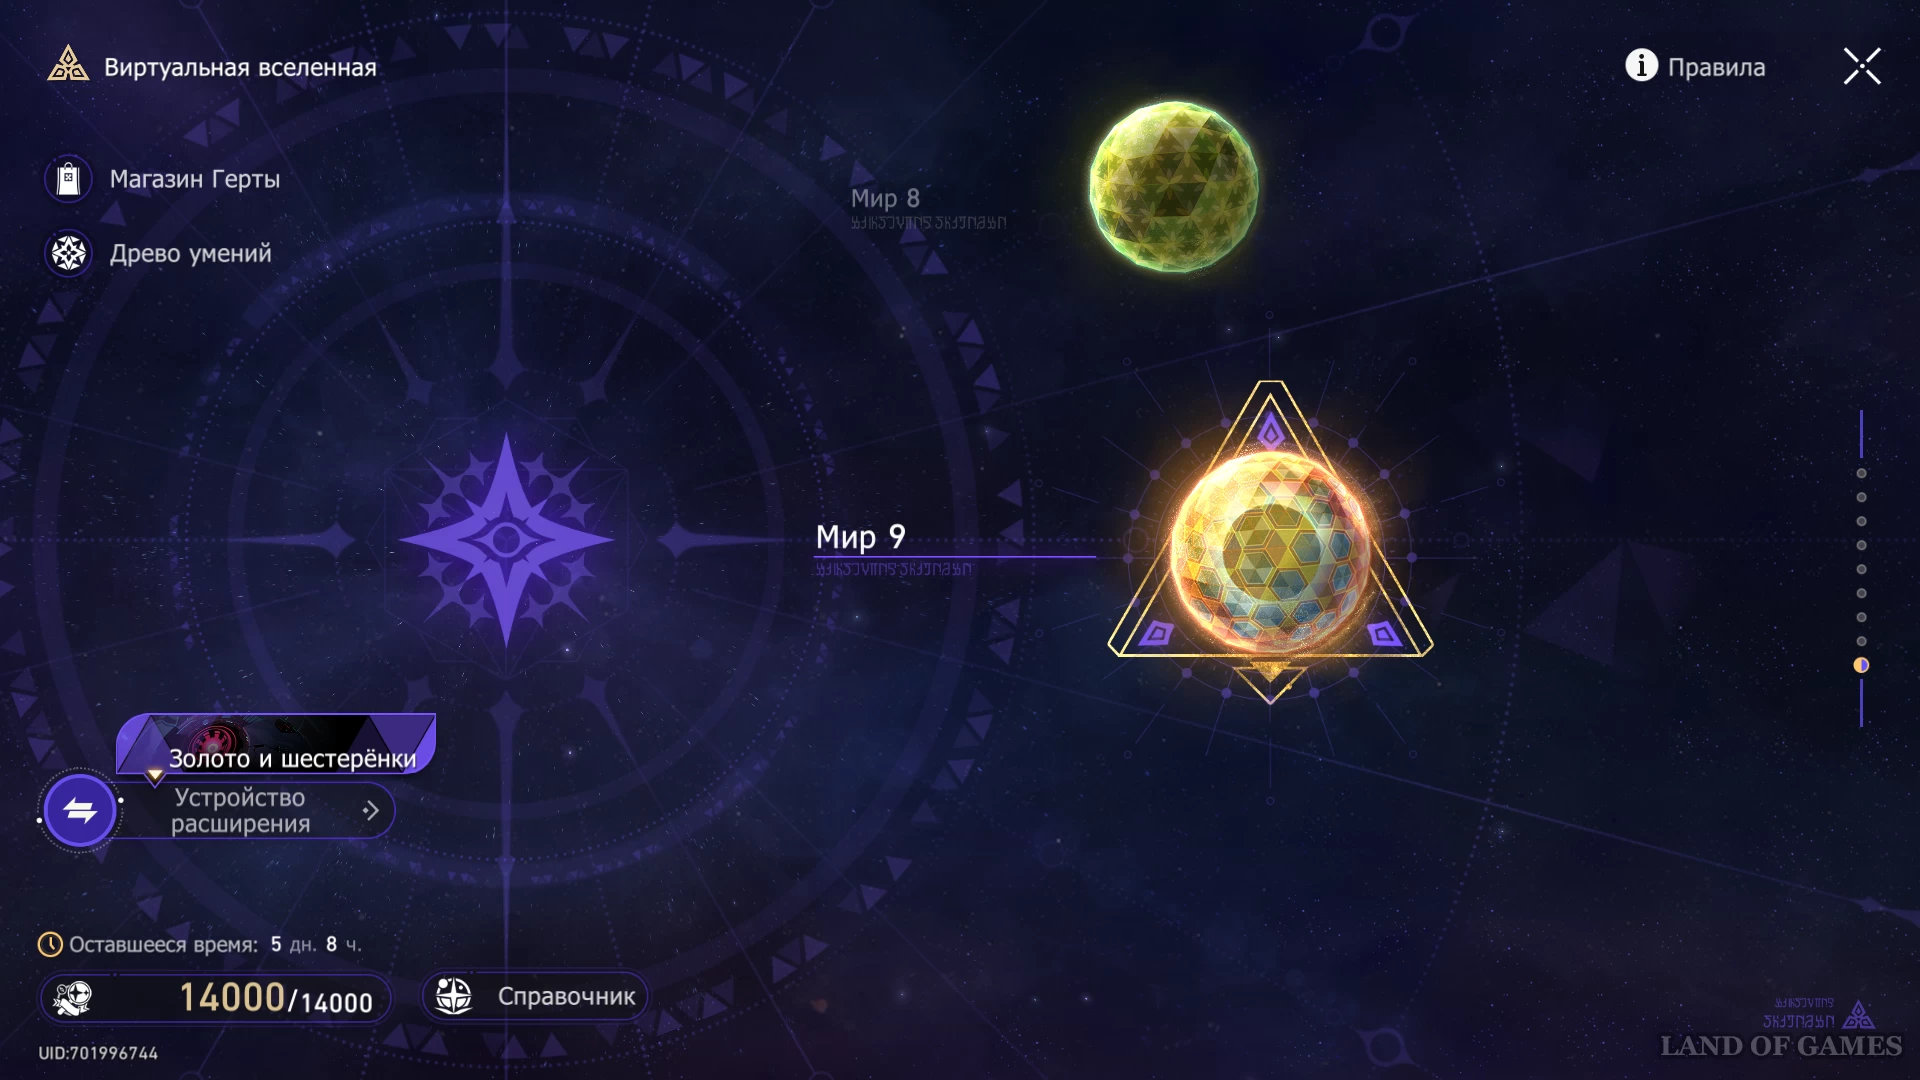
How to complete World 9 in the Virtual Universe
How to unlock World 9 in Honkai: Star Rail
Before you can take on the first difficulty level of World 9, you will have to meet several conditions, namely:
- Reach at least 34th Mastery level.
- Complete the exploration mission on Luofu Xianzhou called “The water flows down, the earth calms down”.
- Clear World 8 at any difficulty level.
Having dealt with these requirements, simply go to the main menu of the Virtual Universe and select the desired dungeon - access to it should already be unlocked.
Basic information
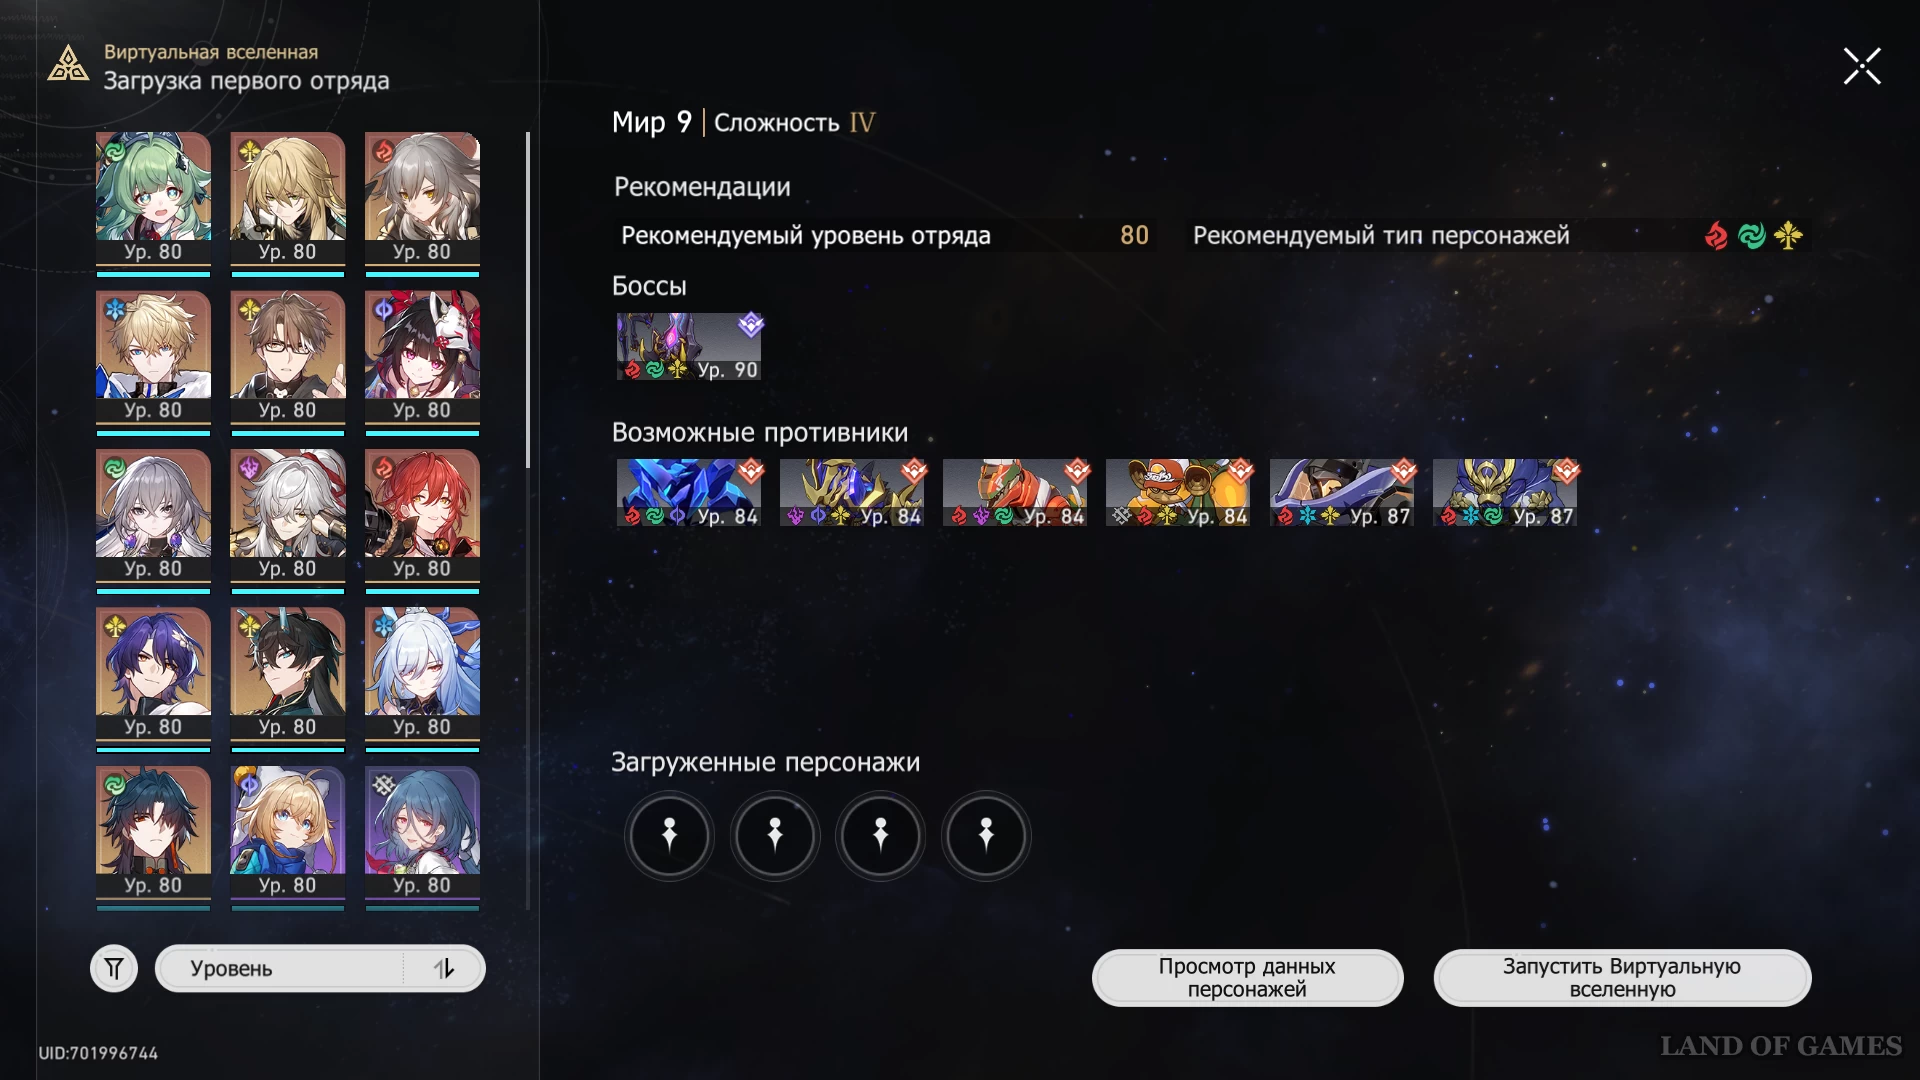
First, let's look at some basic information about this test. The level of your enemies will depend on the selected difficulty. In the first squad loading menu, you can see four elite opponents, two of which you can face in their respective arenas (selected at random), and a boss, whose role will be played by Something to Die.
Next, you will familiarize yourself with the characteristics of all the bosses that can be seen in this test.
| Name | Durability | Type of damage dealt | Elemental Resistance | Debuff Resistance |
|---|---|---|---|---|
|
Memory zone meme "Something to die" (functional) |
720 |
Physical |
Physical, icy, electrical, quantum |
Freezing 50% To binding 50% |
|
Ice from space |
360 |
Ice |
Physical, icy, electrical, imaginary | Freezing 100% |
|
Memory Zone Meme “Shell of Faded Fury” |
360 |
Quantum |
Physical, fire, ice, electric | |
|
Overcooked from the Nightmariki troupe |
420 |
Fiery |
Physical, icy, quantum, imaginary | |
|
Sweet Gorilla from the Nightmariki troupe |
420 |
Ice |
Ice, electric, wind, quantum | |
|
Senior Staff: Team Leader (defective) |
360 |
Physical |
Physical, electrical, wind, quantum | |
|
Abundance Sprite: Malefic Ape (defective) |
360 |
Quantum |
Physical, electrical, quantum, imaginary |


Featured Characters
For faster passage of this World, it is best to choose damage dealers who master the imaginary, fire or air elements. With them in your squad, you will be able to quickly break through the vulnerability of the main boss and the Tombs he summons, and you will also be able to deal with all elite enemies without any problems.
You also need to take at least one buffer, which will allow your main damage dealer to deal more damage. This can also be helped by the characters of the Path of Non-existence, who impose weakening on opponents and contribute their own damage. With them you won't have to survive in the exhausting conditions of a protracted battle.
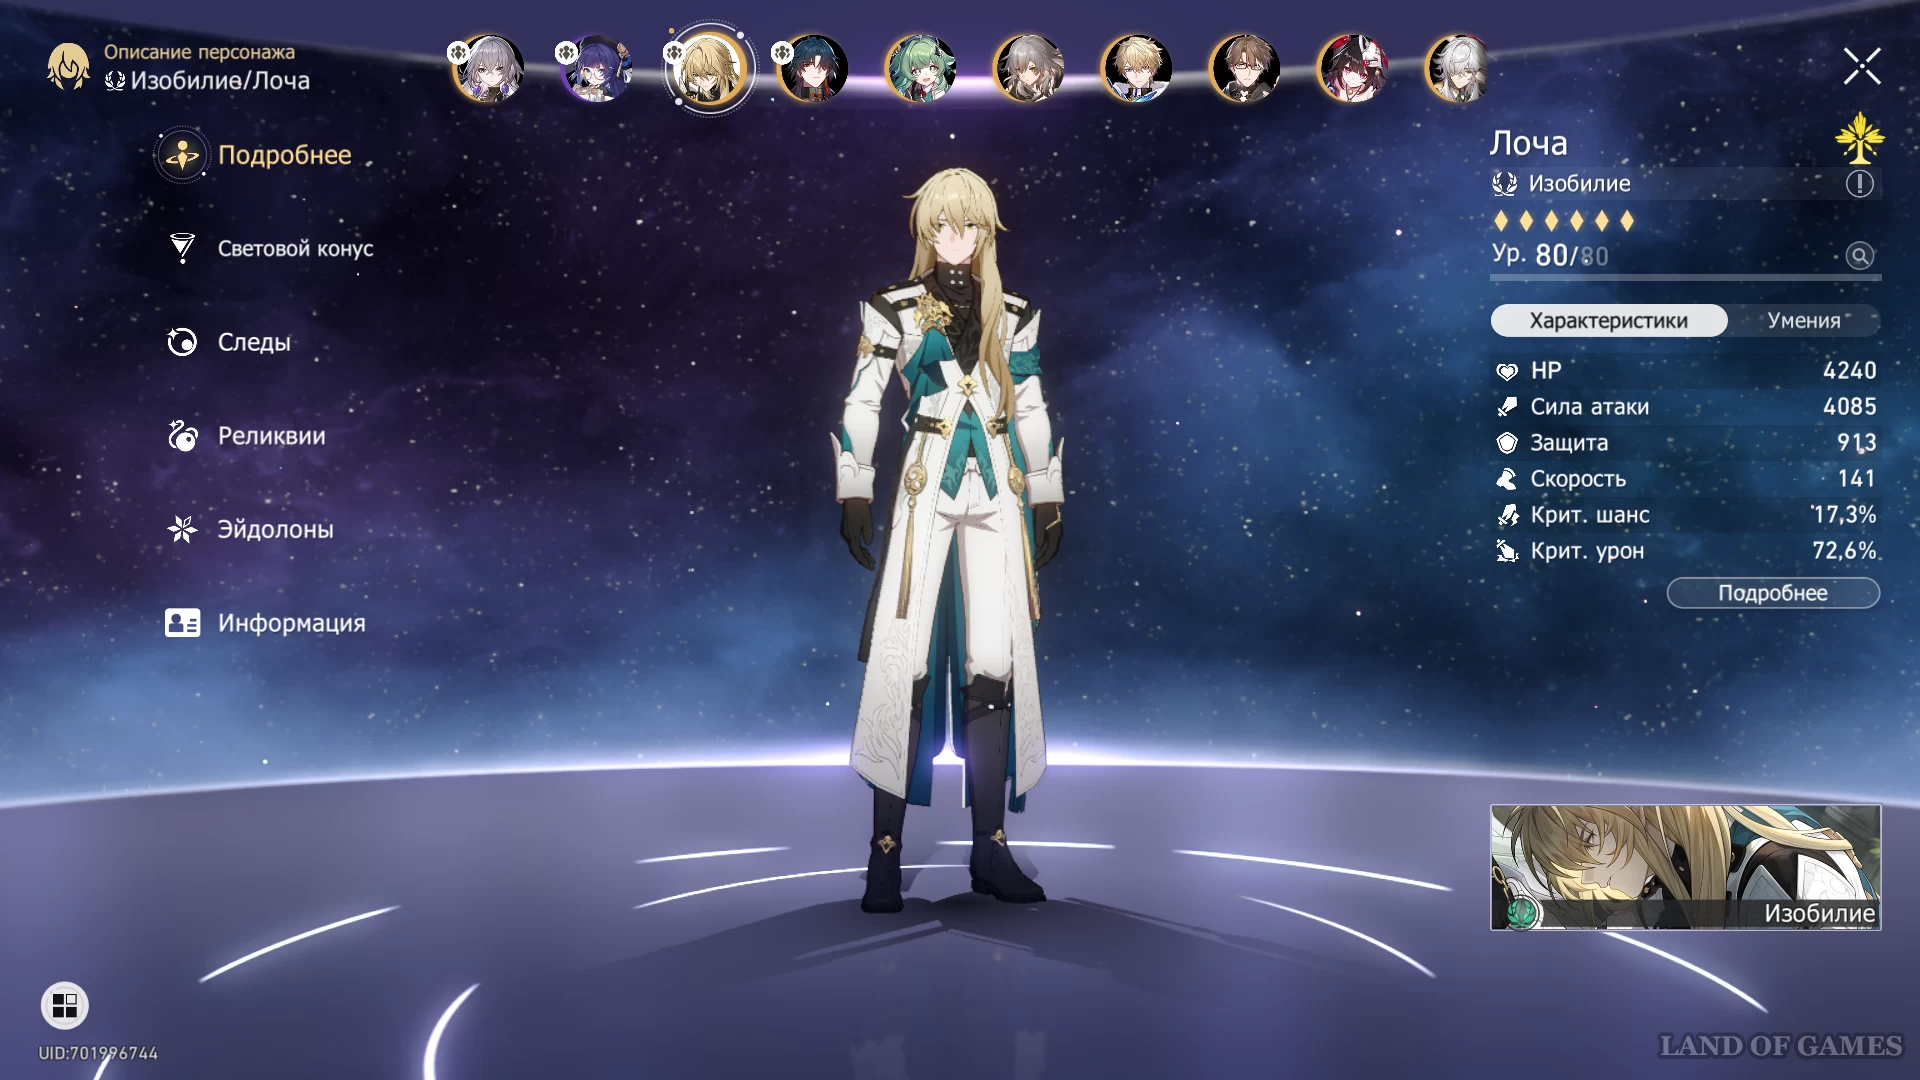
Among the support heroes, it is worth highlighting Huohuo and Locha, since their healing skills will remain active even if they end up in the monster's Tomb. The two of them and Gallagher also have the right damage types to break through the boss's vulnerability, making them especially useful allies for this challenge. Some elite enemies, such as the Sweet Gorilla, will be easier to defeat if you have a Shieldman in your party. If you choose Aventurine for this role, you will also be able to inflict additional damage on the durability of your opponents.
Next, we'll take a closer look at several characters who will perform well in this test.
| Character | Peculiarities |
|---|---|
|
Moon Eater |
A strong damage dealer, capable of inflicting high damage on both single and multiple targets. Also wields an imaginary element that will break through the vulnerabilities of most bosses in this challenge. |
|
Luocha |
It is a source of large amounts of healing and also consumes few action points. Additionally, with the help of his ultimate, he can remove some buffs from enemies. |
|
Yukong |
A free buffer that will increase the attack power, crits and imaginary damage of all your allies. |
|
Black Swan |
In units aimed at dealing periodic damage, Black Swan will be able to take the place of the main damage dealer. She will be especially effective against monsters with wind vulnerability, which she will quickly break through with the help of her Arcana. |
|
Sampo |
It will also be an effective ally for teams that play against periodic damage. It is a good assistant in breaking through air weaknesses. |
|
Dan Heng |
A free damage dealer with an element in demand in this World. If he has pumped up buffers and useful blessings, he can deal quite decent damage. |
|
Huohuo |
Huohuo main advantage is her ability to remove a large number of weakens from several heroes at once. An ultimate will be useful, as it will replenish energy and increase attack power for the entire squad. |
|
Silver Wolf |
You can take a damage dealer of any element into her team, since if necessary, the hacker will impose the desired vulnerability and also lower the enemy’s defense. |
|
Sparkle |
An extremely useful support for any units that consume a large number of skill points. In addition to increasing outgoing damage, it will allow the main damage dealer to walk more often, which will have a positive effect on the speed of completing the test. |
|
Himeko |
Since most enemies in this World have fire vulnerabilities, Himeko will be especially effective here. She will be able to drain opponents' stamina faster and use bonus attacks more often. |
|
Topaz |
Well suited for squads in which the main damage is caused by bonus attacks. It will also be able to affect the fire resistance of enemies. |
|
Asta |
Another free support character. In addition to mastery of a useful element, it will help the squad with a speed and fire damage buff. |


Optimal commands
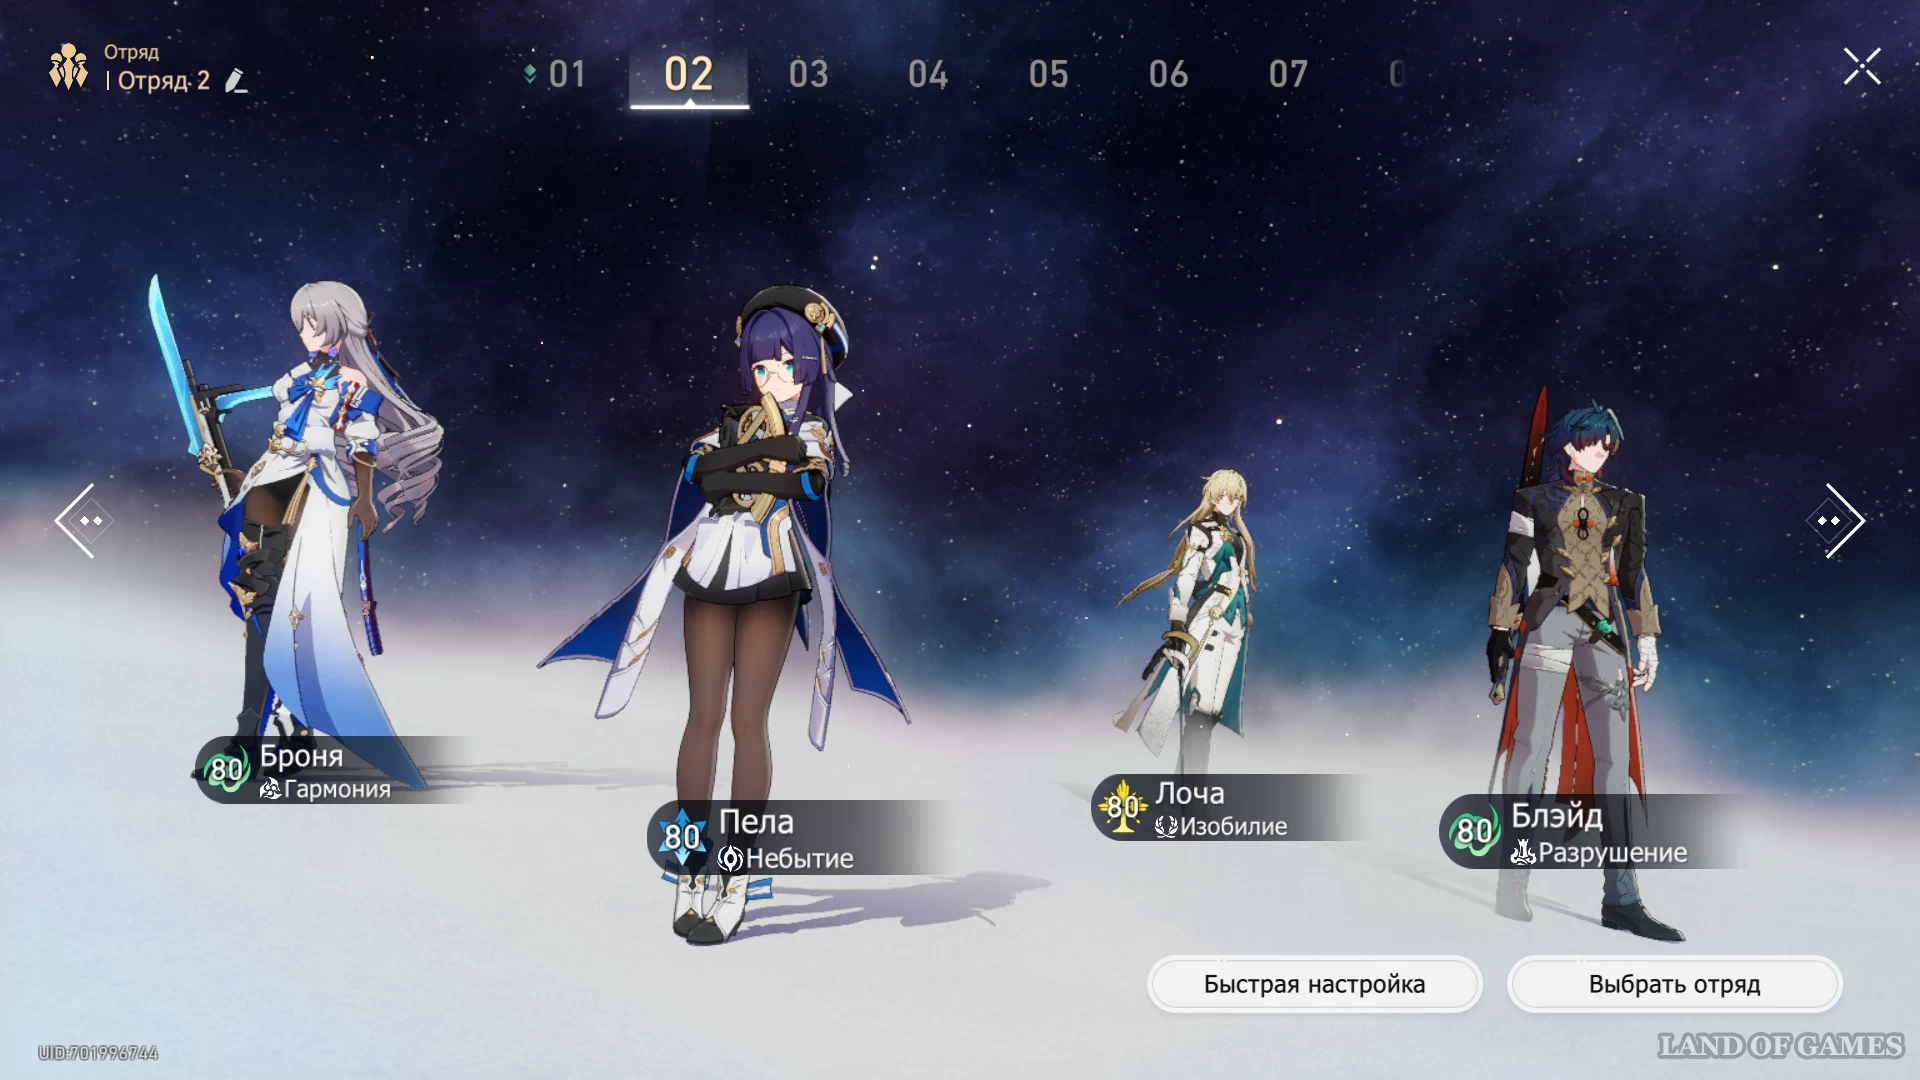
Apart from the presence of certain elements, this test does not impose any requirements on the formation of a squad. The main thing is not to forget about the synergy between different characters. Also, do not underestimate the heroes who ensure the survival of the squad. You will definitely need a good healer or shielder to successfully complete the challenge.
Recommended Units
| Maine-DD | Sub-DD | Sub-DD/Support | Support |
|---|---|---|---|
|
Dan Heng |
Yukong |
Asta |
Natasha |
|
Moon Eater |
Silver Wolf |
Sparkle |
Luocha |
|
Black Swan |
Sampo |
Asta |
Huohuo |
|
Himeko |
Topaz |
Asta |
Huohuo |
|
Dr. Ratio |
Topaz |
Silver Wolf |
Aventurine |
|
Blade |
Bronya |
Pela |
Luocha |


In the first, budget squad, Asta and Yukong will be able to buff Dan Heng well. The blessings of the Path of the Hunt will also be very useful here. Natasha will ensure the survival of her allies, using her ultimate to heal the entire team and her skill for targeted healing and removing weaknesses.
Since Something to Death and its Tombs are vulnerable to the imaginary element, the power of the Moon Eater will be fully revealed here. The Sparkle will increase his stats and allow him to walk more often. Silver Wolf will lower the enemy's defense. Luocha will be a good option for keeping your party alive, as he can heal without spending skill points. This unit will especially benefit from the Path of Propagation cards, which buff regular attacks.
The third squad specializes in dealing periodic damage. The best damage dealer here will be Black Swan, who controls the air element. Sampo will help penetrate Meme's vulnerabilities and apply additional weathering to enemies. Asta and Huohuo will increase the attack power of their allies, and will also allow them to use skills and ultimates more often.
The next two units are aimed at dealing damage with bonus attacks. Topaz is an extremely important link in such teams. In addition, the damage of allies can be increased by the blessings of the Path of Joy.
In the last squad, Blade is the main damage dealer, and the rest of the heroes work to increase his personal damage. Here you can use any Path you like: Destruction, Propagation, Hunting.
Best Paths and Blessings
In general, you can take any Path that suits the characteristics of the squad you have chosen. Next, we'll take a closer look at the Hunt, as it is a versatile option for any team, and then point out several resonance formations and blessing collection tactics that will be useful within other Paths.
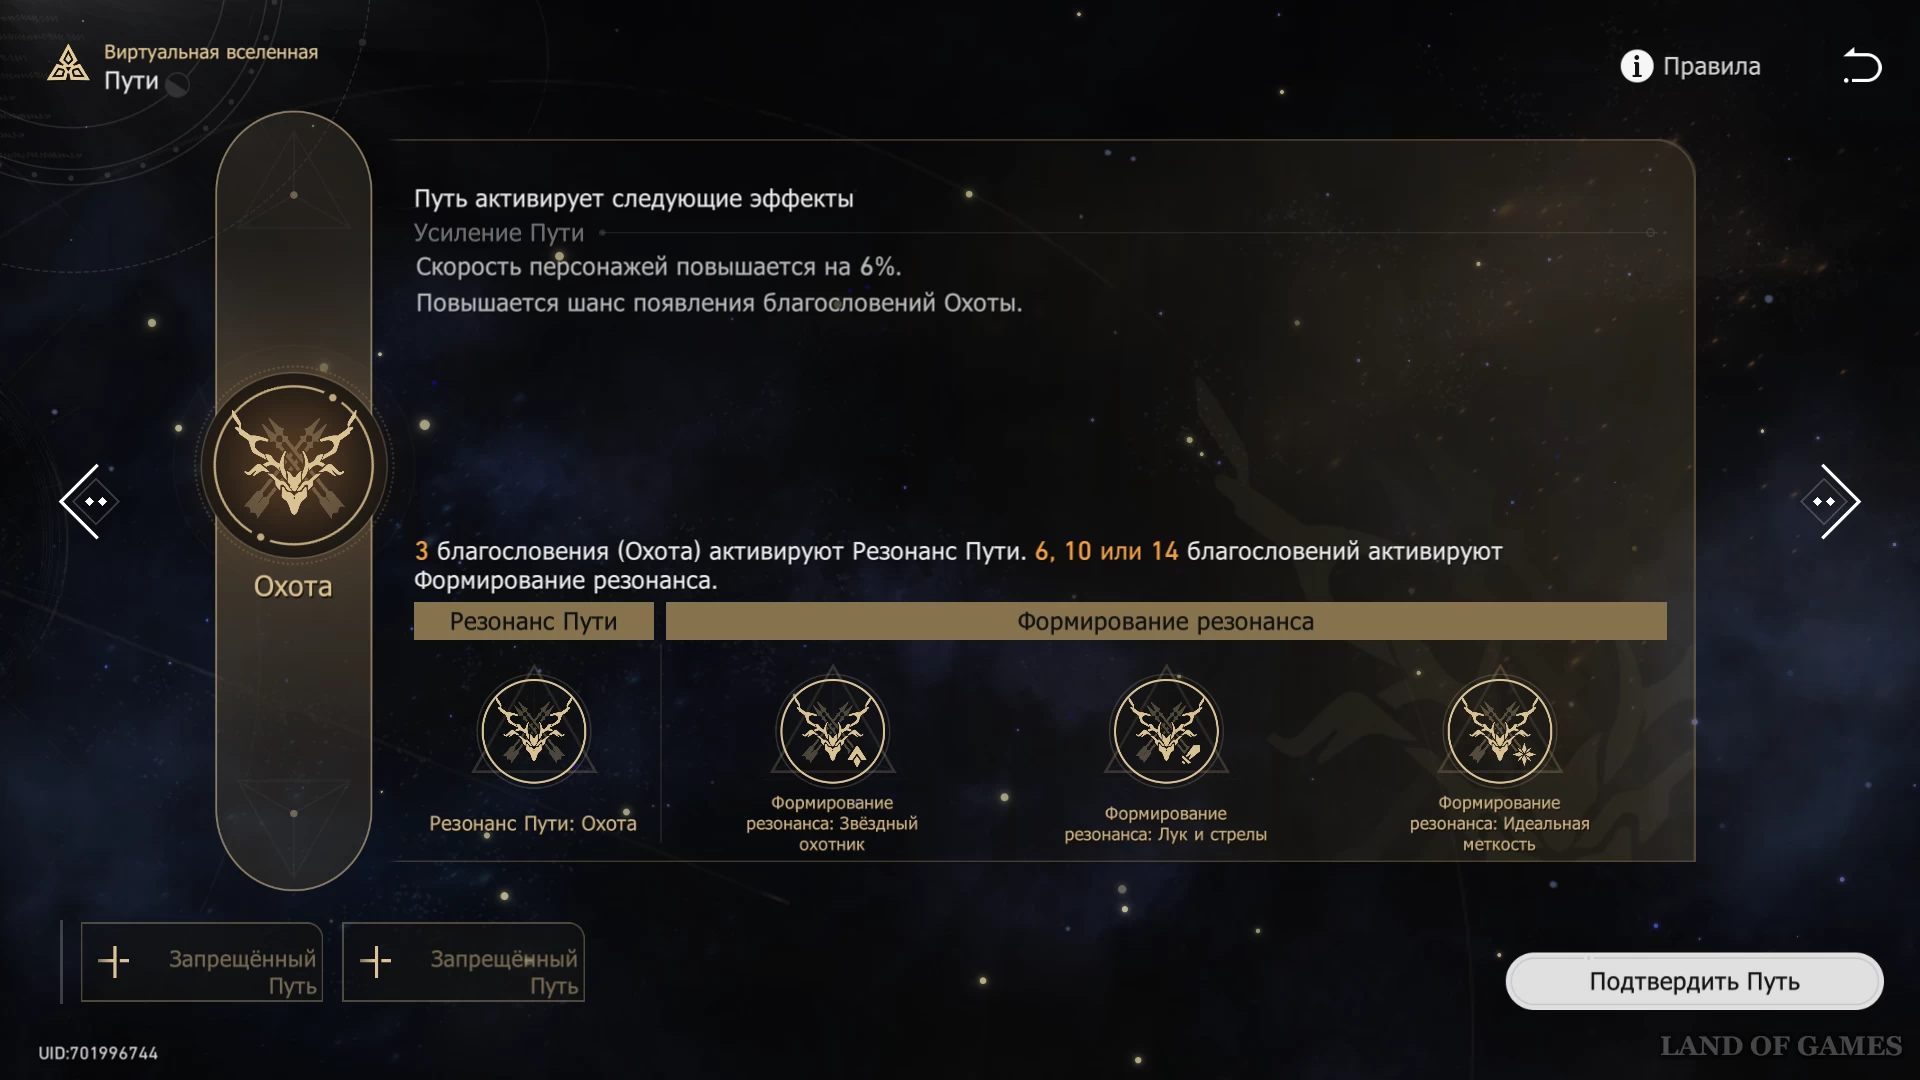
Path of the Hunt
The advantage of this Path is that it is capable of dealing huge one-time damage, which can help destroy the Tombs that have captured your allies. Also, the blessings of this path buff crits, which is important for most characters who are suitable for passing through this World.
The priority for selecting Resonance formations is indicated below:
- Shaping Resonance: Bow and Arrows. Using Path Resonance deals critical hits to enemies with less than 50% health, and when an enemy is hit, it restores 50% energy. With this boost, you will be able to destroy monsters faster, avoiding unnecessary prolongation of the battle.
- Resonance formation: Perfect accuracy. Increases the energy limit for Path Resonance, allowing you to accumulate two uses of it at once, and the start of each ally's turn returns 3% energy. Also allows you to deal damage more often using the chosen Path.
- Formation of Resonance: Star Hunter. Gives buffs to your ally with the highest attack stat. This boost has the same importance as the previous one. You can decide what suits you best: use Path Resonance more often or strengthen your main damage dealer if he plays from a high attack rating.
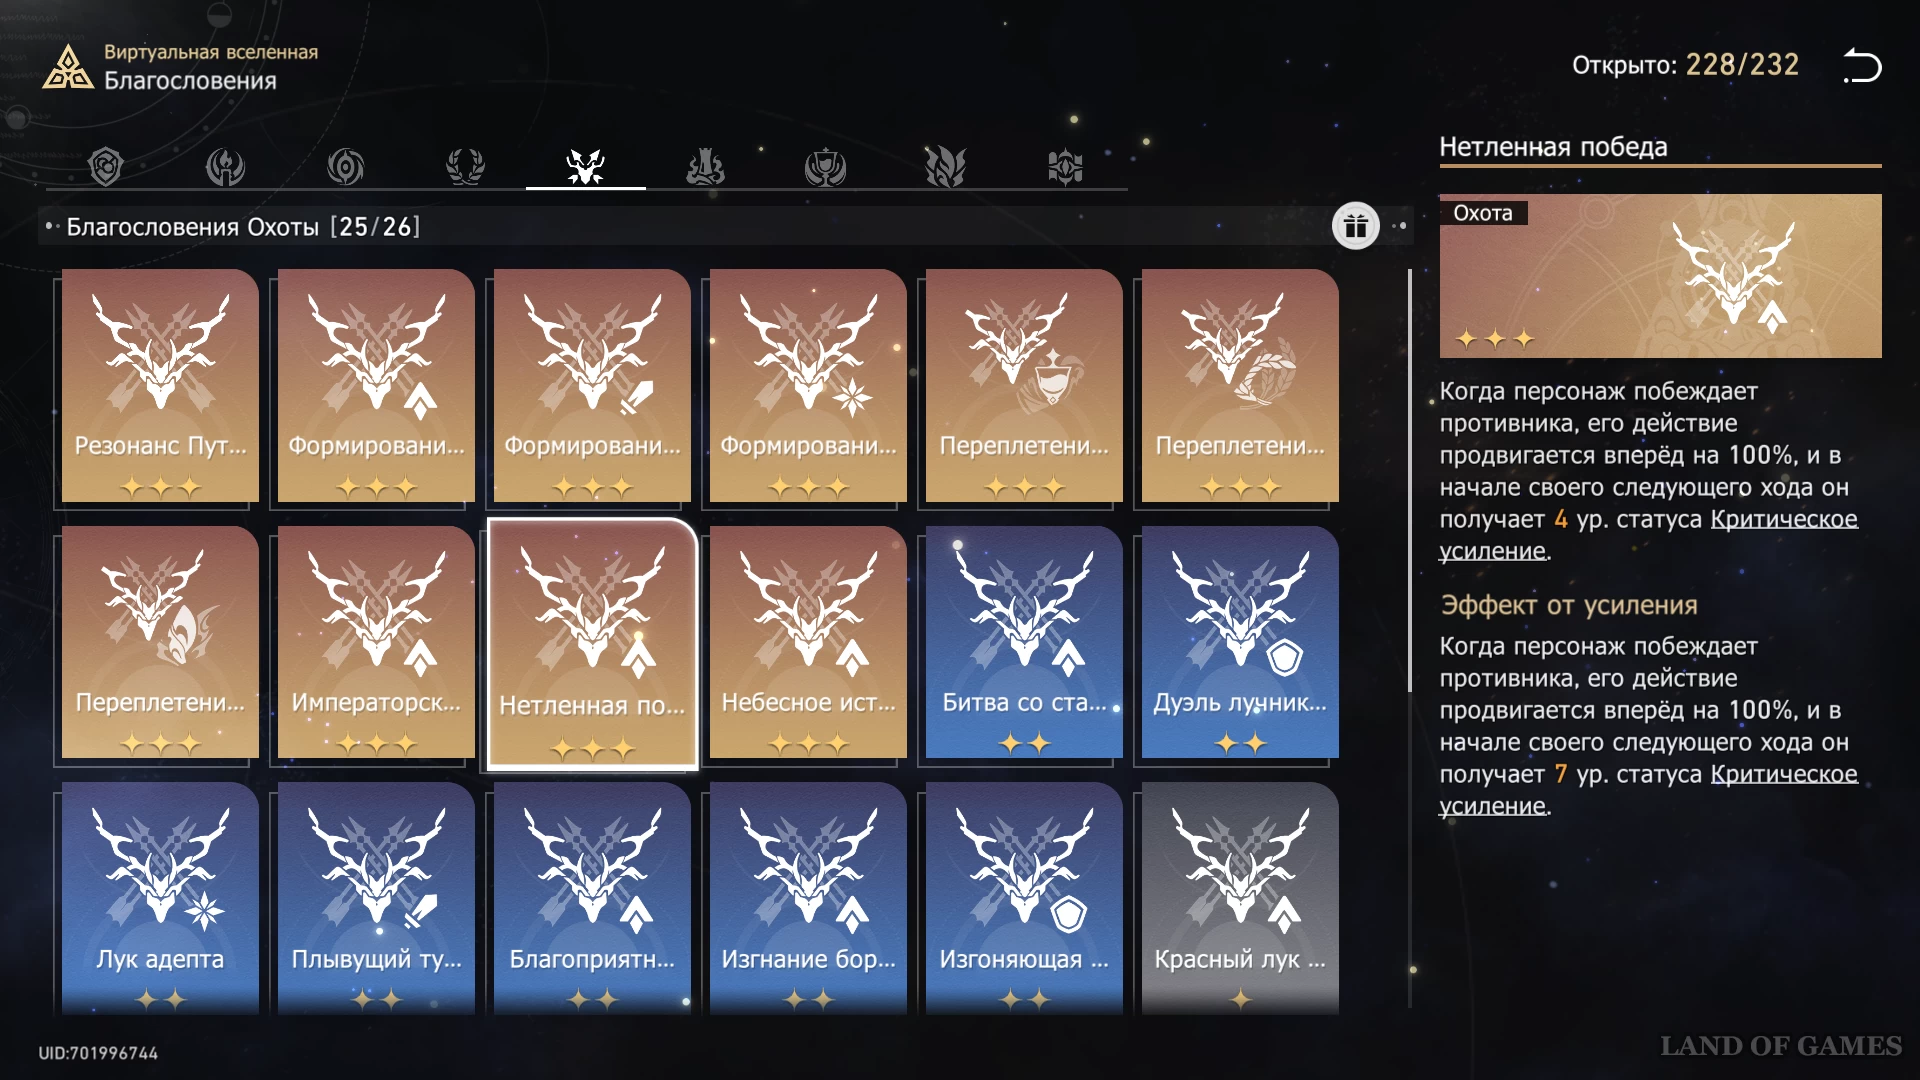
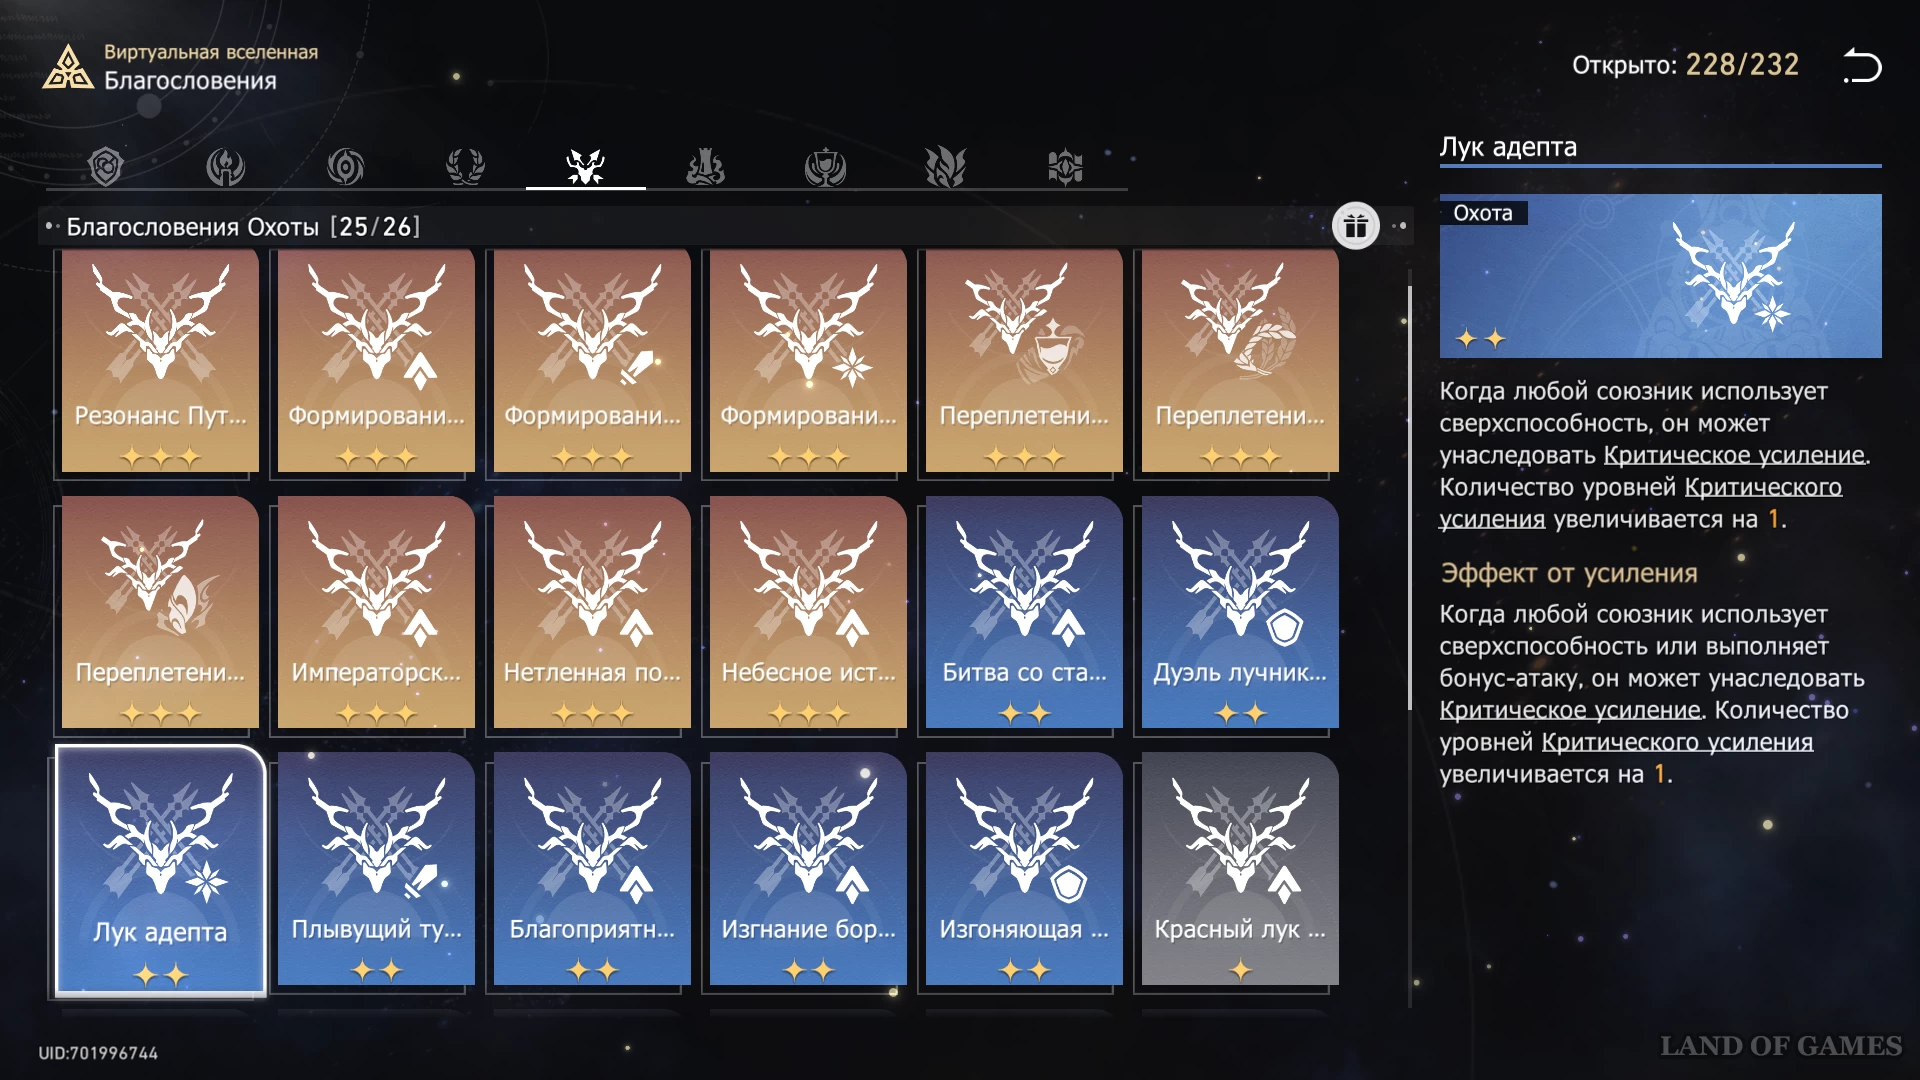
Also on the Path of the Hunt you can find many useful cards that you should choose whenever the opportunity arises.
- Imperishable Victory (Enhanced): Moves the action forward and strengthens the character after he destroys an enemy.
- Imperial Reign (Enhanced): Heroes in the unit gain 12 levels of enhancement at the start of their turn.
- Adept's Bow (Enhanced): Using a bonus attack or superpower gradually increases the number of enhancement levels.
- Floating Mist: Consecutive actions of the hero increase attack power by 40%.
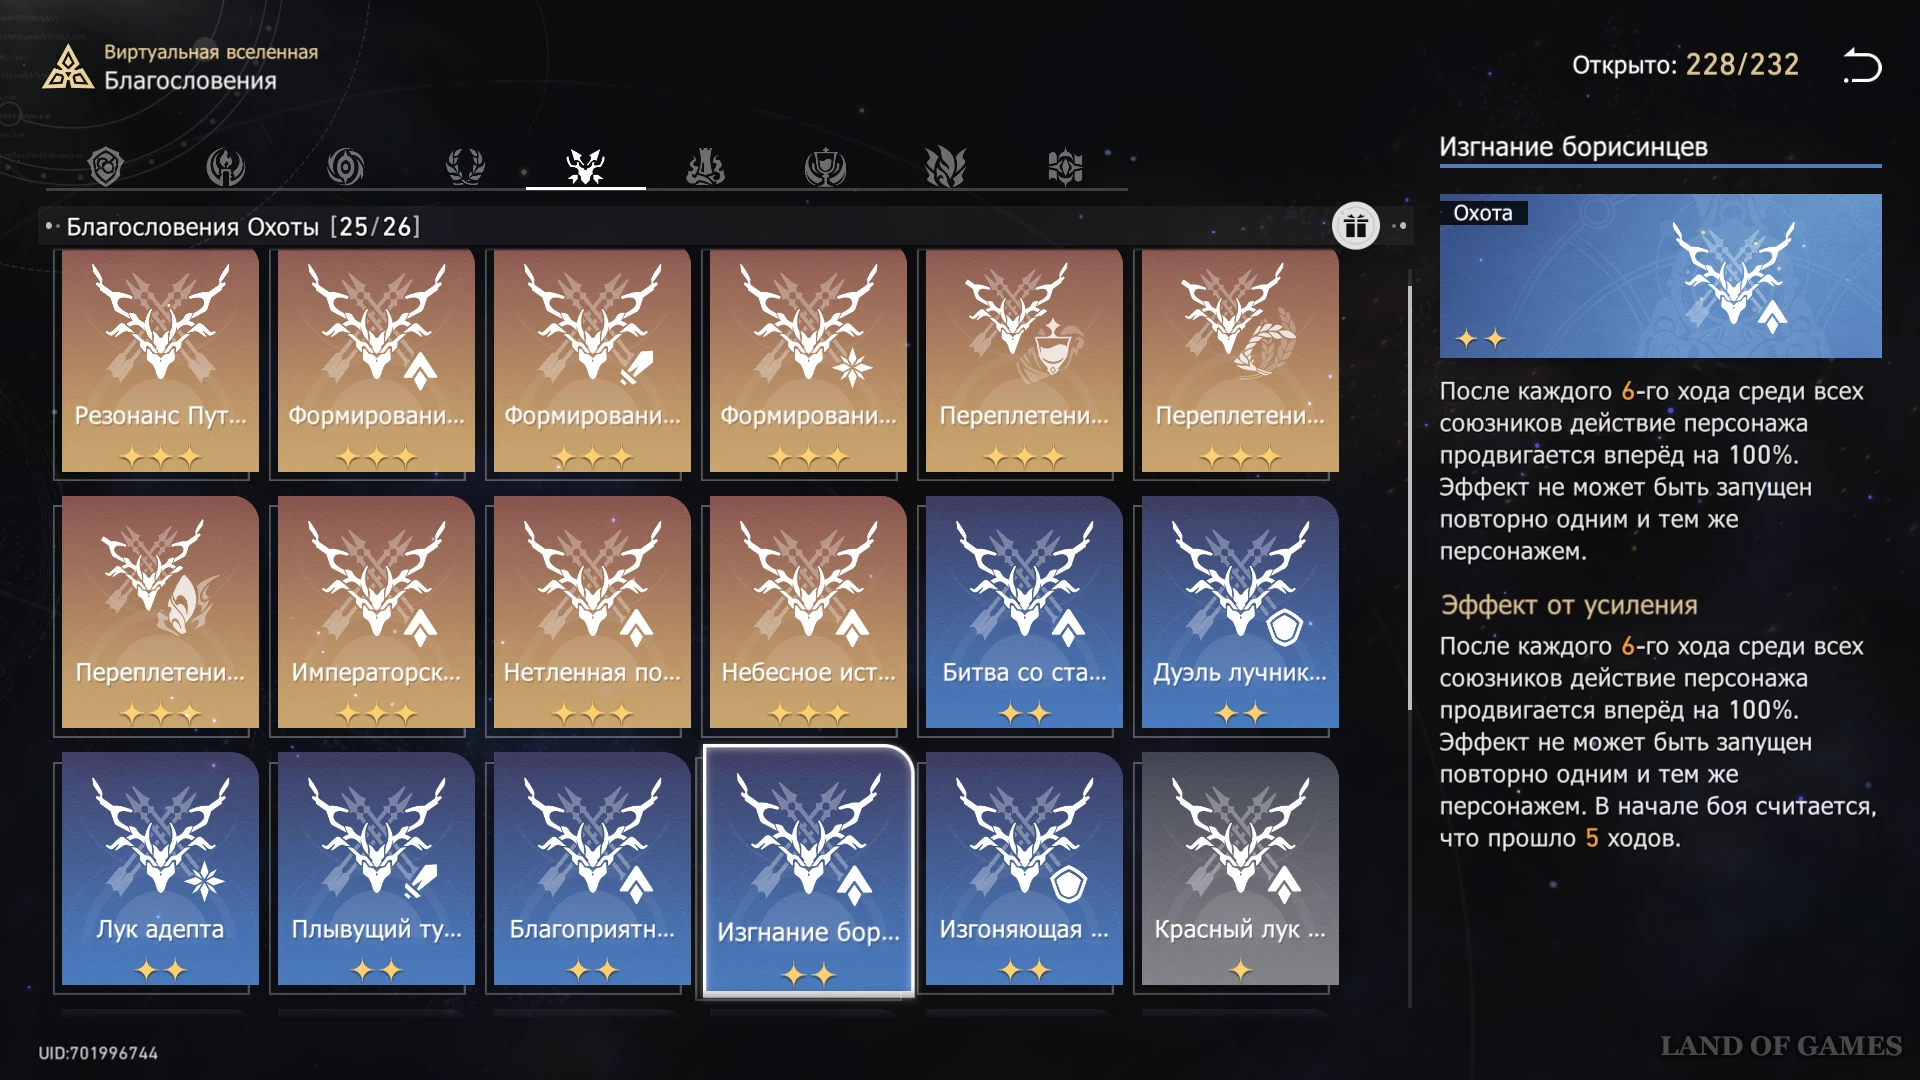
- Banish the Borisinians (Enhanced): On every sixth turn, the current character's action moves 100% forward.
- Battle with an Old Enemy (Enhanced): Increases the hero's critical damage for each percentage of critical hit chance above 100% by 3% and for each level of critical boost available by 0.2%.
- Favorable location: increases crit stat. damage up to 30%.
- Thunder passes through the ground: after depleting stamina, the enemy's turn is delayed by 20%.
- Catastrophic Constellation: At the end of the turn, the ally's action moves forward by 8%.
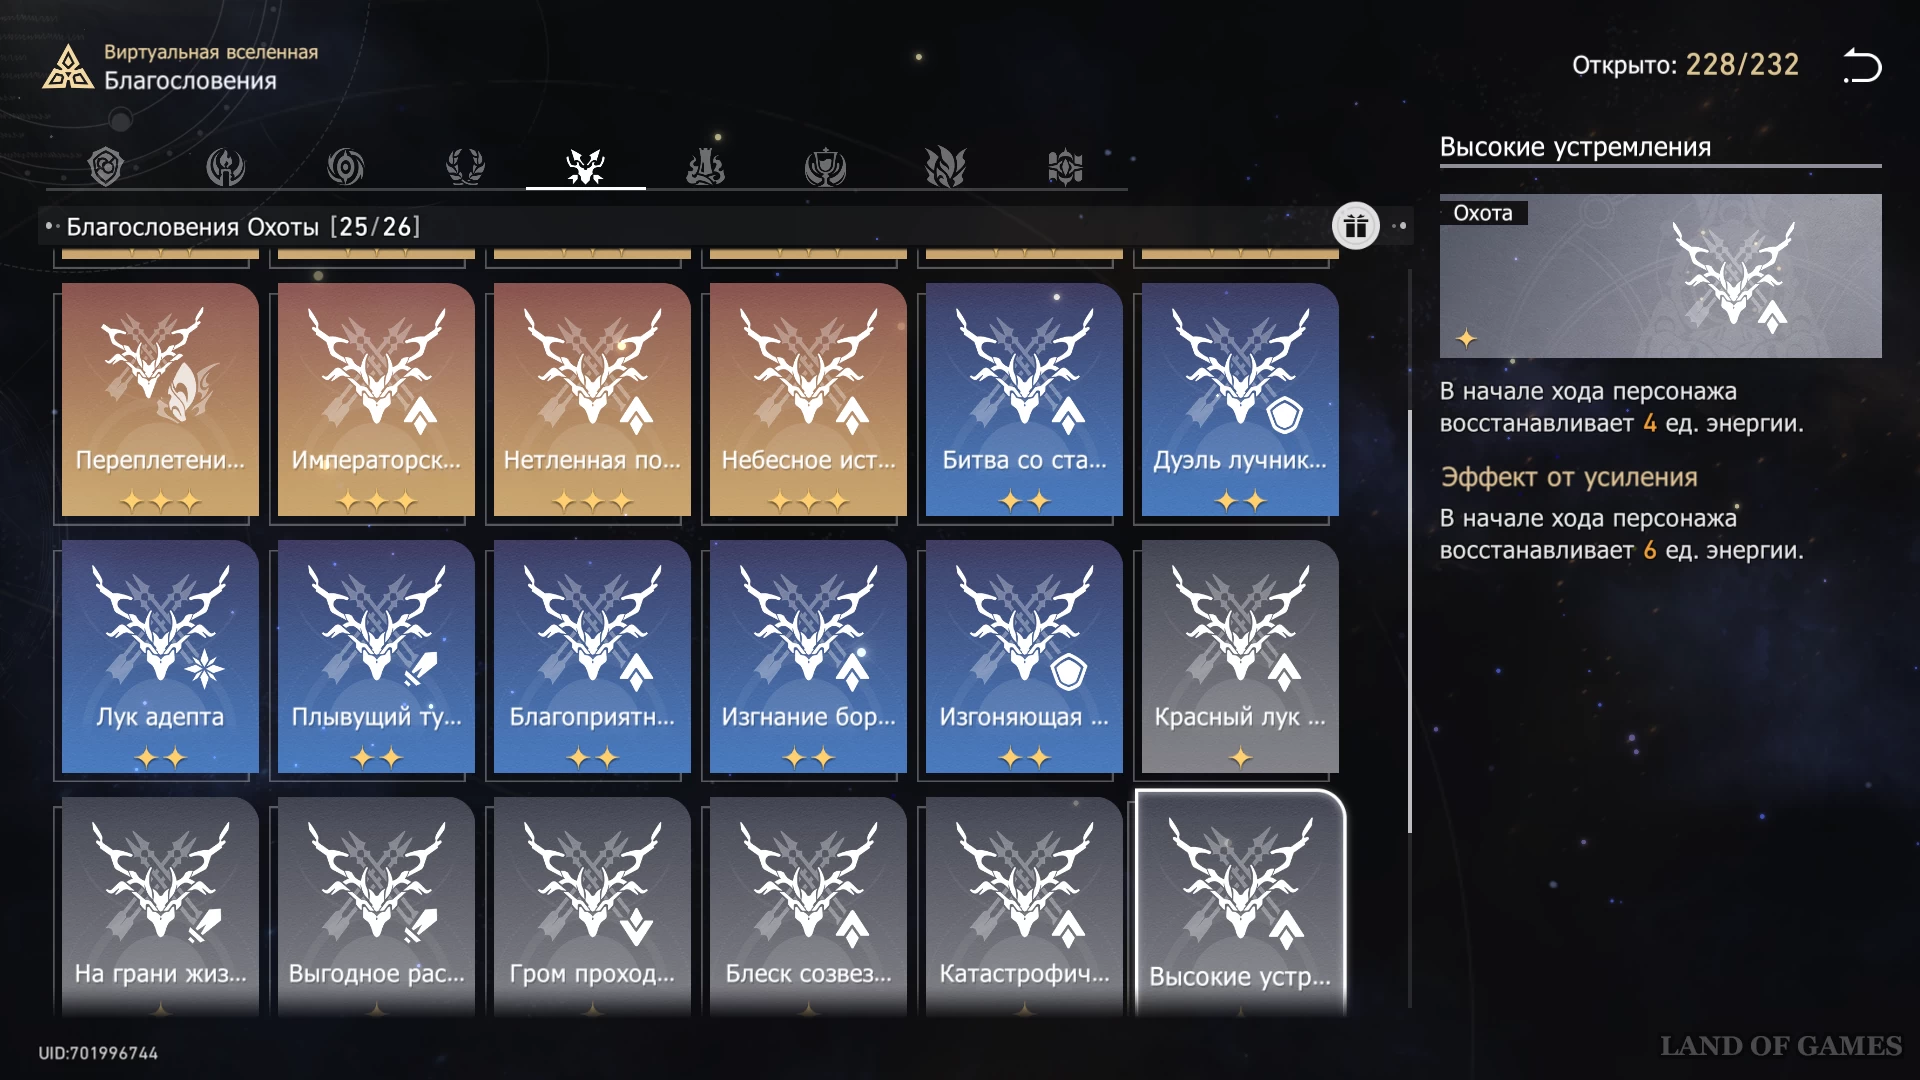
- High aspirations: the character’s energy is restored by several units at the beginning of the turn.
- On the brink of life and death: increases the chance of a critical hit by 11%.
Path of Joy
This Path is worth choosing if you take heroes who actively use bonus attacks to complete the test.
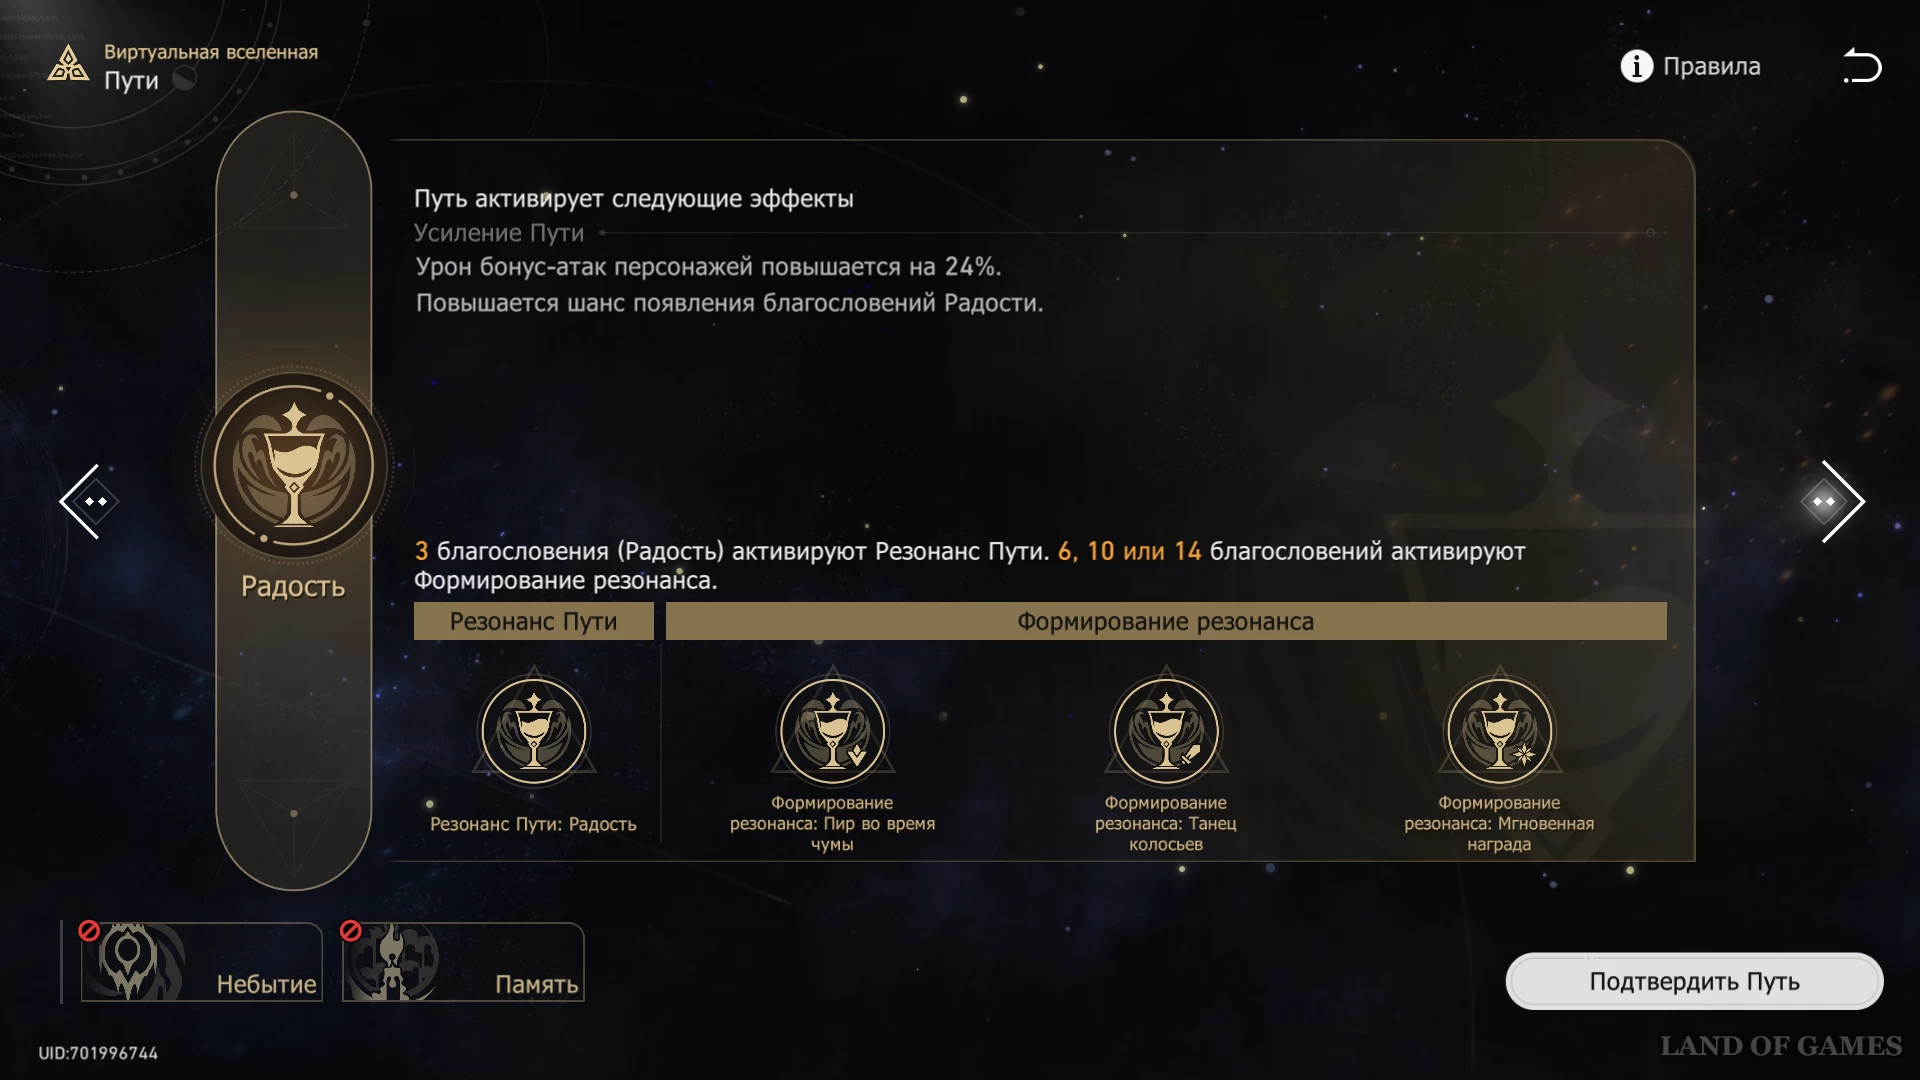
- Resonance formations should be chosen in the following order: Instant reward → Dance of the ears of grain → Feast during the plague. This will allow you to use Path attacks more often.
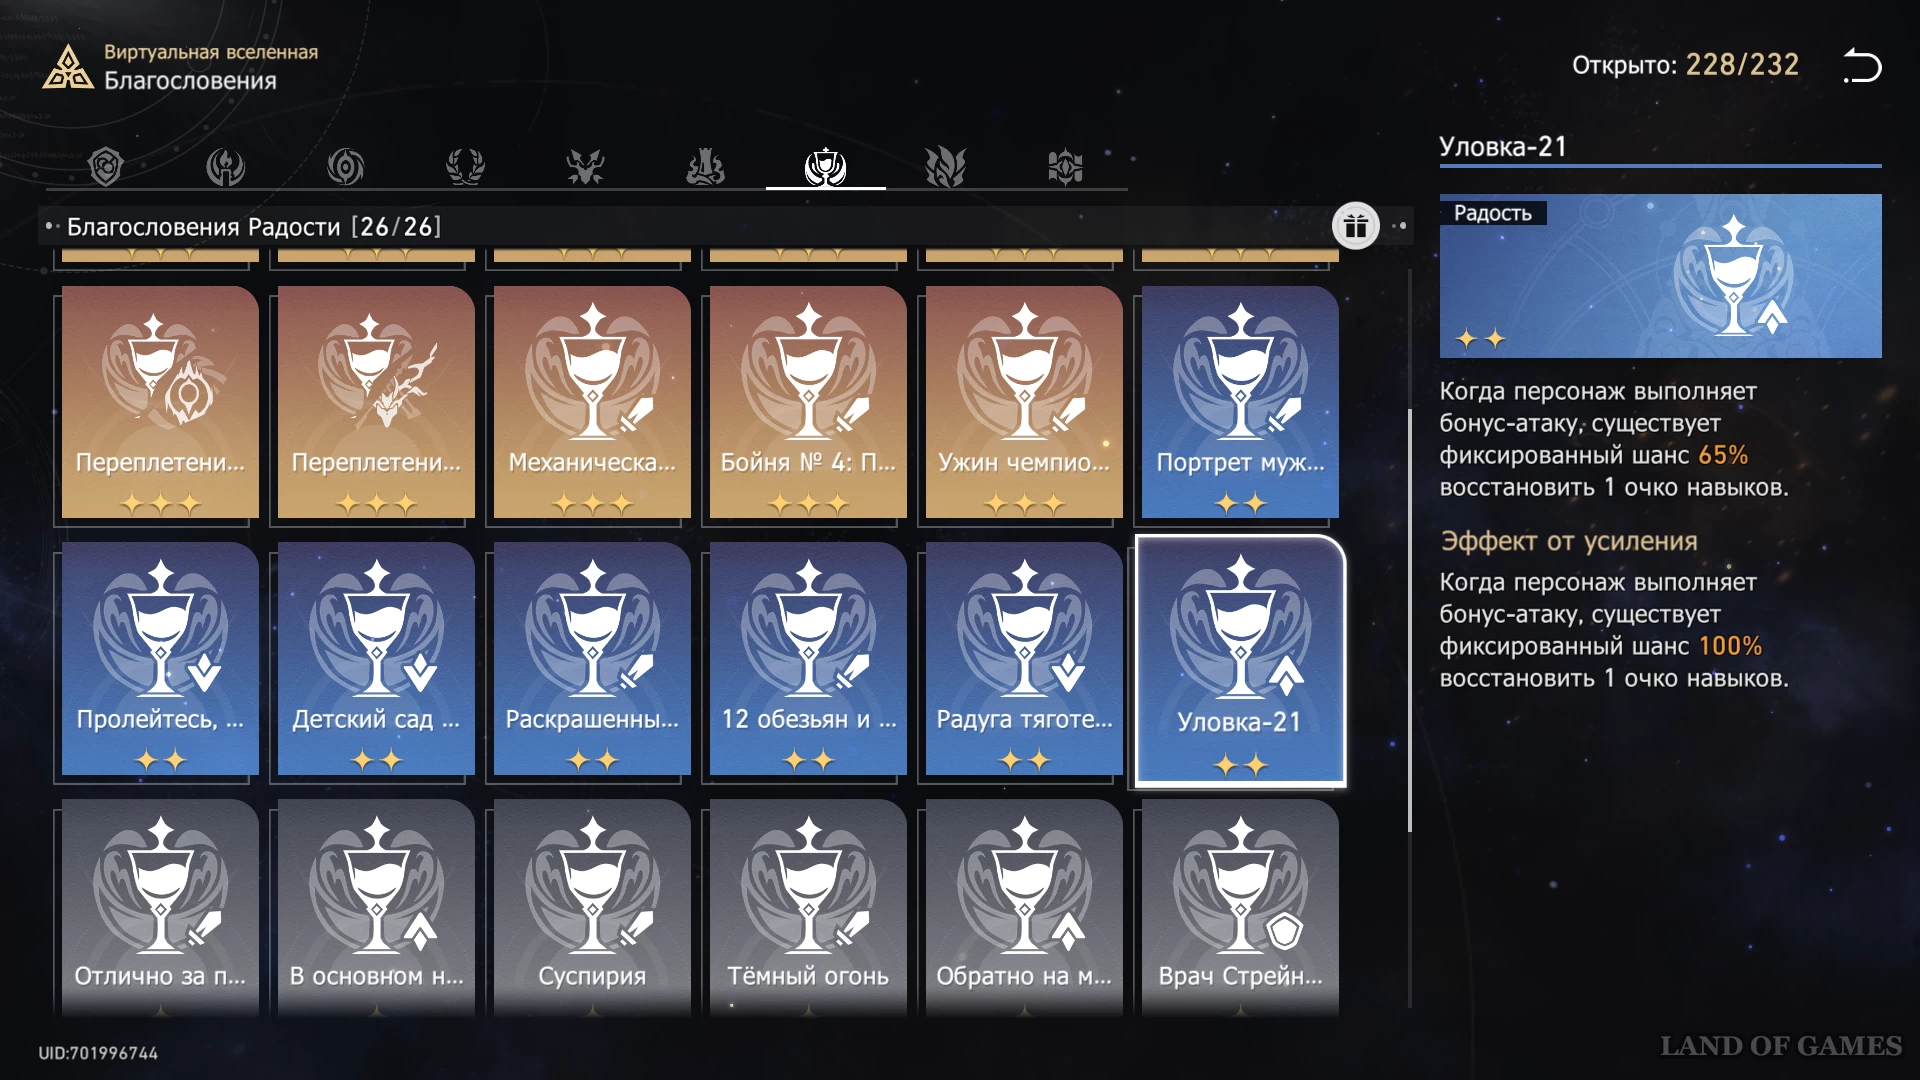
- Among the blessings, approximately all power-up cards will be equally useful. However, it is worth highlighting the enhanced version of Catch-21 for teams with a high consumption of action points. Thanks to it, you will be able to use all the necessary skills without any problems.
Spread Path
This Path will be open for use after completing the mode "Invasion of the Swarm". It will perform well if you take the Moon Eater or Blade as the main damage dealer.
- When choosing a formation, give priority to Crystal Stings. With their help, it will be possible to inflict additional damage with Spores. “Proboscis” will significantly enhance your damage dealer. You can take “Phenol Compounds” last to more often advance the actions of the desired character.
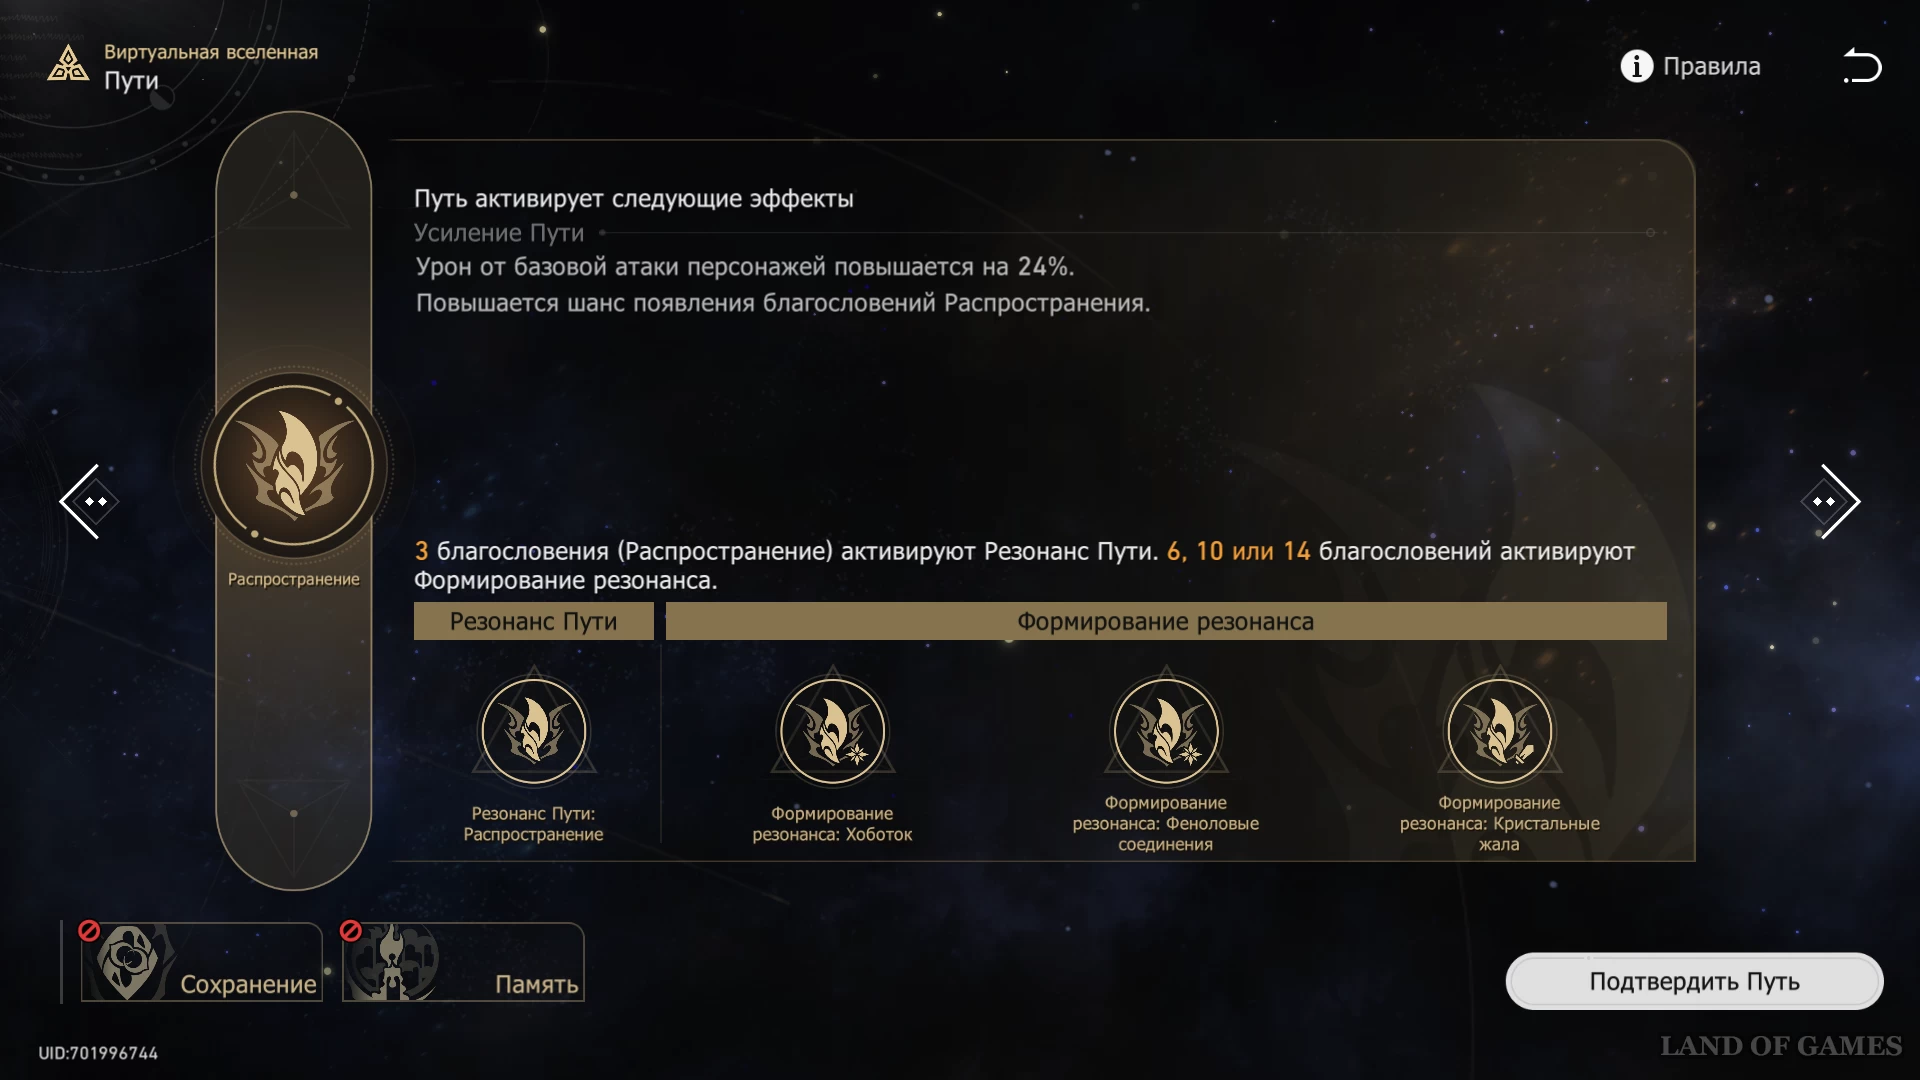
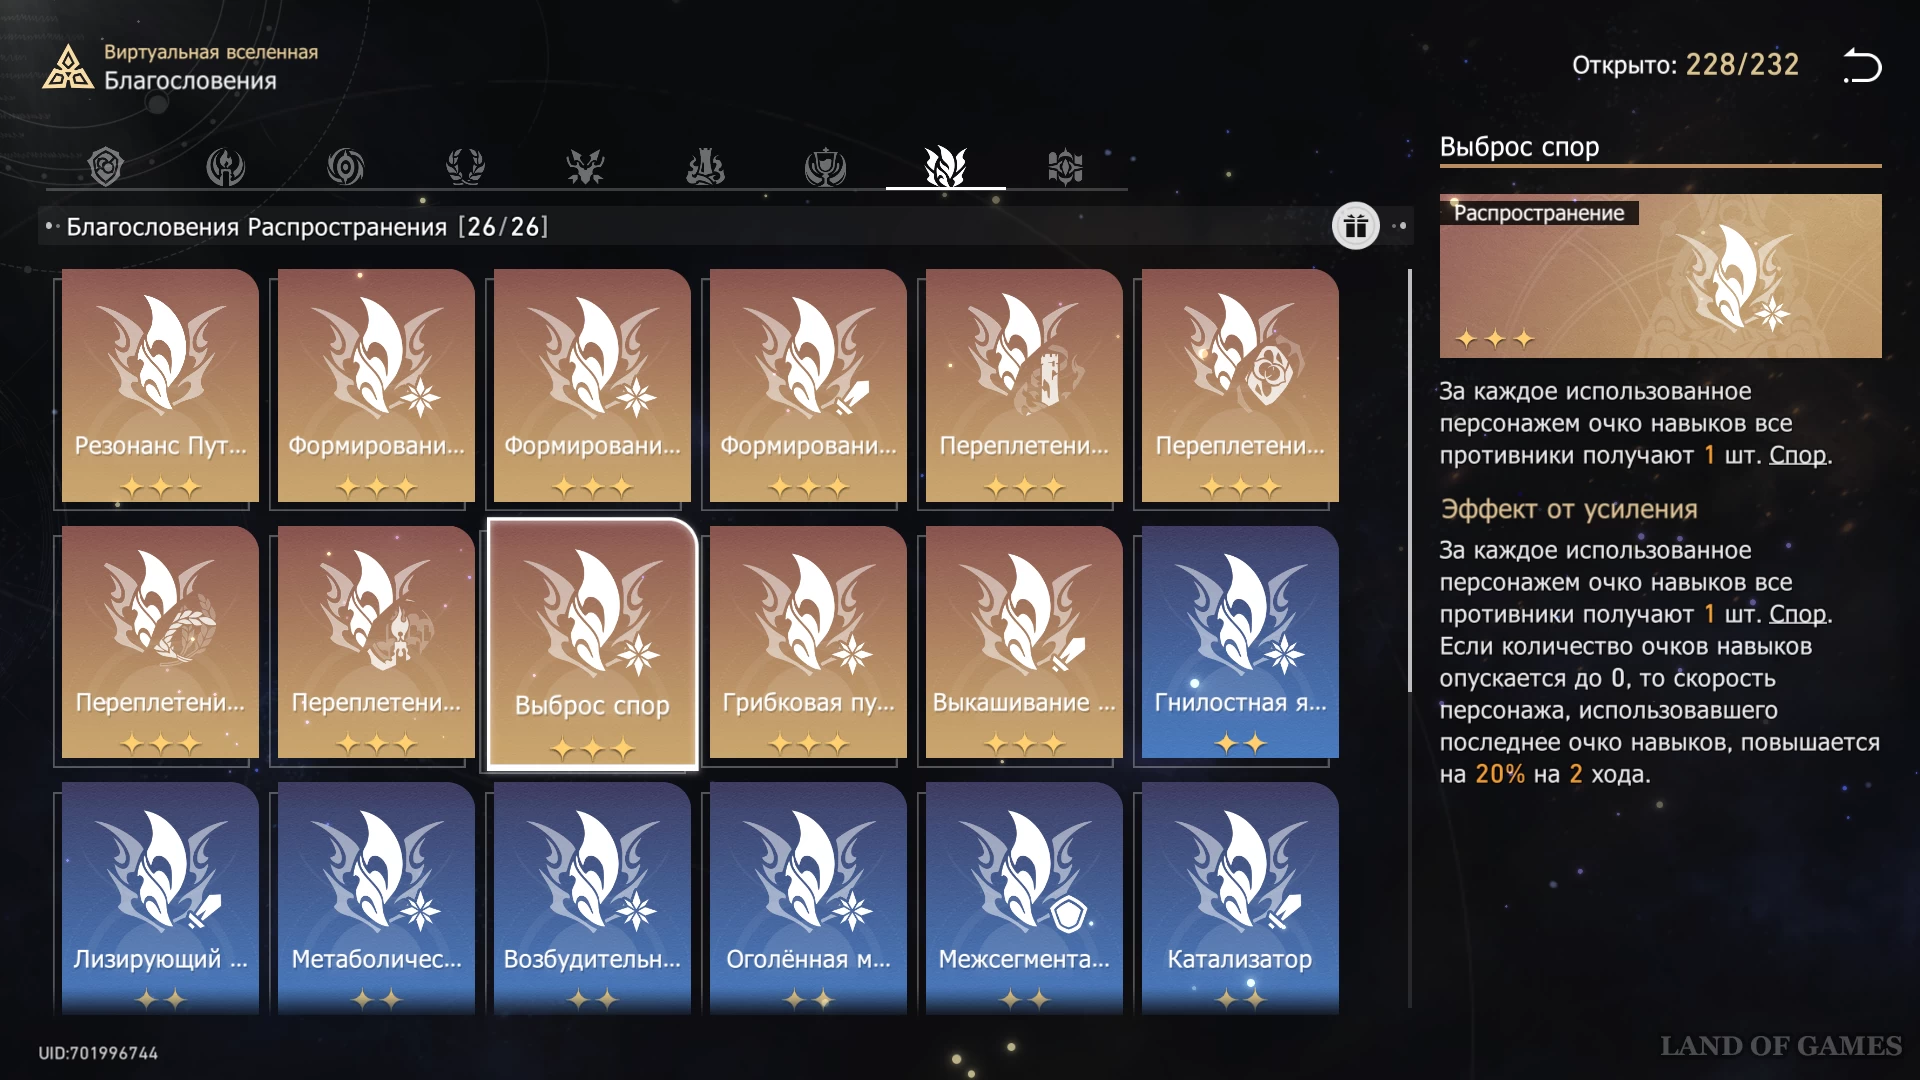
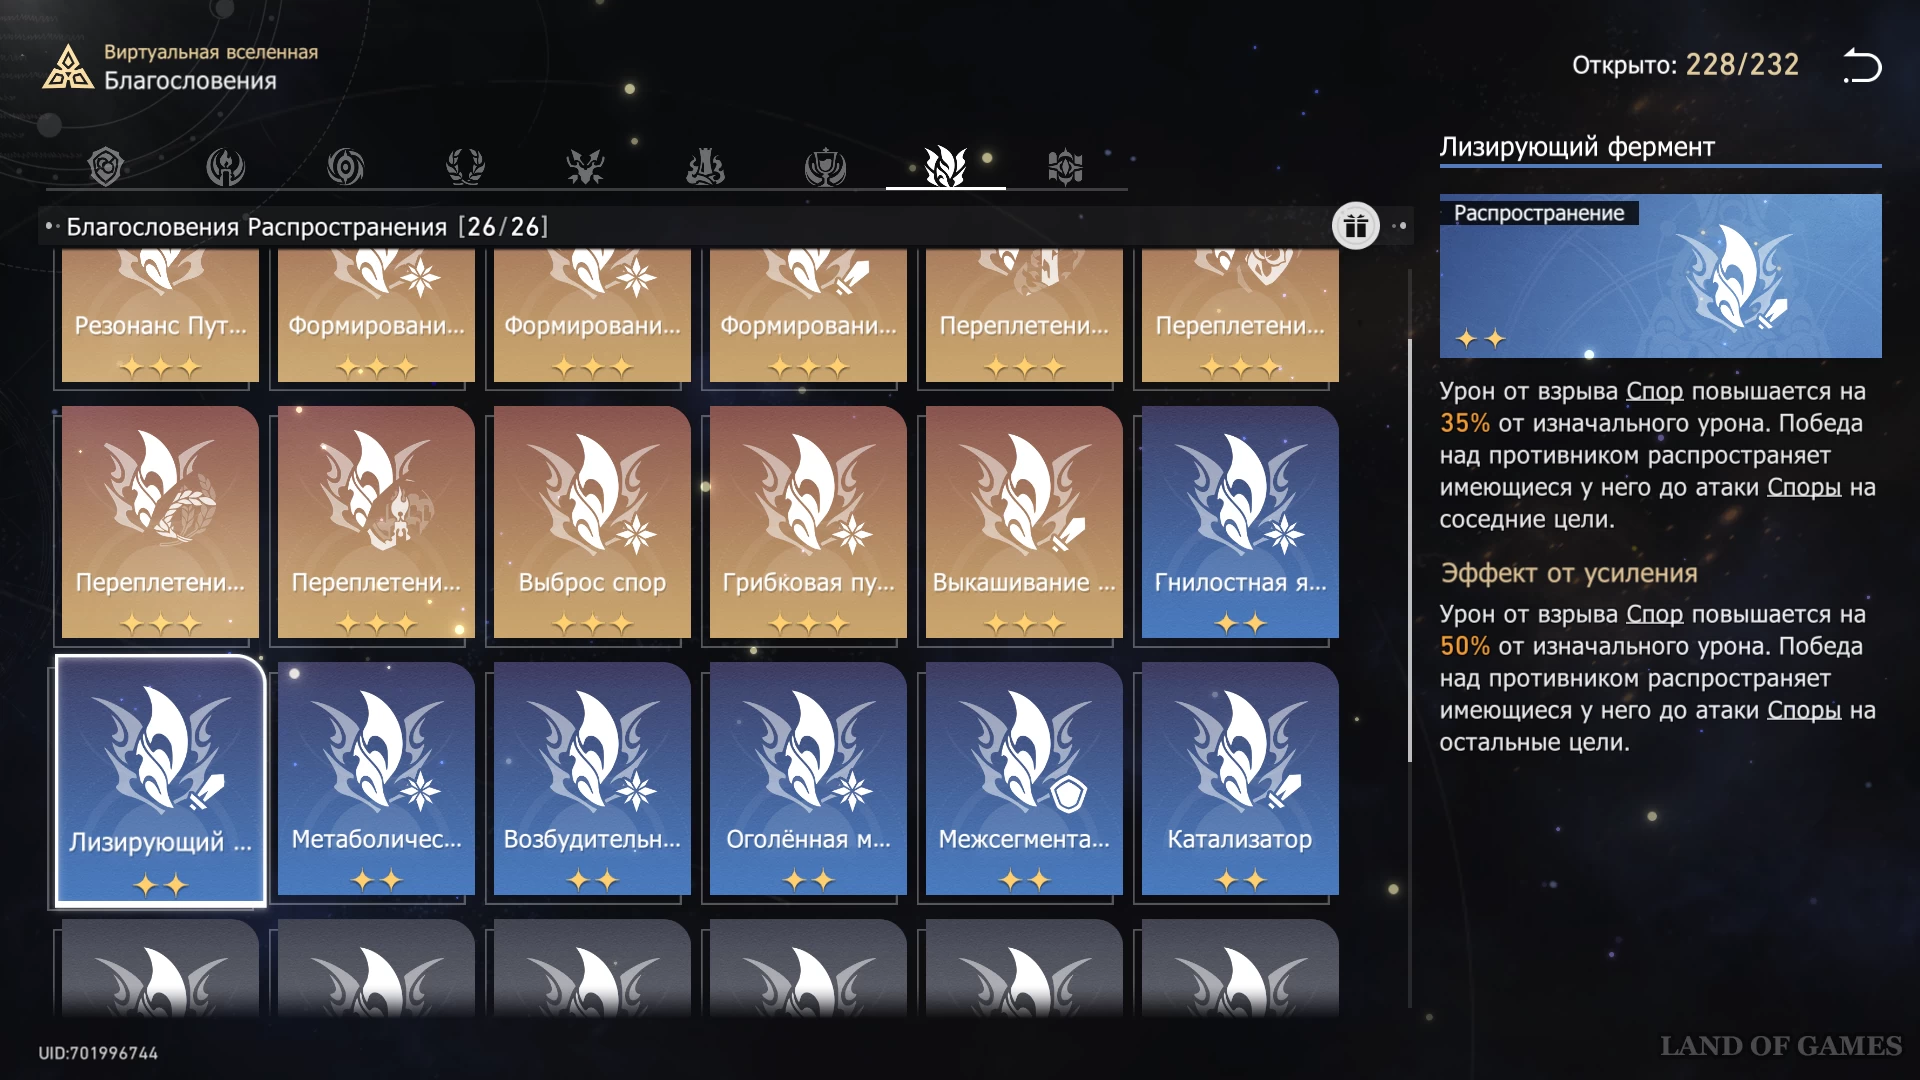
- Among all the blessings of this Path, one can highlight those that provide a bonus to damage and the number of Spores. For example, “Spore Release,” “Fungal Pustule,” or “Lysing Enzyme.” The rest will be useful for increasing damage or increasing survivability.
Path of Nothingness
This Path works best in units aimed at causing periodic damage. But it can also be taken for other teams. Then Resonance will simply act as an additional source of damage.
- It is worth taking the formations in the following order. Fourfold root of doubt → Outsider → Suffering and sunlight.
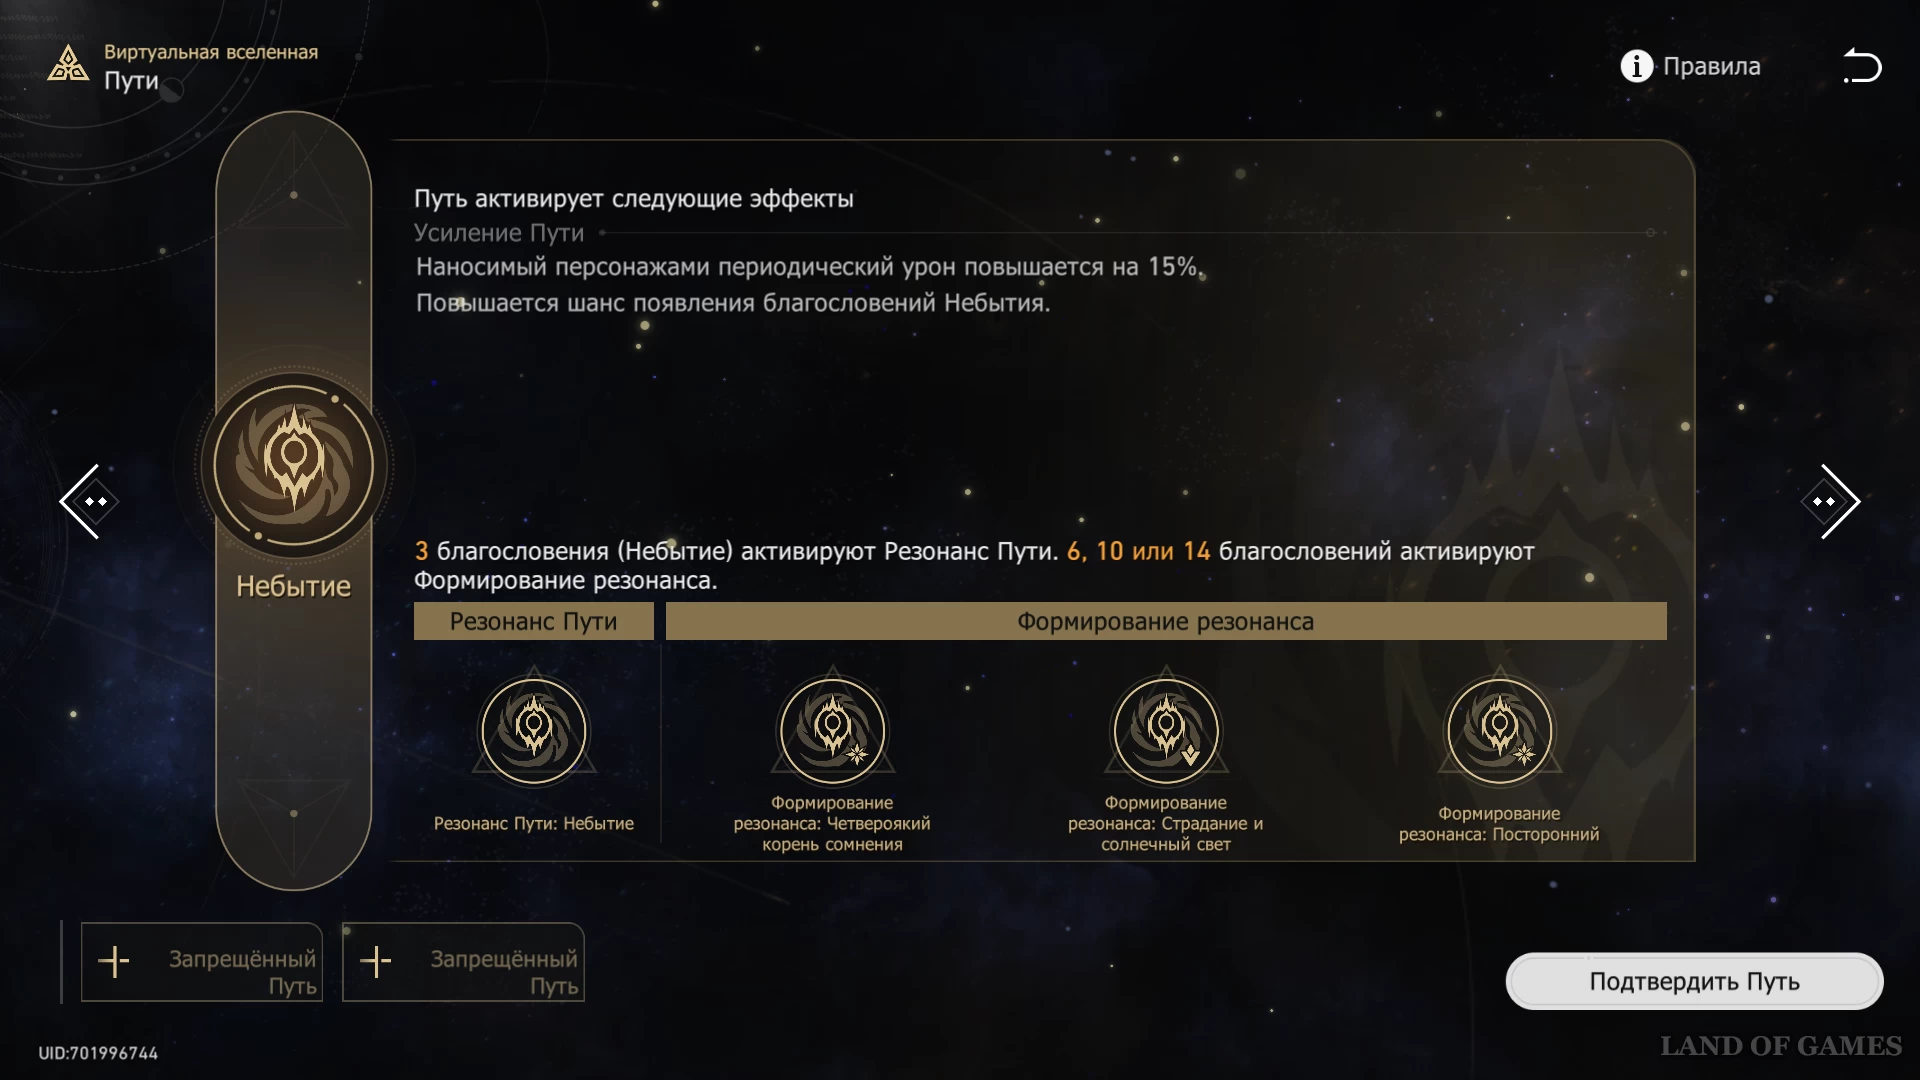
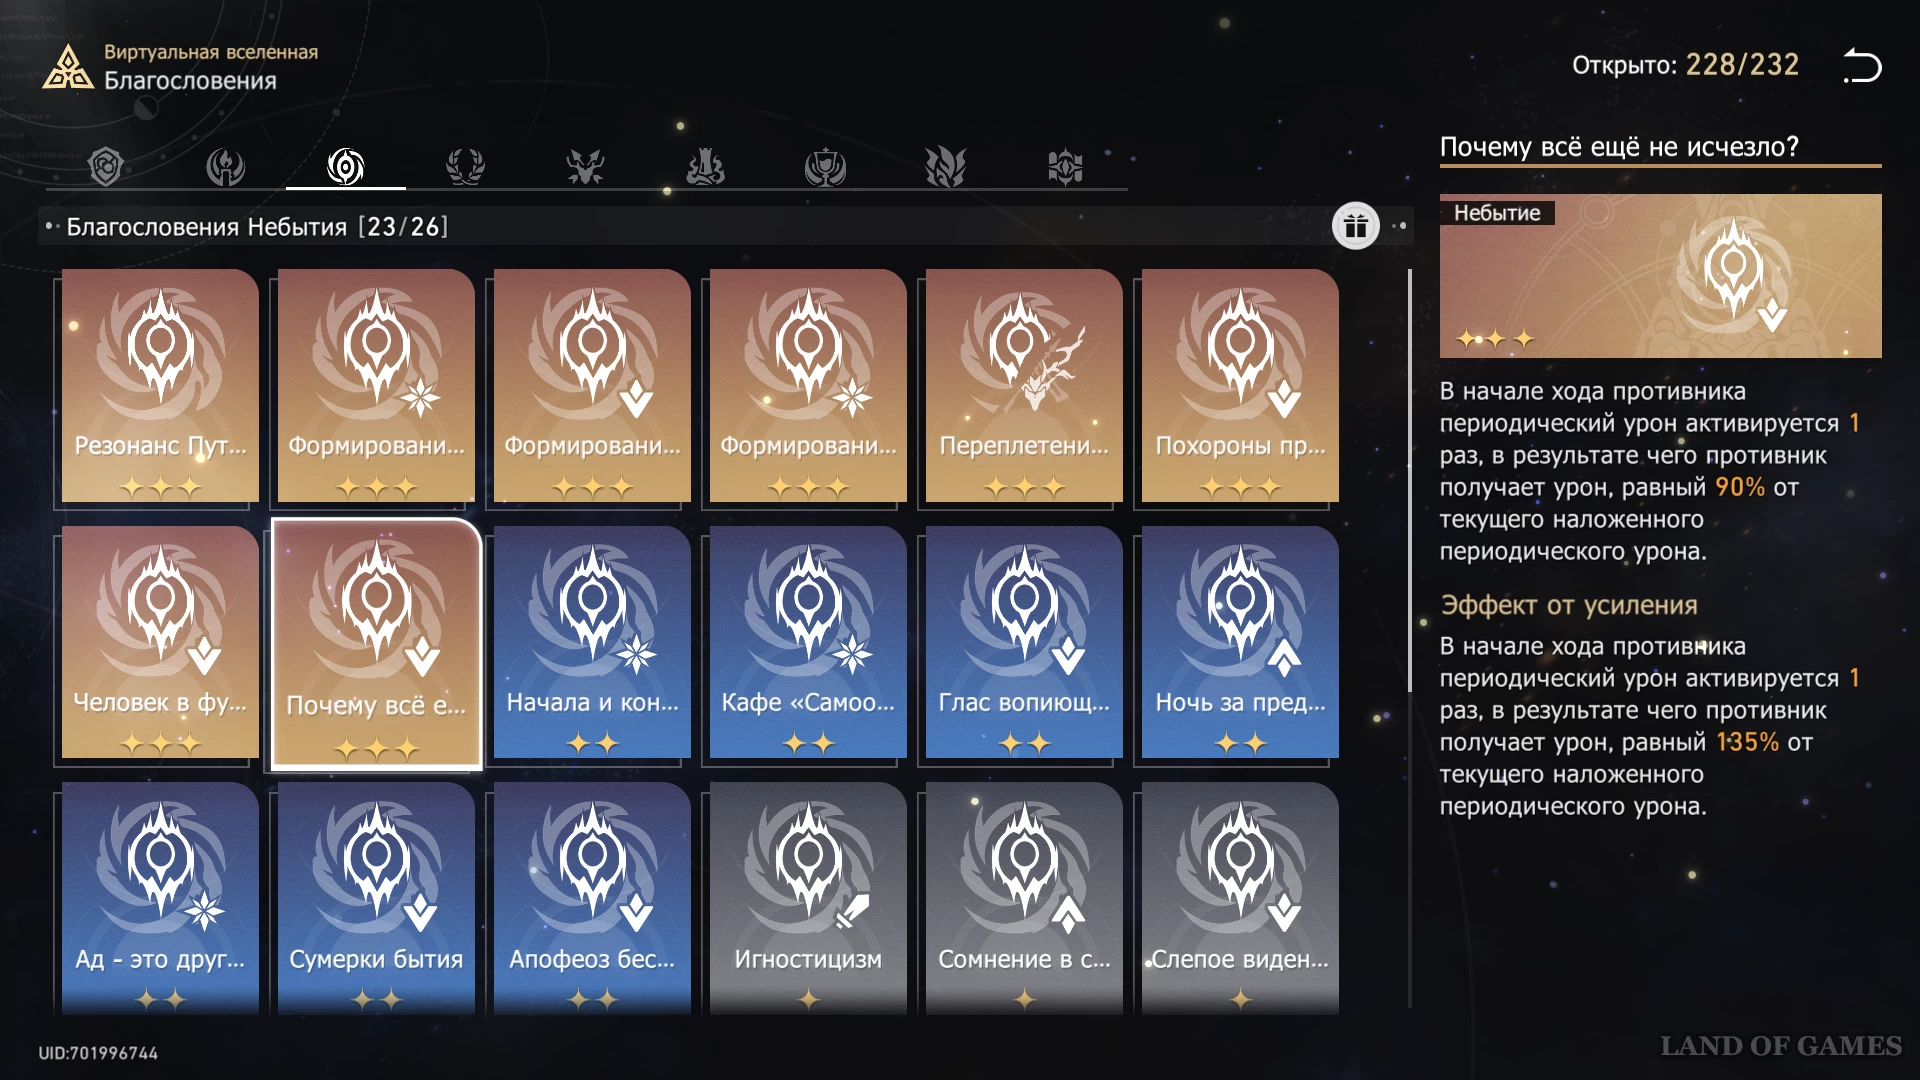
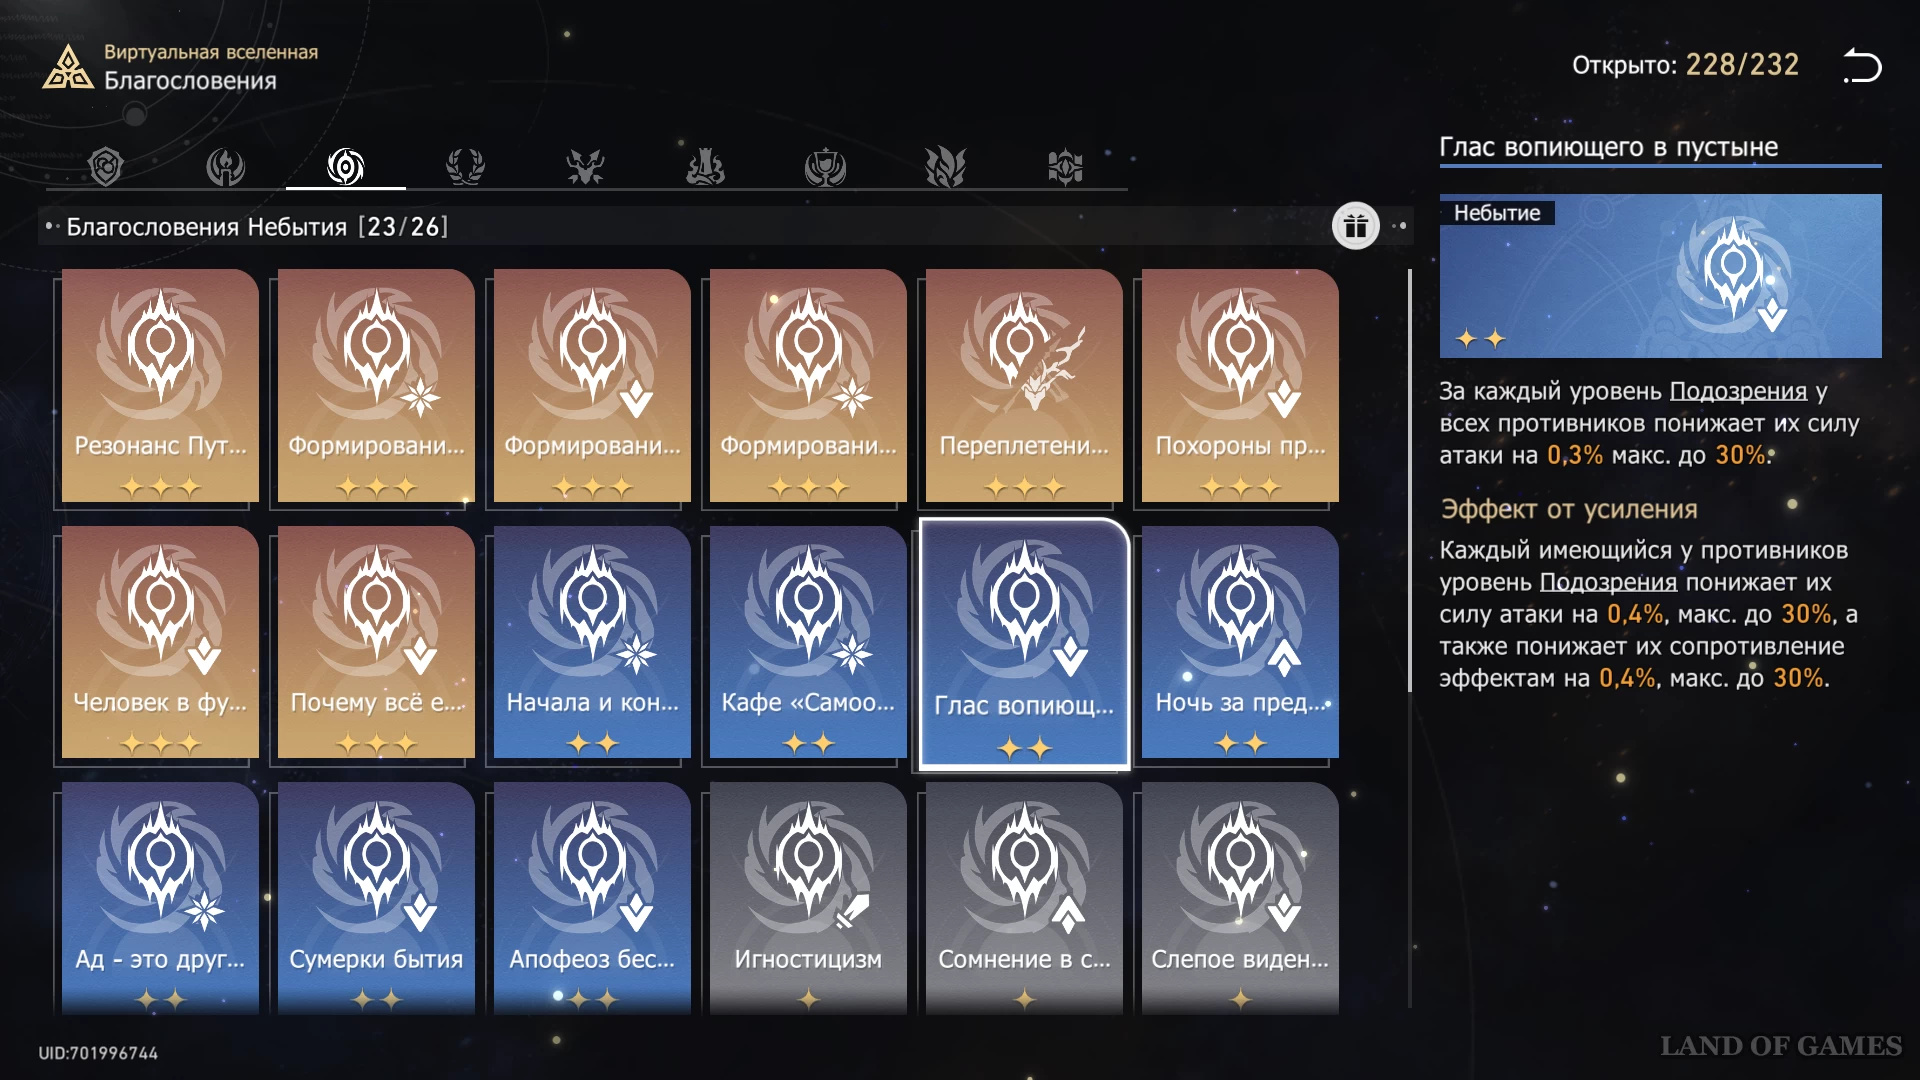
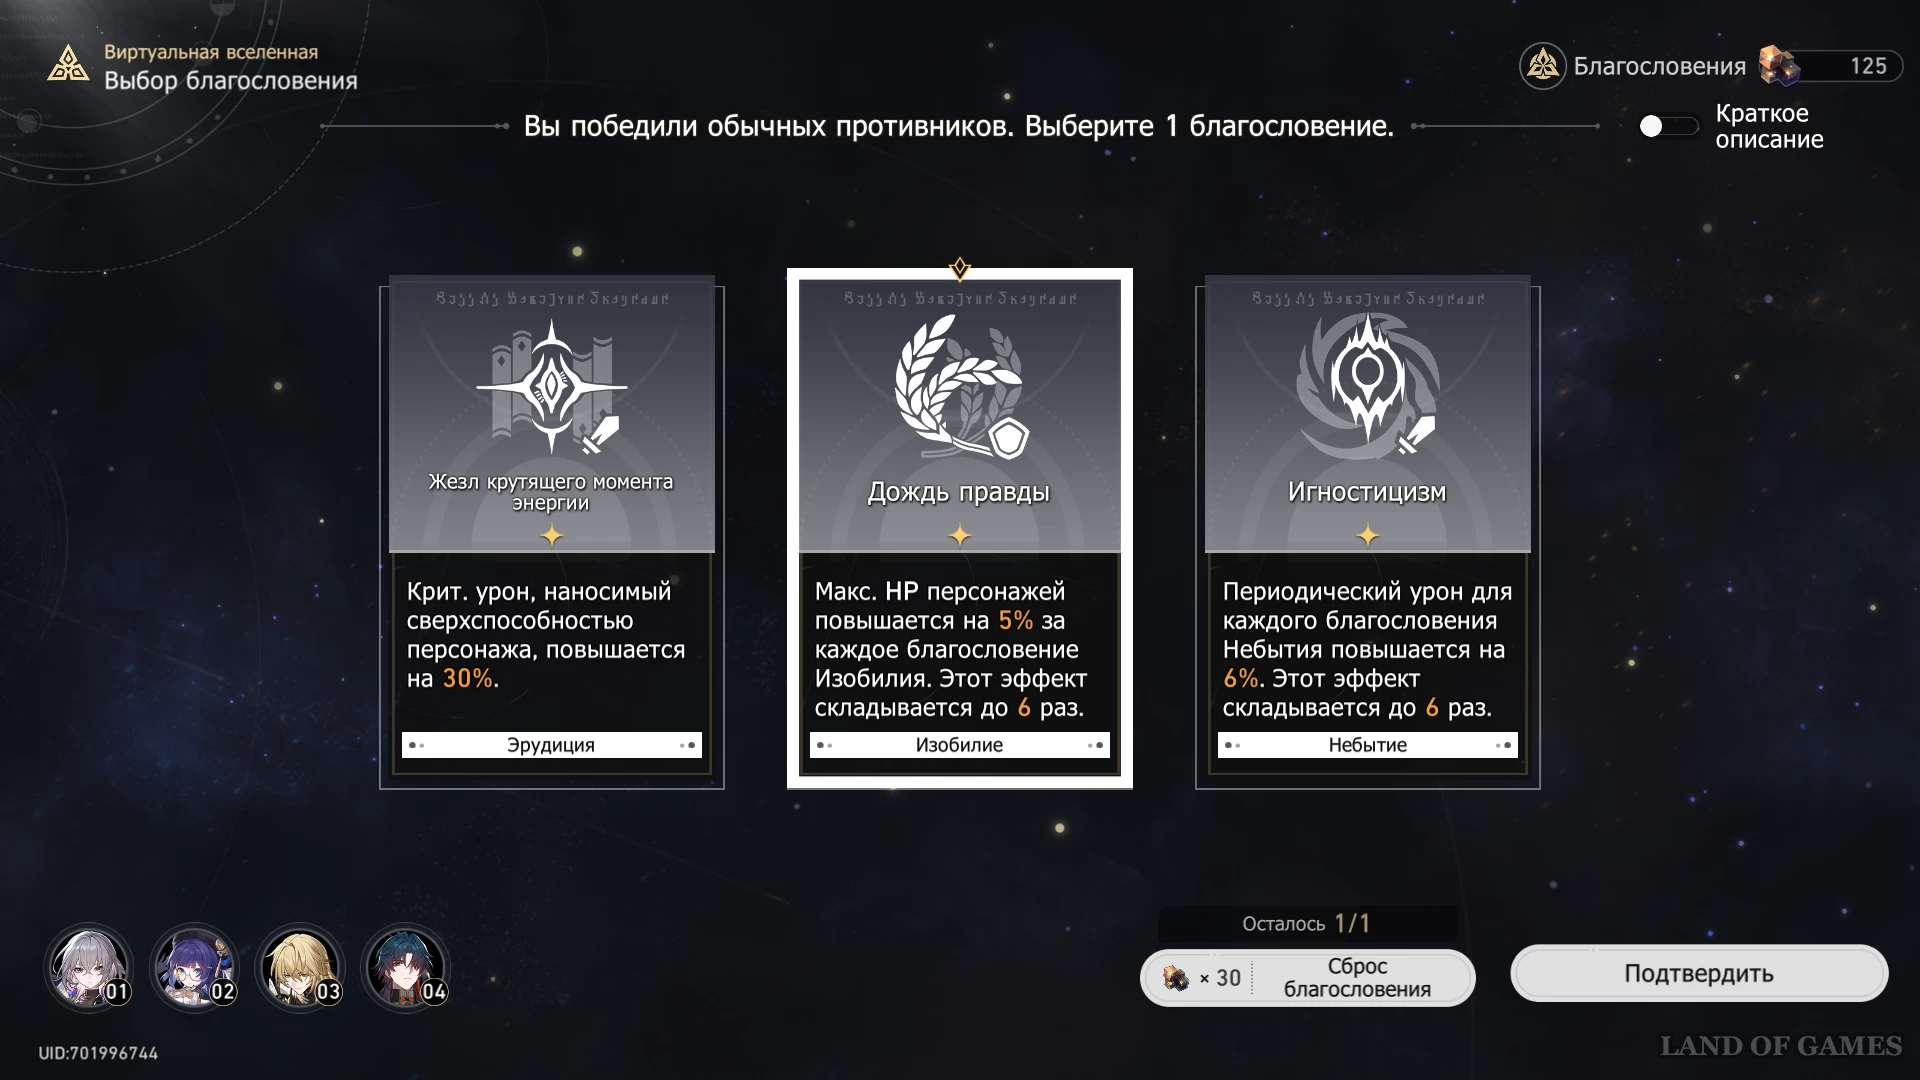
- Of the blessings of this Path, especially useful are “Why hasn’t everything disappeared yet?” and “The voice of one crying in the wilderness.” The first will significantly increase the damage from Resonance, and the second will weaken enemies and increase the survivability of the squad.
General Tips
When selecting a squad, do not forget to monitor the leveling of heroes. Try to take those fighters whose level meets the recommendations for a particular difficulty level. Pay attention to upgrading their tracks and equipment.
Try to collect the blessings of the chosen Path in order to open as many resonance formations as possible. If you don't get the cards you need, you can take the Abundance, Conservation, or Destruction boosts. With them it will be easier to survive in particularly difficult battles.
It is advisable that before the first elite enemy, you collect at least 4-5 blessings of the desired Path, and ideally, open the first resonance formation. If this does not happen, you can restart the tests after entering the second zone to receive all the initial bonuses.
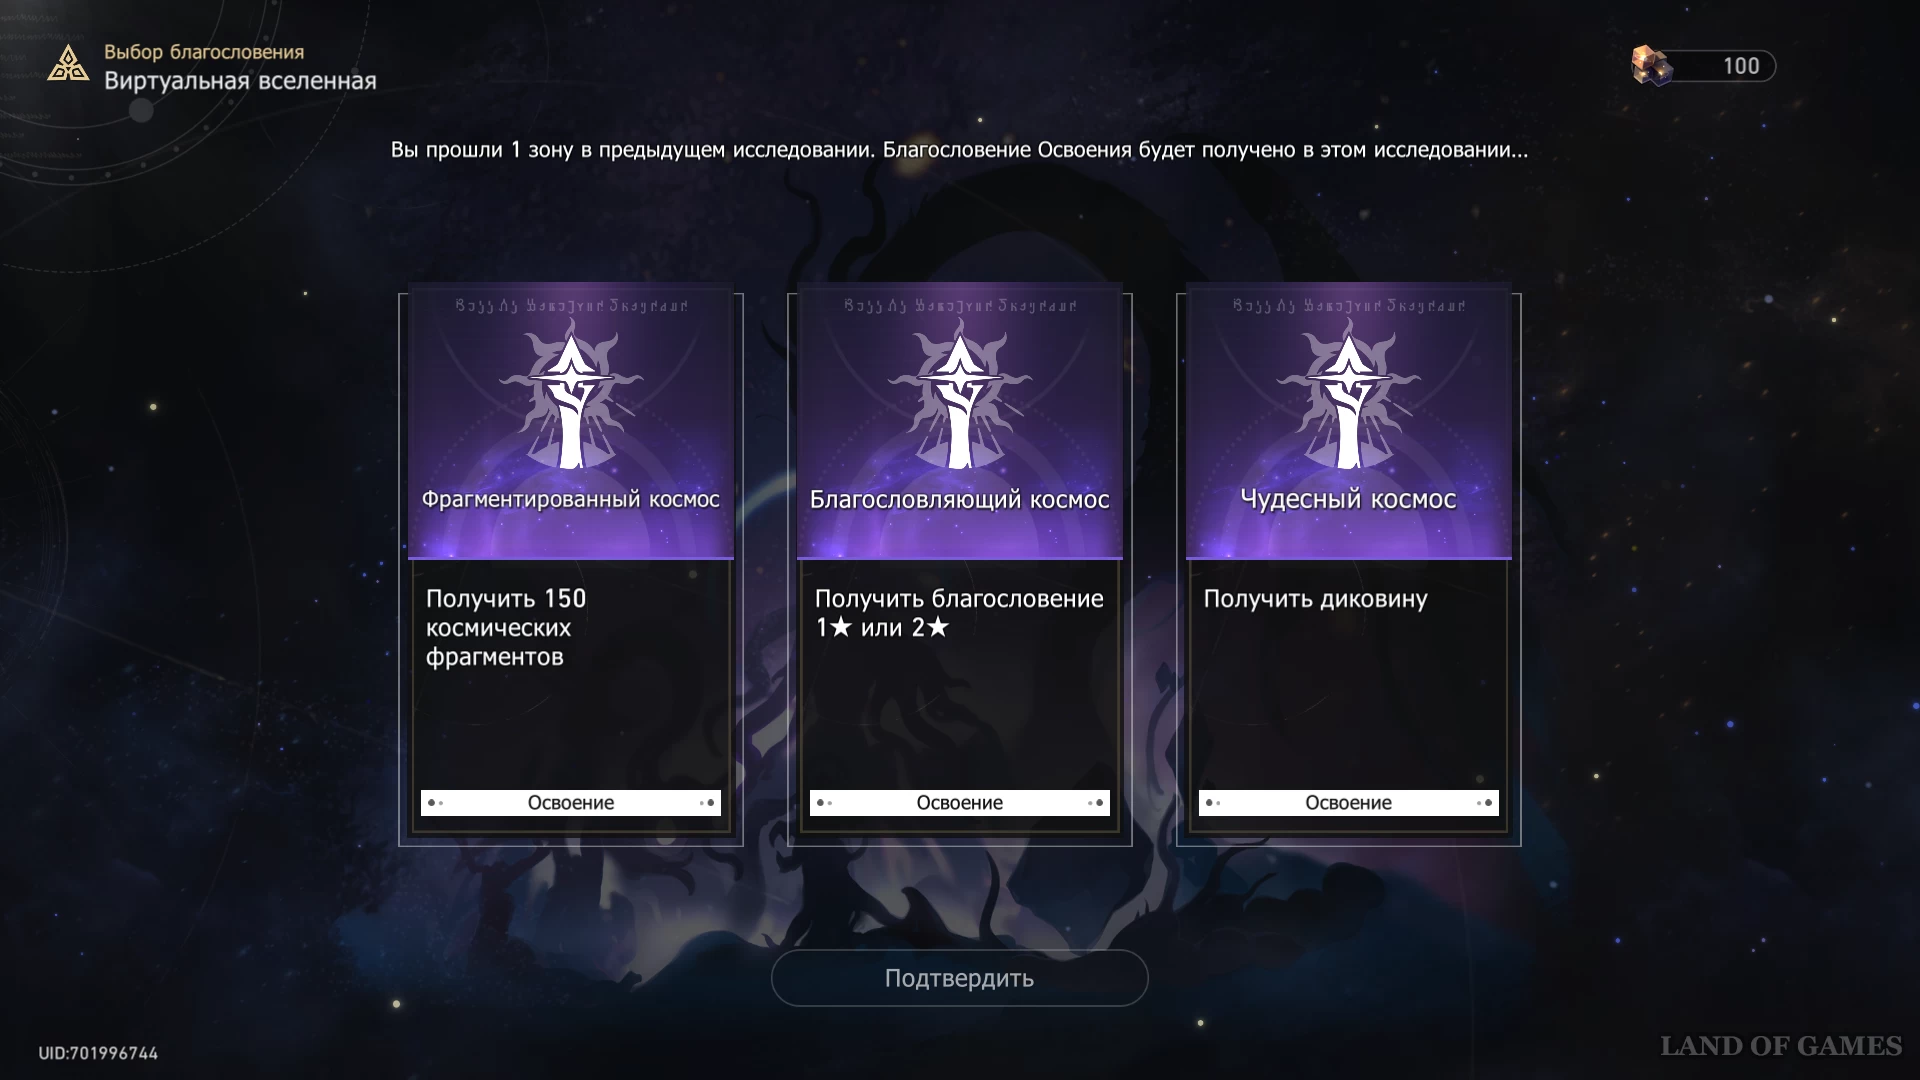
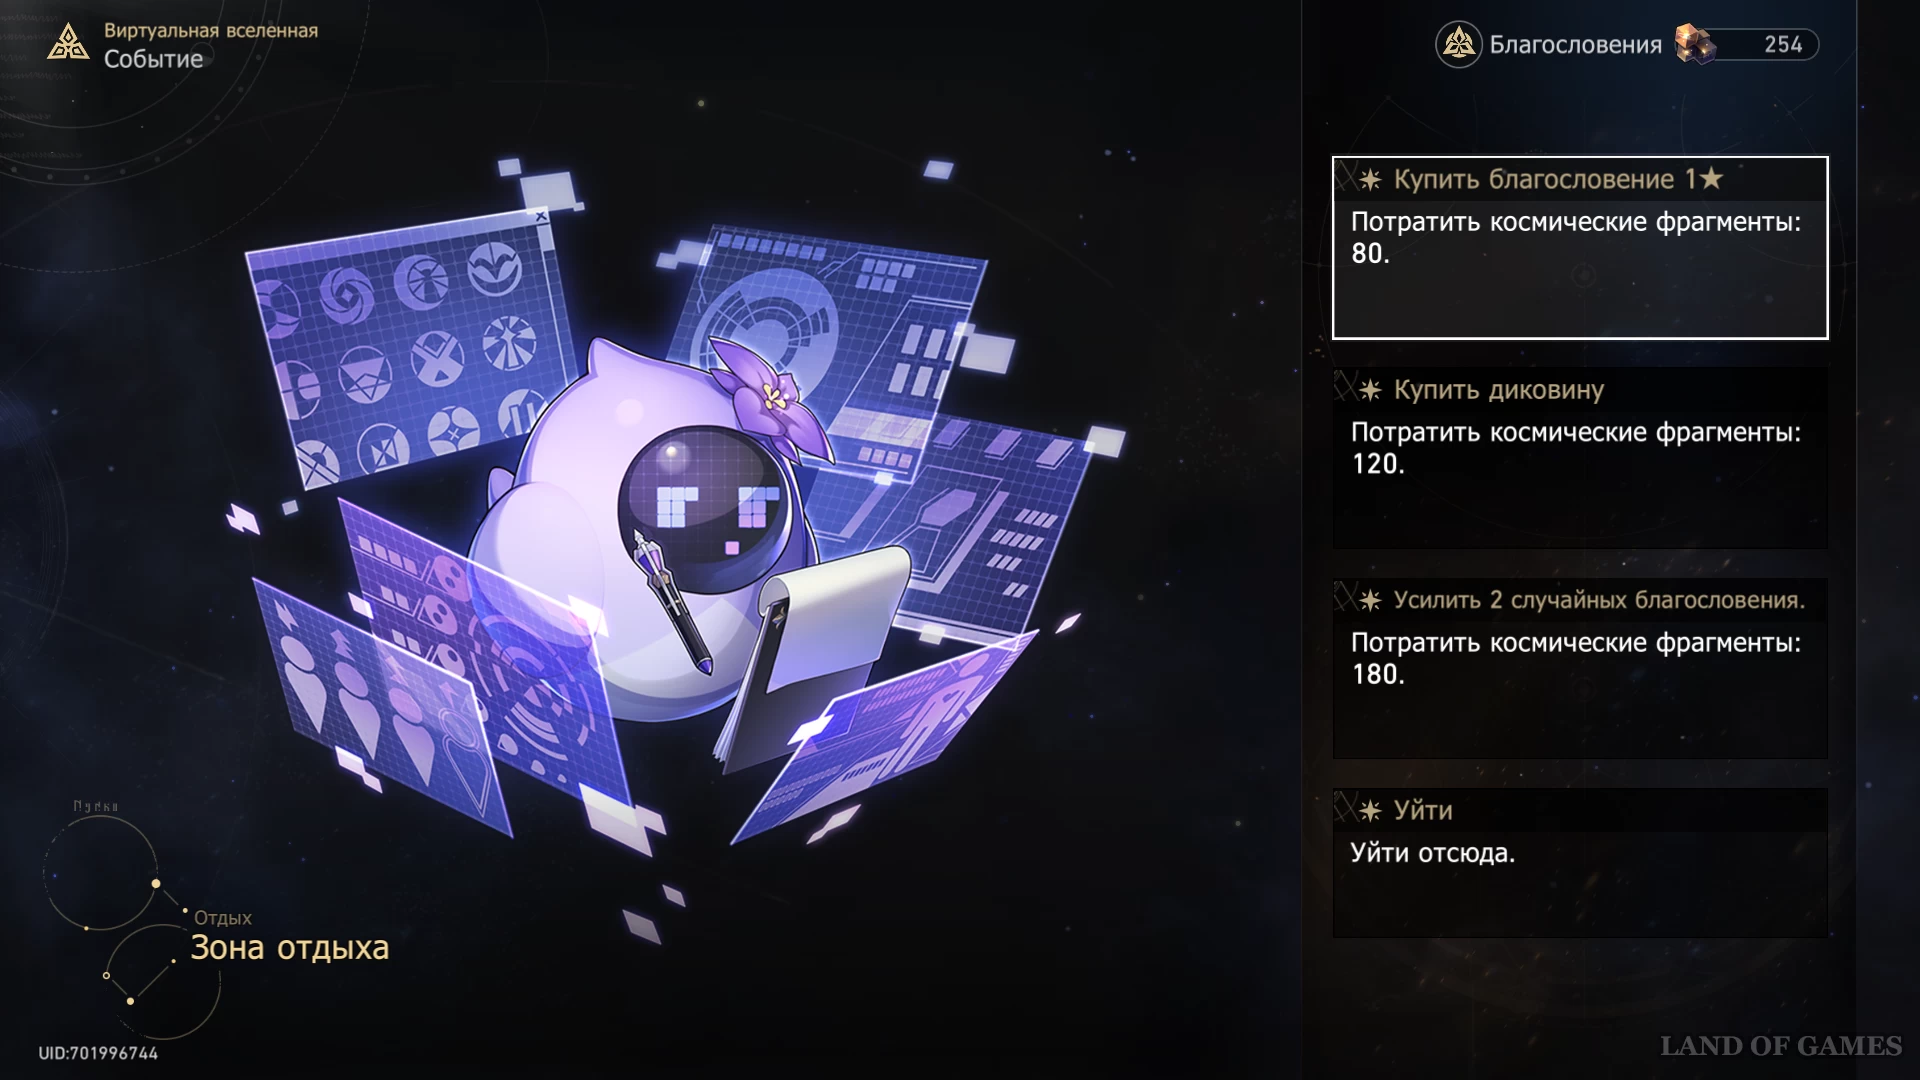
Remember that in the Recreation Area you can purchase one additional, simplest blessing from Gerta. There you will also have the opportunity to download an additional hero if you feel that you made the wrong choice when building a squad at the very beginning of the test.
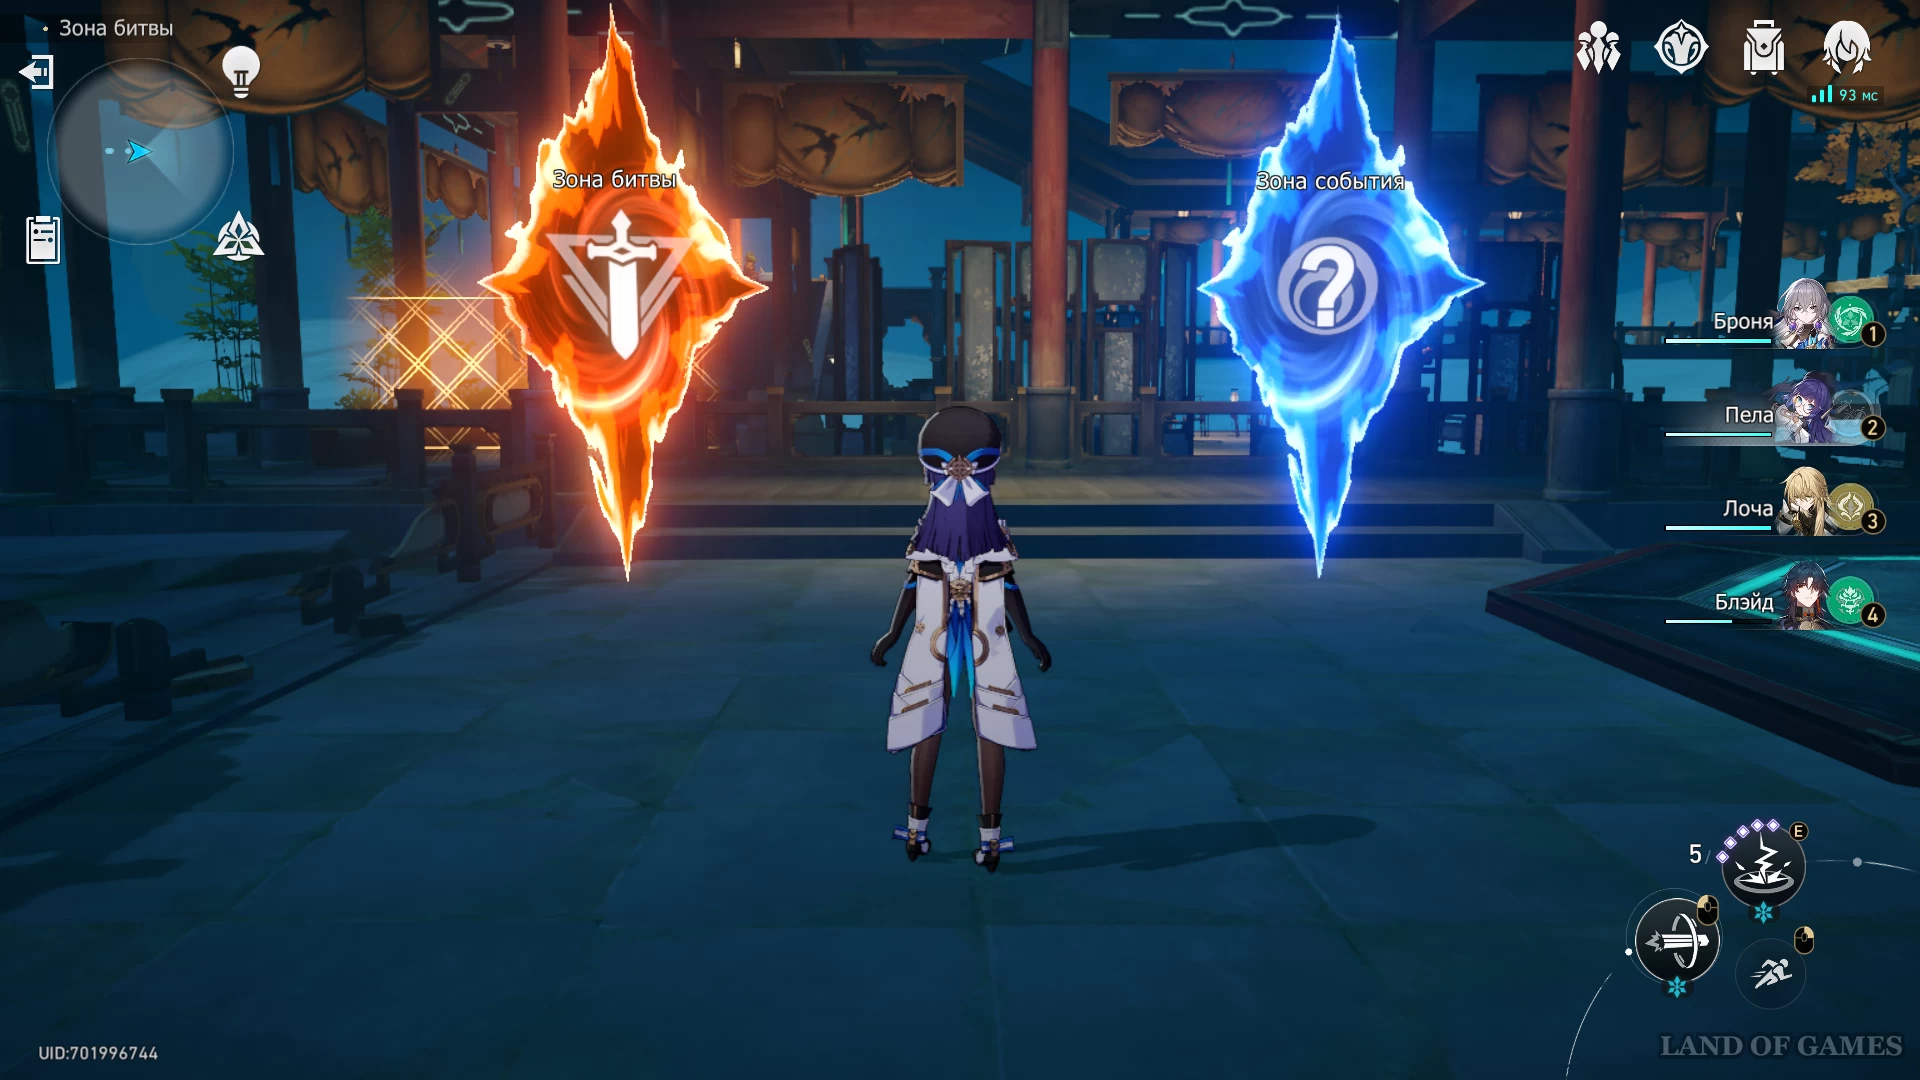
We also recommend that you choose battle zones rather than event zones. First, you are guaranteed to be able to pick up the blessing. The result in the second type of room may be too unpredictable.
How to defeat Meme Memory Zone "Something to Die"
We devoted the features of the fight with this monster, its skills and tactics of fighting with it separate guide. A feature of the version of the Meme that lives in the Virtual Universe is the number of phases. There will be one more, but the second and third will be completely identical. This way you won't have to change your strategy for the last stage of the battle.
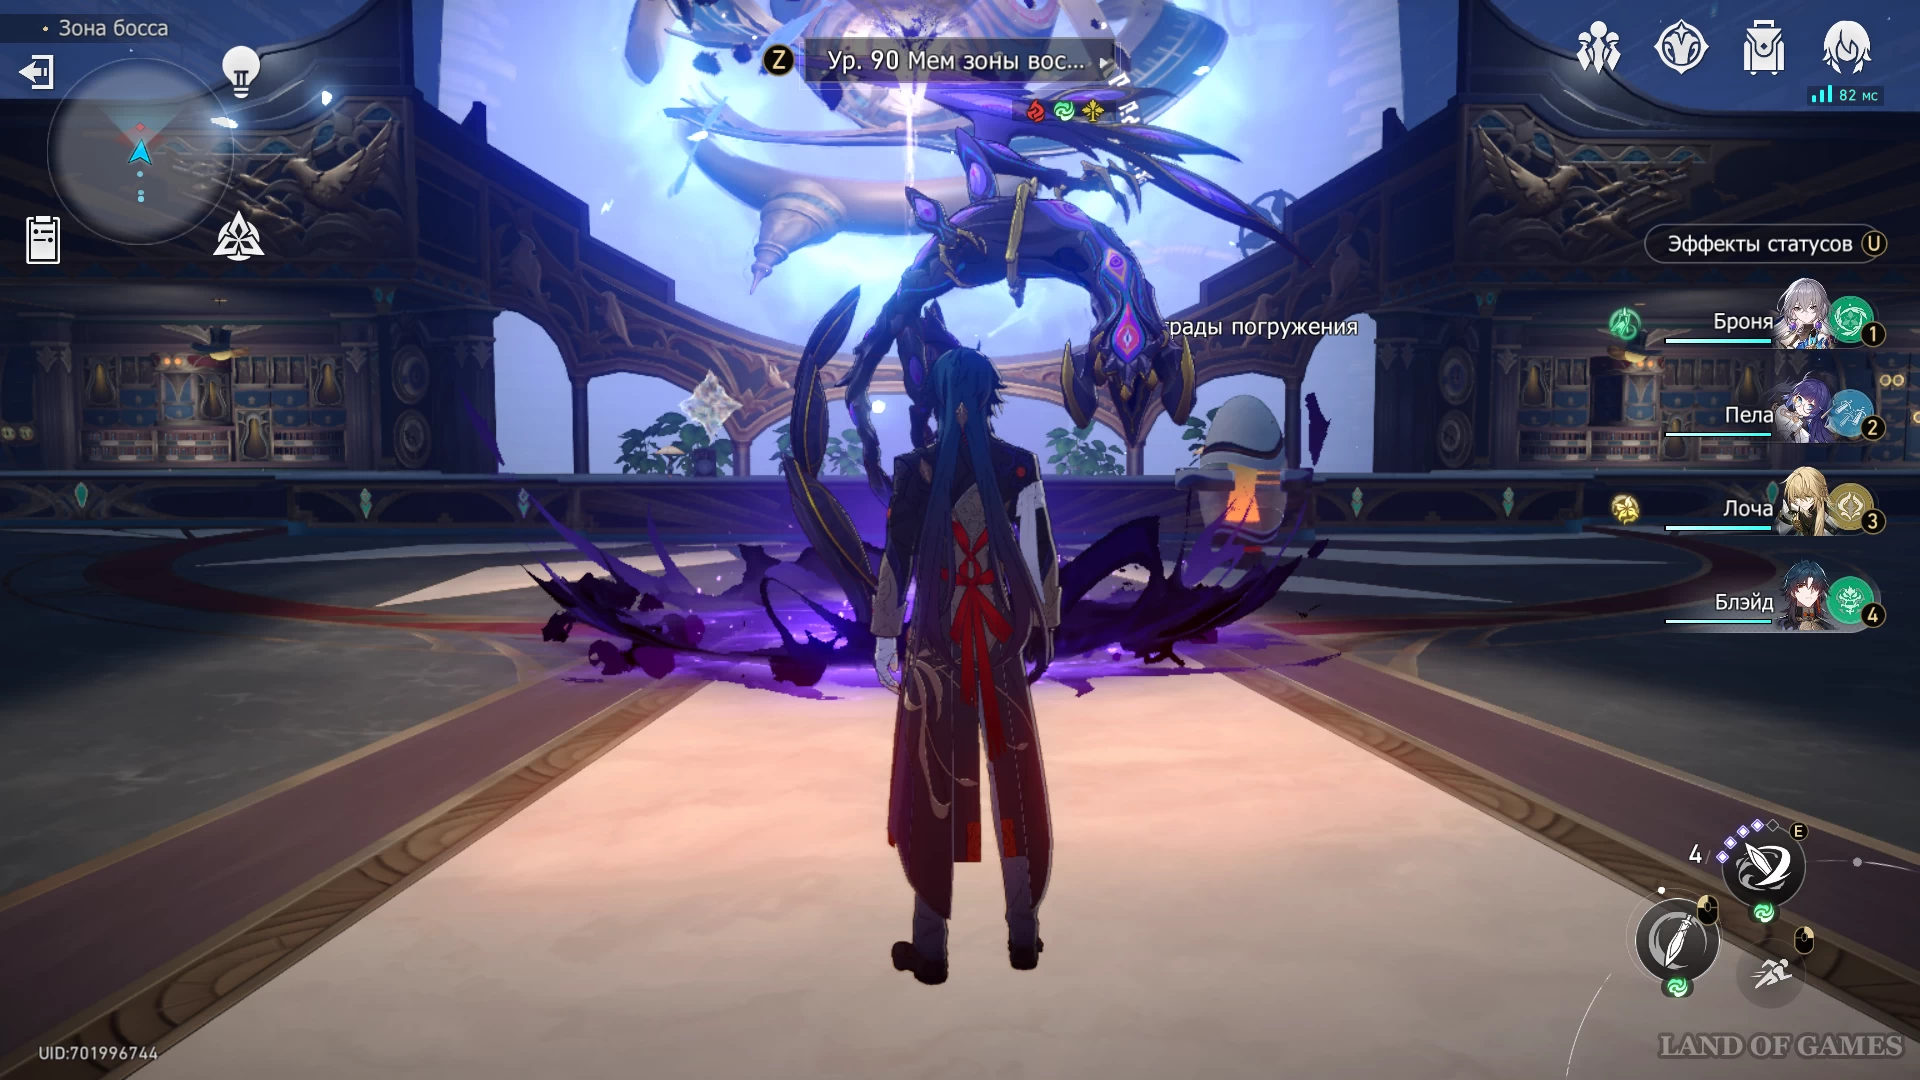
The advantage of the Virtual Universe is the presence of Path Resonances. Try to mine them before the Tombs appear to destroy them faster and free your allies. With a full squad, you will be able to destroy the monster and collect all the rewards much faster.
Comments
You need to login to add comments.
You can login with