
In Honkai: Star Rail, Good Stuff is an adventure mission for the Hertha Space Station, in which you have to complete World 3 of the virtual universe, unlocking access to obtain planar decorations. In this guide, we will tell you in detail how to prepare the optimal team for this challenge and defeat all enemies.
How to start the "Good Stuff" mission
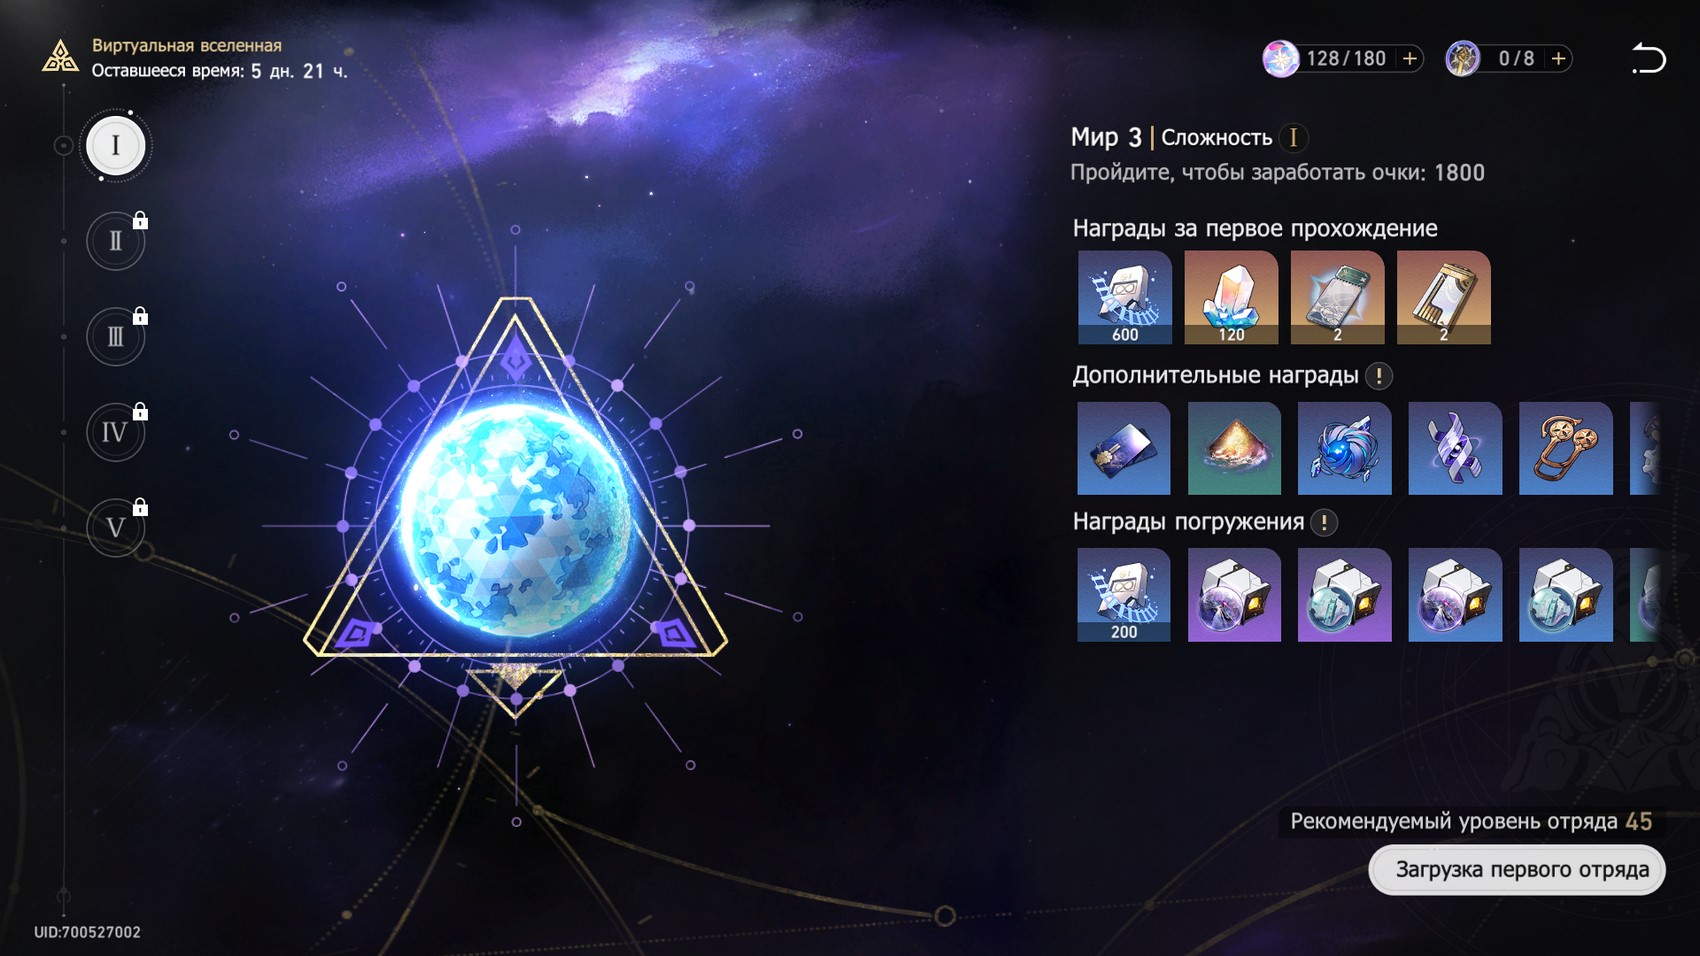
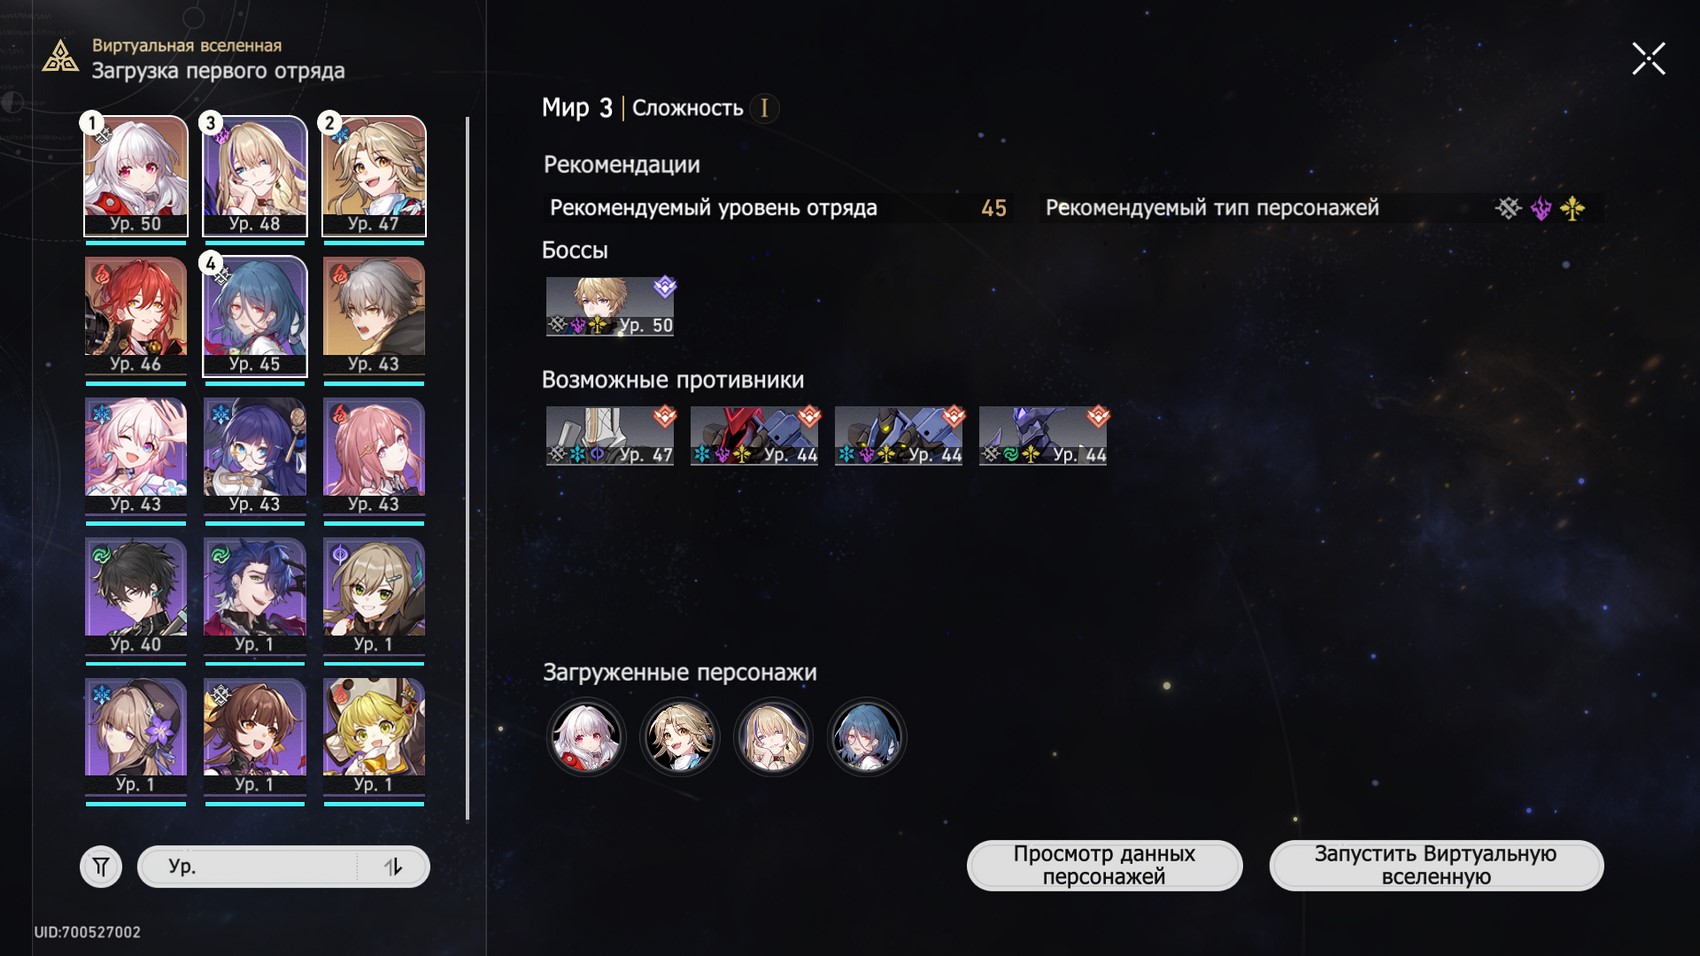
Access to it opens quite early - already at the 24th level of Assimilation after completing the previous task of the chain called "Virtual Universe. Part 2". However, at this stage, you are unlikely to be able to fully pass the third World. We advise you to open first Rank 2 Balance and pump the necessary characters to at least level 45.
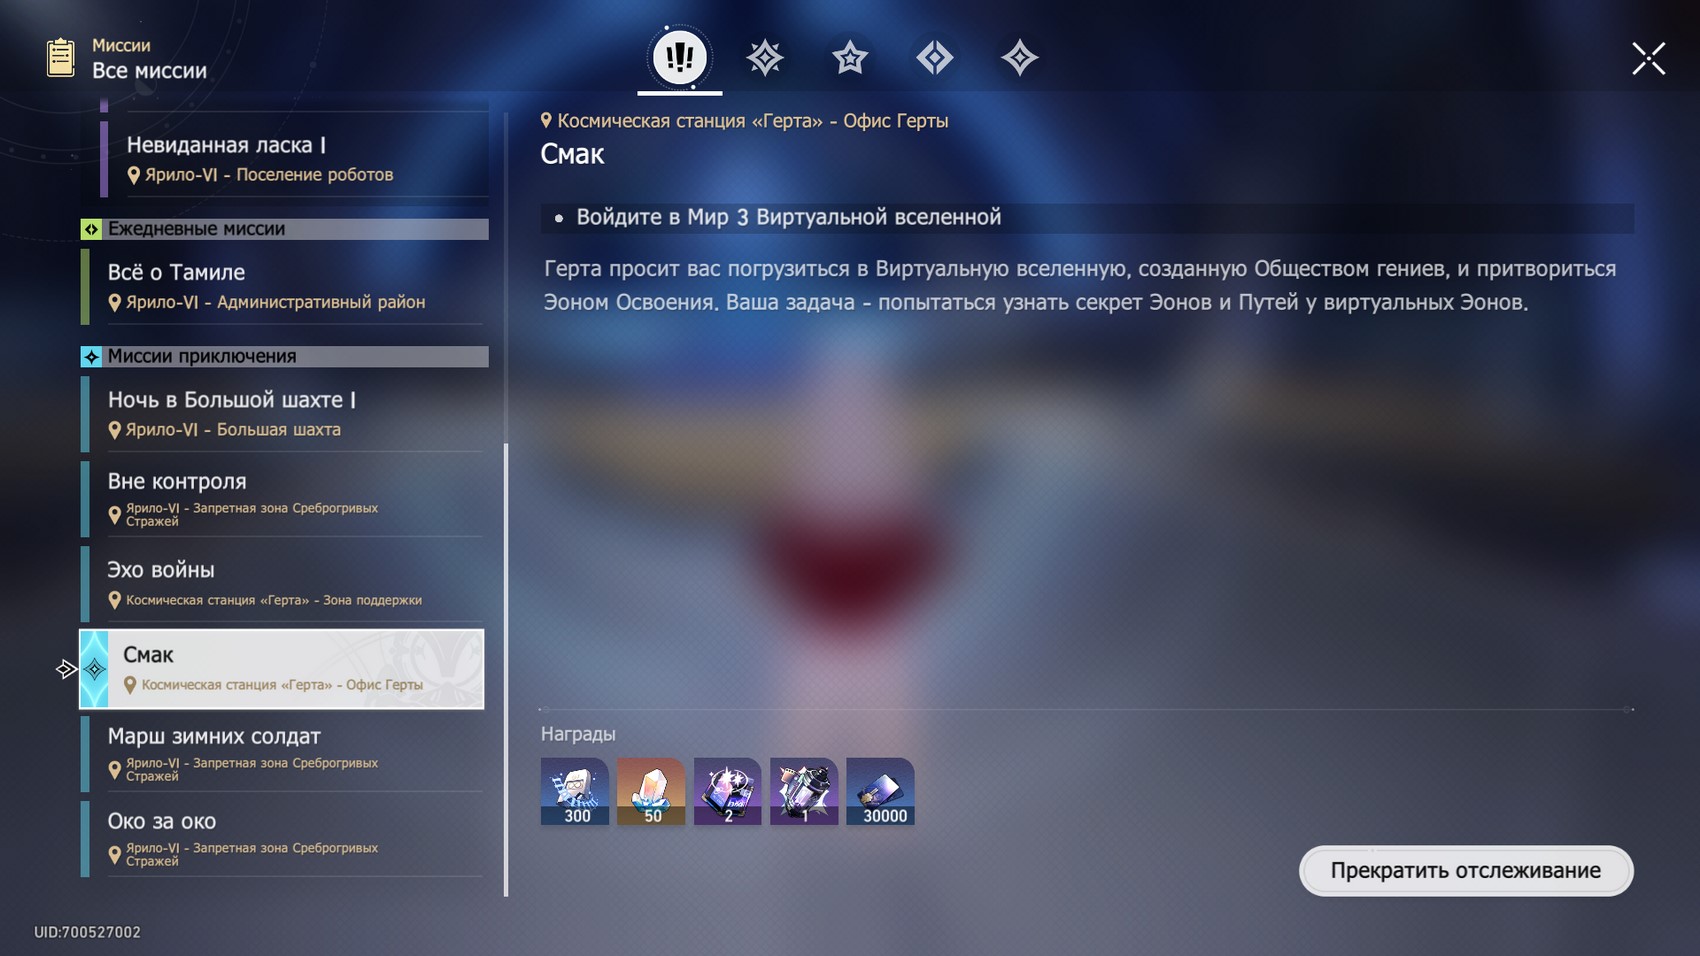
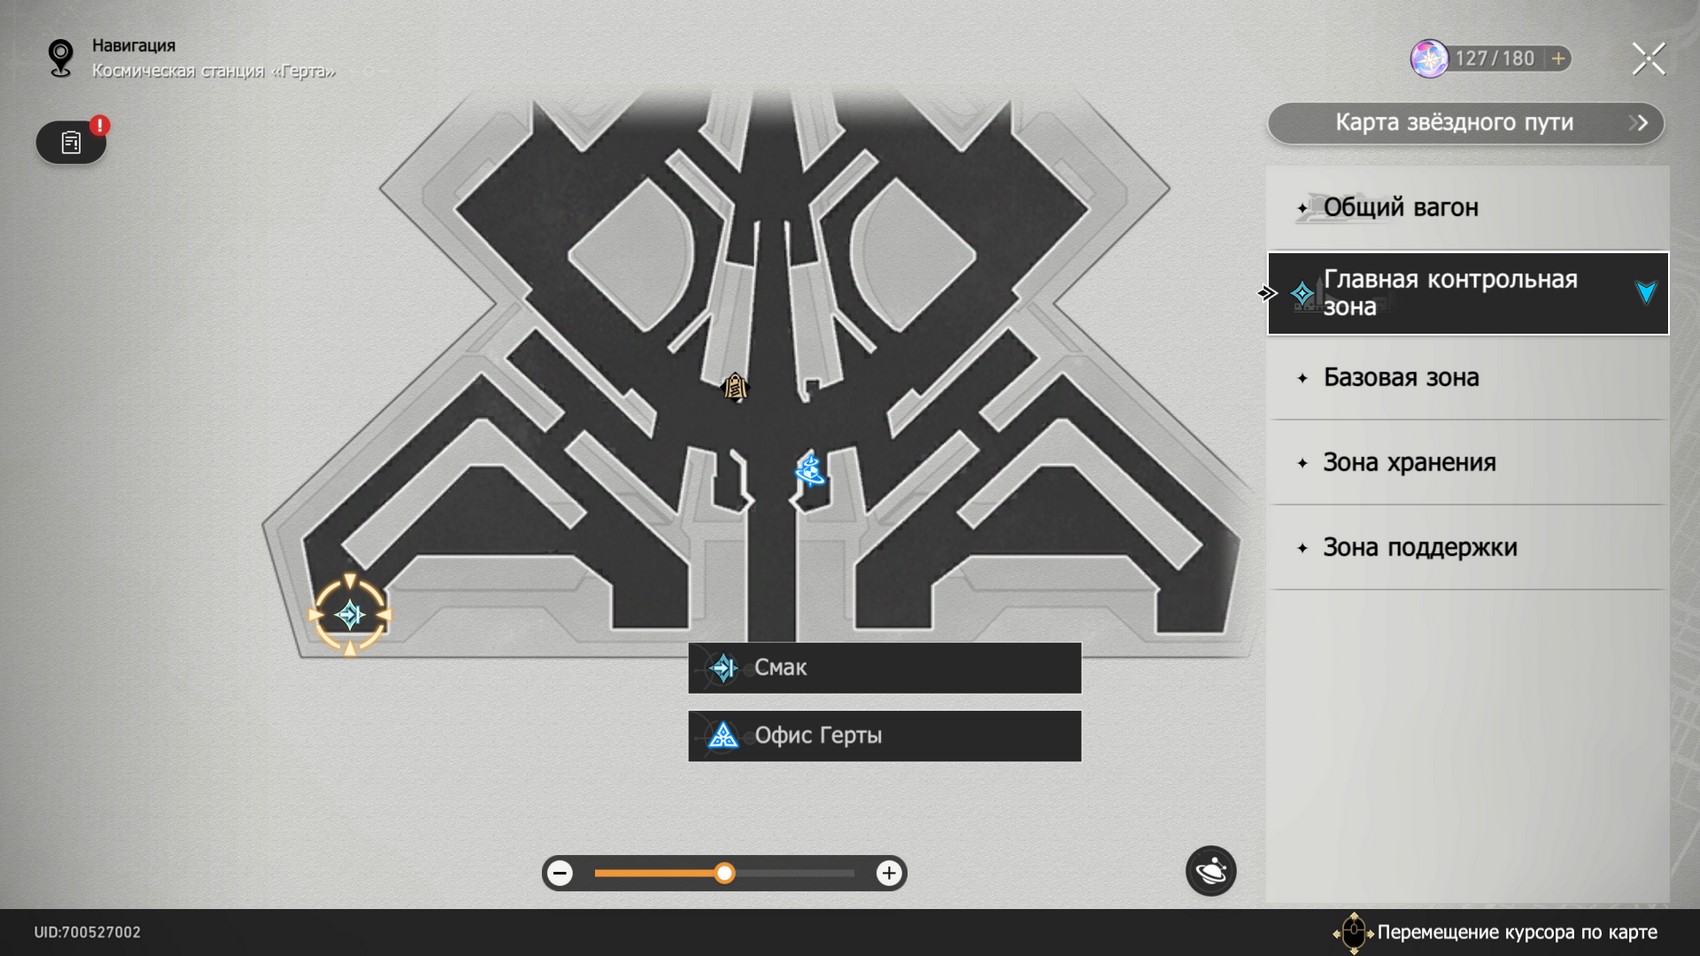
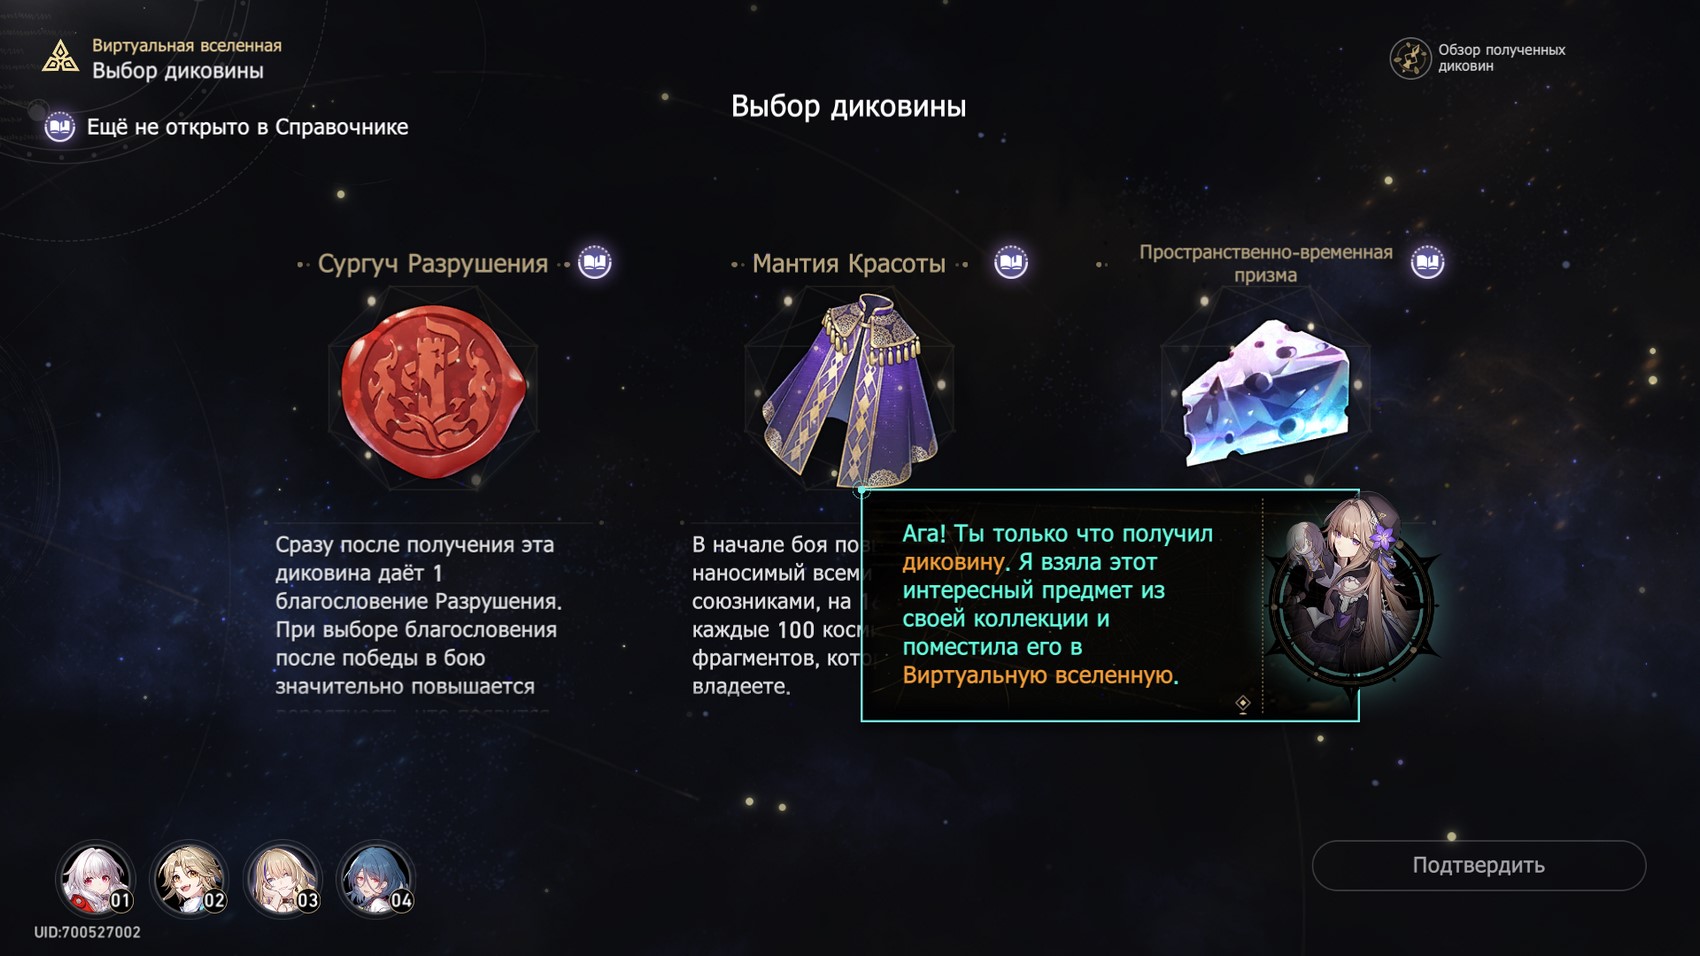
Having dealt with the indicated conditions, go to Gert's office at the star station and interact with the device near the researcher. Then choose a new World. In the instructions, you will learn about the appearance of additional rewards - planar decorations. Next, we will describe in detail how to pass this test.

Preparing to clear World 3
Note that unlike the previous Worlds, this test will allow you to fully test this activity, that is, all other worlds will be more or less similar to the current one. You will need to prepare well for its passage in order to clear it in one go.

Recommended characters and teams
There are several heroes that are best suited for the passage of this World. They are listed in the table below.
| Character | Advantages |
|---|---|
|
Clara |
Many enemies are vulnerable to physical damage in World 3, including the Cheetah. Clara is able to accumulate damage, and then powerfully counterattack, destroying enemy shields without any problems. |
|
Sushan |
Like Zele, she is able to give players additional actions within the same turn, which makes her a great damage dealer for World 3. |
|
Serval |
Many enemies in World 3 have a vulnerability to electricity, so hitting the Serval area can quickly remove the shields from several enemies at once. |
|
Bailu |
Her healing abilities will help your team survive the toughest fights, while Bailu's electrical damage will help clear out some enemies. |
|
Yanqing |
Many common mobs and Cheetah soldiers are vulnerable to ice damage, so Yanqing will help you quickly eliminate them. |
|
Welt |
Gives your damage dealers more time to deal significant damage by inflicting Slow on enemies. Plus, many enemies have a weakness to fake damage. |


Budget detachments
If you are going to play the game only with budget characters, then the table below shows several suitable options. Naturally, the selected fighters must be at least level 45, have at least 3-star relics, pumped cones (at least level 40) and open Traces.
| Main-DD | Sub-DD | Sub-DD/Support | Support |
|---|---|---|---|
|
Pioneer (physical) |
Serval |
Hertha |
Natasha |
|
Pioneer (physical) |
Serval |
March 7 |
Natasha |
|
Serval |
Traveler (fire) |
March 7 |
Natasha |


The first team can be called the most versatile, in which the Pathfinder, along with Serval, will deal the main damage to enemies. Herta, on the other hand, will be your answer when fighting enemies vulnerable to ice damage. Natasha, on the other hand, will have to heal your characters and sometimes slowly shred the stamina of enemies. As for the path, choose Hunt.
The last two groups are aimed at maximum survivability (especially the third). In them you will have not only a healer, but also a shieldman (or two at once). For the second squad, you can also take the Hunt, but for the third it is better to choose Preservation.
Optimal units
| Main-DD | Sub-DD | Sub-DD/Support | Support |
|---|---|---|---|
|
Clara |
Tingyun |
Welt |
 |
|
Clara |
Yanqing (March 7) |
Serval |
Natasha |
 |
Tingyun |
Welt |
Natasha |
|
Yanqing |
Pioneer (physical) |
Natasha |
Cheetah |


Above, we have already considered the advantages of the heroes indicated in the packs. We only add that Tingyun will allow you to significantly increase the damage of Clara or Sushan and supply them with energy for the ult. For the first three units, it is best to choose the Hunt path.
We advise the fourth pack to take Memory, since the blessings of this path can greatly increase the combat power of Yanqing. With a cheetah, you can protect this damage dealer from most enemy attacks. The stamina of the boss will have to be broken with the blows of the Pathfinder and Natasha.
The best ways
If you have good damage dealers in your squad, we strongly advise you to choose Hunt, as it increases the speed of the characters and gives a lot of blessings on damage, allowing you to quickly break Cheetah's shields.
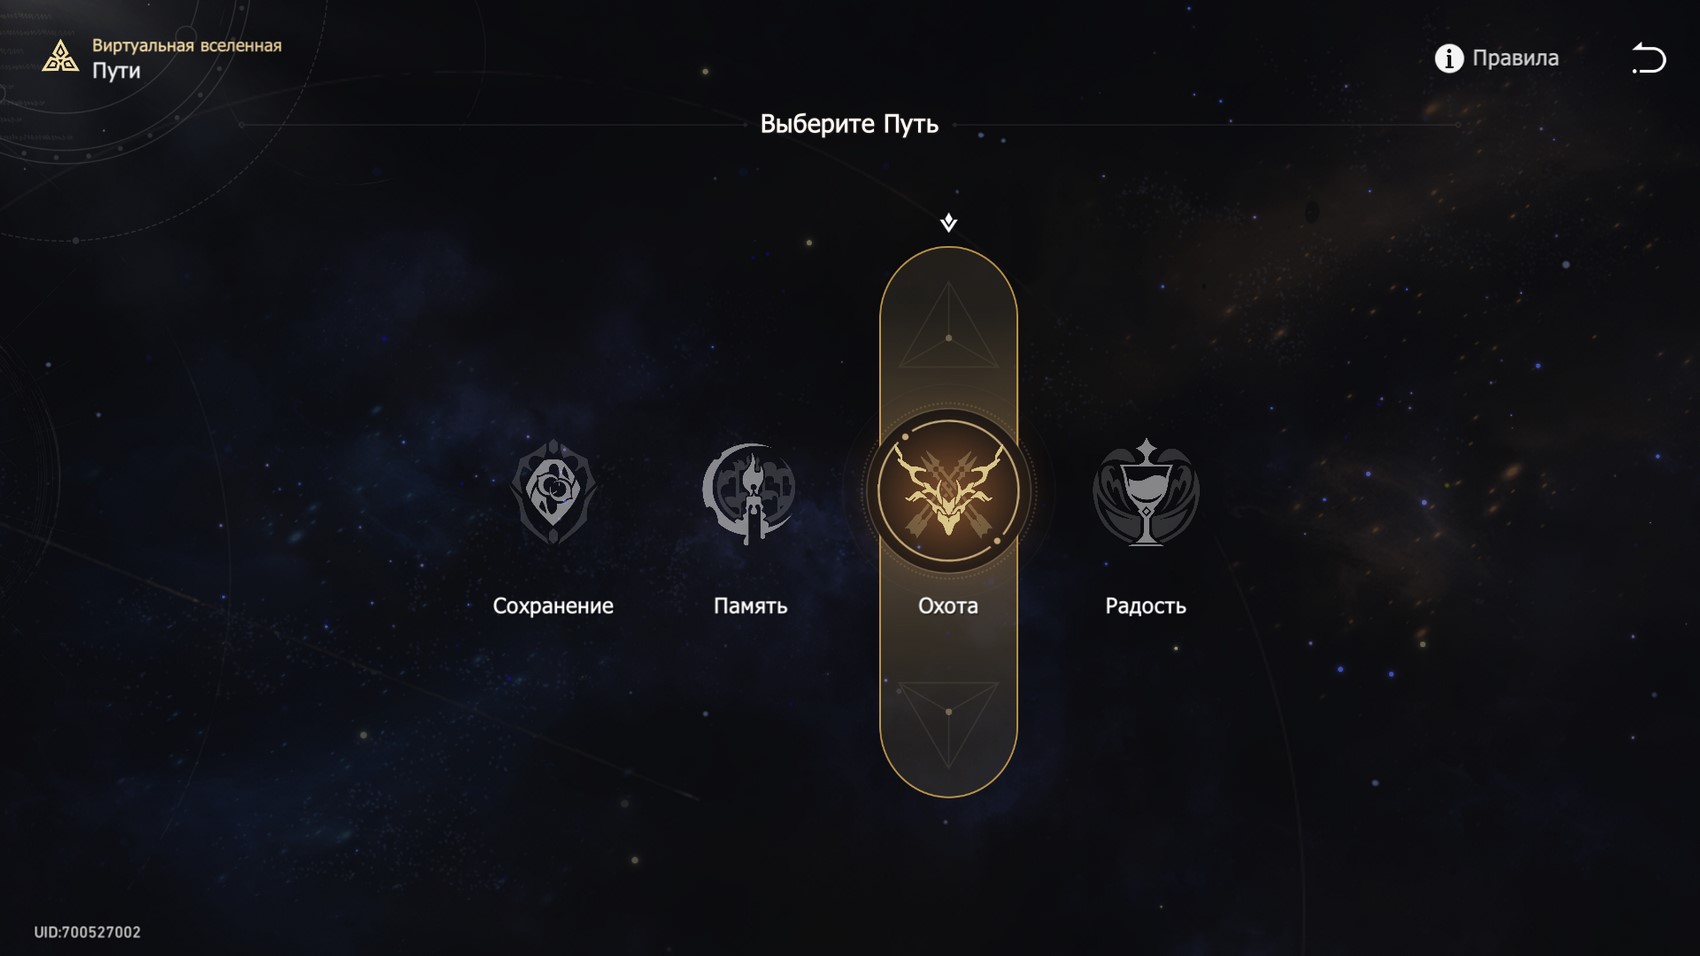
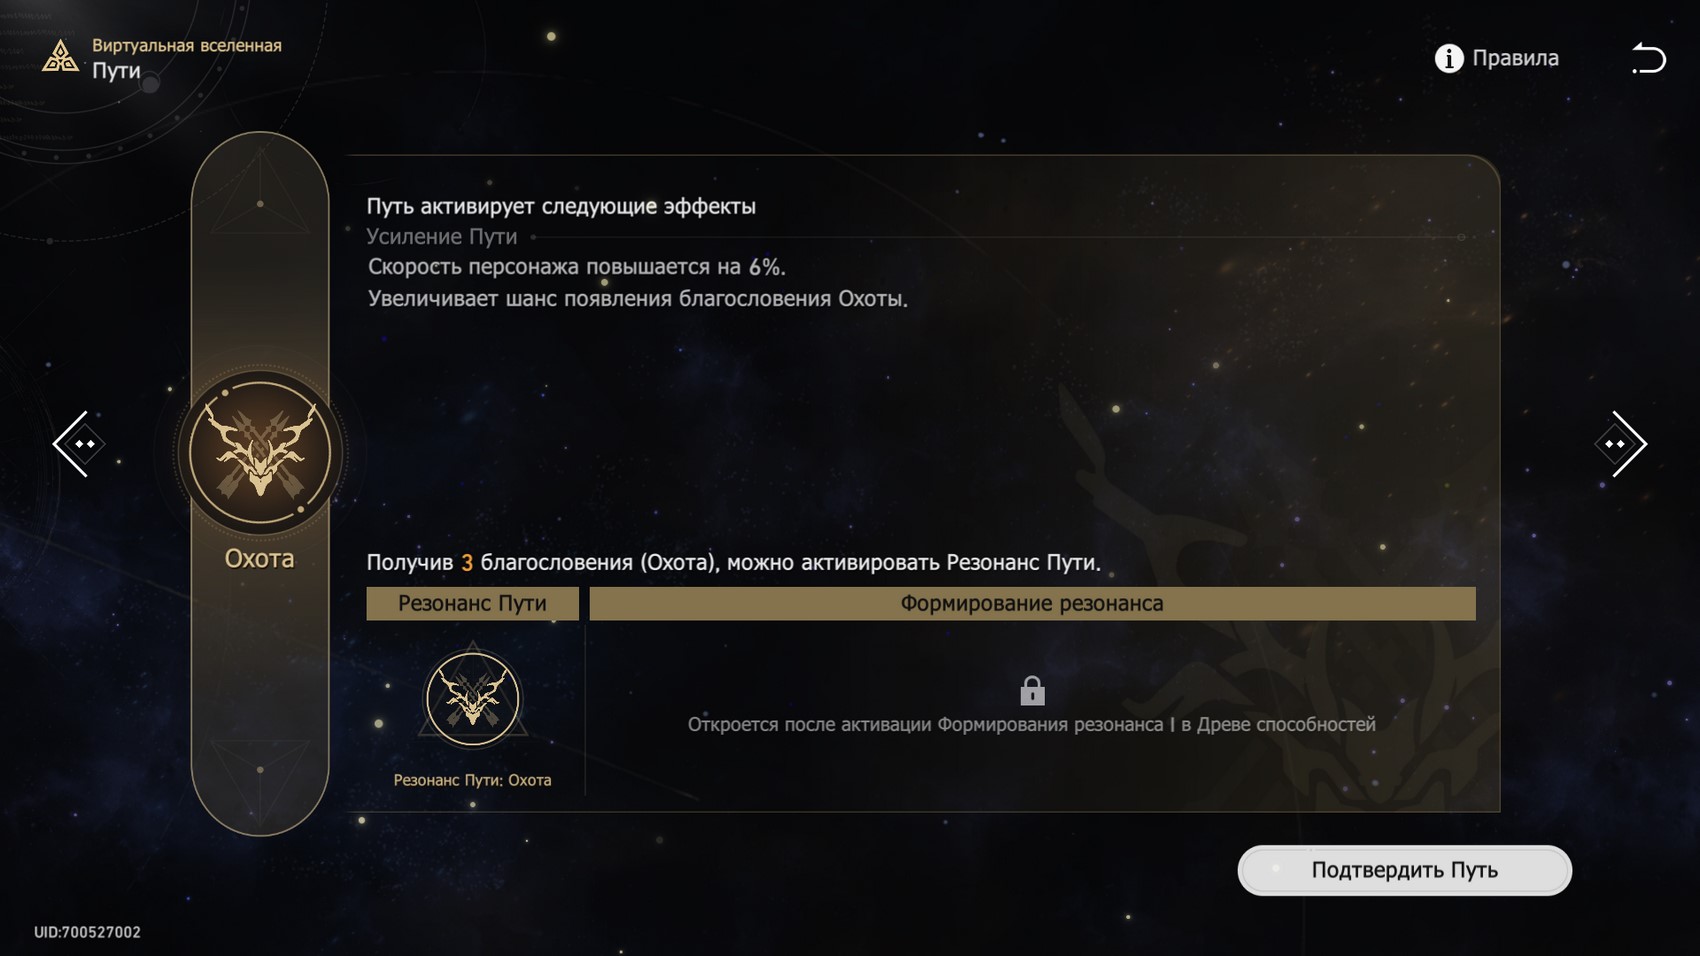
You can supplement this path with useful blessings of Memory and Preservation (especially if there is a shieldman in the squad). Thanks to them, you will be able to overcome the attacks of the Cheetah in the third phase, as well as freeze opponents.
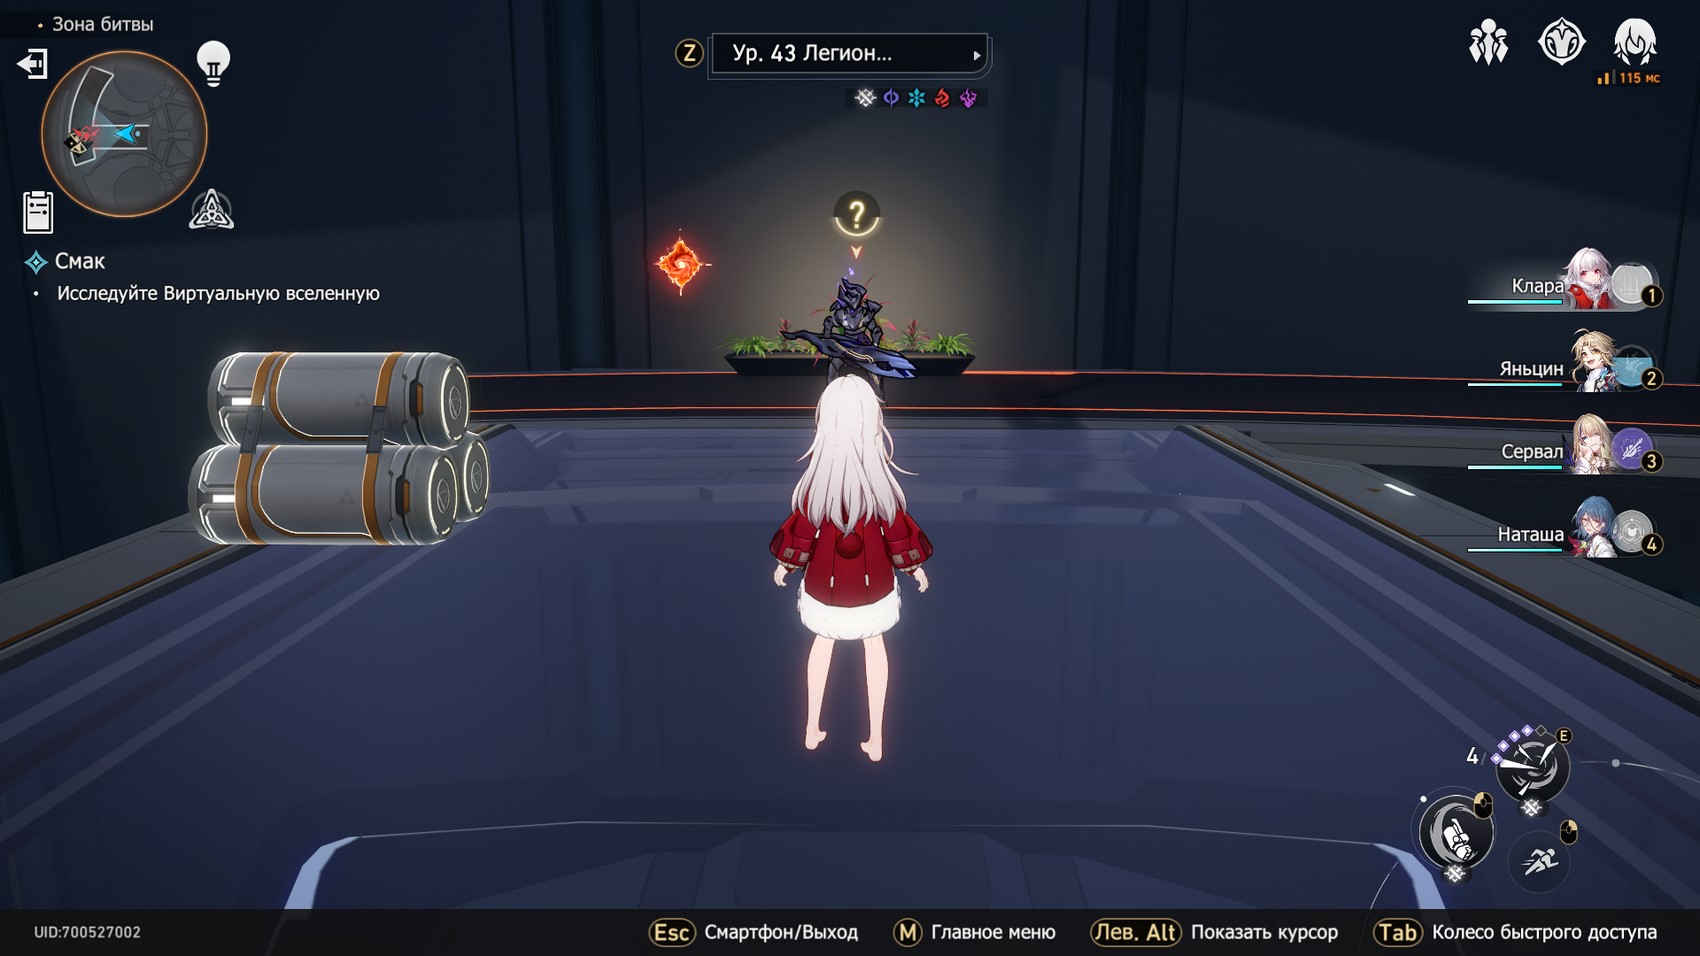
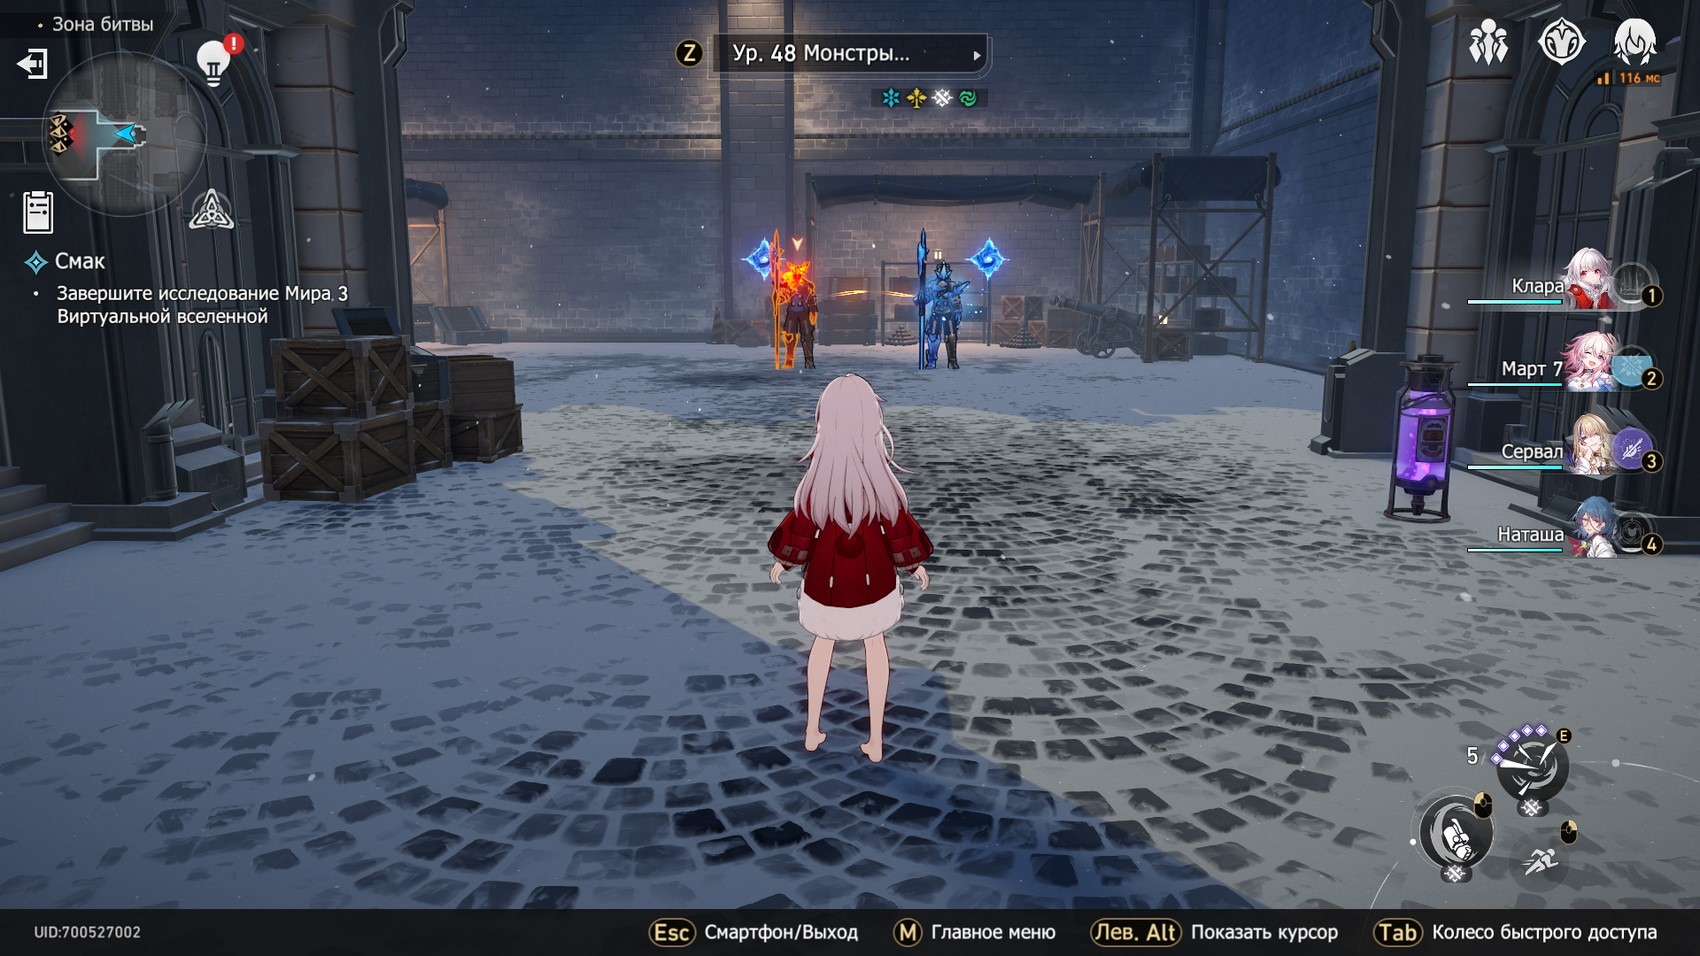
How to pass World 3
This test will consist of several zones. Some of them are generated randomly, while others are fixed: arenas with elite enemies and bosses. We advise you to choose fork battle zones whenever possible, as ordinary mobs are relatively easy, and destroying them allows you to get blessings.


Meetings and events, on the other hand, can lead to a serious loss of health for your fighters or give useful bonuses (as you're lucky here). The screenshots above show the sequence of third world zones.
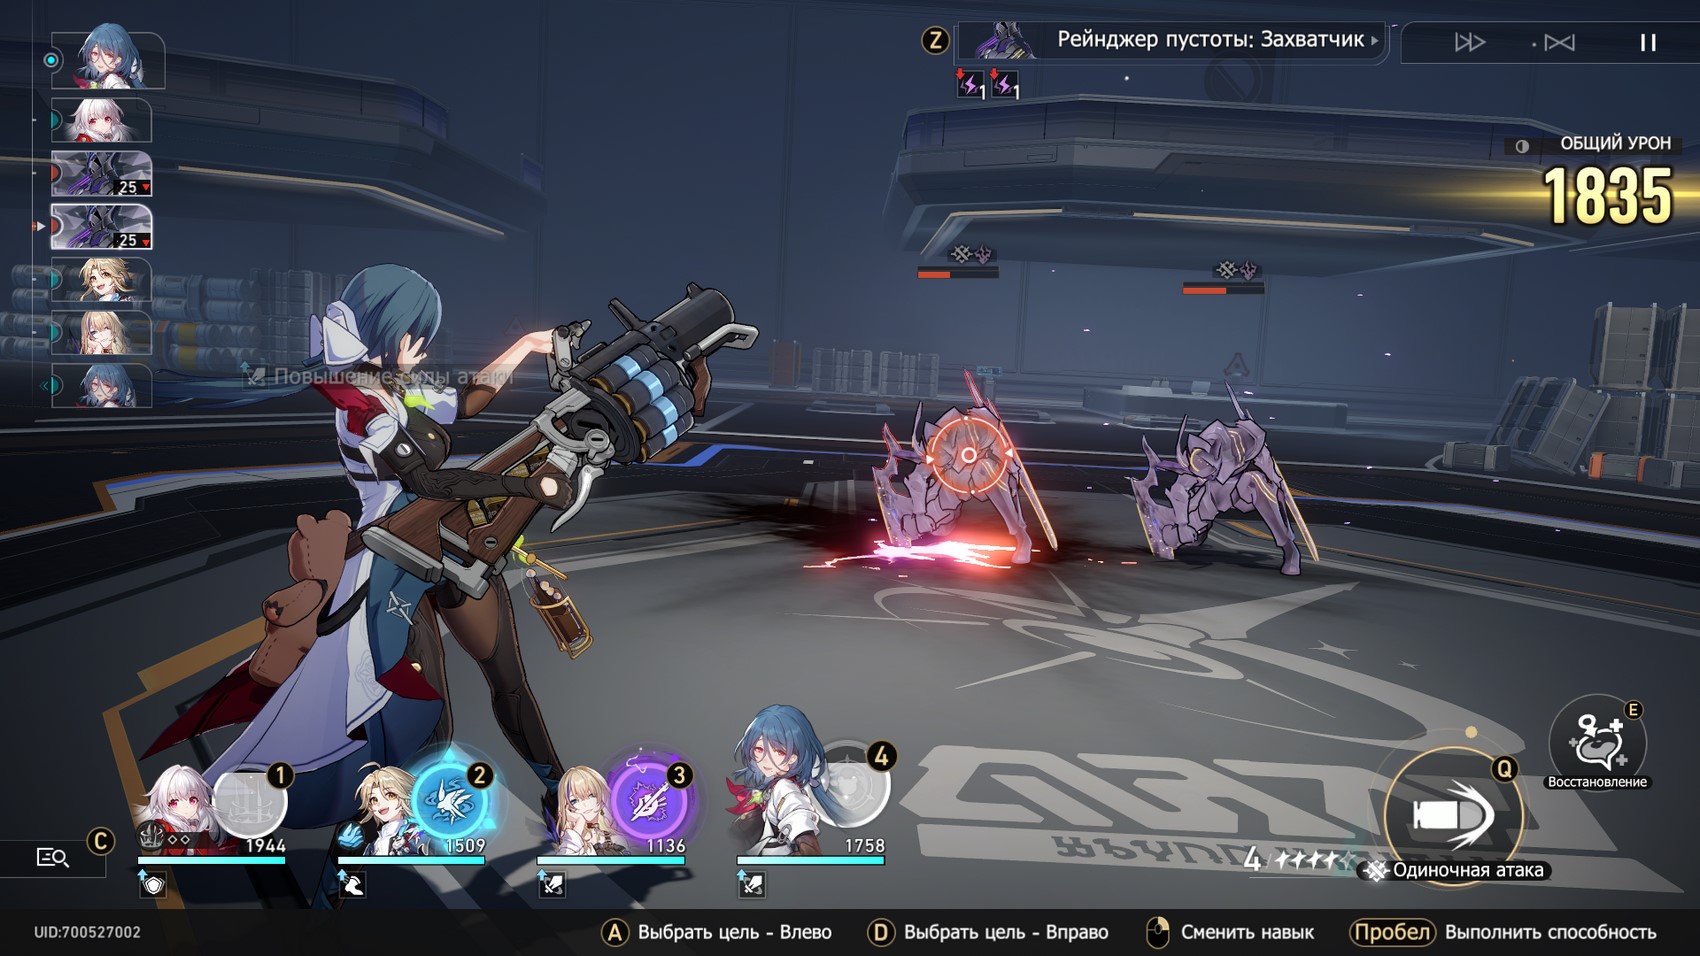
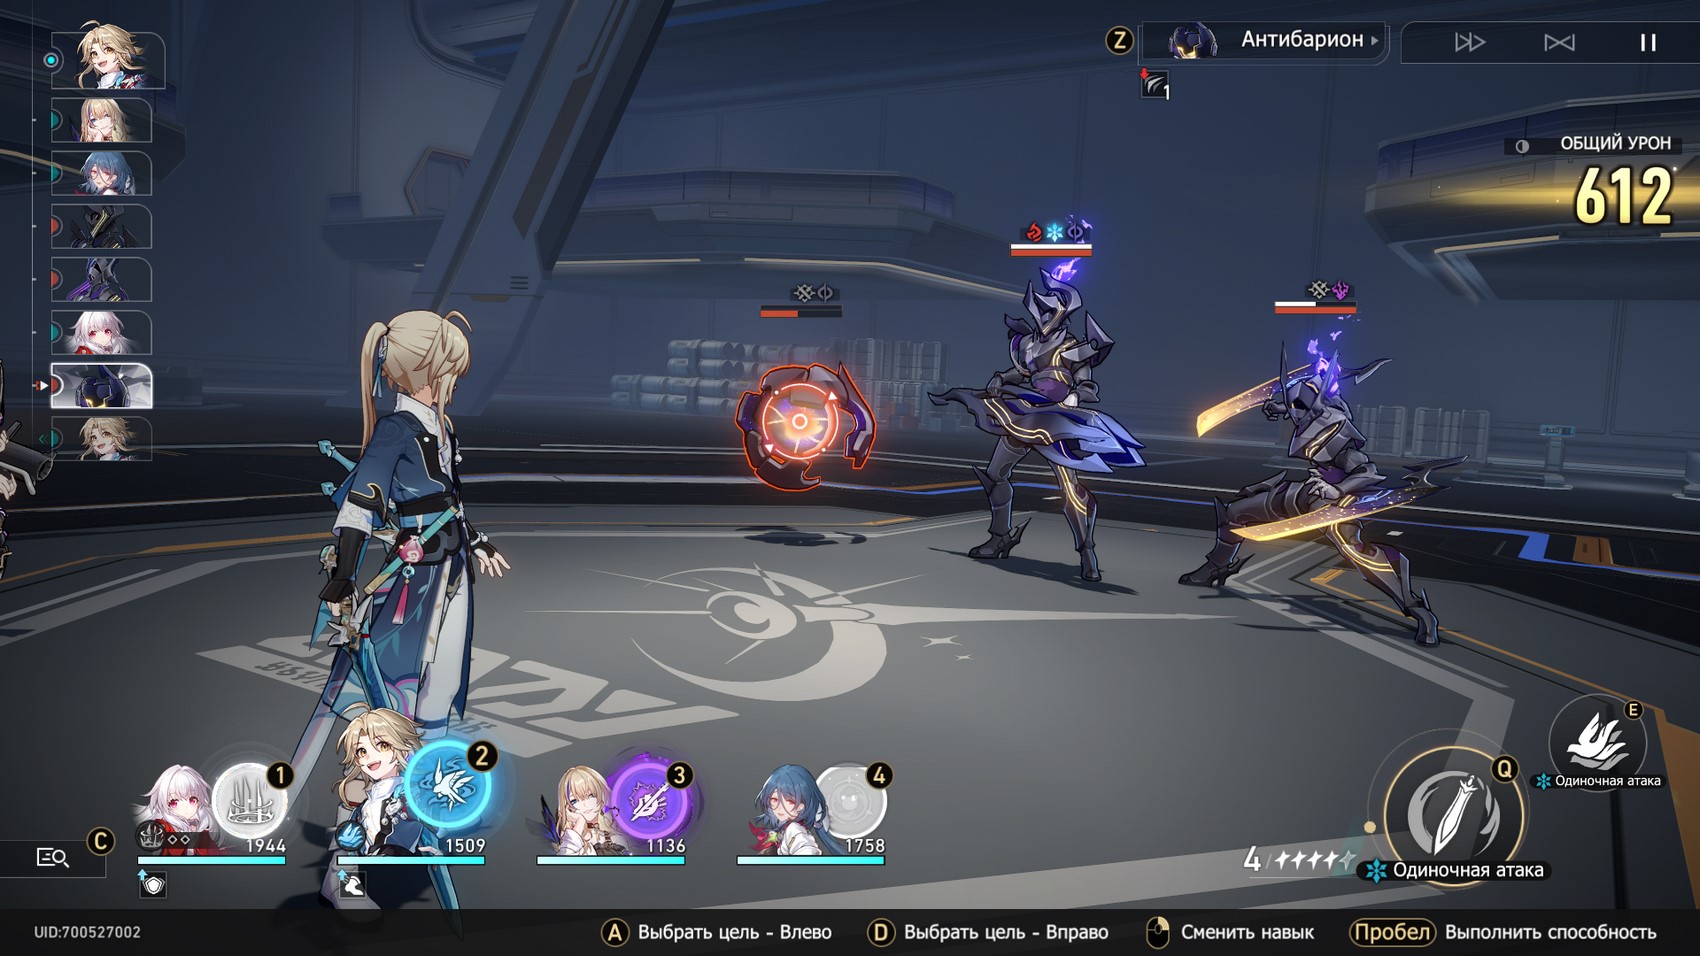
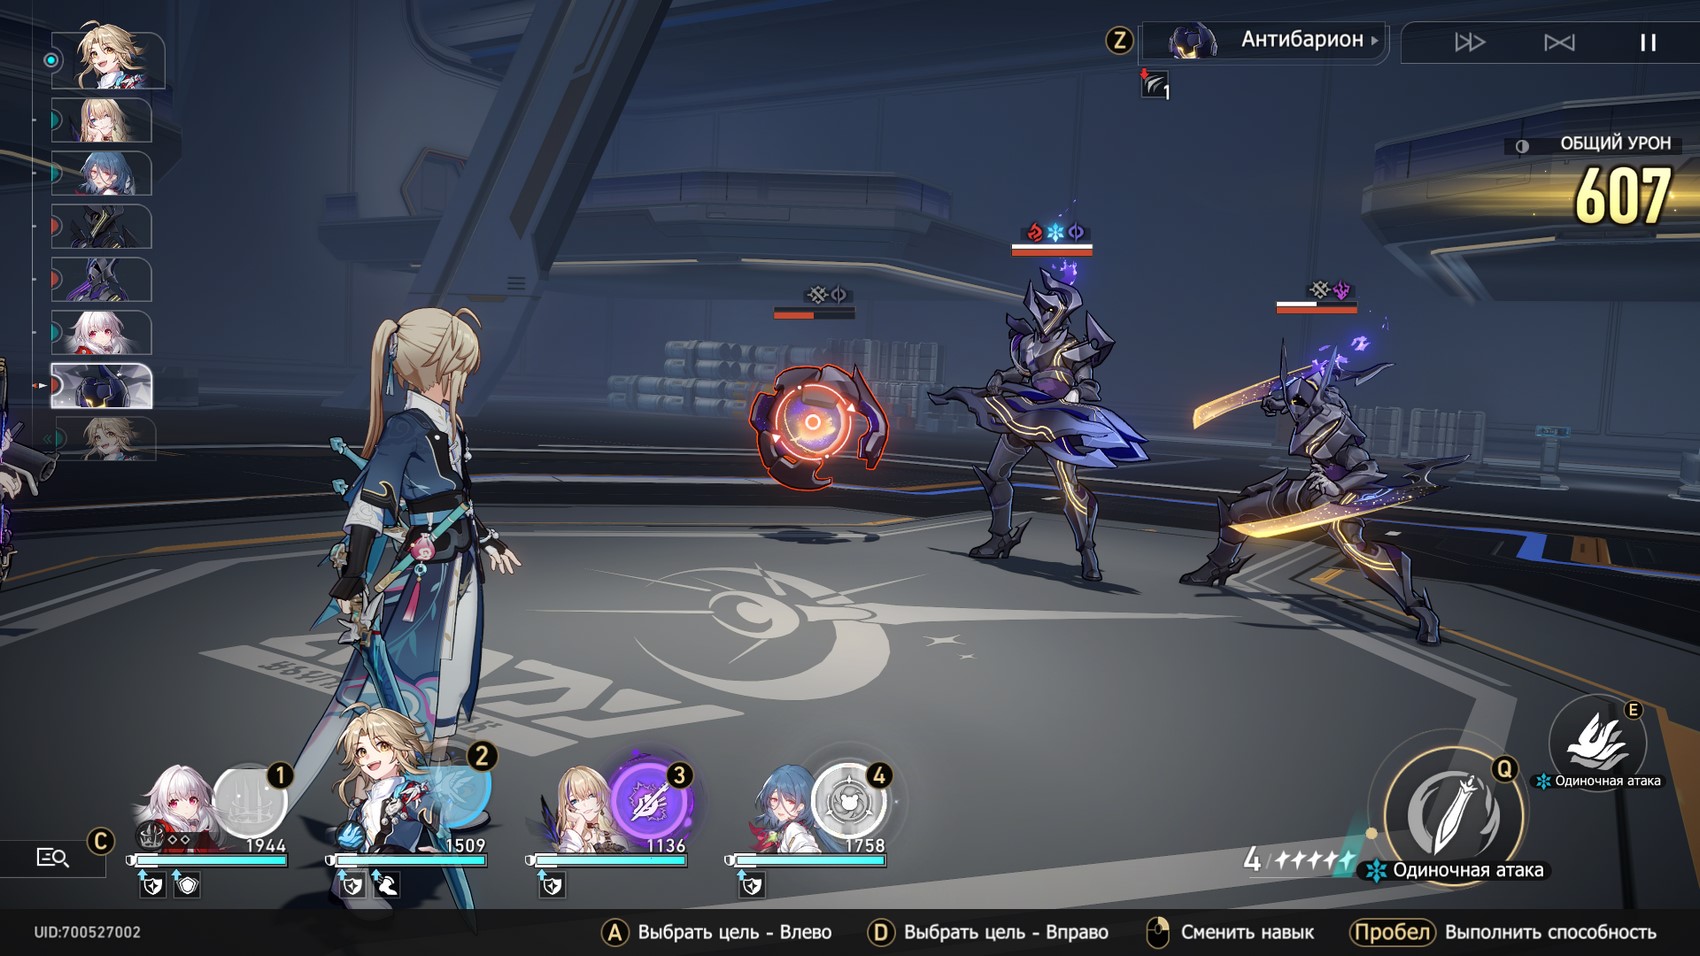
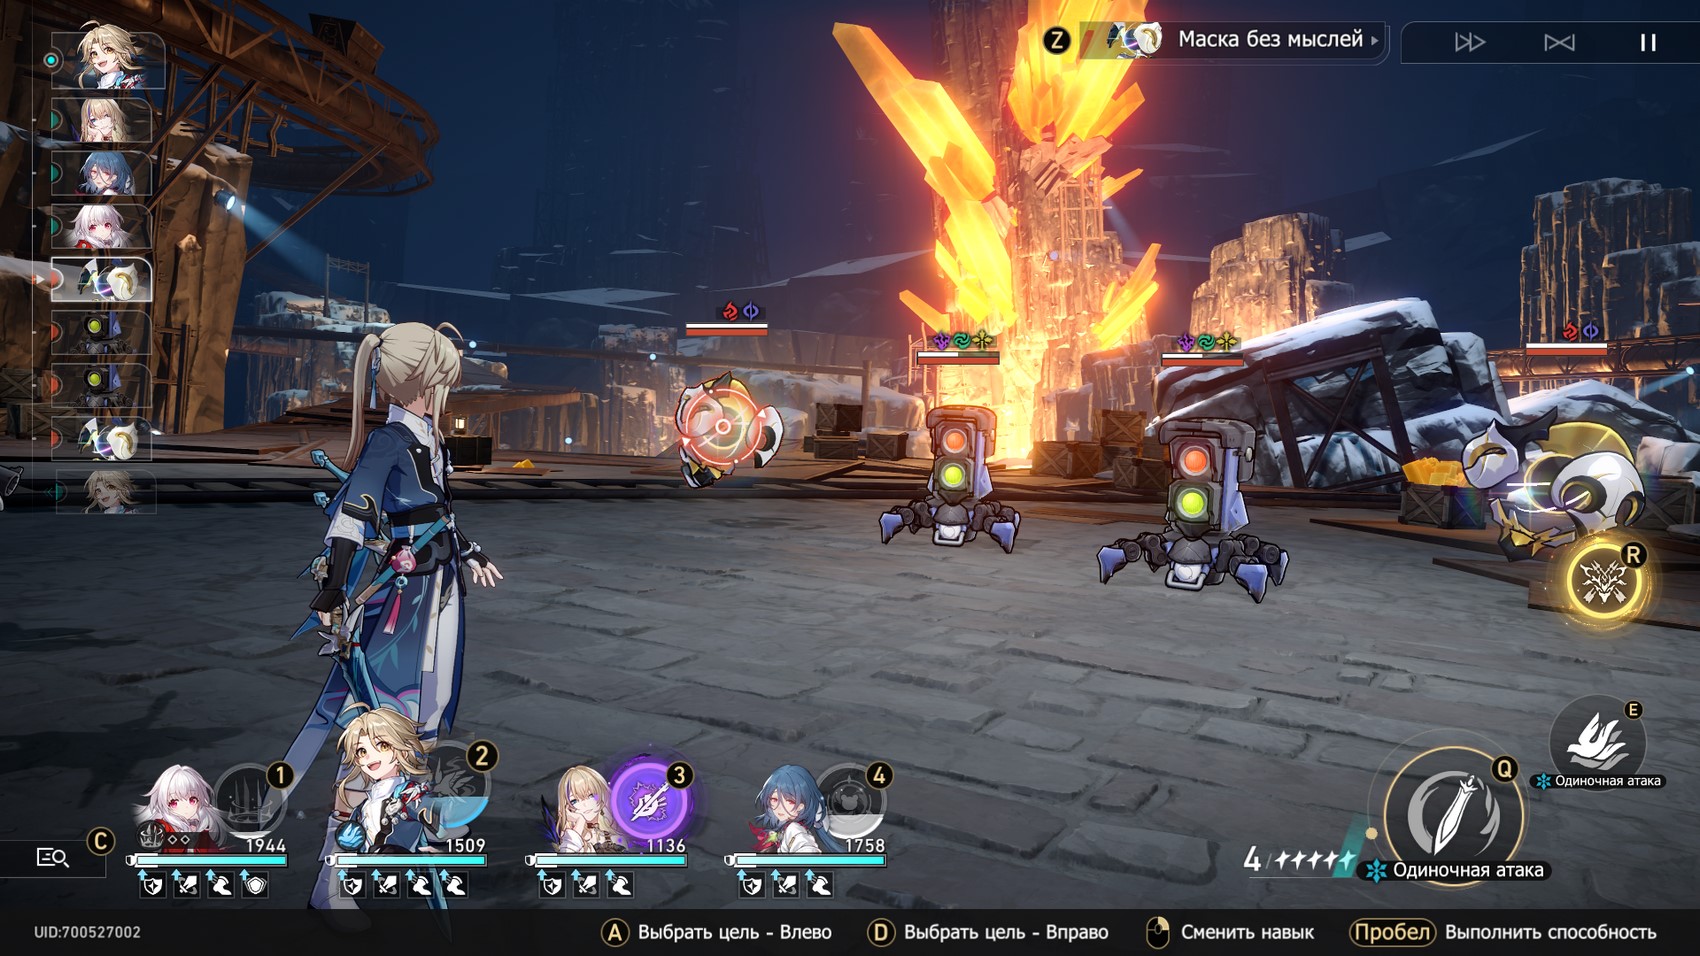
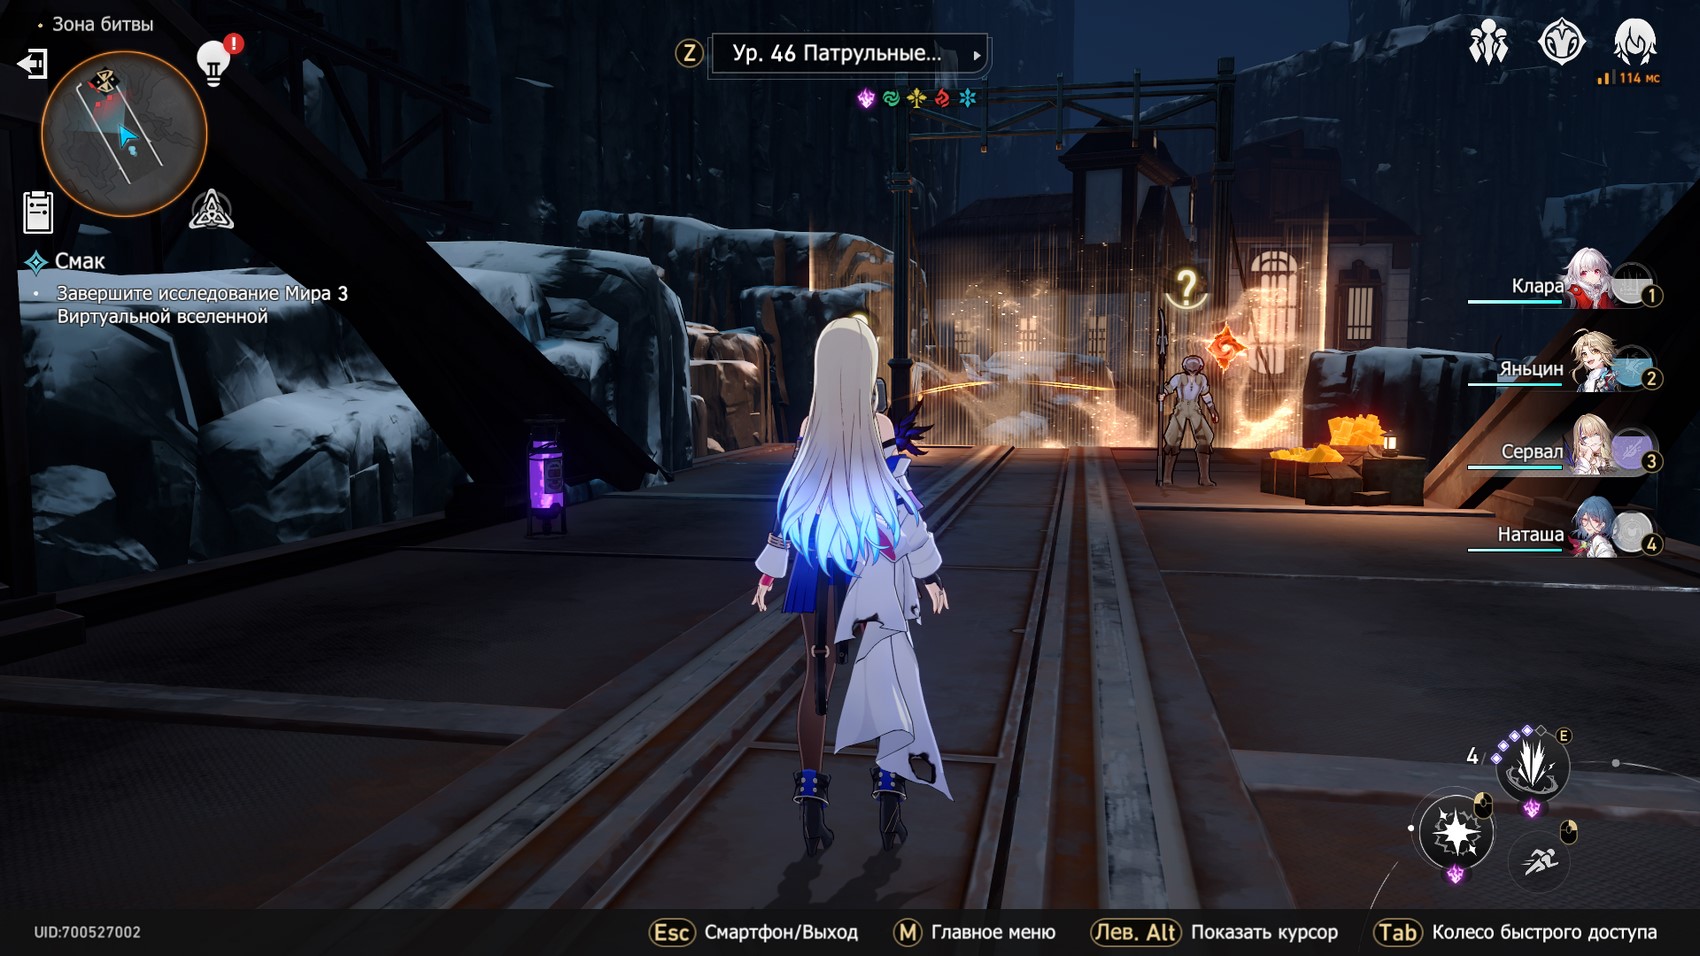
Battle zone 1
Here you will face a level 41 antimatter legion. The vulnerabilities of opponents are shown in the screenshots below. You can safely use superpowers in such battles, as the energy for them accumulates quite quickly.


Battle Zone 2/Event Zone
If you select a battle area, then level 42 enemies are waiting for you. The pictures below show the vulnerabilities of all mobs.
Battle Zone 3/Event Zone
If you select a battle area, then level 43 enemies are waiting for you. The pictures below show the vulnerabilities of all mobs.
Elite Zone 1
You have to fight a level 44 Burning Wanderer. Its vulnerabilities are shown in the picture below. We advise you to start the fight with an ice character attack or technique to damage the mini-boss.

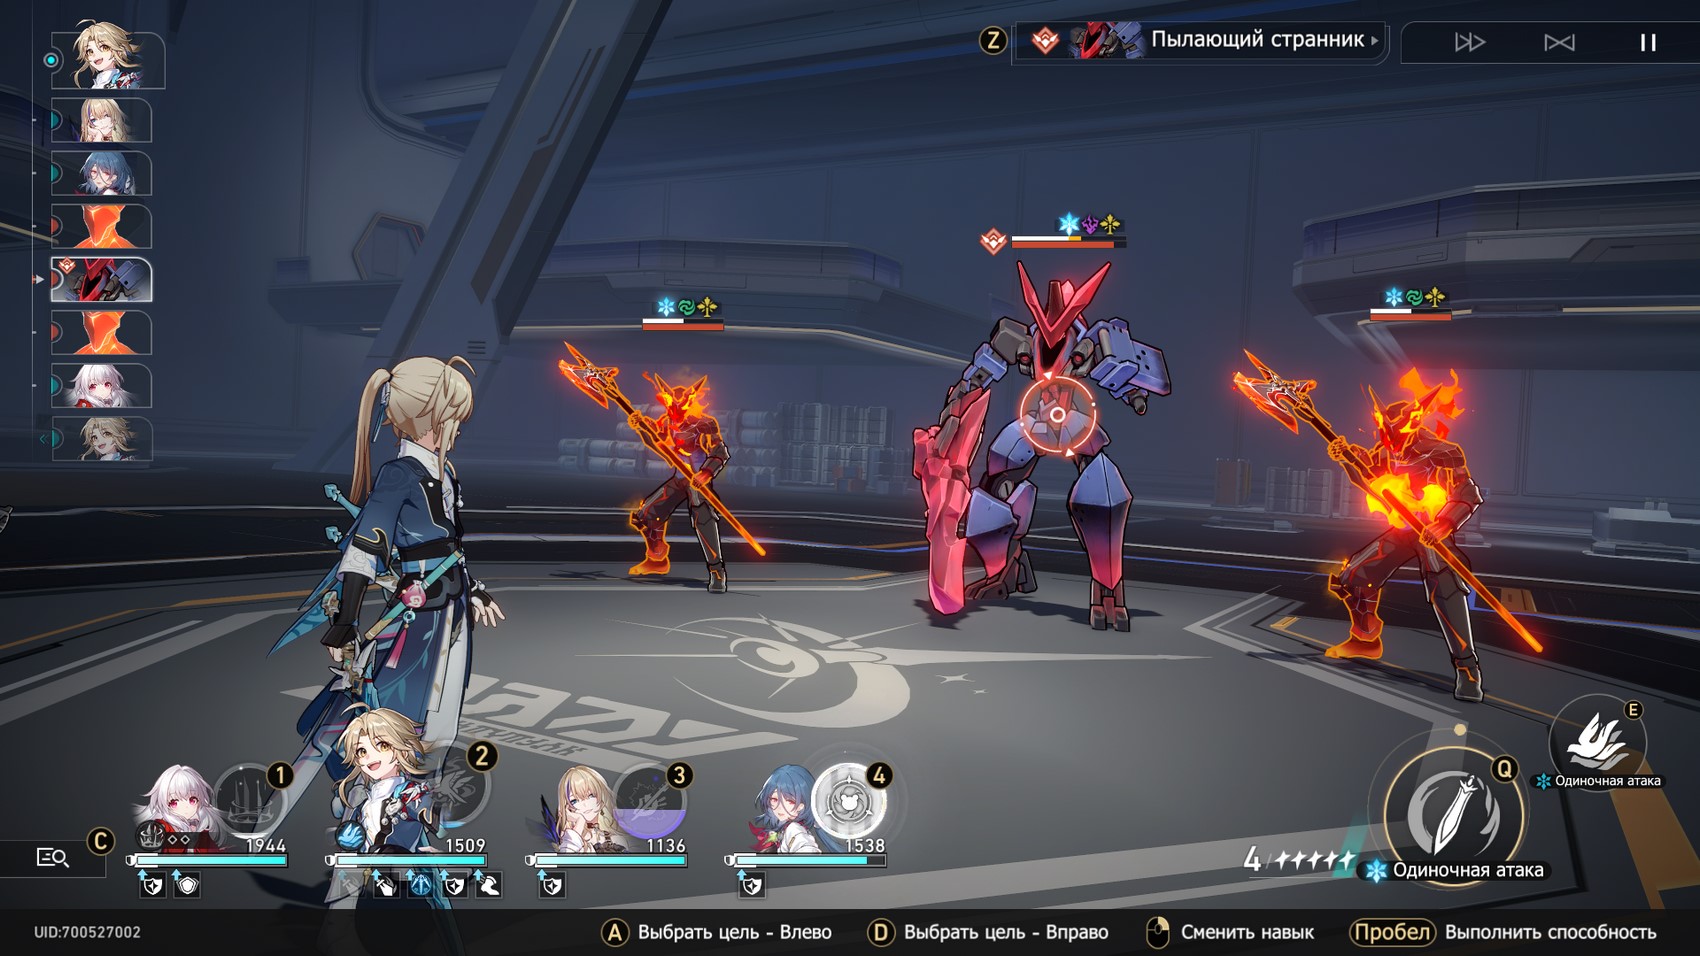
Next, try to deal with ordinary mobs as quickly as possible so that they do not interfere with your fight with the wanderer. This enemy has AoE attacks, so don't forget to use Natasha's or Bayla's ultimate to immediately heal the whole group. After defeating this enemy, you can choose a curiosity that gives a permanent bonus to the team.
You will also receive a Dive Key that you can use in the Dive Device needed to mine the unique Planar Ornaments. You will be given them after the completion of World 3.
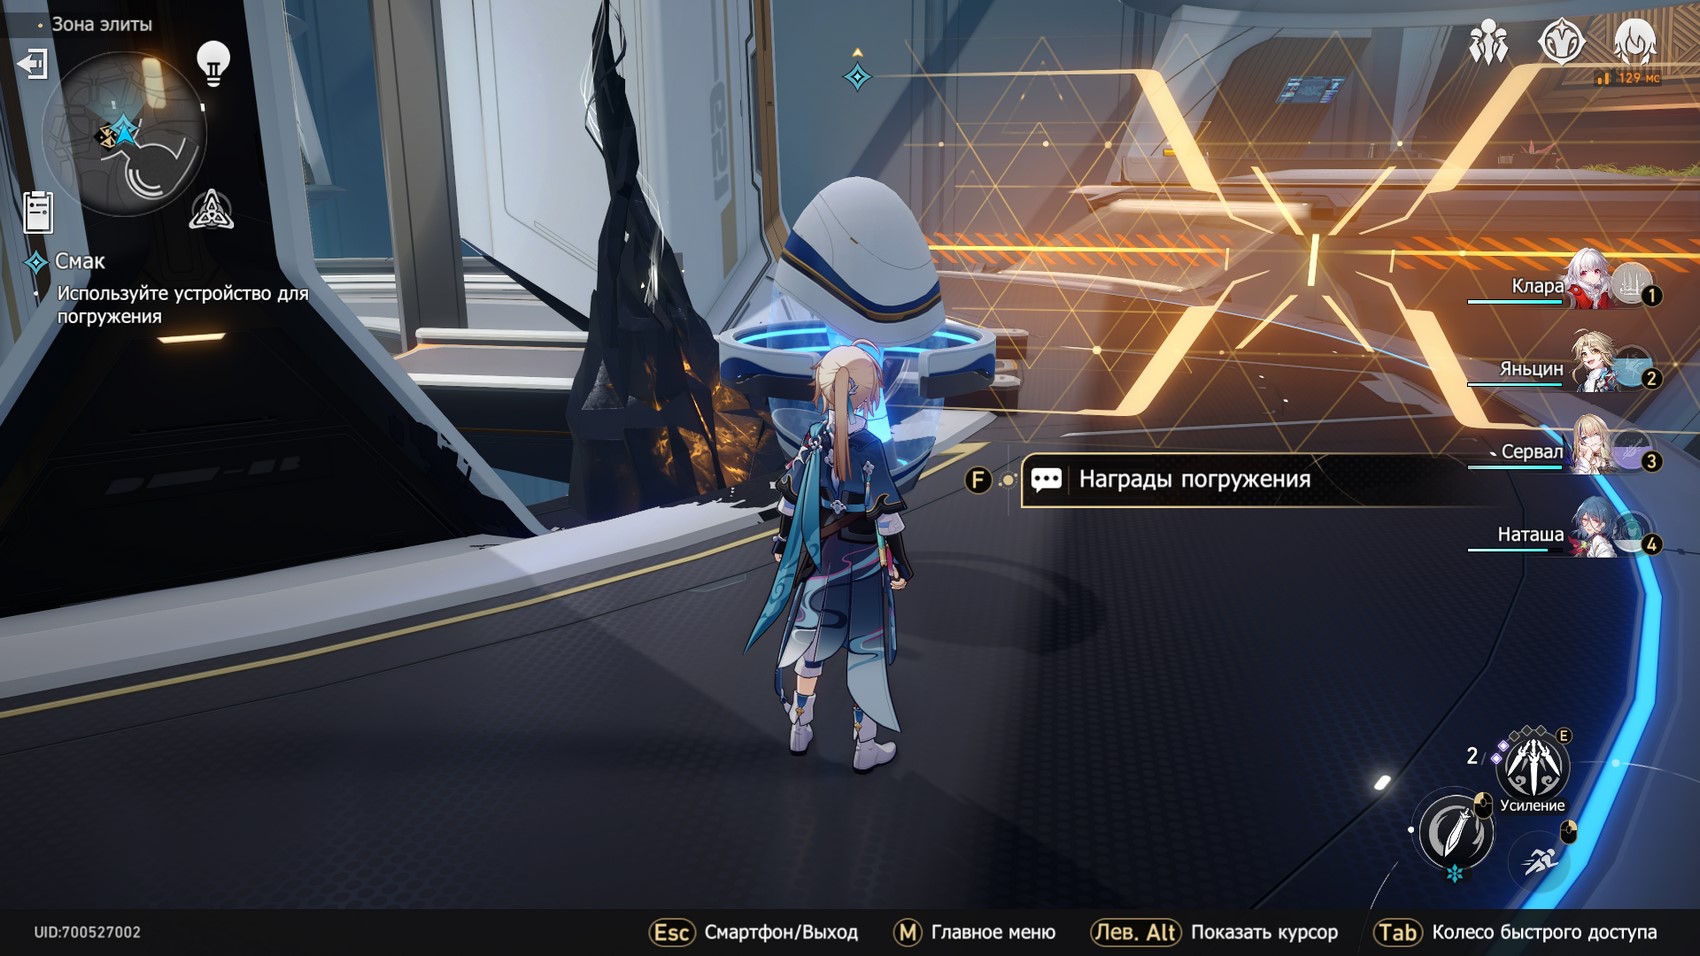
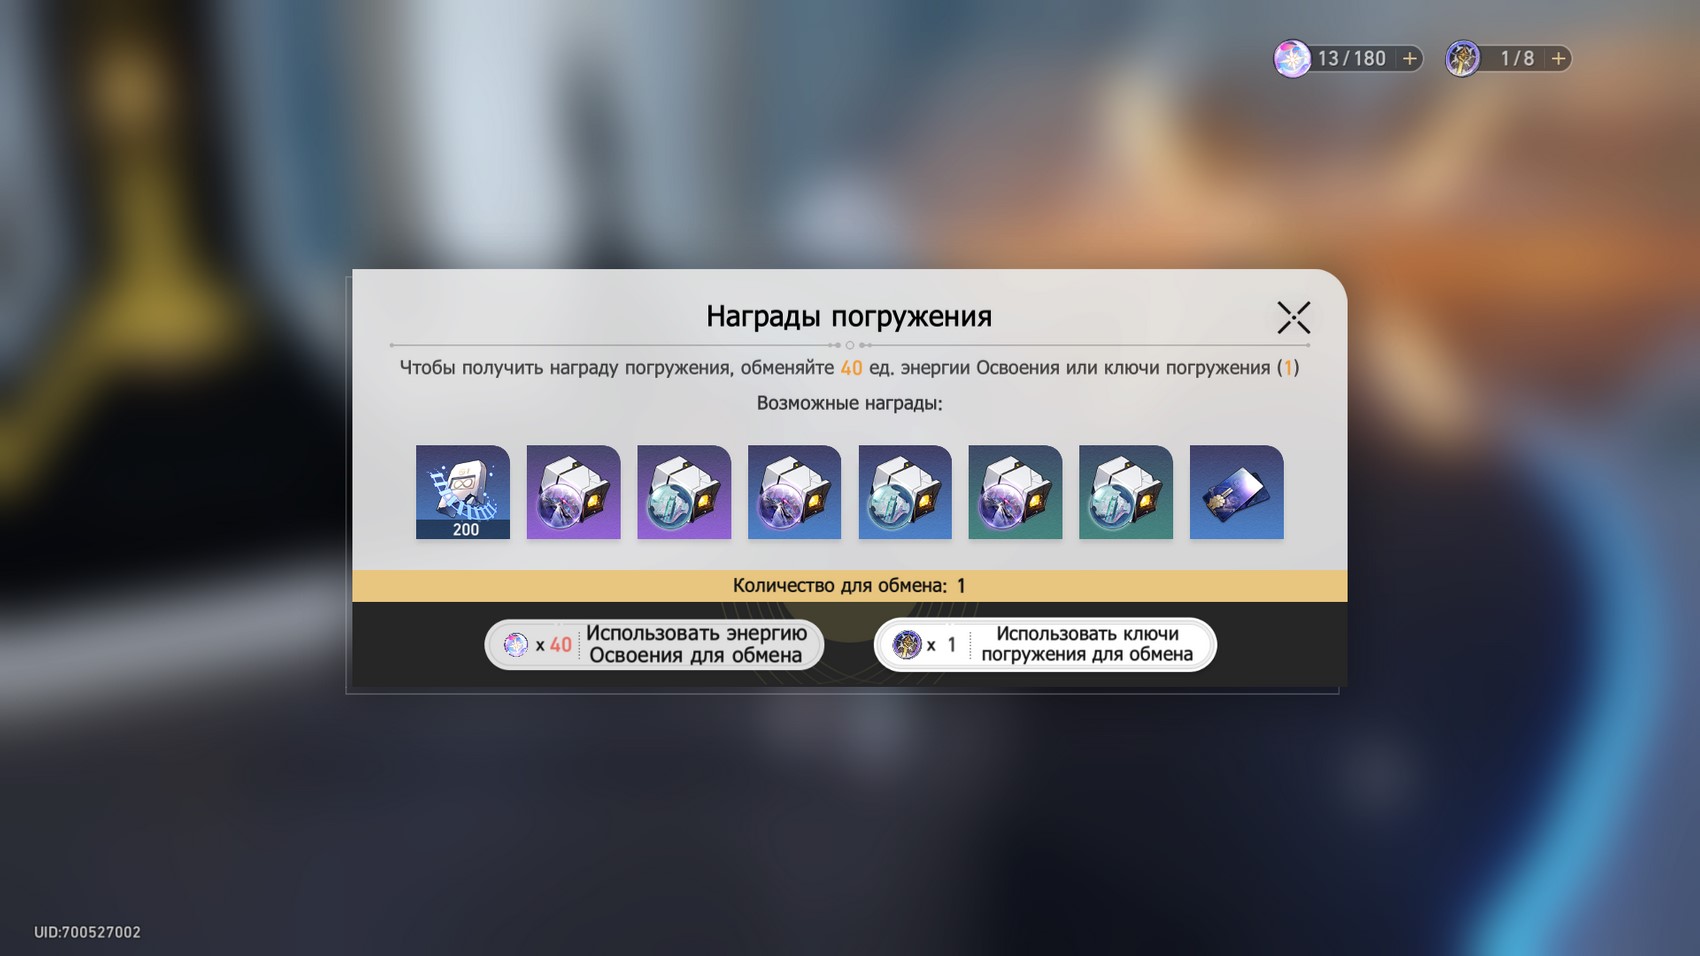
Next, go to the Recreation Area. Here you can heal and take an additional character who will help you in the event of the death of one of the fighters. You can also talk to Gert to increase blessings or buy new boons with space fragments.
Battle Zone 2 (4)
Here you will face level 45 enemies. Their vulnerabilities are shown in the screenshots below. In the first battle, you will have to fight with two waves of enemies. We advise you to quickly deal with the spiders in order to cause self-destruction.

Battle Zone 5/ Encounter Zone
Here you have to fight with two groups of opponents of the 46th level. Their vulnerabilities are shown in the image below.
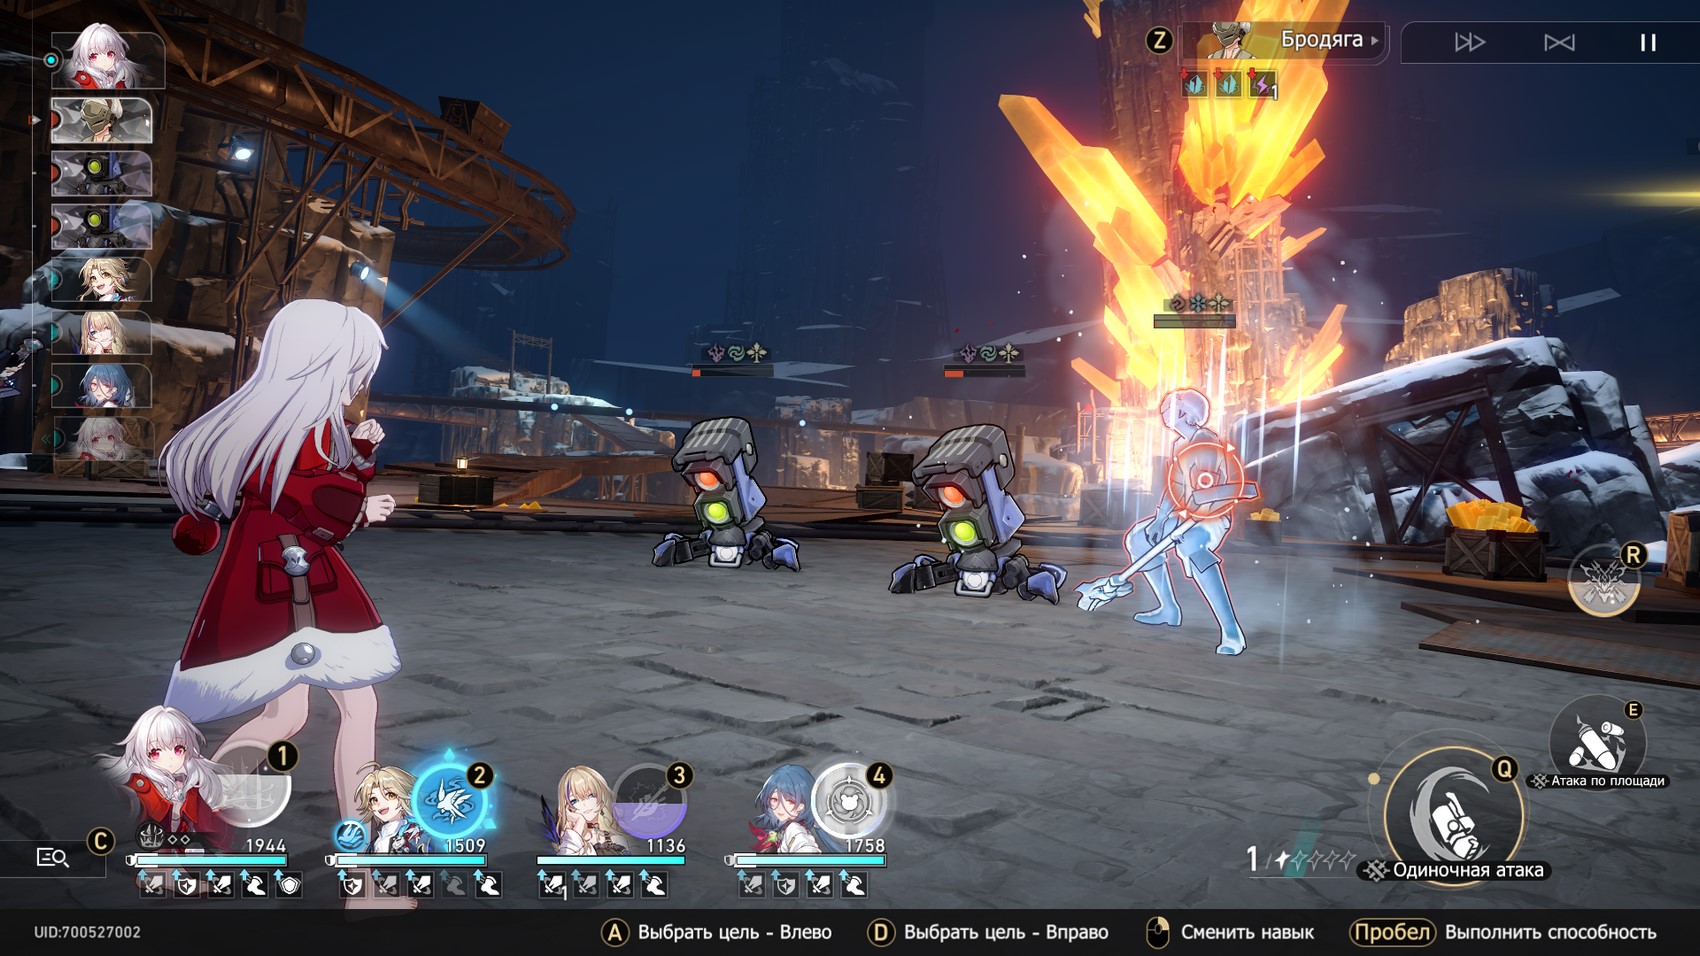
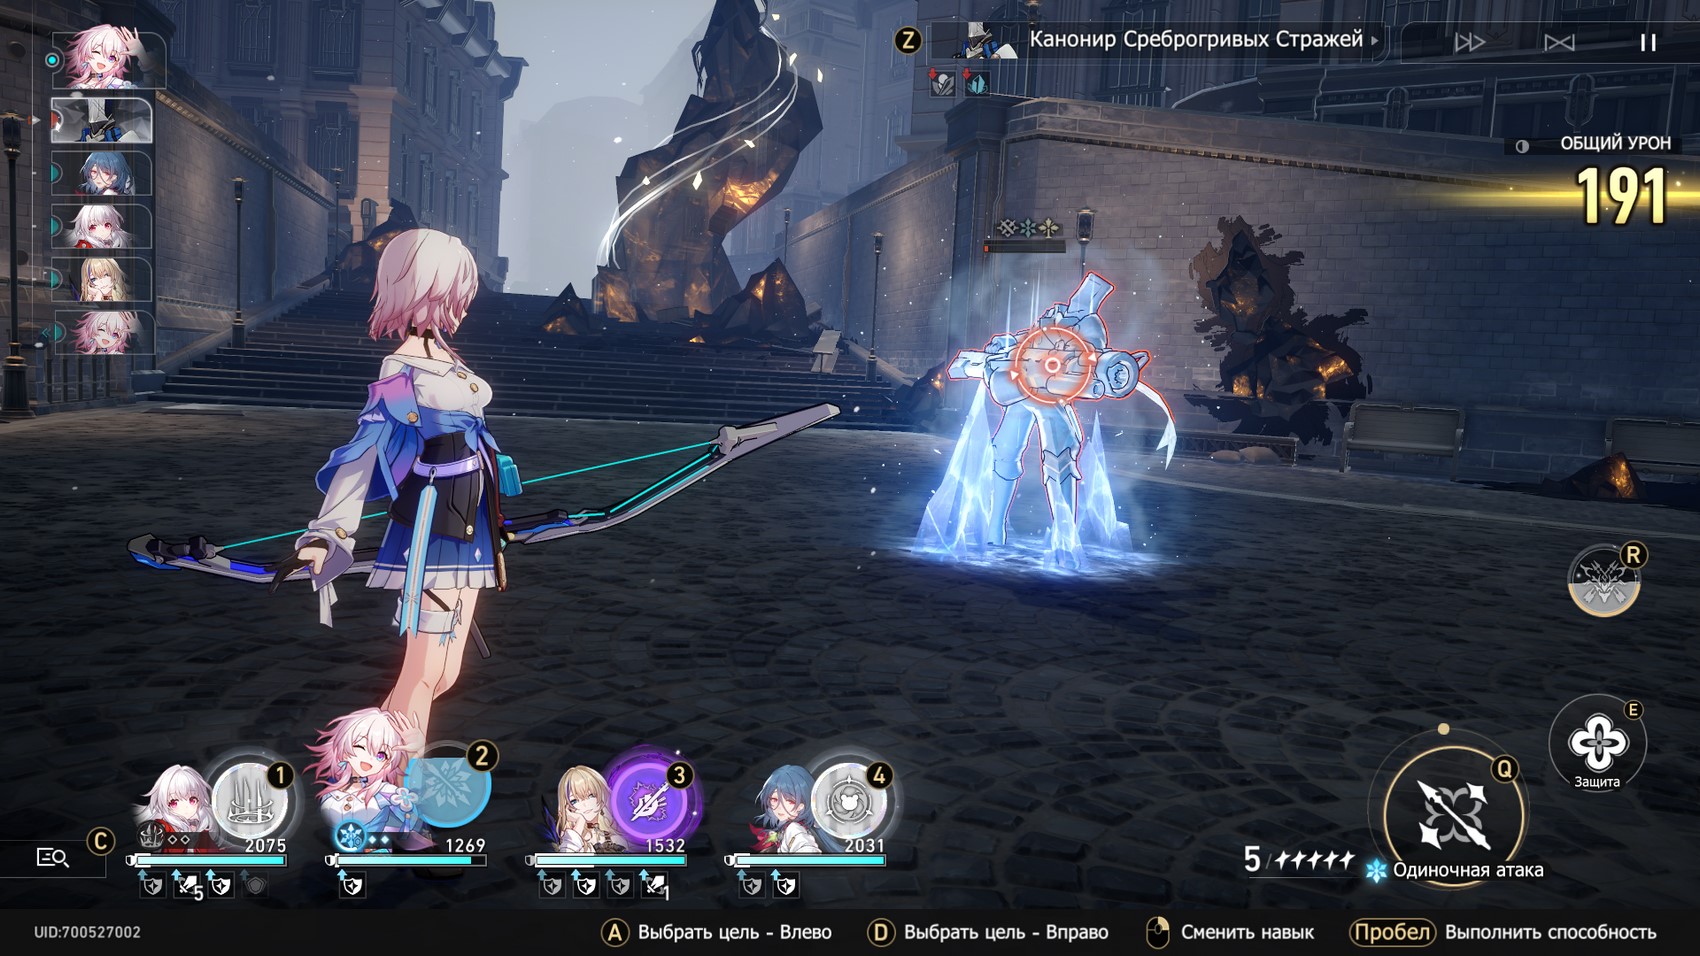
Elite Zone 2
Direwolf Automaton
Next, you will have to fight a Level 47 Direwolf Automaton (False). Its vulnerabilities are shown in the screenshot below. We advise you to start by attacking the ice character to try to freeze the elite enemy or at least damage his stamina.


Next, try to quickly deal with ordinary mobs. Here you will be helped by attacks on the Serval area. Then focus all your attacks on the direwolf. Try to protect the characters that were chosen as priority targets, or heal them after the damage dealt to them. In budget packs, you may need both a healer and a shieldman at once.
Note that this enemy has average durability for elite enemies, but a huge strip of life, so get ready for a very protracted battle. Don't forget to use the healer's healing abilities.
Silvermane Lieutenant
In addition, instead of a dire wolf, you can be attacked by a Level 47 Lieutenant of the Silvermane Guards (false), which seemed to us simpler than a dire wolf, since it deals a little less damage. He also has a large health bar and is able to call on four allies to help him at once.
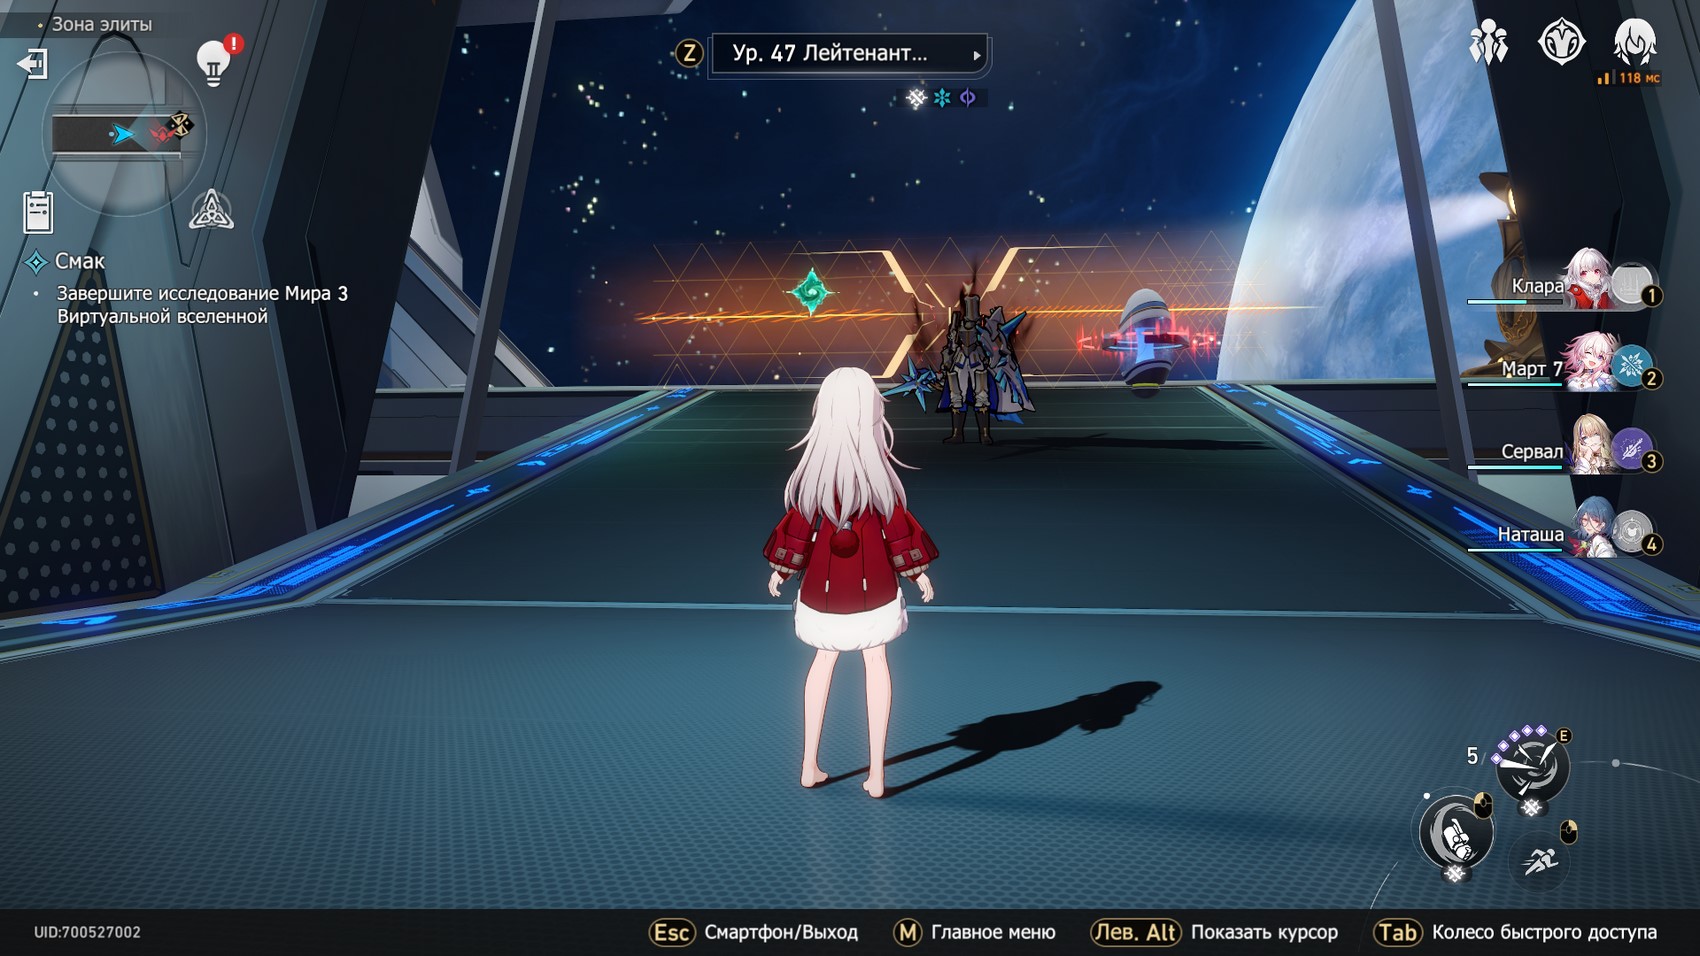
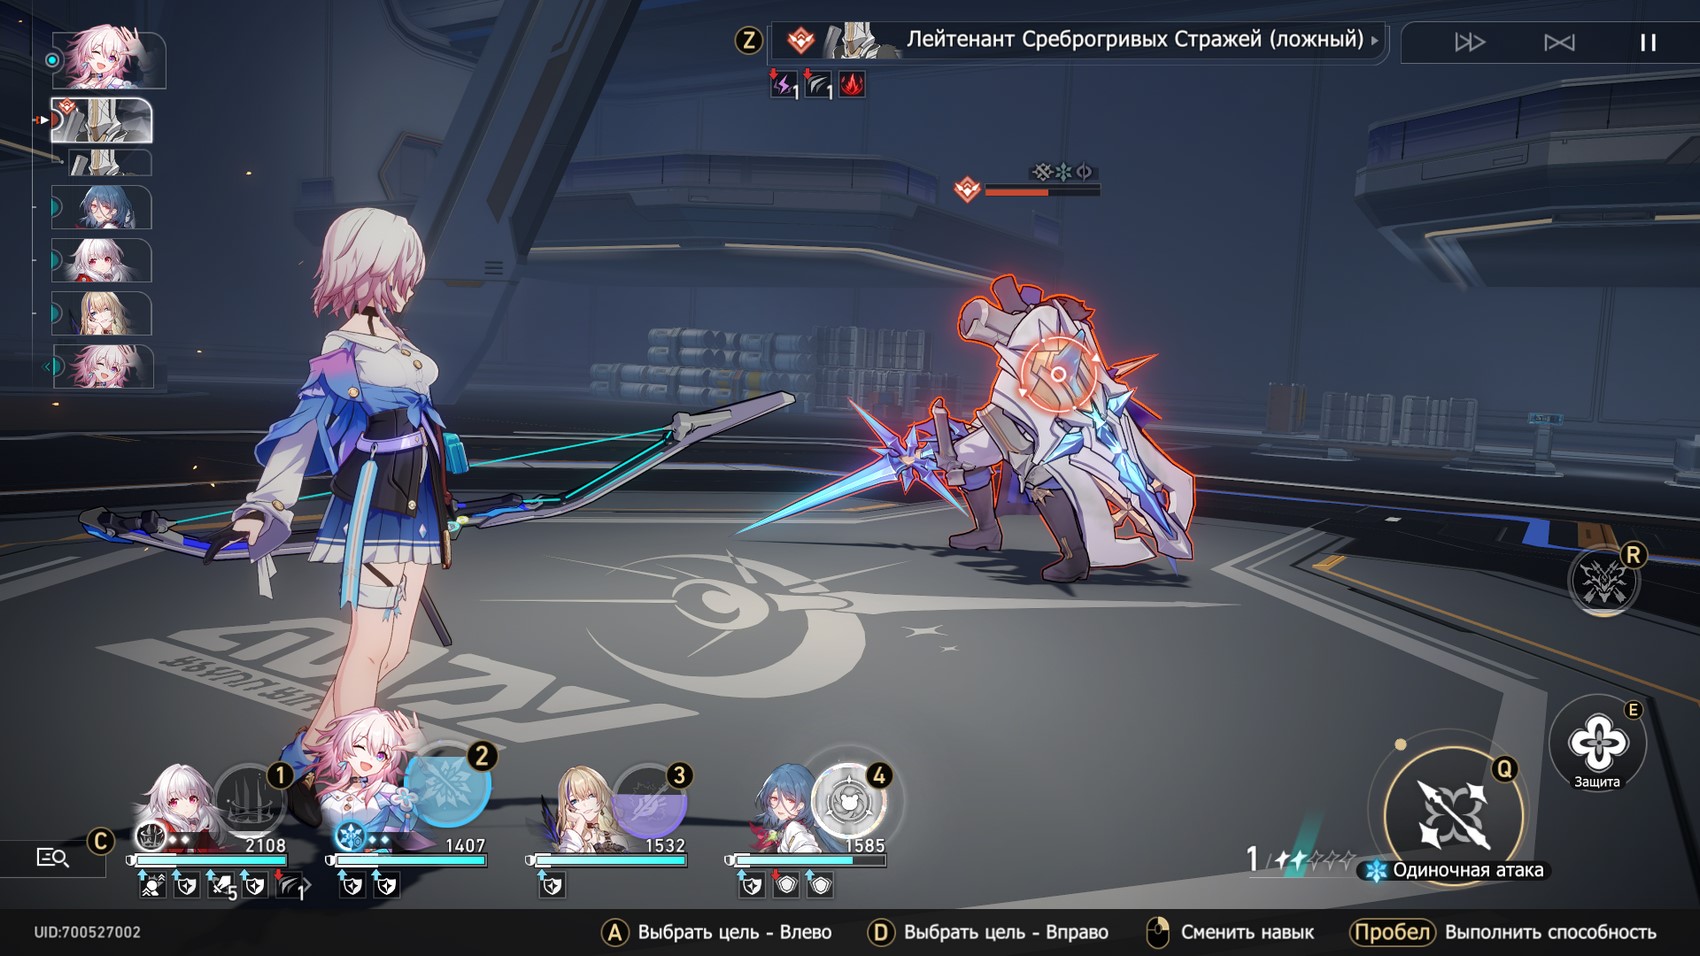
At the same time, until you defeat these ordinary mobs, the counterattack effect will not be removed from the mini-boss, that is, he will attack any character who hit him. So we advise you to quickly deal with the usual guards, while trying not to hurt the mini-boss.
Battle Zone 3 (6)
Here you will have to fight with two groups of enemies at the same time (2 waves) of level 48. Their vulnerabilities are shown in the screenshots below.
Deal/Event Zone
In the bargain zone, you can spend space fragments by purchasing a blessing of a certain rarity. In the event area, a random event awaits you, which can give both buffs and debuffs. Next, you will be taken to a rest area where you can select another character for the team and talk to Gert to spend the fragments.

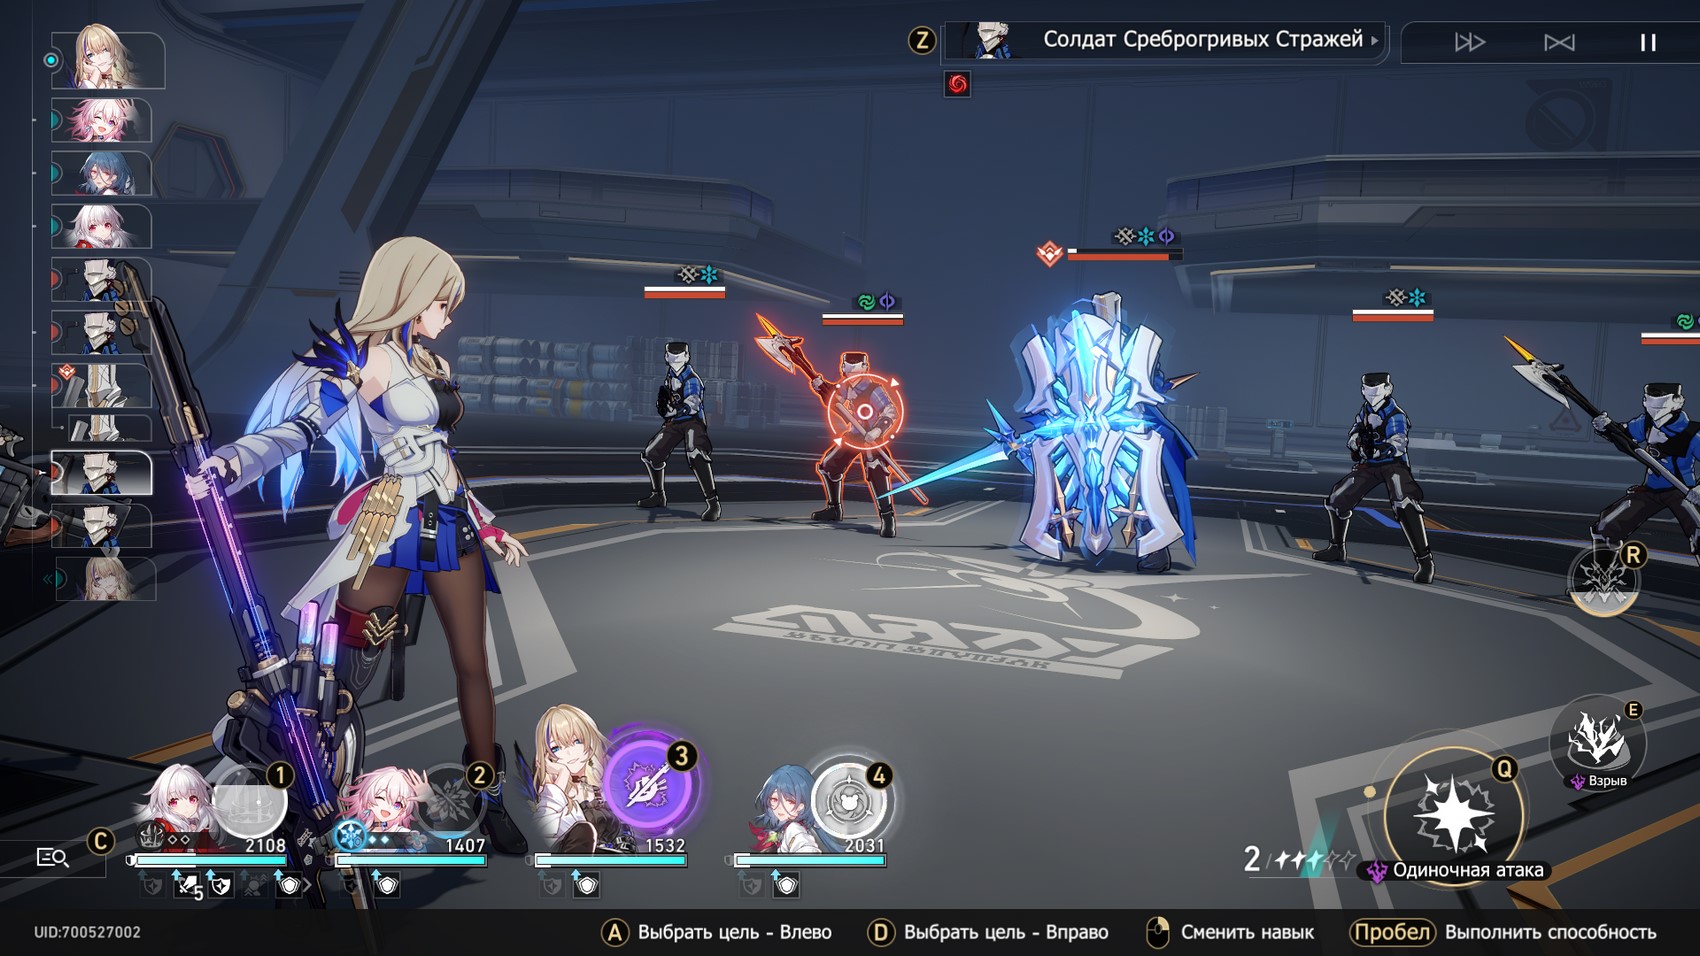
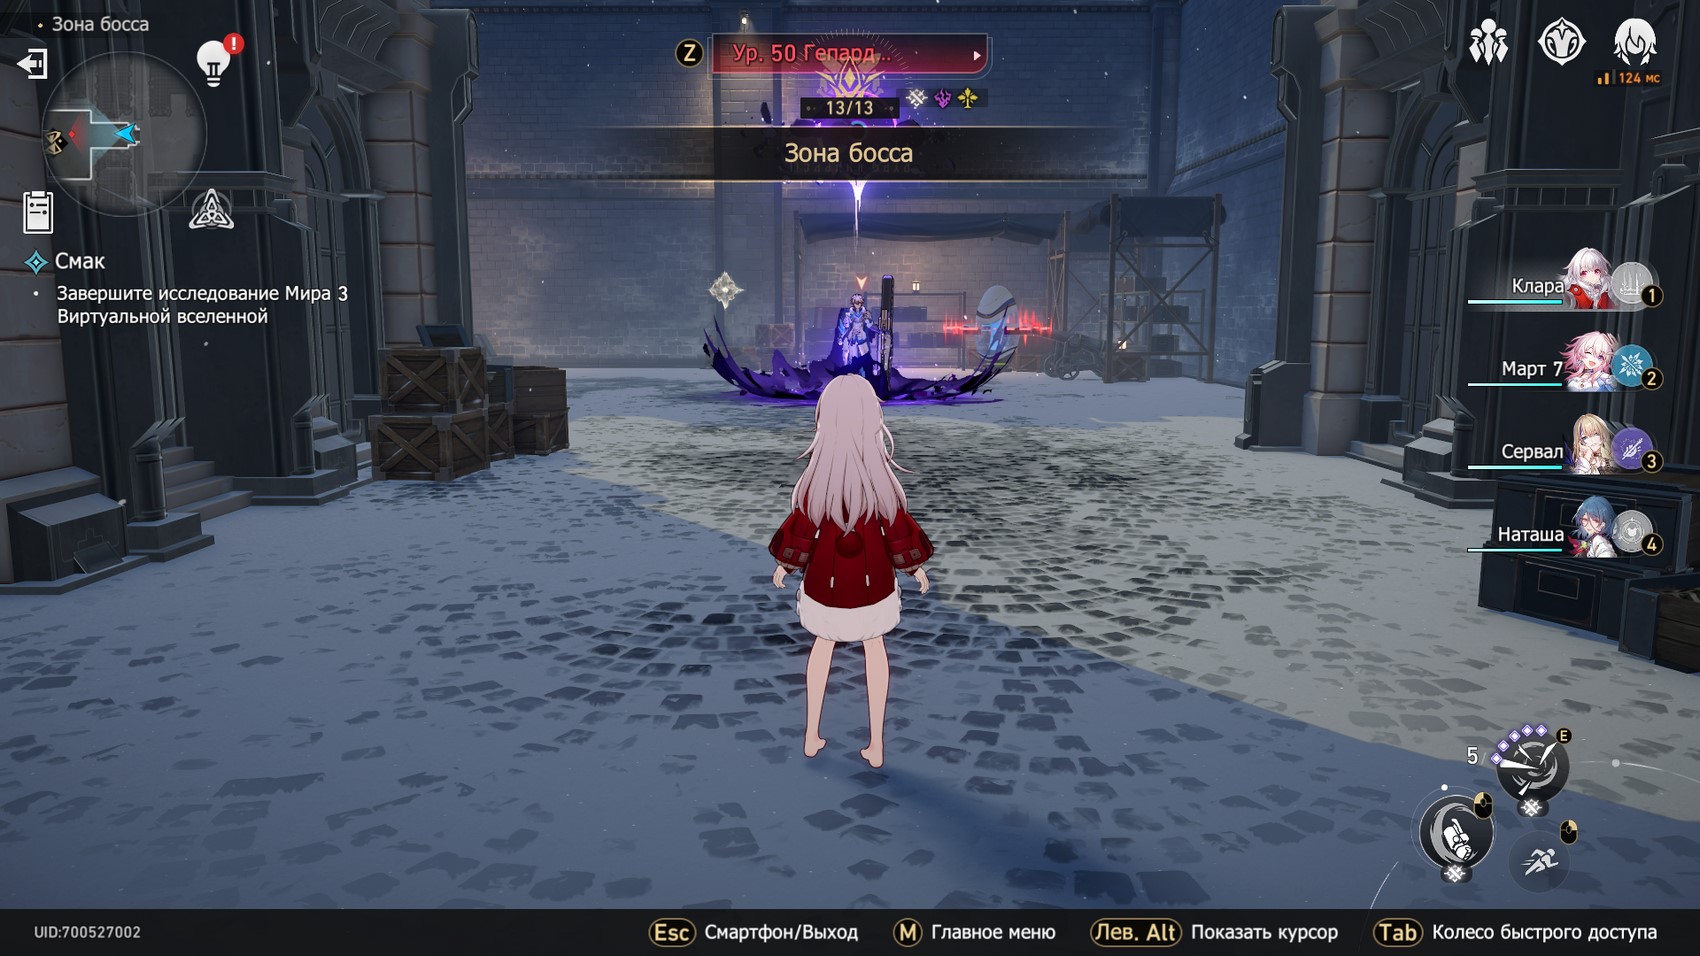
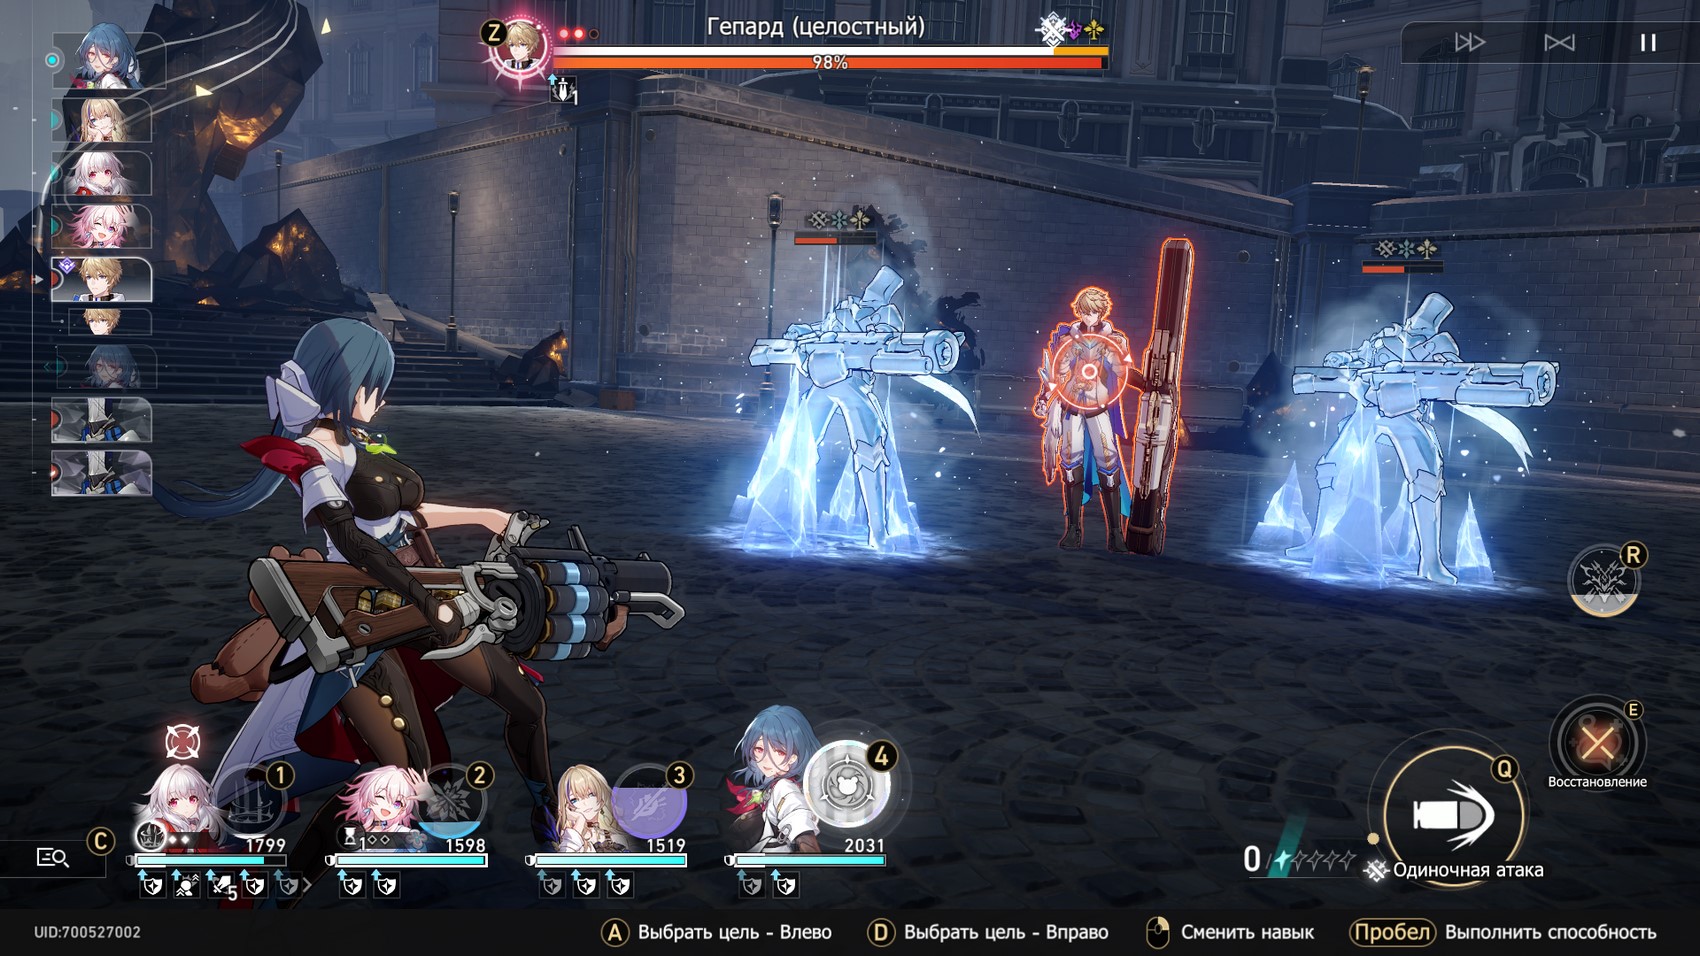
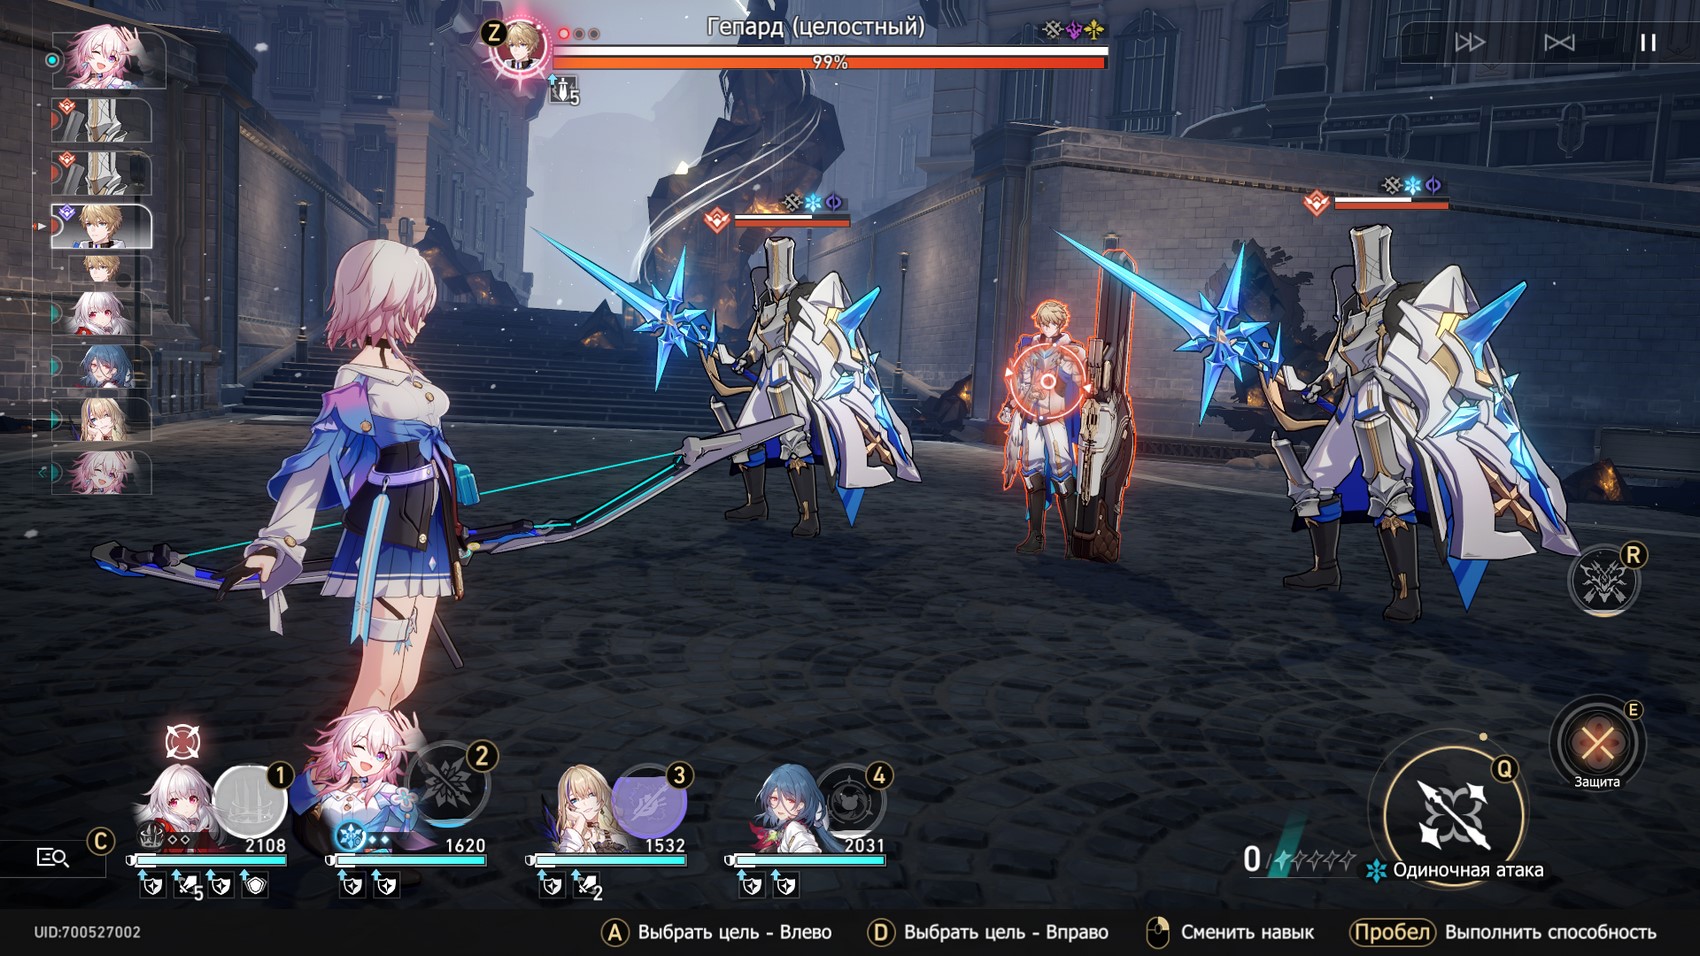
Boss zone (how to defeat the Cheetah)
So, in the end, you have to fight a level 50 Cheetah, which is vulnerable to physical, electrical, and imaginary damage. At the same time, he has a high resistance to ice damage and Freeze (but it is still possible to freeze him).
At the very beginning of each phase, the boss will summon two soldiers that strengthen him and also deal good damage. We advise you to quickly deal with them, using physical attacks on the area (Clear or Pathfinder). Don't forget to use path resonance to deal massive area of effect damage.
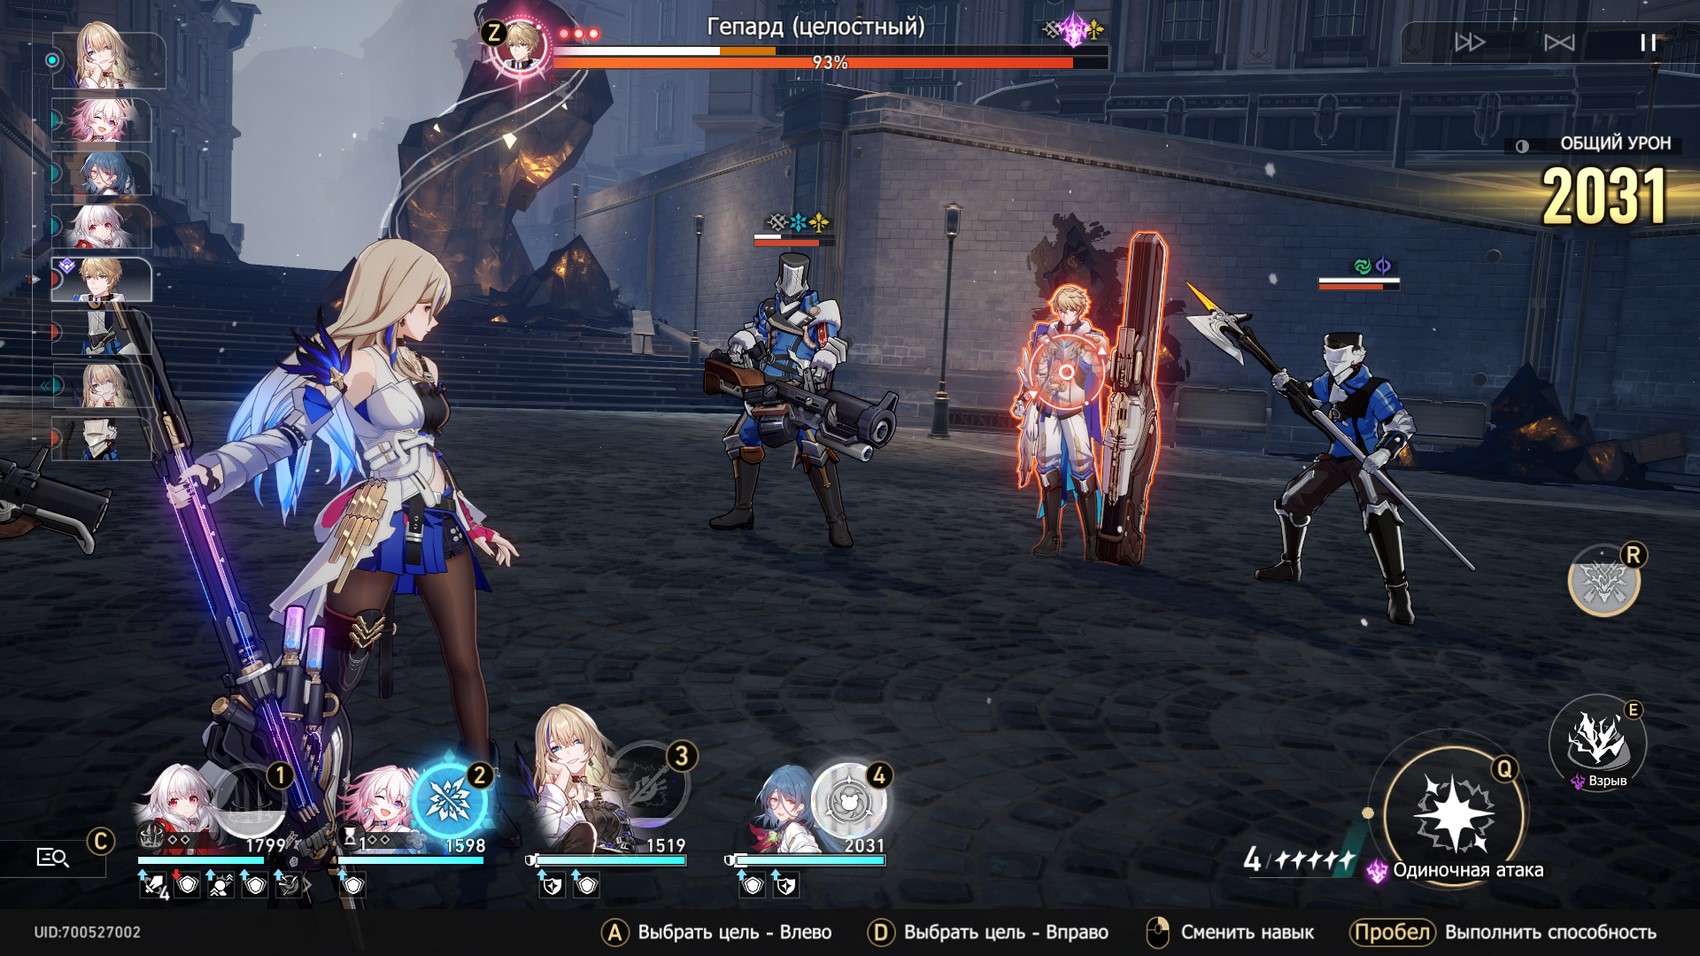
In the last two stages, Cheetah will use a special ability to protect himself and his teammates. This shield has gigantic durability (50-90 thousand units) Again, it can be destroyed using path resonance, so save it and use it at the most appropriate moment in time. The strength of the barrier is demonstrated by a special scale hanging above the boss.

With proper pumping of the characters and the correspondence of their elements to the weaknesses of the enemies, you can hardly, but defeat this enemy. If you are unable to do this, then we advise you to continue to level the heroes, for example, bring them to level 55 or provide them with more powerful light cones and relics.


After dealing with the boss, take the relics from the immersion device, and then exit the virtual universe through the portal.
Comments
You need to login to add comments.
You can login with