
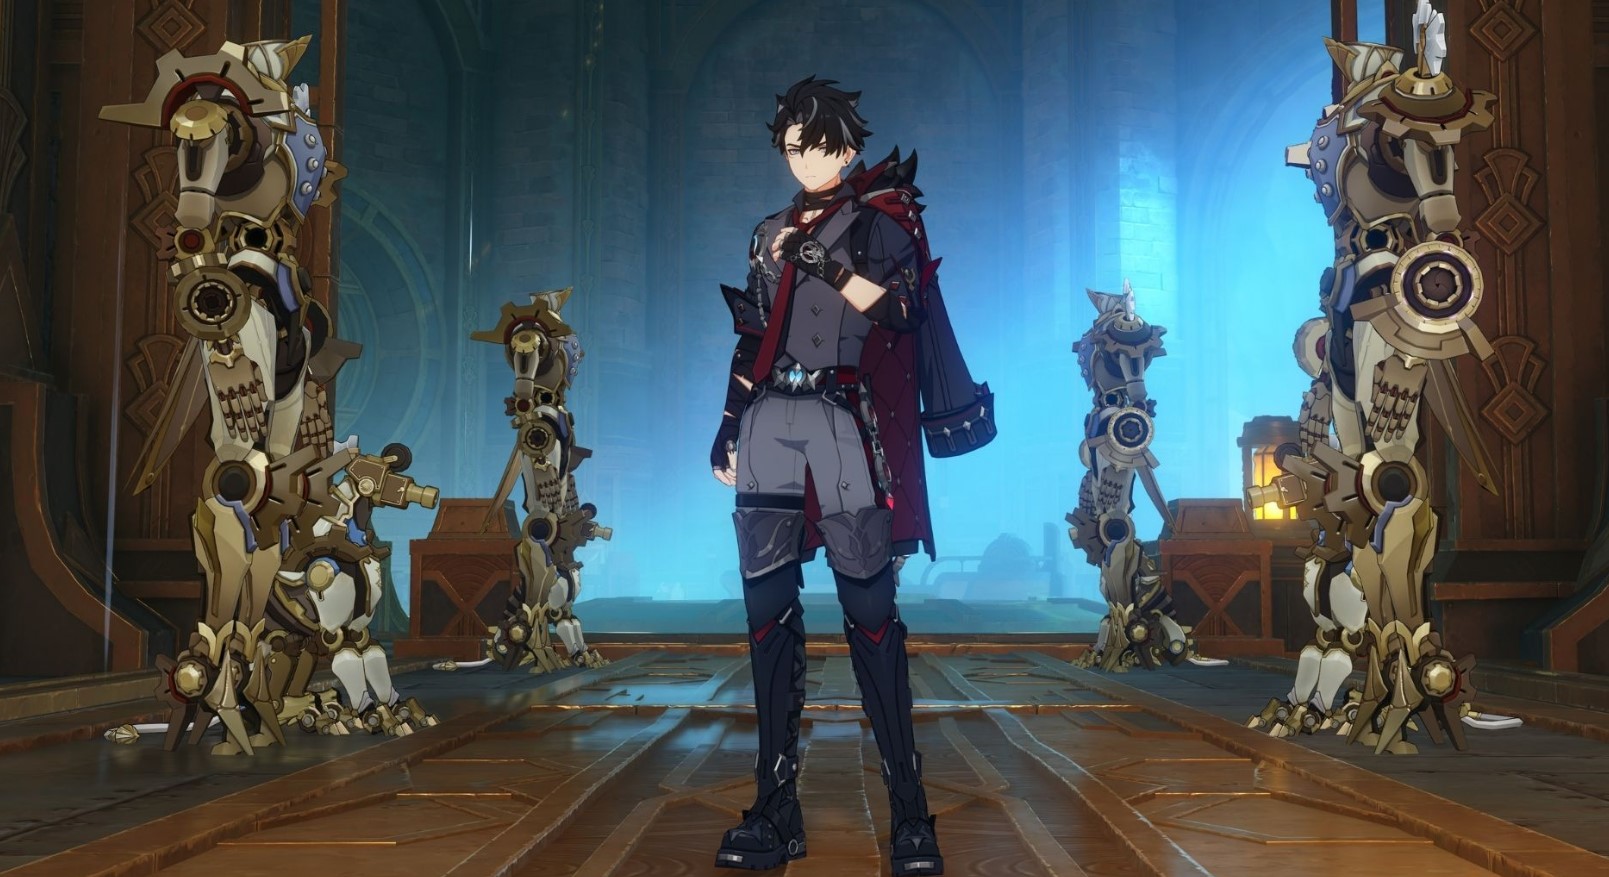
In Genshin Impact Reborn in the Land of Grievances is the first chapter legend quests Wriothesley "Watchdog" During it you will have to visit again The Fortress of Meropide and With You with her boss, check the Beret society and deal with Dugier. In this guide we will tell you how to start this quest and what you need to do to complete it completely.
How to start the legend quest "Reborn in the Land of Grievances"
The events of the first chapter of the prison warden’s personal quest take place on the territory of Fontaine, which will not be accessible immediately. Plus, you must fulfill a number of conditions, namely:
- Reach at least Adventure Rank 40. In separate article We have made several recommendations to quickly increase this parameter.
- Complete the archon mission called "Cataclysm’s Quickening", which is the fourth chapter of the fourth Thoma of the game's main storyline.
- Prepare one Story Key by completing 8 daily errands (you can complete only 4 such missions per day). You can keep no more than three keys with you at the same time (another one can be “on the balance sheet”), so you won’t be able to save them in reserve.
Having dealt with all the specified conditions, open the quest log, go to the “Legend Quests” tab and select the required hero. Then simply unlock access to his mission.
An Opportunity for Rebirth
Help the prisoner find his hat
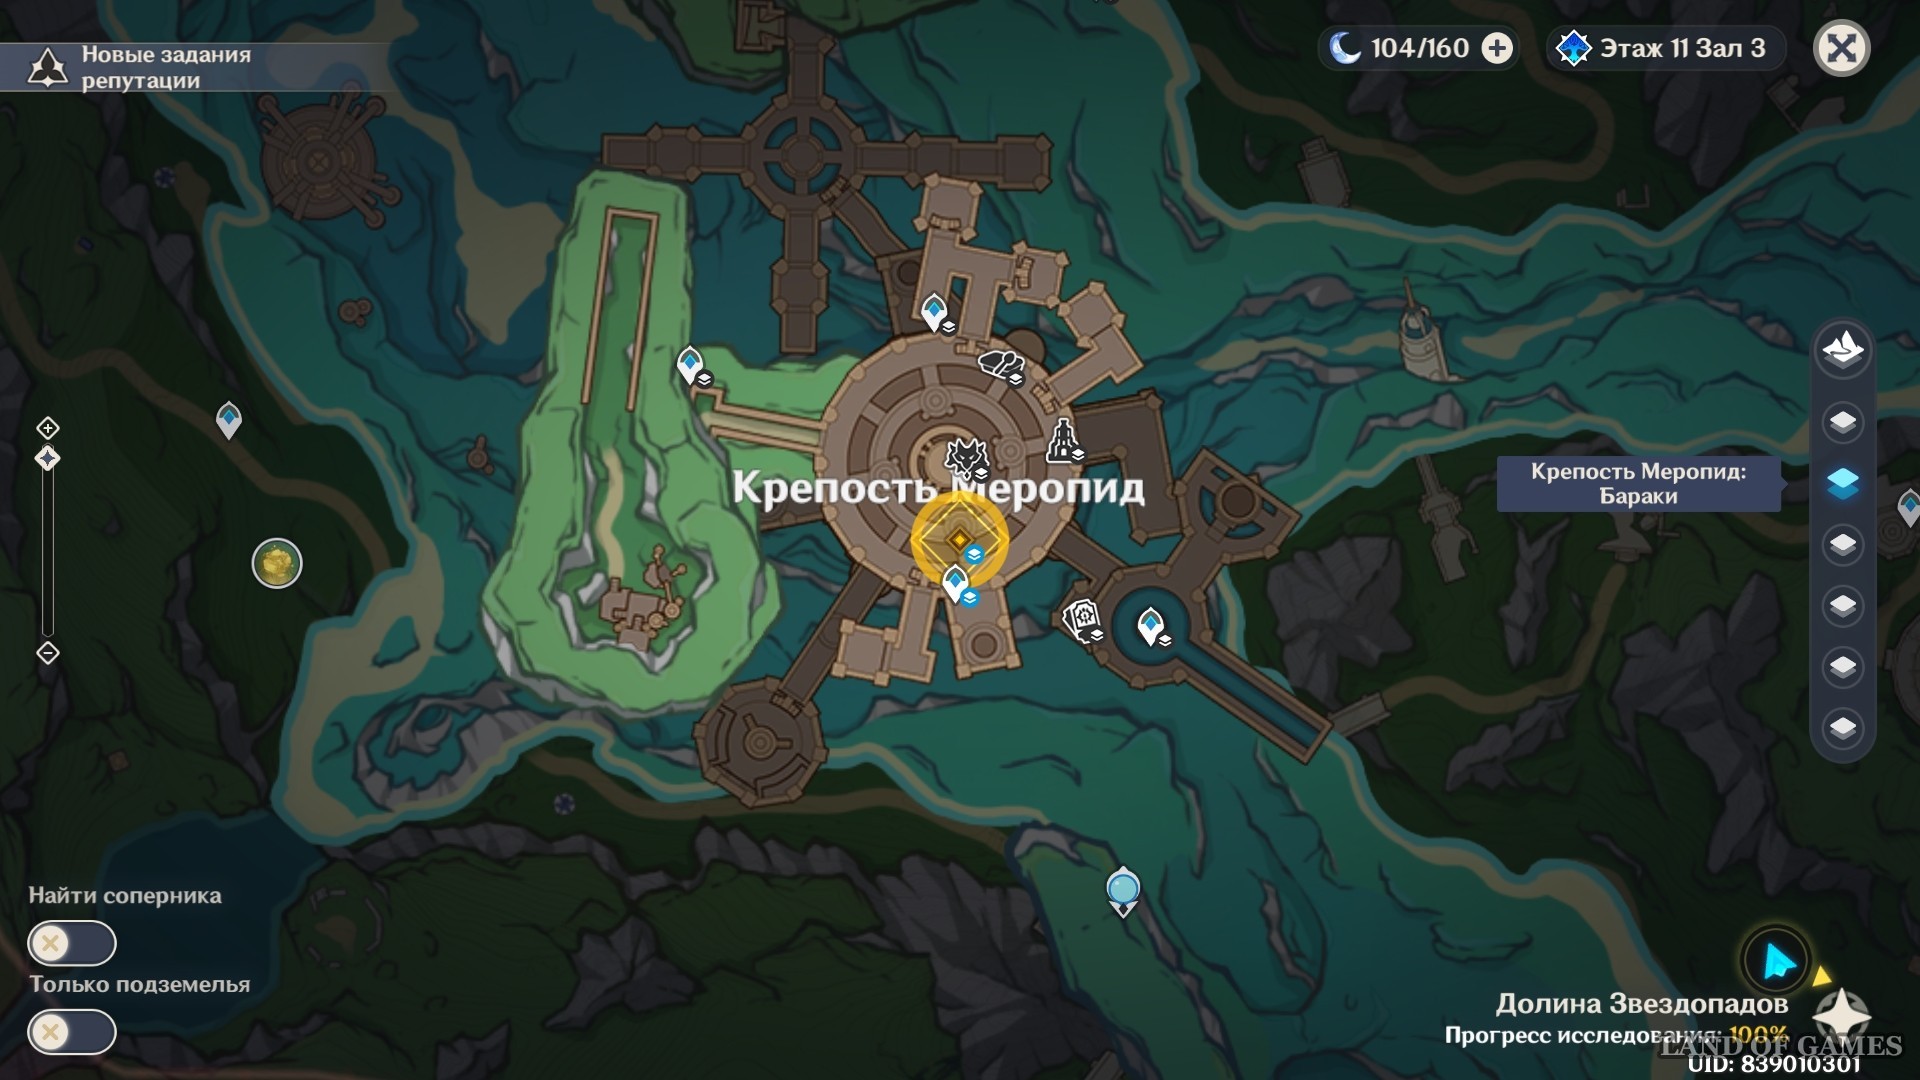
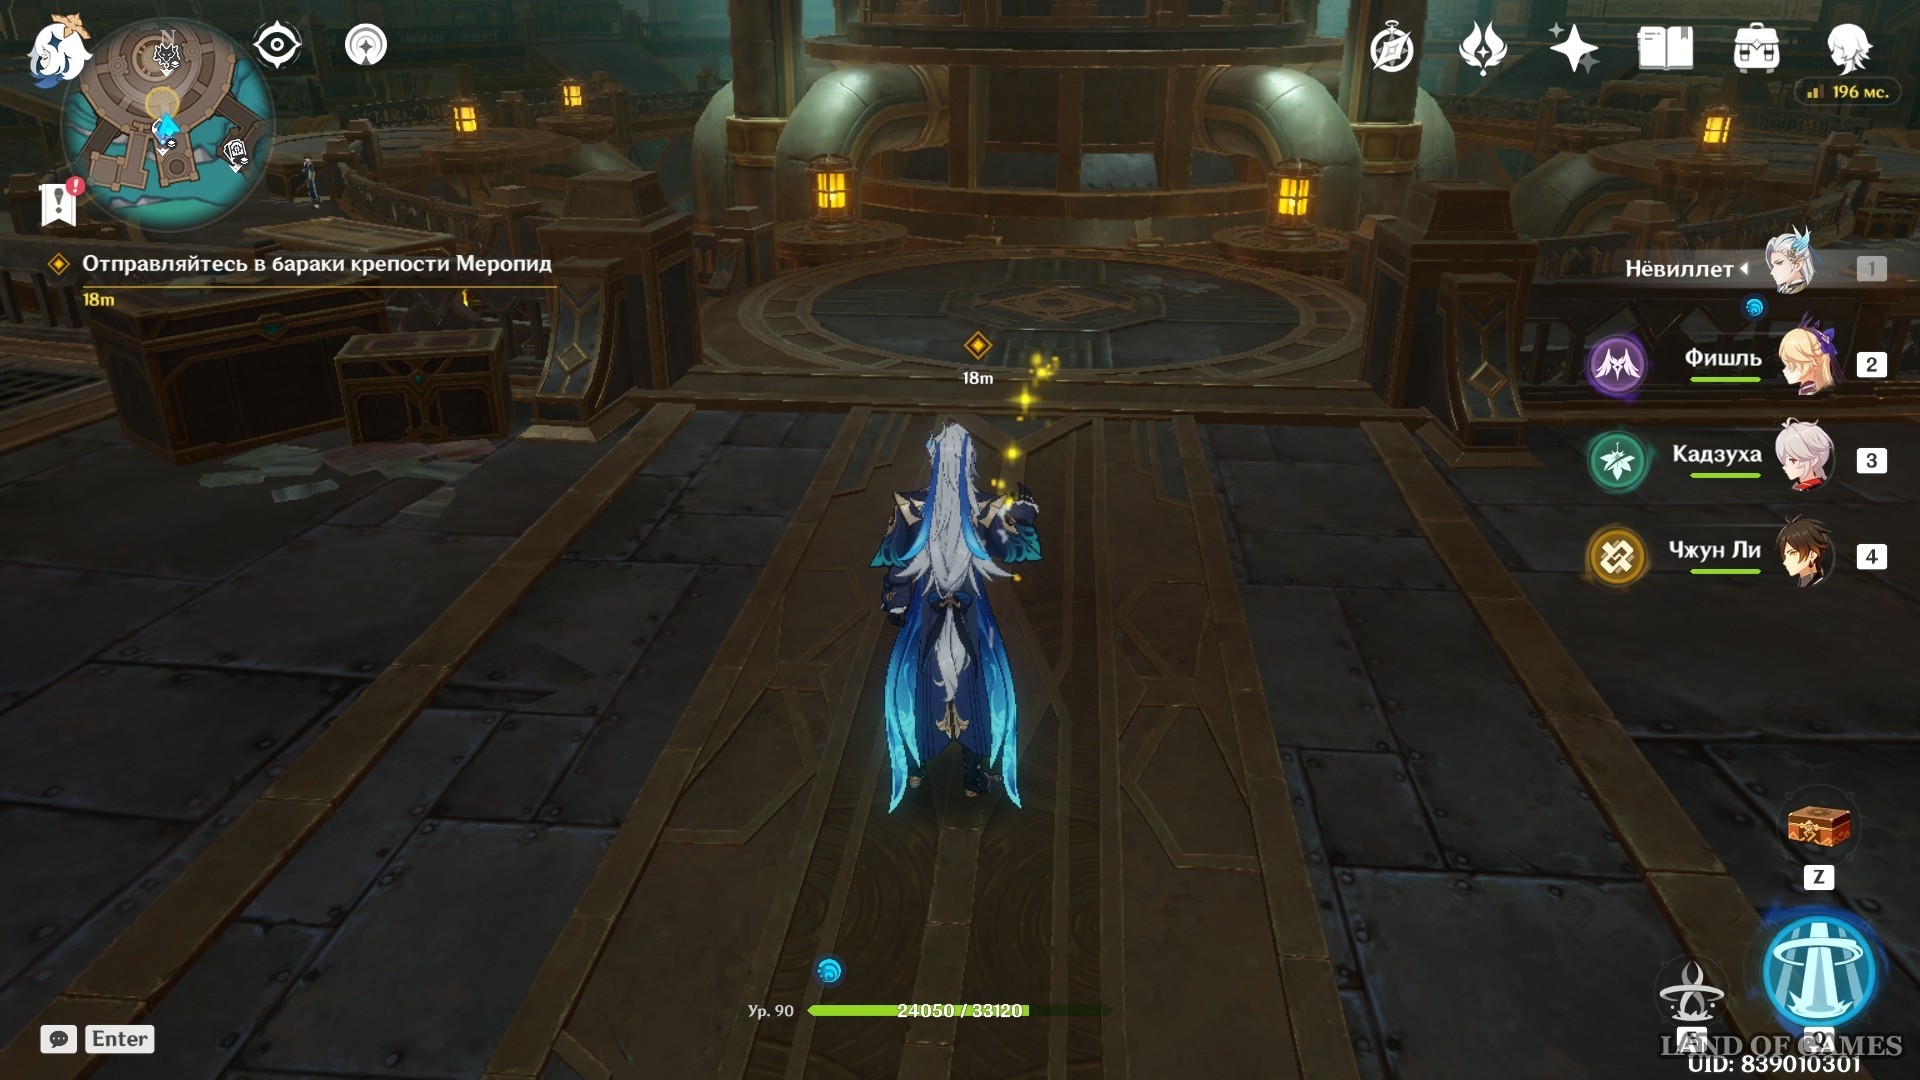
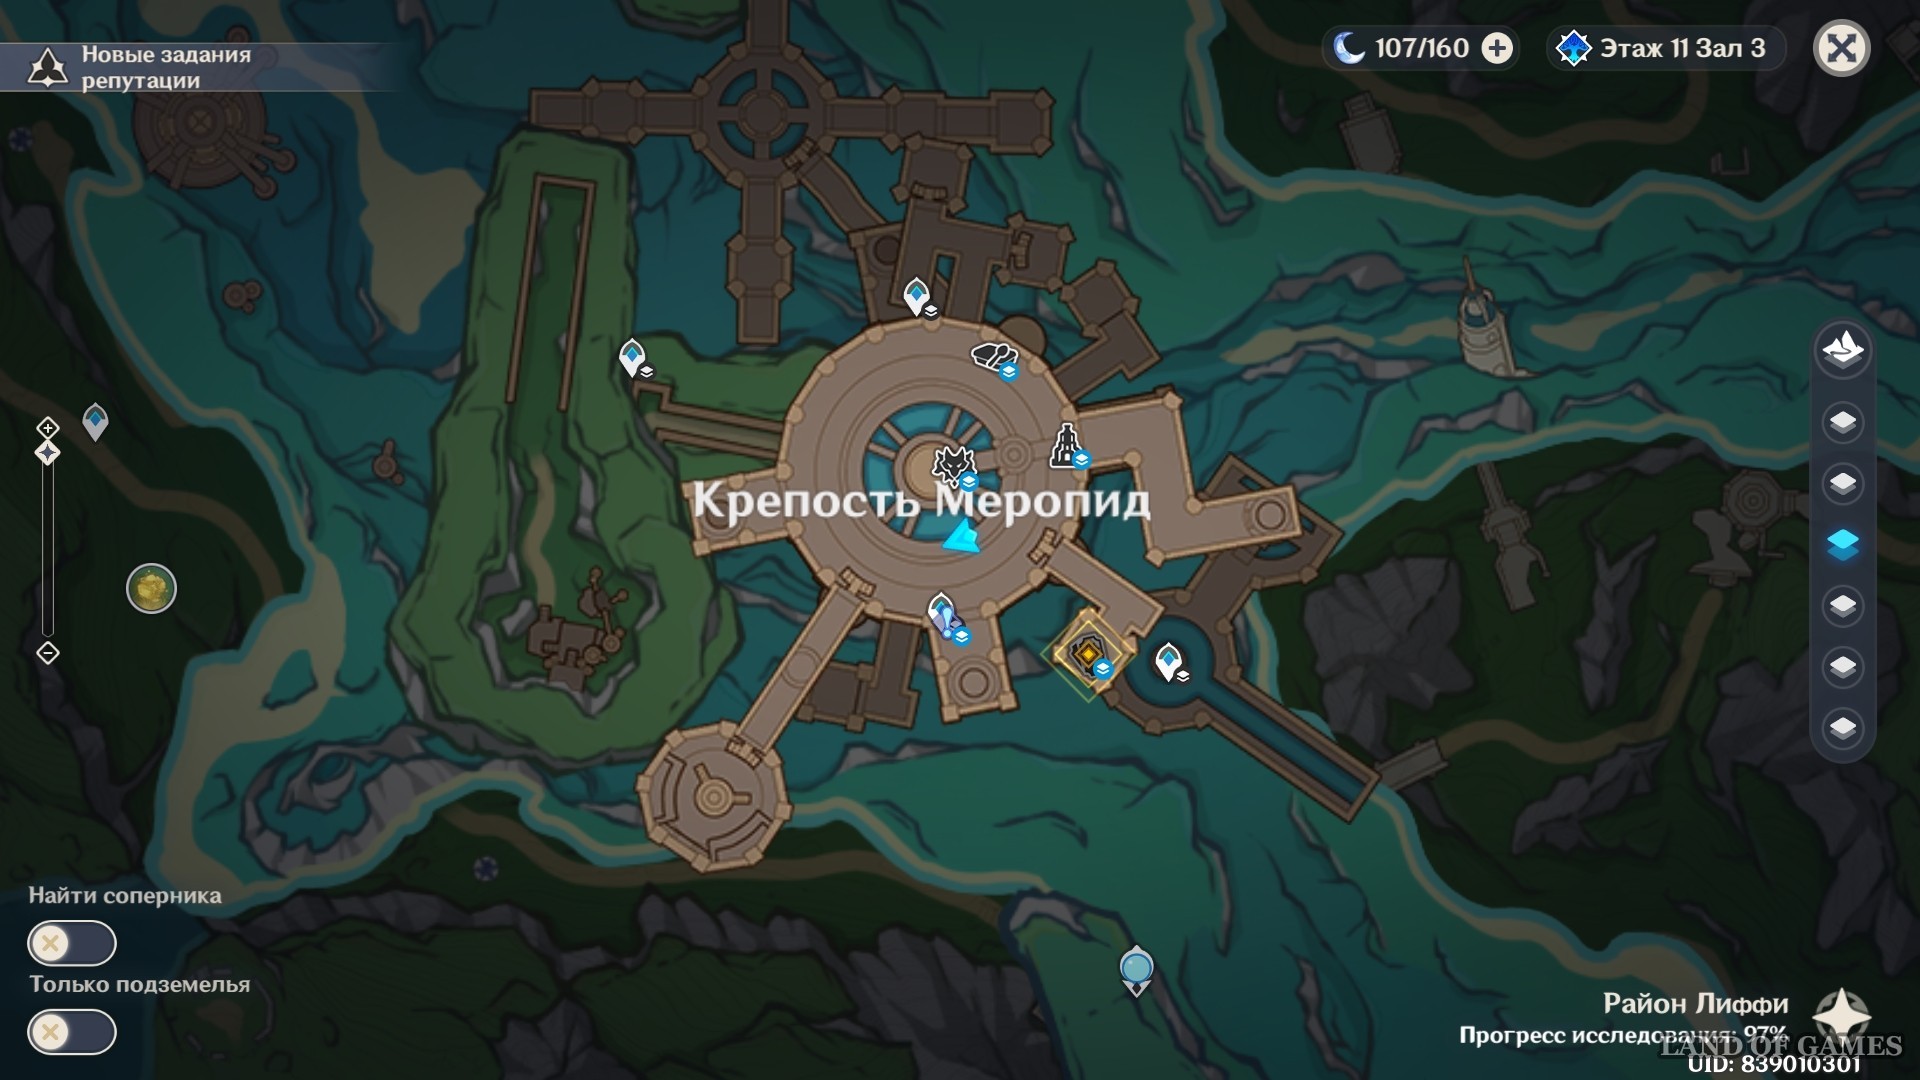
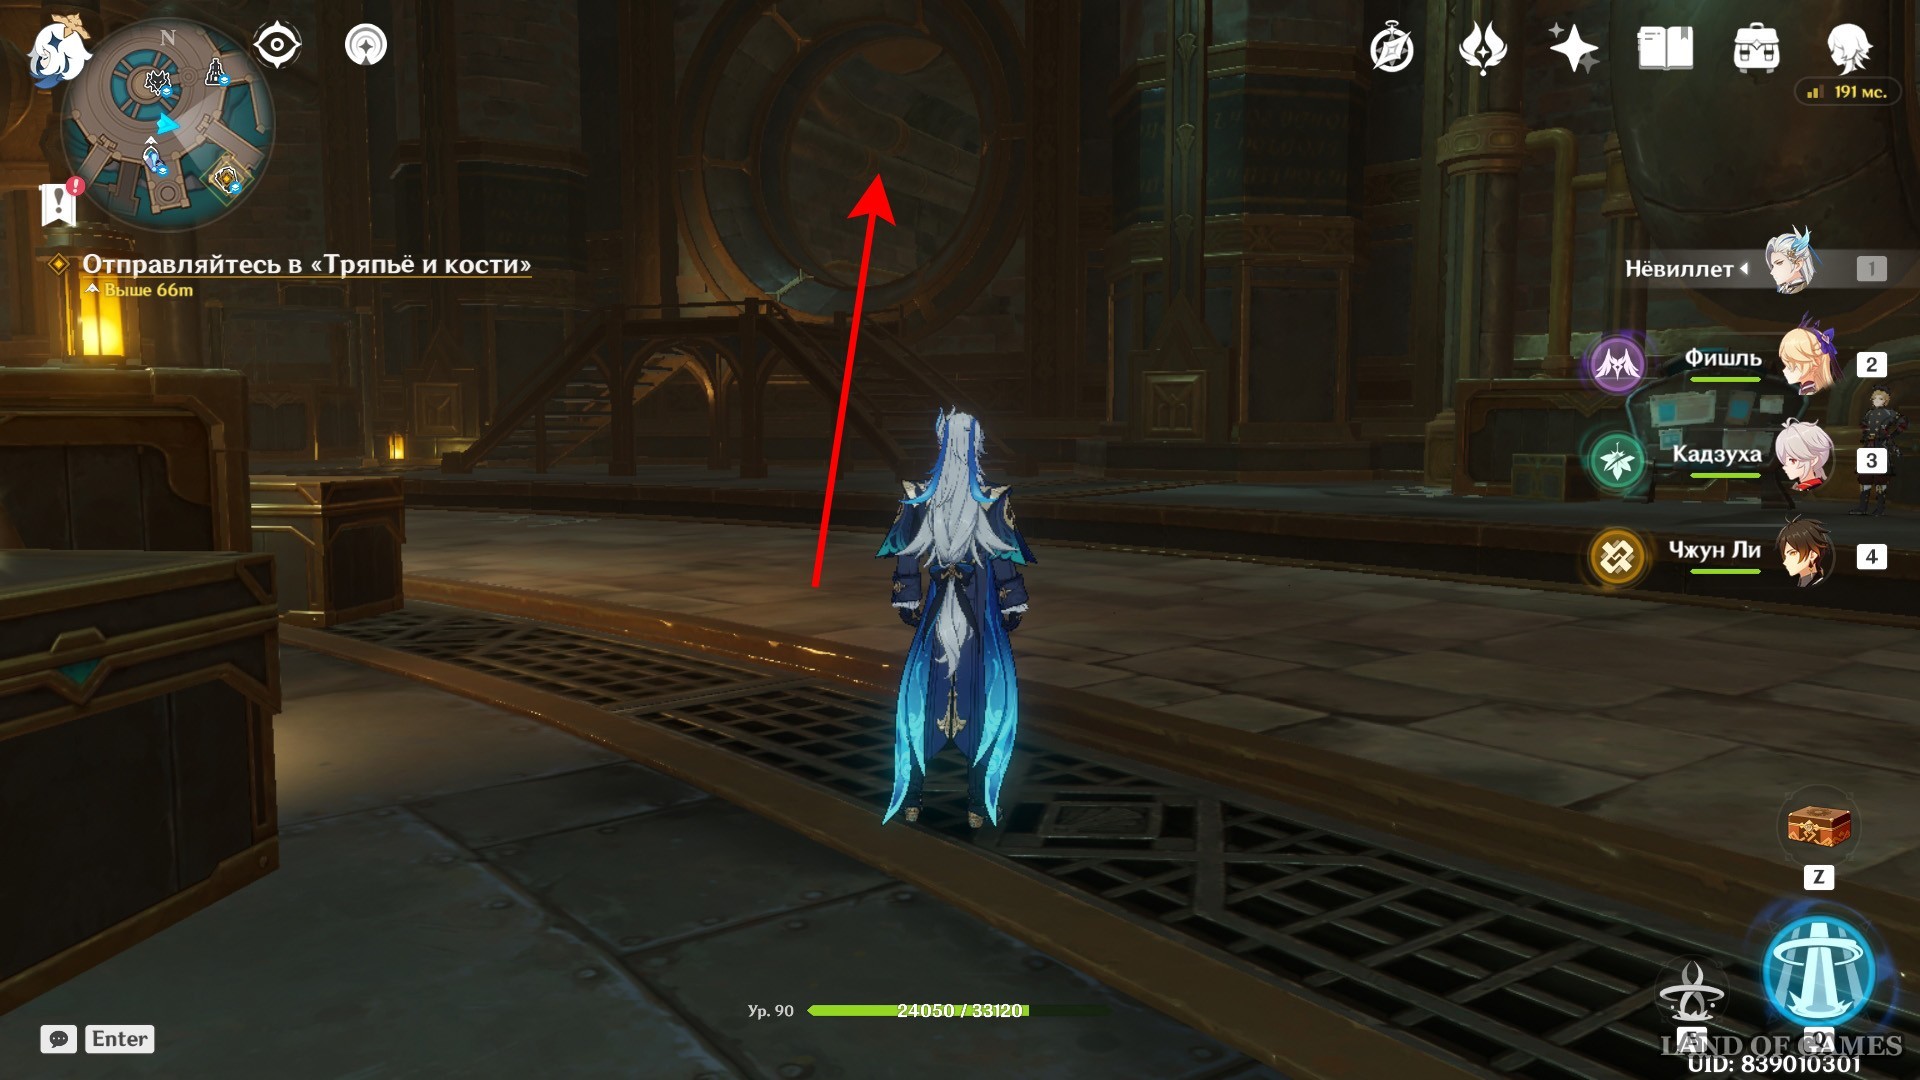
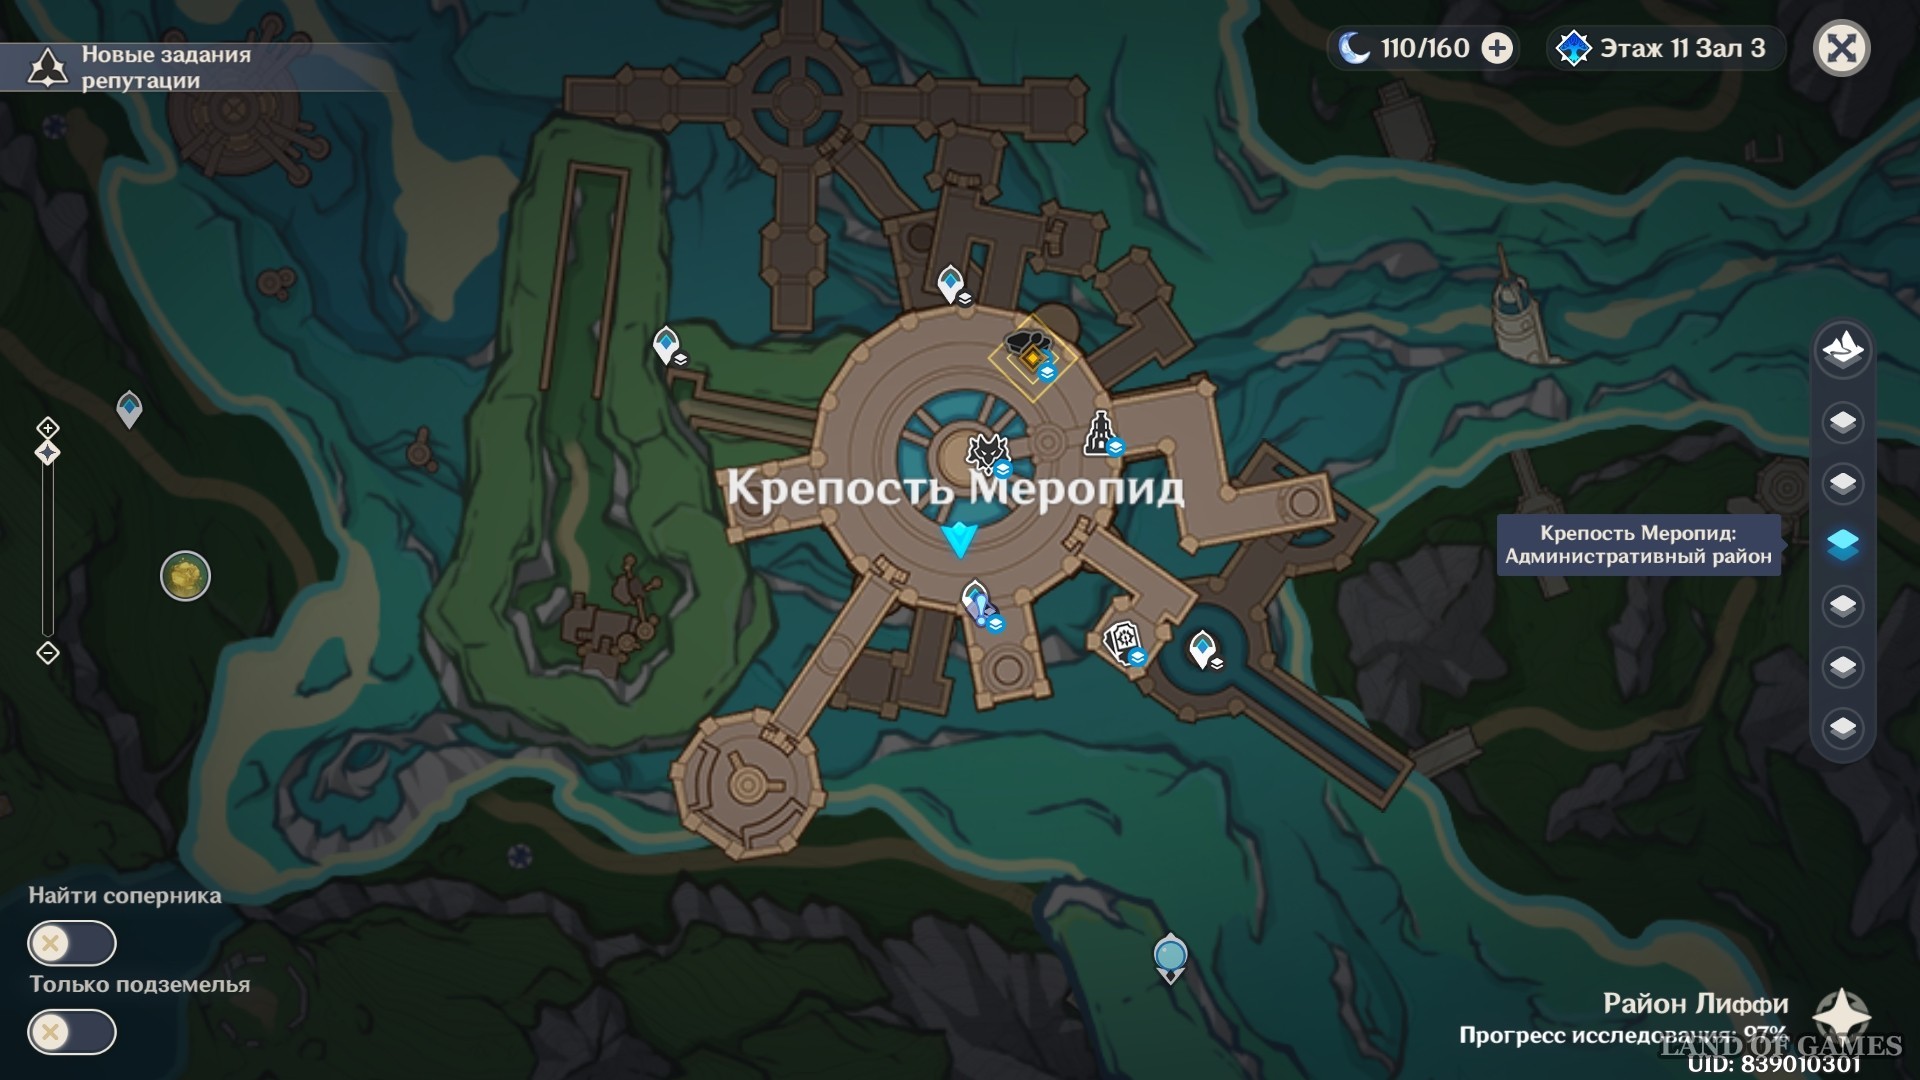
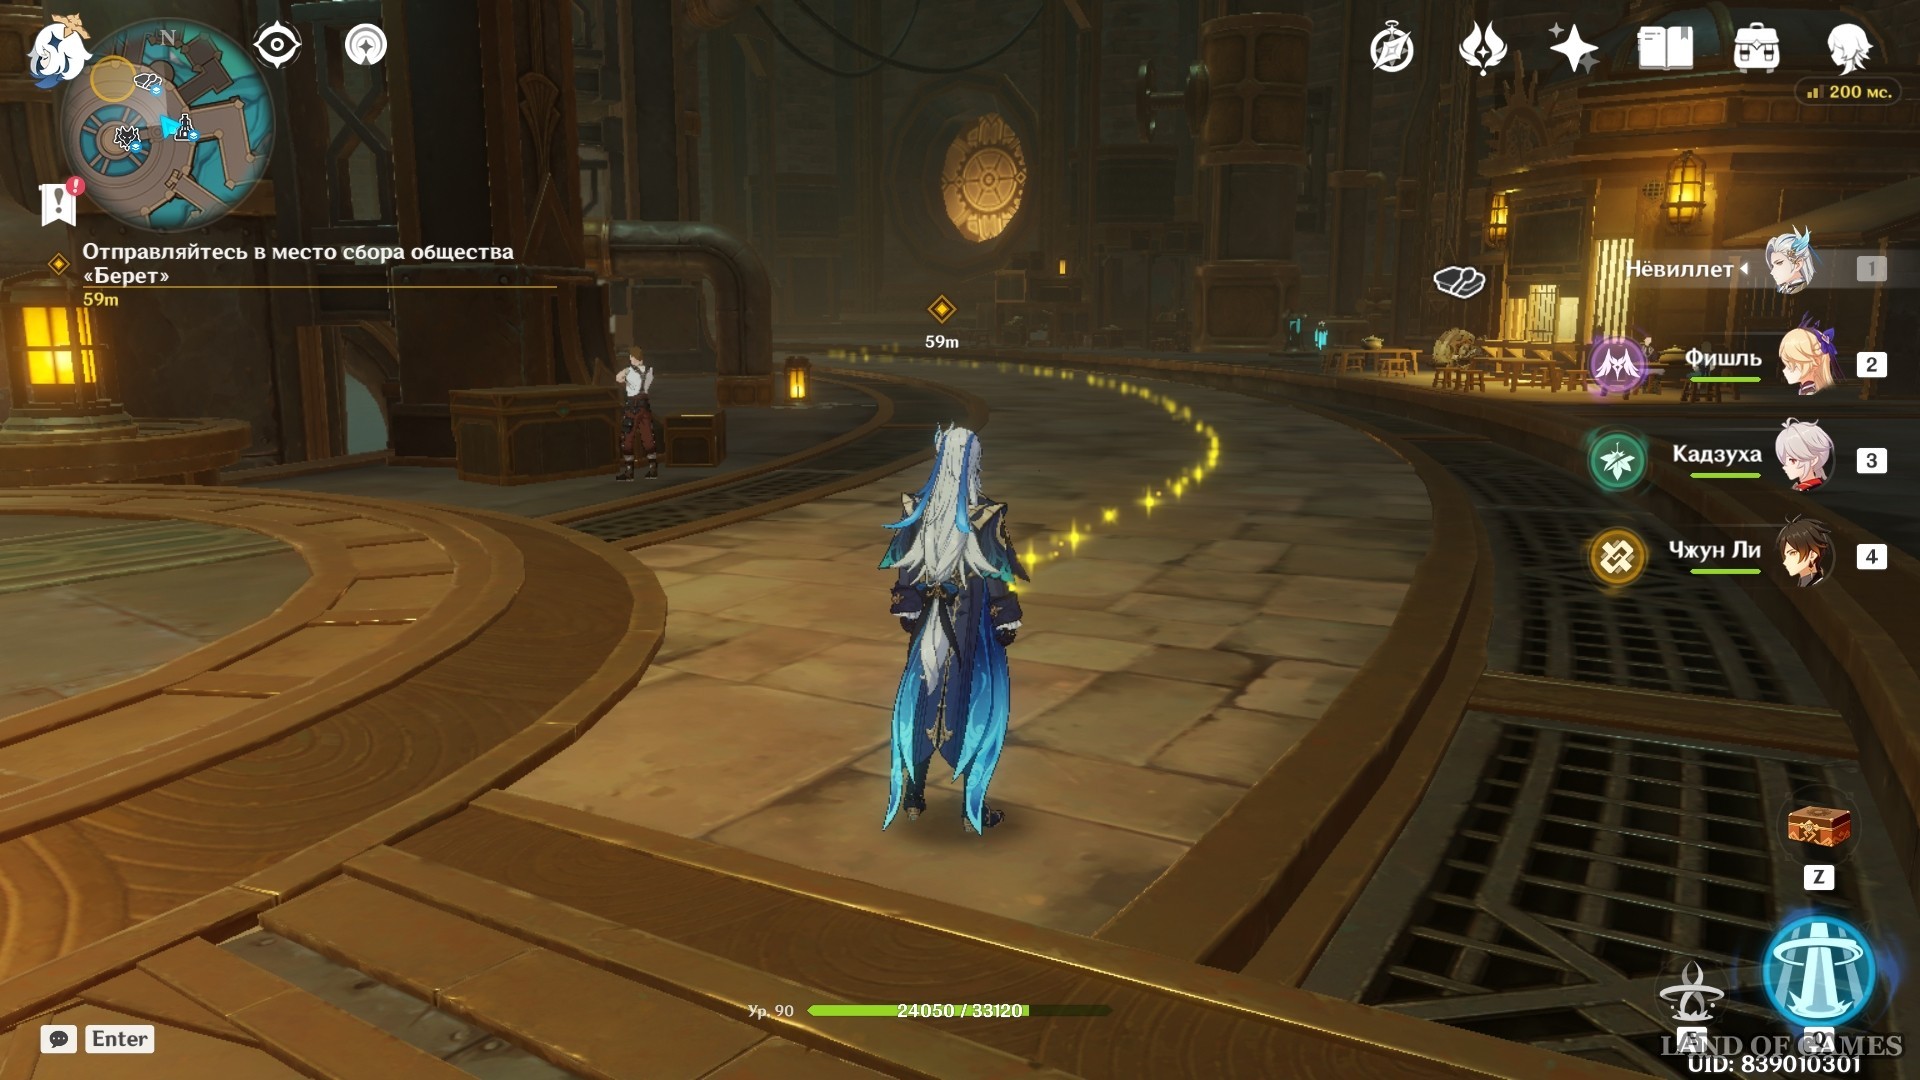
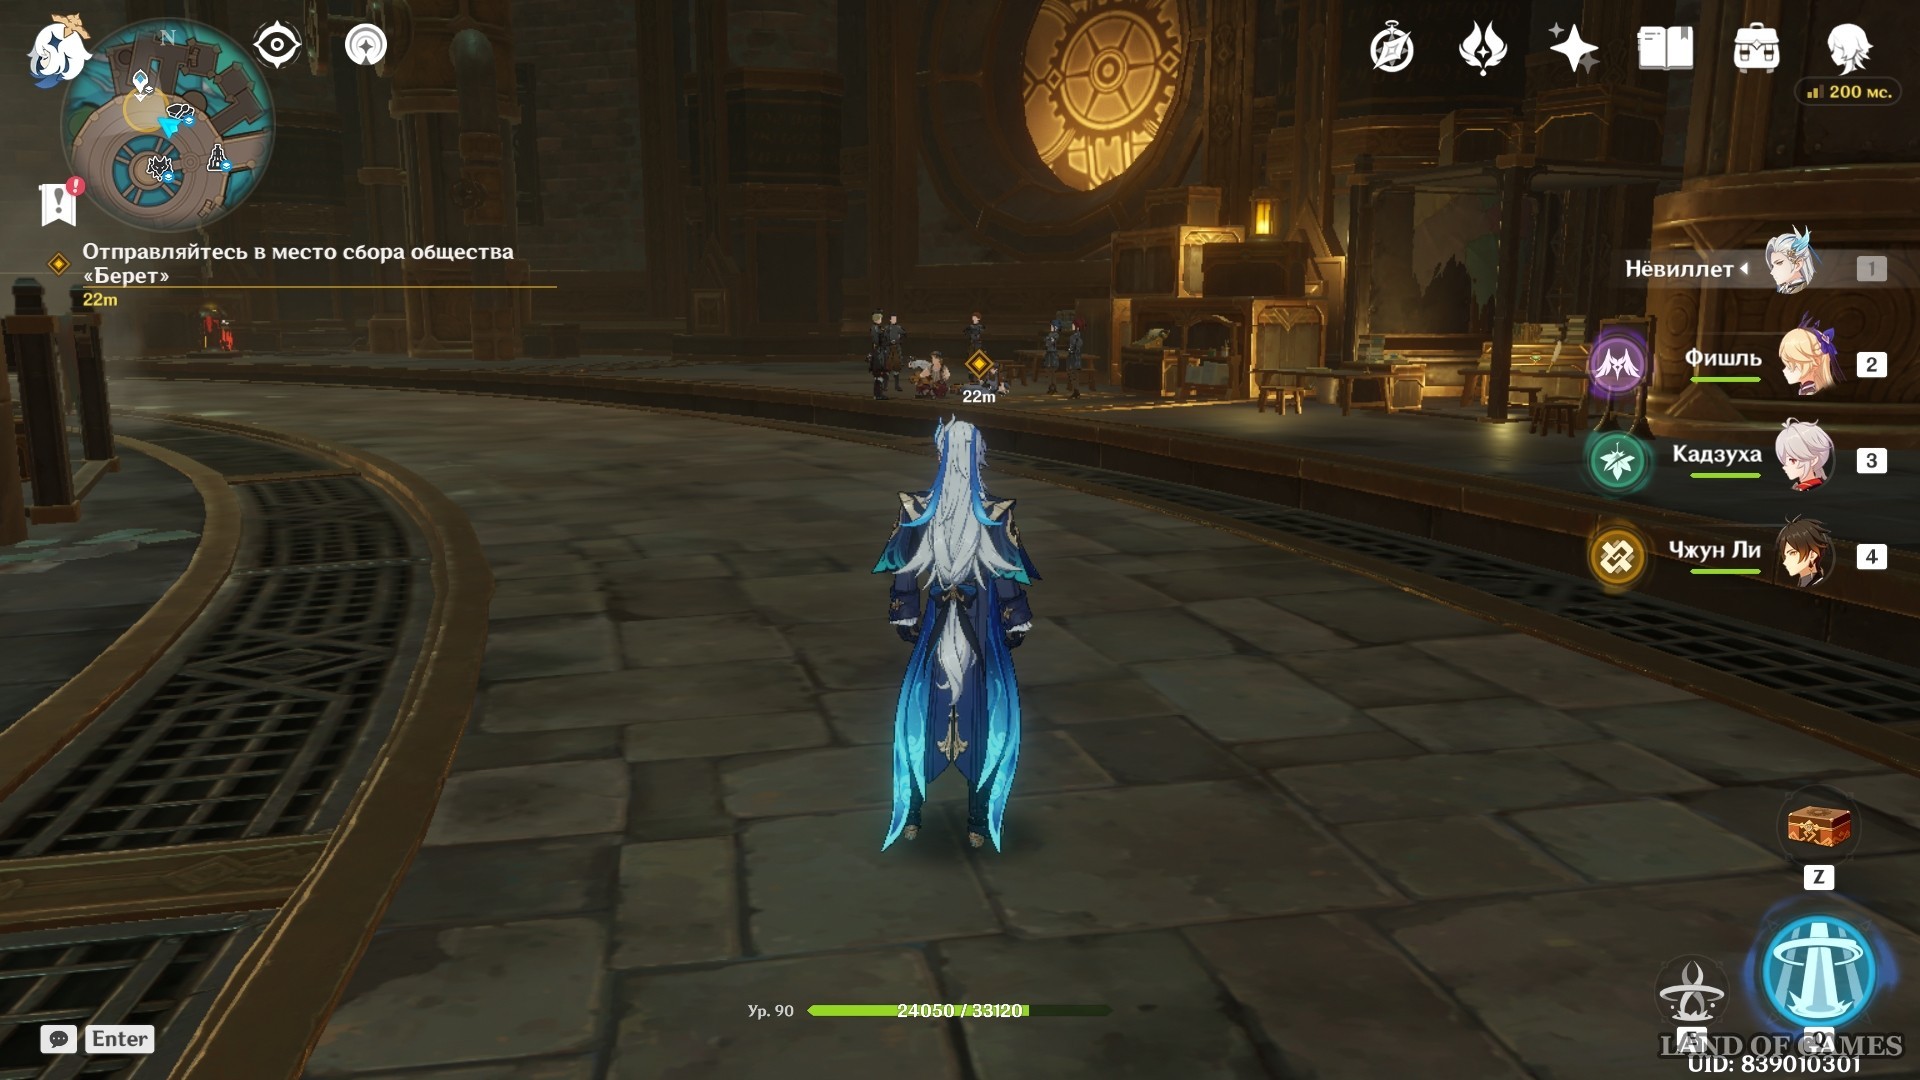
Head to the barracks floor of Meropid Fortress. From the teleporter, go a little forward to the center of the level. As soon as you enter the desired zone, a dialogue with a man you don’t know will immediately begin.
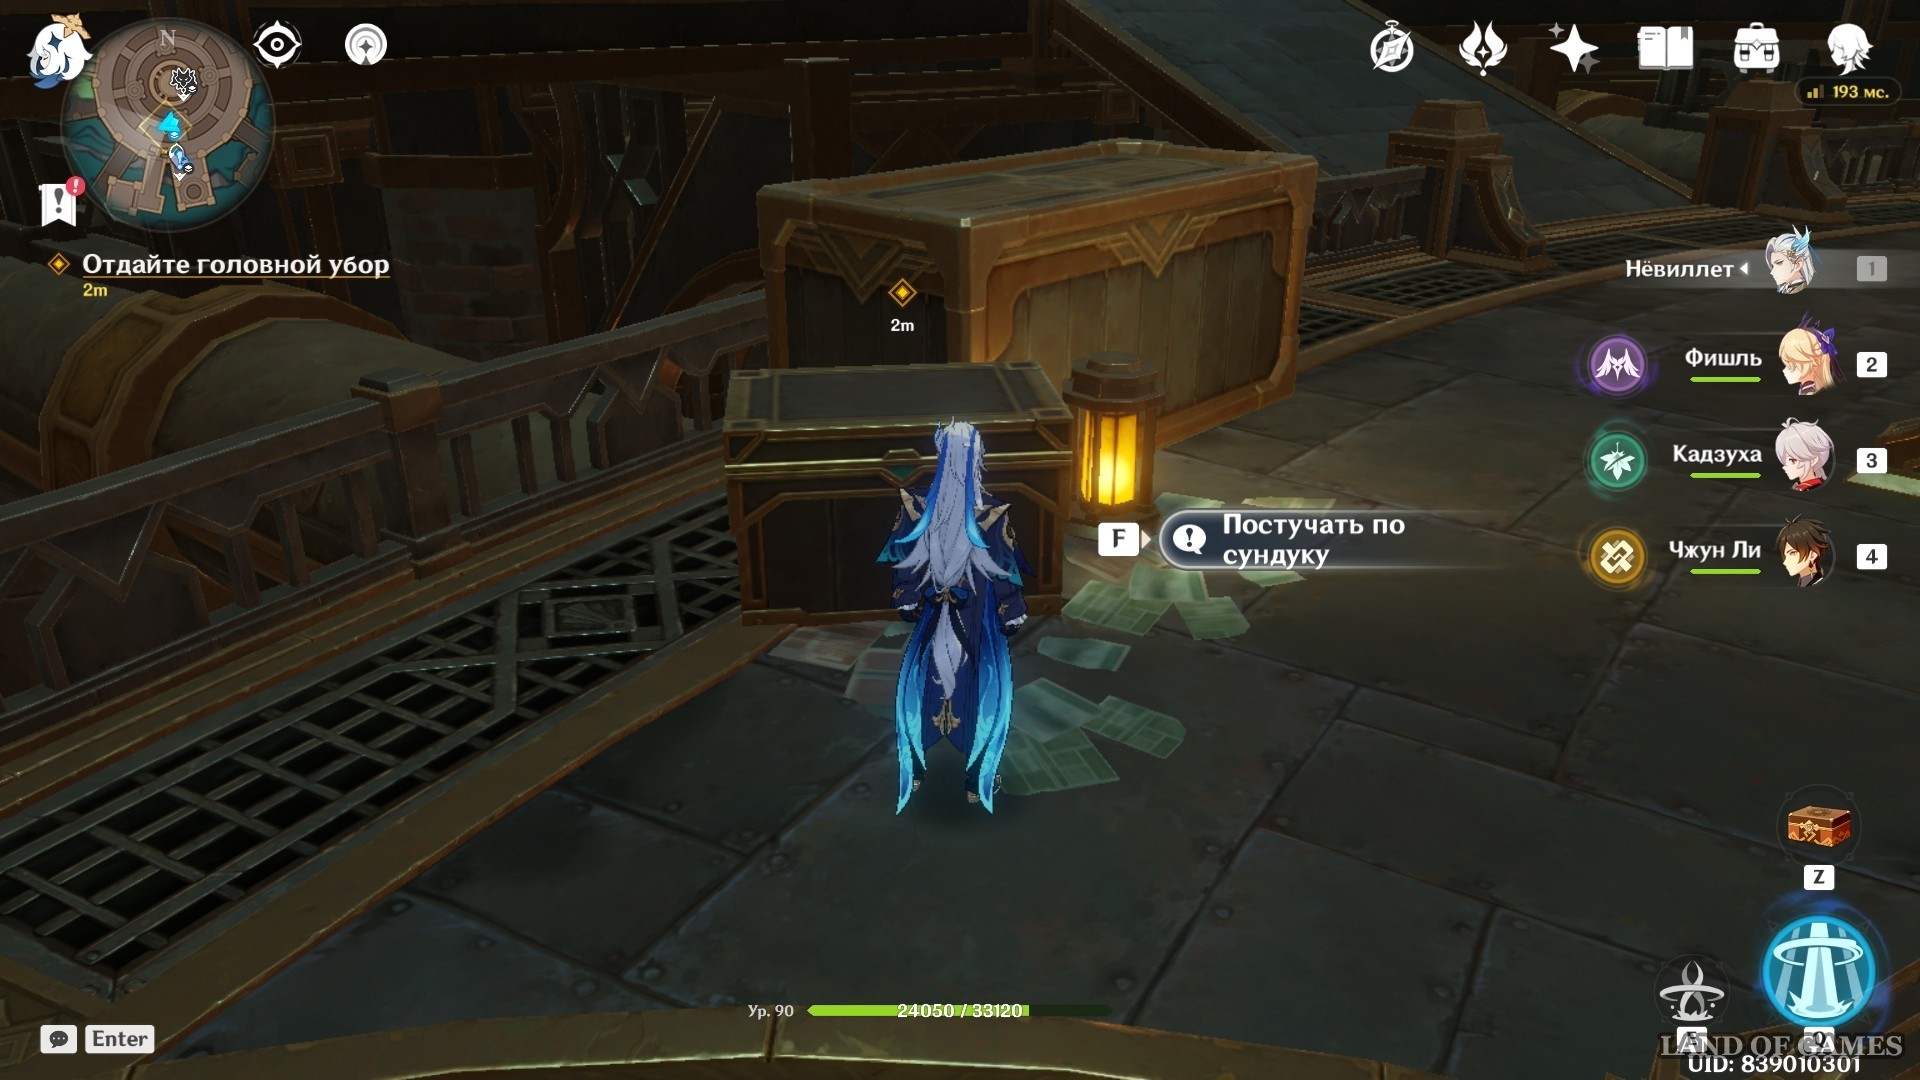
It turns out that he has lost his beret. Feissol will ask you to find the headdress. You will need to go to the lift located one level below. The easiest thing would be to just plan there. The location you need is directly below your current location. You won't find anything at the elevator. After this, proceed to the railing in the center of the floor. There you will need to check two points: one directly opposite the lift, and the other a little to the right.
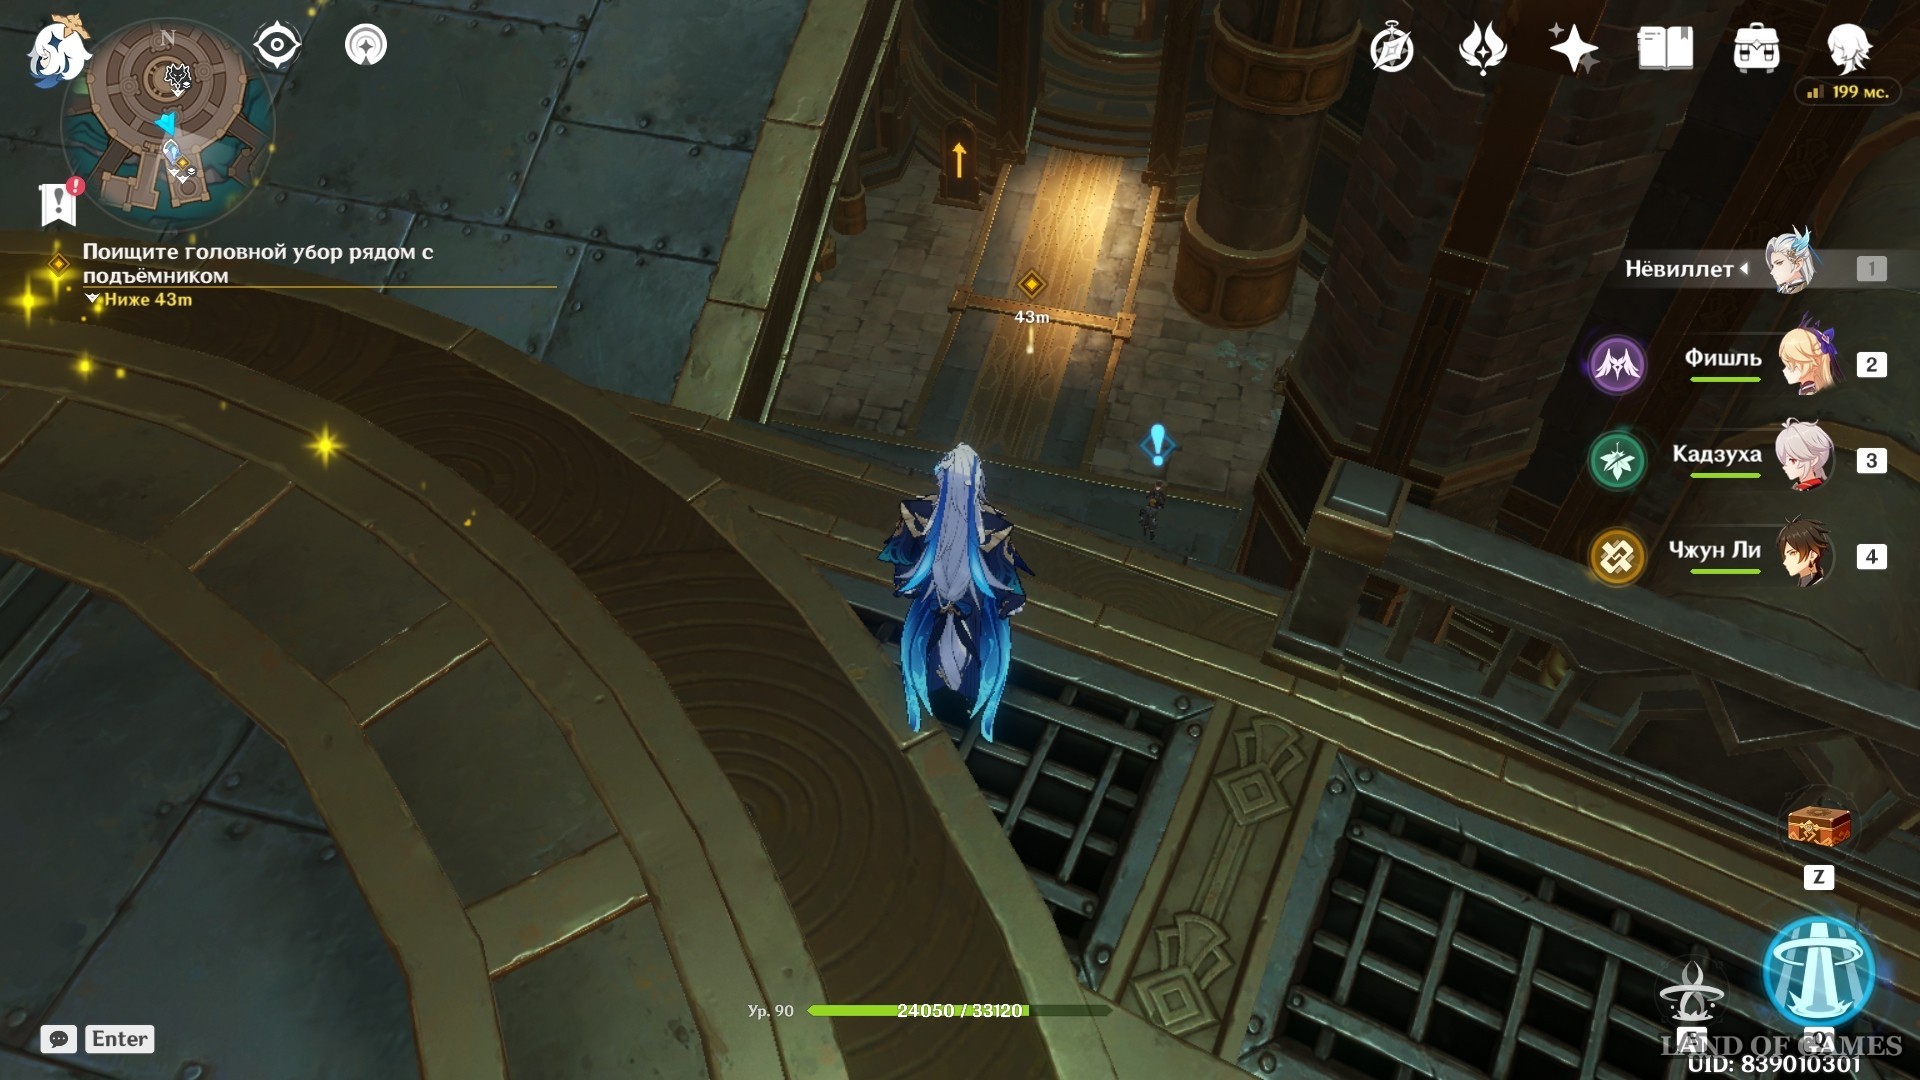
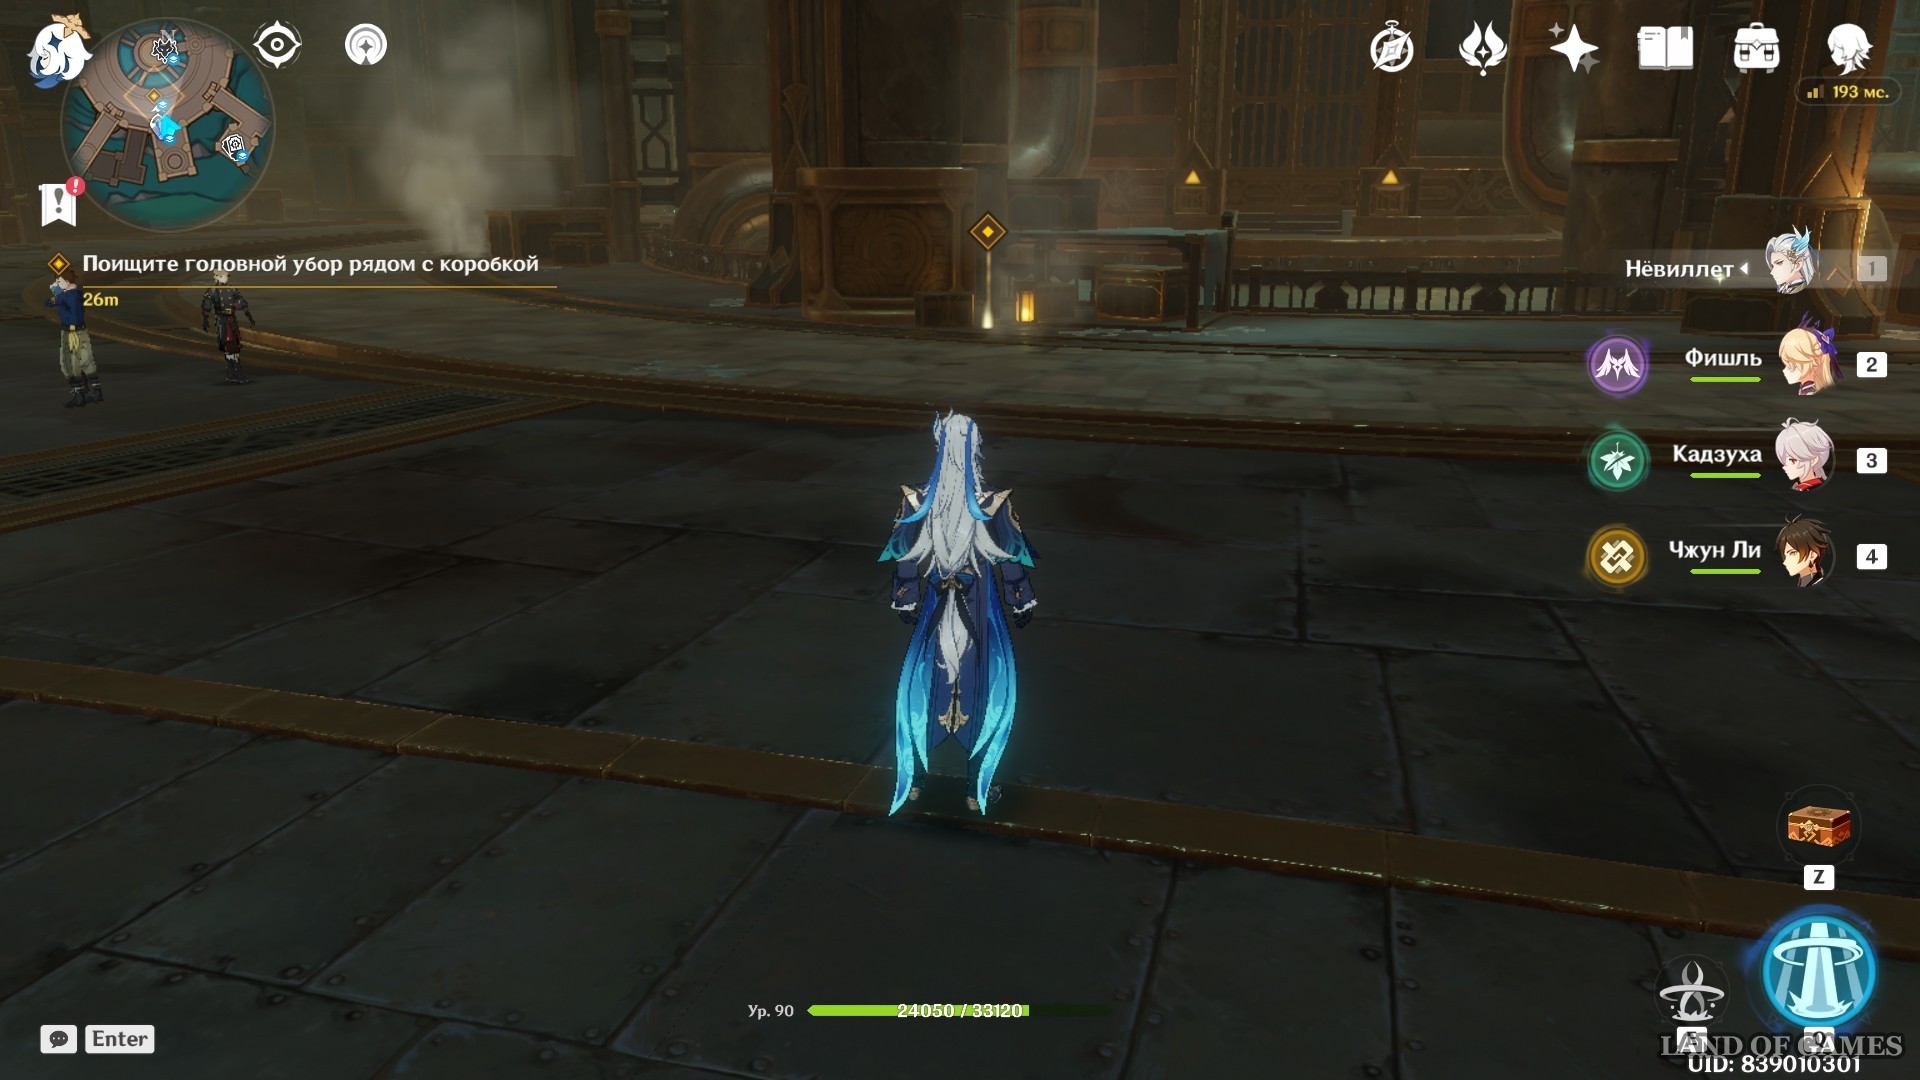
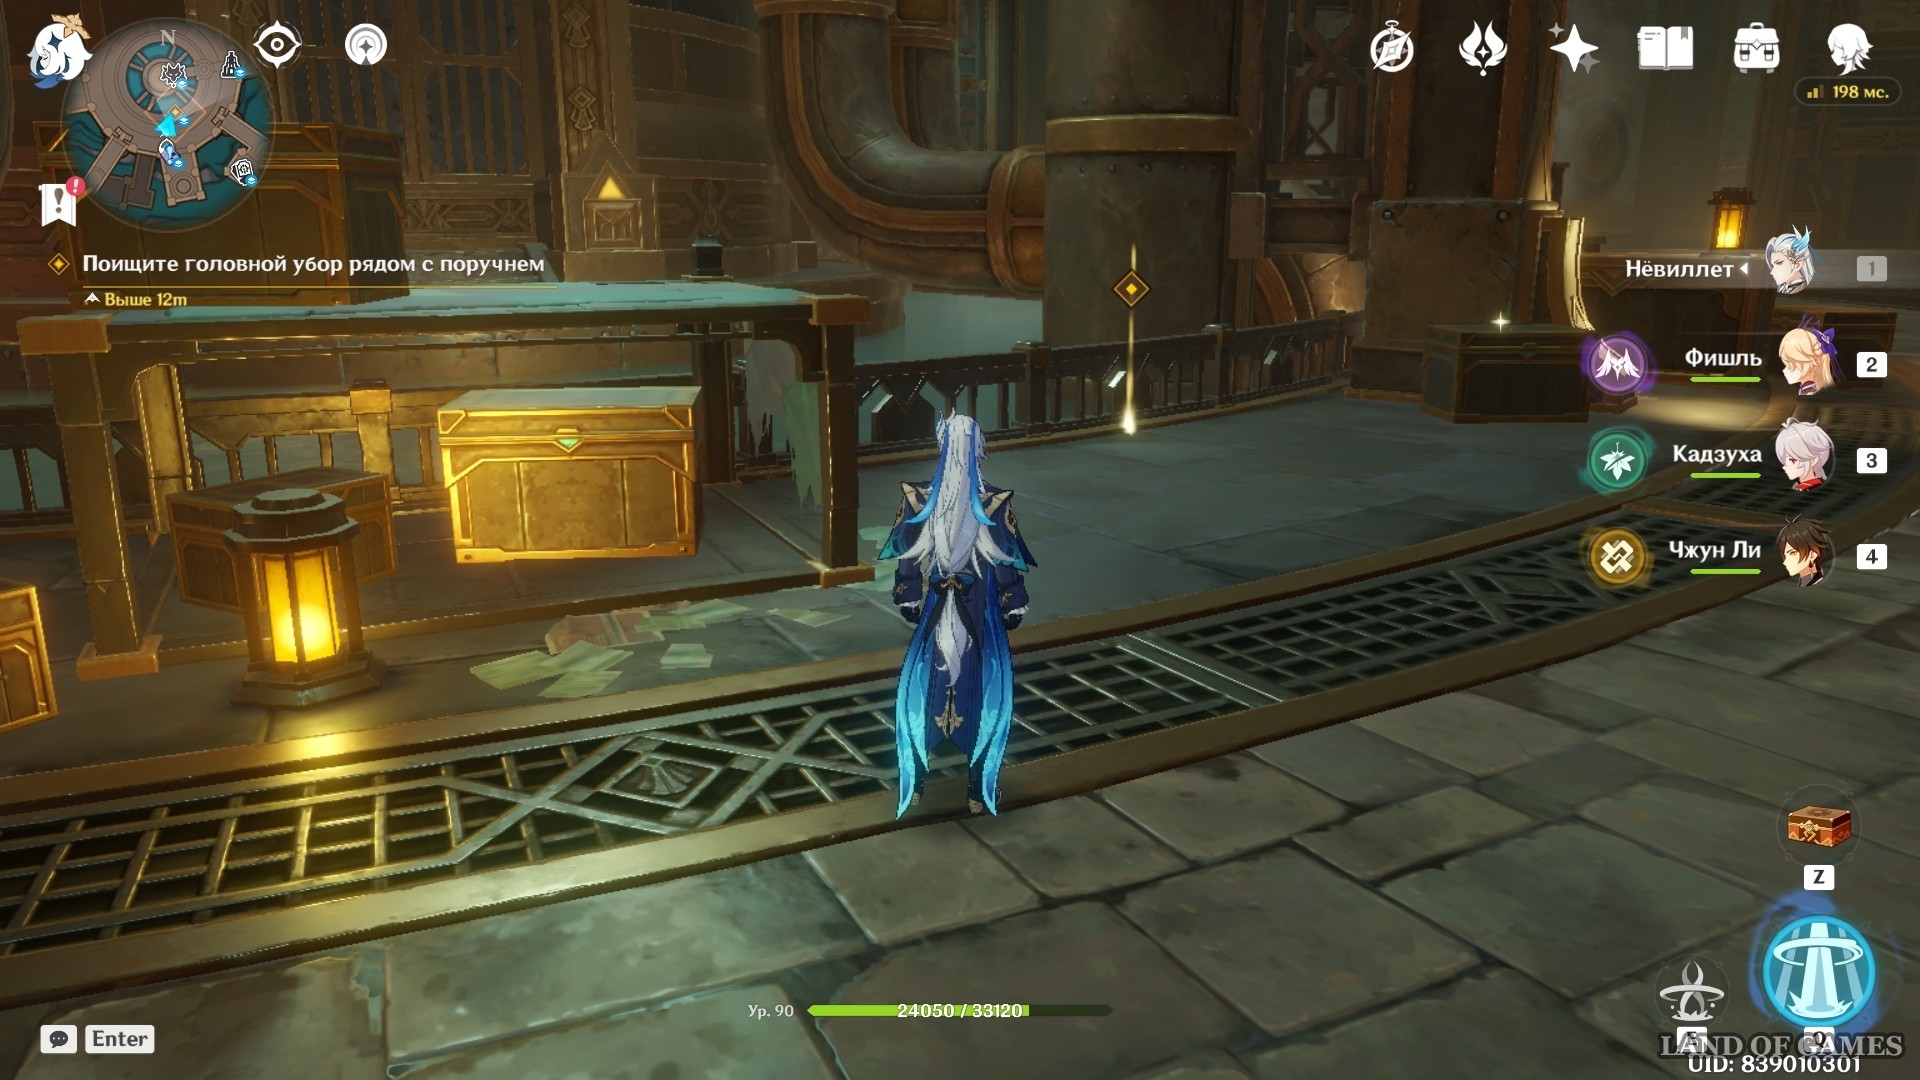
Since you won't find anything, you'll go to the Shop just to buy Feyssol a new hat. "Rags and Bones" is located on the same floor in a side passage. As soon as you enter the premises, a dialogue with the seller automatically starts.
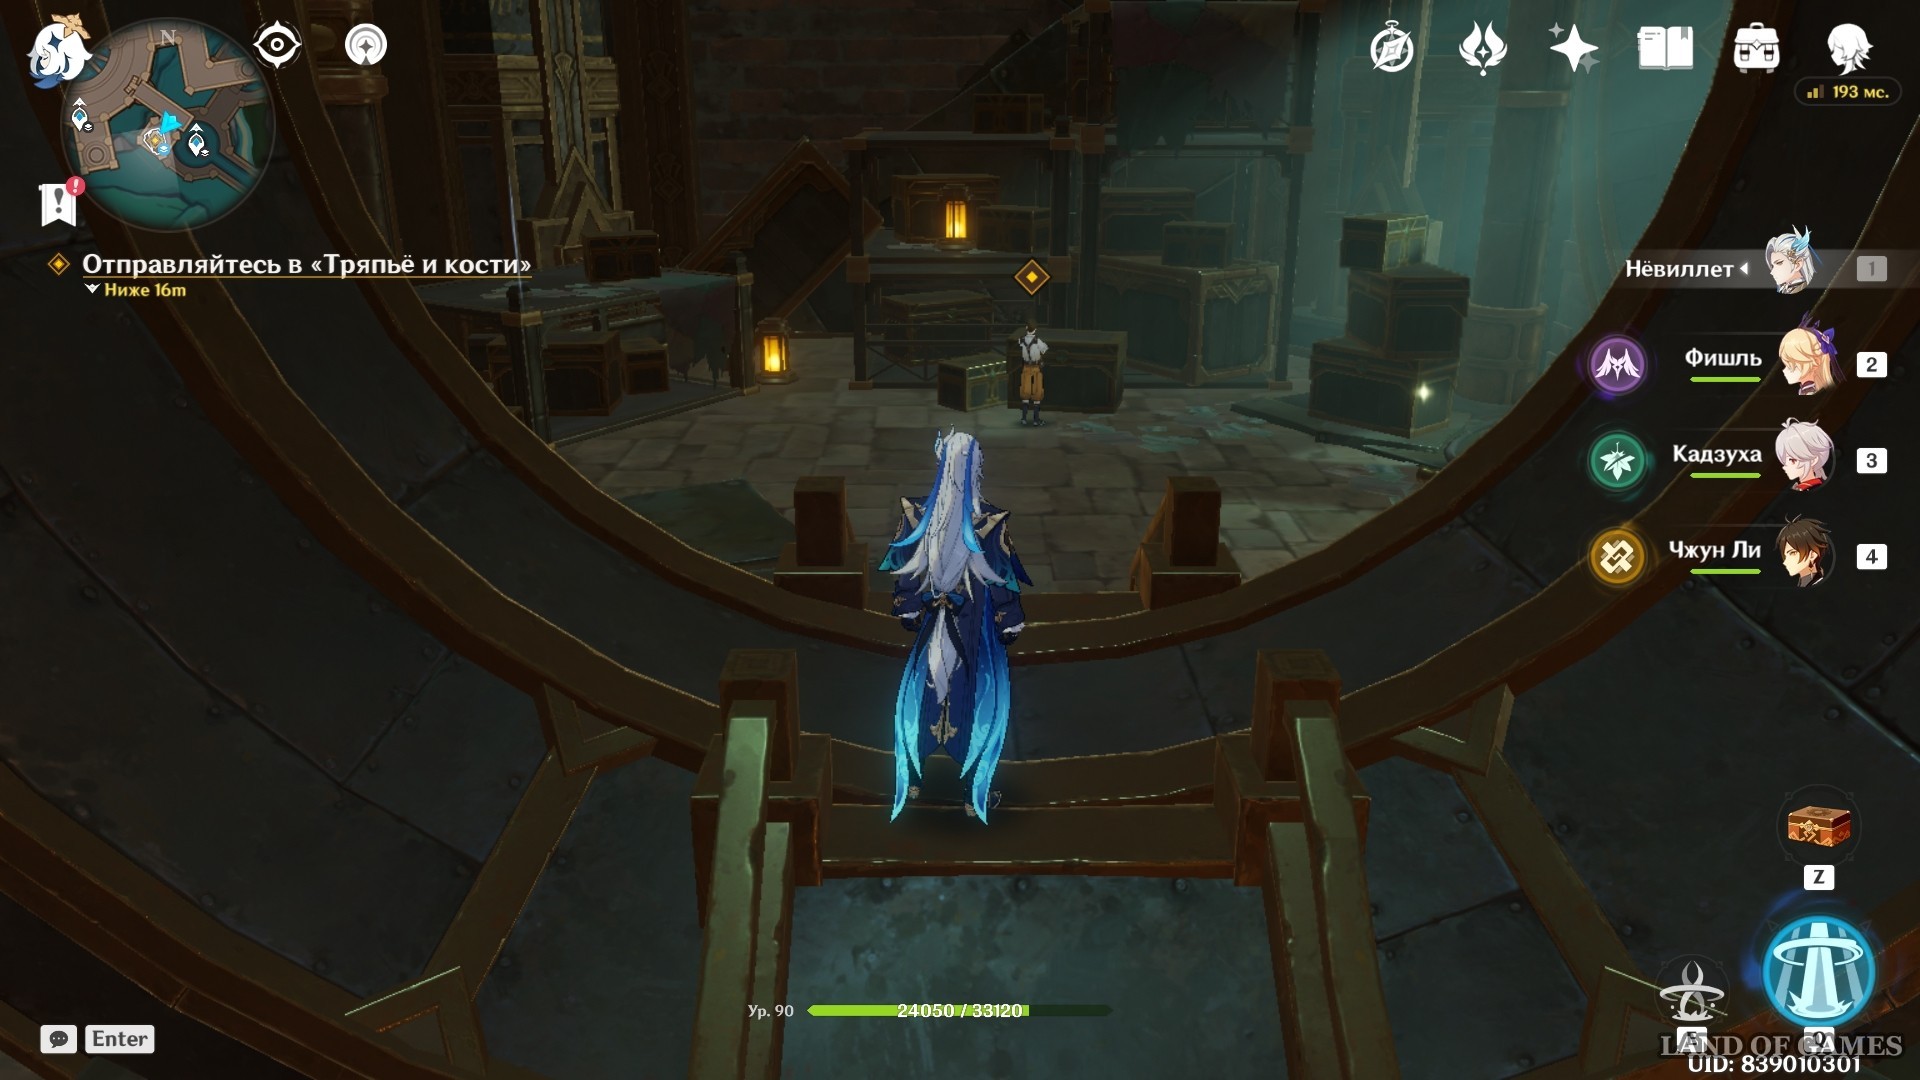
Return to Fayssol, who is waiting for you in the same place on the floor above. Approach the chest he is sitting in and knock to hand over the hat you bought. During a conversation with him, Wriothesley will approach you.
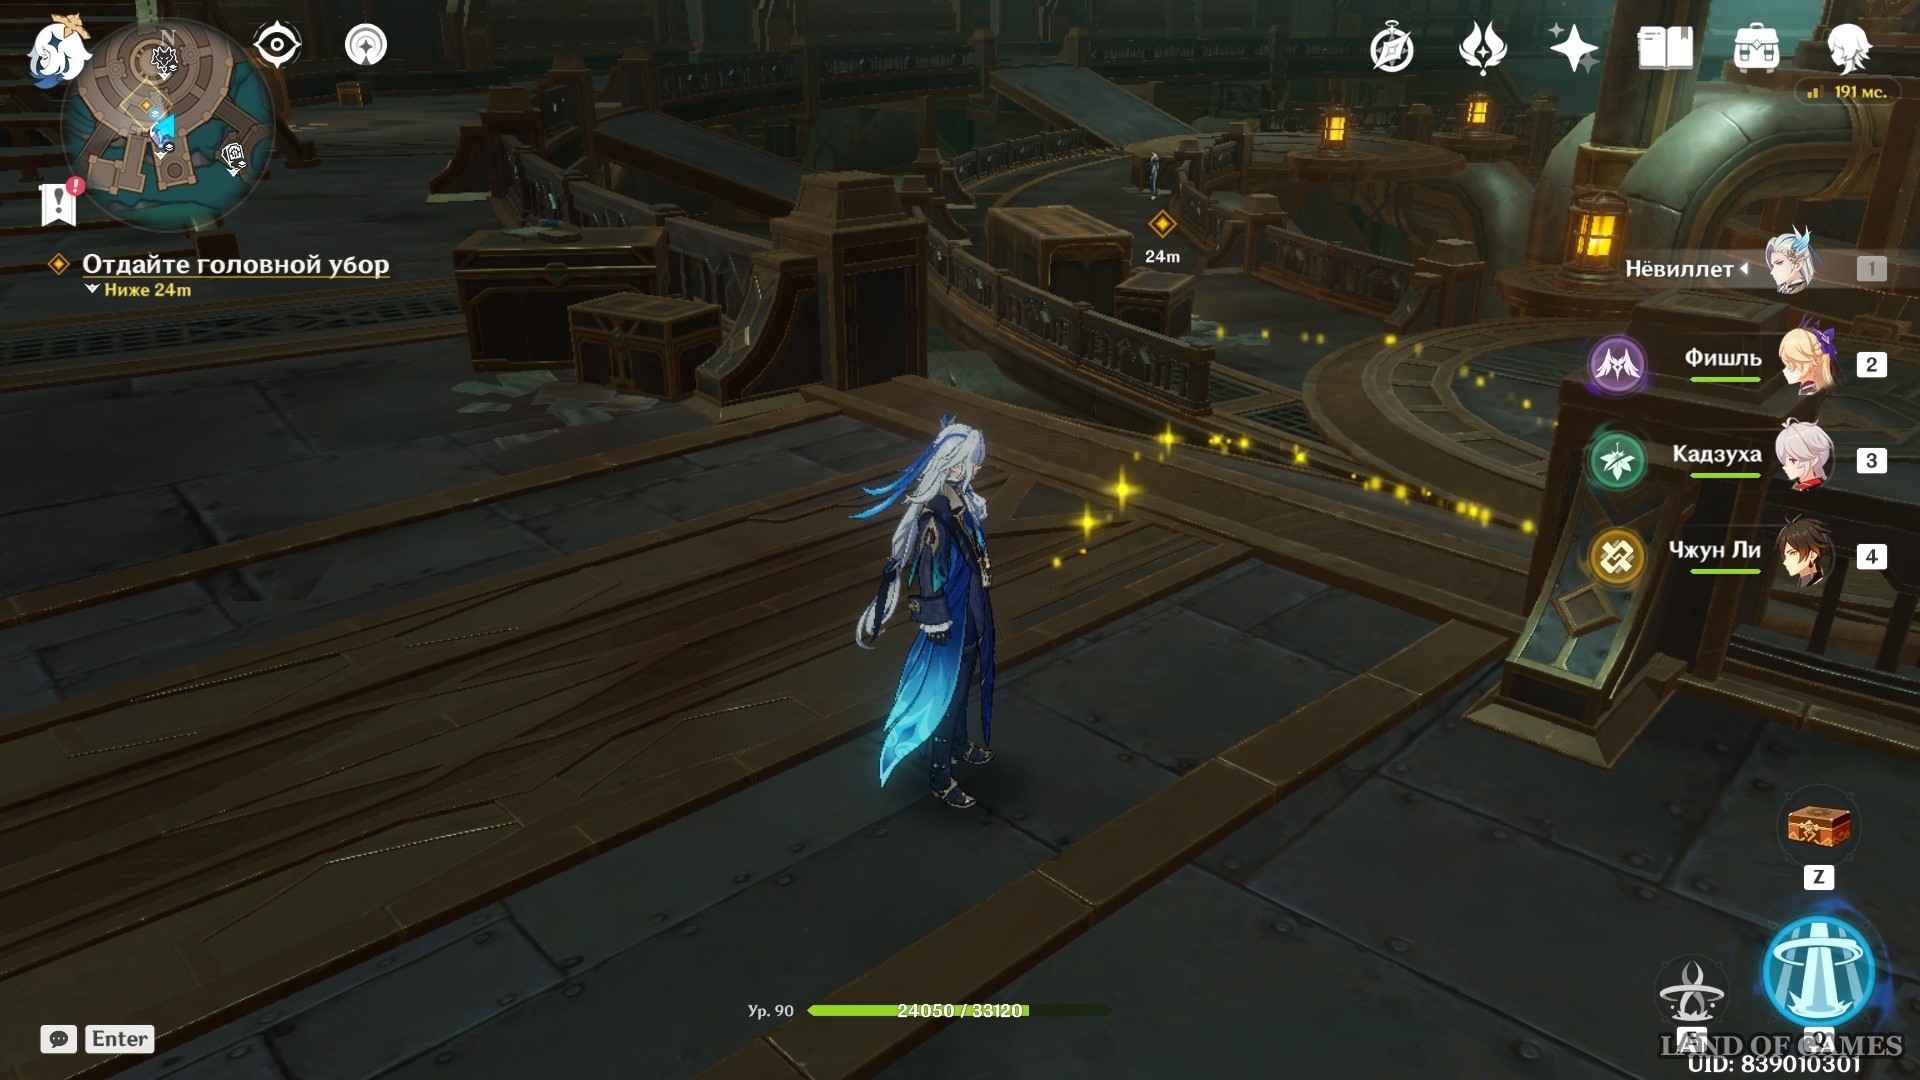
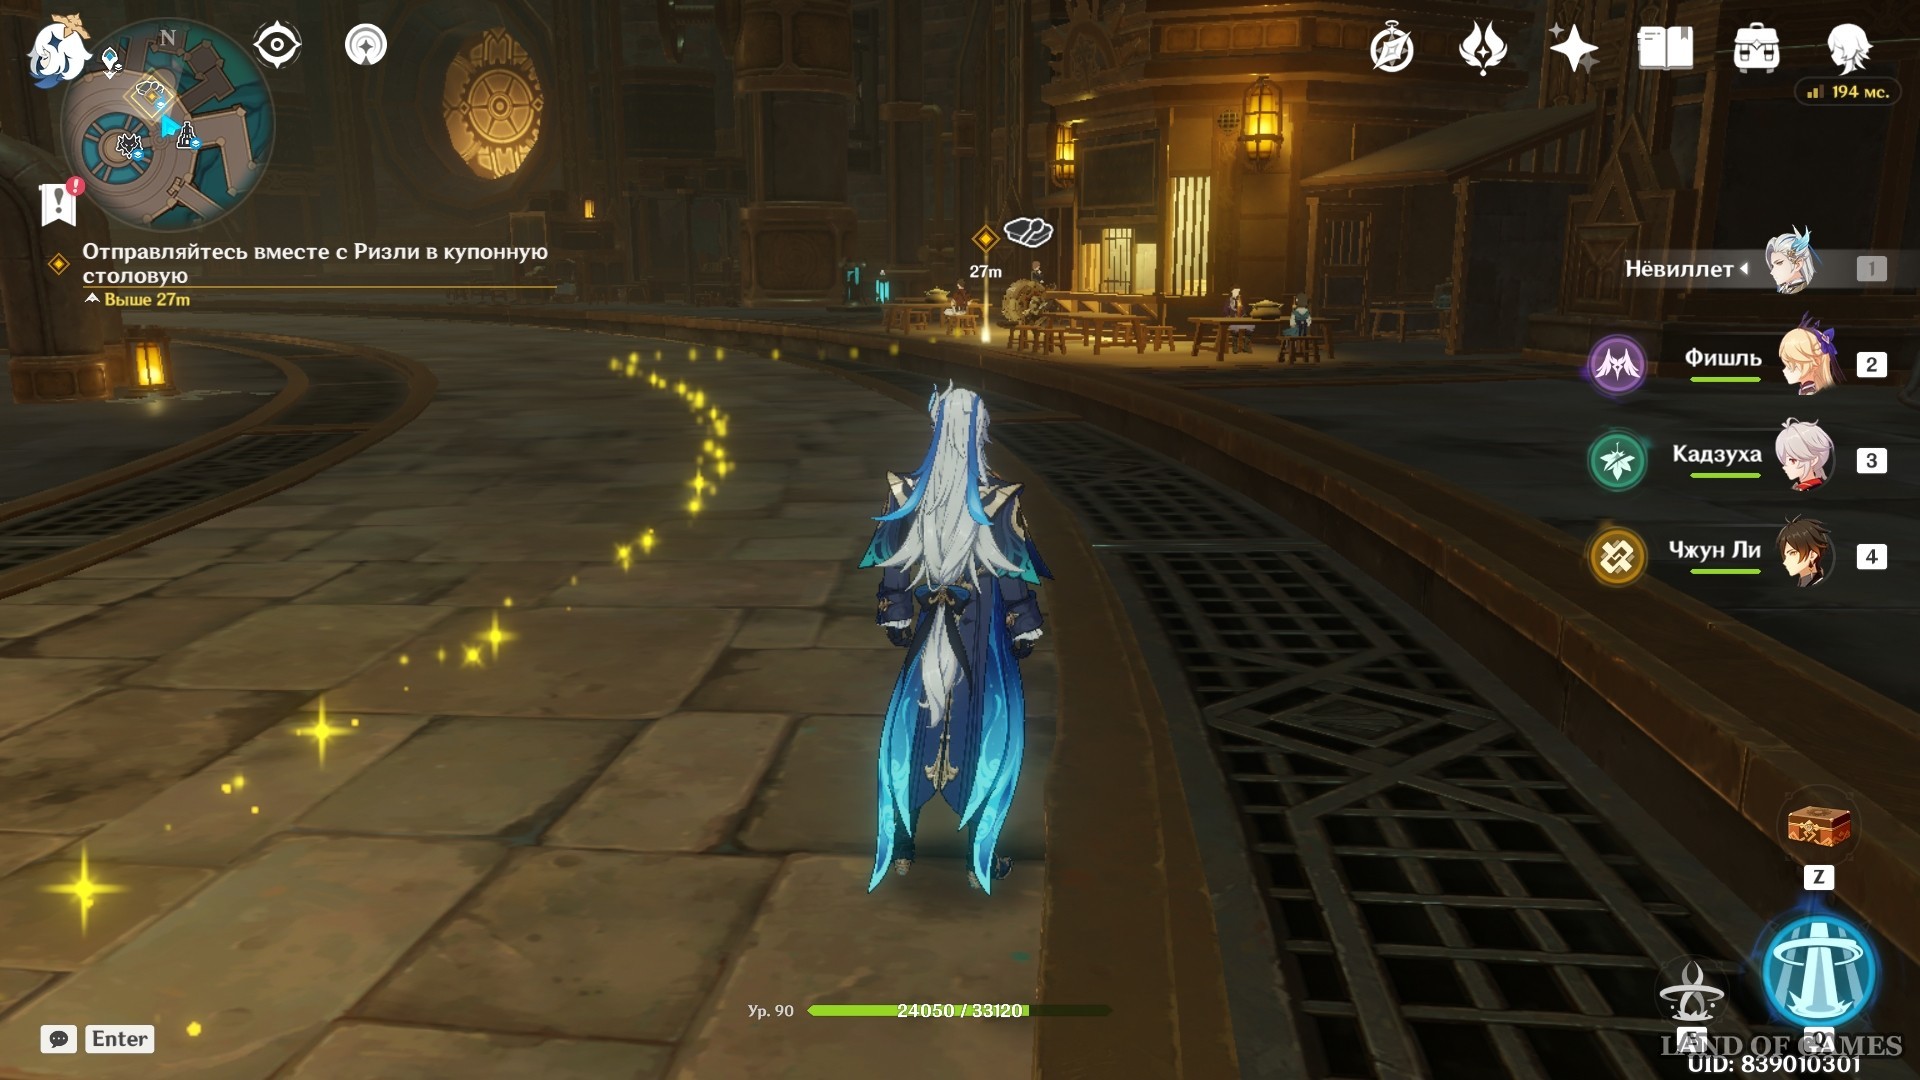
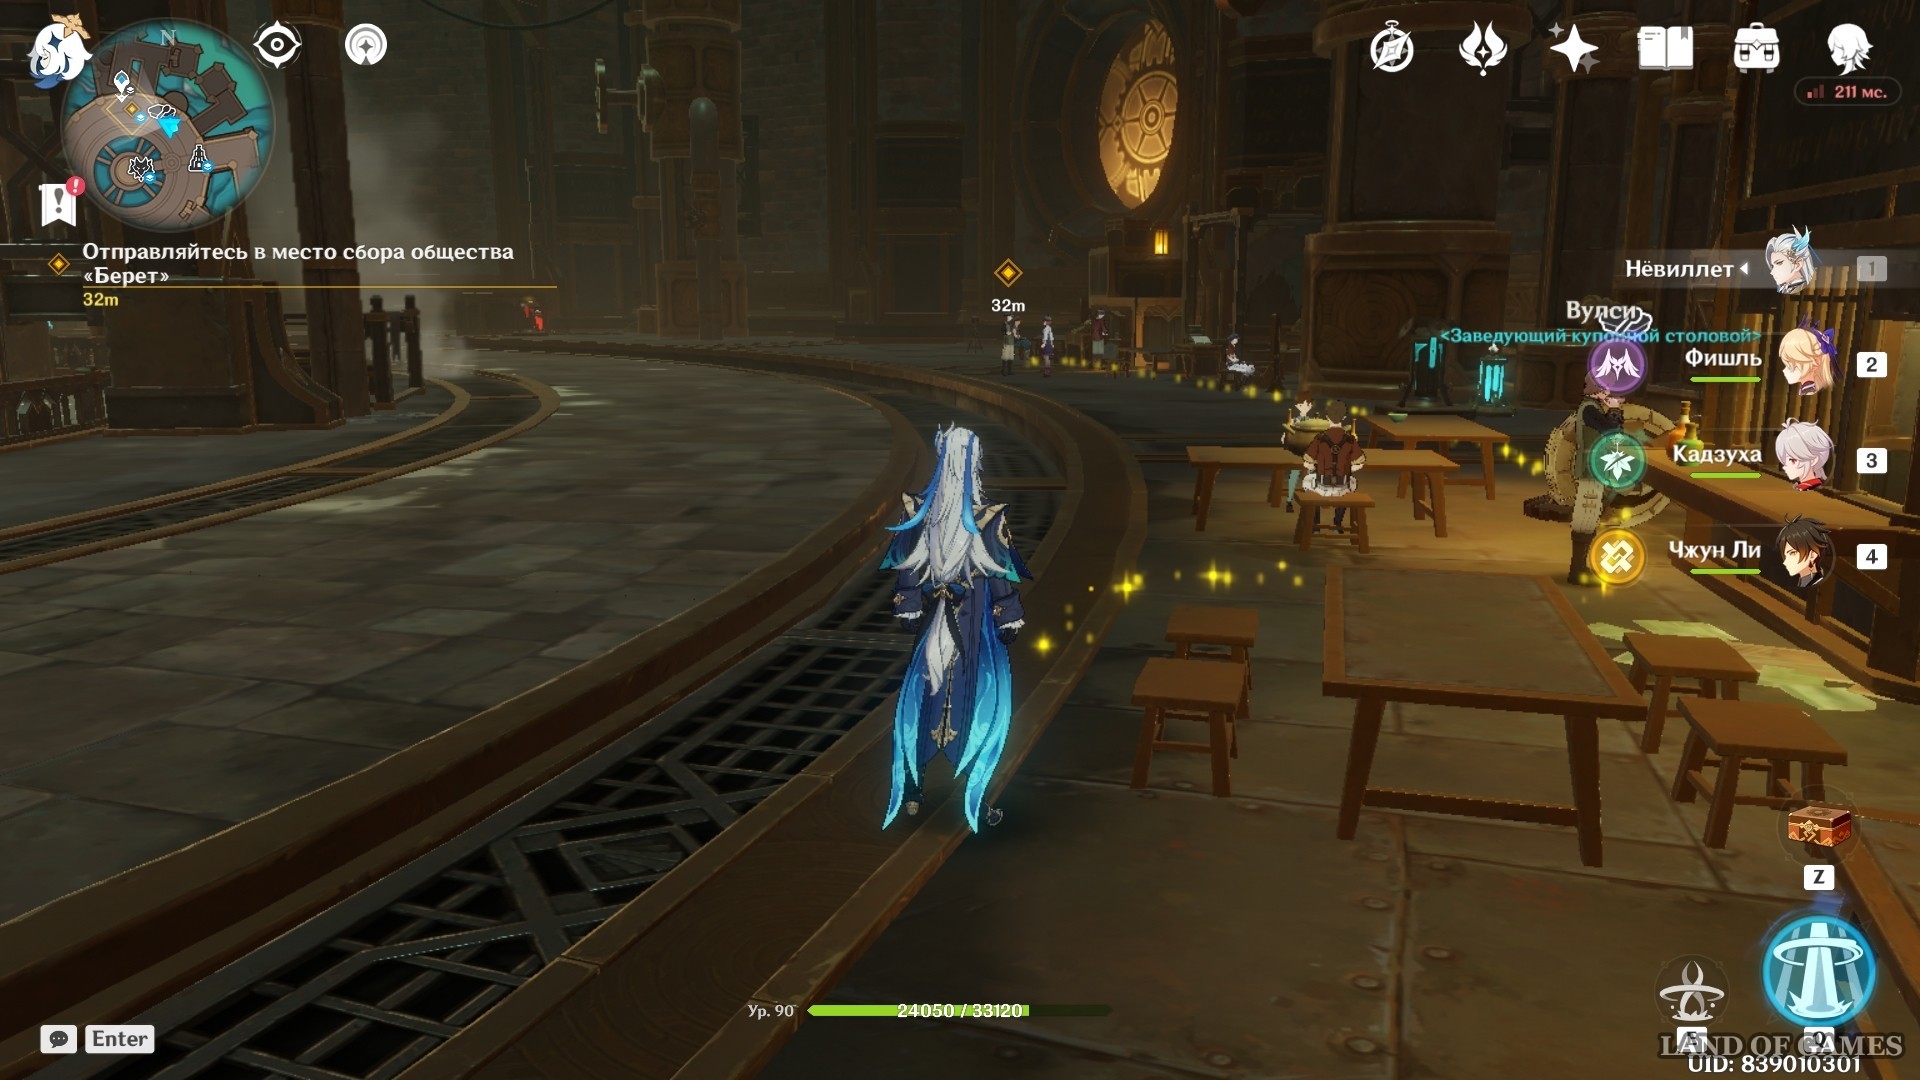
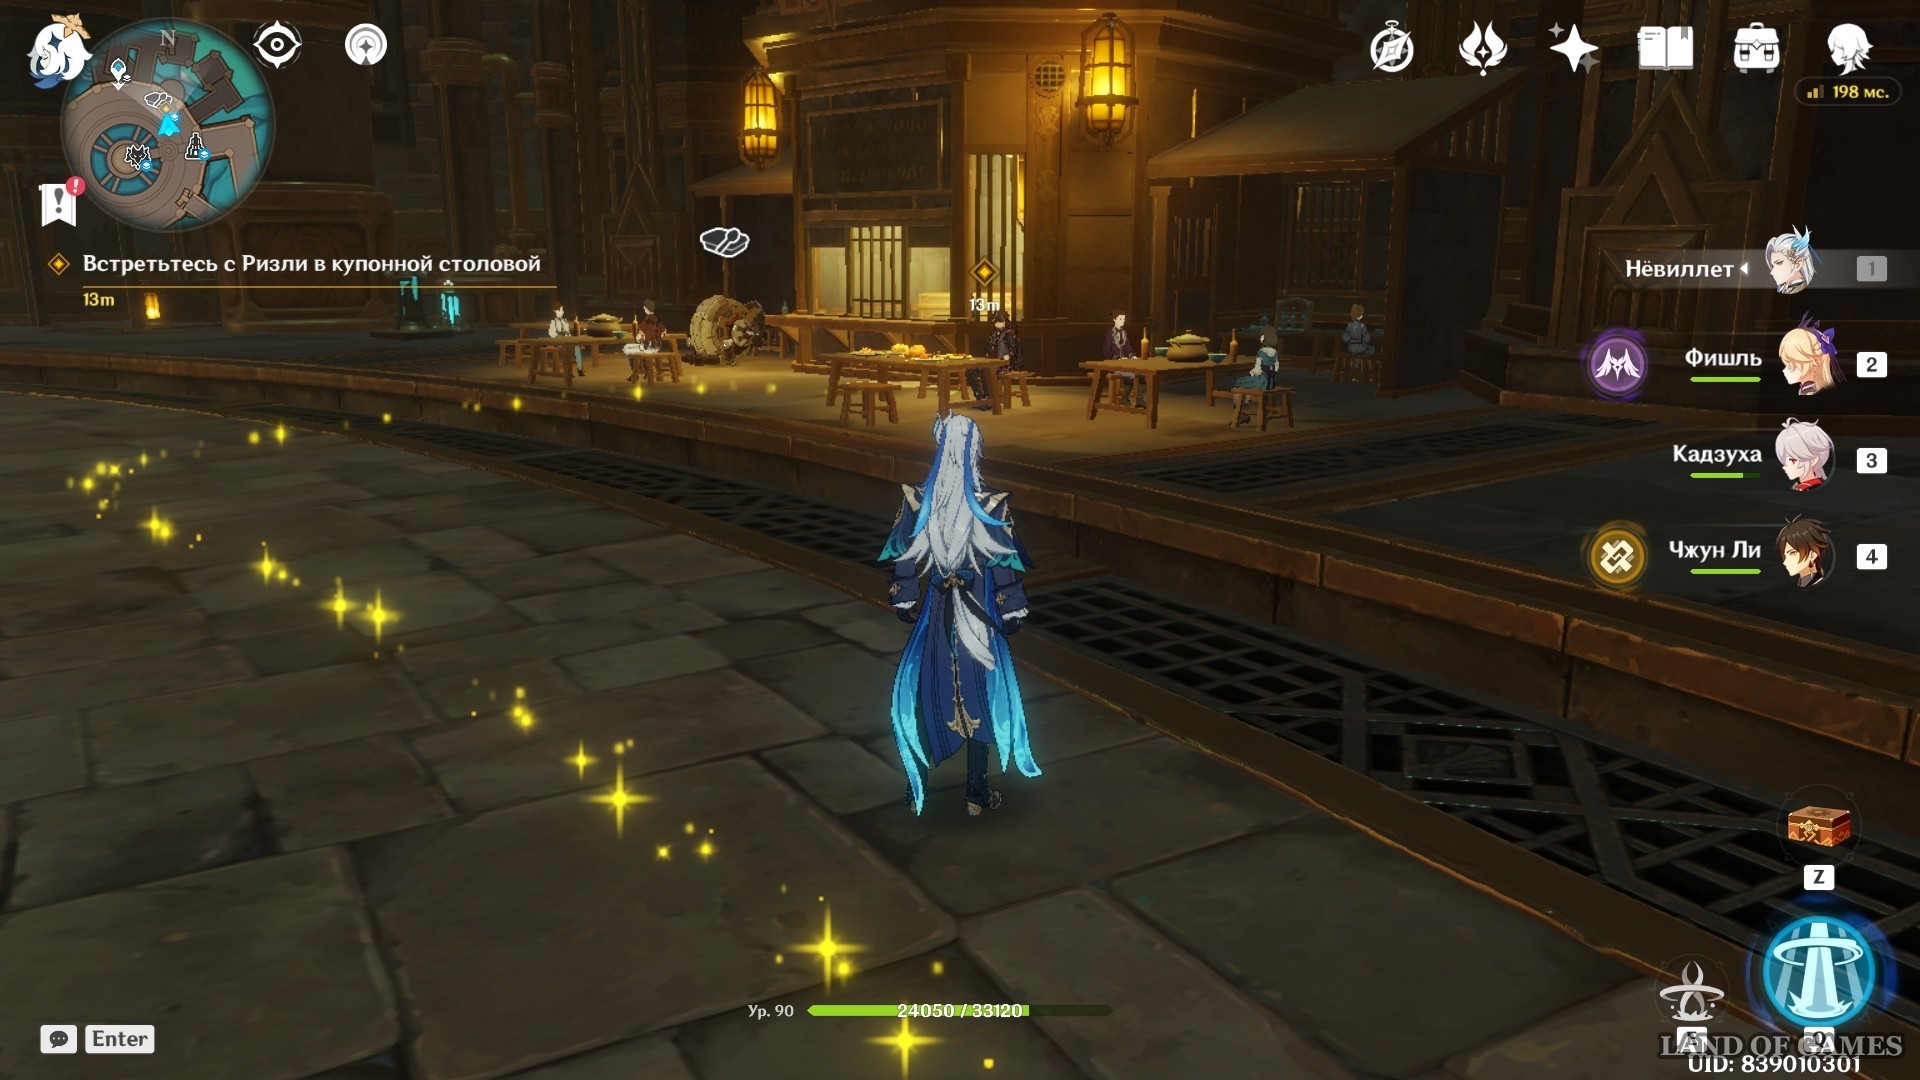
The Duke will offer to have lunch With You in the coupon dining room. You can find it in the administrative district one level below. While you are sitting there, an assistant will approach Wriothesley to report on the results of the investigation.
The Proud “Beret Society”
Find out more about the society
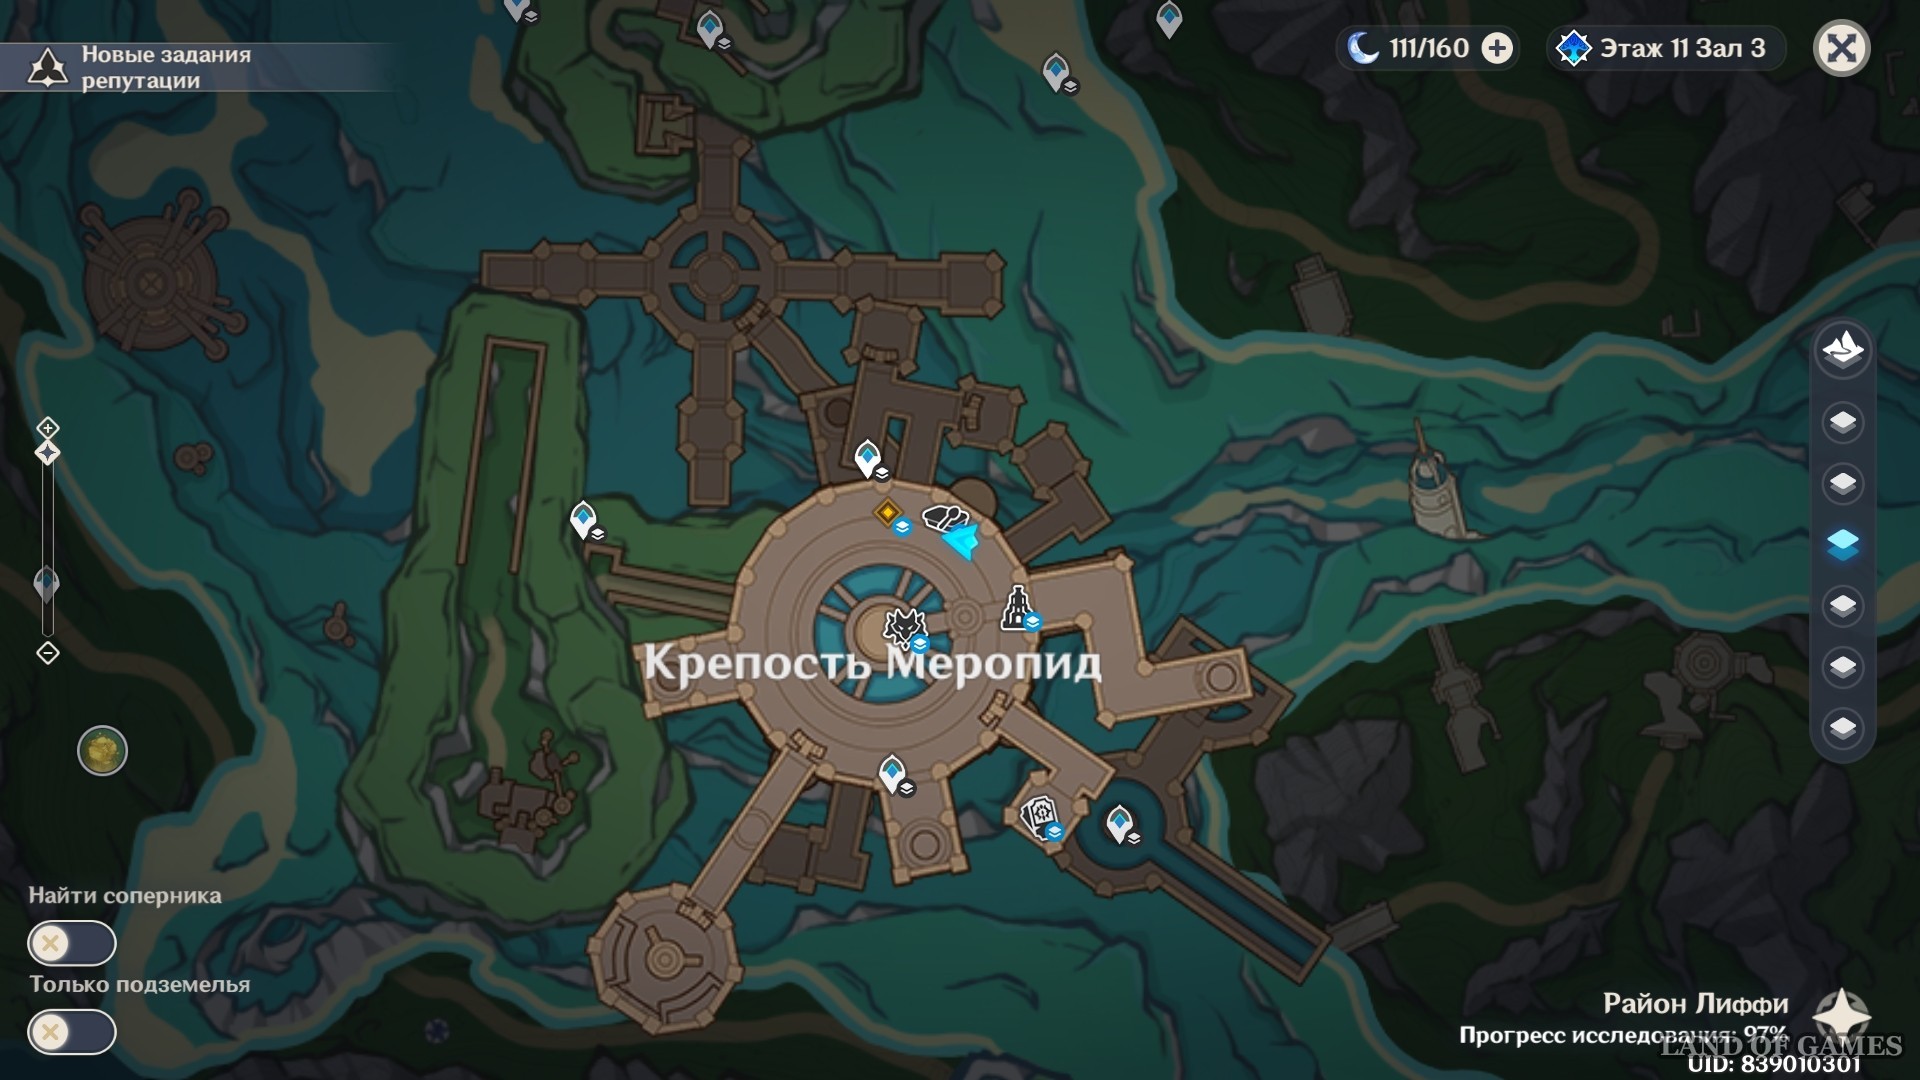
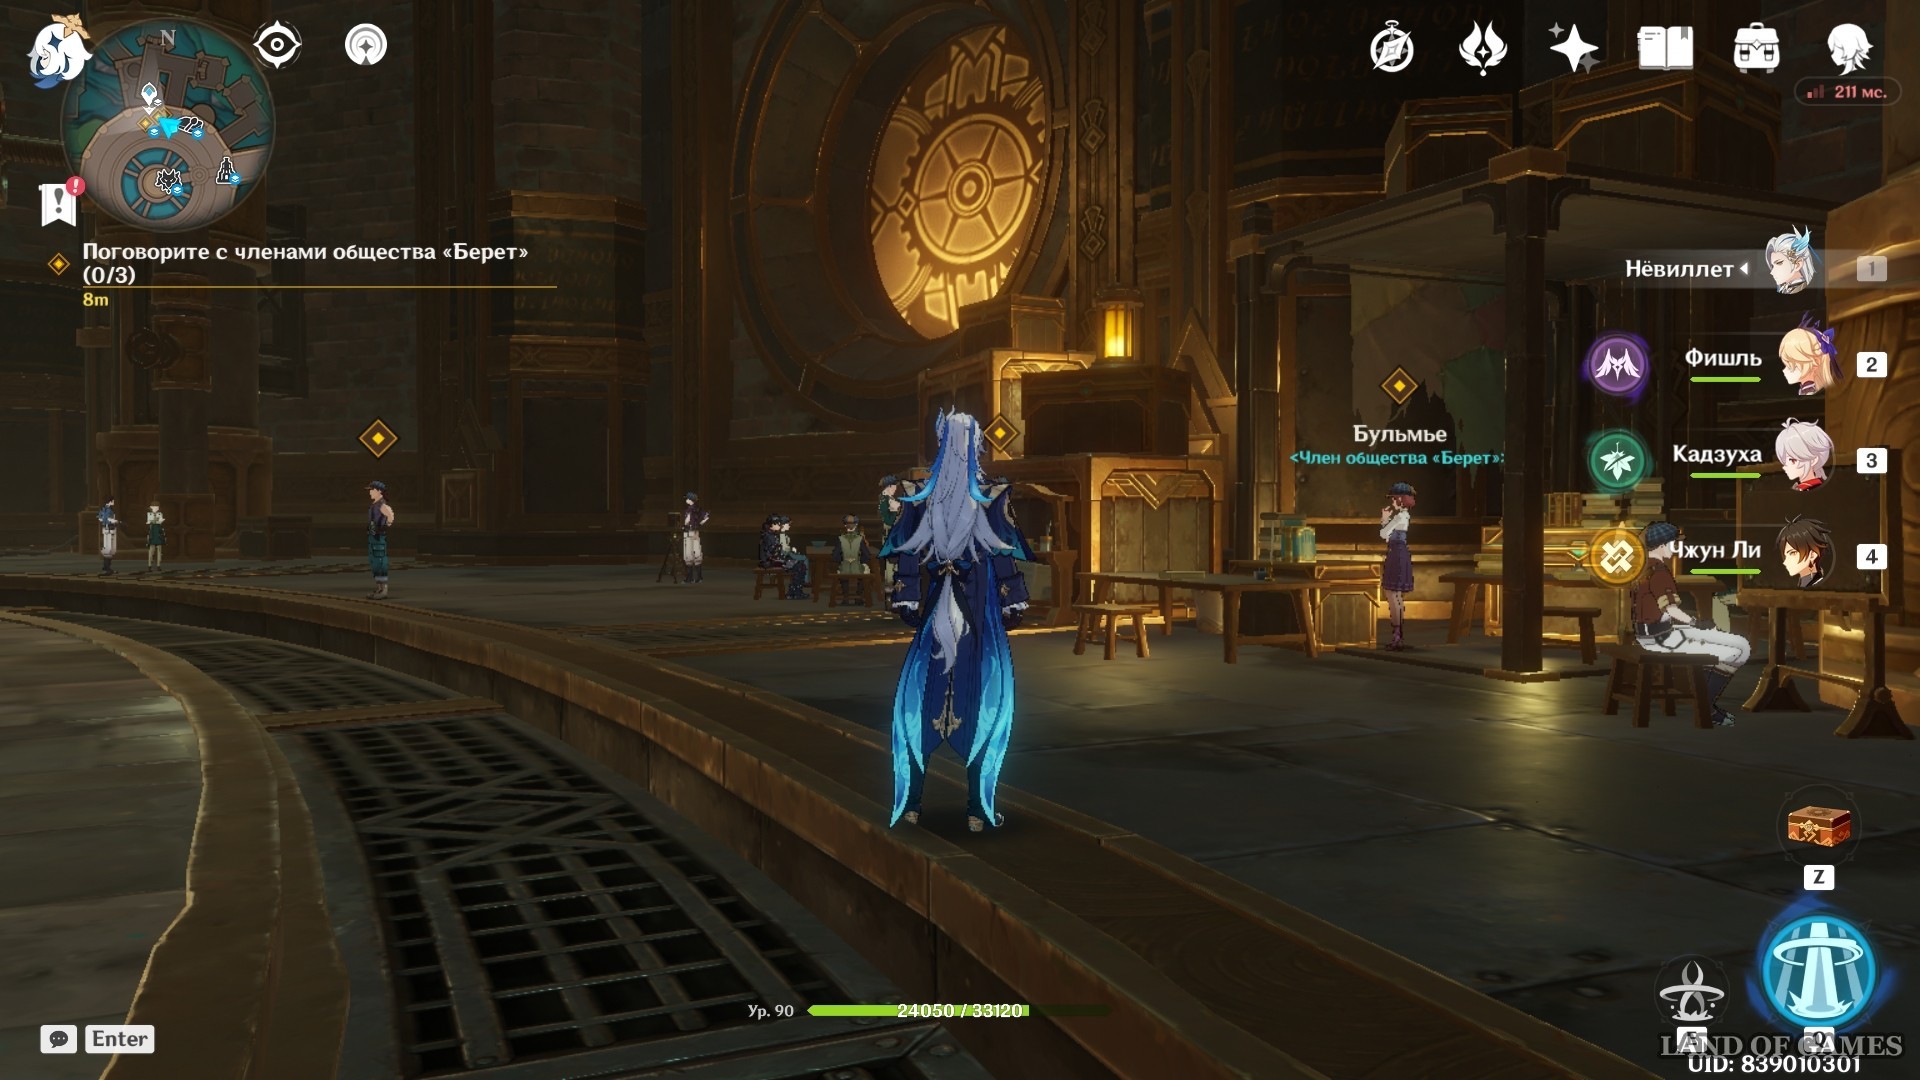
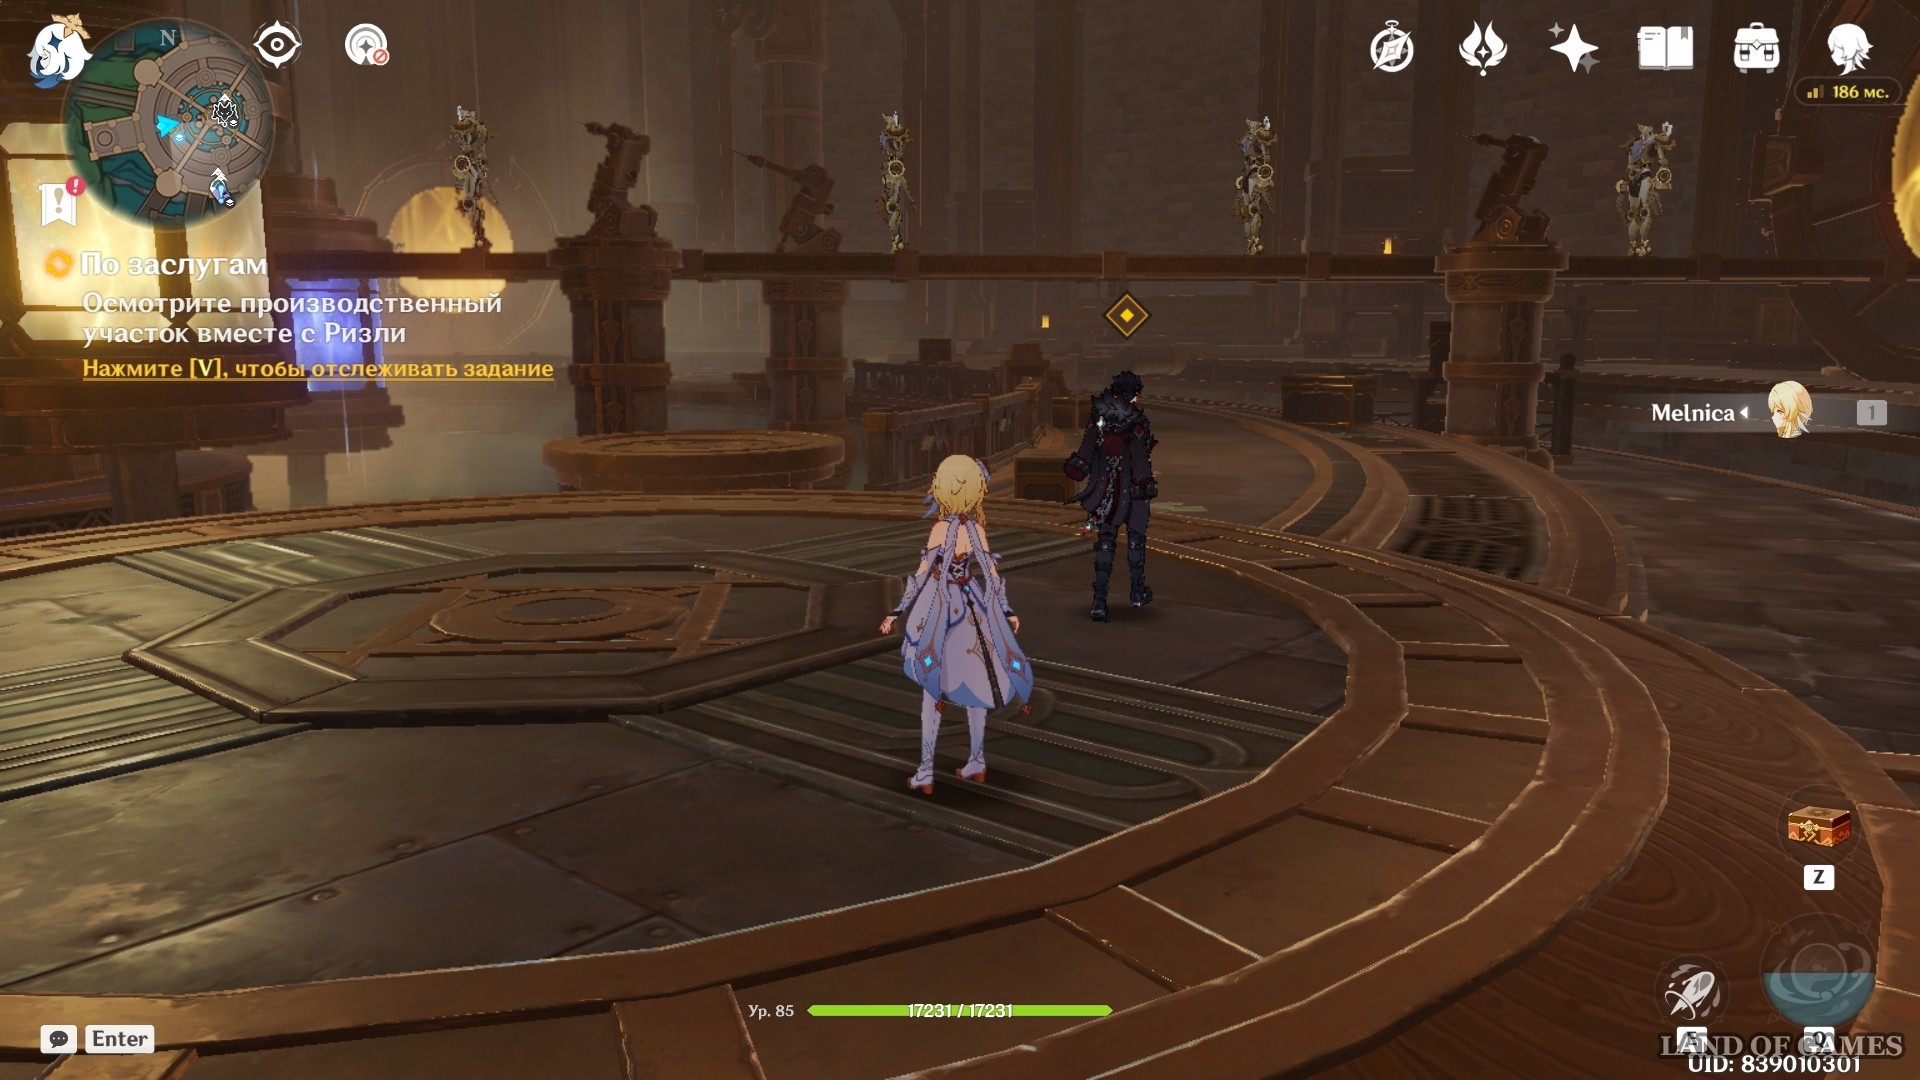
Next, you and Wriothesley will go to a meeting with the Beret Society. Their headquarters is located in the north of the administration floor. After a short dialogue with the head of the union, talk with three of its ordinary members.
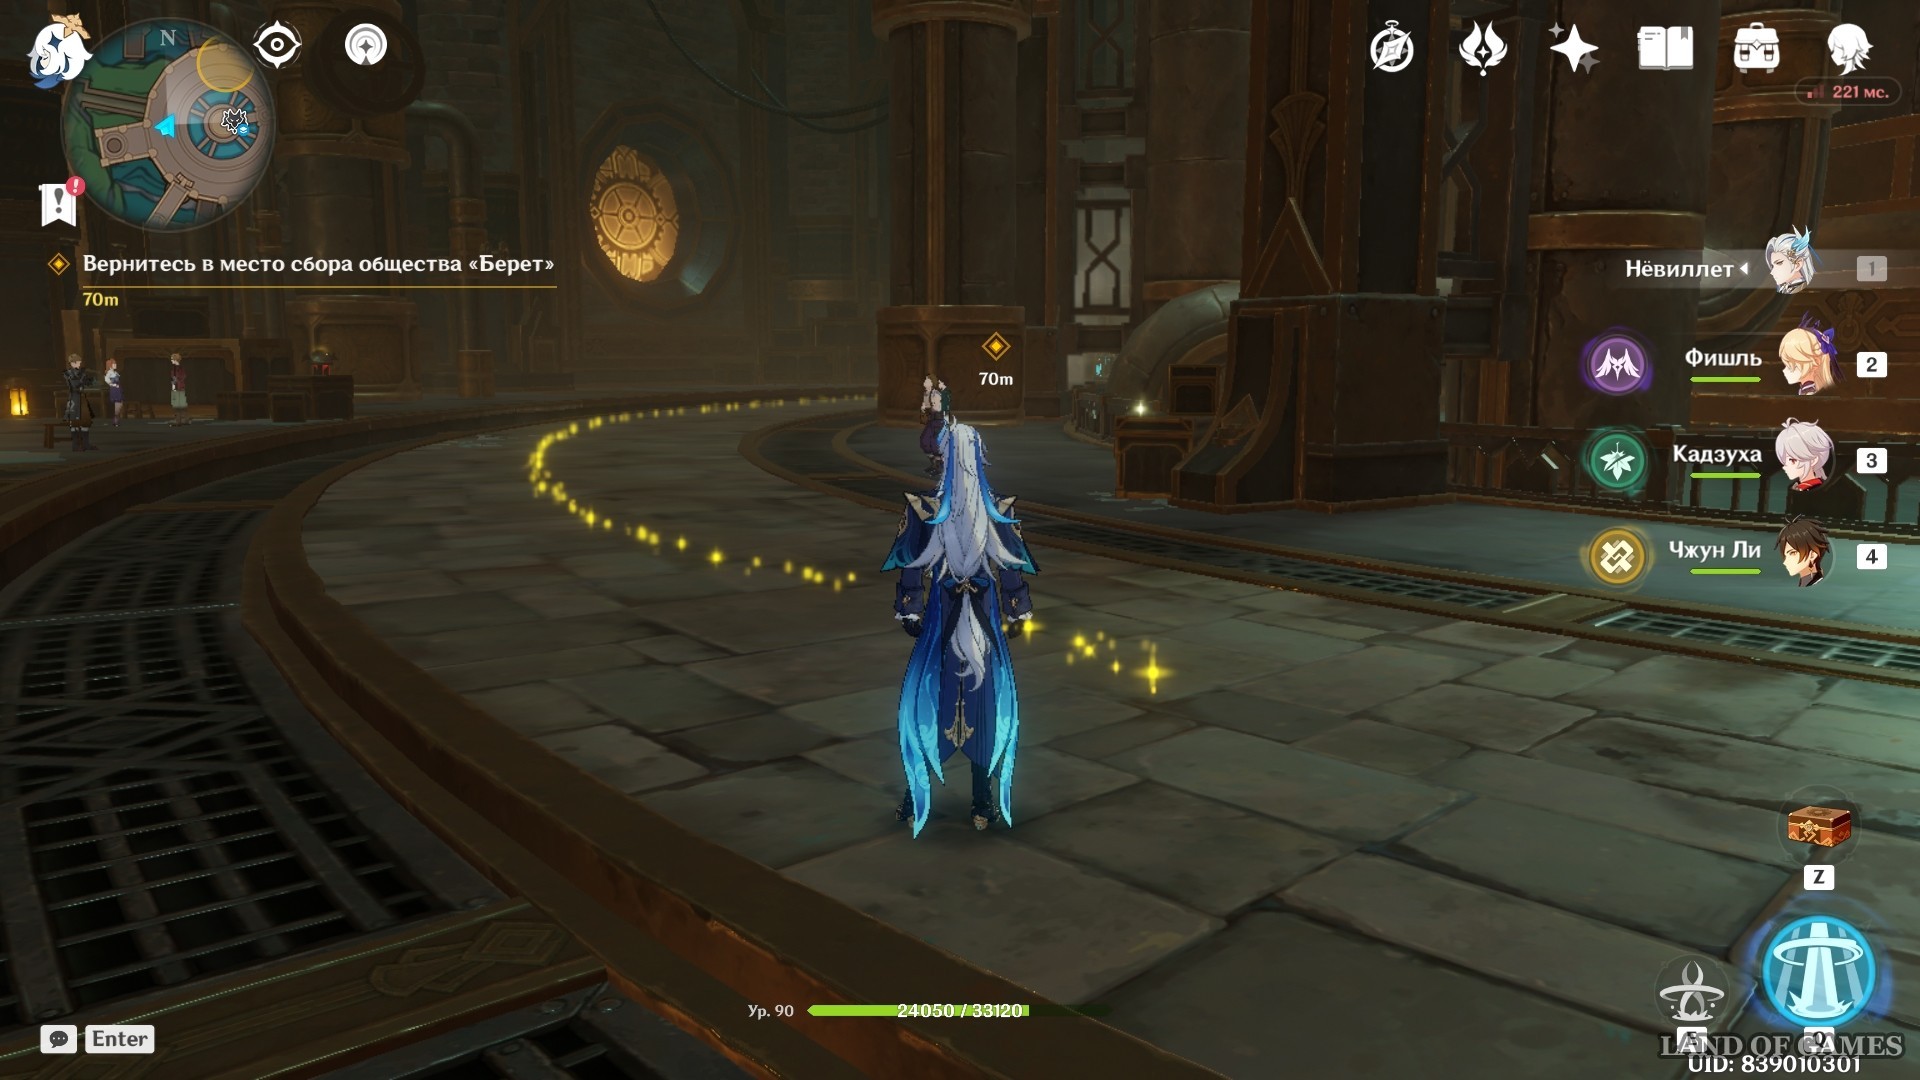
When you've talked to everyone, Wriothesley will approach you. You will say goodbye to the company and then step aside to discuss the results of the meeting. To double-check whether the oddities you two noted during your stay at headquarters really exist, return there. You will again need to talk to the three members with whom you had dialogues a little earlier.

Return to Wriothesley. He will be waiting for you where you left him: in the western part of the floor.

Get more information about what is happening in the Beret society
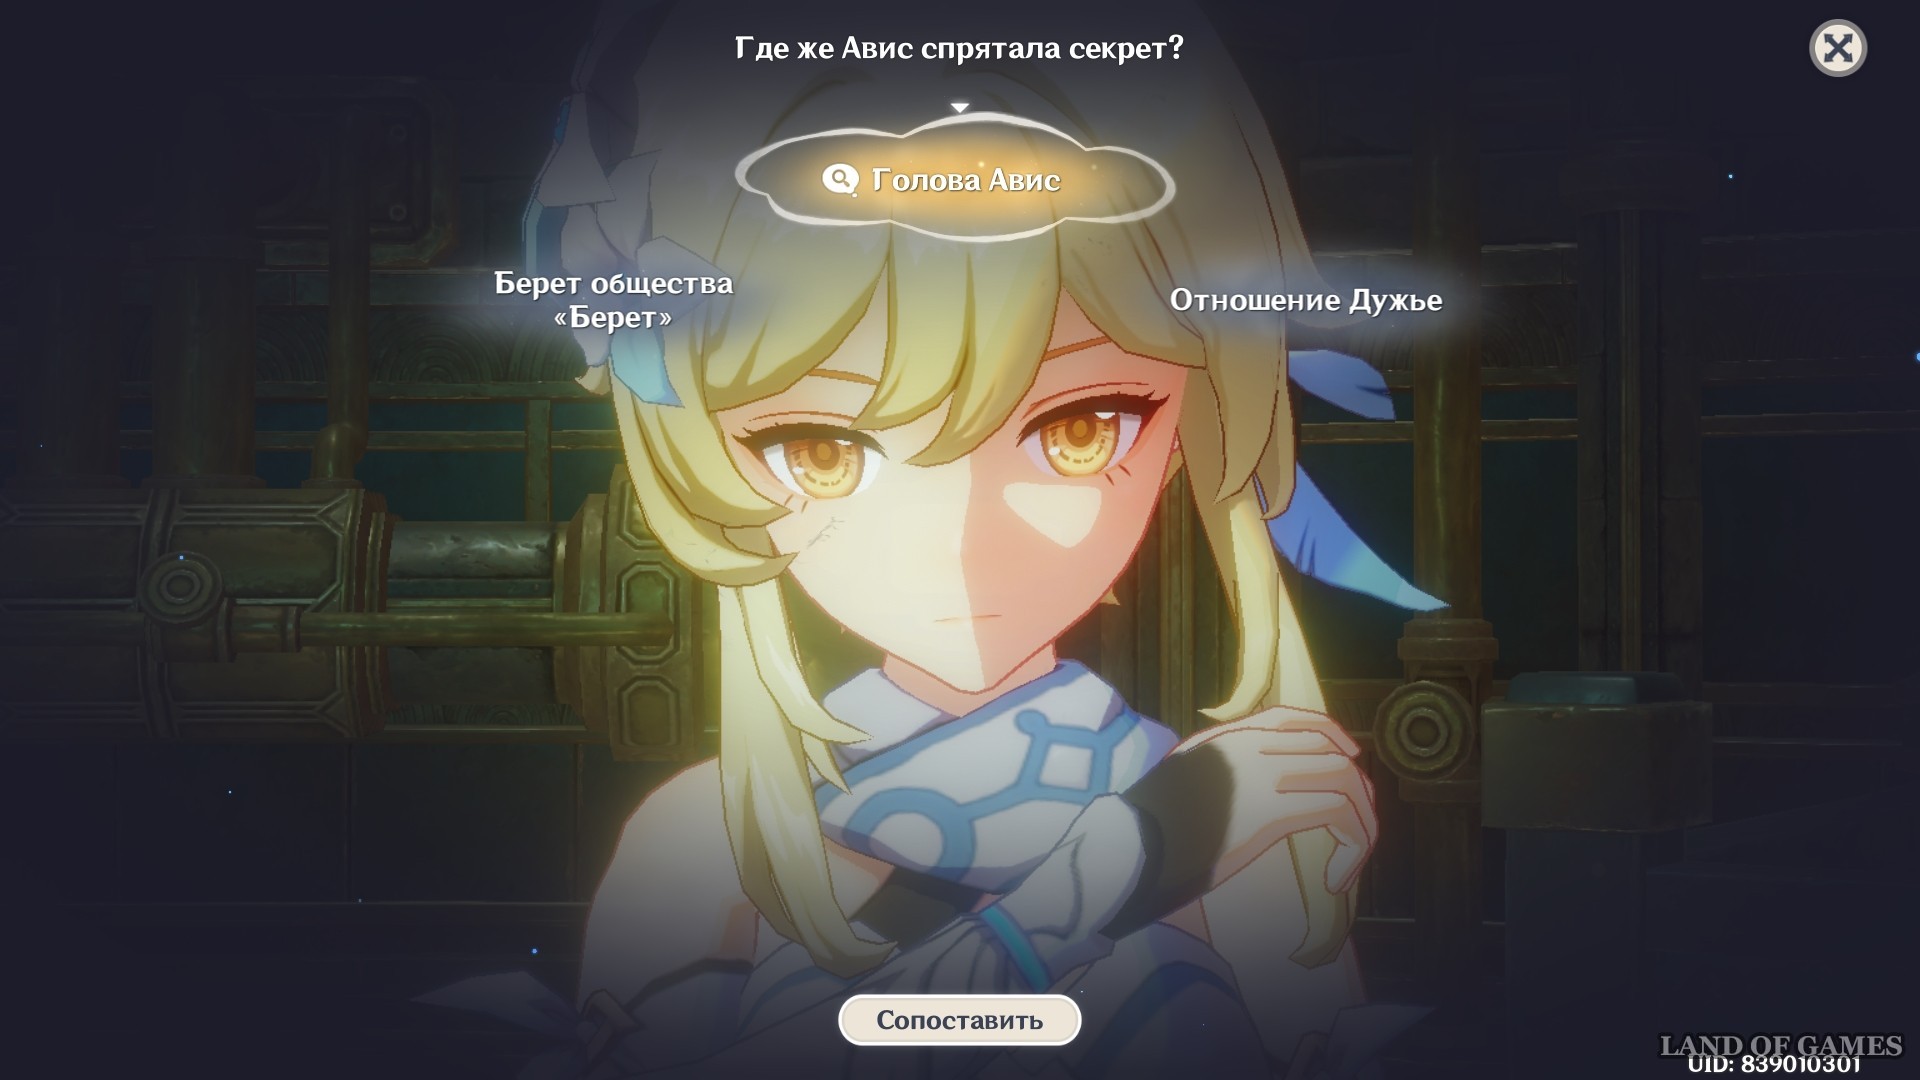
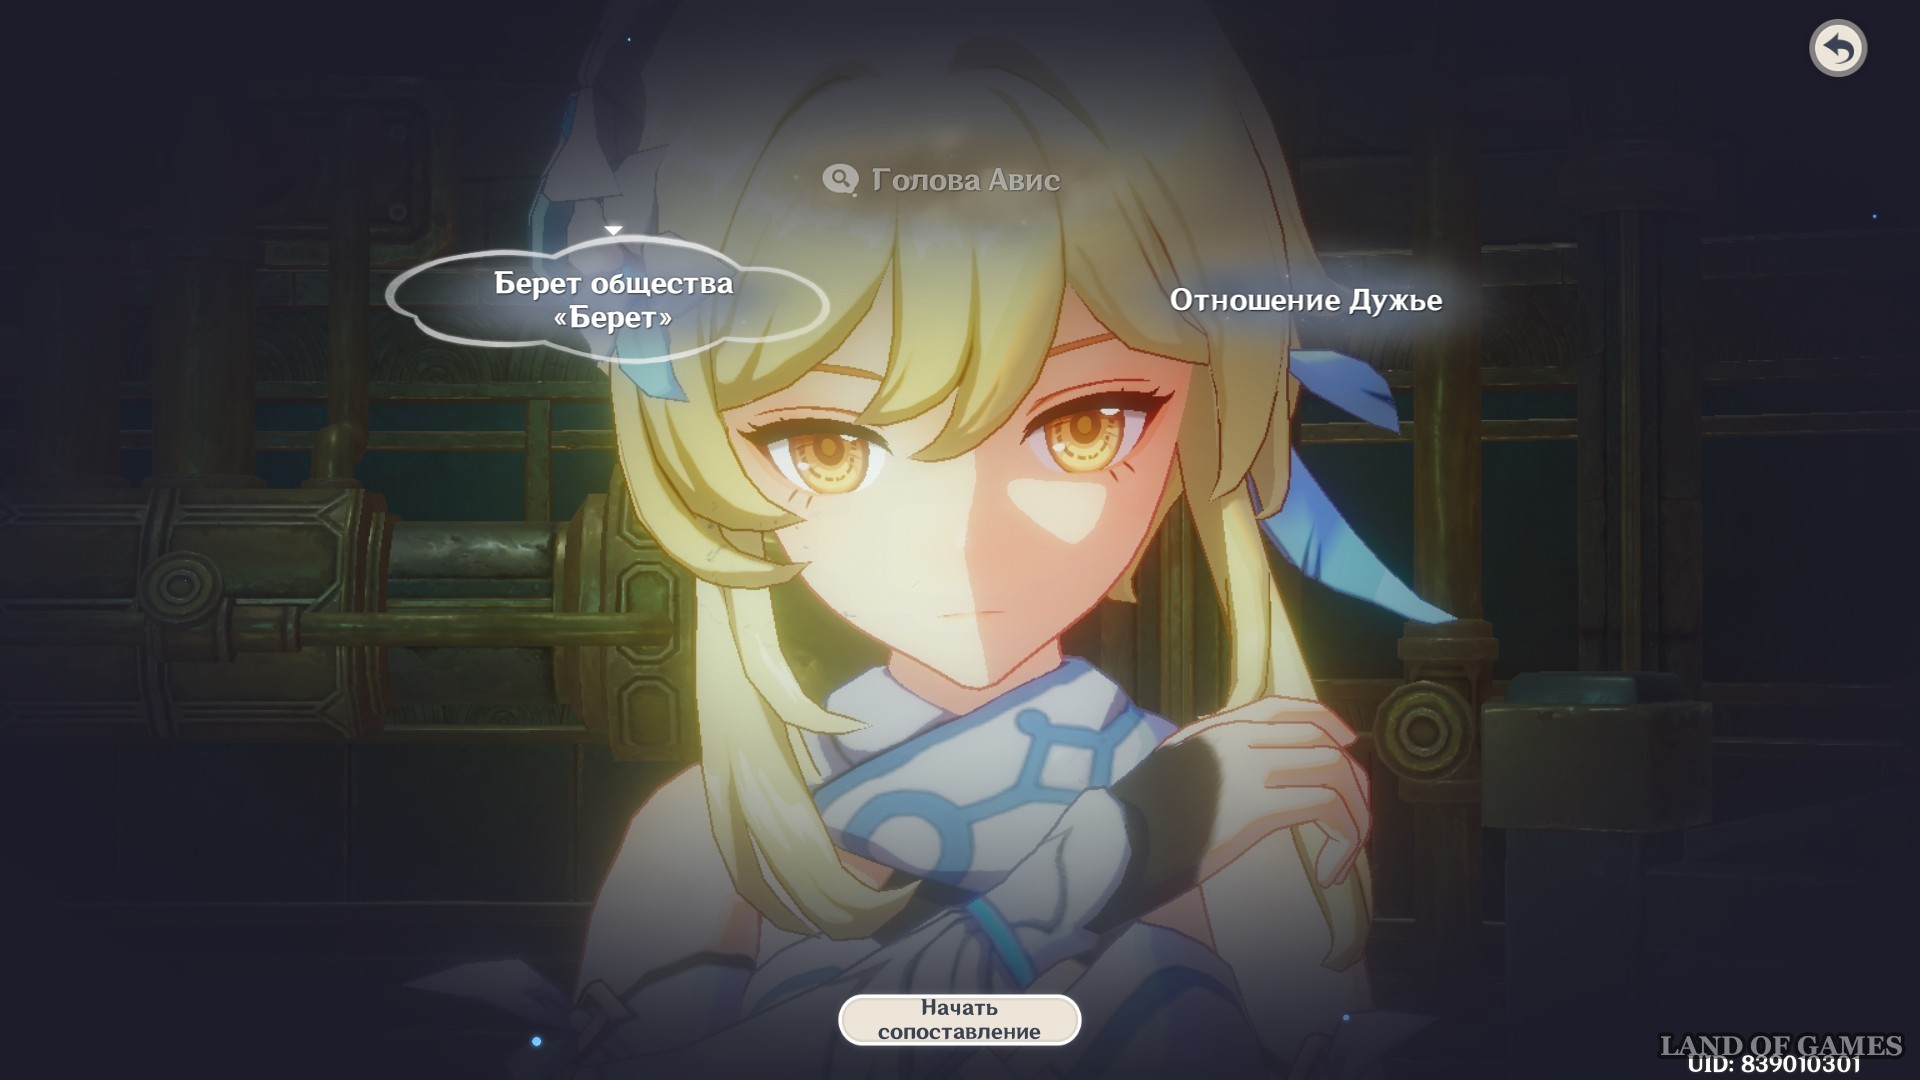
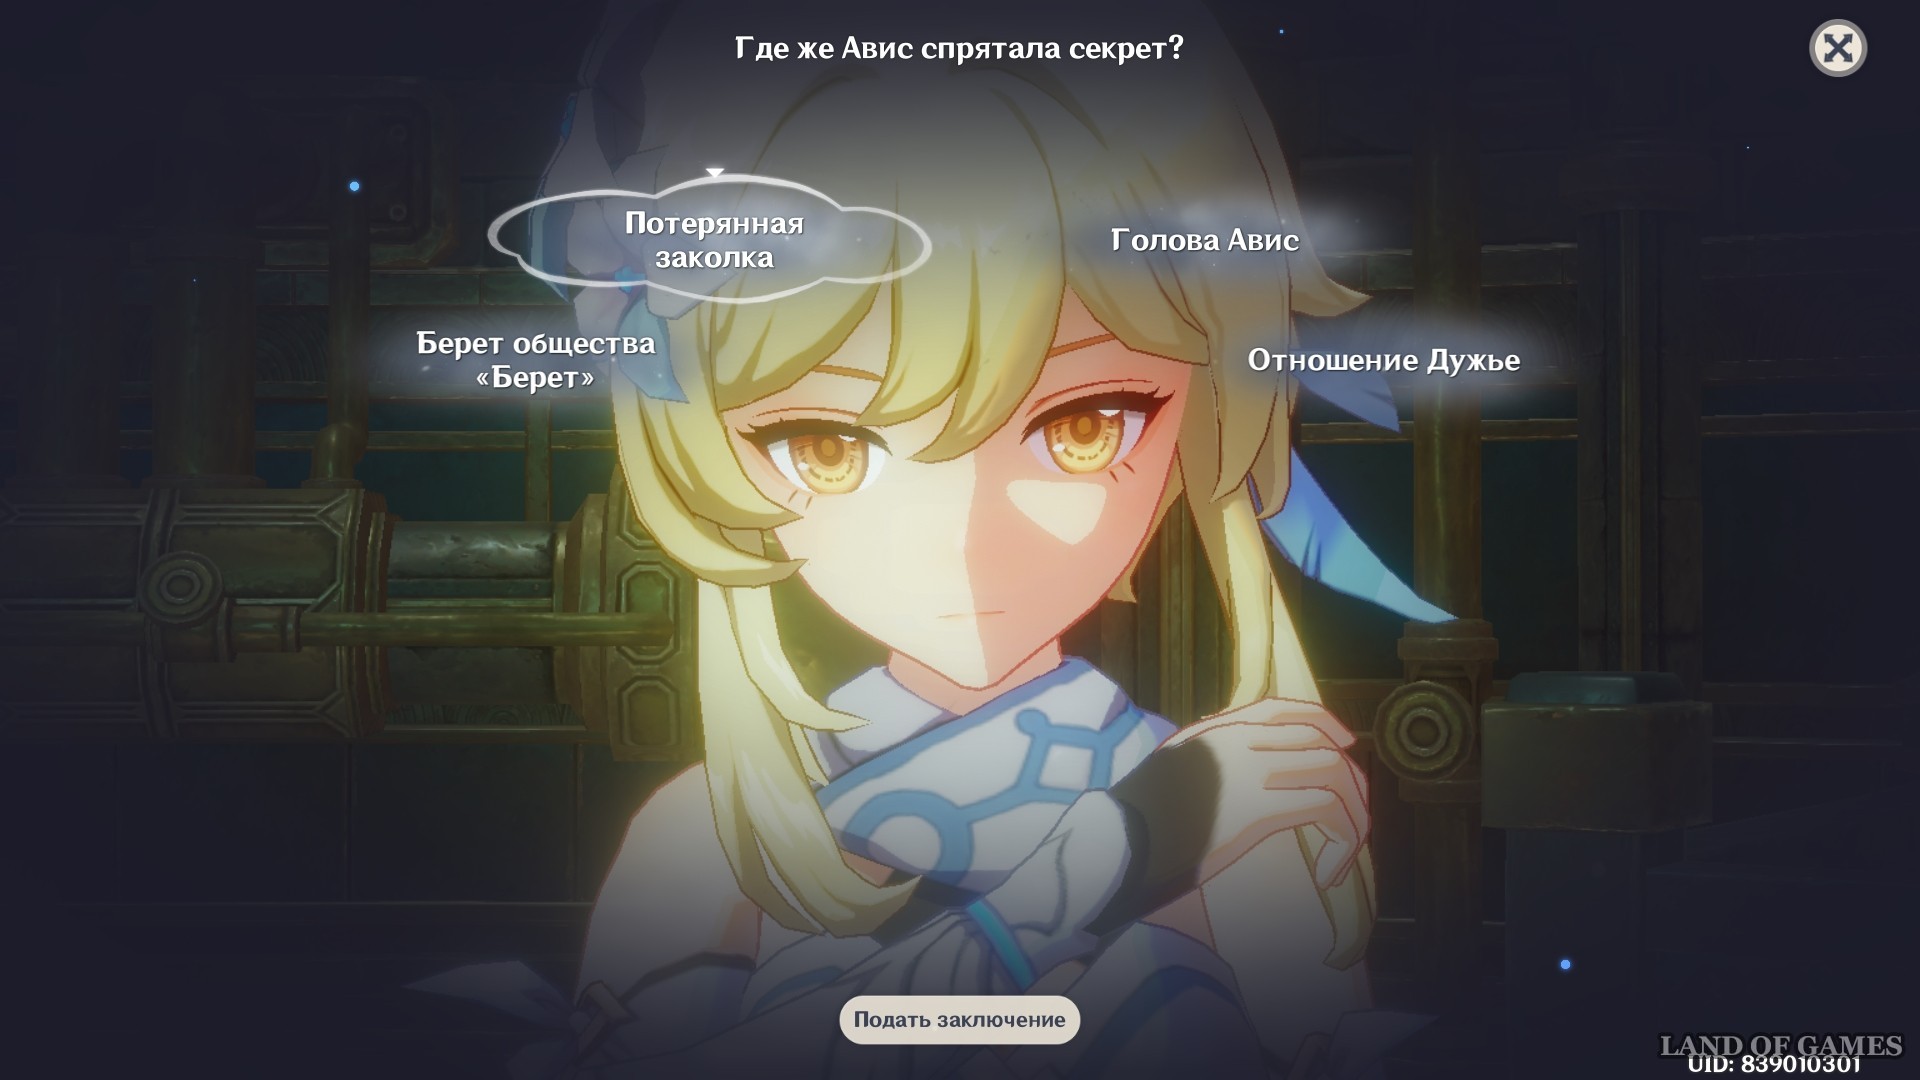
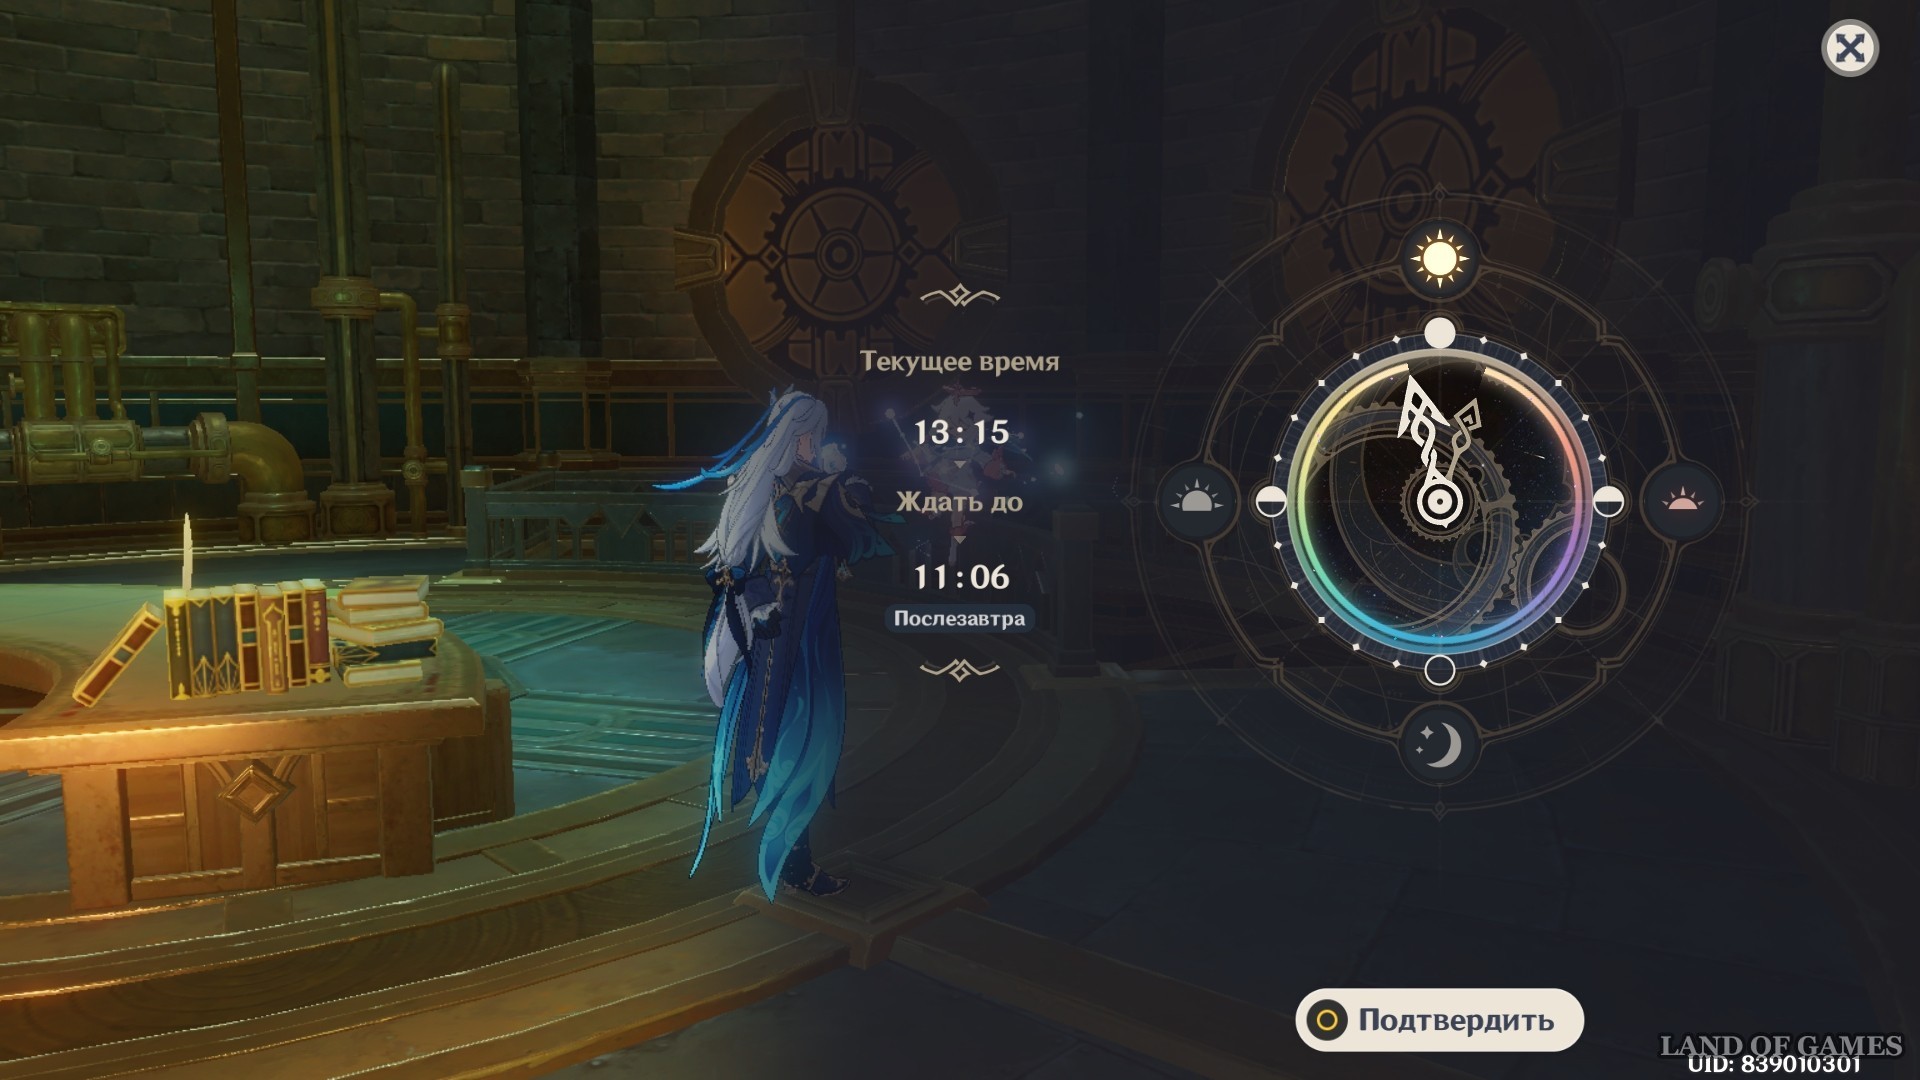
Wait until 18:00-00:00 in the evening to visit Wriothesley in his office. To do this, simply set the clock in the Paimon menu to the desired period. The Duke's office is located in the administrative area. When you get inside, go upstairs.

A girl named Avis will come there and give you some useful information. To draw conclusions after talking with her, you will need to analyze all the data received. In the process of thinking, first interpret the option "Head of Avis", and then select it again and match it with "Beret of Society". Submit your opinion on the option that has arisen "The Lost Hairpin".

It’s What He Deserves
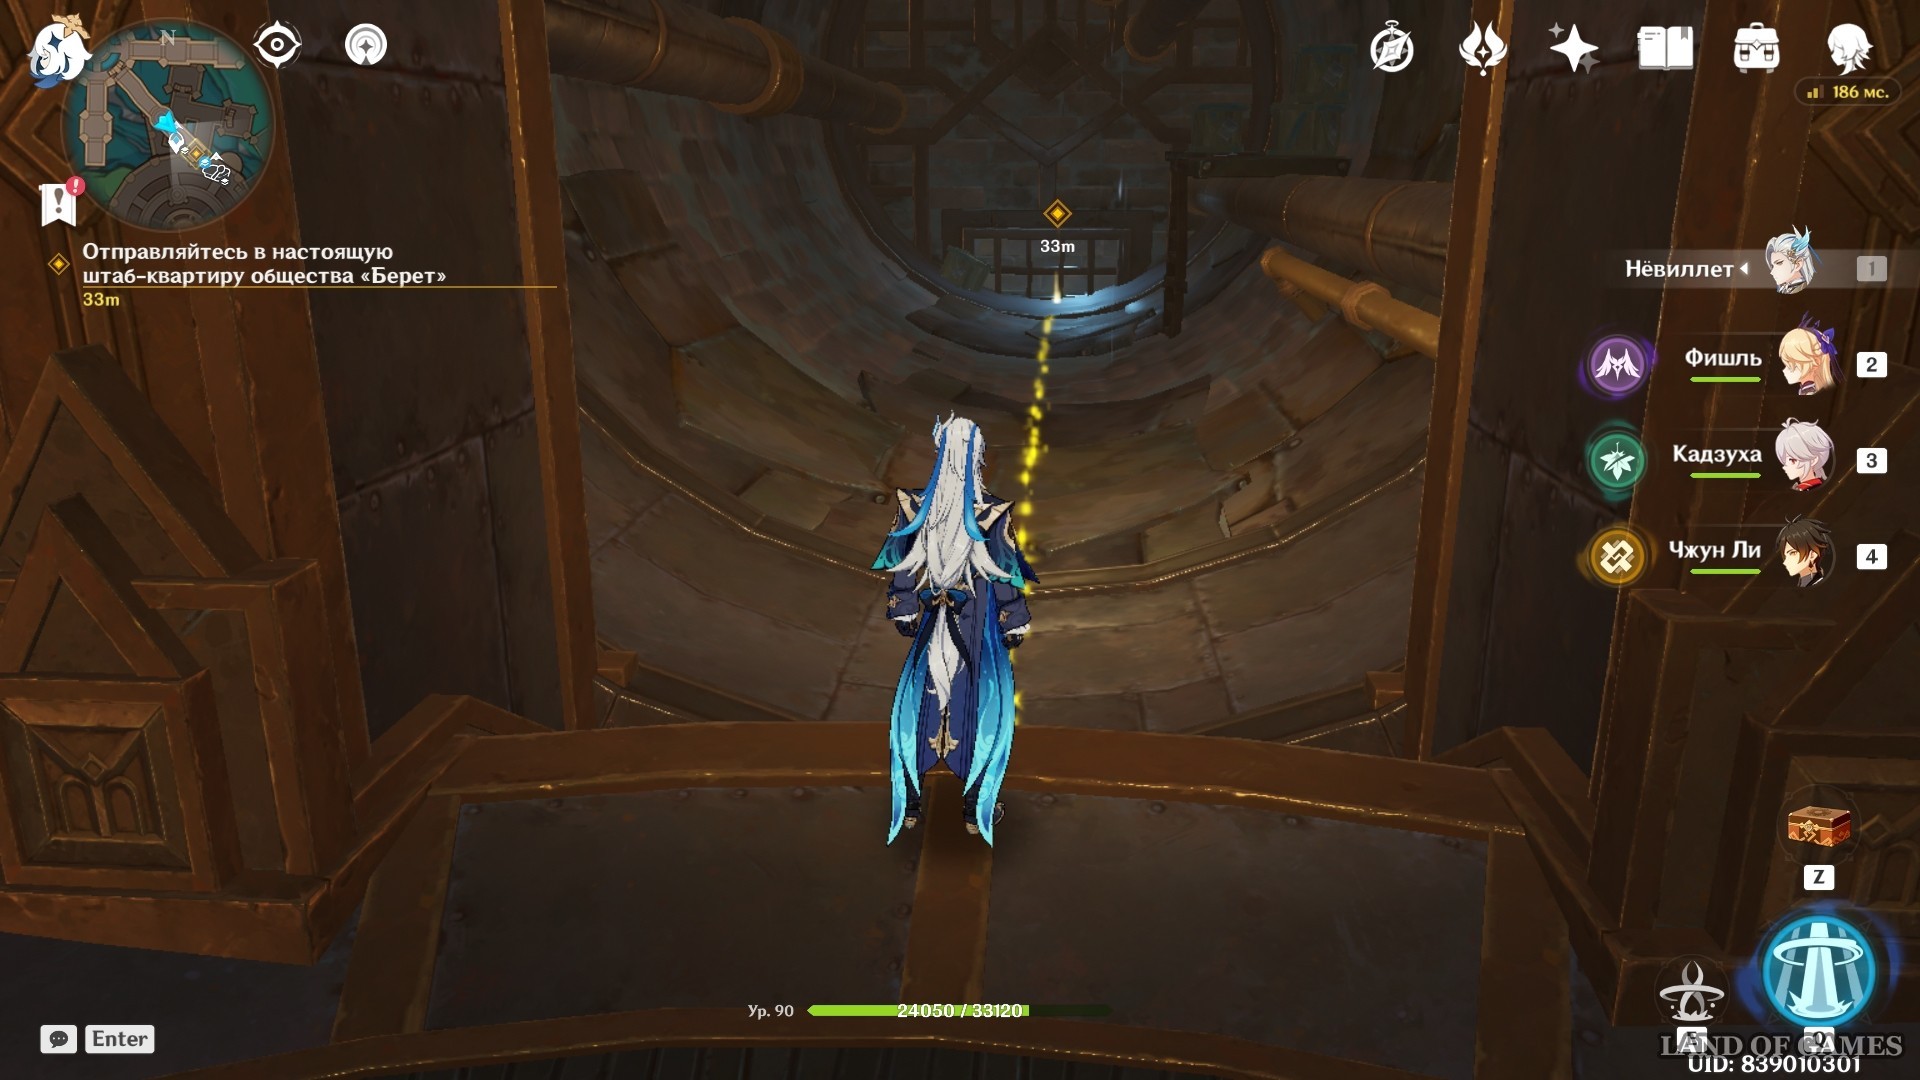
Find the real headquarters of the Beretov Society
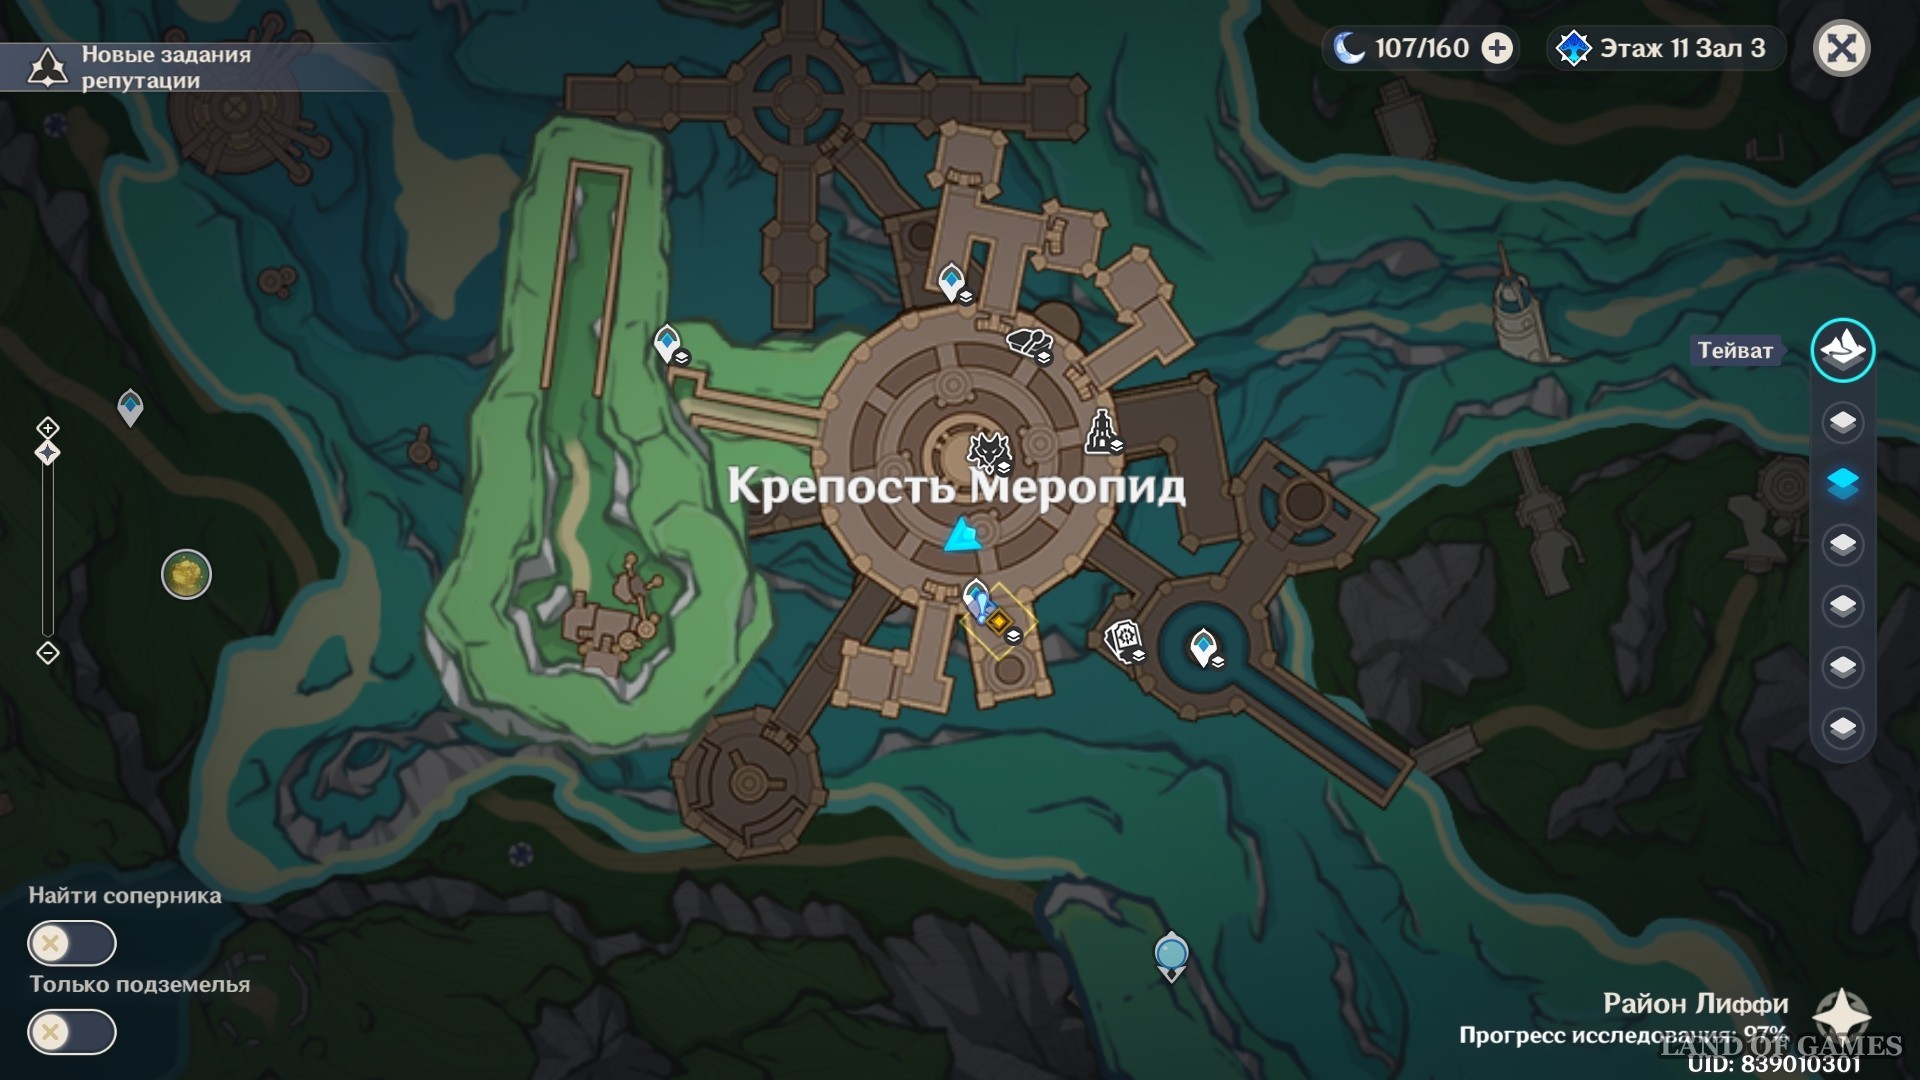
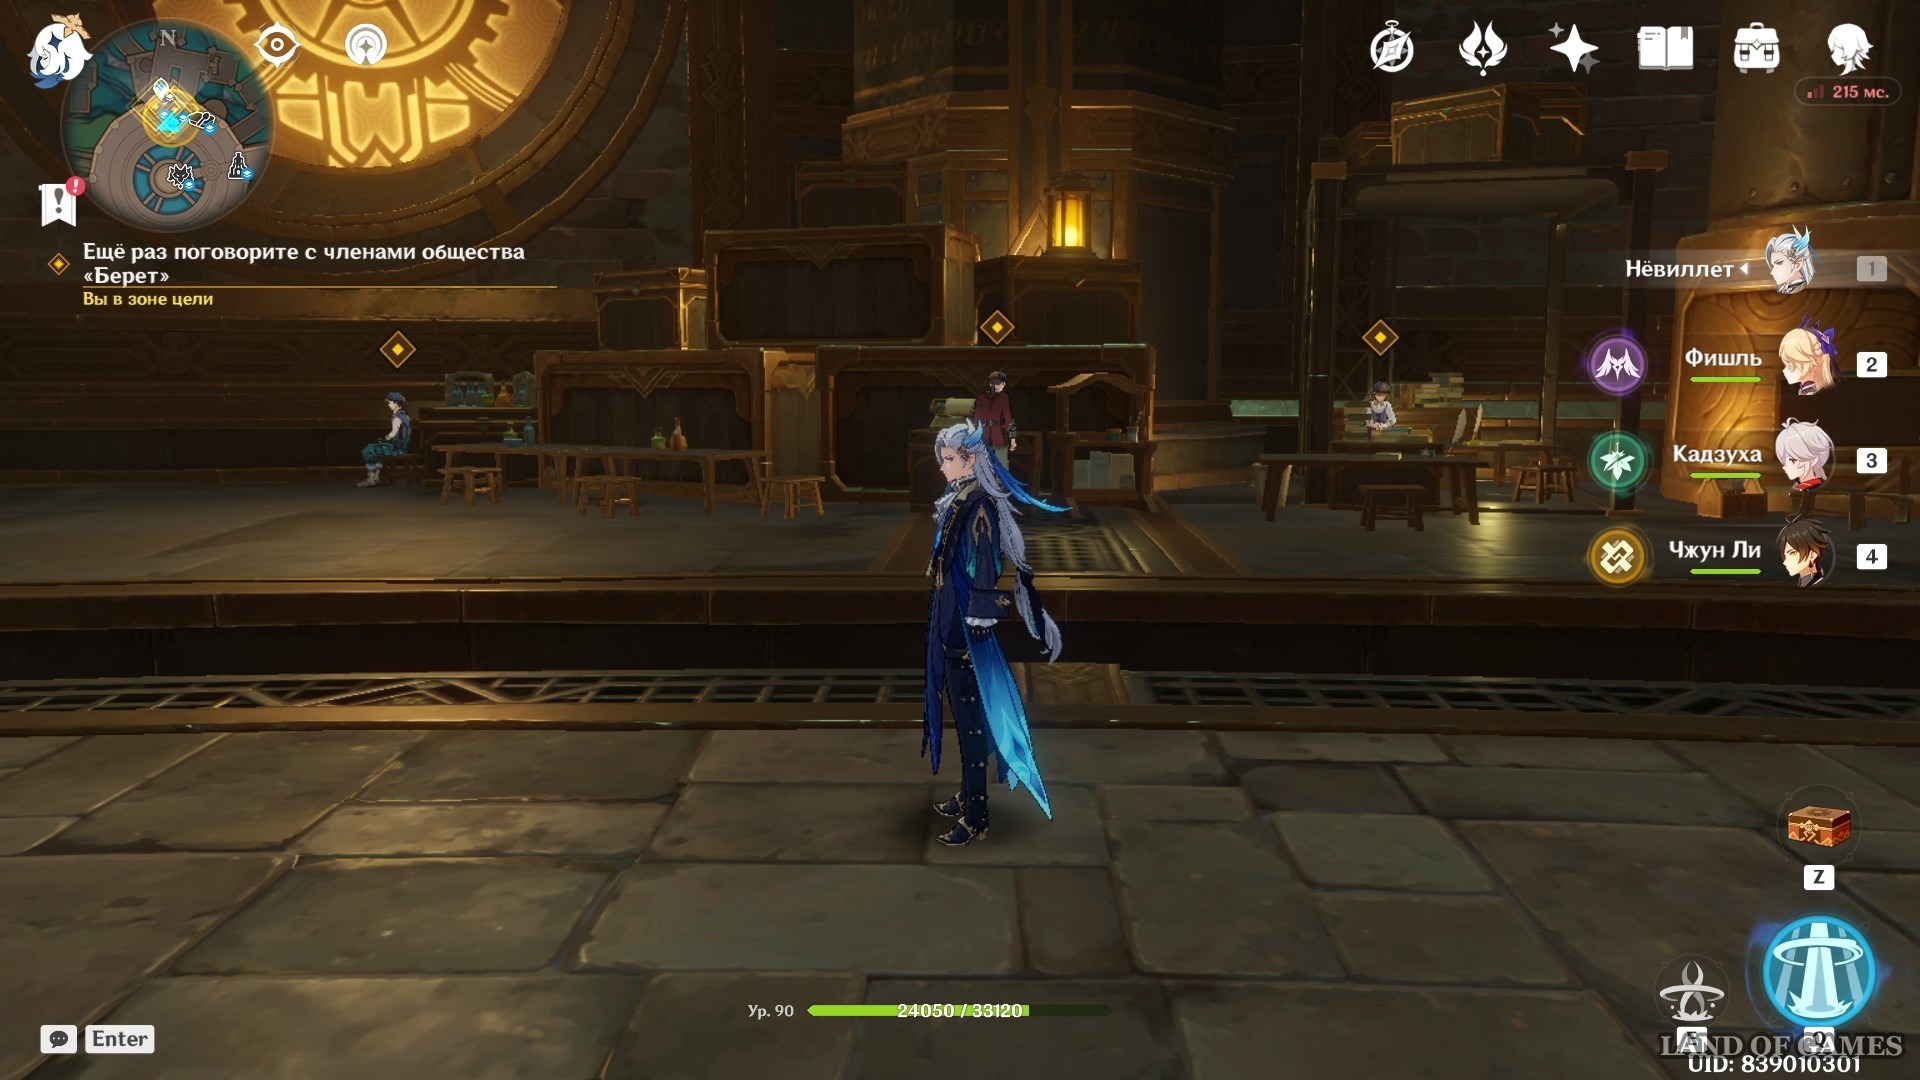
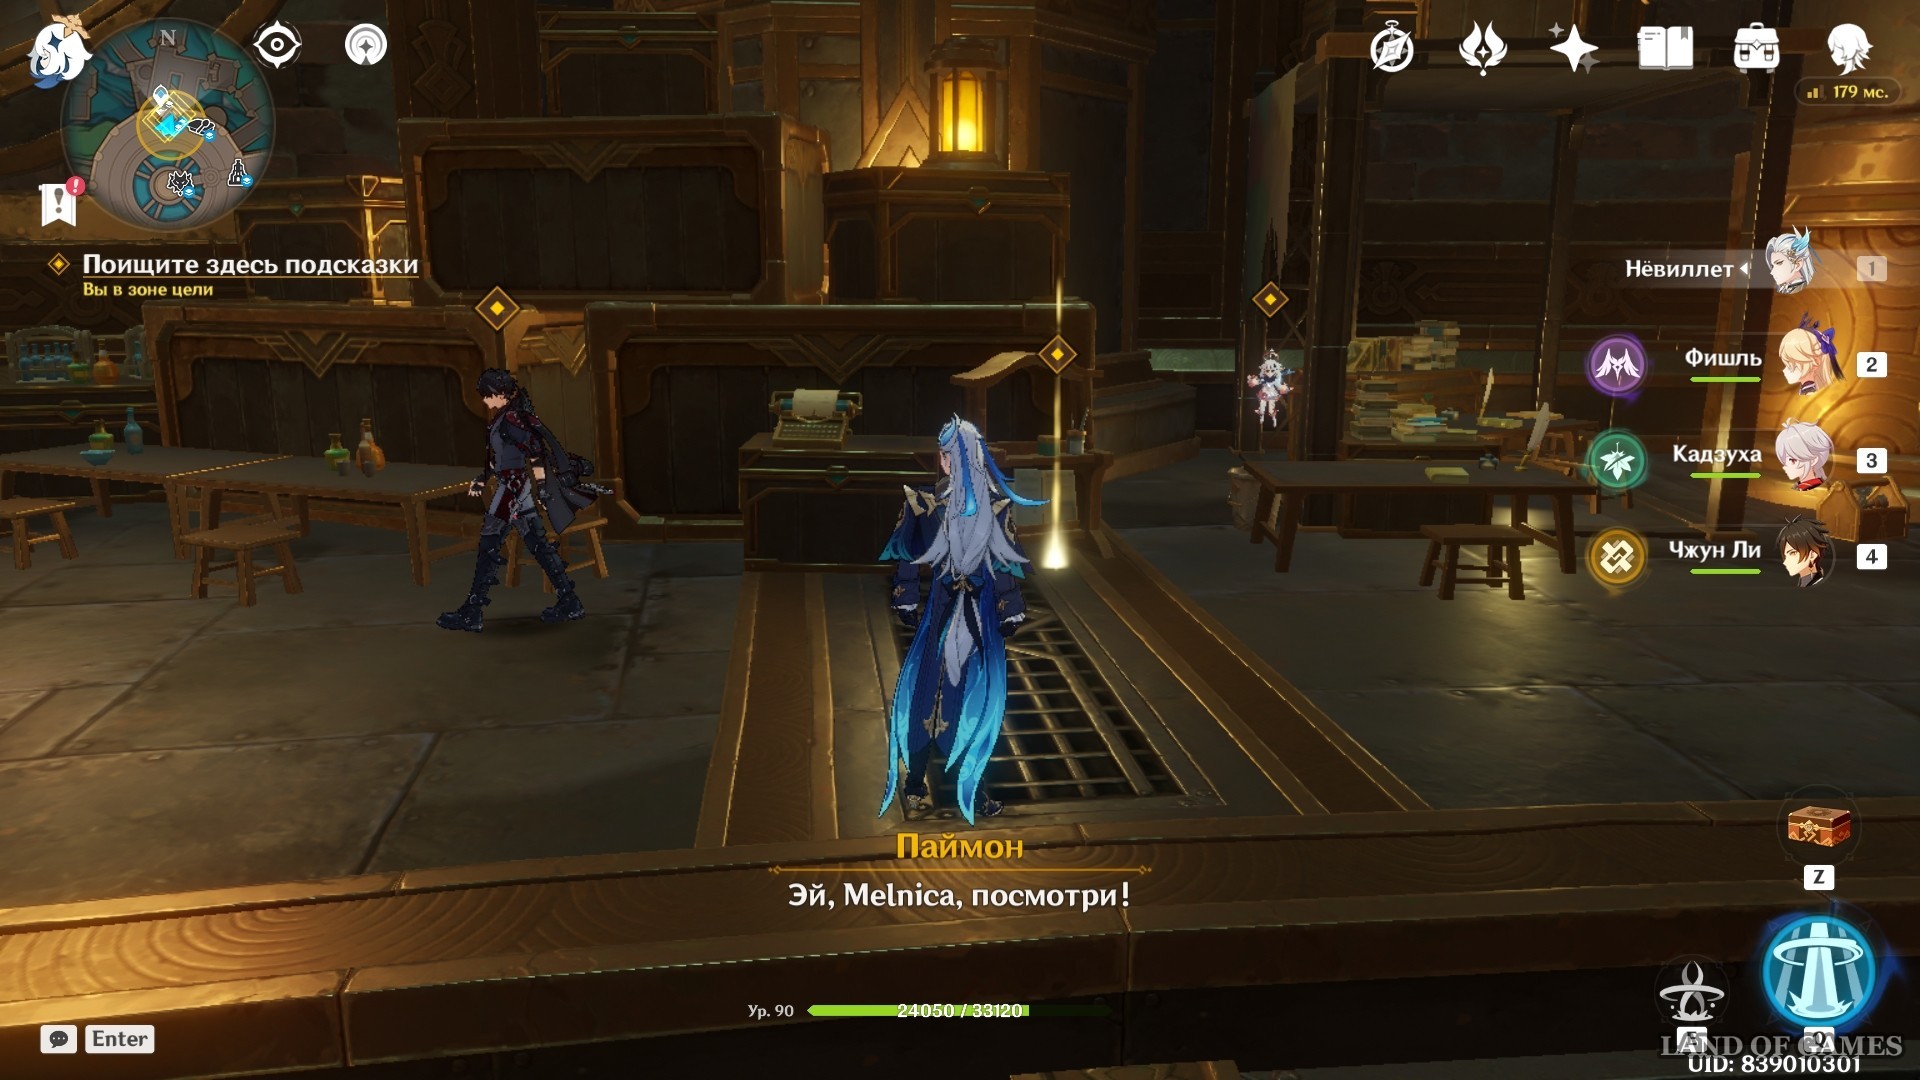
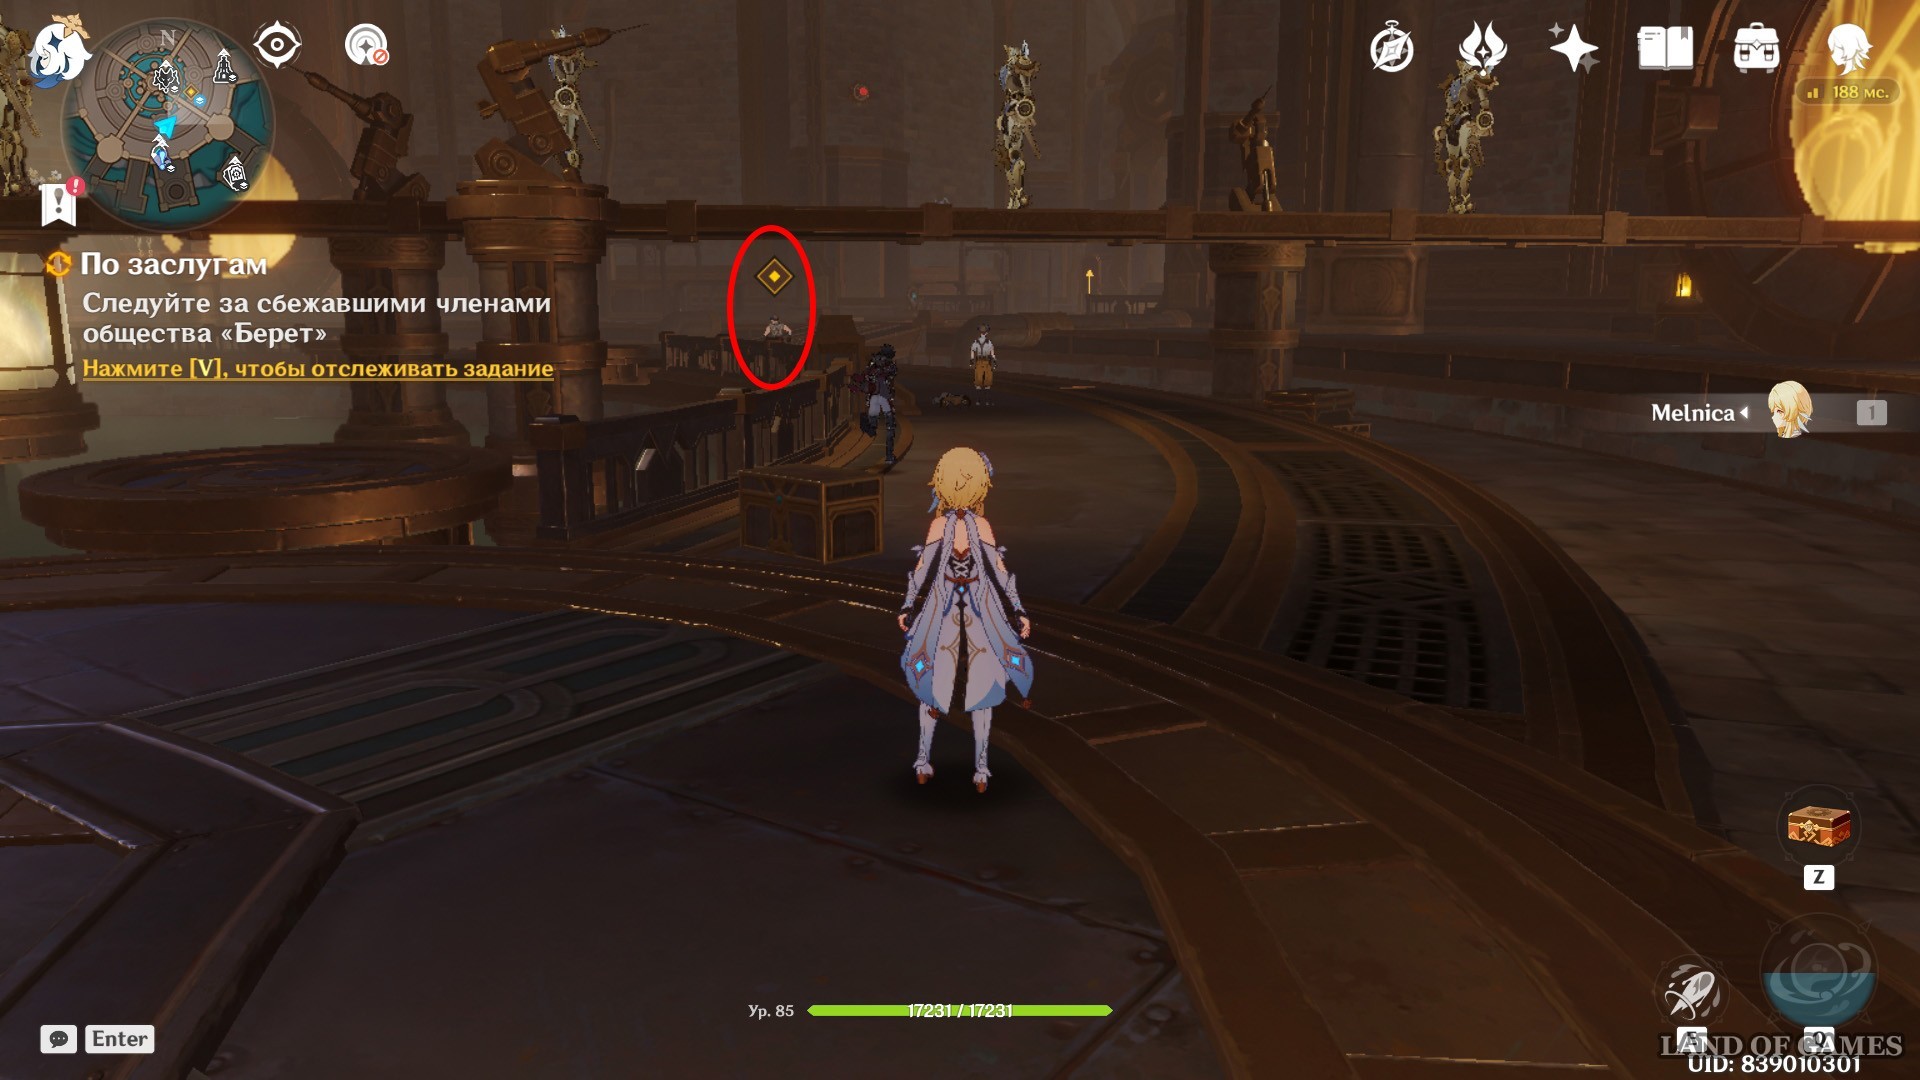
Head to the area in the northern part of the administration floor where you found the alliance earlier. Only a few of its members will remain there. Explore the location for clues. You will need to examine the newspaper stand, and also talk to Paimon and Wriothesley, waiting for you to the right and left of the center.
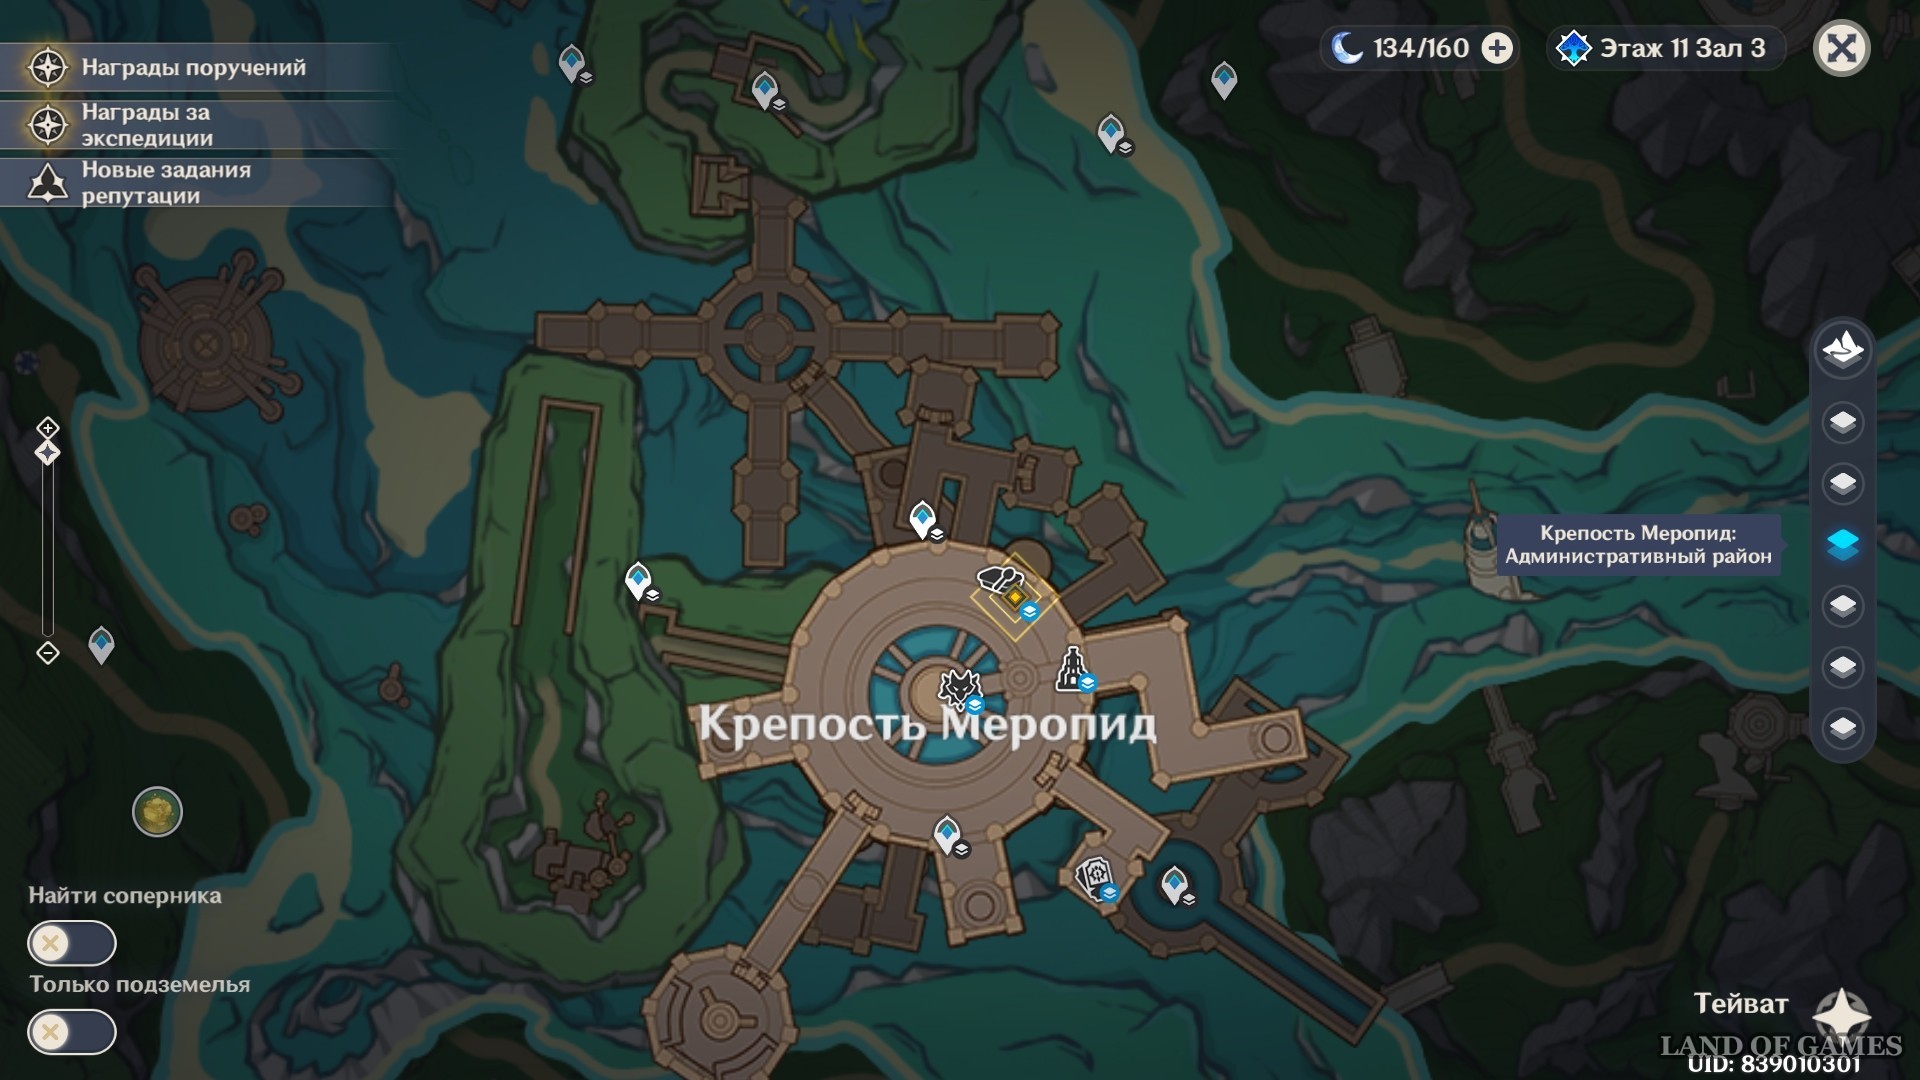
Next, move to the lower floor of production. Once you're there, follow Wriothesley. Paimon will soon see members of society running away. Run after the one marked with the quest marker.
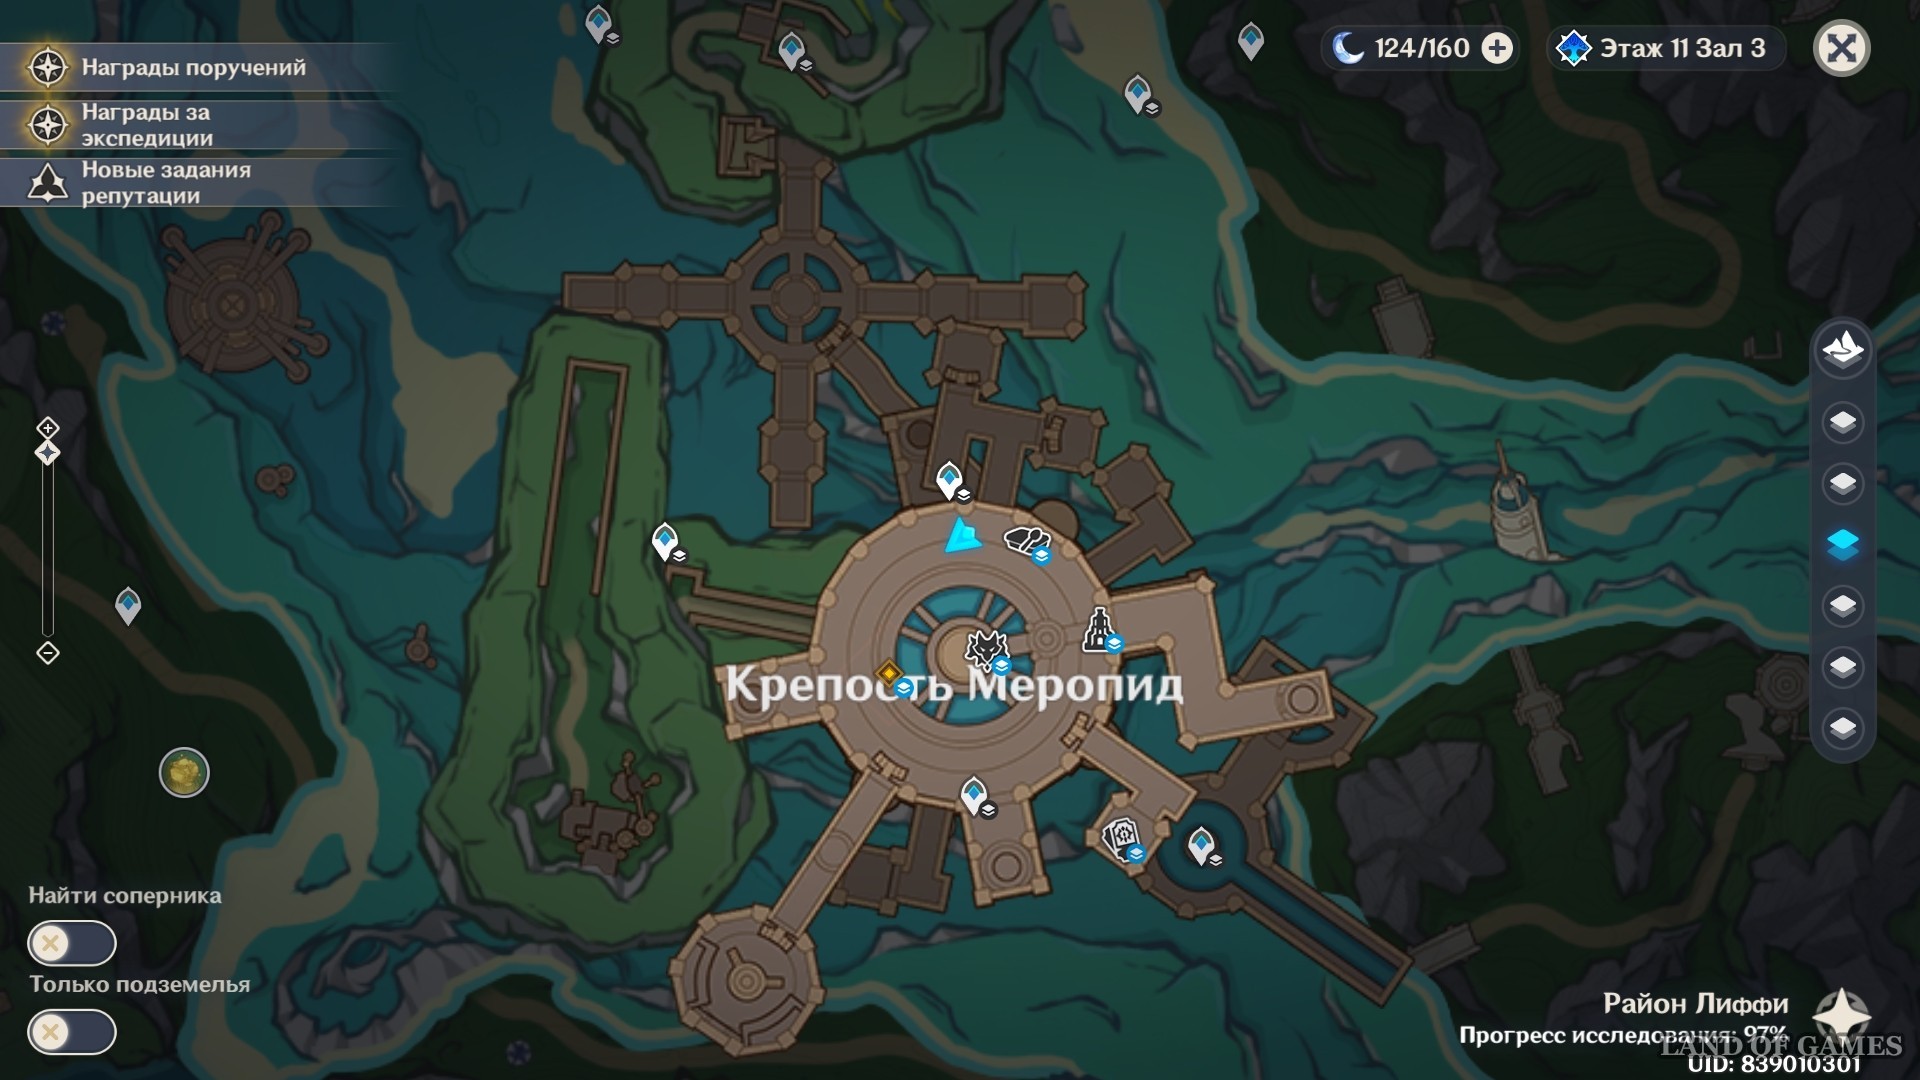
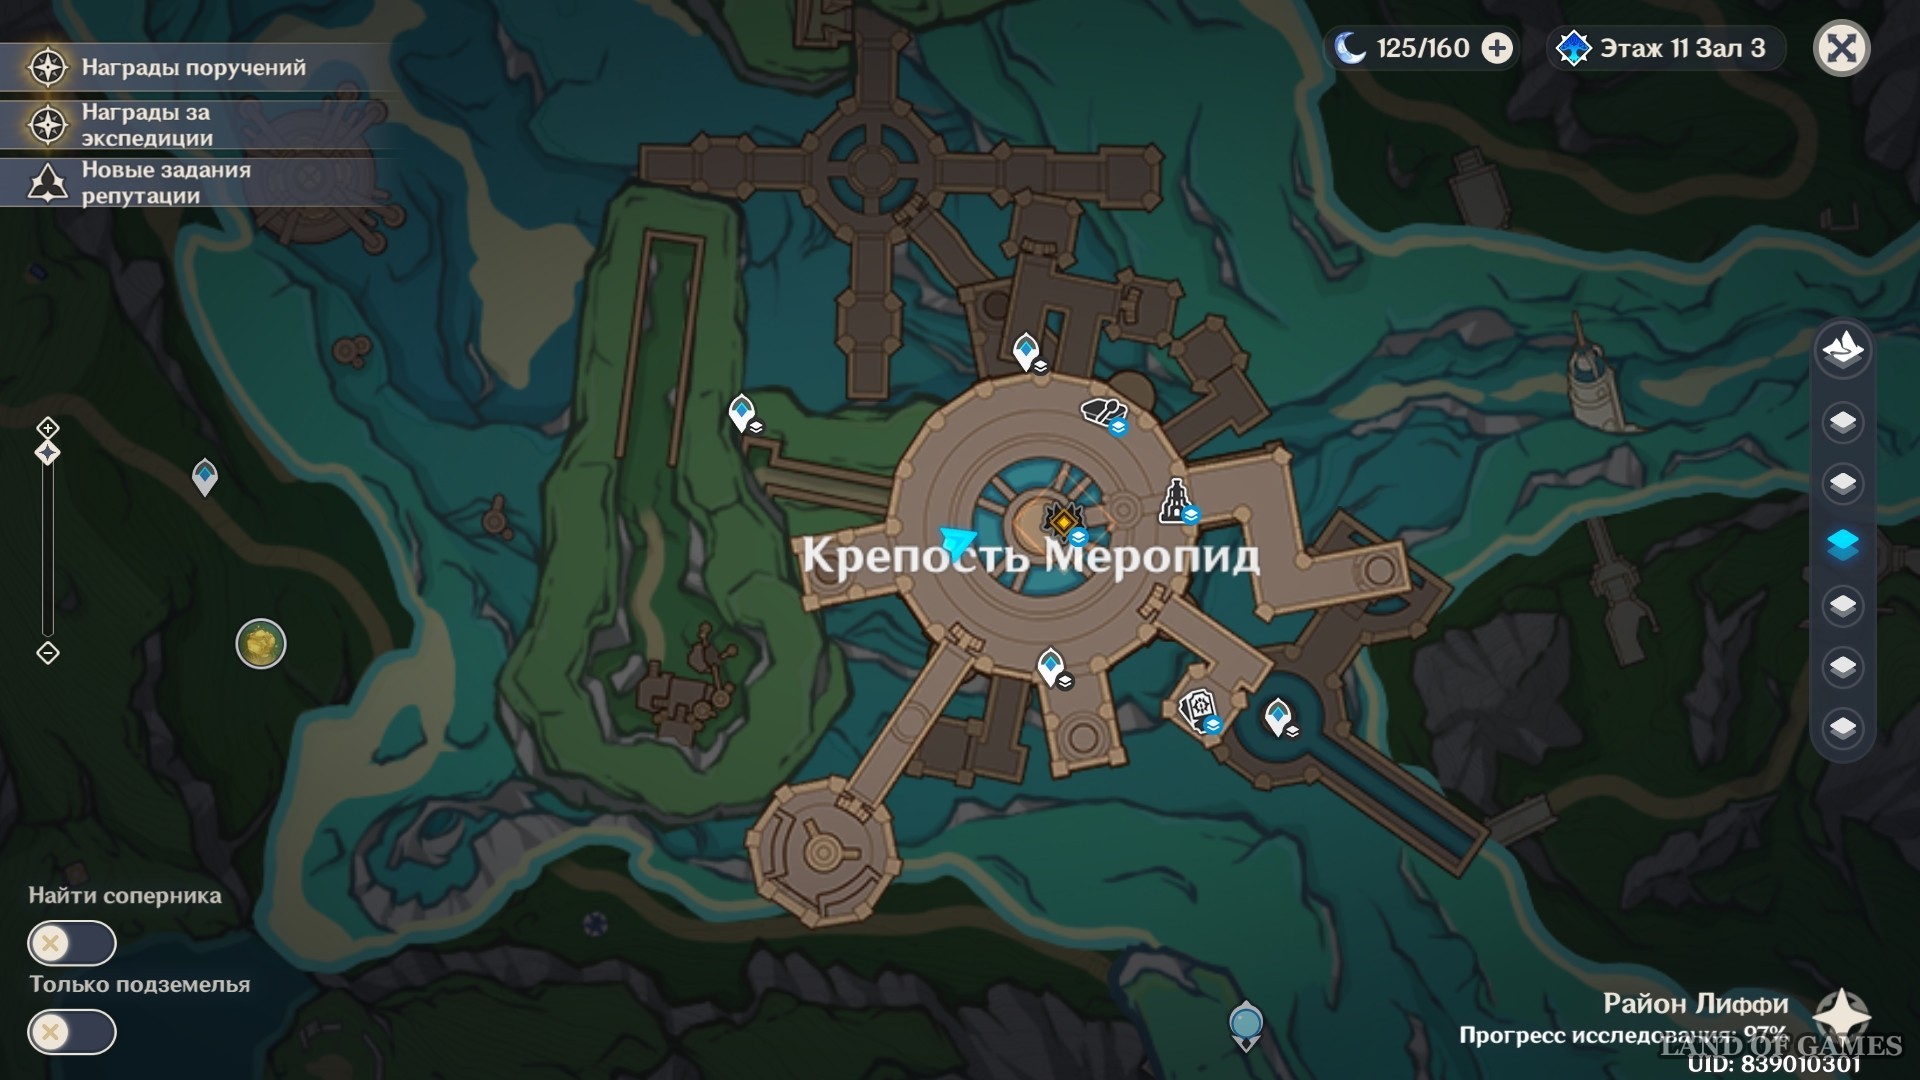
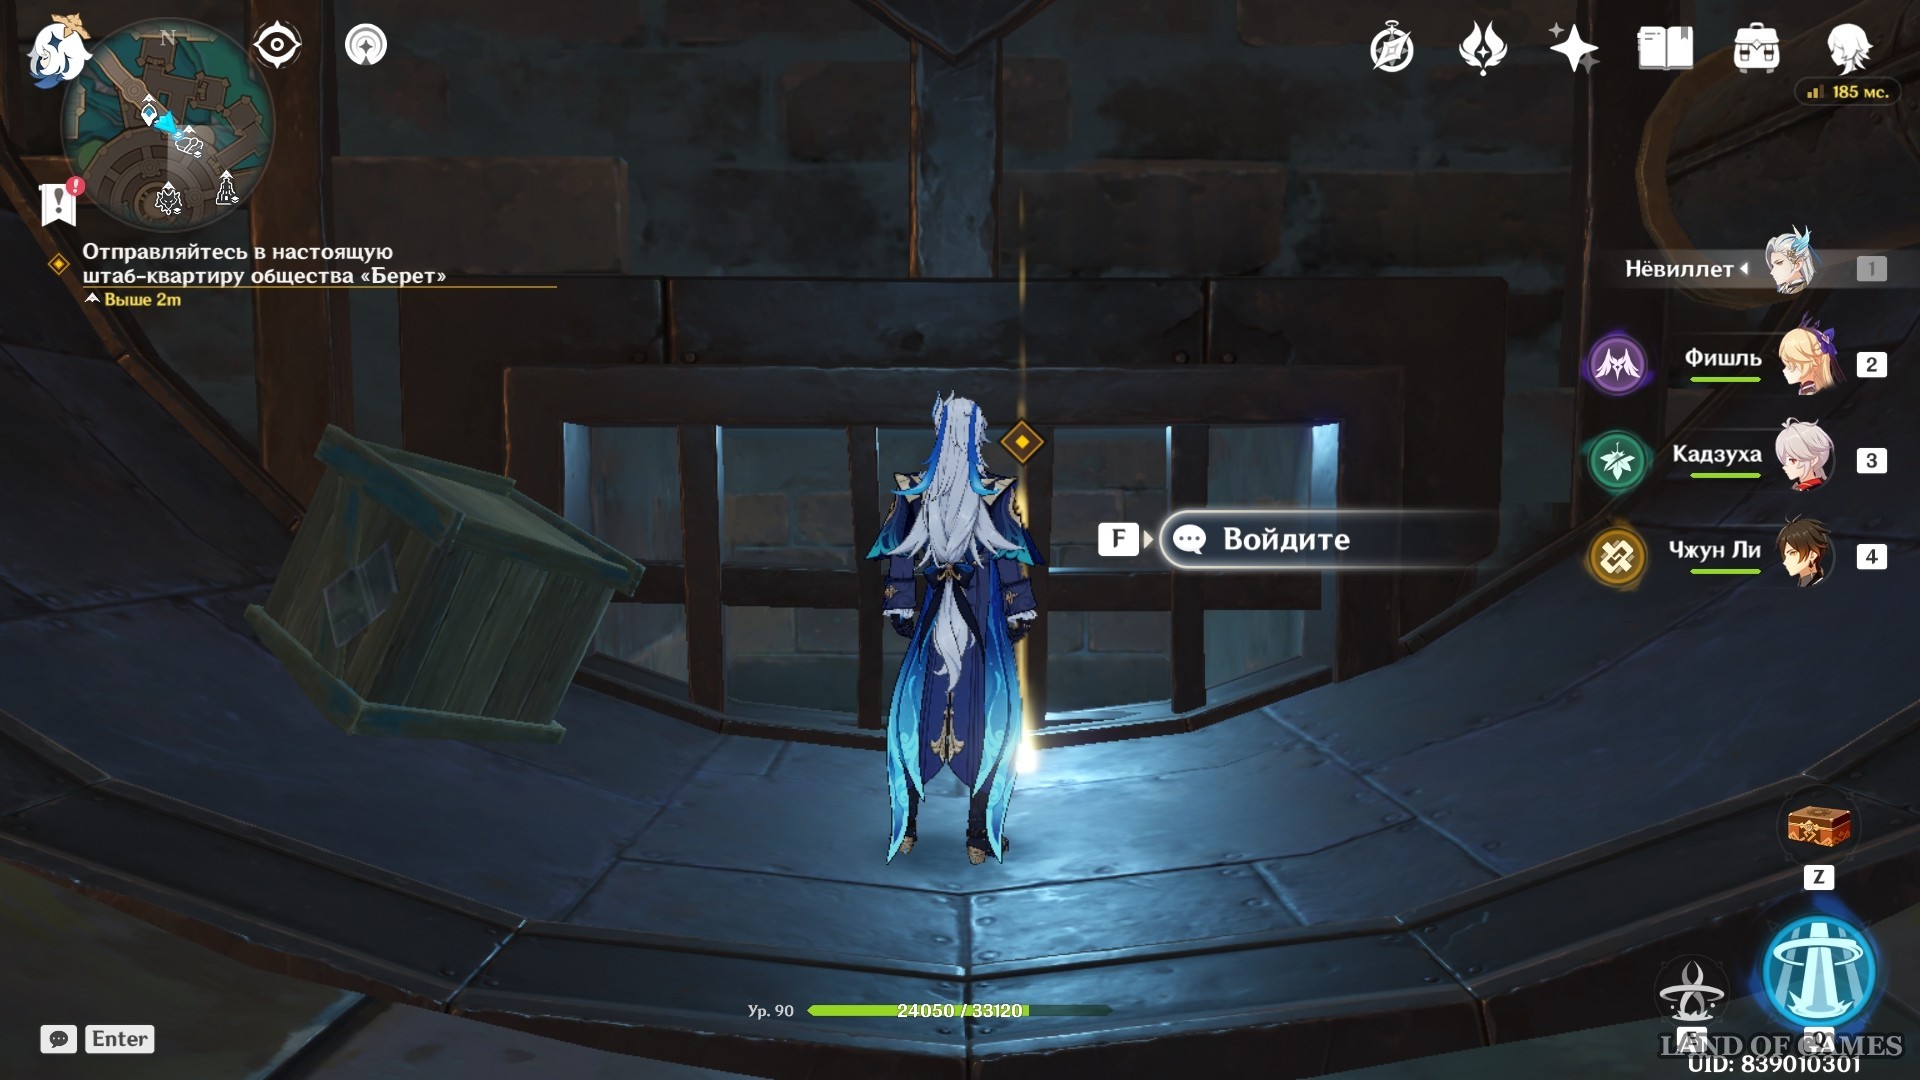
Explore the real headquarters
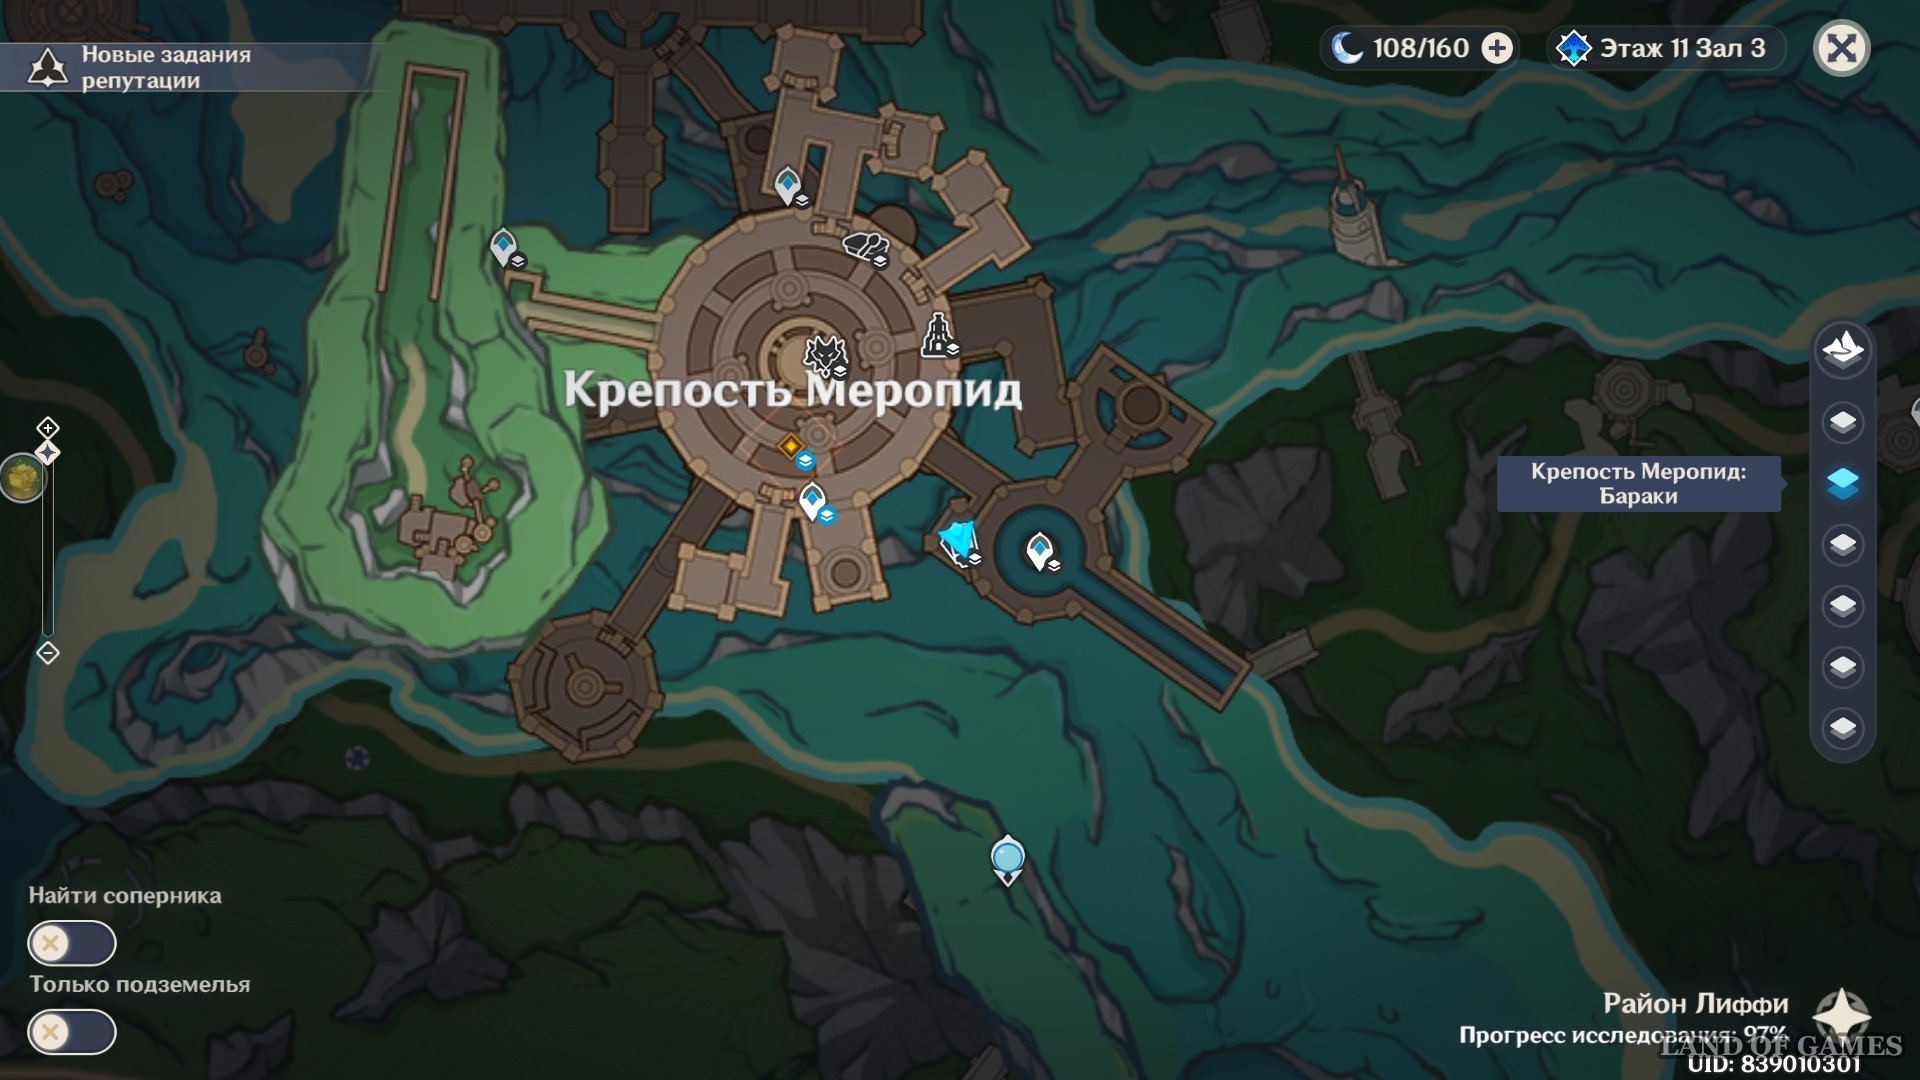
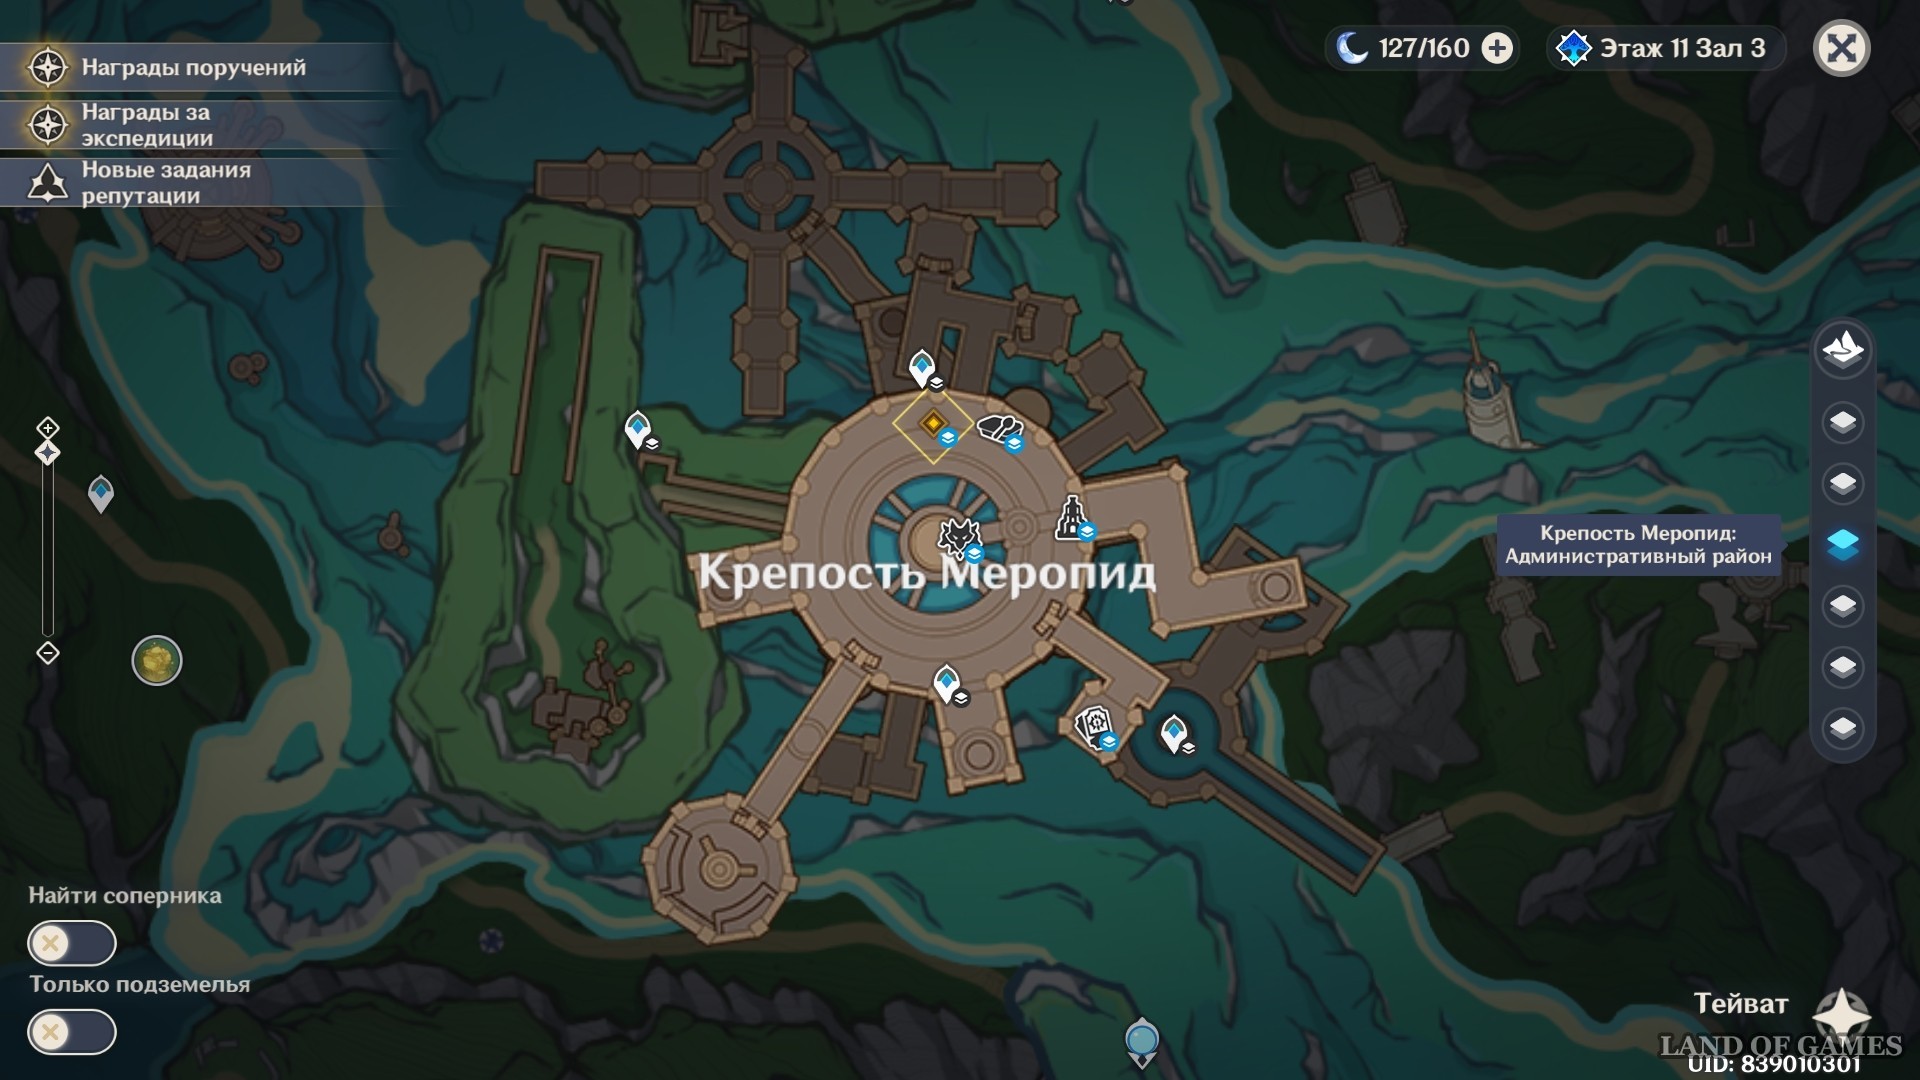
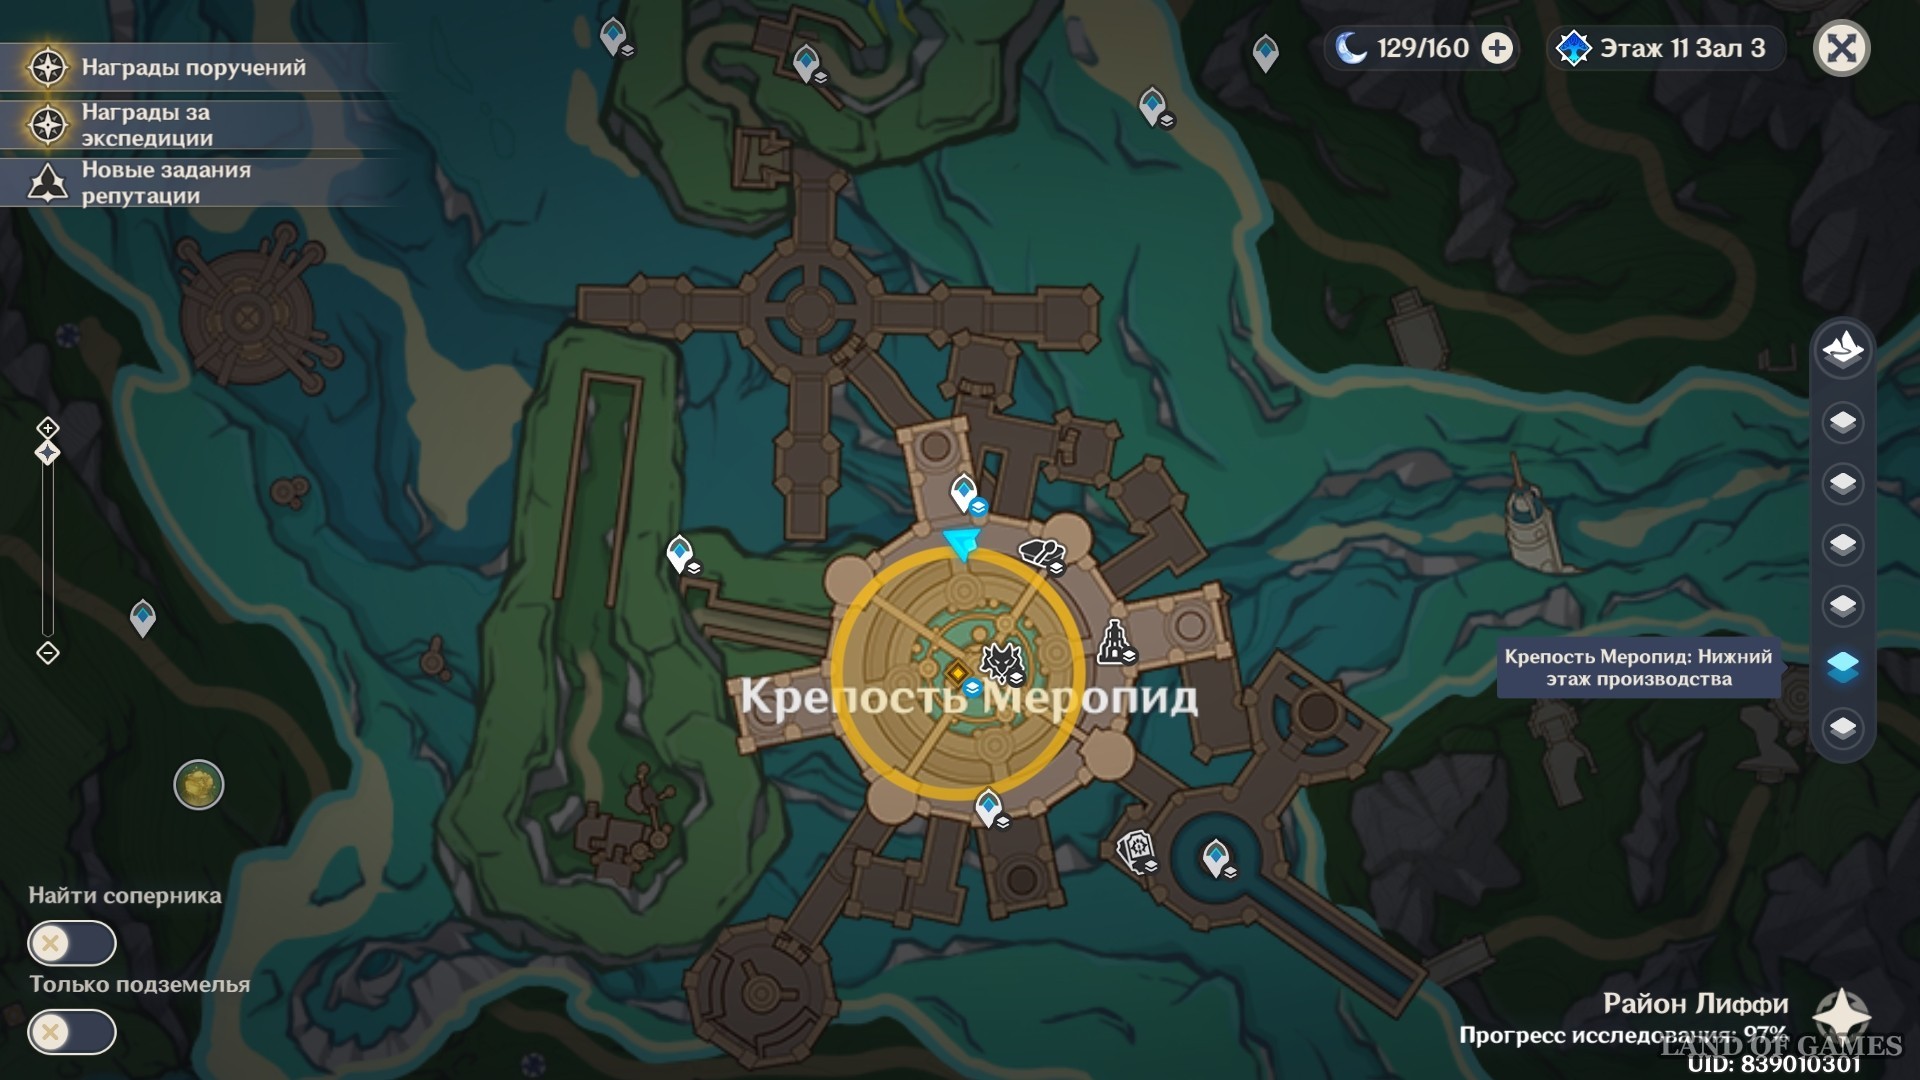
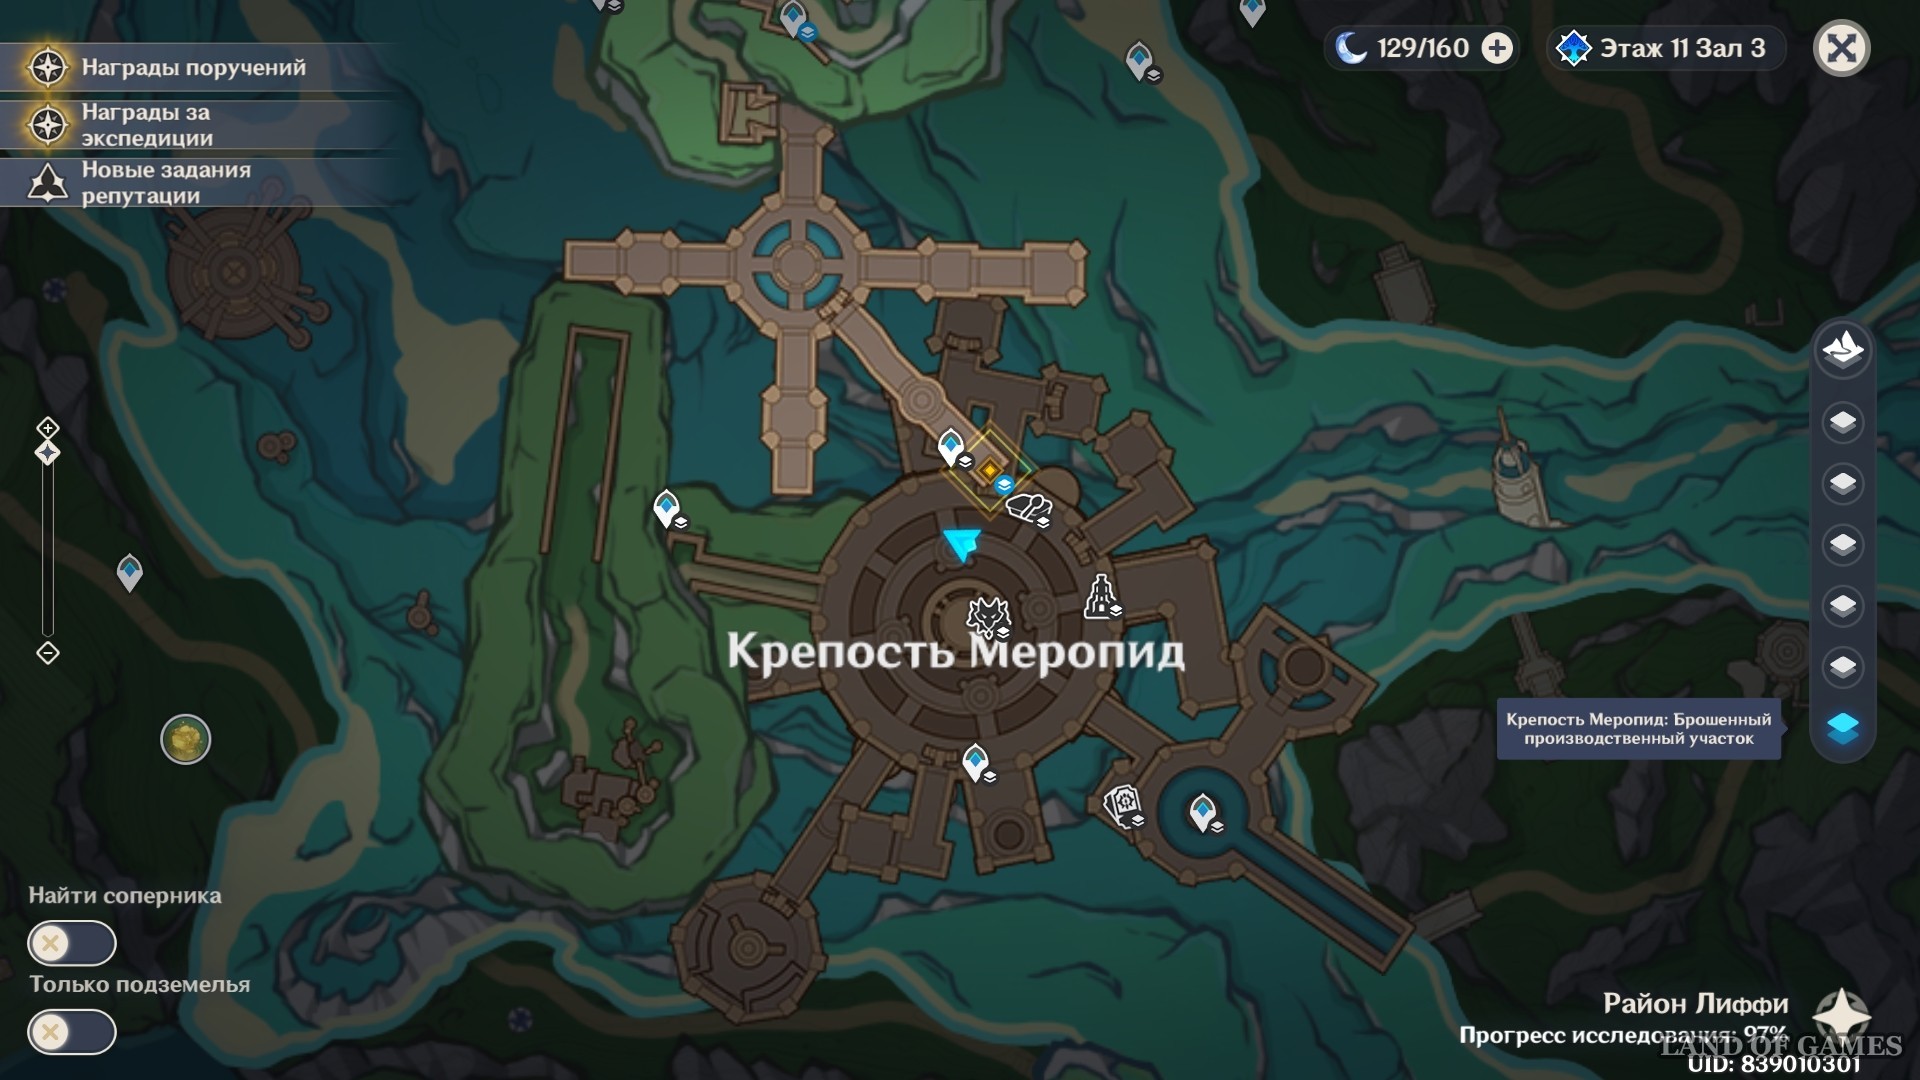
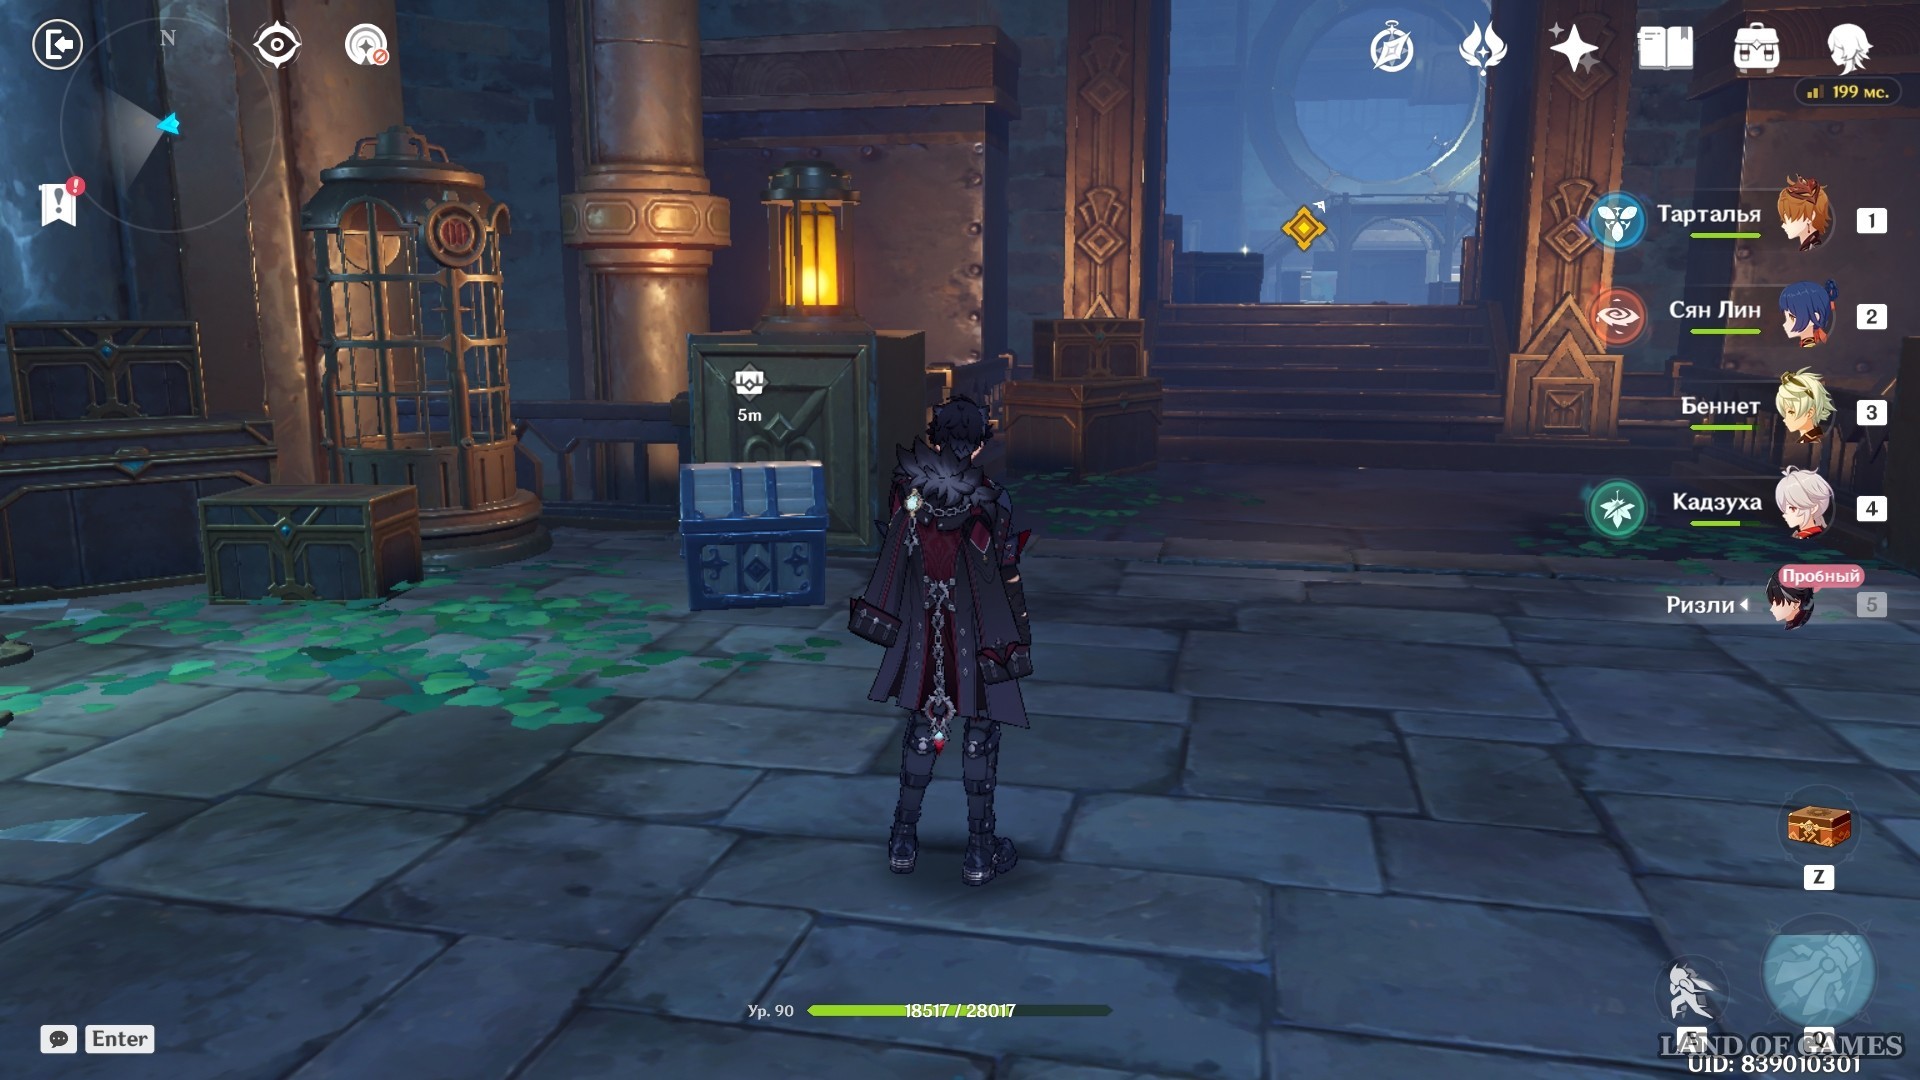
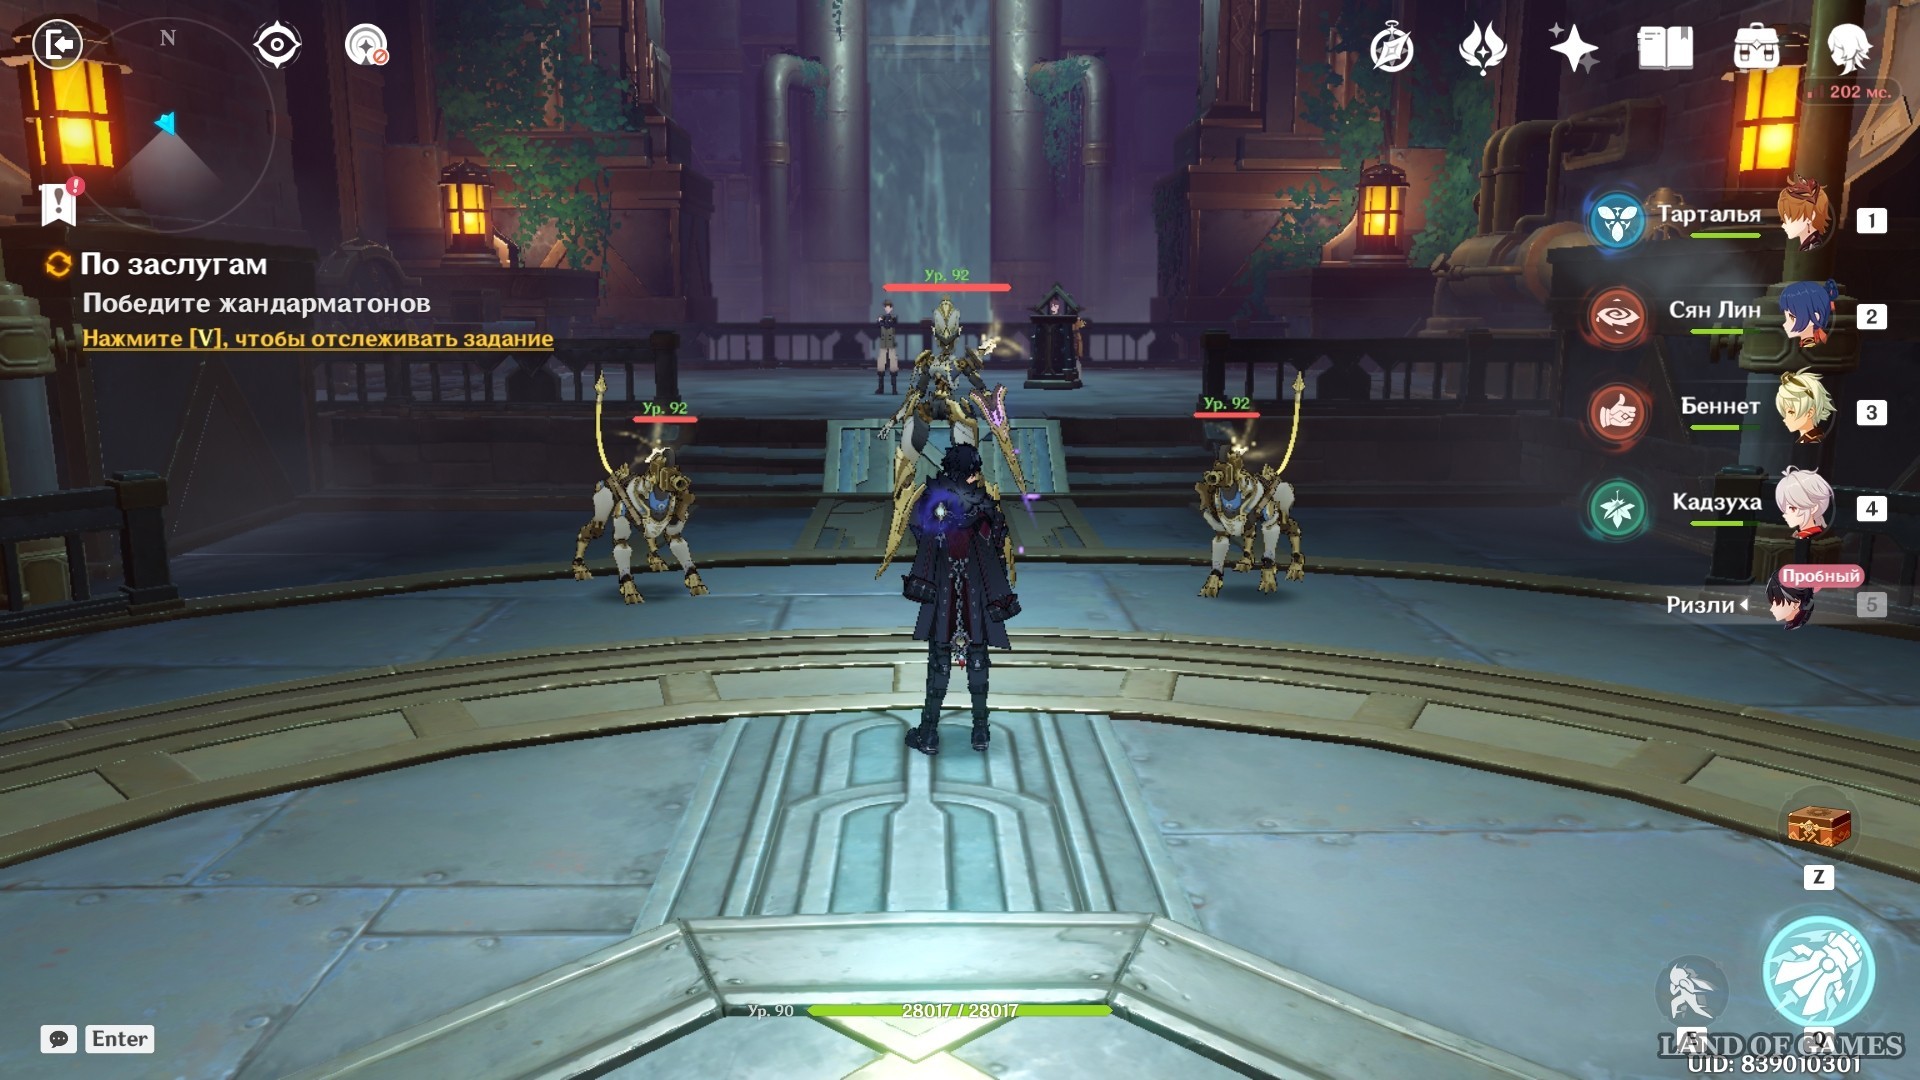
The real lair of the villains is located in an abandoned production site. You can get there using a lift located near the teleport. Once you are at the bottom, go to the end of the passage to enter the dungeon.
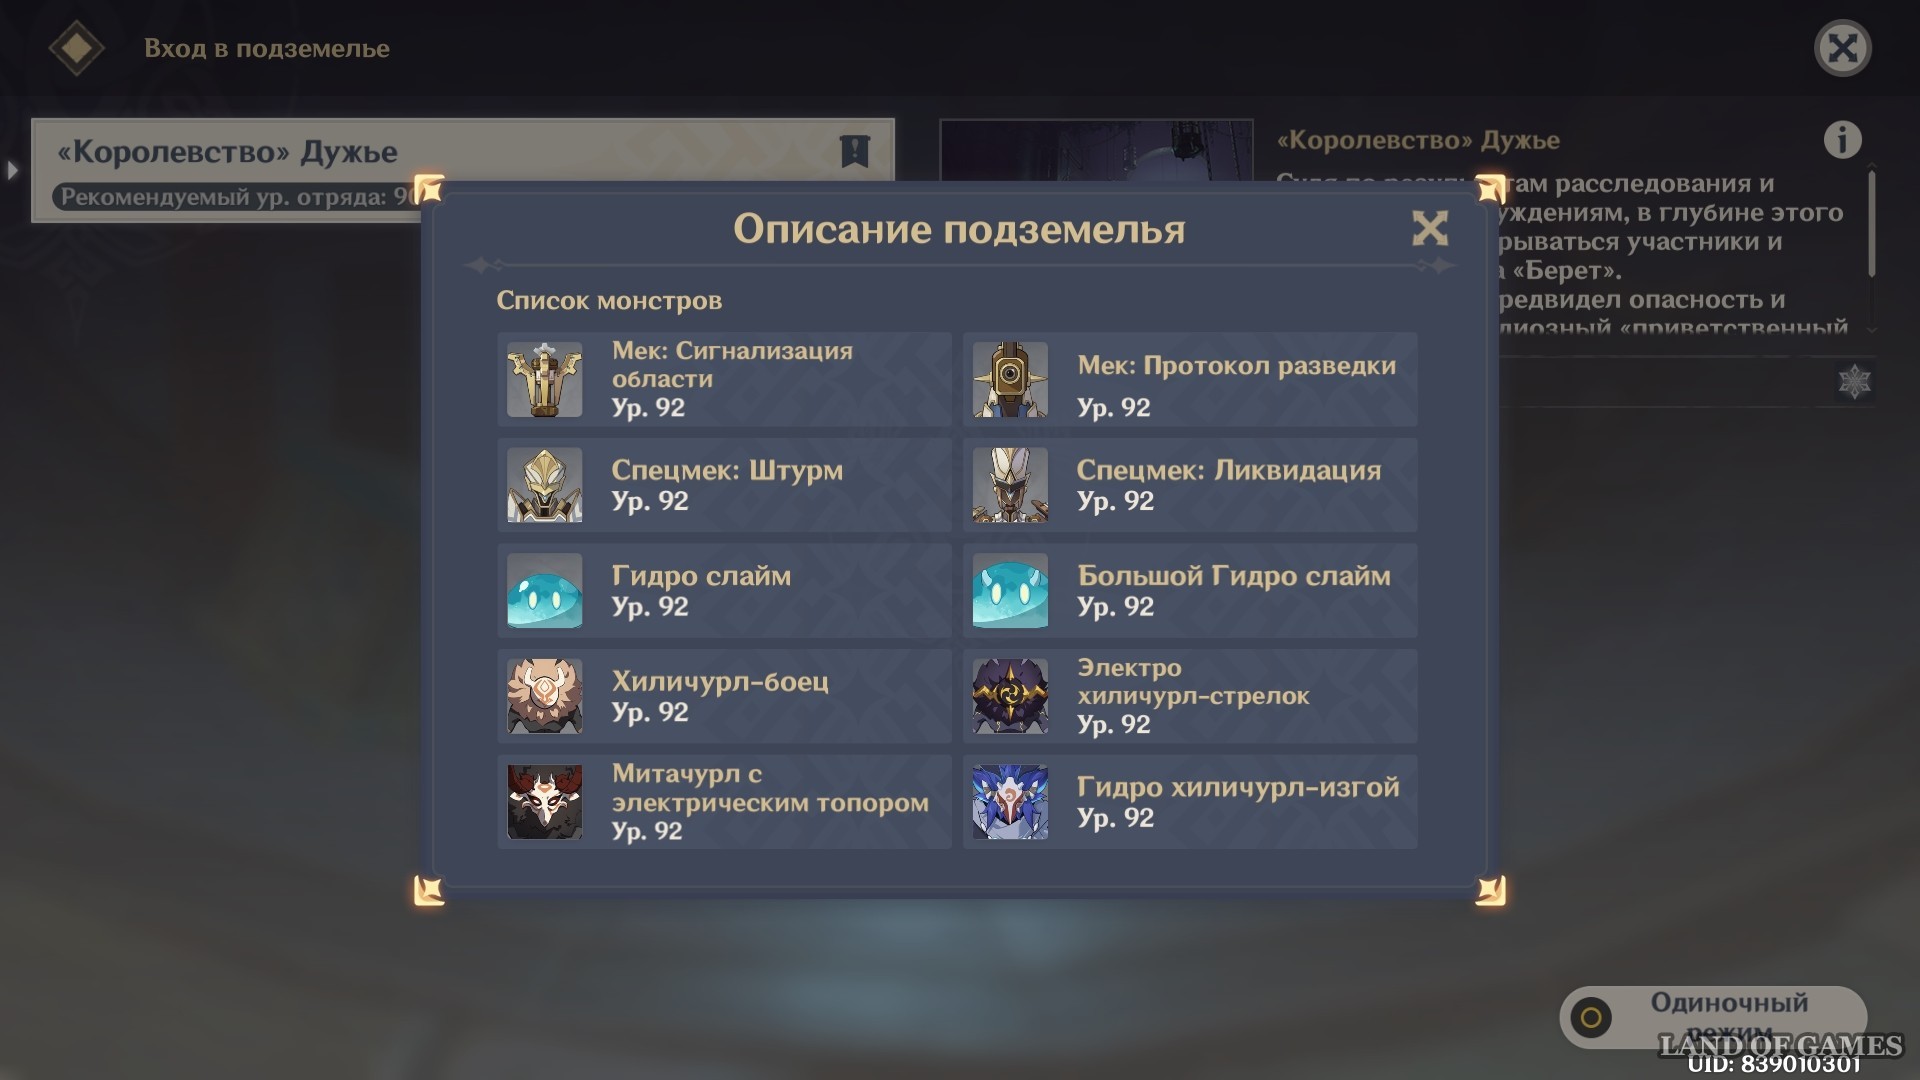
The list of enemies you will meet there can be seen below. Also, while you are in the dungeon you will be given a trial Wriothesley . How to play for him, and which team is best for him to choose, you can find out in this guide.
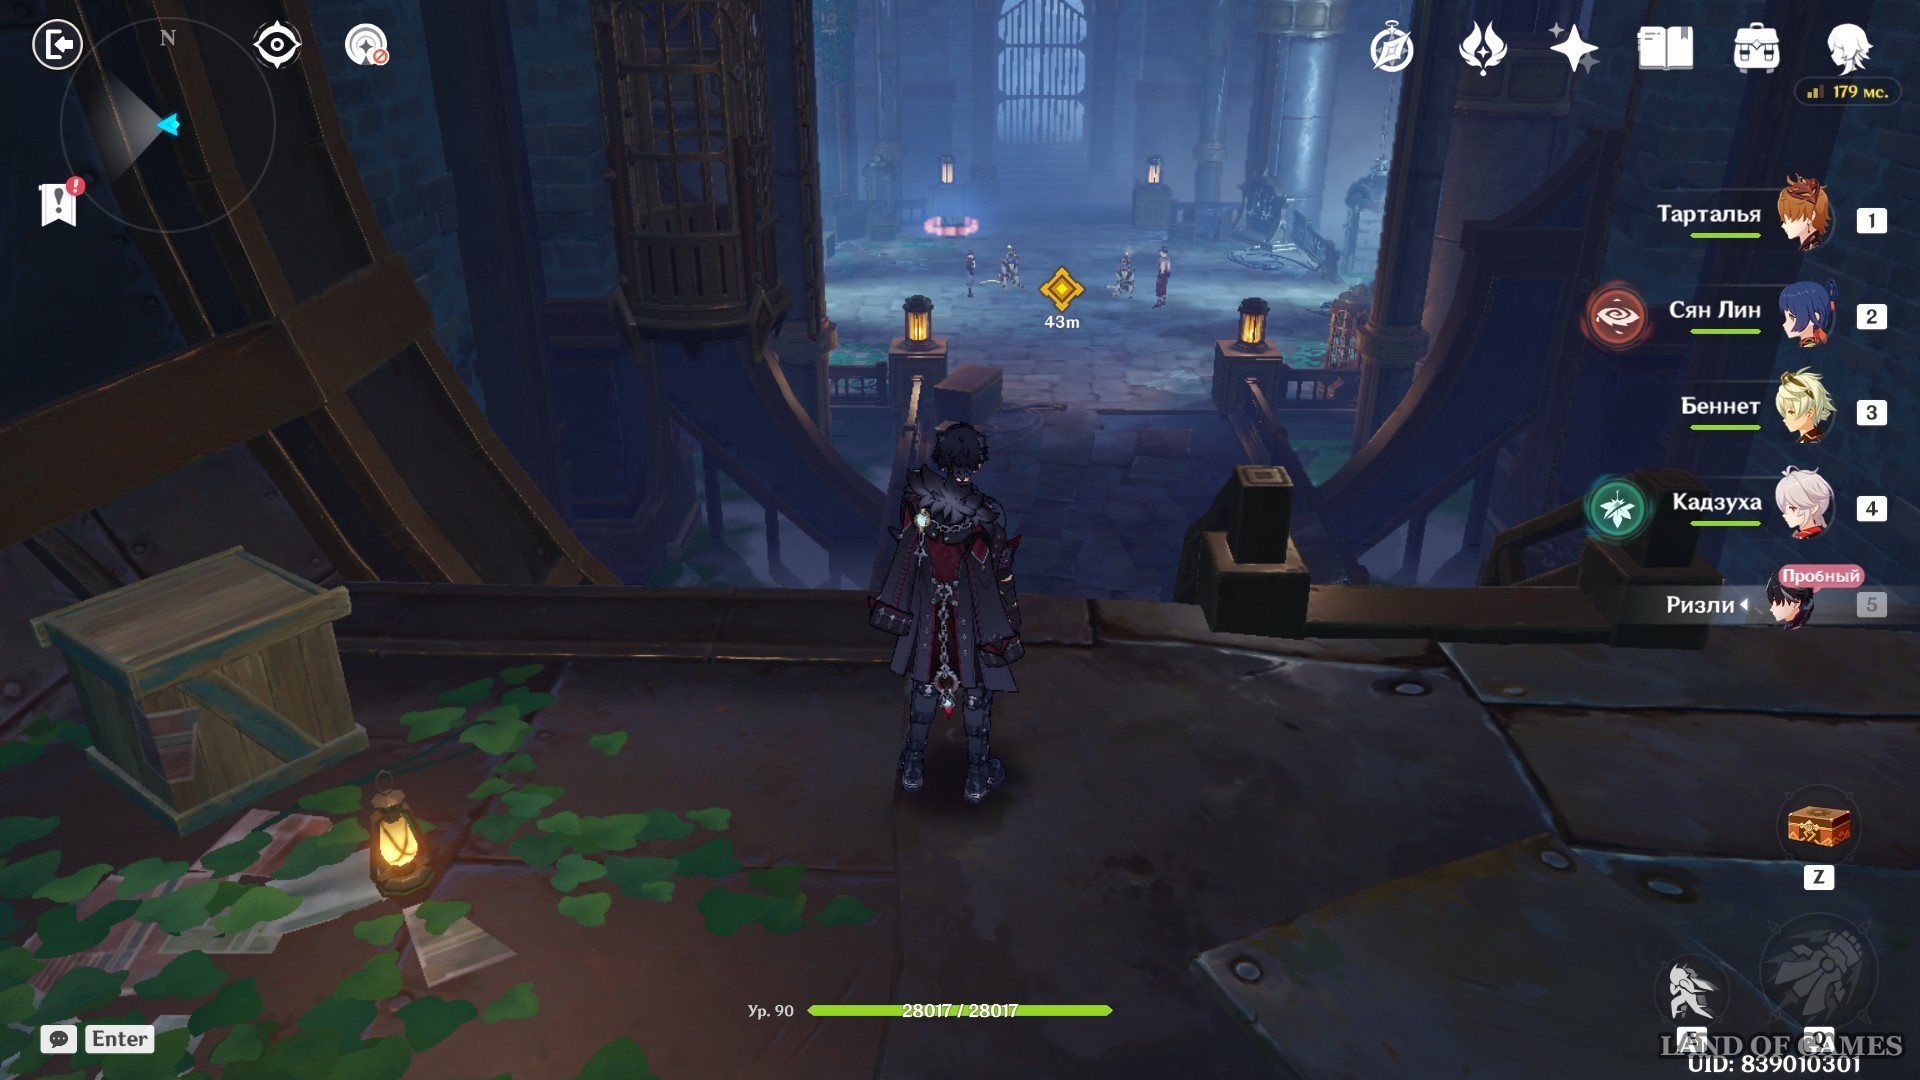
Inside, follow the passage until you see the first group of enemies. After the dialogue, do not forget to pick up the chest that will remain after the battle.
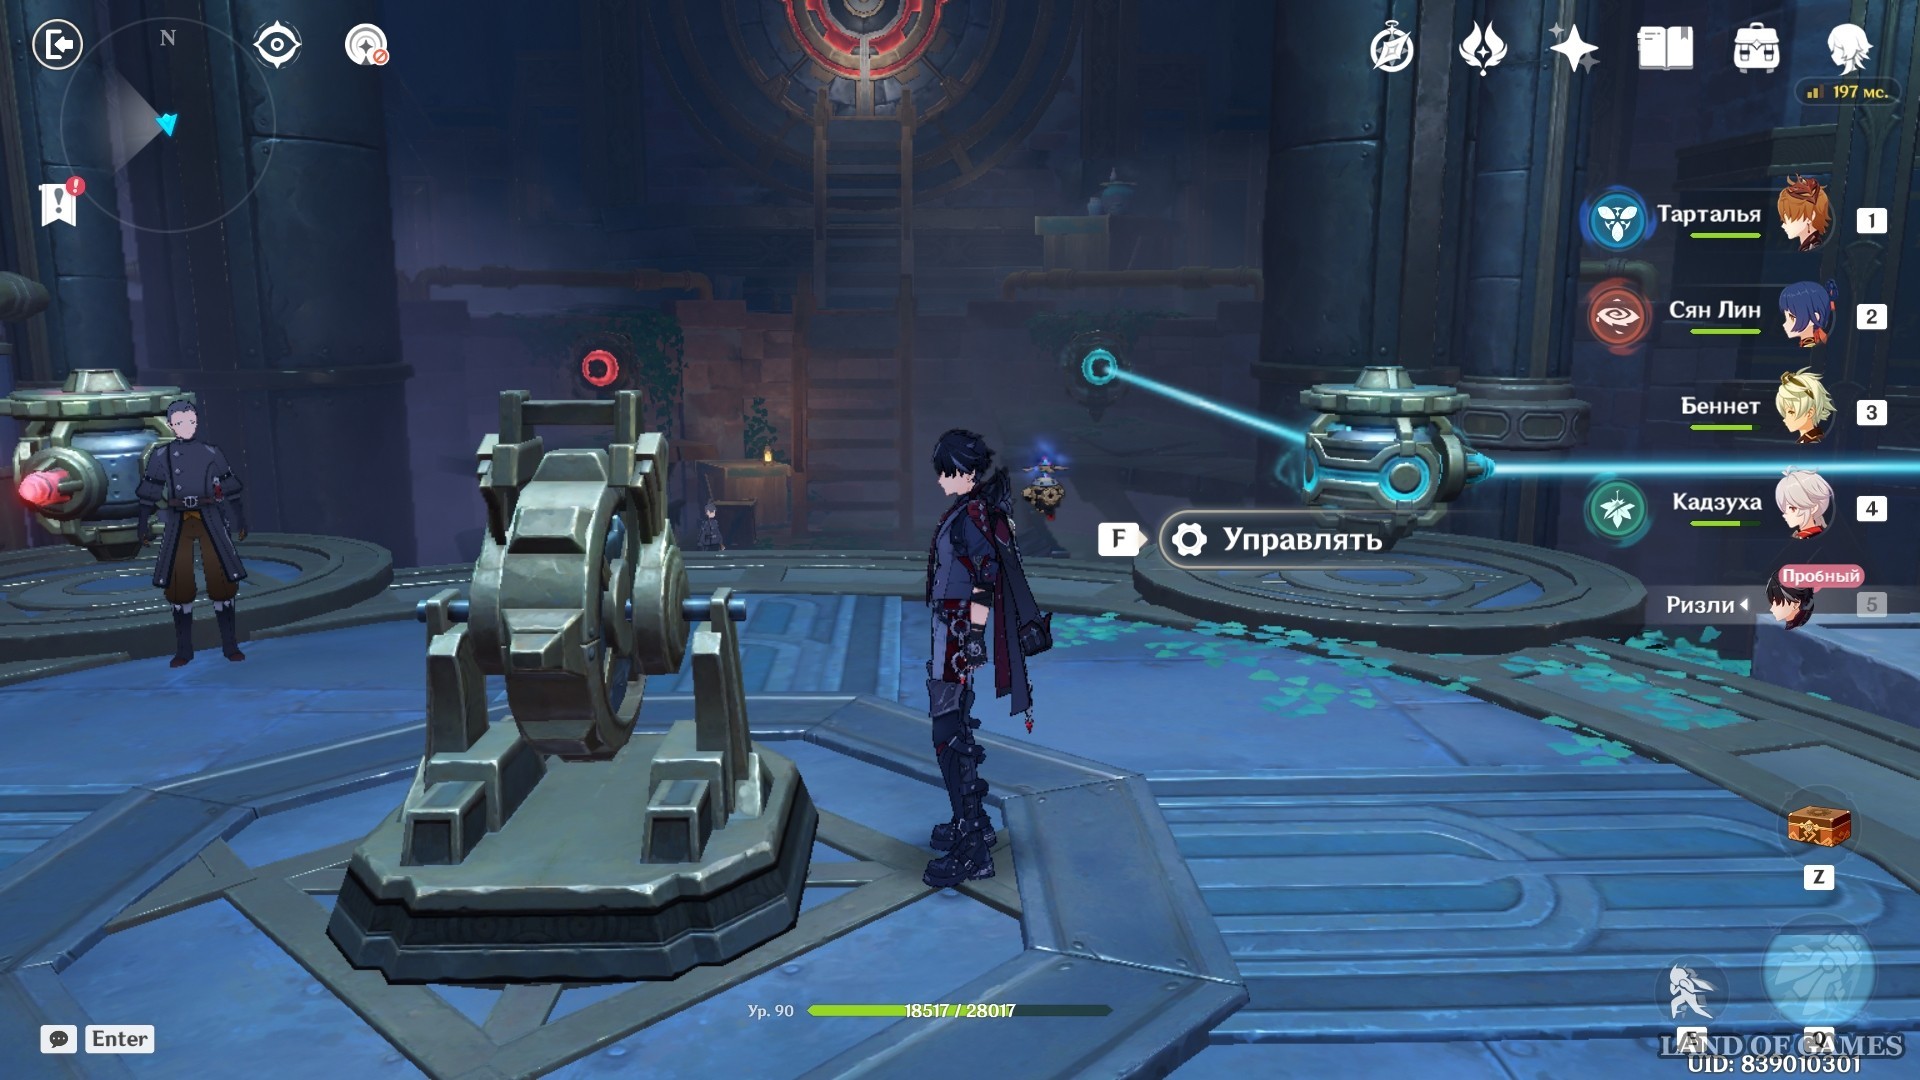
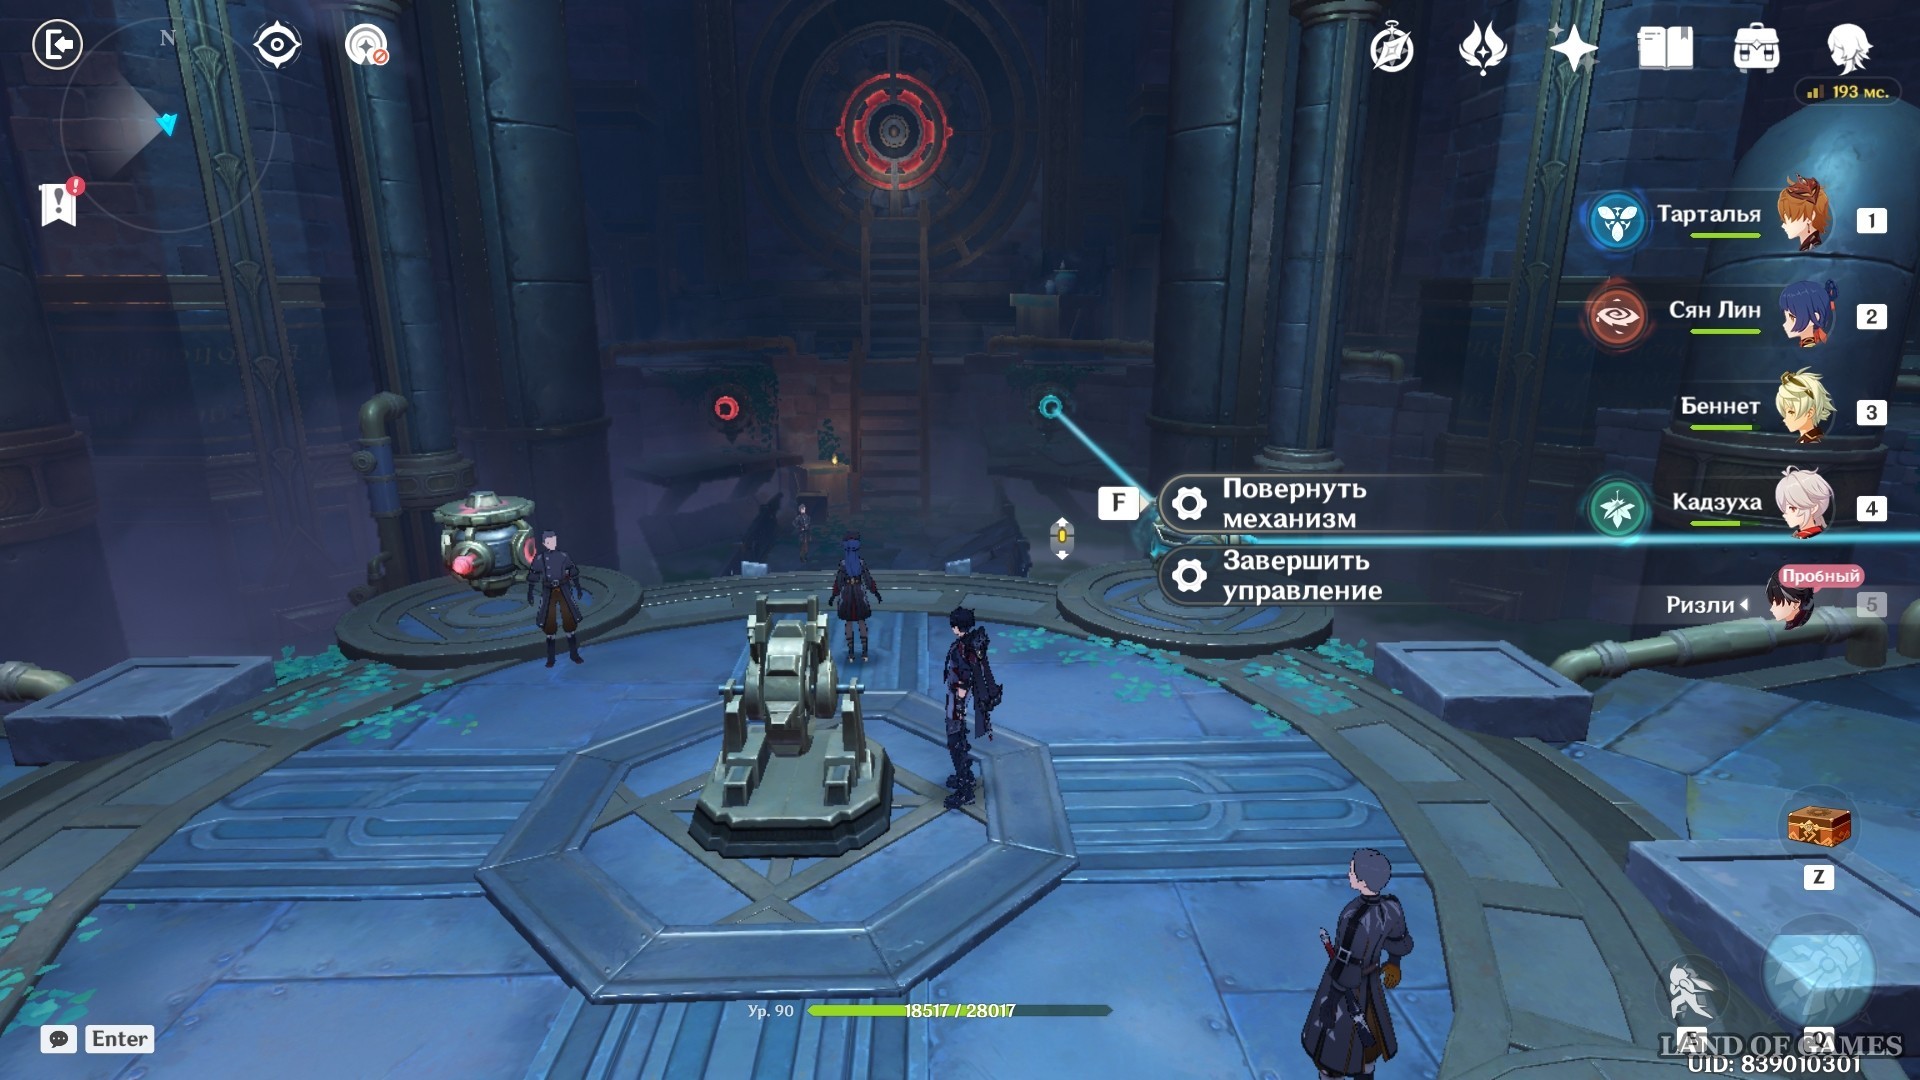
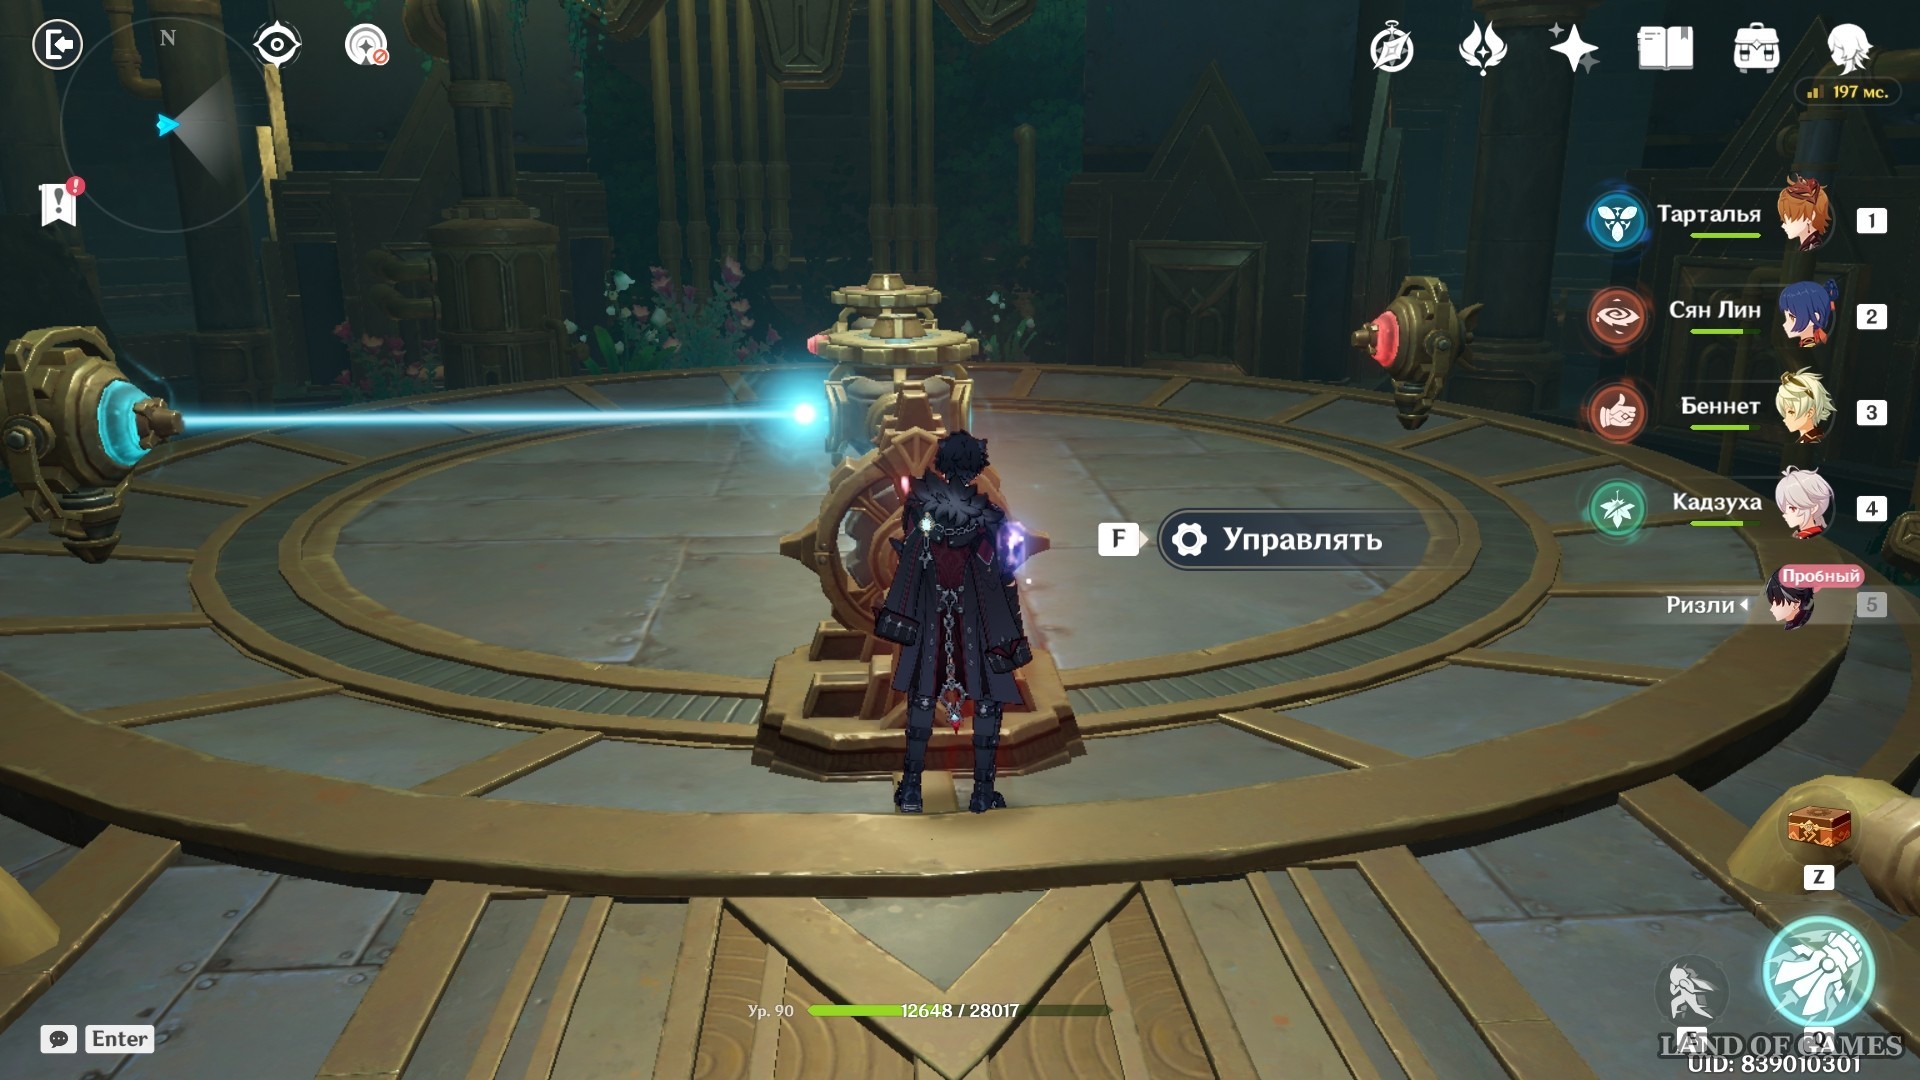
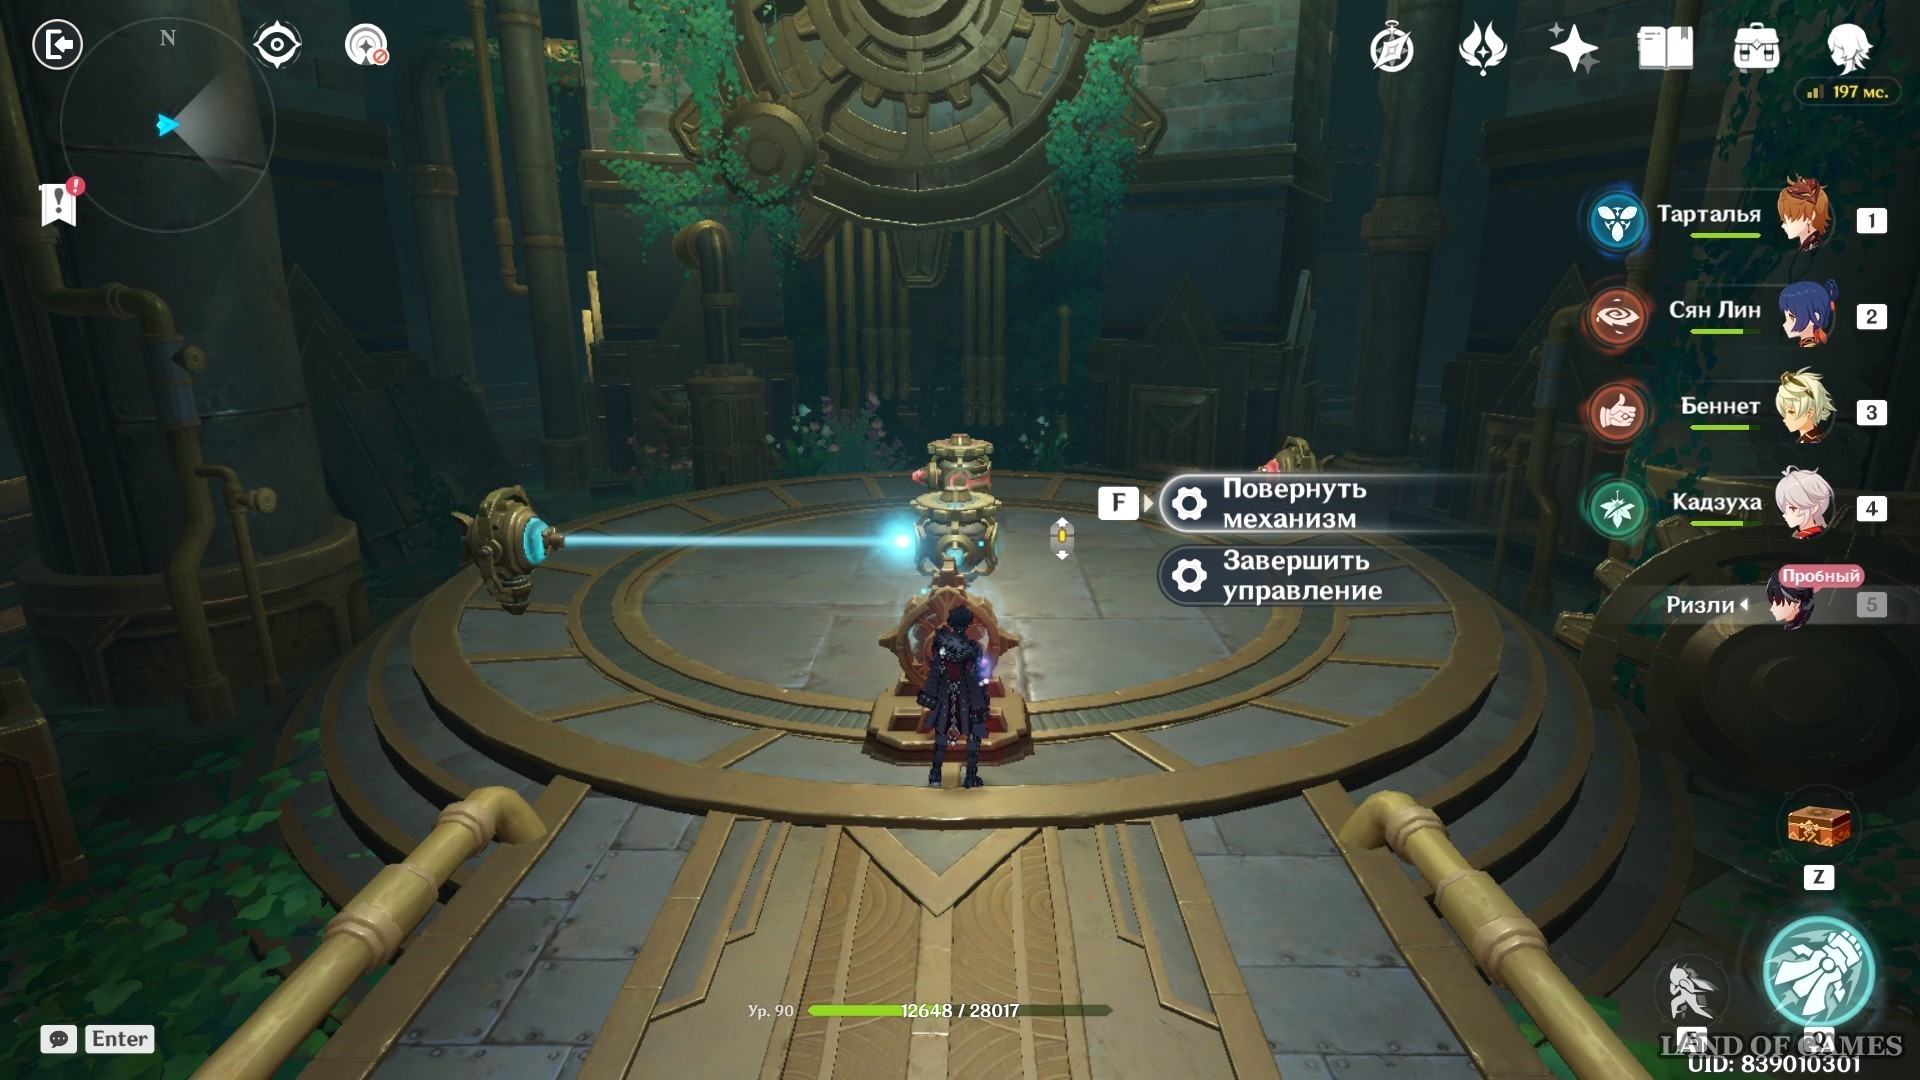
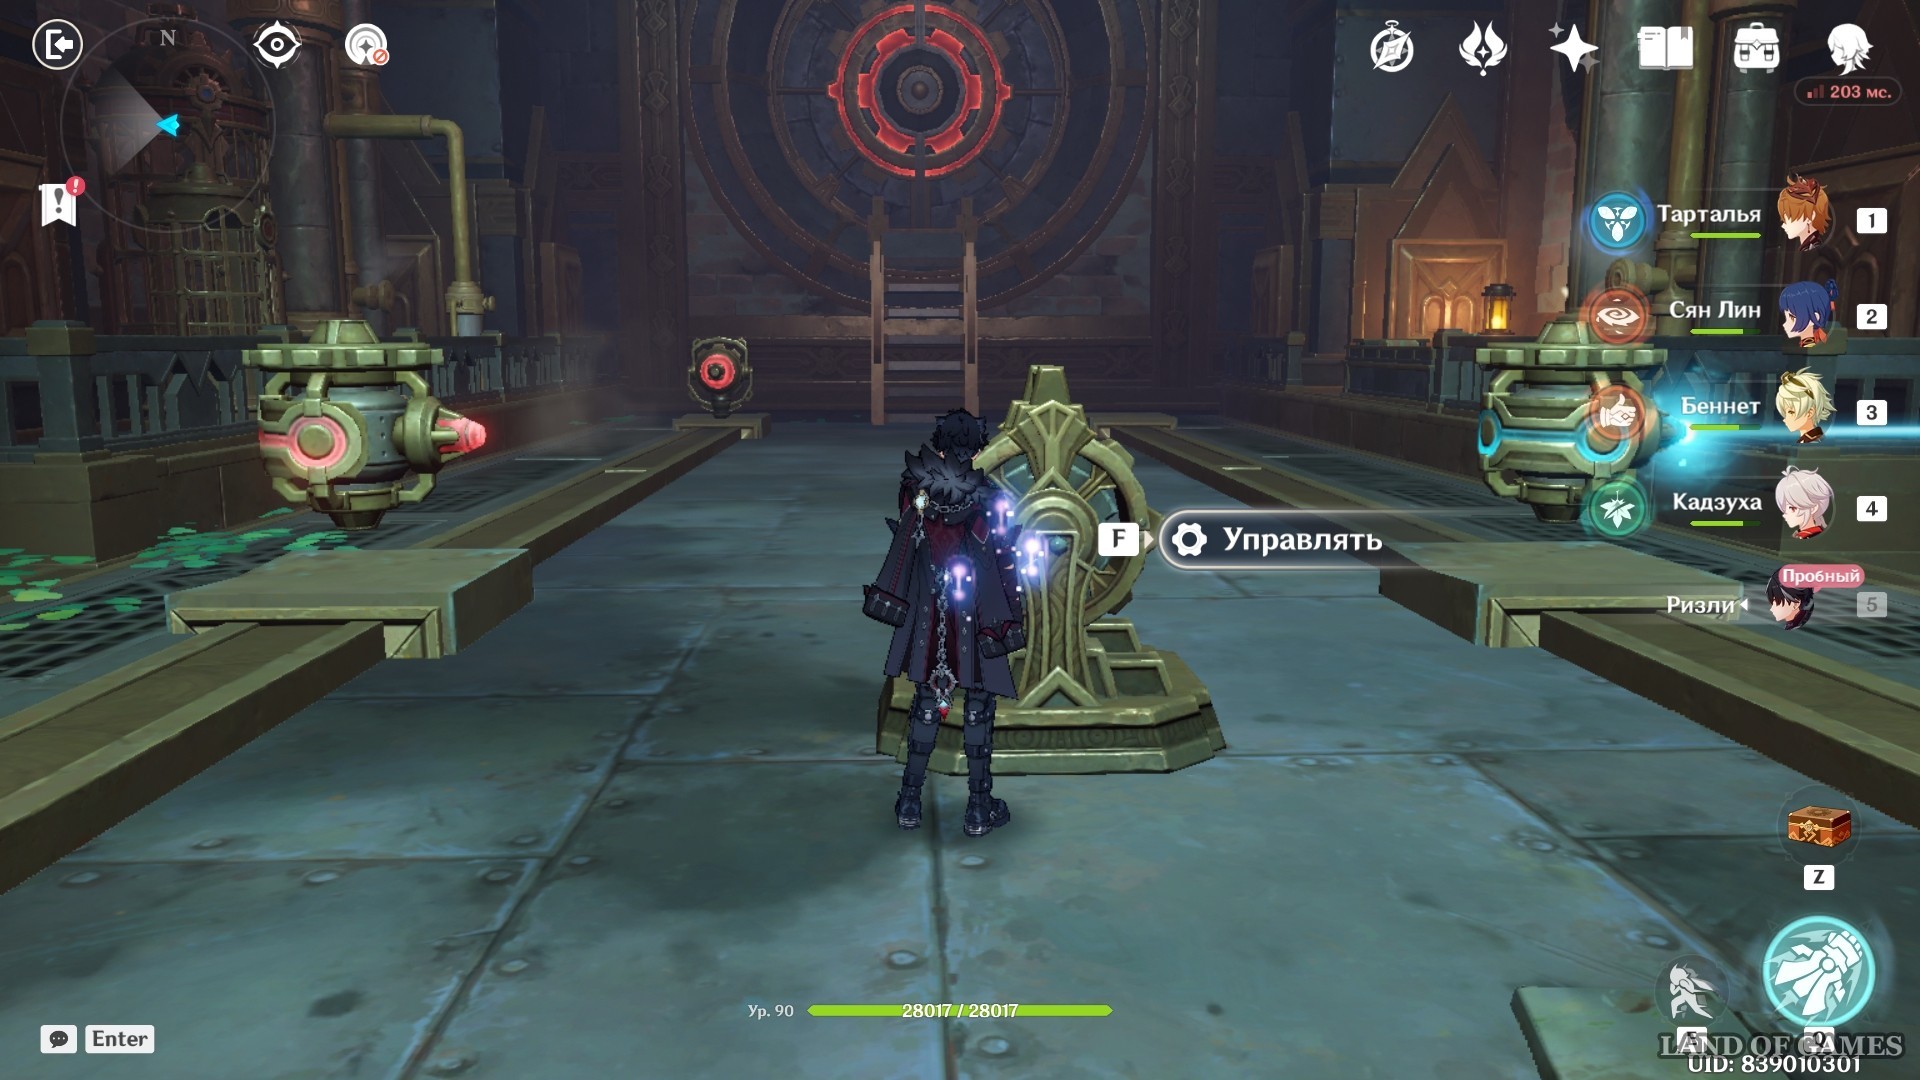
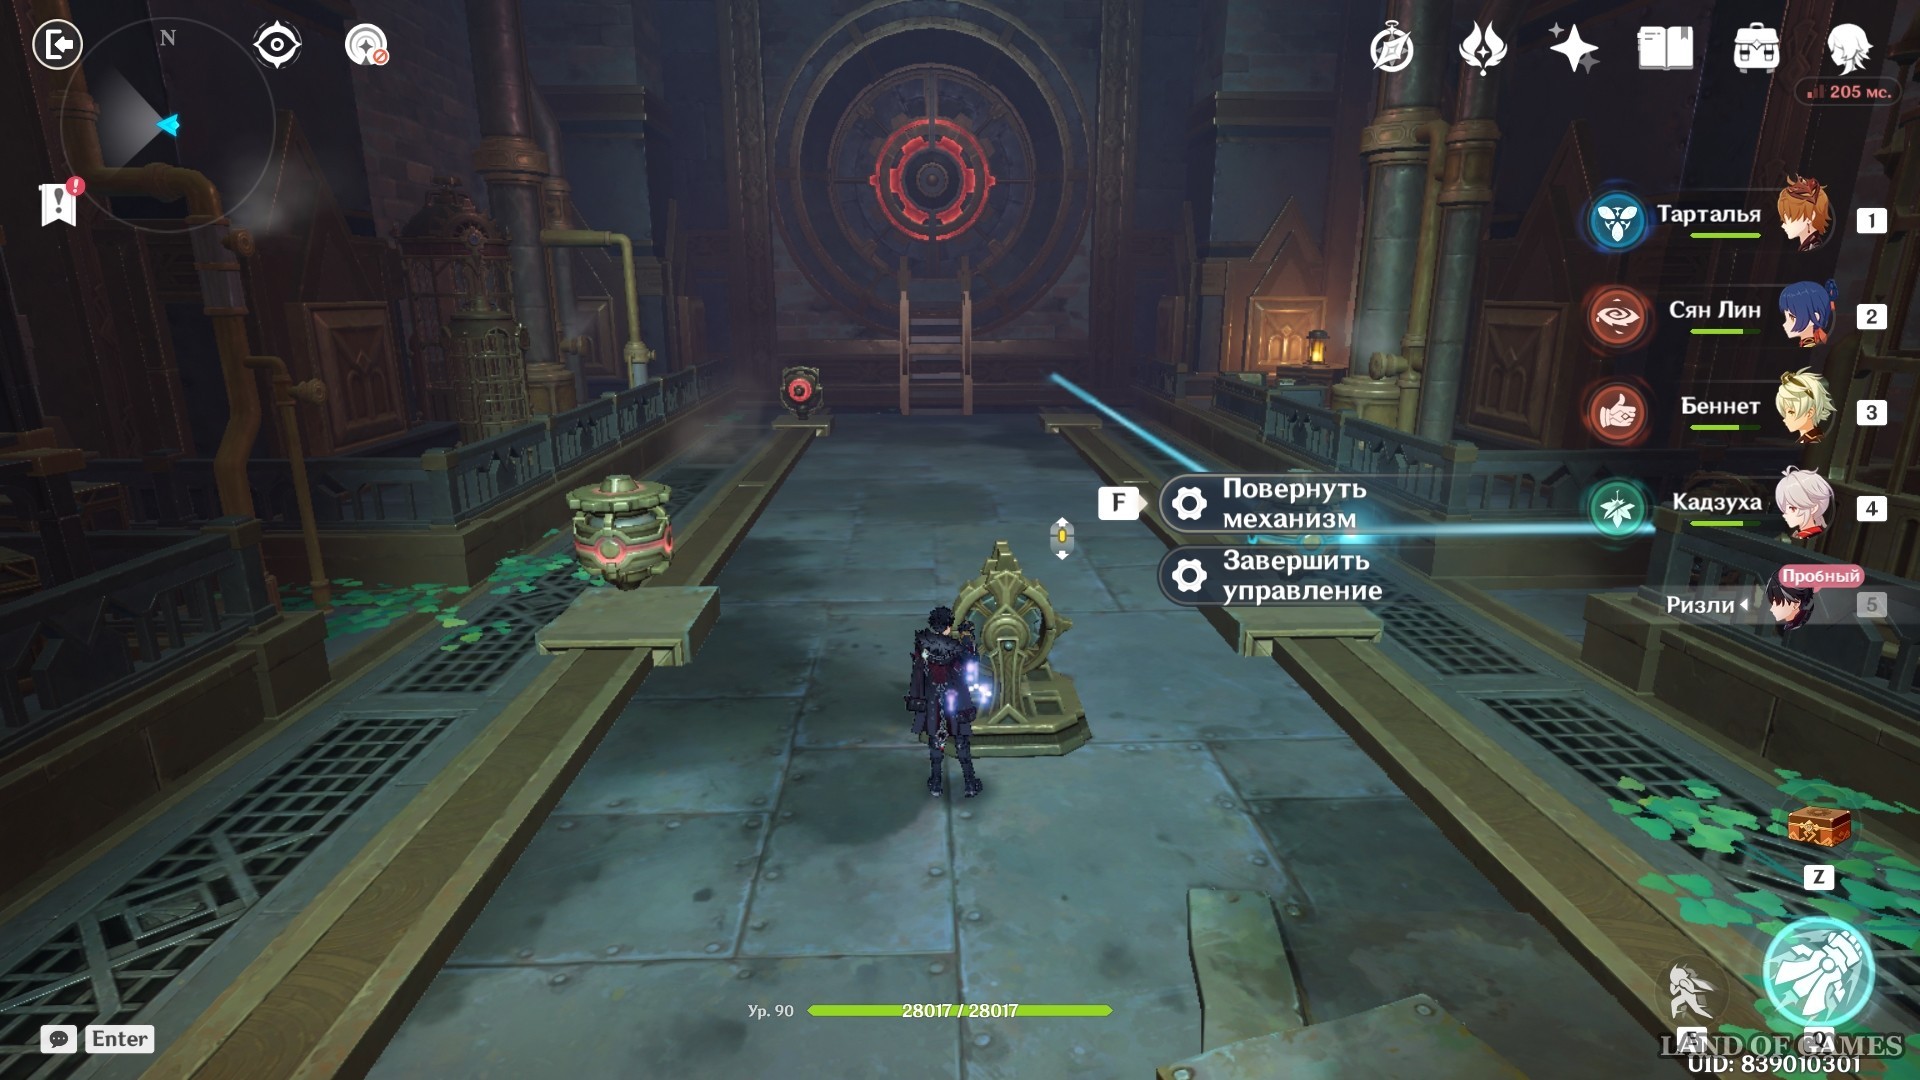
Continue along the corridors until you reach a room with a mechanism in the center. With its help, you will need to remove all the doors in the room. At first you can only open the right one. To do this, go to the wheel in the middle and press “manage”. Turn the mechanism twice, complete the adjustment and go into the opened corridor.
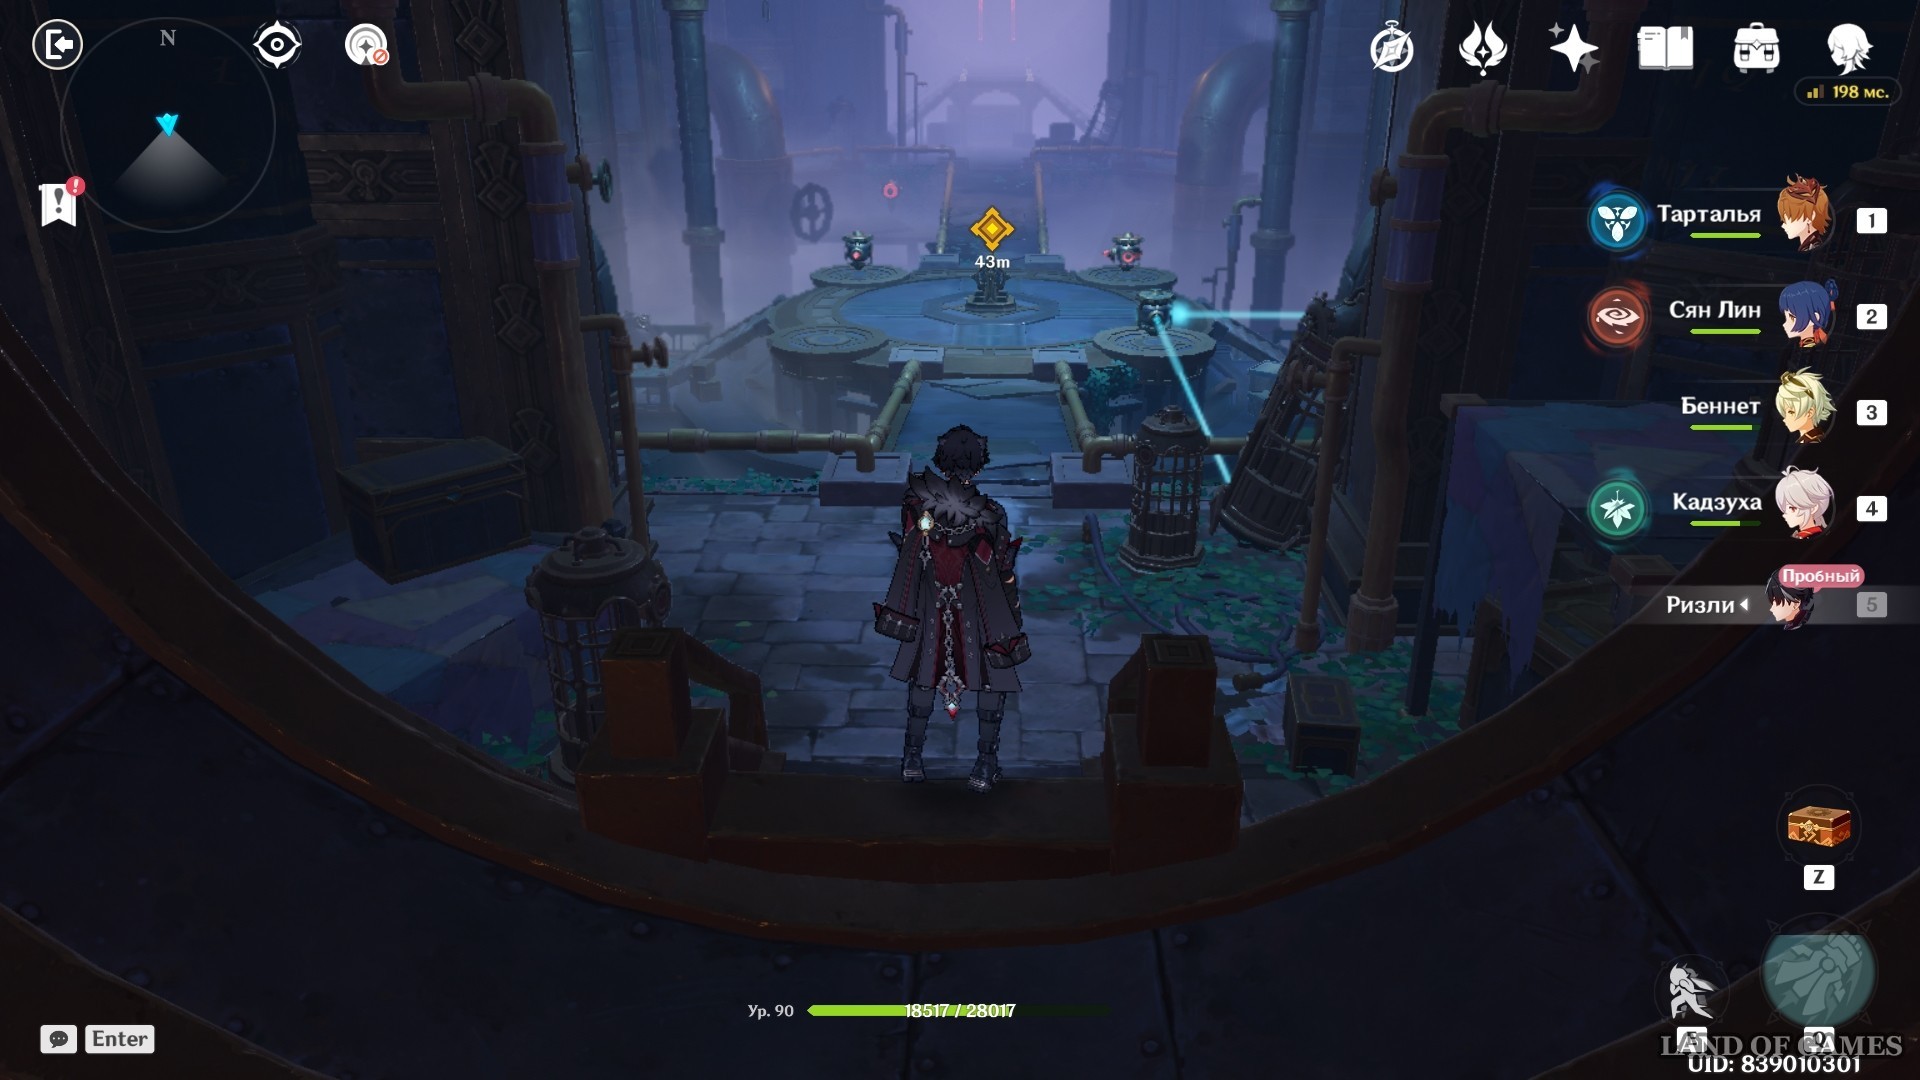
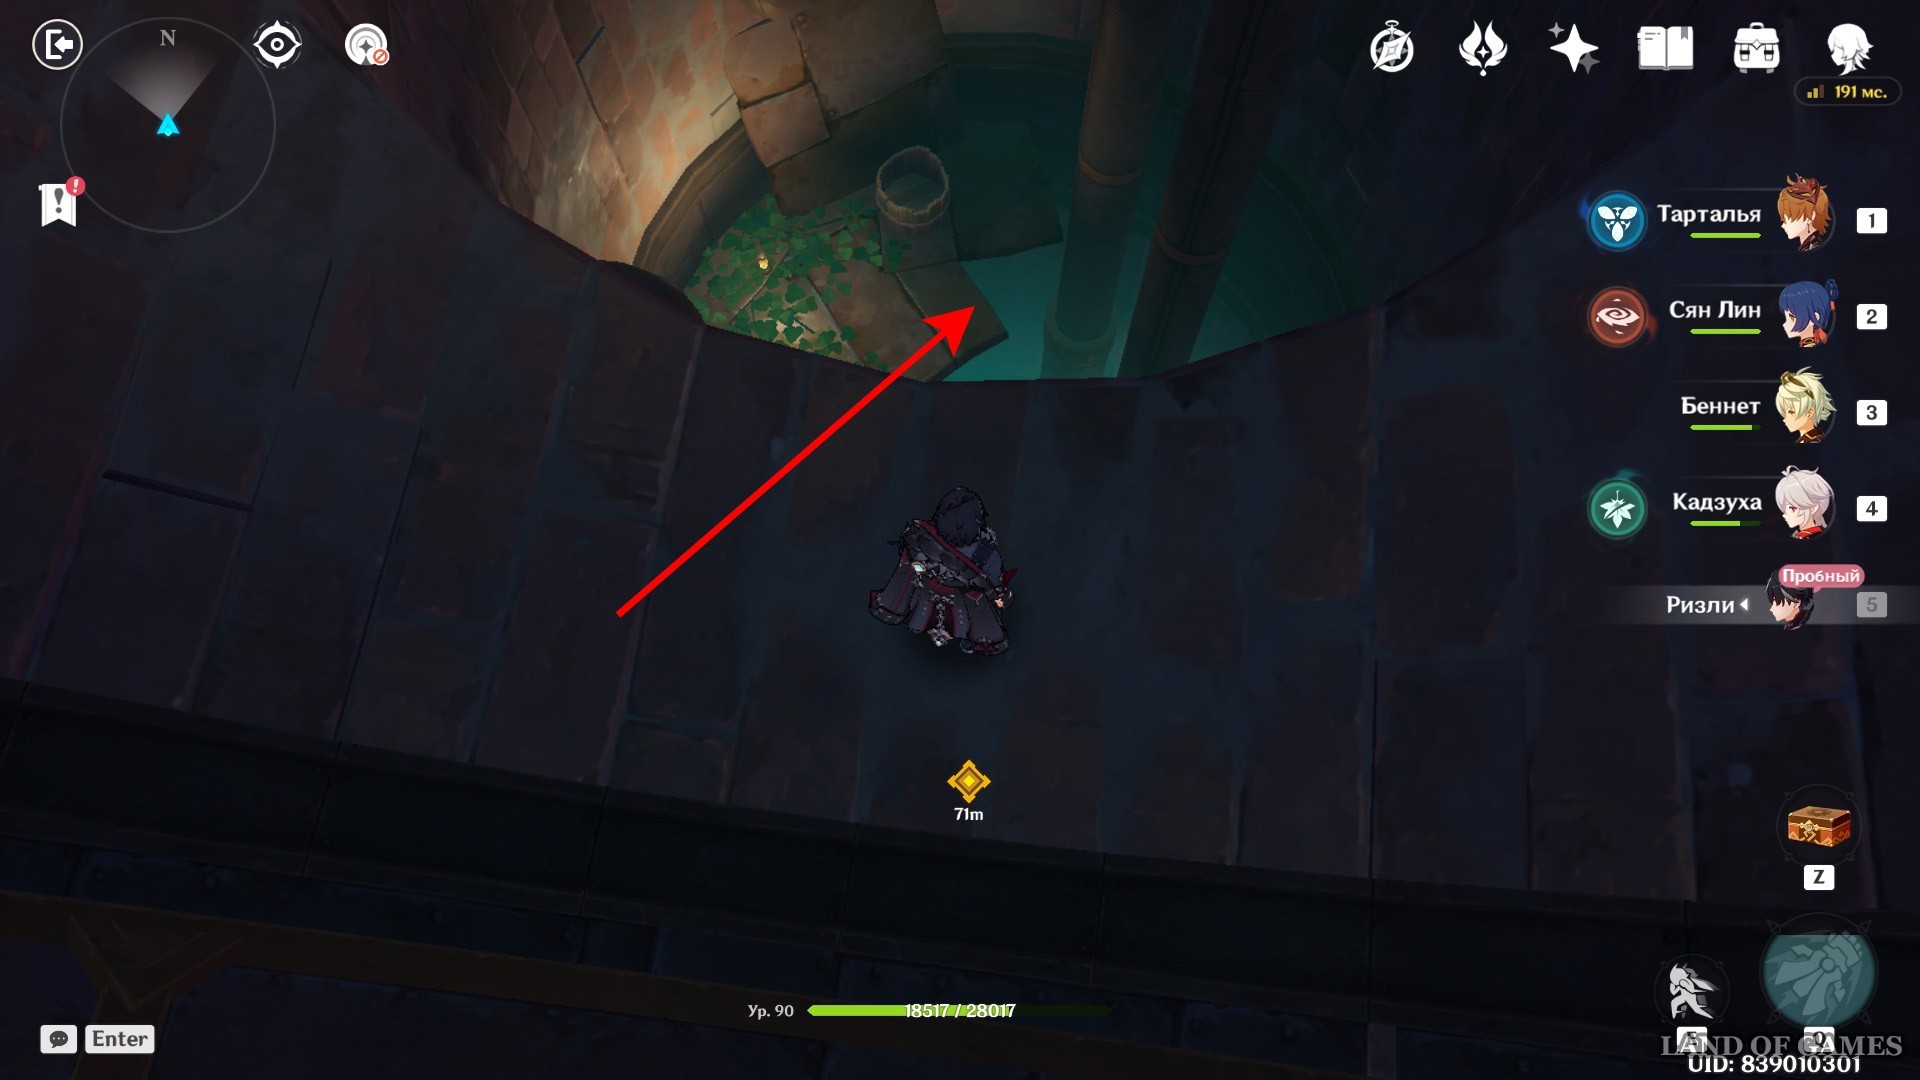
As you walk through the passages, you will notice an ordinary chest on your way. Move on. In one place the passage ends, so you will have to jump down.
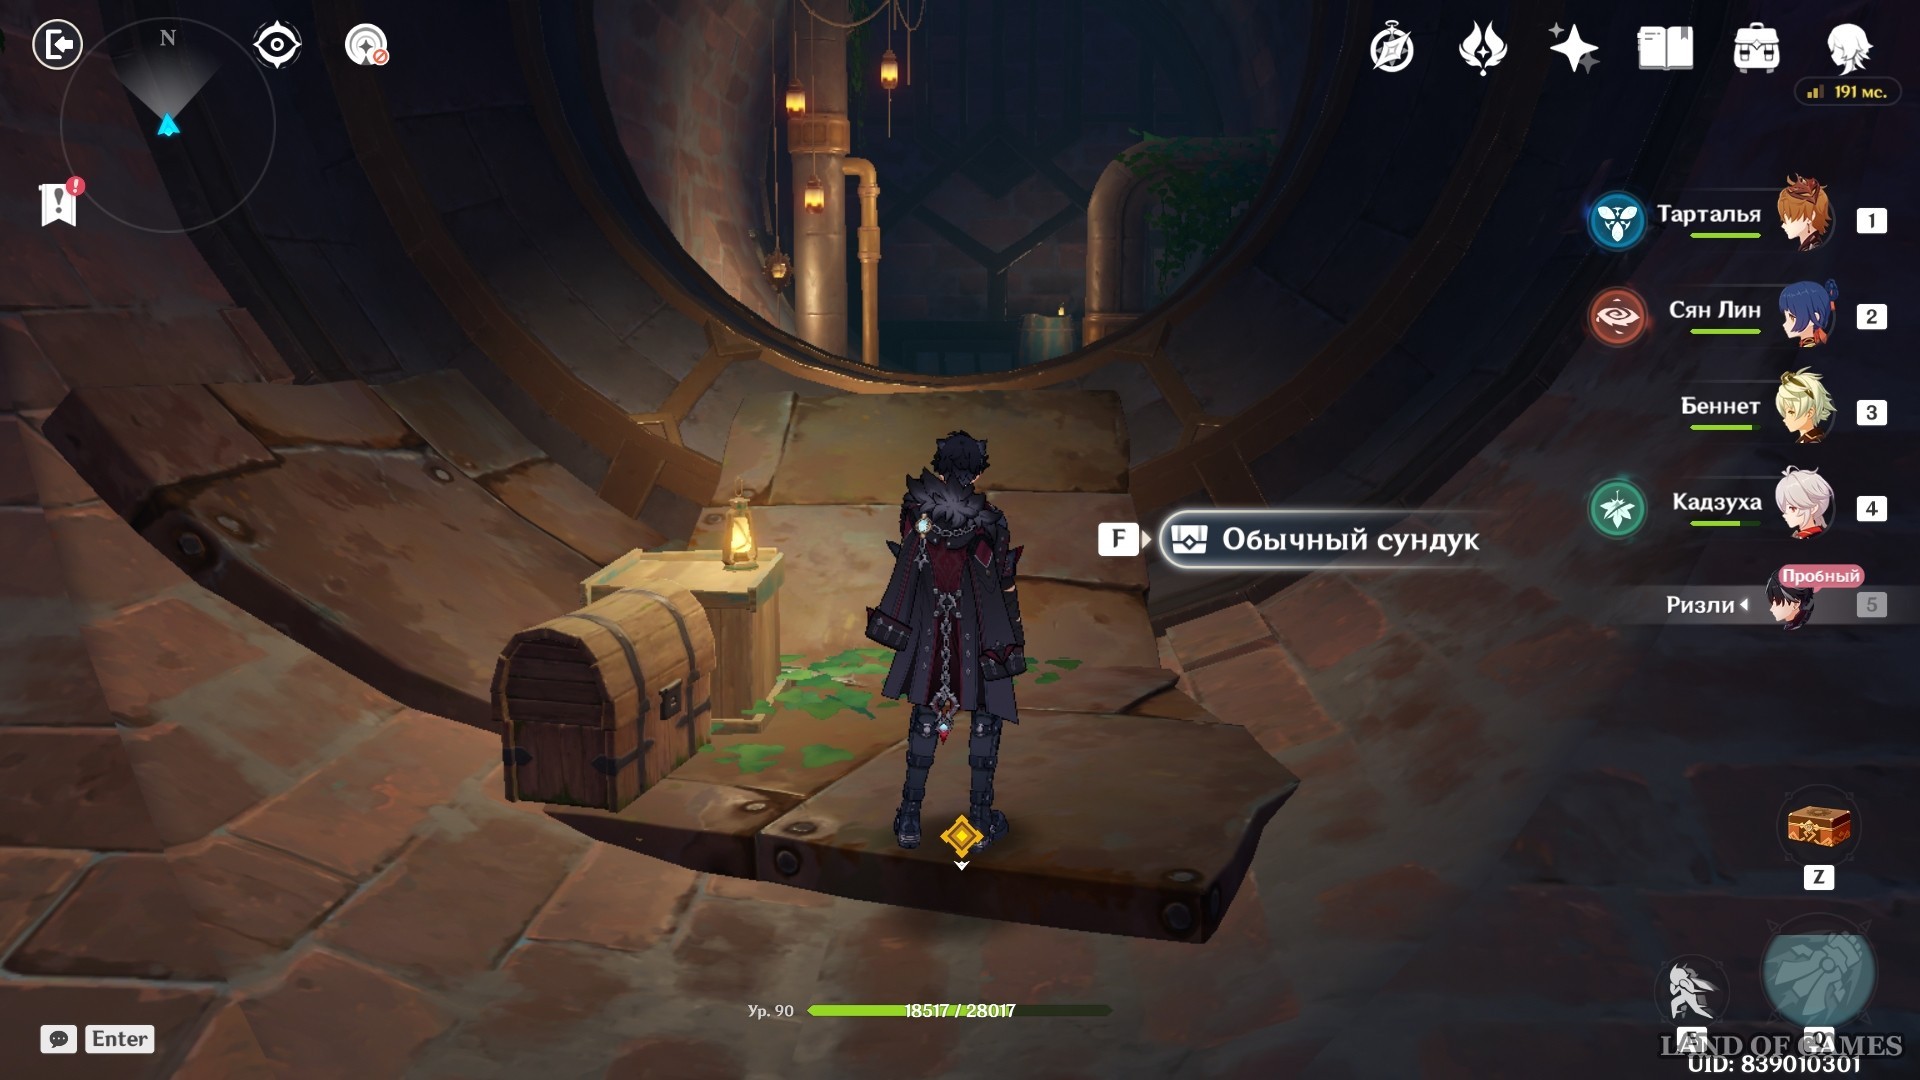
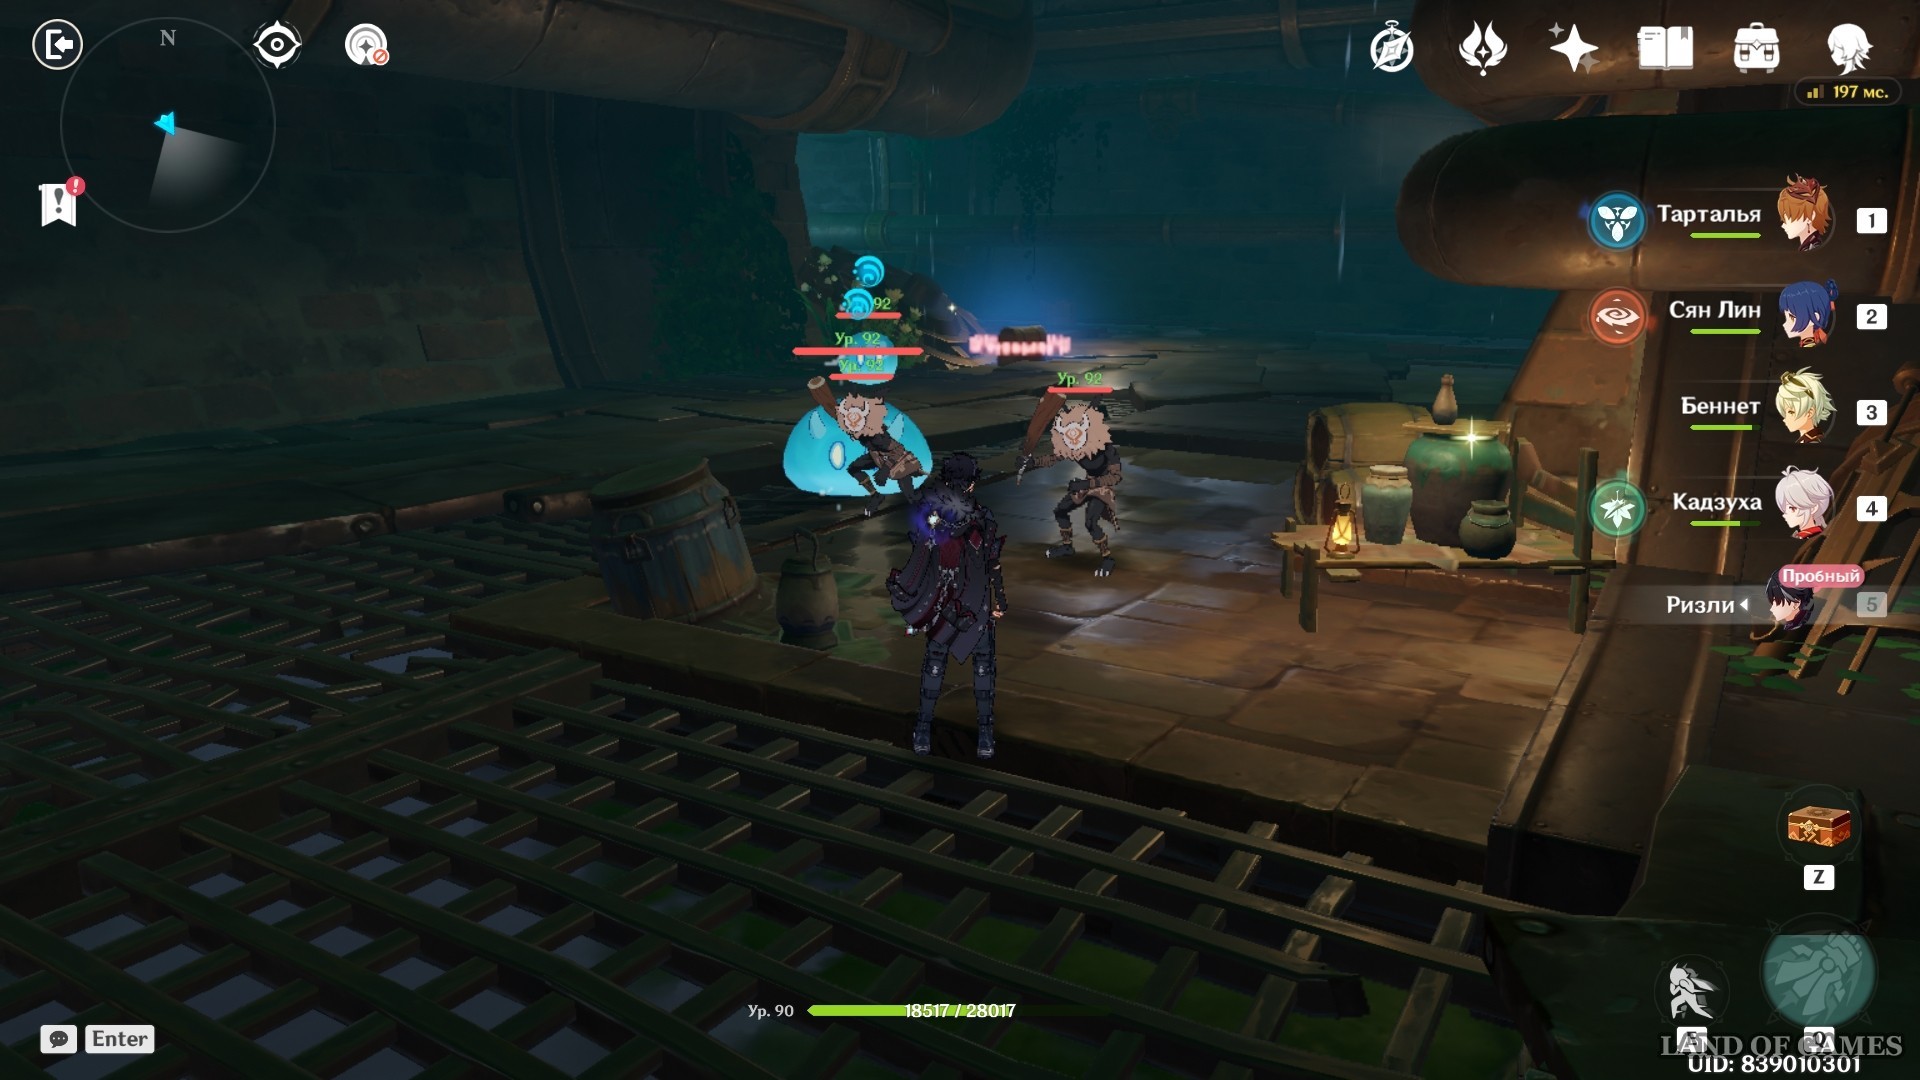
First you will meet a group of enemies guarding an ordinary chest, and then a rich one. Be careful: a Hilichurl hilichurl will appear in the second wave of monsters guarding The Final Treasure .
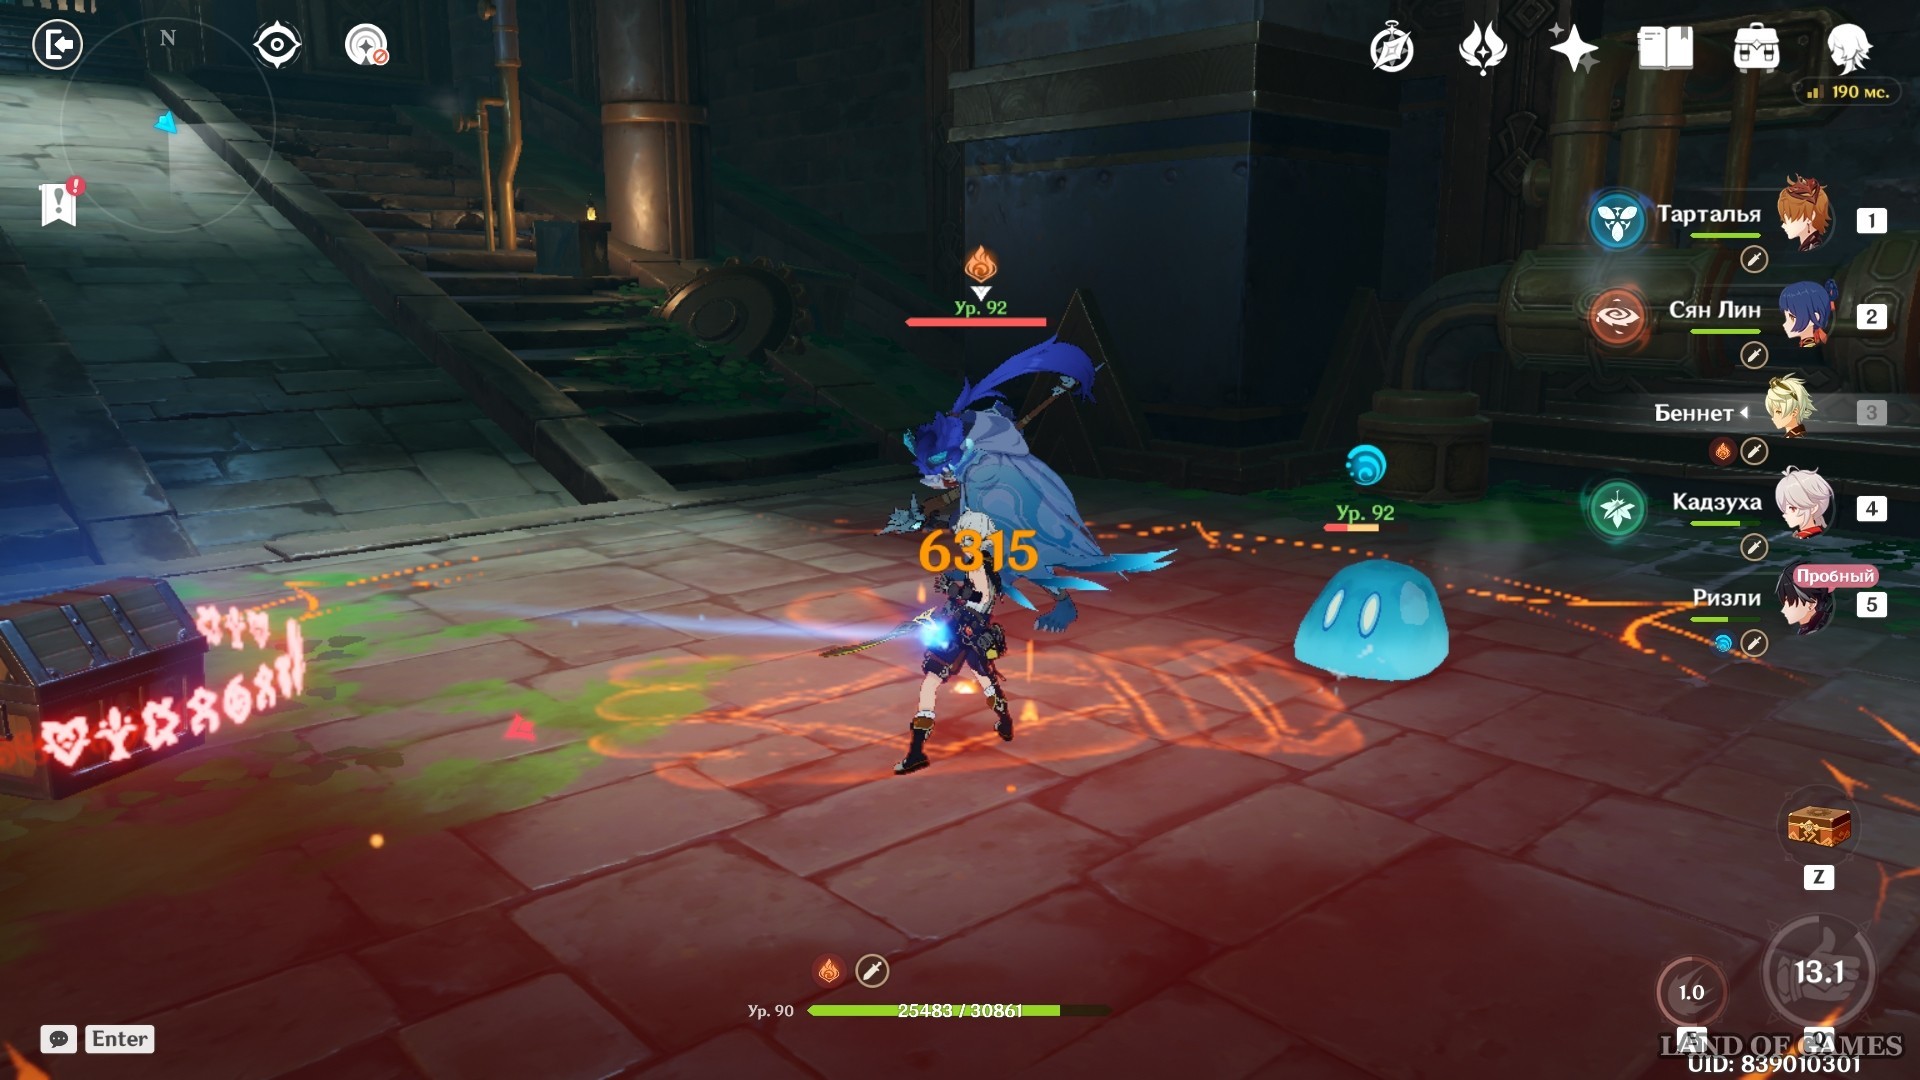
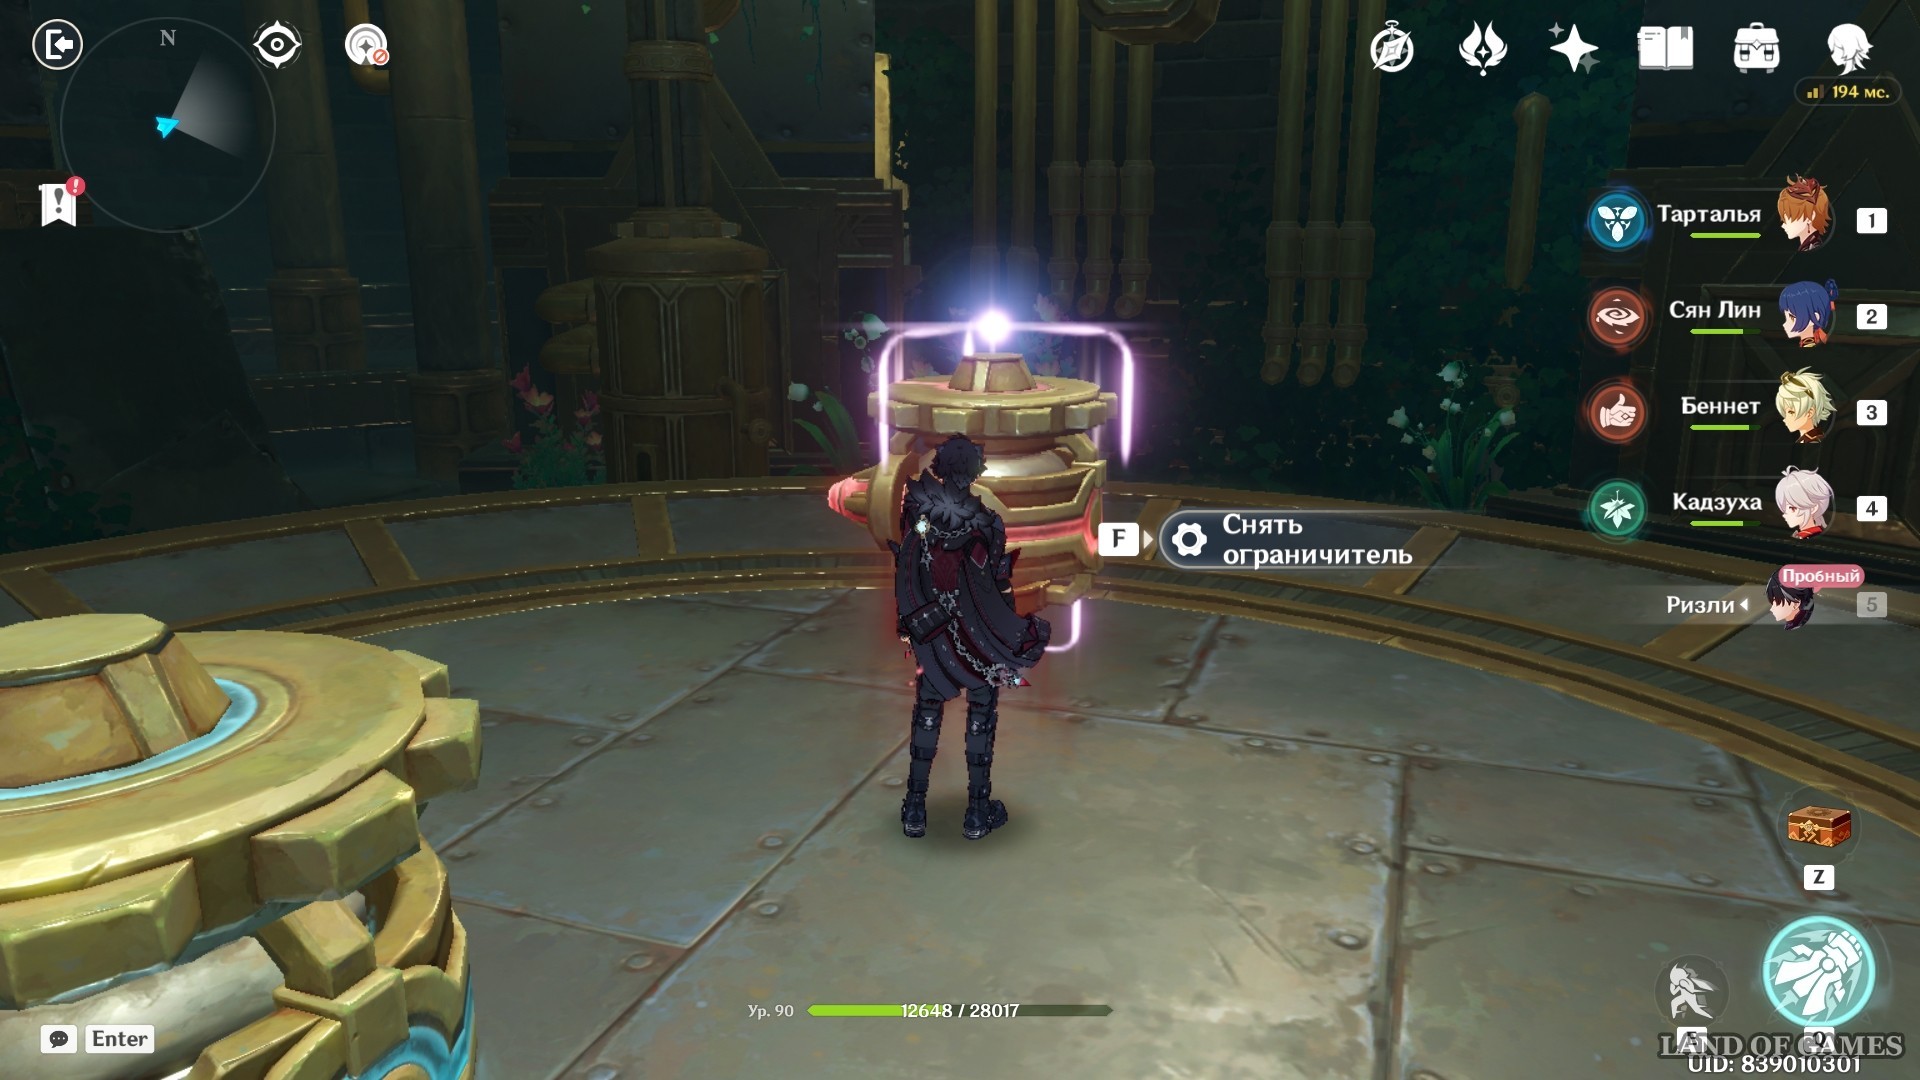
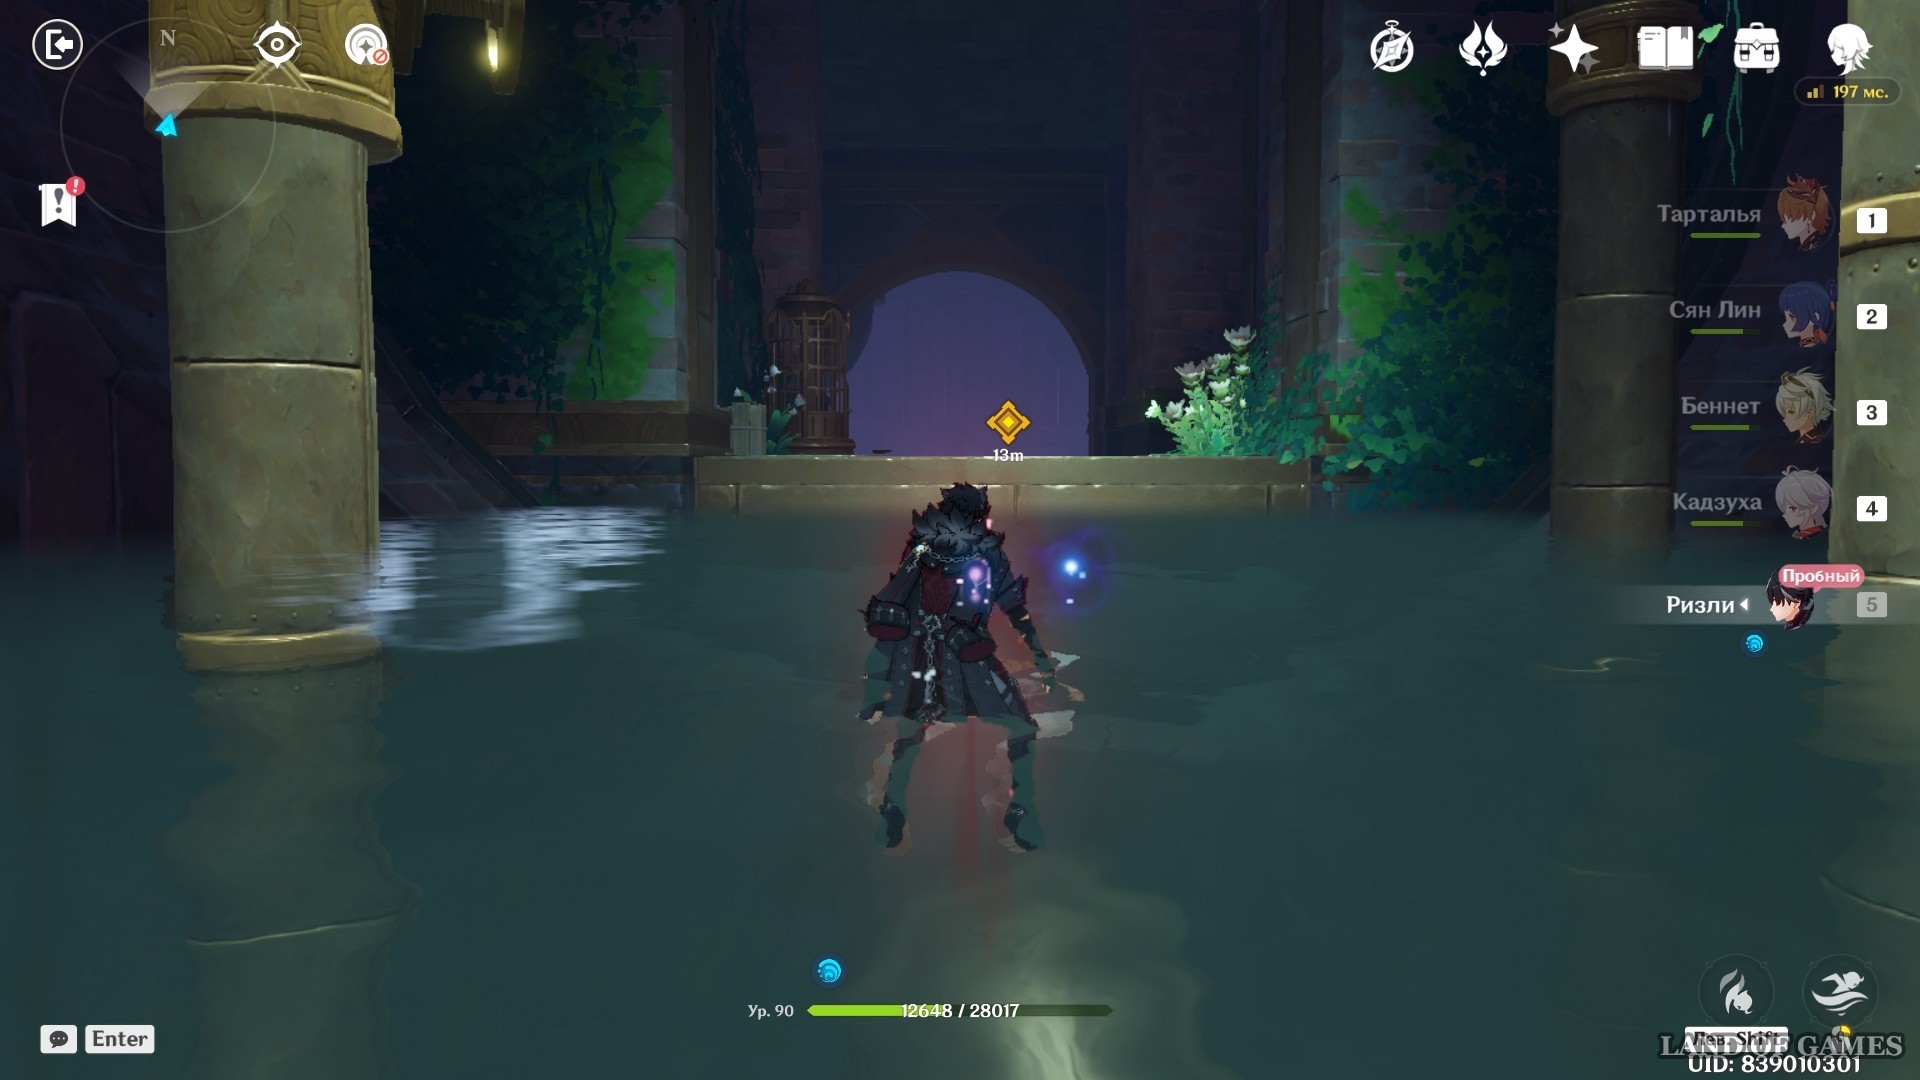
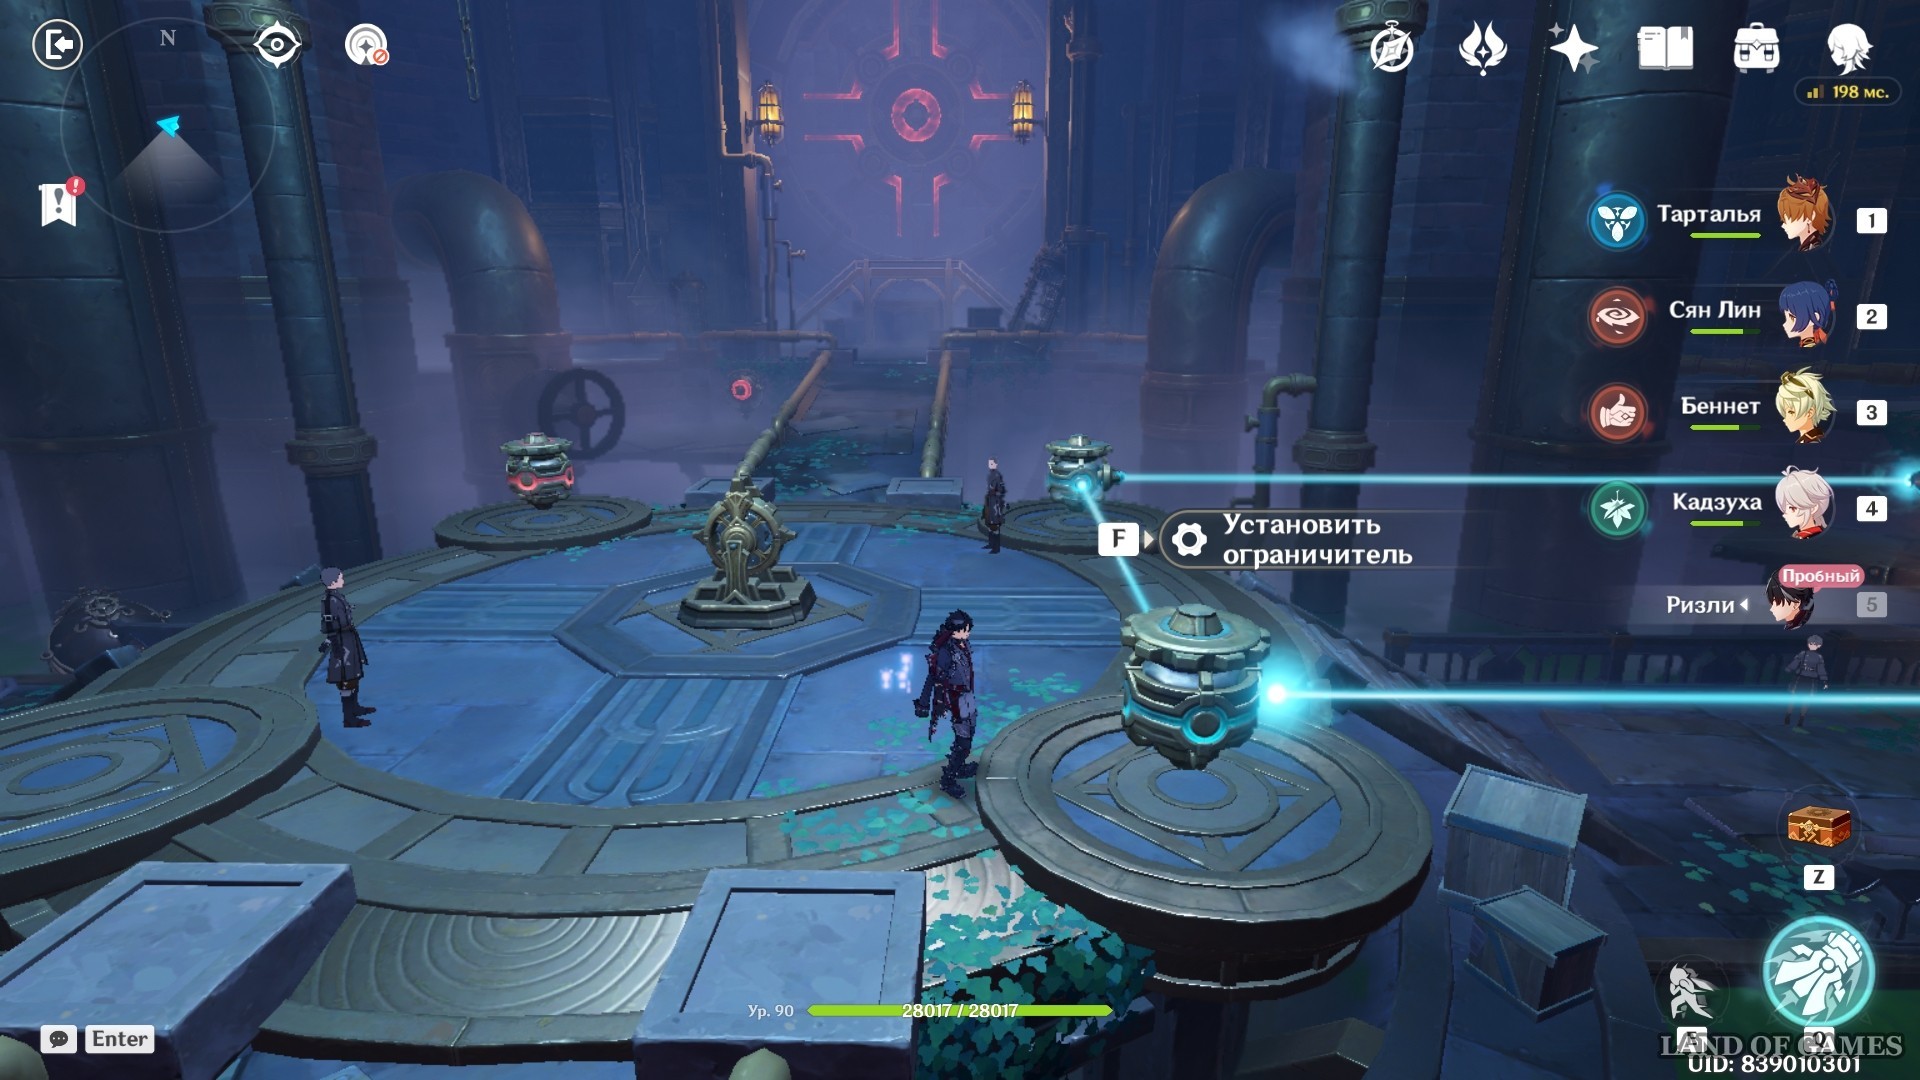
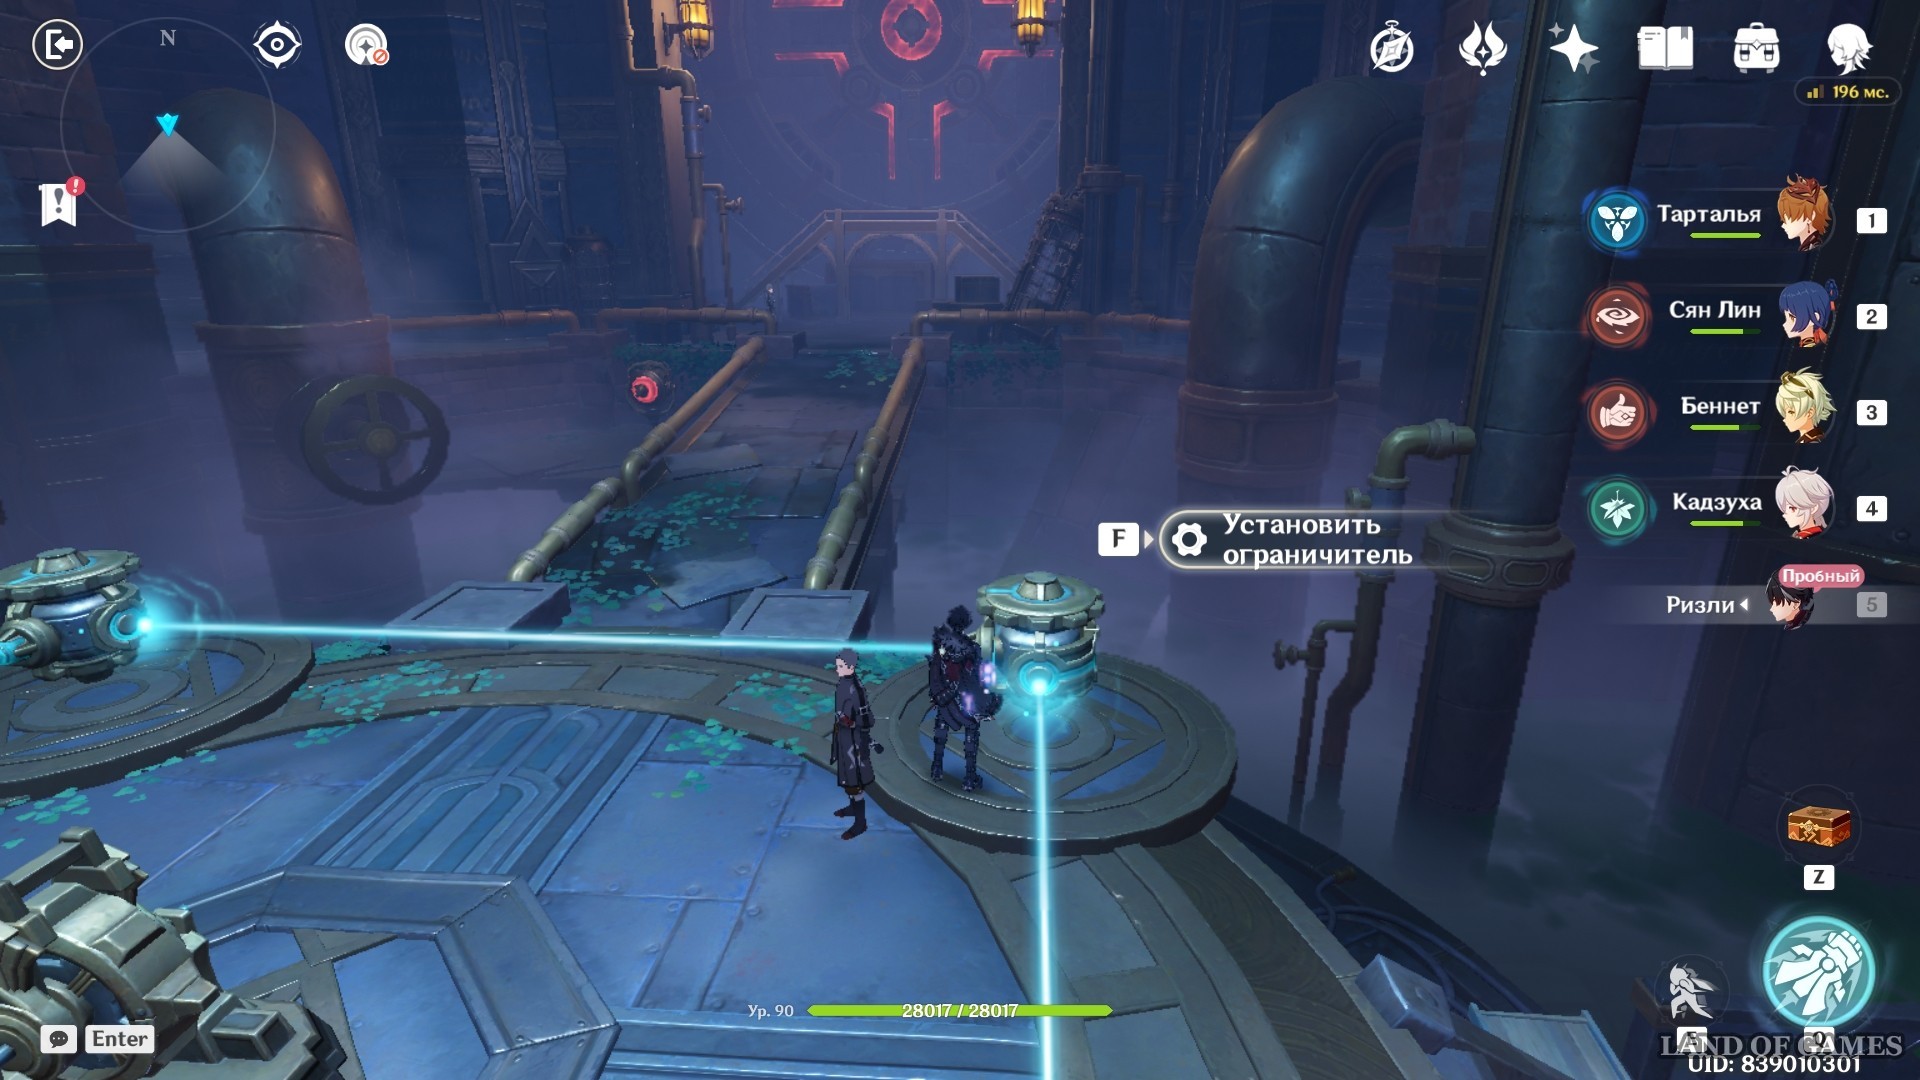
You'll eventually end up in a room with a new puzzle. First, remove the limiter from the red mechanism surrounded by the purple cage. Then go to the steering wheel. Turn it twice. The water will immediately begin to rise, which will take you to the top.
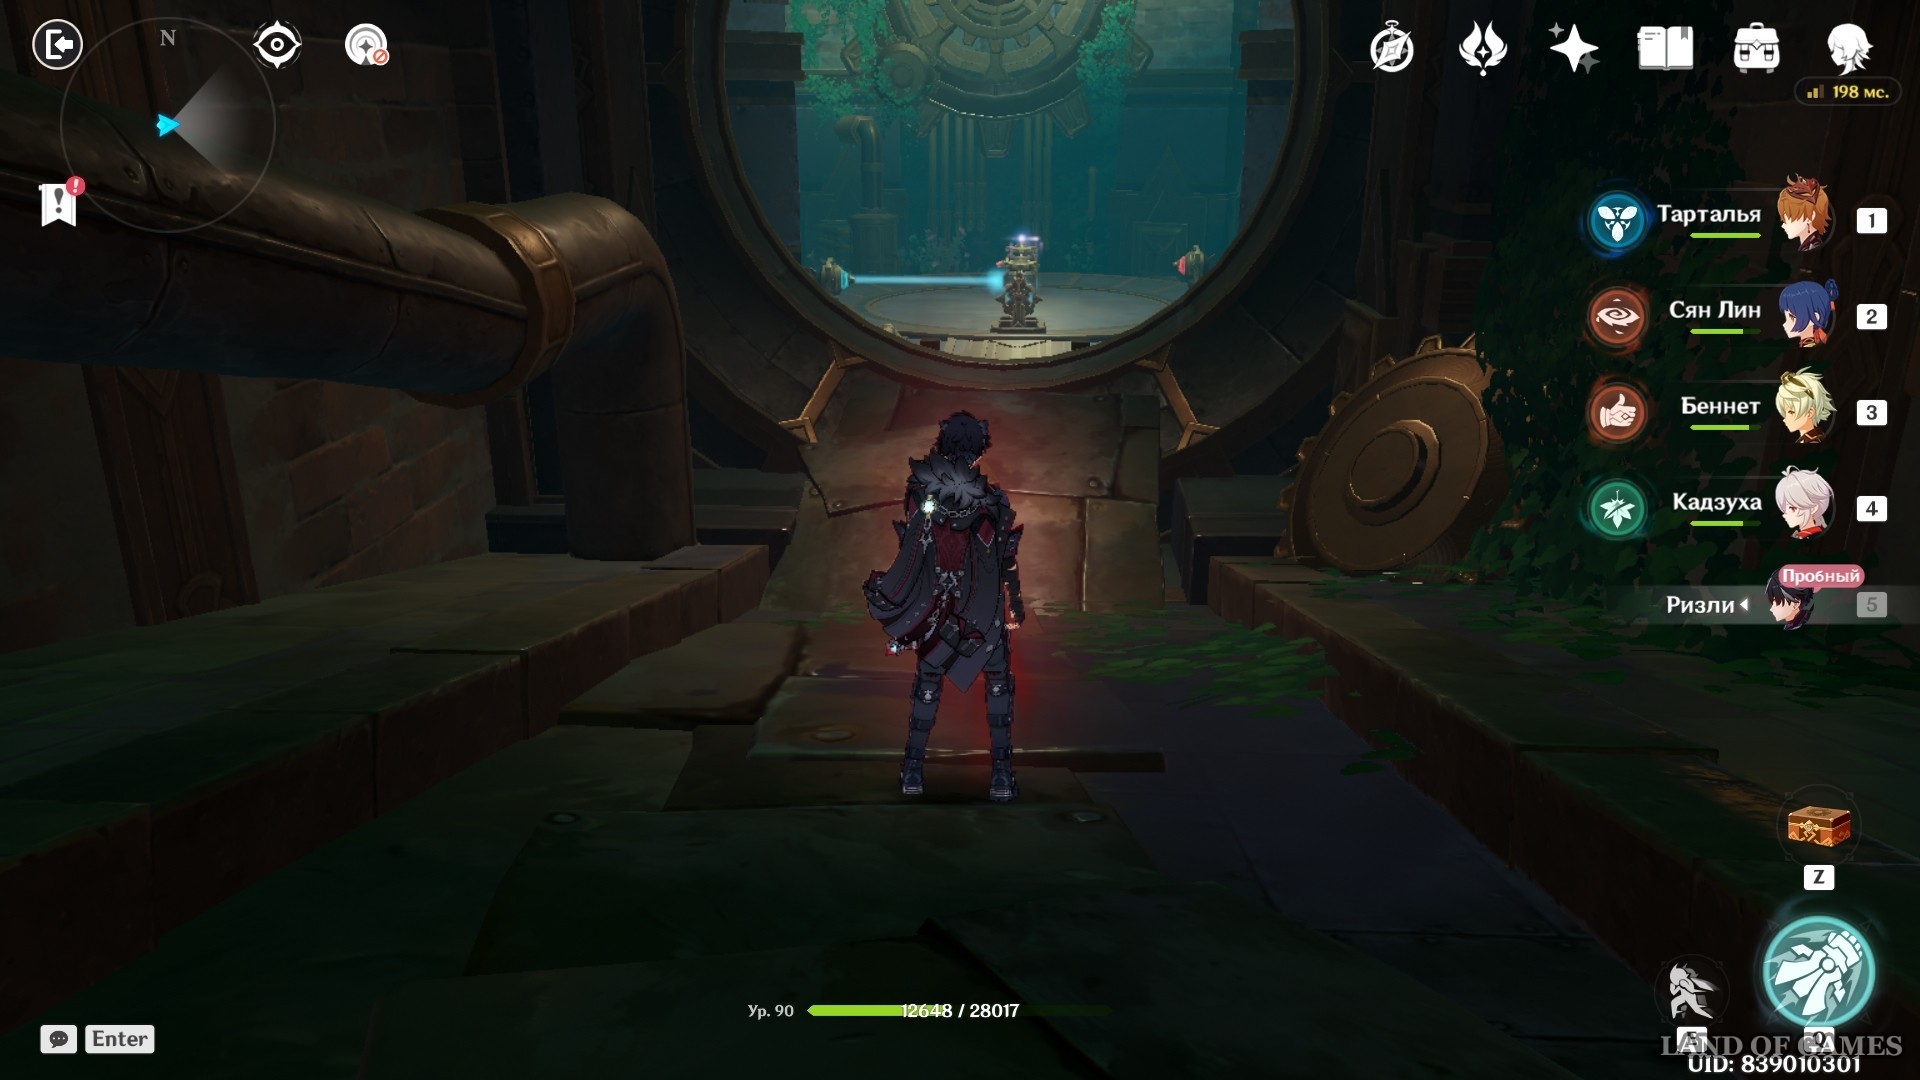
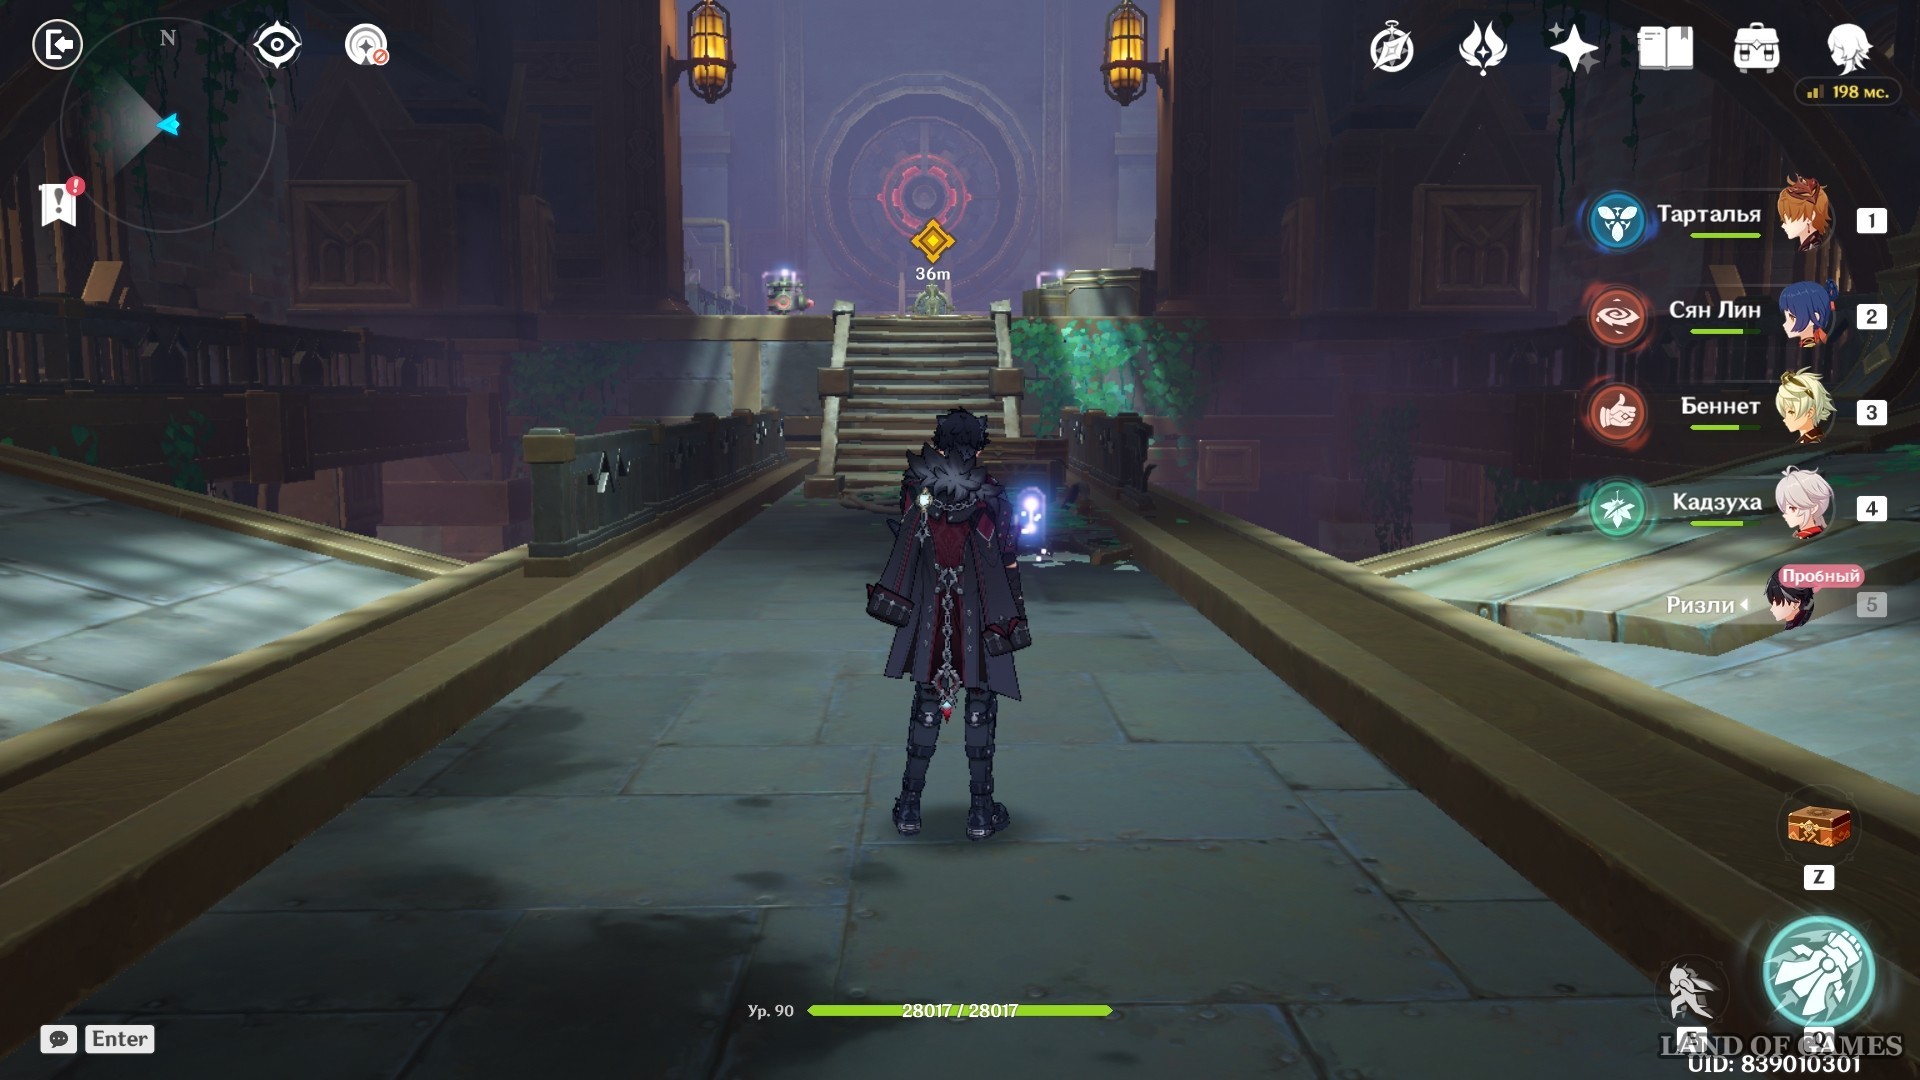
Walk along the corridor, fighting the Meks you meet along the way. You will find yourself in a room with prisoners, in which you will again need to solve a puzzle.


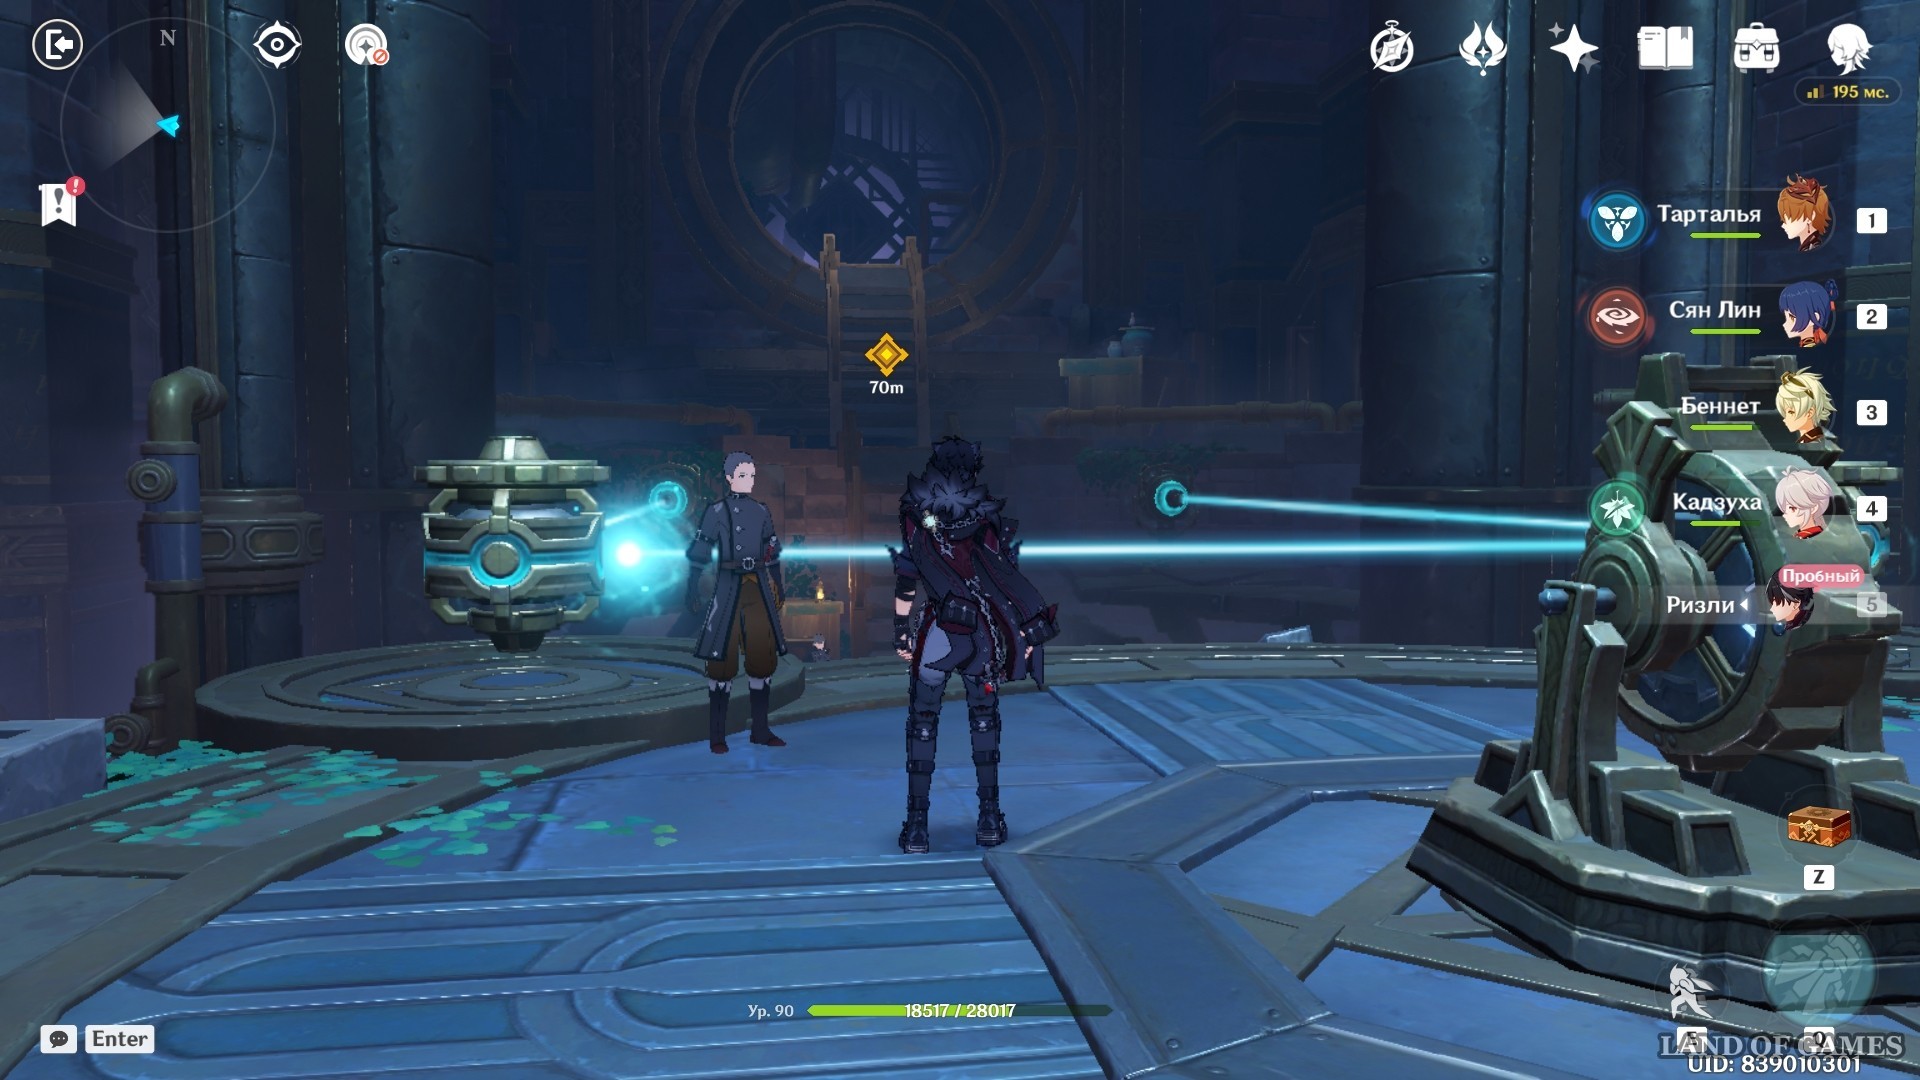
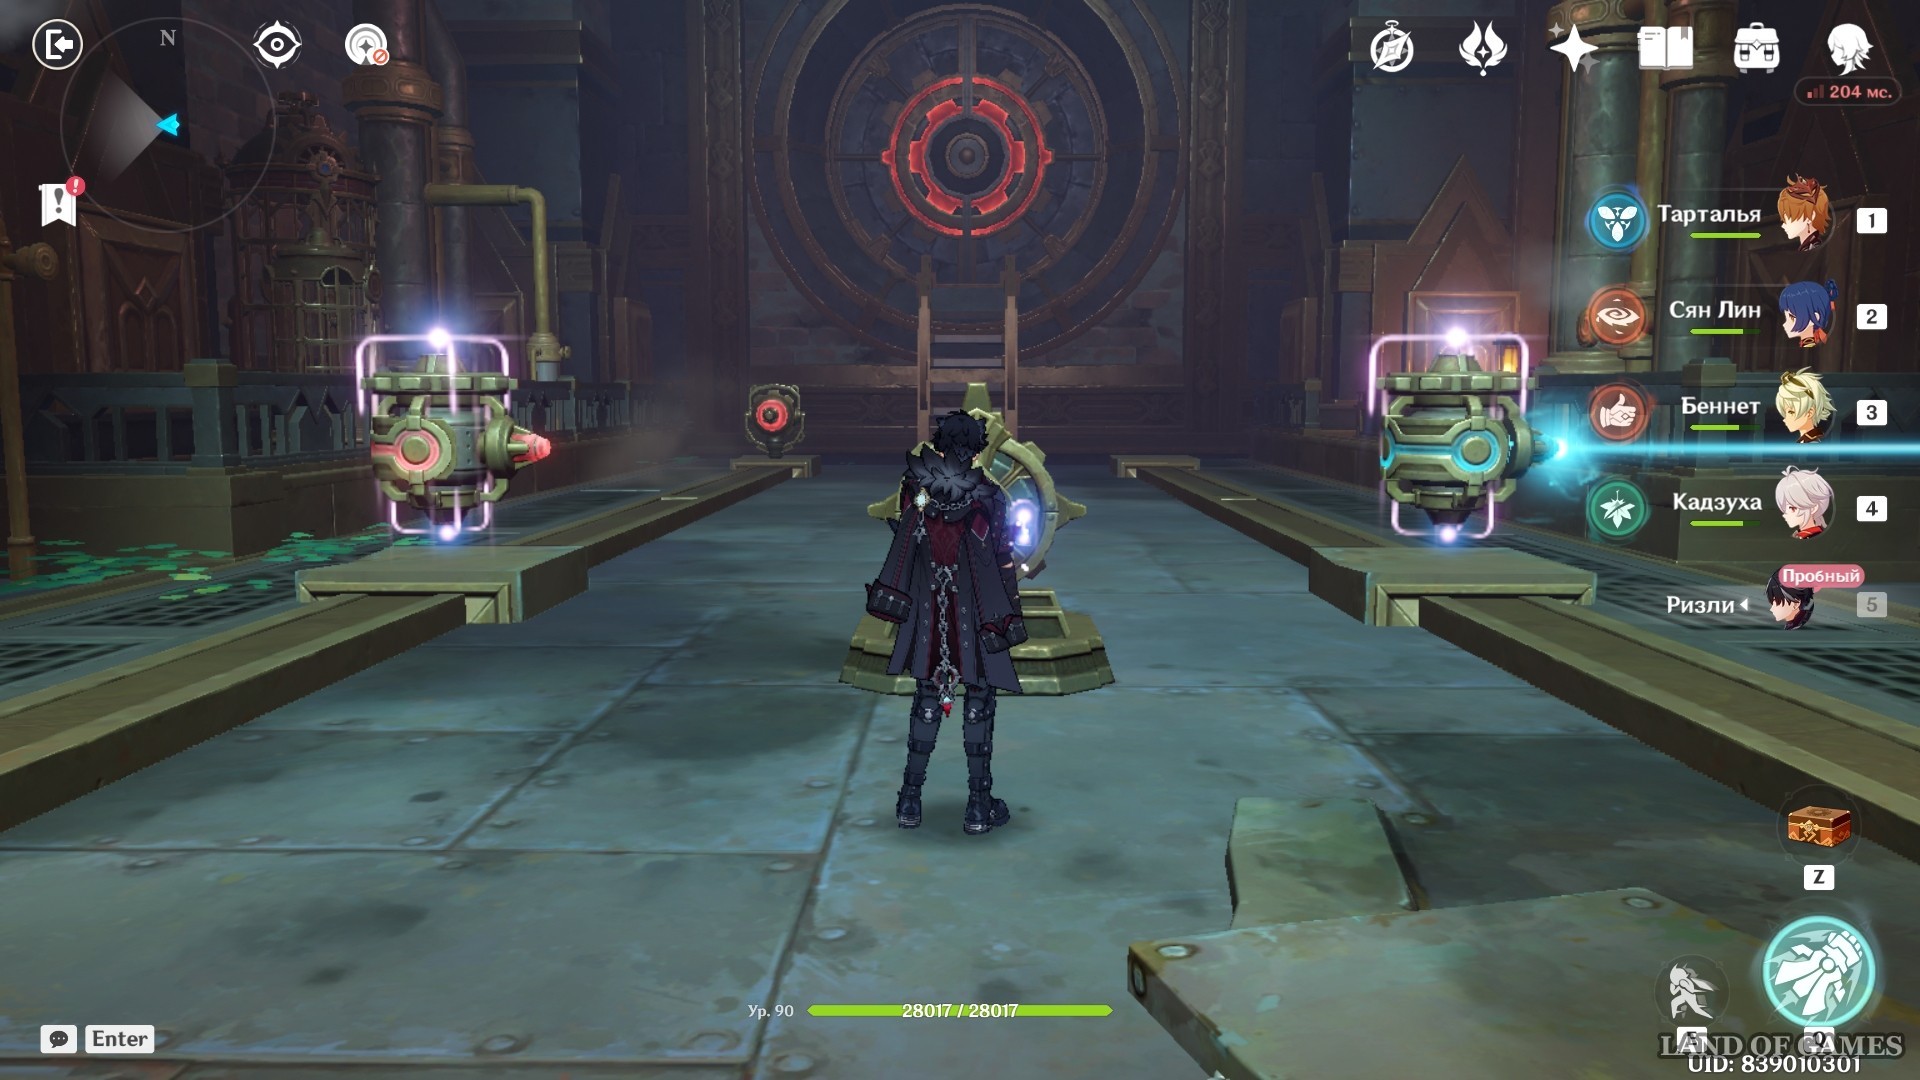
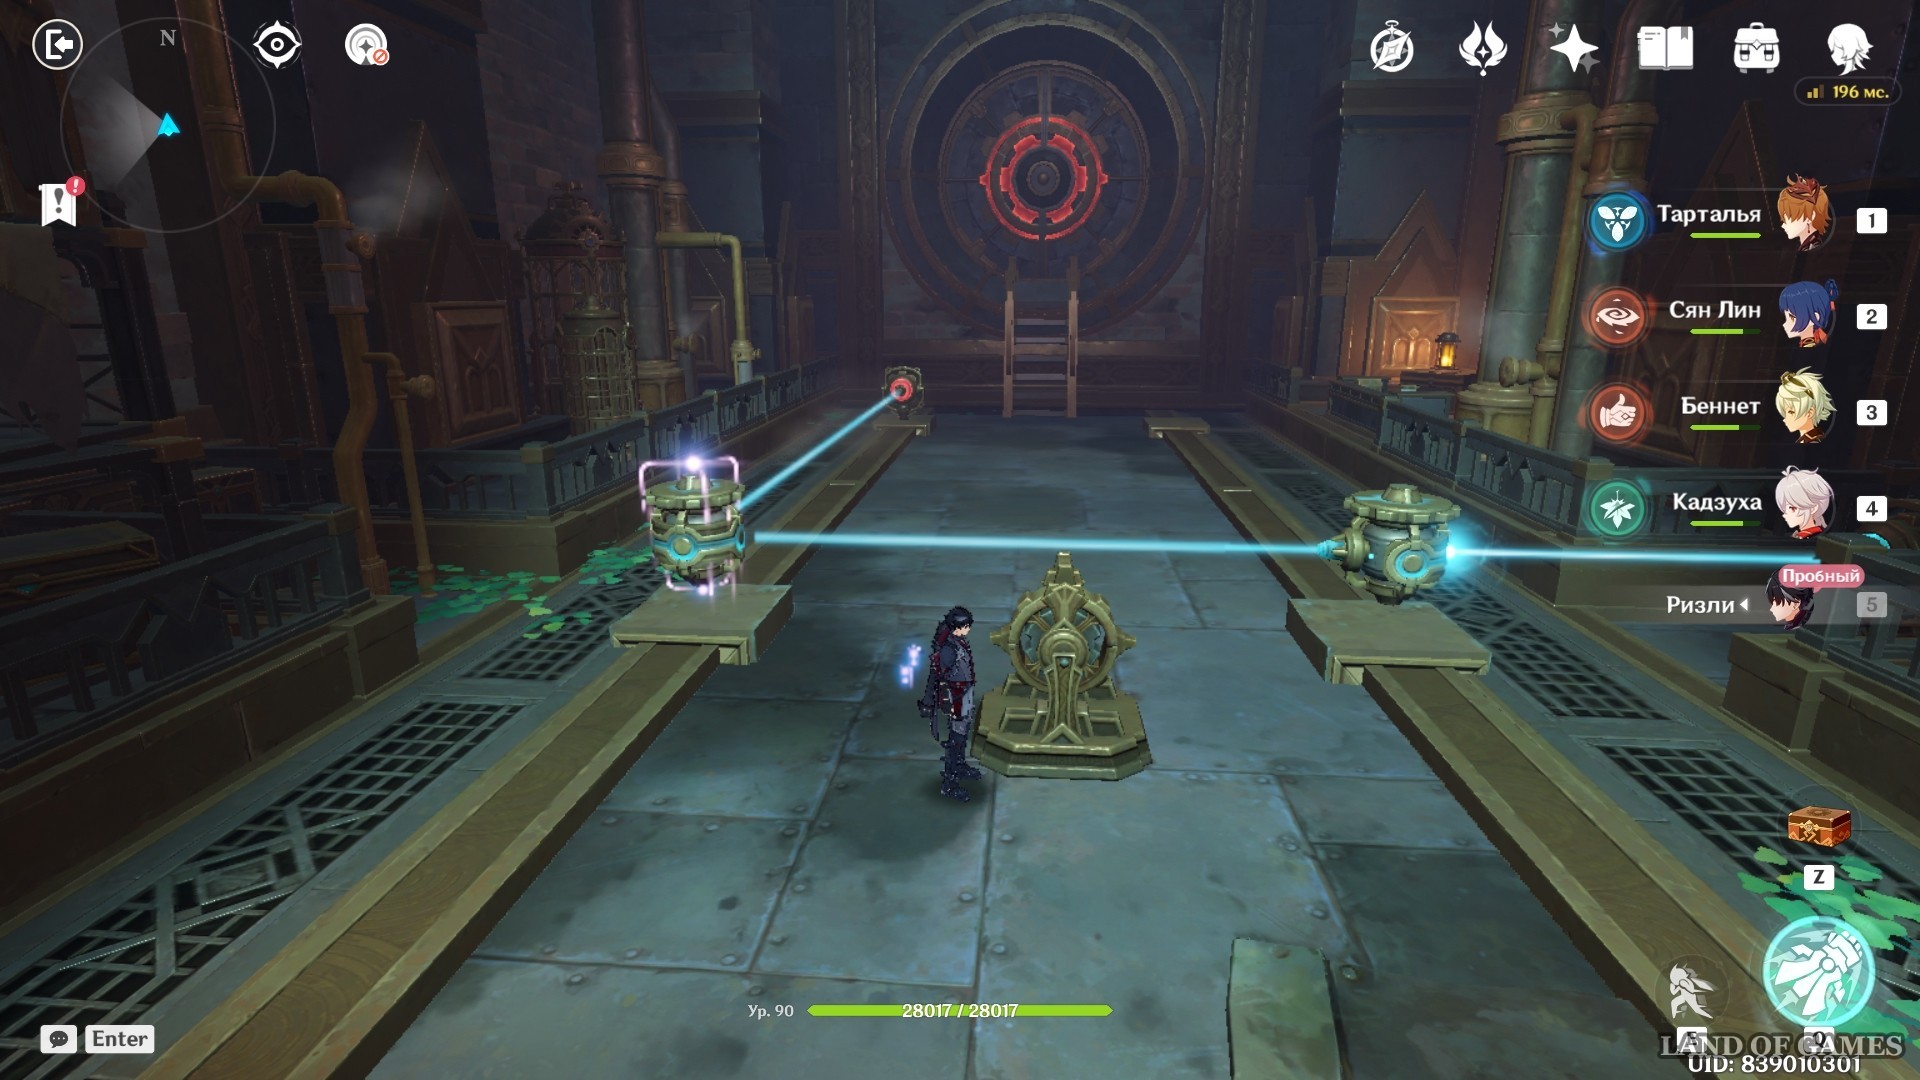
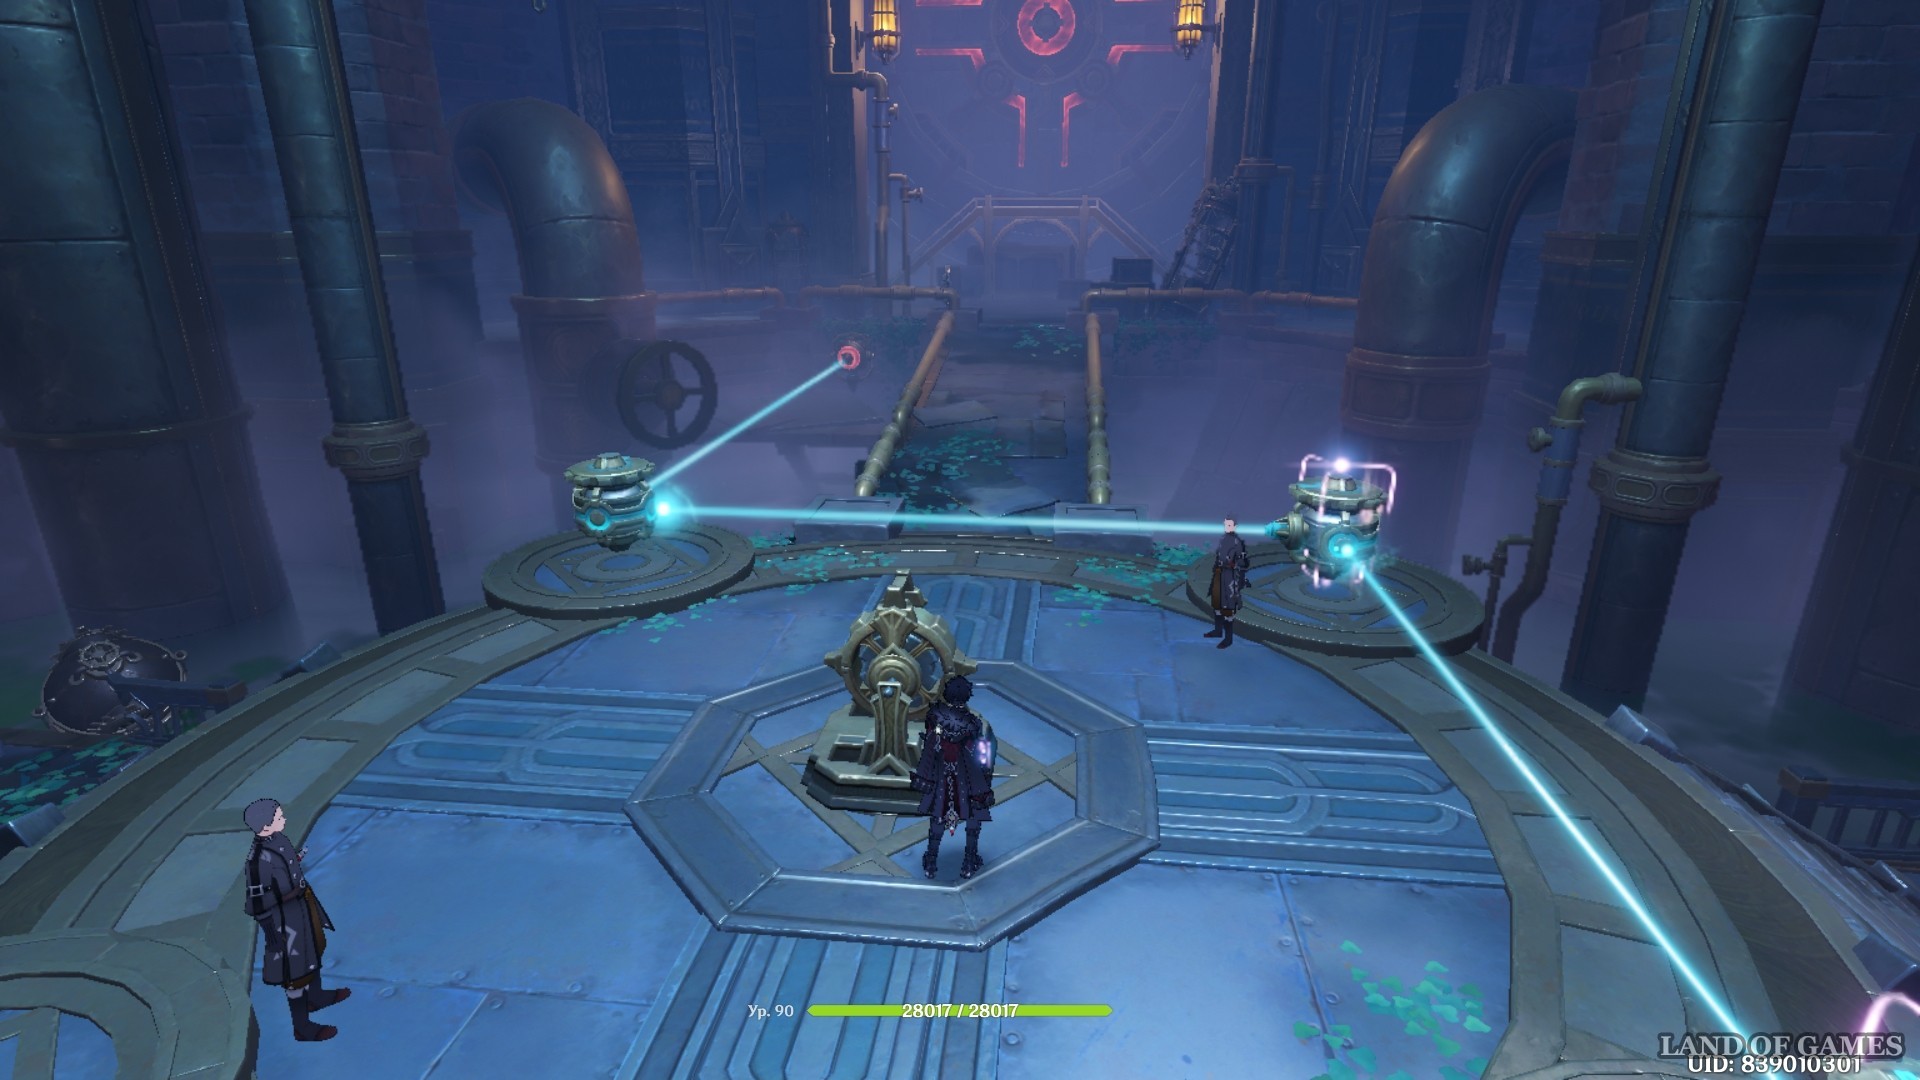
First of all, remove the limiters from the mechanisms. Then start rotating them using the wheel. You will need to install the cage on any of the conductors once it is in the correct position to direct the light in the desired direction. We locked the left gear while he was looking at the red receiver ahead. As a result, the rays should be directed as shown in the image below.

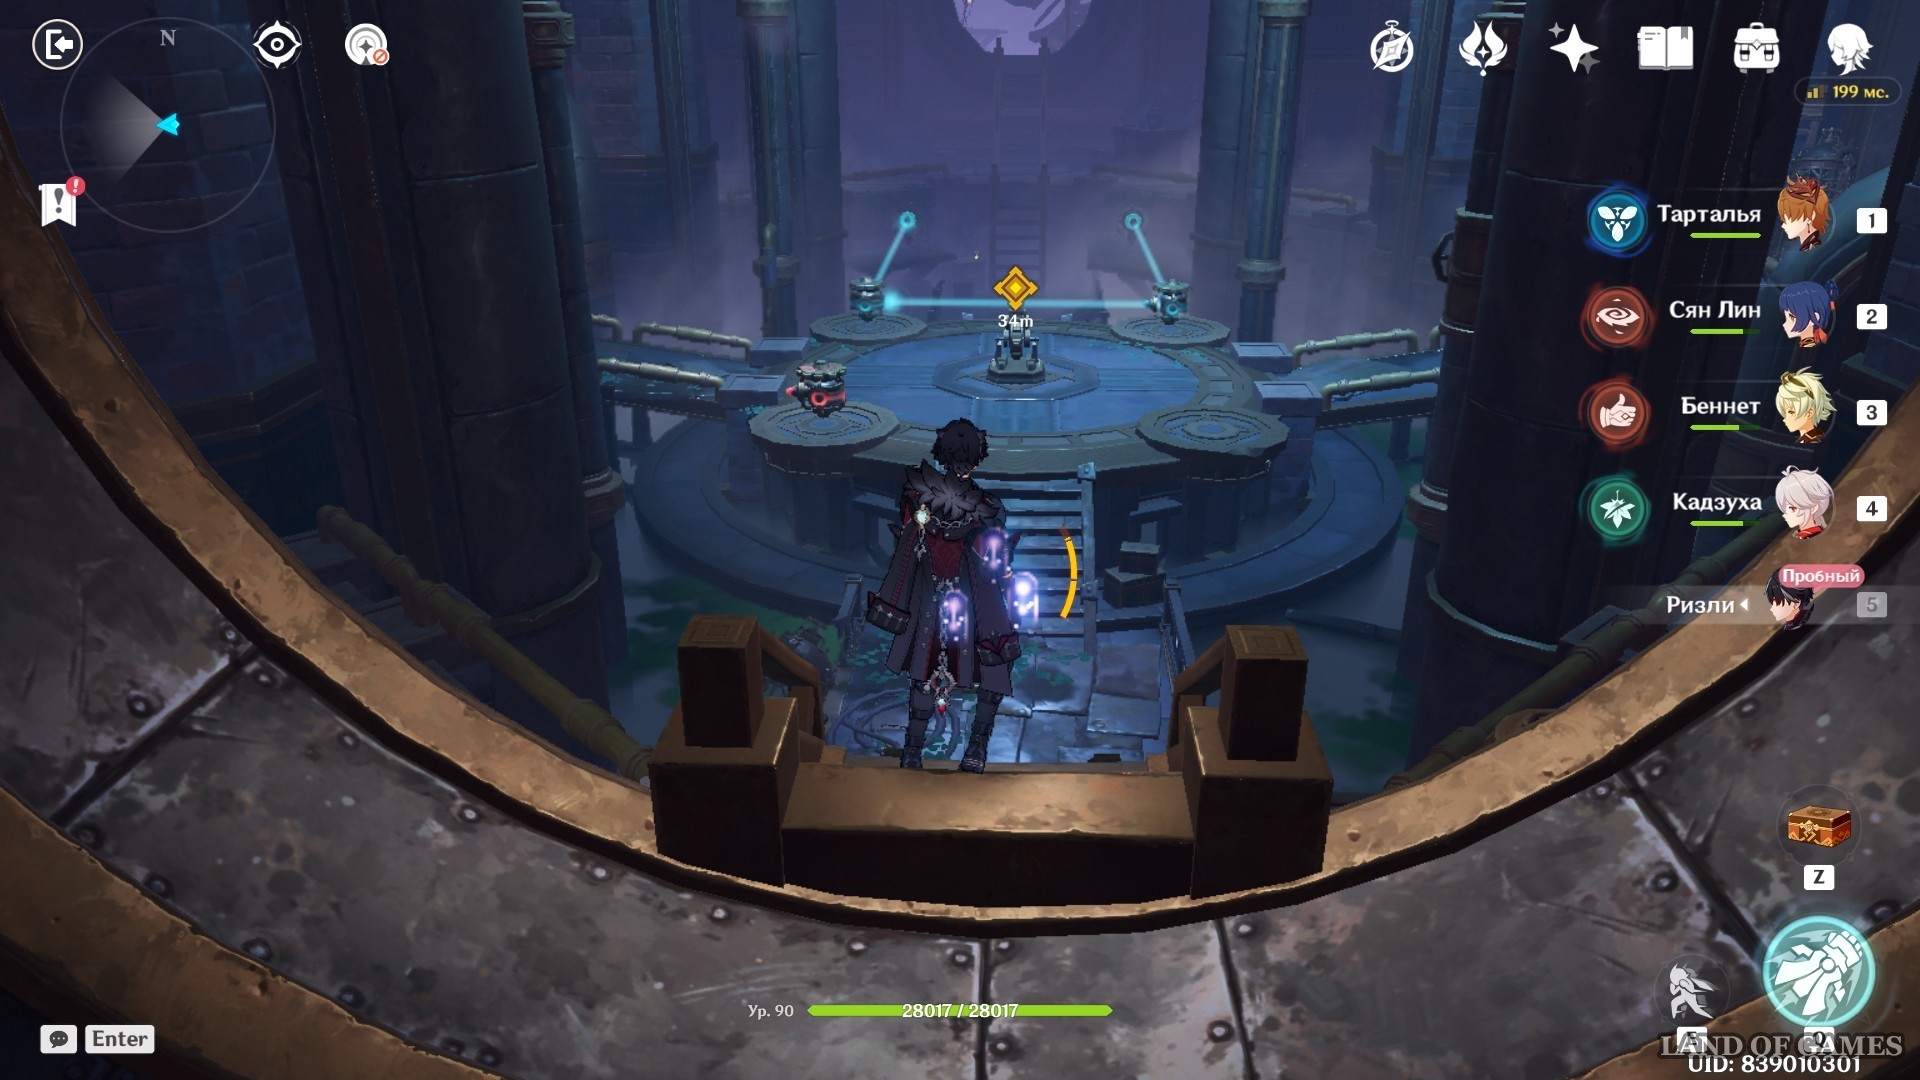
You will have a passage to the room where the first riddle was located. At this stage, only the central door remains to be removed. After solving the previous puzzles, you will only have two limiters left. Place them on any mechanisms so that the rays end up looking like the image below. In our example, the cells are installed on the two right conductors.
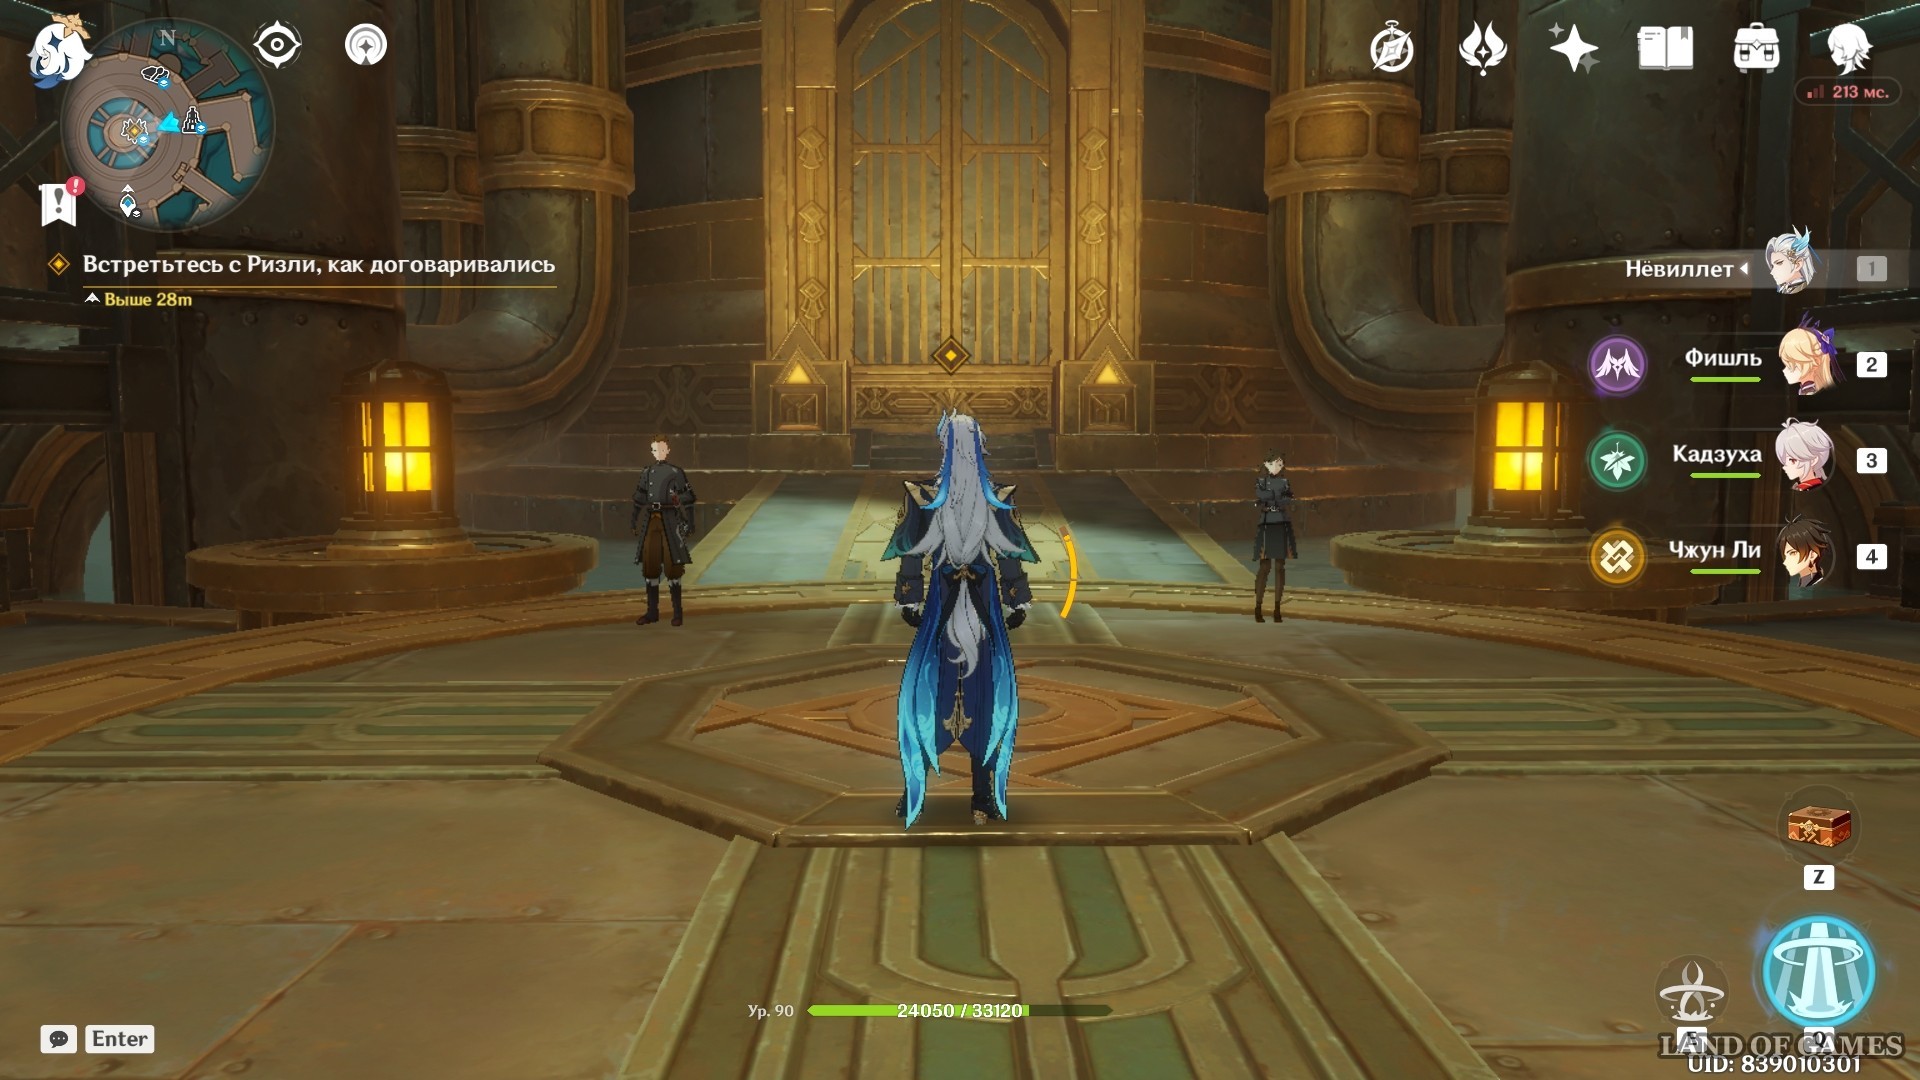
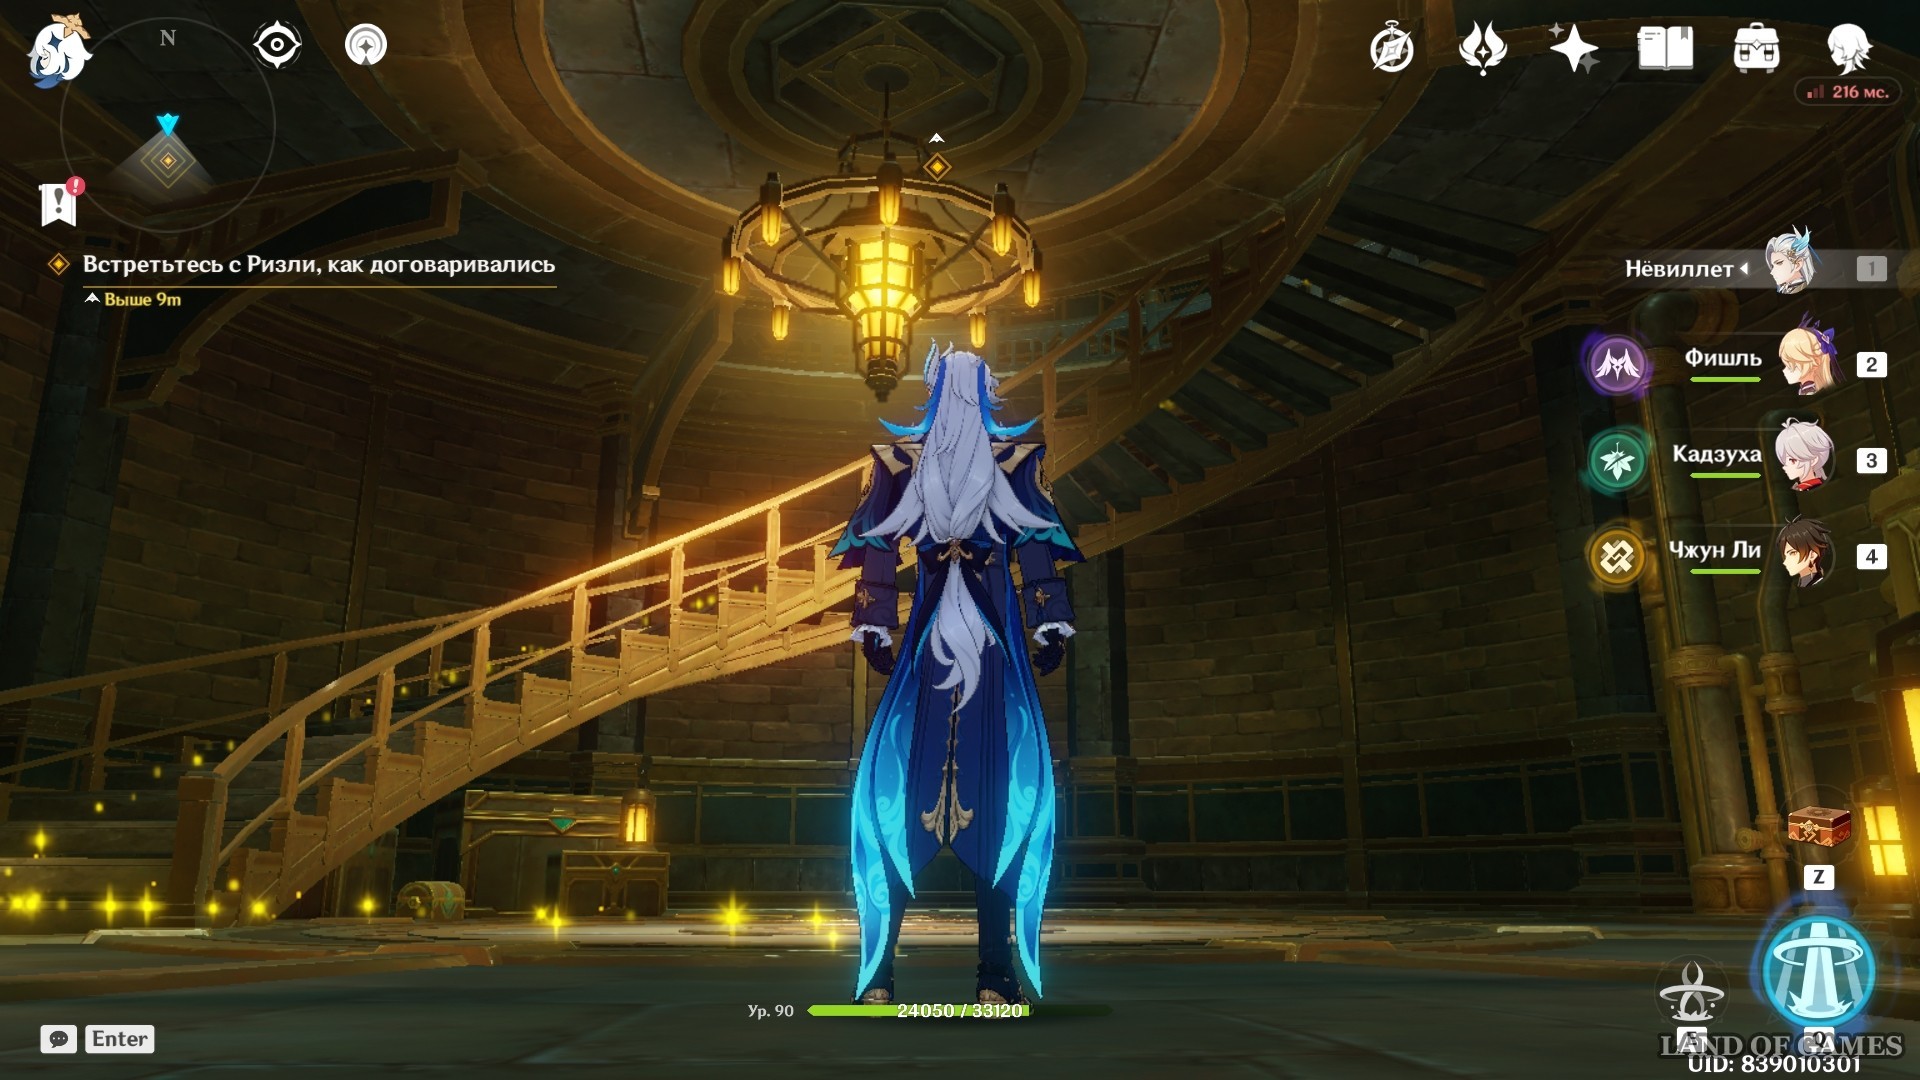
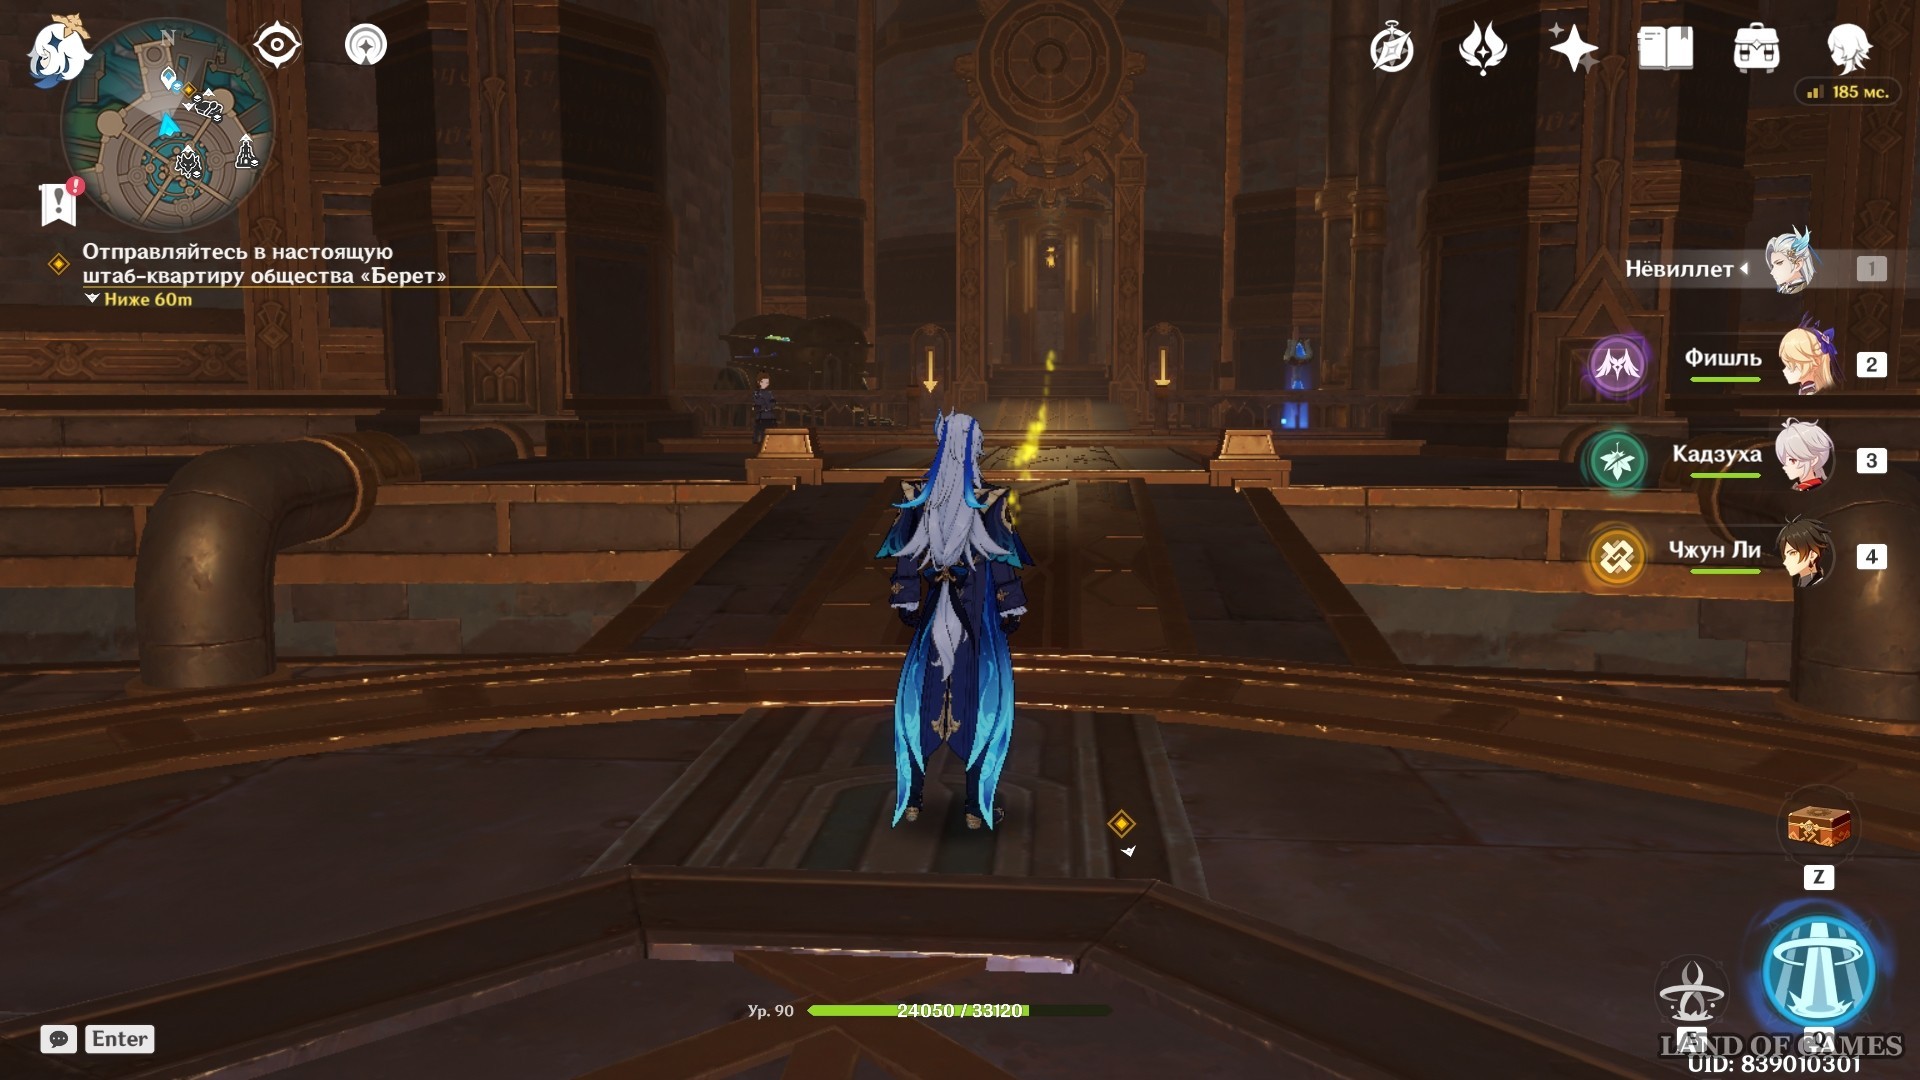
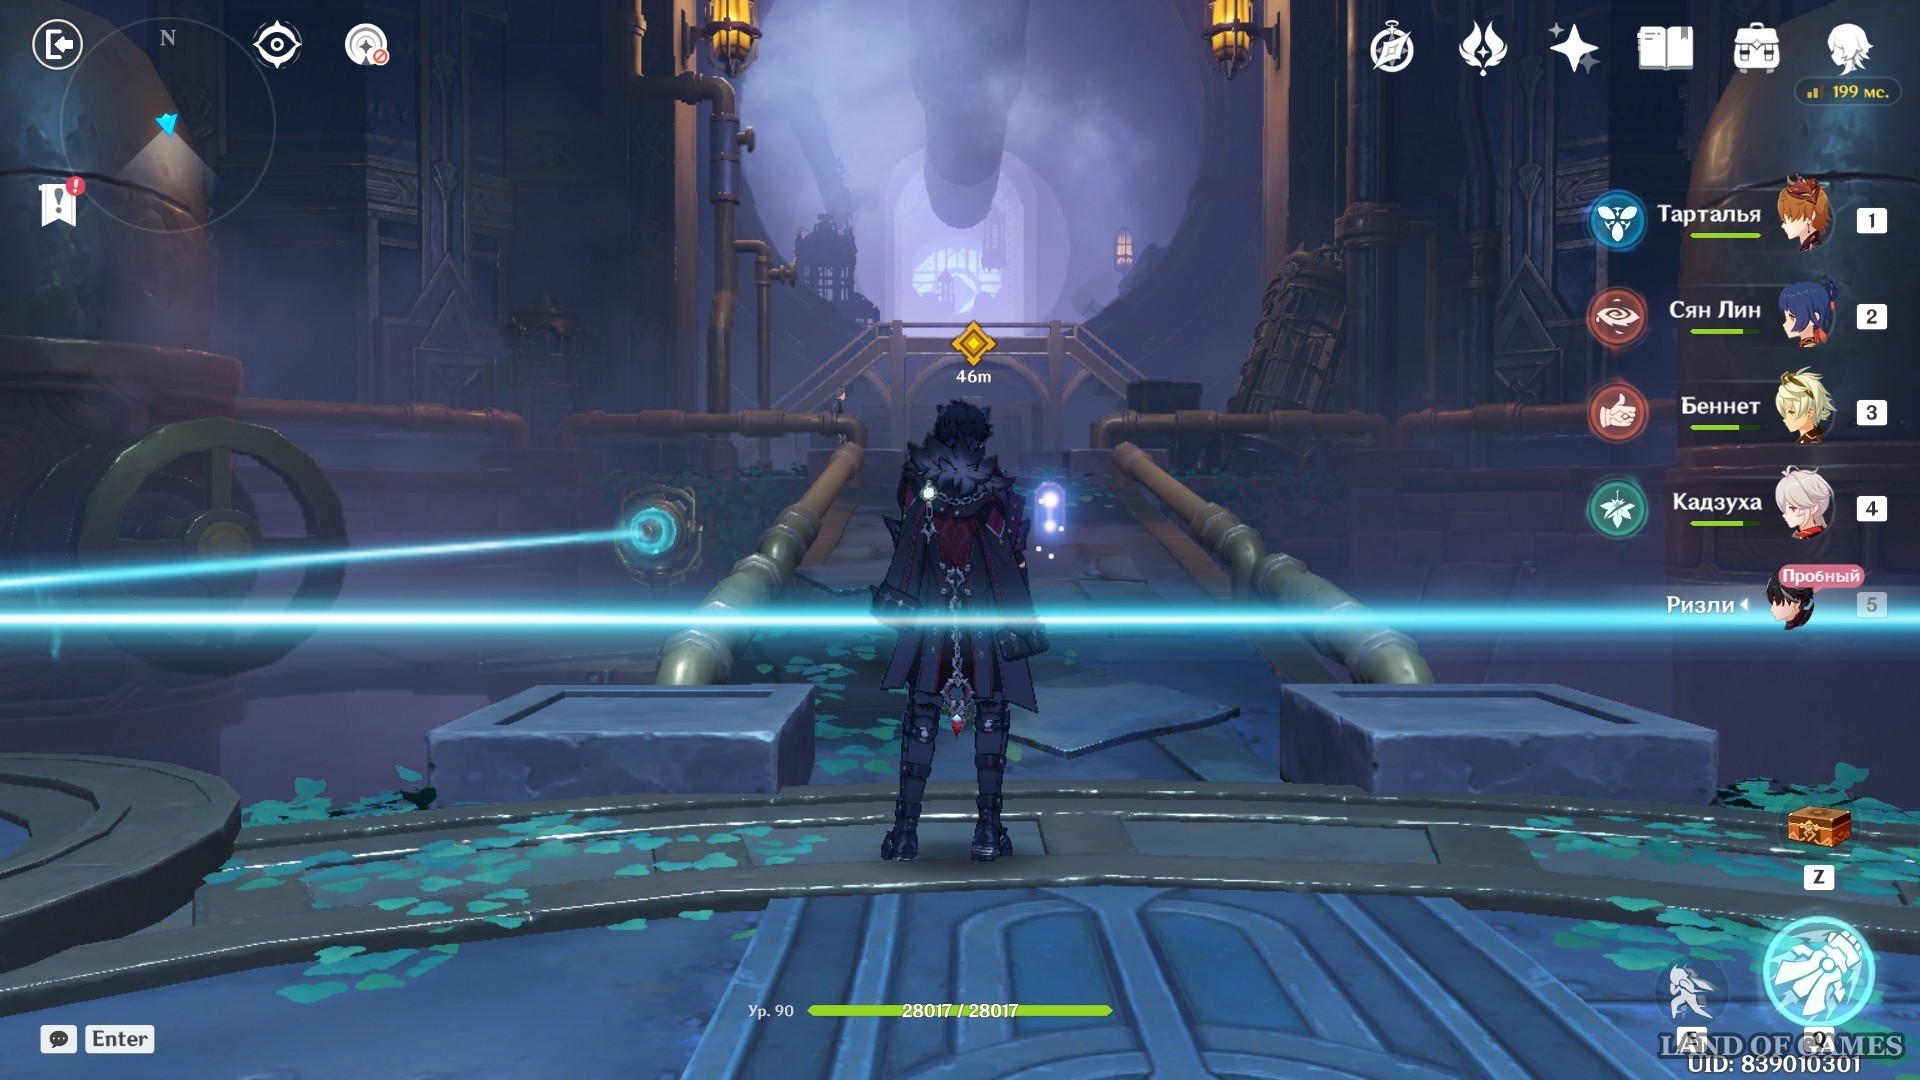
Go to the new room. Dugier will be waiting for you there. Although most of the events in this room will be presented in the form of dialogues and cut scenes, you should not let your guard down. In the middle of the conversation, you will need to deal with several meks.
Discuss what happened with Wriothesley
After the end of the operation to capture Dugier, you will agree to have lunch With You in Wriothesley in two days. Change the time in the Paimon menu to 11:00-13:00. Do not forget to count a couple of days. Head to the coupon canteen. There you can discuss with Wriothesley all the events that happened, his past and plans for the future.
Awards
For completing this quest you will be able to receive:
- 60 primogems ;
- 1750 experience points;
- 122 thousand pestilence ;
- 14 character leveling books;
- 27 units of reinforcement ore;
- 5 instructions about “Order”.
Comments
You need to login to add comments.
You can login with