Черное и красное в Cyberpunk 2077 – седьмое сюжетное задание расширения Phantom Liberty. Неприступная цитадель Курта Хансена все же имеет потайные ходы и лазейки, которые позволят героям заглянуть за ширму лоска и роскоши в поисках ответов и своей пропавшей напарницы. В этом гайде мы последовательно разберем все этапы миссии и расскажем о проникновении в гранд-отель, где разместился самоназванный король Песьего города.
Прохождение задания «Черное и красное» в Cyberpunk 2077
Как начать задание
Миссия начнется сразу после прохождения предыдущего квеста этой цепочки – «Рука руку моет», никаких специальных действий предпринимать не требуется. Если все же задание не активировалось самостоятельно, просто сами начните отслеживать его, выбрав в журнале квестов вручную.
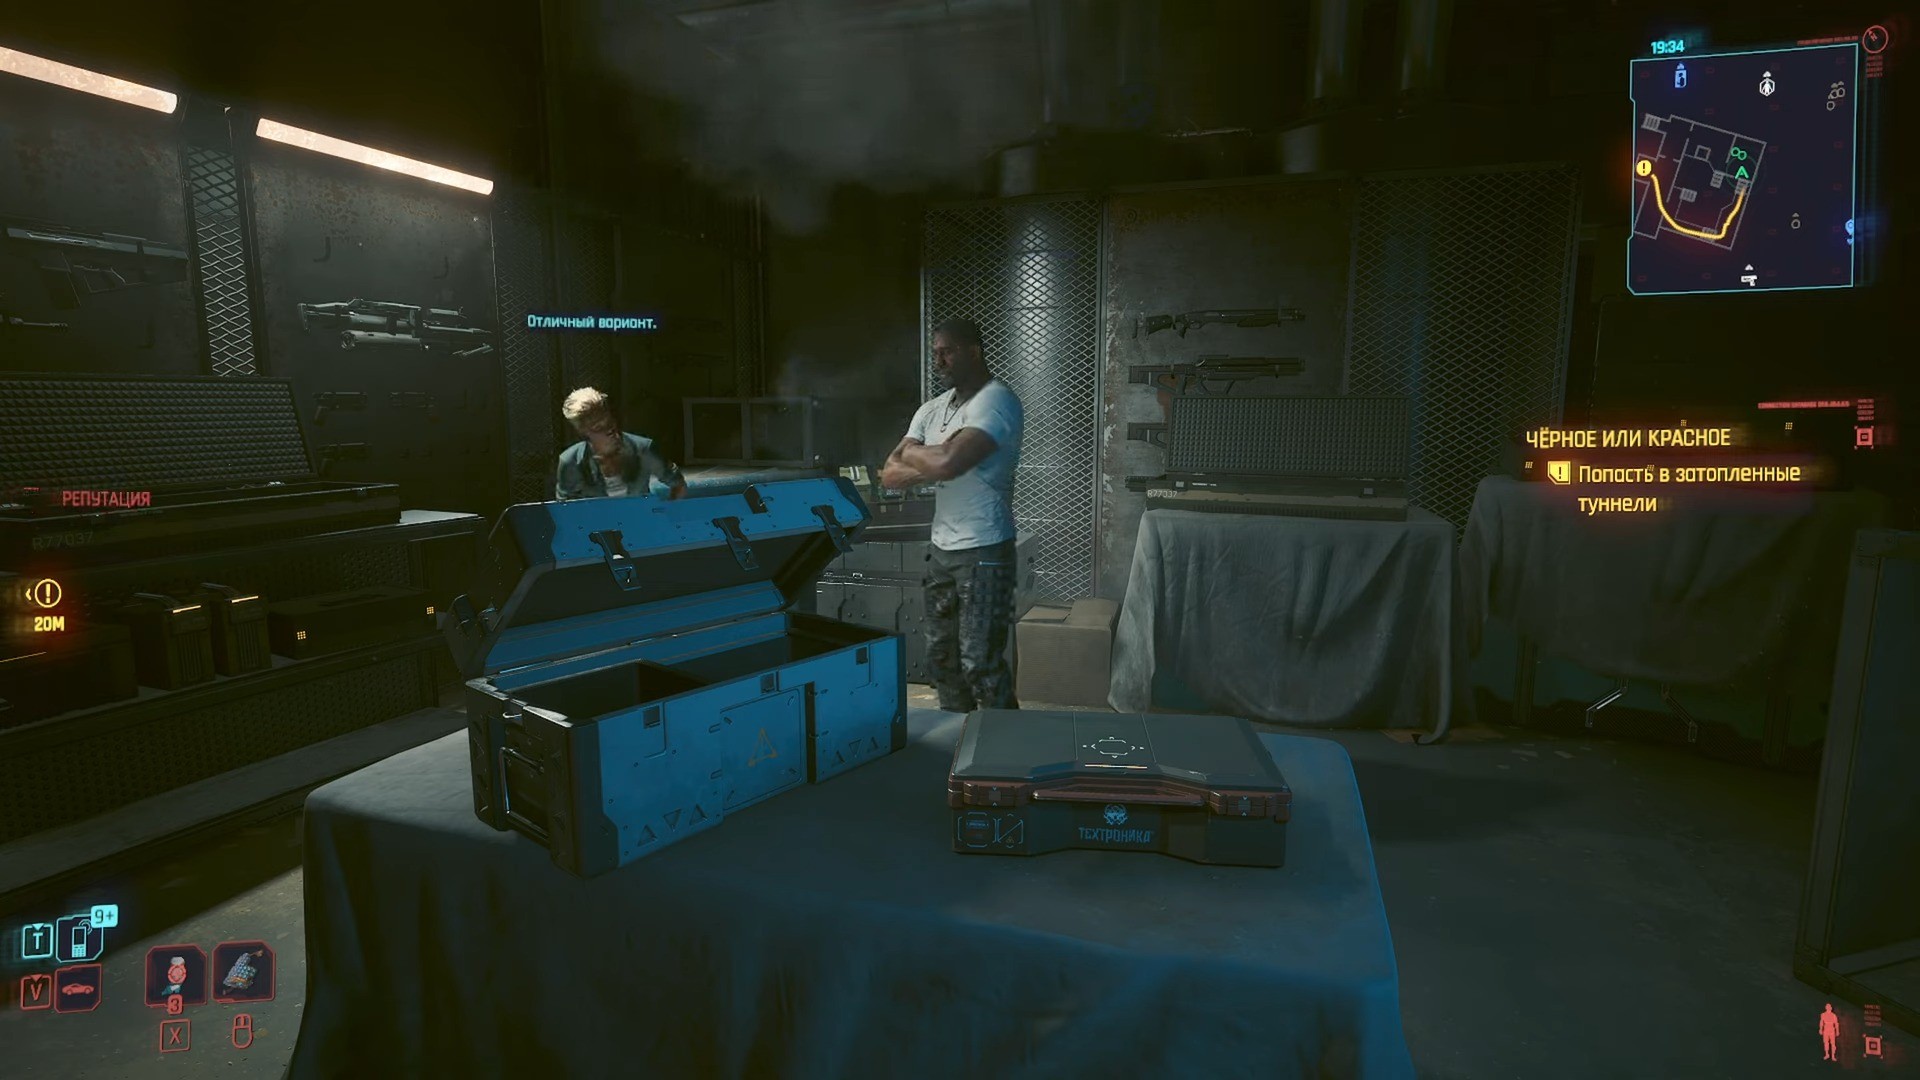
Вы начнете прохождение миссии в бойлерной под «Мотыльком» после получения армейского гидрокостюма – он понадобится для проникновения в отель. Его можно сразу экипировать и отправляться в путь, вооружившись только что полученным пистолетом с говорящим названием «Ее величество»
Название миссии в оригинале – «You know my name» явным образом отсылает к фильму «Казино рояль», а используемое оружие, антураж и джин с тоником – к культовым шпионским франшизам.
Попасть в затопленные туннели
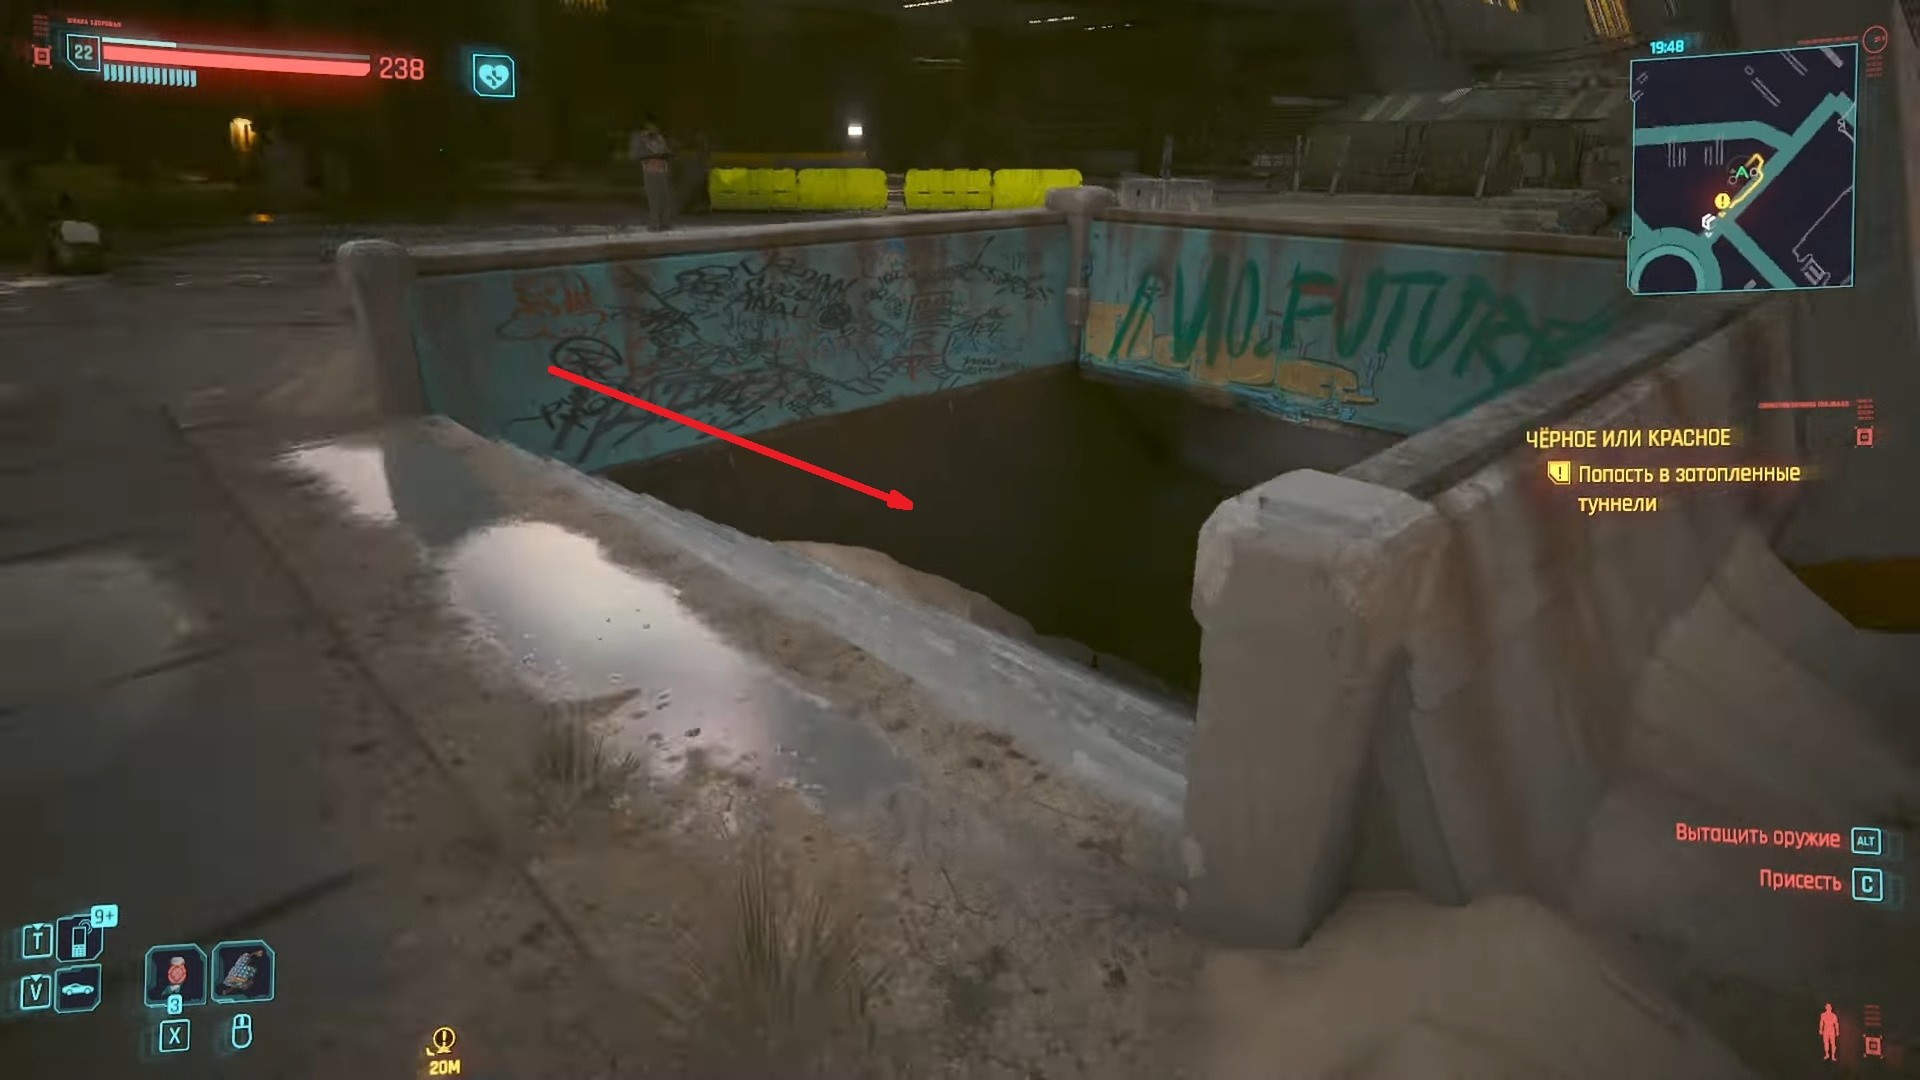

Ближайшая к цели точка перемещения – «Стадион Петрохем», так что можно сразу переместиться туда, если вы, конечно, не хотите прогуляться по атмосферным улицам. Прибыв на место, вы обнаружите, что квестовый маркер уходит вниз, под землю. Нужно спуститься в подземные переходы на ближайшем перекрестке и продолжить путь до отмеченной двери.
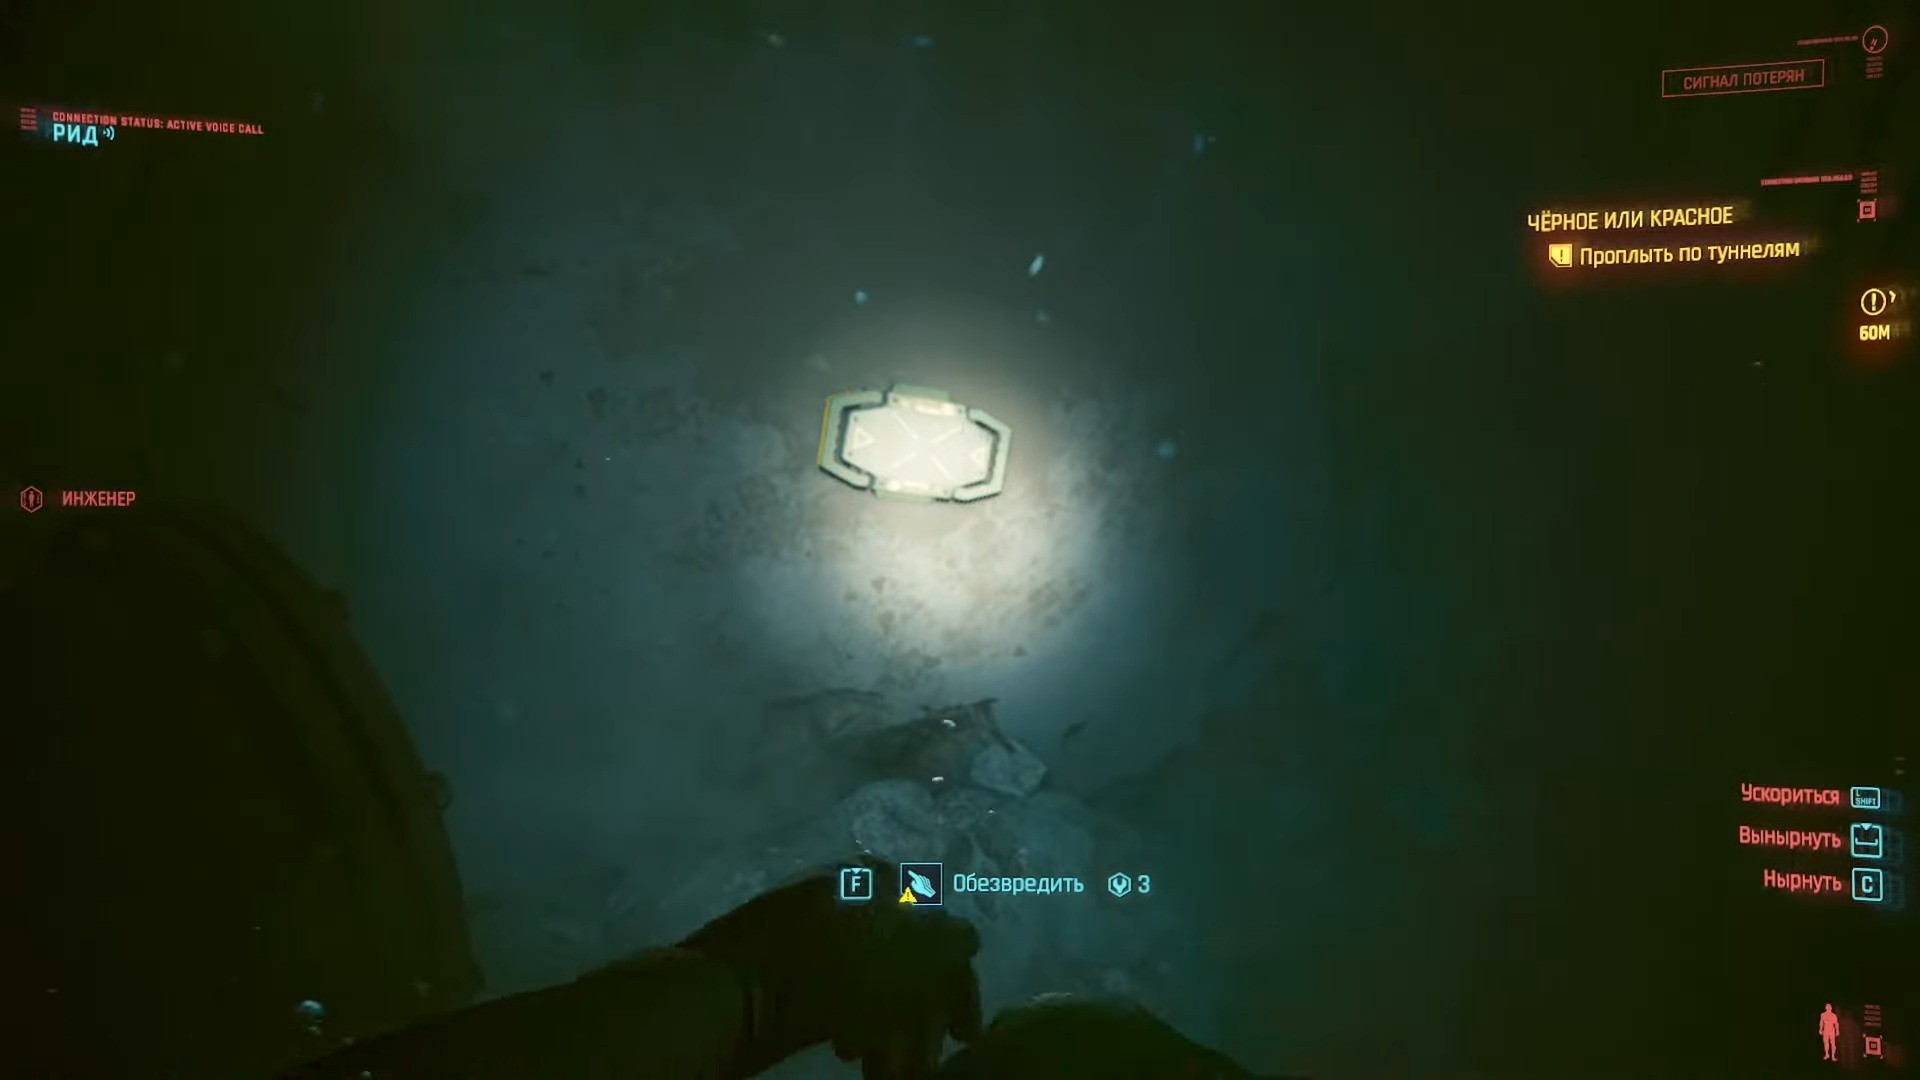
Погружайтесь в воду и плывите, придерживаясь левой стороны туннеля. Скоро вы упретесь в круглую решетку, которую потребуется открыть и продолжить движение в направлении красного свечения – это мина, ее будет лучше обезвредить.
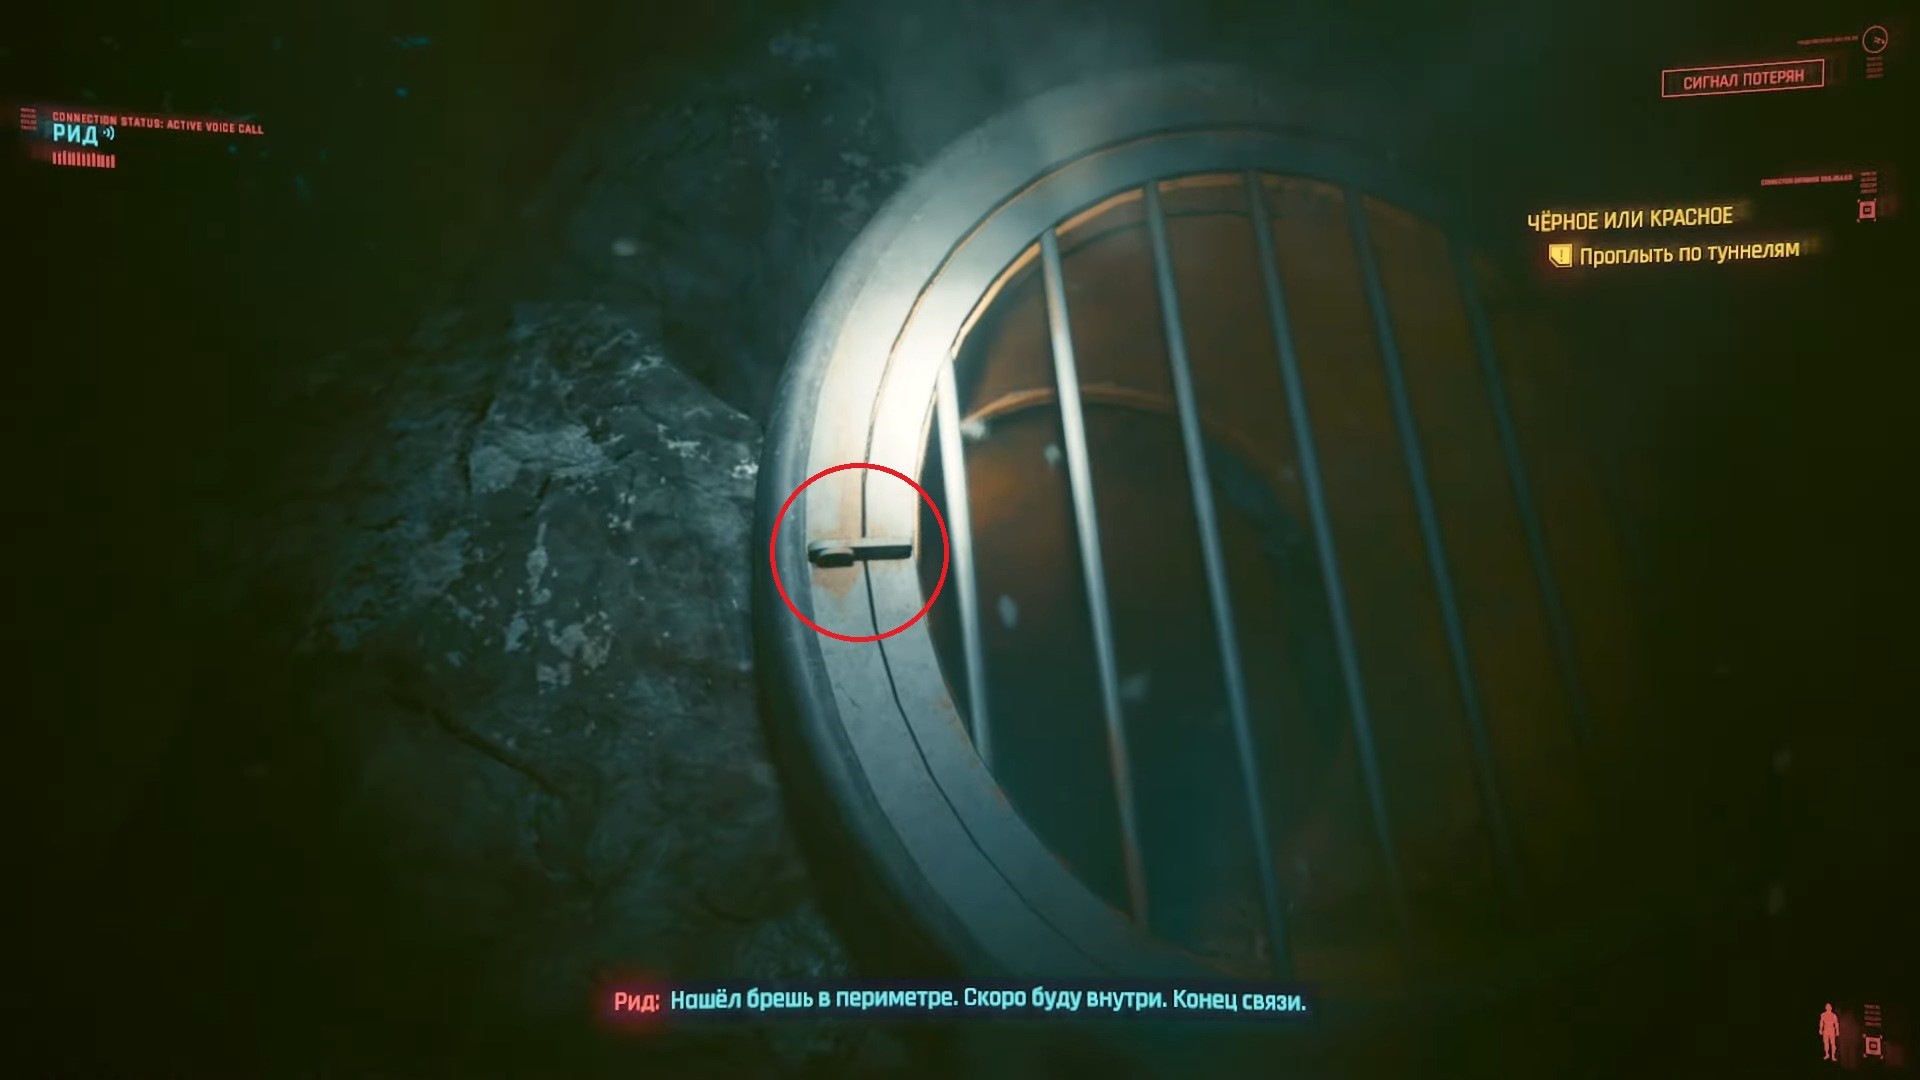
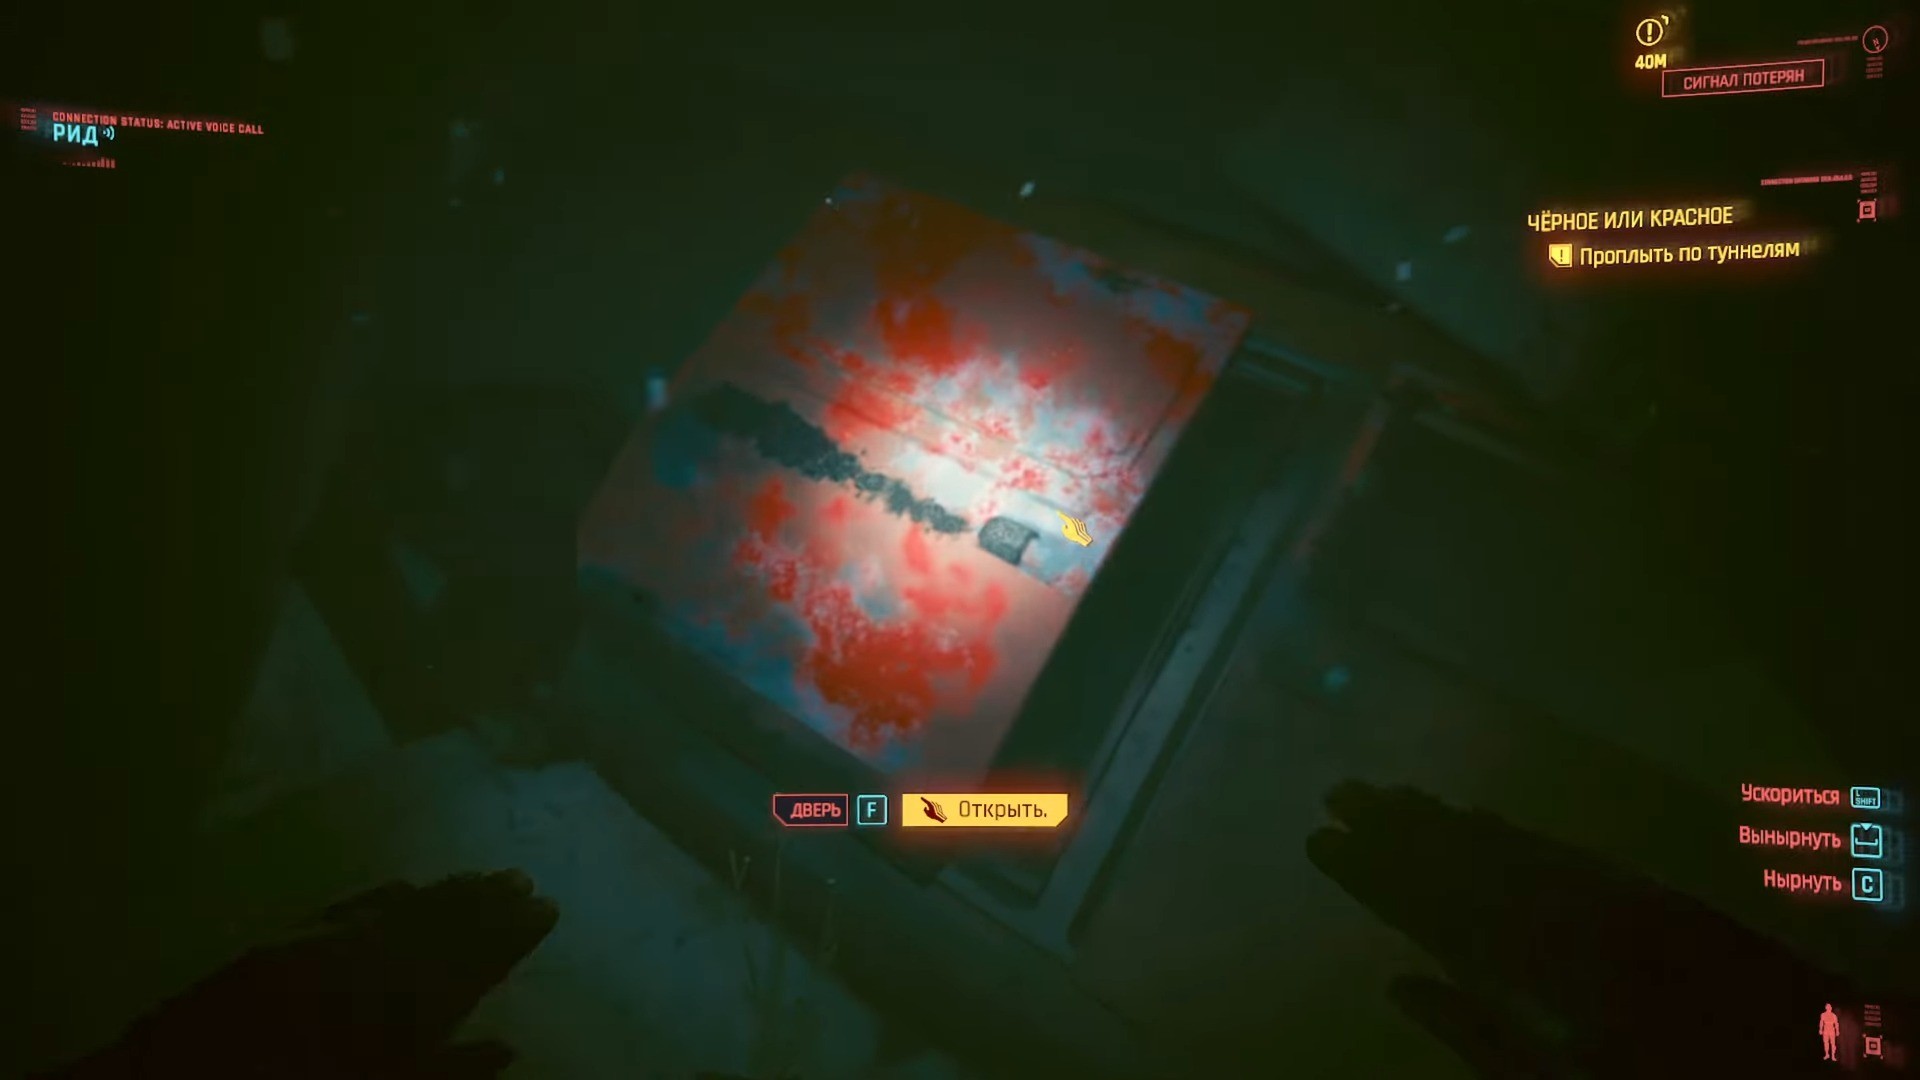
Сразу за этой миной расположен красный люк – именно он вам и нужен.
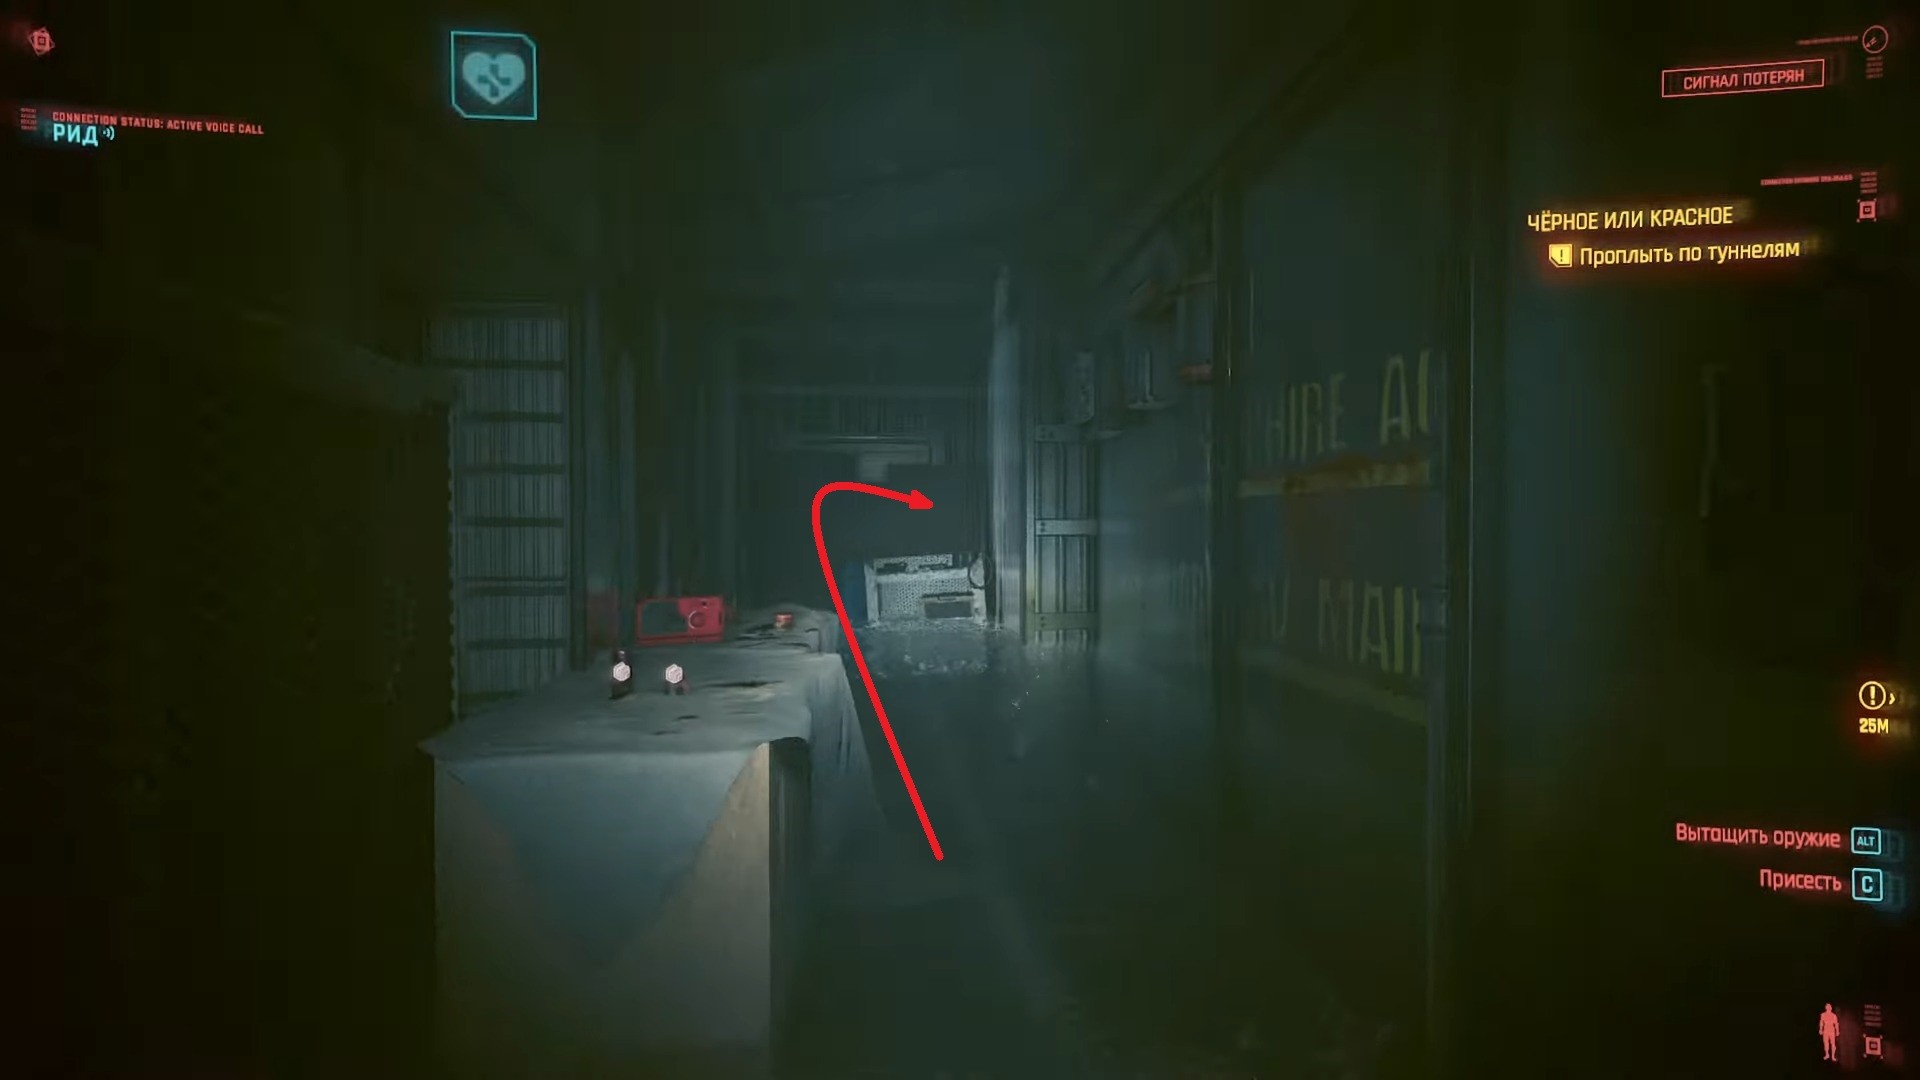

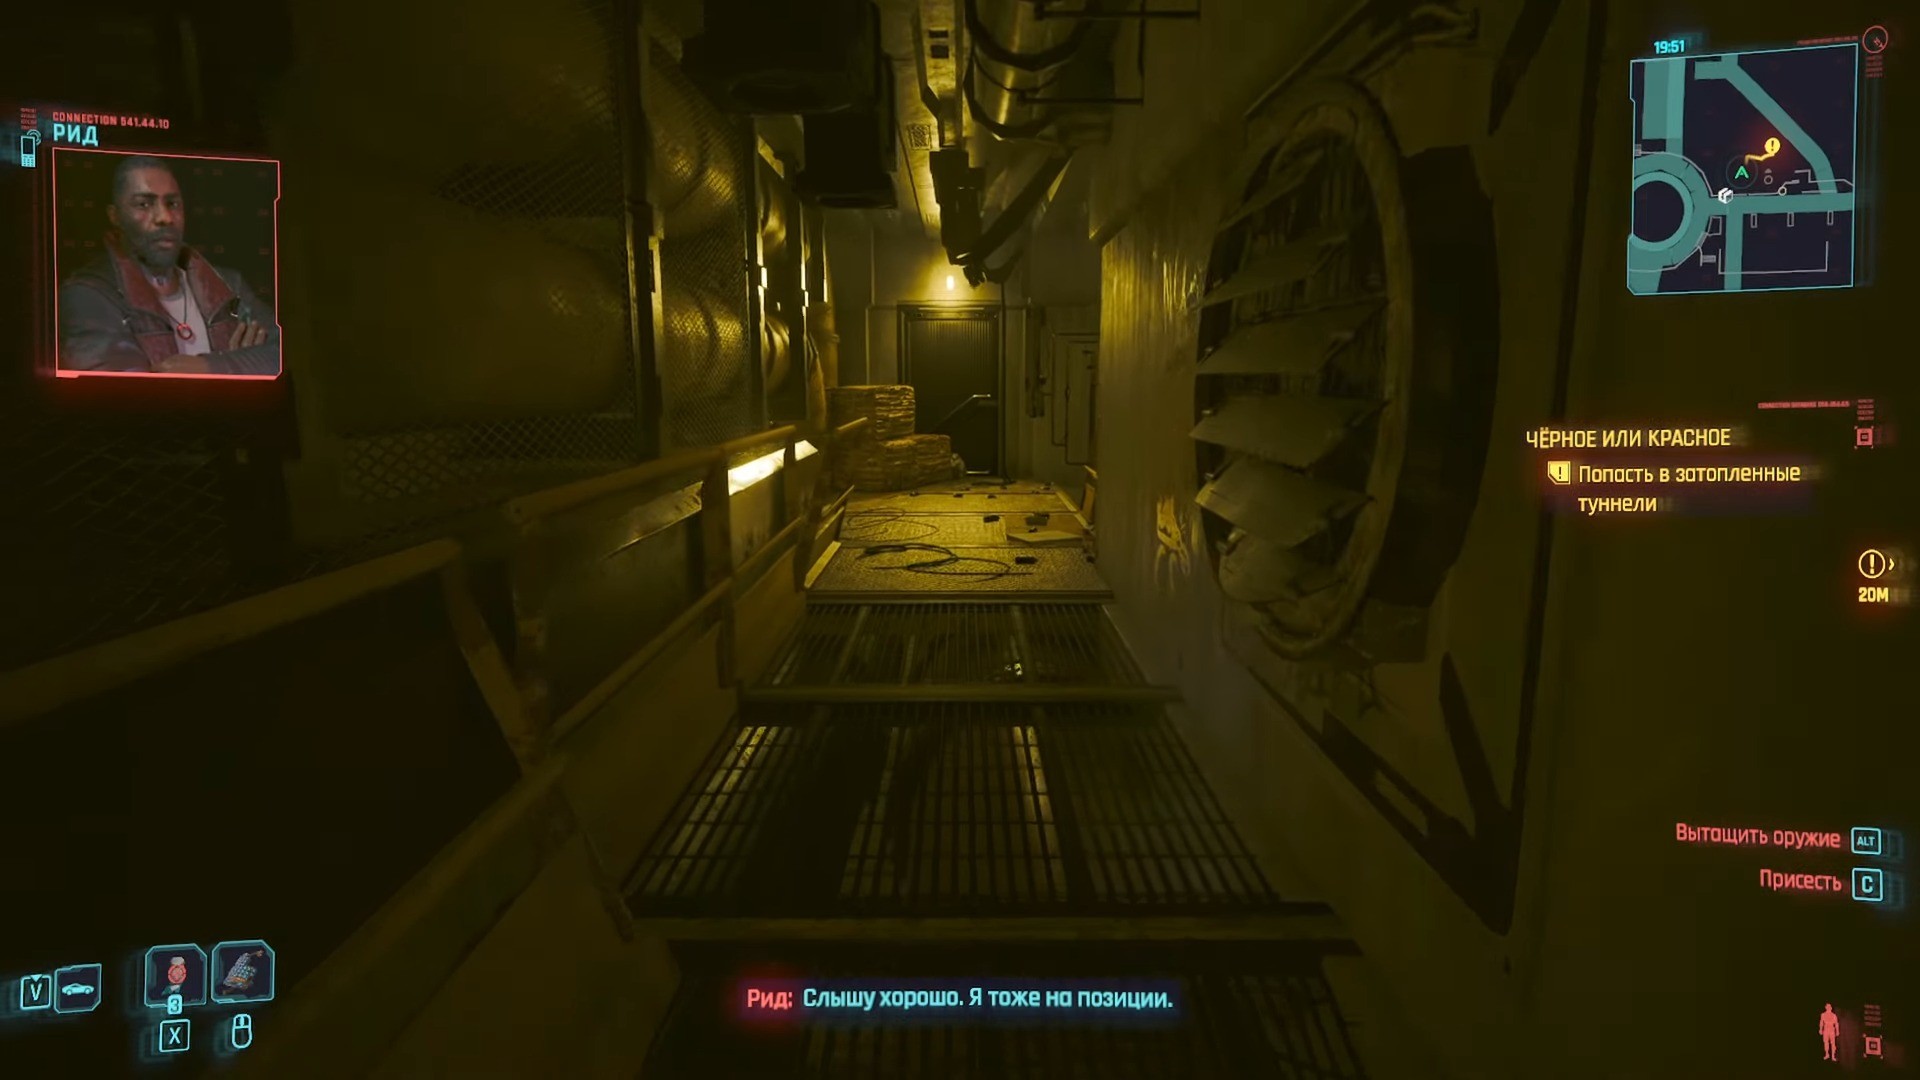
После проникновения в очередное подводное помещение поднимайтесь к поверхности и выбирайтесь наверх. Пройдя небольшой коридор с некоторым количеством лута, снова погружайтесь в воду в направлении очередной красной бомбы и свисающих вниз кабелей.


Проплыв по узкому туннелю, вы вновь сможете подняться на поверхность, откуда будет видна желтая лестница в служебное помещение. Нужно поднырнуть в направлении ее ступенек и взобраться наверх.


Используйте кнопку для активации лифта и перебирайтесь на его платформу, на ней нужно будет нажать еще на один переключатель, после чего откроется проход дальше. Проскользнув под преградой, отправляйтесь в только что освобожденный вентиляционный проход – в его конце вас ждет очередной подъем по лестнице.


На следующей платформе перепрыгните на лестницу на другой стене и забирайтесь на вершину шахты, откуда можно выйти через дверь с надписью «Exit».
Обезвредить охранников
В следующей комнате всего пара противников, и их нужно устранить любым способом. Шпионская тематика миссии предполагает устранение с использованием глушителя либо применение приемов скрытности, но выбор, как всегда, за вами.
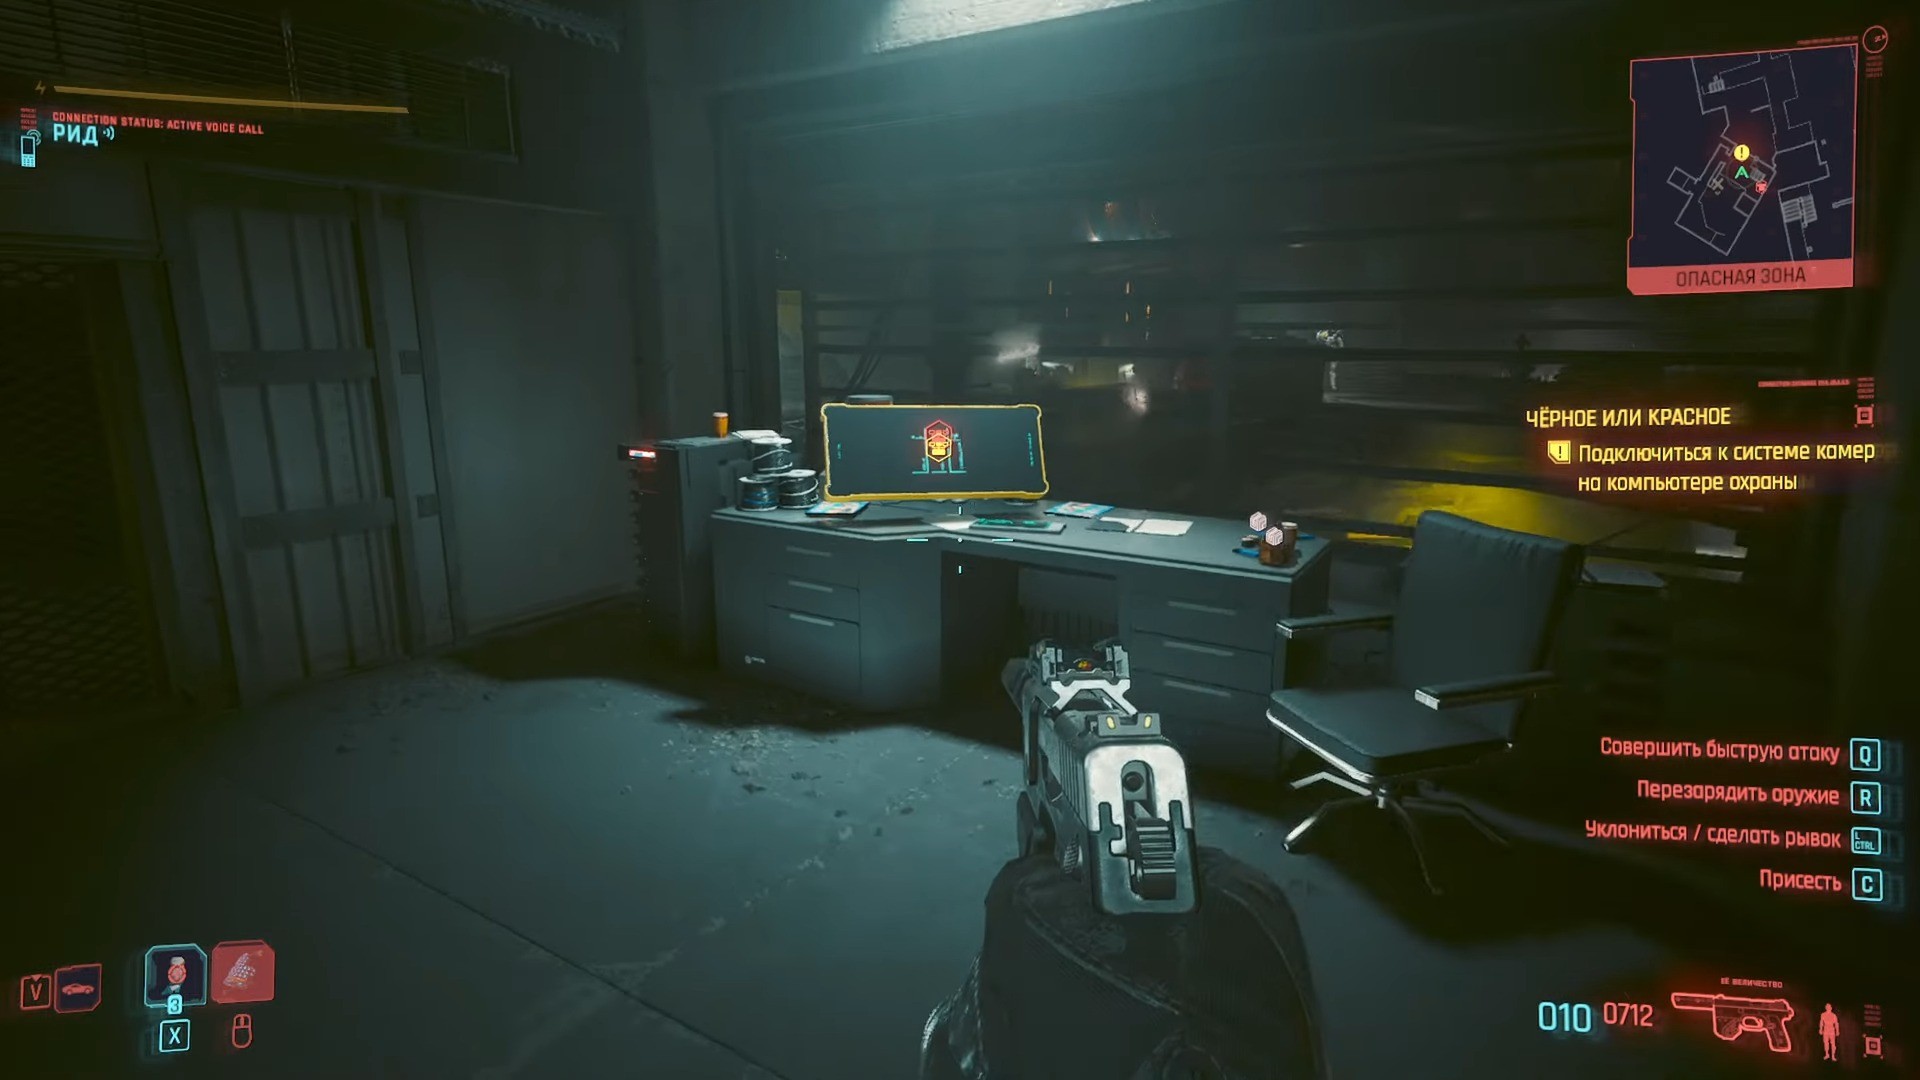
Подключиться к системе камер
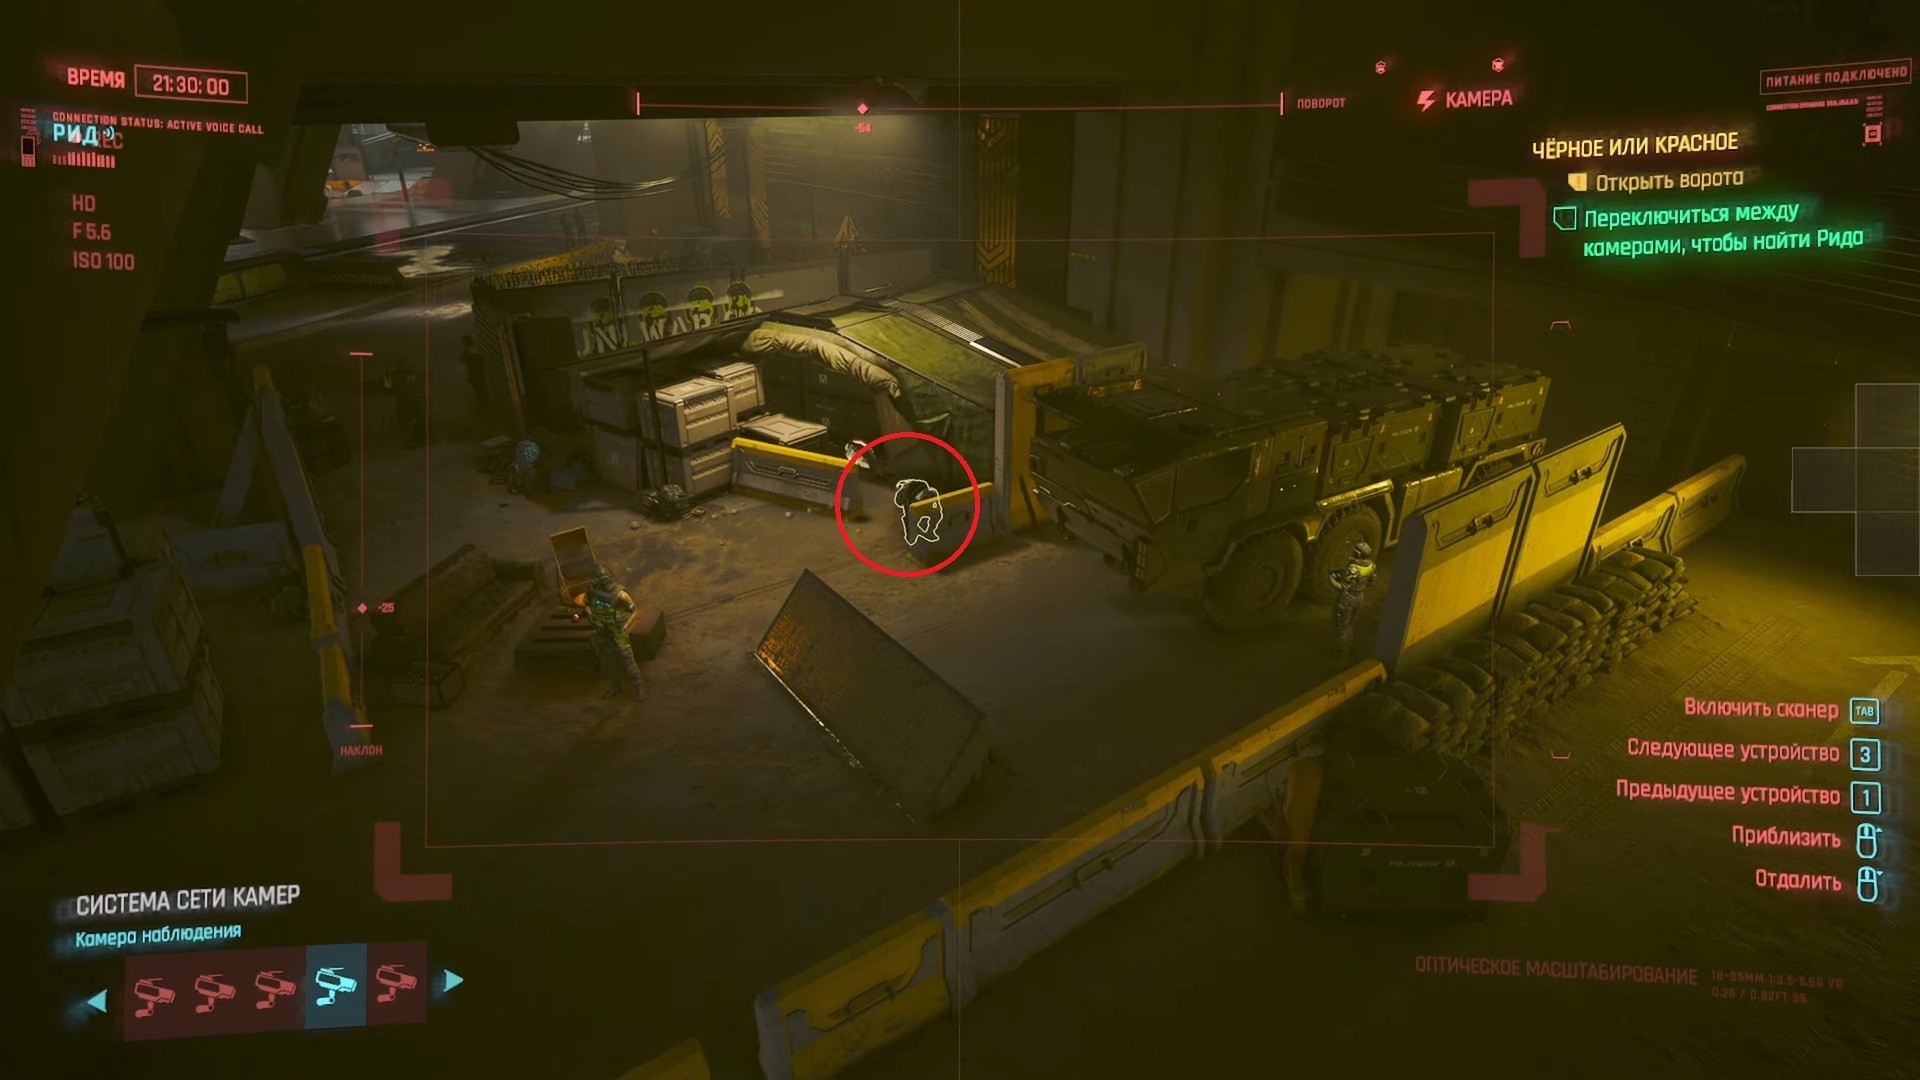
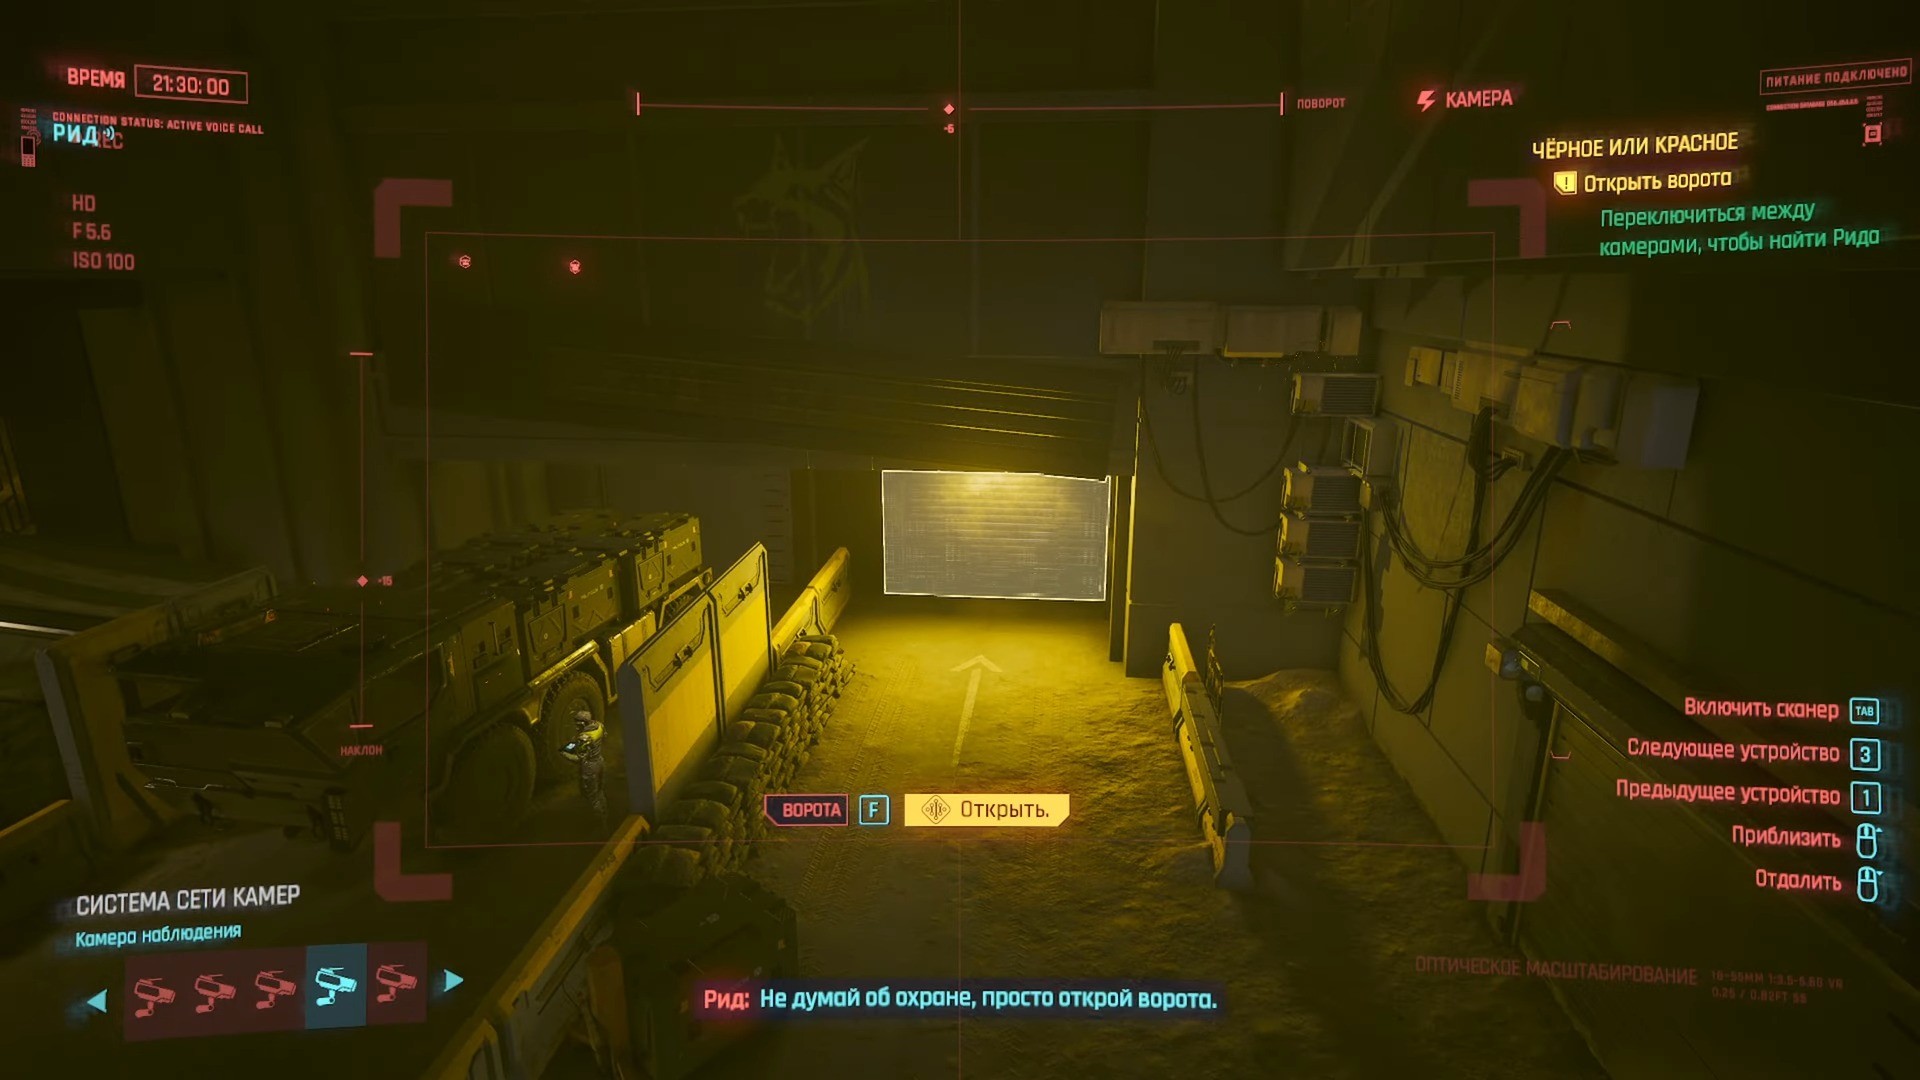
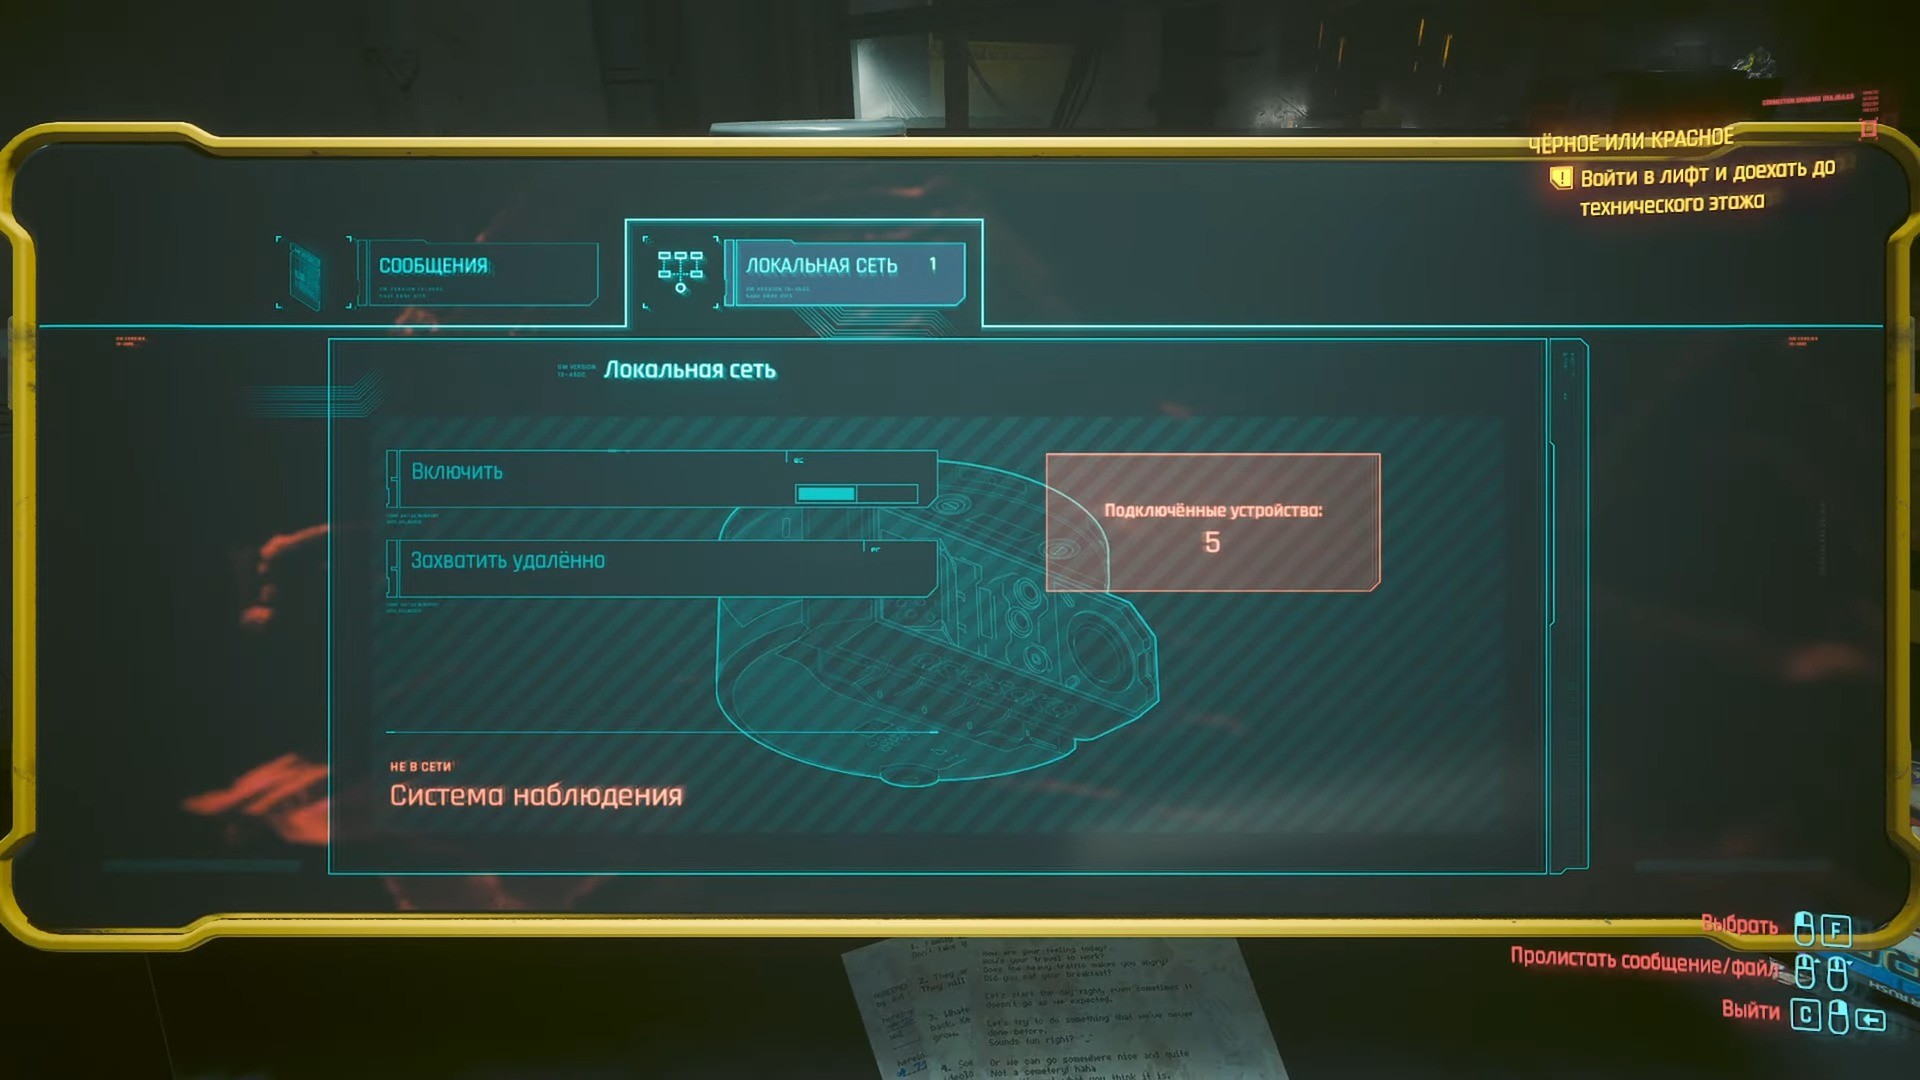
Используйте монитор охранников и найдите камеру, отслеживающую склад, на который пробрался Рид. Наведите камеру на ворота и используйте подсказку, чтобы открыть их. На терминале можно использовать, например, комбинацию: 55 - BD - 1C - BD - 55. Отключаясь от терминала, можно в принципе выключить видеонаблюдение во вкладке локальной сети, что может оказаться небесполезным в дальнейшем.
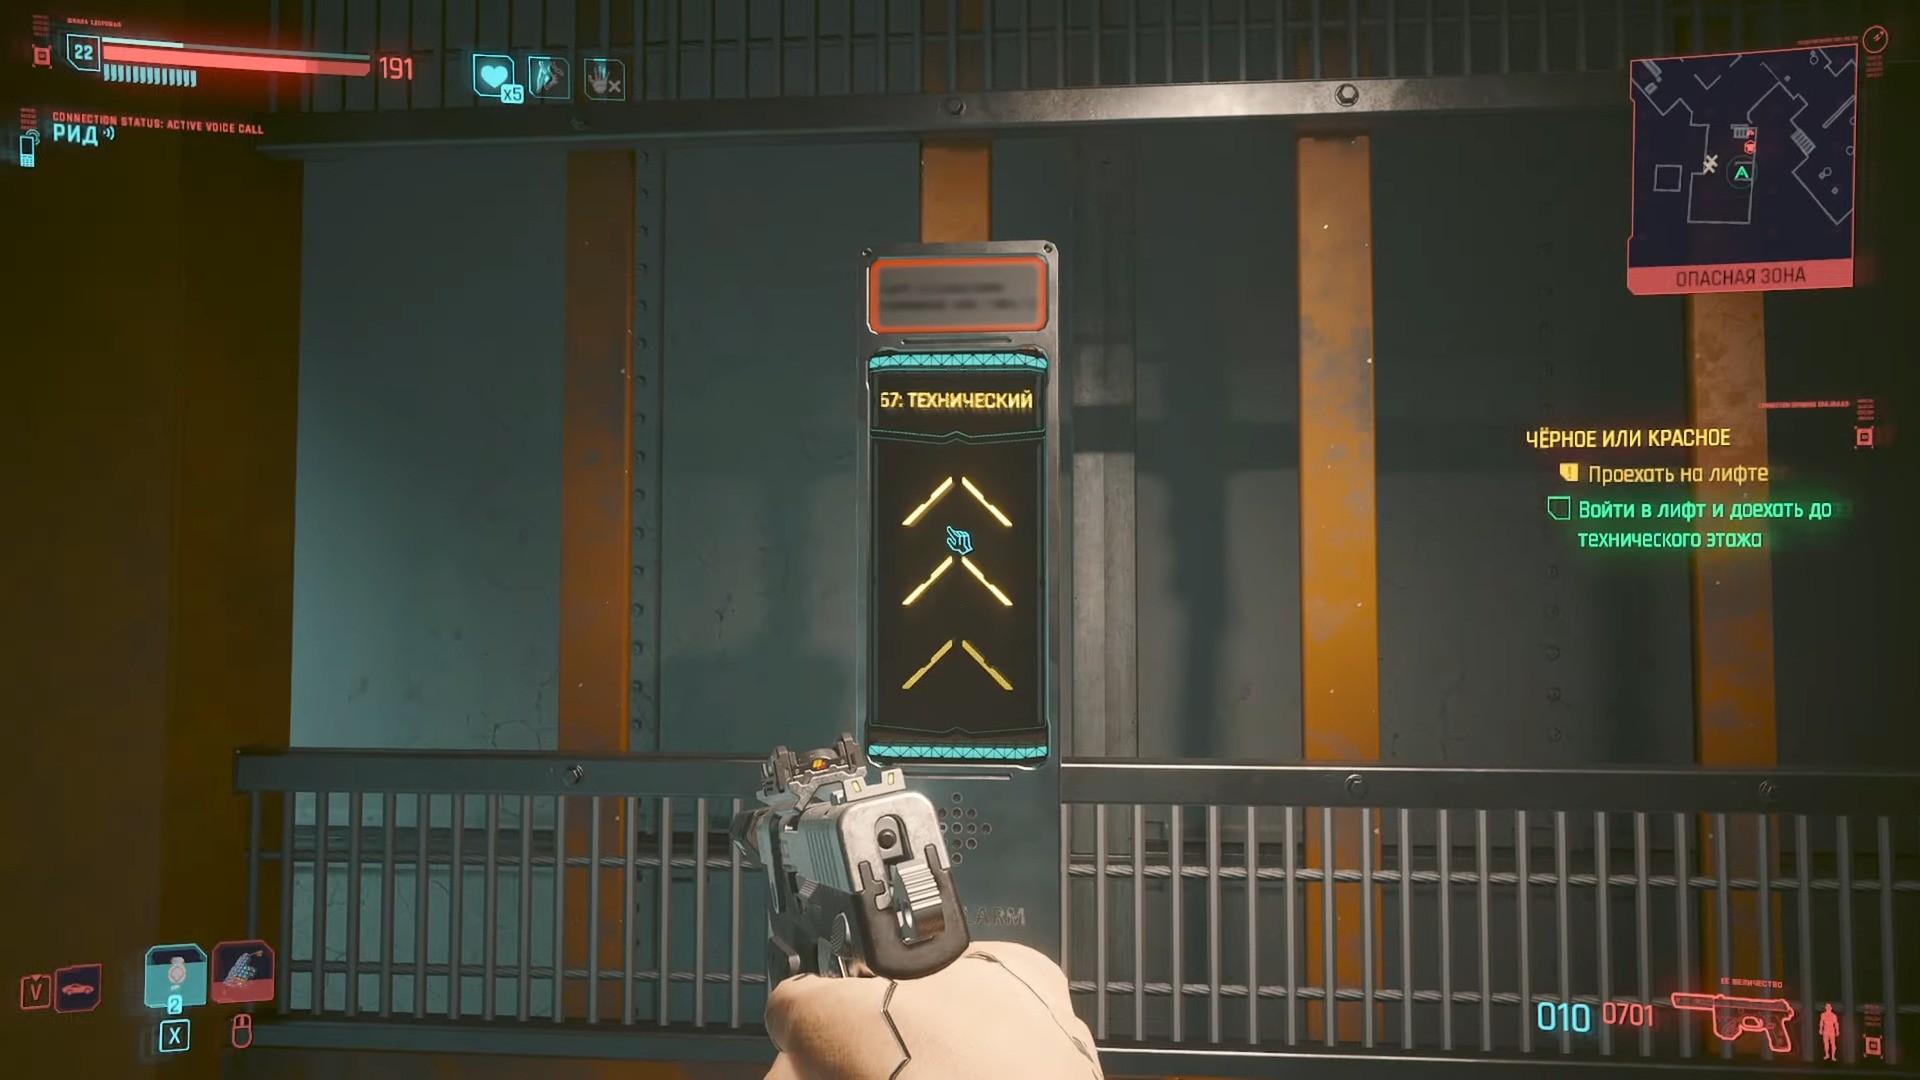
После того как закончите помогать Риду с помощью системы наблюдения, на нижний ярус помещения могут войти трое охранников. Избавьтесь от них и уберите тела в ближайшее укромное место, например, в мусорные контейнеры. Заходите в лифт и выбирайте «Технический отдел» в качестве пункта назначения.
Добраться до места встречи


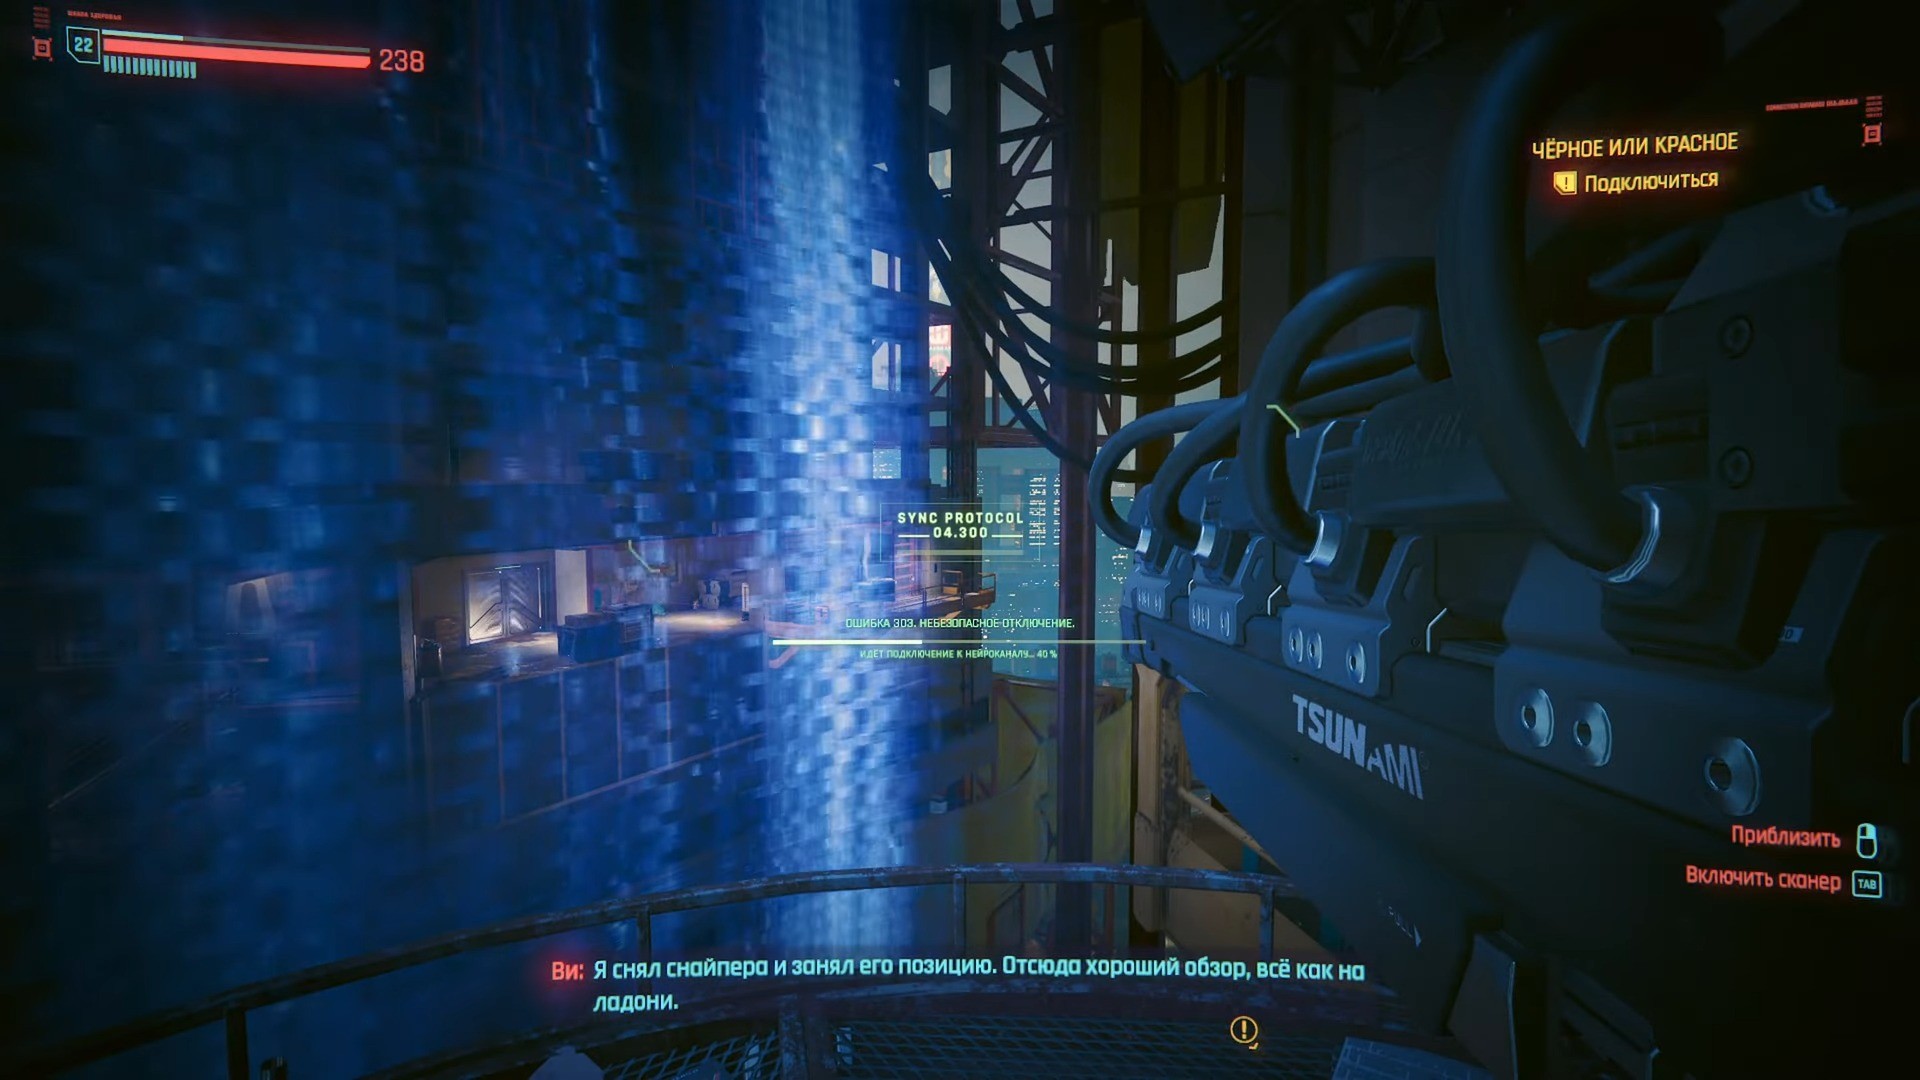
Выходите из лифта и идите по коридору до позиции снайпера, которого потребуется обезвредить и занять его место. Напротив вы заметите Рида, который крадется по противоположной галерее здания.
Первым делом необходимо просканировать возможные угрозы, их несколько, но достаточно рассказать о трех из них, например: о камерах, об охране, о местоположении главного лифта. Наведите прицел на любую угрозу и используйте реплику с синей подсказкой.
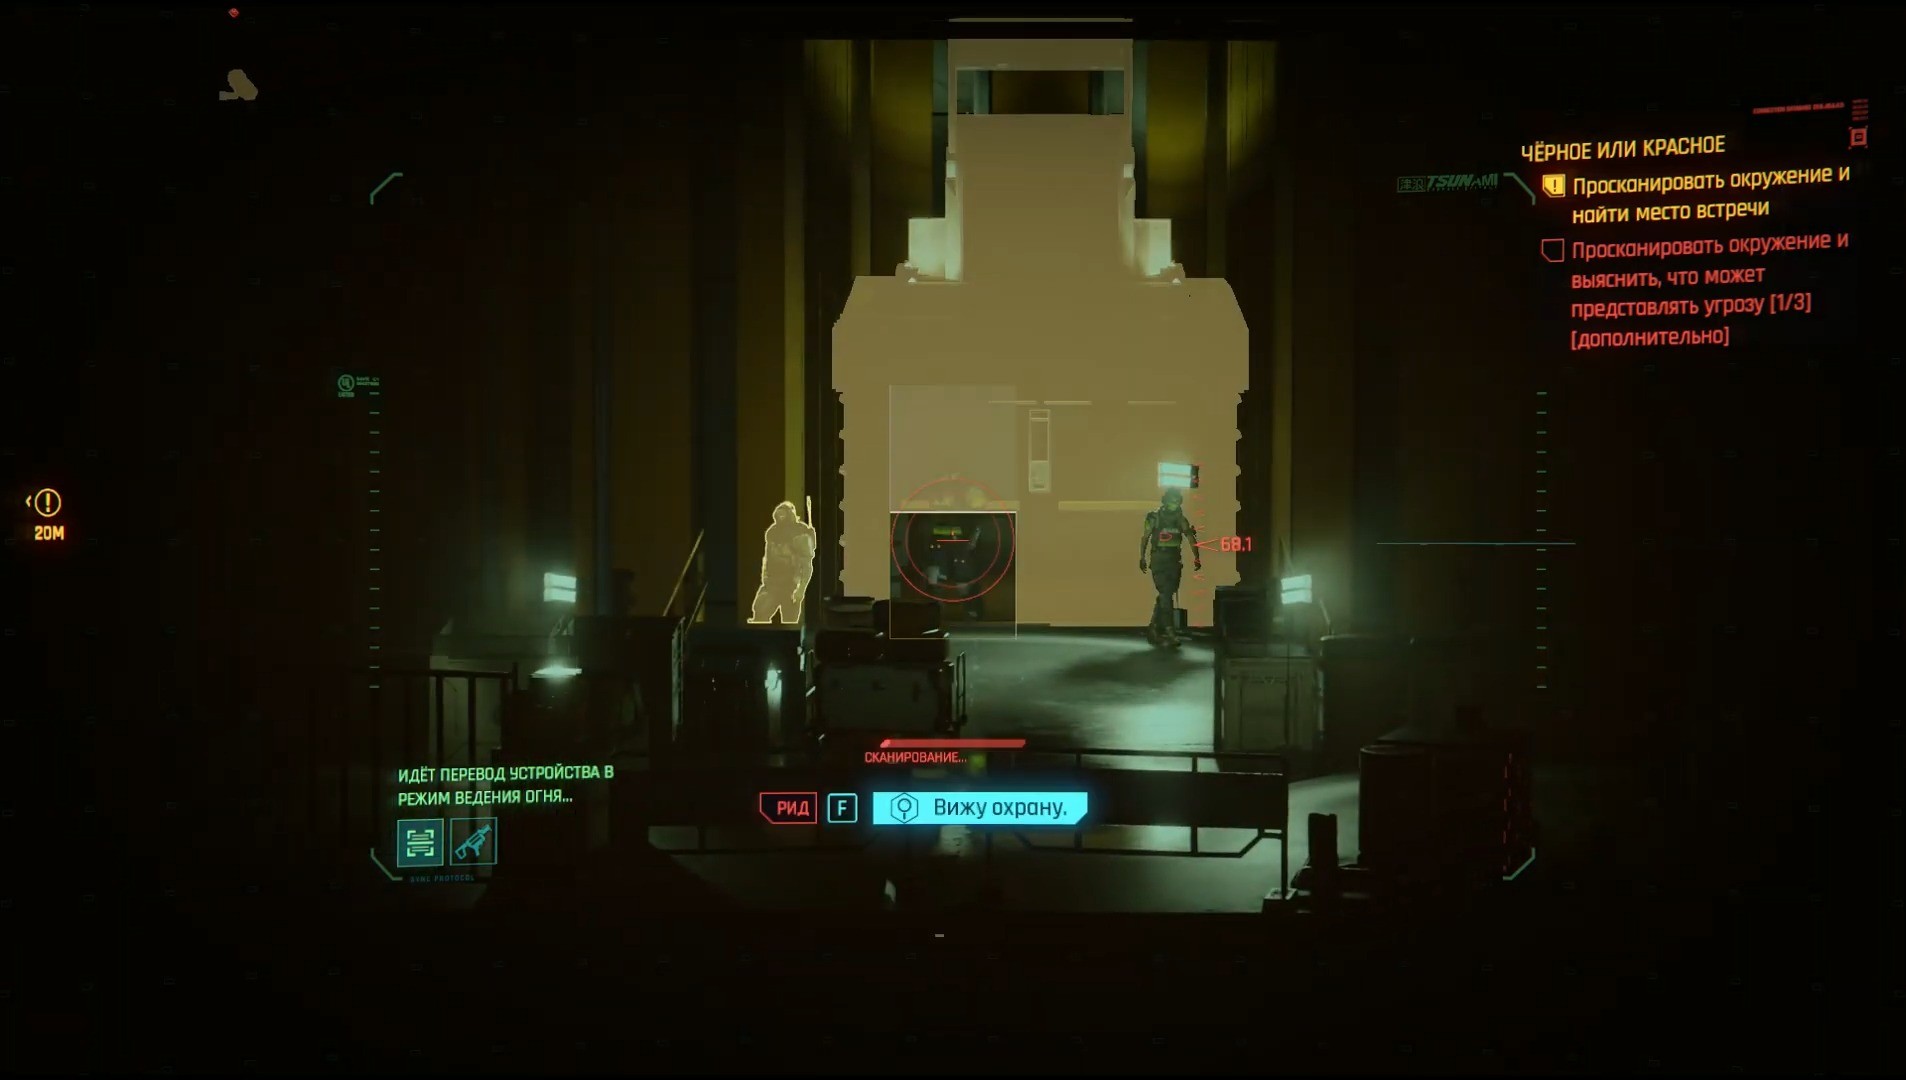

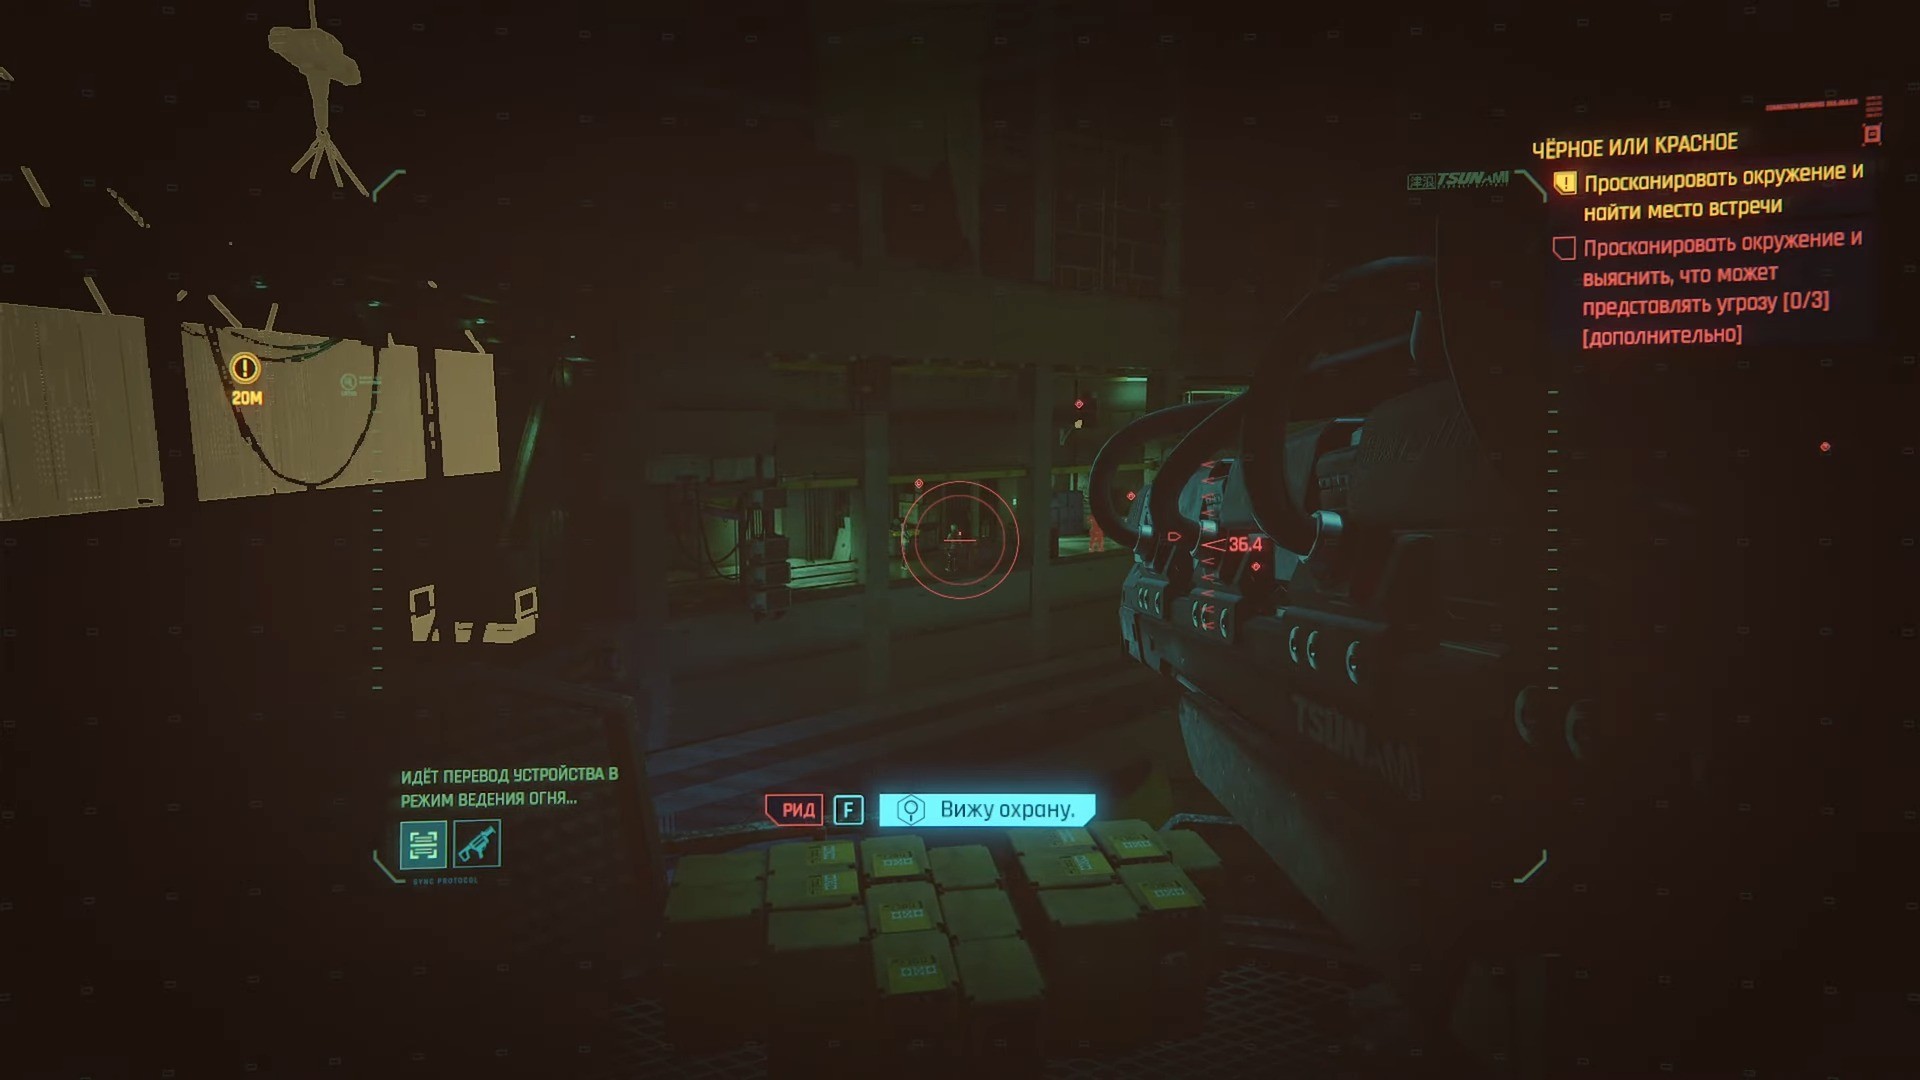
Дополнительные цели по сканированию возникают в зависимости от того, что вы успели подметить изначально, поэтому лучше сразу пройтись по всем объектам с подсветкой. Если потребуется отсканировать место встречи – то это самая левая точка в области видимости, отмеченная квестовым маркером, именно сюда и направляется ваш напарник.
Сопроводить Рида мимо охраны
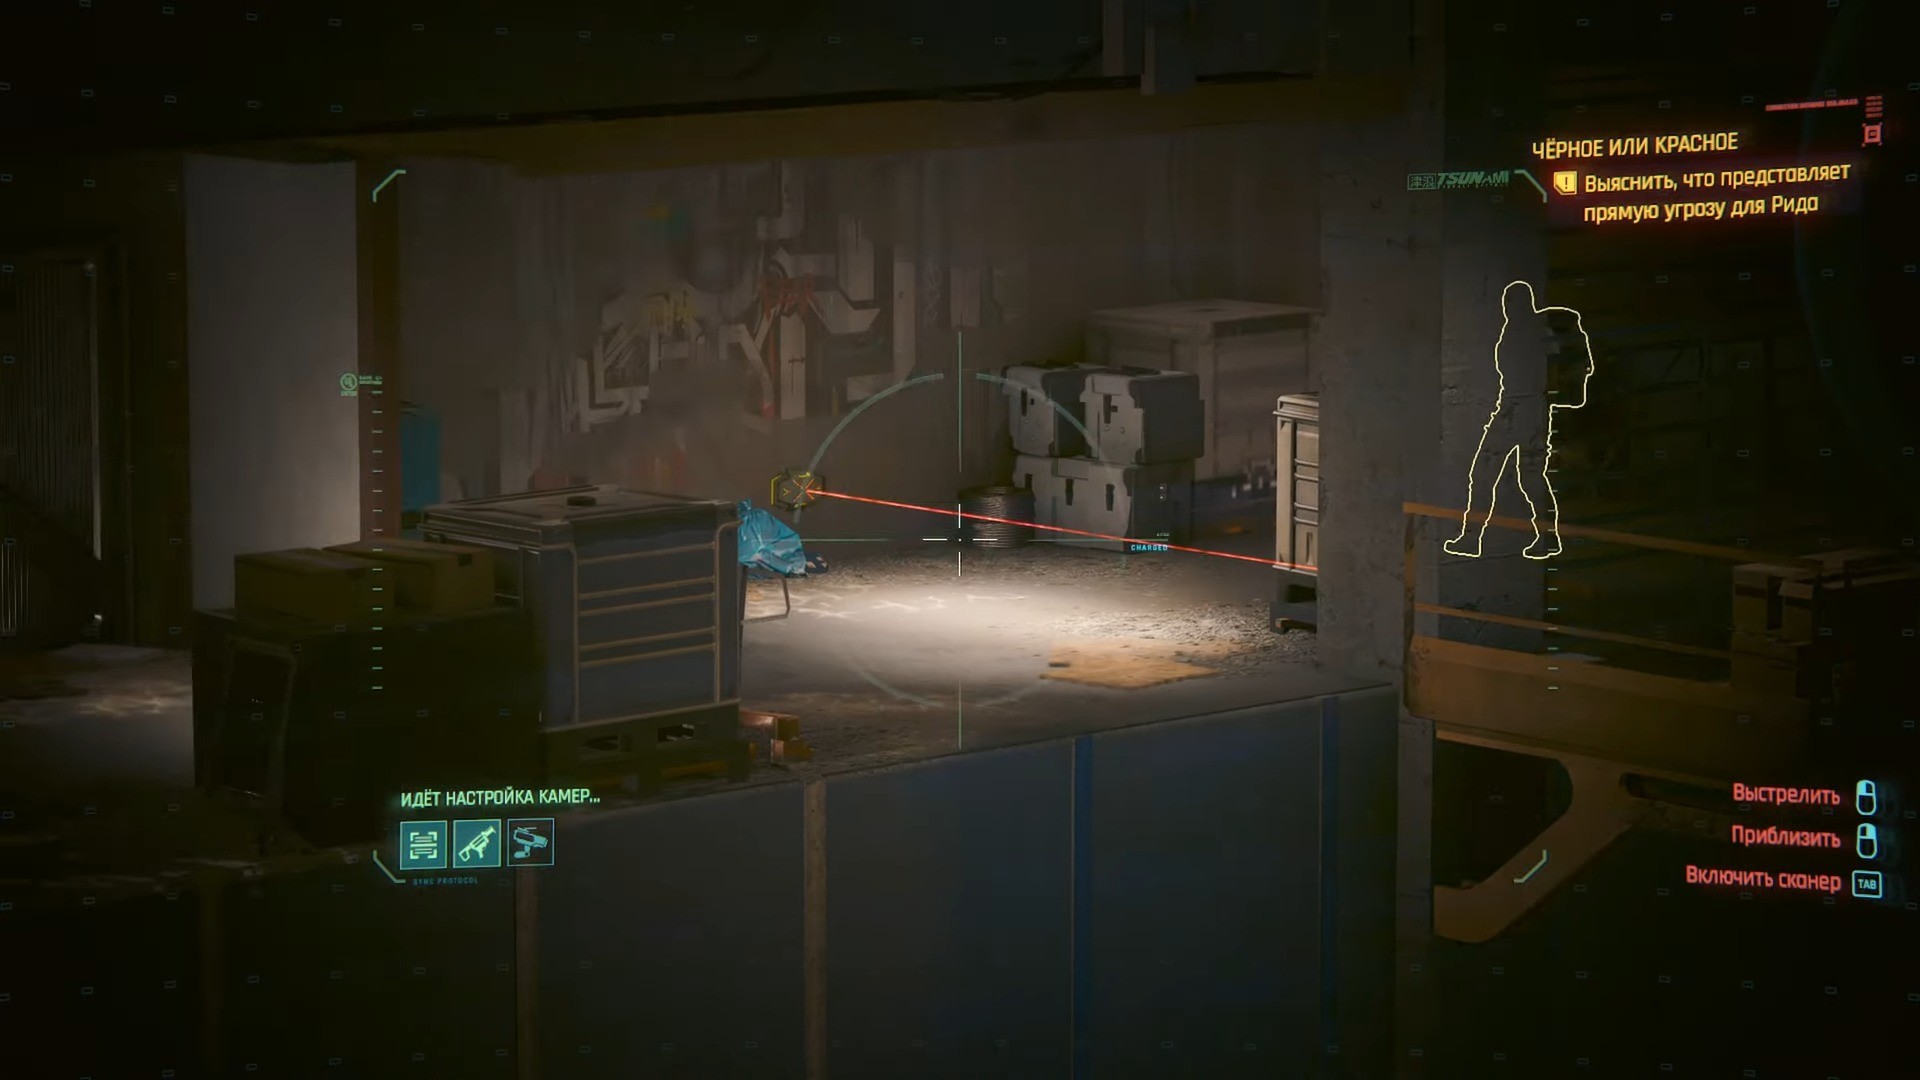

Сообщите о мине, которая находится прямо возле Рида и обезвредьте ее. После этого можно сказать, чтобы шпион выдвигался. Прицелом отслеживайте приближающихся врагов, тогда Ви предупредит напарника об опасности и тот скроется из зоны их видимости.

Когда они минуют укрытие, Рид продолжит путь.
Найдите способ открыть проход
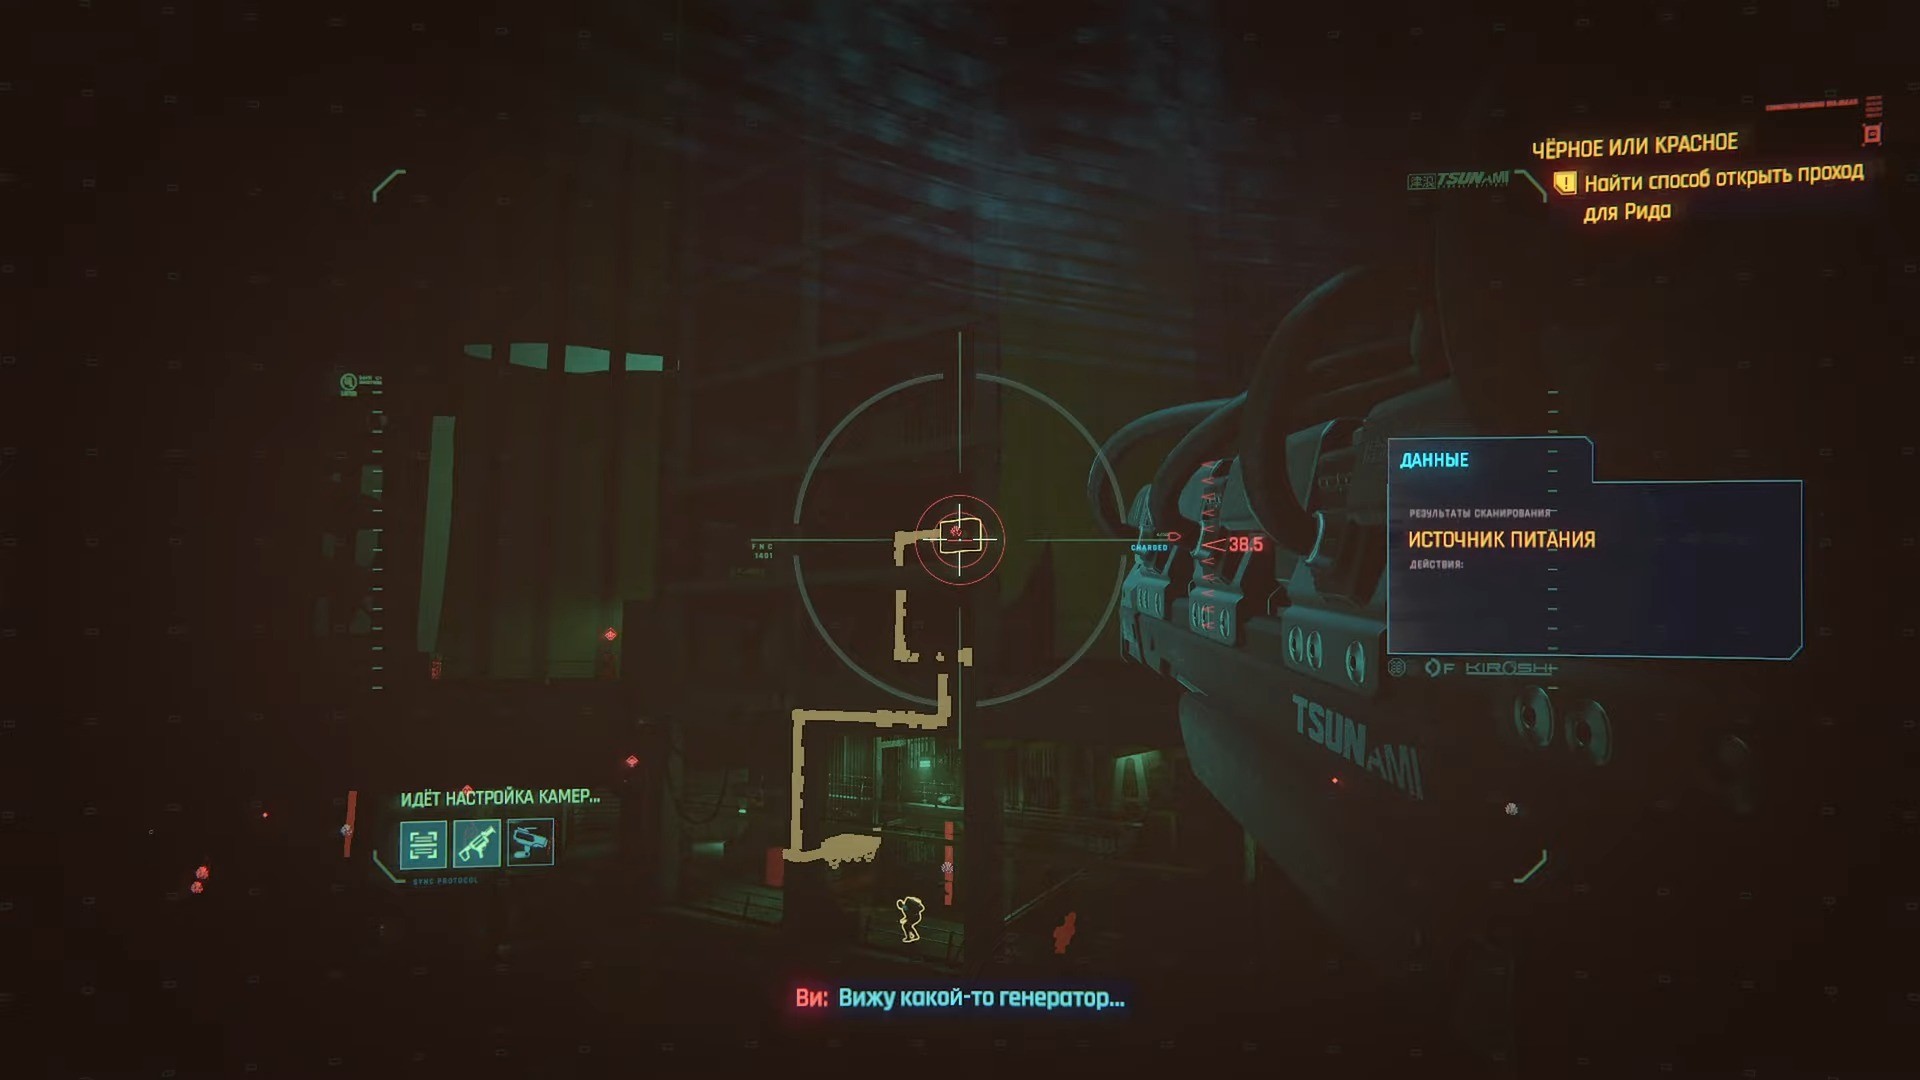
Как только компаньон упрется в препятствие, просканируйте близлежащие кабели питания. Это позволит обнаружить генератор наверху – совершите прицельный выстрел и выведите его из строя.
Найдите безопасный маршрут
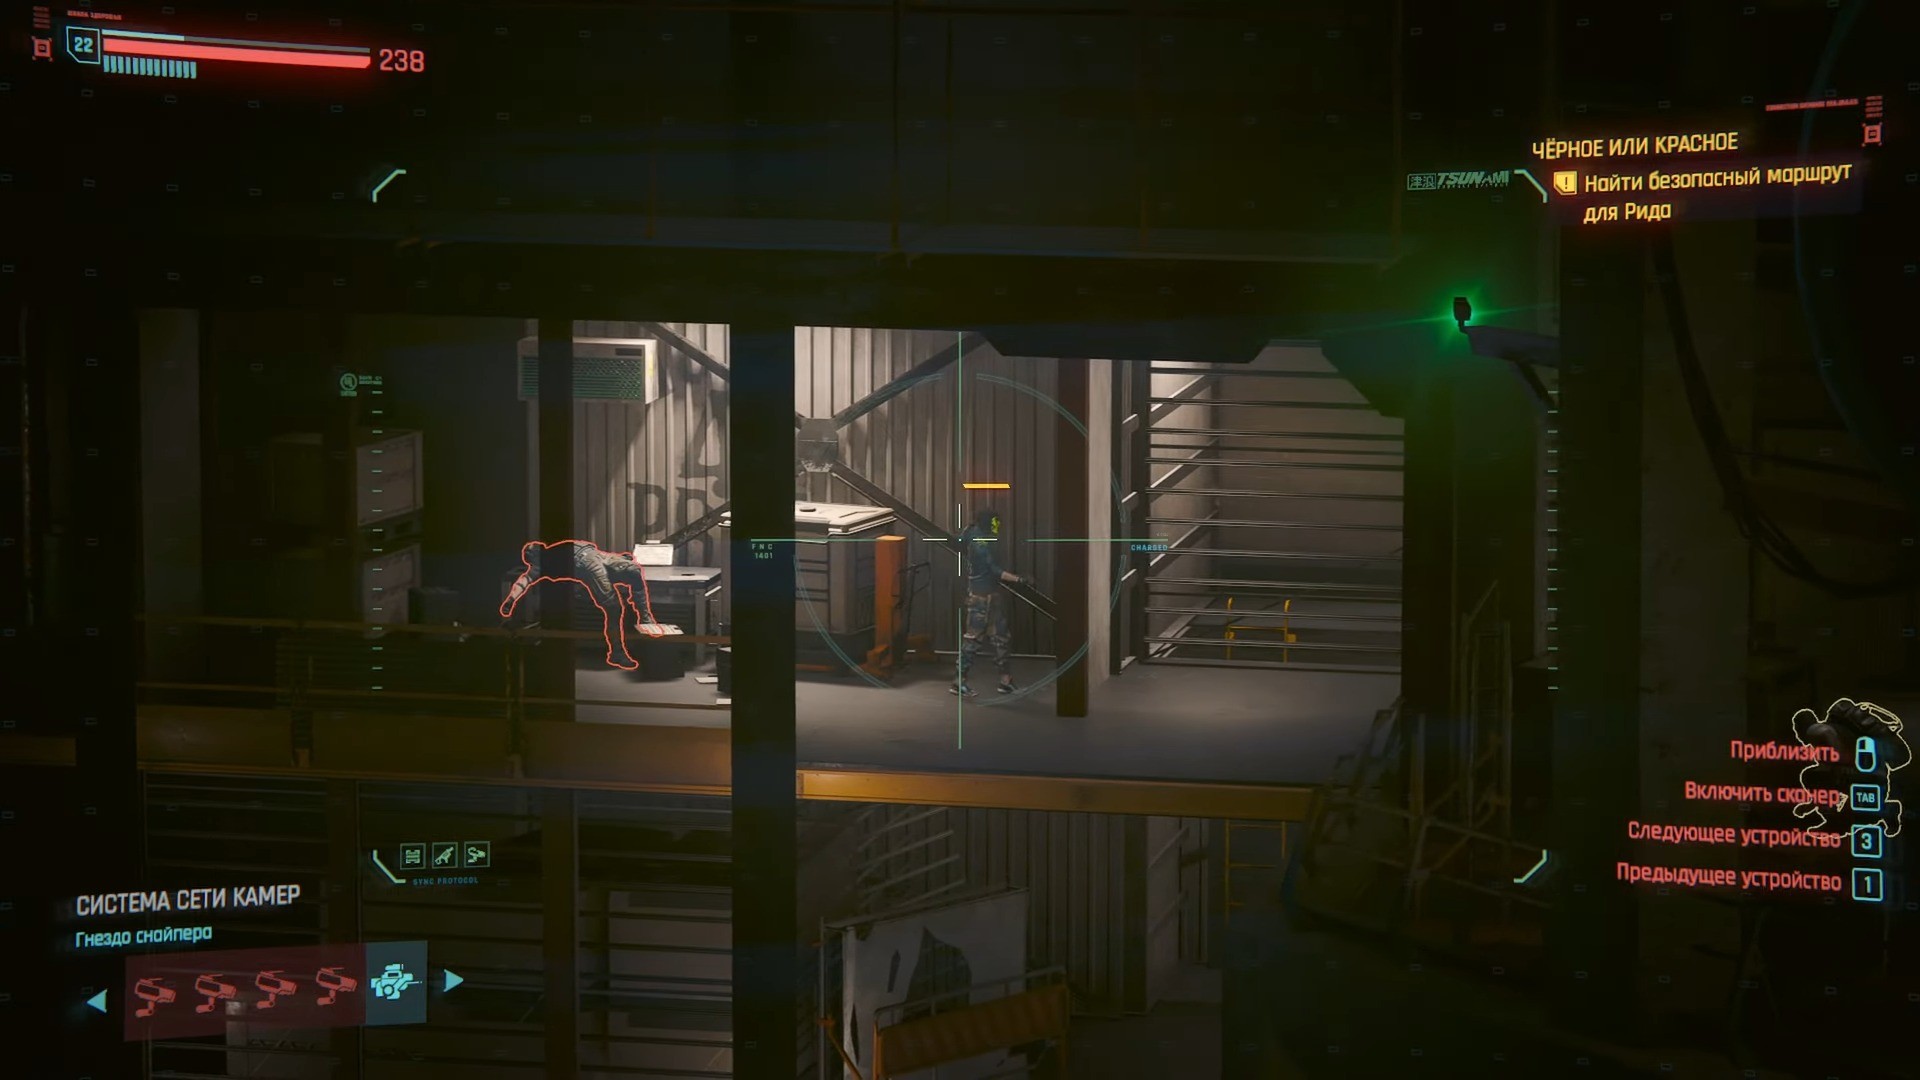
Отключите камеру, наблюдающую за двумя противниками, затем используйте скрипт отвлечения врагов. После отмашки напарнику устраните цель слева.
Главный лифт

Когда Рид приблизится к главному лифту, из него выйдет патруль, о котором необходимо предупредить партнера, наведя перекрестье на противников. Здесь же можно отключить камеру наблюдения, а агент продолжит свой путь.
Обезвредить снайпера
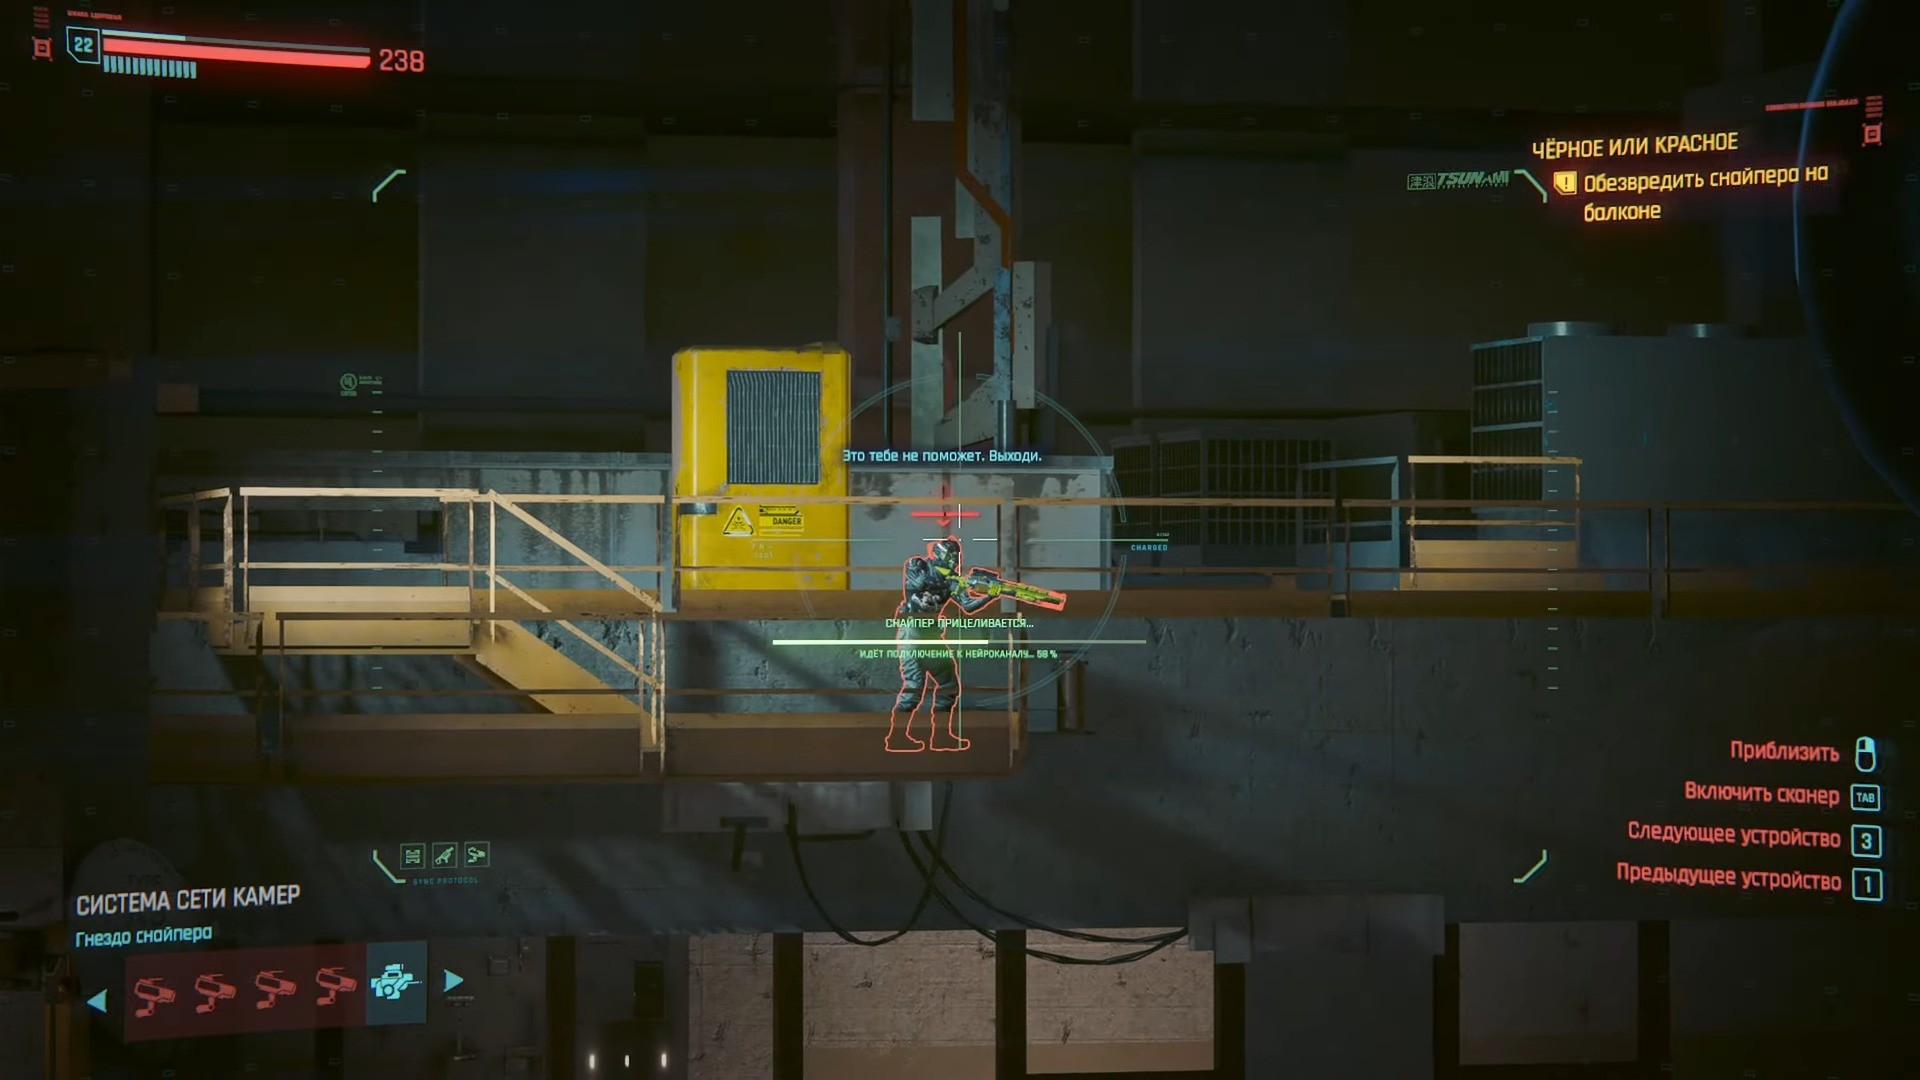
При приближении к лифту будет замечен снайпер на противоположном балконе. Просканируйте окружение, чтобы быстро подсветить его и затем устраните. После этого сразу же вернитесь к обзору окружения вблизи агента – необходимо предупреждать о противниках, выходящих из лифта.
Обезвредить охранника, который мешает Риду

Препятствие в виде охранника, заблокировавшего проход, можно устранить с помощью отвлечения или буквально – главное, чтобы камера была выключена.
Обезвредить прибывающих охранников
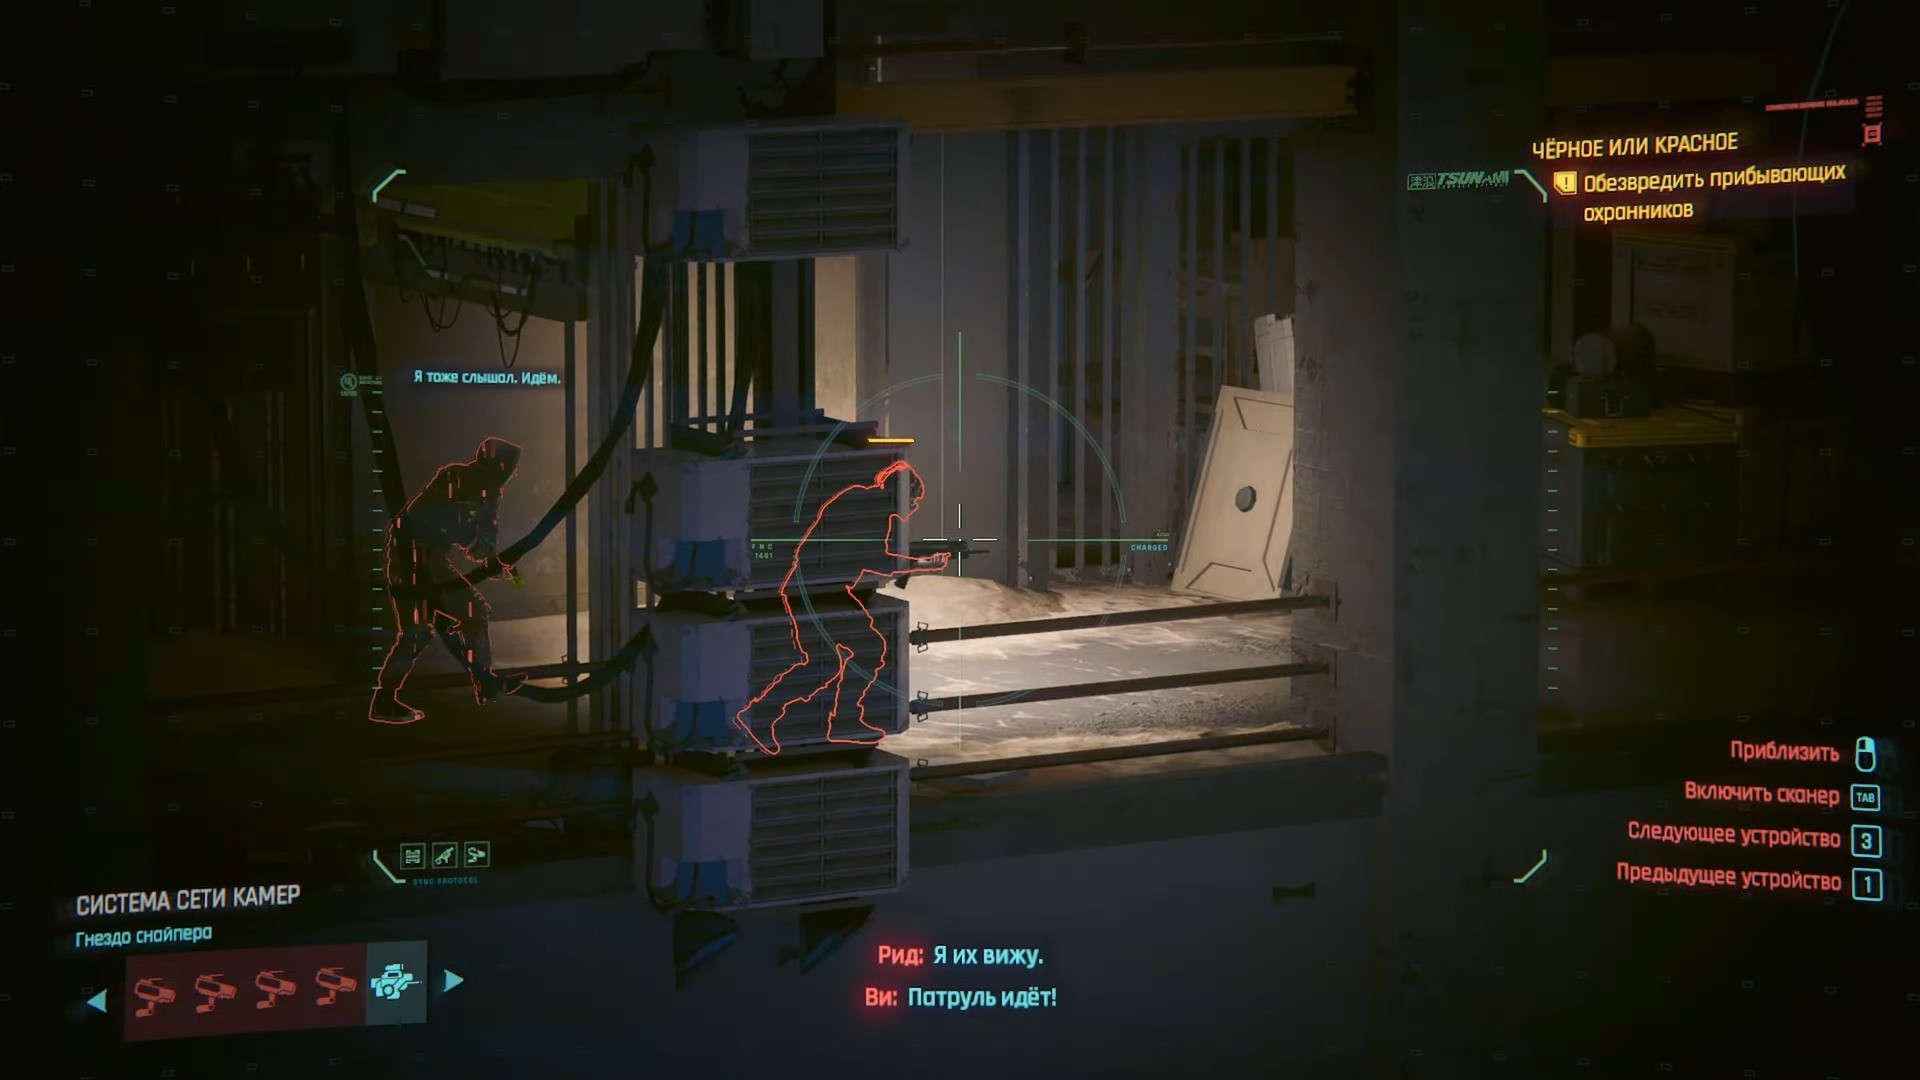
Навстречу Риду выйдут два охранника из левой части локации, устраните их выстрелами в голову, после чего останется только дождаться, пока партнер проделает остаток пути.
Присоединиться к Риду
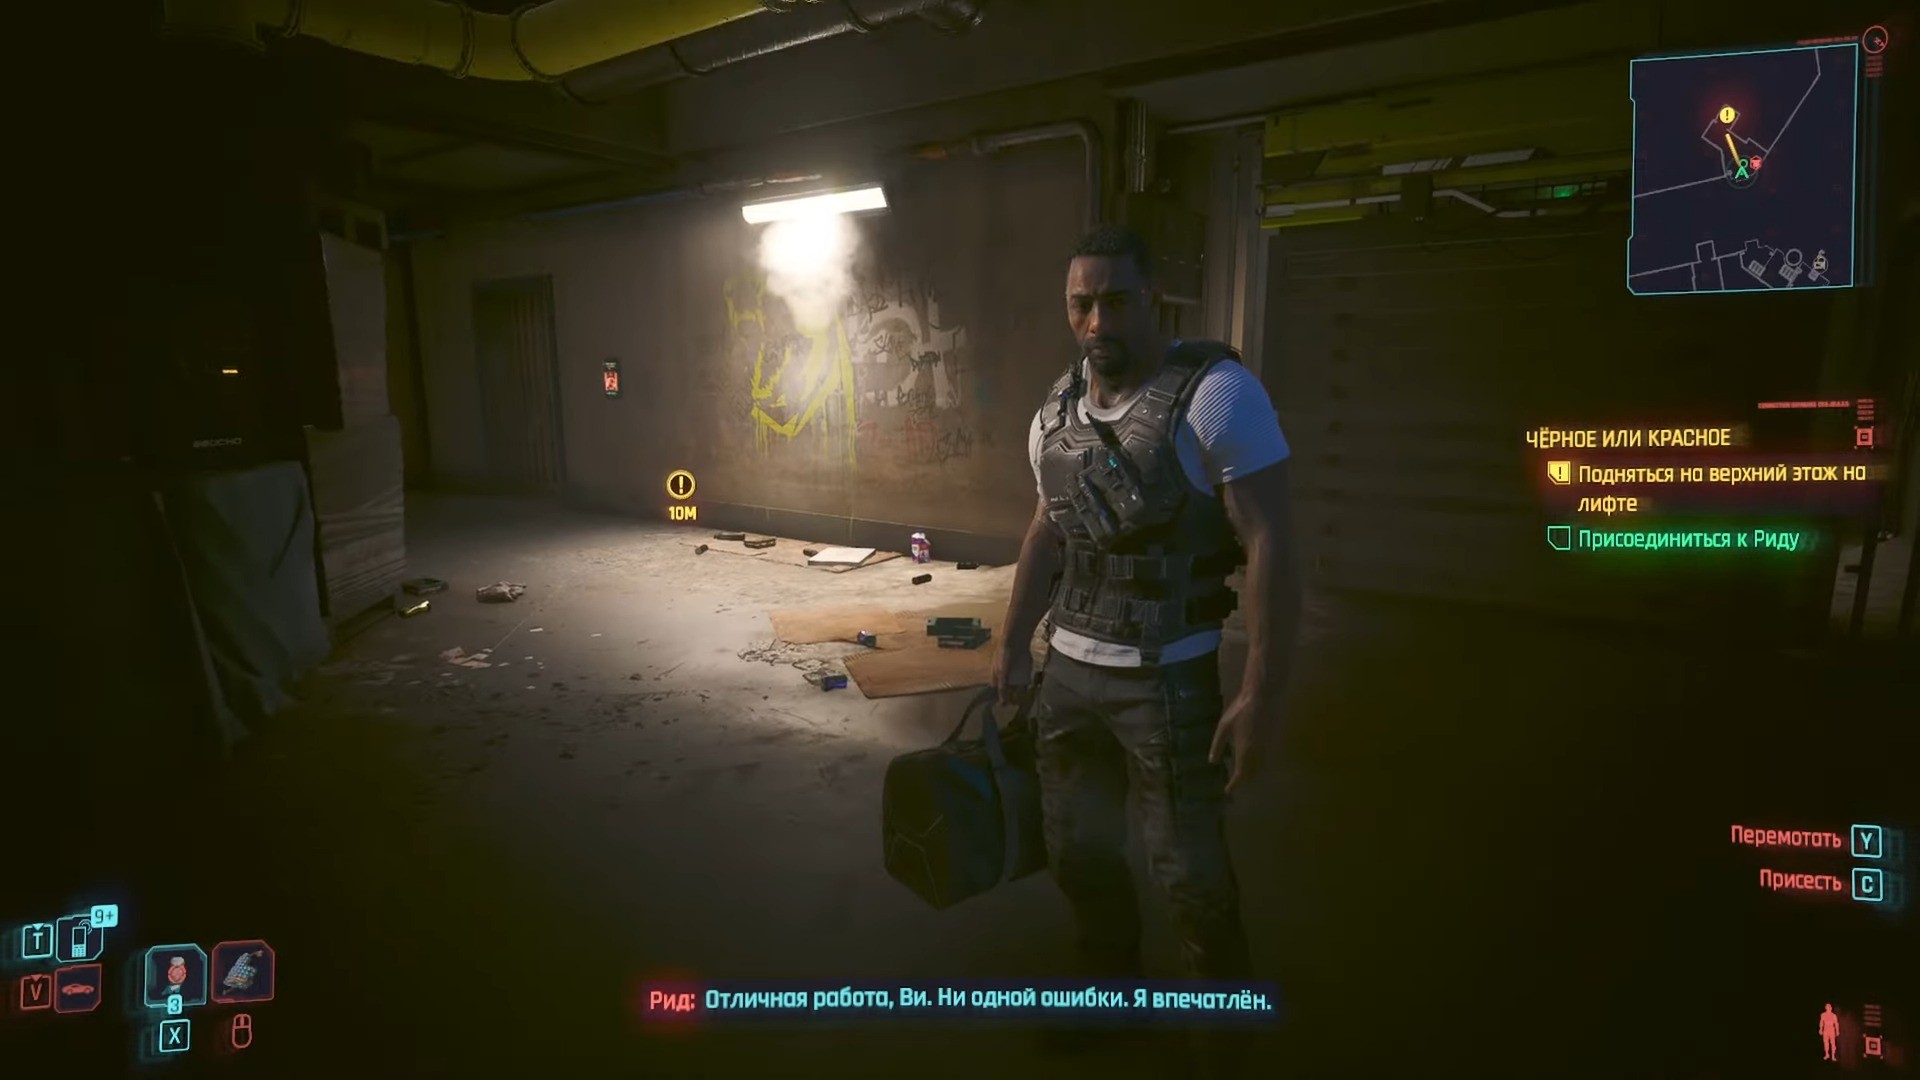

Когда цель задания поменяется, покиньте снайперскую позицию и идите навстречу шпиону, который уже практически до вас добрался. Вместе с ним заходите в лифт и отправляйтесь на верхний этаж. Заберите из сумки и экипируйте костюм, предложенный Ридом, после чего выходите на крышу.
Присоединиться к гостям и найти Сойку
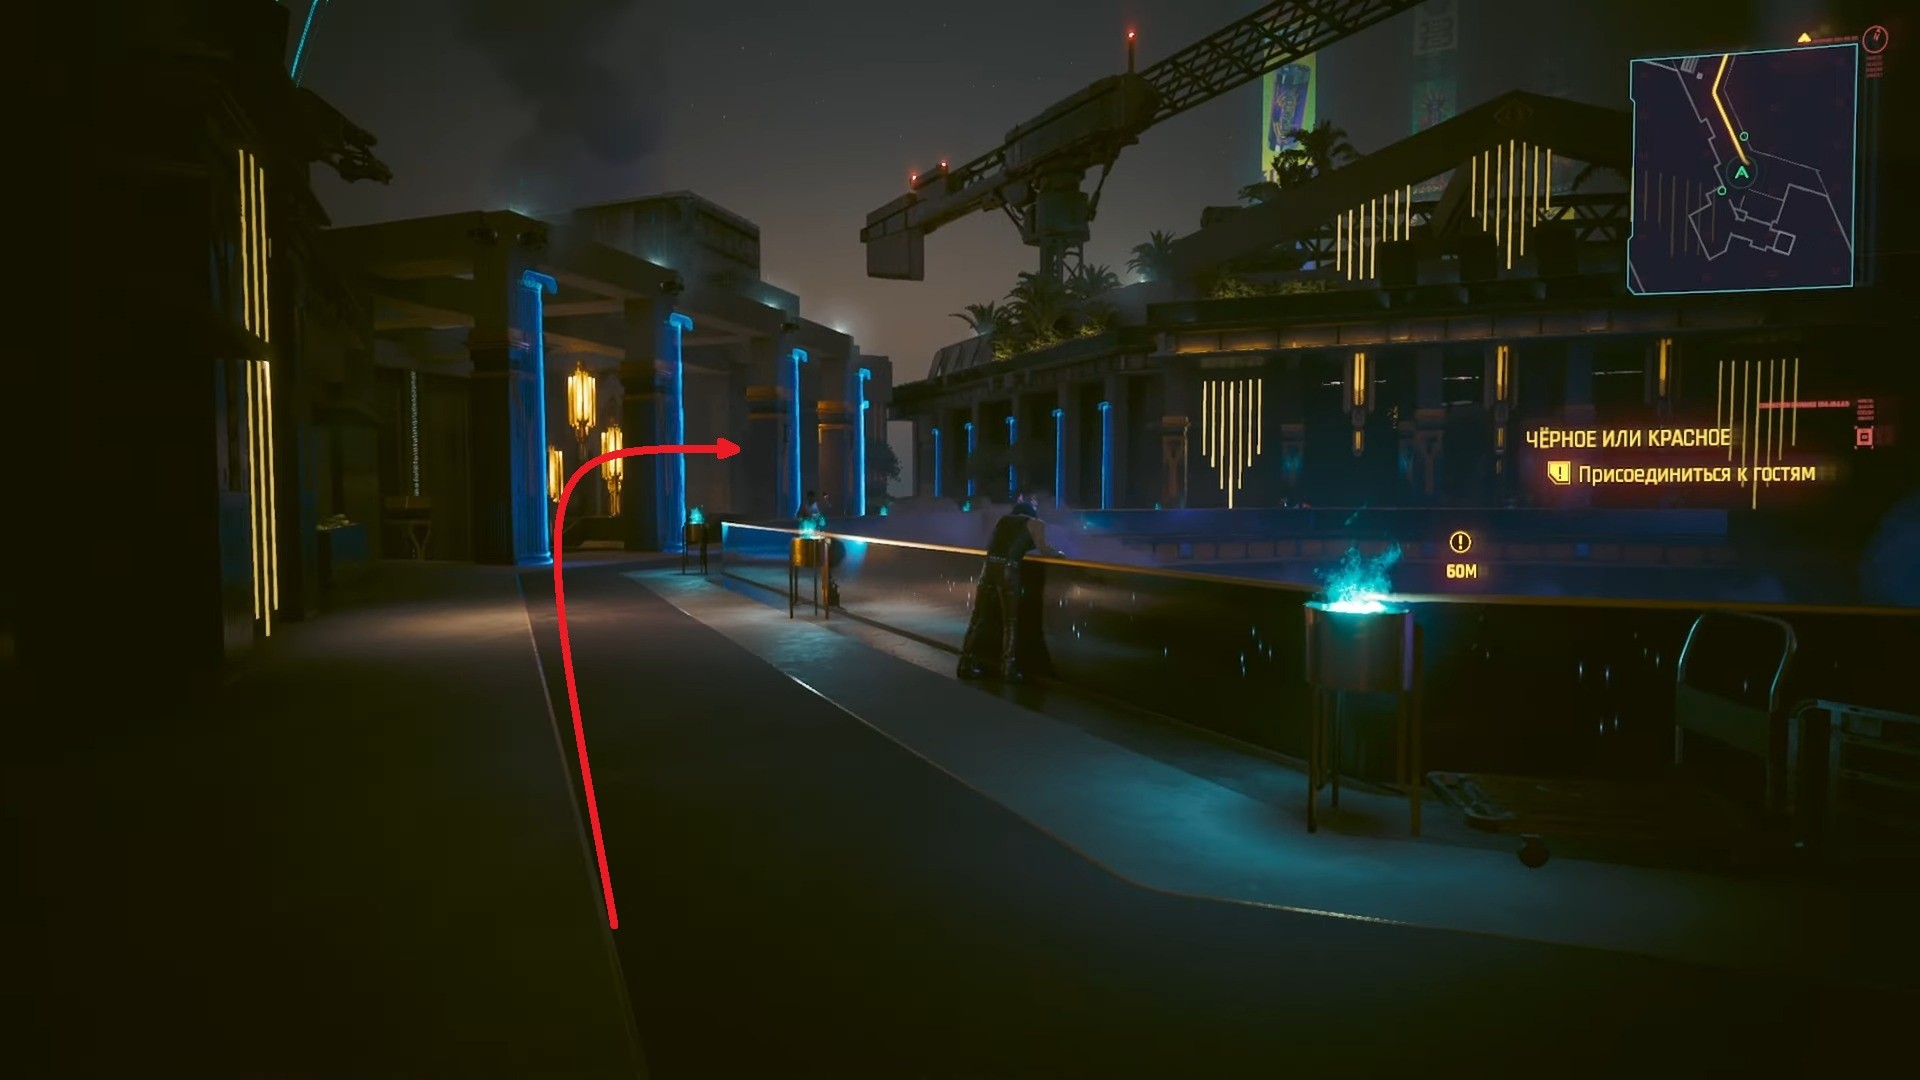
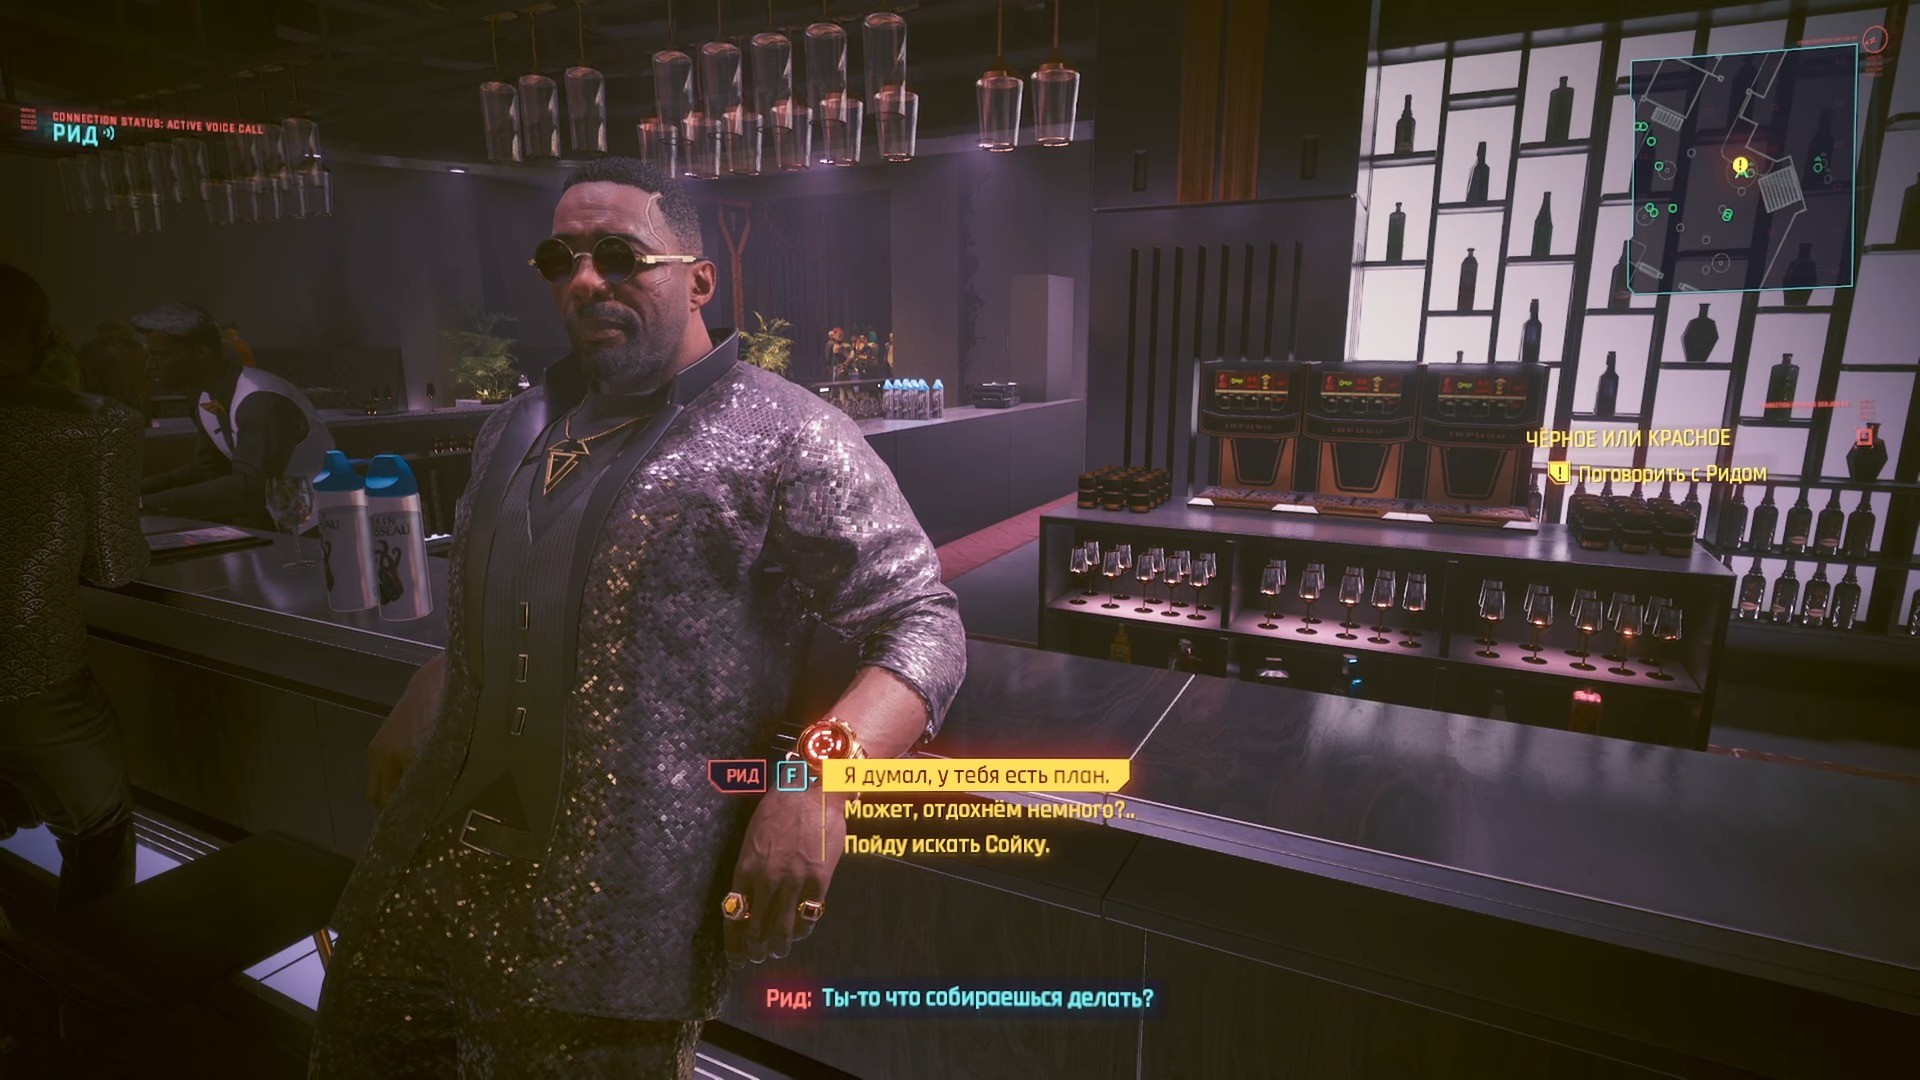
Следуйте за квестовым маркером и присоединяйтесь к Риду в баре. После разговора с компаньоном гуляйте по танцполу, пока Сойка сама не выйдет с вами на связь.

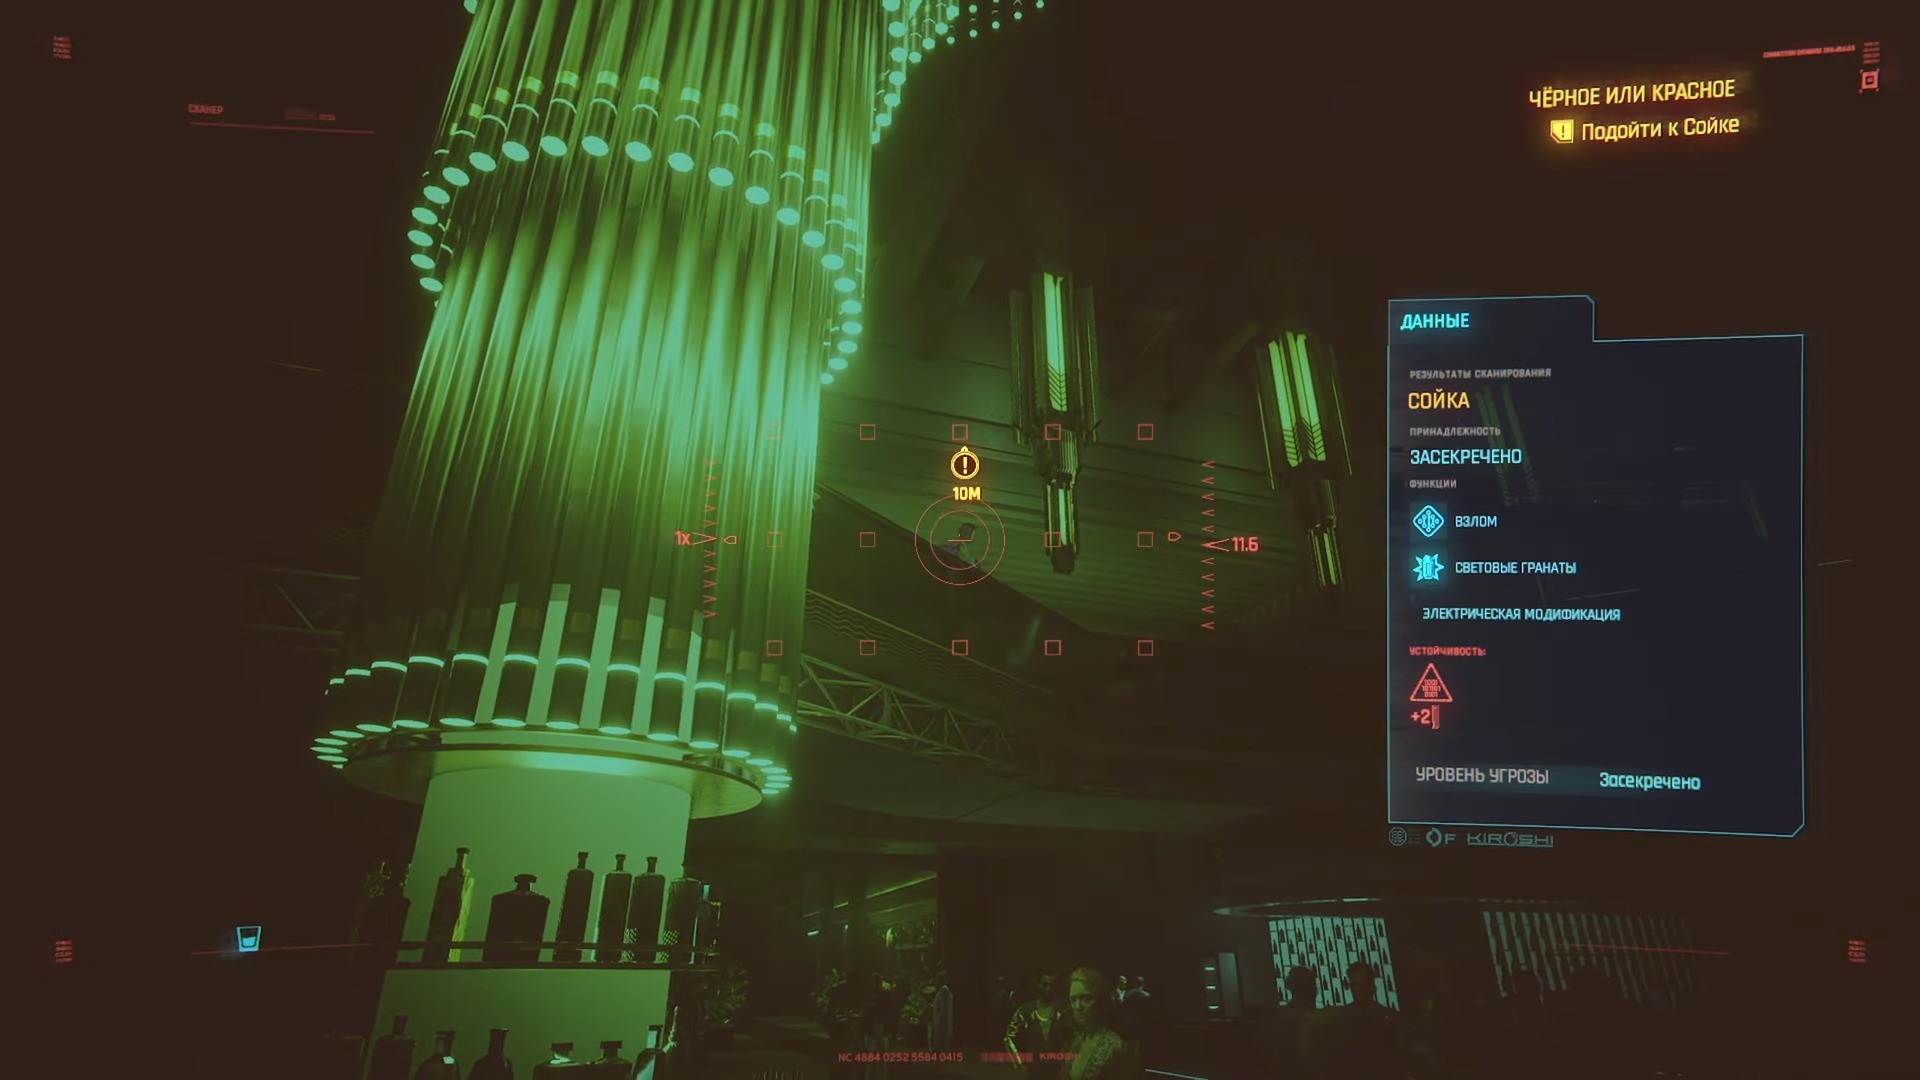

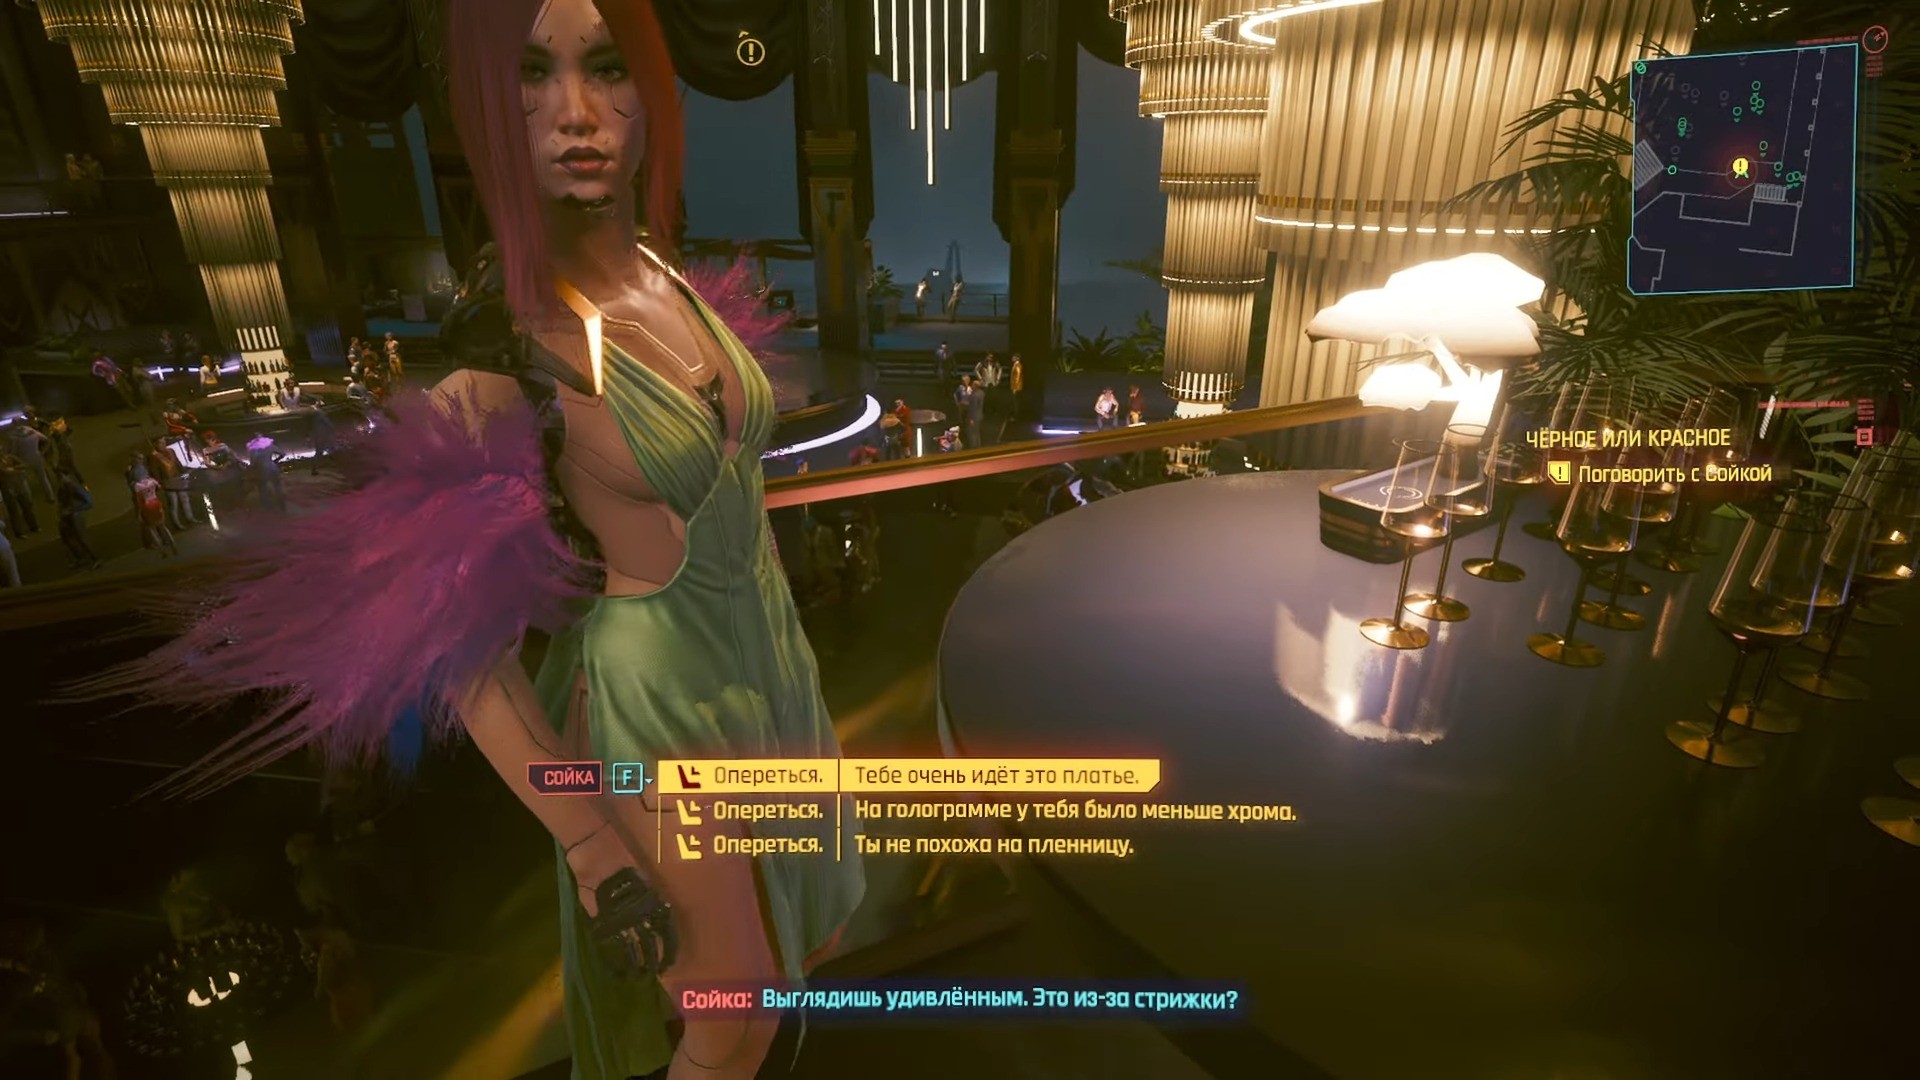
После того как от девушки поступит сообщение, вы сможете заметить ее на балконе второго этажа бара и подняться к старой знакомой.
Забрать чип из бокала

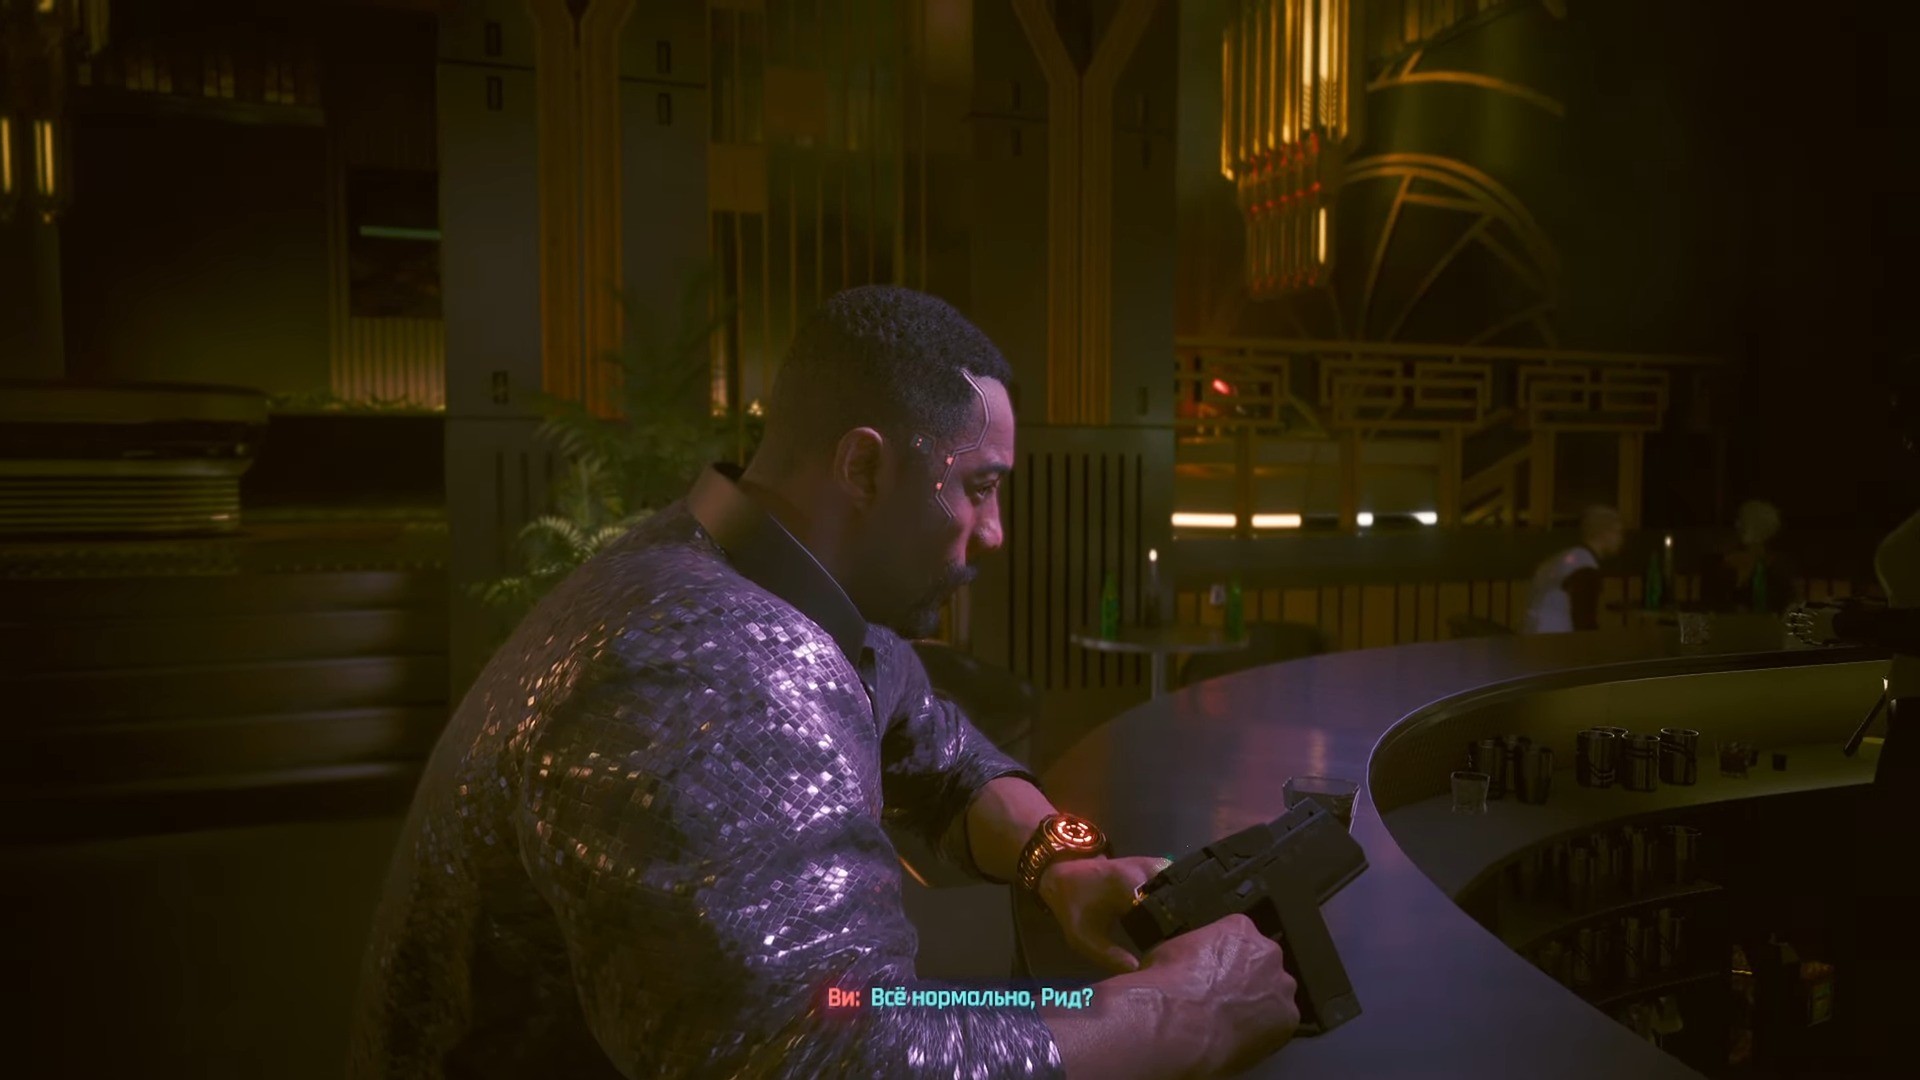
Беседа приведет к неожиданному повороту – к ней внезапно присоединится Хансен, у которого, возможно, есть то, что так сильно нужно и Сойке, и Ви. Заберите чип из бокала и обсудите новости с Ридом – в сложившейся ситуации действительно есть над чем подумать.
Купить фишки и сыграть в рулетку с нетраннерами
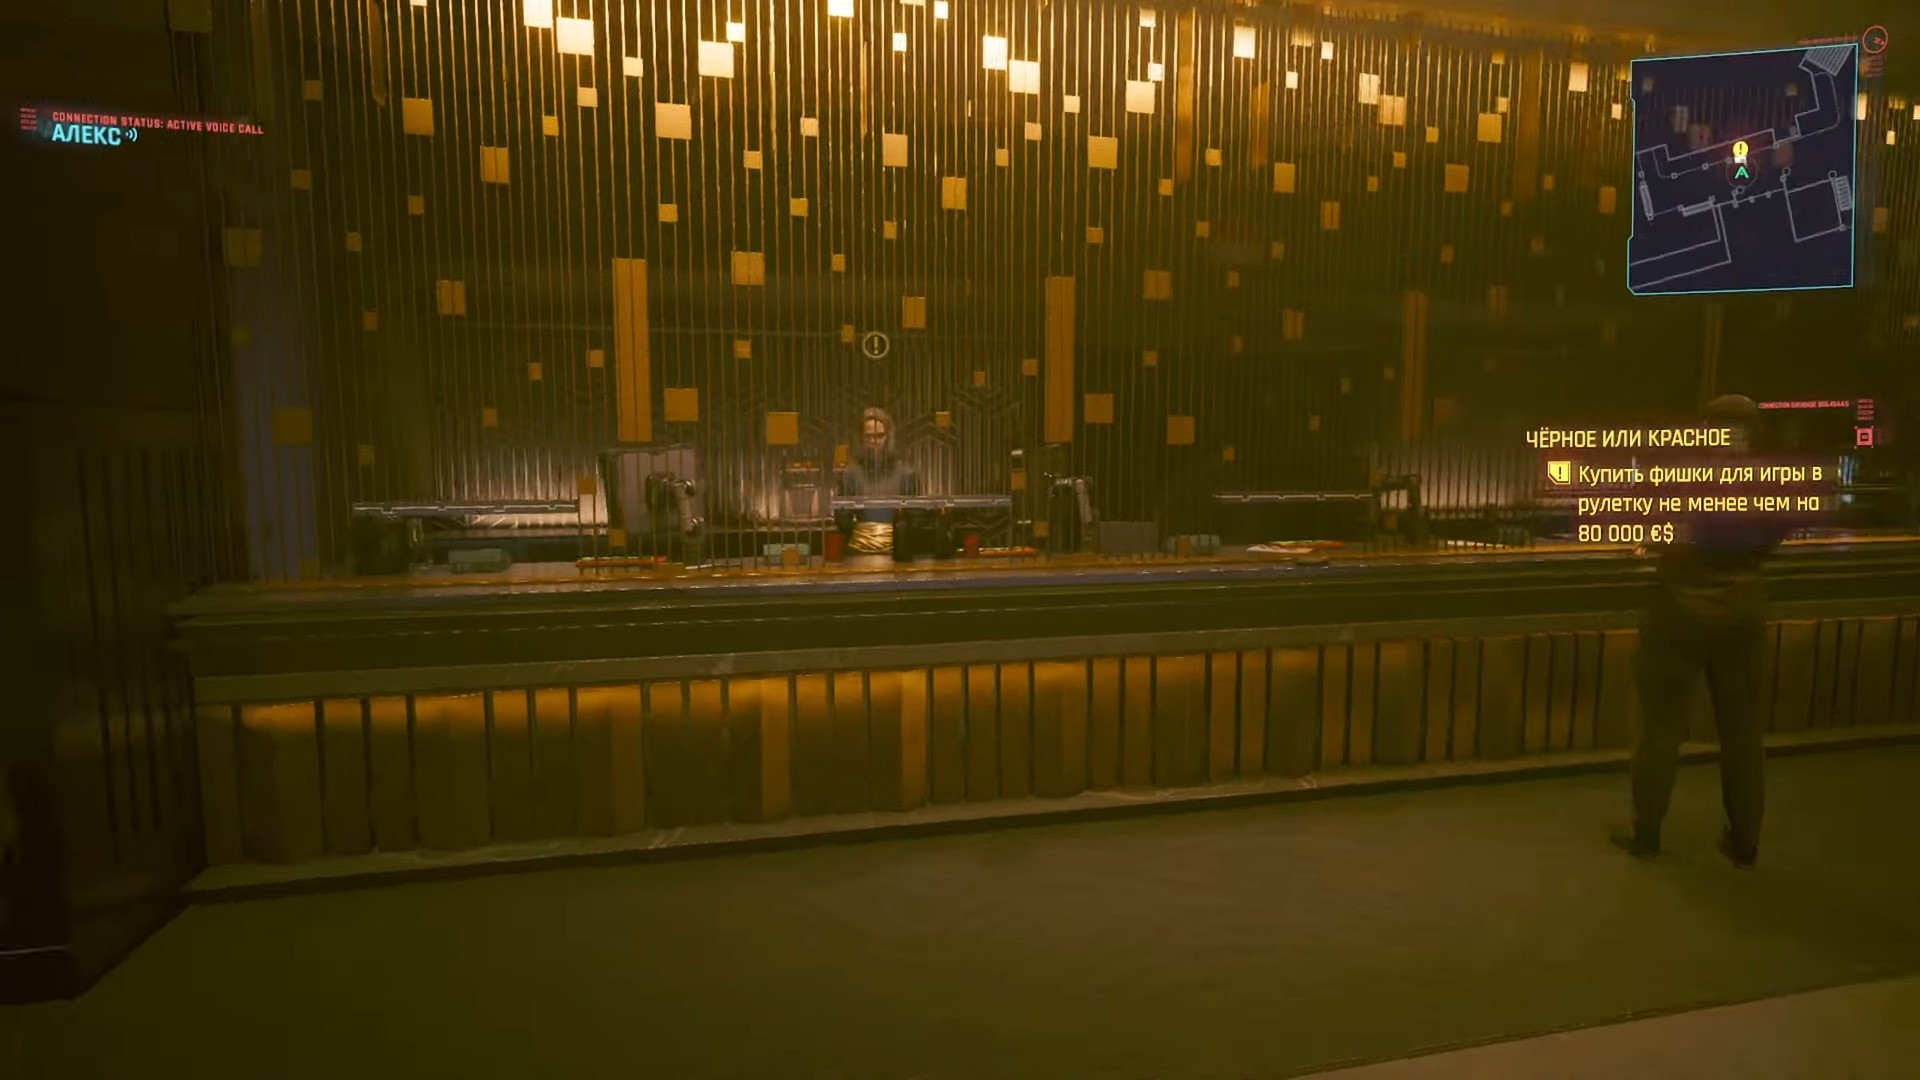

Отправляйтесь в казино и поговорите с менеджером для покупки фишек – нужно закупиться на 80 тысяч и отправиться играть. Нужный игровой стол находится прямо в дальнем углу, именно за ним и расположились интересующие вас личности.

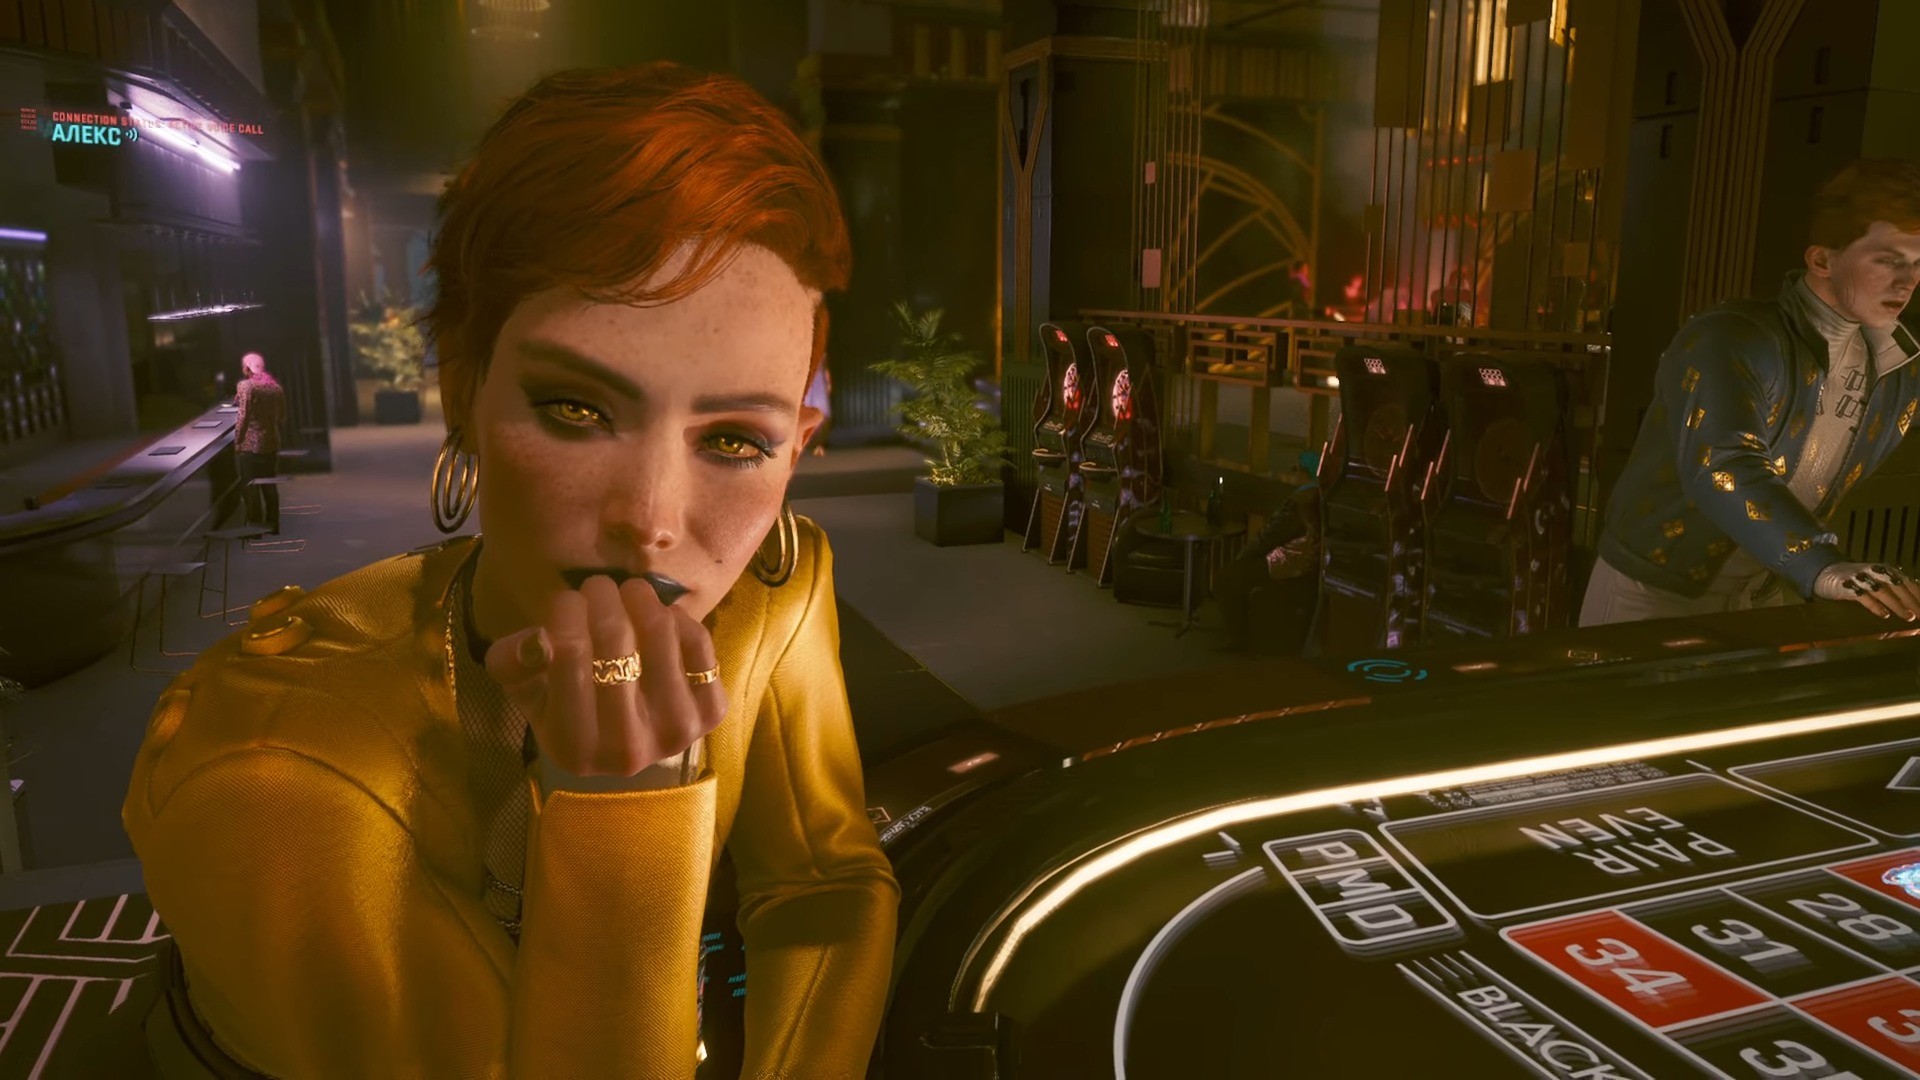
Дождитесь конца раунда и вступайте в игру, в процессе которой нужно будет изучить близнецов, когда цель квеста изменится на соответствующую. Успешно завершить сканирование и забрать весь банк получилось при следующей последовательности выборов:
- Присоединиться к игре | Ставлю на черное.
- Заказать напитки | Что будете пить?
- То же, что и для нее.
- Поставить на красное.
- Грехов на мне хватает.
- Поставить на черное | Не хотел прерывать ваш разговор.
- Поставить на черное | Вы оба выделяетесь из толпы.
- Поставить на красное.
- Ого, да ты у нас психоаналитик.
- Я его не очень хорошо знаю.
- Поставить на черное.
- Какой милый спектакль.
- Поставить на красное.
- Песий город дает Хансену преимущество.
- Поставить на красное | Кажется, ты хочешь что-то сказать.
- Есть вкус к риску? (Have a taste for risk?)
- Все или ничего? (All or nothin' - whaddaya say?)
- Я вор.
- Черное.
Также возможно, что выигрыш рассчитывается случайно и диалог просто позволяет отыграть своего персонажа наилучшим образом.

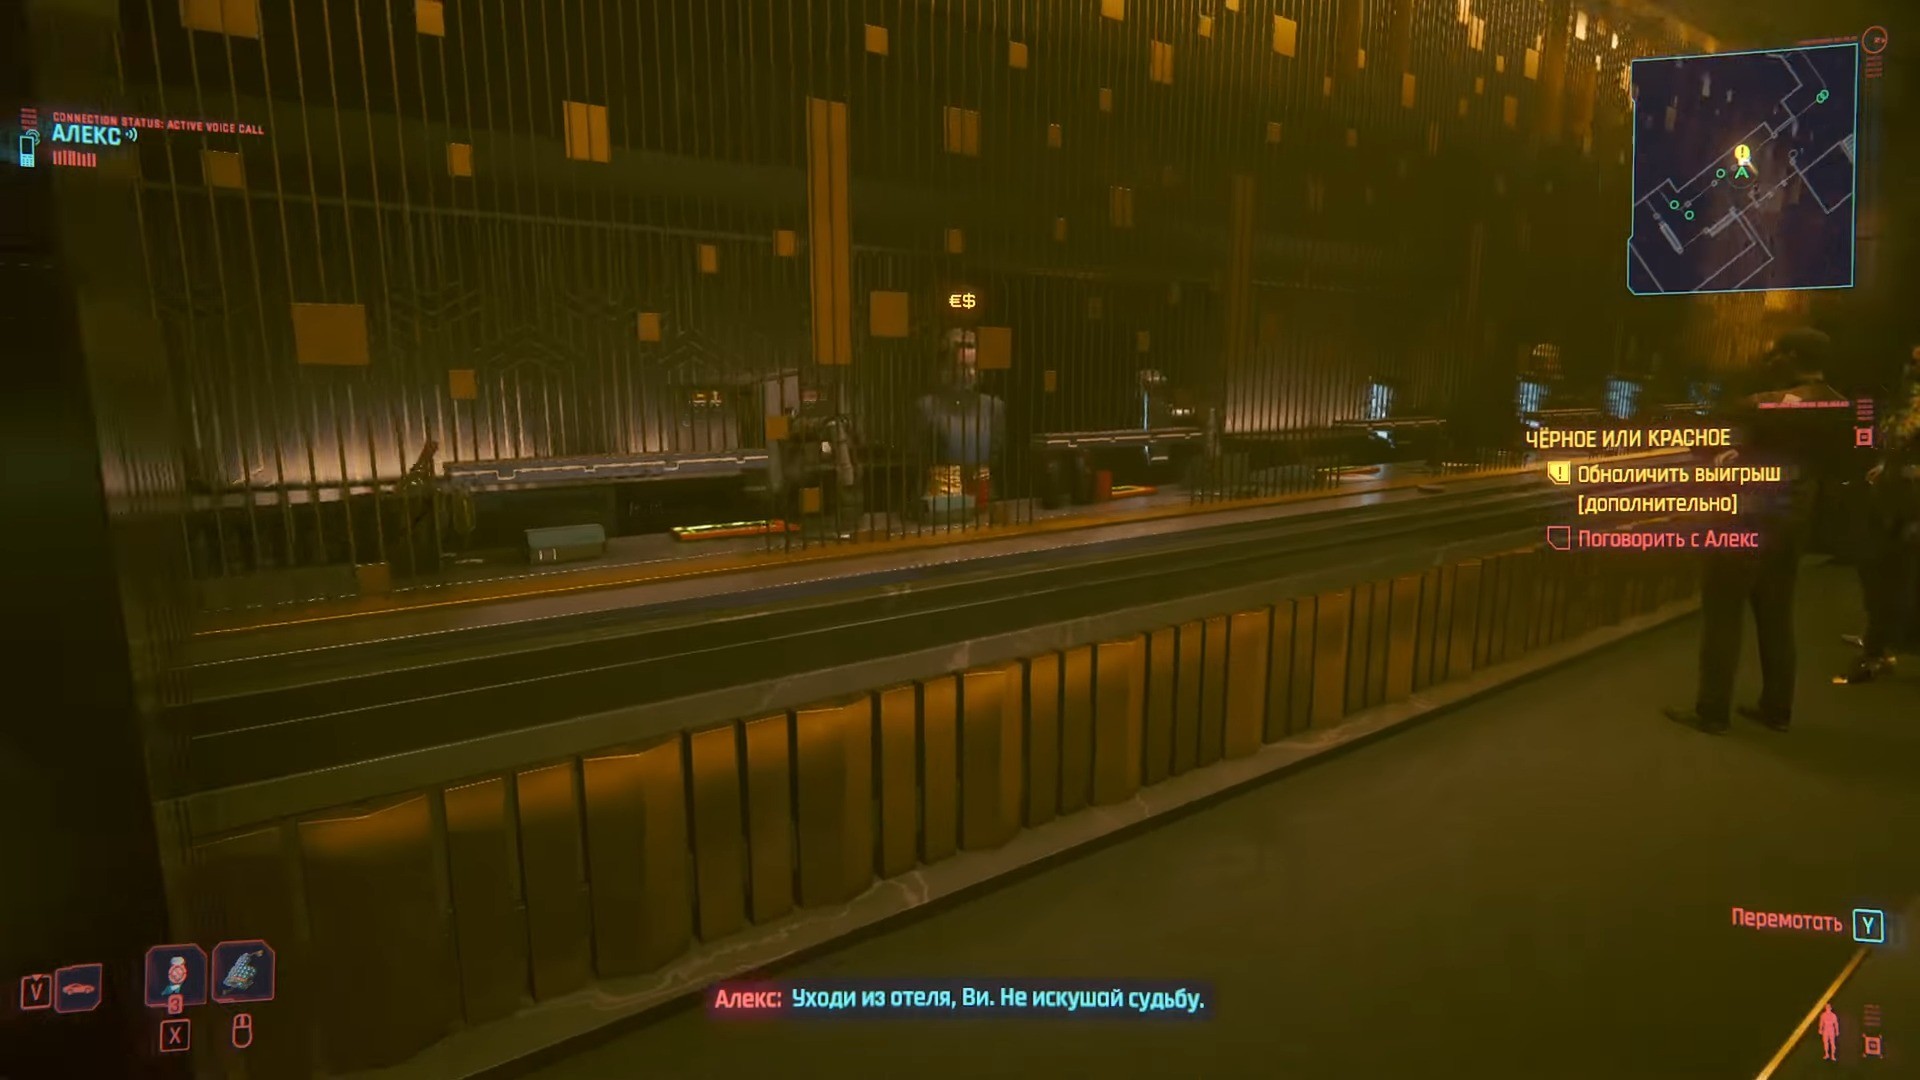
После игры к беседе присоединиться Курт и ясно даст понять, что Ви и компании здесь не рады. Остается только порадоваться, что раскрытие вашей личности закончилось всего лишь добровольным выдворением из заведения. Обменяйте фишки на валюту и выходите из здания, на этот раз через фойе, как все обычные посетители.

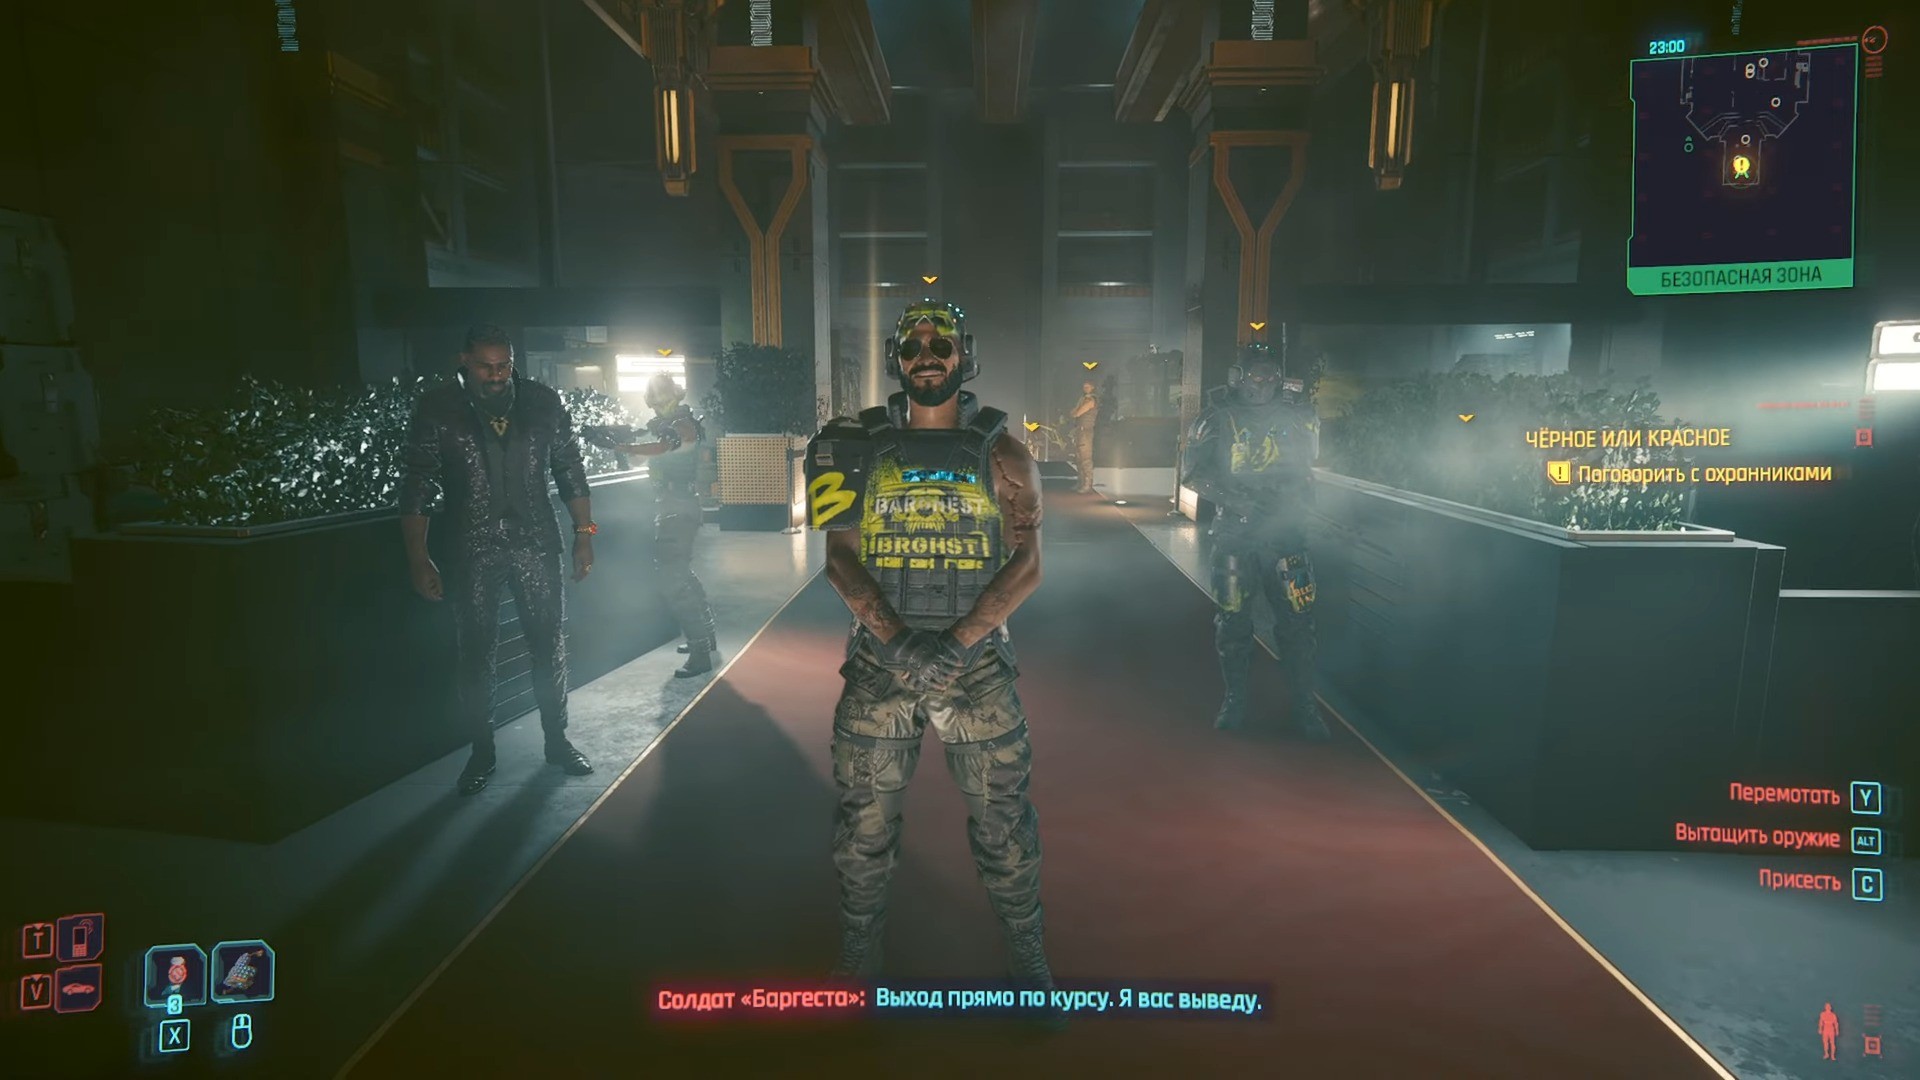
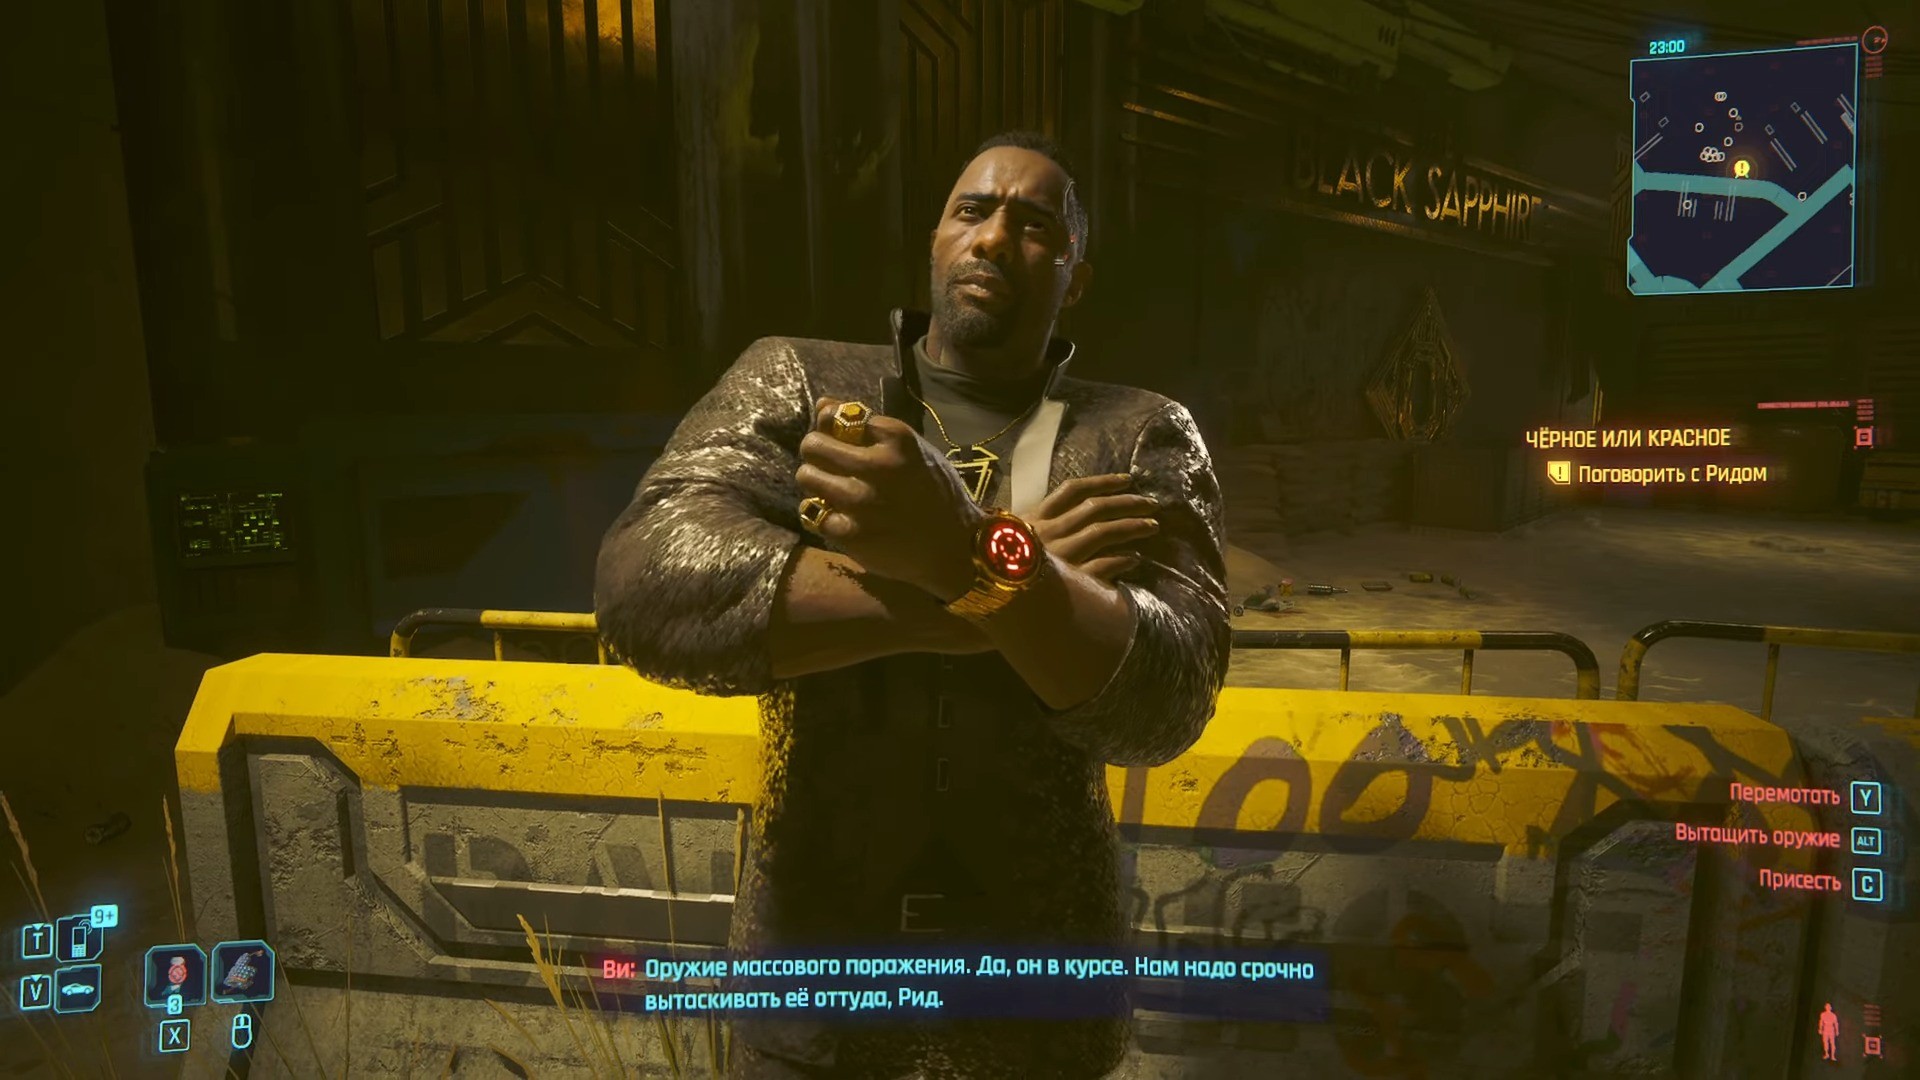
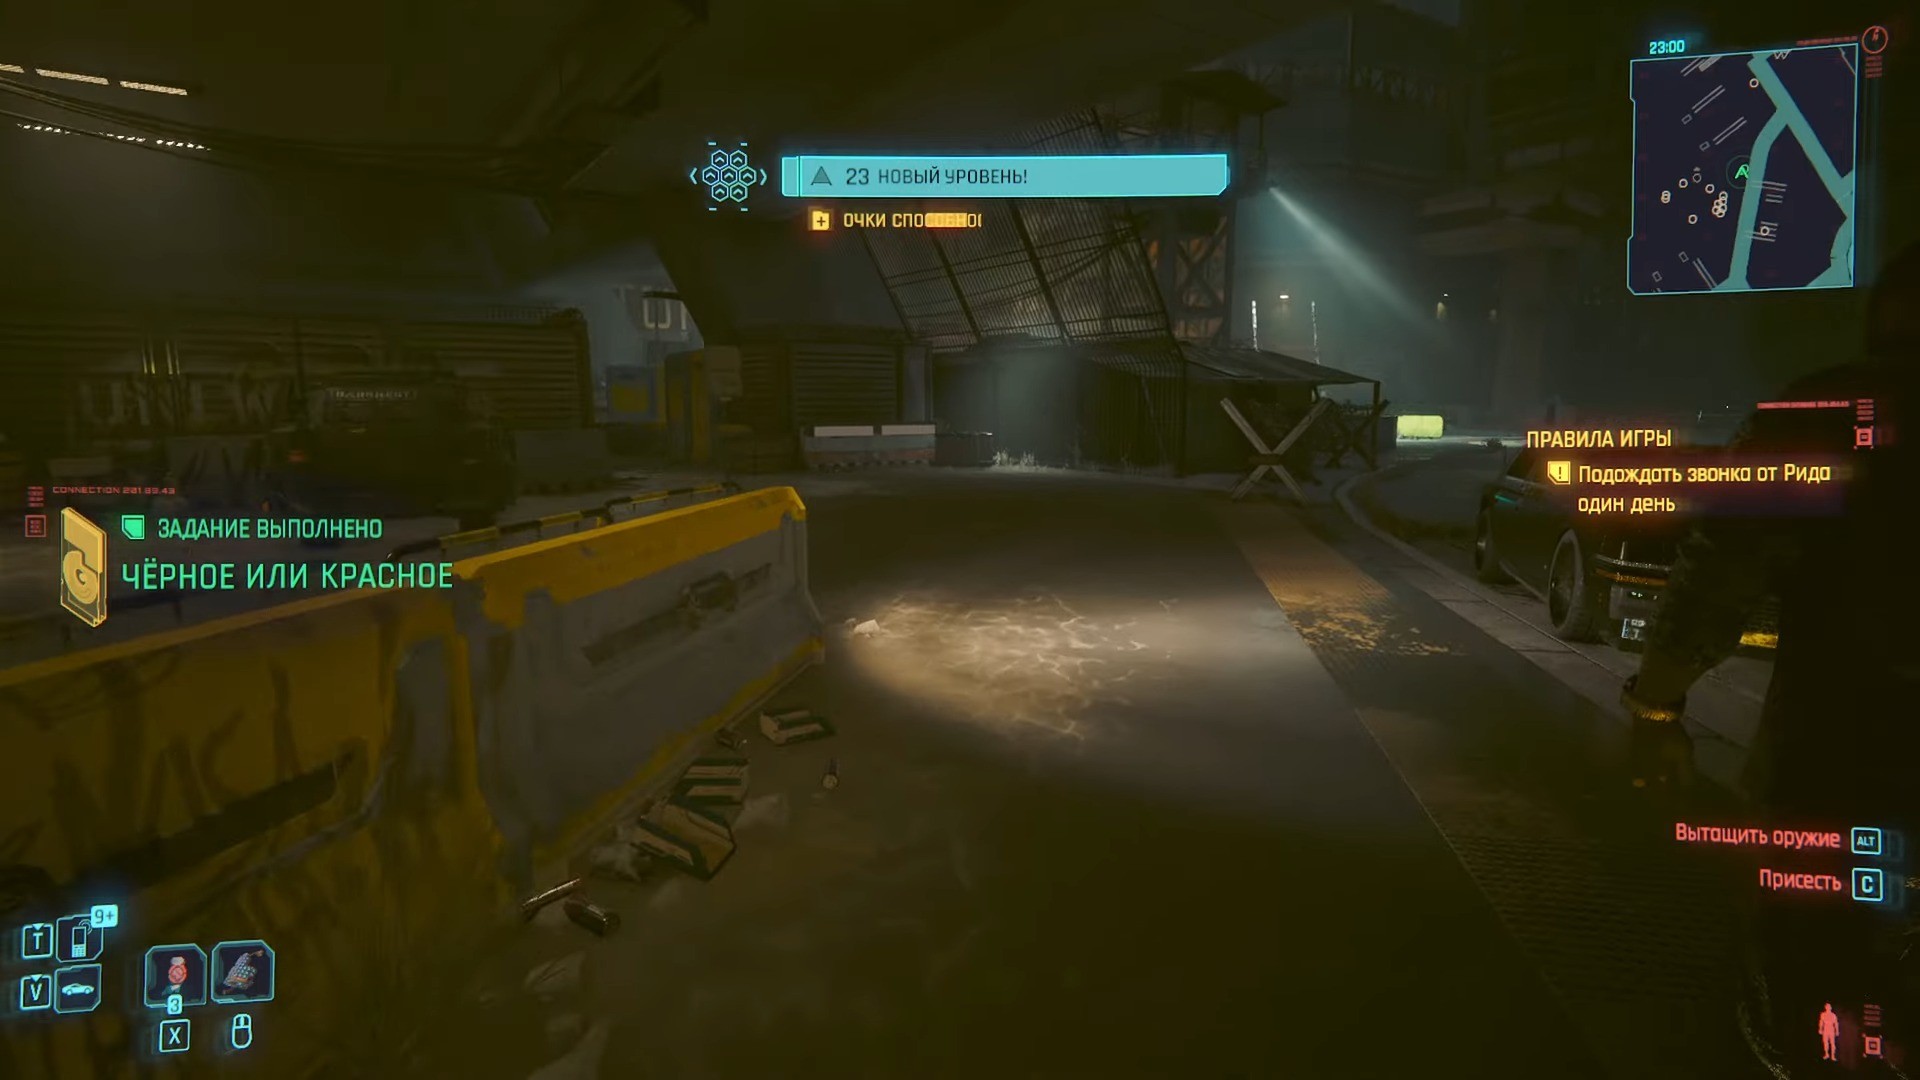
Внизу вас встретят солдаты Хансена и проводят к выходу, чтобы вы снова не заблудились. Беседа с Ридом на улице завершит миссию и начнет следующий квест цепочки – «Правила игры».
Комментарии
Для добавления комментариев необходимо авторизоваться.
Вы можете войти через