Operable Mechanism in Genshin Impact are one of the varieties puzzles, which you can find in the Mort region of Fontaine. From this guide you will learn about the operating principles and location of all devices. We will also take a detailed look at how to solve all the riddles associated with them.
Operating principles of control mechanisms
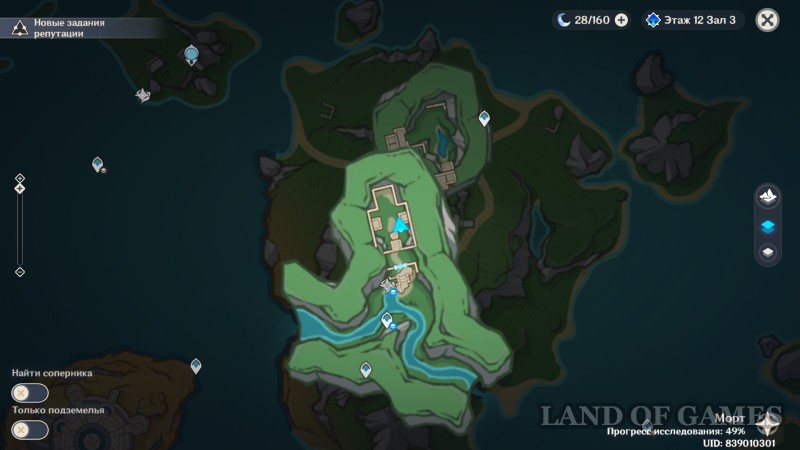
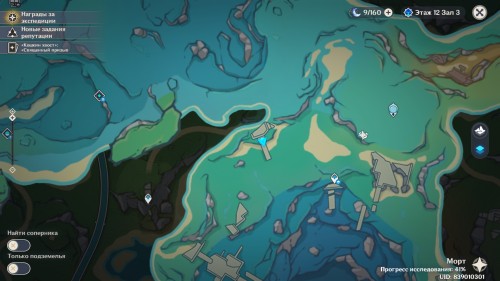
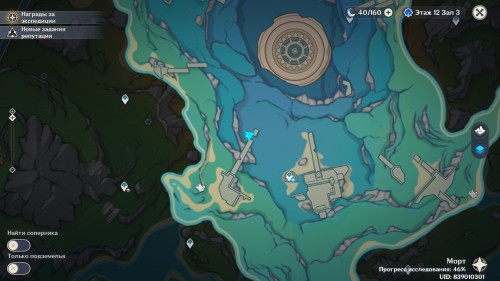
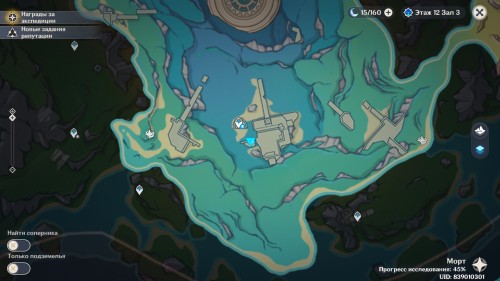
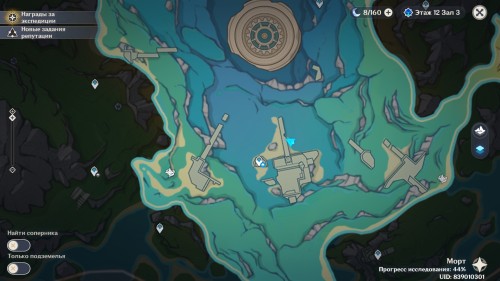
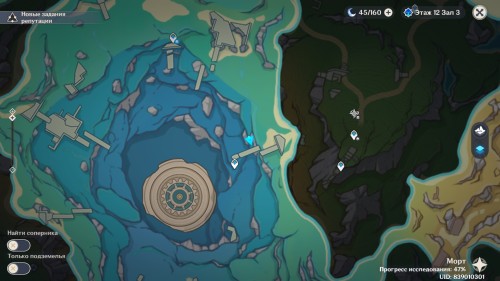
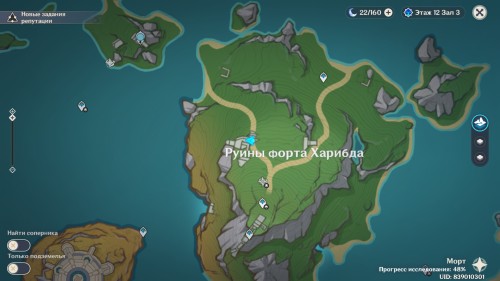
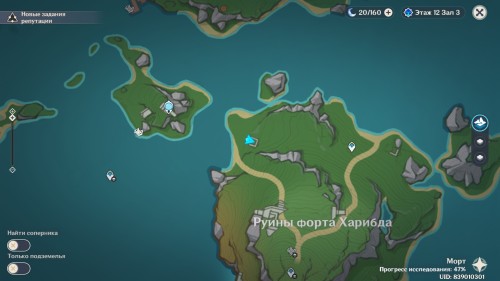
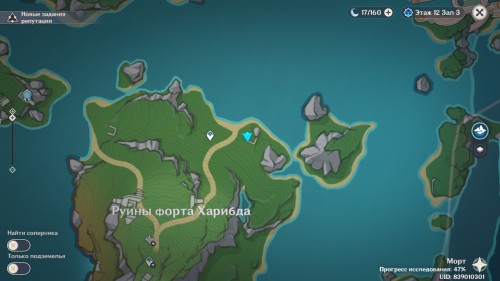
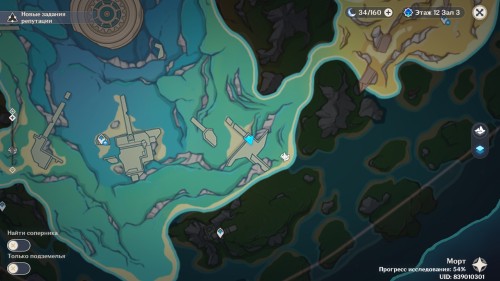
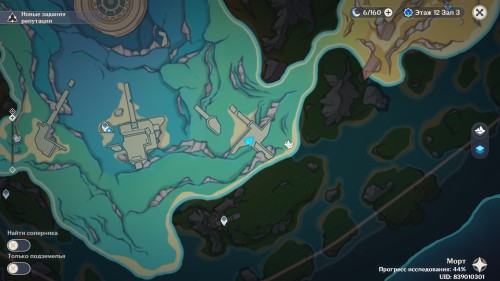
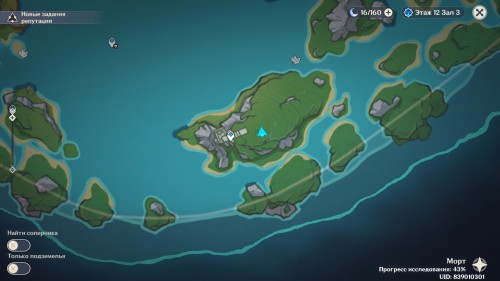
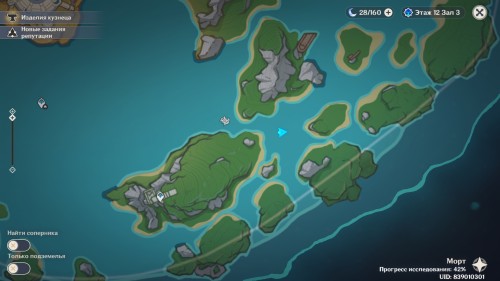
On the map below you can see where all 17 riddles are located.

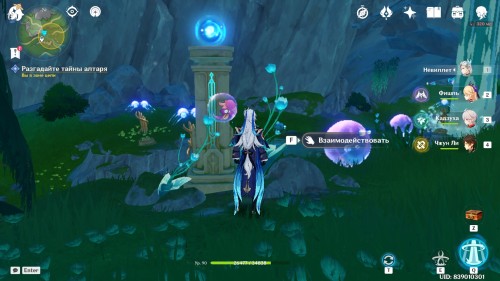
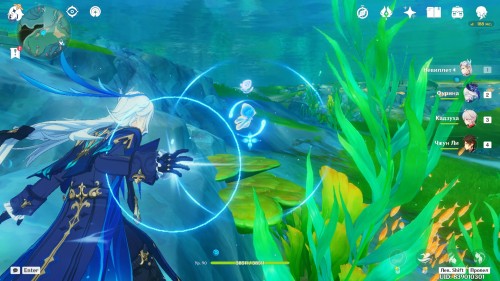
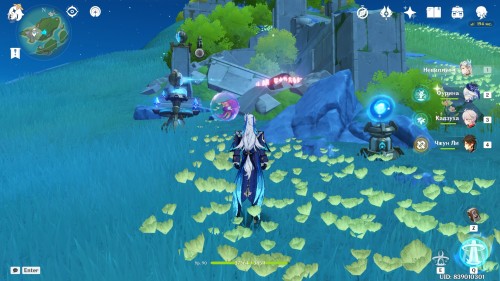
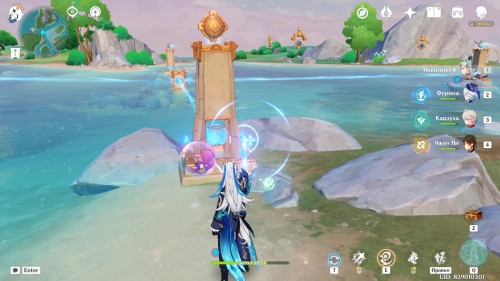
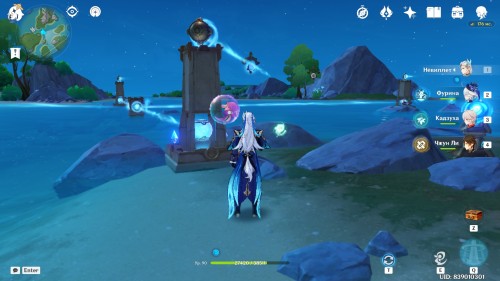
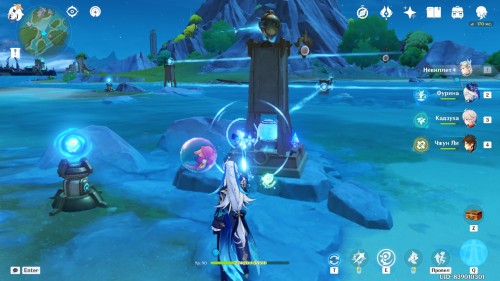
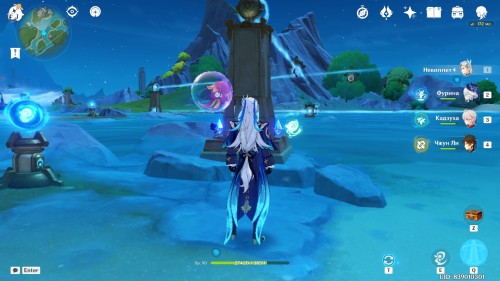
While solving puzzles, your task will be to place various objects in the correct position. You can control them through receivers that look like blue triangles. Sometimes they will be missing, and you will have to look for them nearby so that you can then take them to the mechanism. You can influence them using the power of a xenochrome octopus. On land you can take it from special pedestals.
Although puzzles with control mechanisms are varied, the following types can be distinguished:
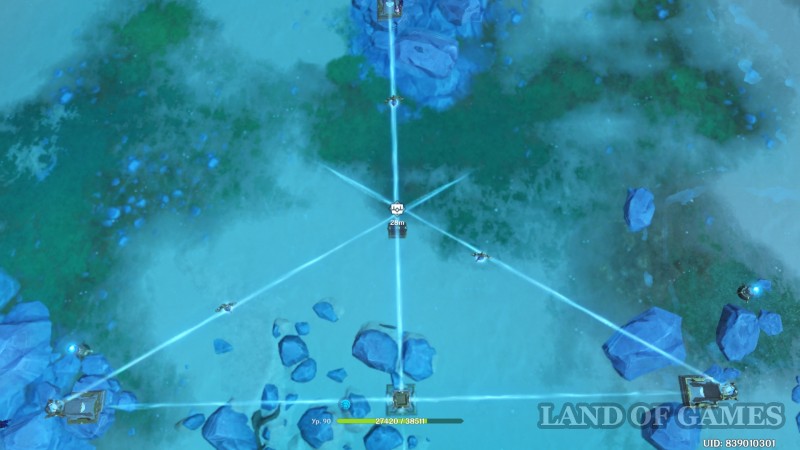
- Eliphas Ray. When interacting with this type of device, you will need to direct the light from the lamp to the receiving lens.
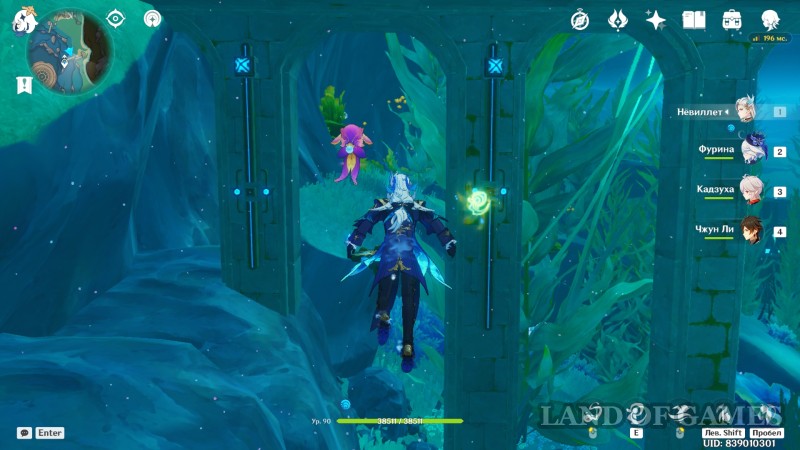
- Route assembly. In this mechanism, you need to move the cubes along the rails to the correct position. It is usually marked with blue dots.
Next, we will look at the solution to each riddle in detail.
Control mechanism 1
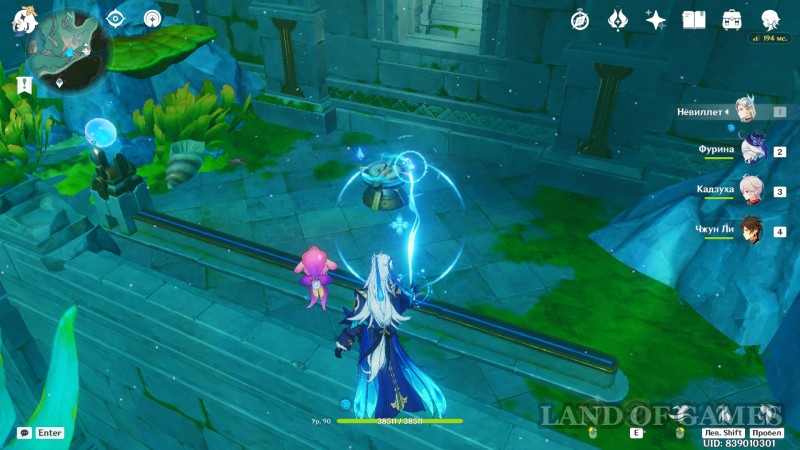
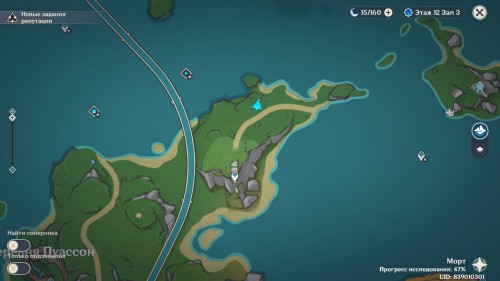
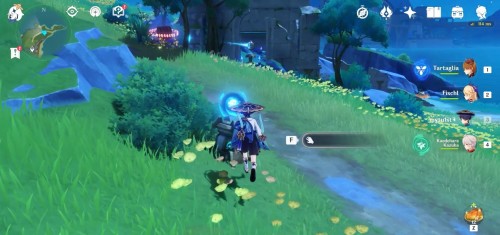
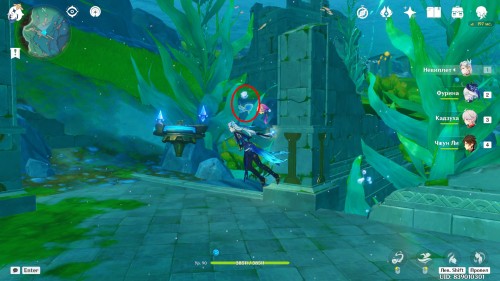
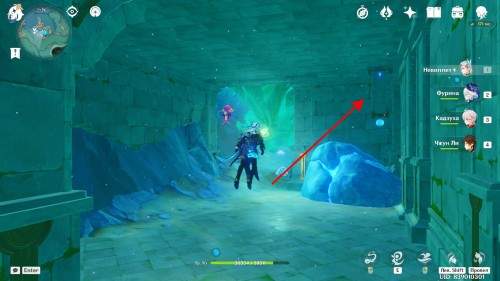
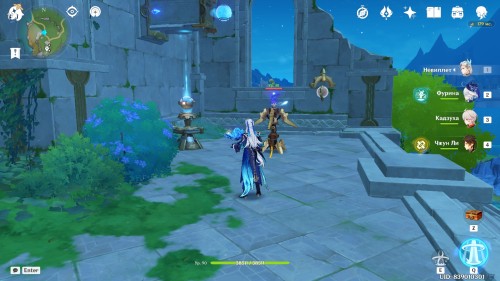
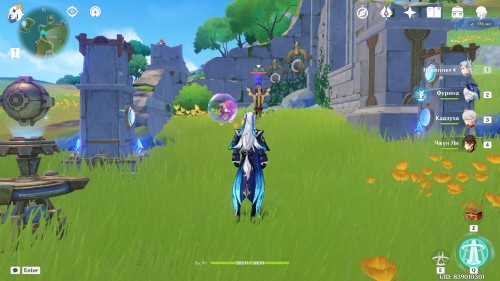
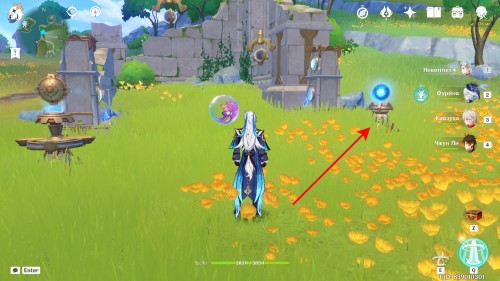
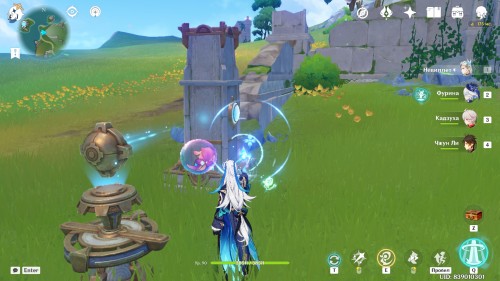
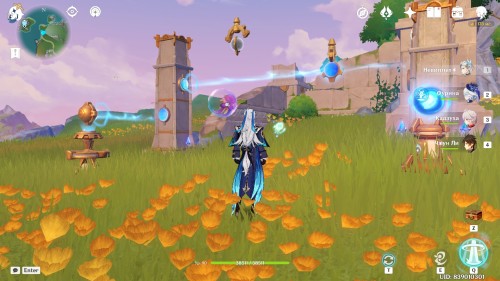
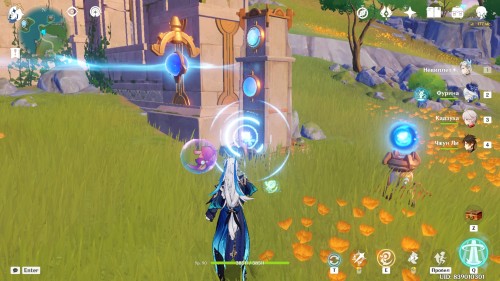
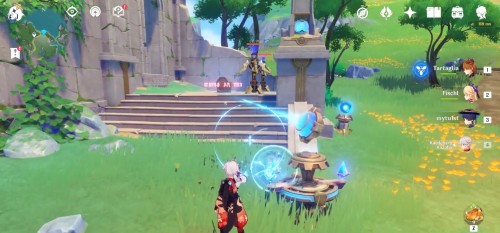
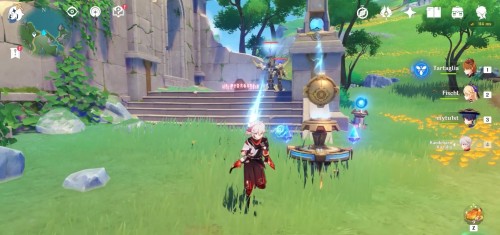
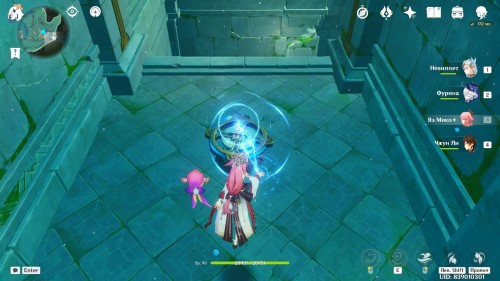
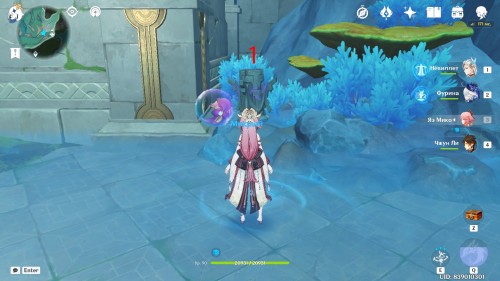
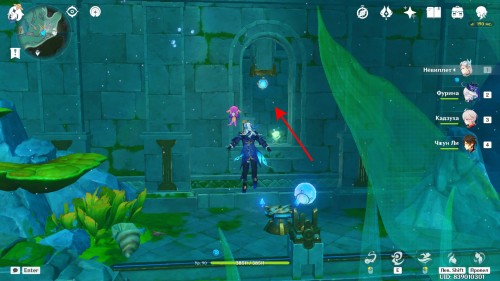
Located on the coast north of Mon Atoneki. You can find a pedestal with an octopus ability a little lower on the path. Then go back to the lamp and turn it to the right so that the beam is directed approximately perpendicular to the rails on the wall.
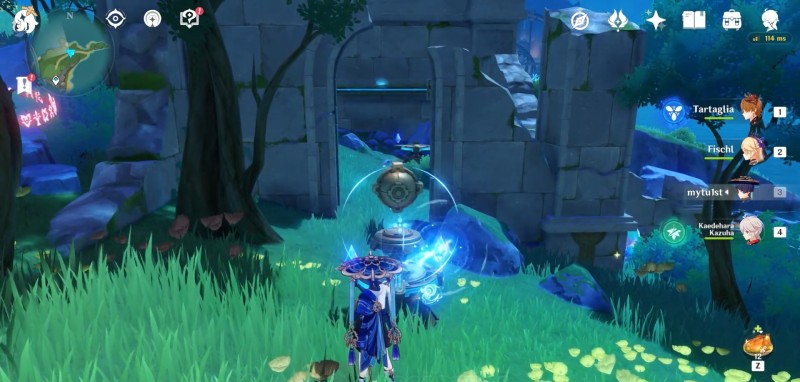
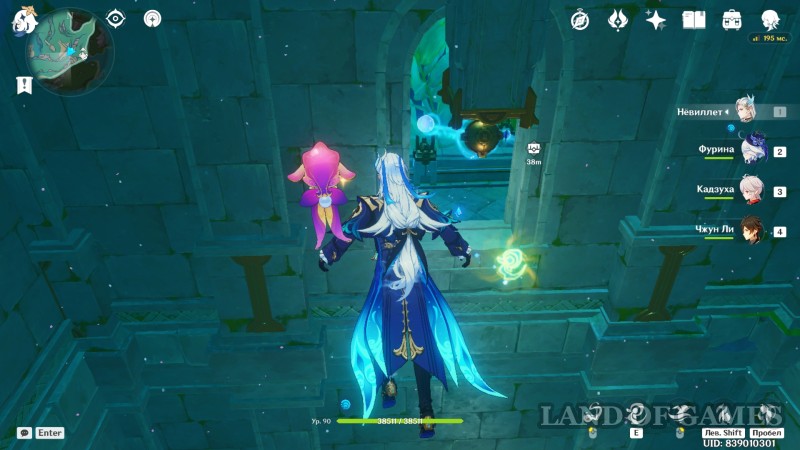
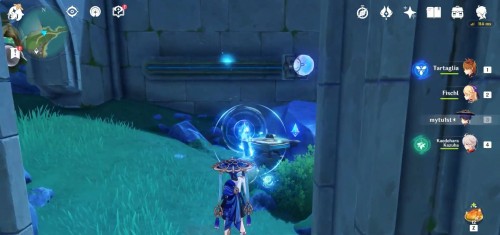
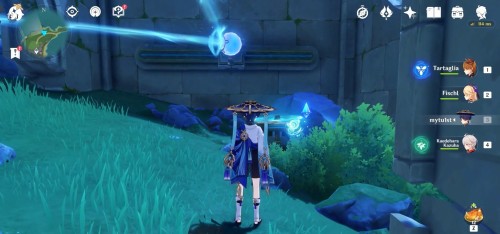
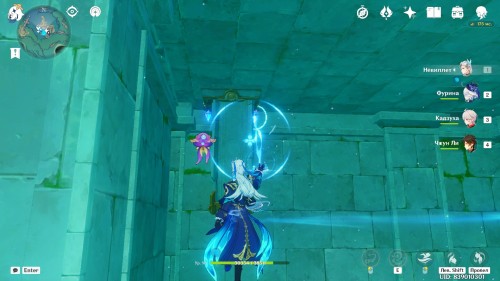
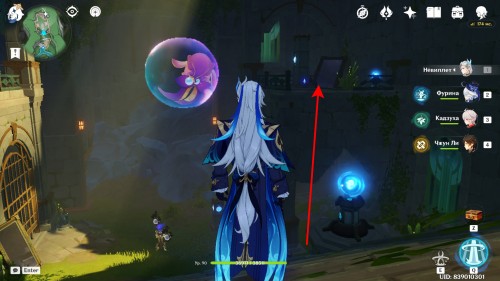
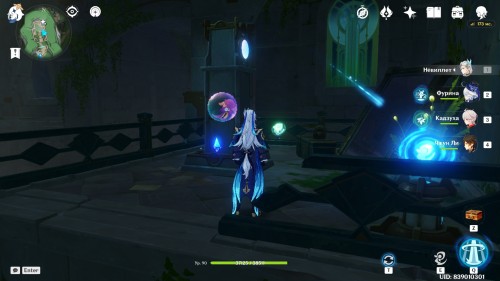
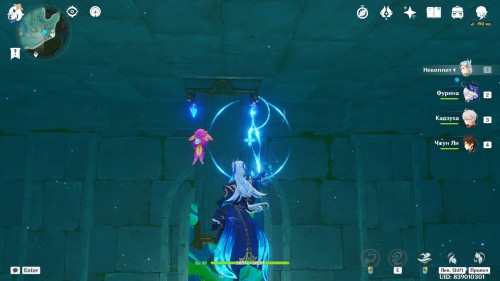
After that, go inside the ruins. There you will need to move the refractor hanging on the wall so that the beam falls on it. After this, the light will reach the lens on the left, and you will gain access to the rich chest.
Control mechanism 2
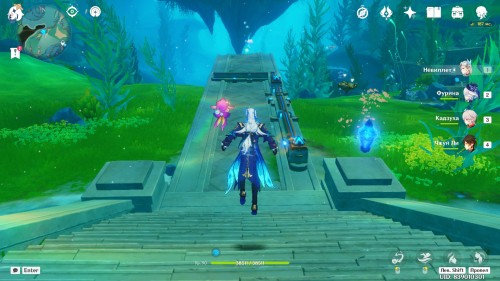
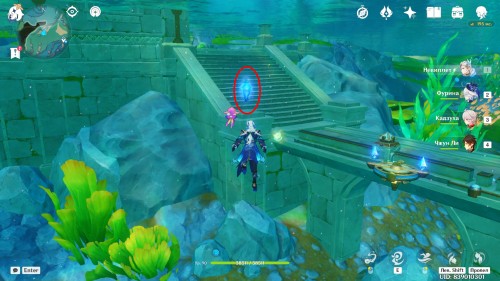
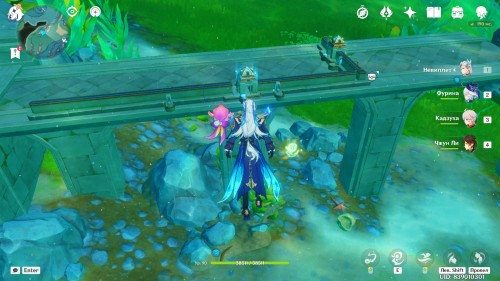
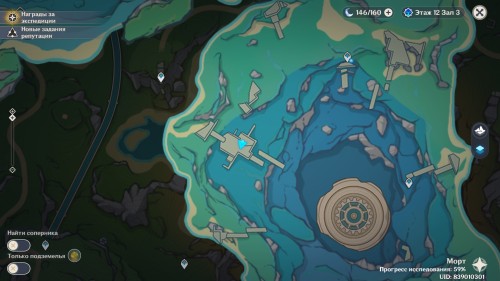
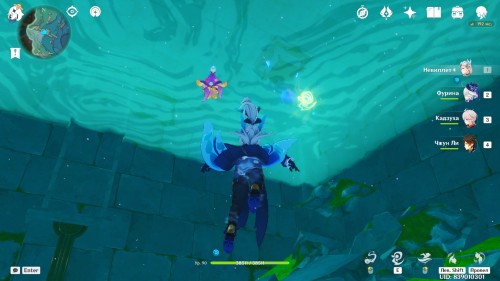
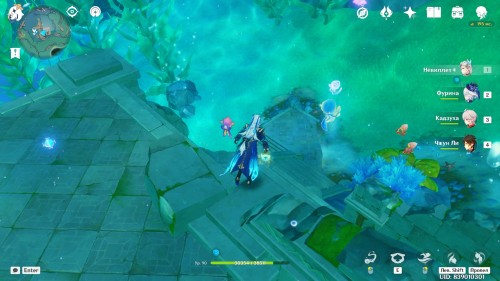
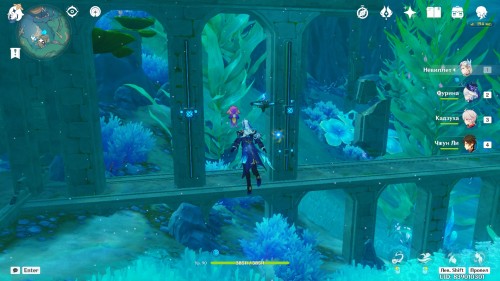
The next mechanism is underwater to the west of the Statue of the Seven. The structure you need is located on a flooded bridge.
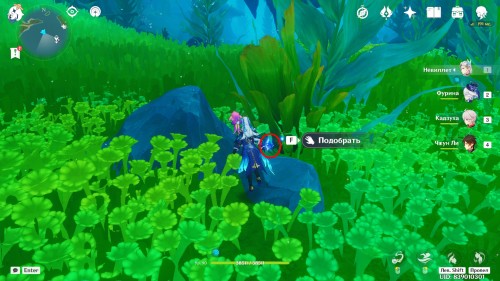
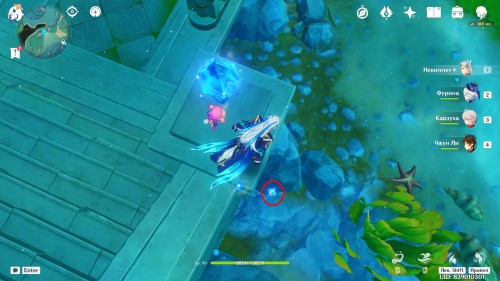
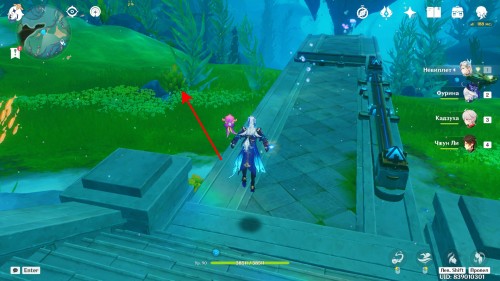
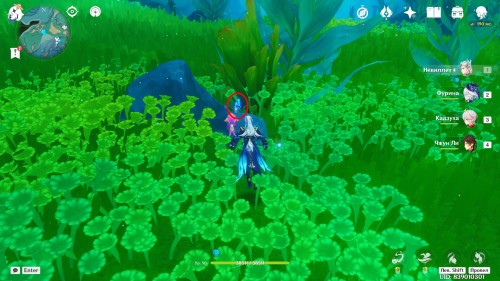
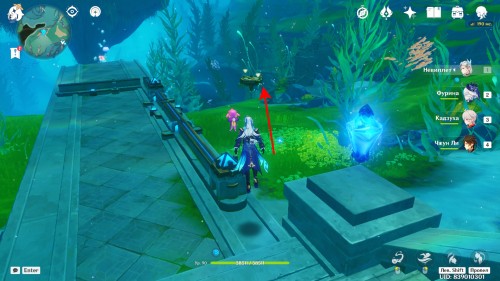
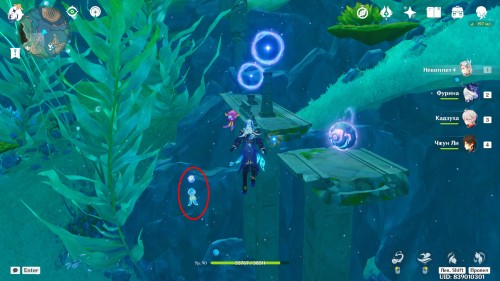
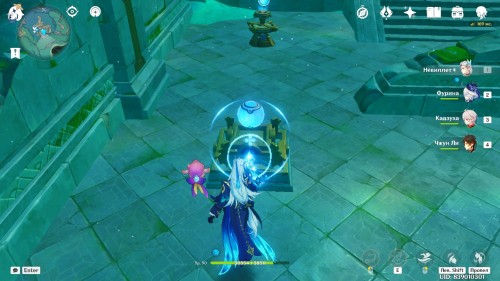
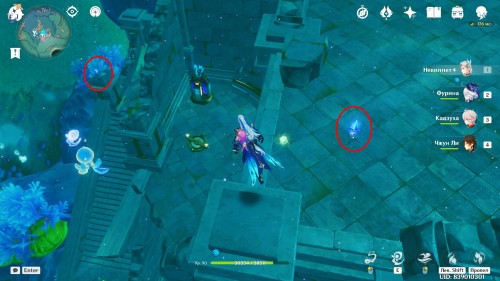
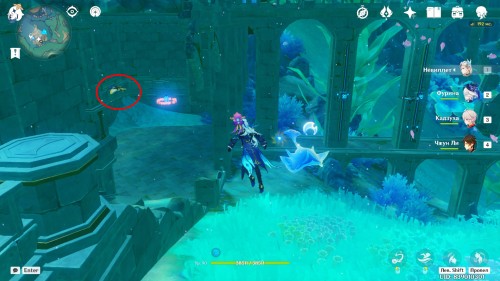
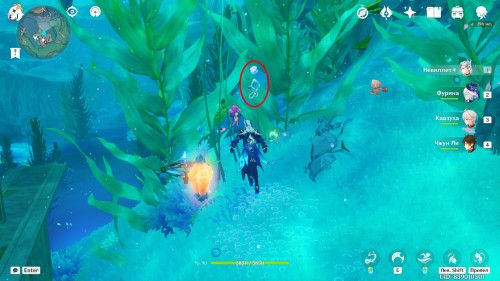
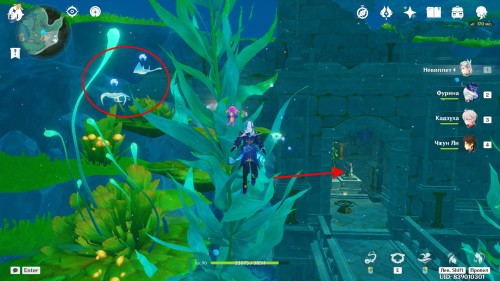
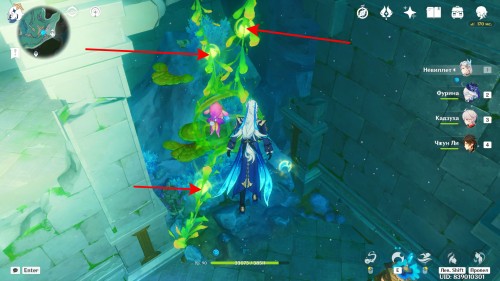
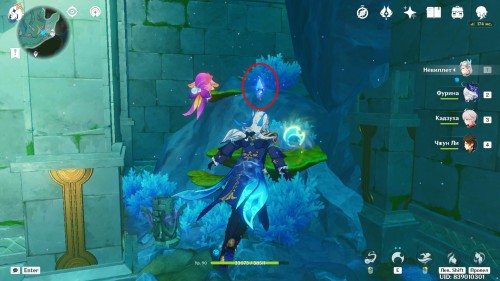
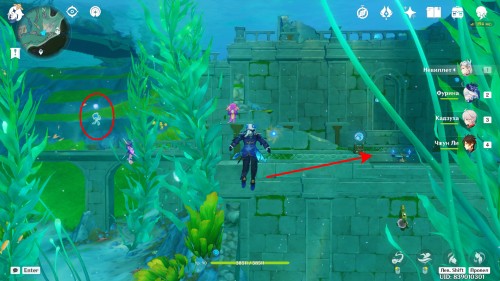
First of all, you need to find two receivers. One of them is under the blue crystal. The other is in the seaweed in front of the pier. Once you pick them up, they will automatically move into place when you swim near the control mechanism.
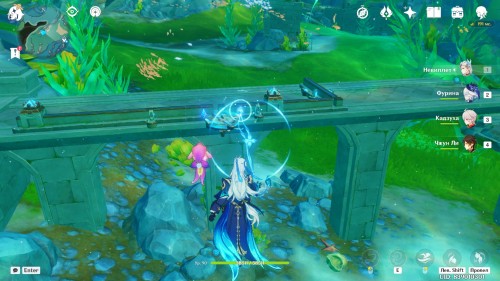
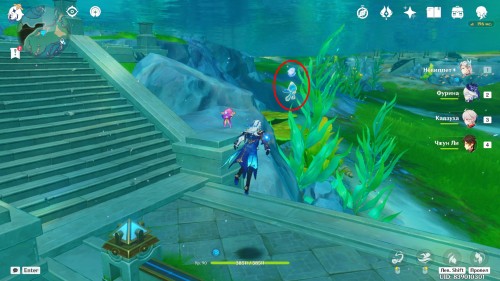
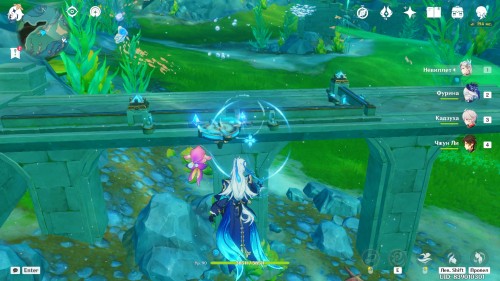
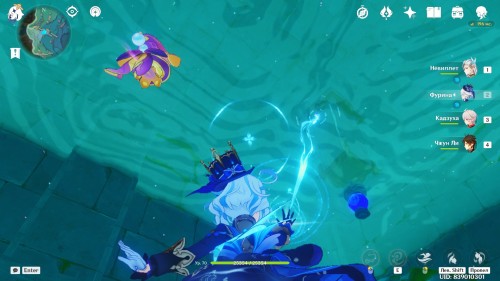
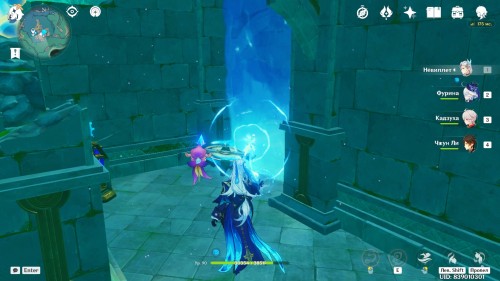
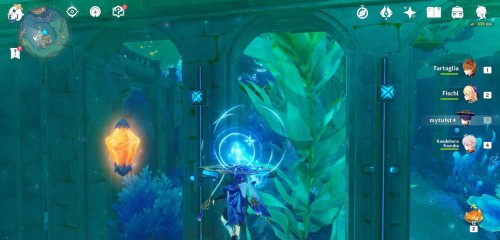
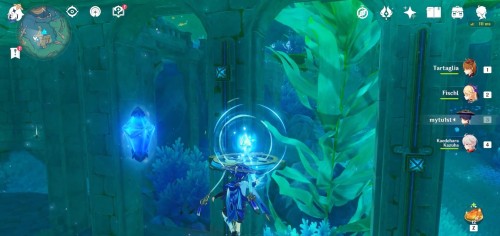
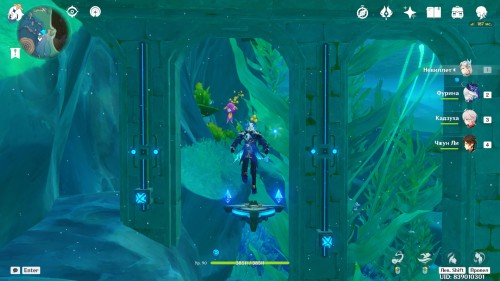
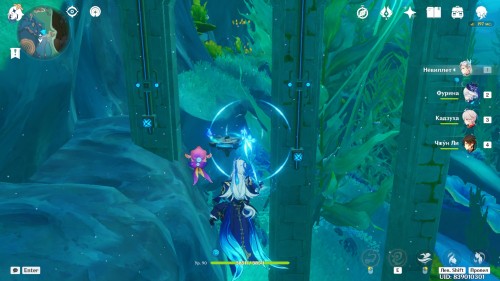
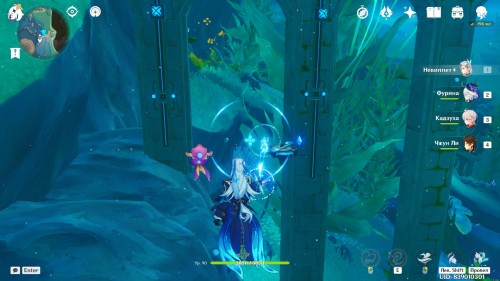
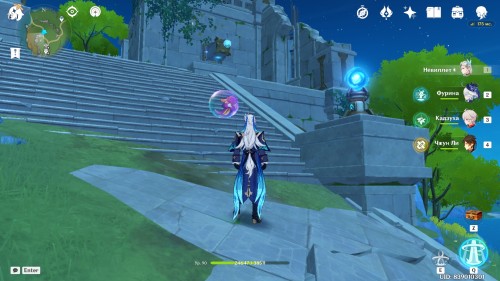
Next, take the power from the octopus floating on the side of the stairs. Return to the control panel. Start moving cubes on the rails. Wait until the right square reaches the stop, so it will be in the correct position. After that, hit the blue switch. Continue moving the left square while working on the right receiver. Stop when it's level with the two blue dots. As a reward you will receive a rich chest.
Control mechanism 3
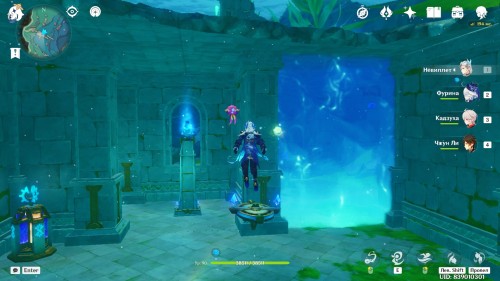
Stands in underwater ruins. When you get the octopus ability, swim up to the tower in the water-filled room. Lower this tower. It's best to go all the way to the bottom so you don't have to worry about the water level later.
Then move to the control mechanism and direct the force to the right receiver. Stop when the water in both rooms is approximately the same level.
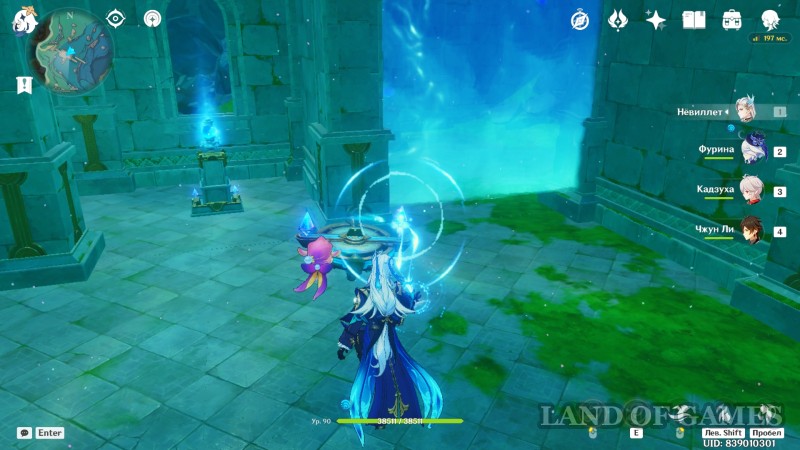
Swim into the right room. First, lower the tower in the bottom corner. The second tower on the opposite side will remain in the air. In order for the Elemental Reaction: Crystallize on it to fall into the water, you do not have to change the liquid level. It is enough, without surfacing to the surface, to direct the force to the receiver, so the sensor will be in the desired position, and you will receive the precious chest.
Control mechanism 4
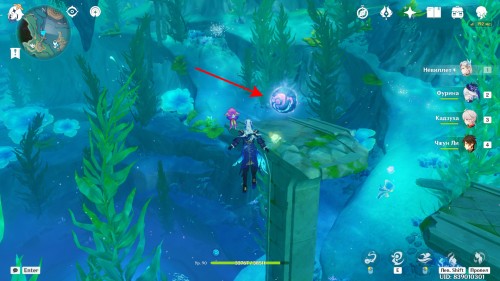
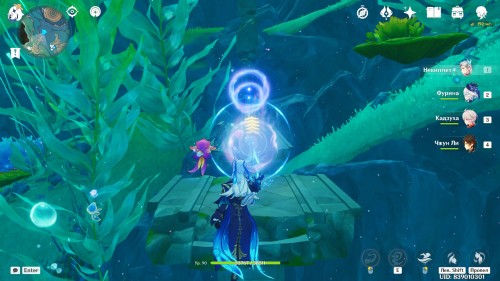
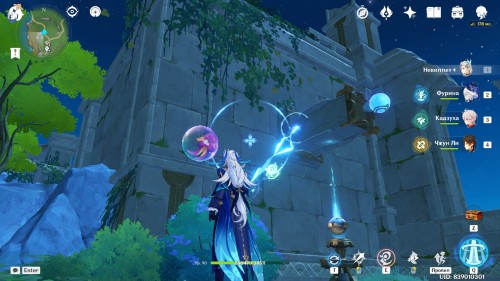
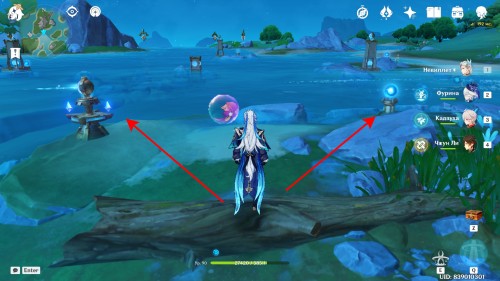
You can find him on the destroyed bridge. This puzzle will be related to sphere of potential energy. Take the ability from the octopus floating to the left of the structure. Then head to the taller tower and lower it all the way down.
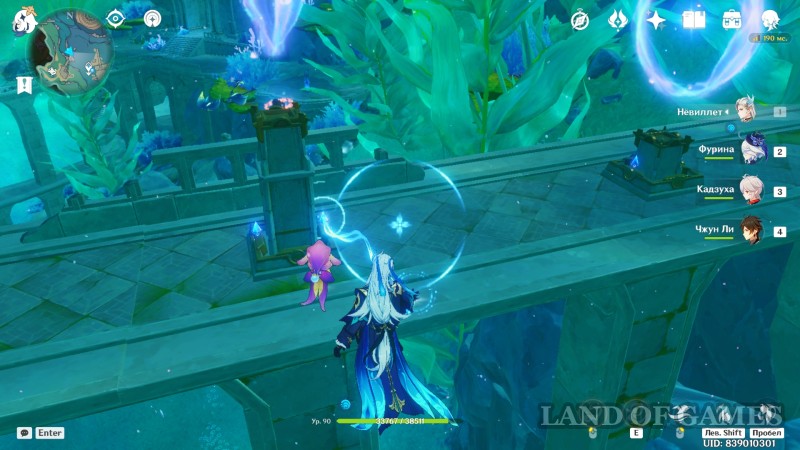
Swim up to the energy sphere and aim your skill so that when you release, the ball flies through both rings. As a reward you will receive a rich chest.
Control mechanism 5
Located on the roof of the underwater ruins. A xenochrome octopus swims very close by. Using his ability, raise the lens higher so that the beam from the lamp hits it.
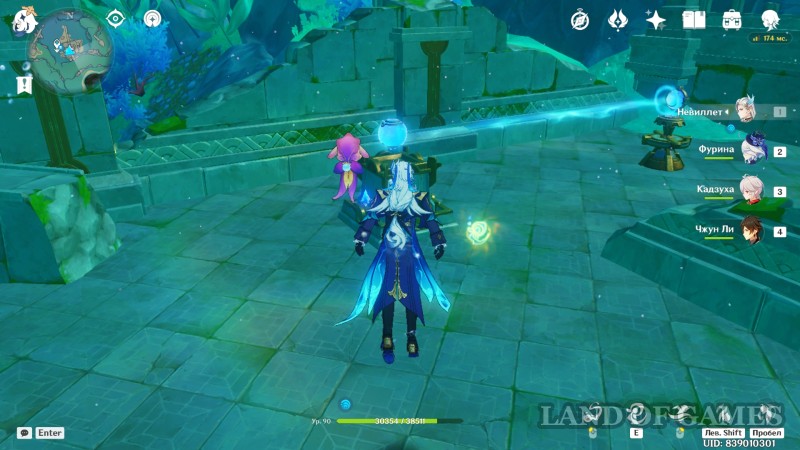
Then pick up two receivers: one of them is on the roof next to the lens, and the other is a little further above the column. They must be inserted into the mechanism at a lower level. Act on the right triangle to raise the air curtain in the room nearby.
Once you're inside, swim up to the tower in the corner of the room. Raise the lens higher so that it receives light from the receiver on the opposite side of the room. Once the beam reaches its target, a precious chest nearby will be unlocked.
Control mechanism 6
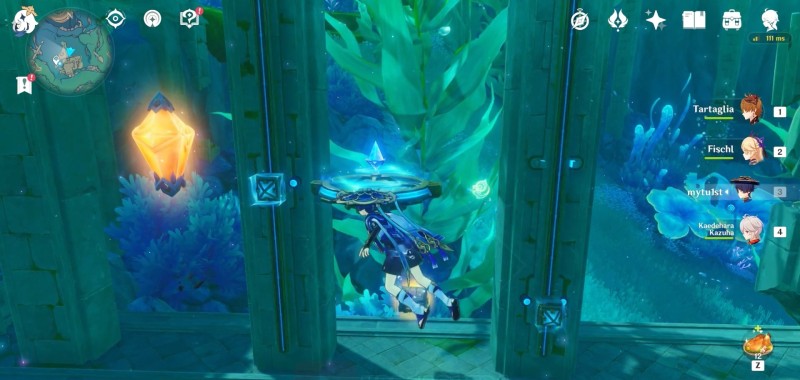
Located on the supports of the underwater bridge south of the Ipsissimus Tower. First you need to defeat the mechanical stingrays floating on the left to unlock the switch. After that, take the ability of the xenochrome octopus hovering next to the mechanism.
The places where the cubes should stop are marked with blue dots. When the switch glows orange, operate the mechanism until the squares are at the “Upstairs”. After they go back down, change the color of the crystal to blue and use the octopus ability again until the left cube is at the “Upstairs”. When you stop working on the mechanism, all the squares will be in their places, and you will receive a rich chest.
Control mechanism 7
It is located on the supports of the underwater bridge almost under the teleport near the Ipsissimus Tower. A xenochrome octopus swims on the other side of the control panel.
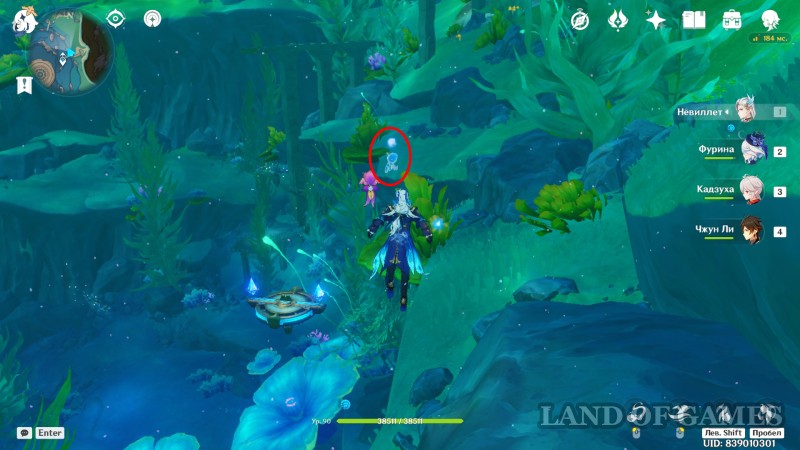
Direct the force to the right receiver on the wheel and hold until both squares rise to the very top, so you can put them on the same level. Next, activate the left triangle and wait until the cubes are level with the blue dots that mark their desired position. As a reward you will receive a rich chest.
Control mechanism 8
It is in ruins in the western part of the island. Destroy the Mek standing there to stop the flying lens.
Take the octopus skill and make the tower drive a little deeper into the wall to illuminate the transmitter on it.
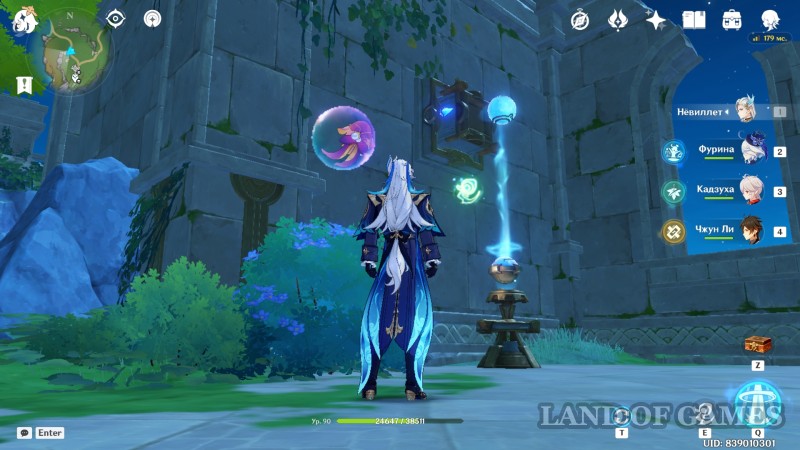
Then go to the other side of the wall. Lower the column to the very bottom so that light falls on its glass. Then destroy the barrier in the form of a pillar emitting pneuma. If you need it, the ushii sphere is located directly below it. When the beam reaches the lens, you will receive a rich chest.
Control mechanism 9
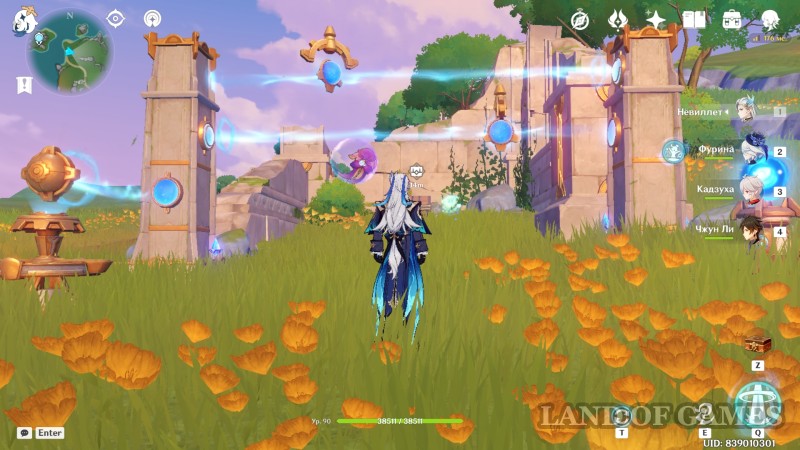
Located east of the Archon statue. Take out the Mek standing there to stop the constant movement of the lenses in the air.
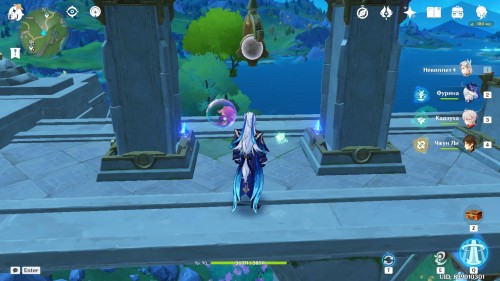
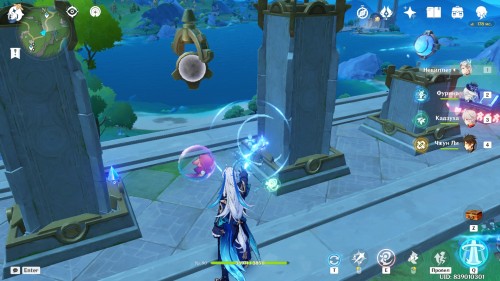
Taking the octopus ability from the pedestal, first raise the left tower higher so that the light from the lamp falls on its receiver and is reflected into one of the lenses hanging in the air. Then do the same with the right column. Your reward will be a rich chest.
Control mechanism 10
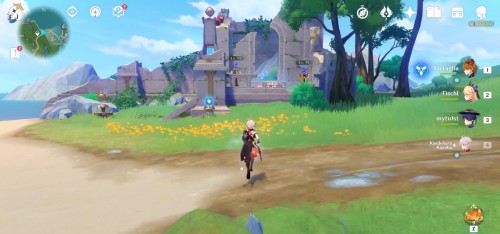
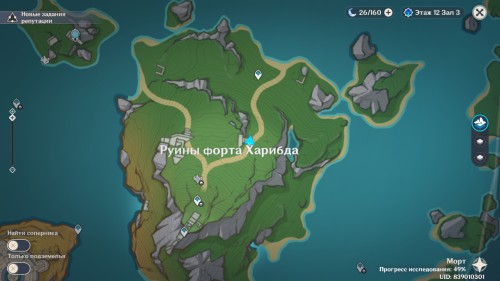
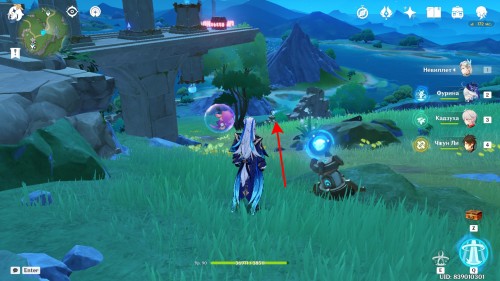
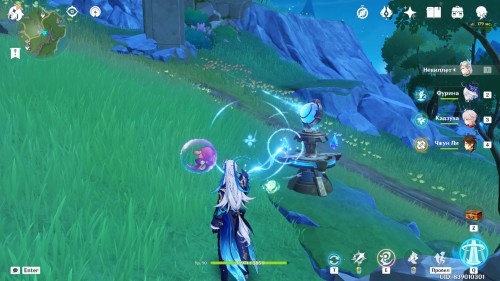
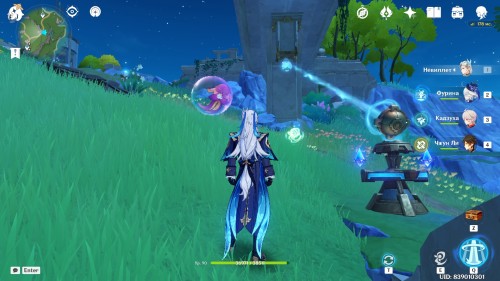
Located on the north-eastern side of Fort Charybdis. Be careful: there will be Meks in the ruins. Defeat them so that they do not interfere with your movements. Go into the room behind the robots to pick up the receivers there. Place them in the control panel. Next to it is also a pedestal with an octopus ability.
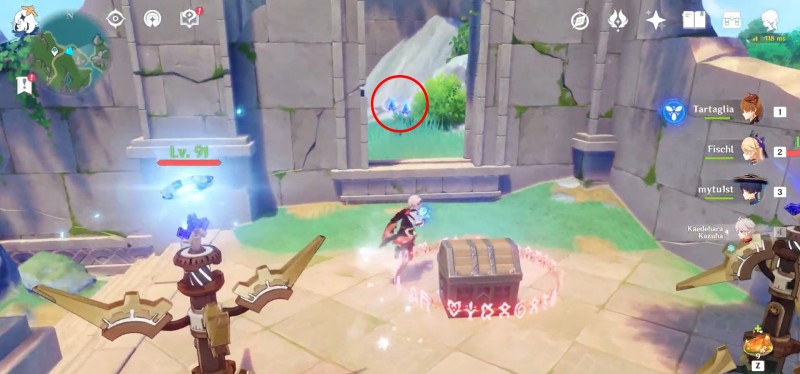
Turn the lamp to the right so that the beam hits the lens in the tower. Then remove the obstacles that interfere with the free passage of light: powder kegs and a turret with a pestilence.
After this, you will gain access to a rich chest, and also activate an air stream with which you can reach hydrocula.
Control mechanism 11
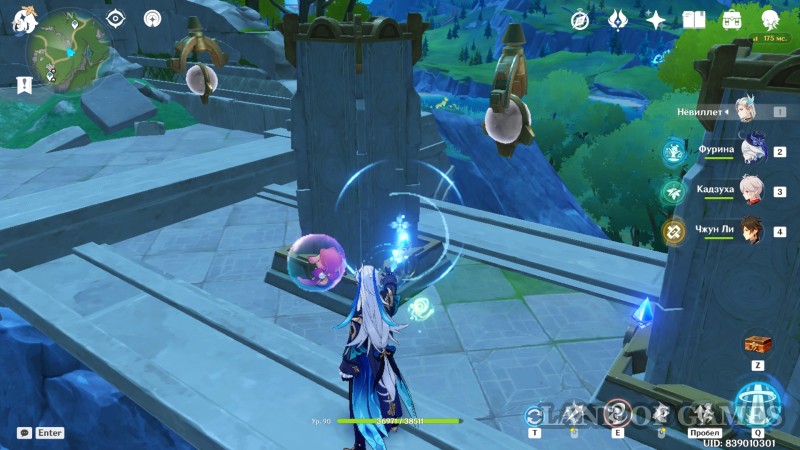
It is located in the center of the island. There are two meks nearby. Destroy them if they interfere with your movements. After you take the octopus skill, run up to the lamp. Turn it so that the light hits the tower sticking out of the bridge.
Go up to the bridge. There you will need to lower two columns. They will return to their original positions, so you need to act quickly. When all the lenses turn blue, the rich chest standing next to it will be unlocked.
Control mechanism 12
In this place you will find two mechanisms at once. We looked at how to solve one of the puzzles in the guide "Meteor Spear".
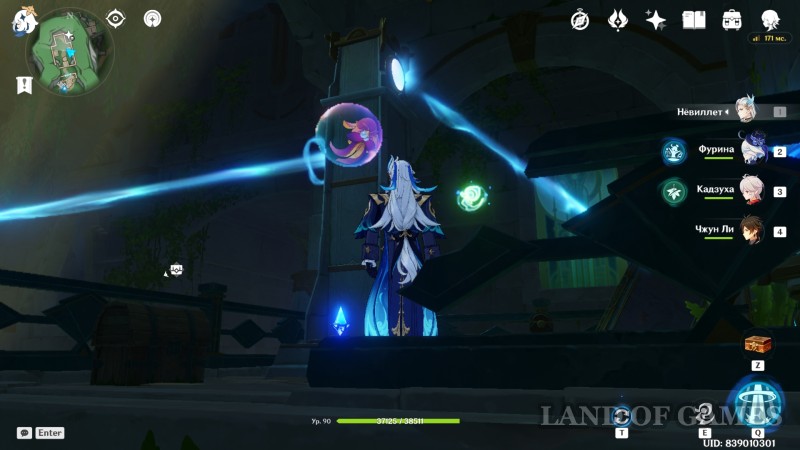
After solving the first riddle and going through the mirror, climb to the second level of the ruins. Raise the tower so that the beam hits one of the receivers. As a result, you will receive an ordinary chest.
Control mechanism 13
This mechanism is related to the puzzle with the elemental monuments. Take the razorback's ability and swim inside the ruins. There you will need to cut the vines at their weak points in order to pick up the receiver. Go back to the control wheel and change your skill to the octopus skill.
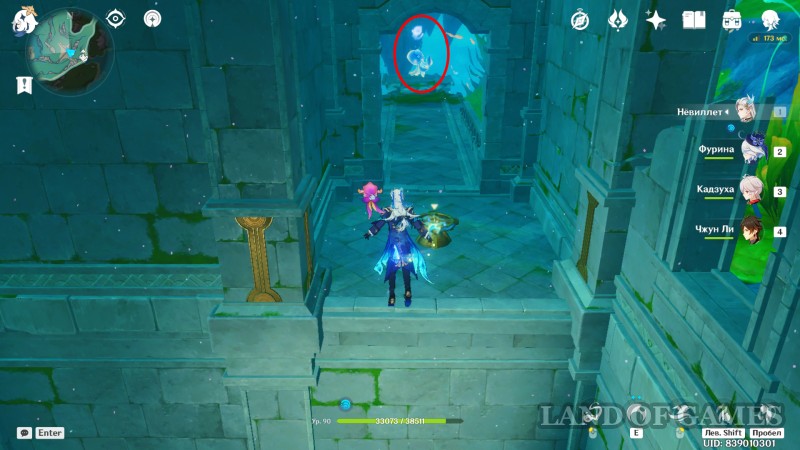
Press it on the switch. This will remove water from the room with elemental totems. Go inside and use the electric hero to activate the monuments.
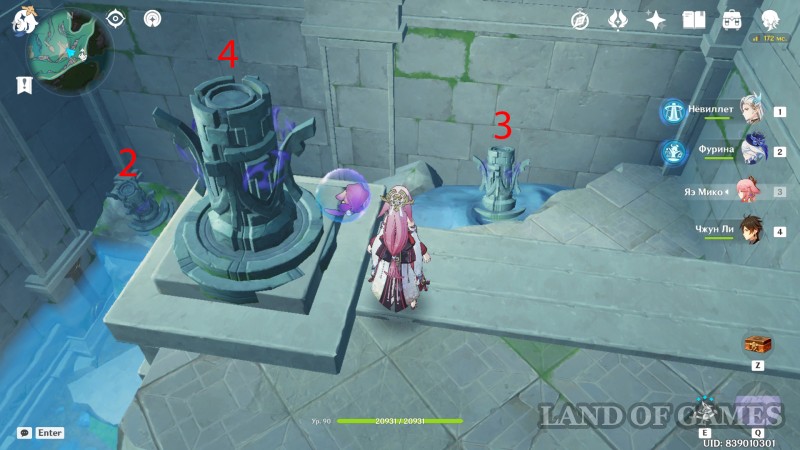
We advise you to start with the lower pillars, as the room will gradually flood again. But don't worry if you don't have time to light all the totems. Those that are activated will not go out and you can continue when you have removed all the water again. Your reward will be a rich chest.
Control mechanism 14
You can find it in underwater ruins. First, take the ability from the octopus. He floats above the bridge to the left of the mechanism. Then adjust the position of the lens on the rails. Operate the right switch to place the structure approximately in the middle of the window.
Next, swim into the passage to adjust the height of the light bulb. Activate the right triangle to lower the beam to the refractor. When they meet, you will have access to a nearby precious chest.
Control mechanism 15
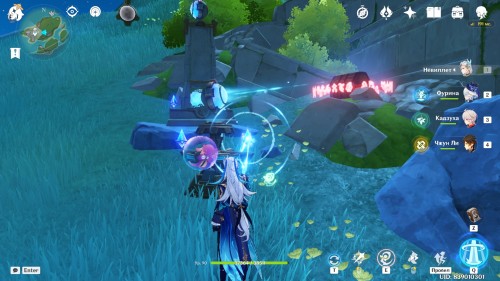
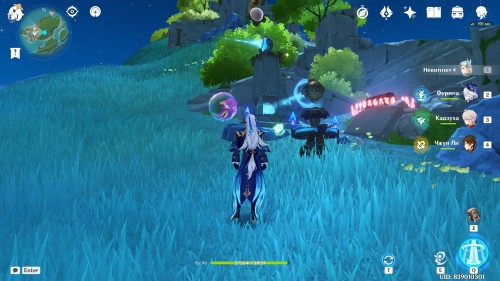
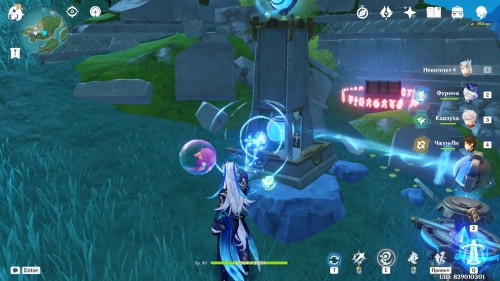
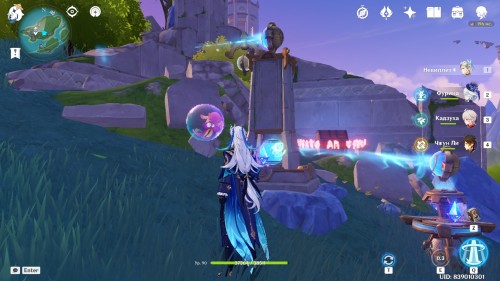
Found in ruins near the southern teleport of the area. Use the octopus ability to turn the lamp to the left towards the tower. There will be only one receiver at the lighthouse. When you pause your impact on it, the lamp will return to its original position after rotation.
You need to illuminate the flying lens for some time. To do this, stop pressing the switch the moment the beam hits the floating object. This way their movements are synchronized. After this, the rich chest standing next to it will be unlocked.
Control mechanism 16
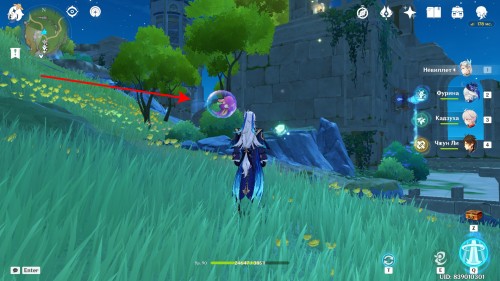
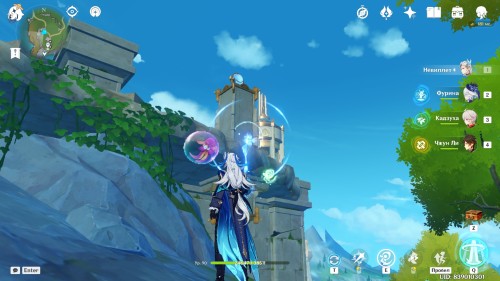
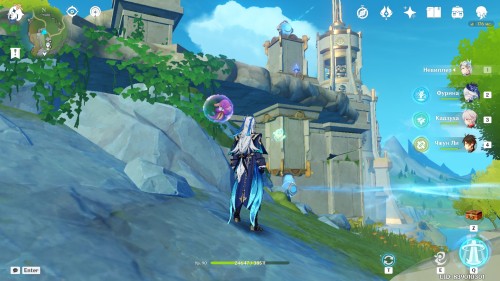
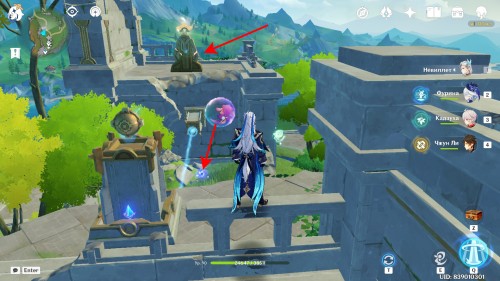
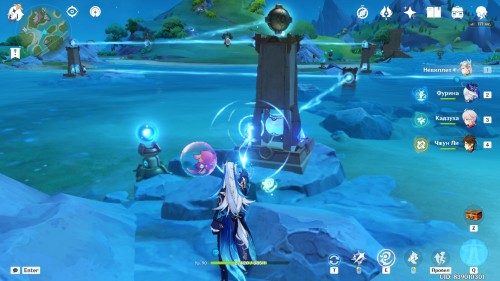
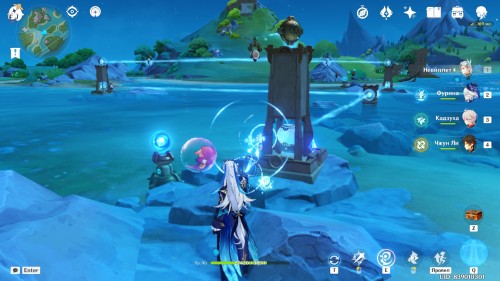
Located on the islands in the southeastern part of the region. When you arrive at the location, grab the Xenochrome Octopus ability from the pedestal on the side of the mountain. Use it to turn the nearby flashlight so that the beam faces the central lens. After this, the light will scatter towards the three towers. You will need to use the octopus' abilities to rotate the spotlights so that the light from each of them hits the corresponding lens. They constantly move through the air over the lake.
The necessary lenses move in the direction from their beacon and back. Next to each of them there is a pedestal with octopus abilities, in case you lose them when moving.
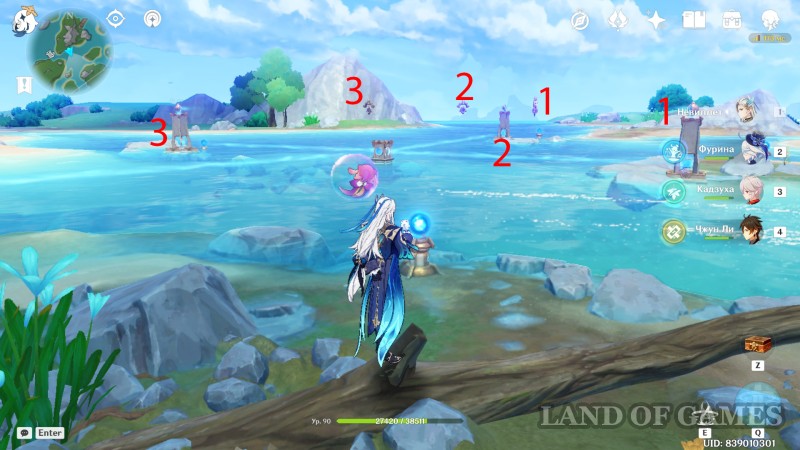
The lamps in all towers will need to be turned to the right. The lenses will turn blue when light hits them.
For solving the riddle you can get a precious chest.
Control mechanism 17
This mechanism is part of the quest "Thalia and Melpomene". You can find out more in corresponding guide.
Comments
You need to login to add comments.
You can login with