В Genshin Impact Жертвоприношение является заданием легенд Инадзумы и вторым этапом квестовой цепочки «Очищение священной сакуры». Во время его прохождения вам предстоит найти загадочные тени и привести их к статуям лисиц, а также отыскать фигурки лисичек с помощью линзы воспоминаний и решить очередную головоломку с фонарями. Если у вас возникли трудности с выполнением данных задач, то изучите наше руководство.
Как начать квест «Жертвоприношение»
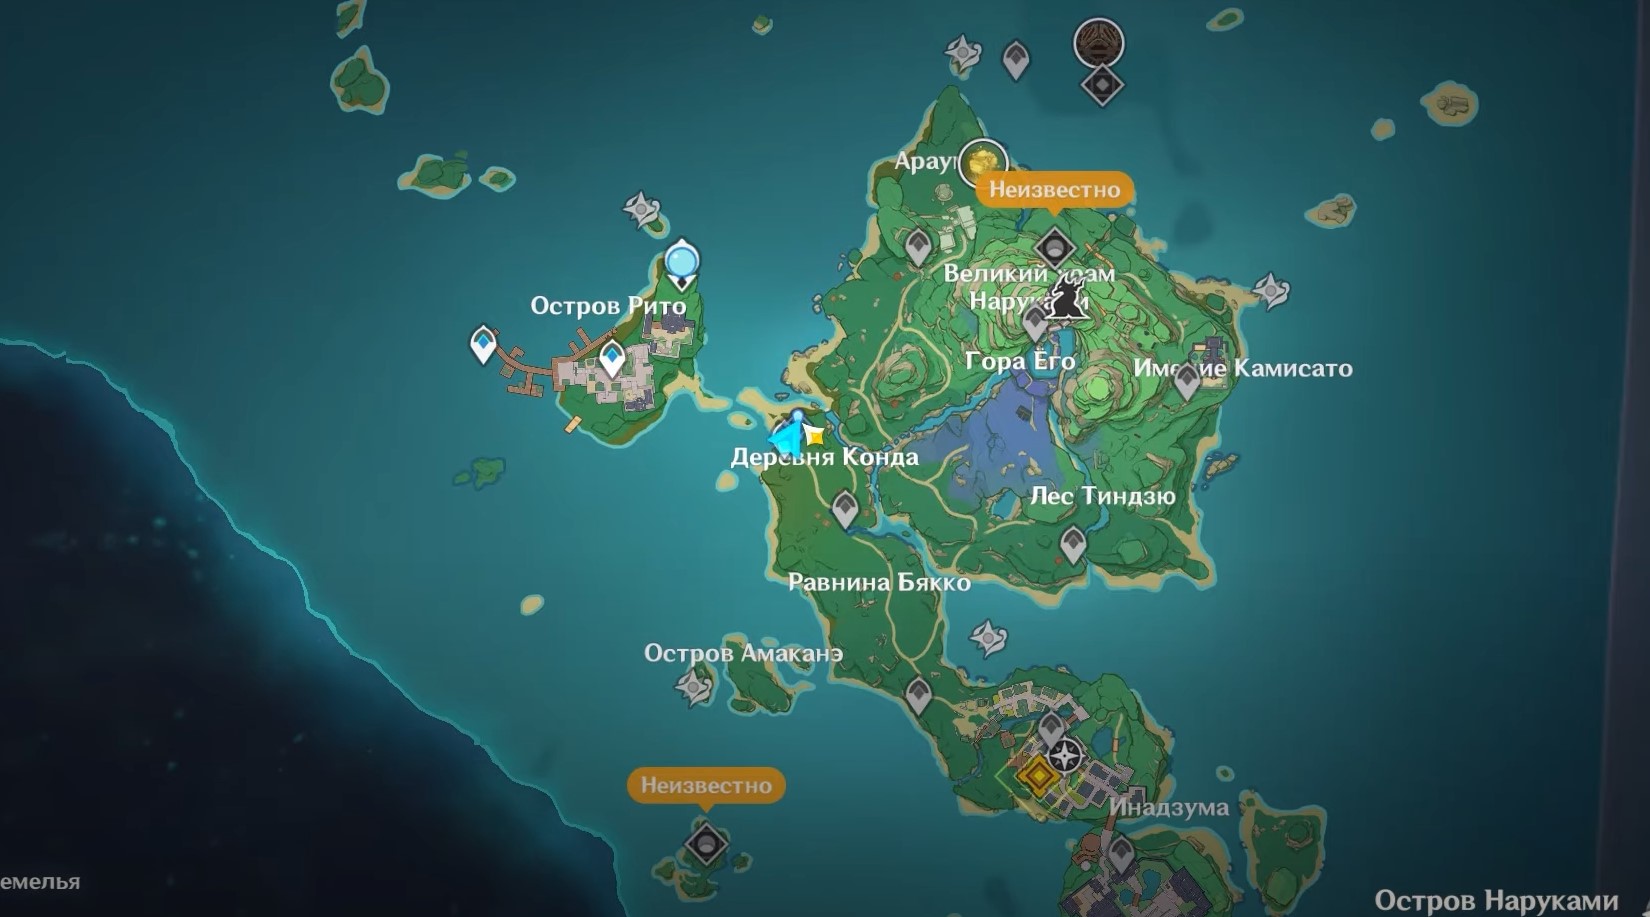
Он стартует практически сразу же после выполнения миссии «Странный случай в деревне Конда», которая в свою очередь может быть начата путем разговора со жрицей возле статуи лисицы. На скриншотах ниже показана точная локация.
Проведите расследование в заброшенном святилище
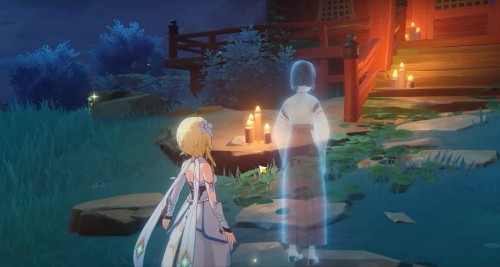
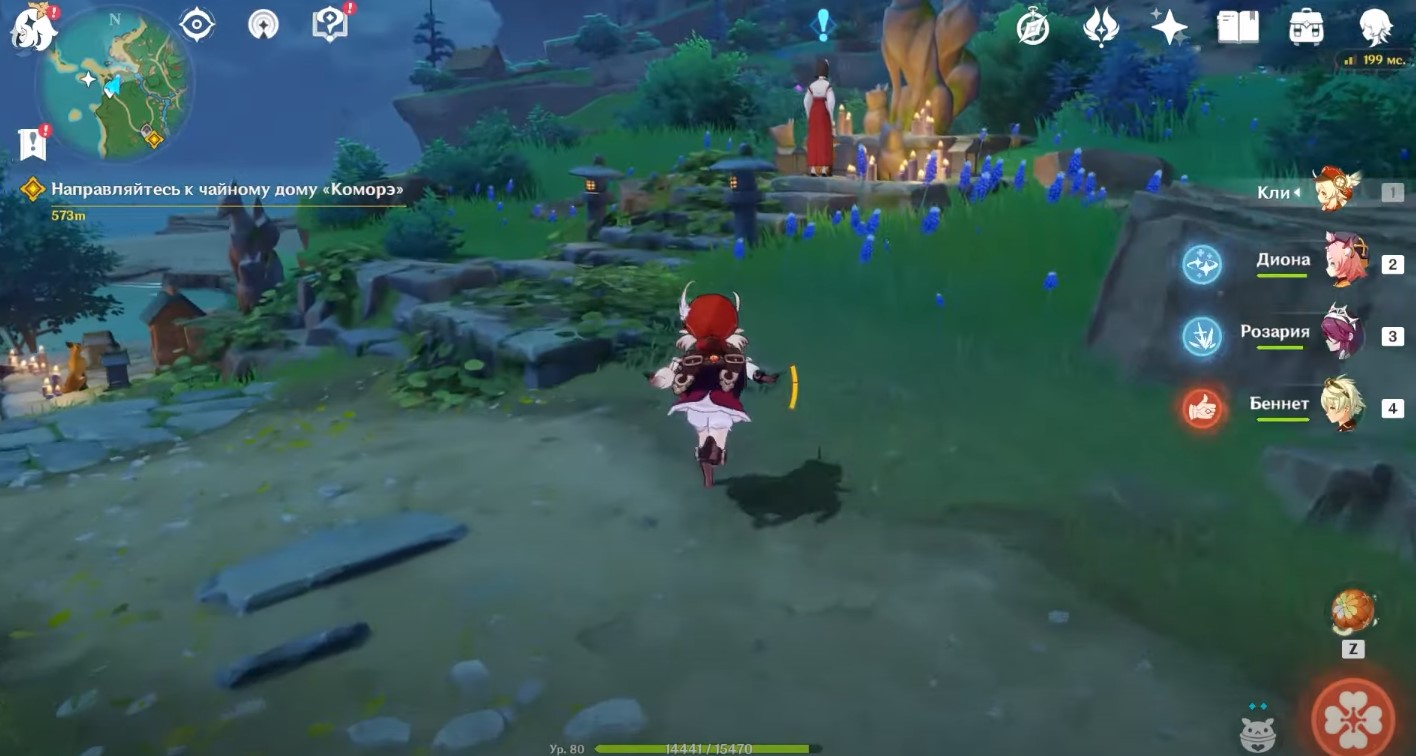
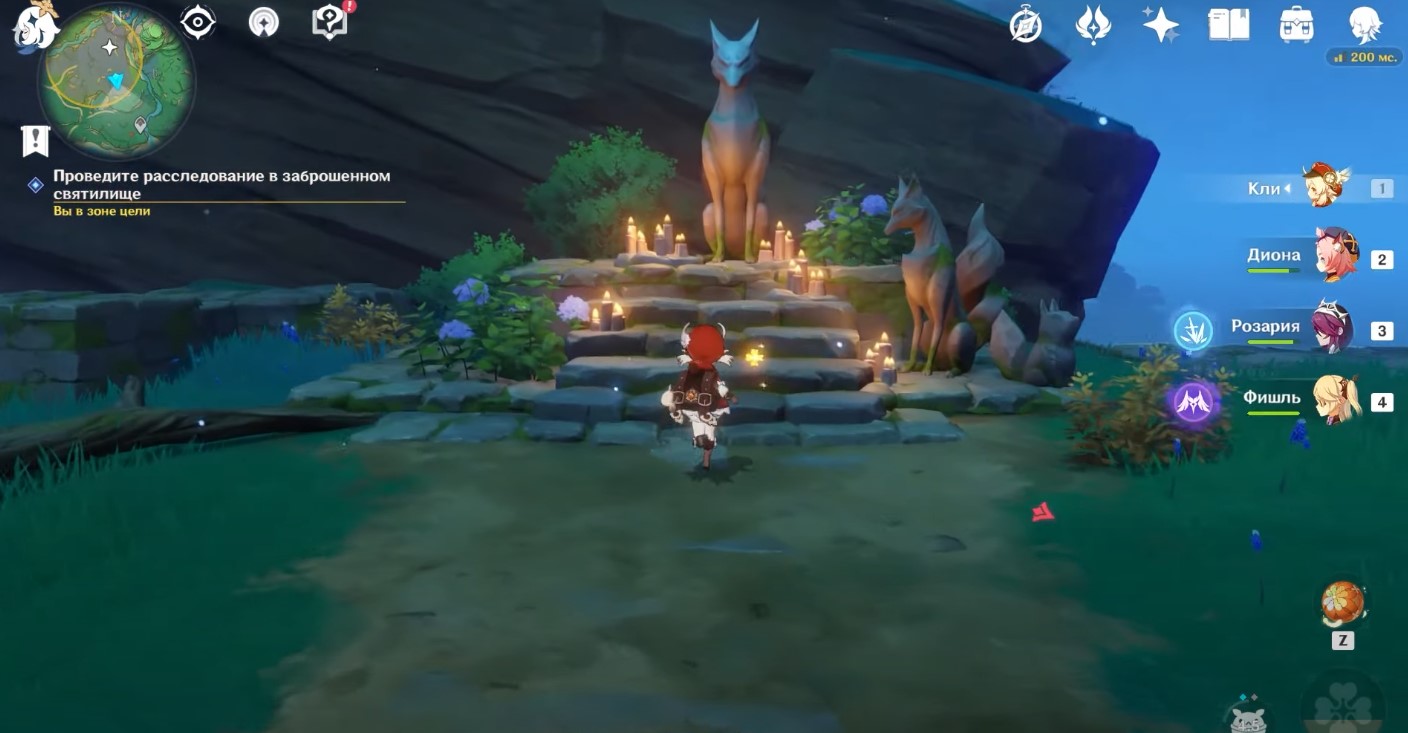
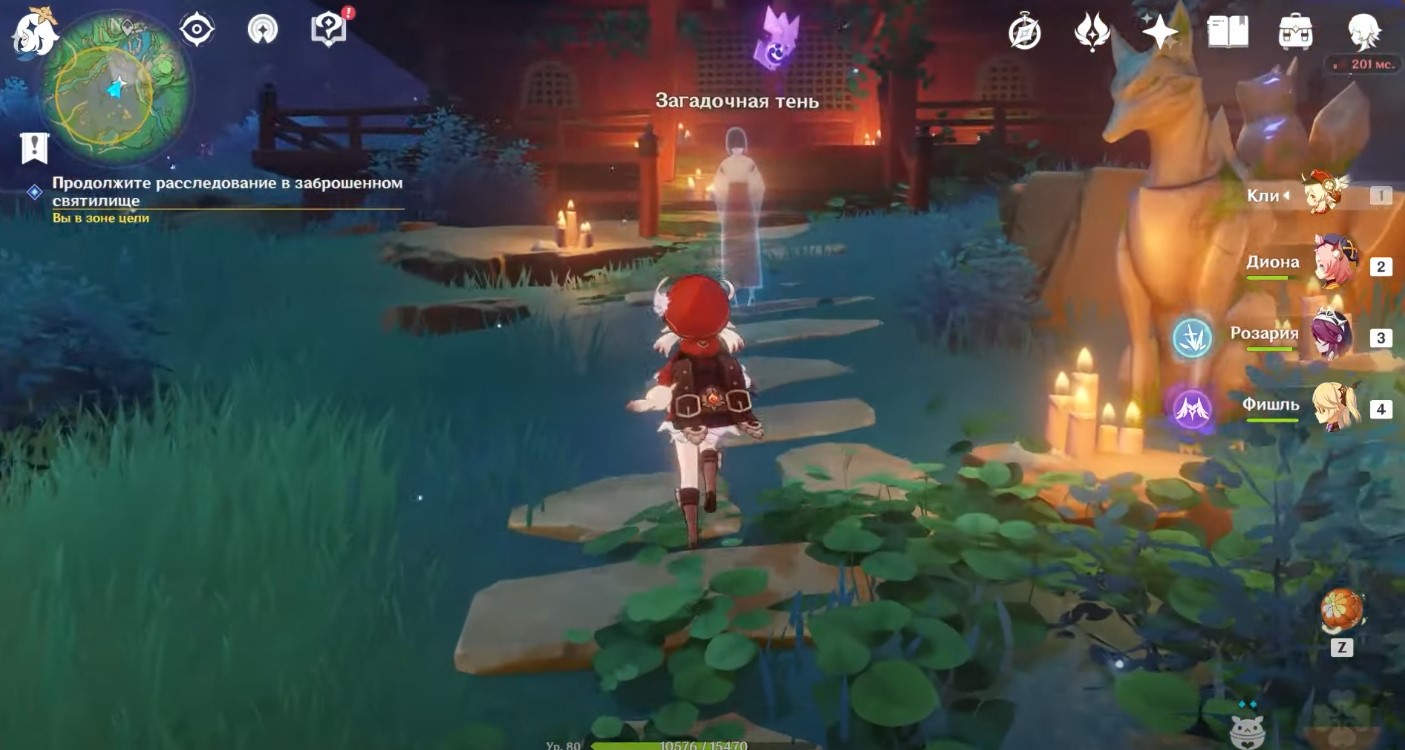
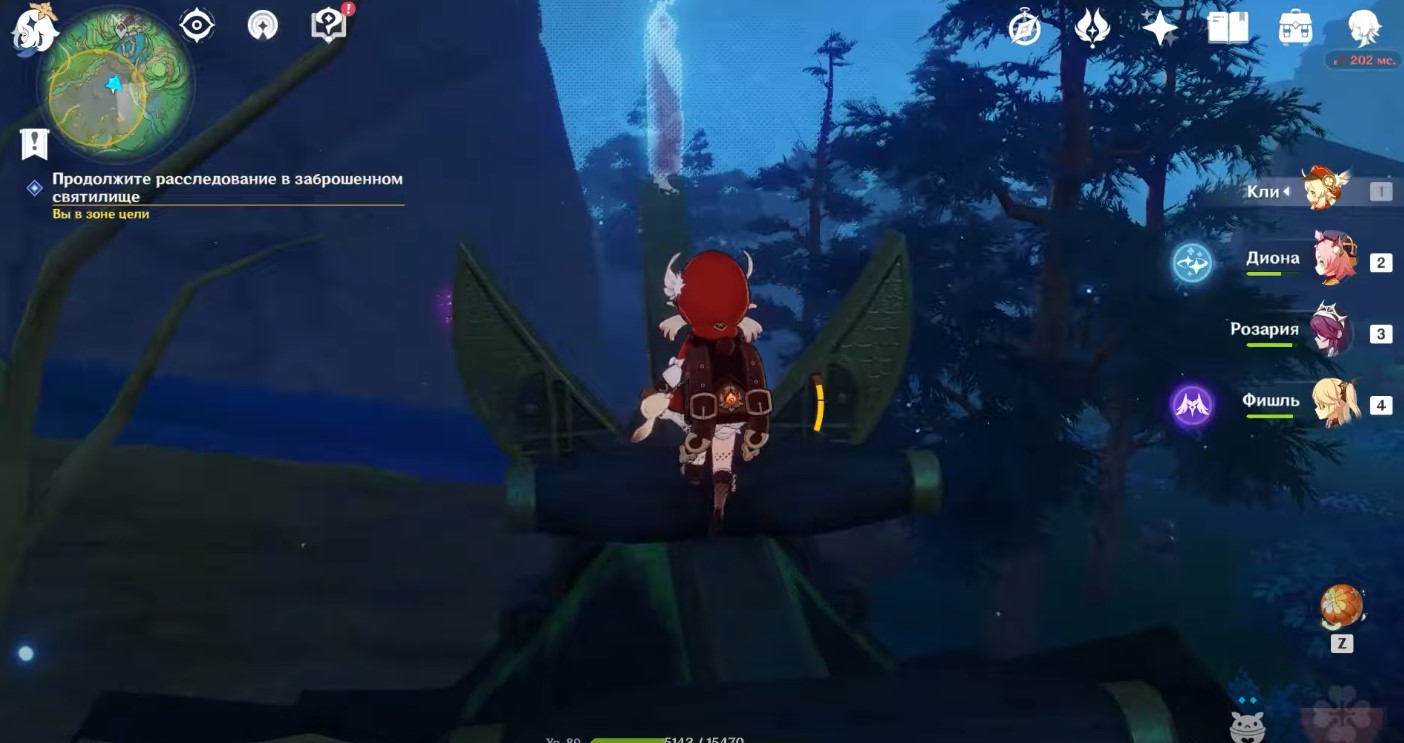
Первым делом доберитесь до покинутого святилища, расположенного северо-восточнее Конды. На скриншоте ниже показана нужная область. Как только вы войдете в нее, стартует следующая задача, связанная с расследованием. Далее вам нужно будет взаимодействовать со статуей лисы (смотрите второе изображение) и поговорить с ней.

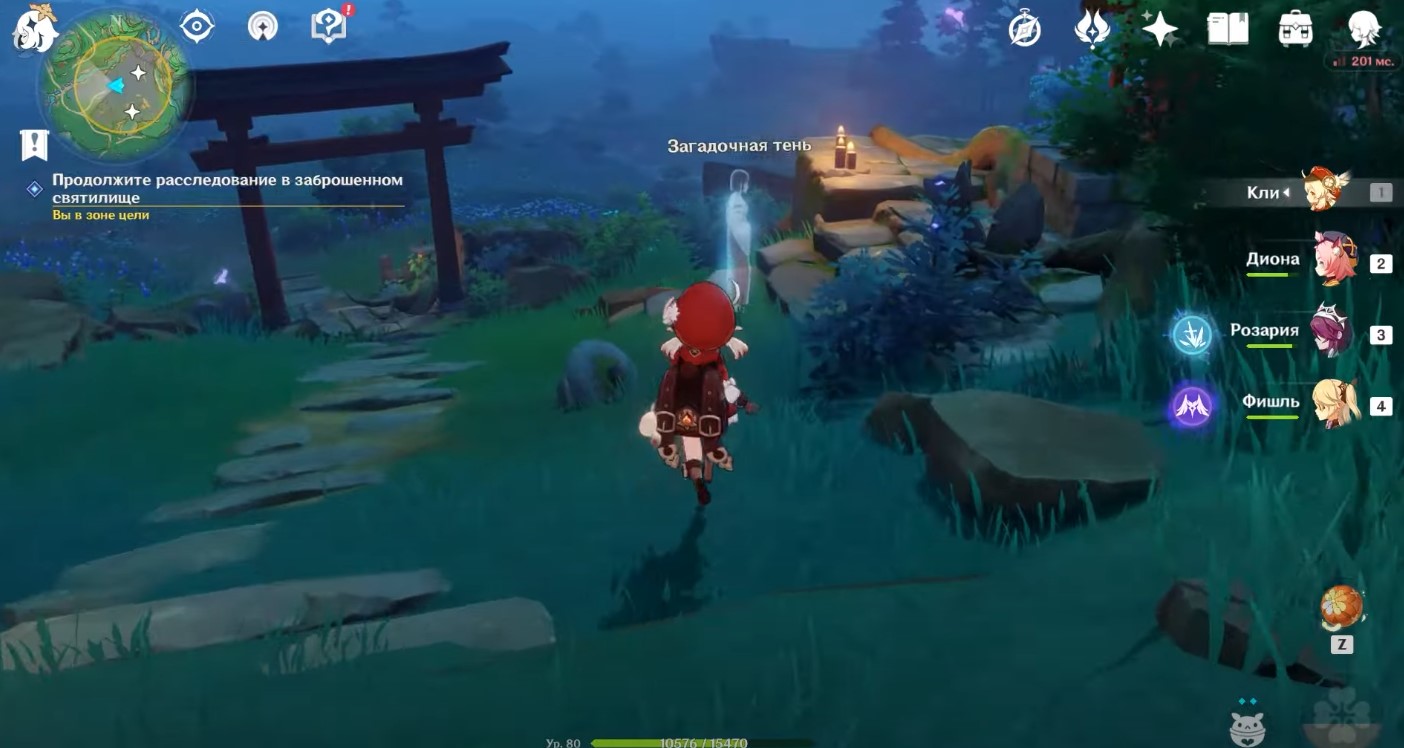
Далее вам предстоит отыскать три загадочные тени и отвести их к различным статуям кицунэ. Ниже мы укажем расположение духов и их маршруты.
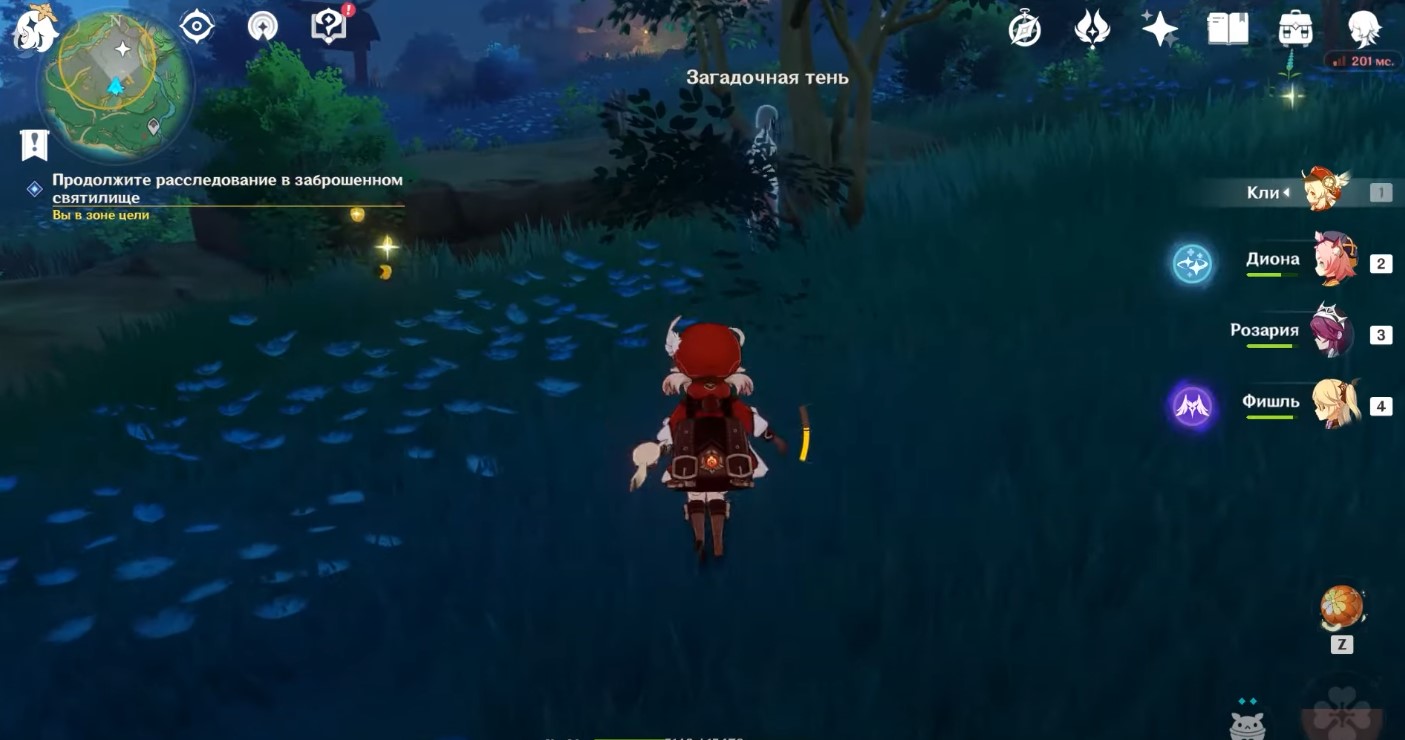
Первая загадочная тень
Она расположена неподалеку от электрокула. Поболтайте с ней, чтобы она телепортировалась в другую локацию.
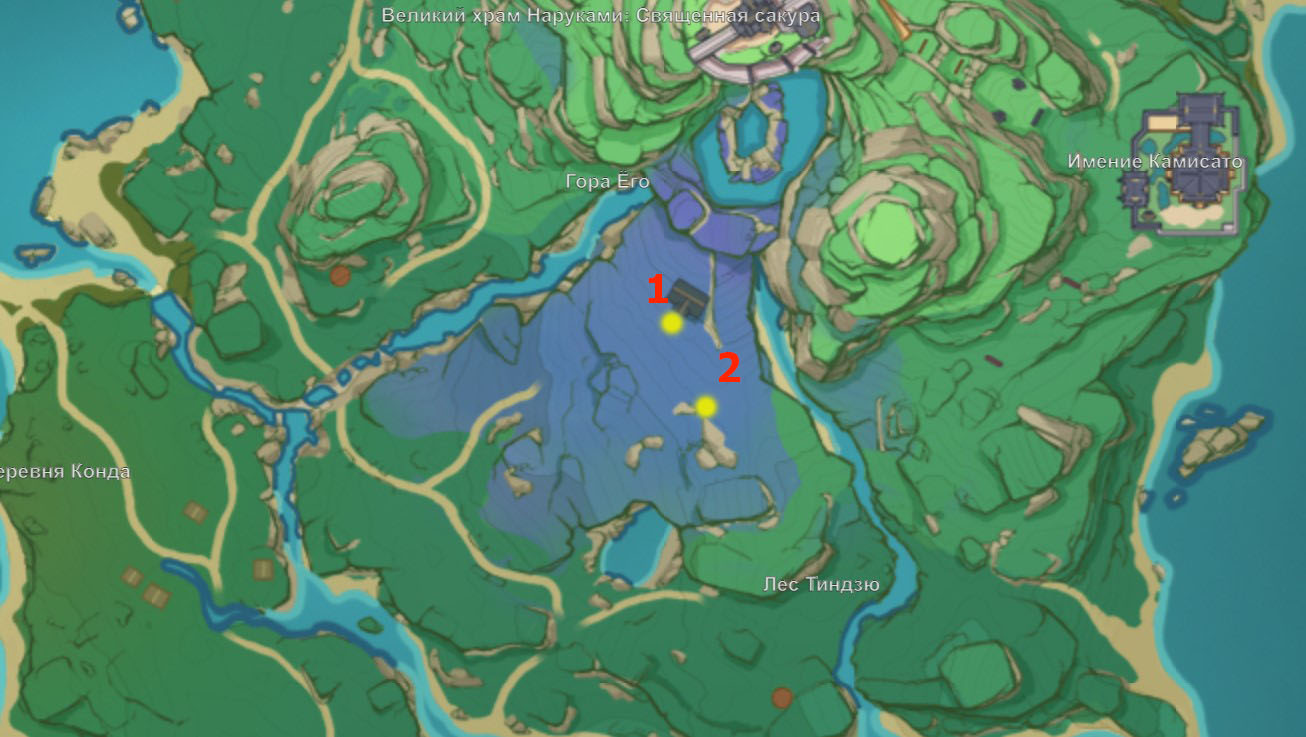
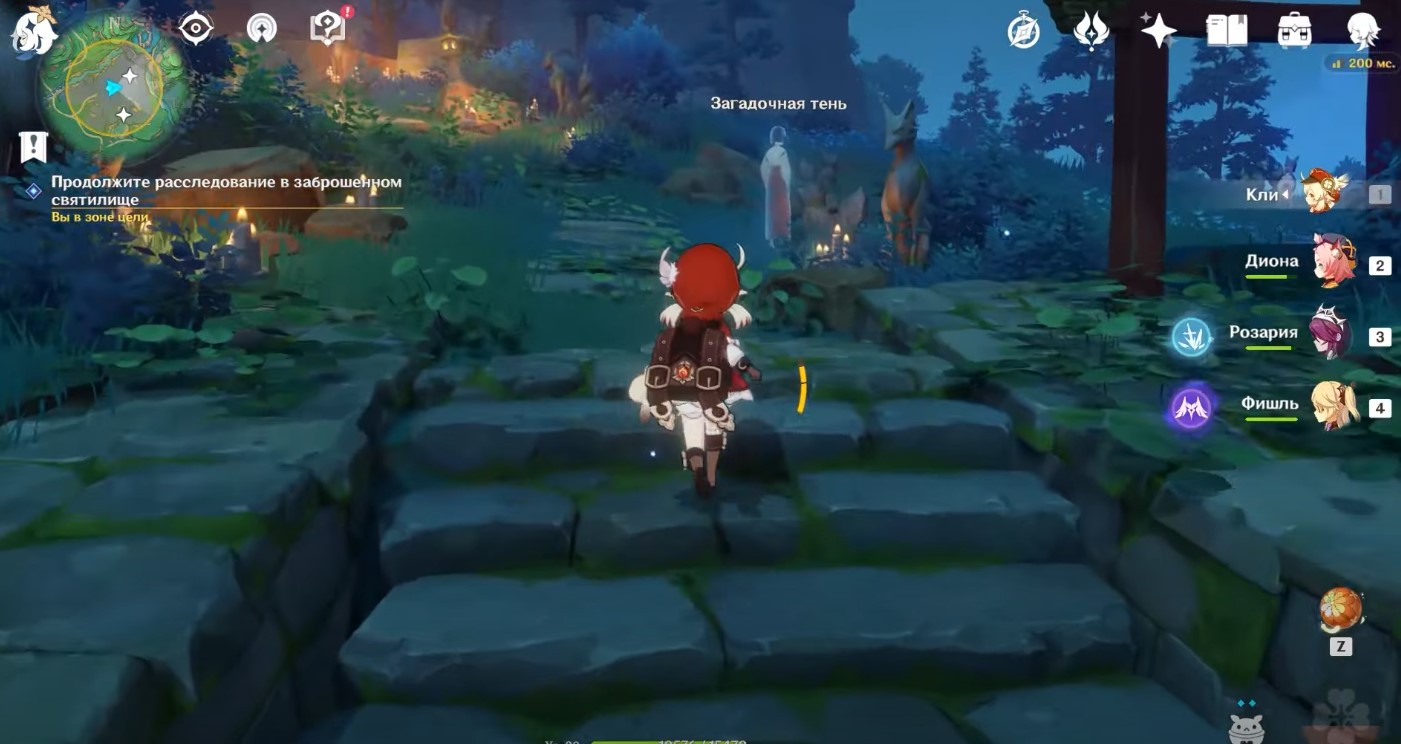
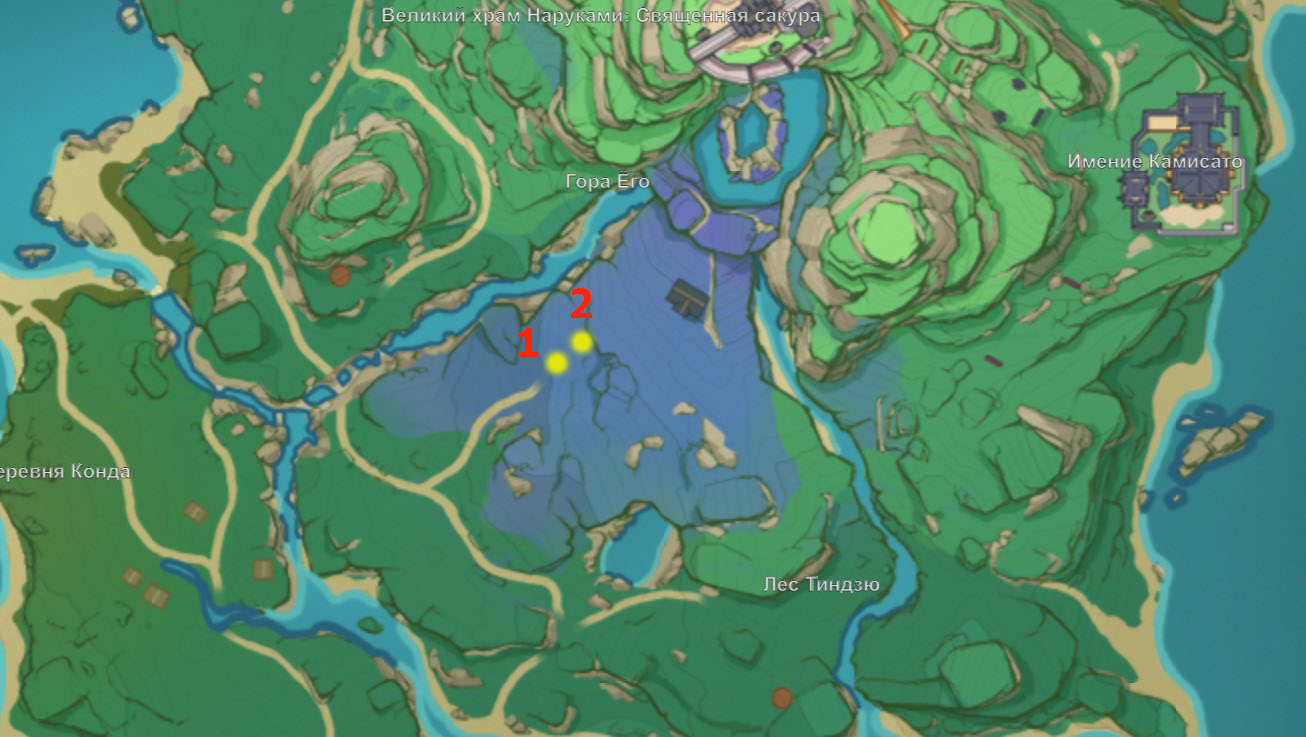
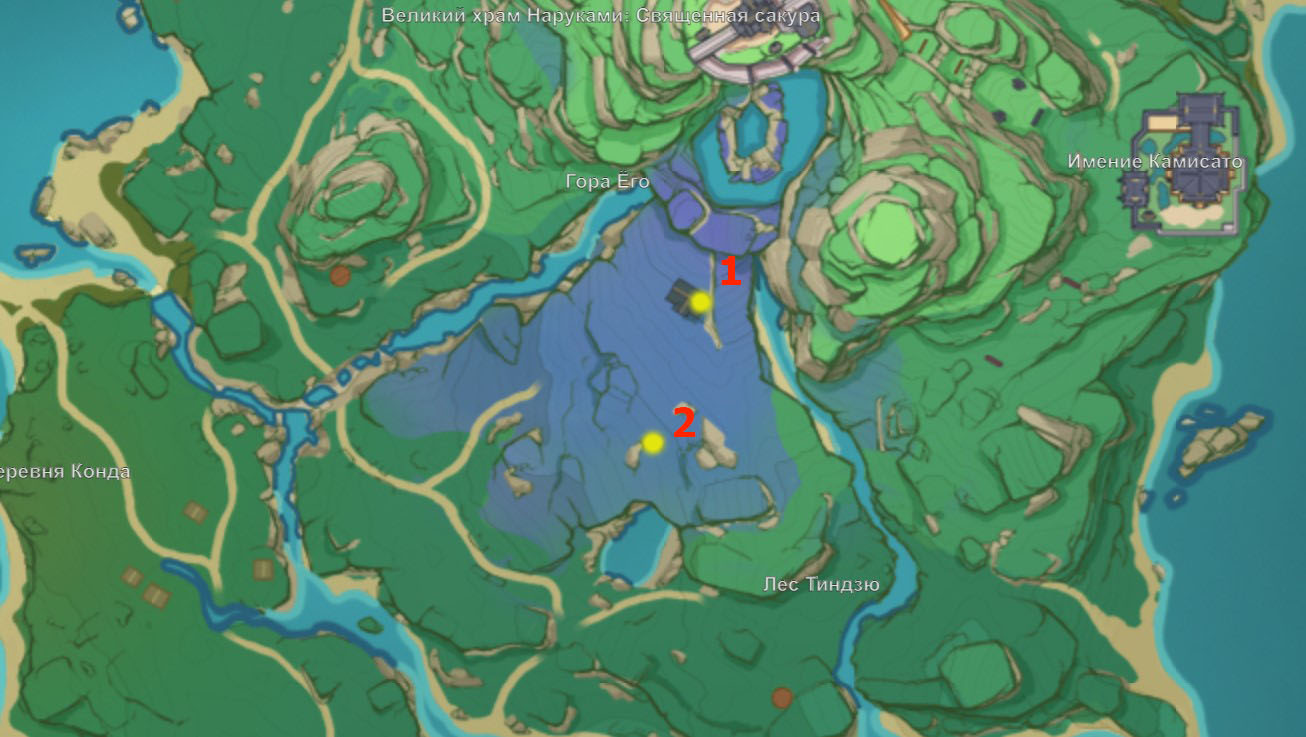
В следующий раз вы отыщите ее возле главной статуи лисицы. Вновь побеседуйте с ней, чтобы она опять переместилась к одной из трех каменных фигурок лис. На карте показаны точки, где появляется дух (1), а затем куда он перемещается в первый раз (2).
Вторая загадочная тень
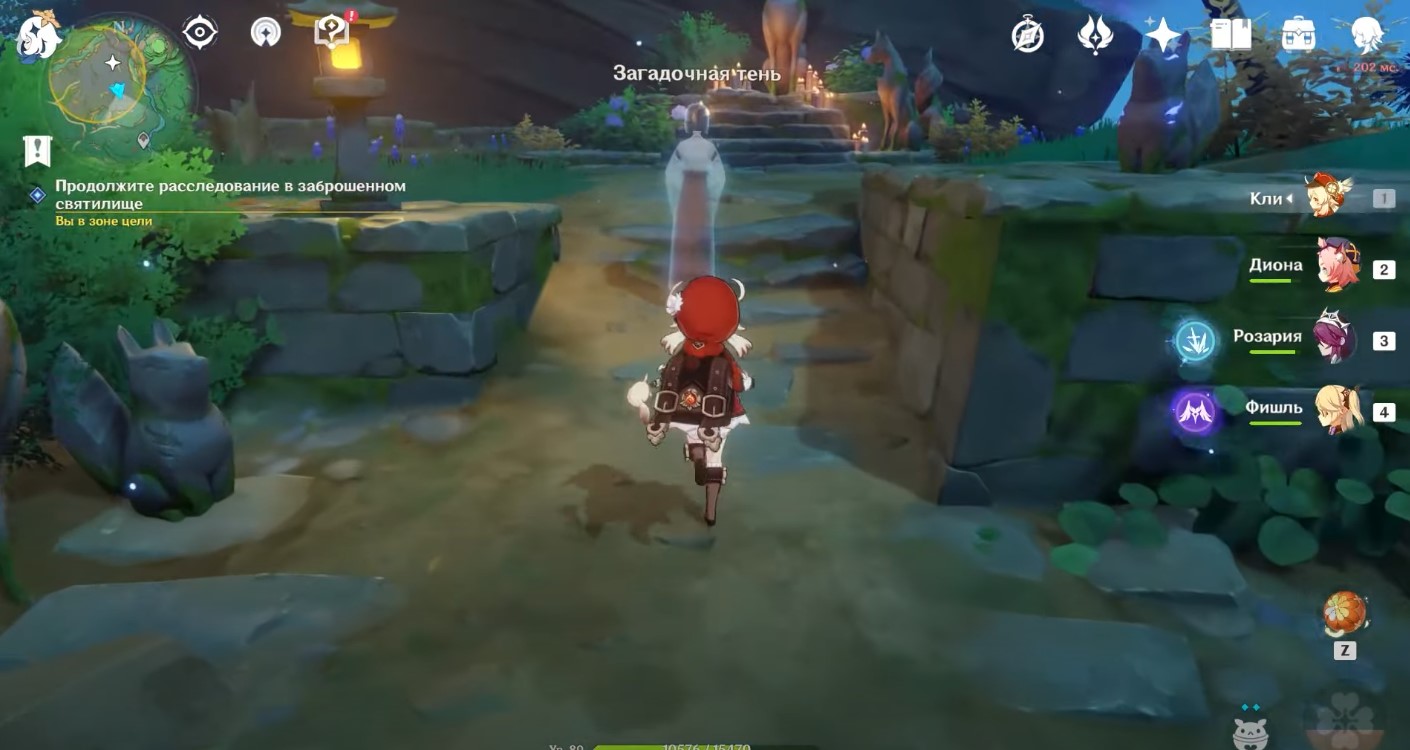
Вы найдете ее возле каменной лестницы и арки. Поболтайте с ней, чтобы она телепортировалась в другую локацию.
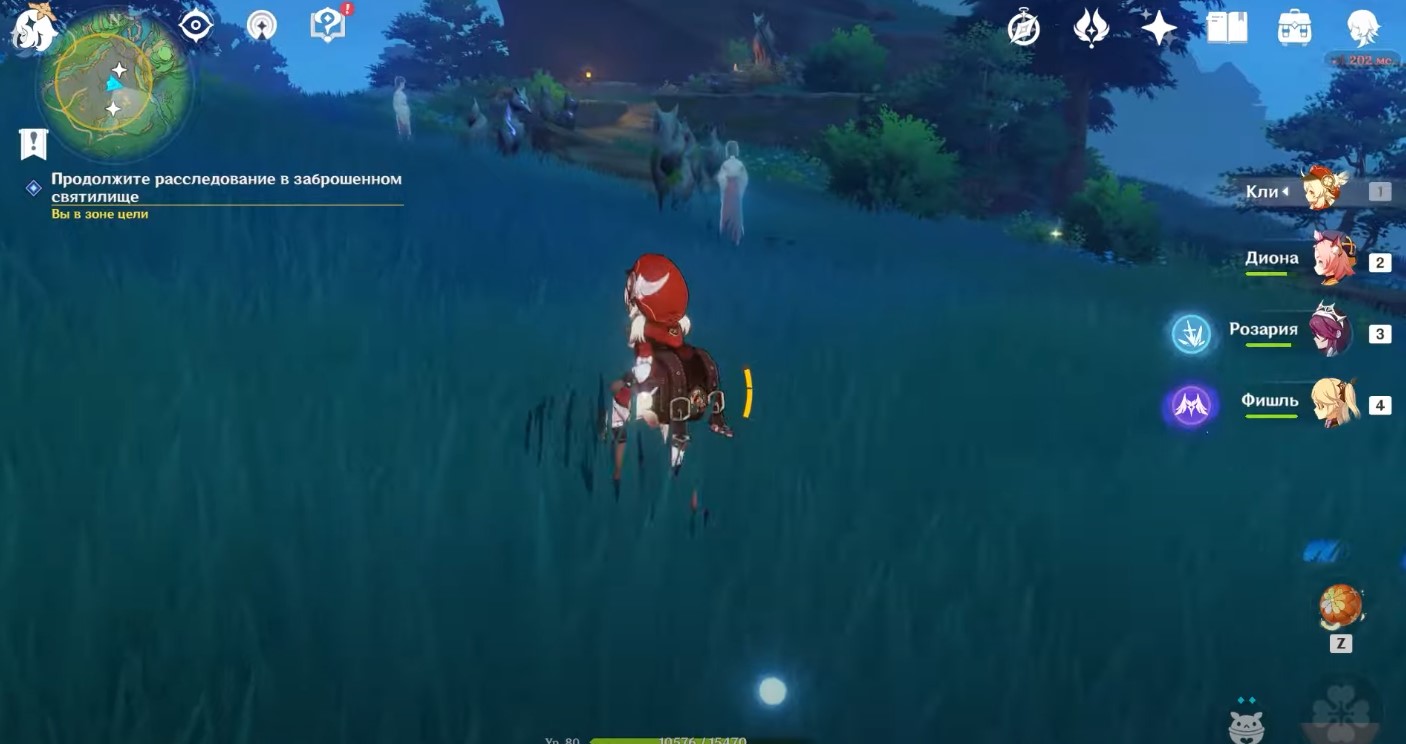
Она появится неподалеку от предыдущего места. Снова побеседуйте с ней. Теперь она встанет рядом со второй фигуркой лисицы. На карте показаны точки, где появляется дух (1), а затем куда он перемещается в первый раз (2).
Третья загадочная тень
Ее можно отыскать на крыше дома, возле которого висит электрокул. На него можно забраться с помощью каменного выступа, расположенного неподалеку. Поднимитесь и поговорите с призраком. Он телепортируется в другое место. На карте показаны точки, где появляется дух (1), а затем куда он перемещается (2).
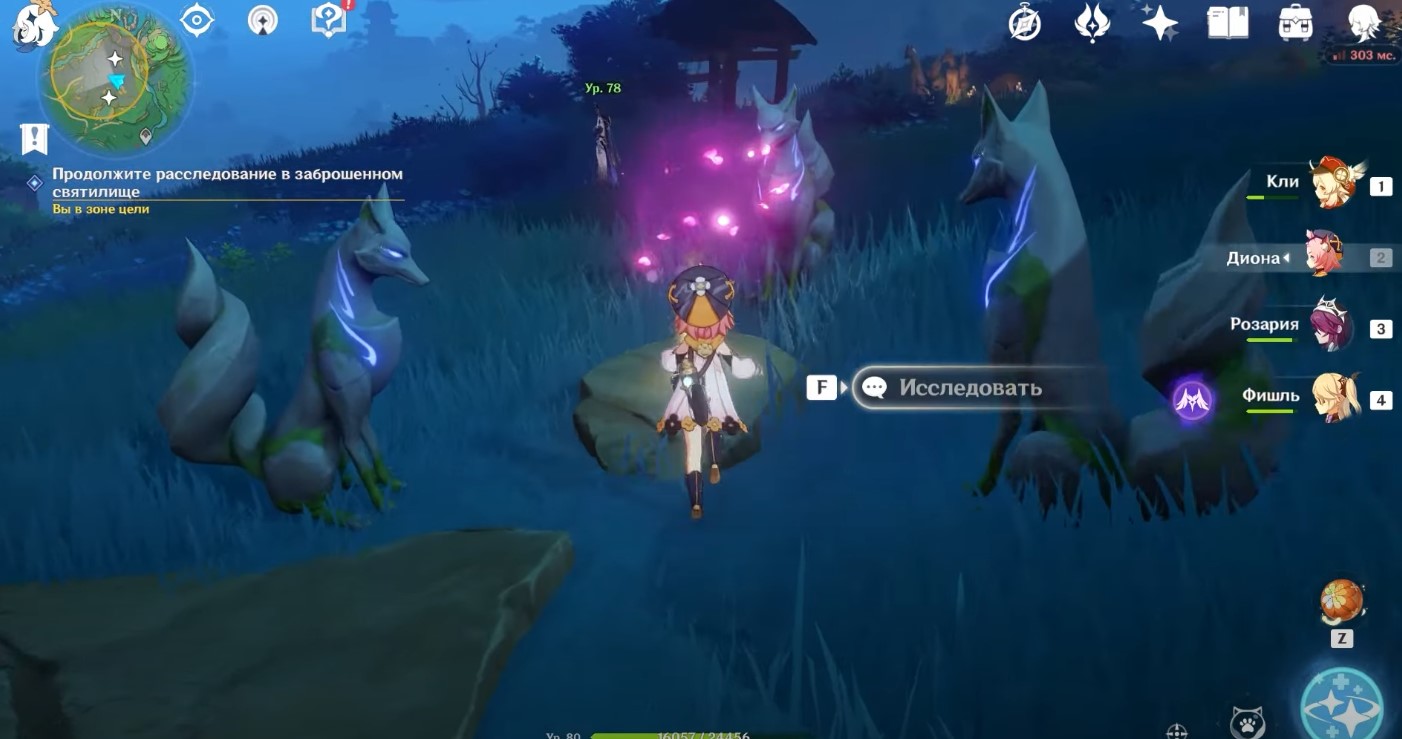
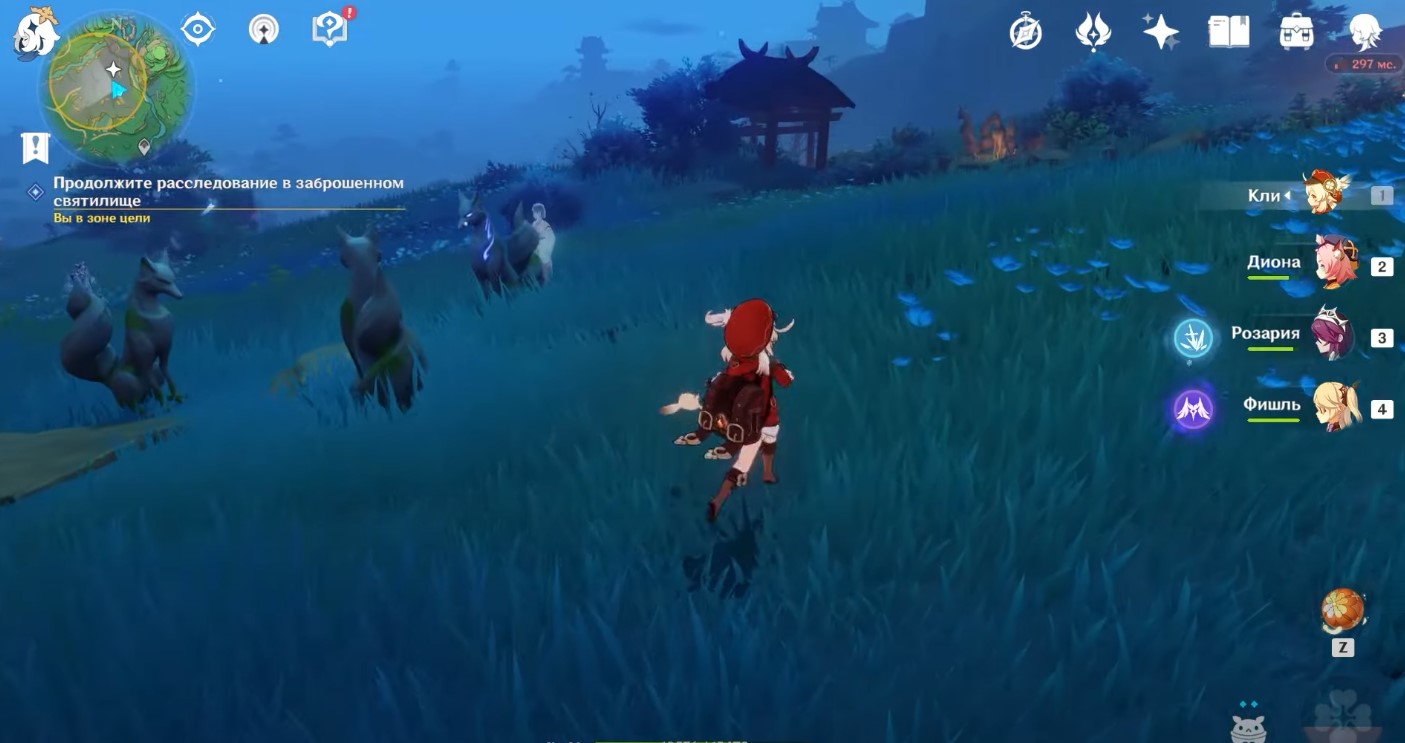
Во второй раз духа можно найти рядом с деревьями. Поговорите с тенью. Она тоже телепортируется к одной из трех фигурок лисы. Идите туда, и вы найдете здесь сразу 3 сундука с сокровищами. На камне, вокруг которого стоят статуи можно также исследовать необычный объект. Сделайте это, чтобы продолжить квест.
Найдите статуи кицунэ с помощью линзы воспоминаний
Вначале отправляйтесь в Великий храм Наруками, поднявшись на вершину горы. Там побеседуйте со жрицей Инаги Хотоми. Советуем вам по пути взаимодействовать с телепортом, чтобы потом не лезть каждый раз на скалы.

Вы получите особый гаджет под названием таинственная линза воспоминаний. Откройте инвентарь, перейдите в раздел «Инструменты» и экипируйте своего героя новым устройством. Для его активации нужно нажать на клавишу «Z».
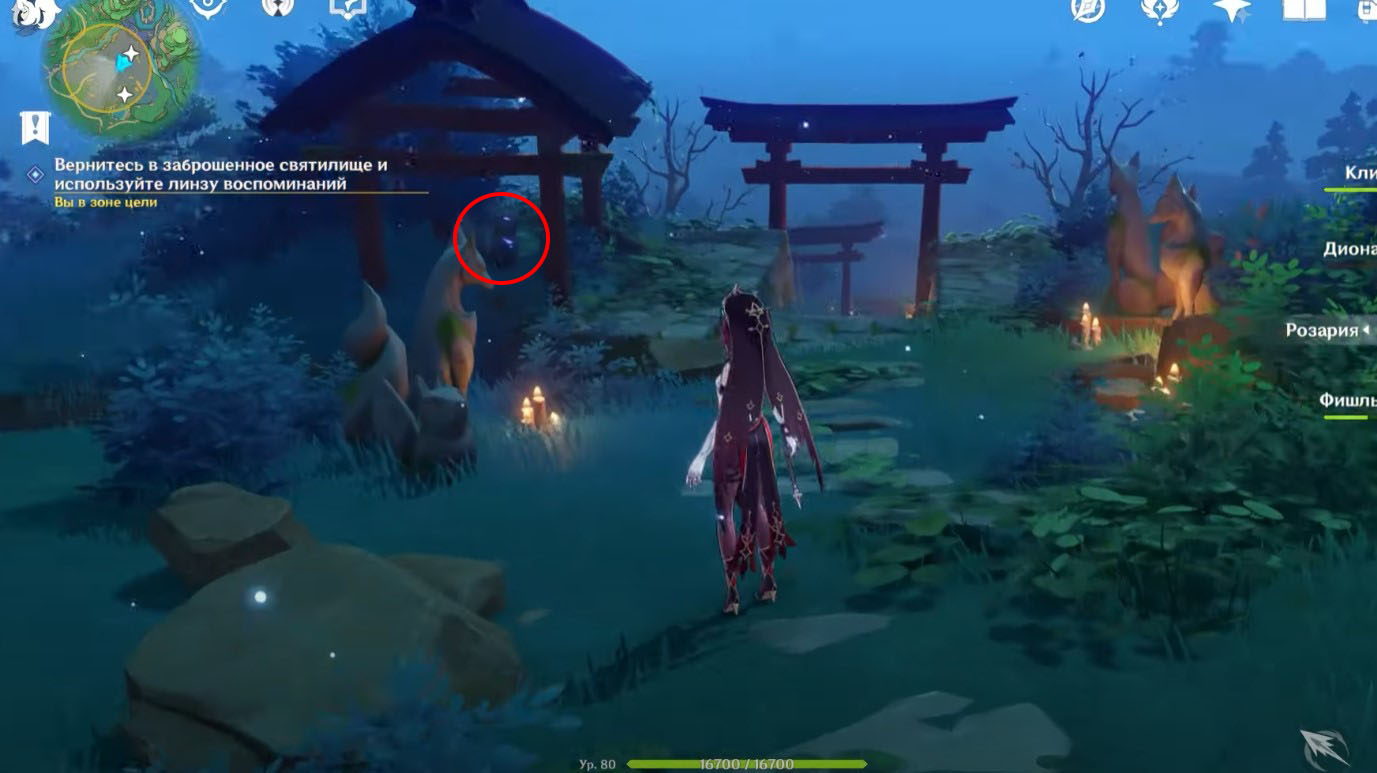
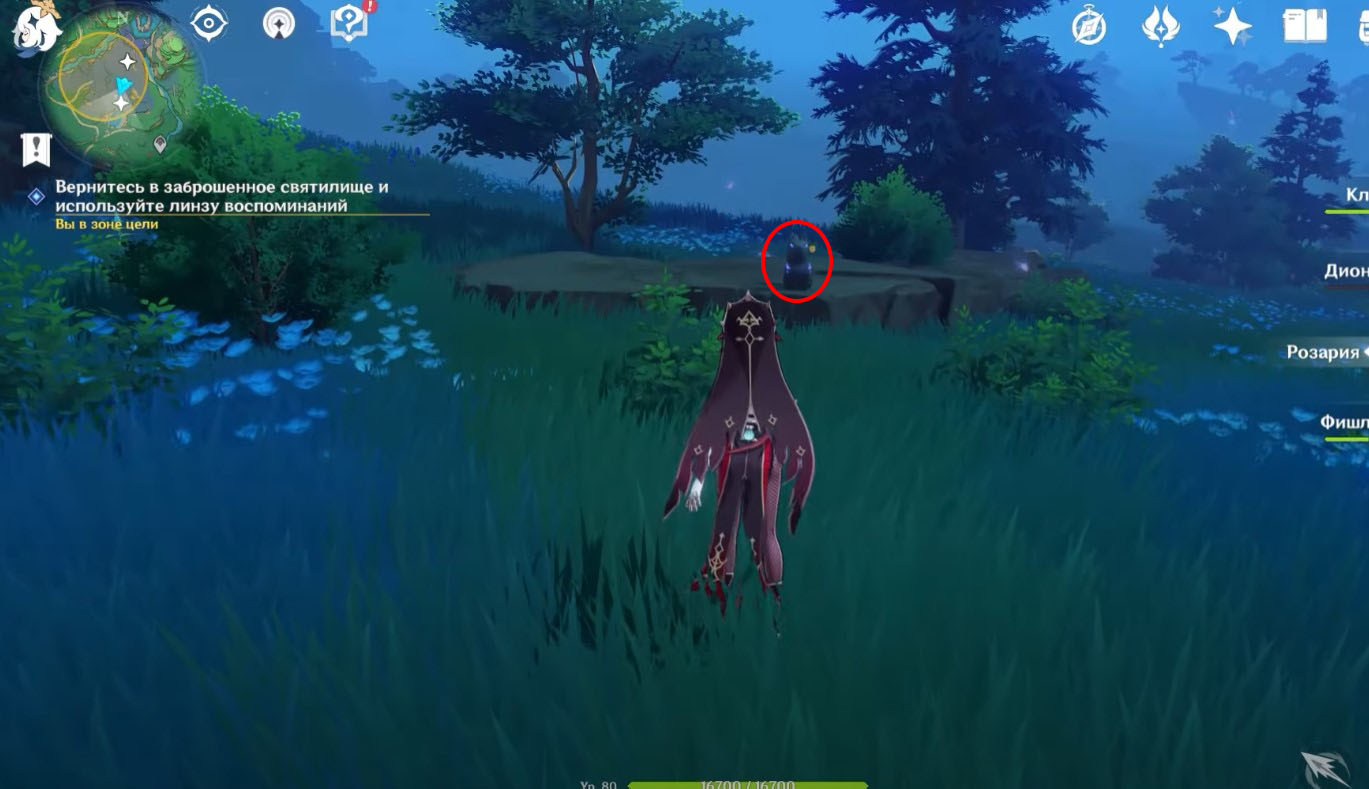
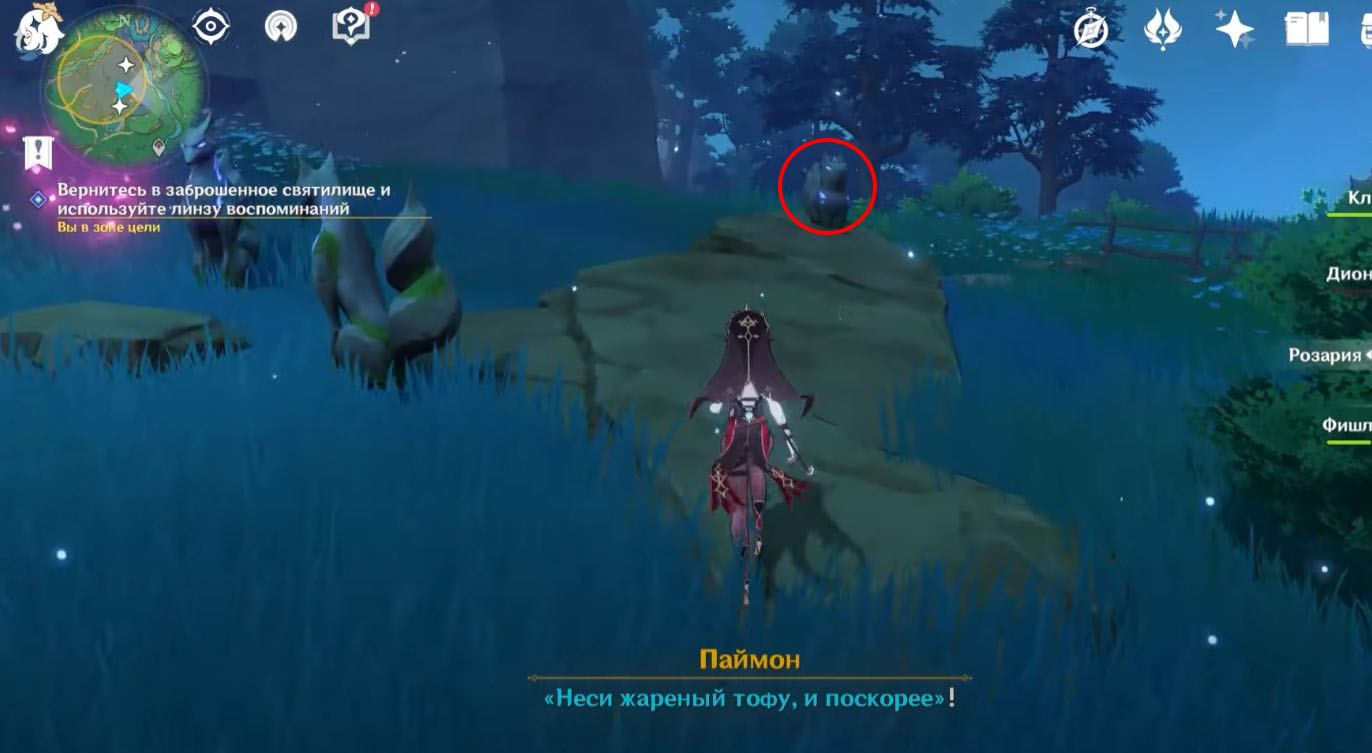
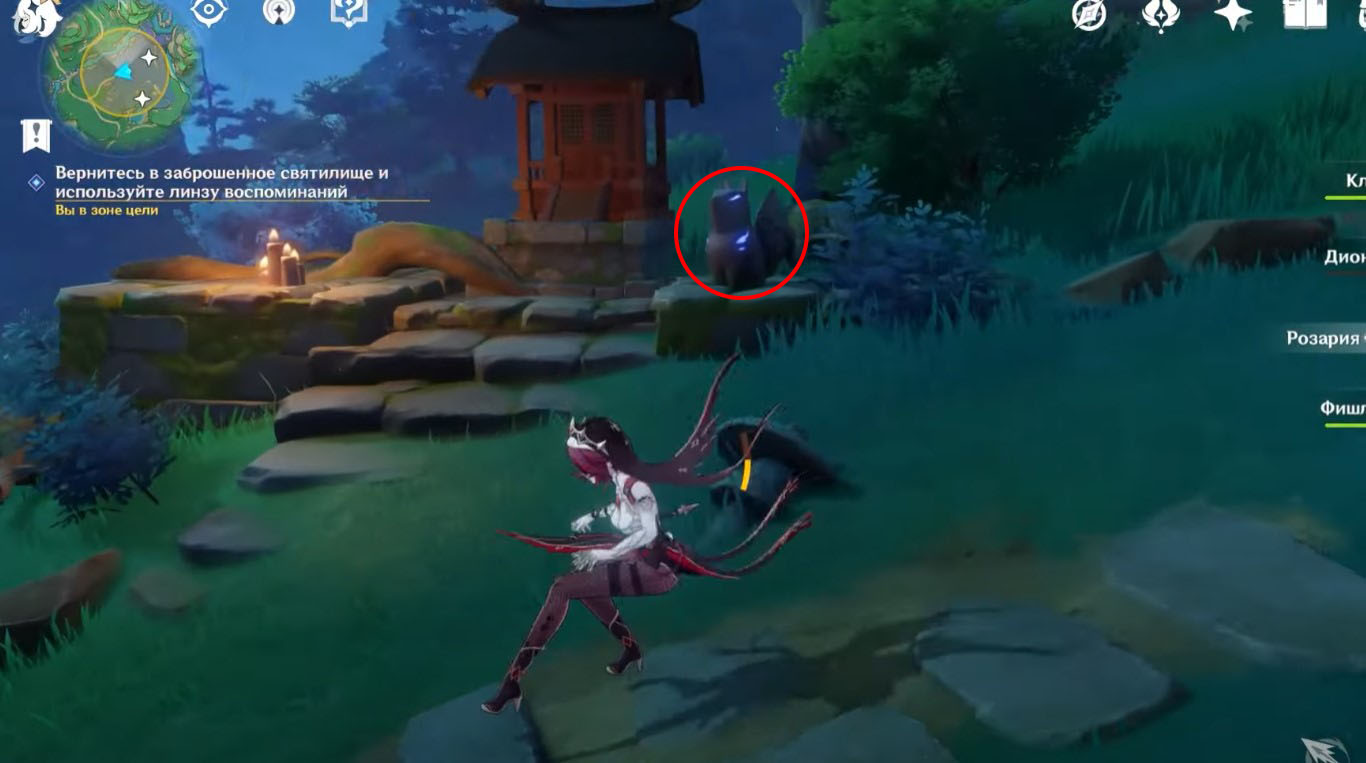
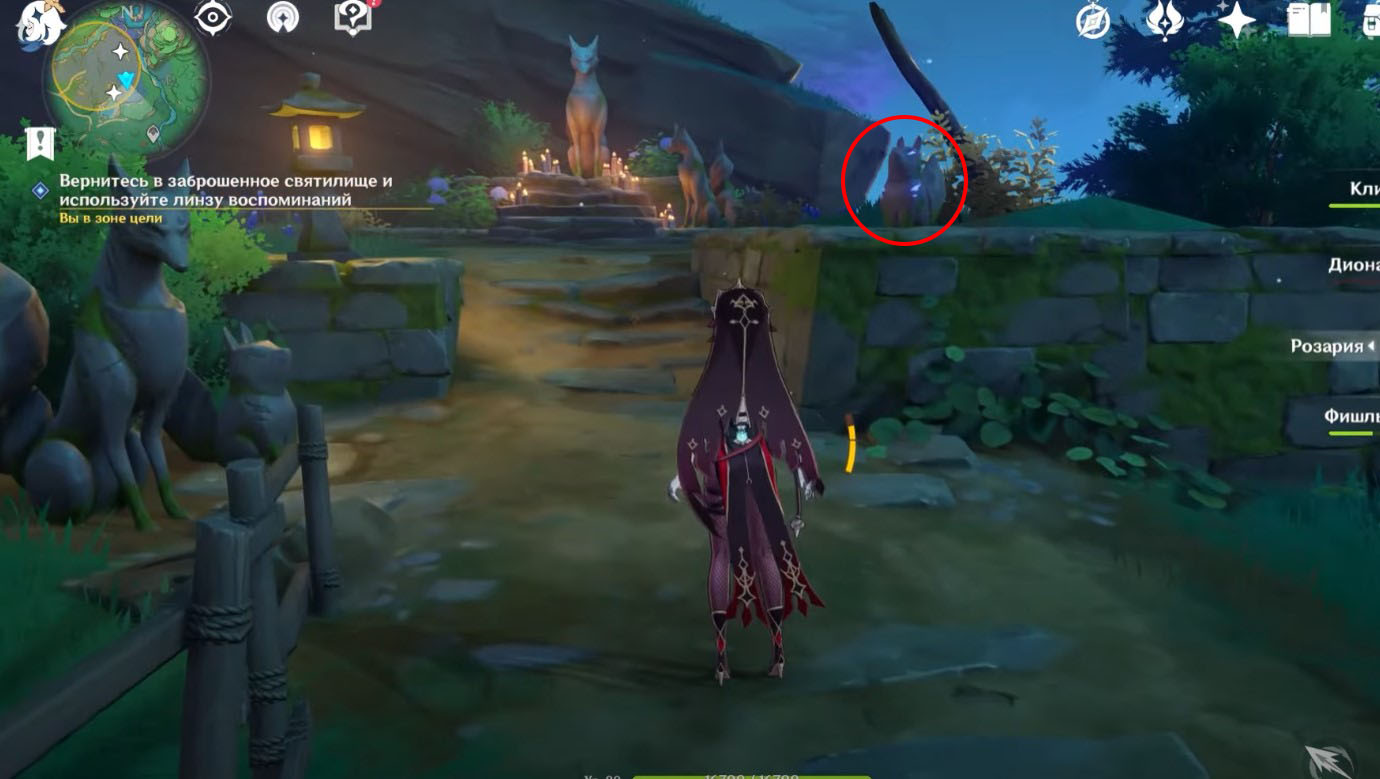
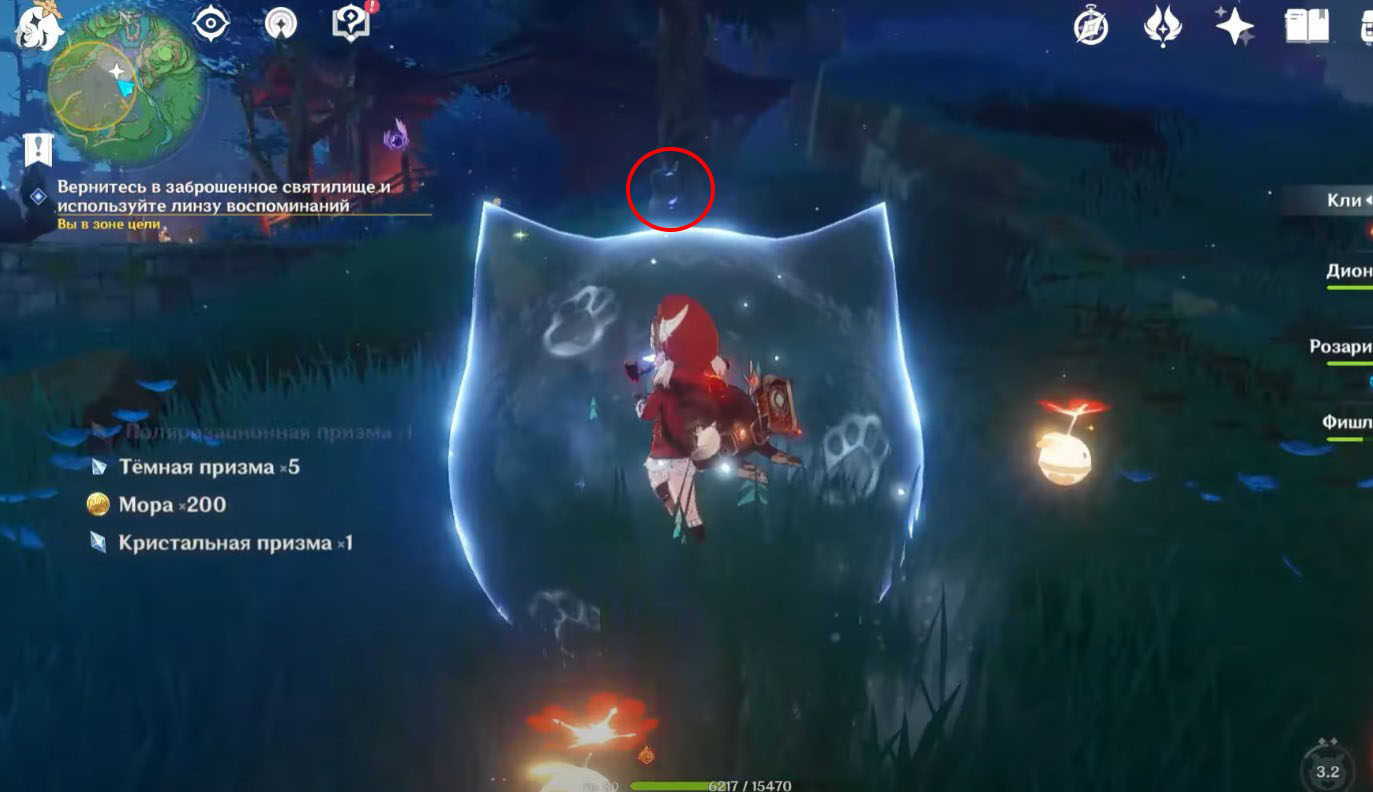
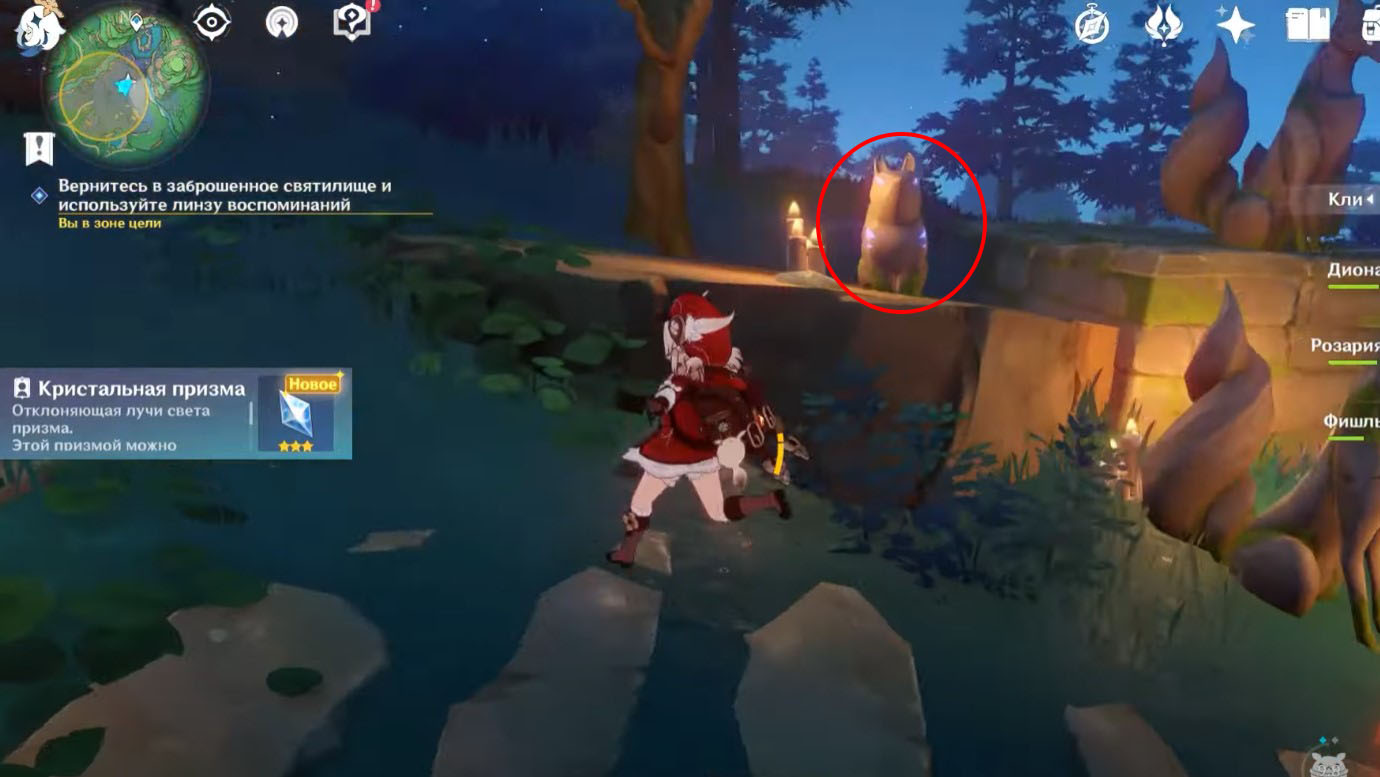
Далее вам нужно будет взглянуть через линзу на светящиеся каменные статуи Кицунэ в отмеченной локации. Для перемещения линзы зажмите левую кнопку мышки. Отыскать нужно 8 статуй. На скриншотах ниже показано их точное местоположение. Ориентируйтесь по мини-карте на изображениях.

В каком порядке прочитать священные слова
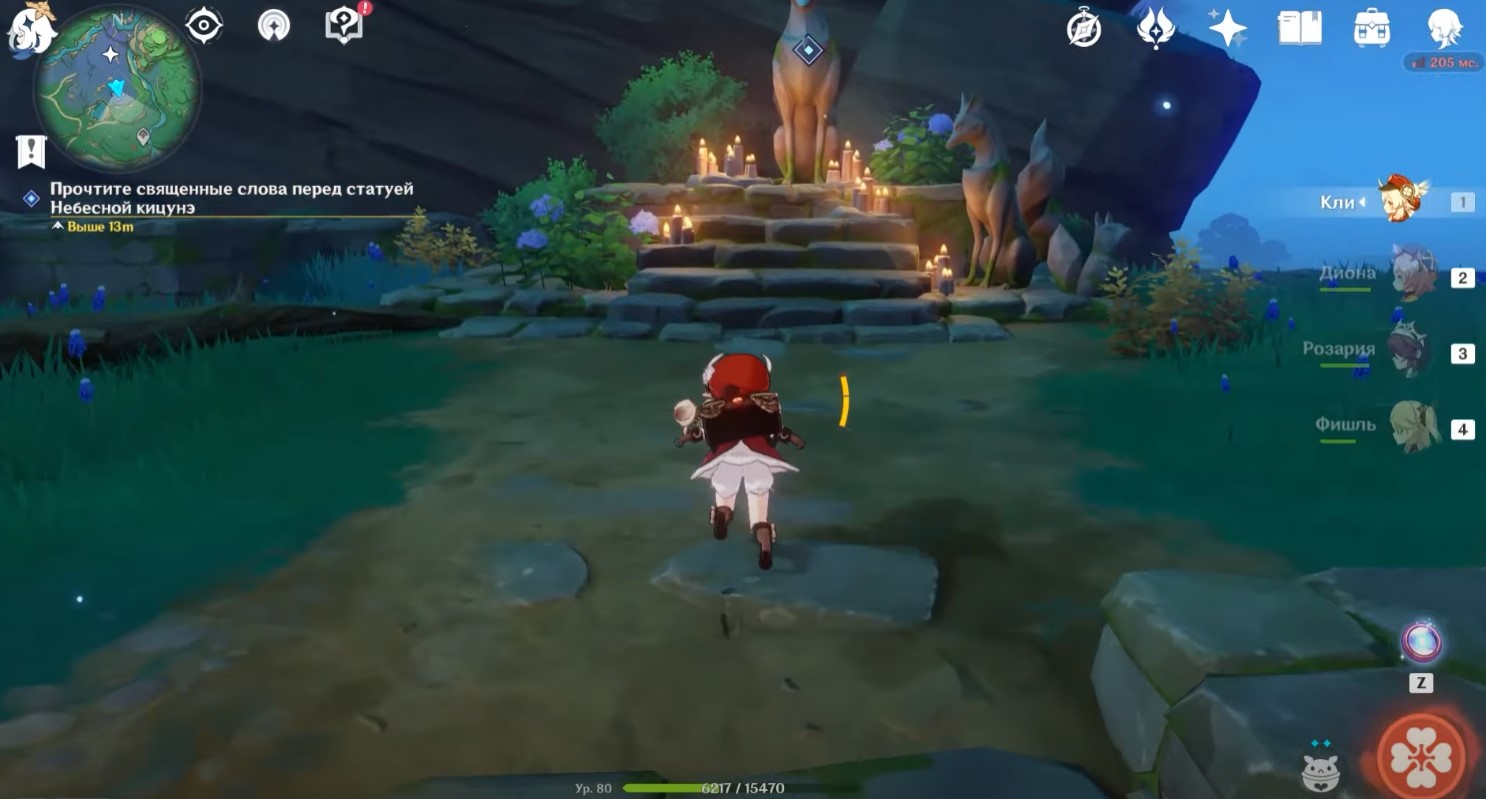
Теперь снова подойдите к главной статуи лисицы. Вам нужно будет произнести 3 фразы в правильной последовательности. Отметим, что в одном из обновлений слова были изменены, поэтому теперь порядок фраз выглядит следующим образом:
- Именем посланника Наруками.
- И рода Белого дракона.
- Принесите жареный тофу!
Получите оберег
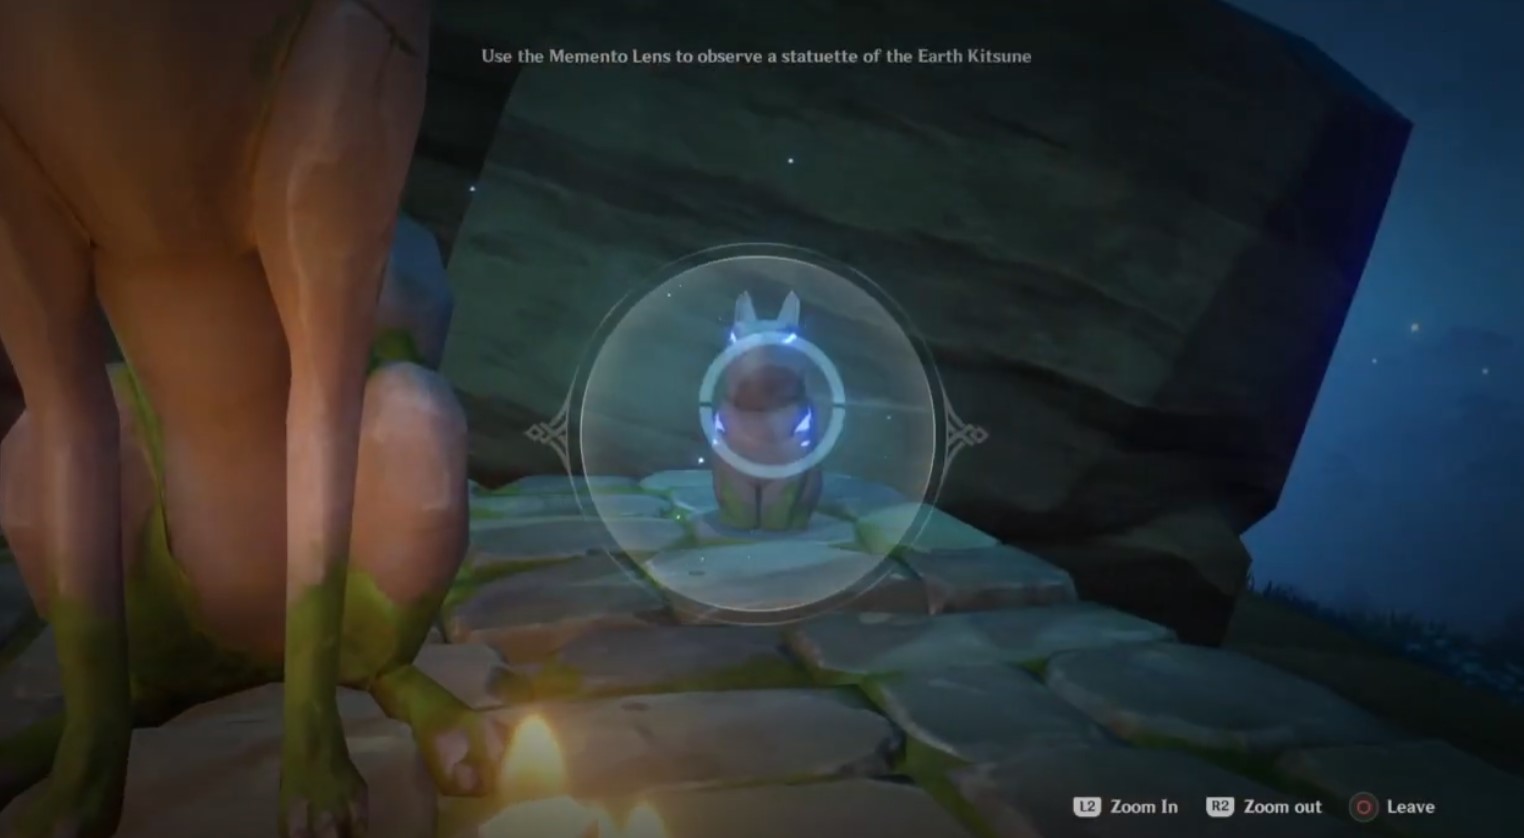
Просто подойдите к статуе Земной кицунэ, чтобы забрать оберег. Затем можете использовать на ней линзу воспоминаний. Наведите инструмент на маленькую лисичку позади основного изваяния, чтобы вызвать фею, которая приведет вас ко входу в пещеру, где находится барьер. Делать это необязательно, то есть вы можете сами добраться до необходимого места (оно показано ниже).
Найдите и разрушьте барьер
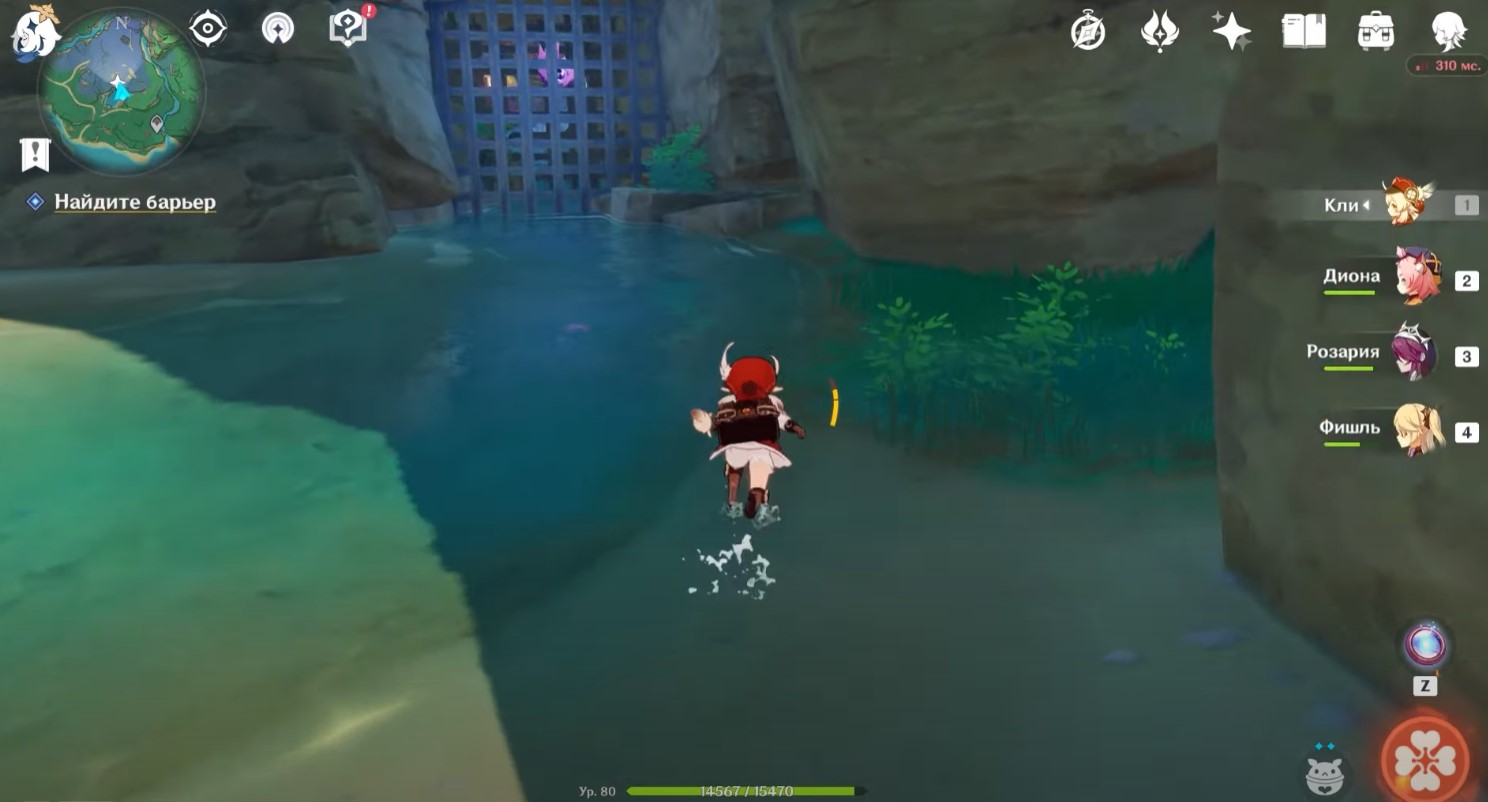
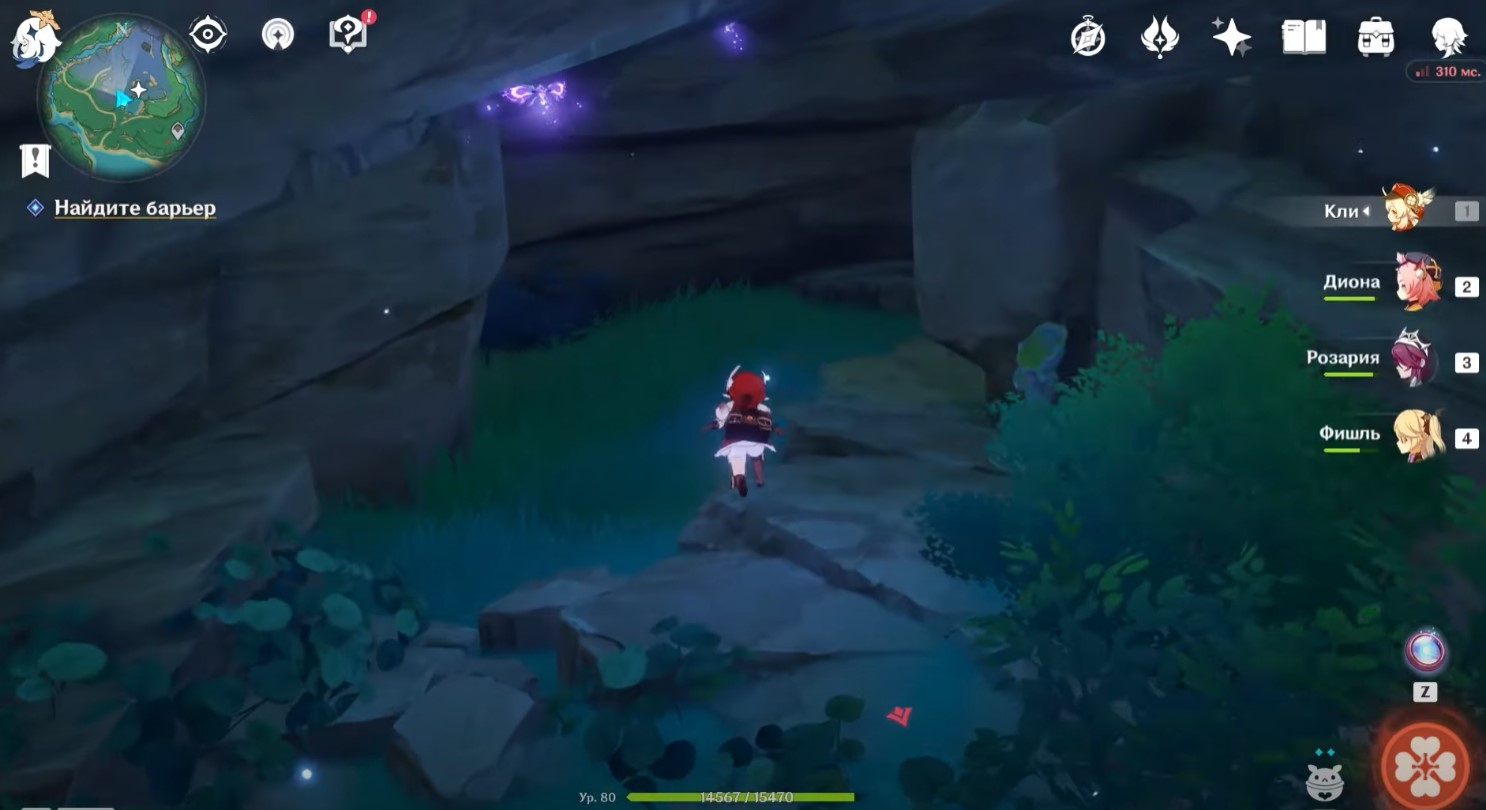
Далее вам нужно будет отыскать барьер. Его точное расположение показано на двух изображениях ниже. Там вы увидите решетку.

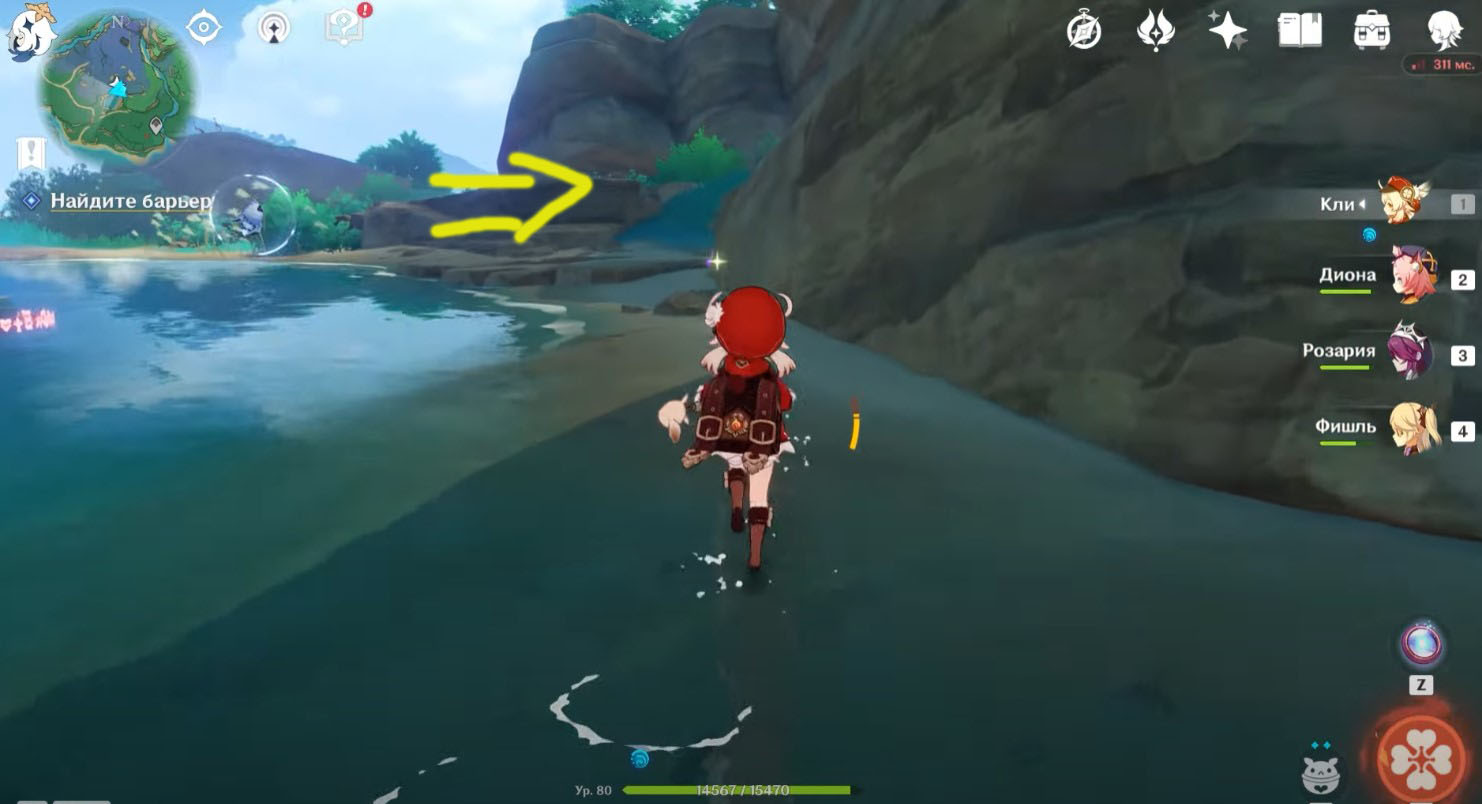
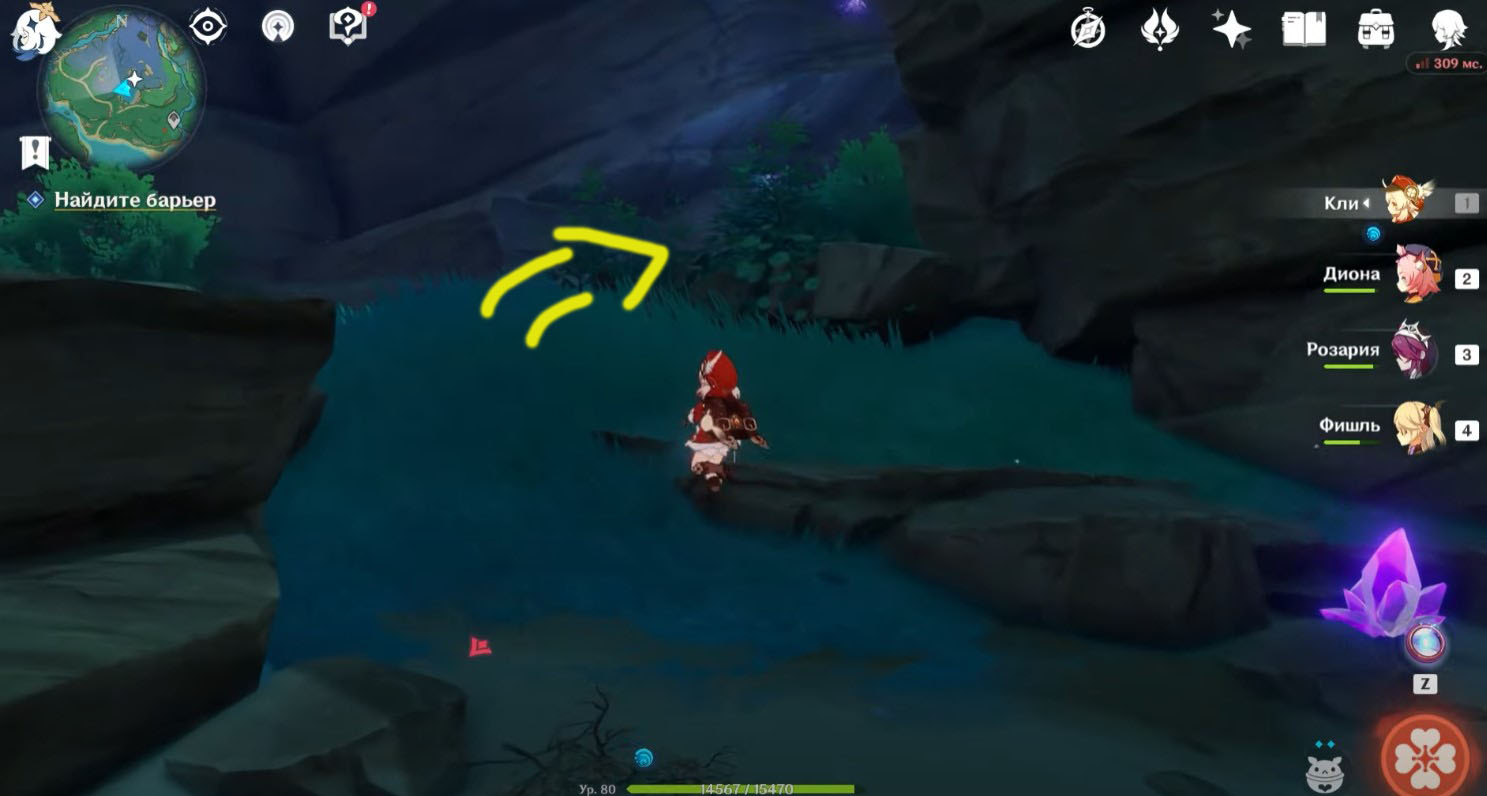
Вам необходимо будет повернуть налево от решетки и пройти вдоль скалы. Затем снова сверните налево, чтобы отыскать вход в пещеру. Войдите внутрь для получения новой задачи по разрушению барьера.
Как решить головоломку с фонарями
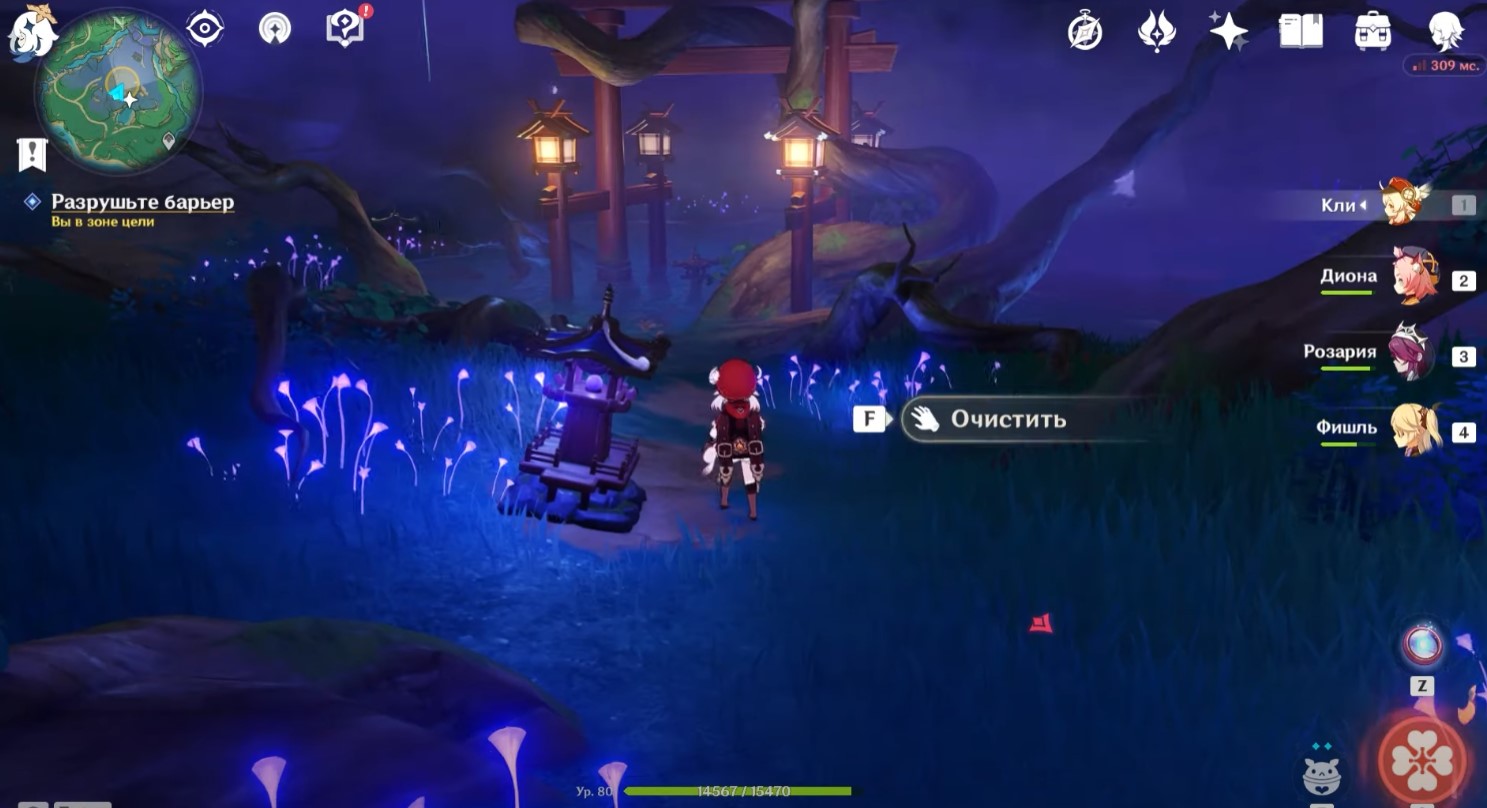
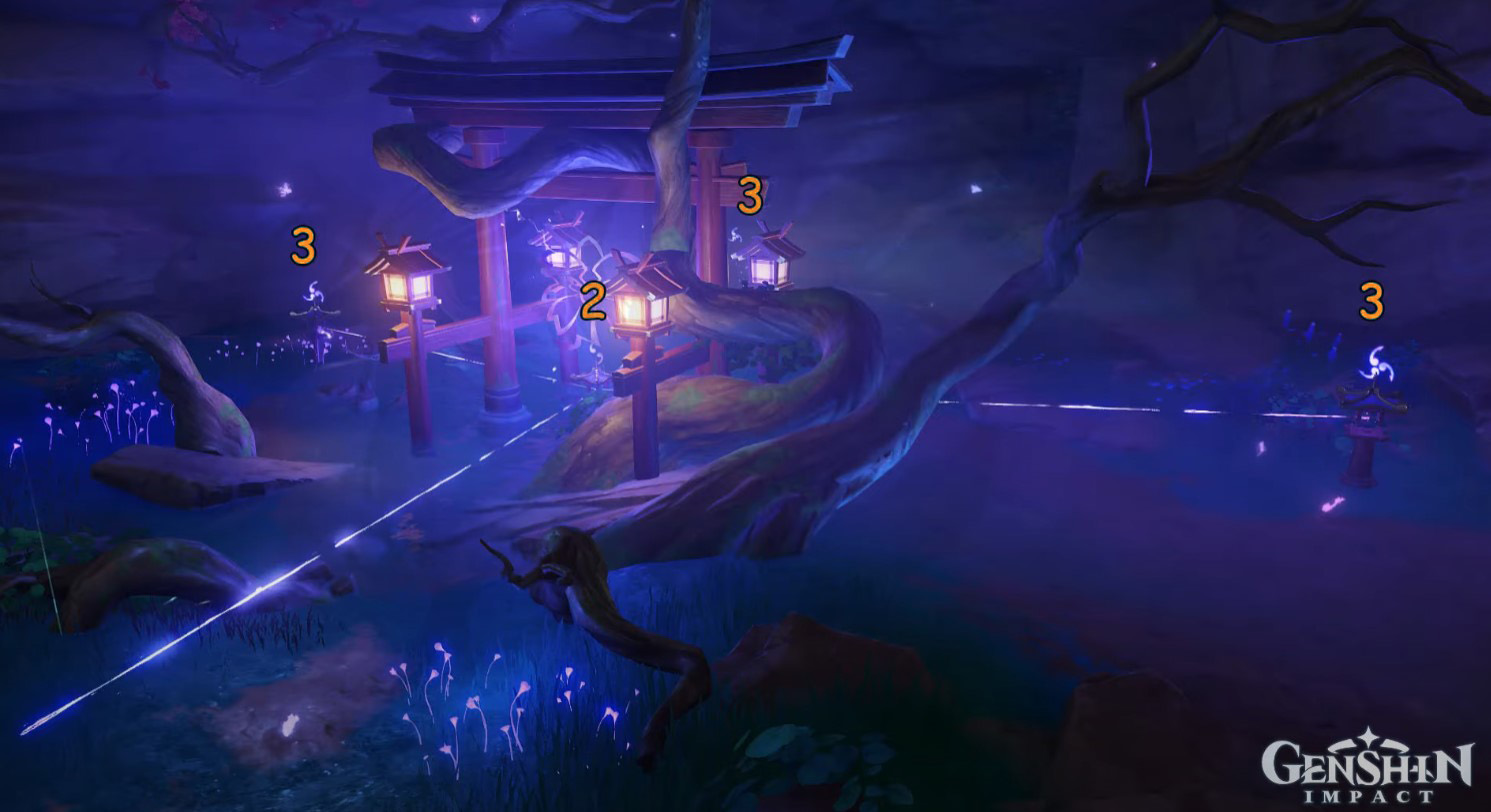
Для начала необходимо «очистить» светильник, чтобы появилась светящаяся печать с подсказкой о том, в каком порядке нужно соединять фонари. Первый менять не нужно, то есть, оставляем на нем 1 запятую.
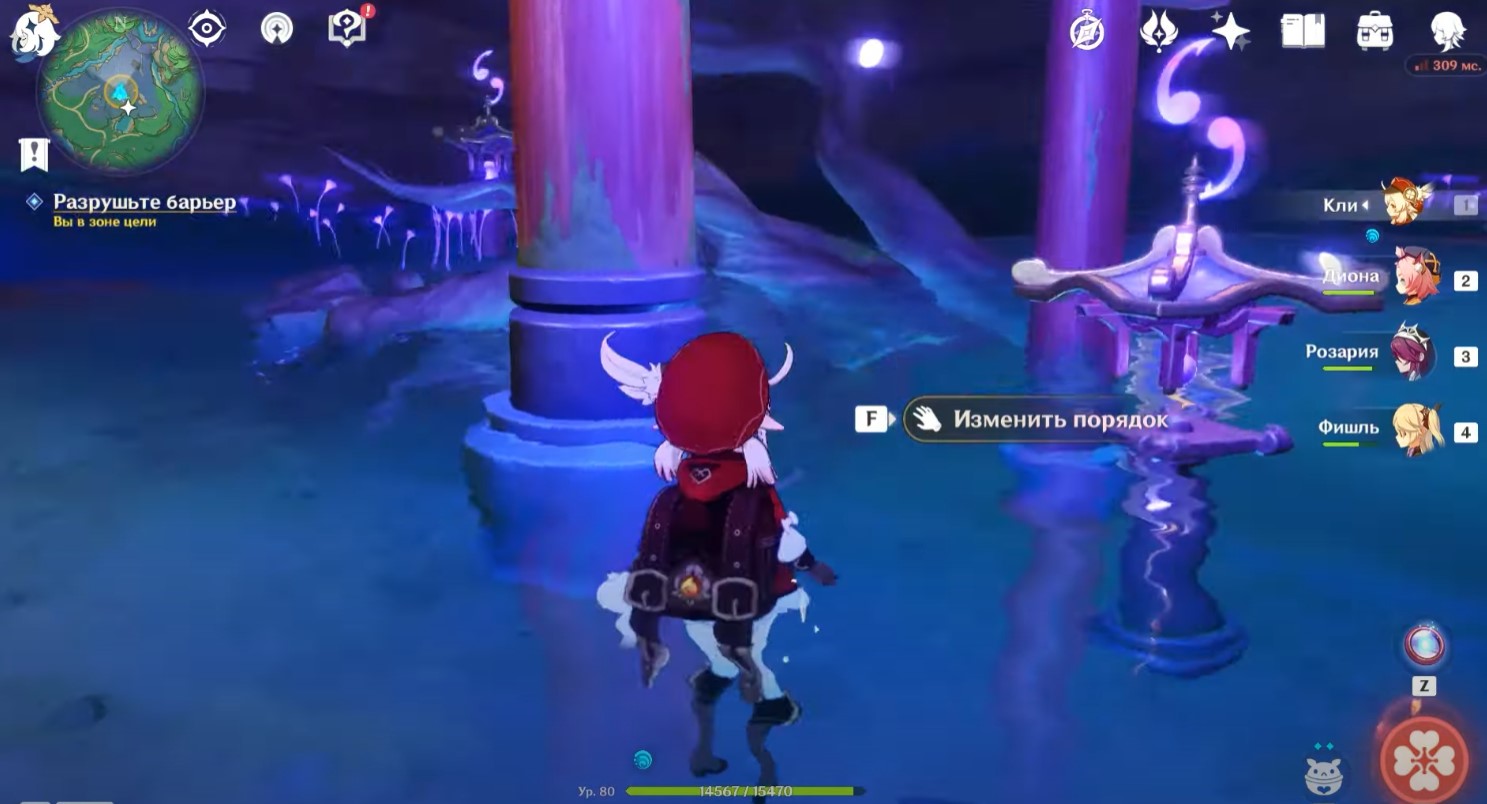
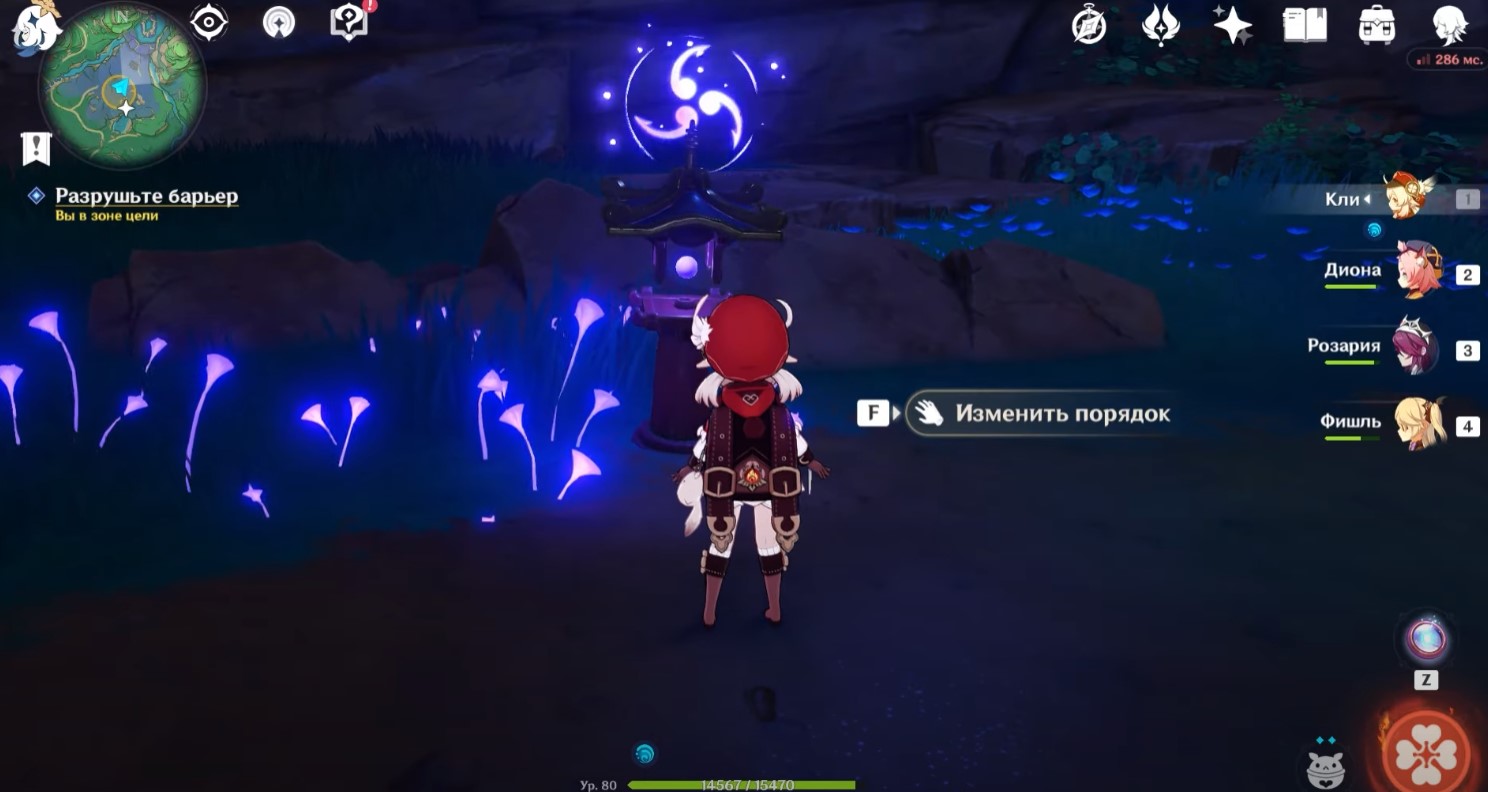
Идите к центральному светильнику и поставьте на нем 2 запятые. Двигайтесь к тому, который стоит слева от центрального, и поставьте там 3 запятые. Затем от него пройдите вперед и чуть направо и выберите у светильника тоже 3 запятые. Теперь направляйтесь к фонарю, расположенному справа от центрального – у него тоже поставьте 3 запятые. На скриншотах ниже наглядно показан нужный порядок.

Теперь идите к первому фонарику и выберите опцию «Молиться». Возникнет босс Таинственный самурай. Разберитесь с ним и поболтайте с Ханатирусато. На этом задание закончится и стартует следующий квест – «Очищение от скверны». В качестве награды вы получите 350 очков приключений, 40 камней истока, 3 опыта героя и мору.
Комментарии
Для добавления комментариев необходимо авторизоваться.
Вы можете войти через