В Genshin Impact Исключительно исключительный писатель является заданием мира Инадзумы и частью квестовой цепочки «Сквозь туман», в рамках которой вы сможете попасть на остров Цуруми. Там вам предстоит пробираться через туманные земли и сделать подношения гнездовьям, отыскав перья. В этом руководстве мы расскажем вам, как найти перышки и решить все головоломки с релейными камнями.
Как начать квест «Исключительно исключительный писатель»
Отметим, что для начала этой миссии необходимо первым делом пройти мировой квест «Охотники за грозами Сэйрая». После этого нужно поболтать с Катериной в столице архипелага. Она даст вам новое поручение и скажет, что мы получим больше информации от Сумиды.
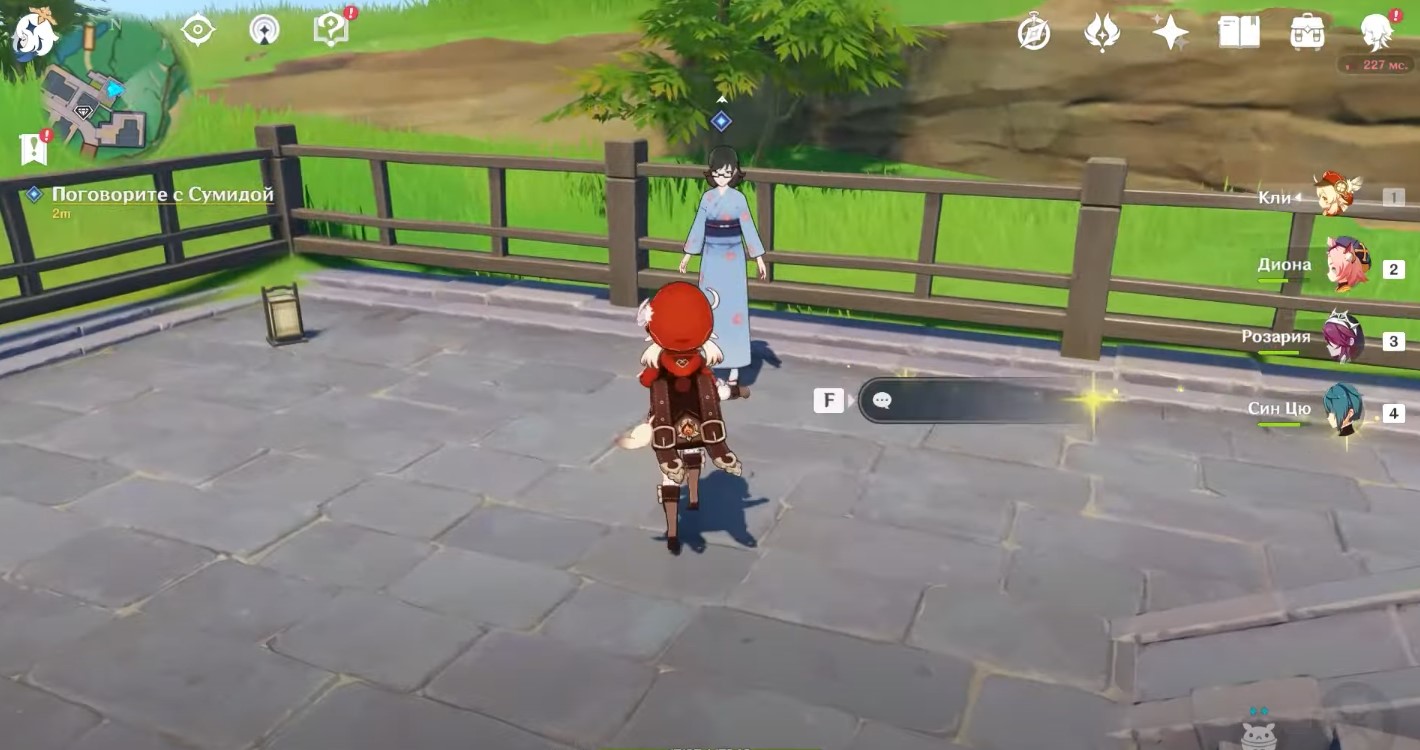
Девушку можно найти в том же городе. Она попросит вас найти для нее уникальный музыкальный инструмент под названием Маусиро, находящийся на таинственном острове Цуруми, на котором вот уже тысячи лет никто не проживает. Согласитесь с ее просьбой. Она посоветует вам поговорить с лодочником Каме.
Как попасть на Цуруми и убрать туман
В теории вы можете попробовать доплыть до этого острова на Волноходе, однако вам все равно не удастся заняться его исследованием. Поэтому продолжите выполнять миссию. Направляйтесь к владельцу лодки, который находится на острове Рито.
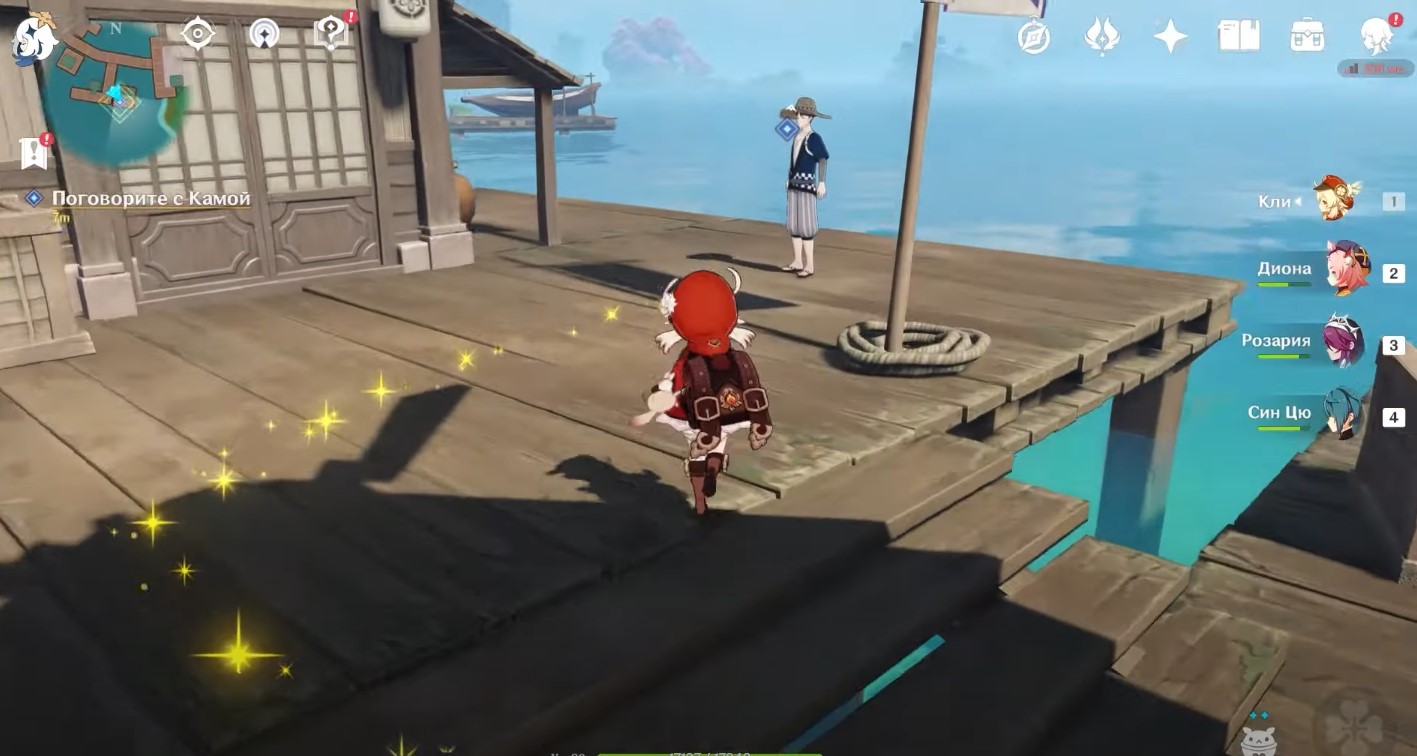
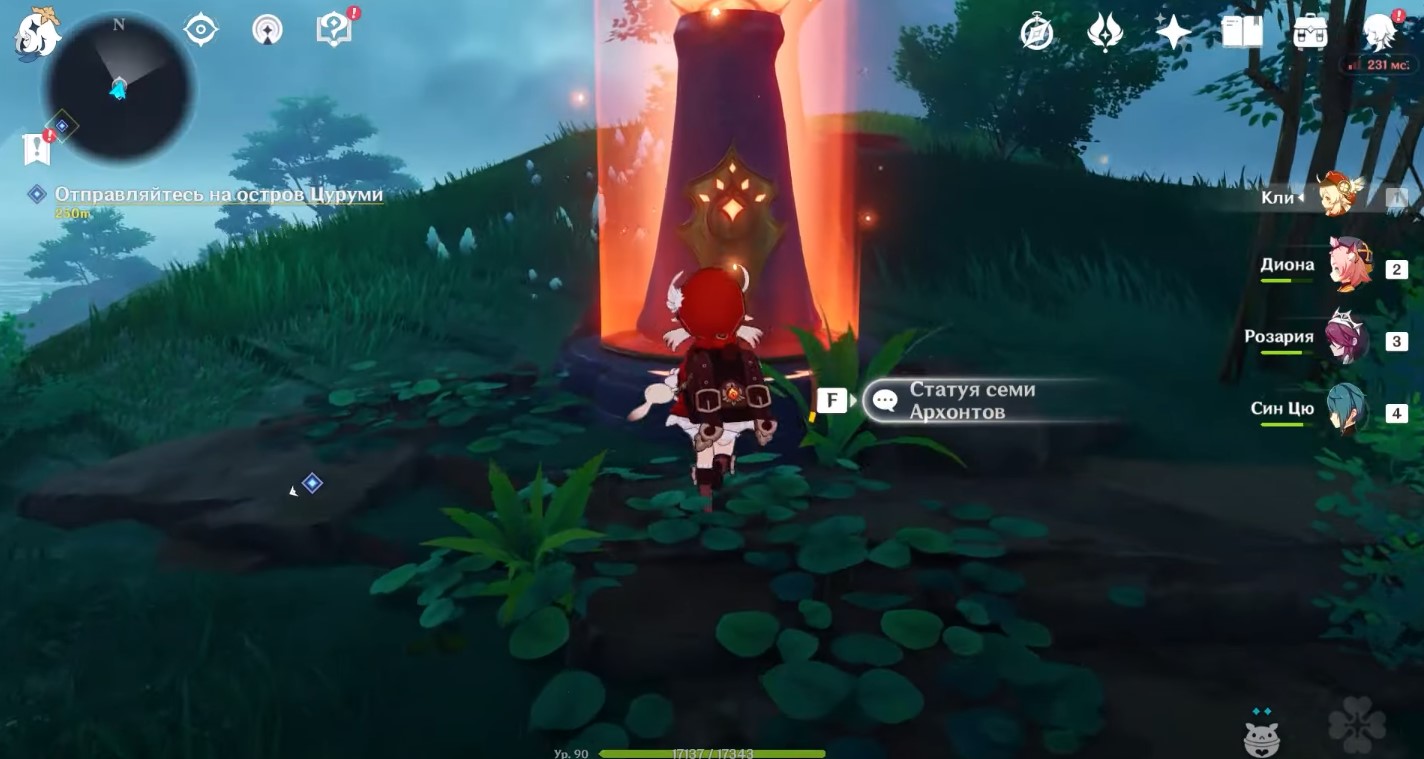
Поговорите с Камой и попросите его отвезти на Цуруми. Он сделает это, и вы попадете на нужную локацию. Как только ступите на сушу, активируйте Статую семи, которая находится немного дальше. Так вы откроете часть земли на карте и получите трофей «Континентальный исследователь: Цуруми».
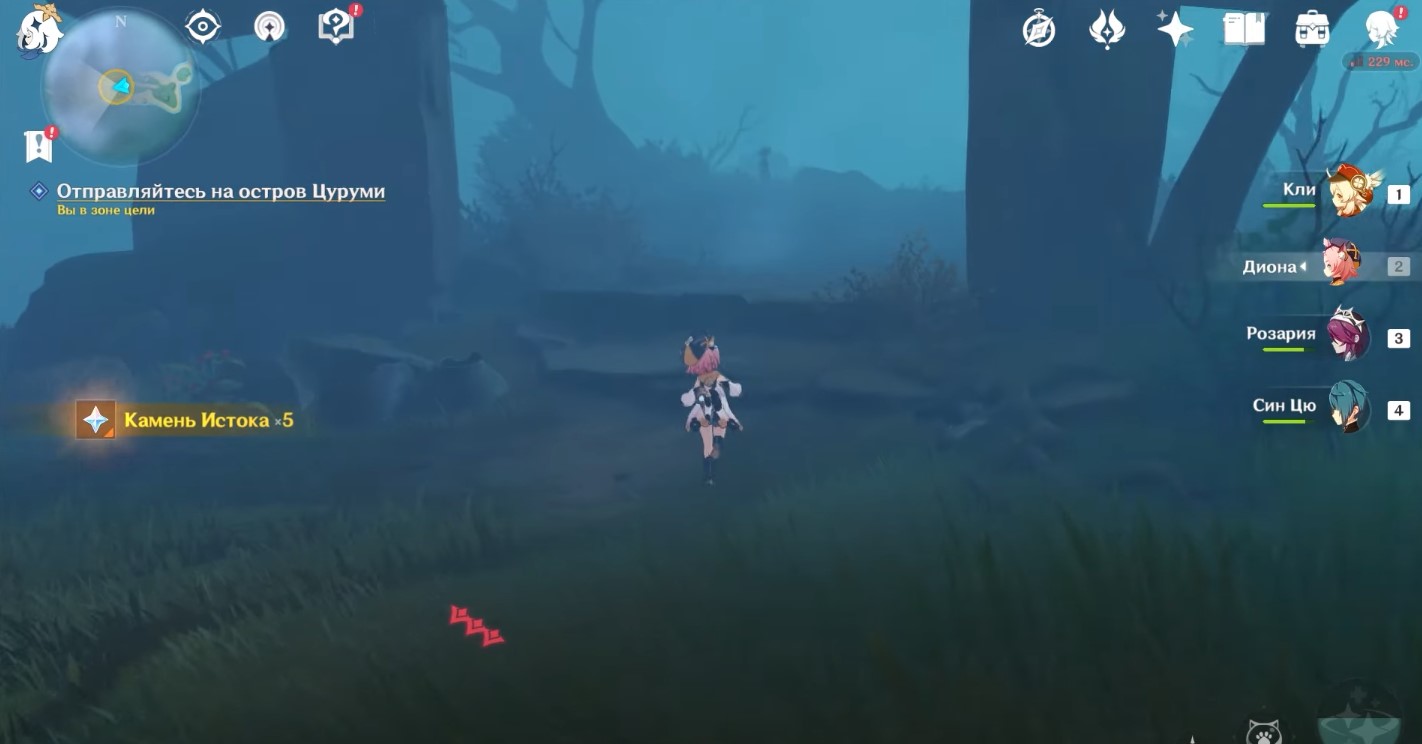
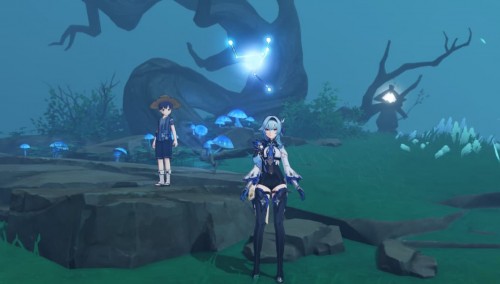
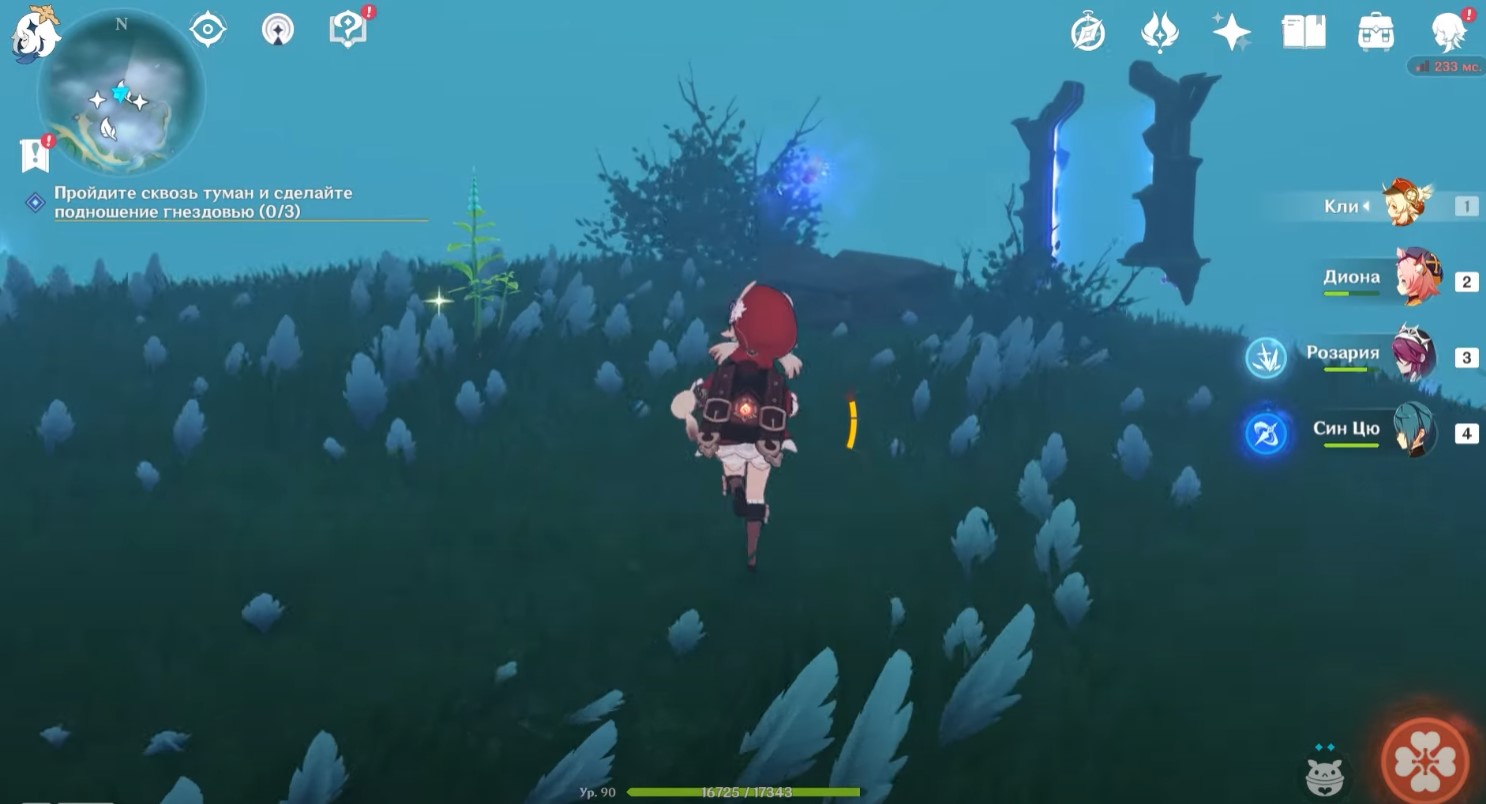
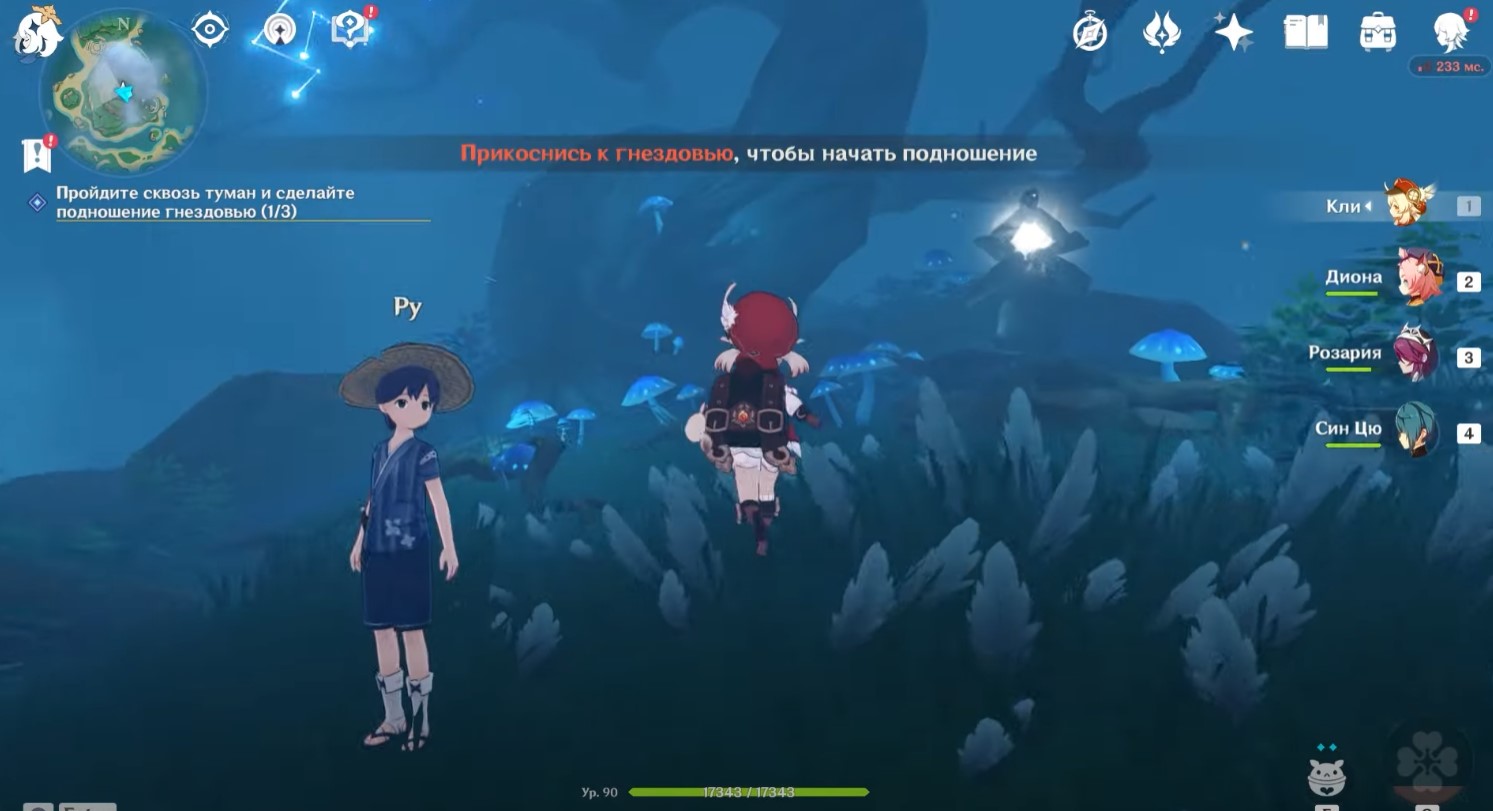
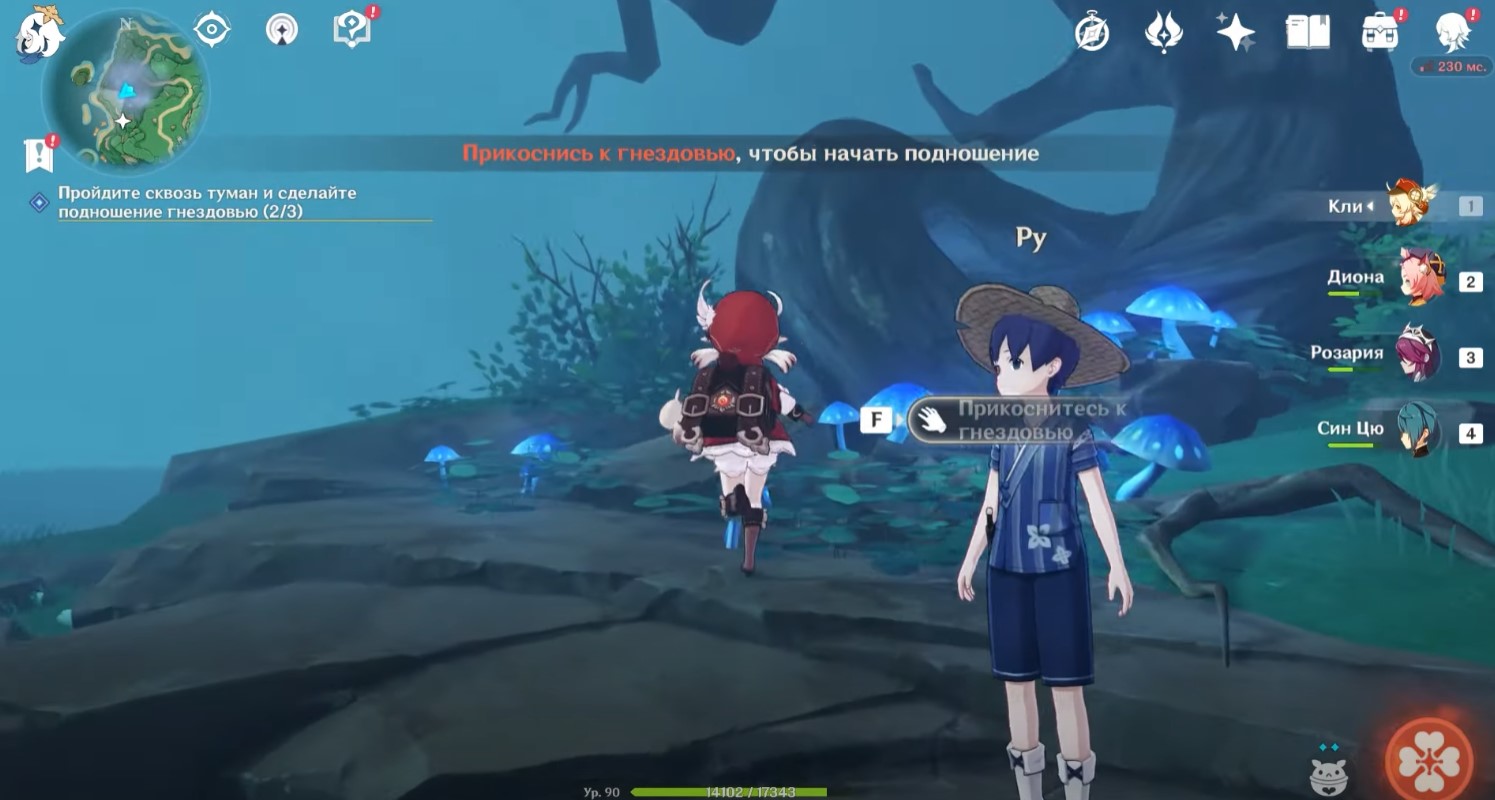
Вы увидите, что большую часть острова покрывает туман. Чтобы убрать его, вам нужно просто пройти через ворота впереди. Правда, туман исчезнет не со всех районов. В любом случае, идите дальше и поговорите с мальчиком Ру. Следуйте за ним, и вы увидите мужчину и женщину. Они расскажут вам о некой Церемонии и предложат присоединиться к ней.
Сделайте подношение гнездовью
Соберите перья
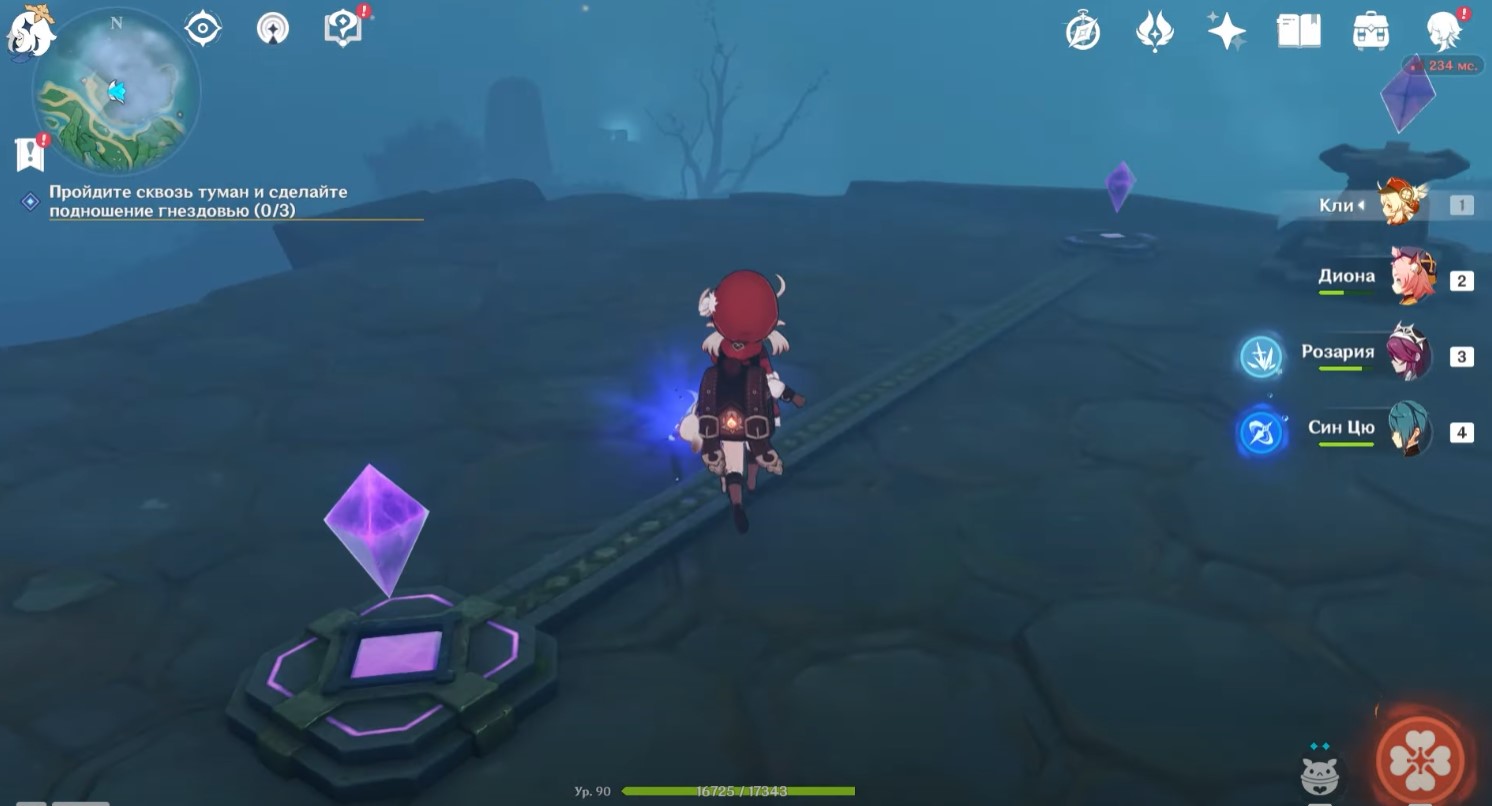
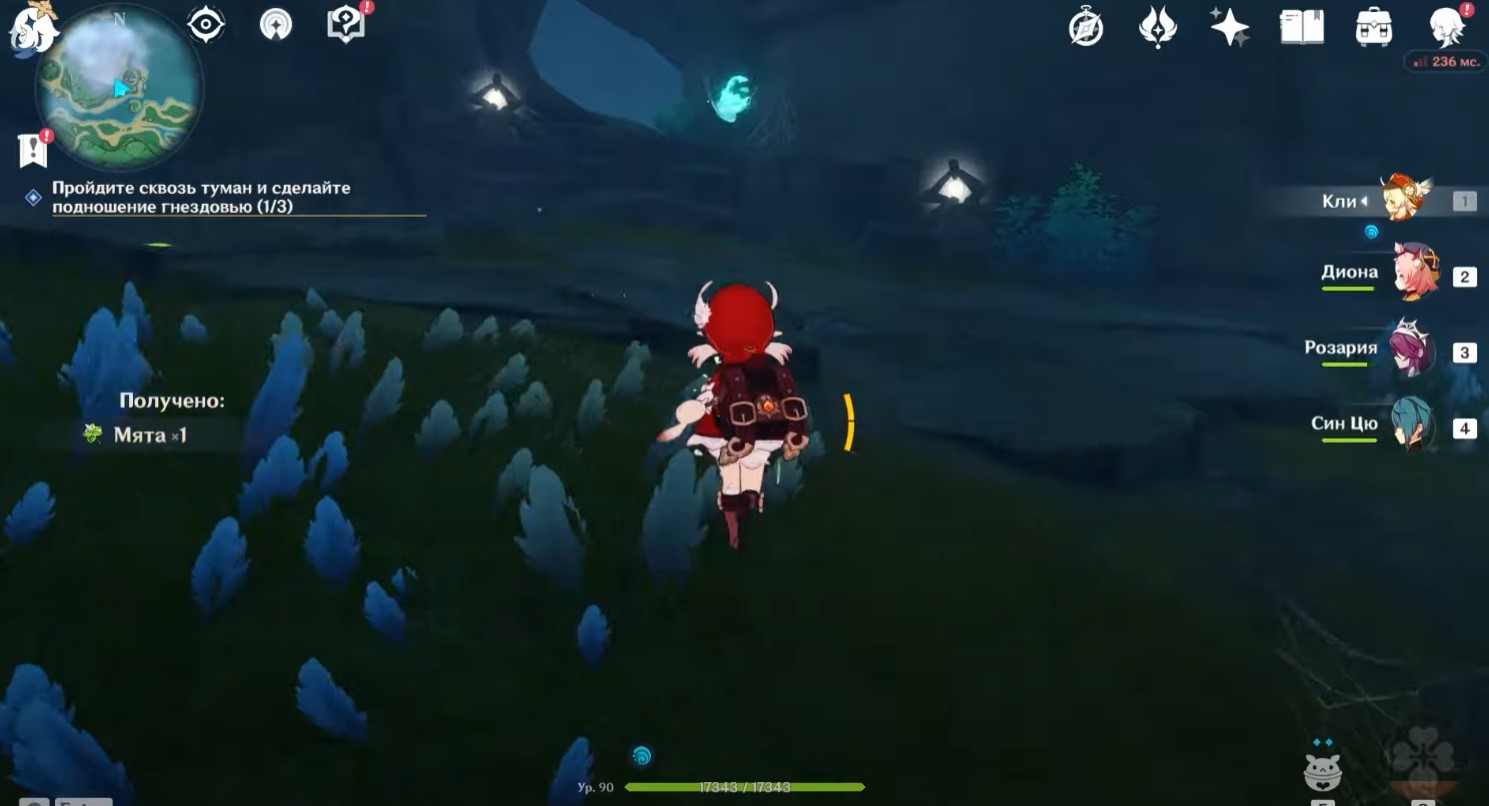
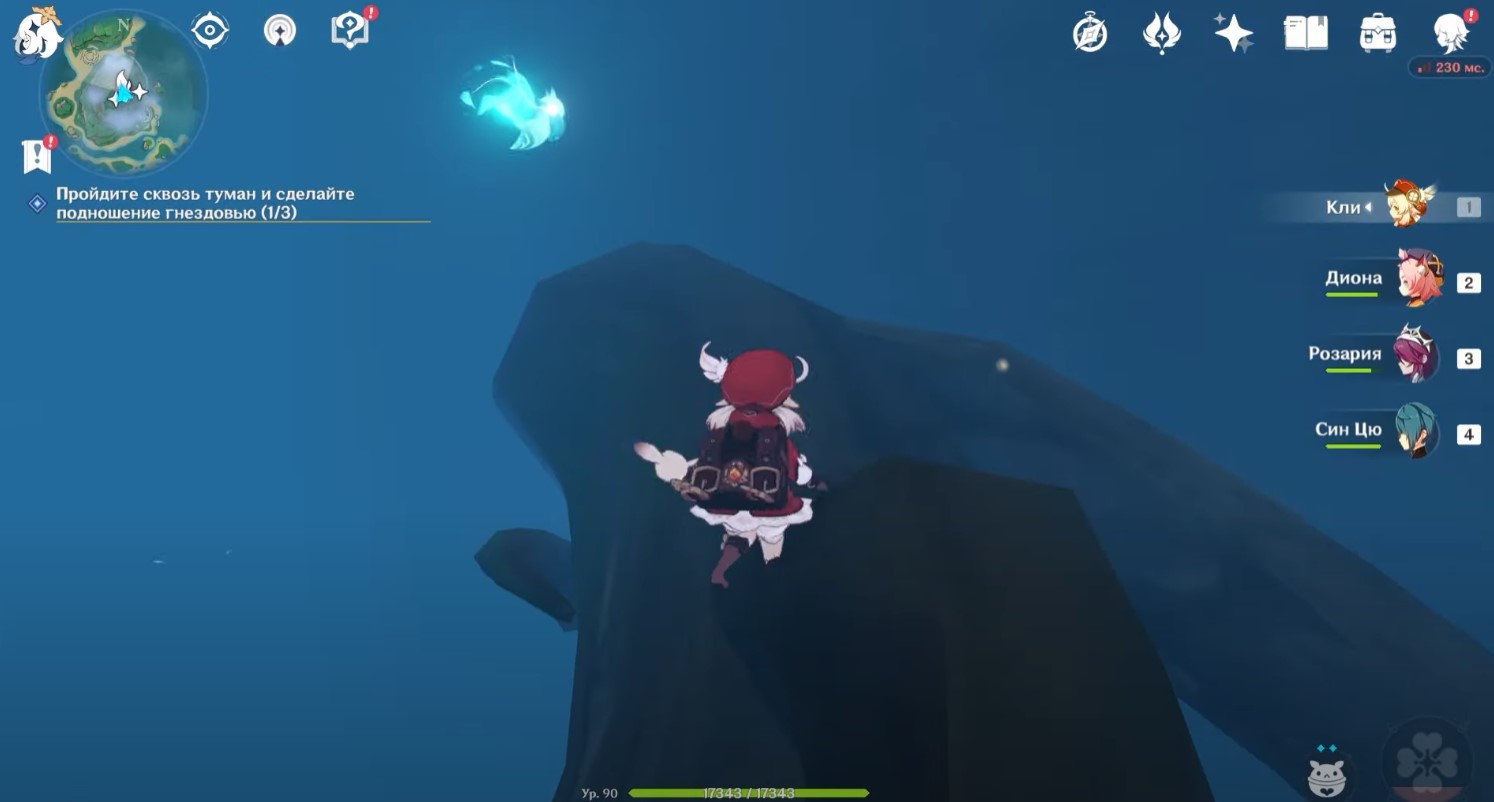
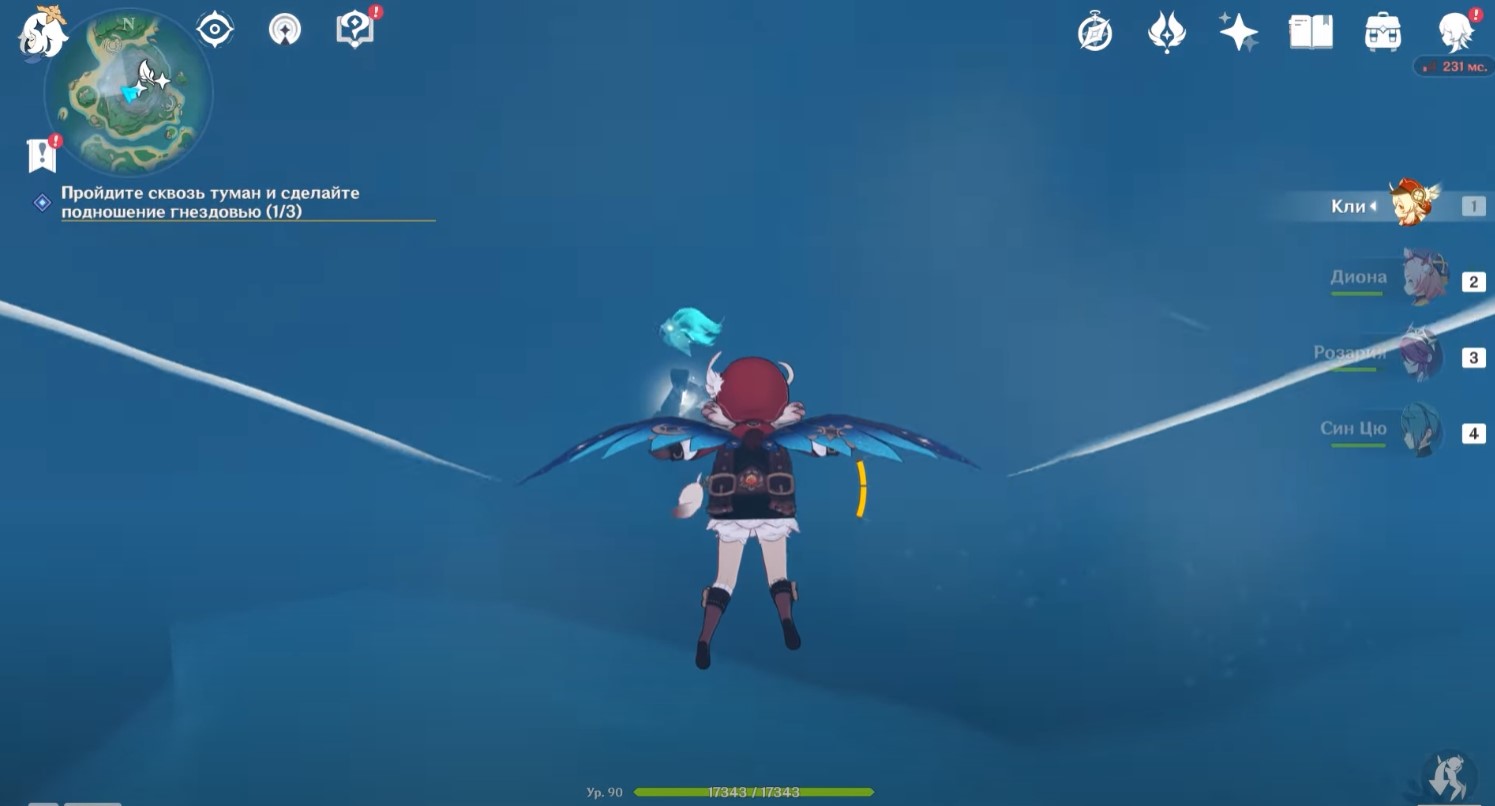
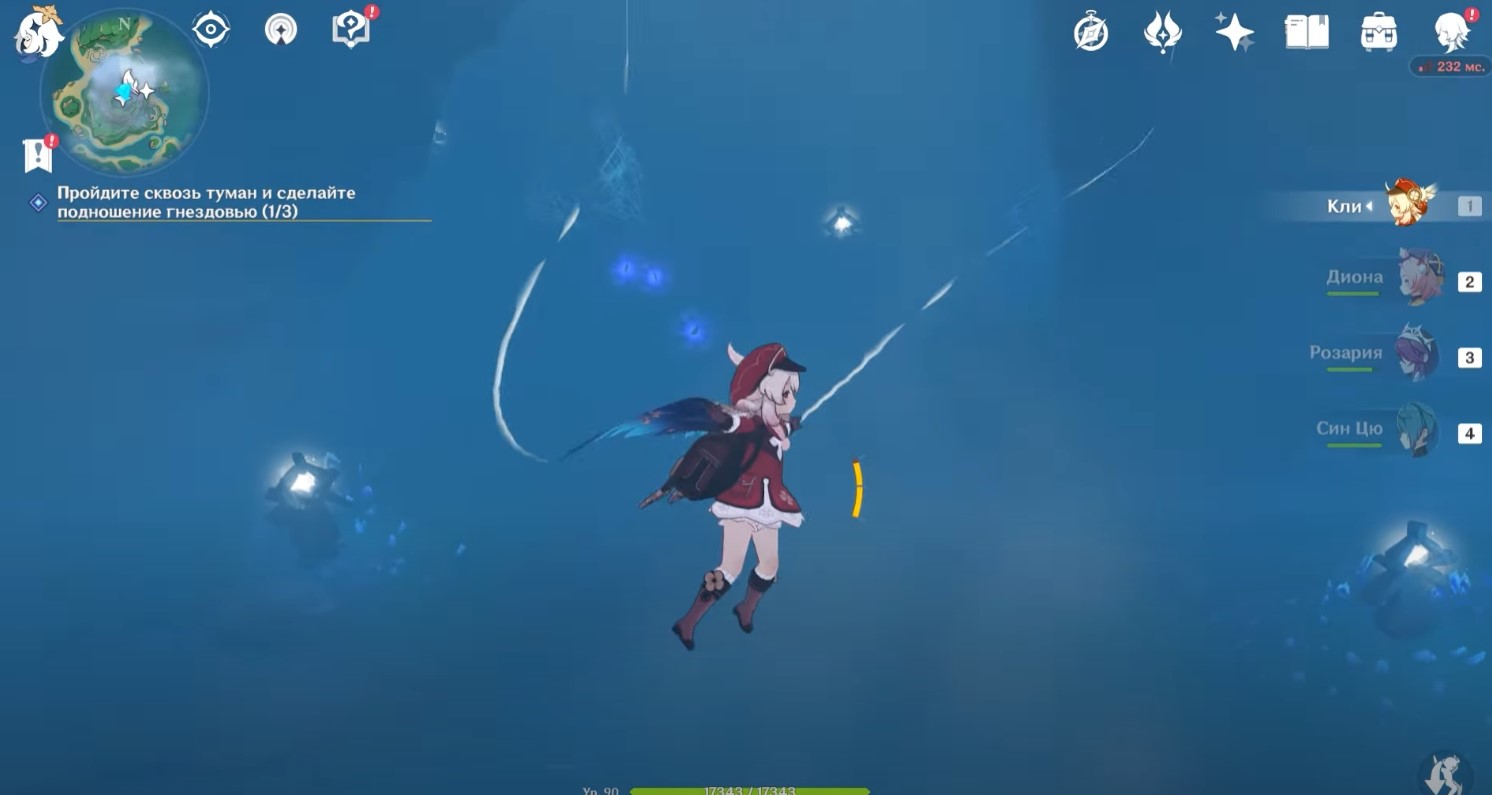
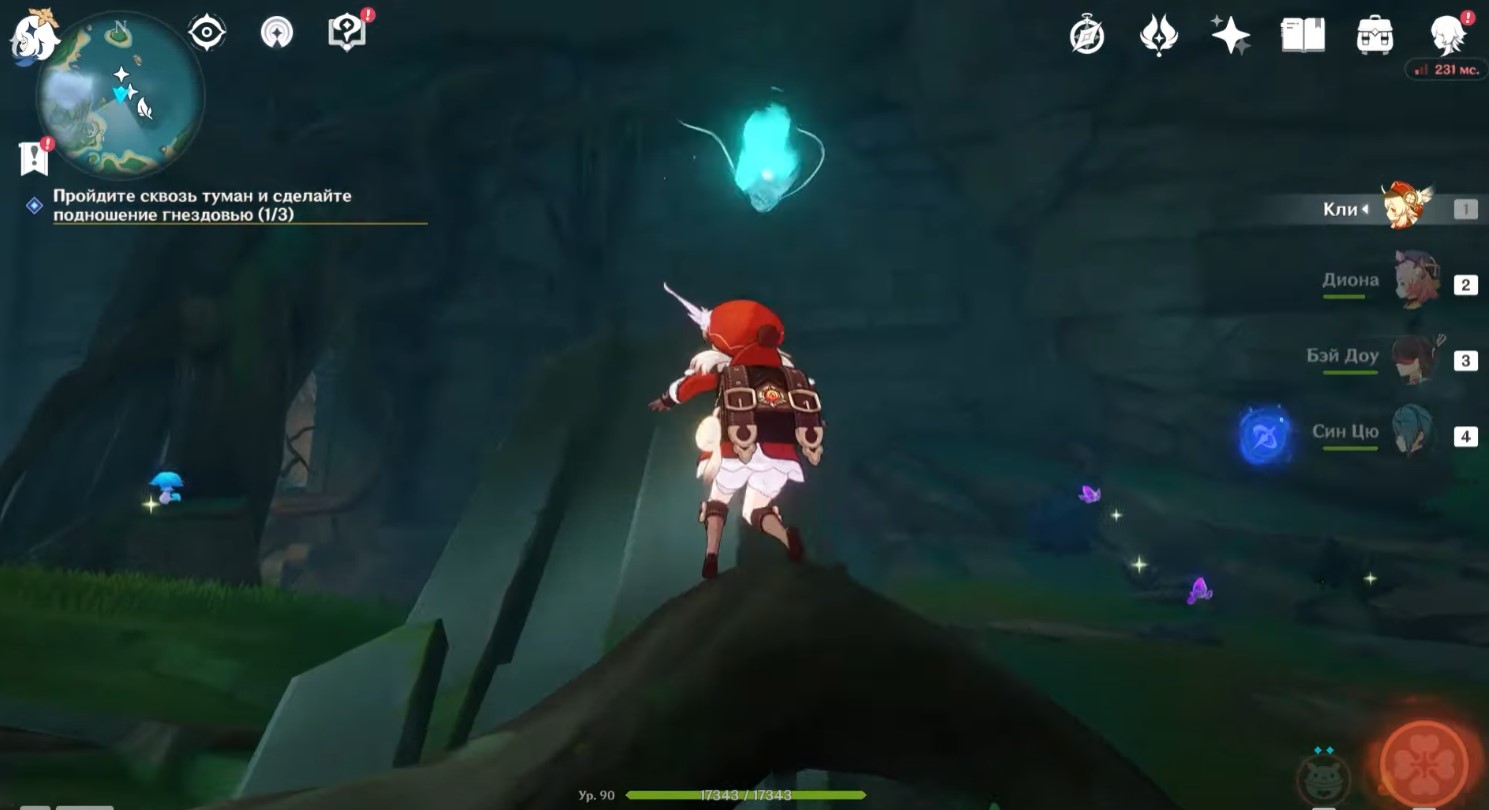
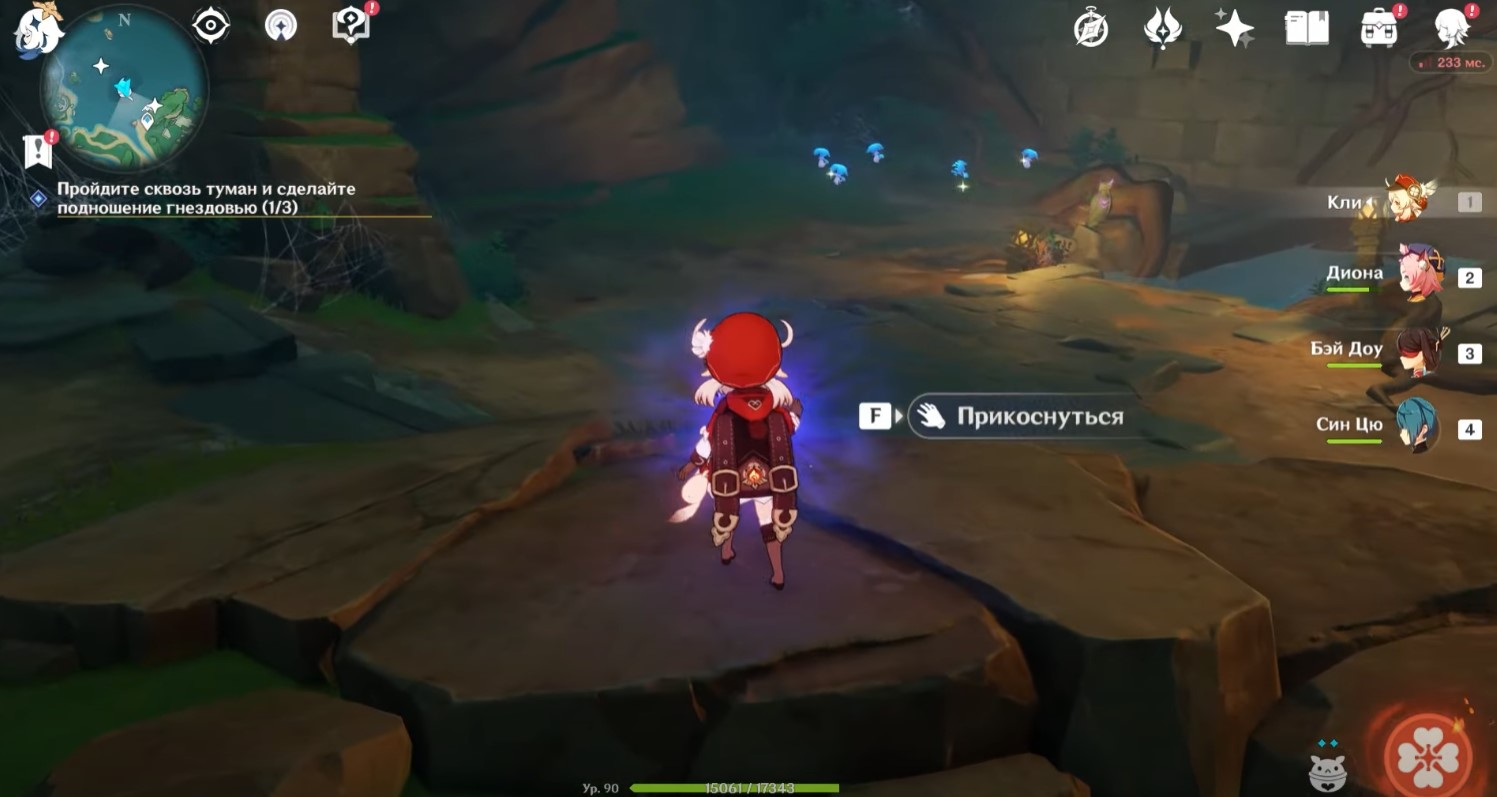
Вначале вам необходимо будет взаимодействовать с гнездовьем, отмеченным квестовым маркером. Посмотрите кат-сцену с разлетающимися перьями. Вам необходимо будет подобрать их. К счастью, они будут отмечены на вашей мини-карте. Плюс, вы можете воспользоваться своим чувством стихии. Впрочем, мы на всякий случай указали их расположение на скриншотах ниже.
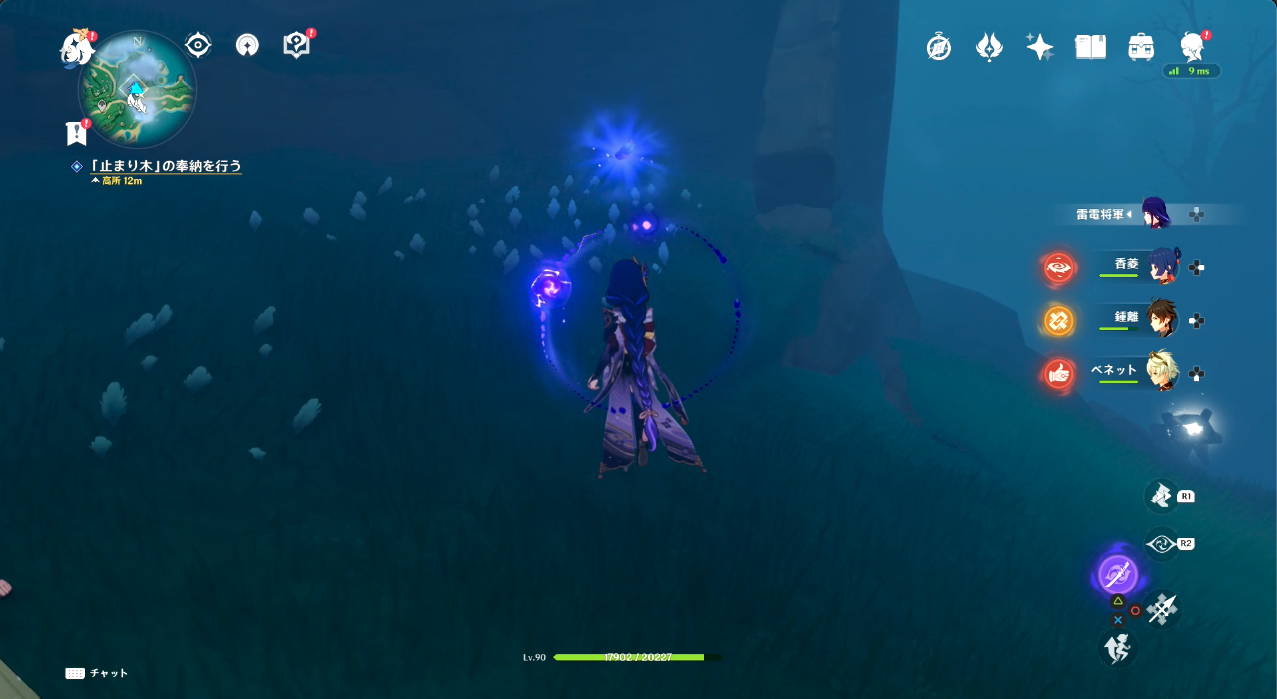
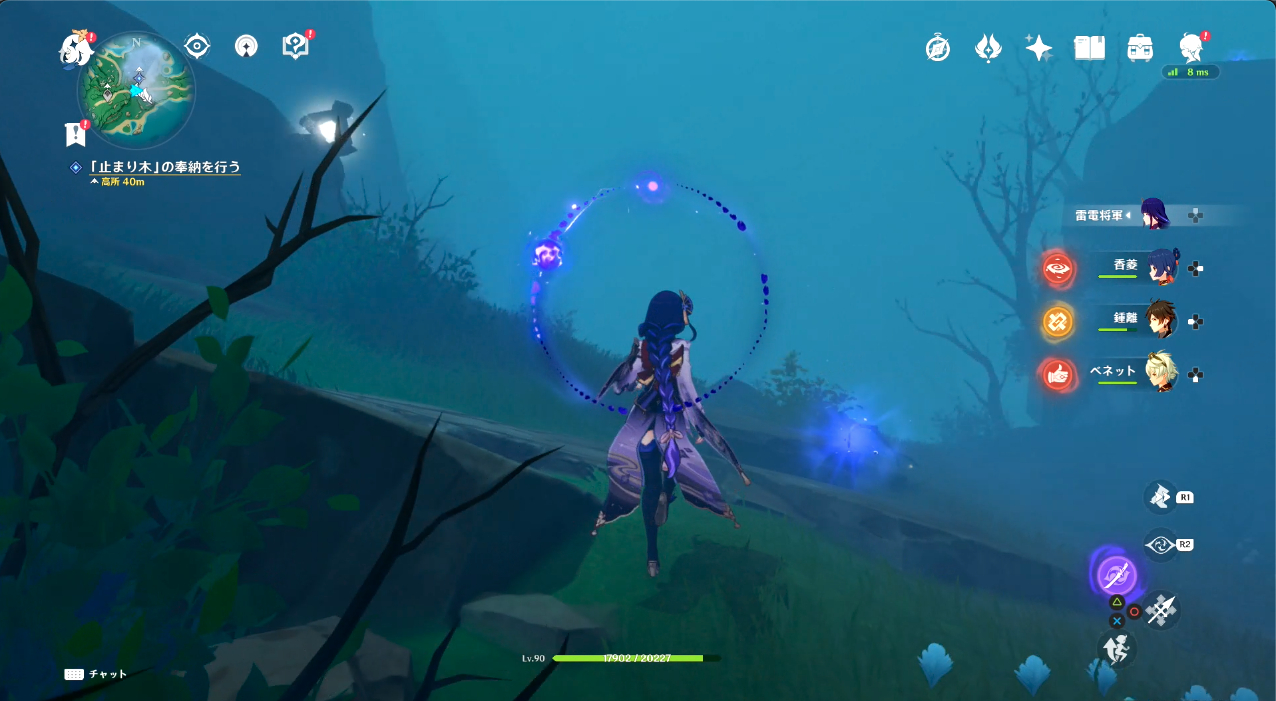
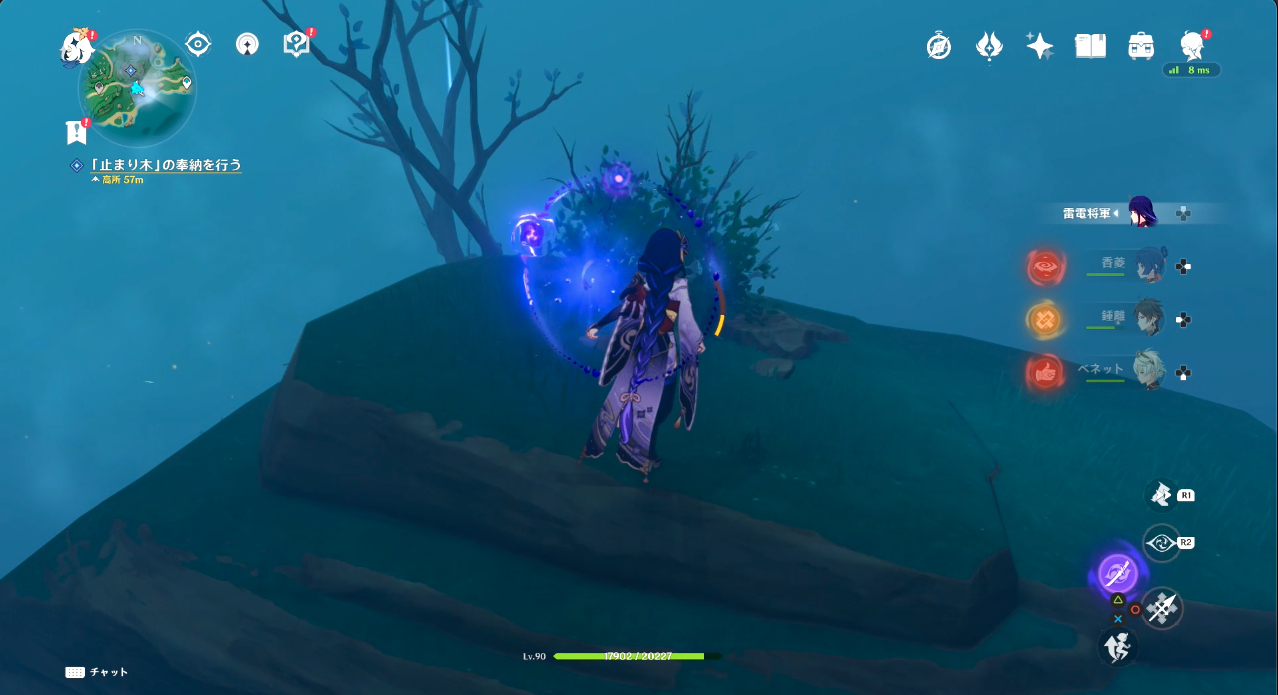
Не забудьте прикоснуться до пера, чтобы собрать его. Первые два находятся неподалеку, а третье висит на верхушке небольшой горы. Взяв их, возвратитесь назад и поднесите дереву. В результате вы завершите ритуал. Посмотрите кат-сцену и снова поболтайте с Ру.
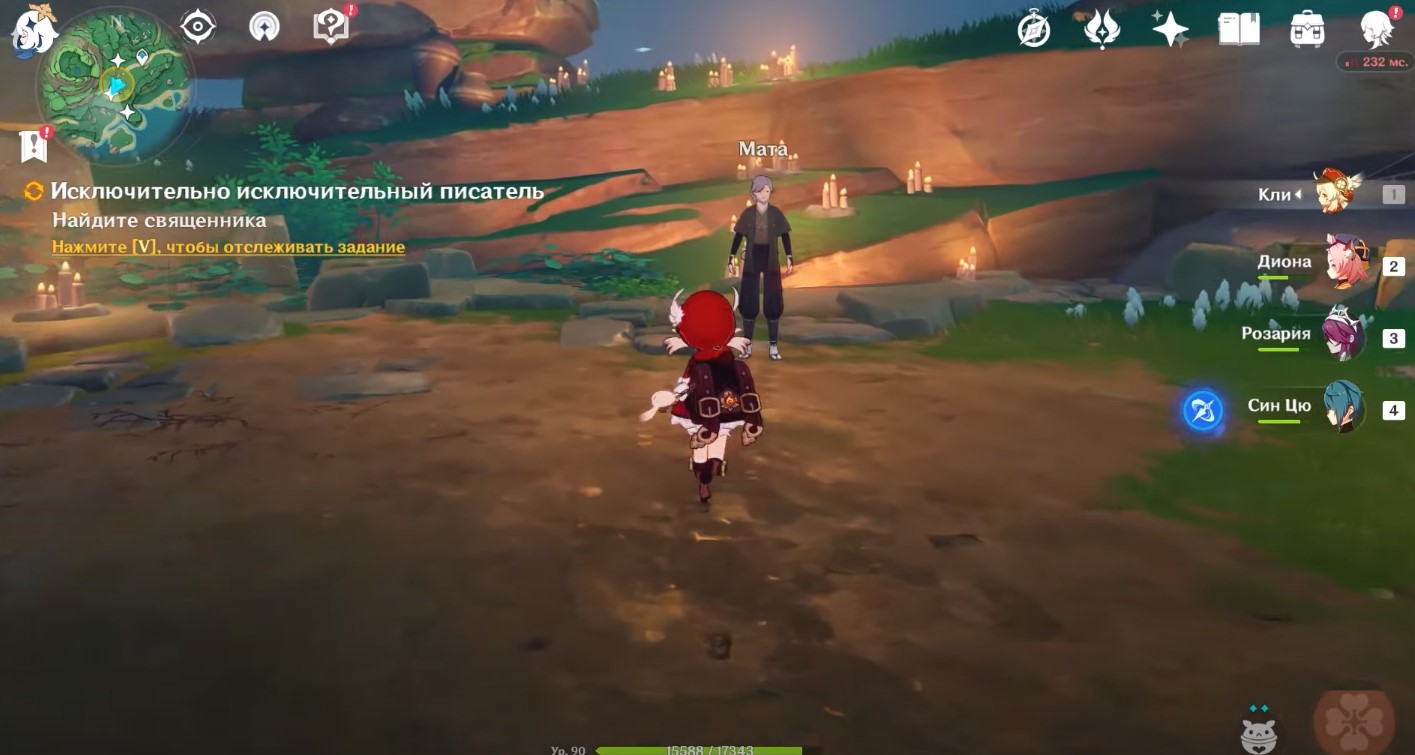
Найдите священника
Теперь вам нужно будет отыскать священнослужителя по имени Мата. Он стоит посередке. Вы узнаете, что схожие ритуалы необходимо провести в еще трех районах, чтобы полностью убрать туман. В них вам предстоит не только искать перья, но и решать различные головоломки.

На карте выше показано примерное расположение гнездовий. Вы можете посетить их в любом порядке.
Сделайте подношение гнездовью: Святилище Тирай
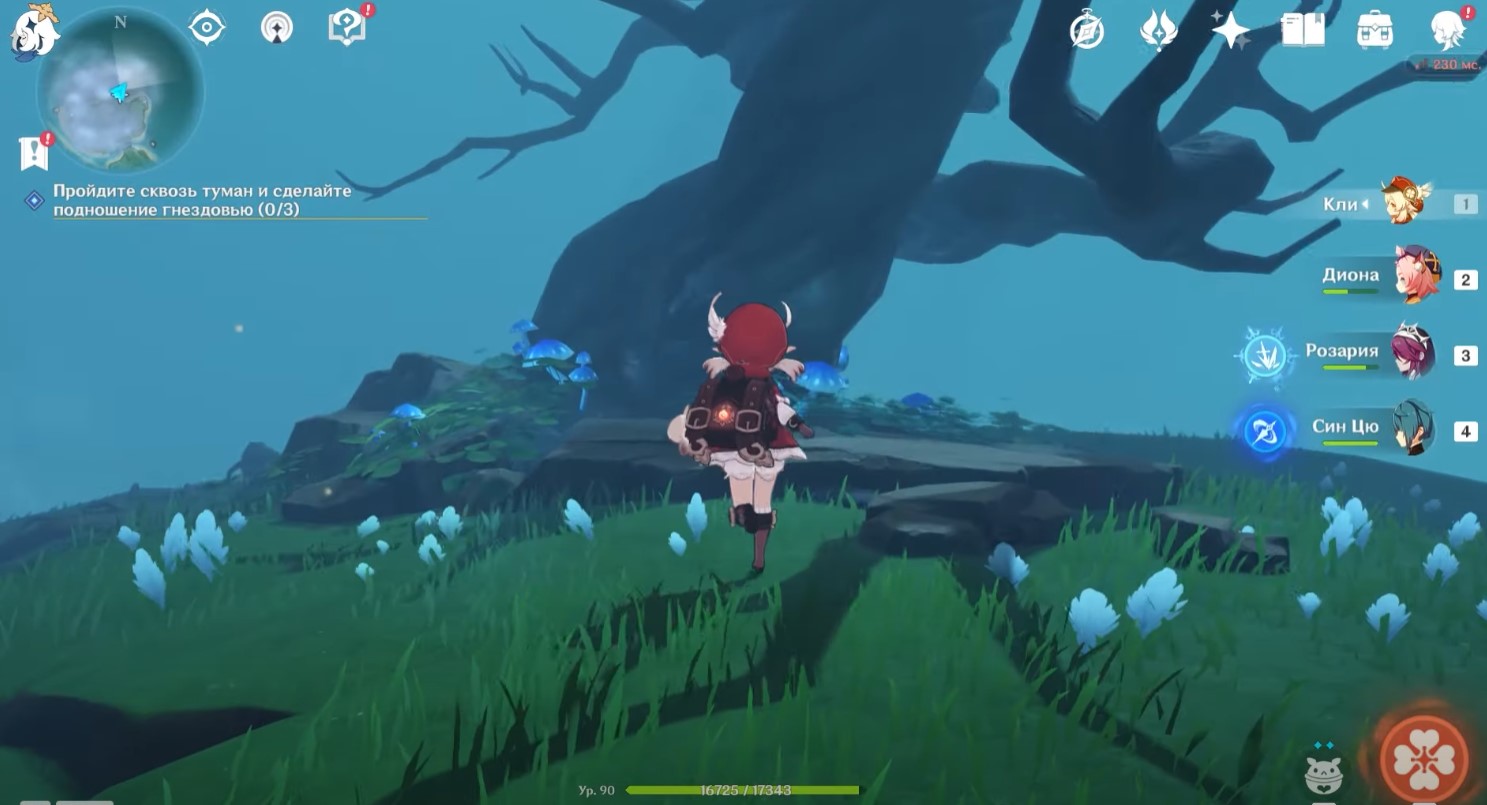
Итак, направляйтесь в локацию Святилище Тирай. На изображениях ниже показано точное расположение дерева. Если вам трудно ориентироваться в тумане, то просто следуйте за светильниками по левой стороне. Вы увидите дерево на возвышенности. Вначале поговорите с мальчиком, а уже потом дотроньтесь до гнездовья. Далее вам вновь придется искать перья.
Перо 1
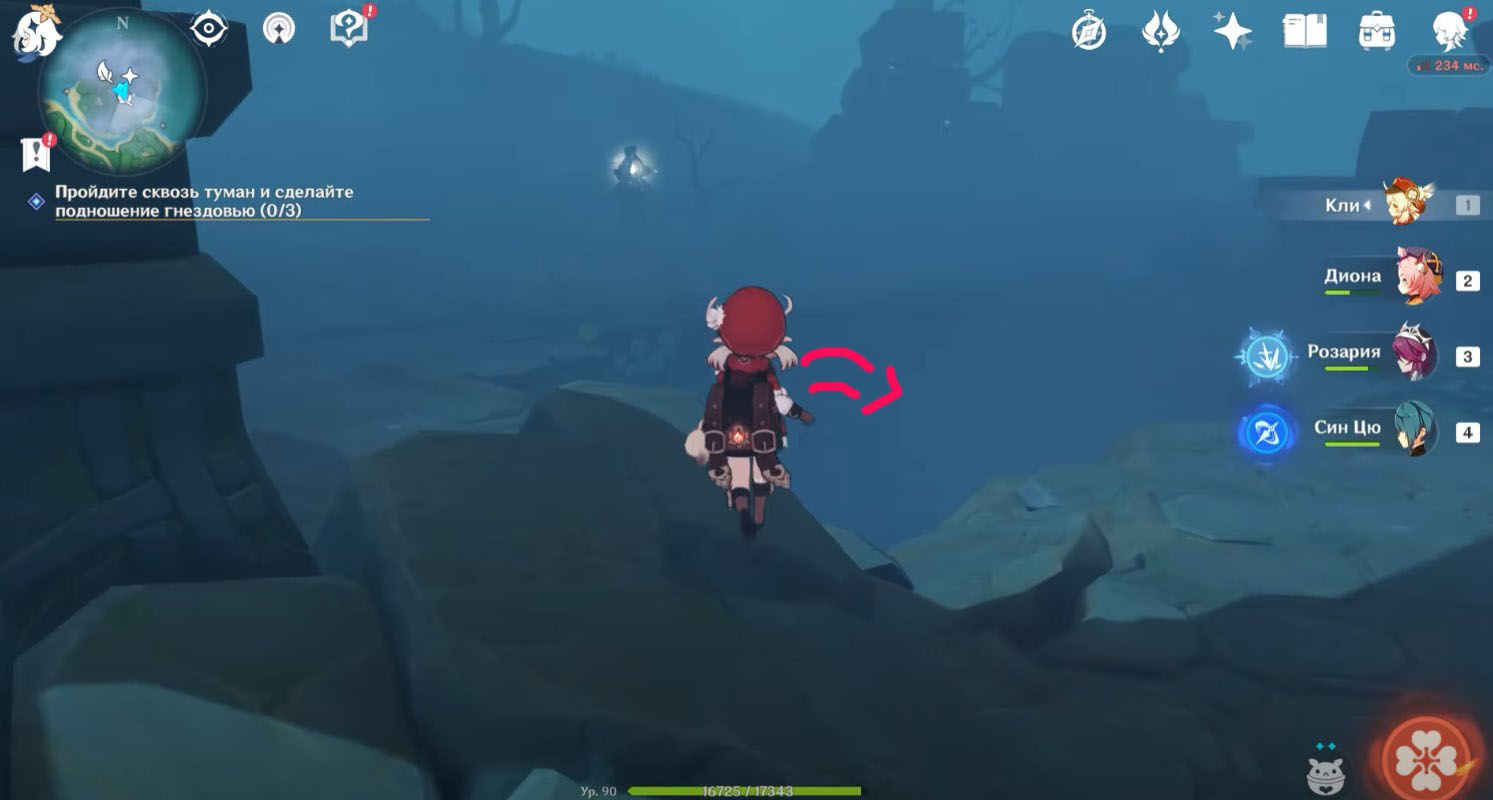
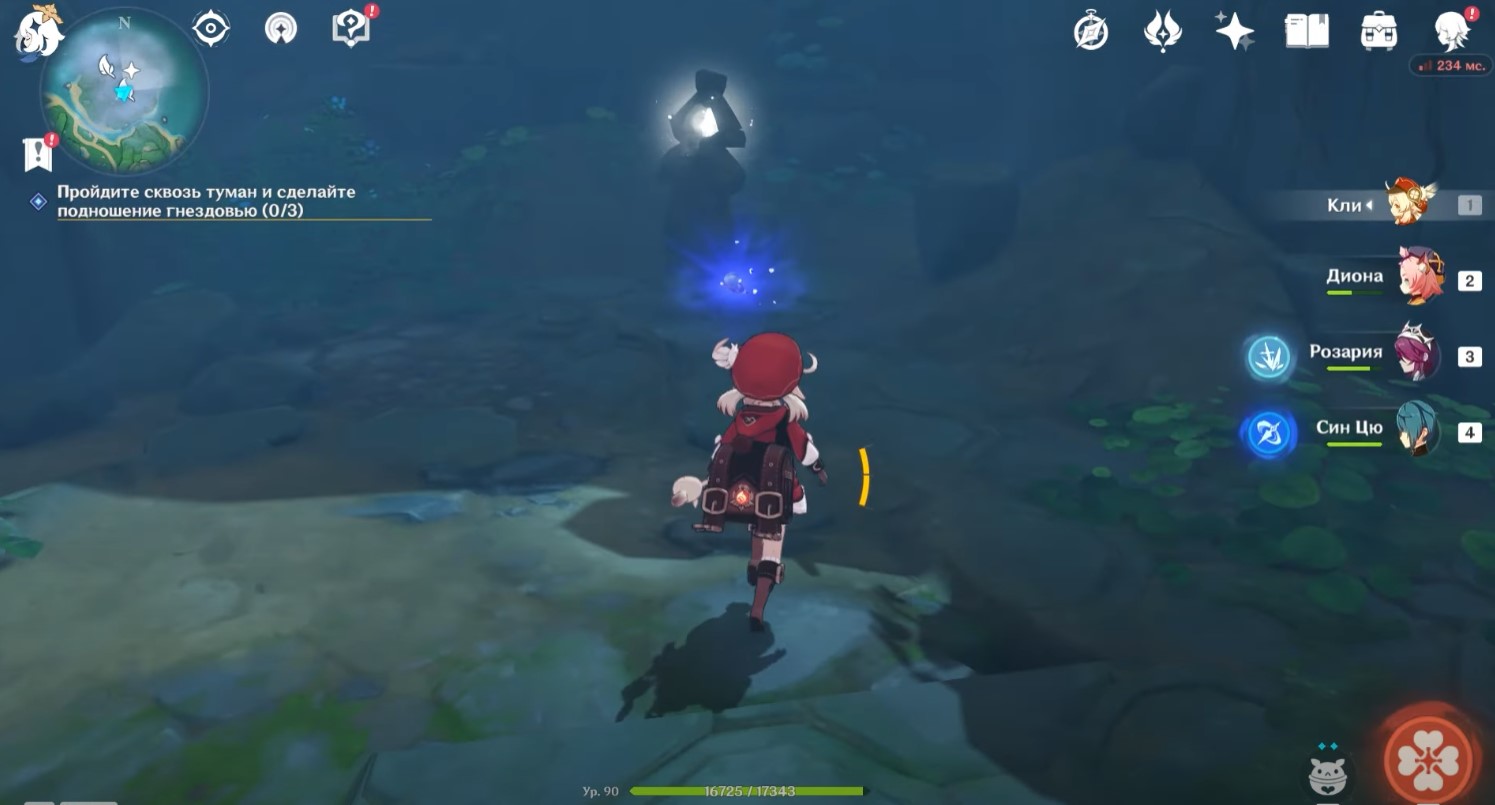
Оно находится неподалеку от дерева, слева (если встать к нему спиной). Следуйте за иконкой на мини-карте и ориентируйтесь по скриншотам ниже. Вам нужно будет спрыгнуть в провал внизу.
Перо 2
Оно расположено на возвышенности. Как только вы подойдете к нему, оно улетит от вас прочь к фазовым вратам. Снова бегите за ним. Перышко перелетит на другой холм. Зайдите в ворота и летите вперед и подберите электрокул по дороге.


Затем снова подбегите к перу с правой стороны от врат. В этот момент на вас, скорее всего, нападут чудища. Отбейтесь от них или просто продолжите путь. Перышко спустится вниз на равнину.
Перо 3
Тоже расположено неподалеку от дерева. Здесь также стоят релейные камни, но они не имеют отношения к данному заданию. Появятся новые монстры. Разберитесь с ними и вернитесь к гнездовью, чтобы сделать подношение. Затем смотрите небольшую кат-сцену. Теперь можете идти к следующему месту.
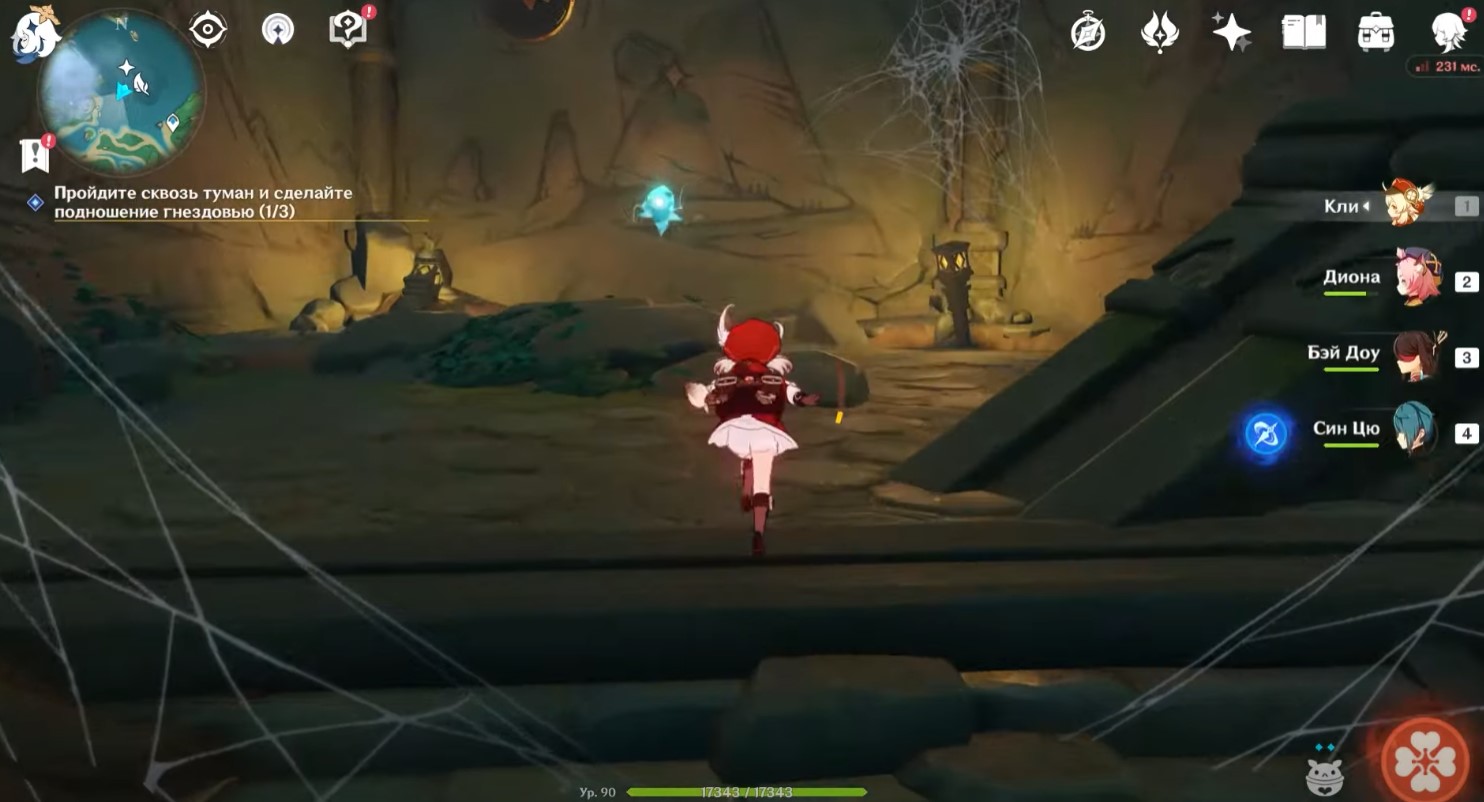
Сделайте подношение гнездовью: Пик Сирикоро
Карабкаться на гору не придется. Спуститесь к ее подножью со стороны пляжной области. Там вы увидите вход в пещеру, рядом с которым будет летать фея. Подойдите к ней и сопроводите ее к мальчику. Поговорите с Ру, а затем прикоснитесь к гнездовью. Вам вновь предстоит собирать перья, которые теперь окажутся под водой.
Перо 1
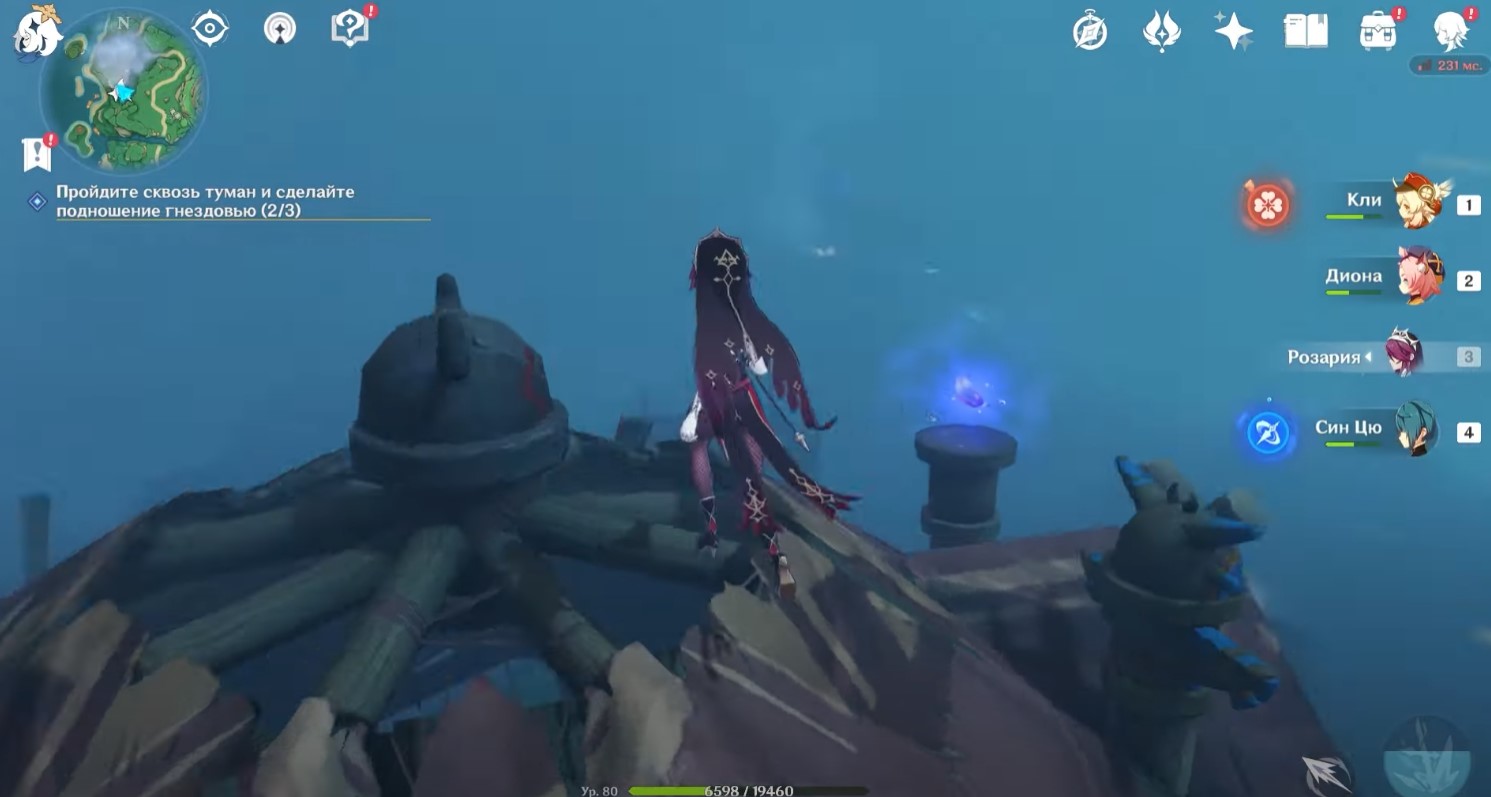
Для спуска воды вам нужно будет довести 3-х фей до их постаментов. Одну из них вы уже отыскали ранее, поэтому осталось найти еще двух. Вторая фея находится на гигантском корне наверху, справа от ребенка.
Третью фею следует искать внизу возле светильника, слева от мальчика. Просто спланируйте к ней. Затем призовите электрогранум, чтобы вернуться наверх с помощью громовых сфер. Когда все феи окажутся на своих местах, появится сундук, а вода тут же уйдет. Теперь вы можете спрыгнуть вниз.
Все три пера будут лежать в одном месте, но взять удастся лишь одно – остальные улетят вперед. Двигайтесь за ними.
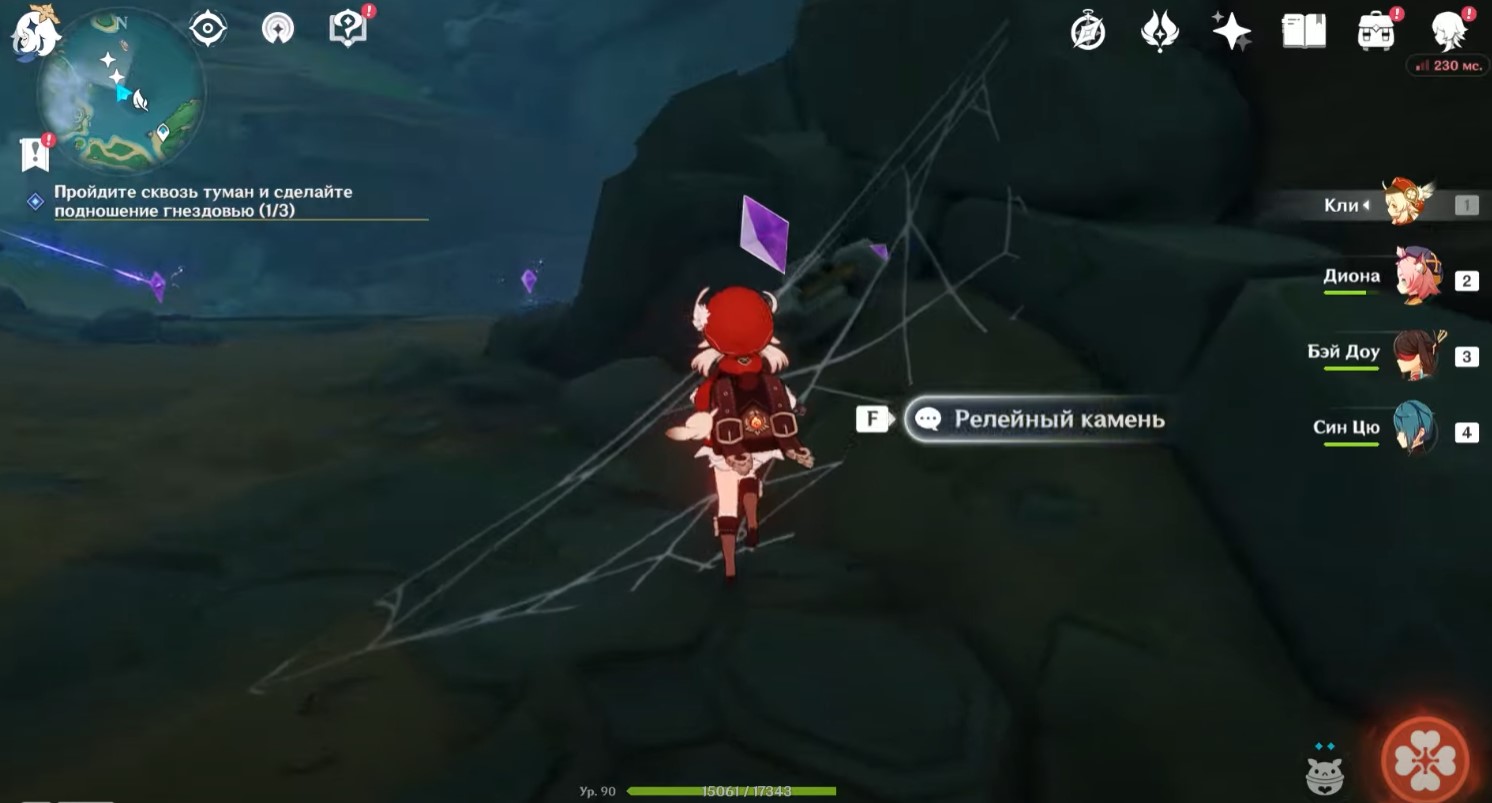
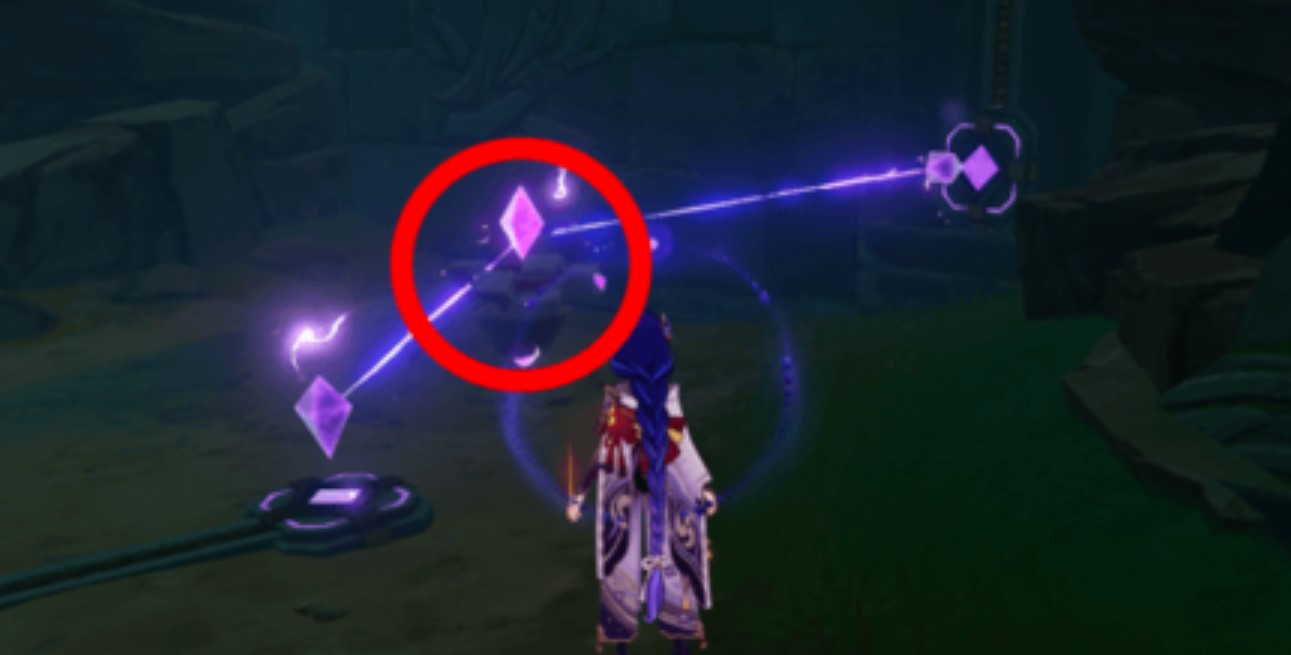
Перо 2: головоломка с релейными камнями
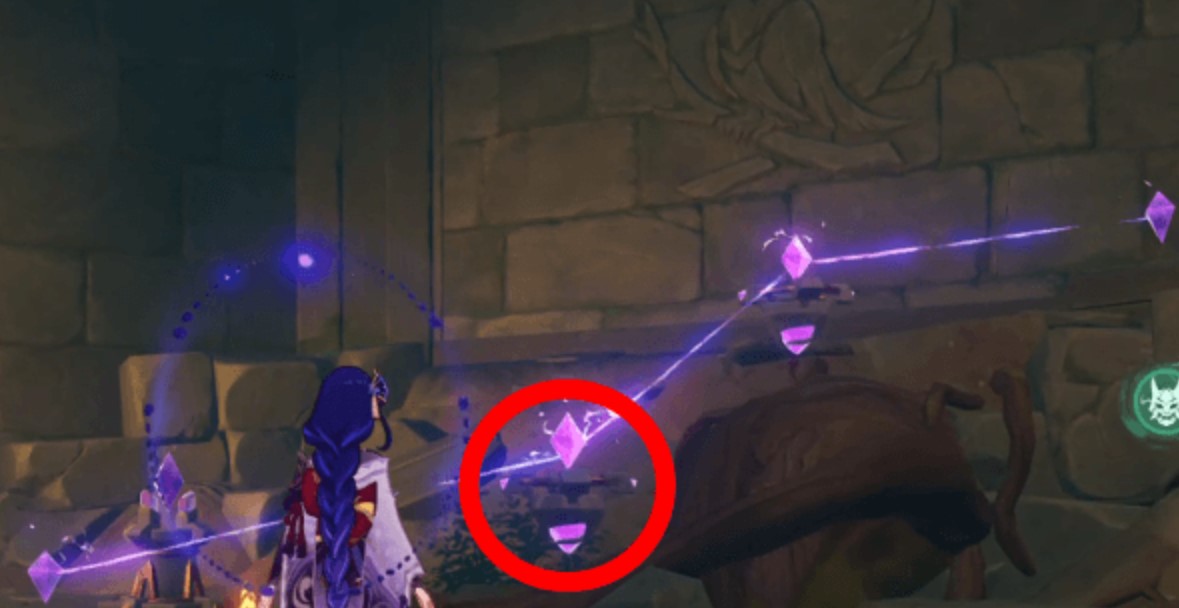
Разберитесь с двумя щенками разрыва по пути и пройдите мимо силового поля. Вы окажитесь возле двери и головоломки с релейными камнями. Вам нужно будет разместить их правильным образом, чтобы разблокировать выключатель.

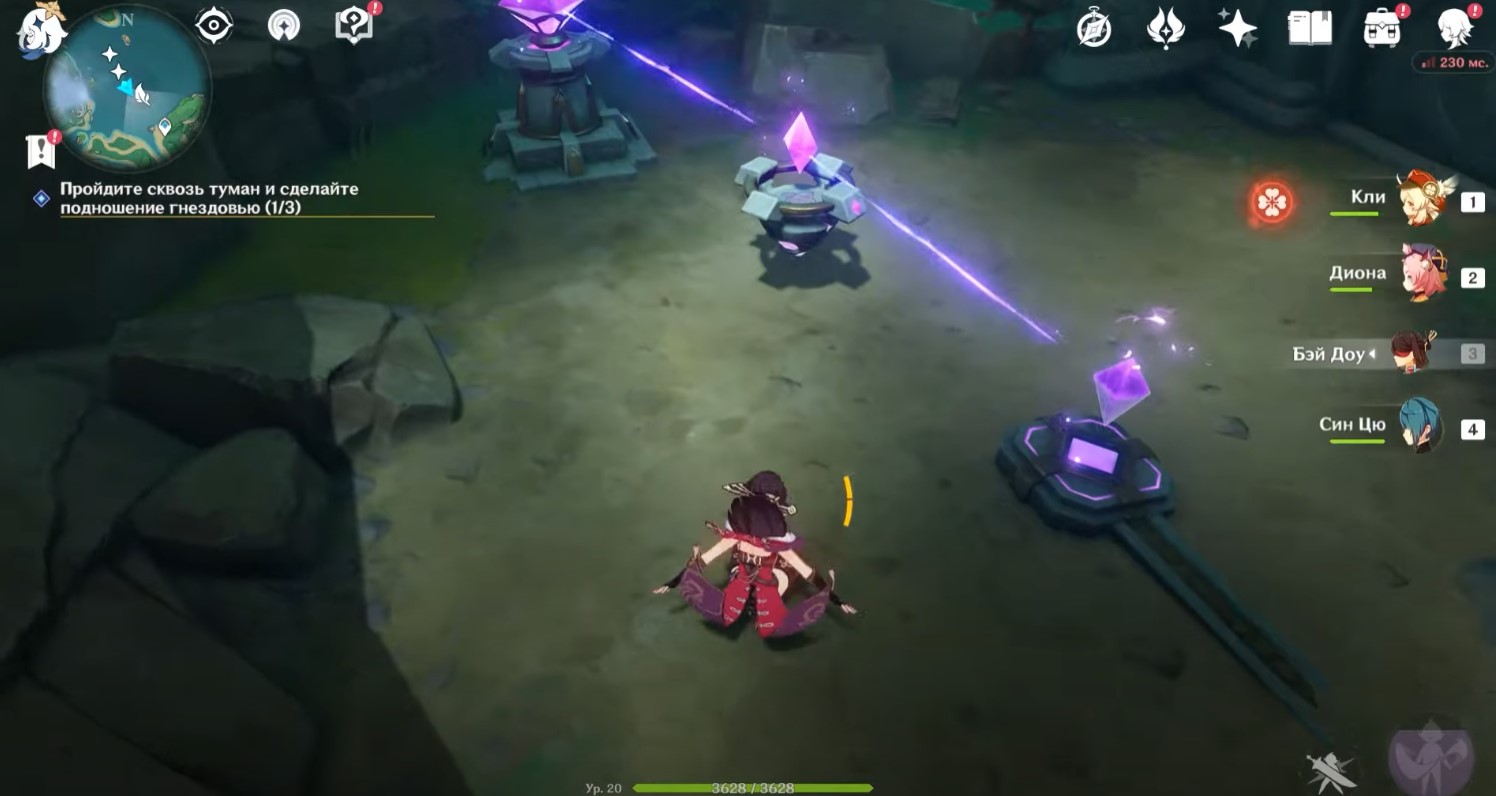
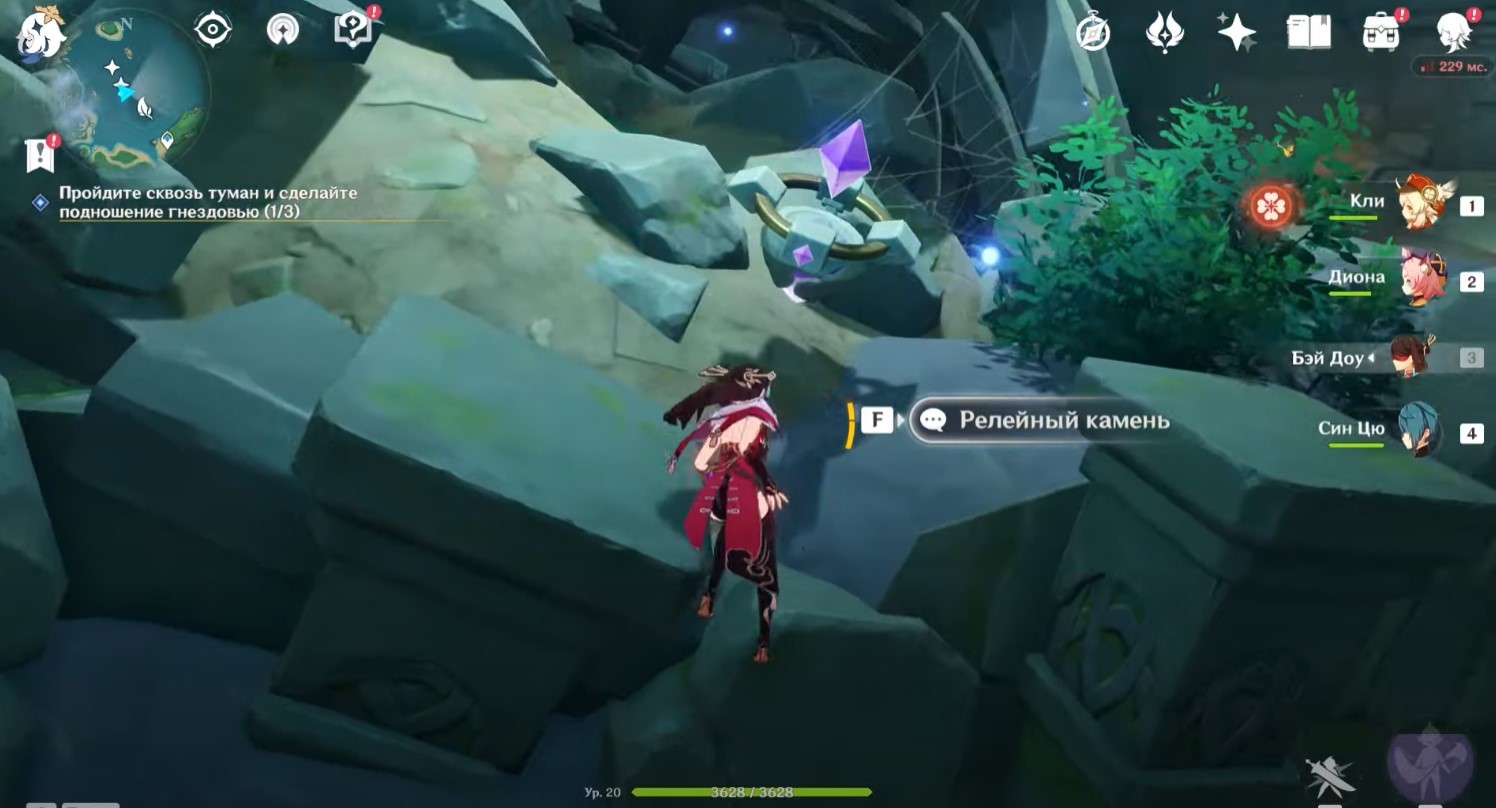
На скриншоте выше показано, куда нужно будет поставить релейные камни. Затем возьмите кристалл возле входа в локацию, неподалеку от гриба (1-й скриншот ниже). Электро-камни останутся подключенными.
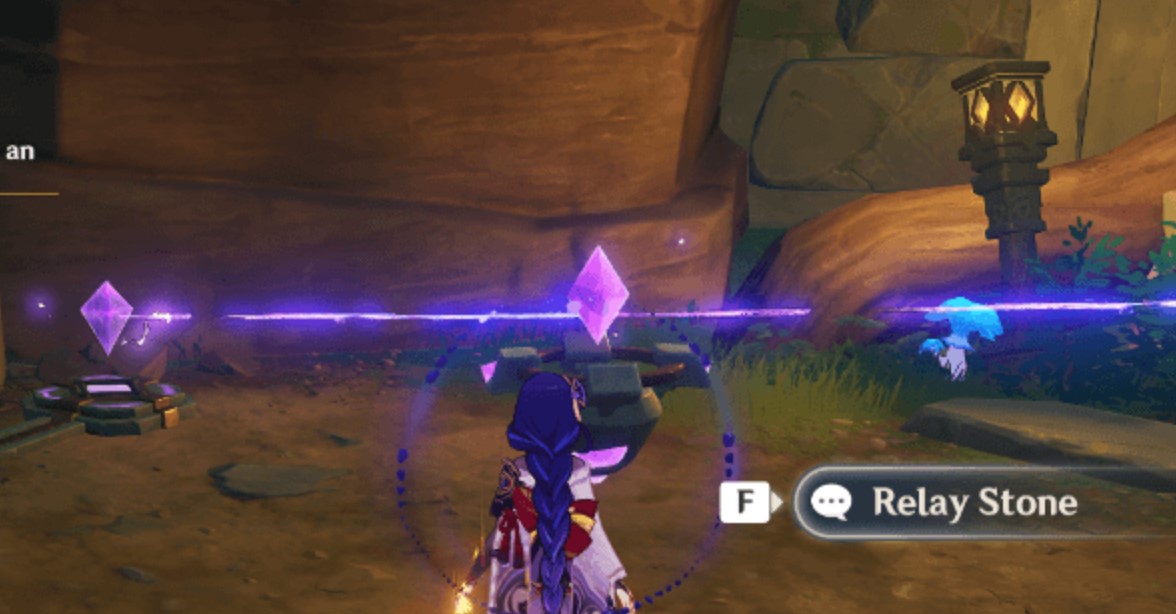
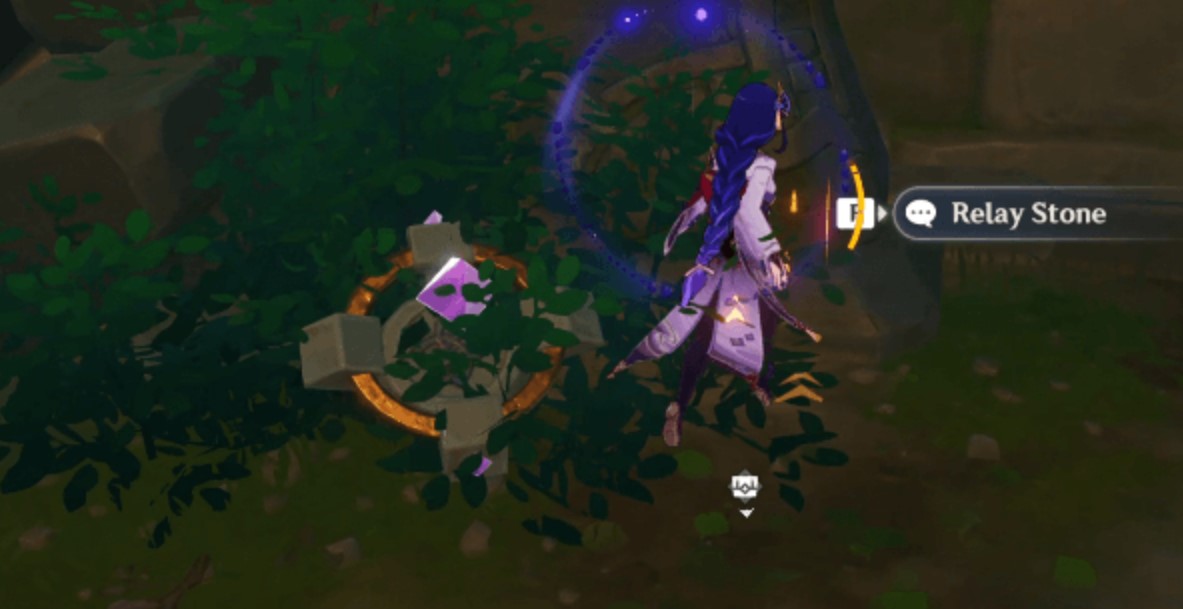
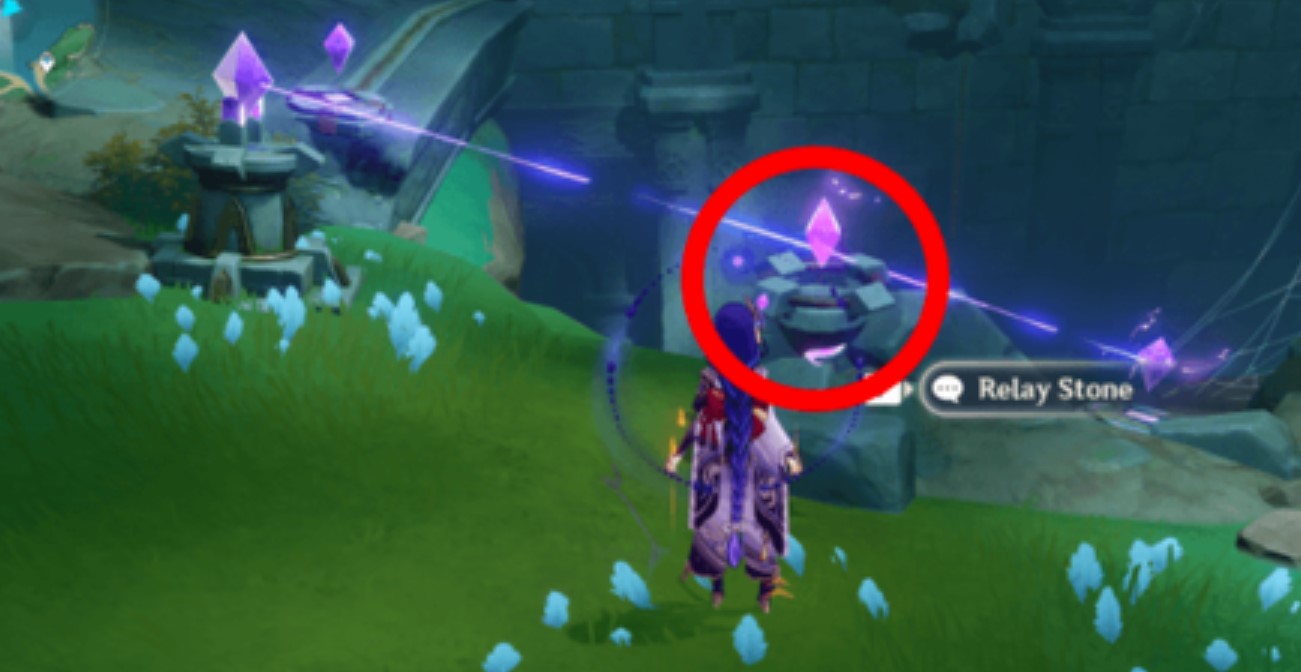
Подойдите к камням возле стены с рисунком совы и поместите кристалл так, чтобы создать связь (2-й скриншот выше). Возьмите релейный камень из кустов (3-й скриншот выше). Теперь идите налево (если встать лицом к круглой двери) и установите кристалл, чтобы соединить последние электро-камни (4-й скриншот выше).

Далее просто взаимодействуйте с консолью, чтобы открыть дверь. Разберитесь со стражем руин и прикоснитесь к следующему перу. Третье перышко снова ускользнет от вас, скрывшись за новой дверью.
Перо 3: головоломка с релейными камнями
Первым делом вам необходимо будет спустить воду в помещении, доведя 3-х фей до их постаментов возле заблокированной консоли. Первый дух находится возле входа, на колонне. Вам придется карабкаться за ним по колоннам.
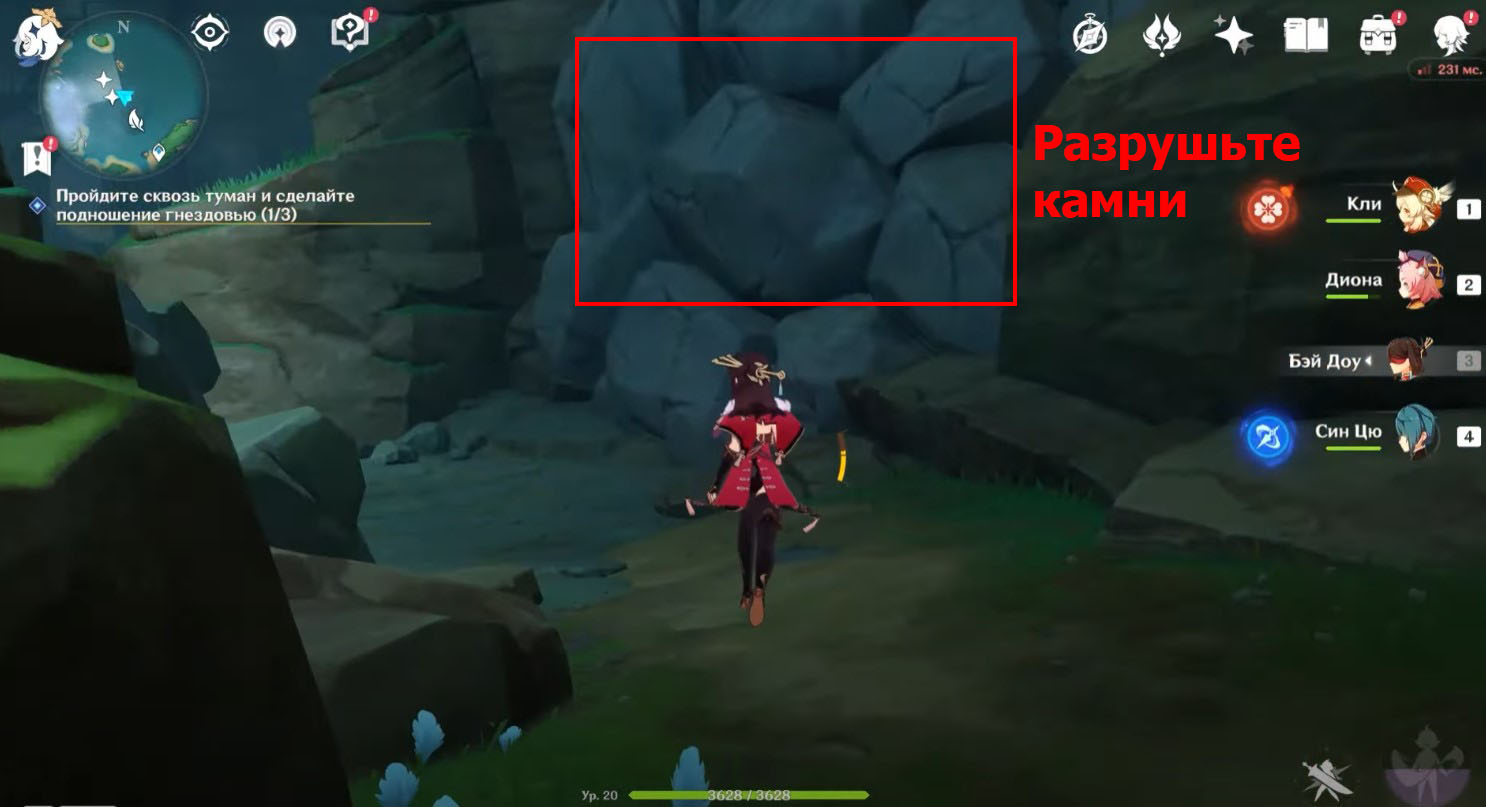
Вторая находится в небольшой пещере с рисунком на стене и механизмом. Третью можно отыскать за камнями. Разрушьте их с помощью любых ближних атак. Как только вы доведете фей до их домиков, у вас откроется доступ к консоли – взаимодействуйте с ней, чтобы вода ушла. Теперь вам придется снова решать головоломку с релейными камнями.

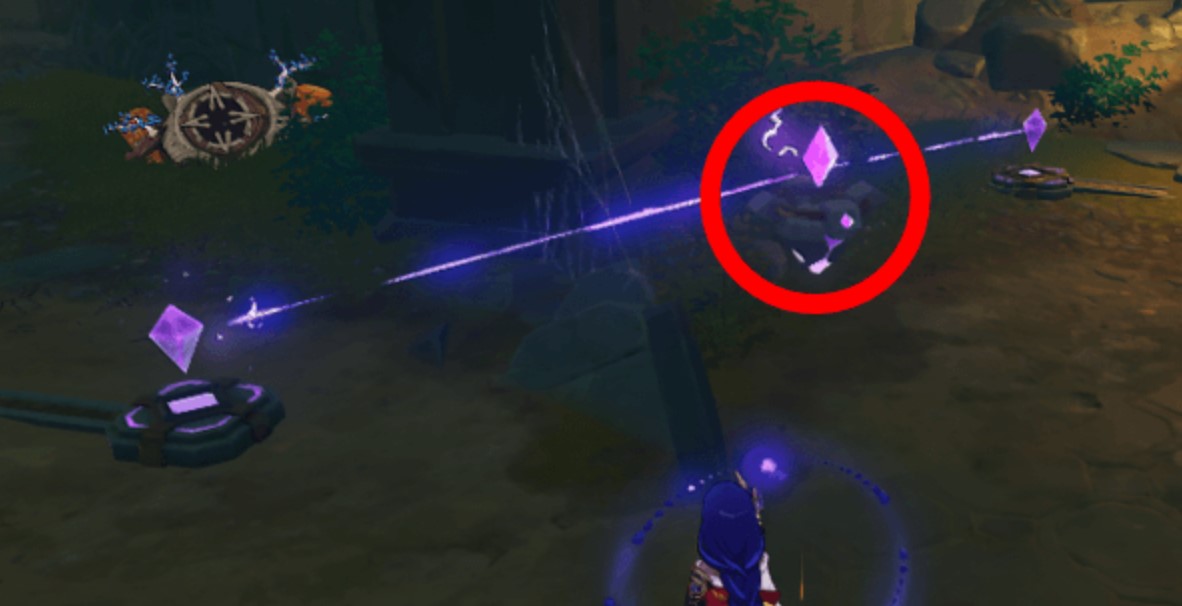
На картинке выше показаны места, где находятся «бесхозные» релейные камни, и точки, куда их необходимо установить. Итак, подберите два кристалла в нижнем участке зала, который вы только что разблокировали. Один из них расположен в центре области, рядом с паутиной, а другой соединяет два электро-камня (они продолжат работать). Смотрите скриншоты ниже.
Пройдите немного на северо-запад и поместите один кристалл между электро-камнями на полу и стене. Поднимитесь наверх и возьмите еще один релейный камень в развалинах здания. Здесь также находится сундук. Смотрите изображения ниже (1-й и 2-й).
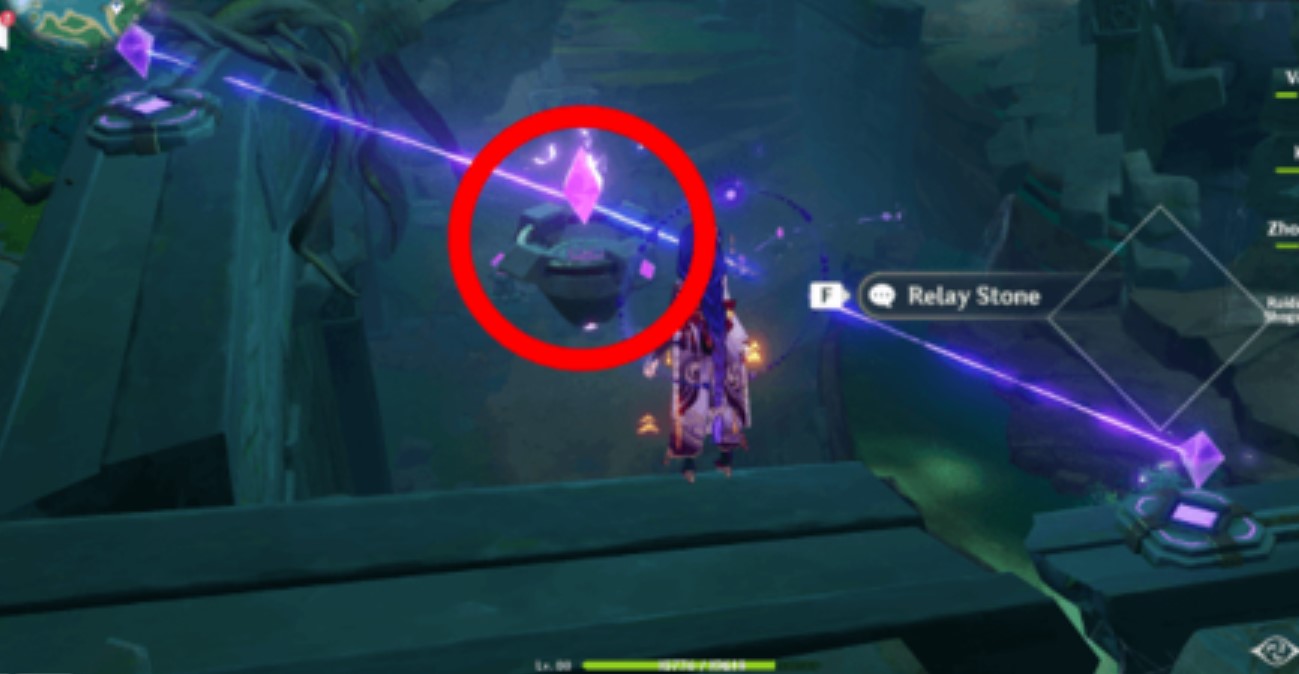
Установите один из собранных кристаллов между двумя электро-камнями, показанными на 3-й картинке выше. Далее разместите последний релейный камень между следующими двумя электро-камнями (смотрите 4-й скриншот). Сделать это может быть немного трудновато.
После этого у вас должен появиться доступ к консоли. Взаимодействуйте с ней и пройдите через открывшуюся дверь. Подберите перо, а затем вернитесь к дереву. Если вы не хотите топать весь путь обратно, то просто переместитесь к предыдущему святилищу и снова войдите в пещеру. Коснитесь гнездовья и посмотрите кат-сцену. Поболтайте с Ру и активируйте телепорт, находящийся на вершине горы. Затем можете спланировать с нее, чтобы добраться до следующего гнездовья.
Сделайте подношение гнездовью: Равнины Аутакэ
Рядом с гнездовьем будут мобы. Разберитесь с ними, а потом поговорите с ребенком и дотроньтесь до дерева, чтобы посмотреть очередной ролик с разлетающимися перьями. Вам снова придется найти их. Приготовьтесь также к большому количеству сражений.
Перо 1
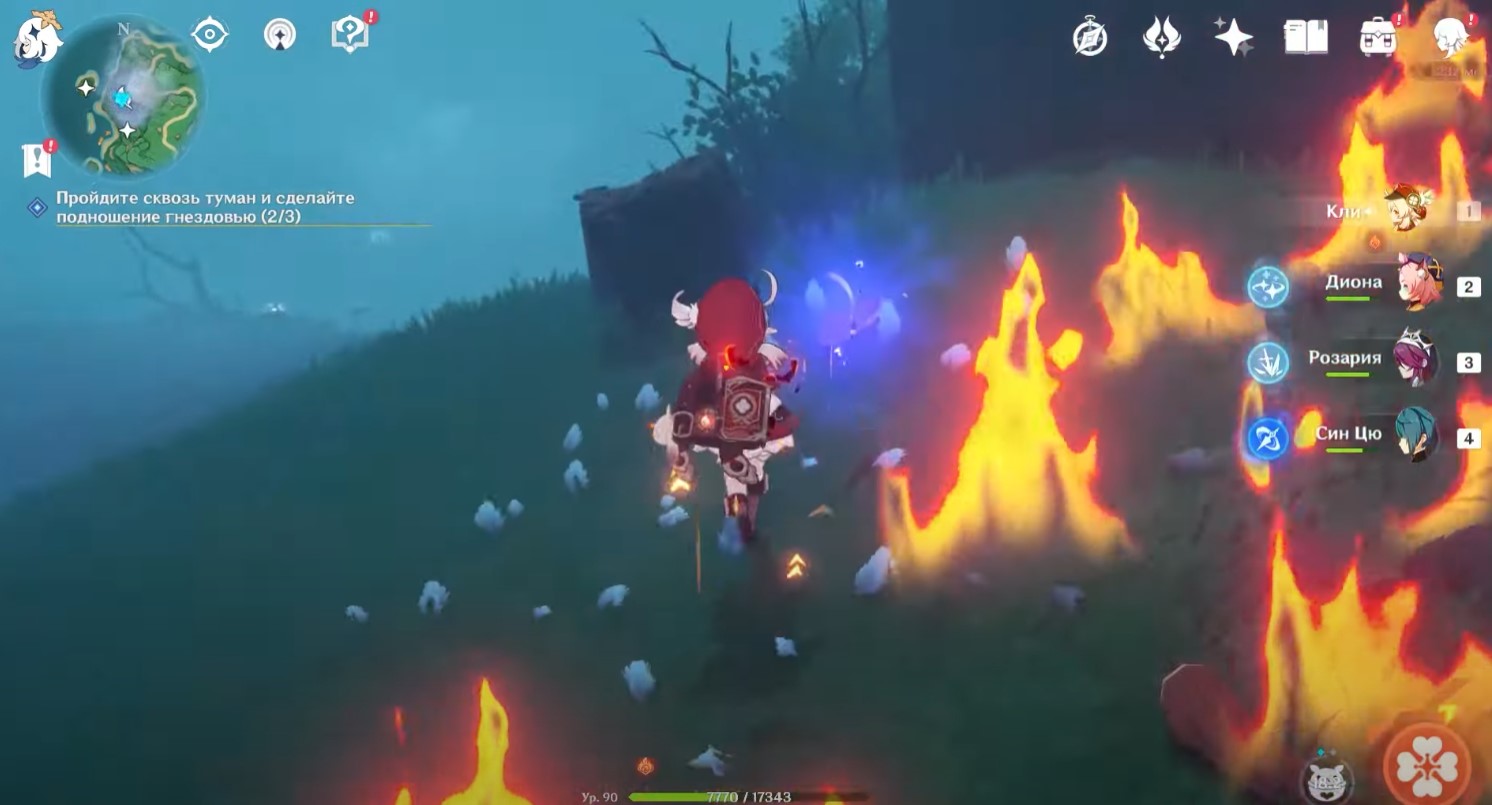
Находится впереди и справа от дерева, если встать к нему спиной. Здесь также расположена группа хиличурлов. Убейте их. Перо улетит. Призовите электрогранум и бегите вслед за перышком к барьеру. Затем он снова улетит чуть вперед. Бегите за ним. Возьмите его и расправьтесь с новыми монстрами.


Перо 2
Оно находится на крыше лачуги хиличурлов. Тут тоже придется сразиться с группой противников.
Перо 3
Находится у подножья холма, на котором стоит дерево. Опять же вам придется разобраться с несколькими монстрами, прежде чем вы сможете подобрать нужный предмет.
Собрав перья, возвратитесь к гнездовью и прикоснитесь к нему. Посмотрите кат-сцену, в которой исчезнет последний участок тумана.
Как найти Маусиро
Теперь возвратитесь к месту осуществления ритуала. Именно тут мы должны отыскать музыкальный инструмент. Осмотрите свечение вдалеке, чтобы подобрать Маусиро.

Далее вам нужно будет возвратиться на Рито. Подойдите к Каме, который будет ждать вас на берегу Цуруми, а потом снова пообщайтесь с Сумидой в Инадзуме. Узнаем интересную информацию. На этом задание закончится. В качестве награды вы получите 450 очков приключений, 5 опыта героя, 50 камней истока, 4 волшебной руды усиления и 50 000 моры. Плюс, вы откроете трофей «П-паймон ее съела…». Кроме того, спустя реальный день вы сможете начать миссию «Октава Маусиро».
Комментарии
Для добавления комментариев необходимо авторизоваться.
Вы можете войти через